Zapier: Job Status Changes To Send Out Emails
In this article, we will walk you through creating a Zap that sends out emails when the Job Status changes.
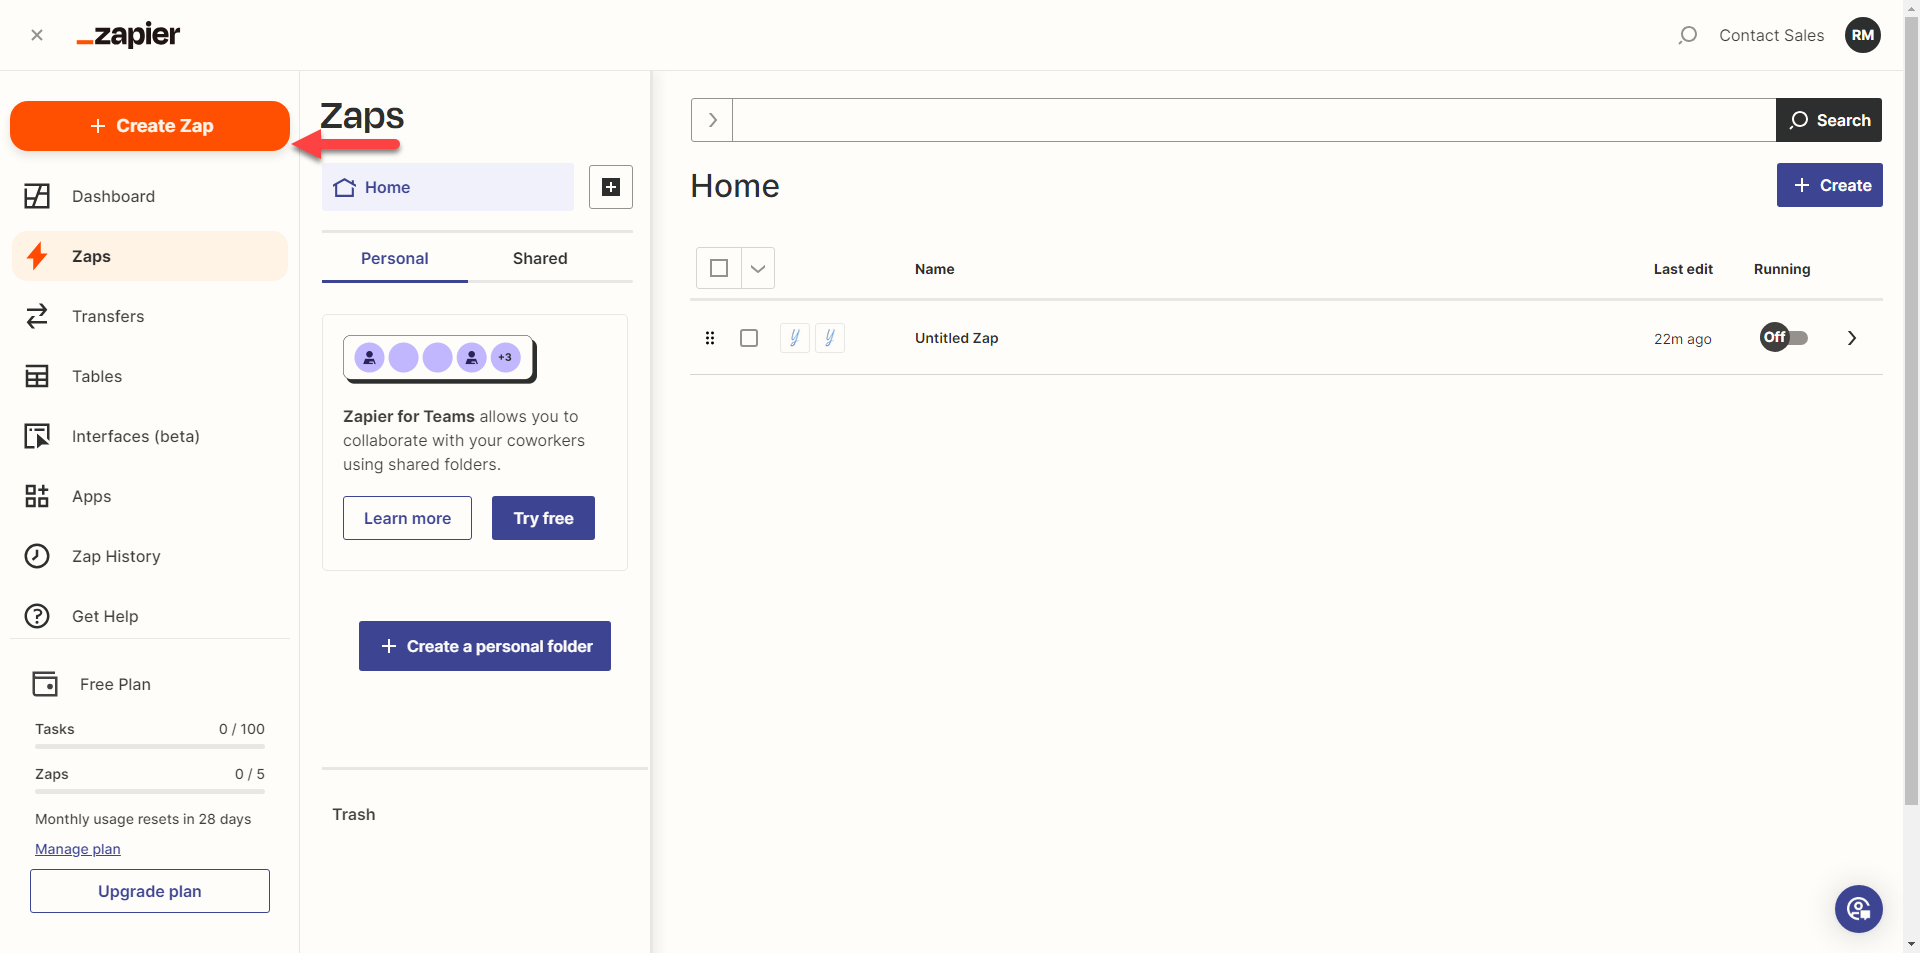
- Log in to Zapier, and on the Zapier home page, click "+Create Zap."
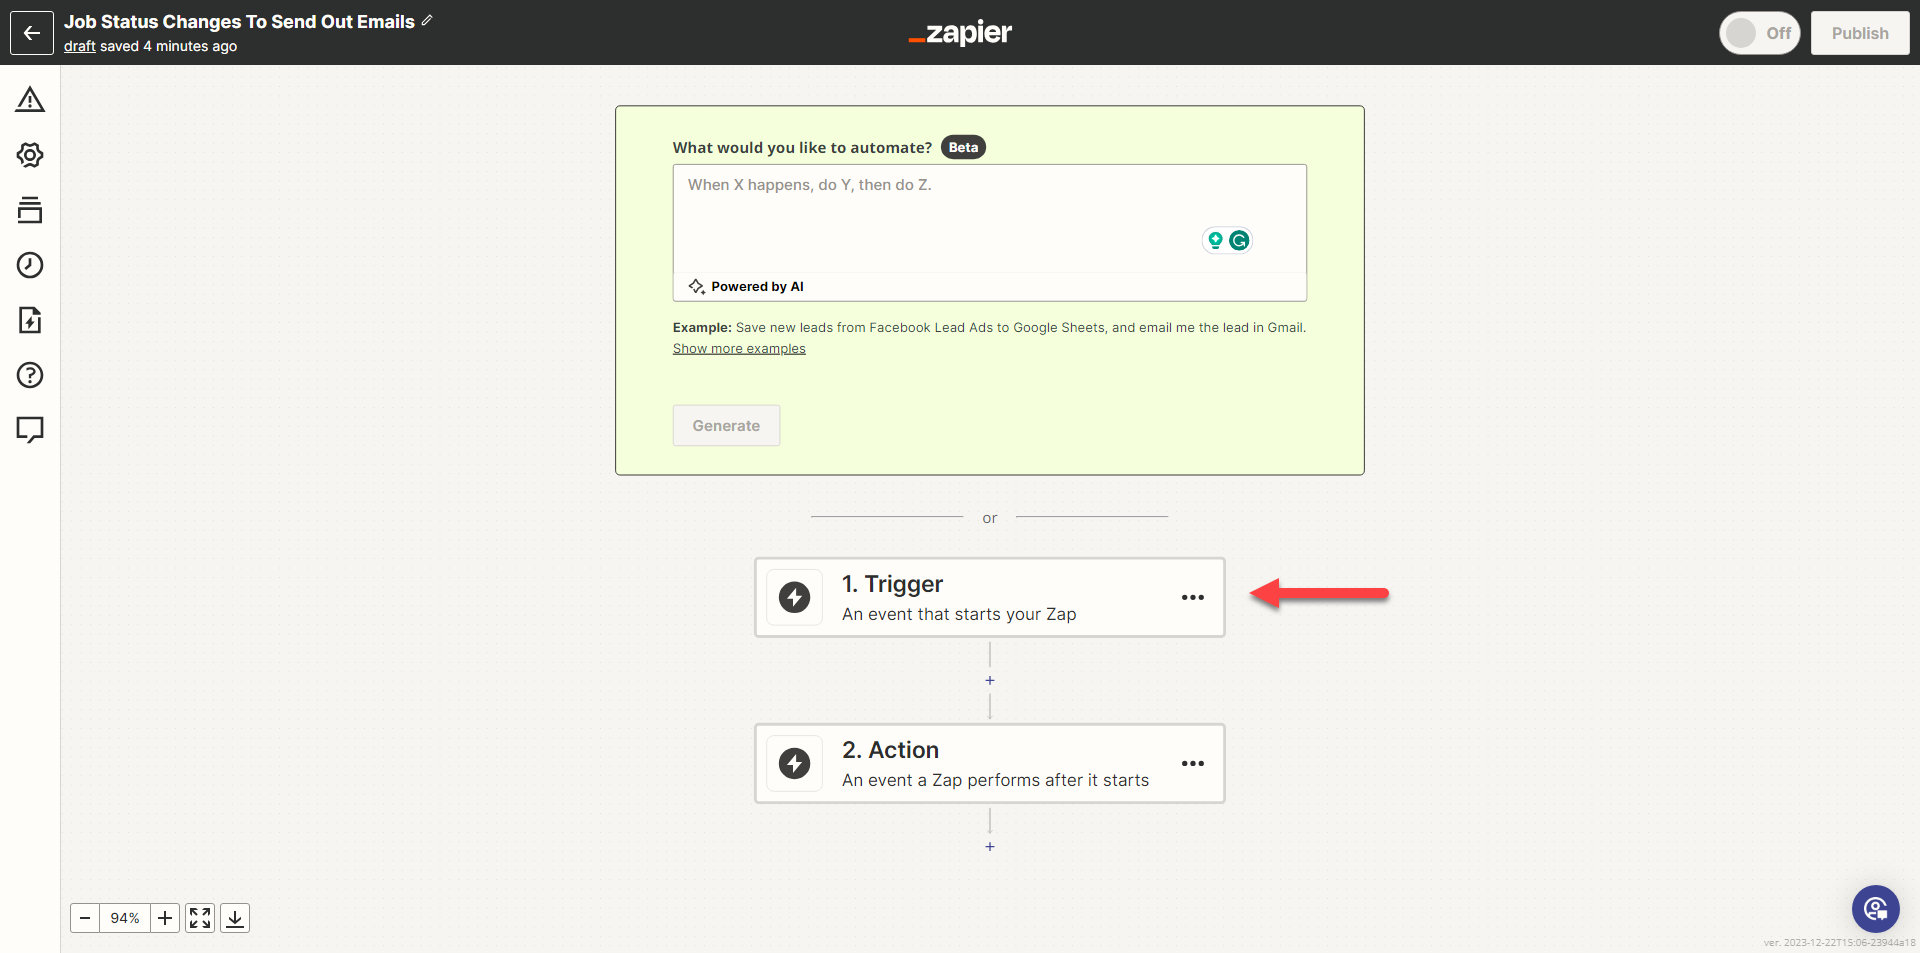
- This will redirect you to a page where you can create a Zap. Click on the pencil icon on the top left of your page to give your zap a name. In this case, we will use "Job Status Changes To Send Out Emails."

- Next, click on "Trigger."
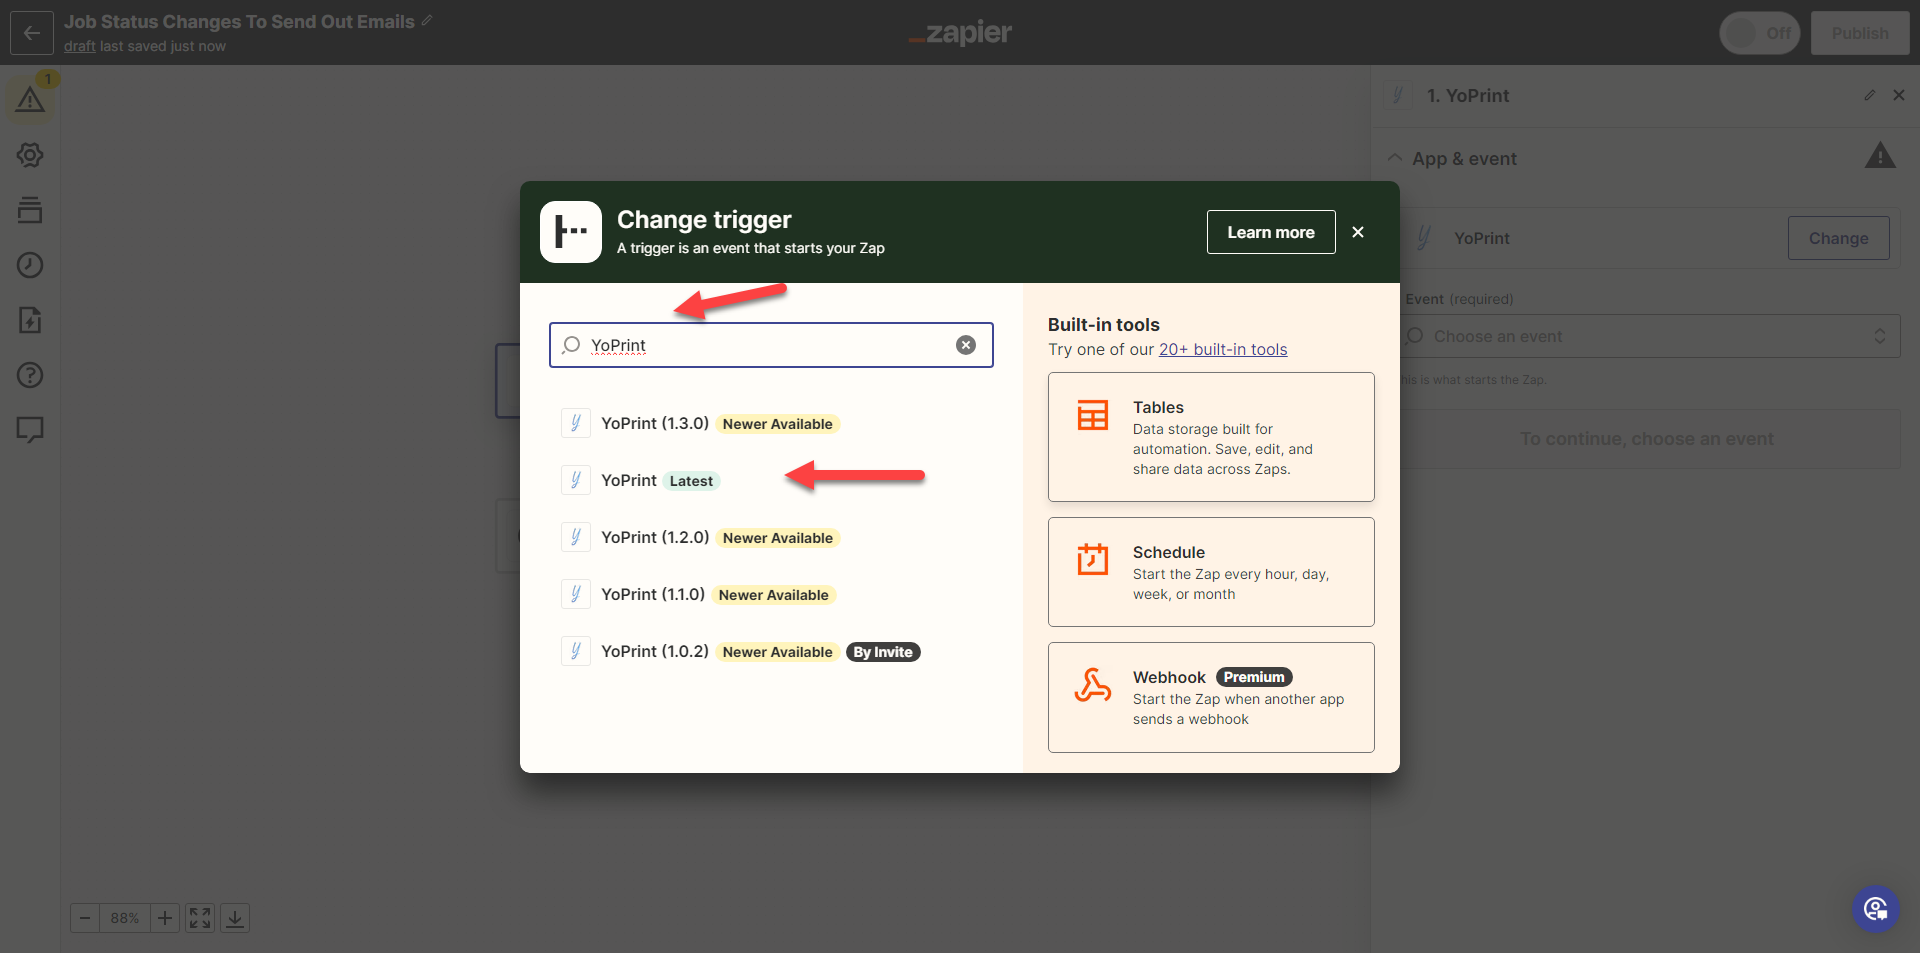
- Type "YoPrint" in the search bar and click on "YoPrint (Latest)" to use the newest version of Zaps.
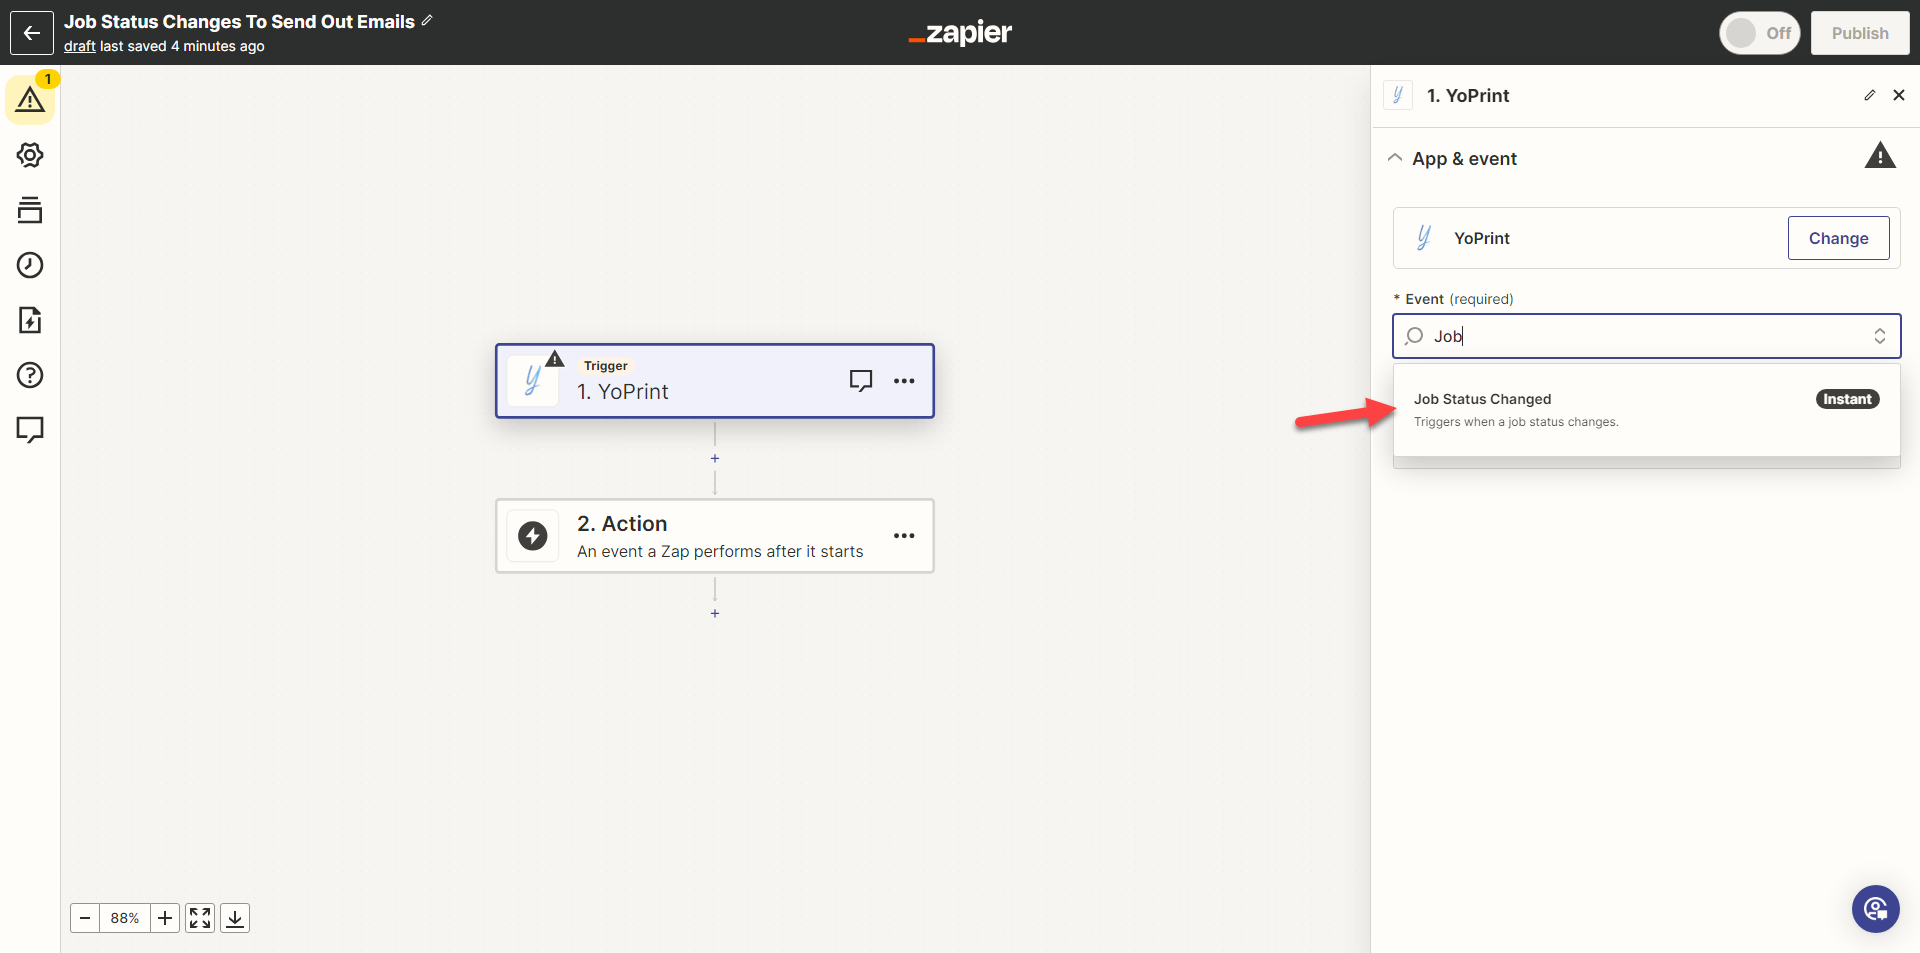
- In the "Choose an event" search bar on the right side of your screen, type out the event you would like to trigger. We will choose "Job Status Change."
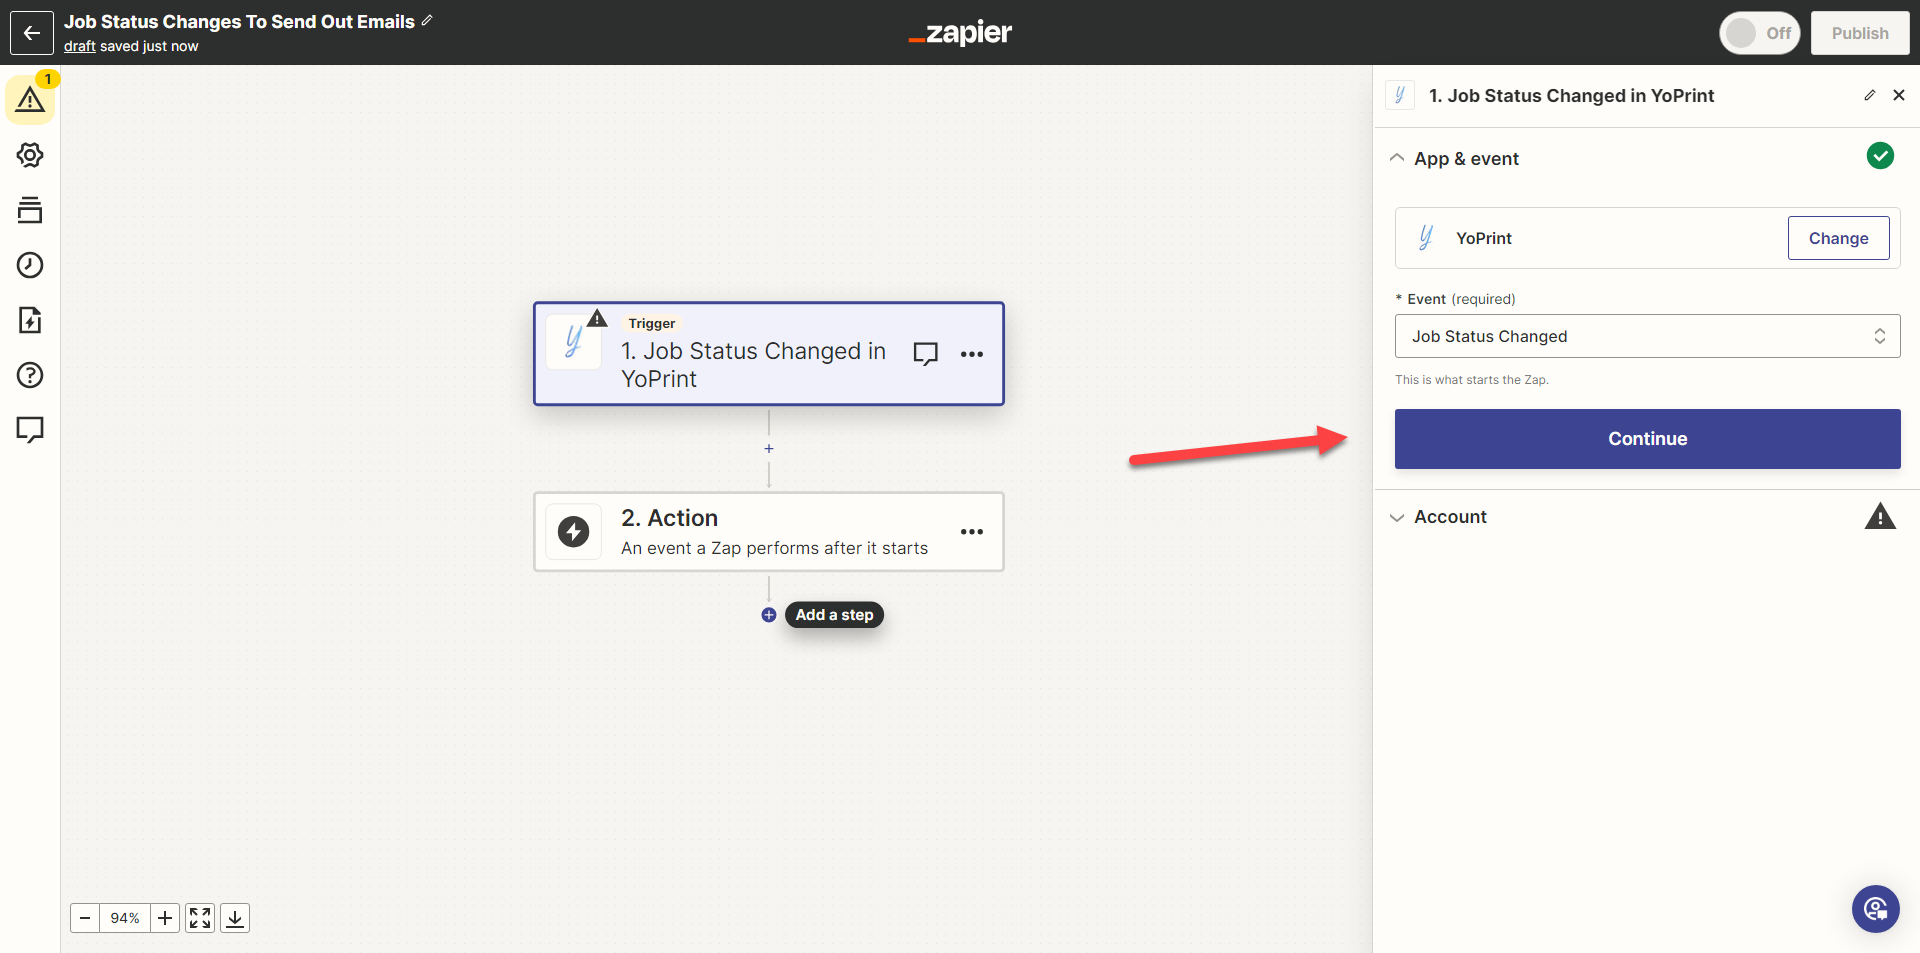
- Once you've selected the trigger, click on "Continue".
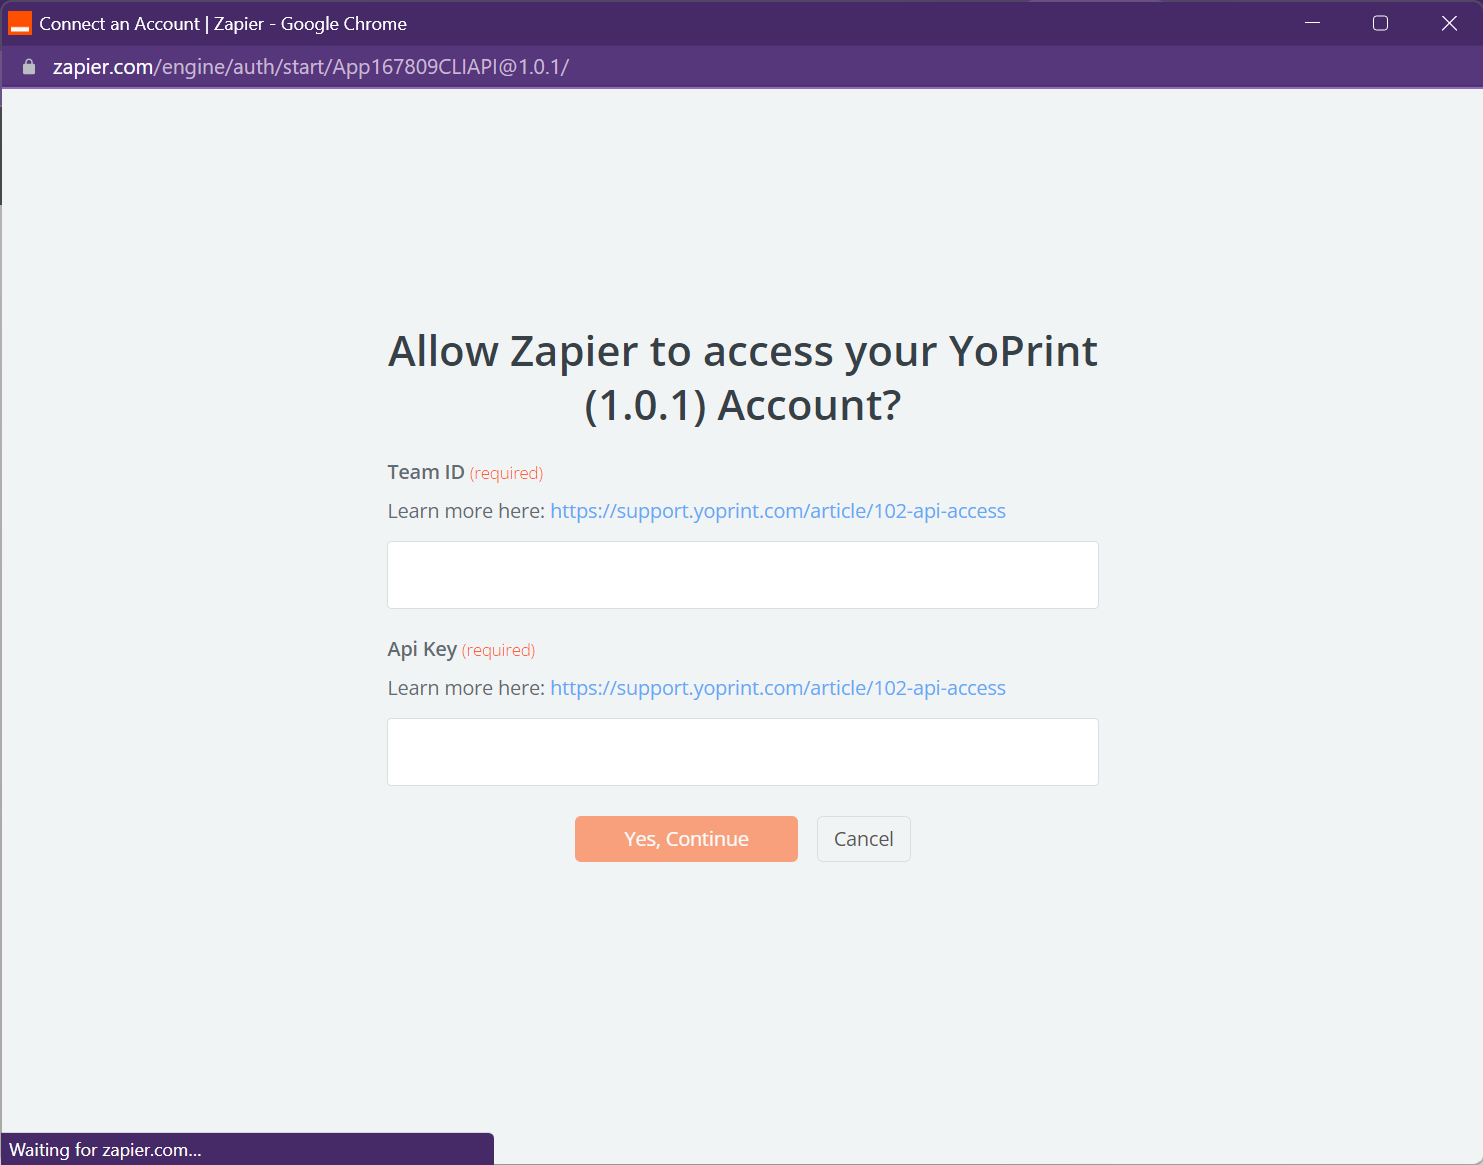
 Click on "Sign In" to connect to YoPrint.
- Fill in the "Team ID" and the "API Key" and click on "Yes, Continue to YoPrint". You can refer to API Access for the "Team ID" and "API Key."
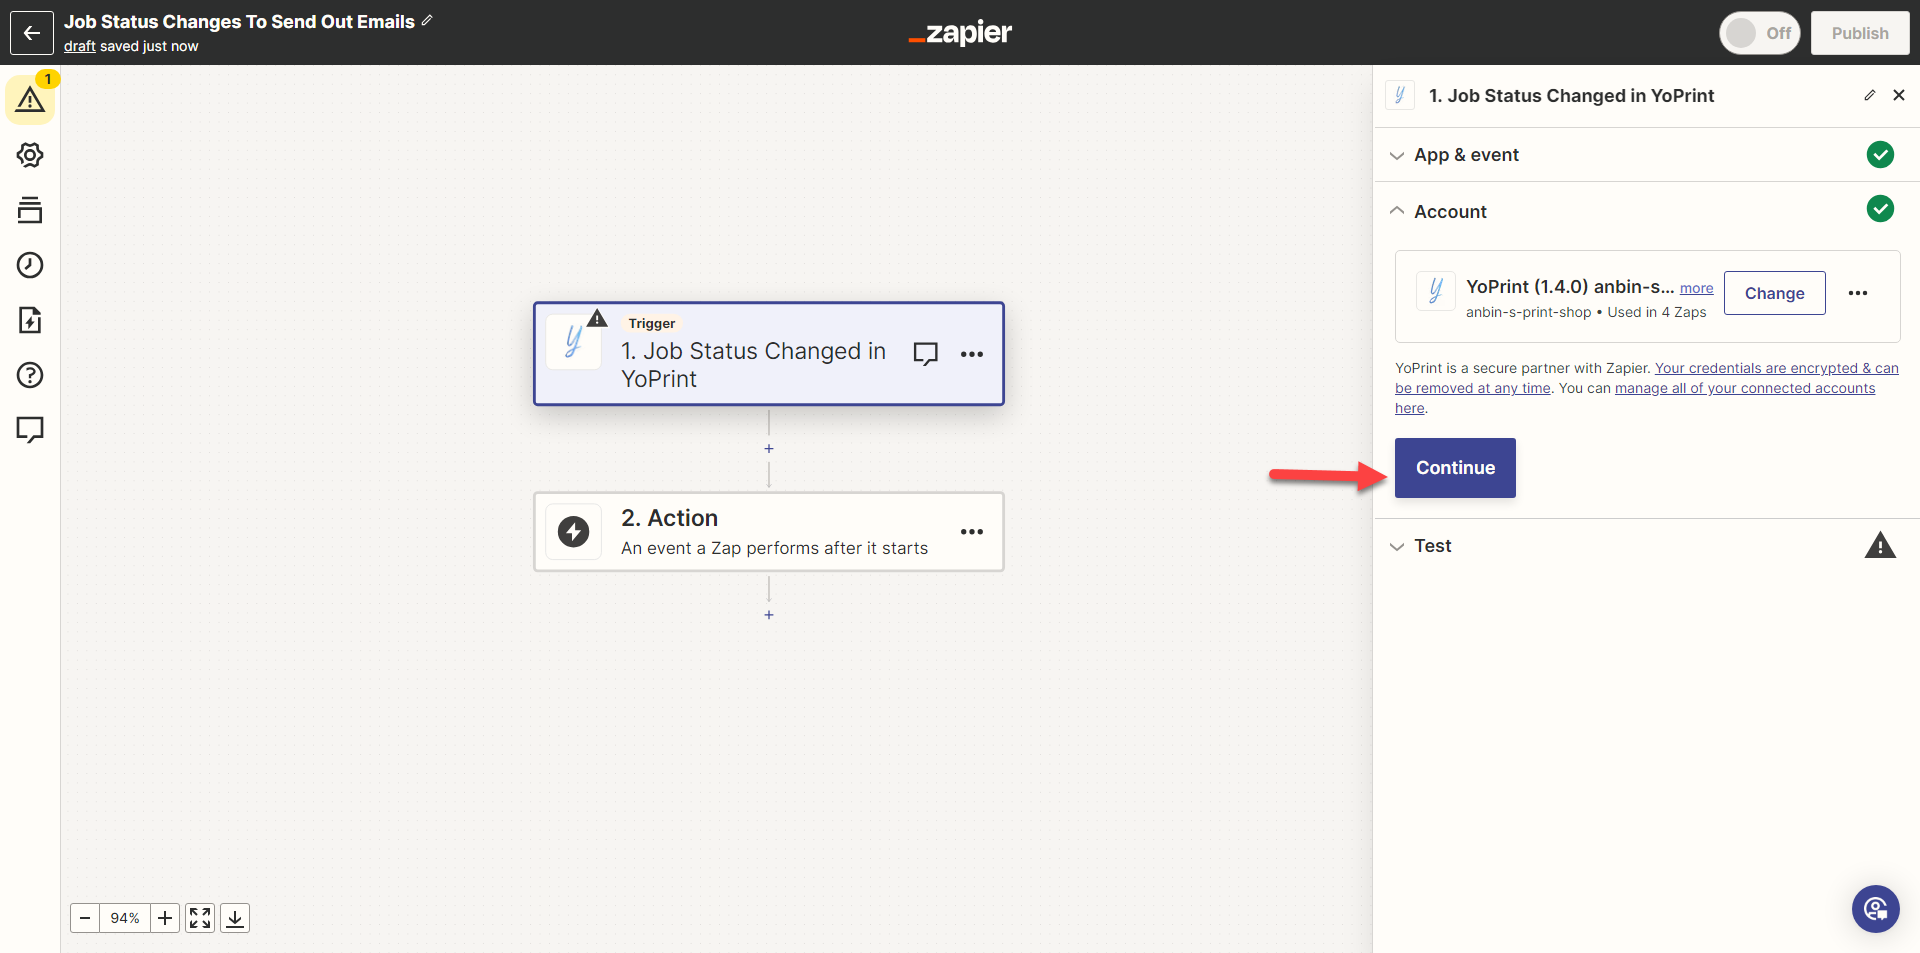
- Once you've connected, you can click on "Continue."
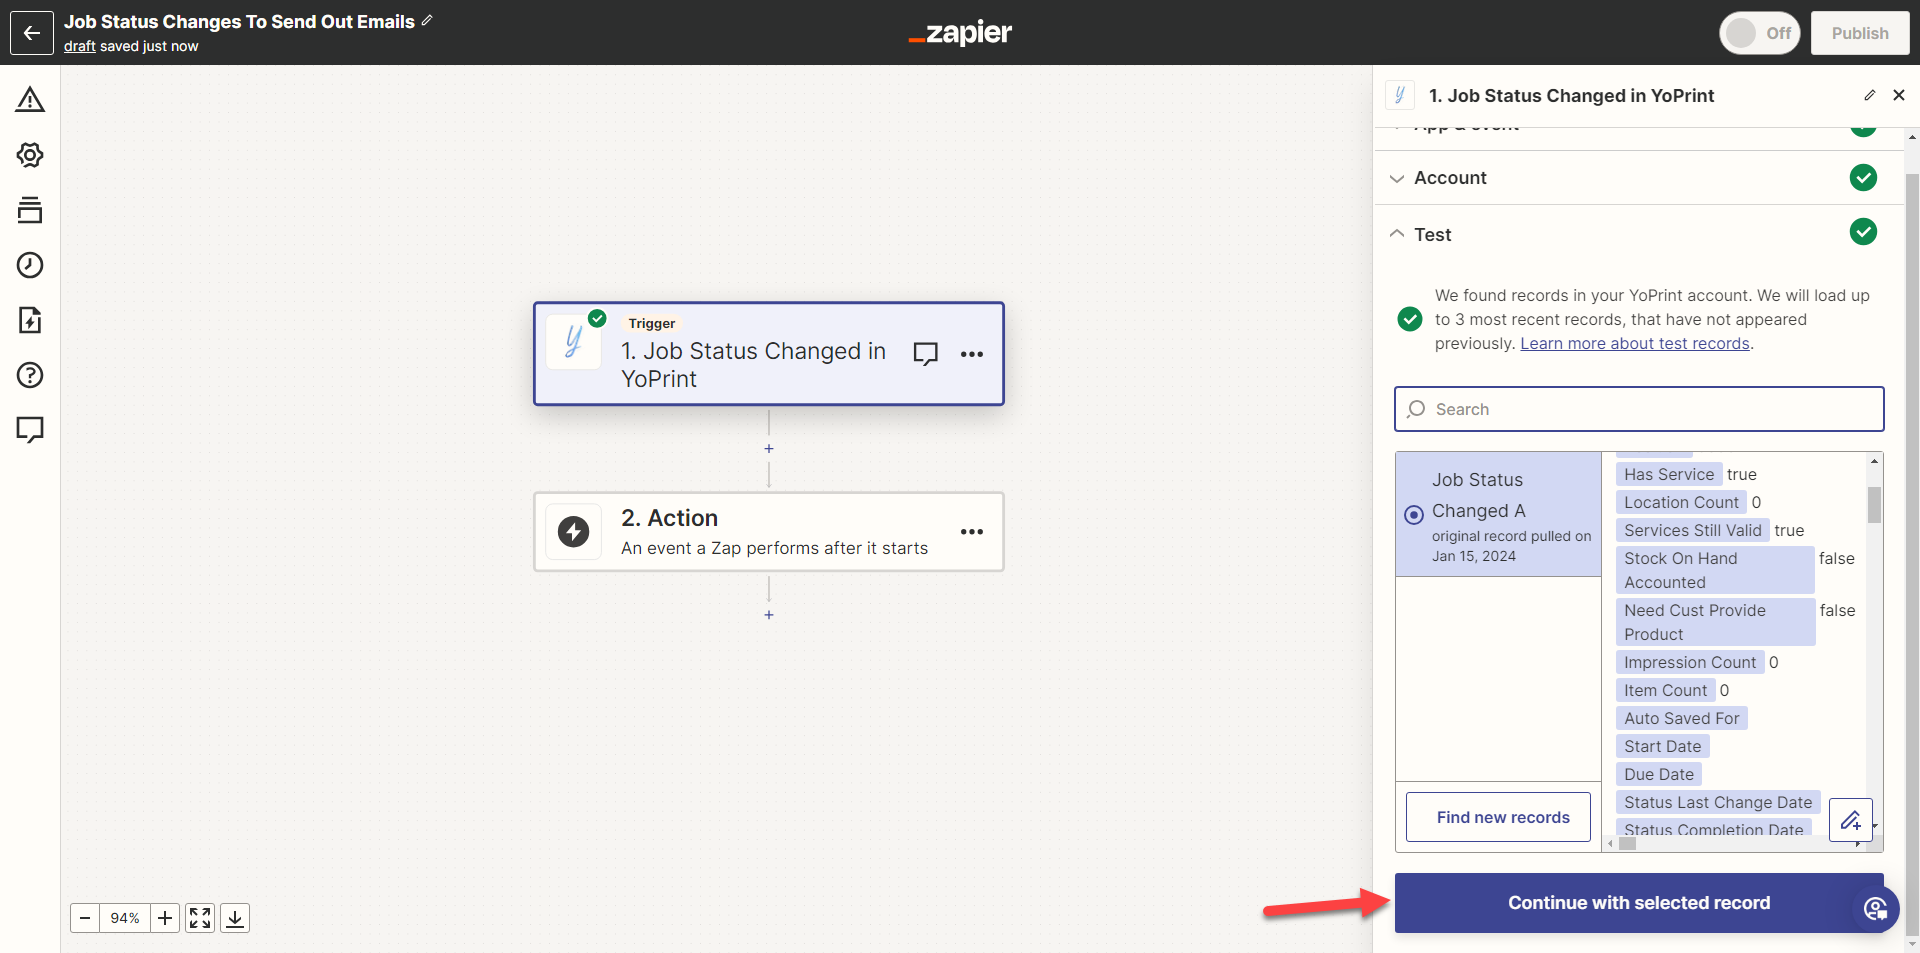
- Click "Test trigger" and "Continue with selected record."
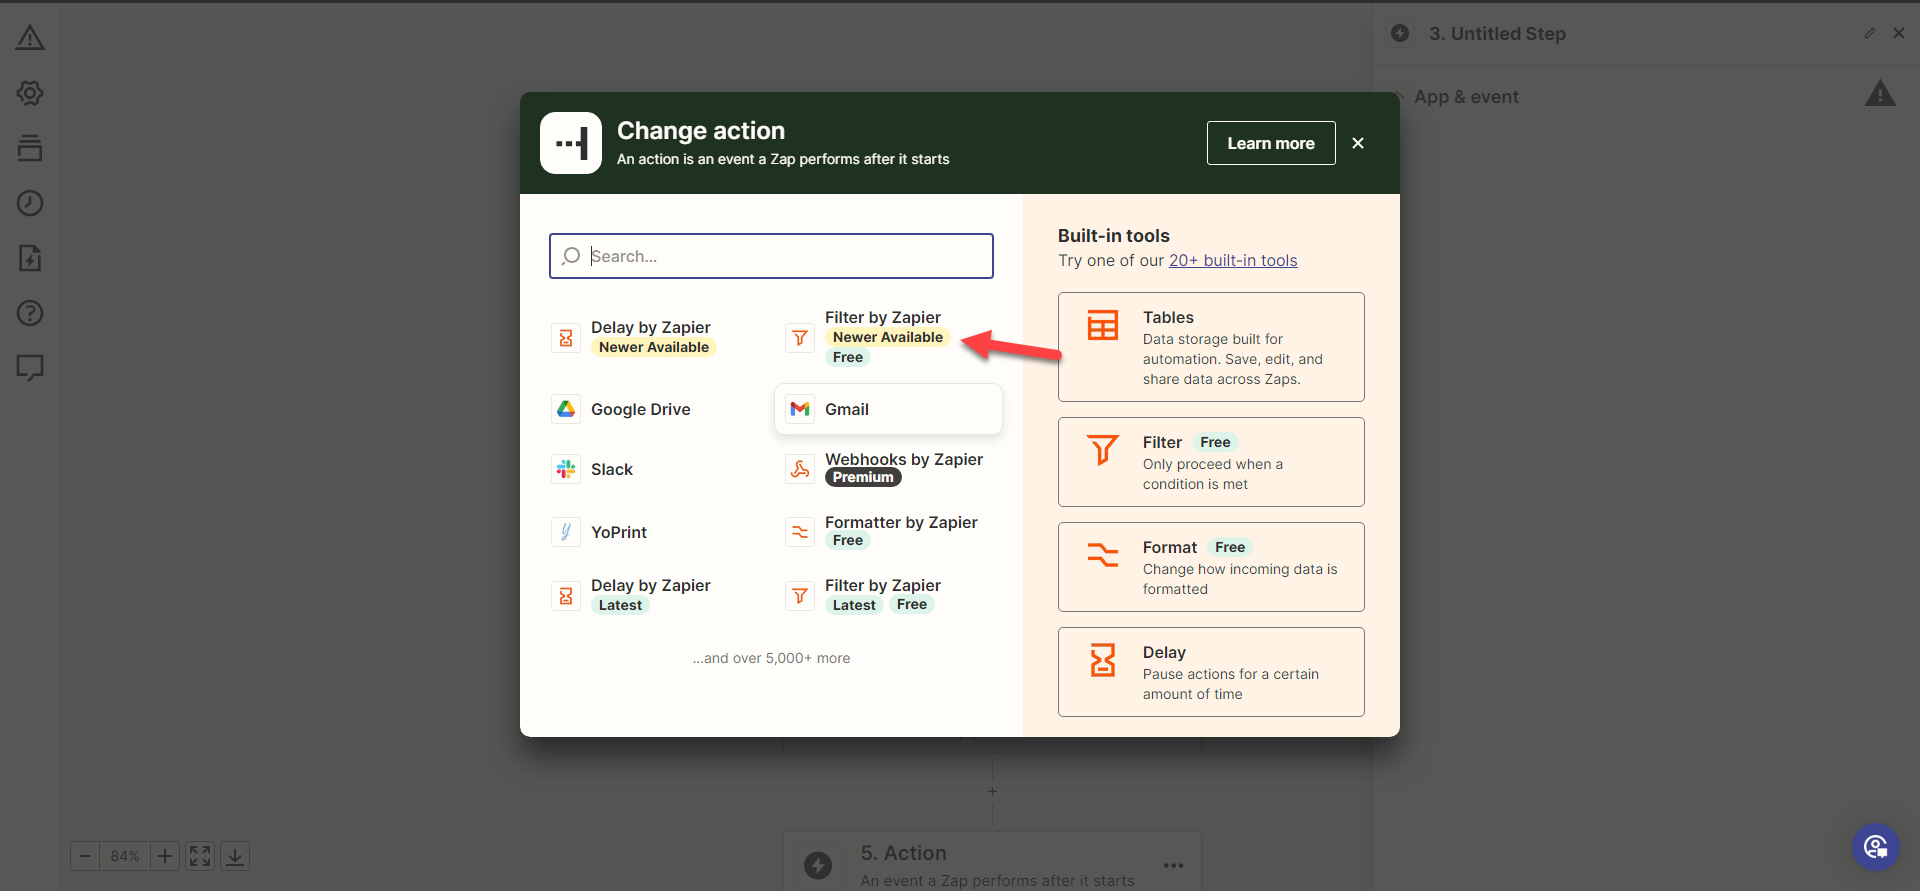
- Next, we are going to add a filter. Click on "Filter by Zapier."
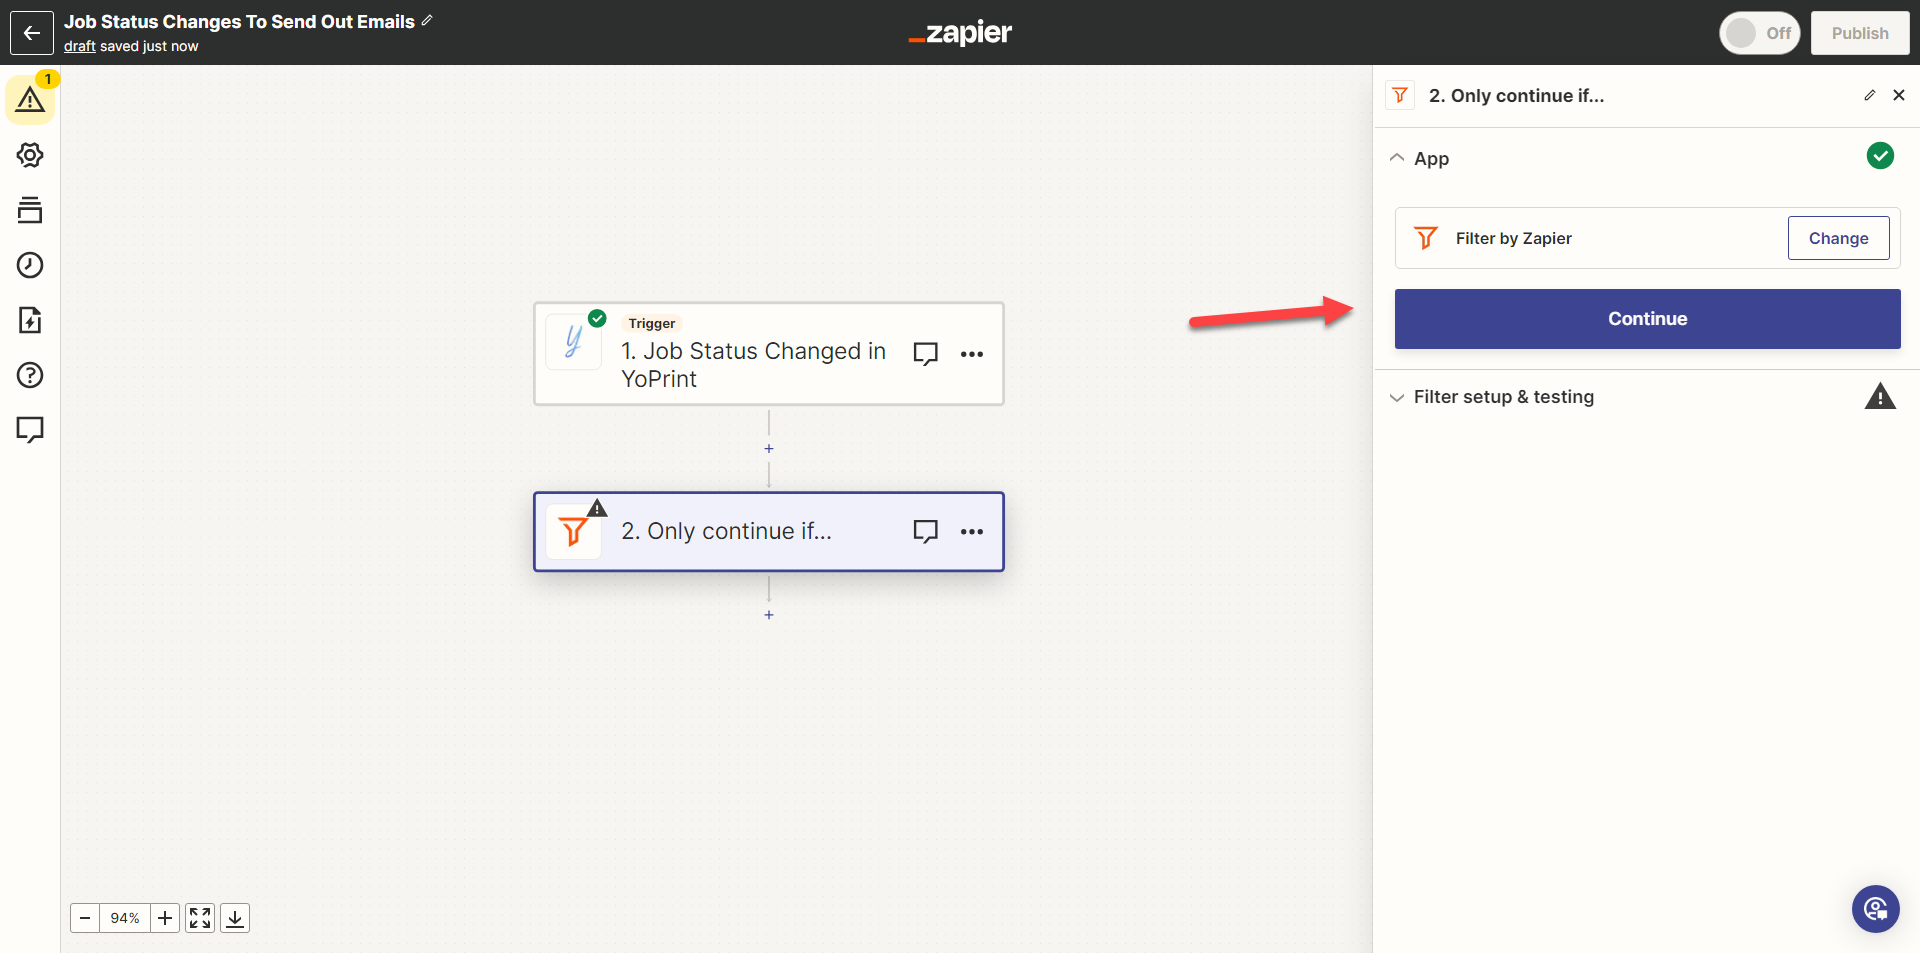
- Click on "Continue".
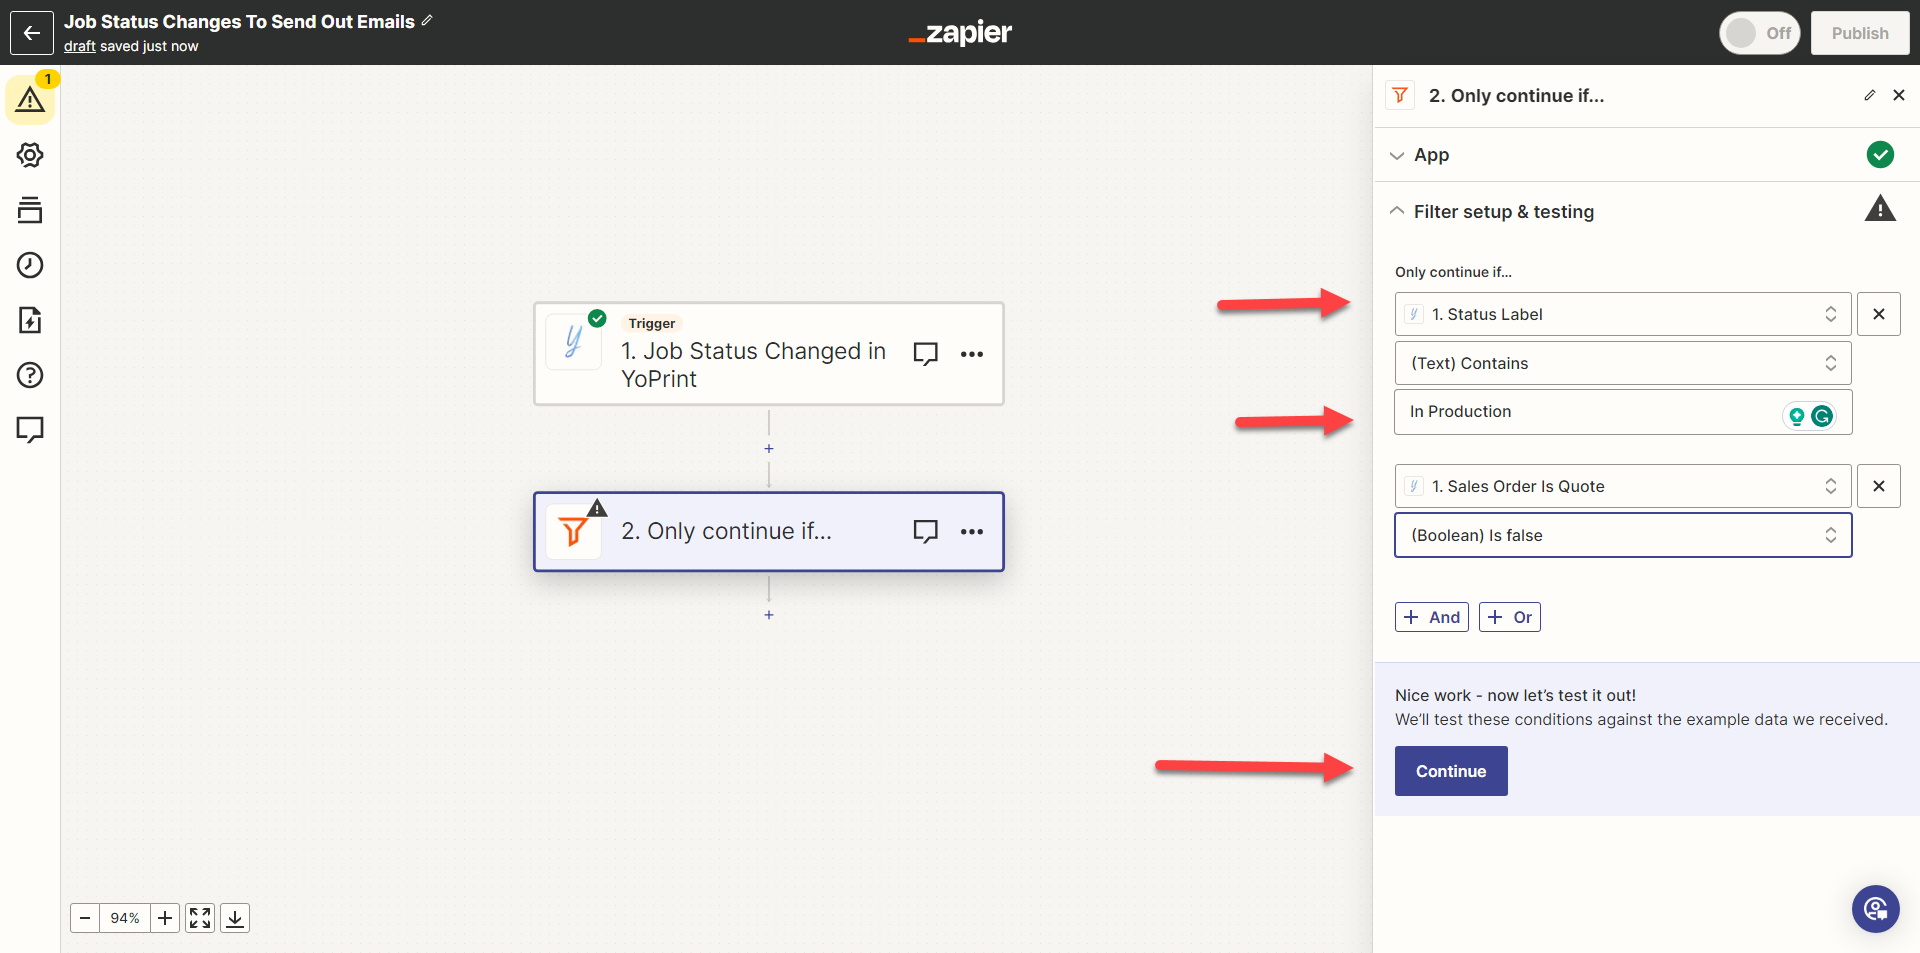
- Choose the filters that you want the action to trigger. For this case, we are choosing "Status Label" and "In Production," which translates to sending out an email when the Job Status is in production. To be even more specific, you can add as many filters as you wish. Click on "Continue" to test the filter.
- Select a new action and click on YoPrint.
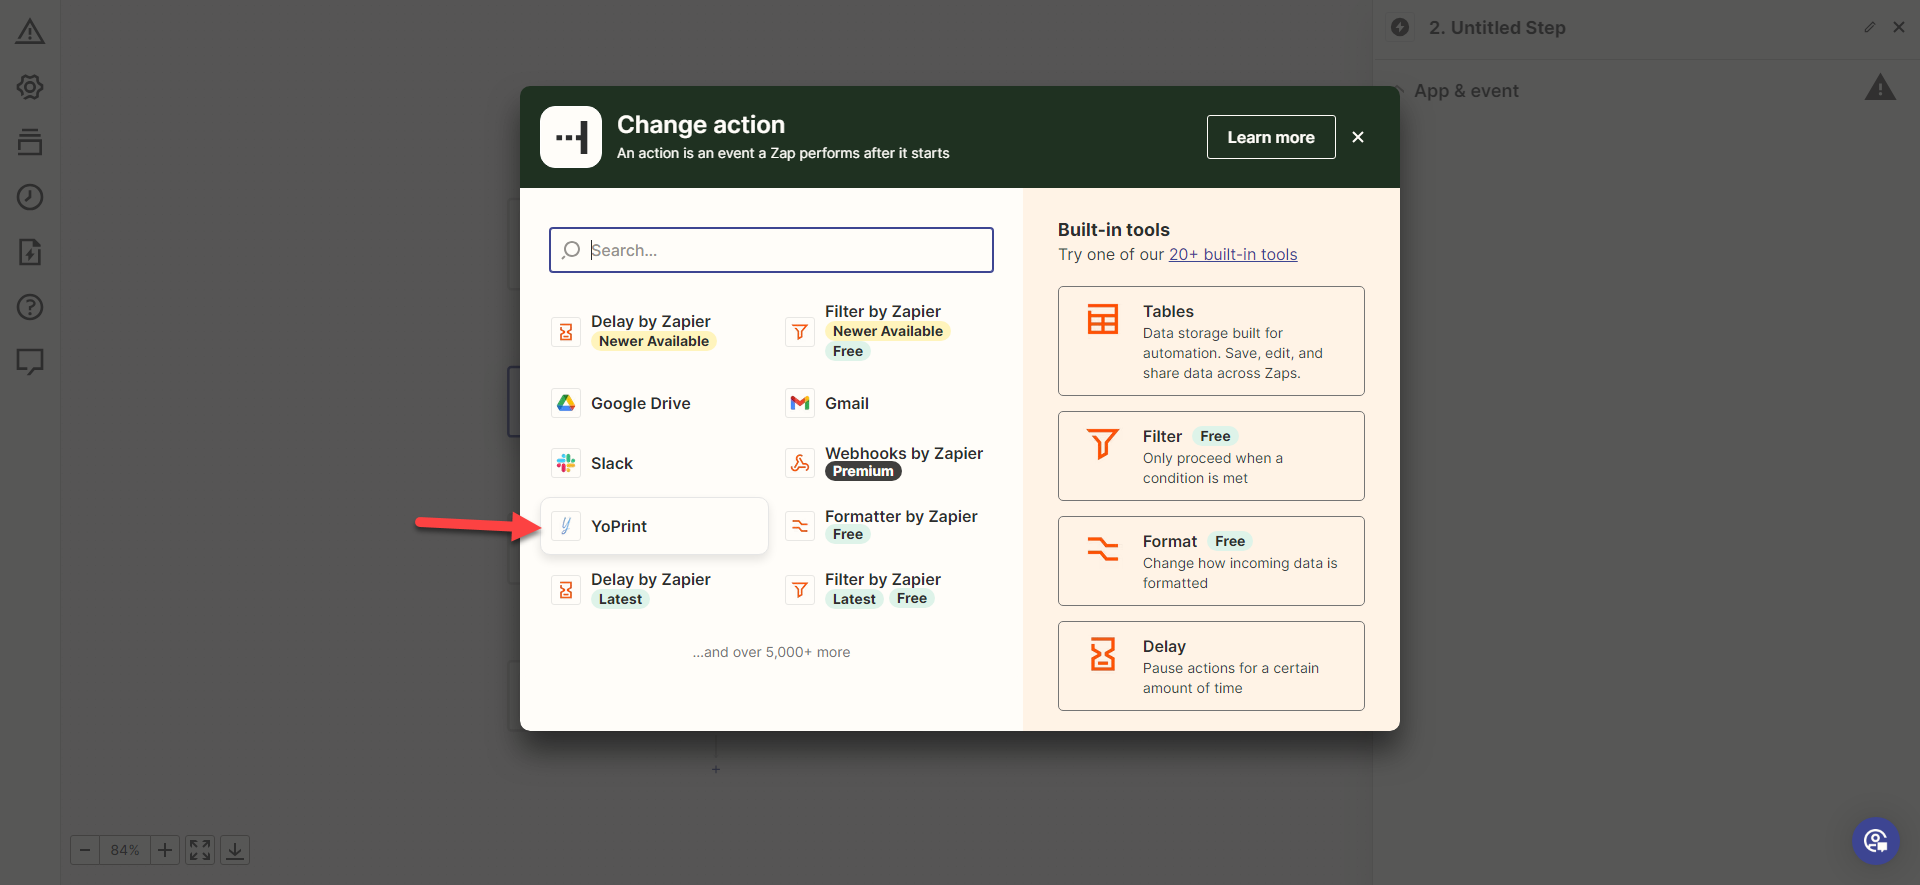
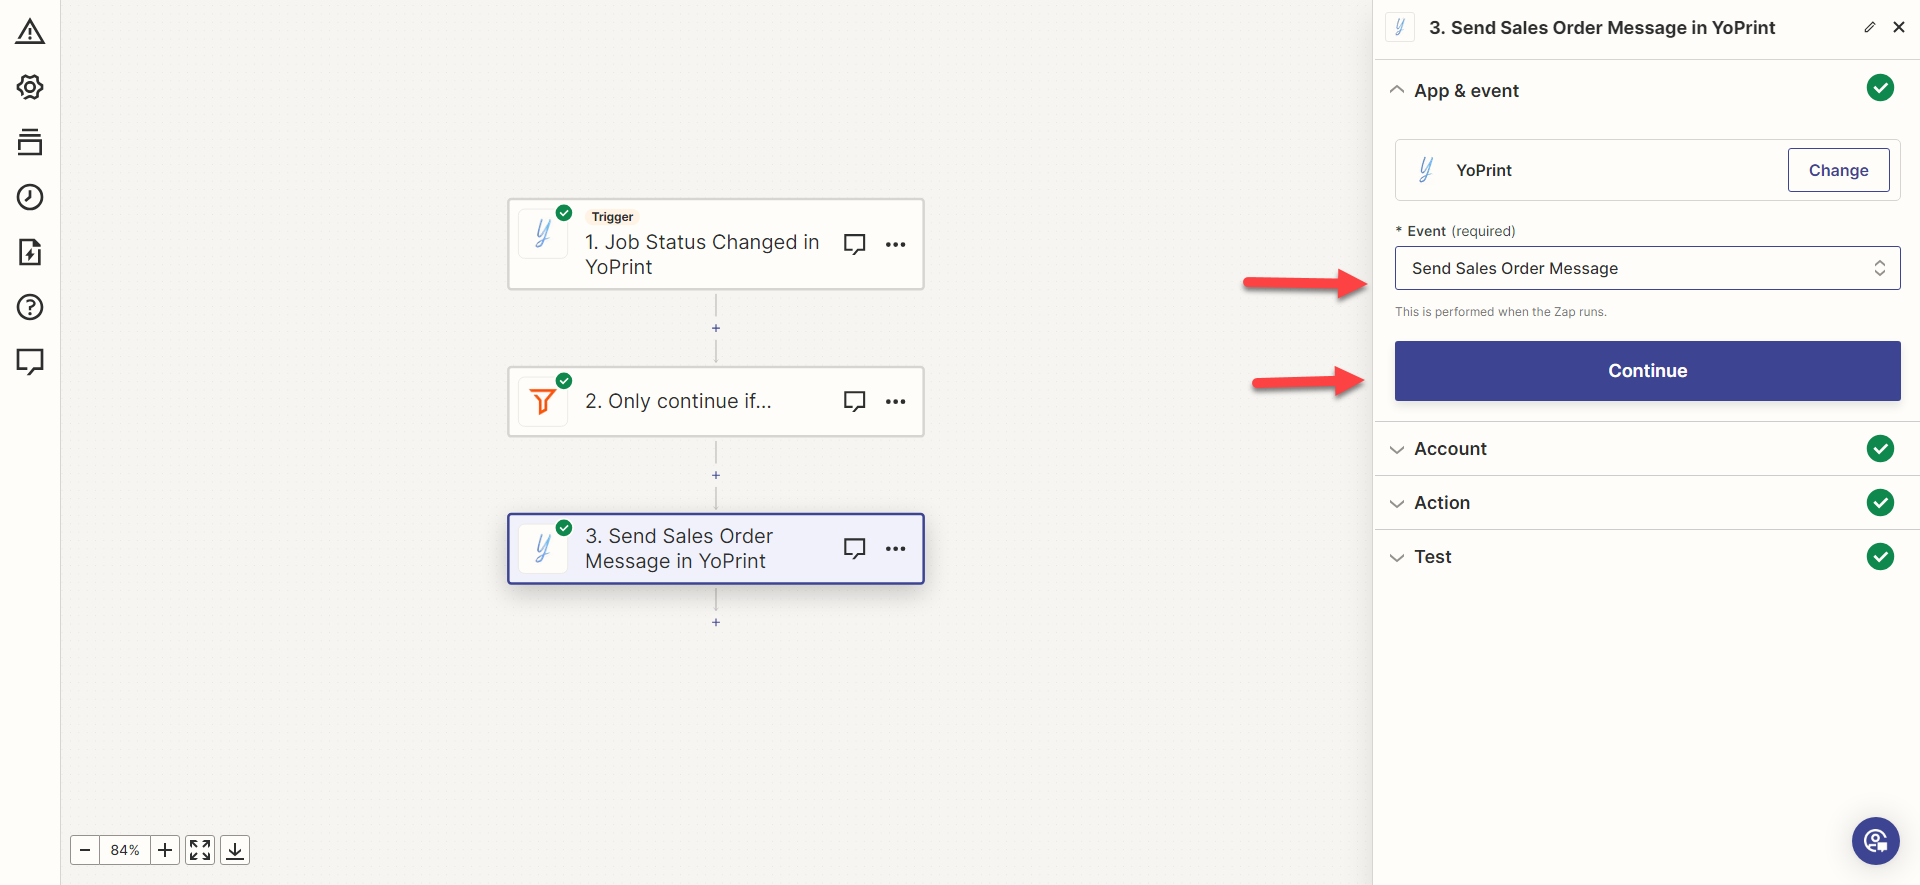
- Choose an Event. We will choose "Send Sales Order Message" and click "Continue."
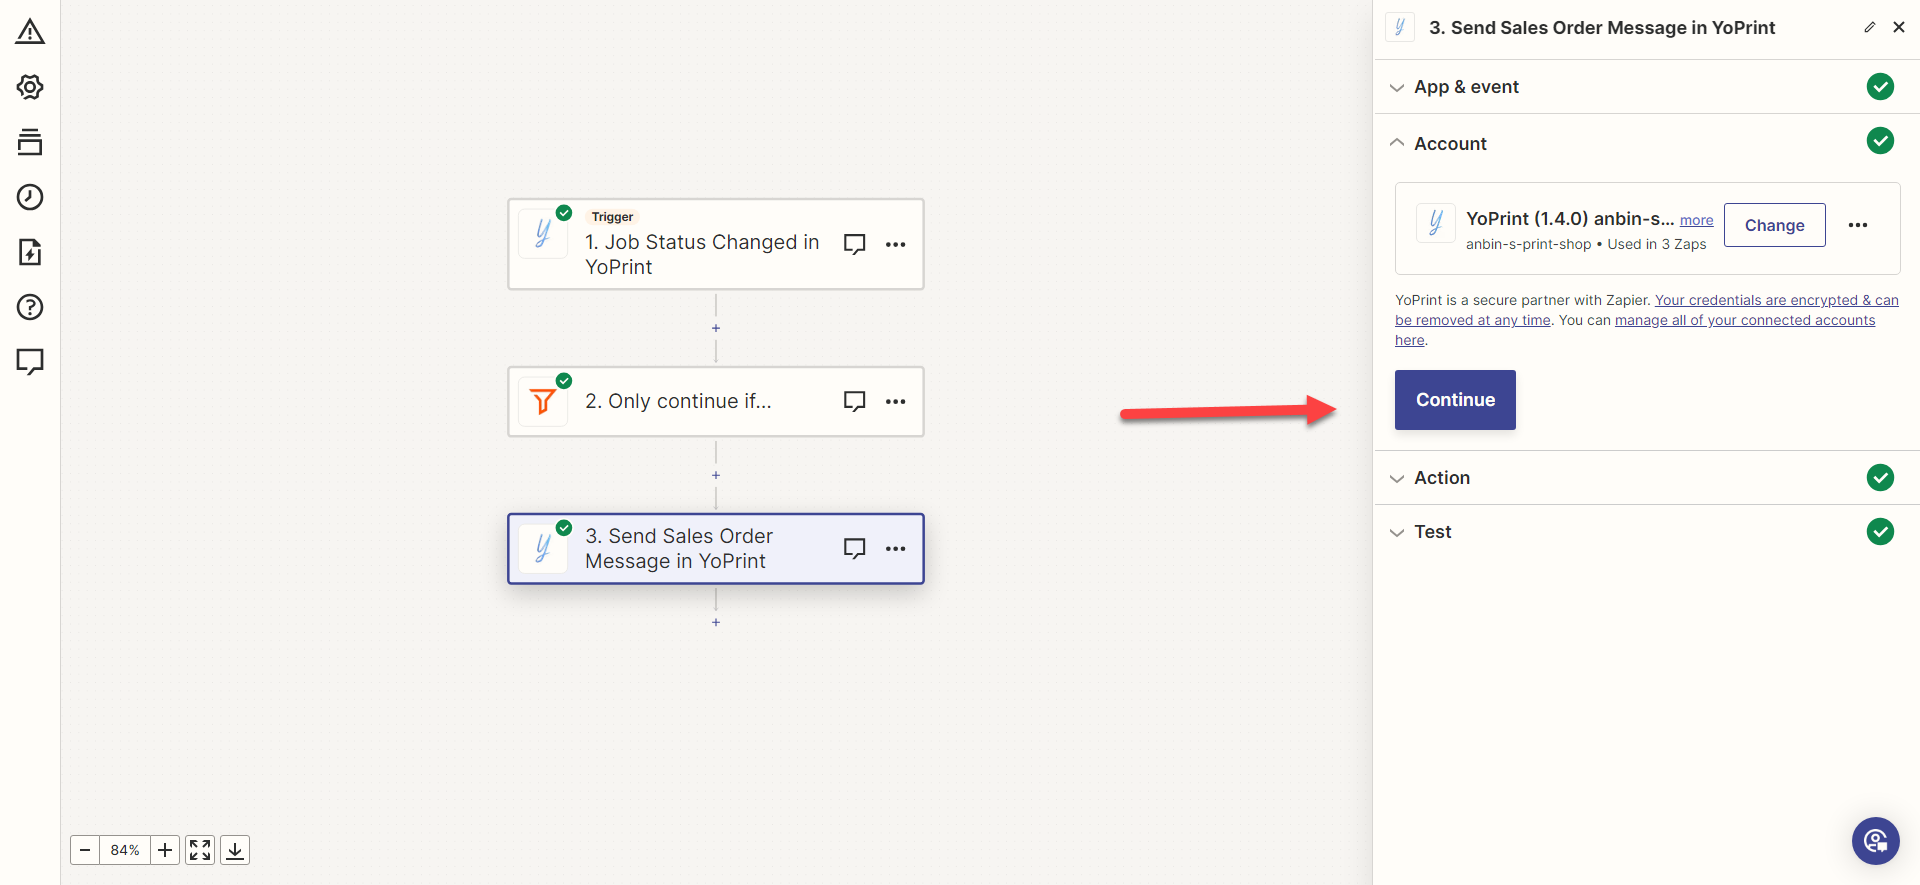
- Choose the account and click on "Continue."
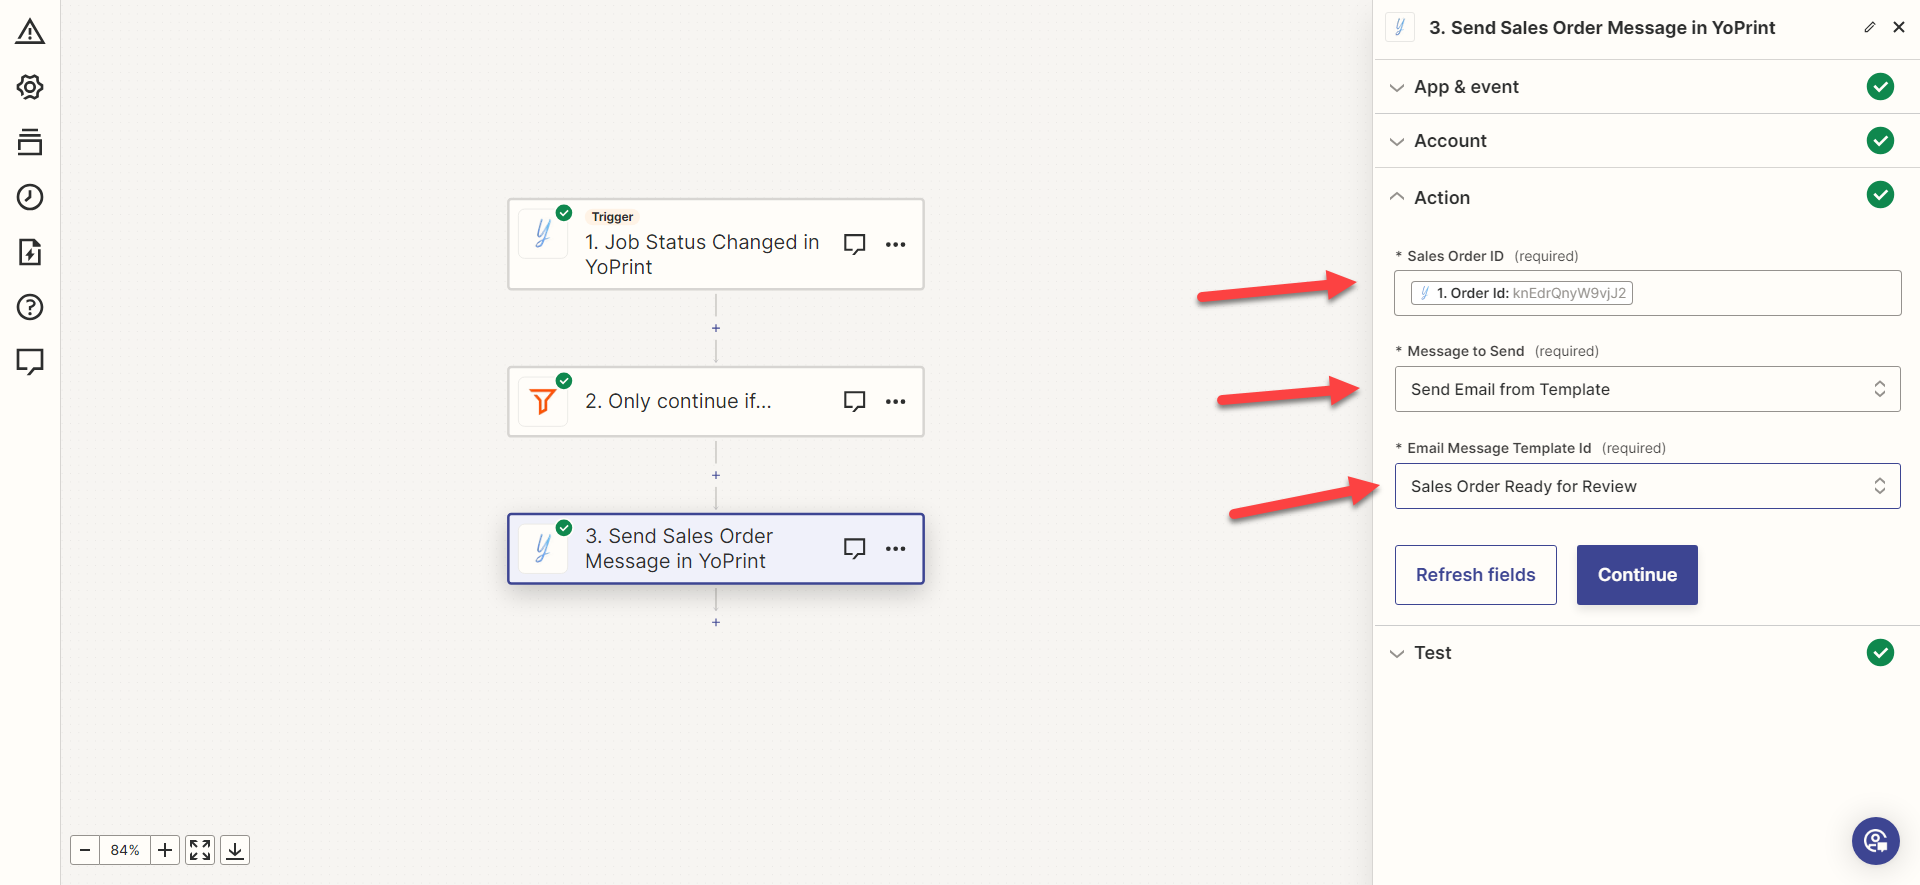
- Choose the fields from which you would want to trigger the action and the type of message to send to your customer's email. Once you choose the fields, click on "Continue".
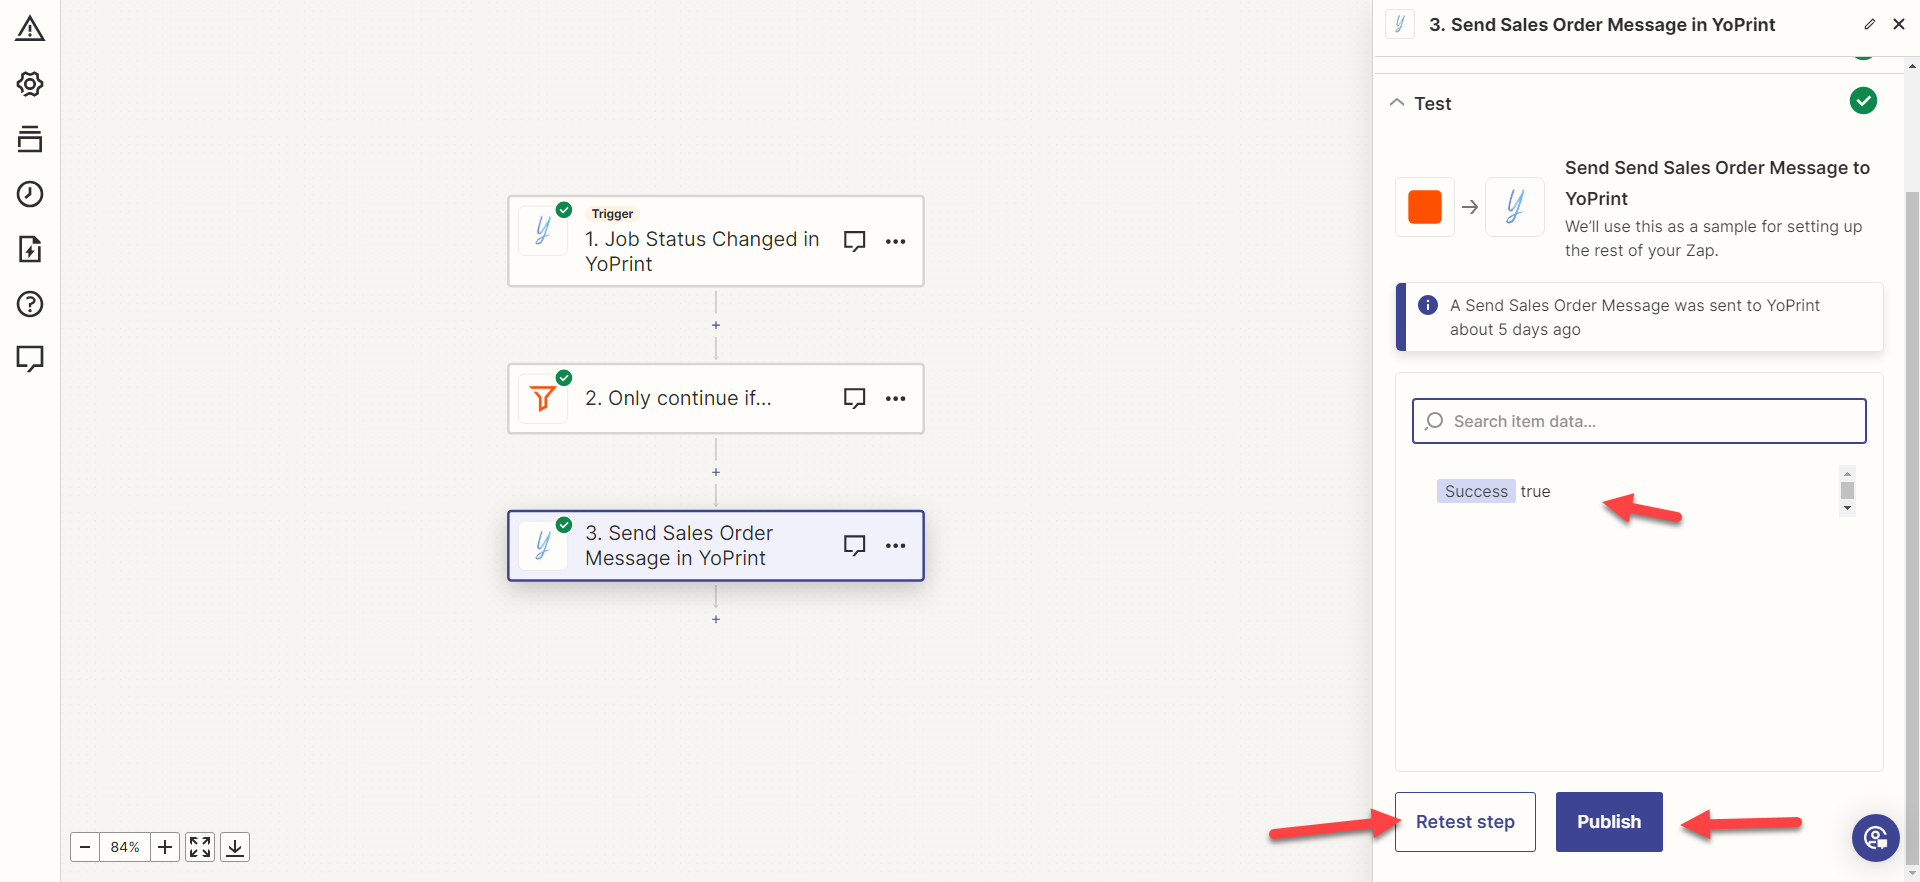
- Click on "Test Step" to test the Zap, and if the test data says "Success true," it means that the Zap works perfectly. If you are satisfied with the Zap, click "Publish" to add the Zap to your YoPrint account.