Tax Presets
Collecting sales tax from customers can be challenging, especially when shipping to different states — each with its own tax rules. On qualifying plans, you can use YoPrint’s Automatic Sales Tax calculation feature to handle this easily.
If Automatic Sales Tax isn’t available in your plan or region, you can set up Tax Presets to speed up tax management.
In this article, we’ll show you how to create both a Single Line Tax and a Multi Line Tax preset, and how to apply a Tax Preset to an order.
You can also watch the video demo for a quick overview.
Setting a Tax Preset
- Navigate to https://app.yoprint.com/setting/overview
- Click on Tax Presets on the Settings sidebar.
Click on + Tax Presets to create a new Tax Preset.

You can select Single Line Tax, and proceed to check the boxes where necessary.
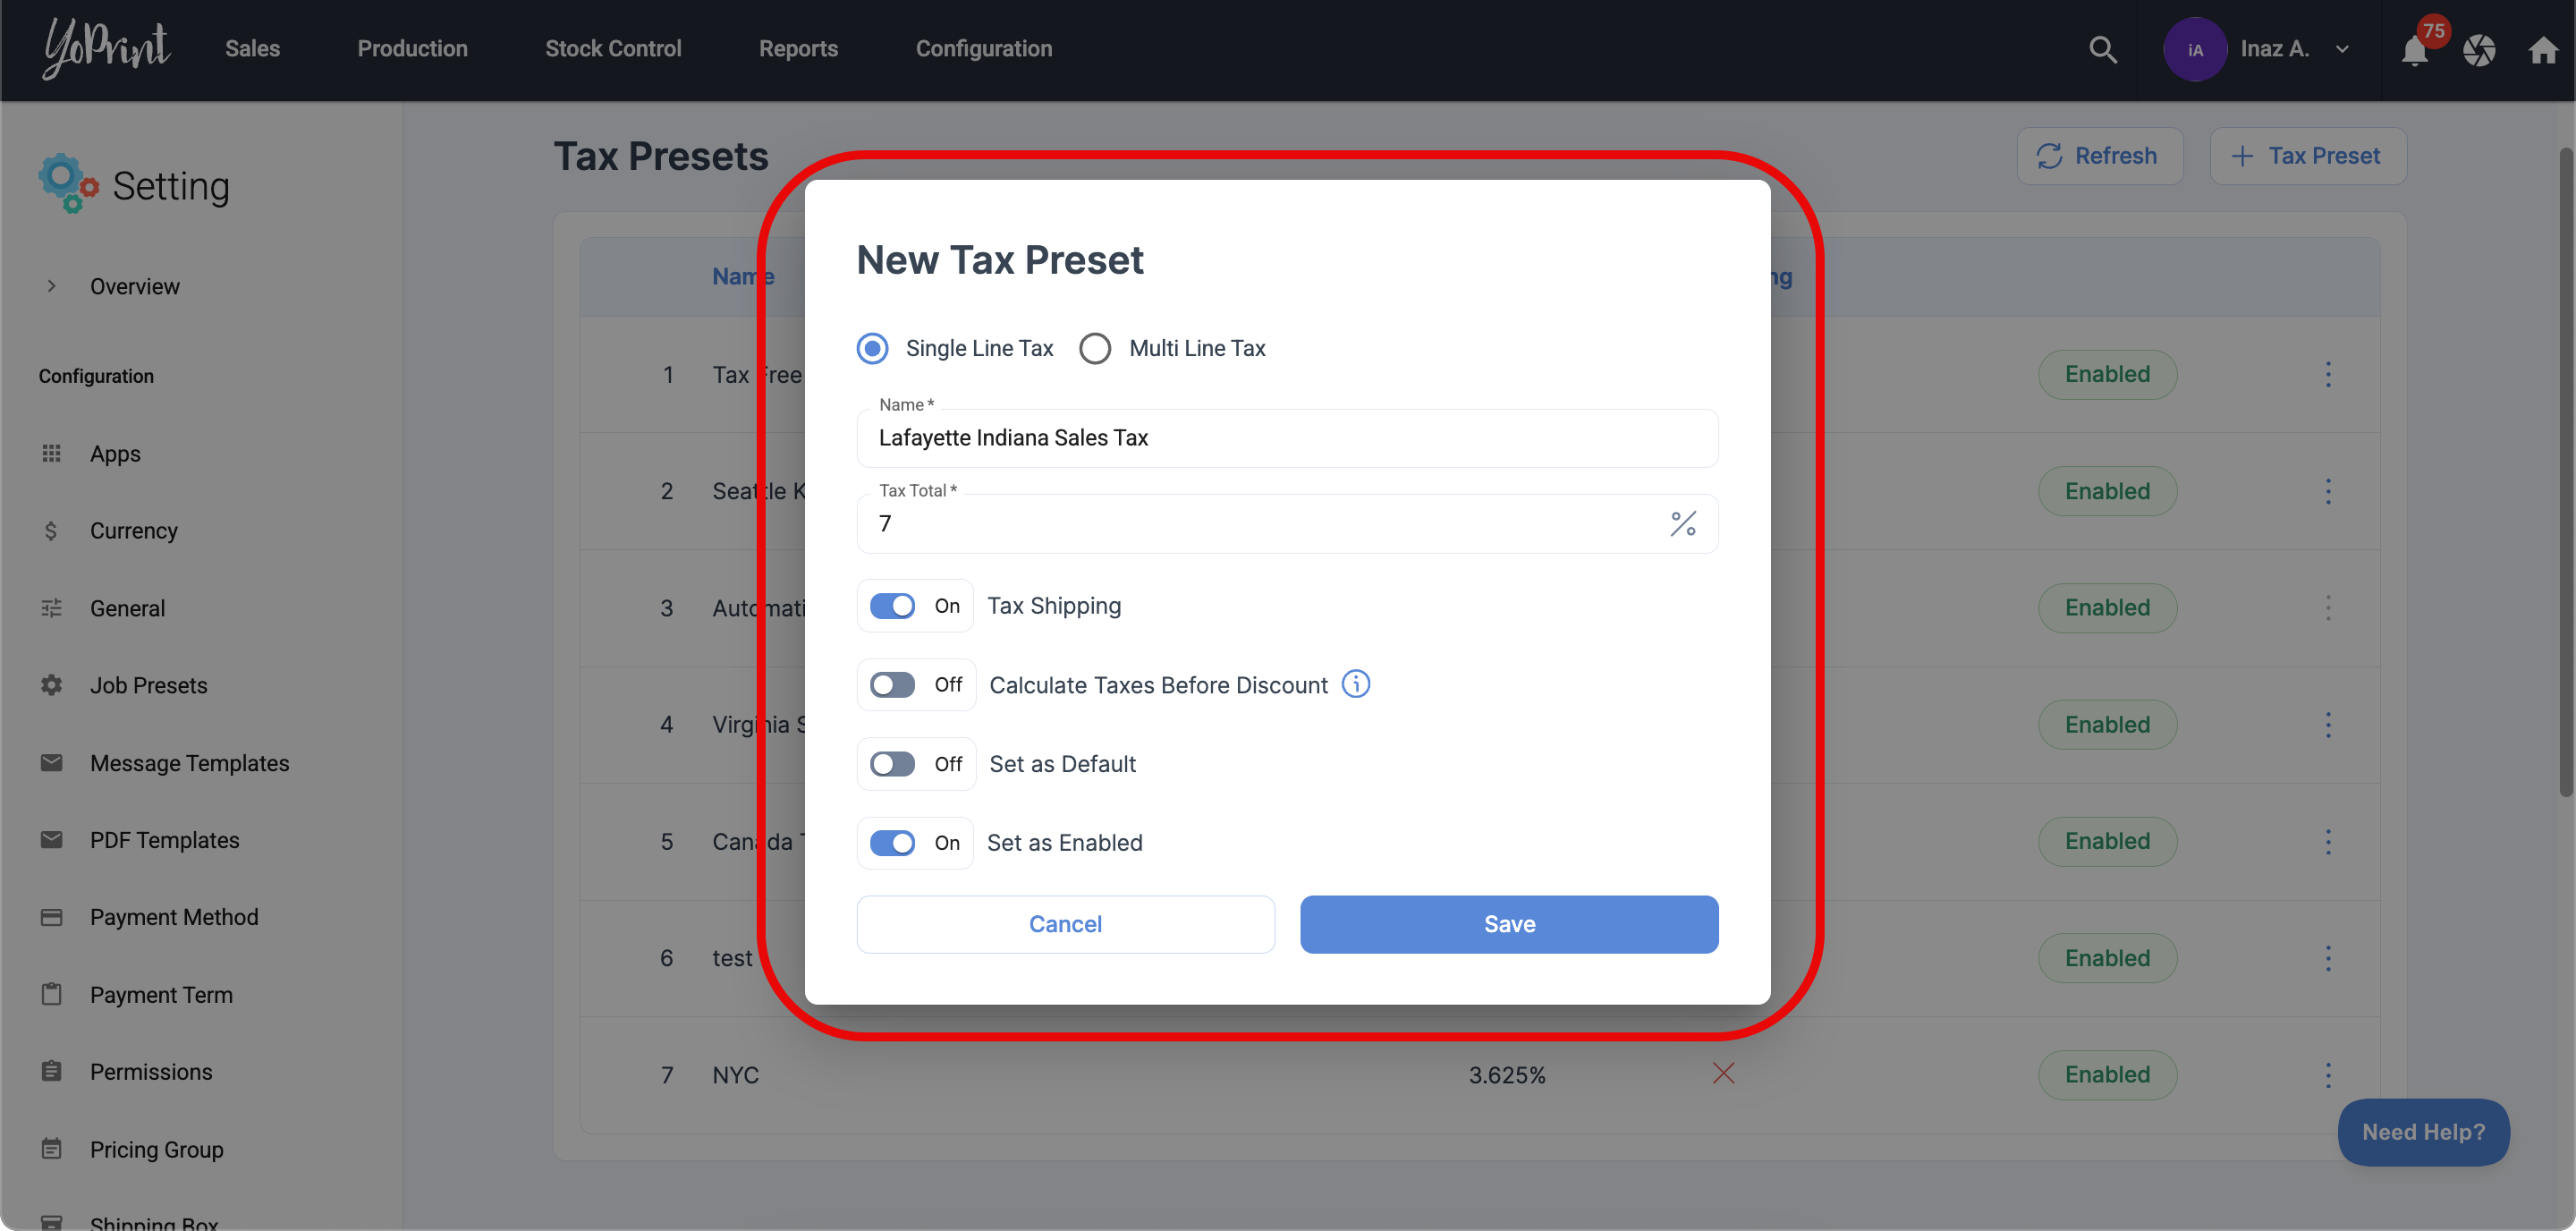


PRO TIP
You can choose to calculate taxes before or after applying discounts. In normal circumstances, taxes are usually calculated after discounts are applied.
Setting a Multi Line Tax Preset
If you need to apply multiple tax rates, you can use the Multi Line Tax feature. This is especially useful for our users in Canada, where you may need to add PST, GST, and sometimes HST.
In this example, we’ll set up a Multi Line Tax for the province of Manitoba, which has a GST of 7% and a PST of 5%.
To setup Multi Line Tax, click on the Multi Line Tax option.
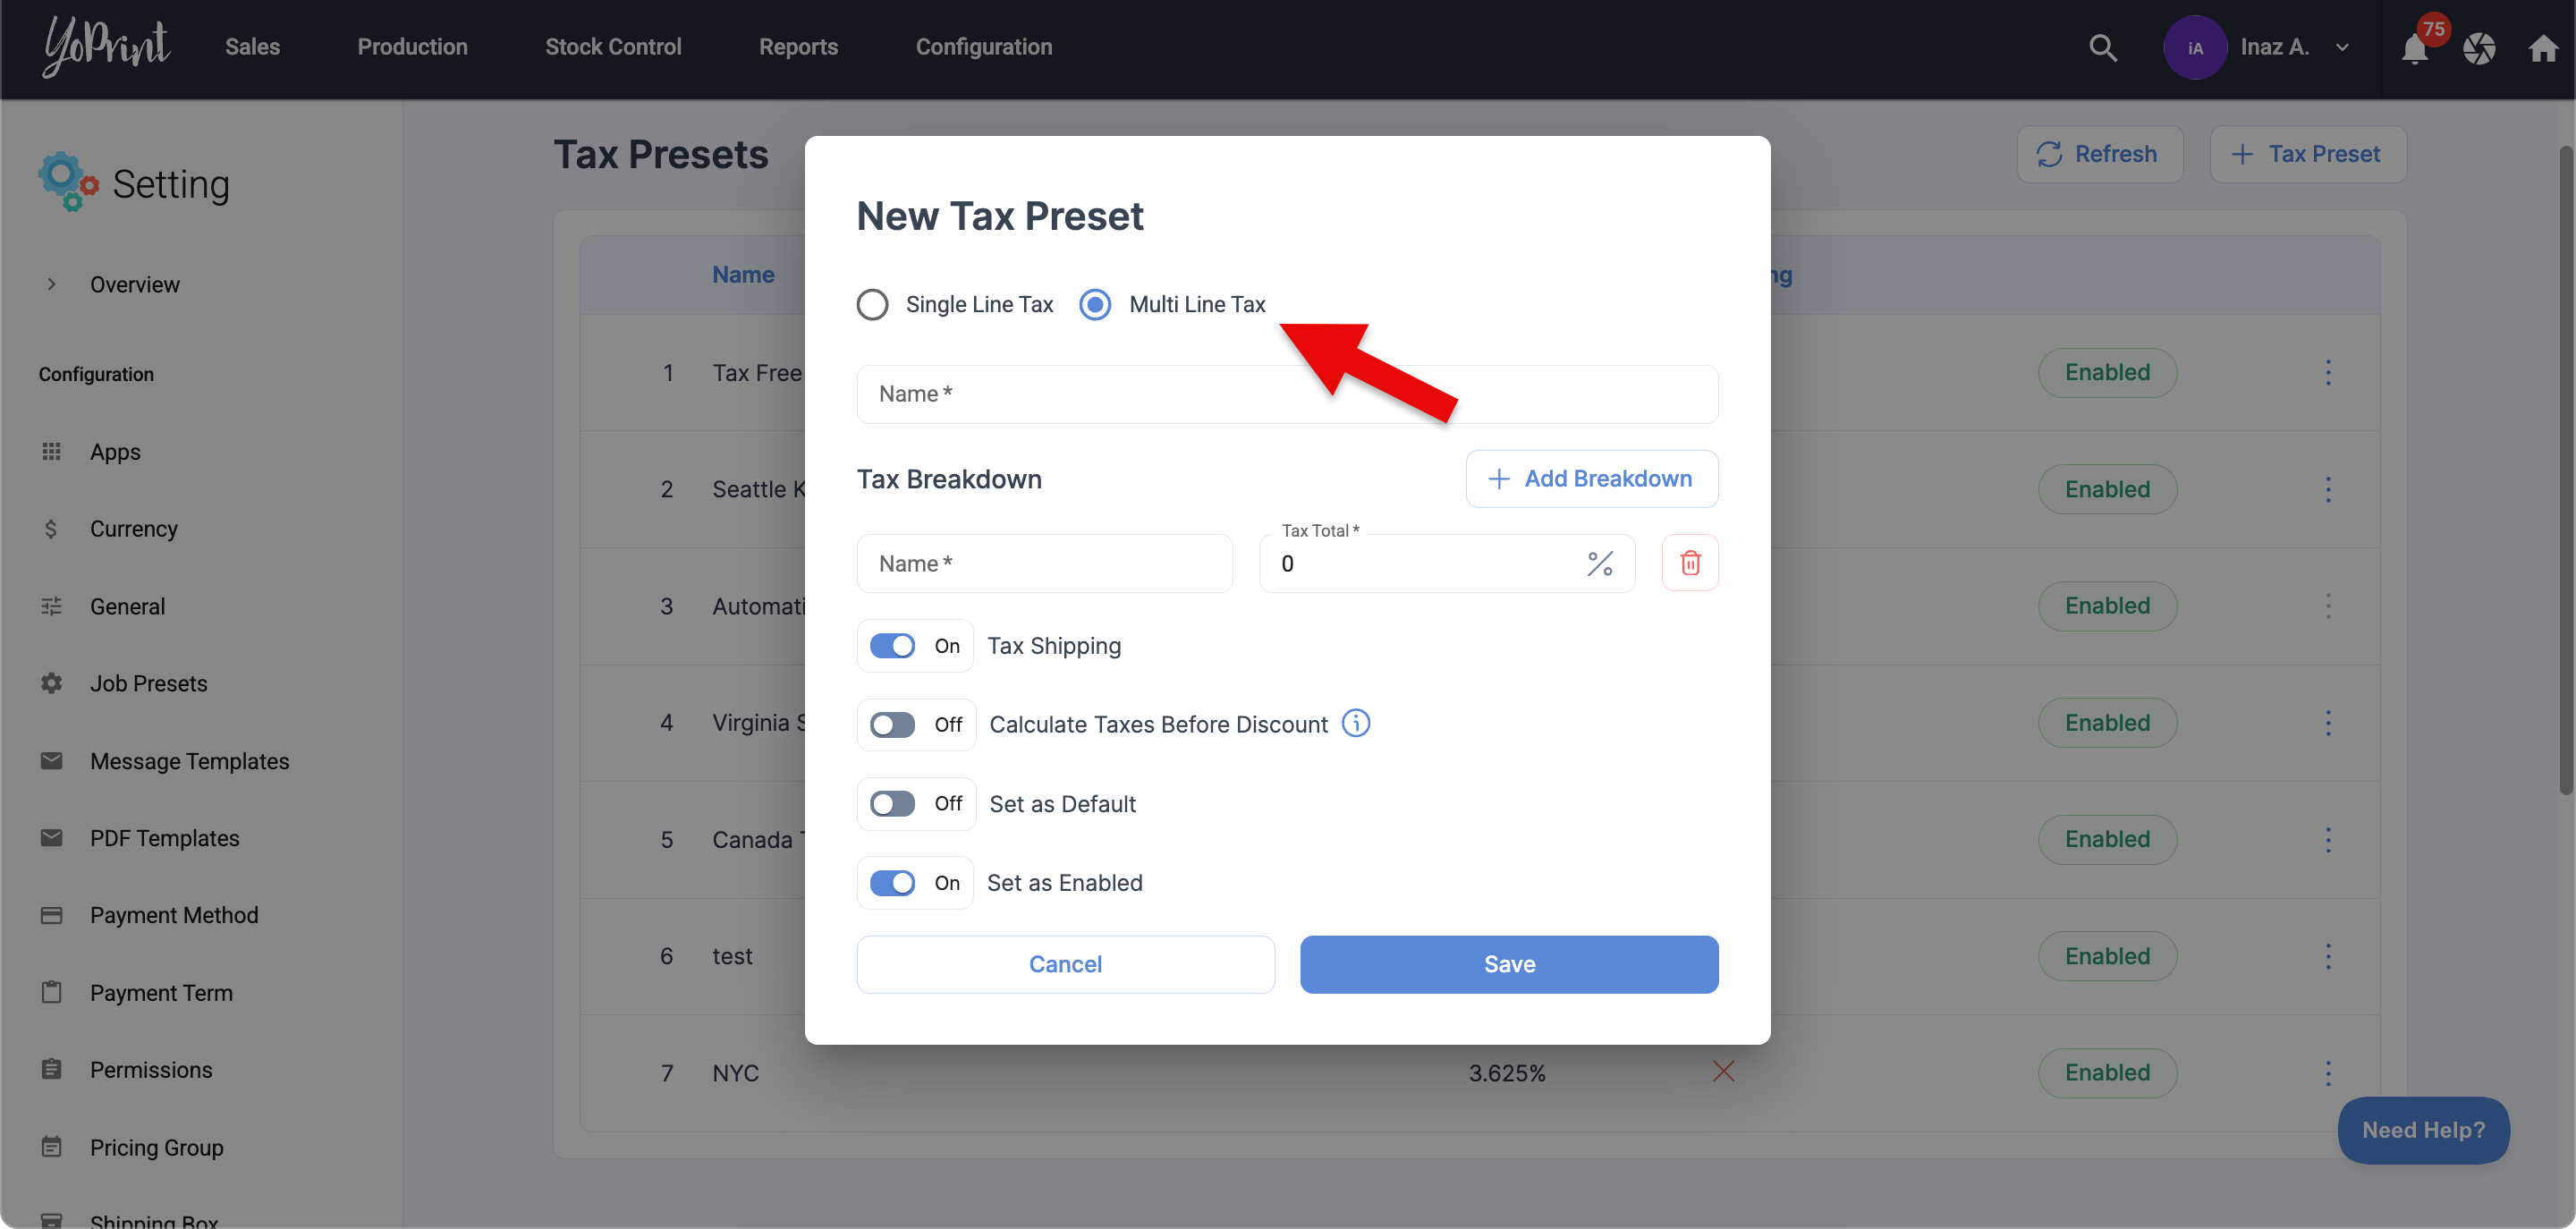
Add in the first tax line.

Click on + Add Breakdown to add the next tax line.

- After saving, you will now have a Multi Line Tax feature ready to be used in your Quote, or Sales Order.


Using a Tax Preset
Taxes are calculated after the order is finalized. This means you will need to create your invoice first before the tax calculation takes place.
Click on Add Invoice on the Invoice panel. You can choose to use Auto Invoice, or manually edit the invoice yourself. For this example, we will be using the manual invoice. The tax preset will behave the same for both types of invoices.

When you have selected where the order will be shipped to, you can select the Tax Preset under the Tax section. In this case, we will be selecting the Manitoba, Canada Tax Preset.

Once selected, and you have already added all Line Items to the invoice, you will see that YoPrint will automatically calculate the tax for you.


PRO TIP
You can also specify the tax percentage directly without having to select a preset. For example, if you are shipping to Ontario, you can simply type 13 in the Manual Tax Percentage (%) amount, as Ontario has a 13% HST.
Override Tax Percentage for a Single Line Item
YoPrint allows you to control tax settings on a per-line-item basis. If a specific item is non-taxable, simply uncheck the box, and the system will exclude tax for that item.

Tax-Exempted Customers
If your customer qualifies for tax exemption, simply go to their profile and toggle Yes in the Tax Exempt section.

All future Quotes and Sales Orders for the customer will then automatically apply zero tax.


