Manage Customer Message Statuses in YoPrint
In this article
Enable customer message statuses
Use message statuses to track what needs to happen next, such as Awaiting Customer Reply or Need to Respond. Each message can have one status. Turning this feature off hides the status controls and columns; it does not delete your messages or affect email delivery.
These follow-up labels are separate from Delivery, which tracks whether an email was sent successfully. See Message delivery status for failed emails and retries.
-
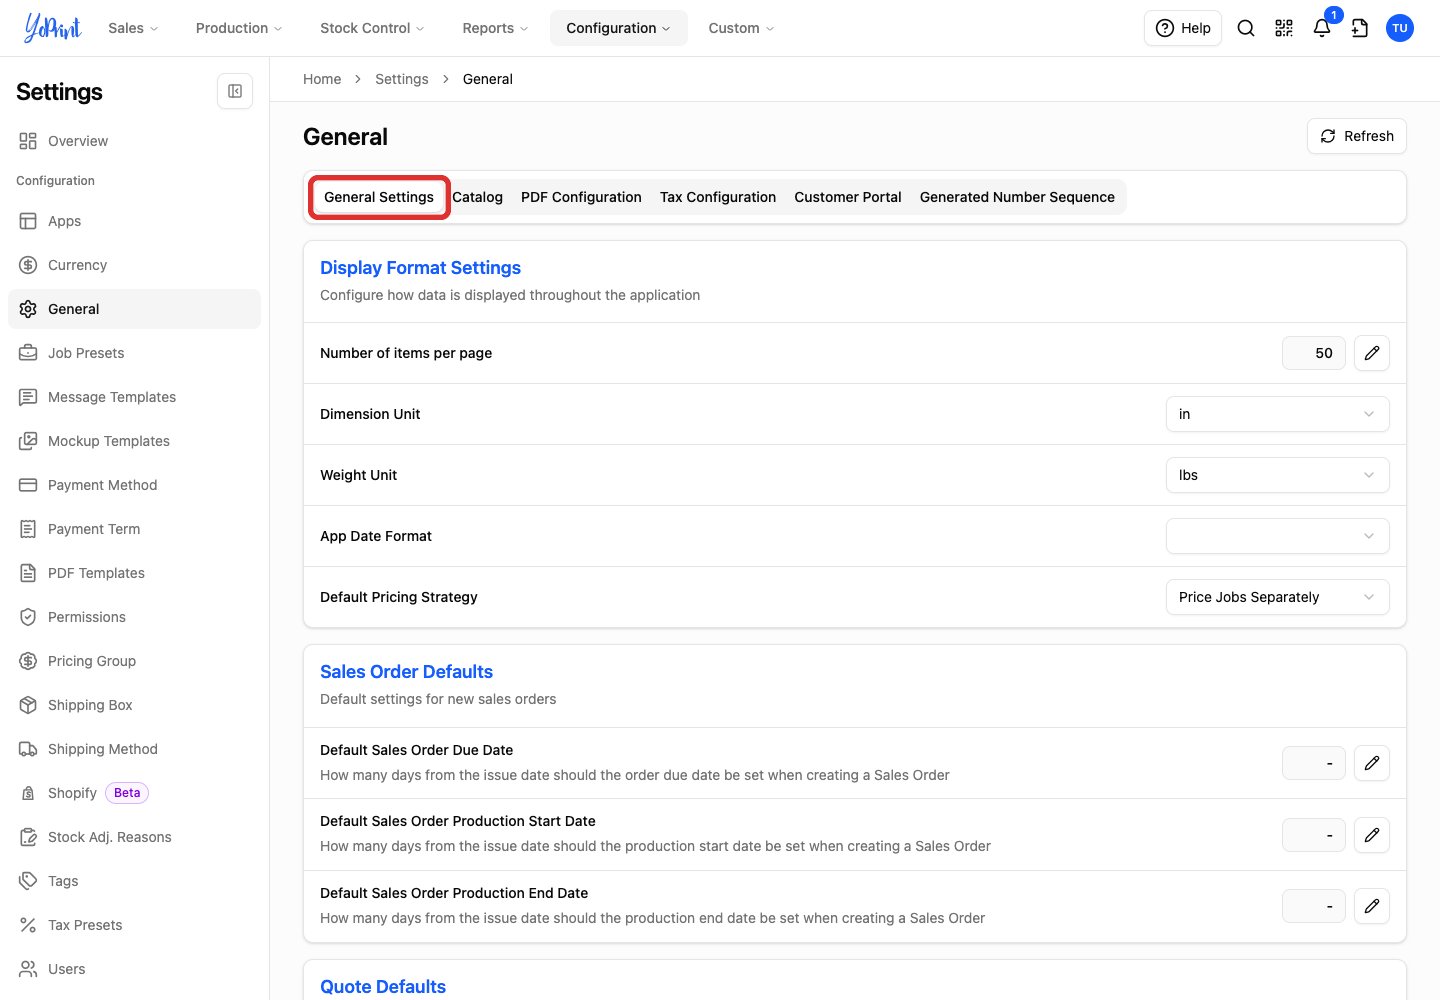
Open General Settings and select the General Settings tab. You can also navigate there from Settings > General.
-
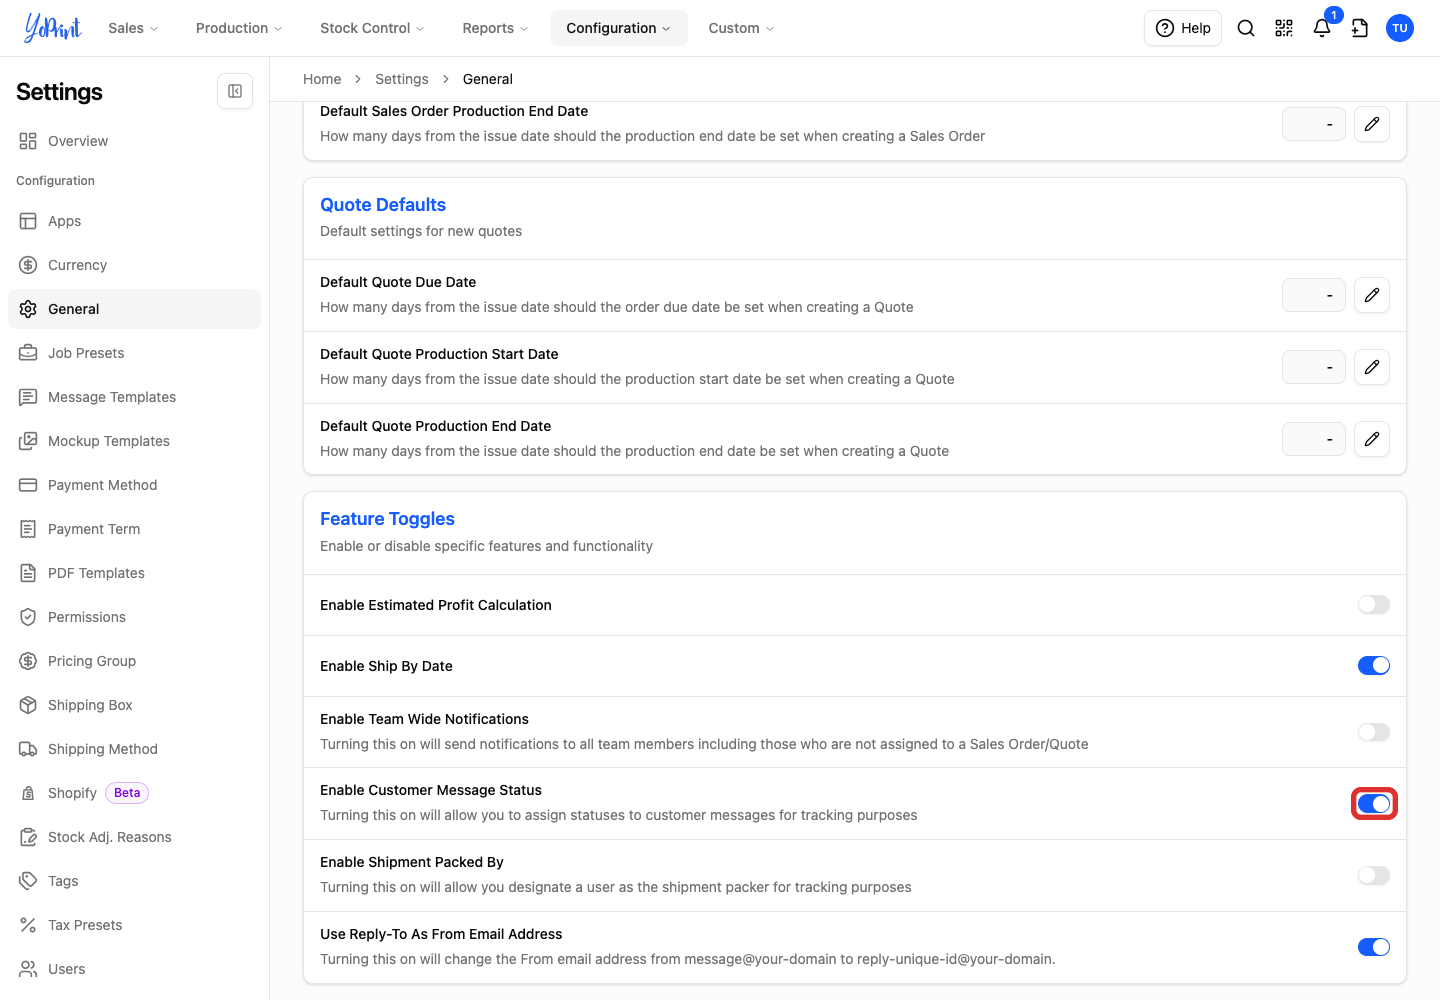
Scroll to Feature Toggles. Turn on Enable Customer Message Status if it is off.
Assign or change a message status
Message statuses are manual tracking tools for your team. YoPrint does not automatically change statuses when a customer replies. You assign a status to a sent message; you cannot set a status in the composer before sending.
In this example, a message asks Oak Meadow Running Club to confirm a shirt size list. Mark it Awaiting Customer Reply while you wait.
-
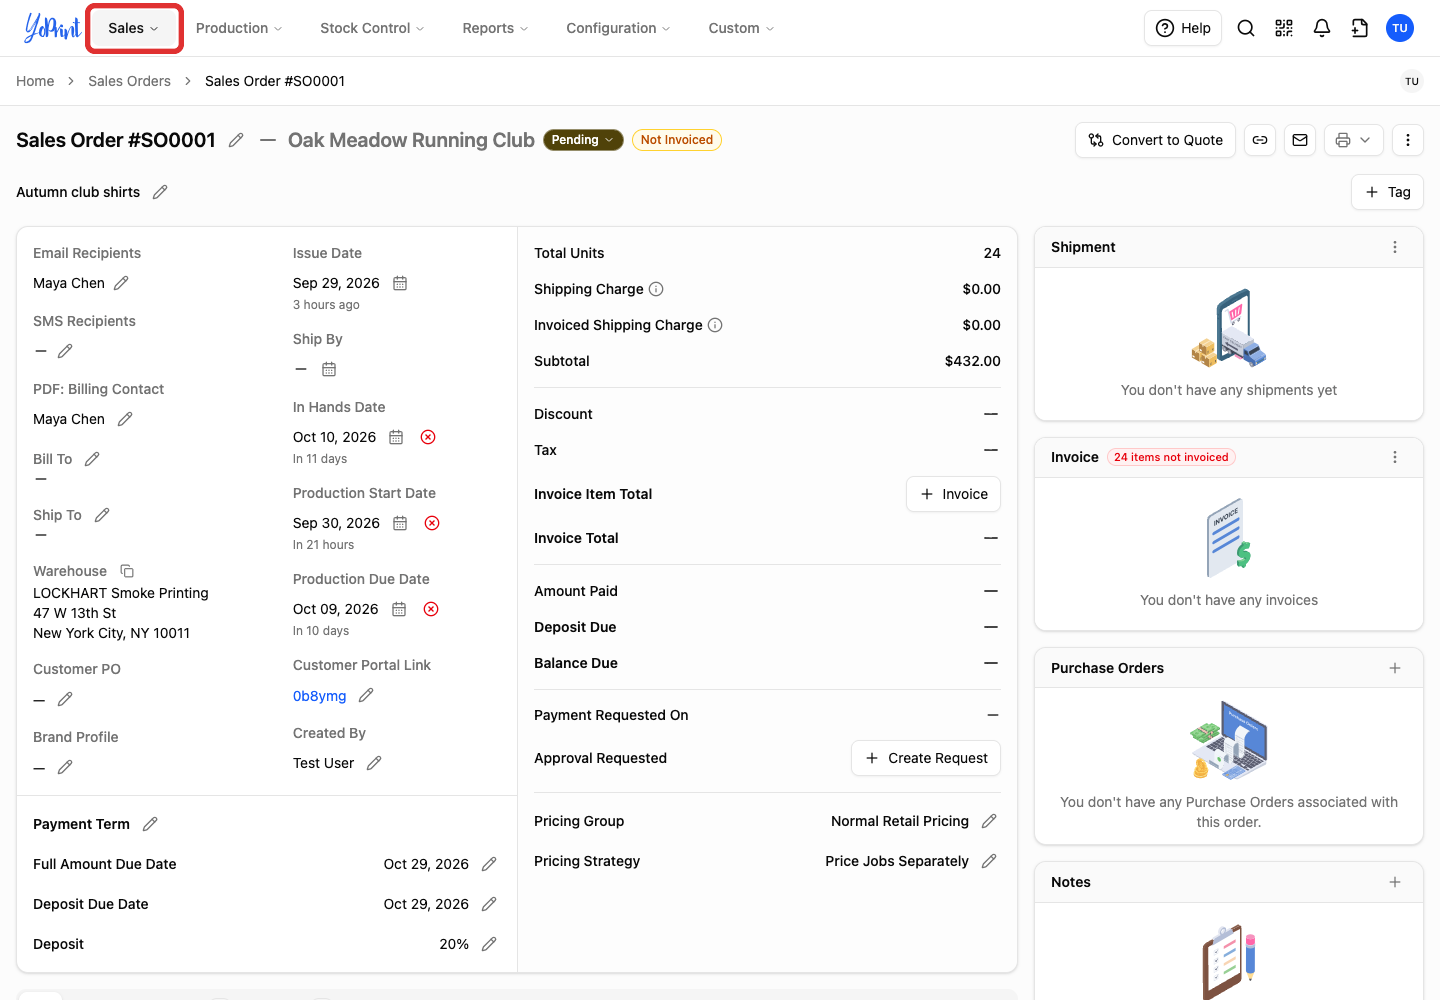
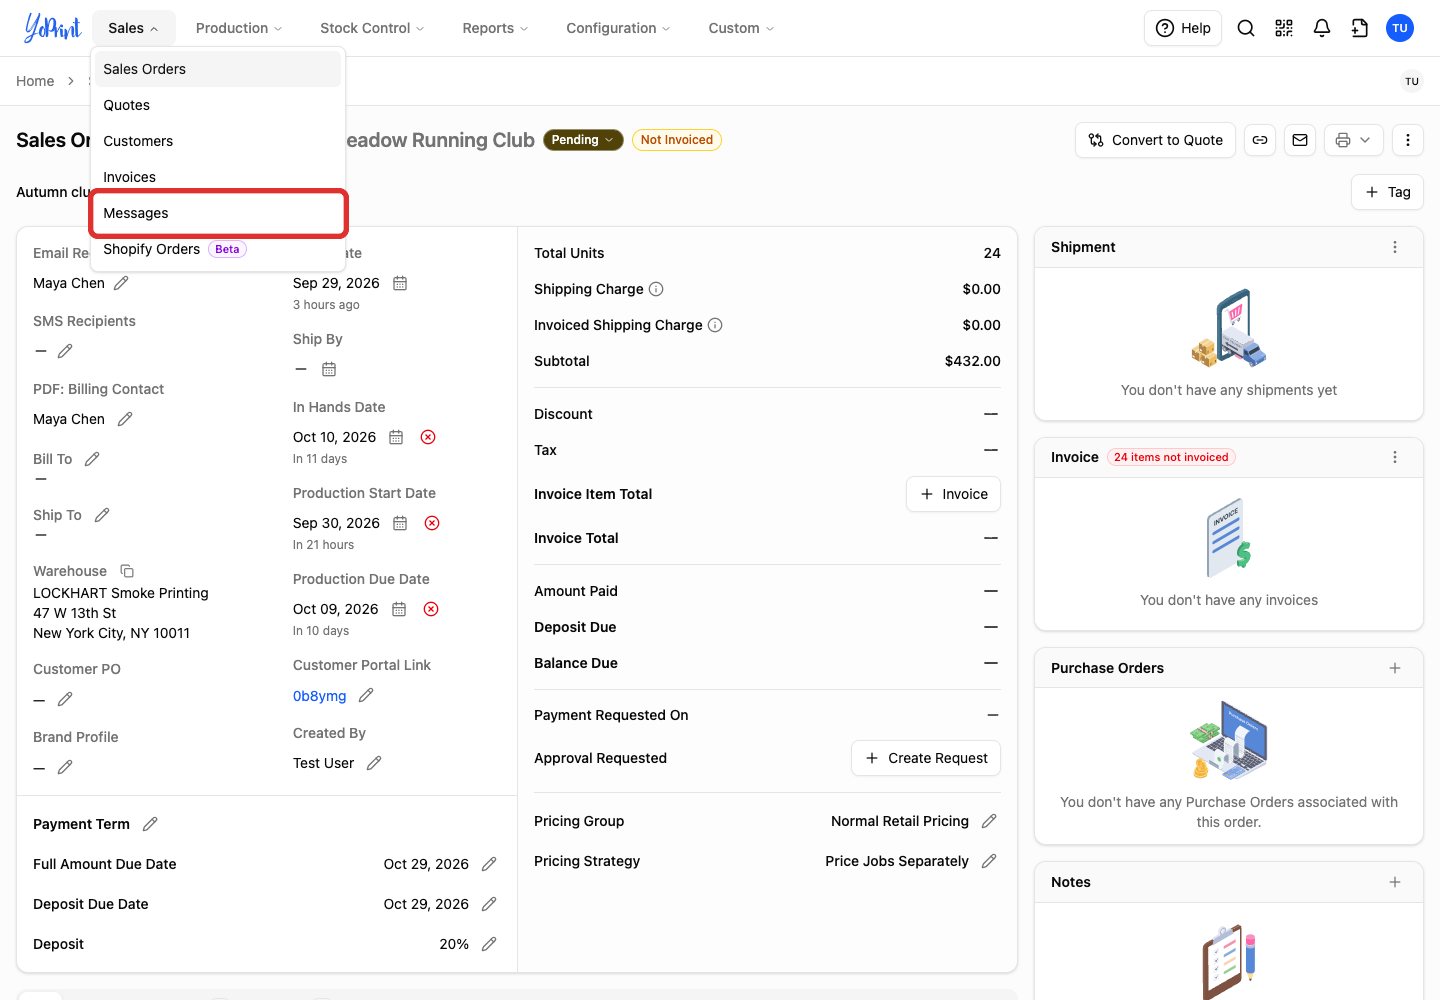
Open Sales in the top navigation. Click Sales to open the menu.
-
Choose Messages.
-
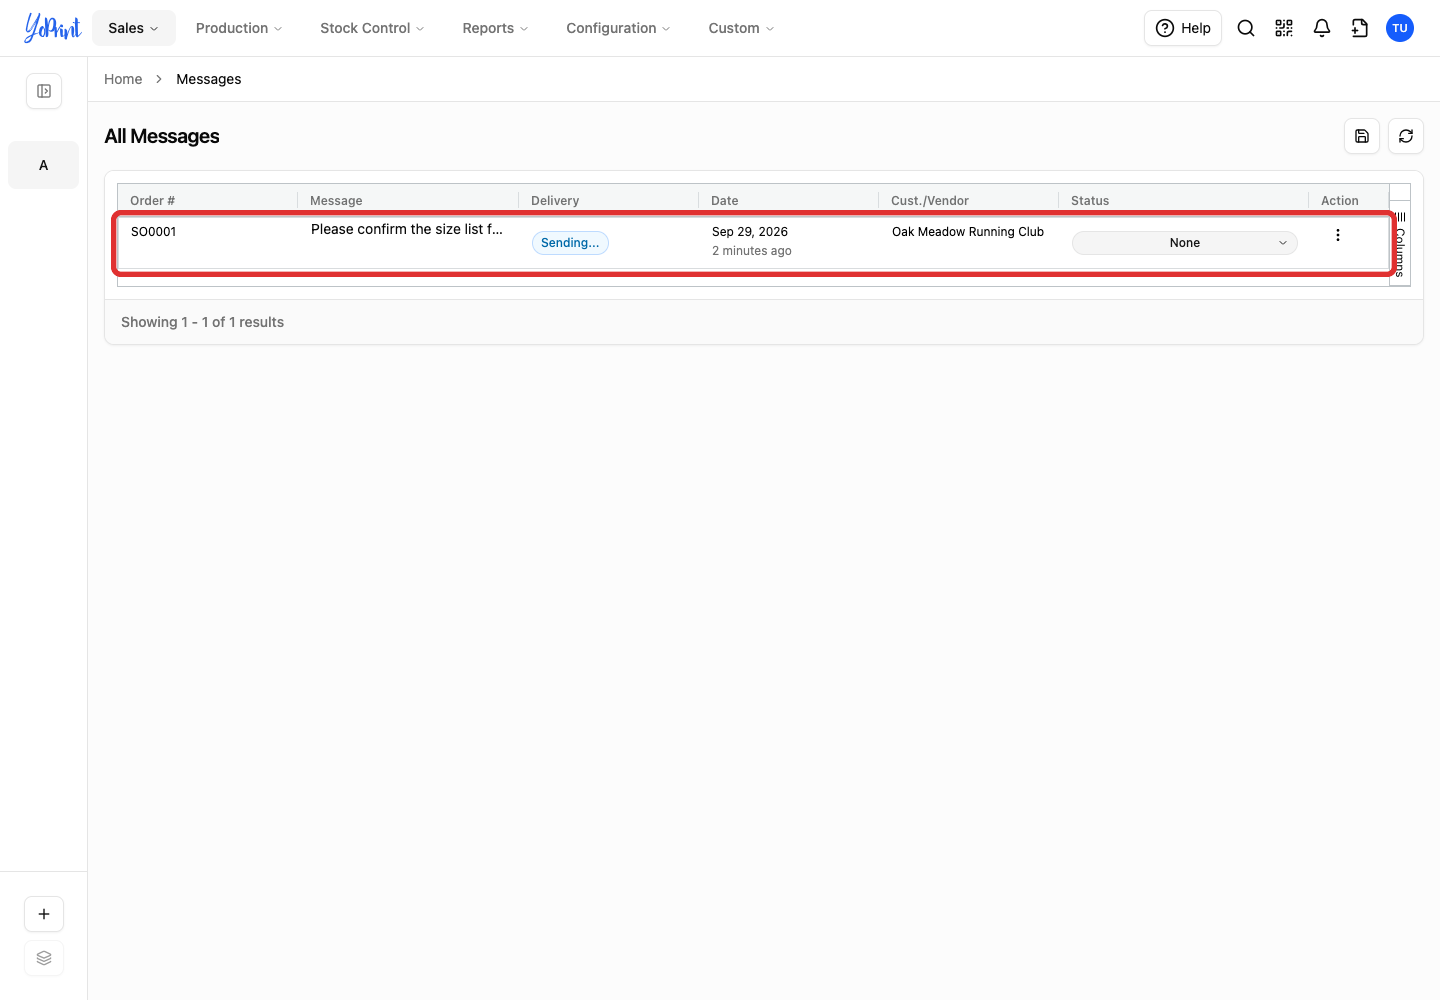
Double-click the message's row to open the conversation. Double-click the message text rather than the blue order number link, which opens the sales order instead.
-
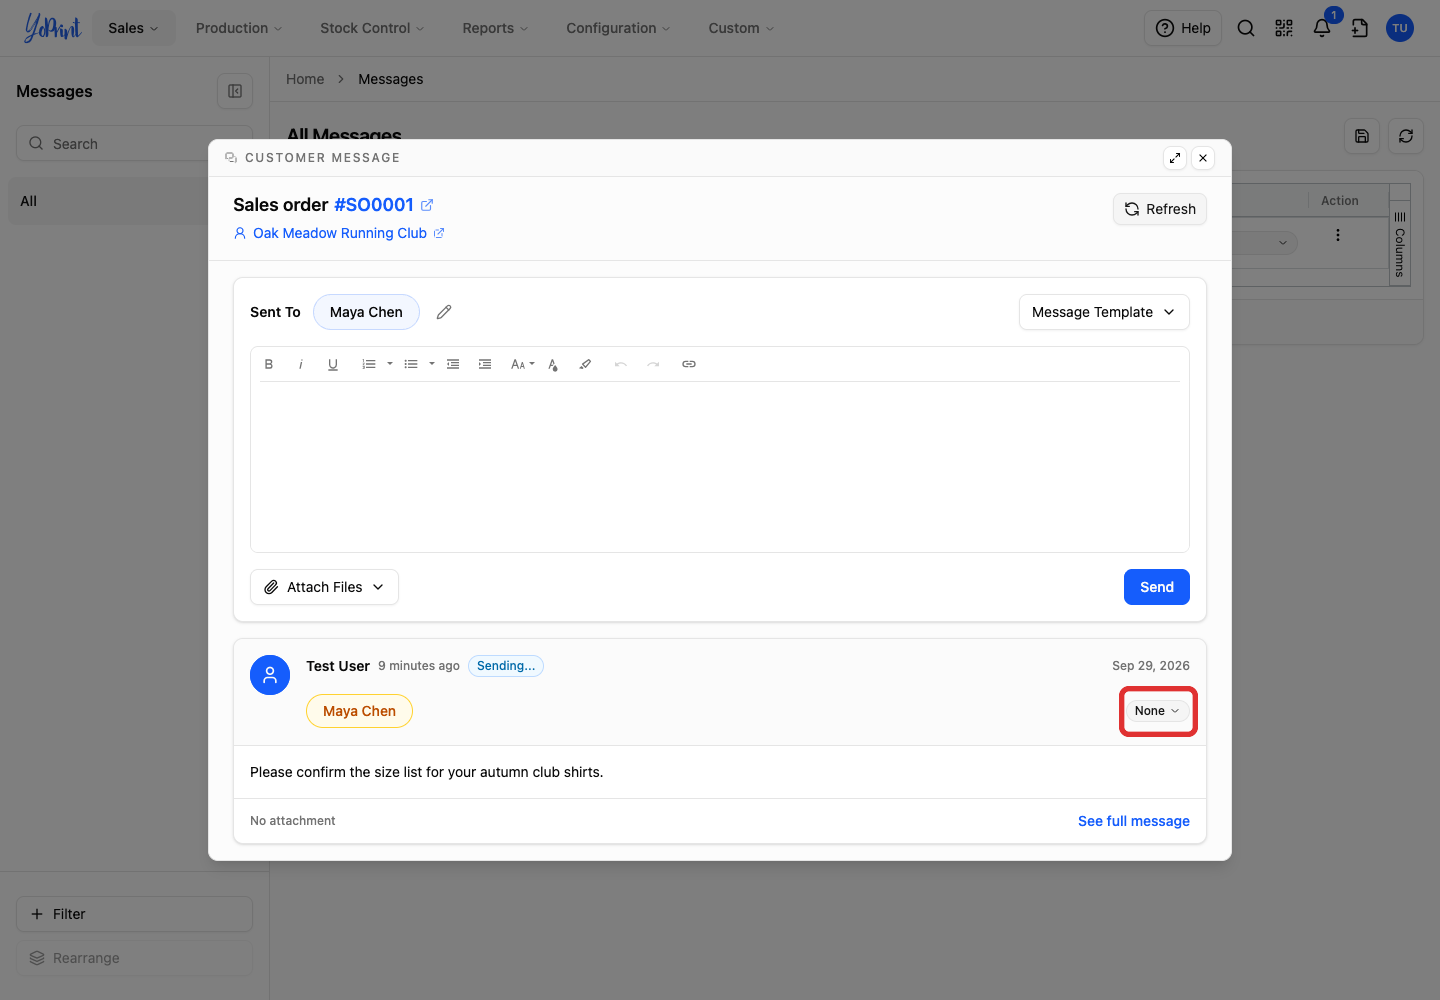
Click the status button on the sent message. It shows None when no status is assigned.
-
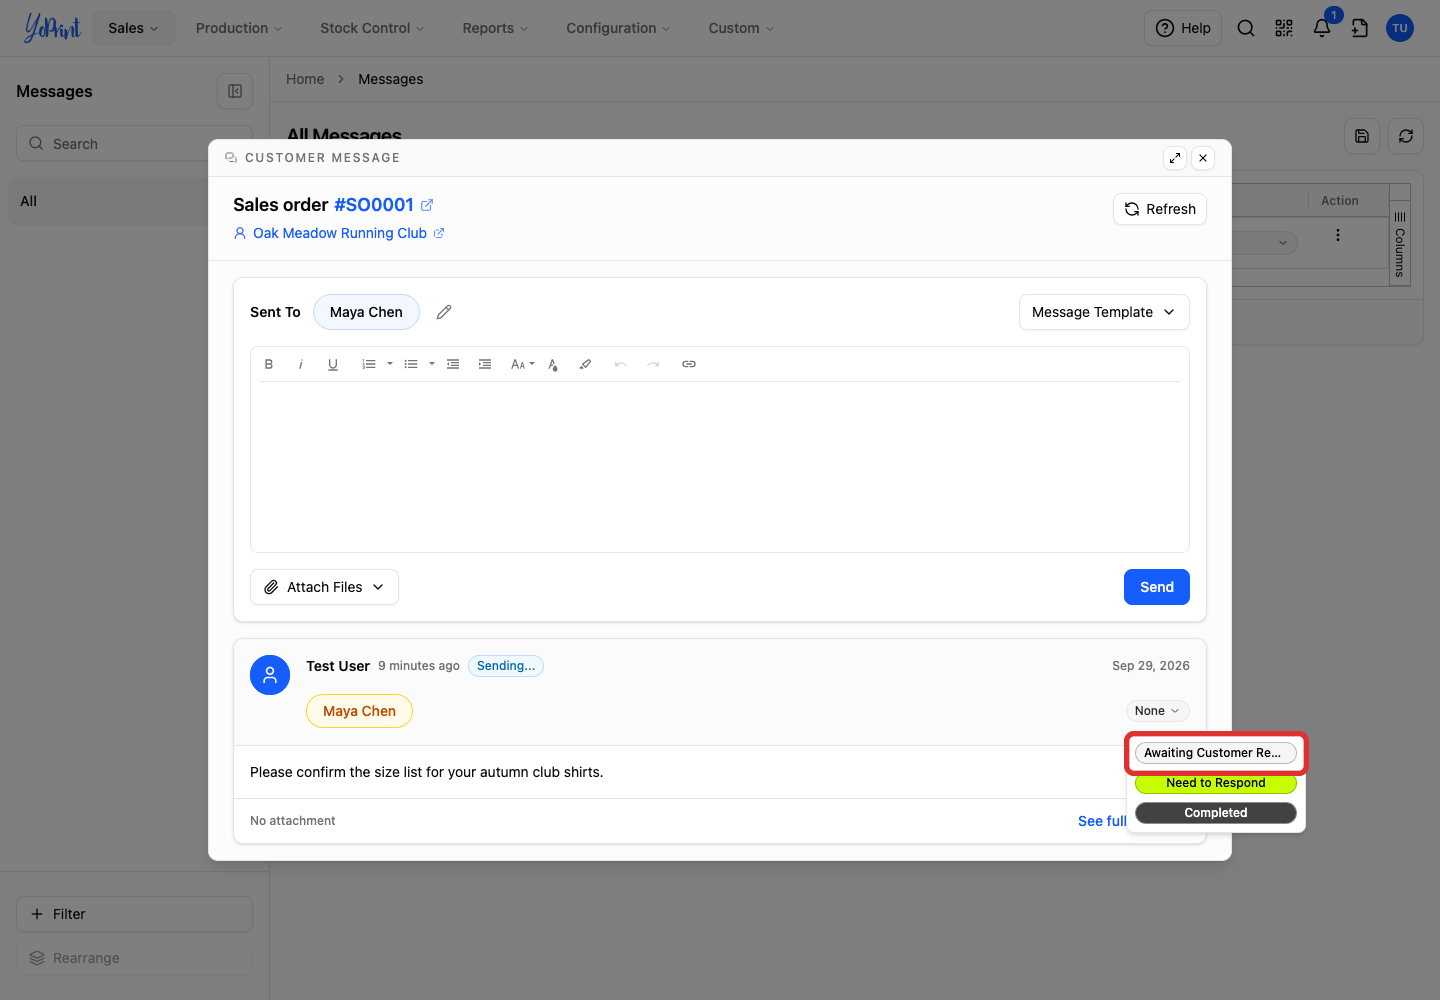
Choose the status you want, such as Awaiting Customer Reply. Your choice saves automatically. Once assigned, you can switch between statuses, but cannot reset the message to None.
-
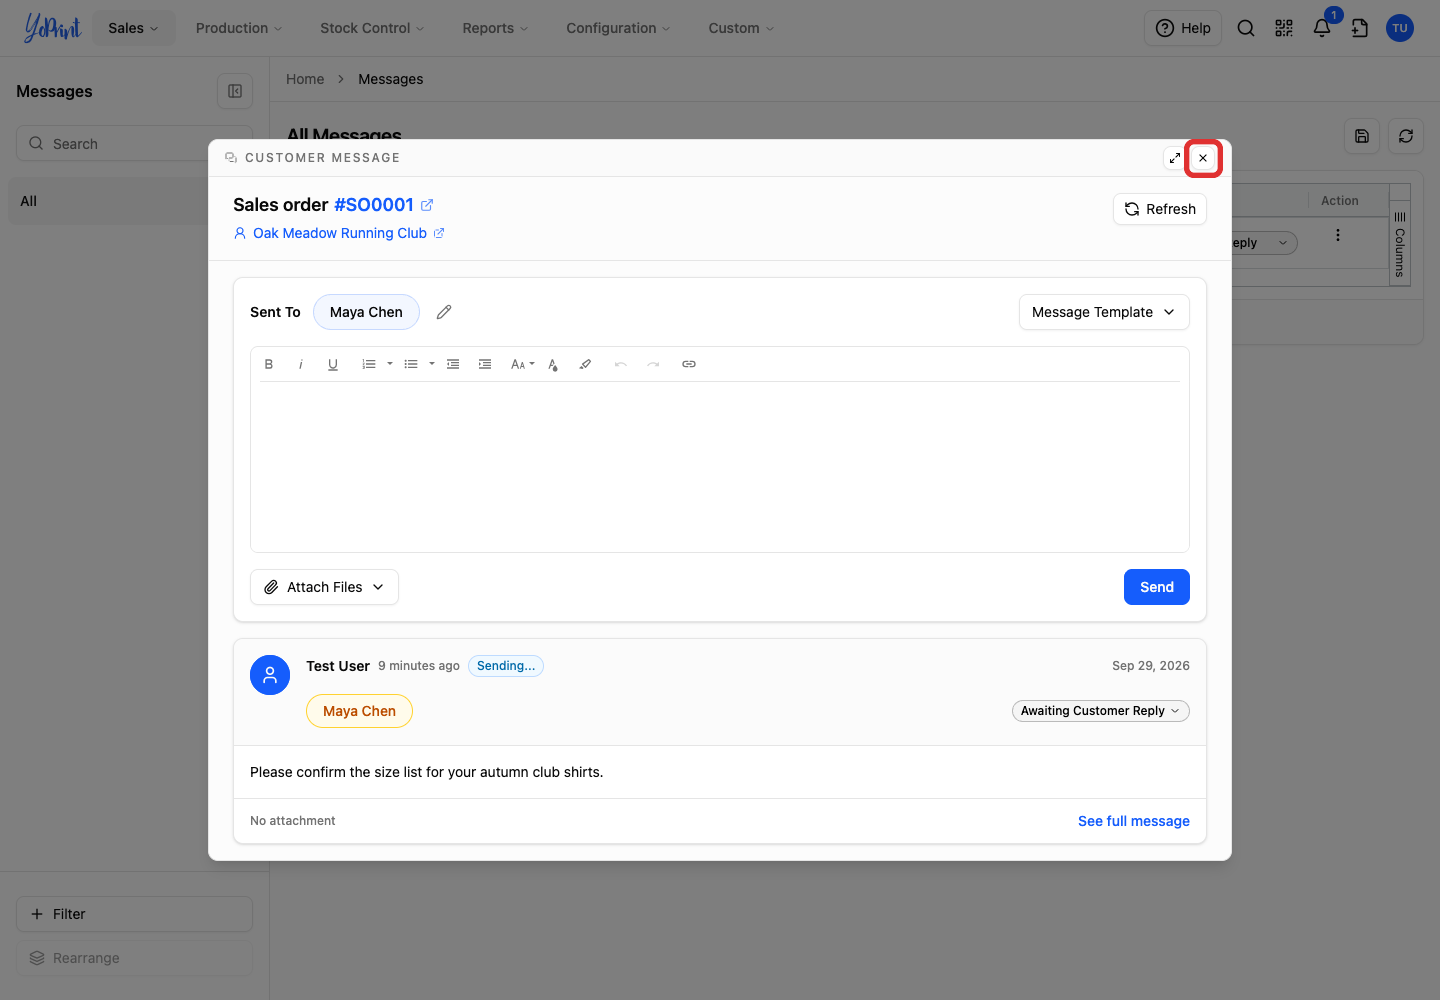
Close the conversation to return to Messages.
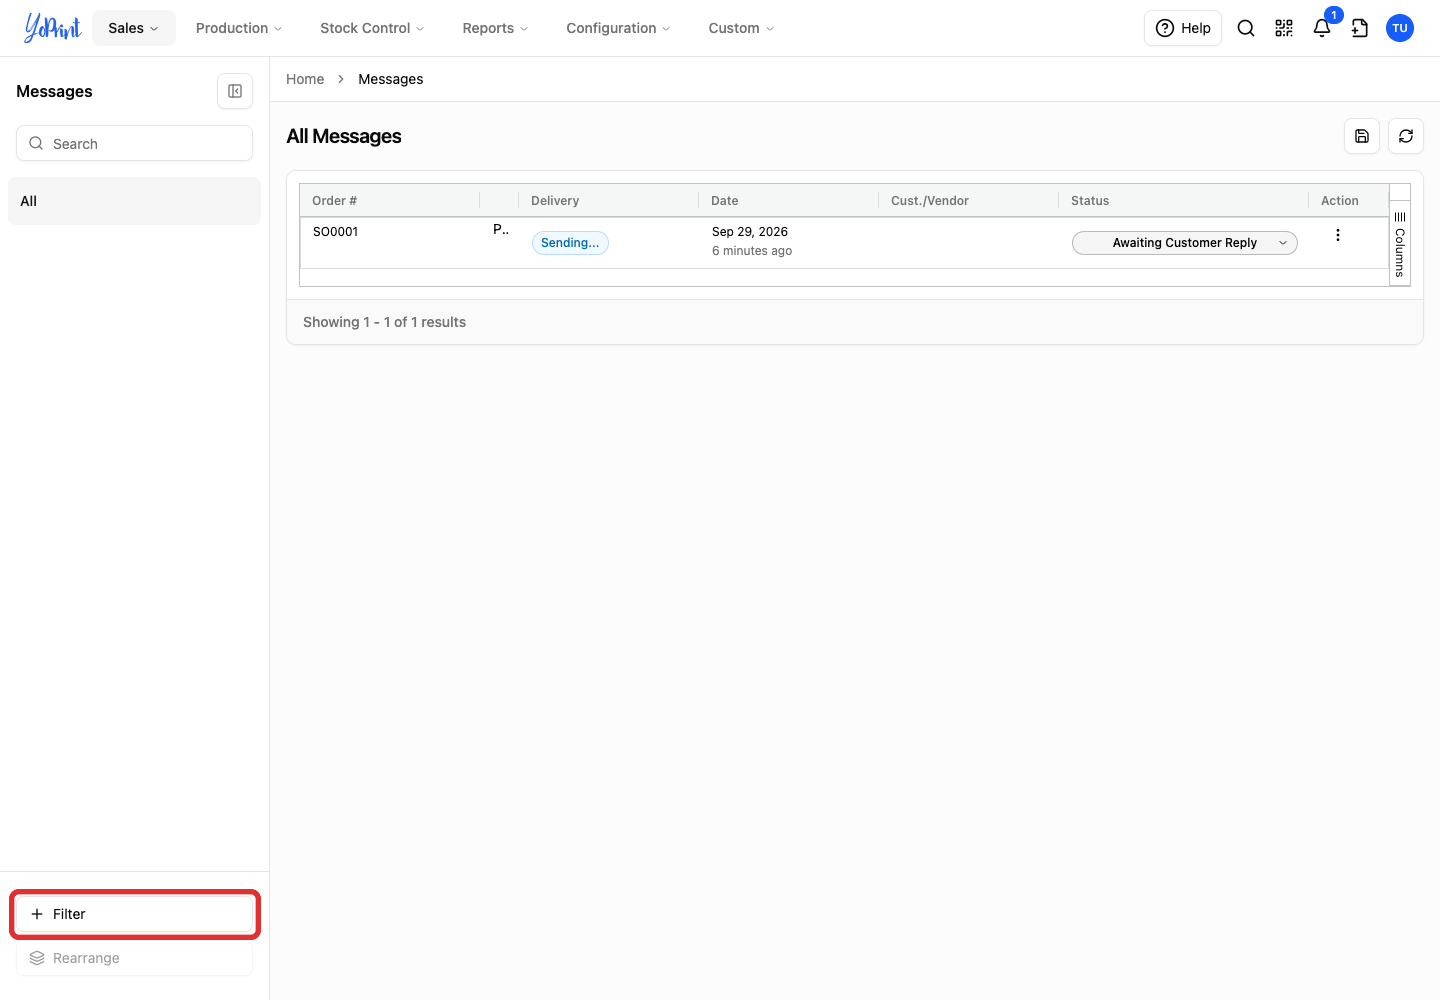
Your selection appears in the Status column. To change it later, open the message and choose another status. You can also assign or change a status directly in the Messages table by clicking the status button in the message row, without opening the conversation.
Create a saved filter for follow-up
From Messages, save a filter for messages awaiting a customer reply. Saved filters are shared across your shop team, so everyone can see the same follow-up queues.
-
Click + Filter at the bottom of the left sidebar. The button shows a plus icon beside Filter.
-
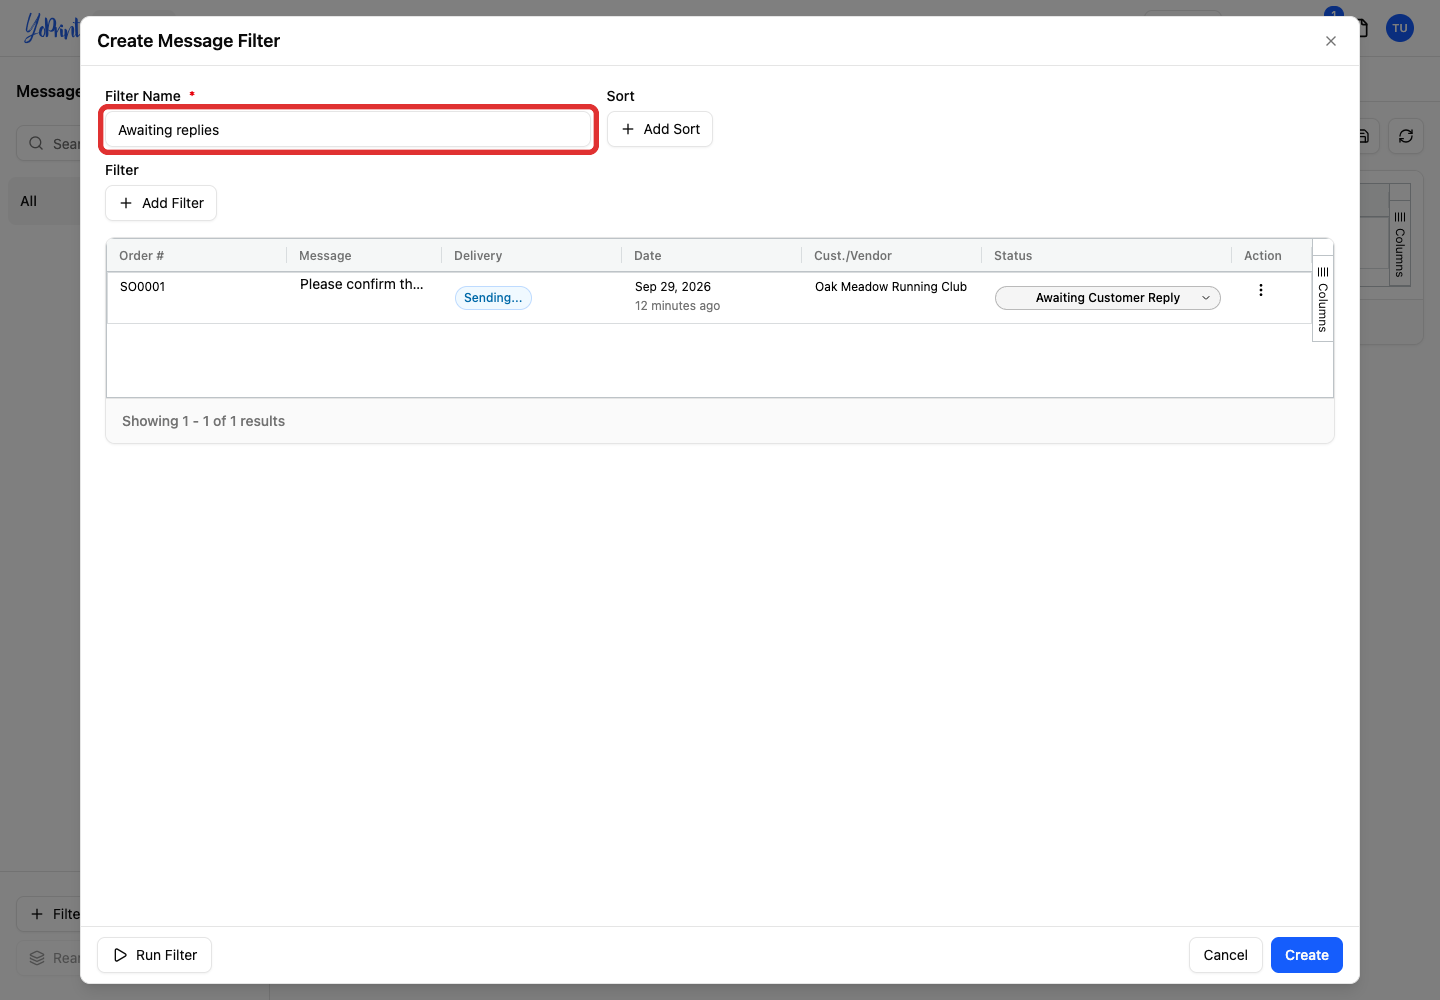
Enter a Filter Name, such as Awaiting replies.
-
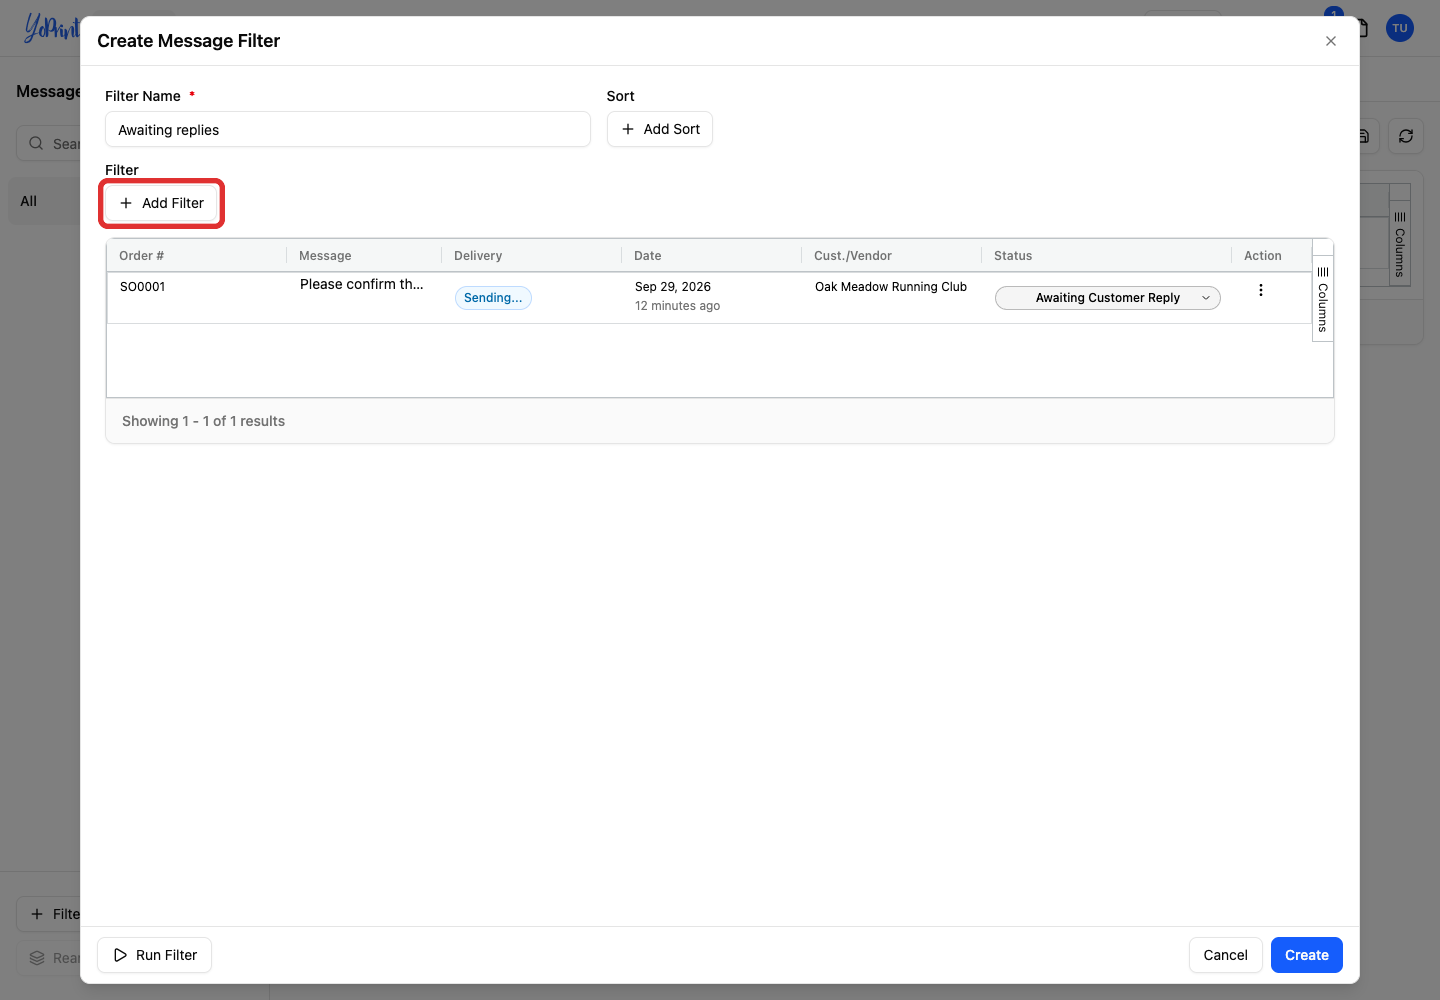
Click Add Filter to add a condition.
-
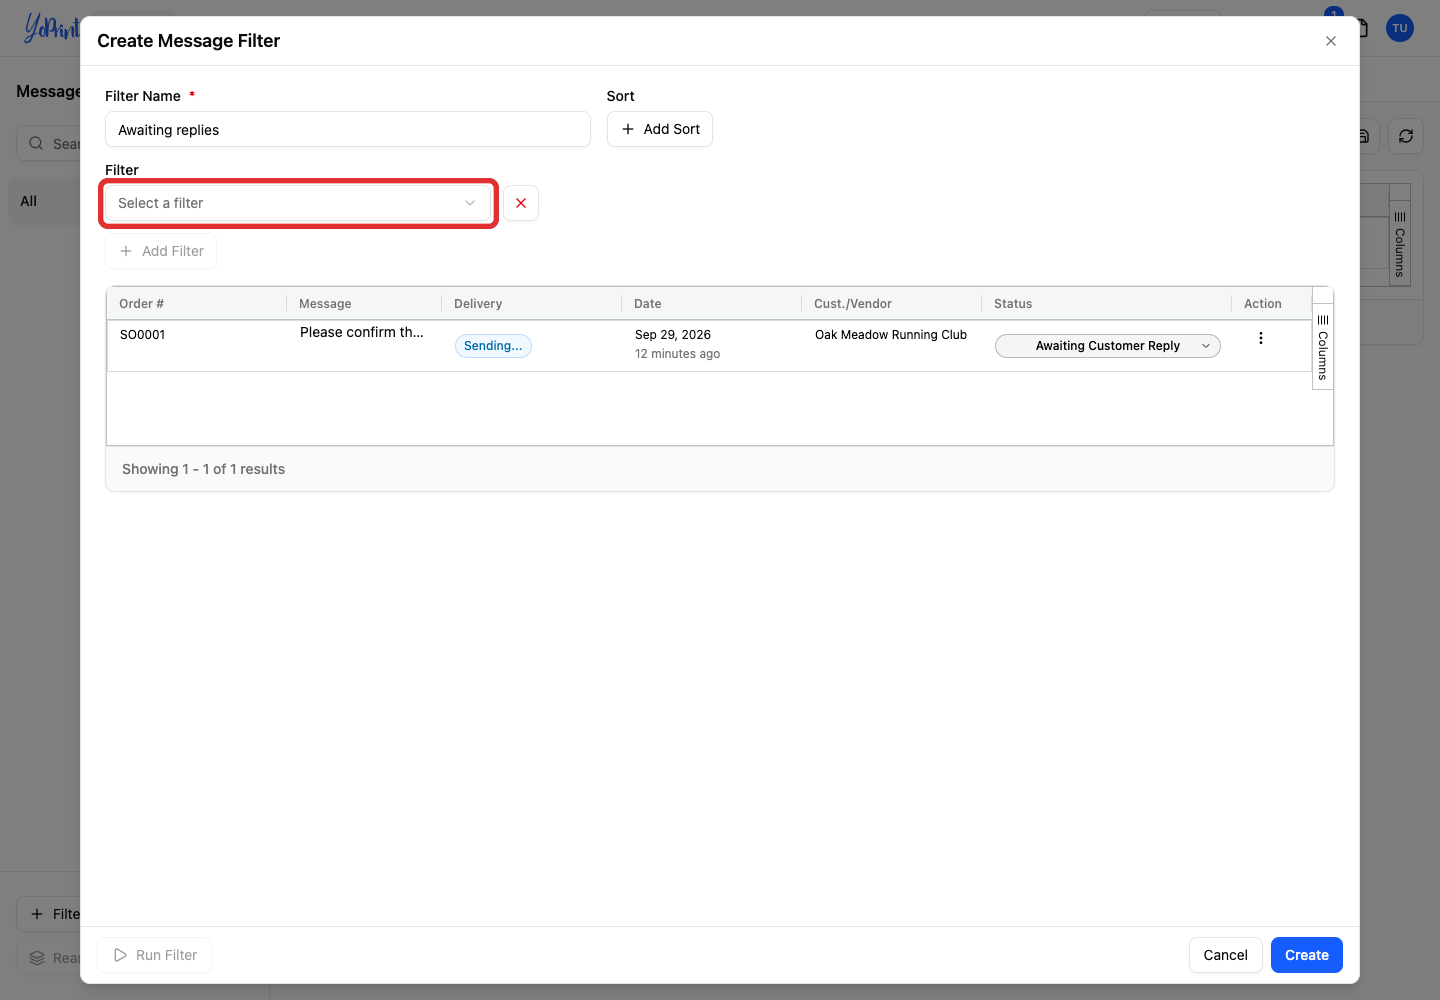
Open Select a filter.
-
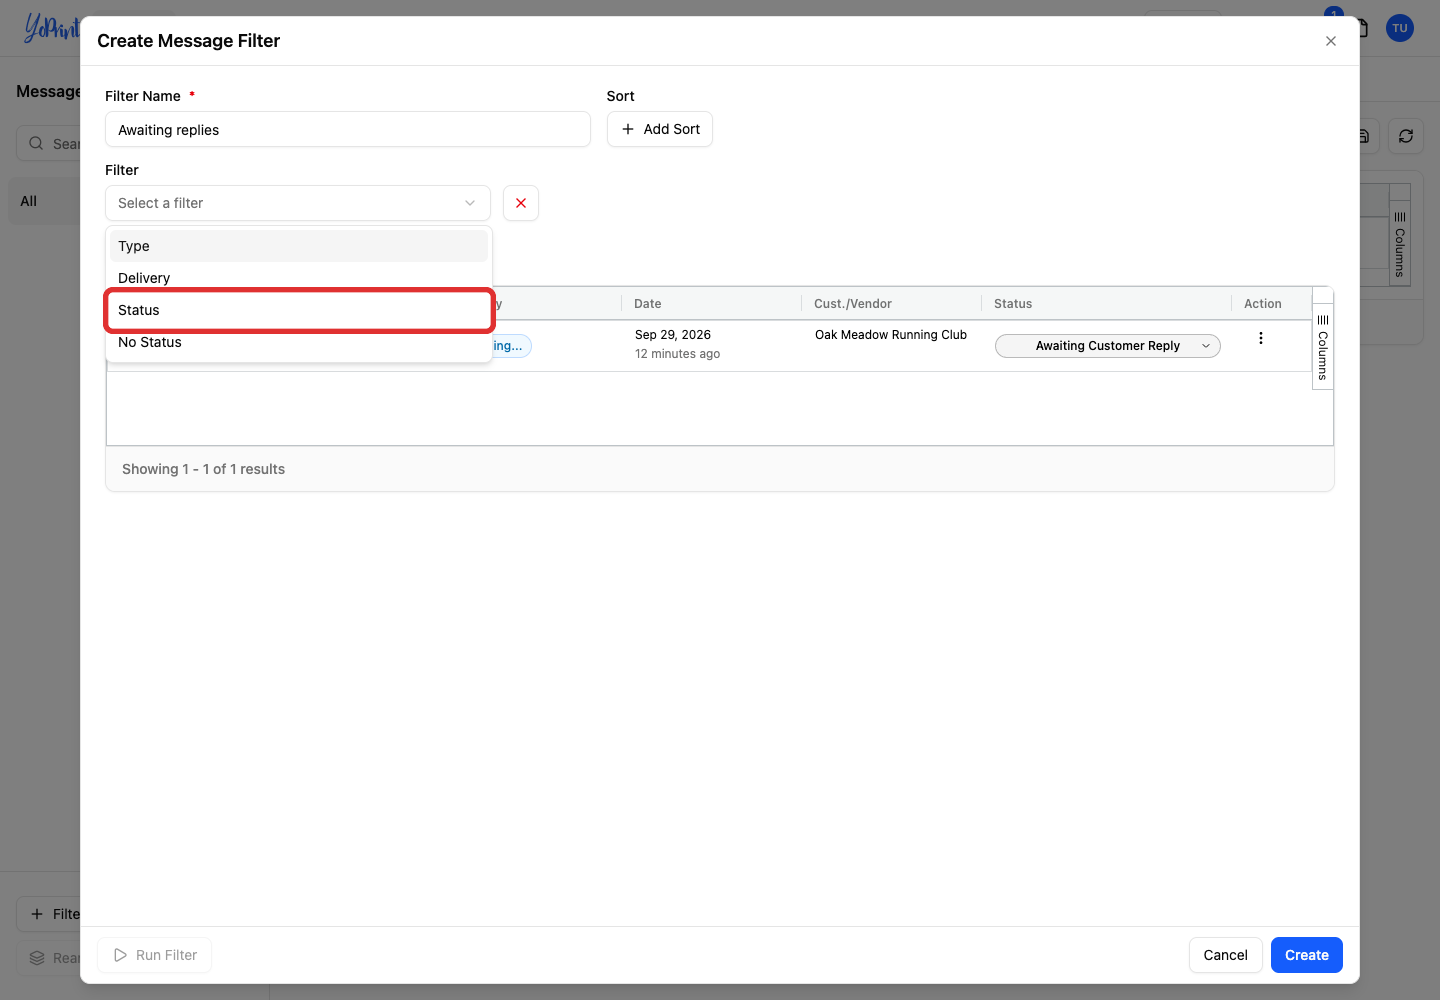
Choose Status.
-
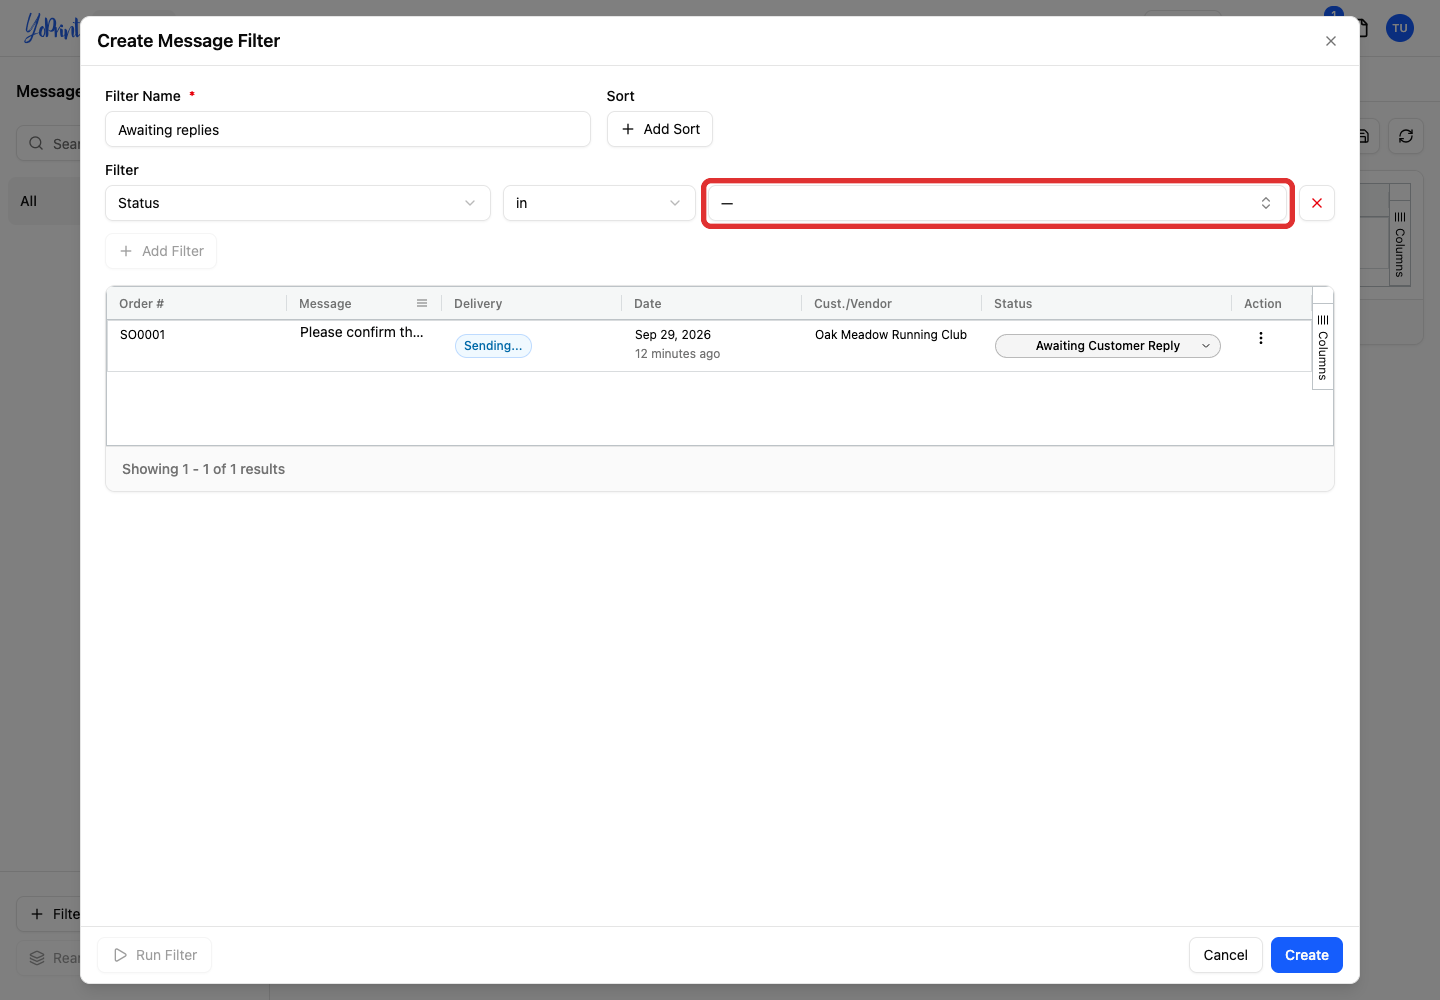
Leave the operator as in, then open Value. The in operator lets you select one or more statuses.
-
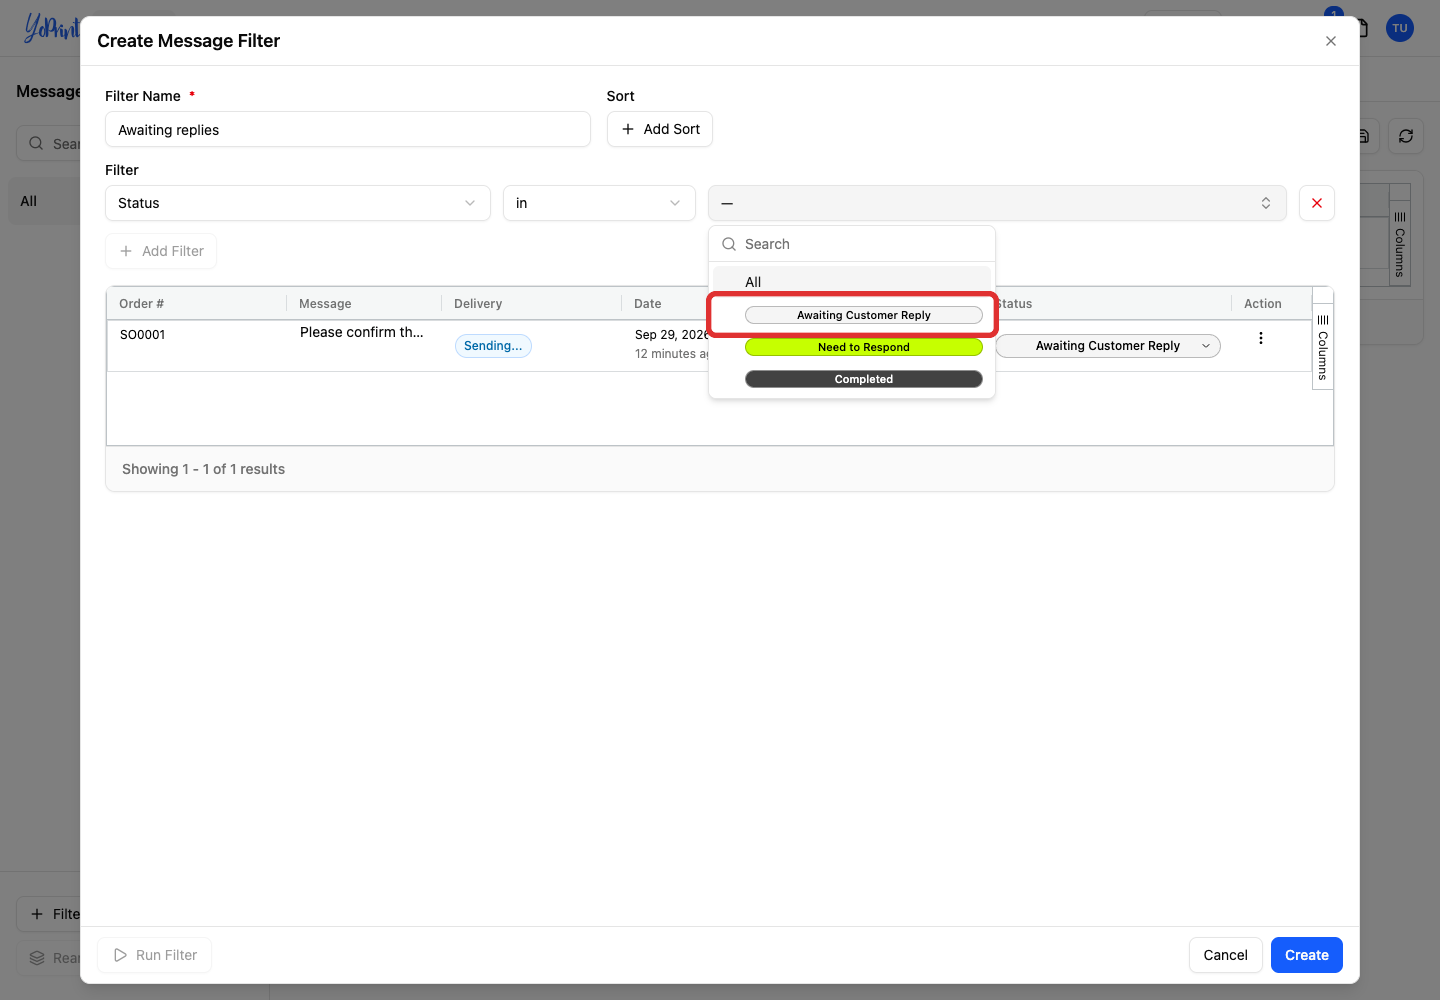
Select Awaiting Customer Reply.
-
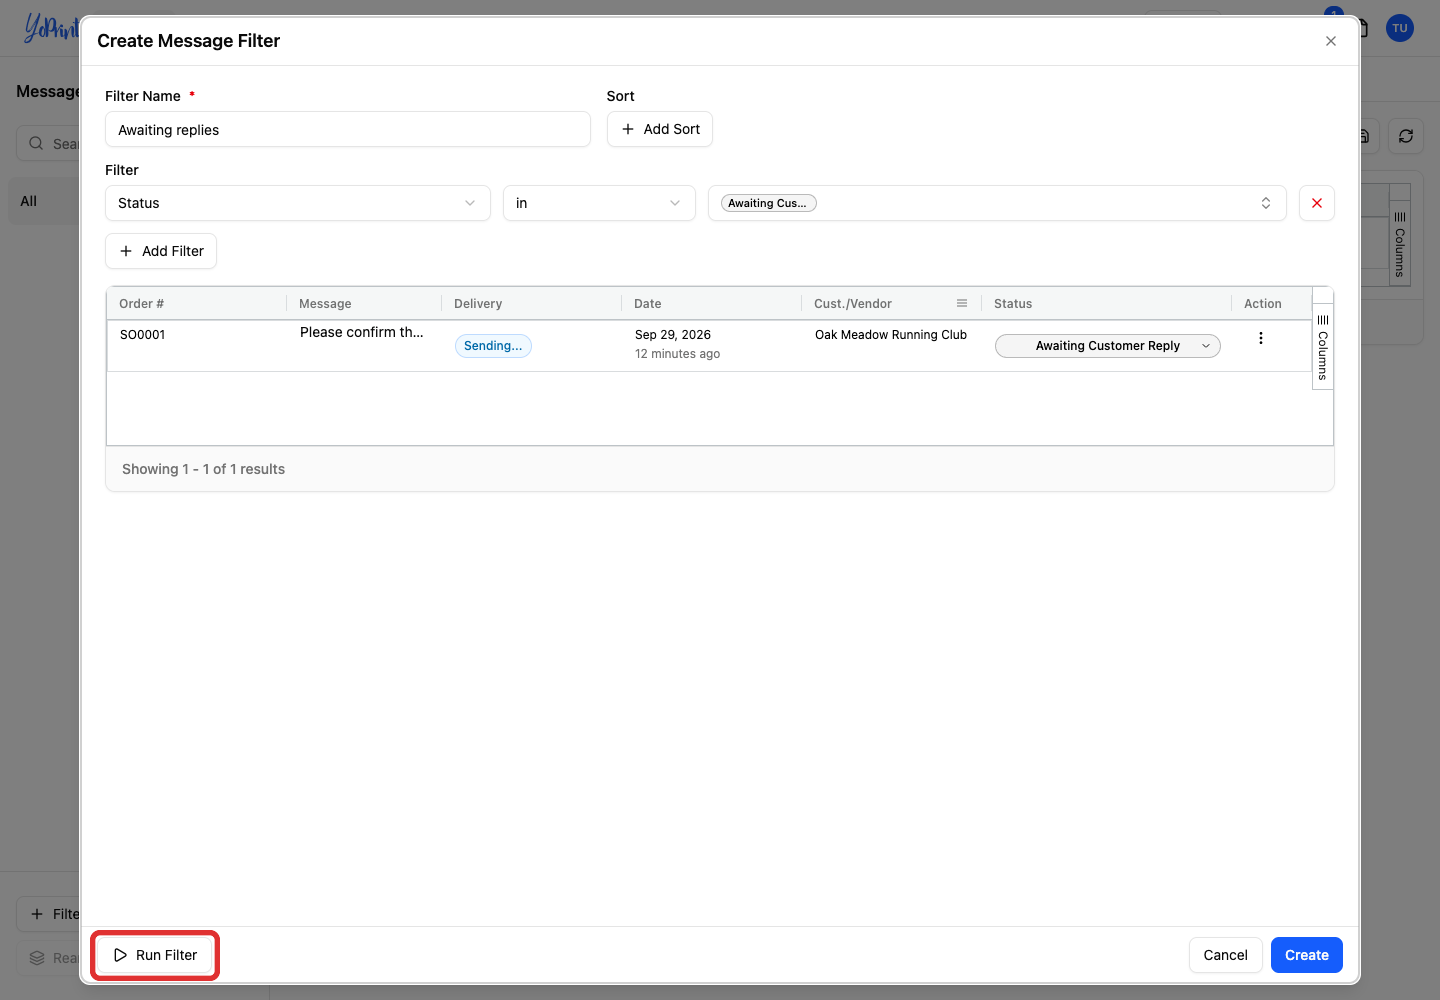
Click Run Filter to check the matching messages.
-
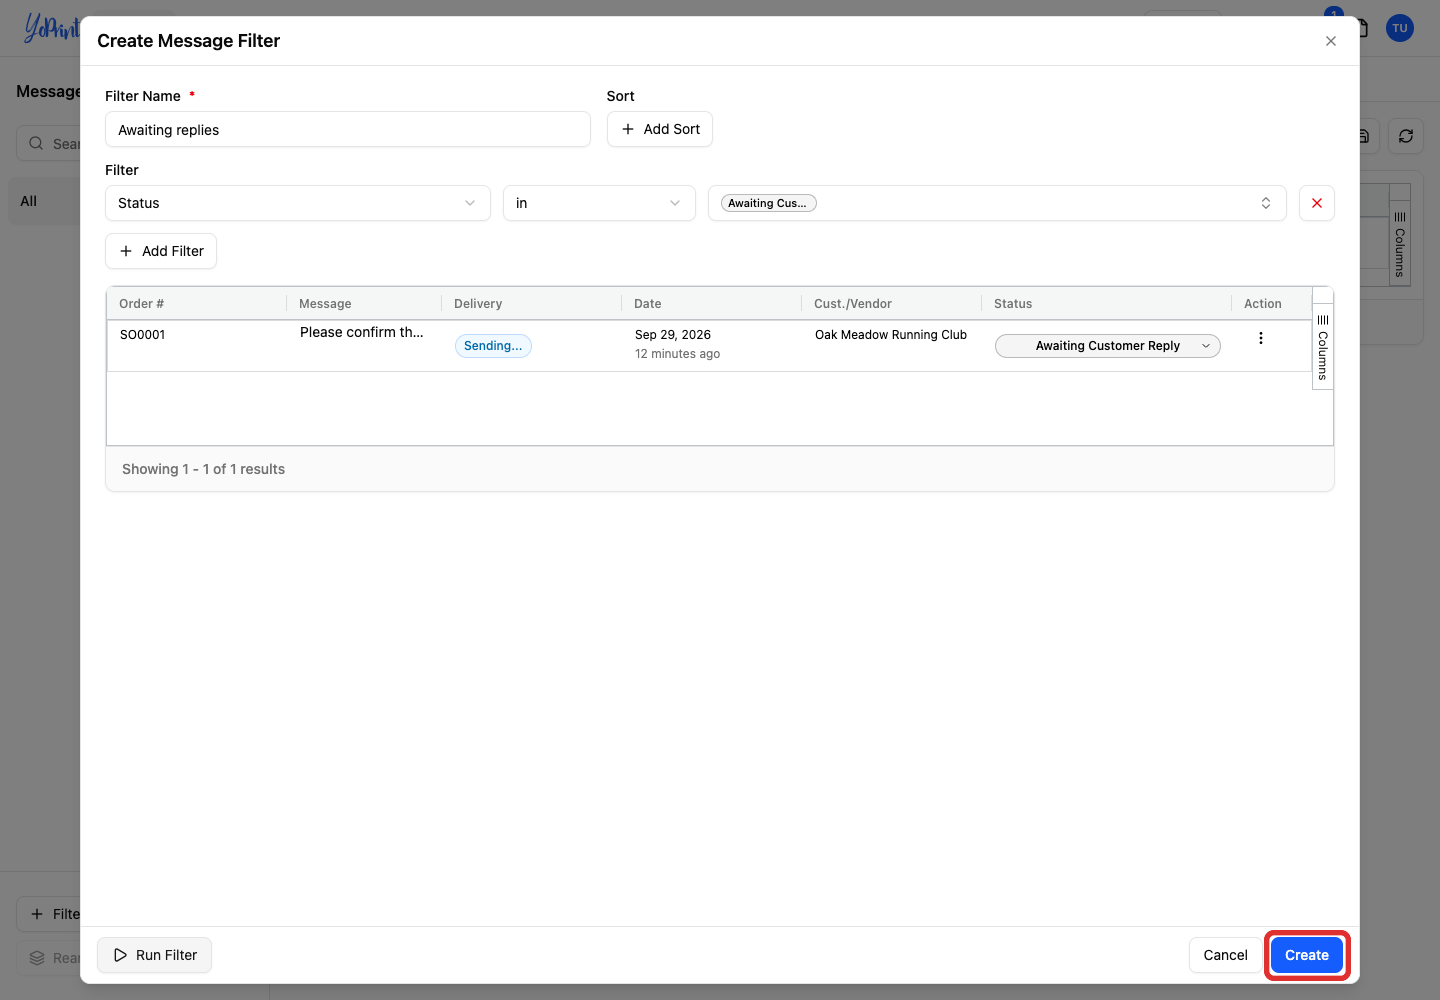
Click Create to save the filter.
Refine the results
Add more conditions with Add Filter when you need a narrower list. YoPrint matches all conditions together. Delivery filters by email delivery status; Status filters by the follow-up label you assigned. No Status filters for messages without an assigned status. Add Sort changes the order of the results.
Return to a saved filter
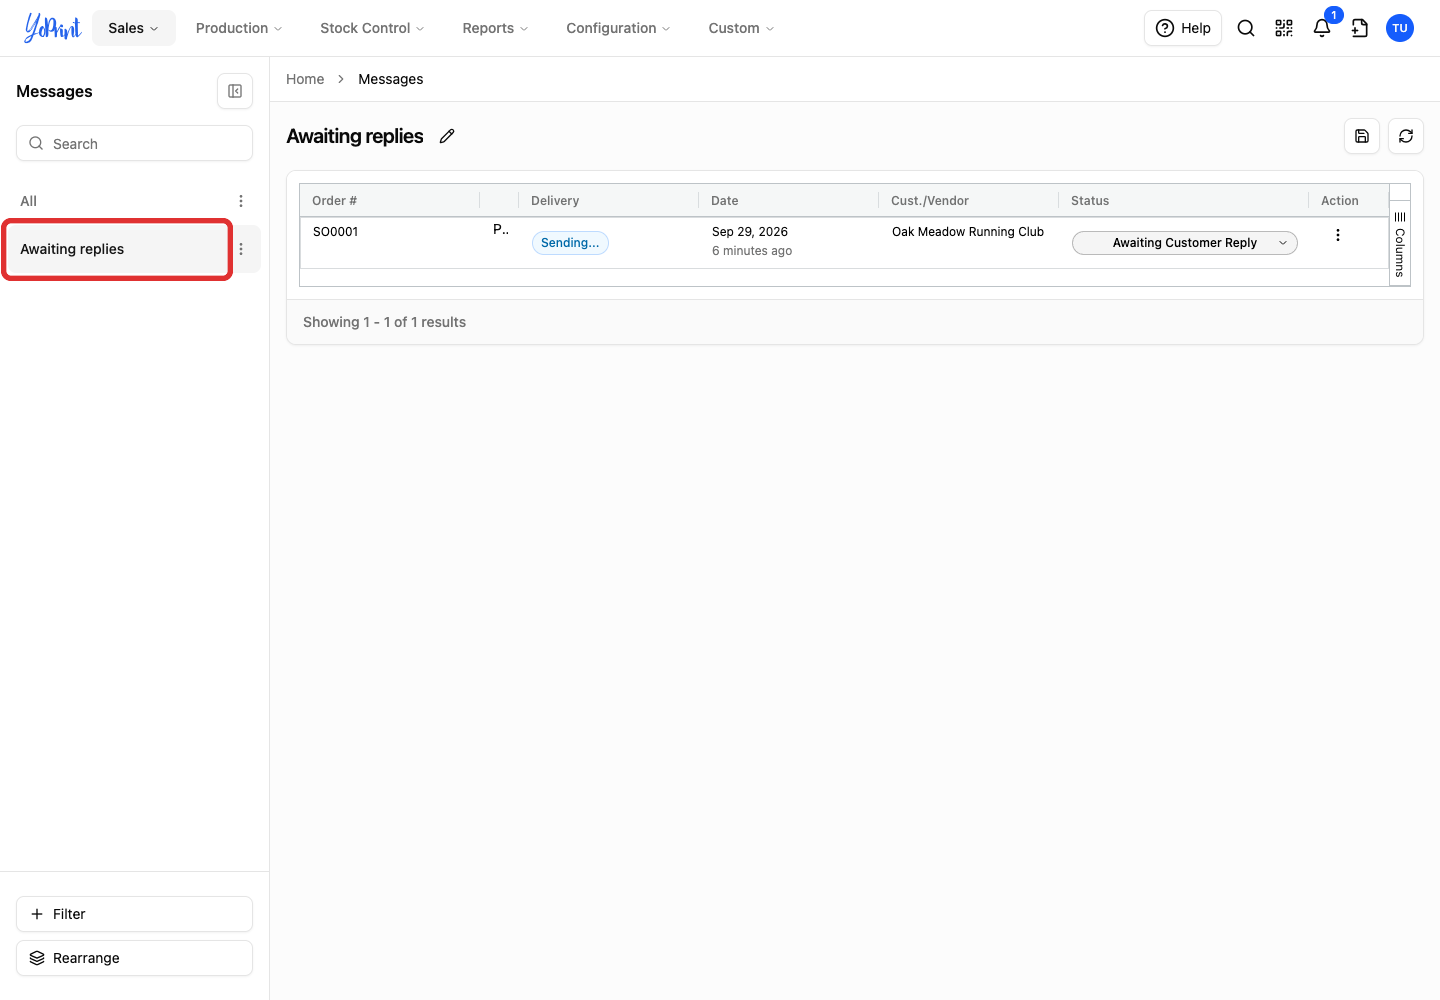
Your saved filters appear in the left sidebar. YoPrint selects your new filter as soon as you create it. On later visits to Messages:
-
Click Awaiting replies to show its matching messages.
-
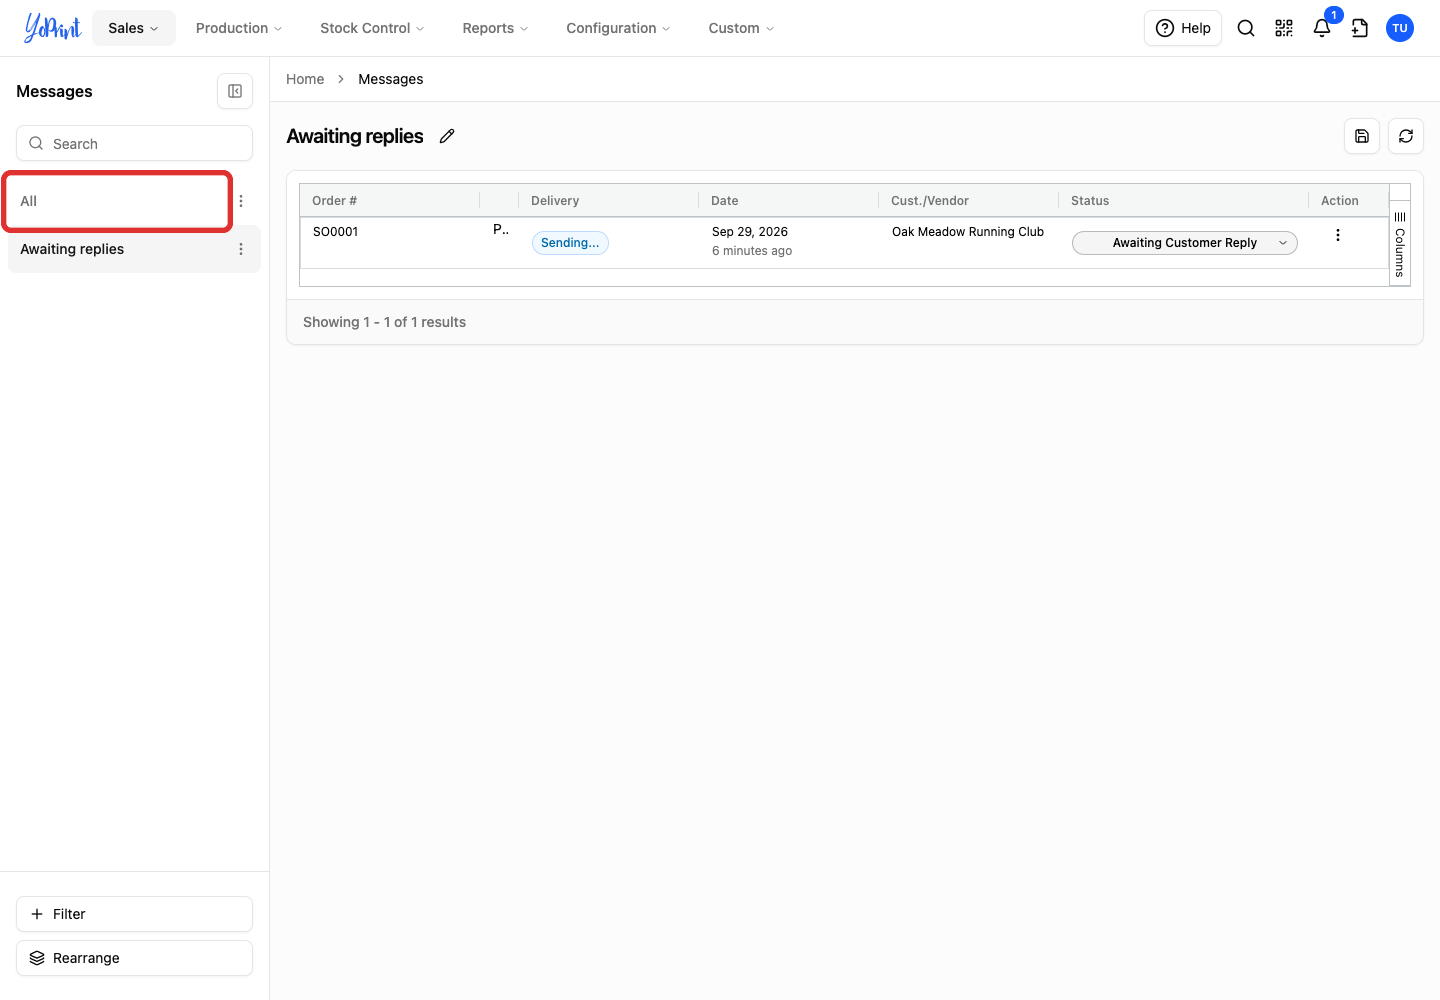
Click All to return to all messages.
Edit a saved filter
From the Messages sidebar:
-
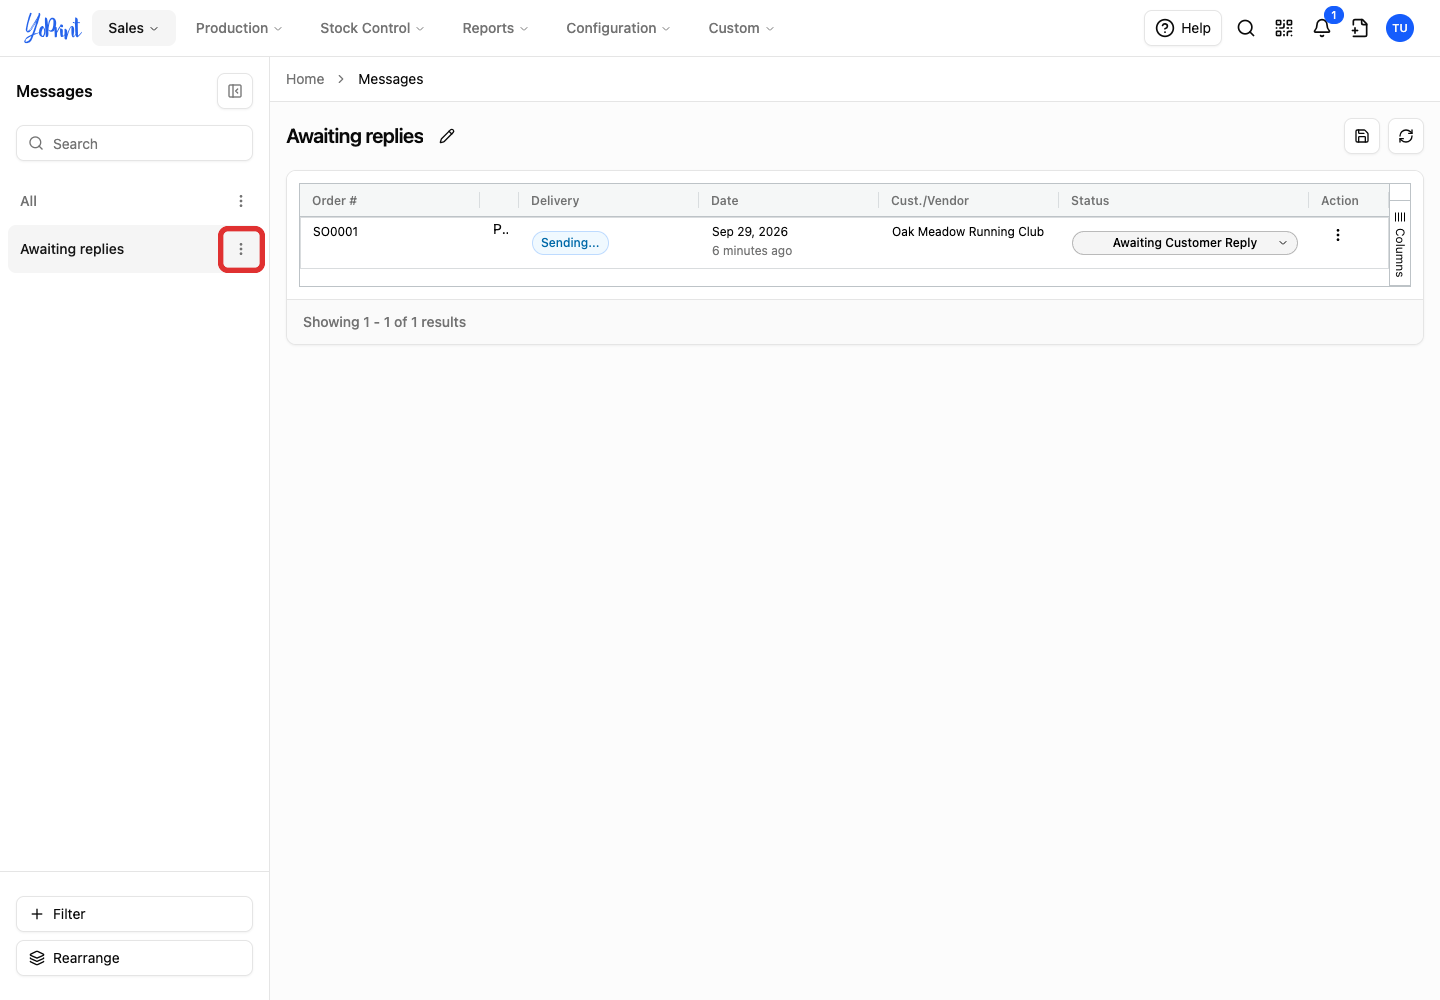
Open the three-dot menu beside the saved filter. Hover over the filter in the left sidebar to reveal this button. You can also click Edit beside the filter title in the page header.
-
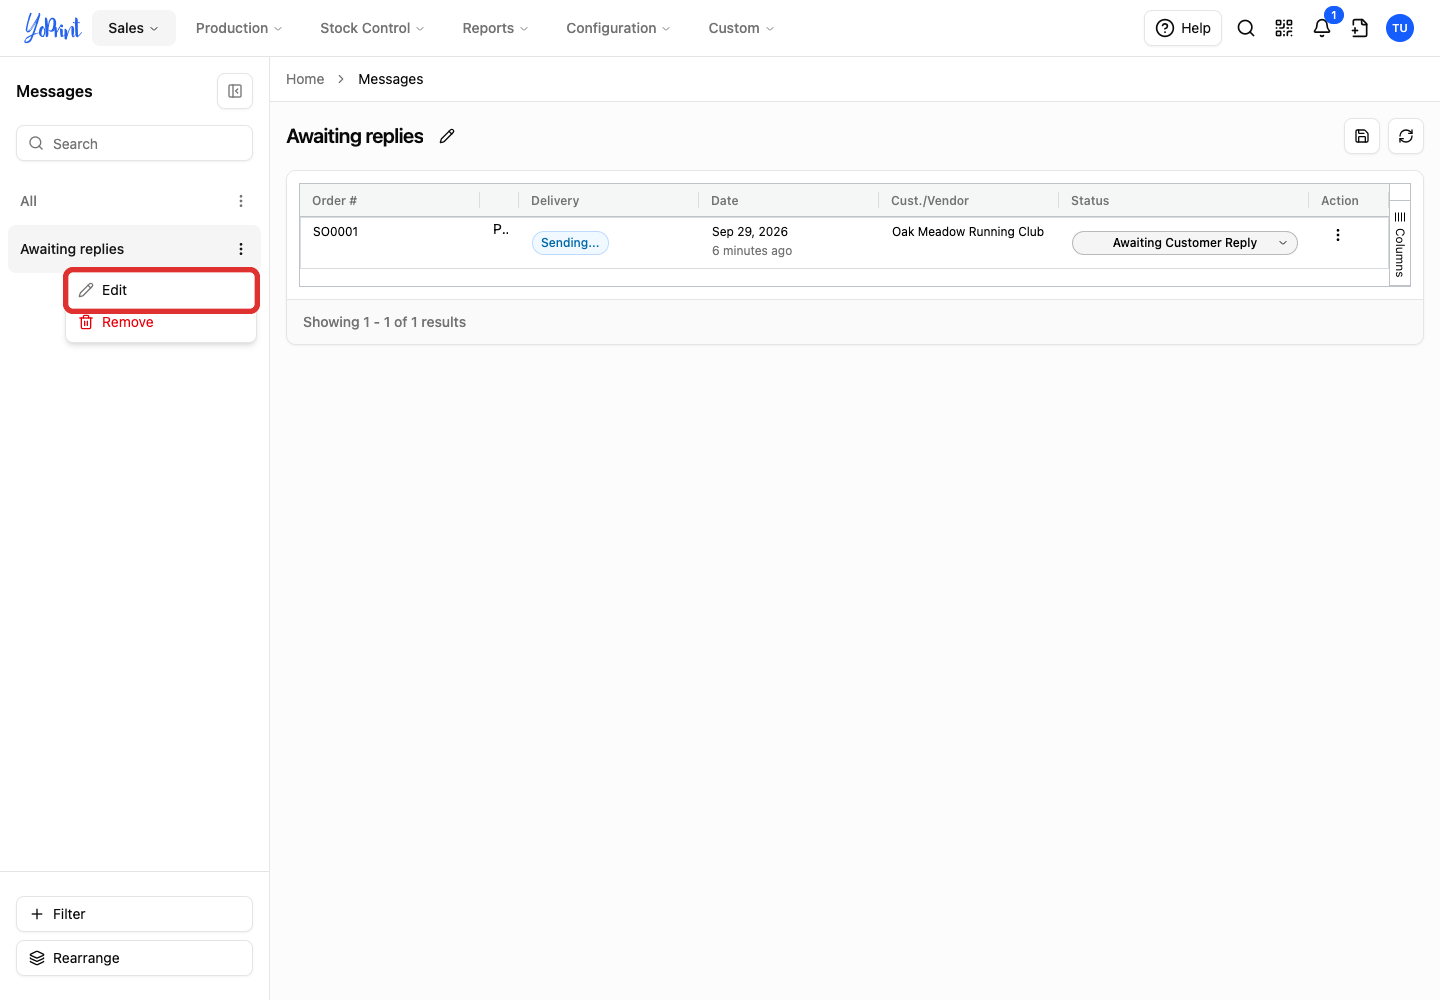
Choose Edit.
-
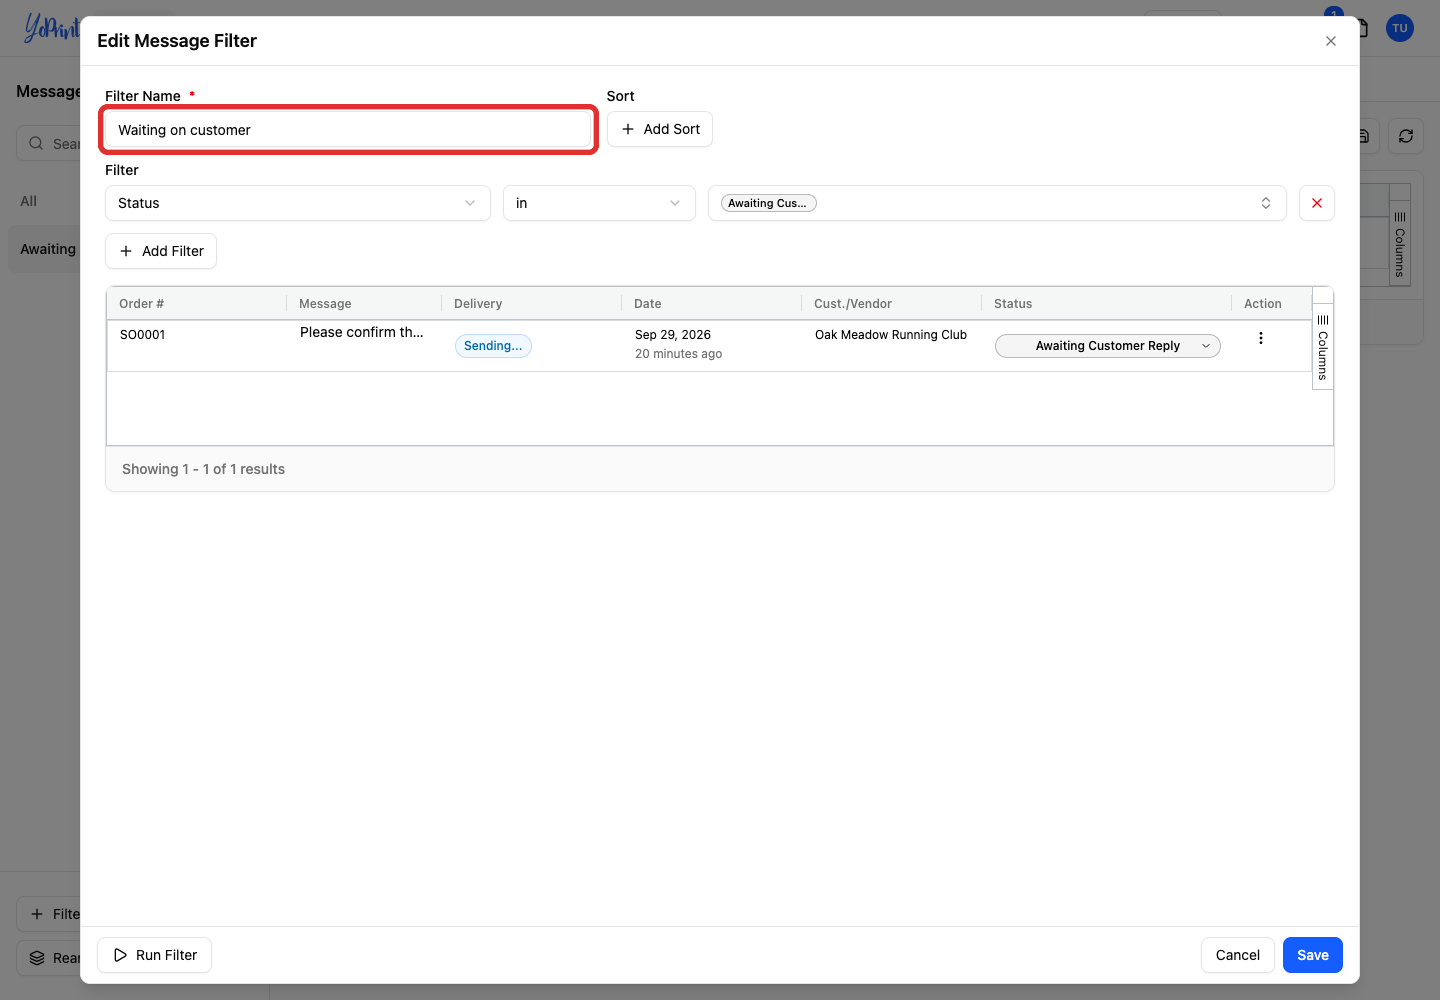
Update the name or conditions. Here, the name changes to Waiting on customer.
-
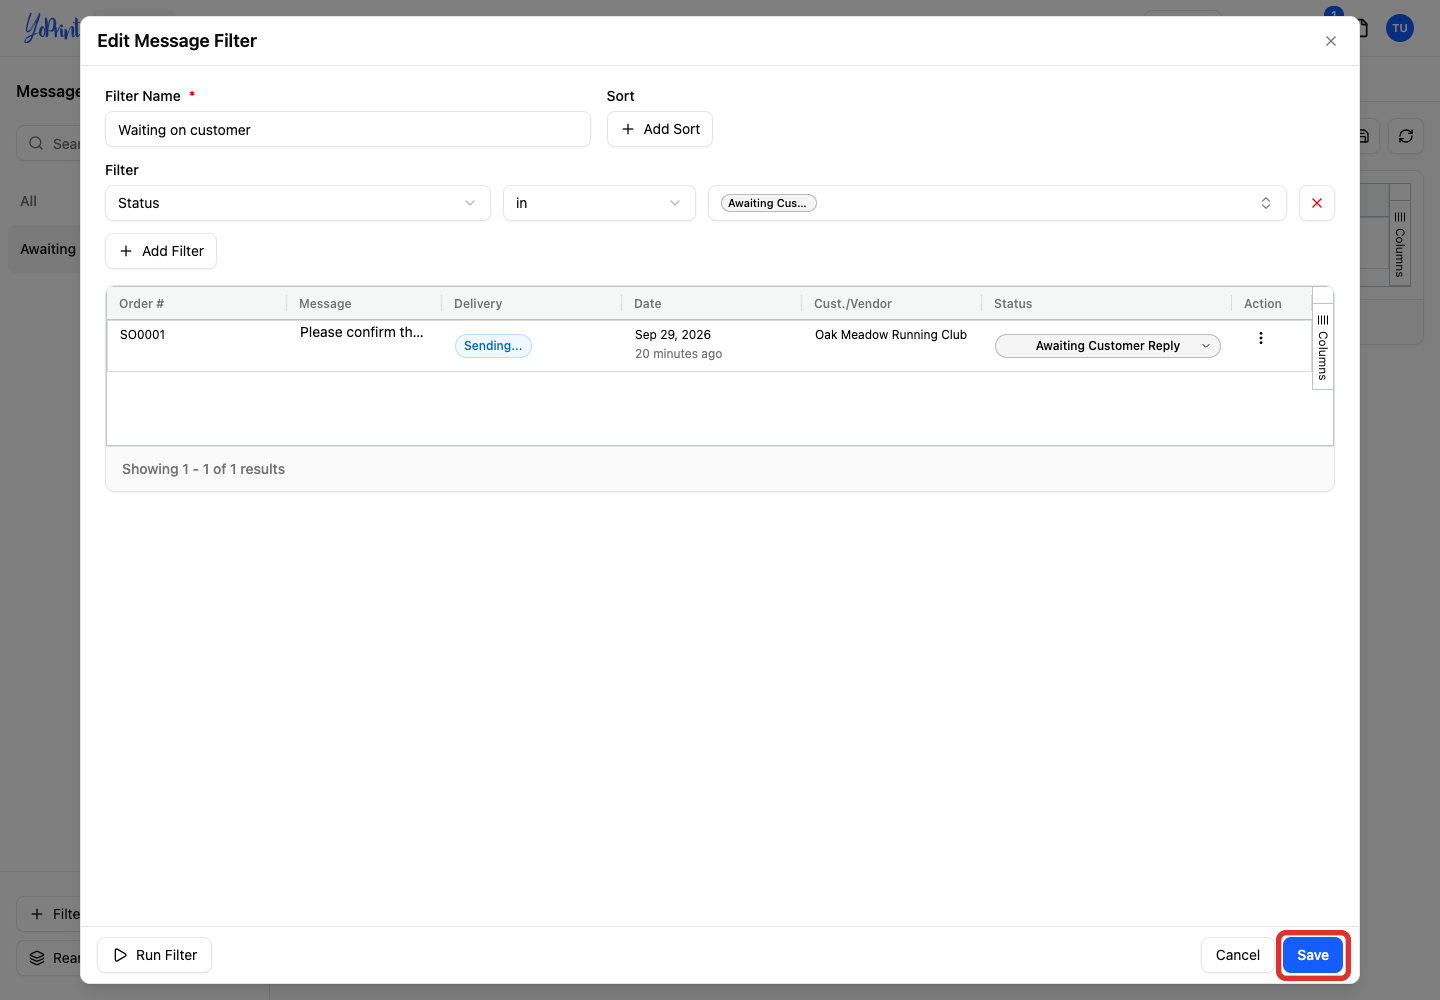
Click Save.
Remove a saved filter
Removing a filter removes the saved view. The messages remain in All.
-
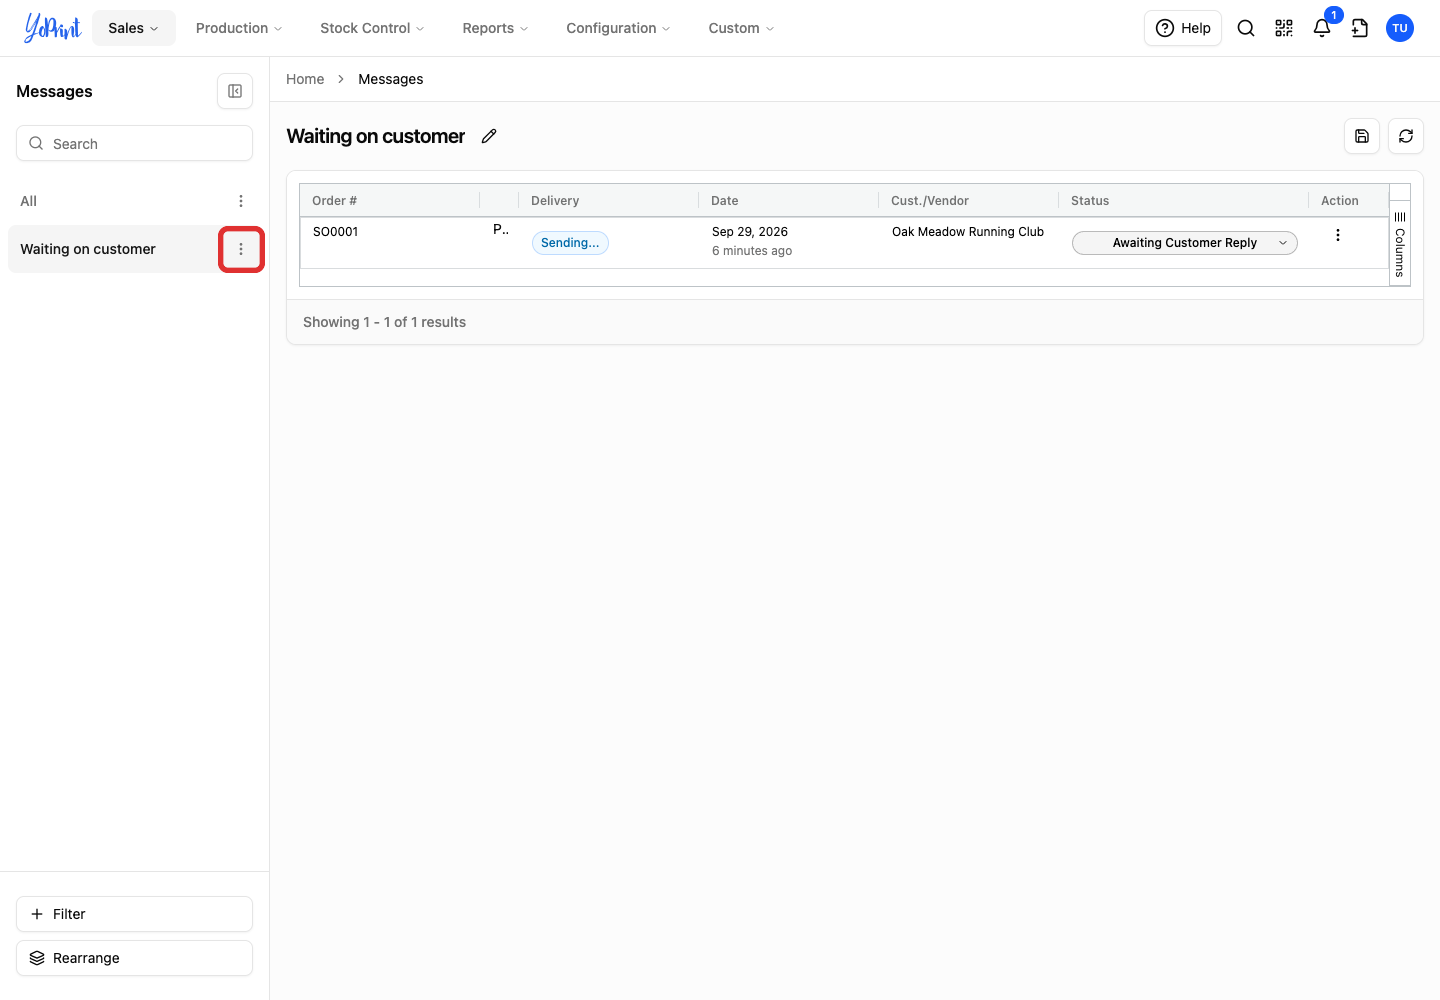
Open the three-dot menu beside the saved filter. Hover over the filter in the left sidebar to reveal this button.
-
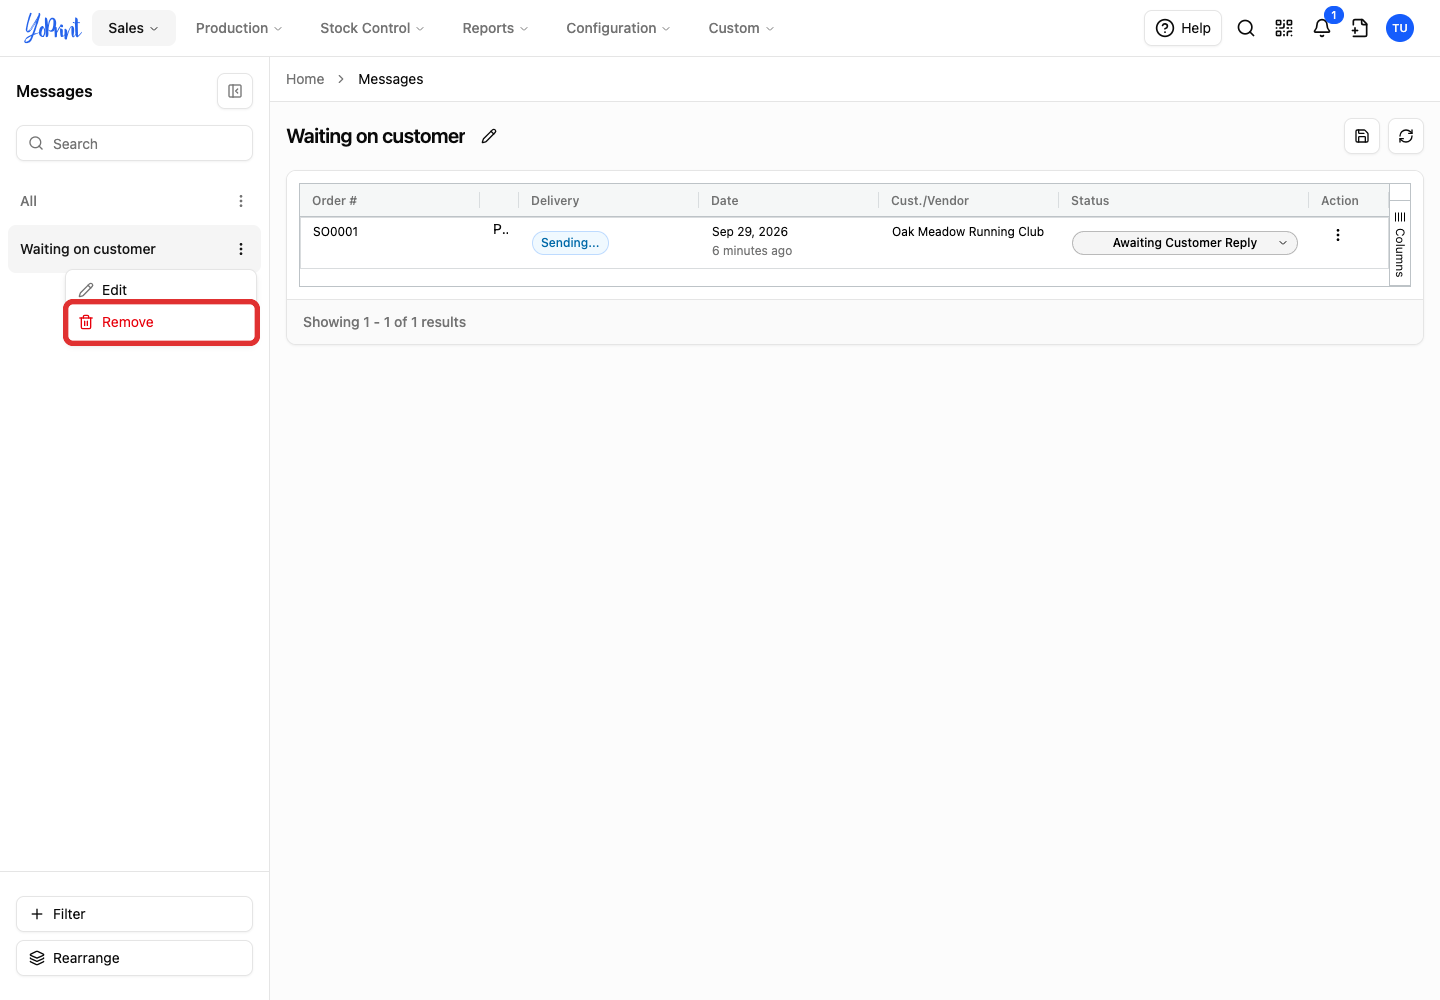
Choose Remove.
-
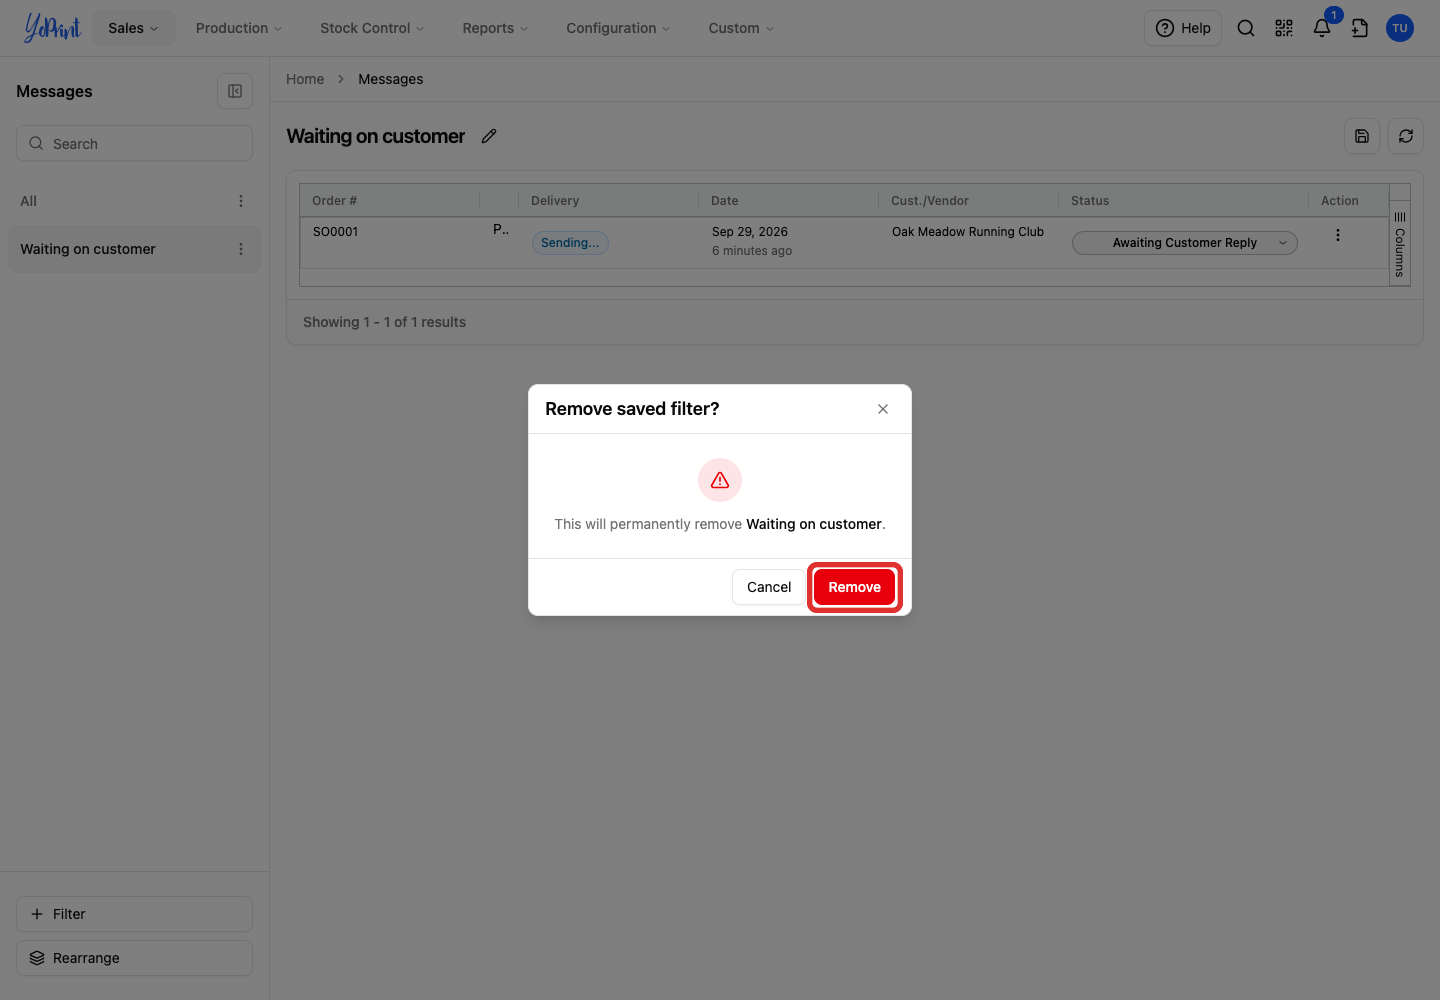
Click Remove in the confirmation dialog.
Create a custom message status
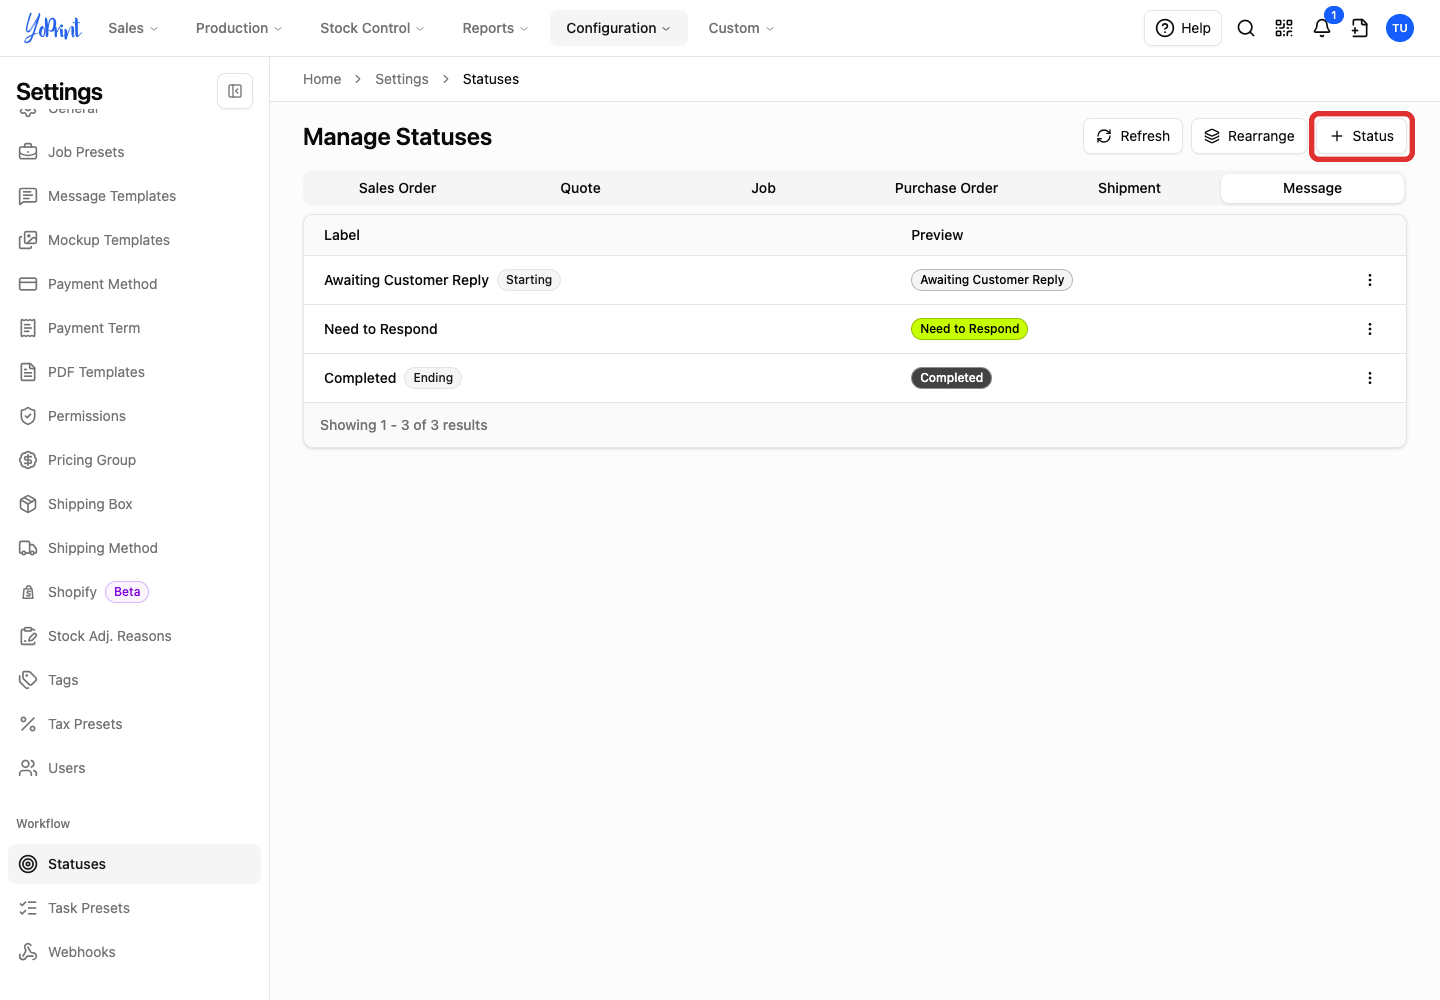
Open Statuses. You can also navigate there from Settings > Statuses. This page also has separate tabs for Sales Order, Quote, Job, Purchase Order and Shipment statuses.
-
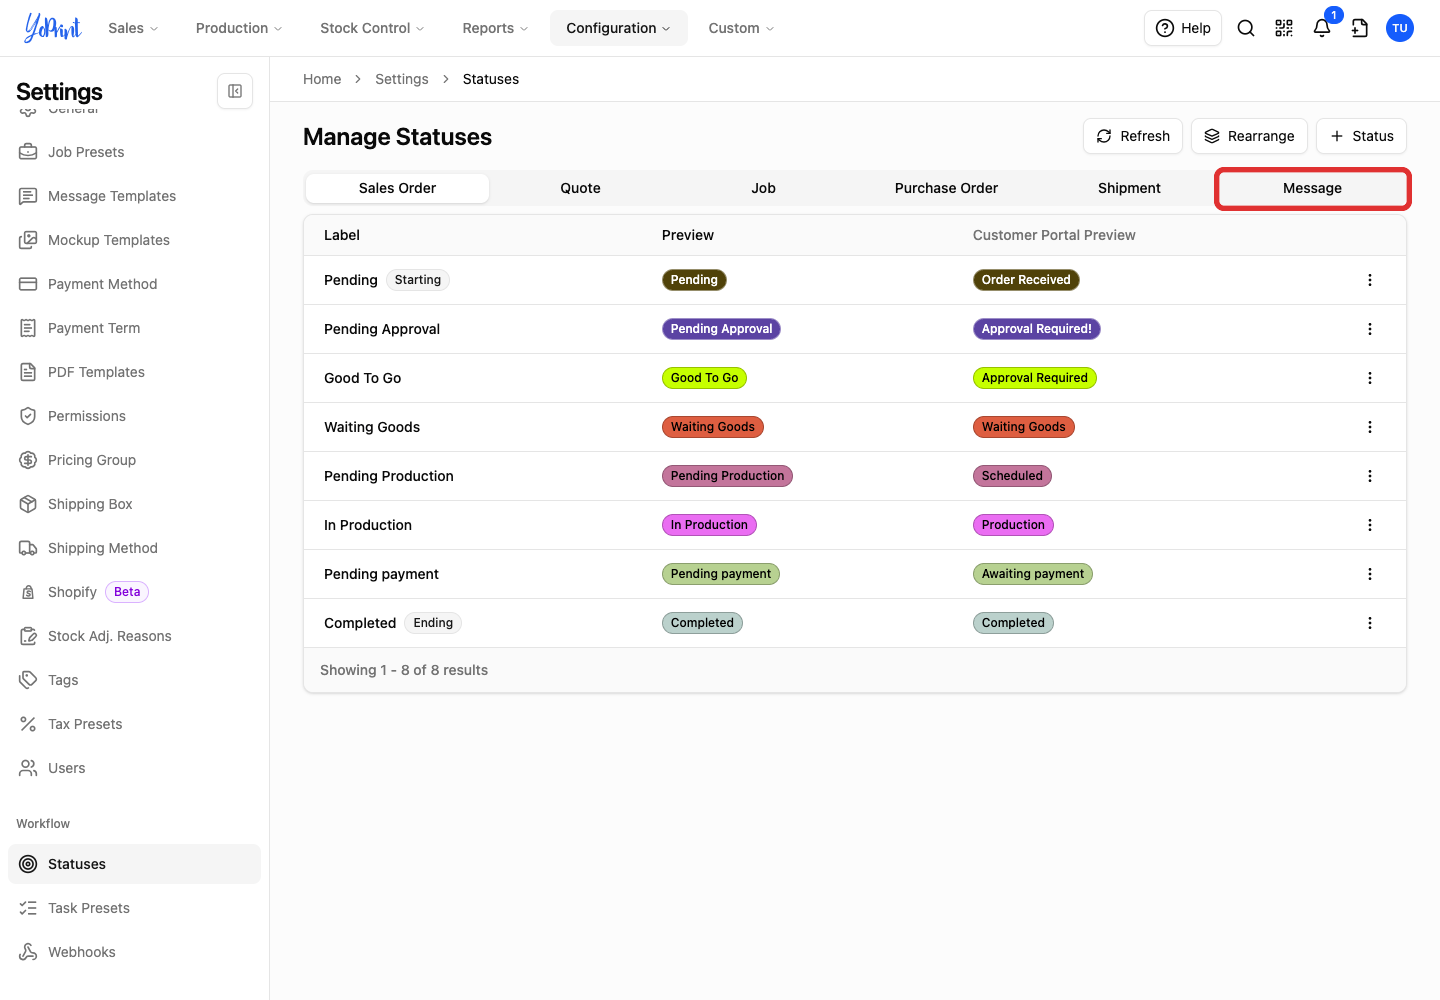
Select the Message tab.
-
Click + Status. This button appears in the page header beside Rearrange.
-
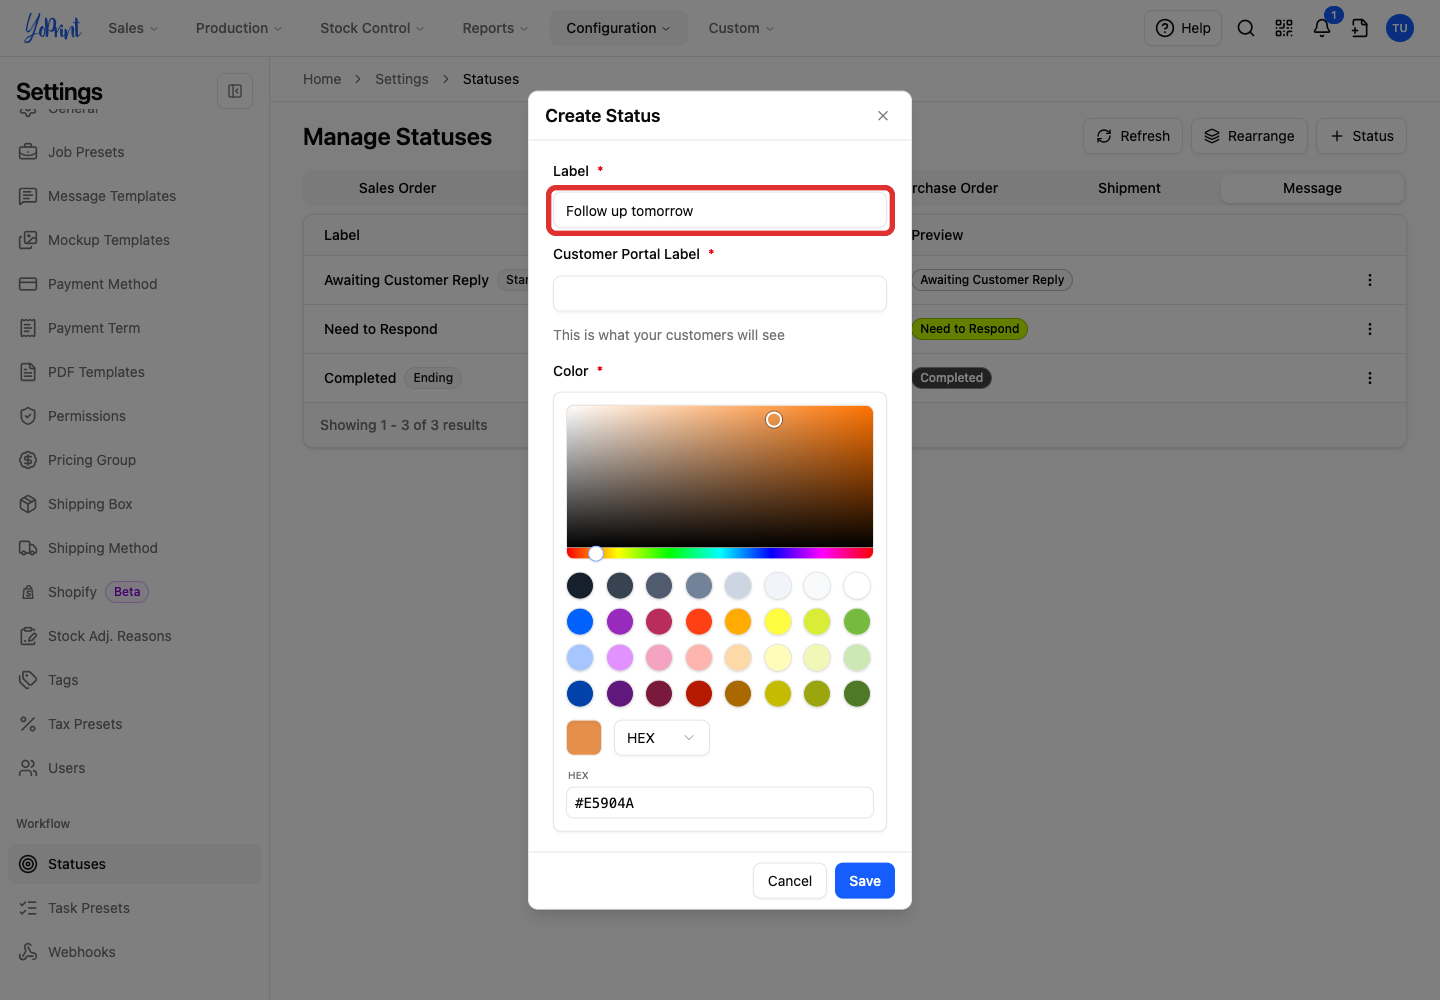
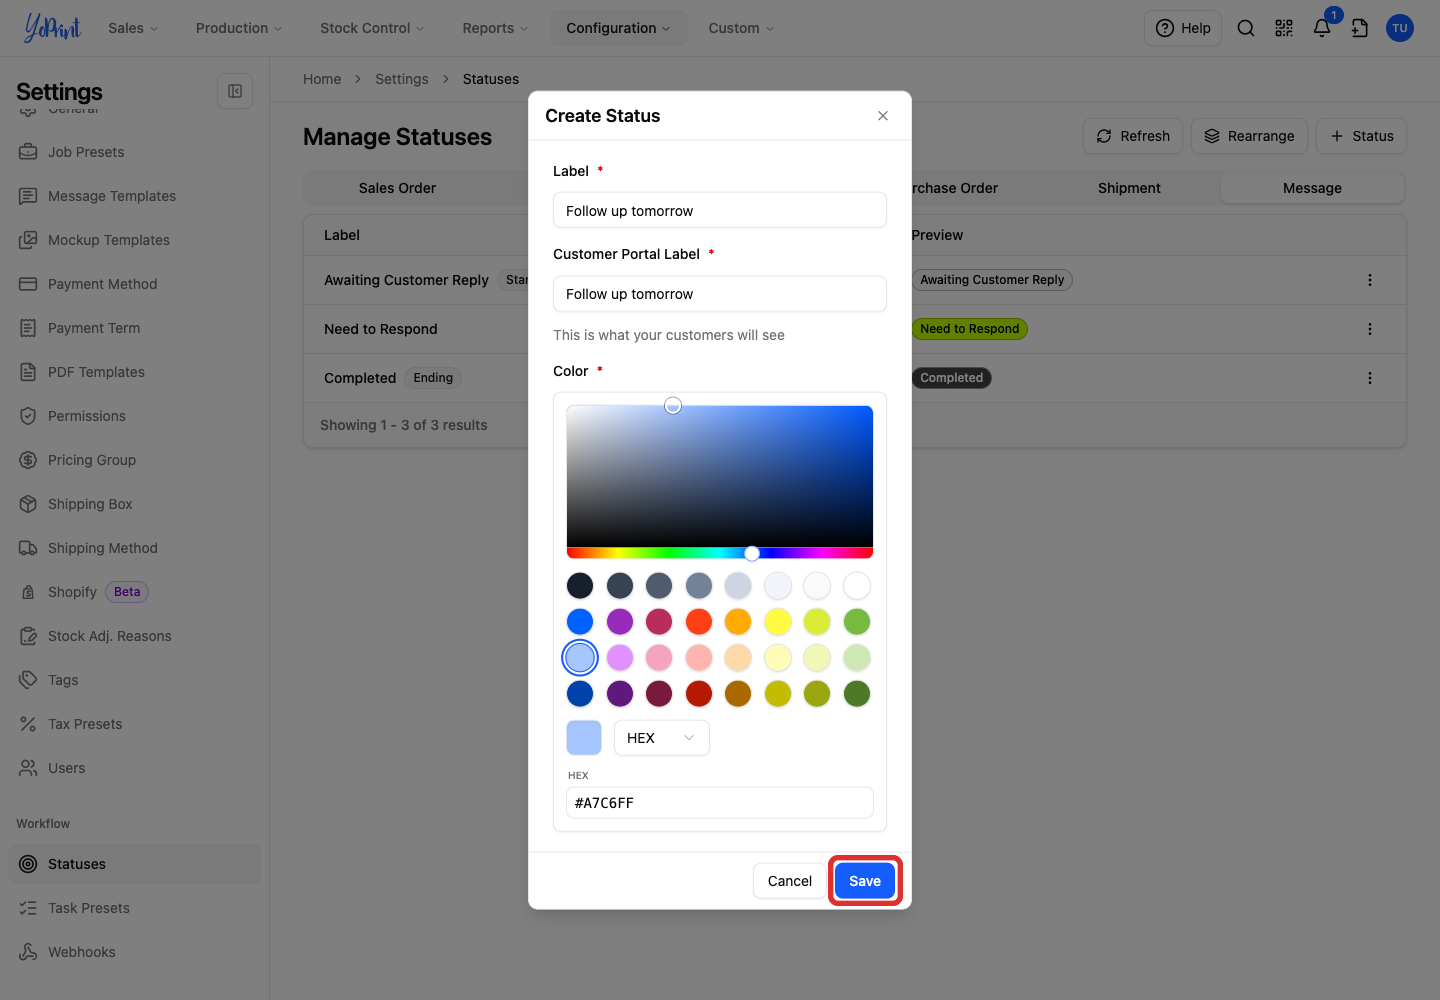
Enter a Label, such as Follow up tomorrow.
-
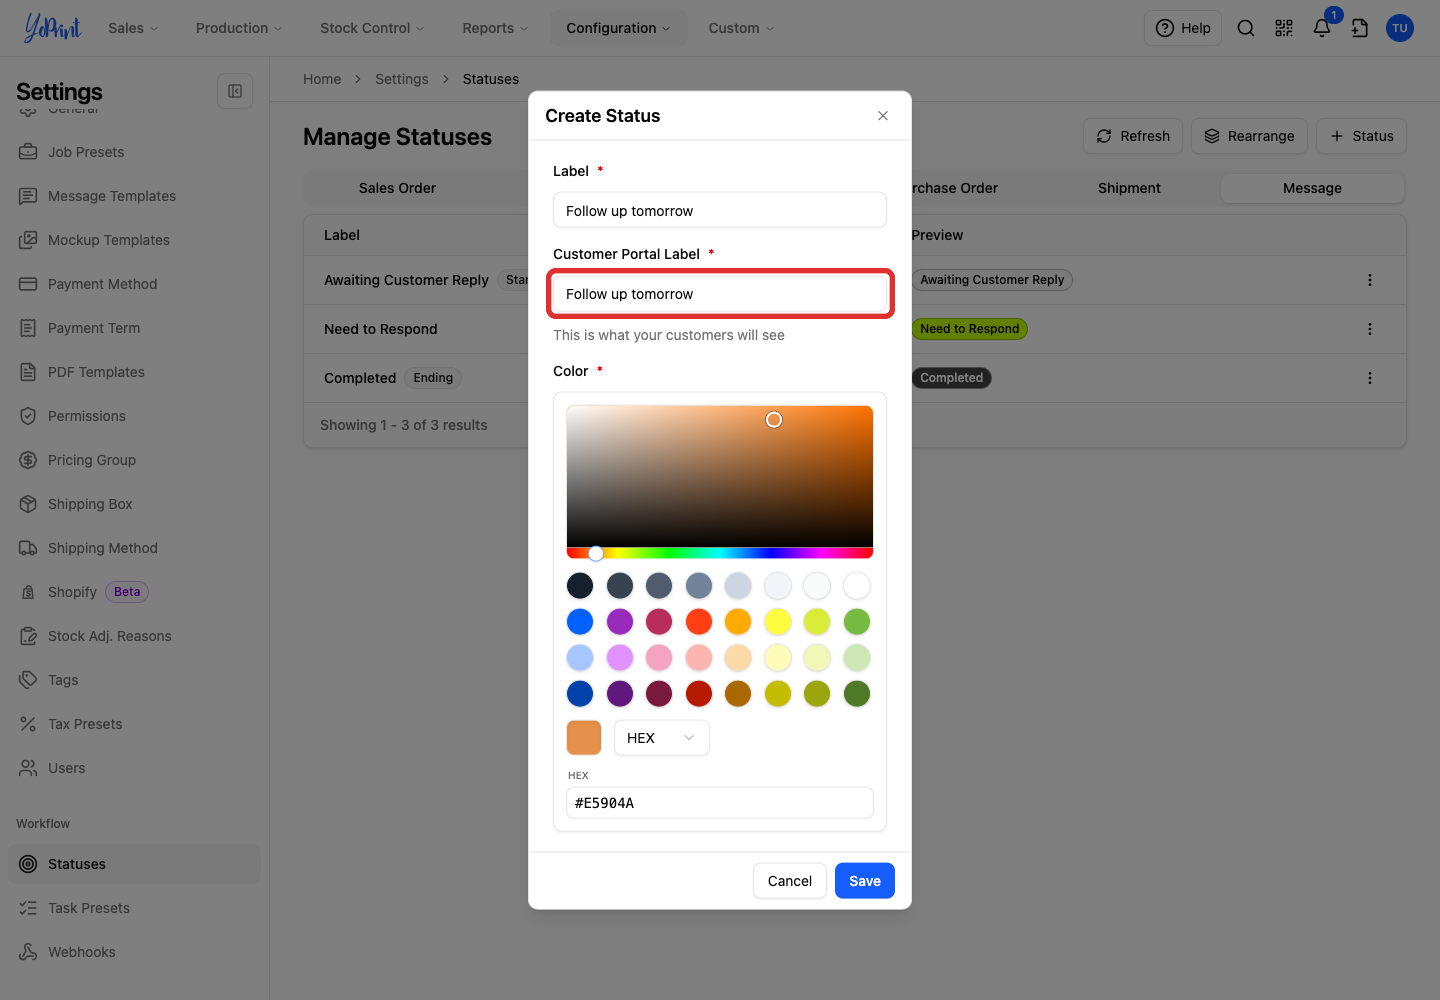
Fill in Customer Portal Label. You can use the same wording as the label. This field is required, but customers do not see message follow-up statuses on the portal.
-
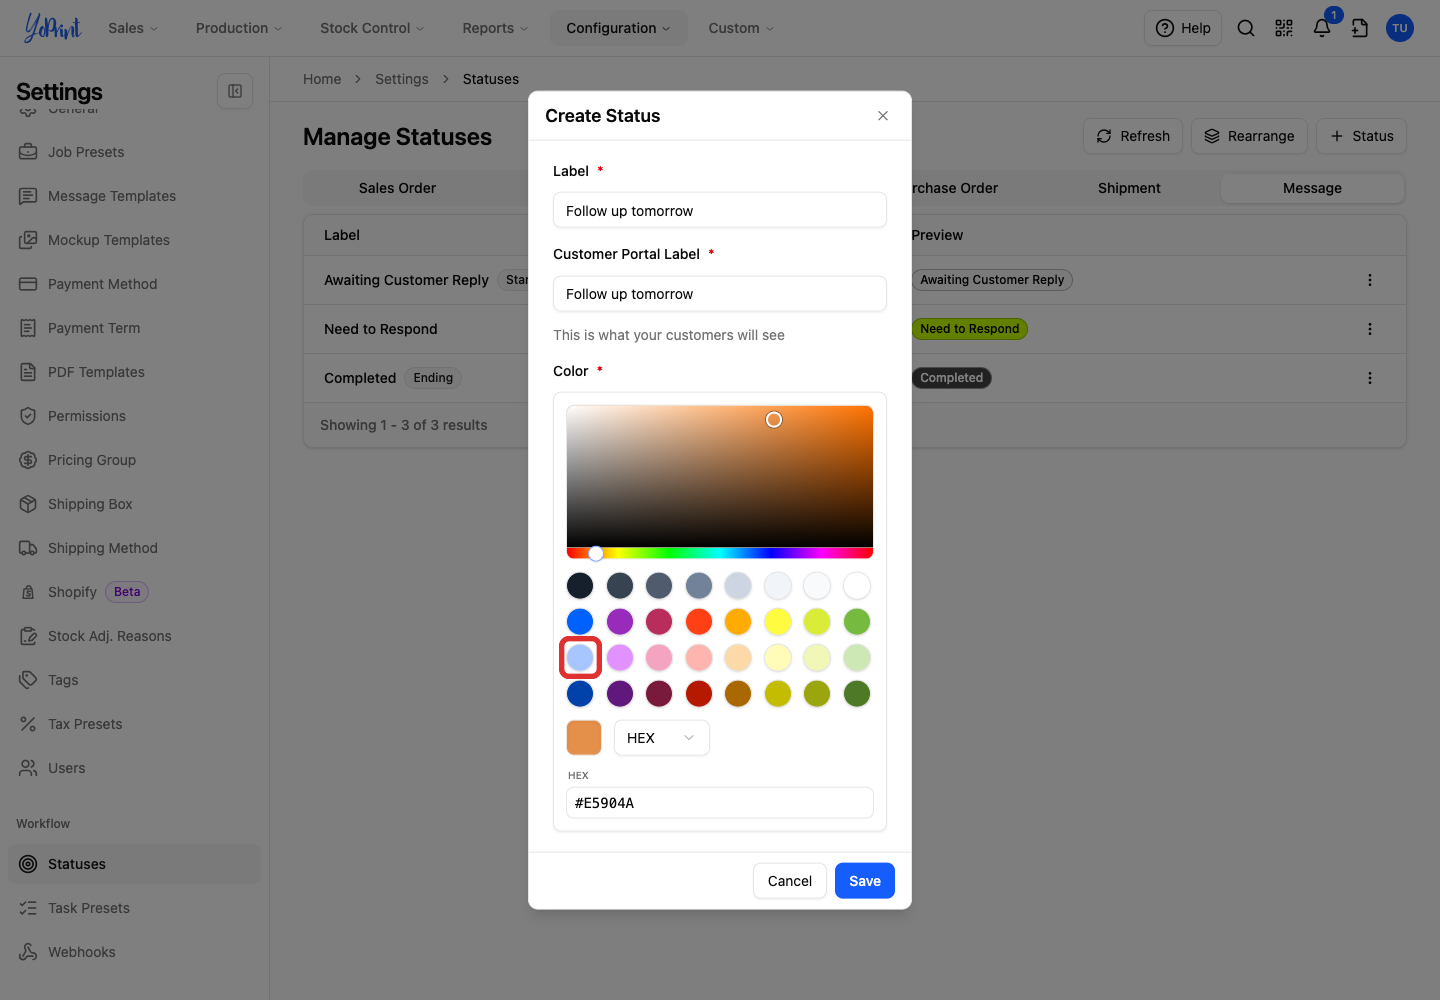
Choose a Color for the status.
-
Click Save.
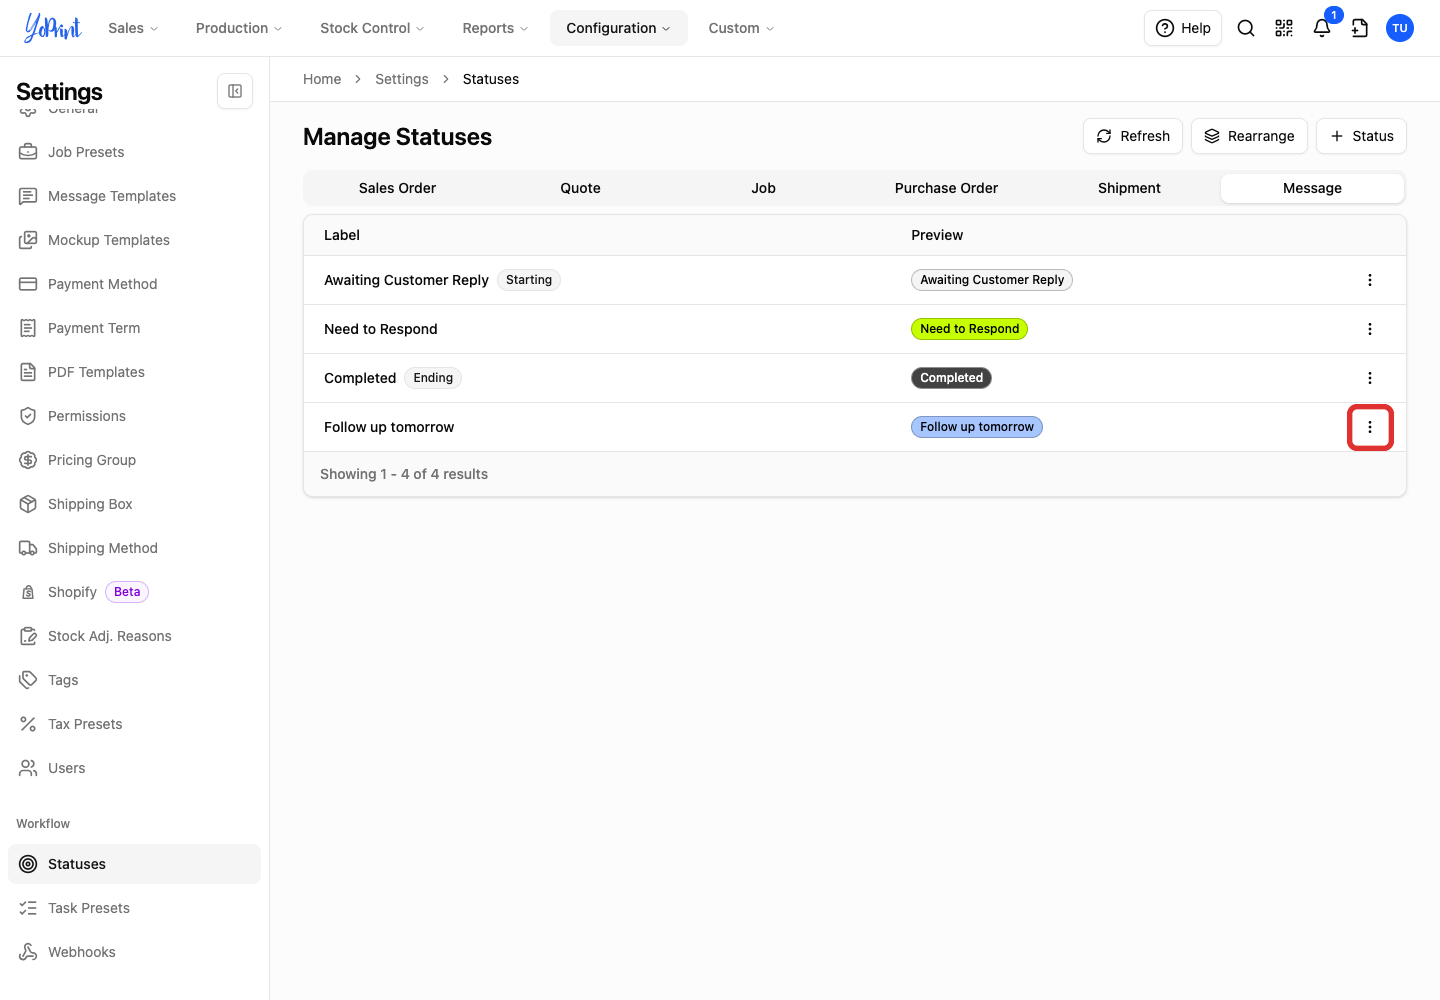
The new label appears in the Message list and is available when you assign a message status.
Edit a custom message status
On the Message tab in Statuses:
-
Open the three-dot menu beside the status.
-
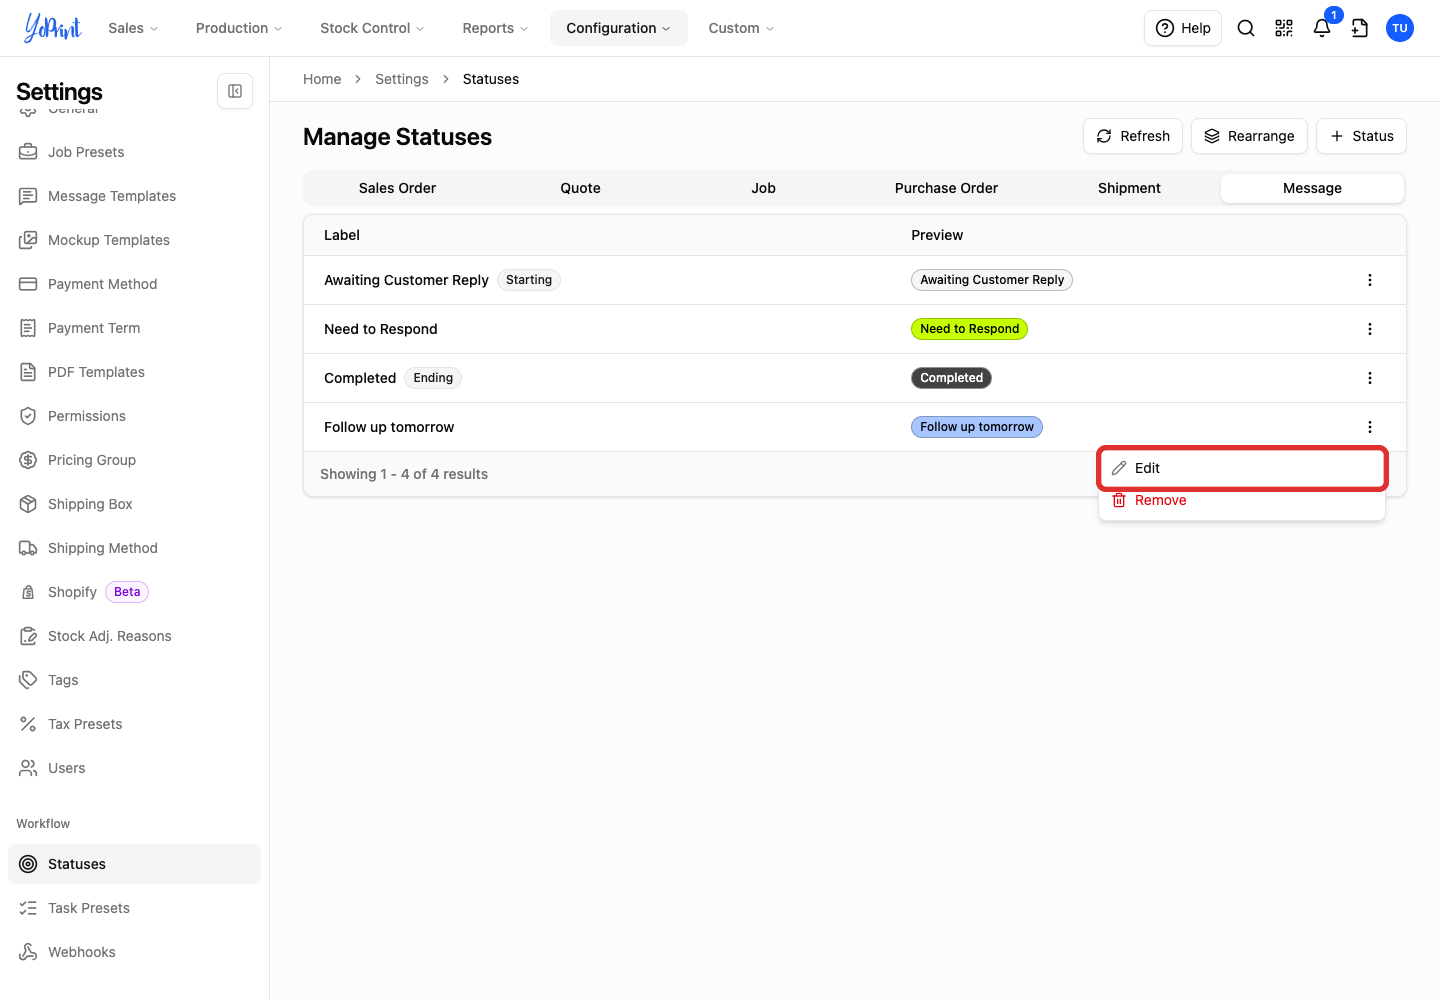
Choose Edit.
-
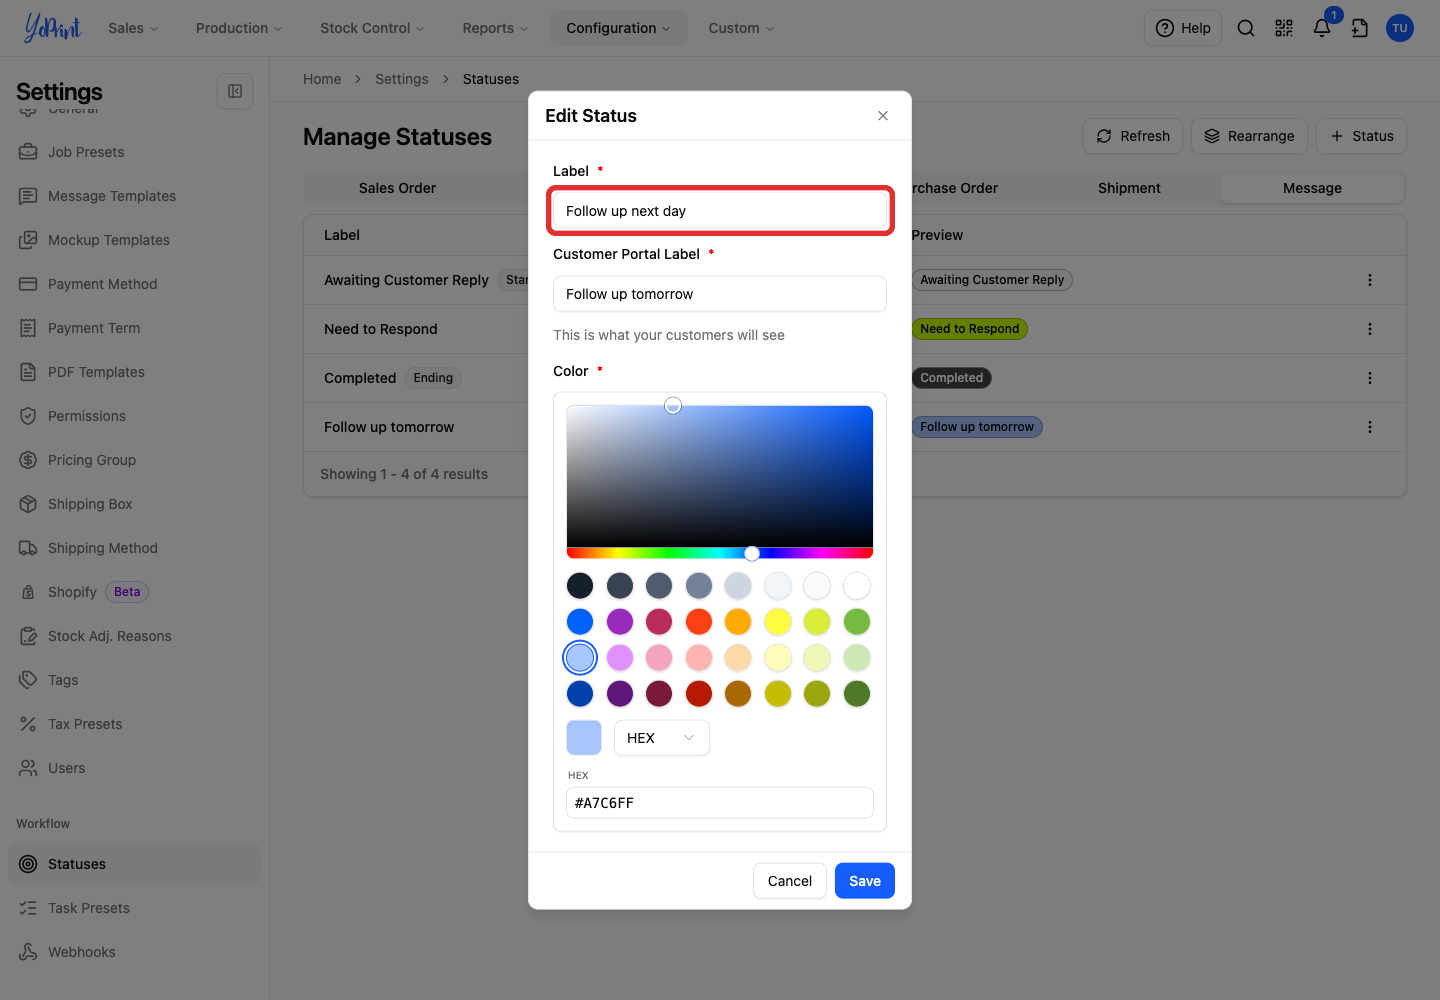
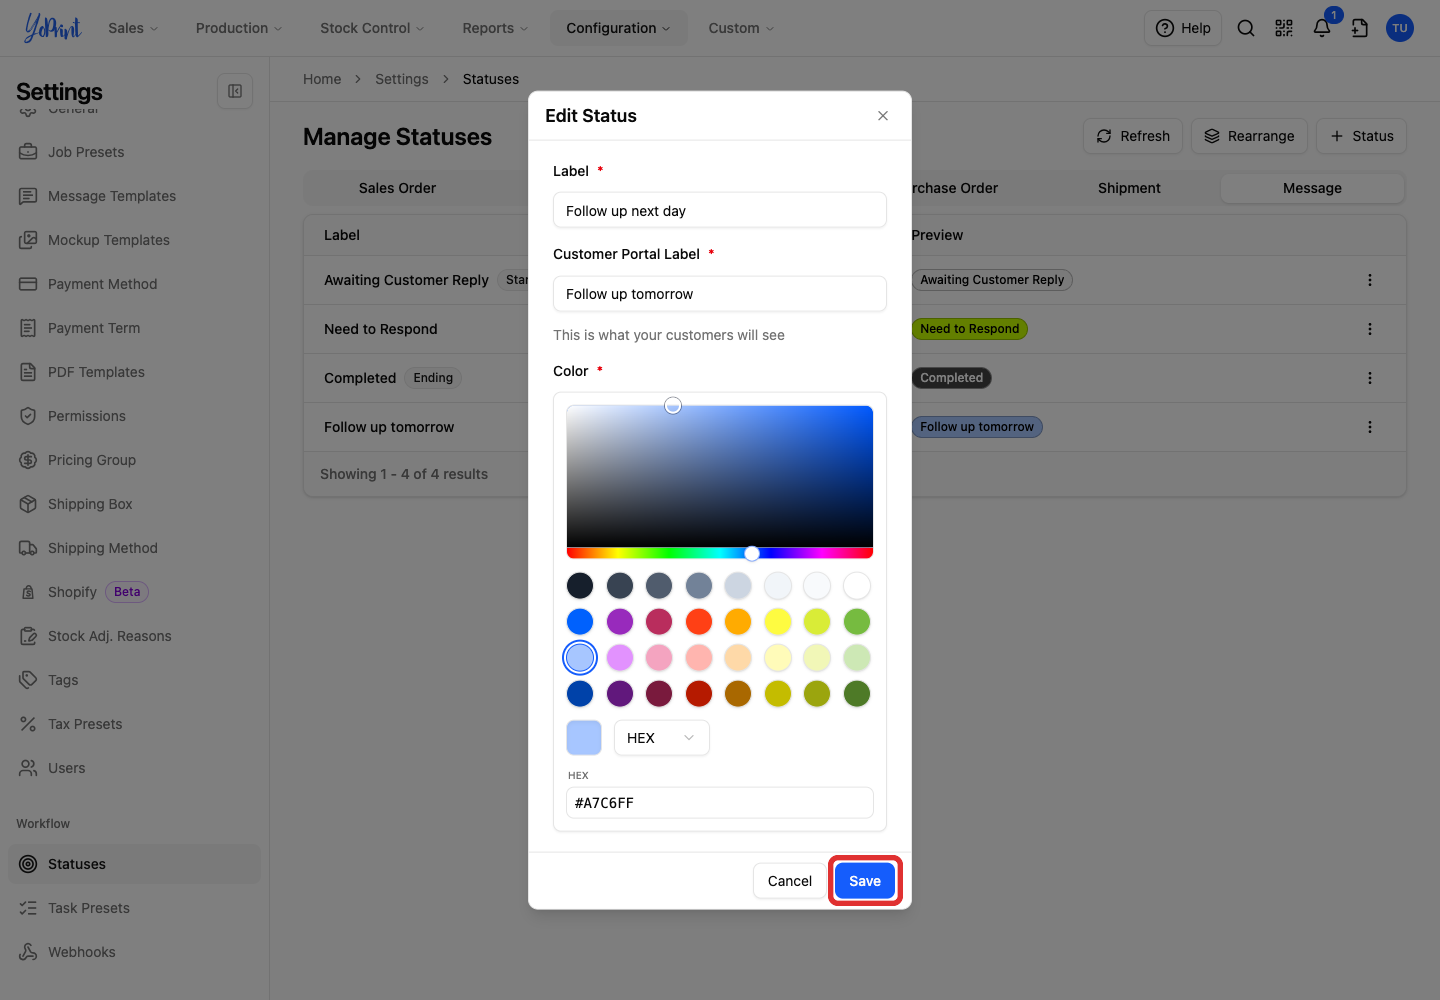
Update the fields you need. Here, Label changes to Follow up next day.
-
Click Save.
Rearrange message statuses
On the Message tab in Statuses:
-
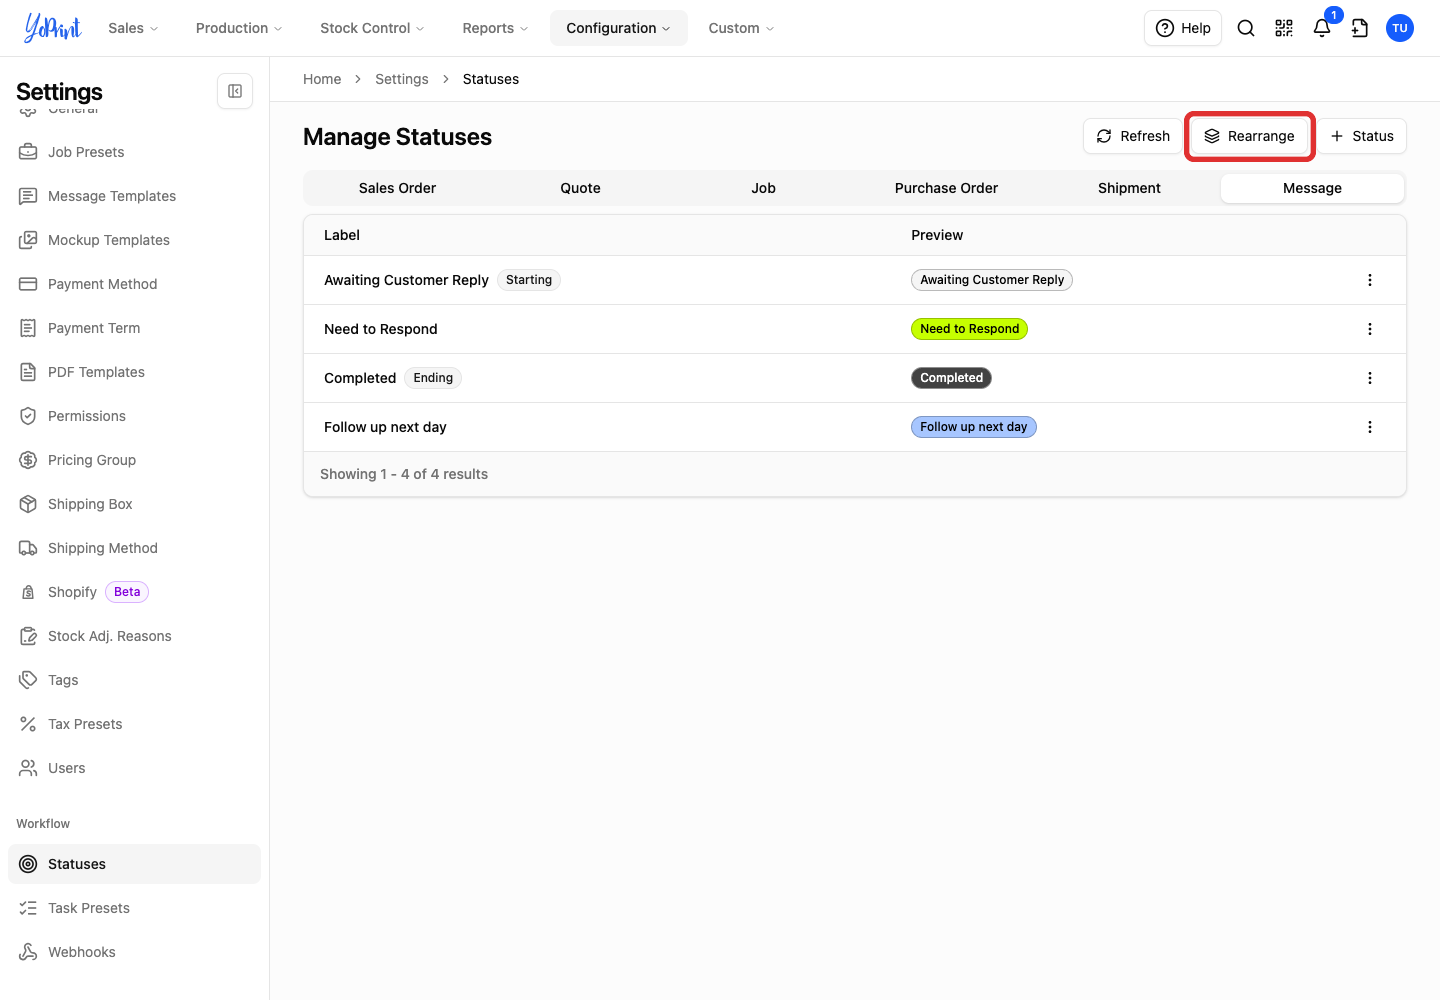
Click Rearrange. This opens the Rearrange Statuses dialog.
-
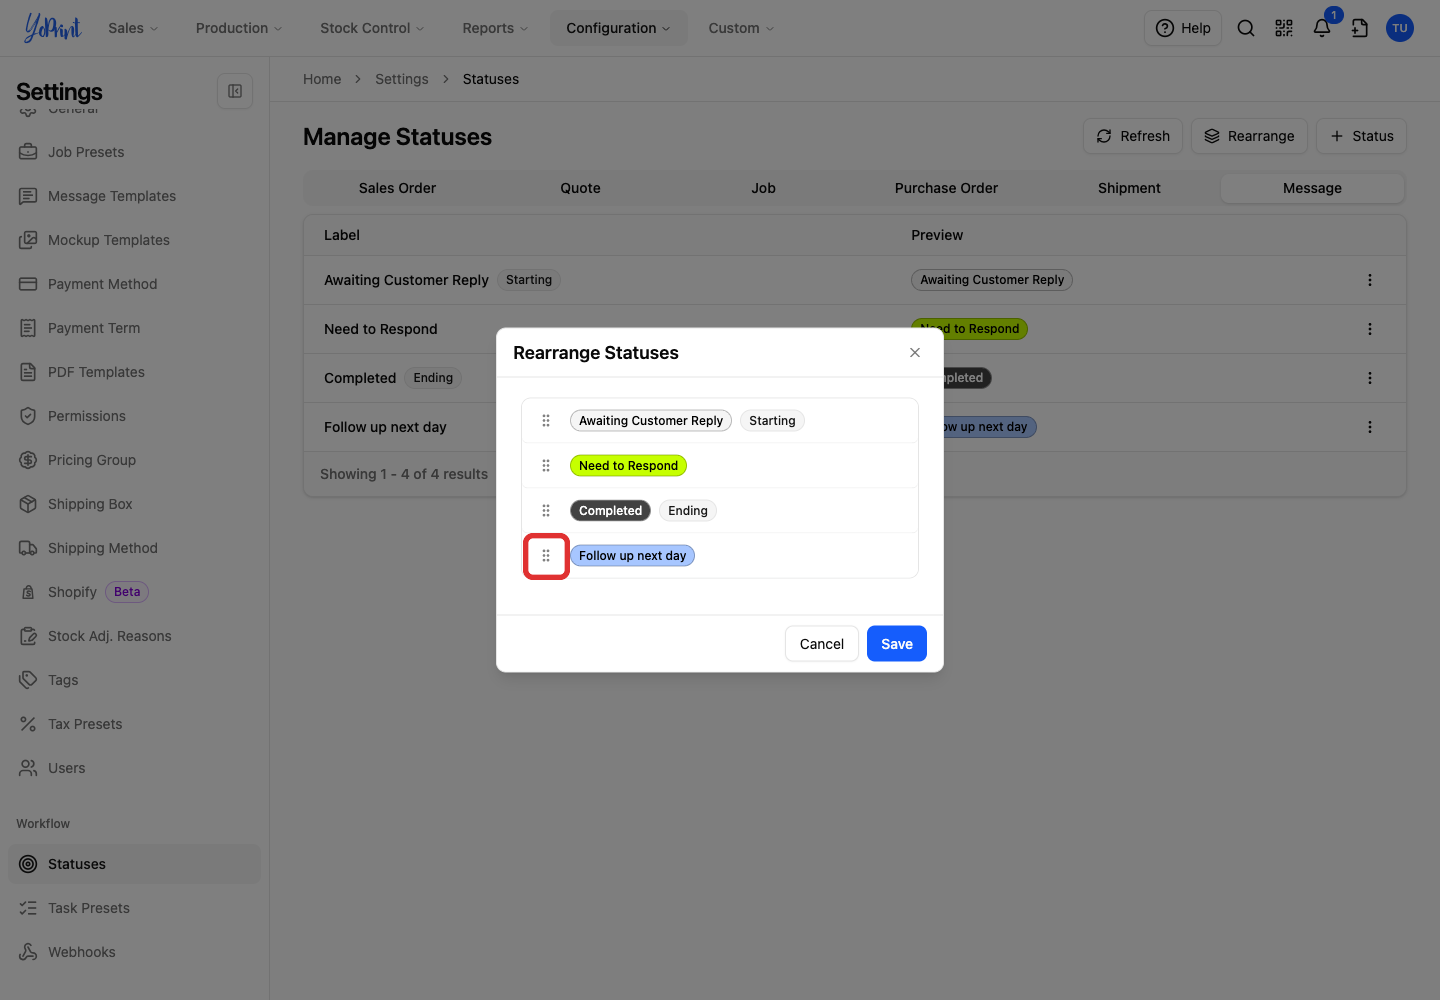
Drag a status by its handle to the position you want. Here, Follow up next day moves above Completed.
-
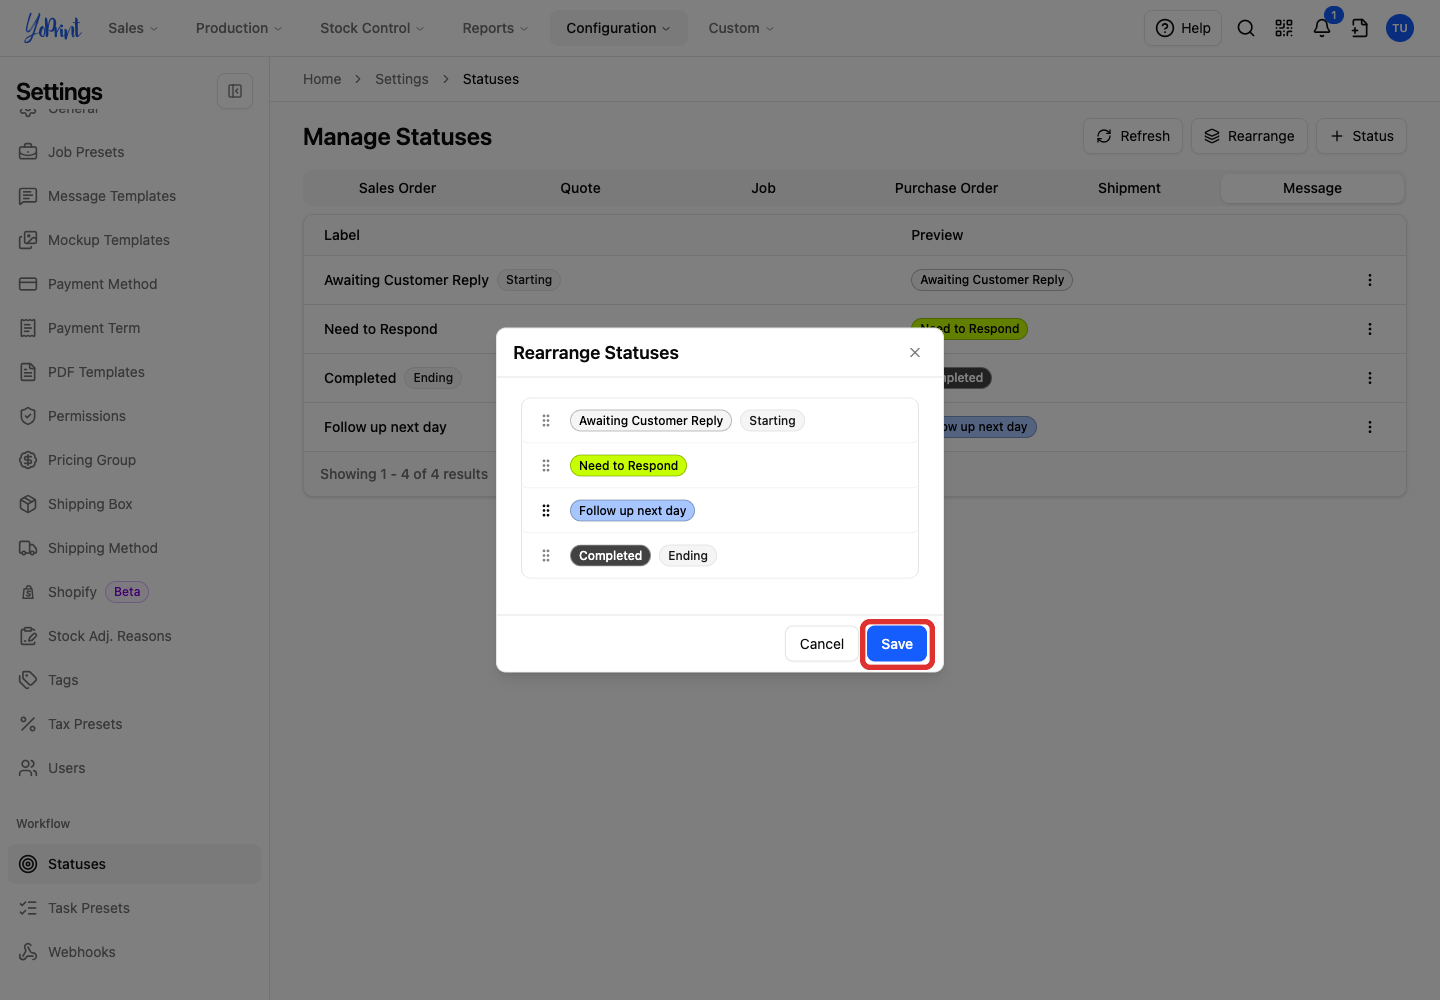
Click Save.
Remove a custom message status
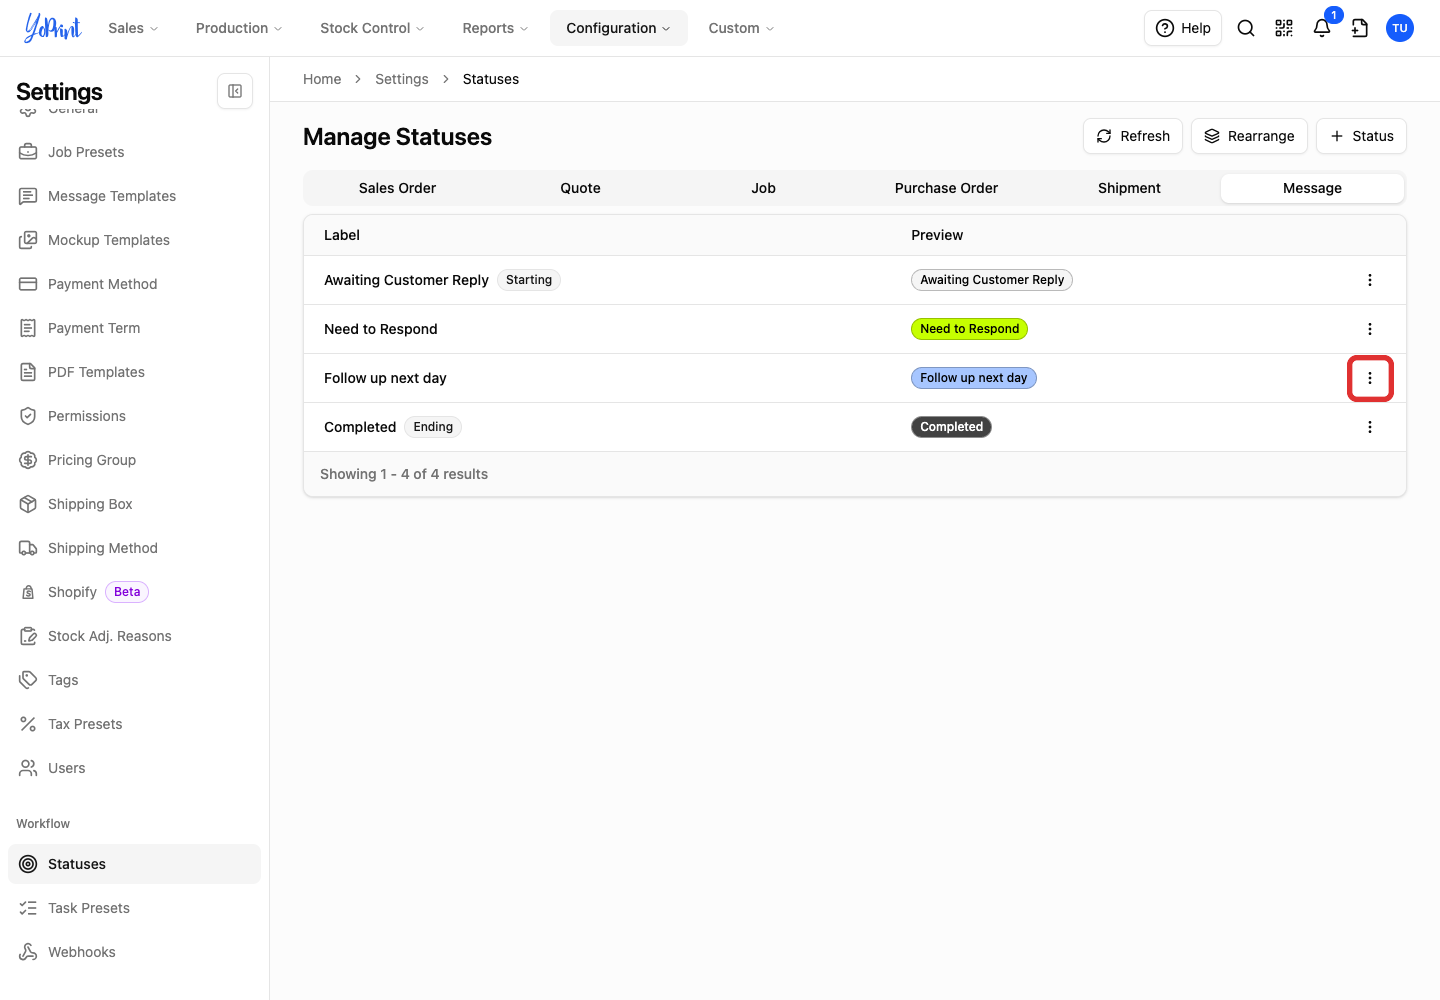
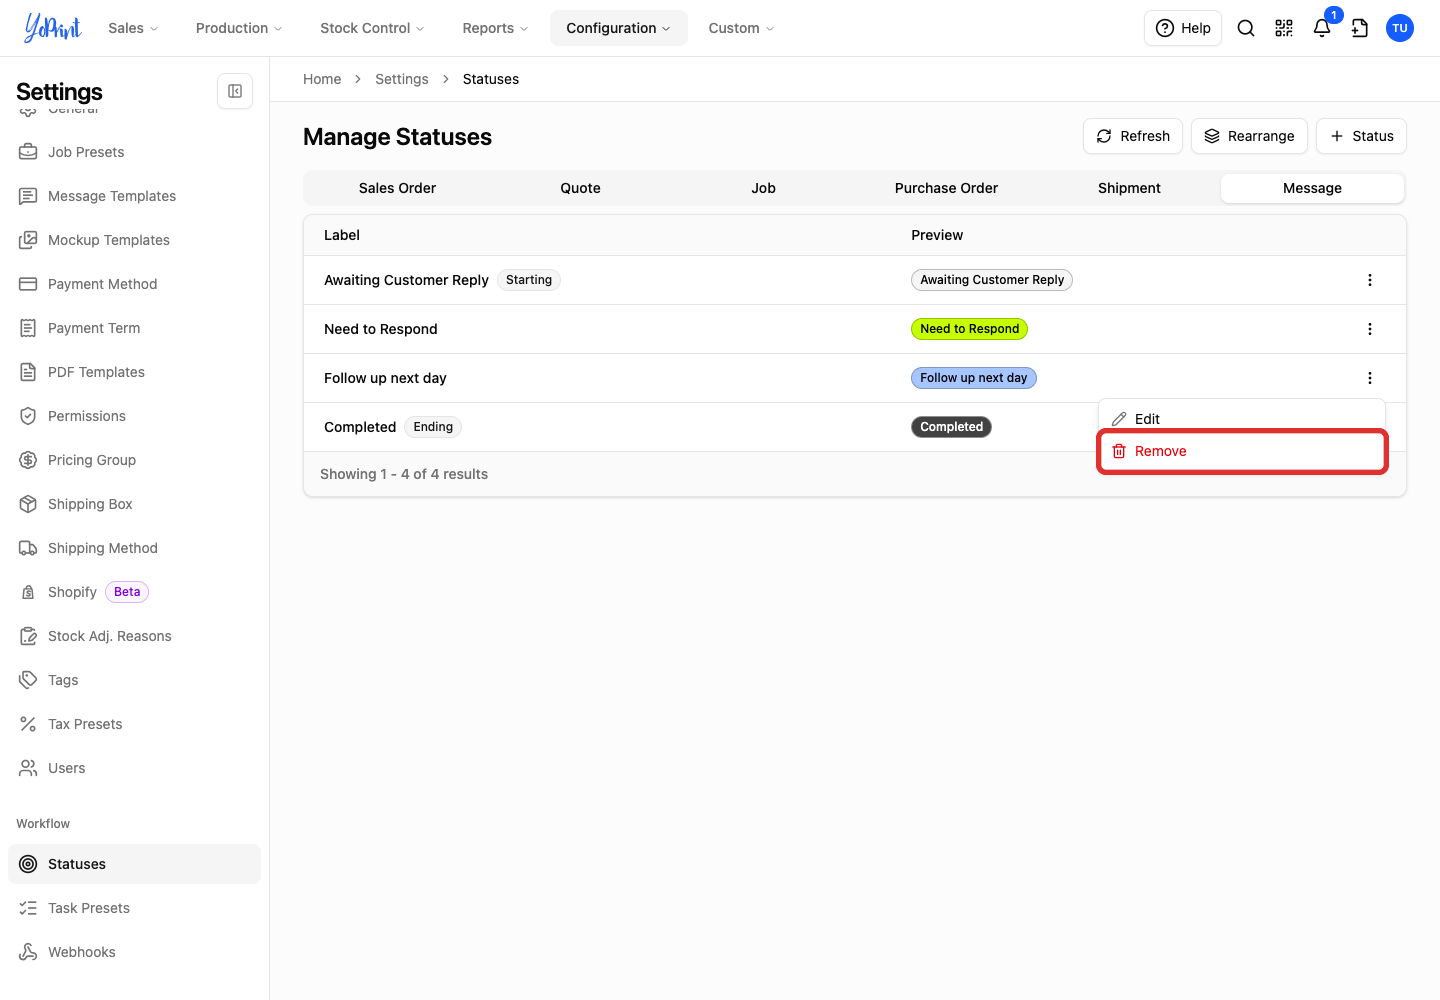
On the Message tab in Statuses, statuses marked Starting or Ending do not offer Remove. Default system statuses marked Starting (Awaiting Customer Reply) and Ending (Completed) are protected workflow anchors. Before removing a custom status, make sure no active messages use it.
-
Open the three-dot menu beside the custom status.
-
Choose Remove.
-
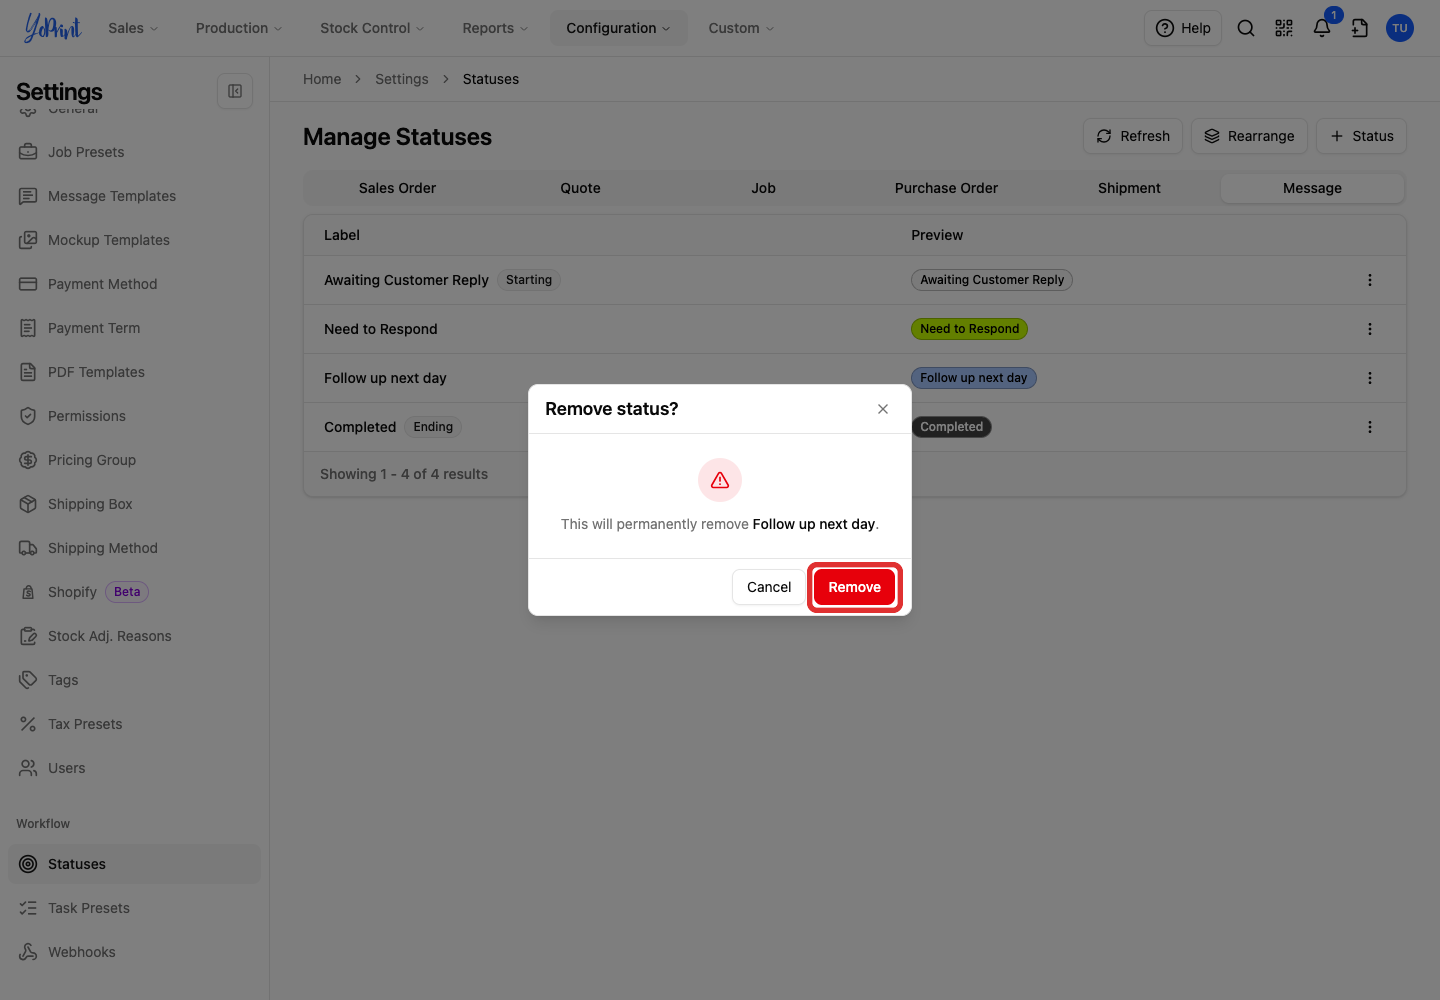
Check the label in the confirmation dialog, then click Remove.