Stock Adjustments Reasons
In this article
Use adjustment reasons to explain why your shop’s inventory changed, such as a recount or damaged products. Every stock adjustment requires a reason. The enabled reasons from this page appear in the Reason dropdown when you create a stock adjustment.
Open Stock Adjustment Reasons
-
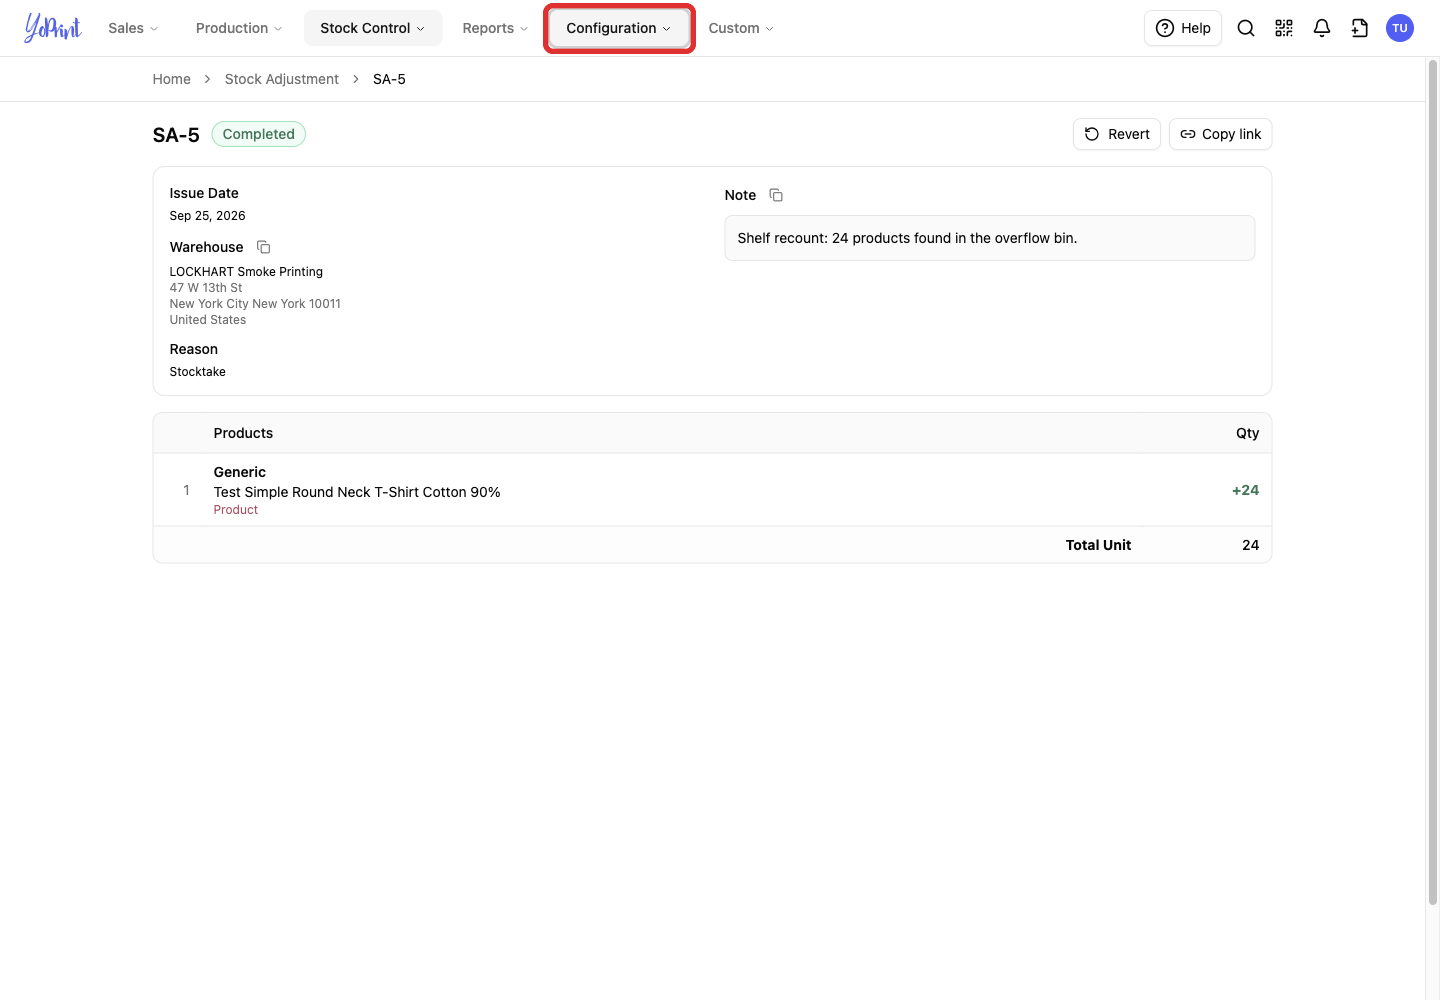
Click Configuration in the navigation bar at the top of the page.
-
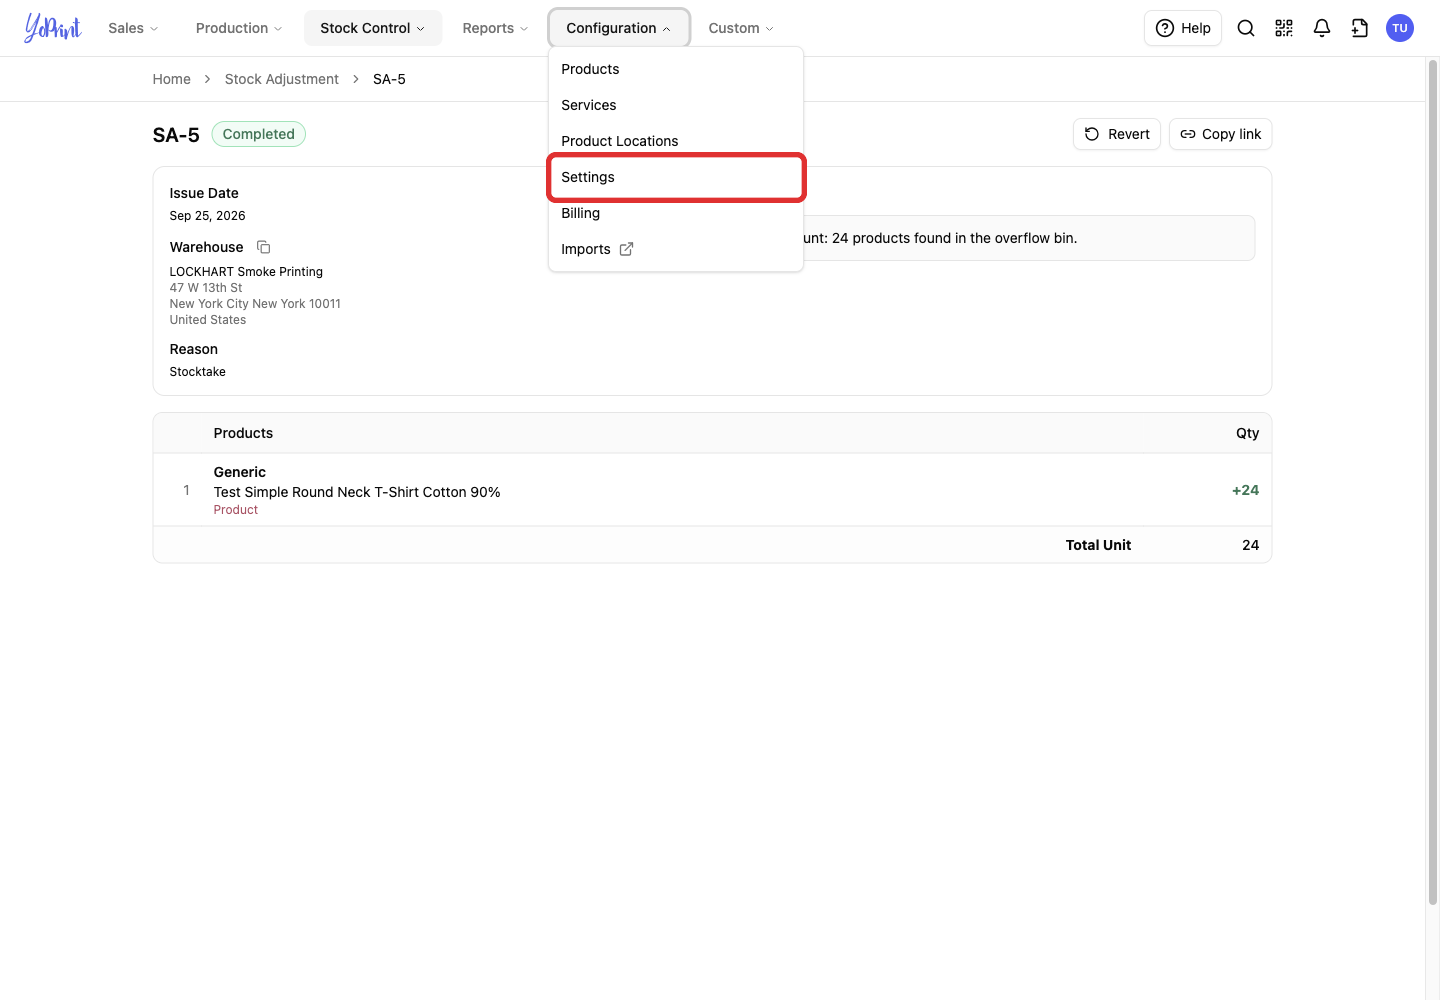
Choose Settings from the menu.
-
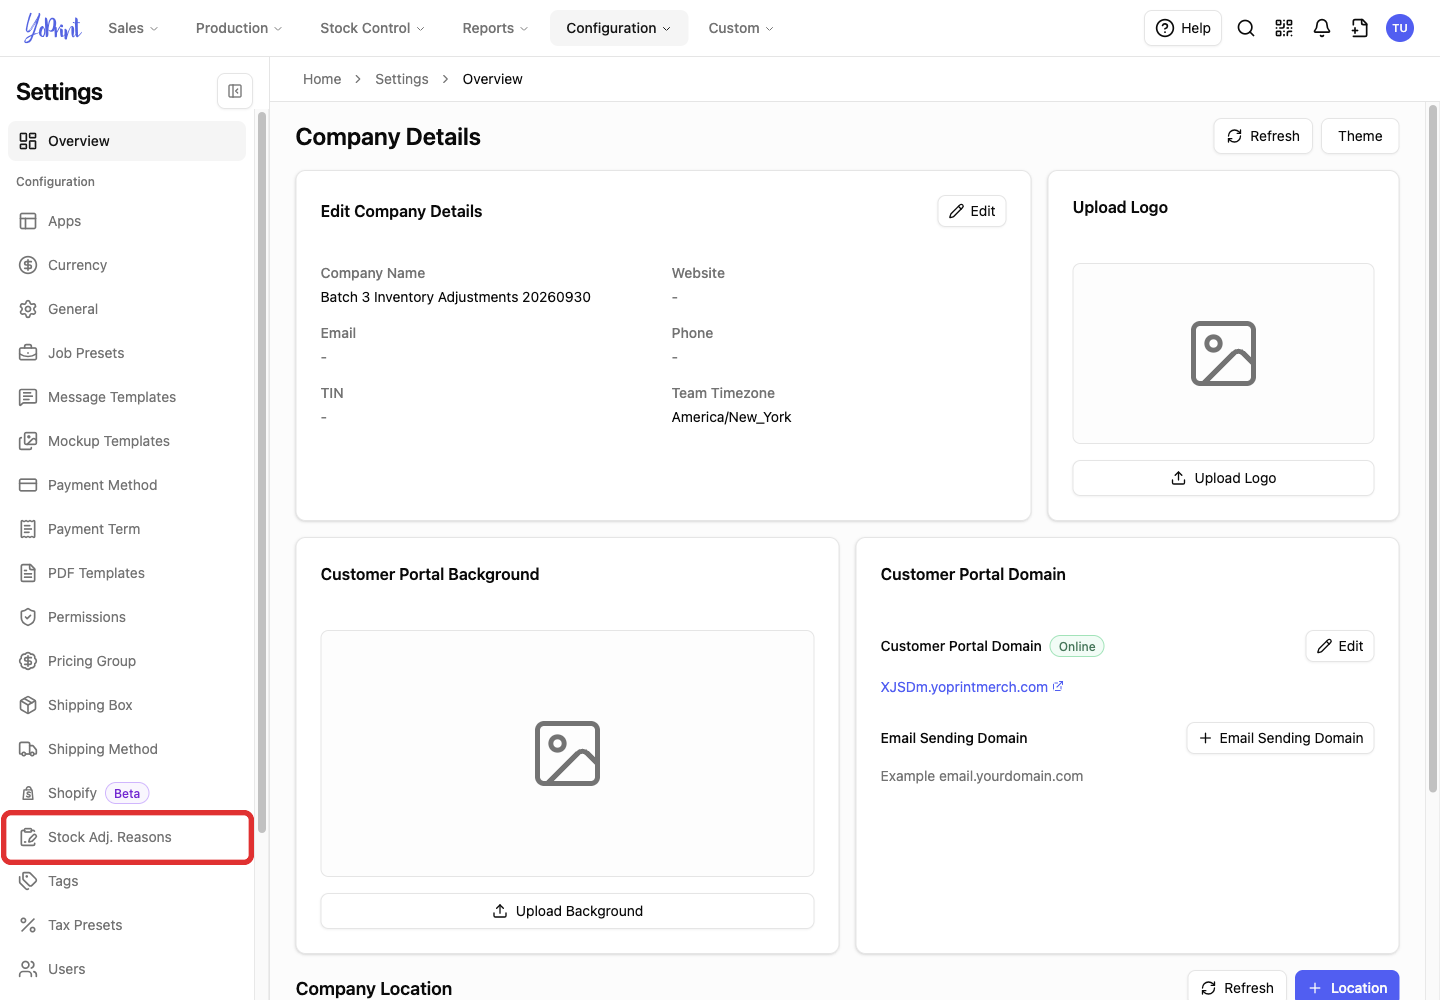
Select Stock Adj. Reasons in the Settings sidebar.
Understand system and custom reasons
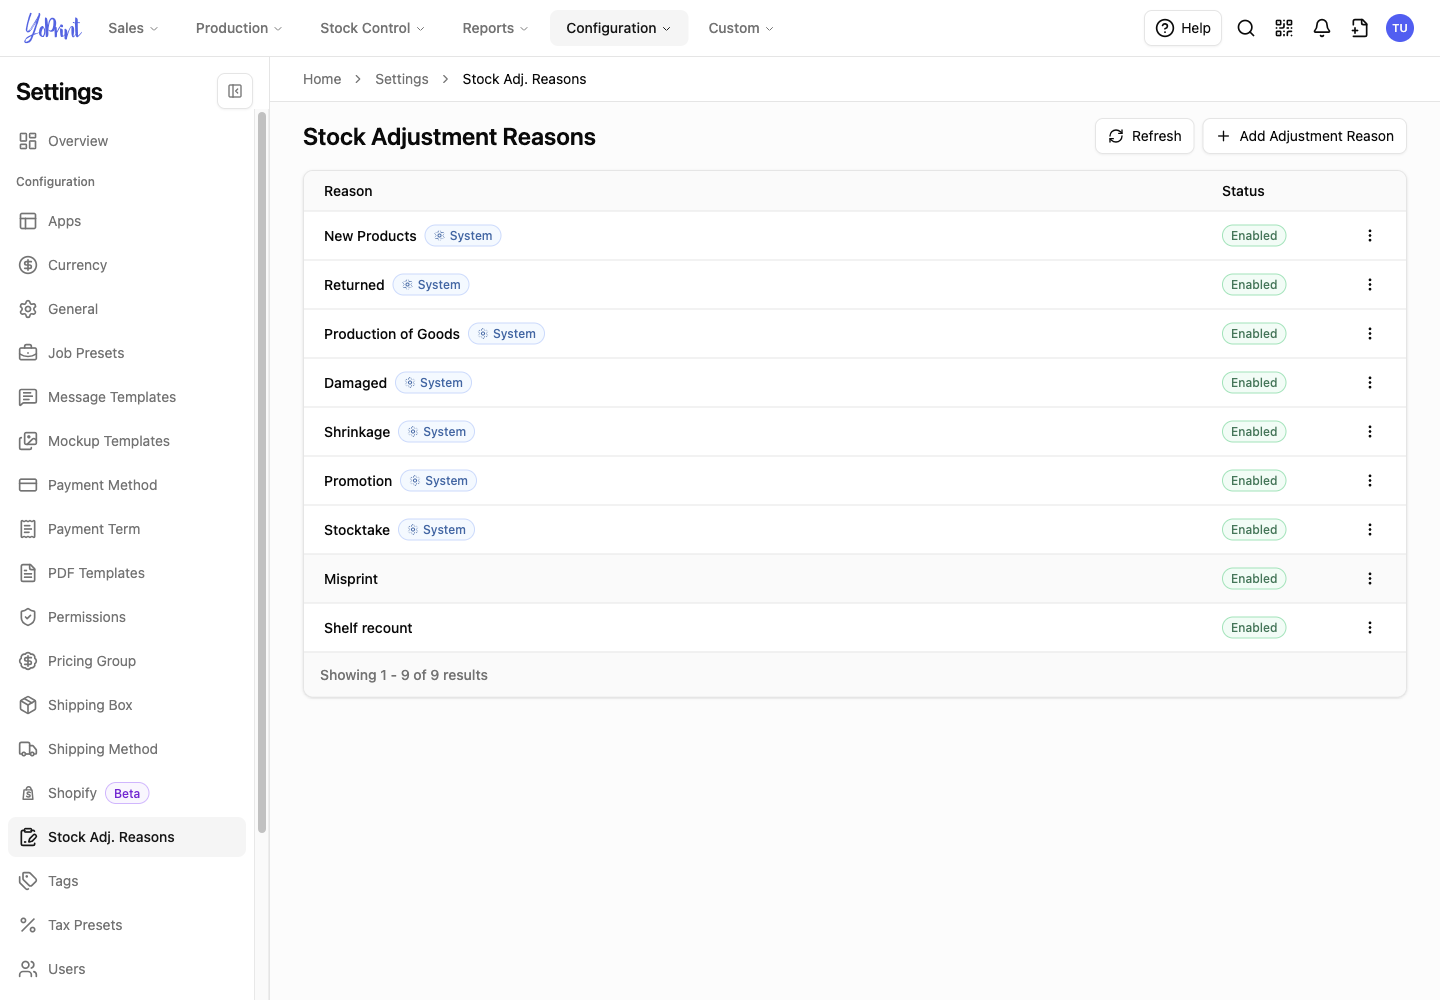
Reasons marked System come with YoPrint. You can rename them, but you cannot turn off their Enabled status. Their Edit dialog has no Enabled checkbox.
Reasons you add are custom reasons. They have no System badge. You can rename, disable, enable, or remove them. Use a custom reason for a shop-specific category that you may want to hide later.
Add a custom reason
-
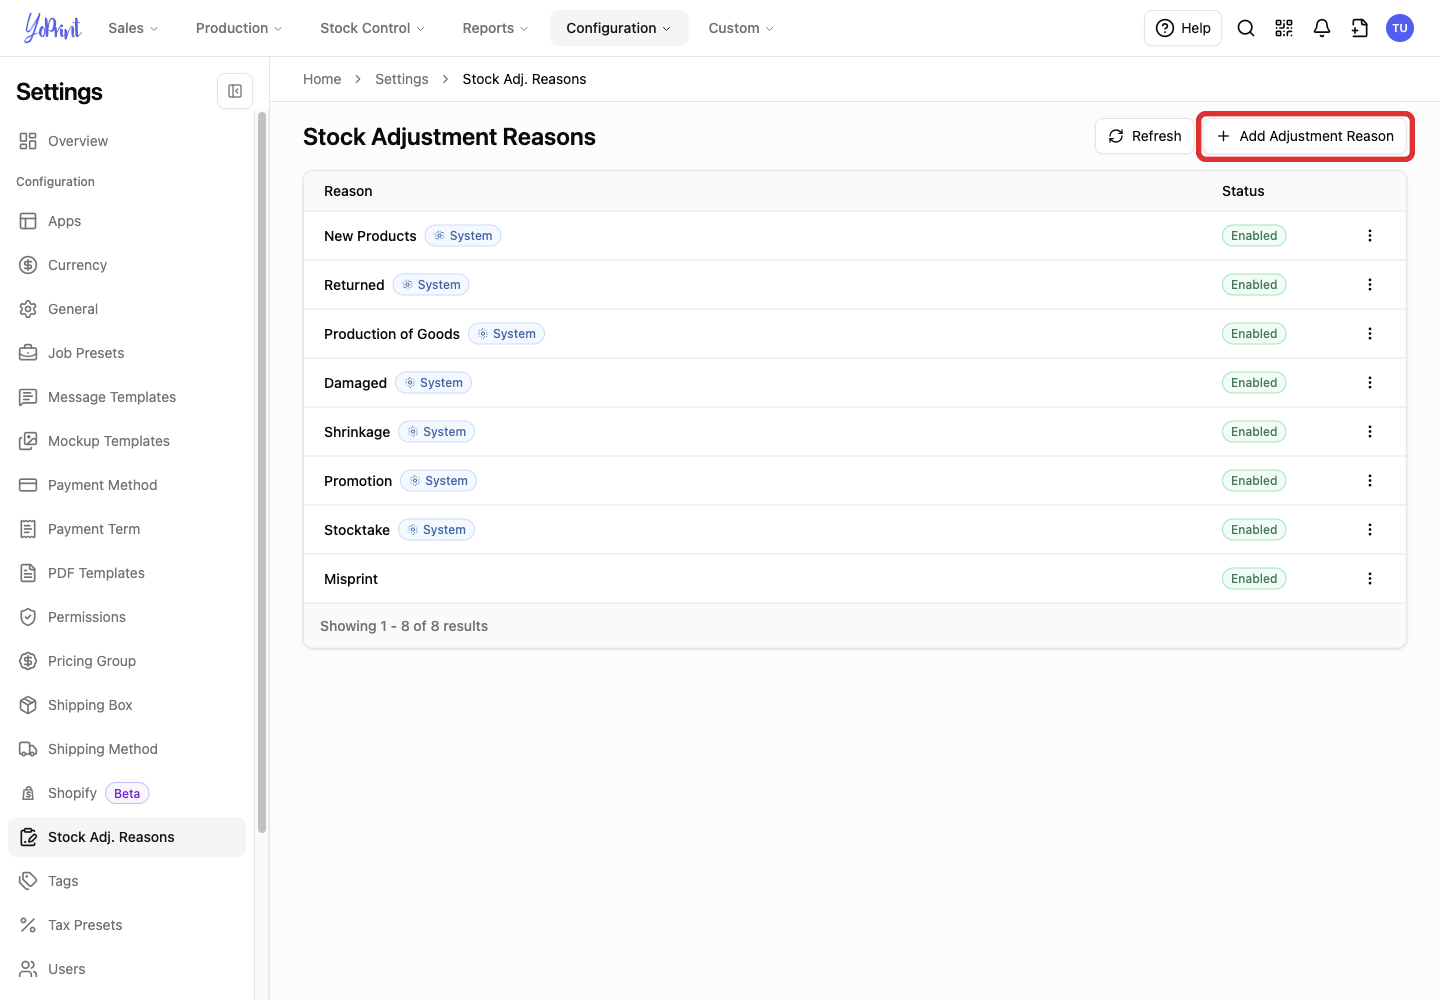
Click Add Adjustment Reason at the top right of the list page.
-
Enter a name in Reason. Use a name that is different from the reasons already listed, so staff can tell them apart.
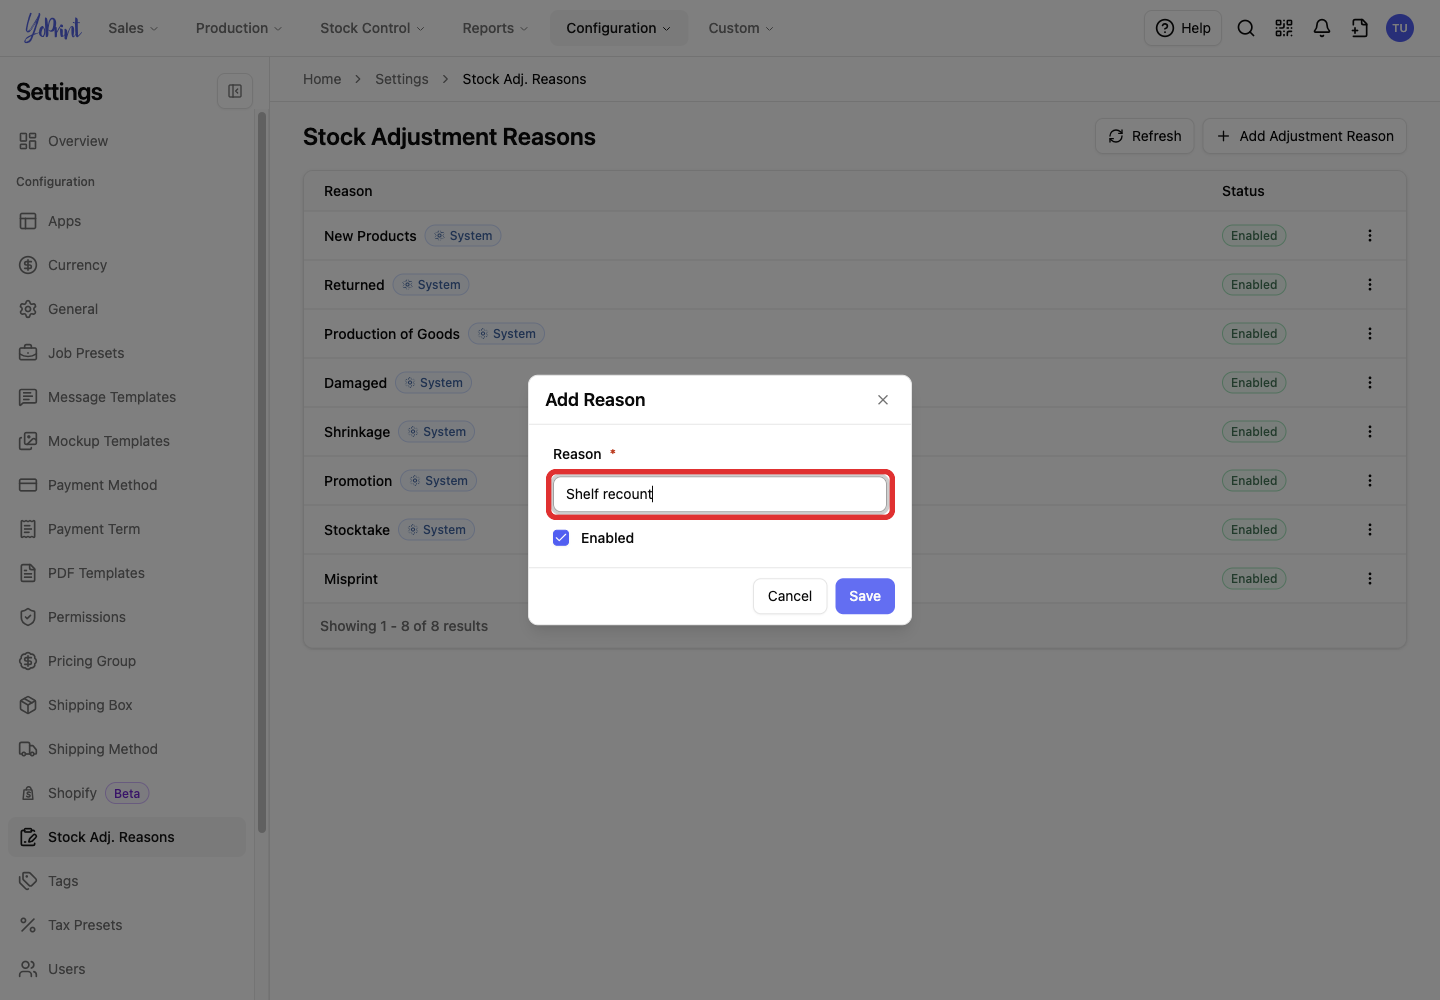
Enabled is selected by default. Leave it selected for a reason staff can use now. A disabled reason stays in Settings for later use, such as a seasonal promotion.
-
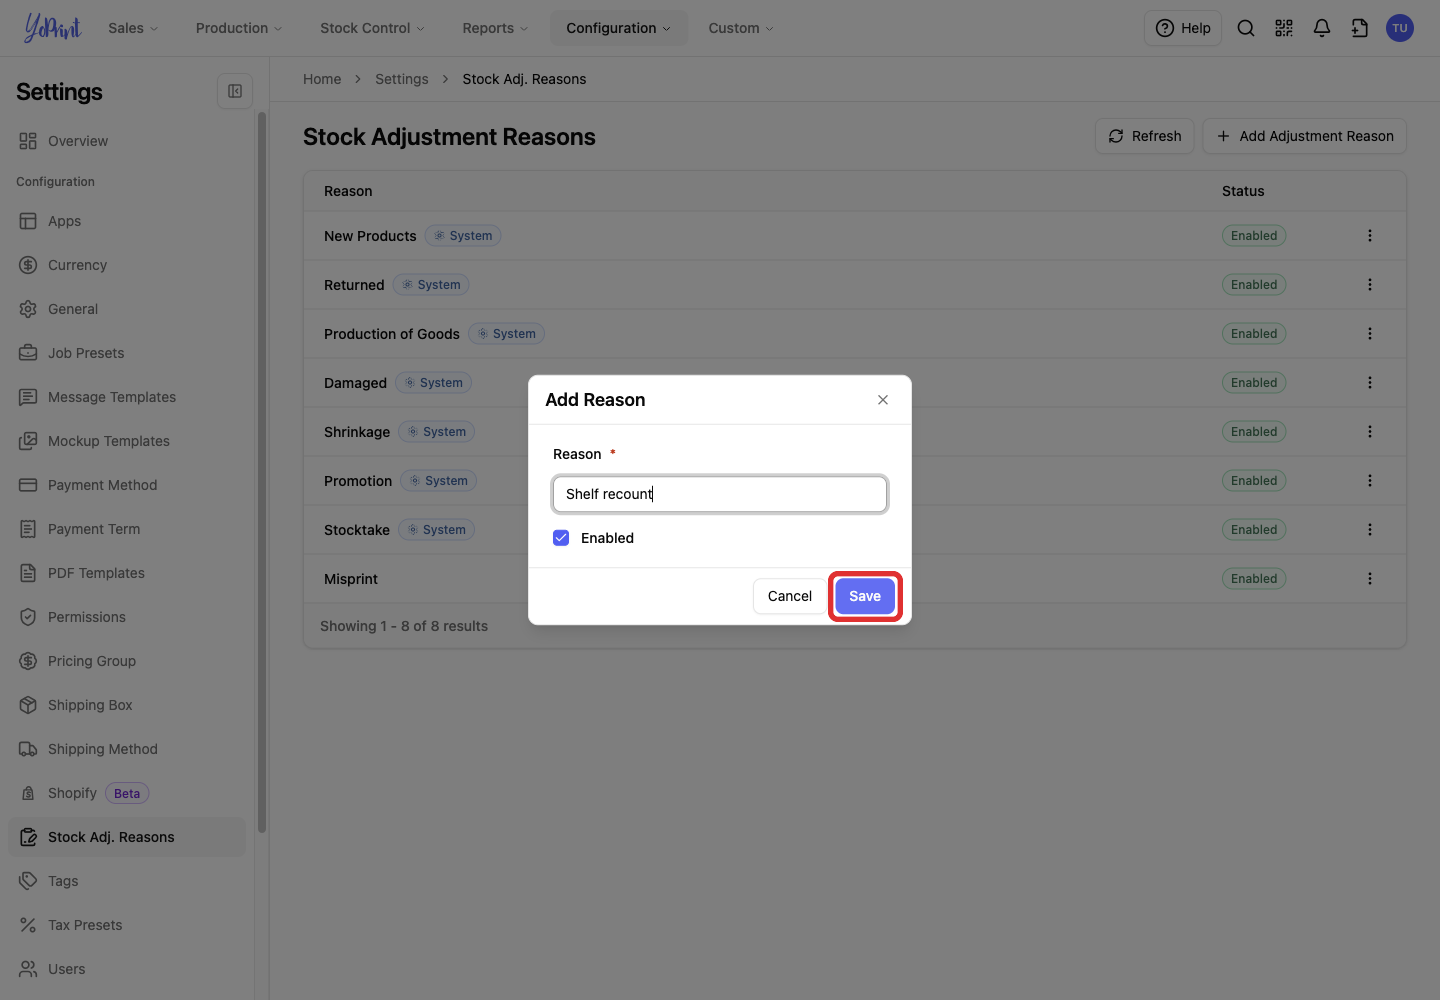
Click Save to add the reason.
Edit a reason
Renaming a reason changes the choice offered for new adjustments. Saved adjustments keep the reason text they already contain.
-
Open the reason’s three-dot More actions menu.
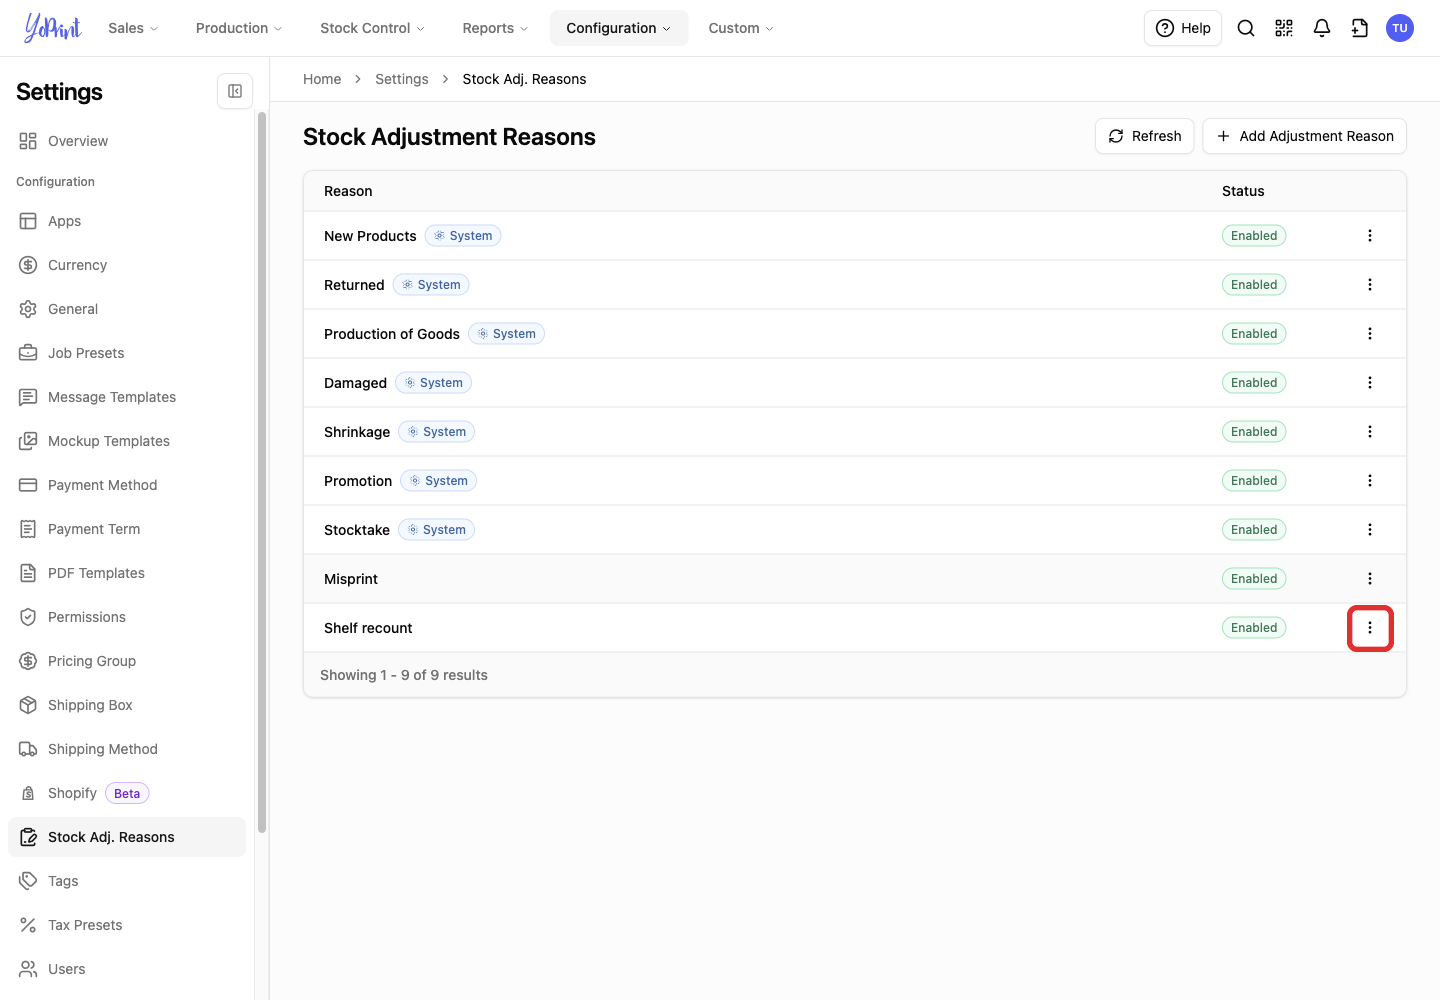
-
Choose Edit.
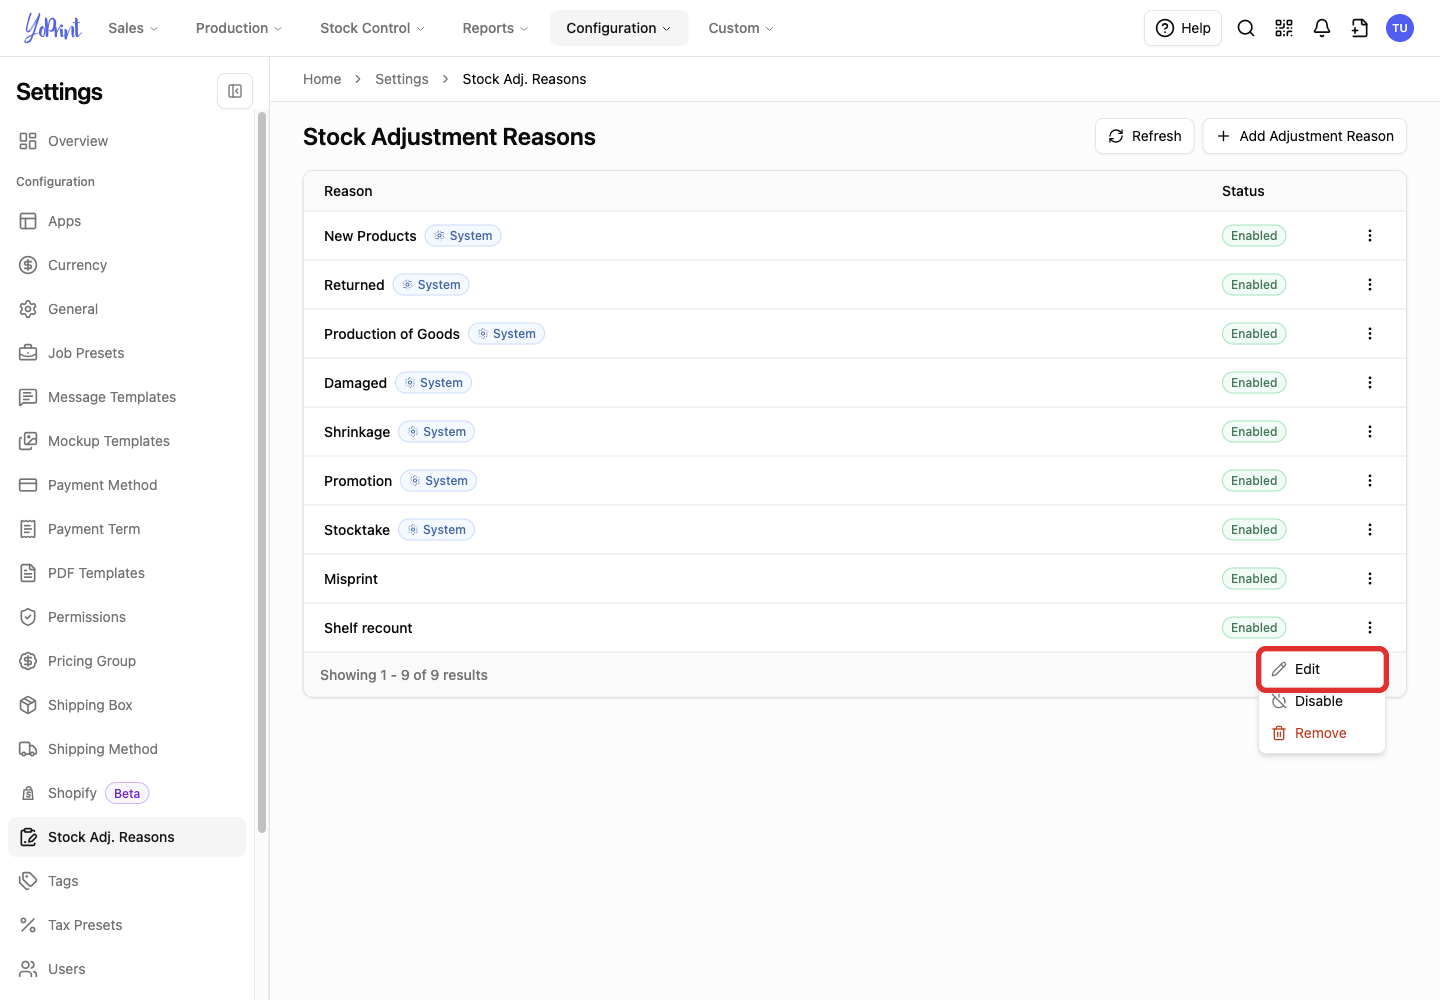
Double-clicking a custom reason’s row opens the same Edit Reason dialog. A single click on the row does not open it.
-
Update the Reason name.
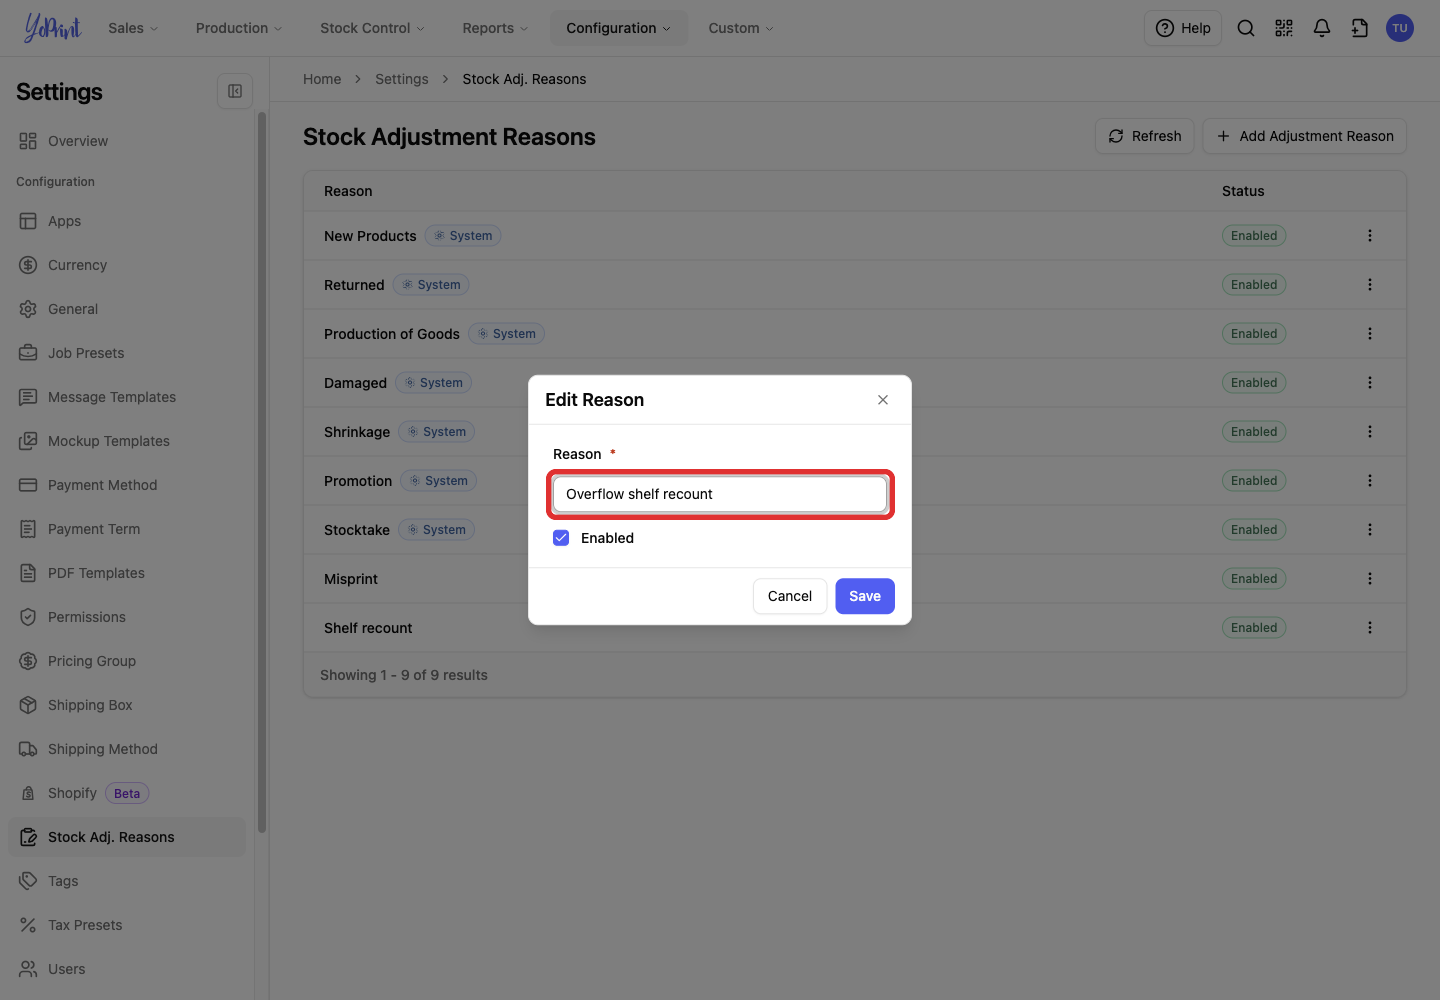
-
Click Save.
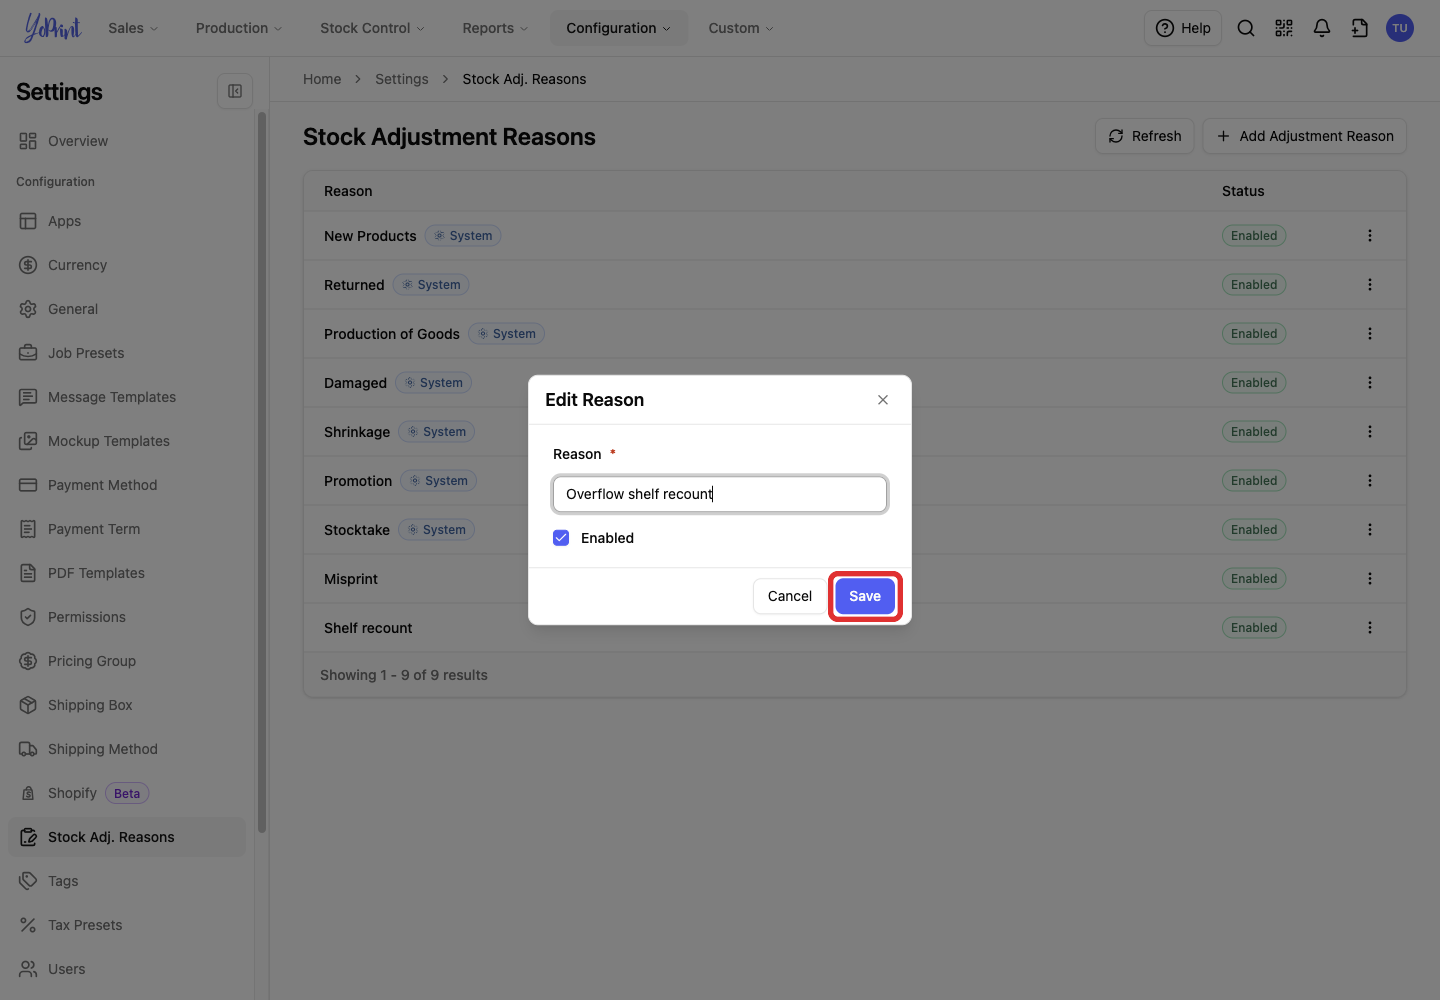
Disable or enable a custom reason
Disabling a custom reason hides it from the choices on new adjustments. It keeps the reason in Settings and does not change the reason on saved adjustments. The status button is locked for System reasons.
-
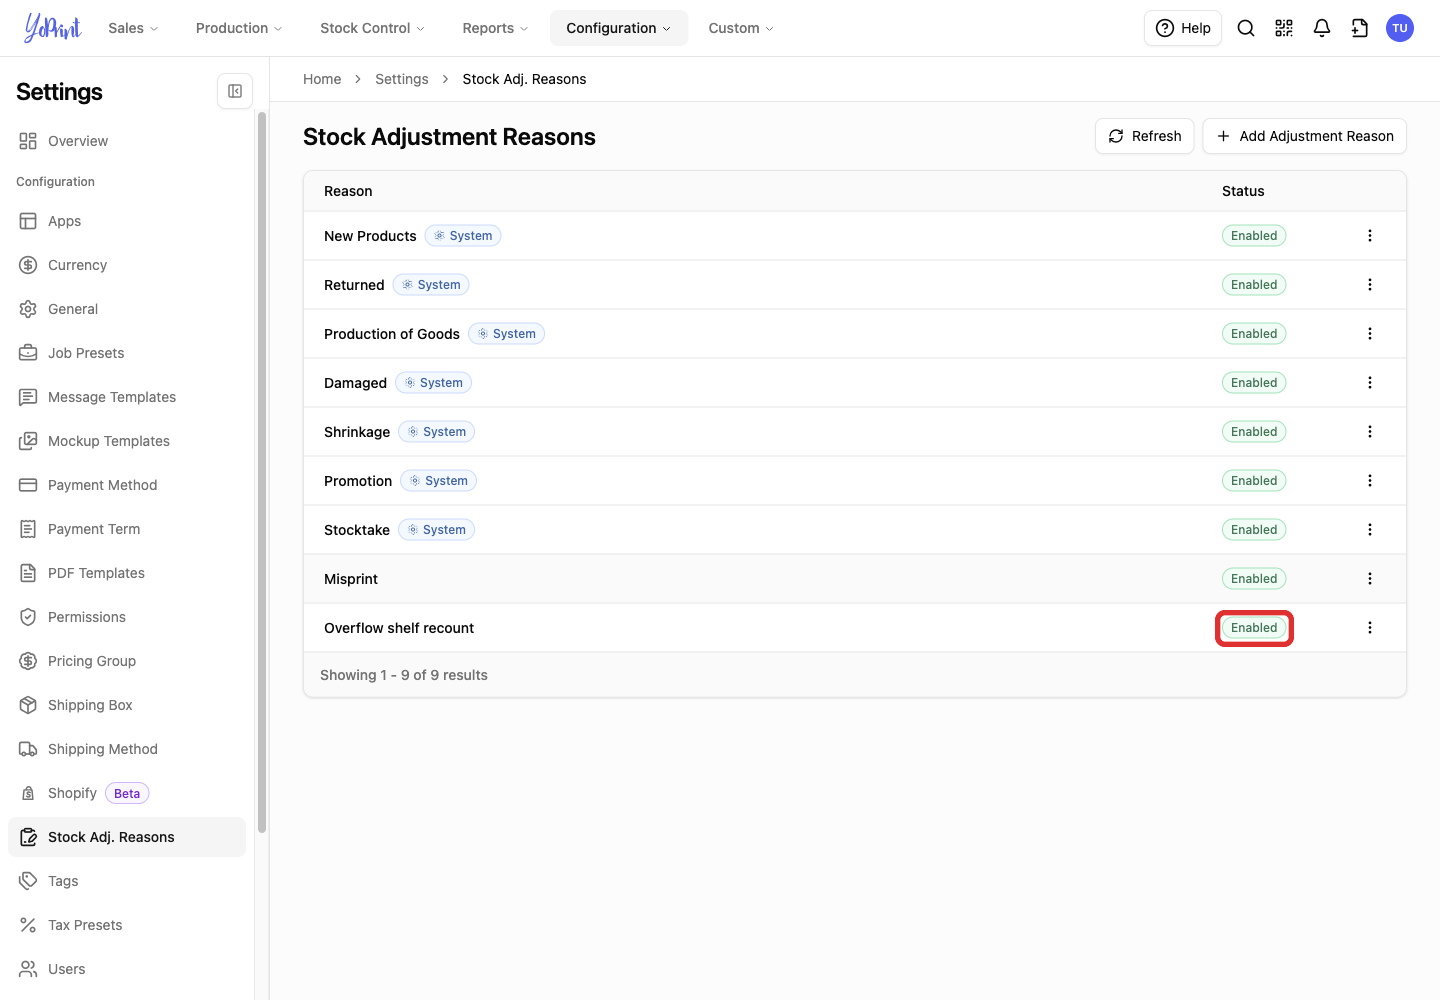
Click Enabled in the custom reason’s Status column to turn it off. Its status changes to Disabled.
-
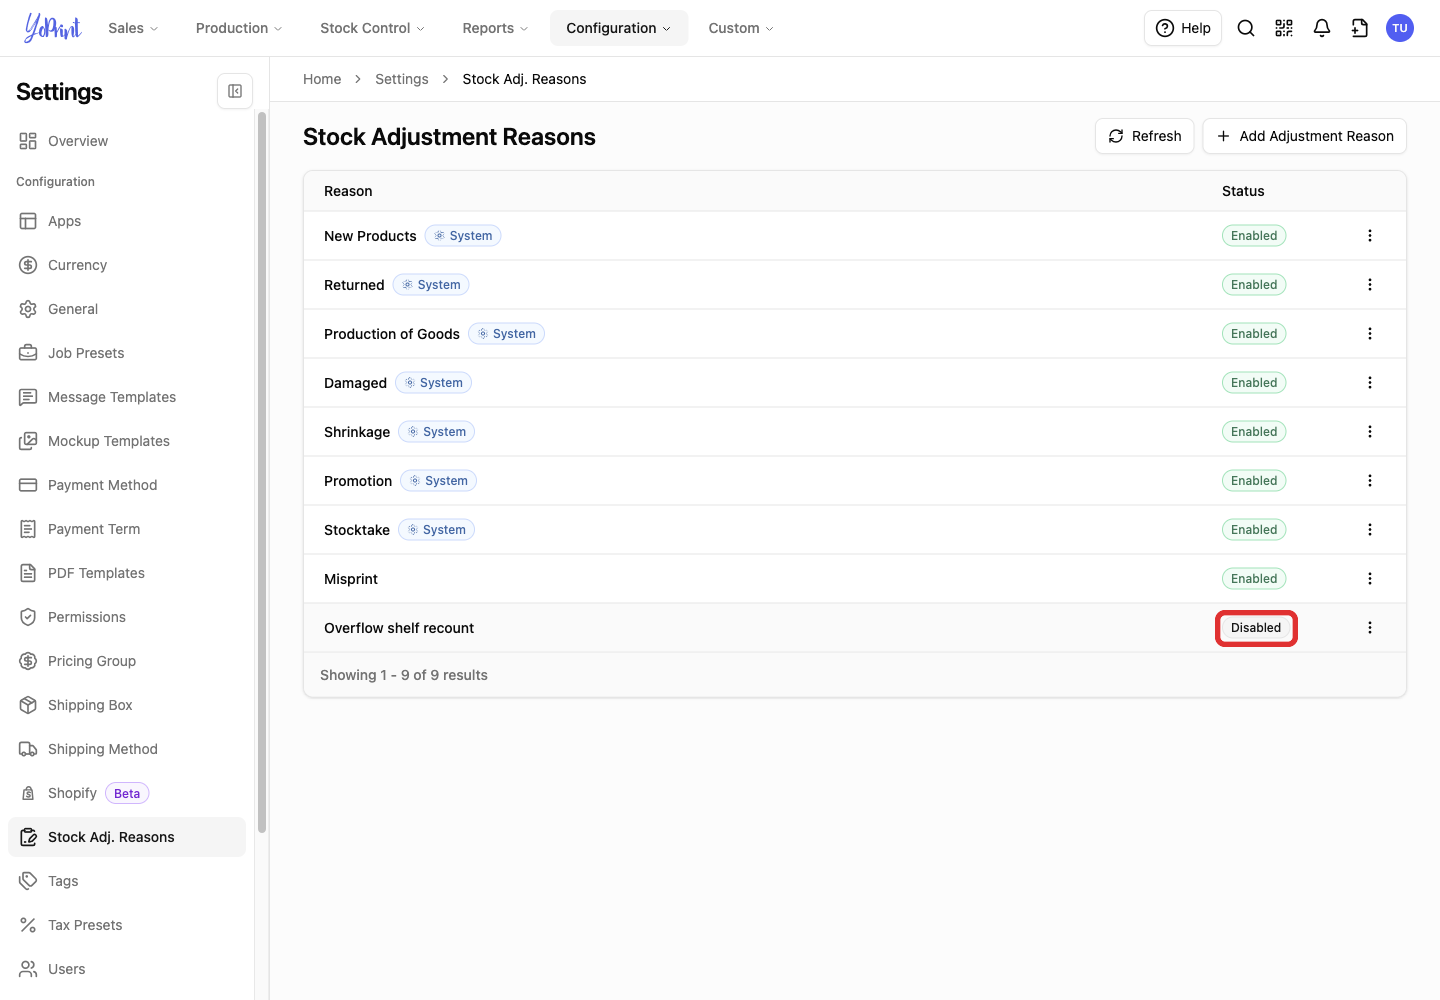
Click Disabled when you want the reason available again. Its status changes to Enabled.
Use a reason on a stock adjustment
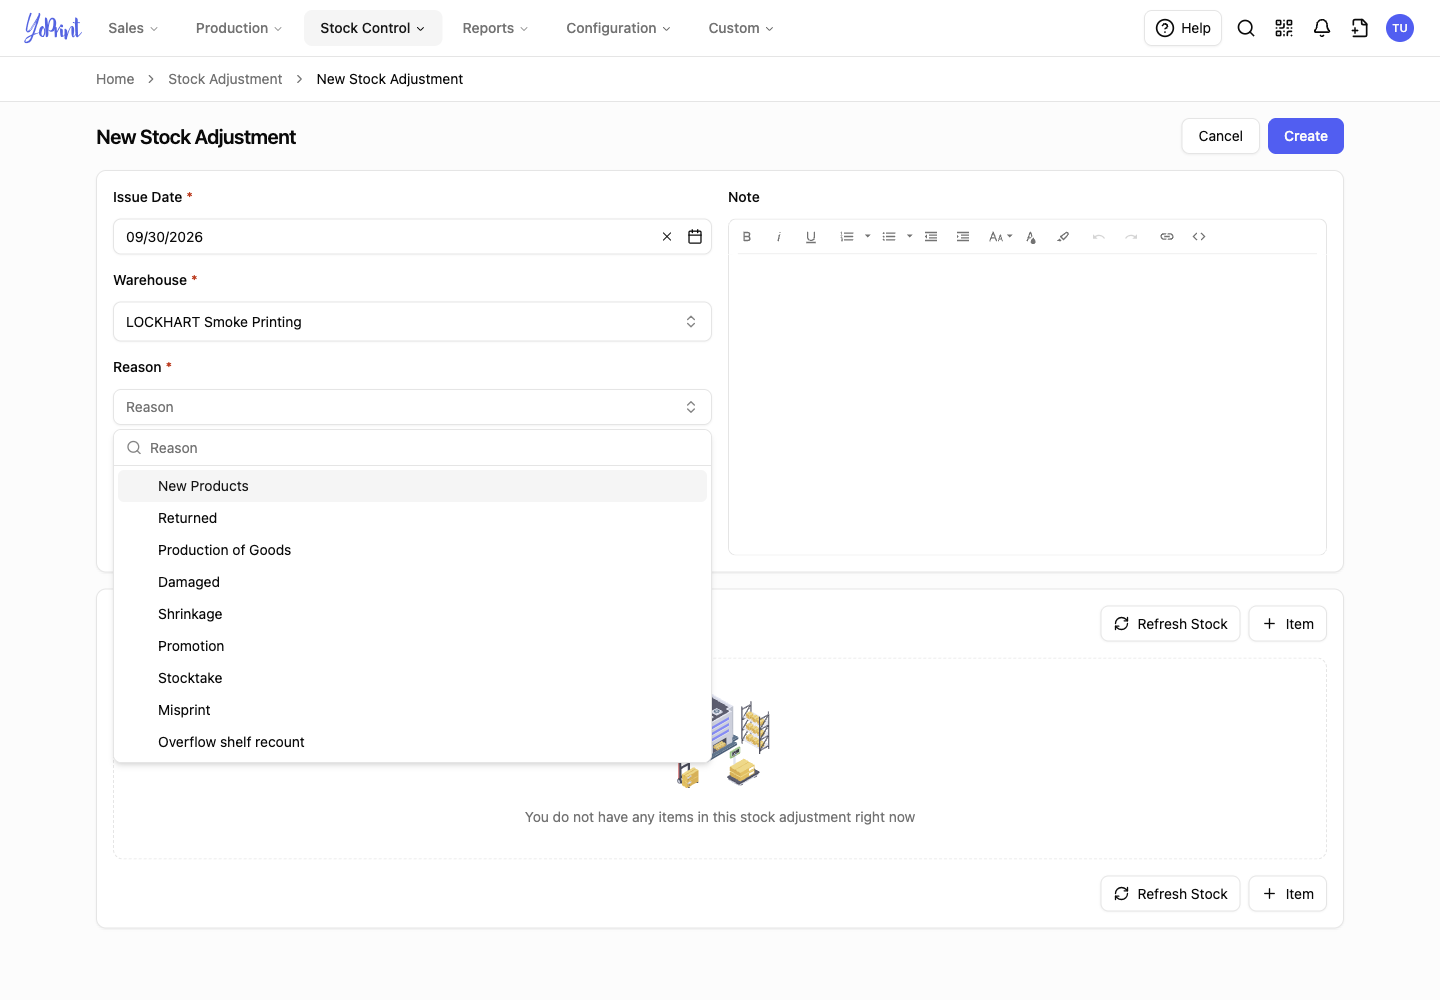
On the New Stock Adjustment form, the required Reason field offers your enabled reasons. The example below shows the renamed custom reason, Overflow shelf recount. Follow Create a stock adjustment to complete the form and apply the quantity change.
Remove a custom reason
Removing a reason cannot be undone. If you may need it again, disable it instead. Removing the setting leaves the reason text on saved adjustments unchanged.
-
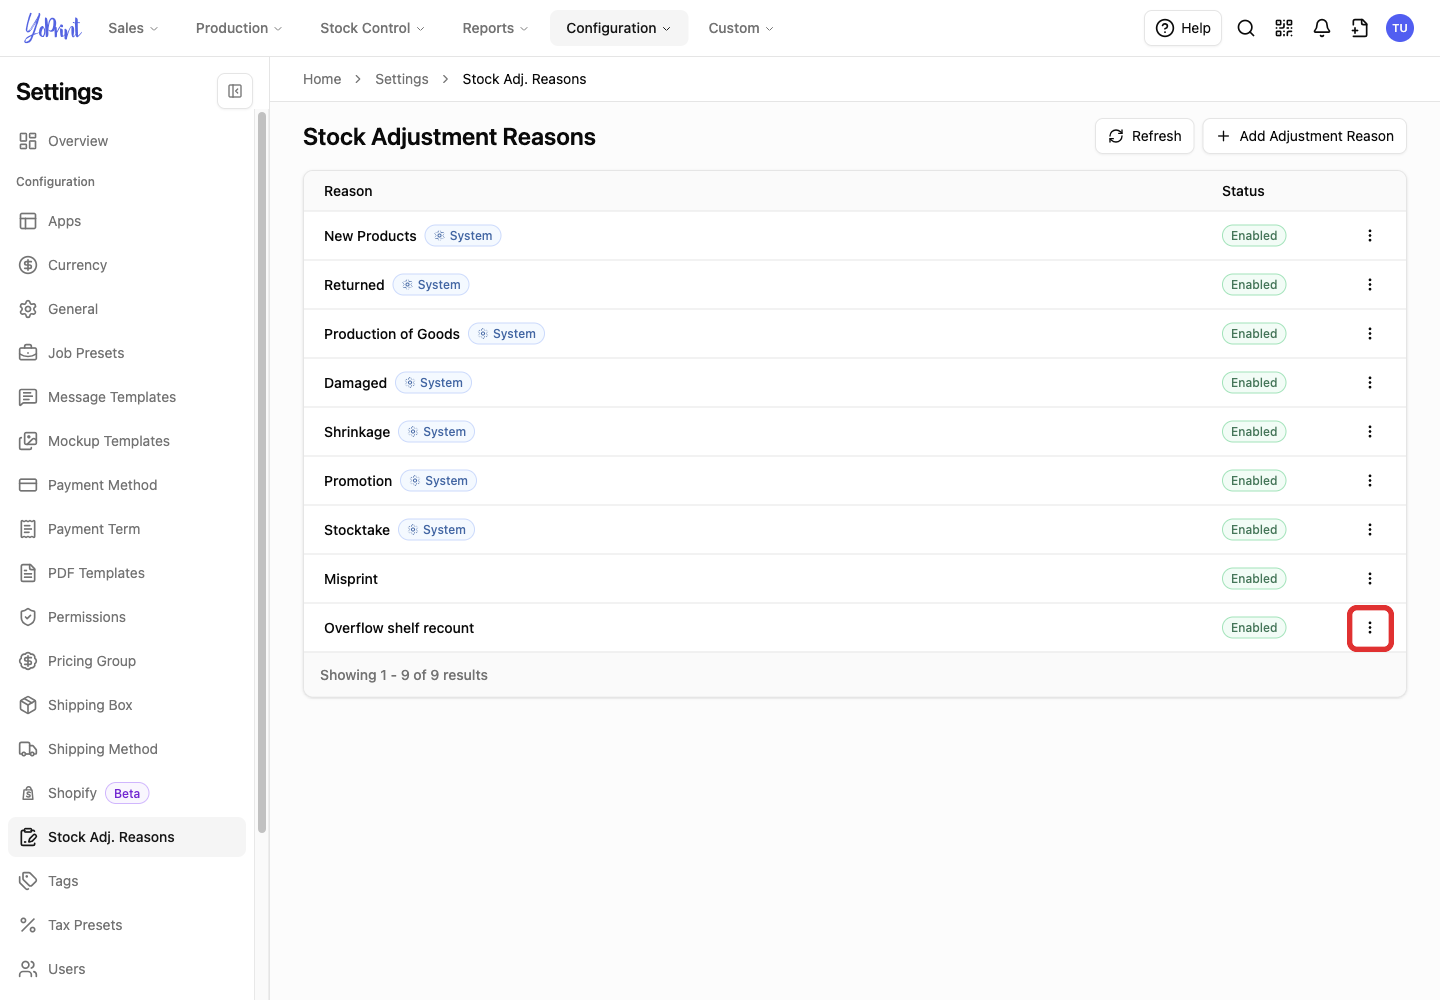
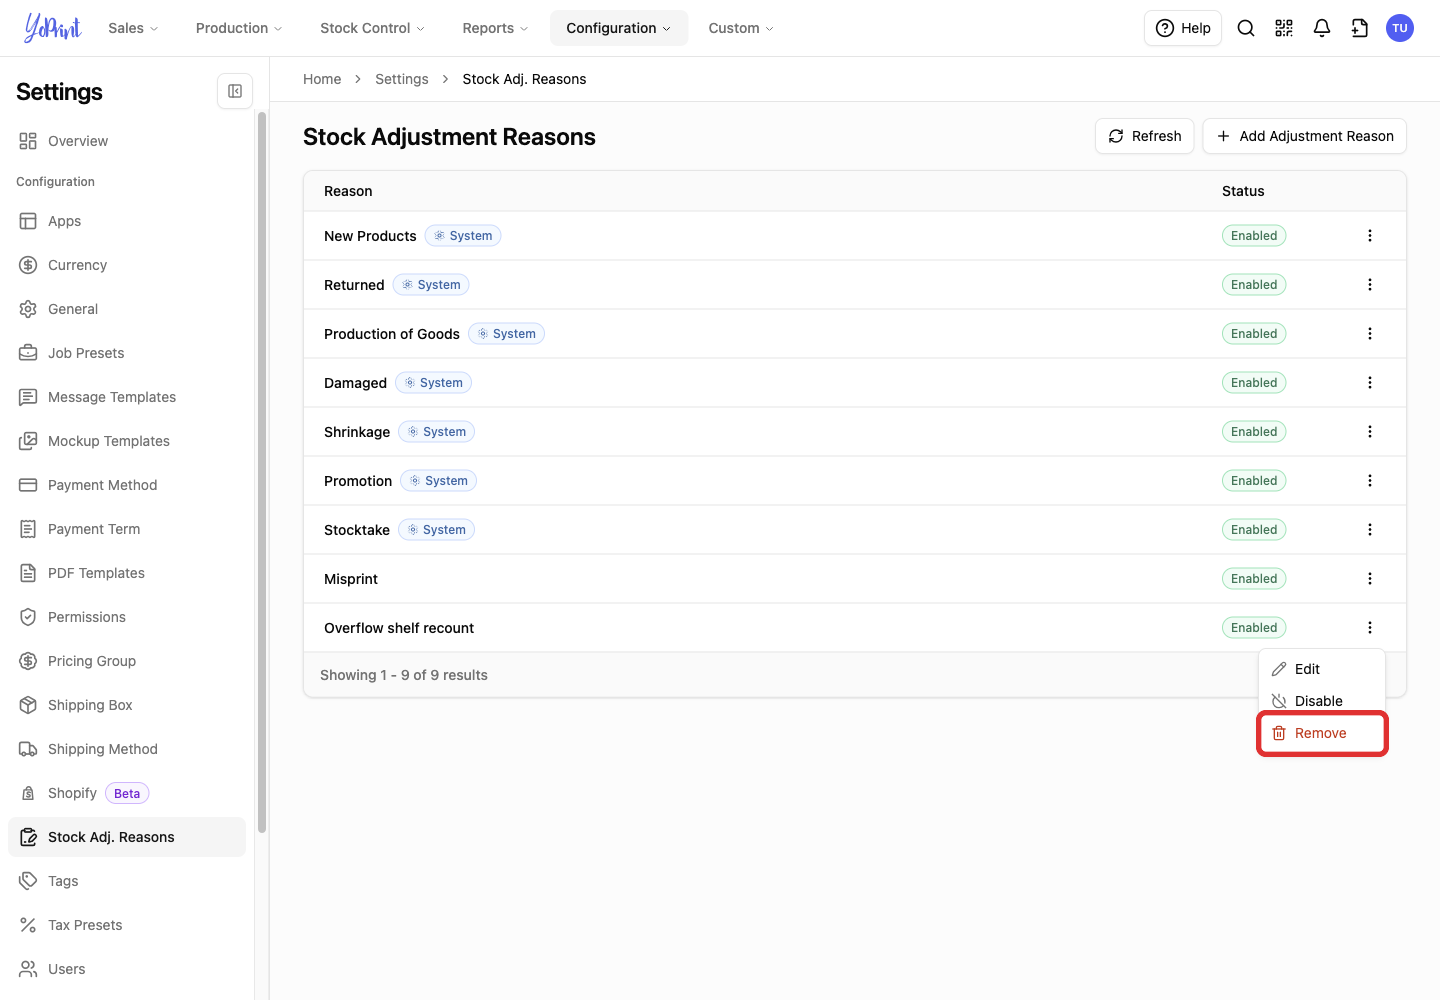
Open the custom reason’s three-dot More actions menu.
-
Choose Remove.
-
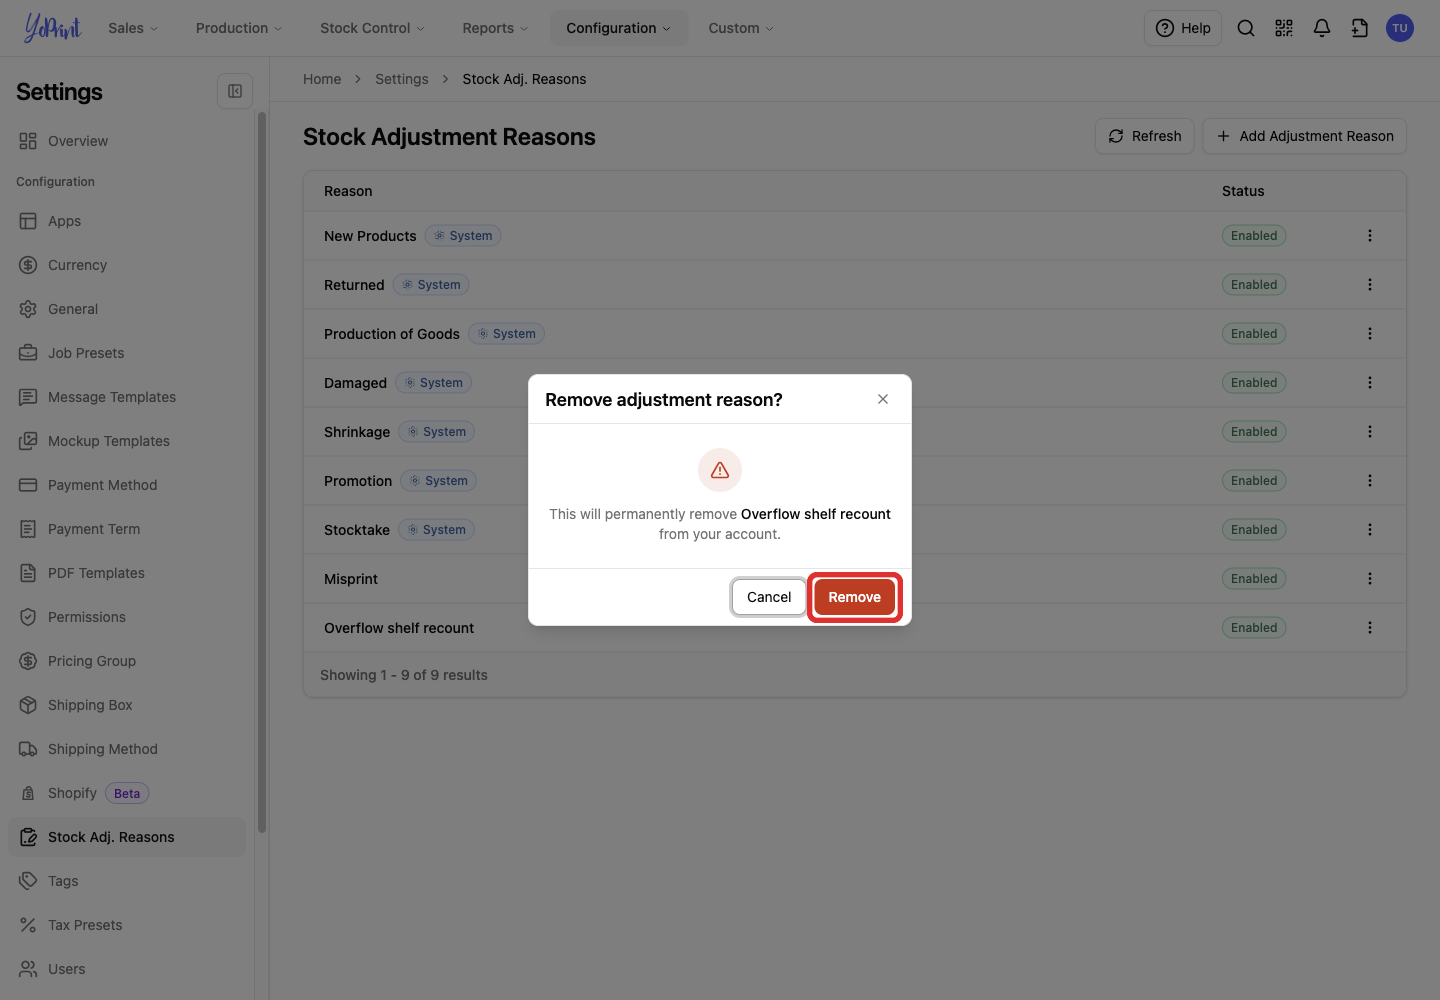
Check the reason named in the confirmation, then click Remove.