Connect Twilio to EnableText Messaging (SMS)
In this article
Connect Twilio to send text messages to customer contacts from YoPrint. You will need a Twilio account and an SMS-capable phone number in that account.
Set up a Twilio account
In Twilio
These are Twilio's screens; they may look different. Twilio's account setup guide is linked.
-
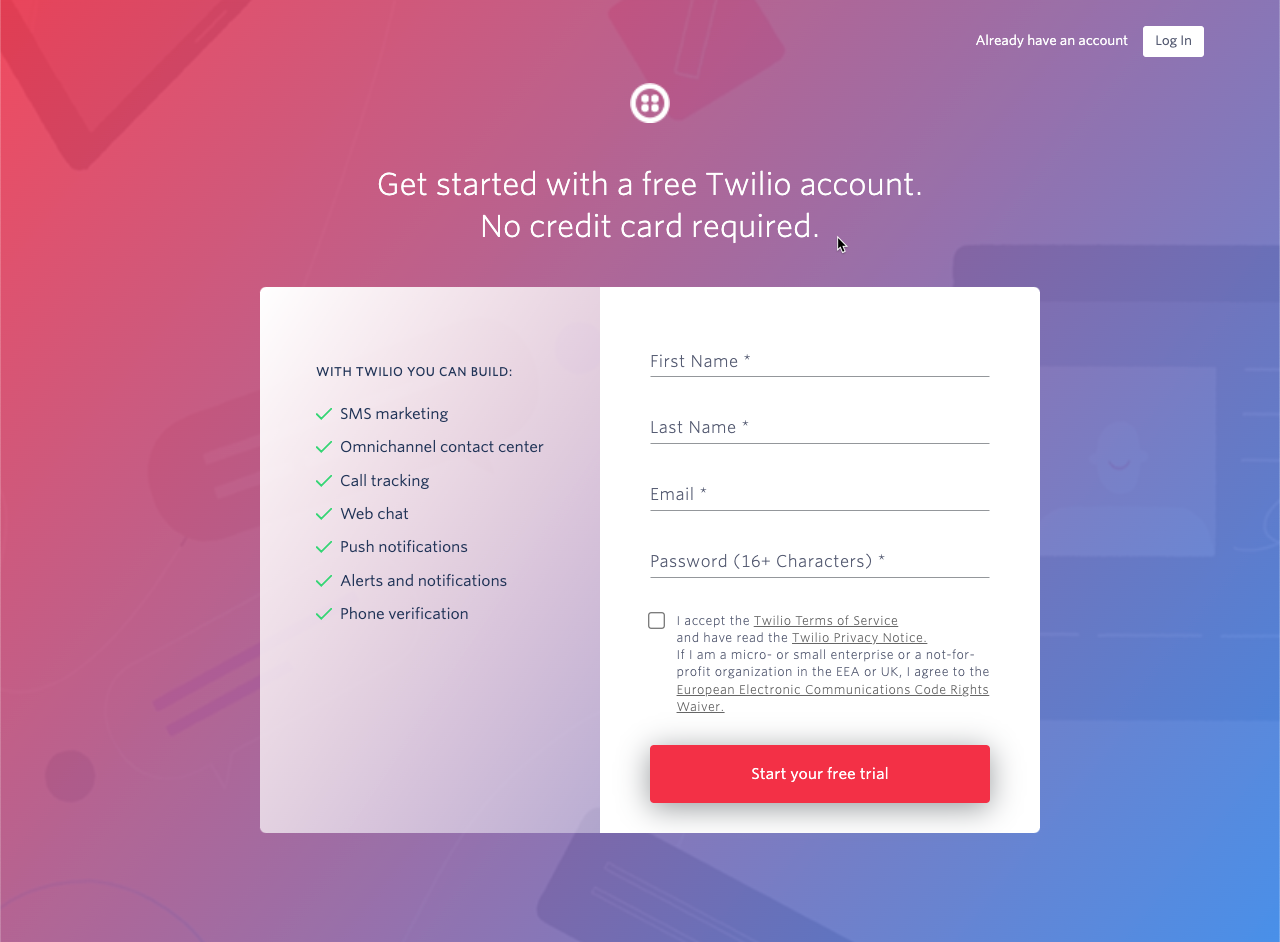
If you do not already have one, create a Twilio account. You land on Twilio's sign-in page; choose Create an account for free.
-
Follow Twilio's prompts to verify your email address and phone number.
Log in to Twilio
In Twilio
These are Twilio's screens; they may look different. Twilio's credential guide and account setup guide are linked.
-
Log in to the Twilio Console.
-
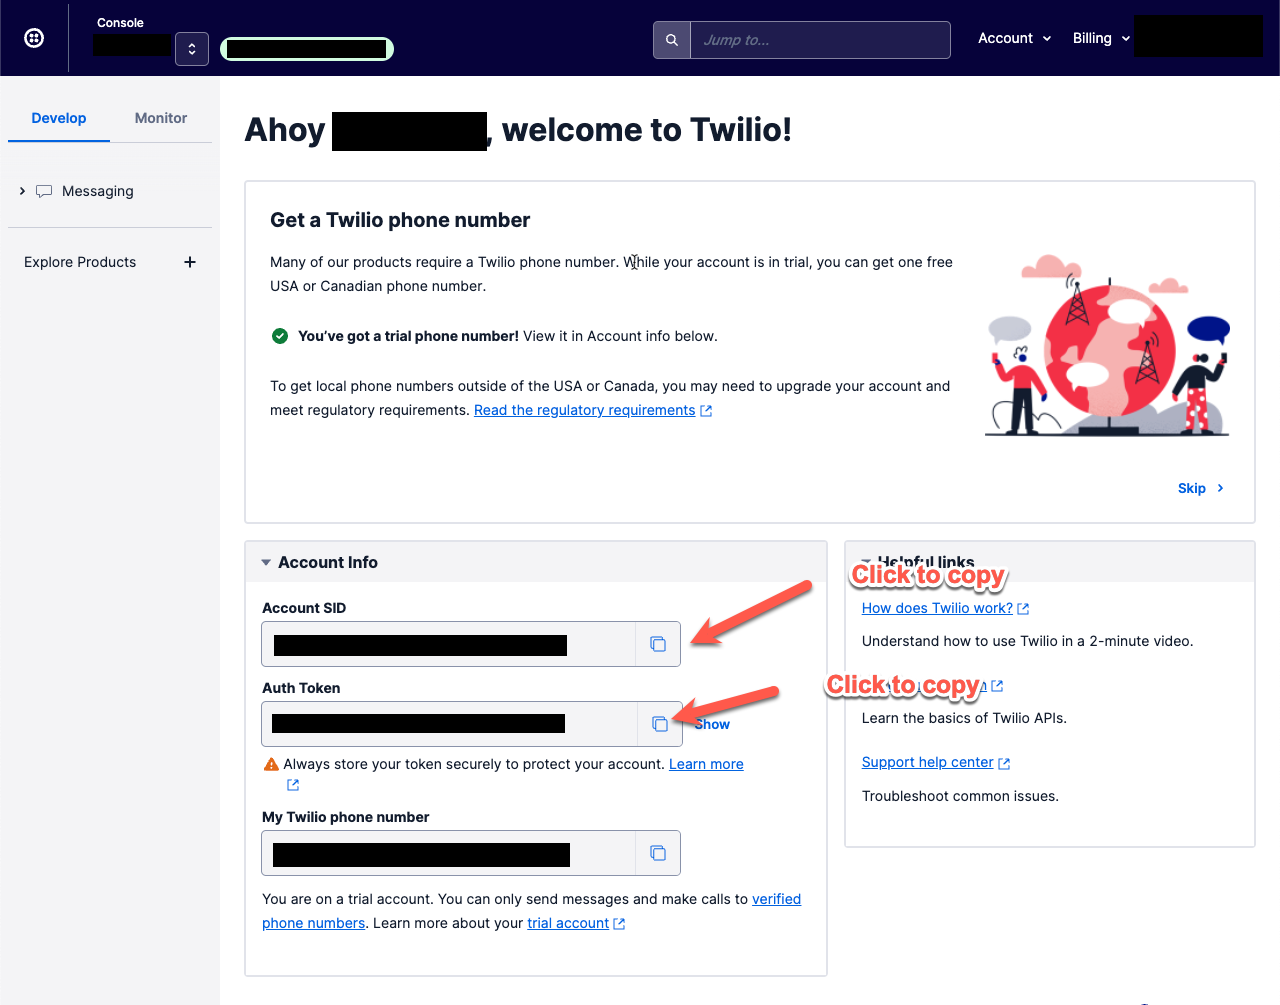
Find your Account SID and Auth Token on your Twilio Console home page or in API Keys & Tokens.
Buy a phone number in Twilio
In Twilio
These are Twilio's screens; they may look different. Twilio's phone-number guide is linked.
If you already have an SMS-capable number in this Twilio account, continue to Connect Twilio in YoPrint.
-
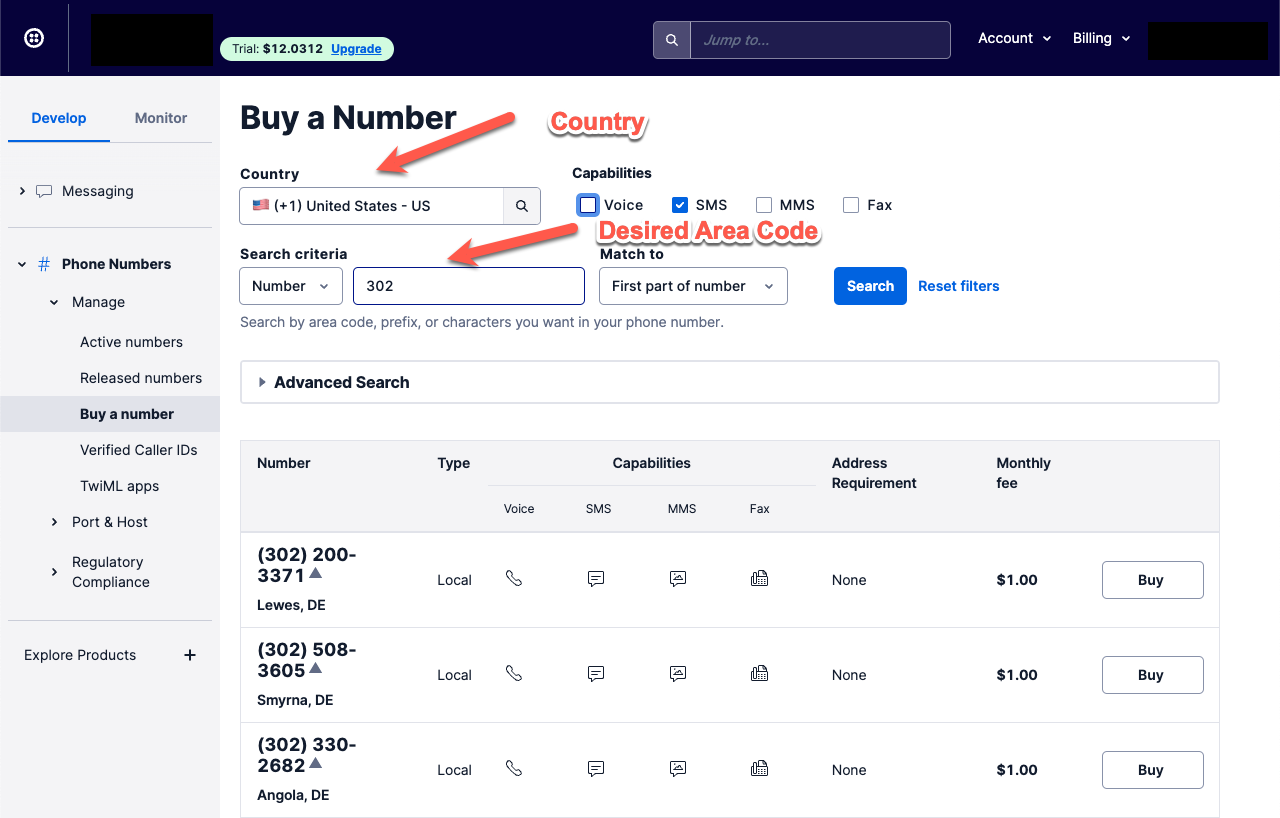
Open Buy a Number in the Twilio Console.
-
Choose your Country. Under Capabilities, Twilio ticks every capability by default; clear the ones you do not need, keep SMS, and click Search.
You can choose a phone number with a local area code. For costs, see Twilio's pricing.
-
Click Buy beside the number you want.
-
Complete any identity or address requirements to finish the purchase.
Before using the number to send messages, complete Twilio's messaging requirements for that number and your recipients. Buying a number does not remove trial-account restrictions.
Connect Twilio in YoPrint
-
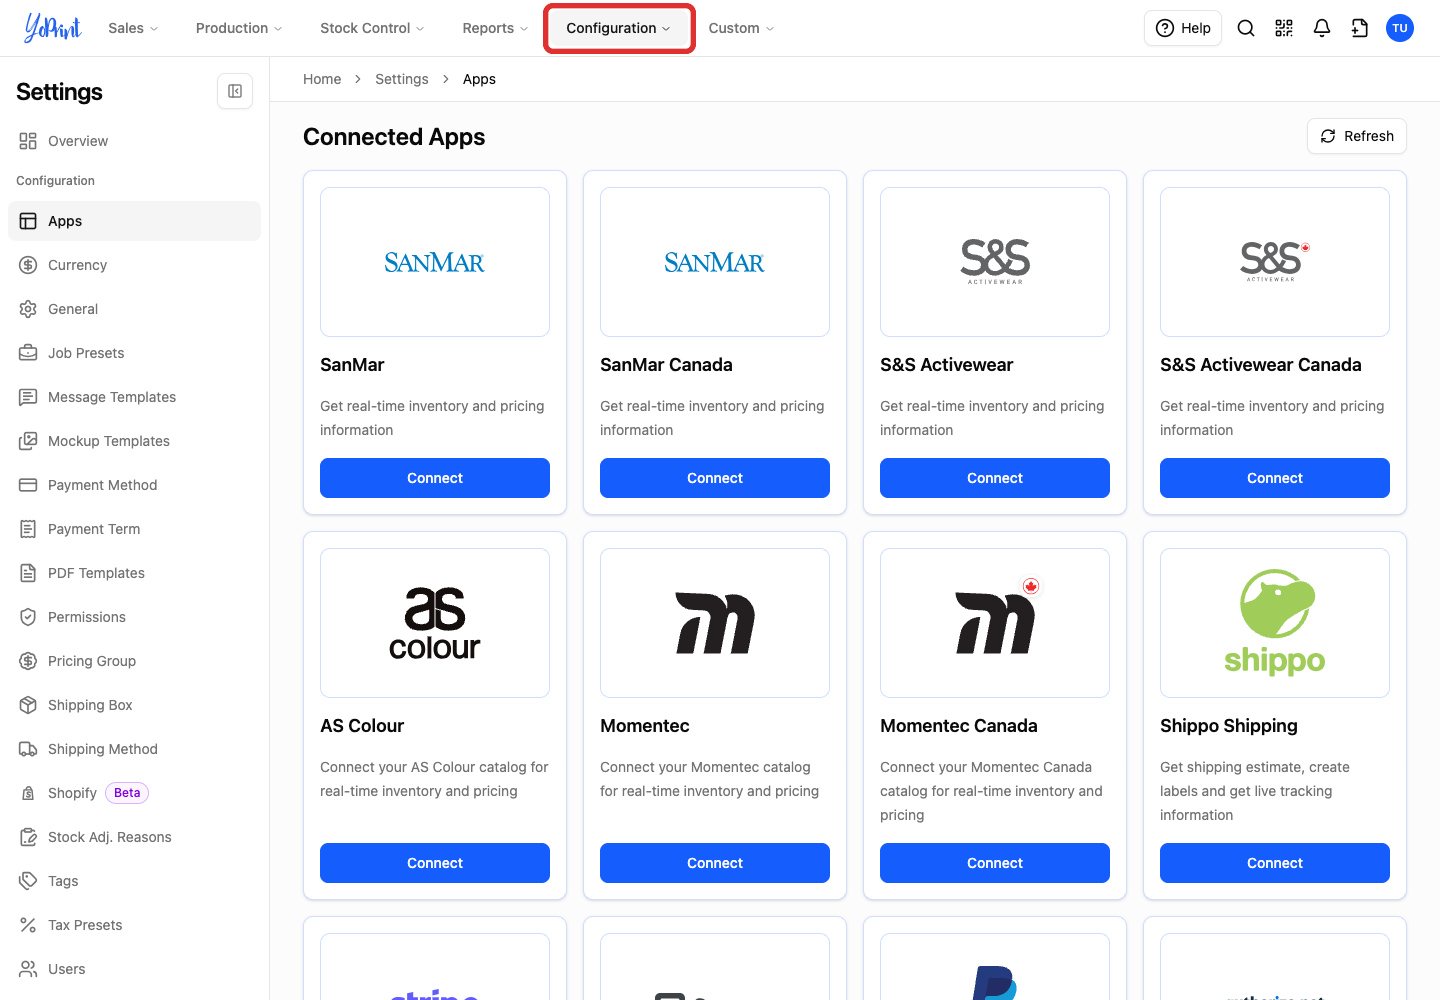
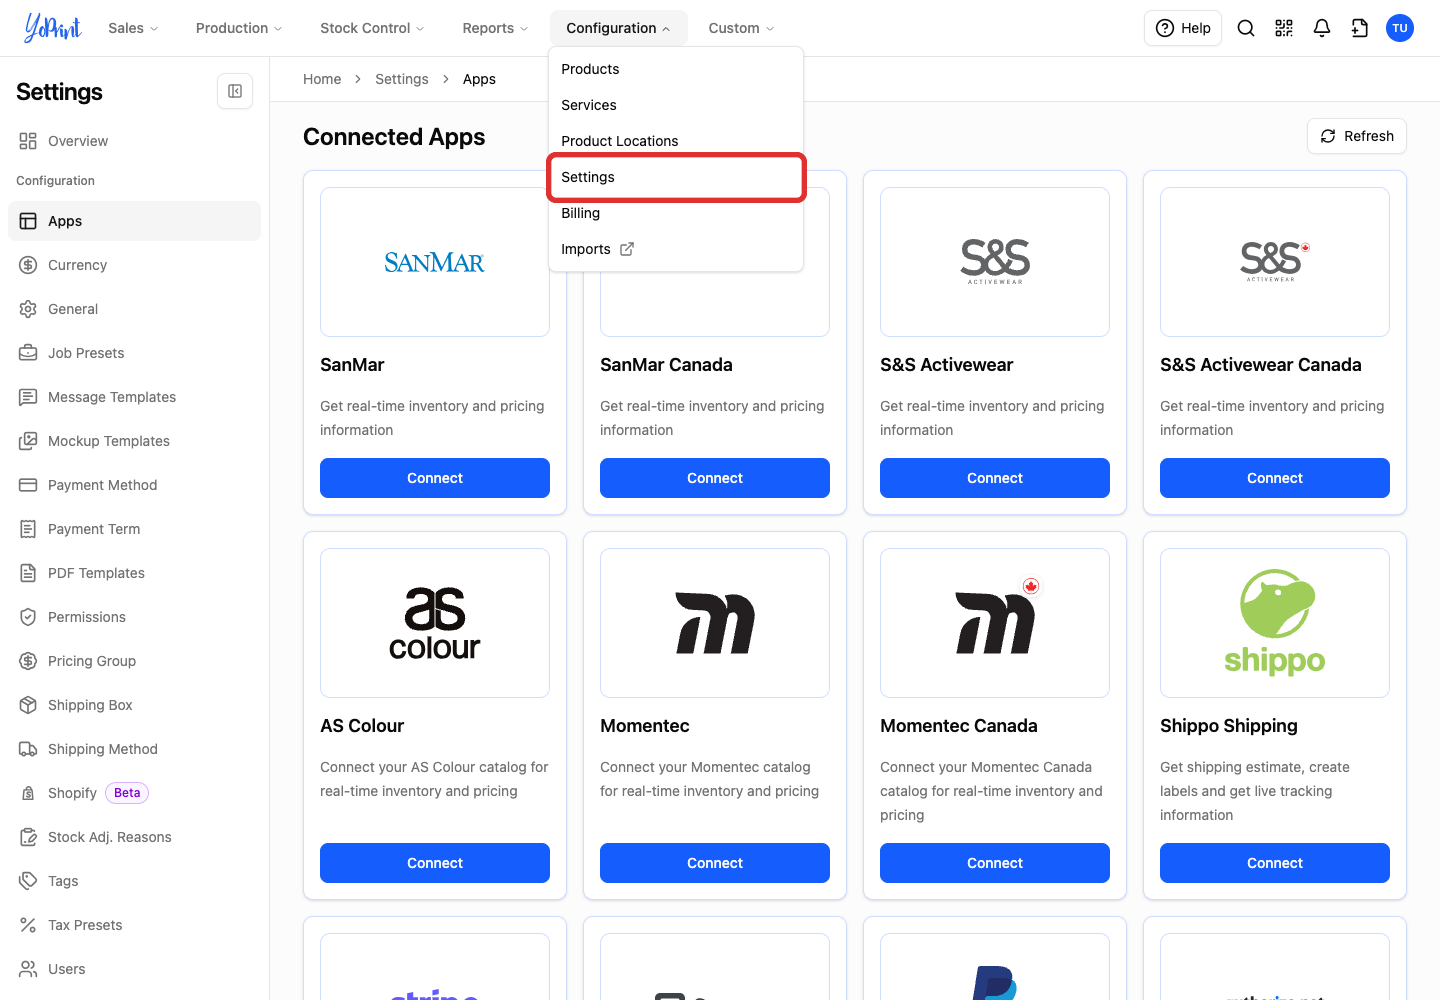
Open Configuration in the top menu.
-
Choose Settings.
-
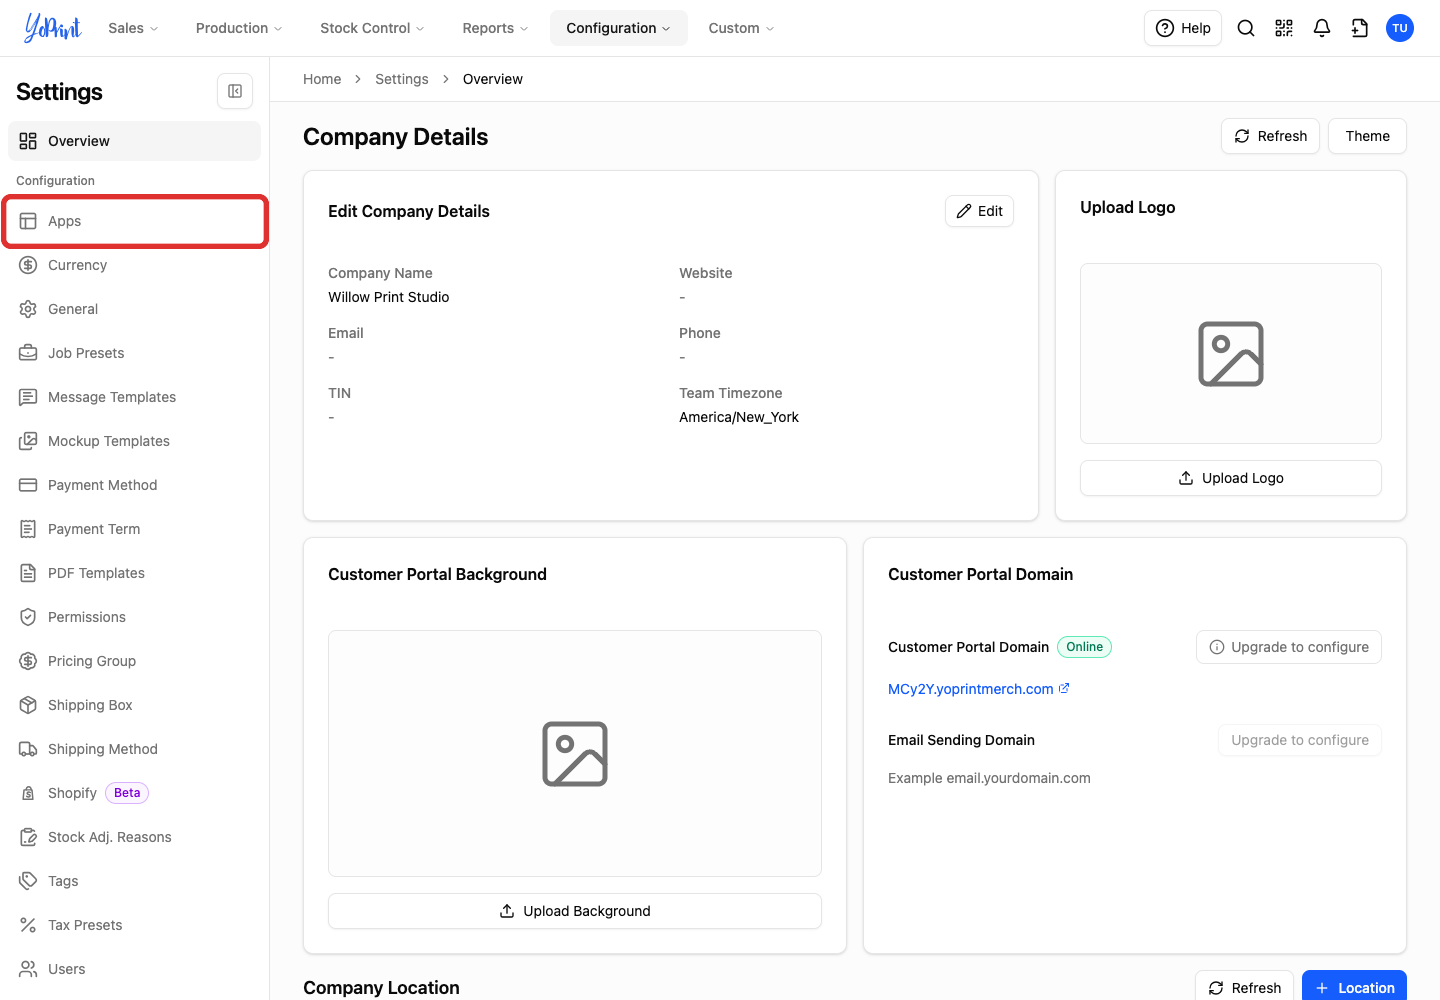
Choose Apps in the settings sidebar.
-
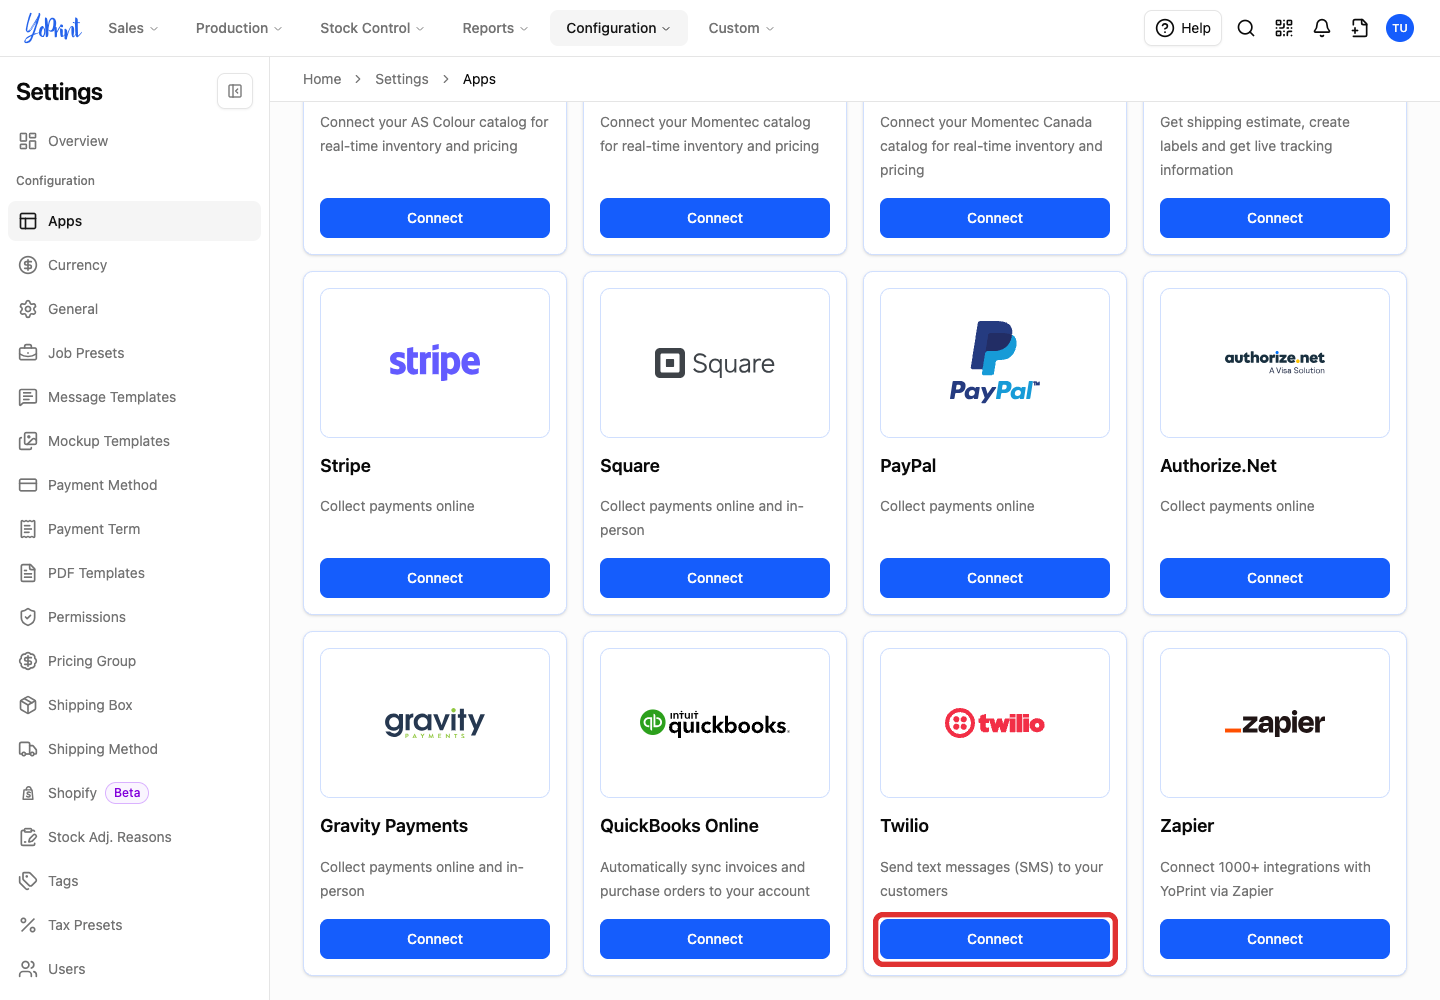
Click Connect on the Twilio card.
-
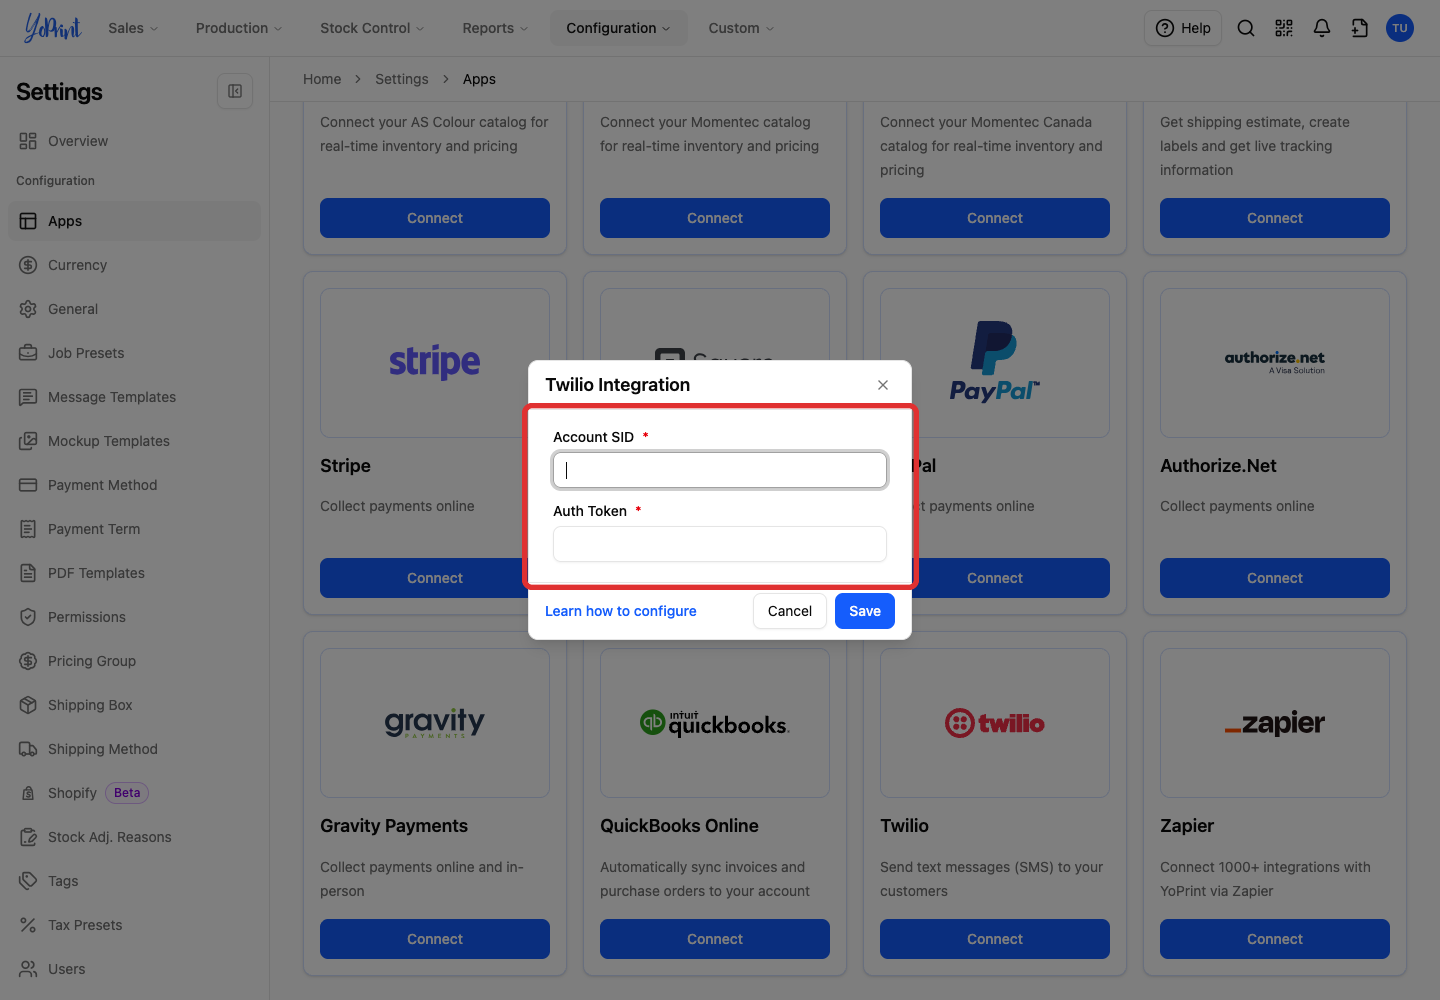
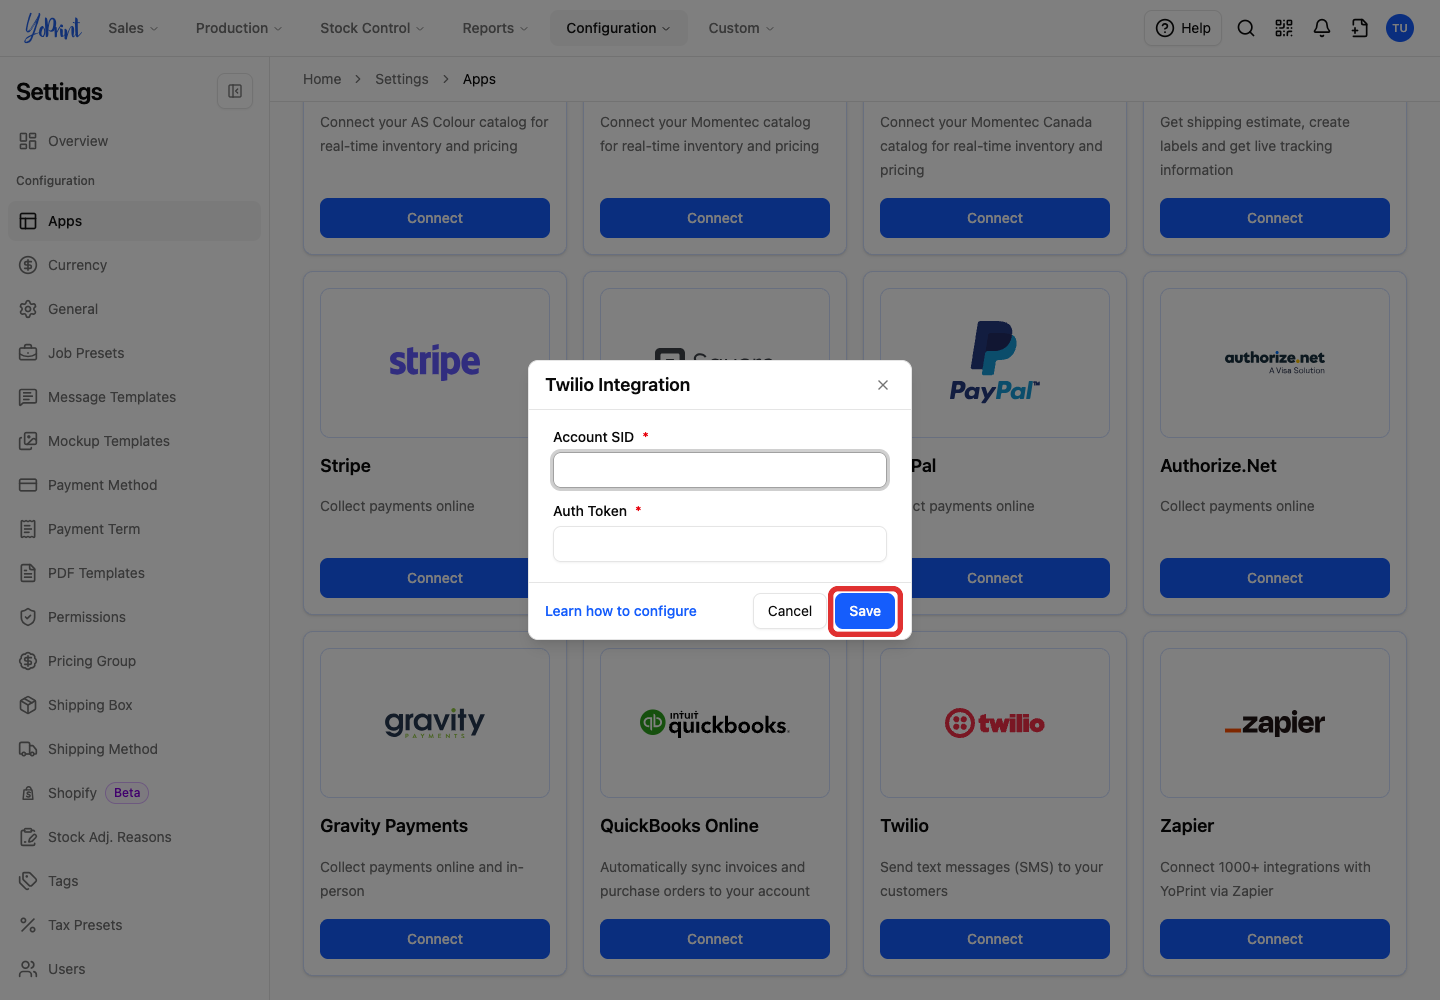
Enter your Twilio Account SID and Auth Token.
-
Click Save. YoPrint saves your credentials and opens Select Twilio Number automatically. Continue with the sending-number settings below.
Choose your sending number
-
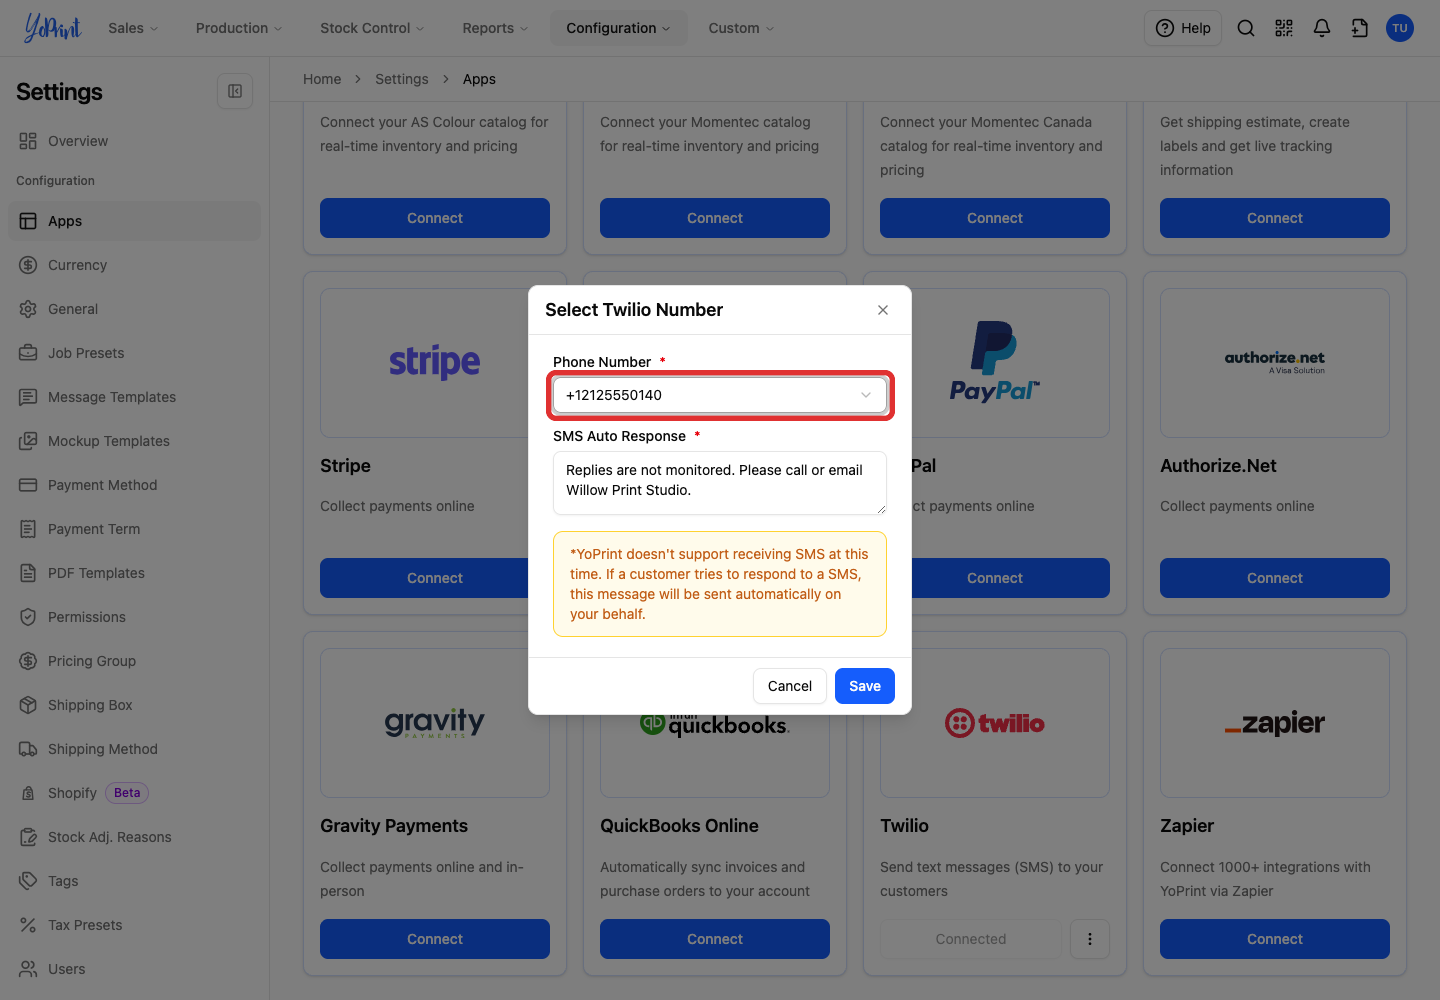
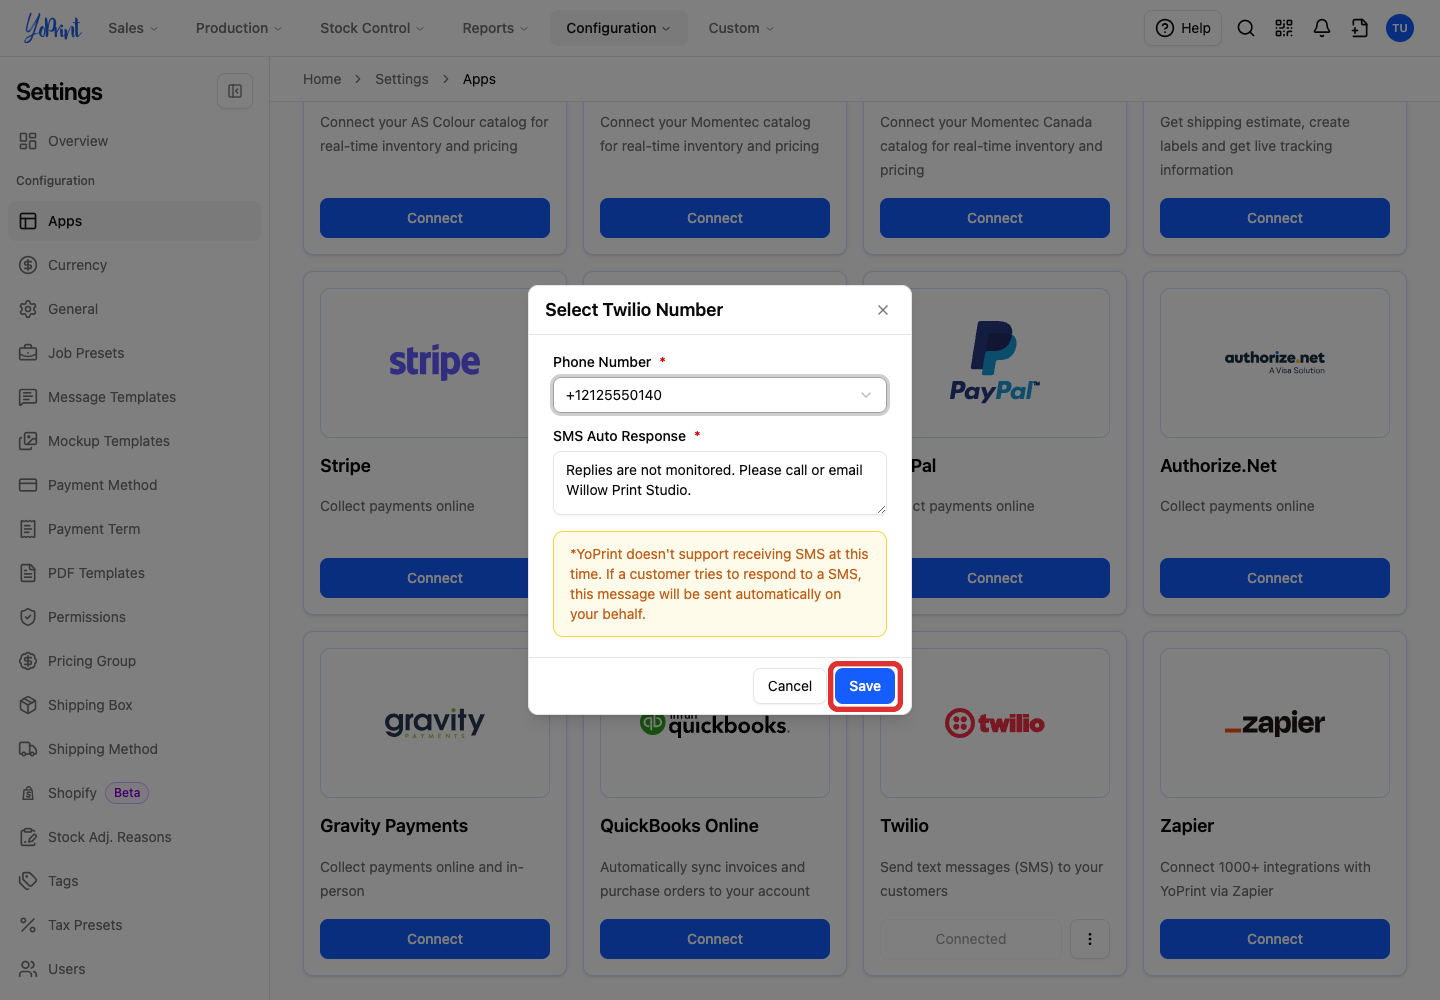
Open Phone Number in Select Twilio Number.
-
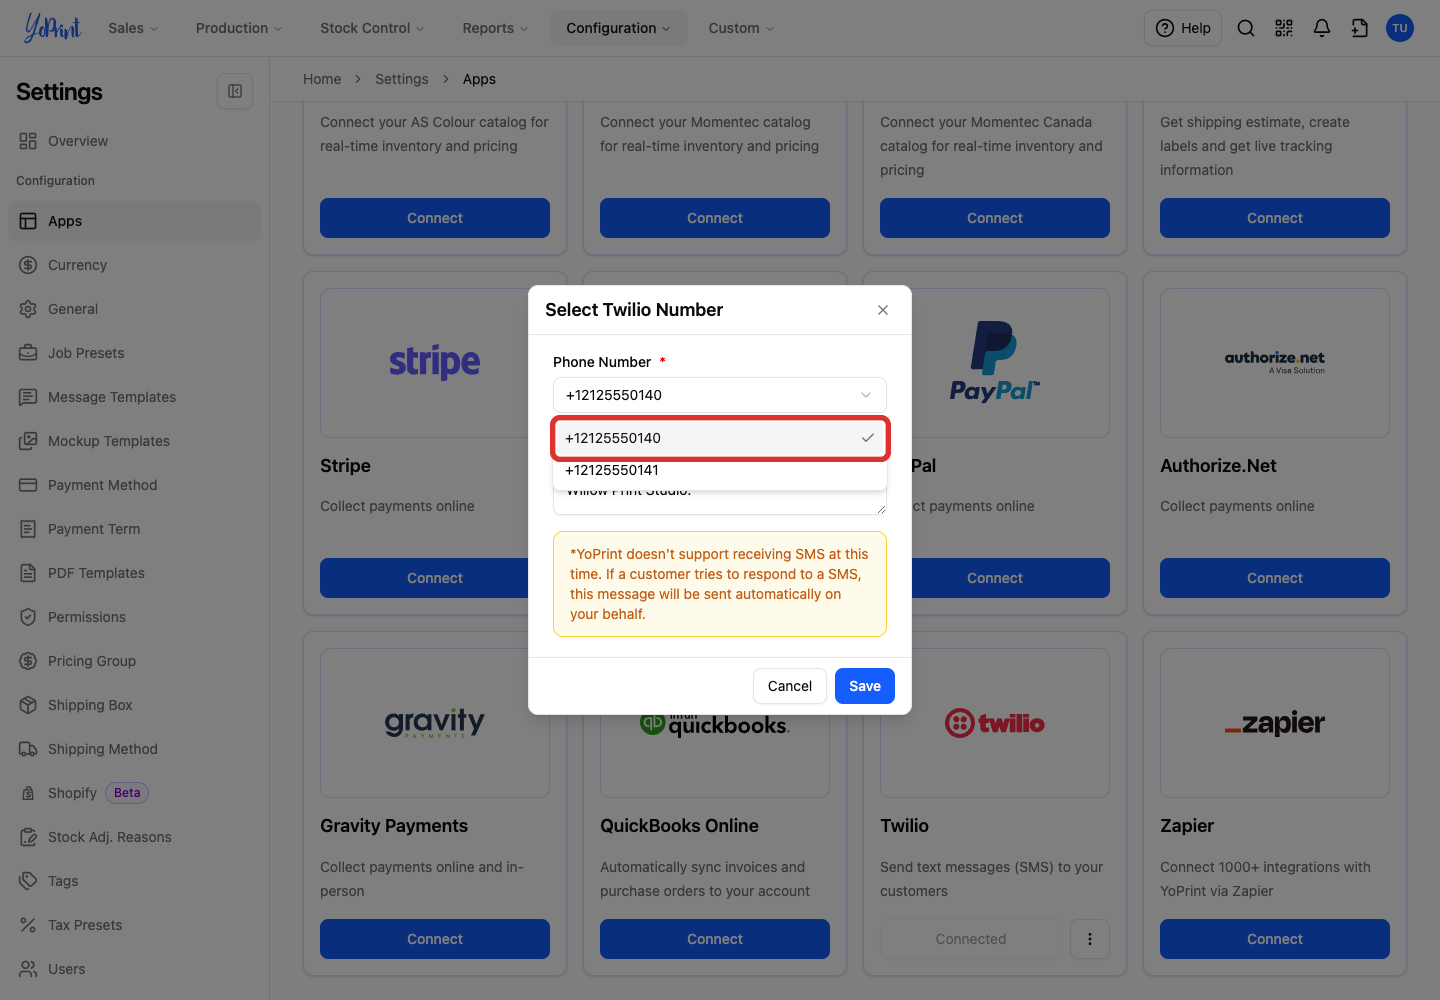
Choose the number you want customers to receive texts from.
-
Enter your SMS Auto Response. Tell customers how to contact your shop, such as by phone or email.
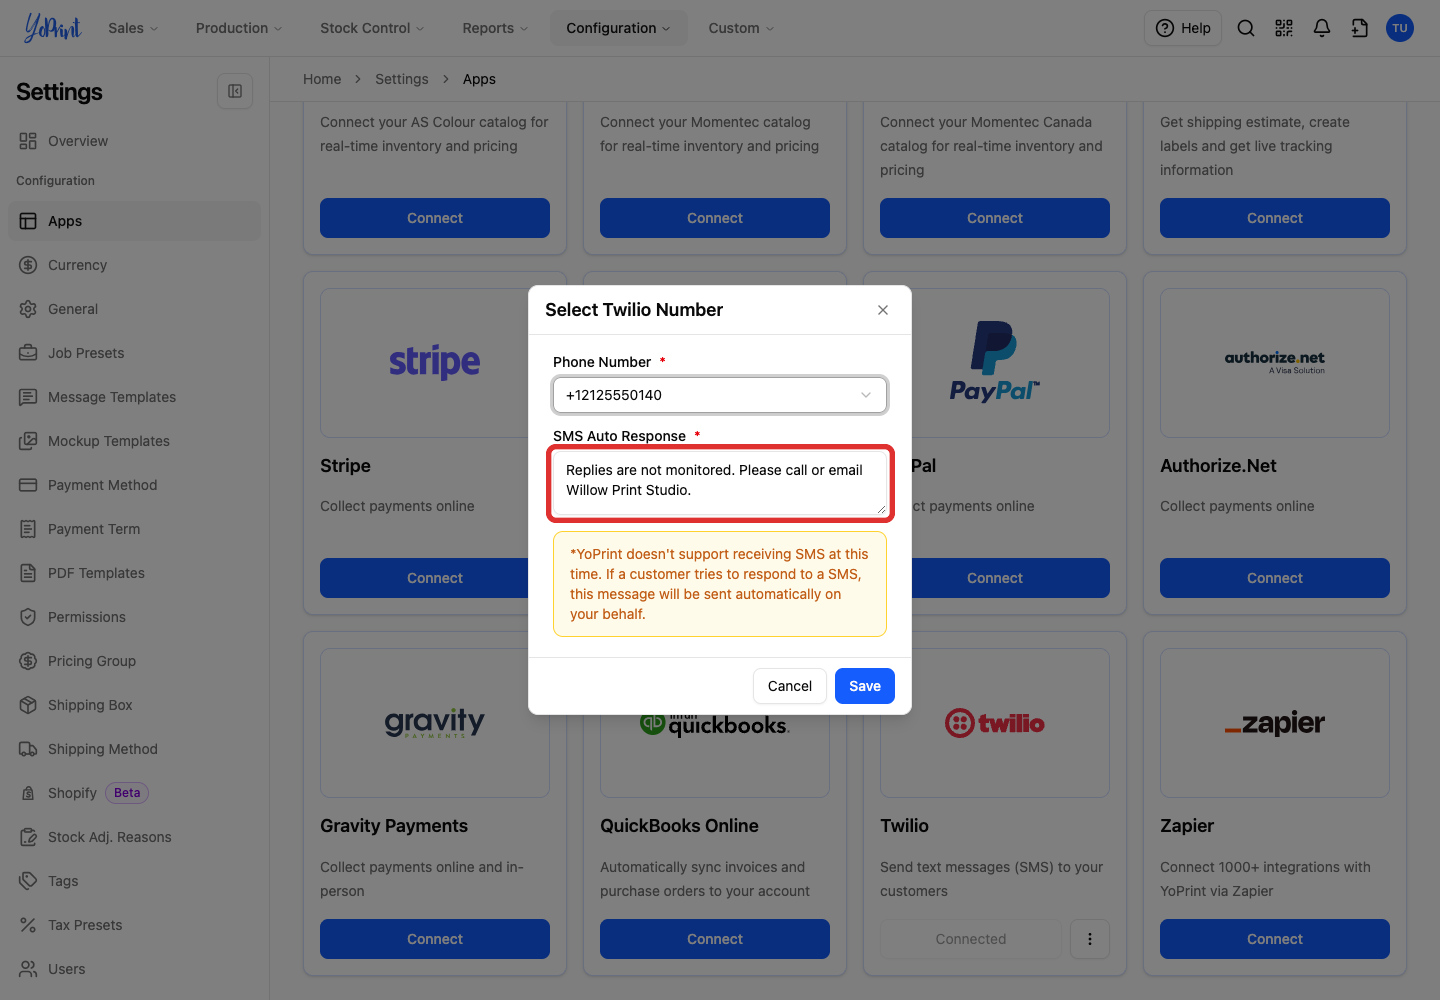
YoPrint does not receive customer SMS replies. Set up the reply instructions in the next section so customers who text back receive your auto response. The automatic reply does not apply to Twilio's own keywords such as HELP and STOP.
-
Click Save.
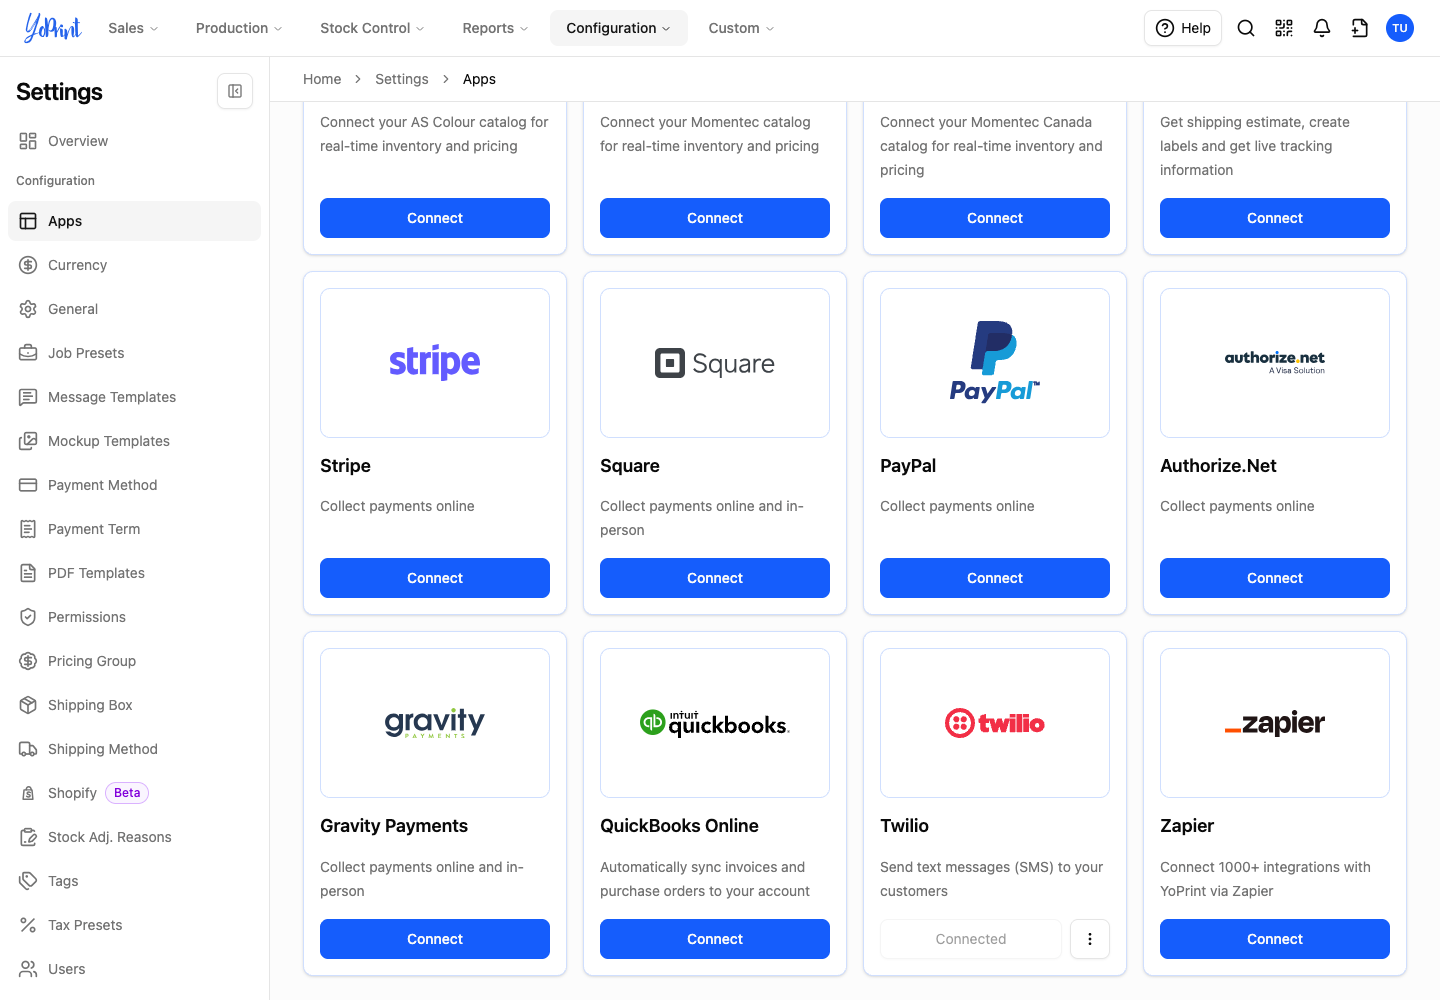
The Twilio card shows Connected. YoPrint returns to Settings > Apps.
Set up replies in Twilio
Stored credentials and a number only set YoPrint up. Twilio still applies its own account, sender, and destination rules: trial accounts limit recipients and message bodies. To send your automatic response when customers text back, copy the Webhook URL to your Twilio settings.
-
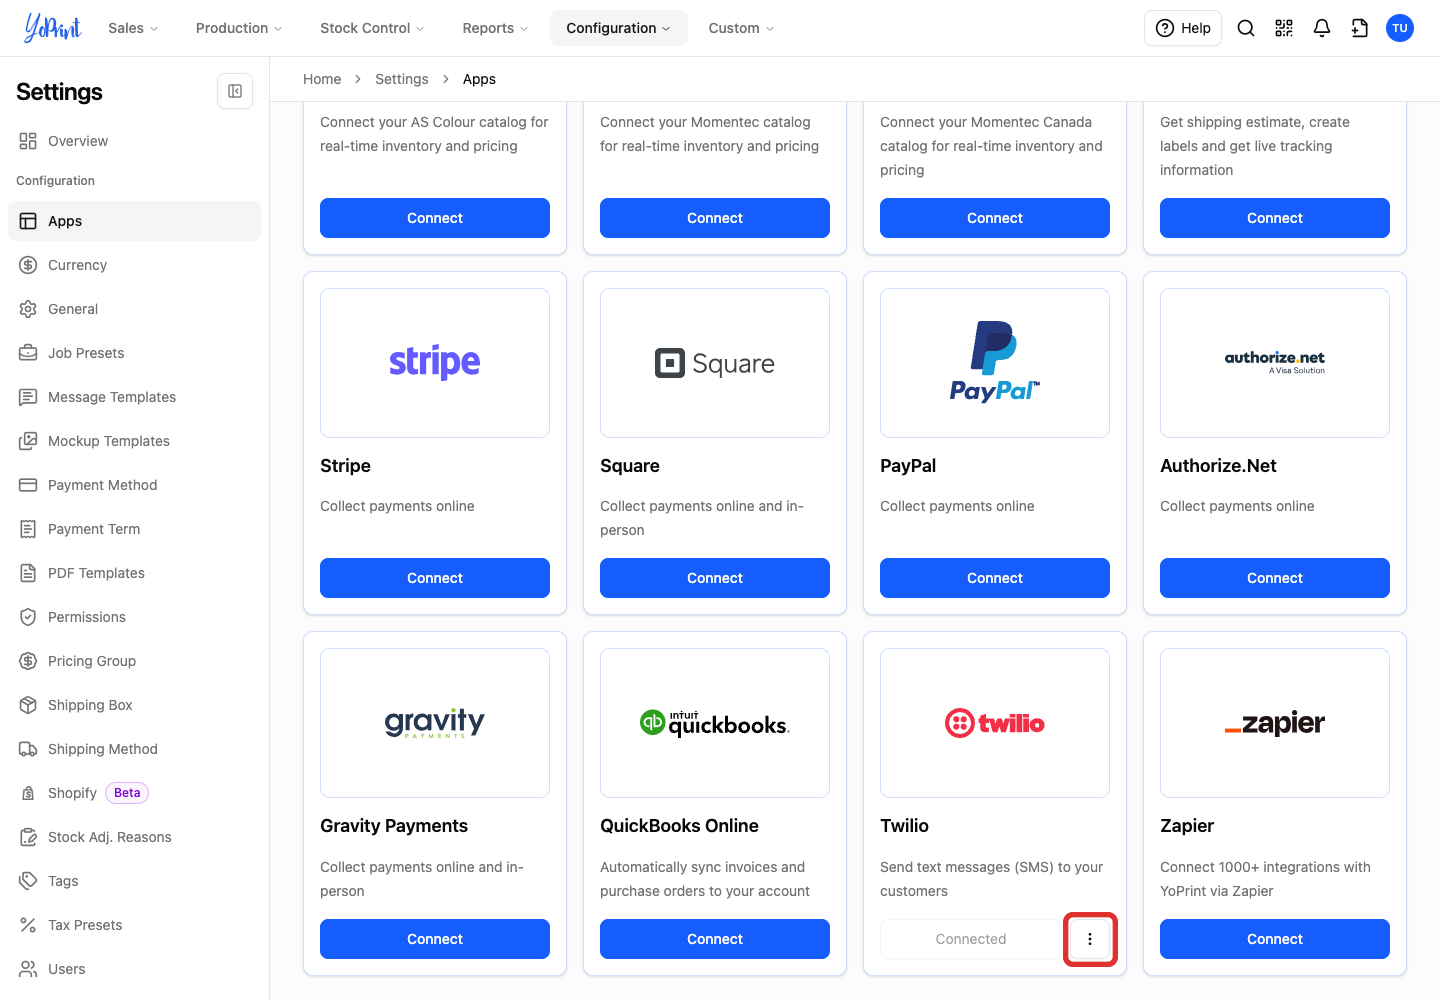
Open the three-dot menu on the connected Twilio card in Settings > Apps.
-
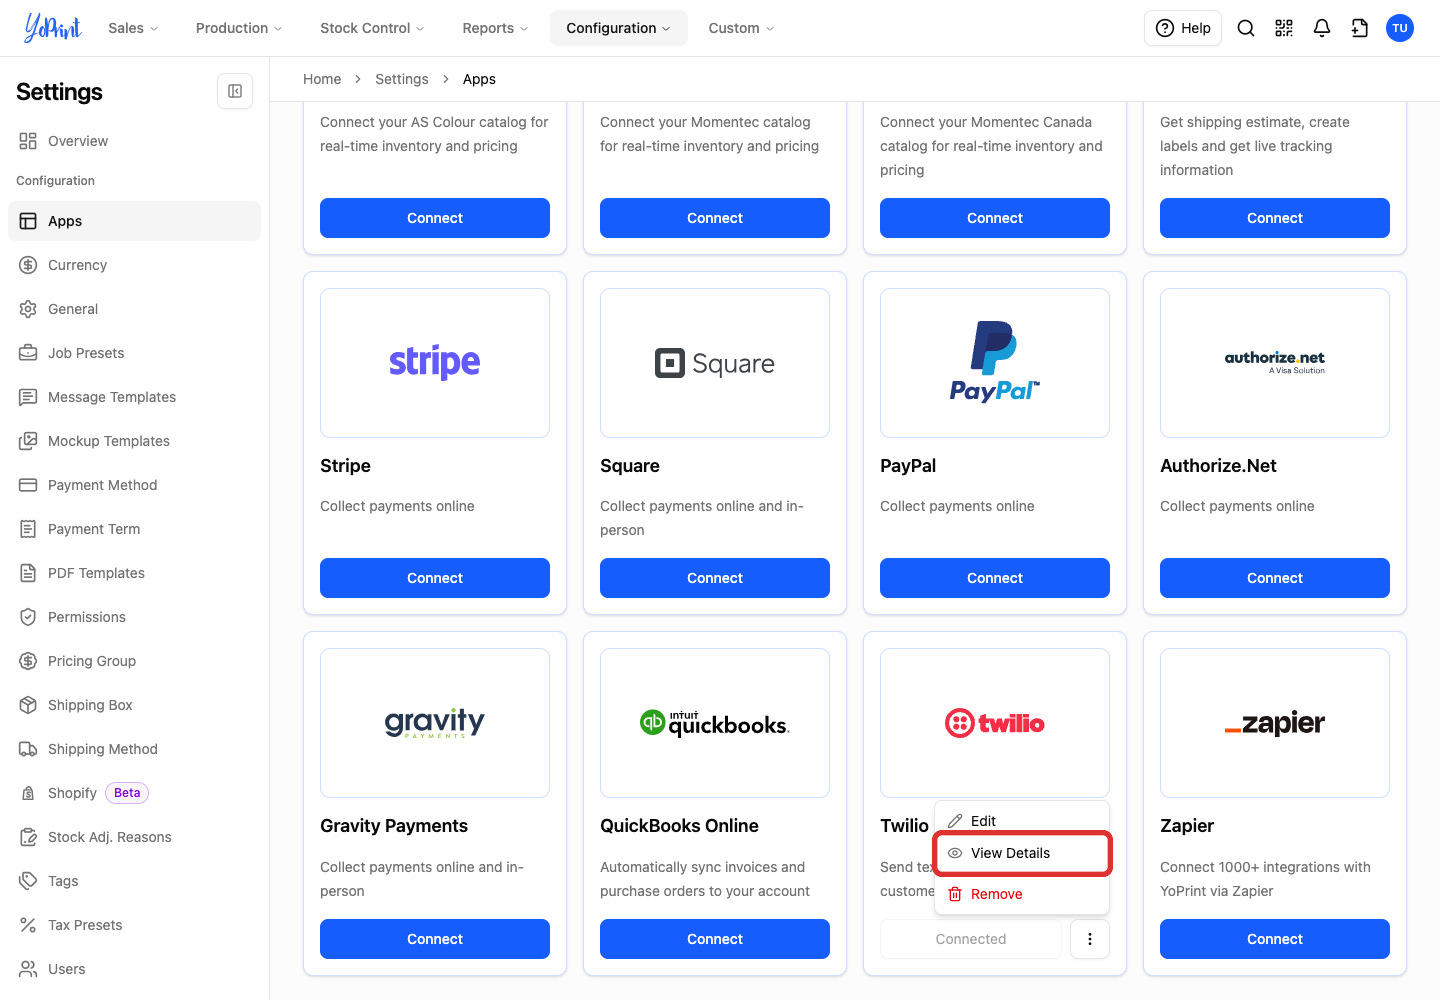
Choose View Details.
-
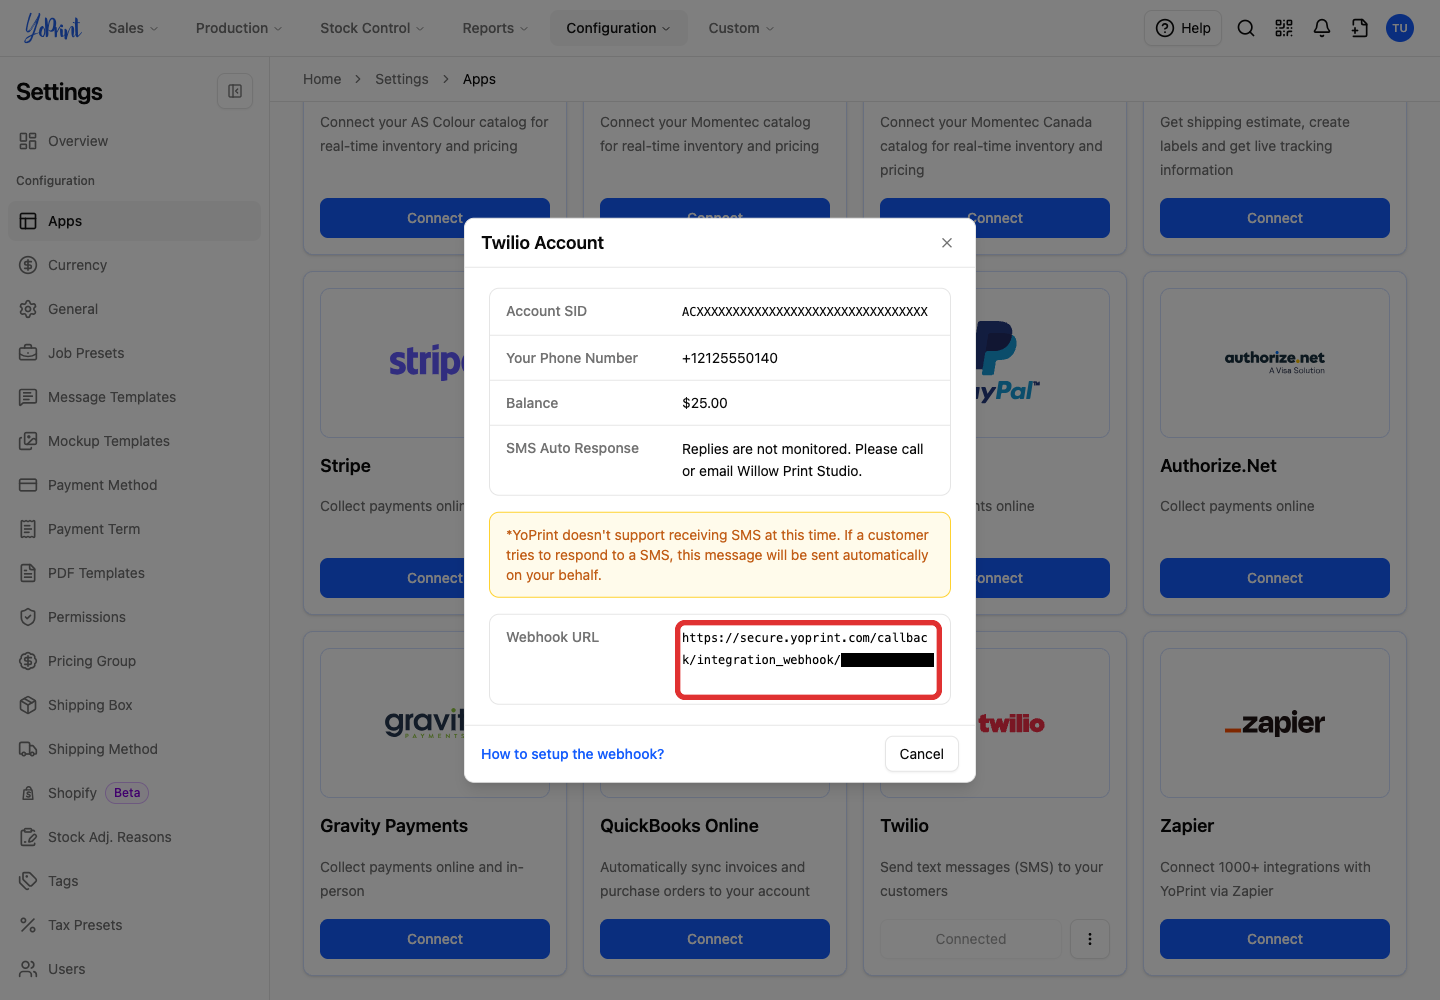
Copy the Webhook URL from Twilio Account.
In Twilio
These are Twilio's screens; they may look different. Twilio's incoming-message setup guide is linked.
-
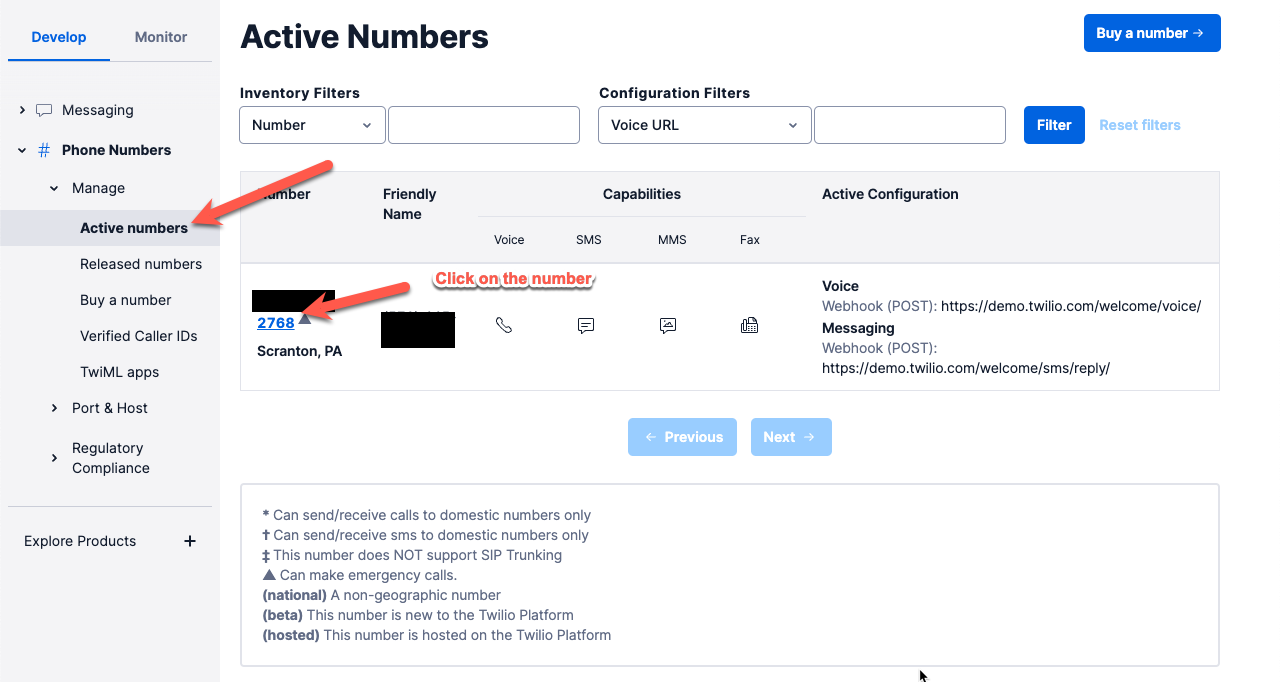
Open your sending number from Active numbers in Twilio.
-
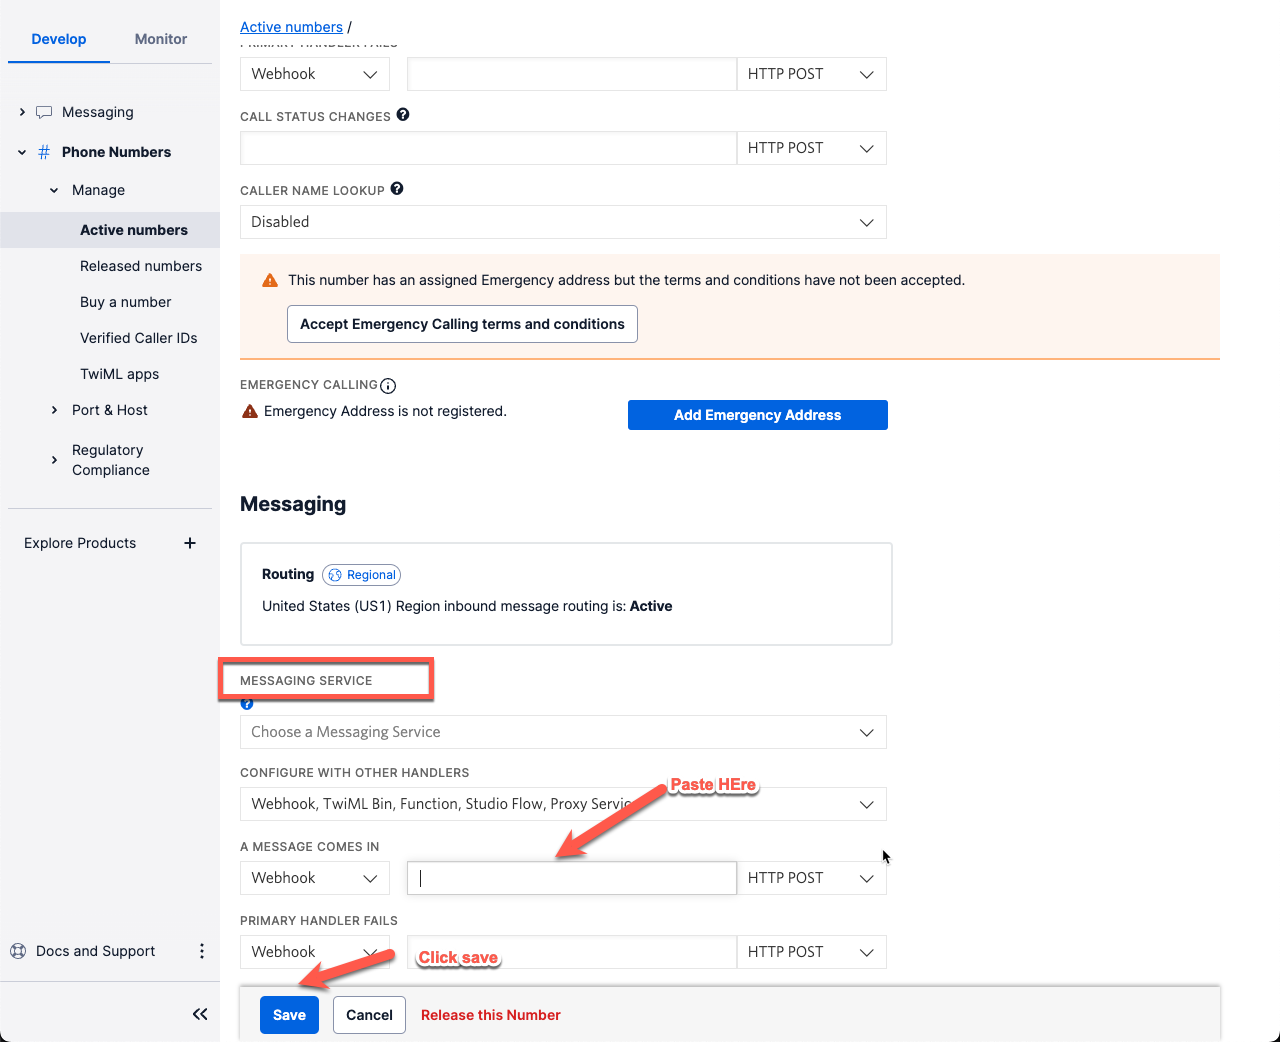
In the number's Messaging settings, choose the webhook routing option under Configure with. Set A message comes in to Webhook, and paste the URL from YoPrint with HTTP POST selected.
-
Save the number's settings in Twilio.
Send a text message
With Twilio connected, follow Sending Text Messages to choose a customer contact, write an SMS, and check its delivery status. Before sending a text, check that the contact has a mobile number and SMS enabled.
Check your balance or change the number
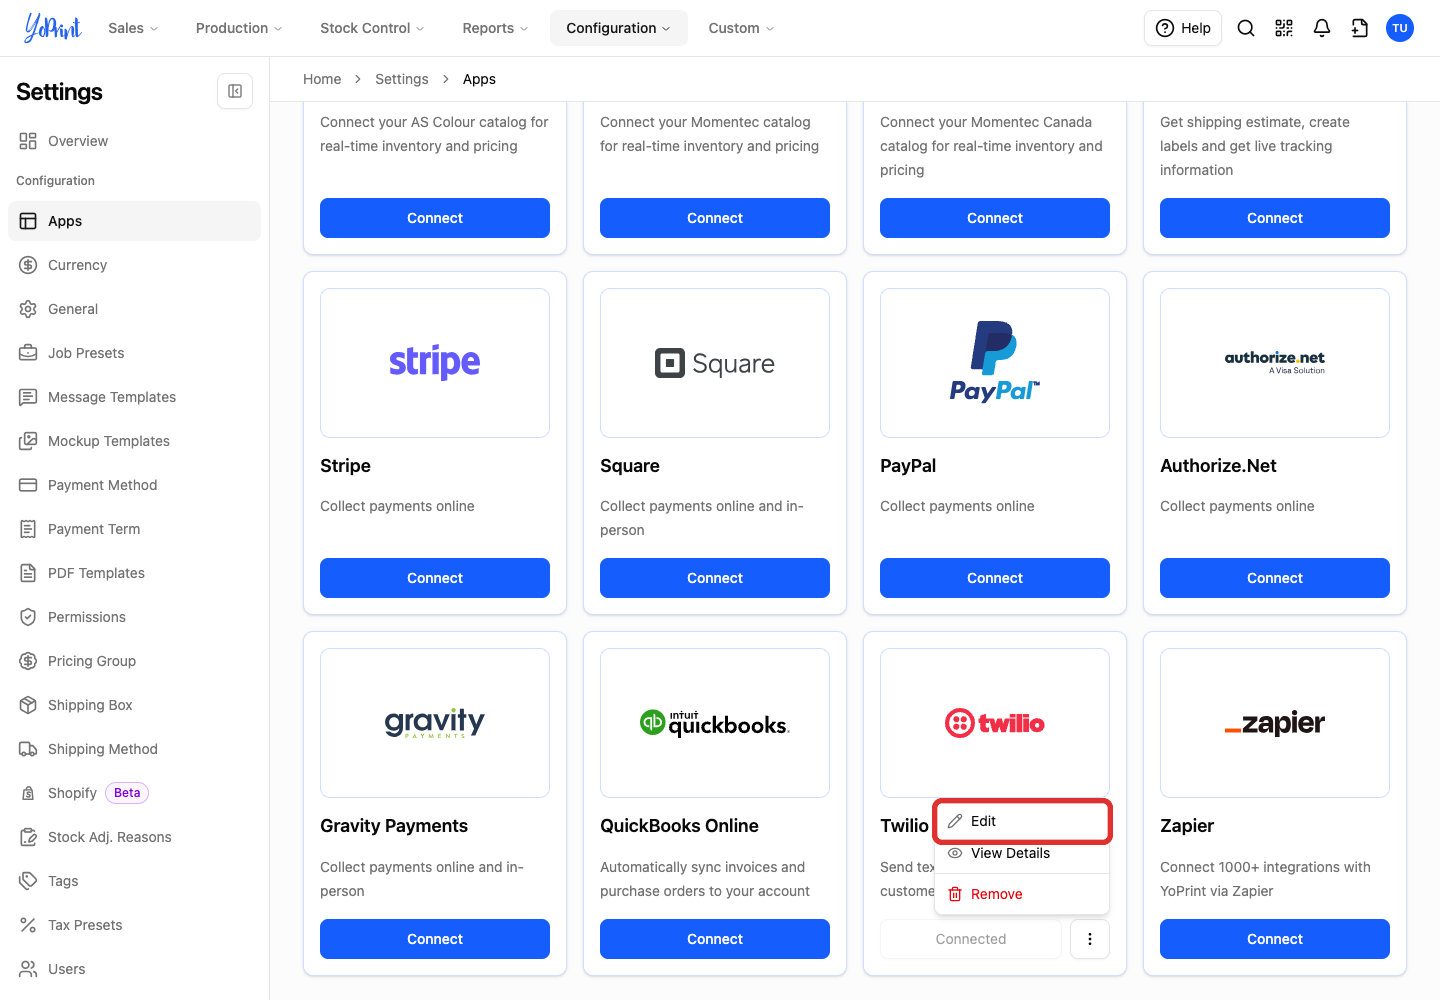
In Settings > Apps, use the Twilio card's three-dot menu:
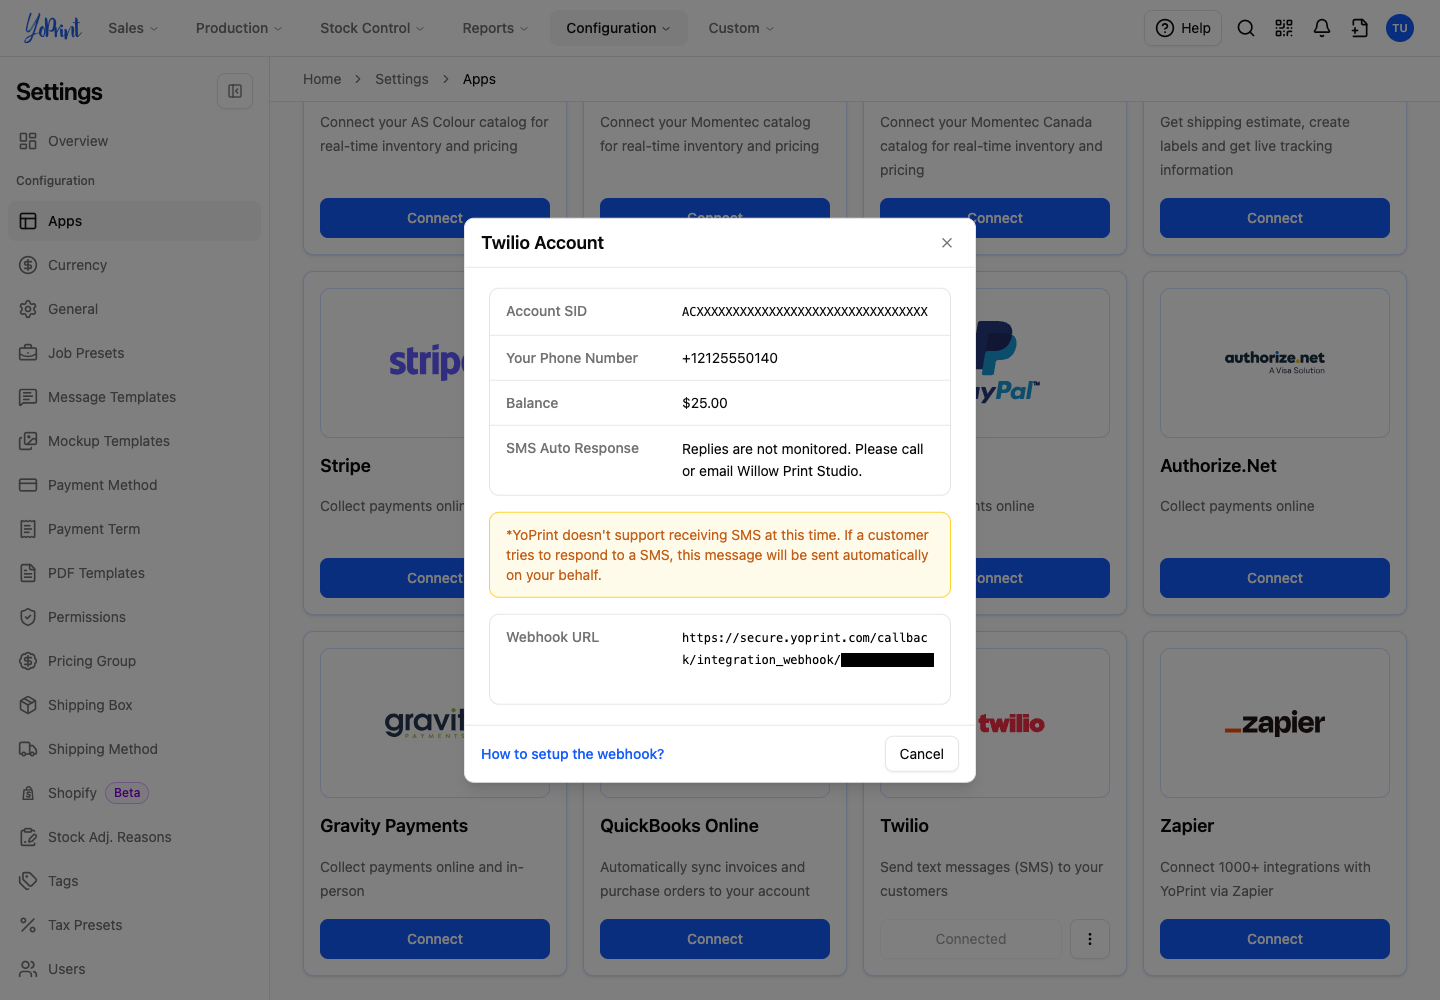
- View Details shows your sending number, balance, auto response, and webhook URL. Add funds or set up auto-recharge directly in your Twilio account.
- Edit opens the sending-number settings. Follow Choose your sending number to select another number or change the auto response.
To update your Twilio Account SID or Auth Token, remove the connection and connect again with your new credentials.
Remove the Twilio connection
-
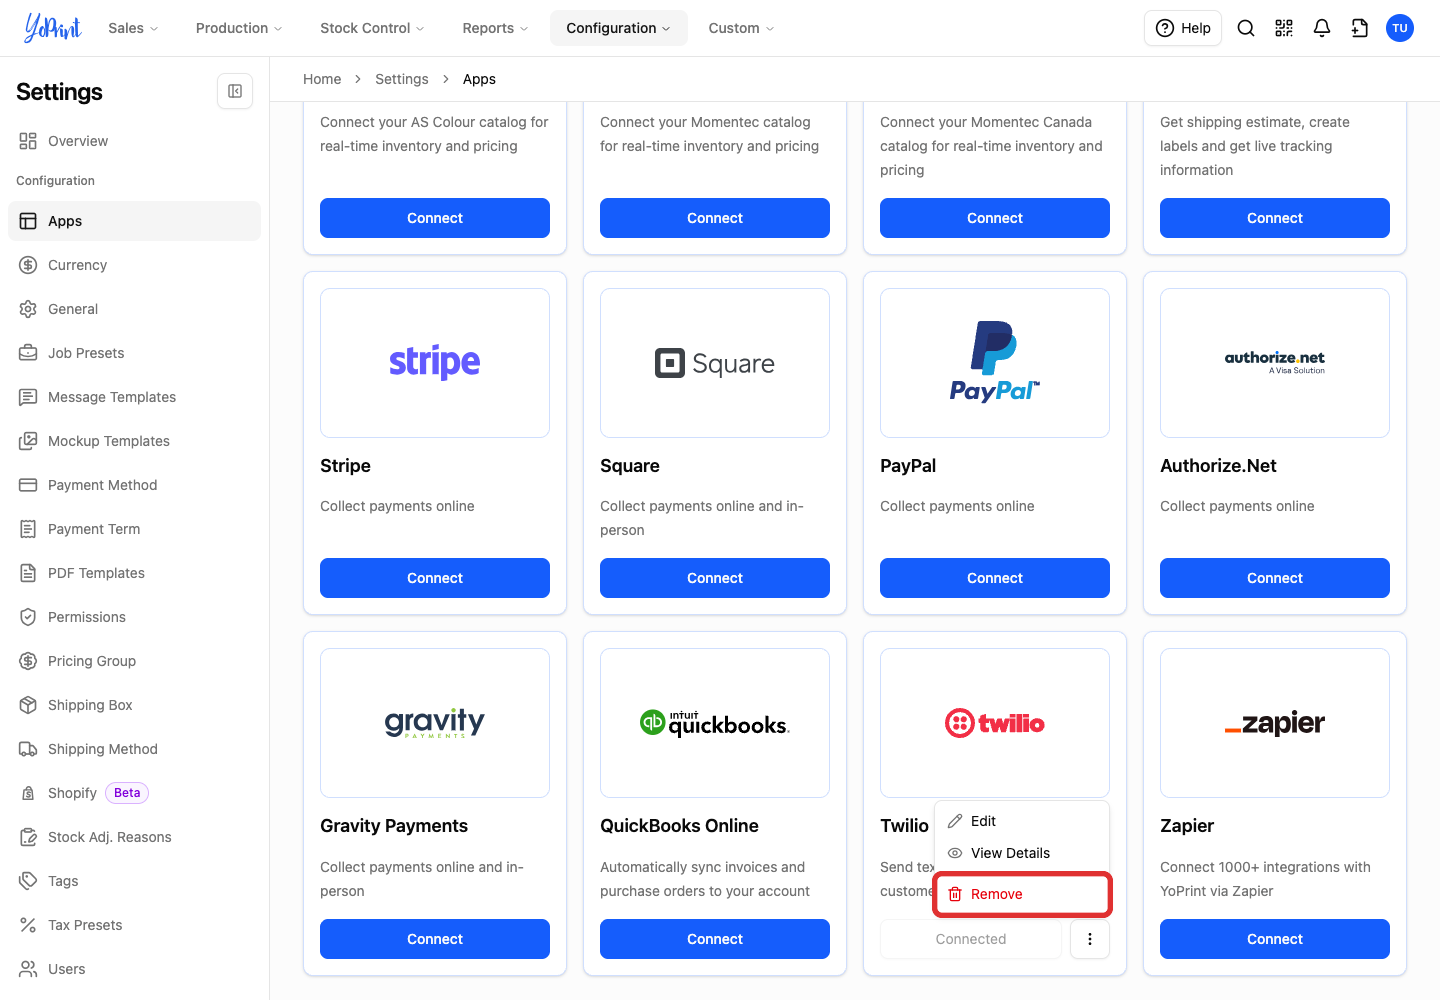
Choose Remove from the Twilio card's three-dot menu in Settings > Apps.
-
Click Remove in the confirmation dialog.
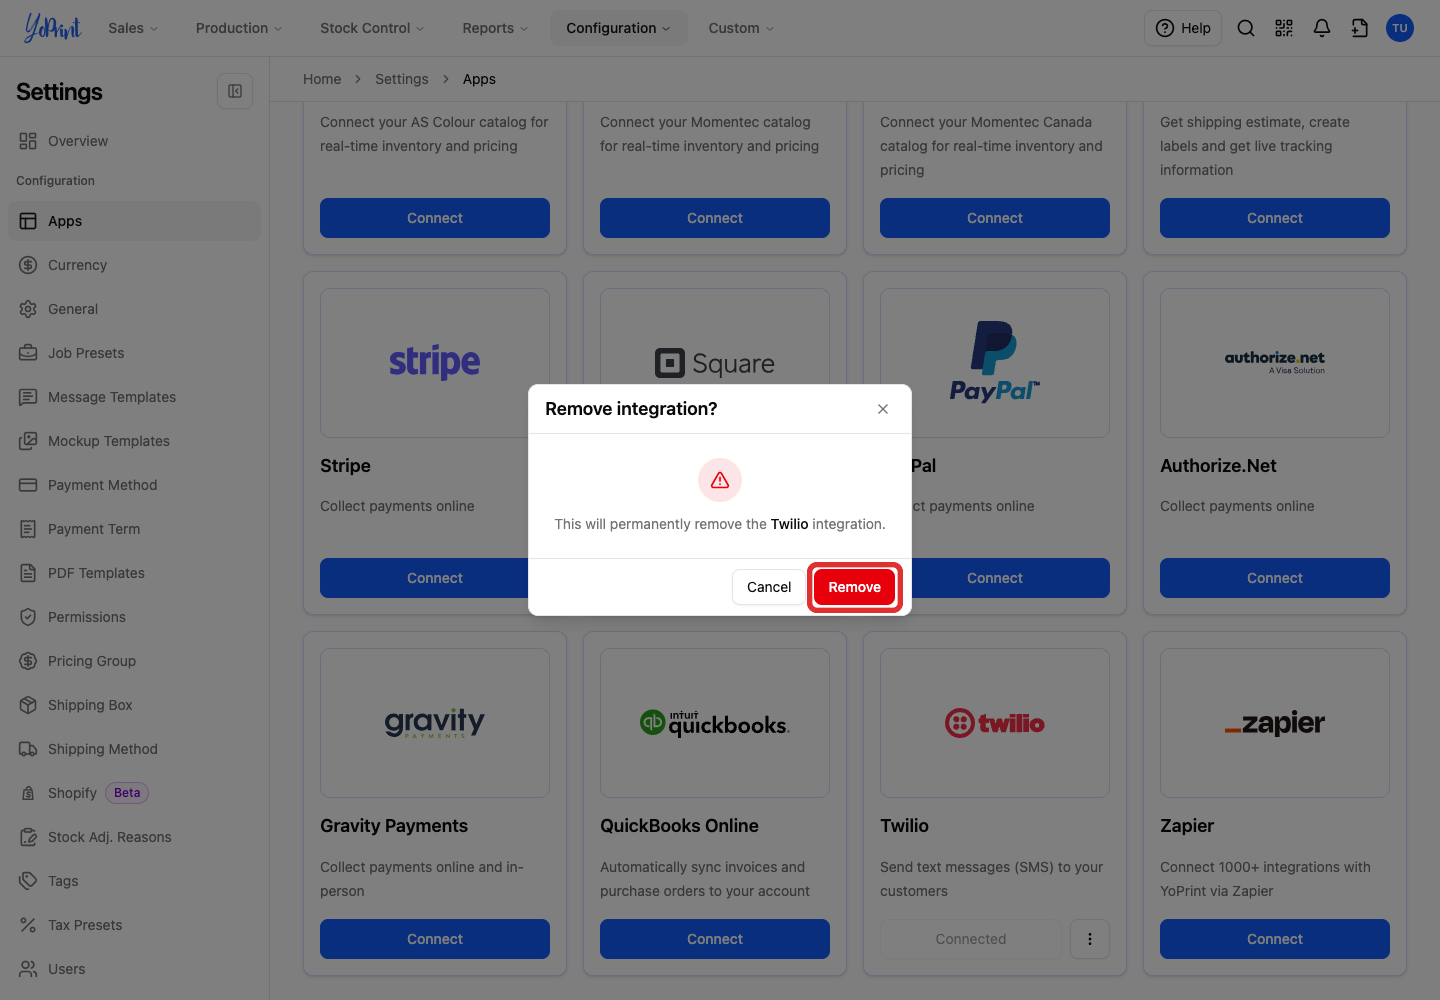
Removing the connection stops text messaging from YoPrint. Your existing sales order messages and history remain.