Configuring Shippo Integration
In this article
Integrating Shippo in YoPrint
In this article, we will walk you through the Shippo Integration.
- Log in to YoPrint and go to Configurations > Settings > Apps.
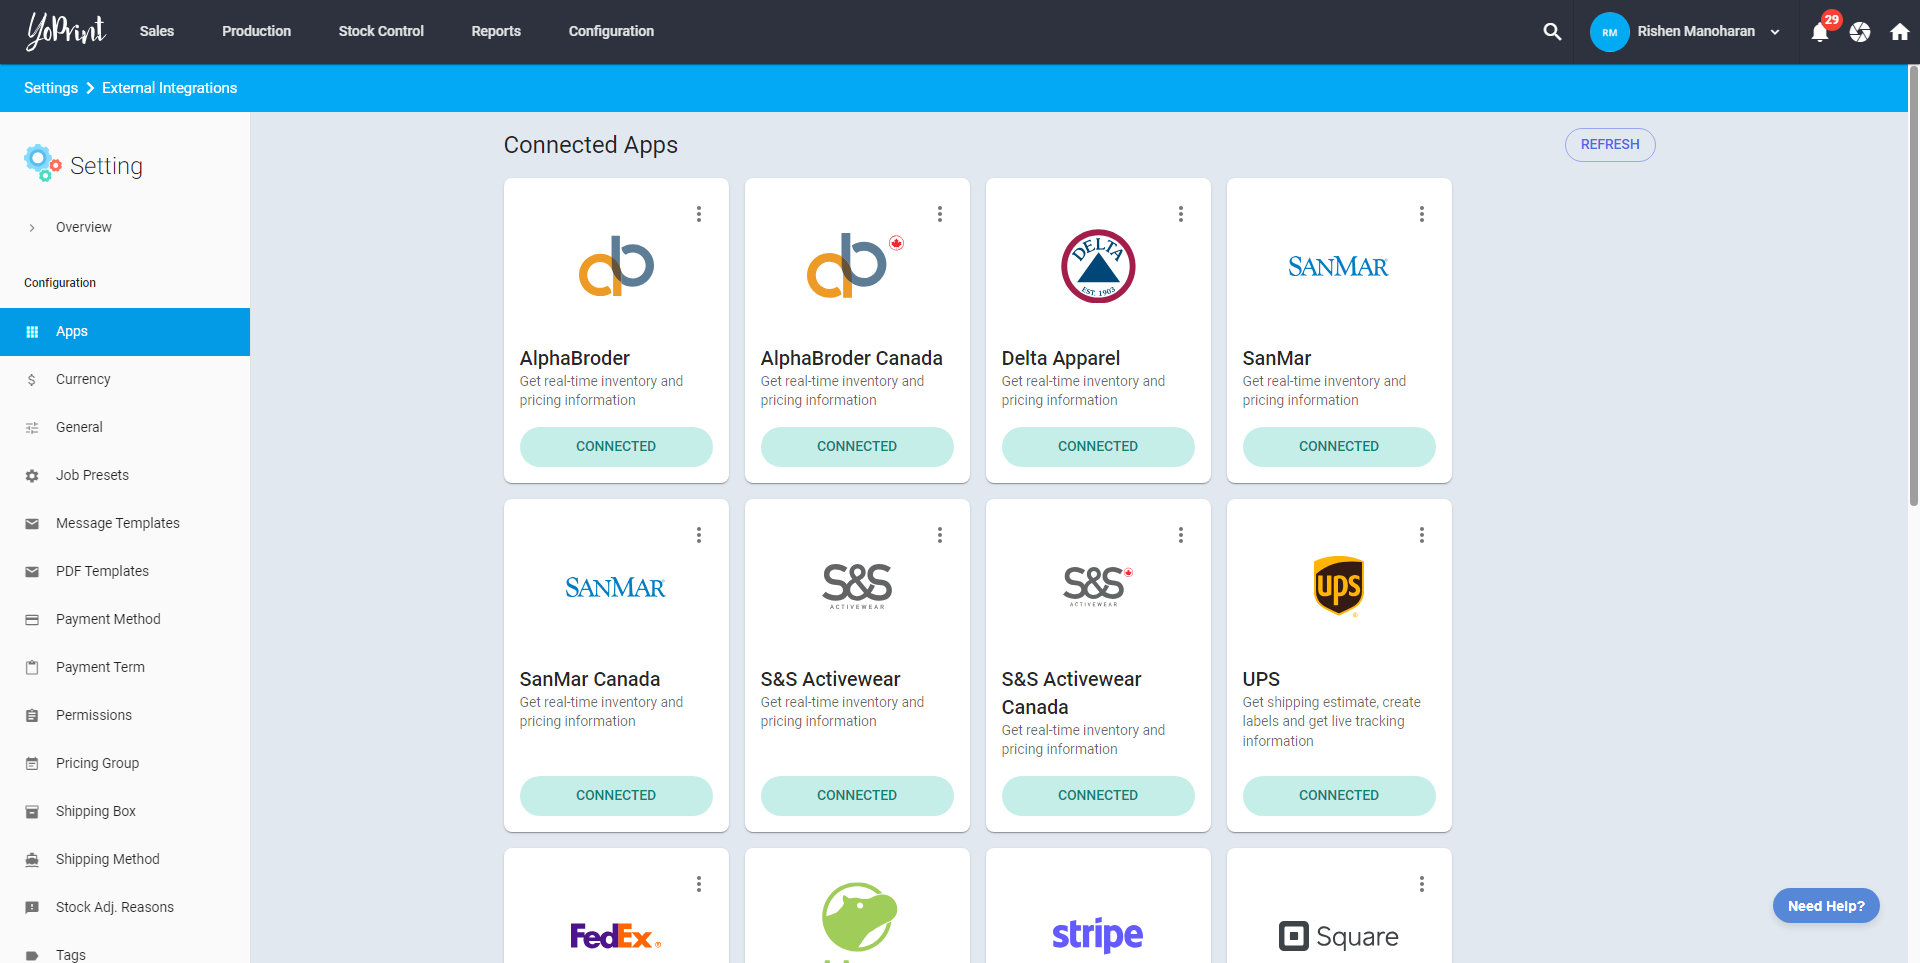
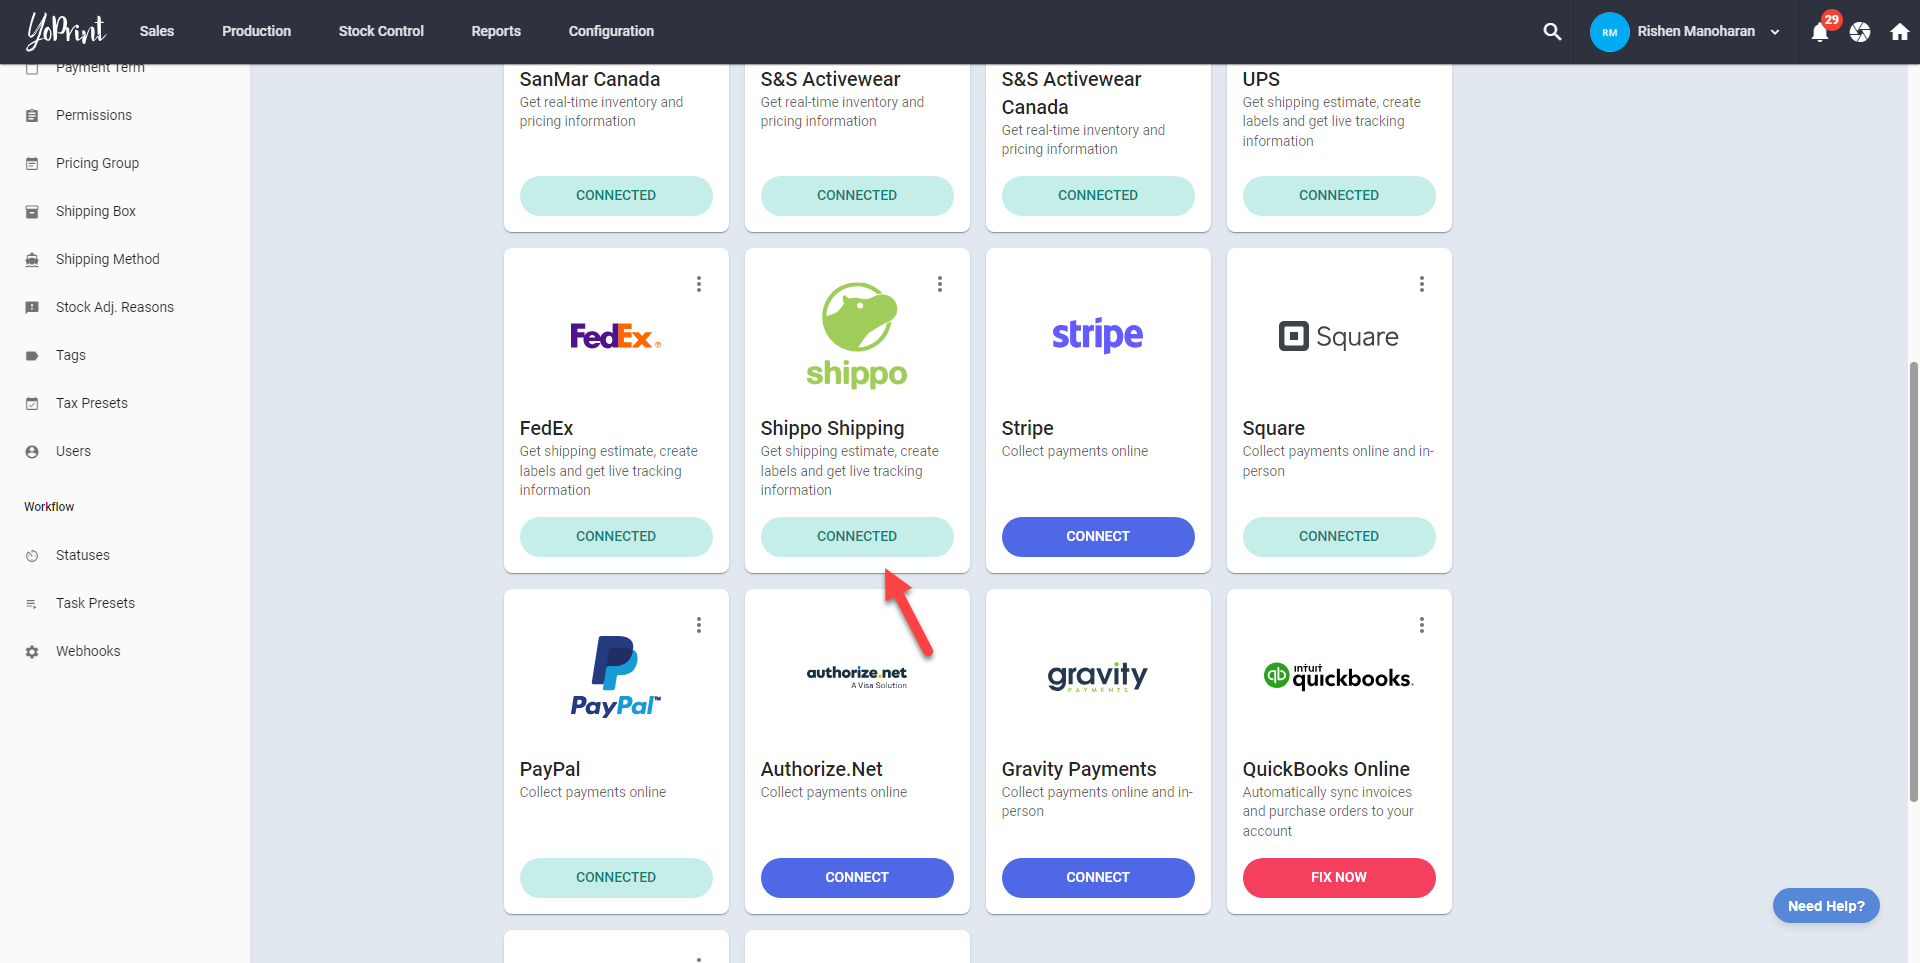
- Scroll down until you see the Shippo logo (Shippo Shipping), and click "Connect."
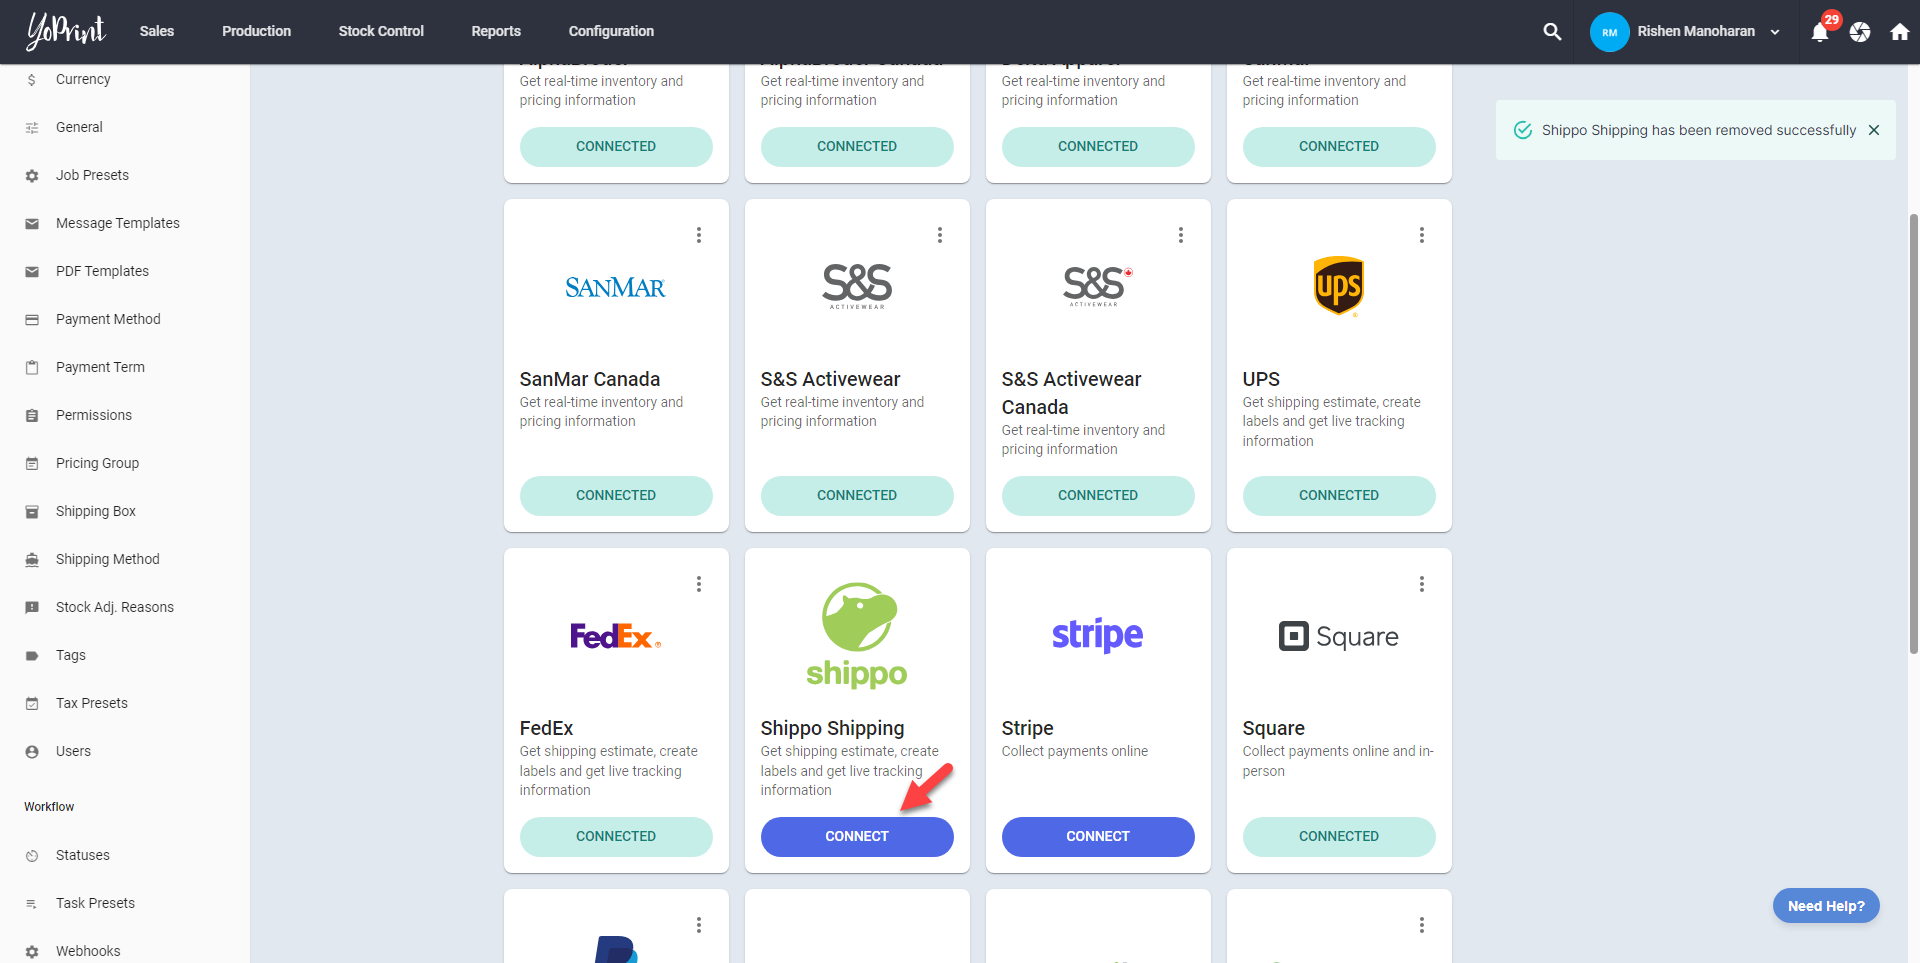
- This will redirect you to Shippo. If you are not logged in, enter your Shippo login credentials and click "Login."
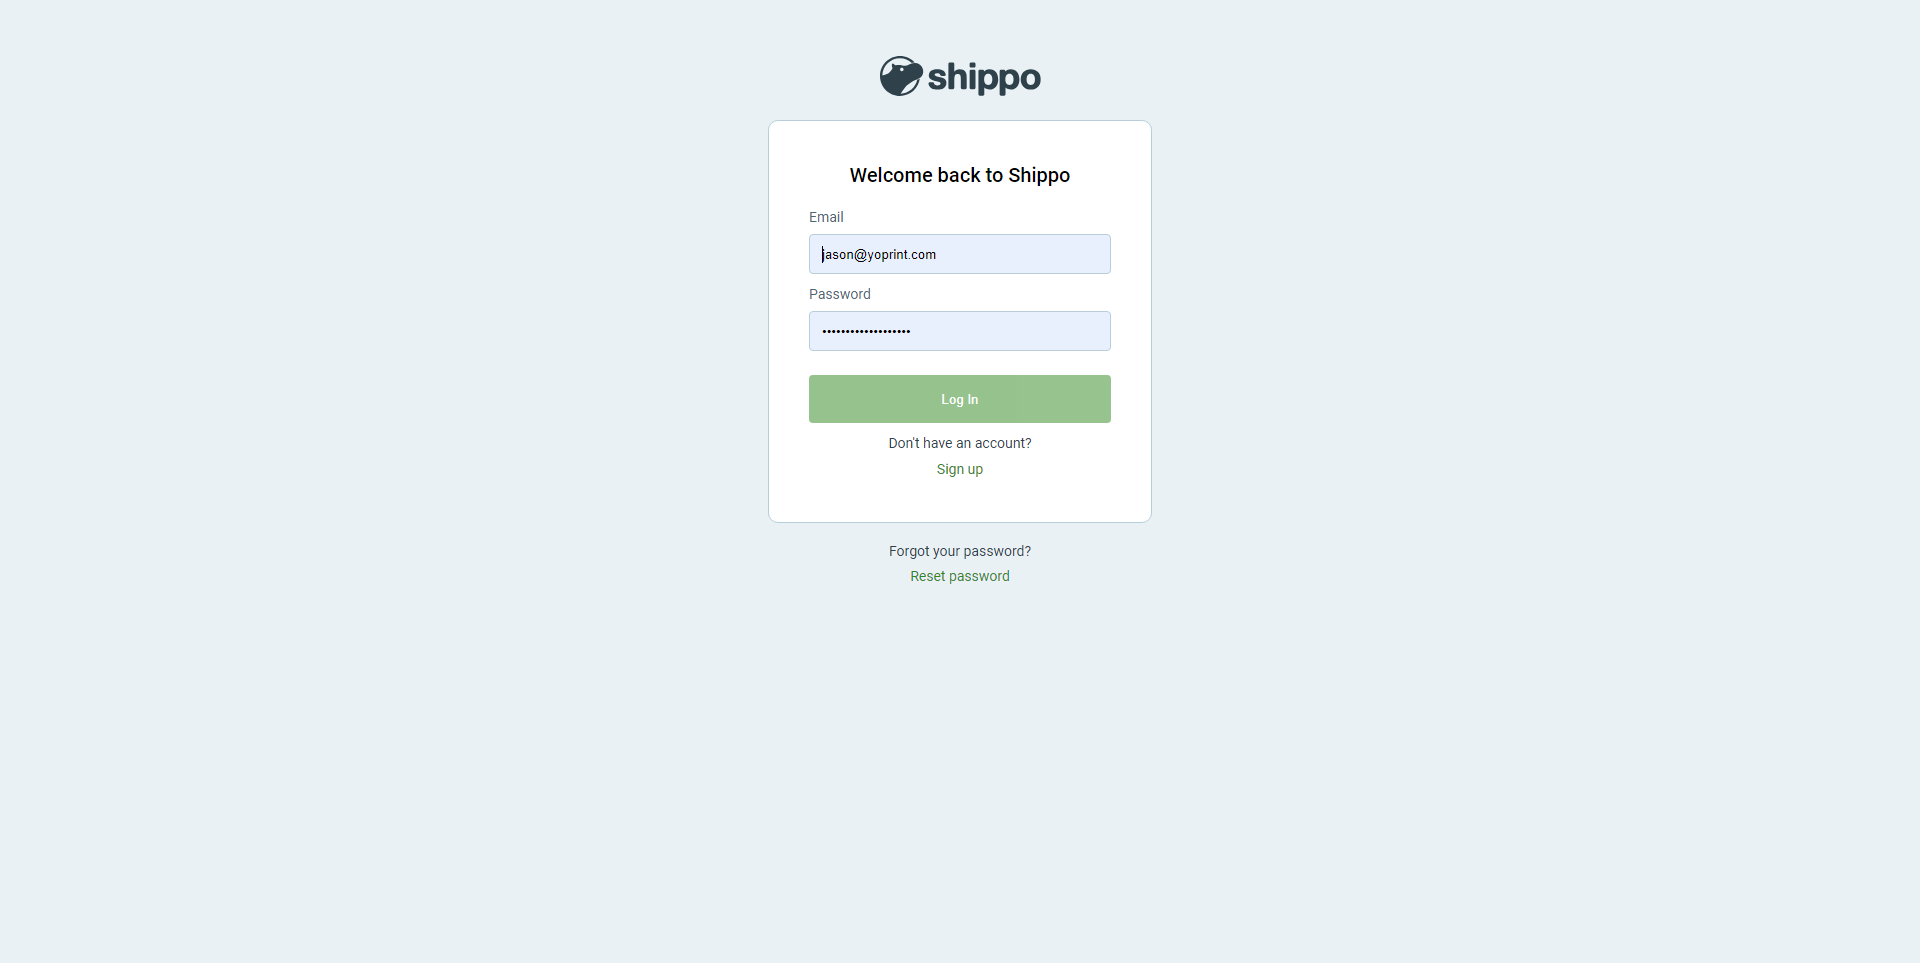 4. Once logged in, Shippo will be connected to YoPrint.
Getting an estimate with Shippo
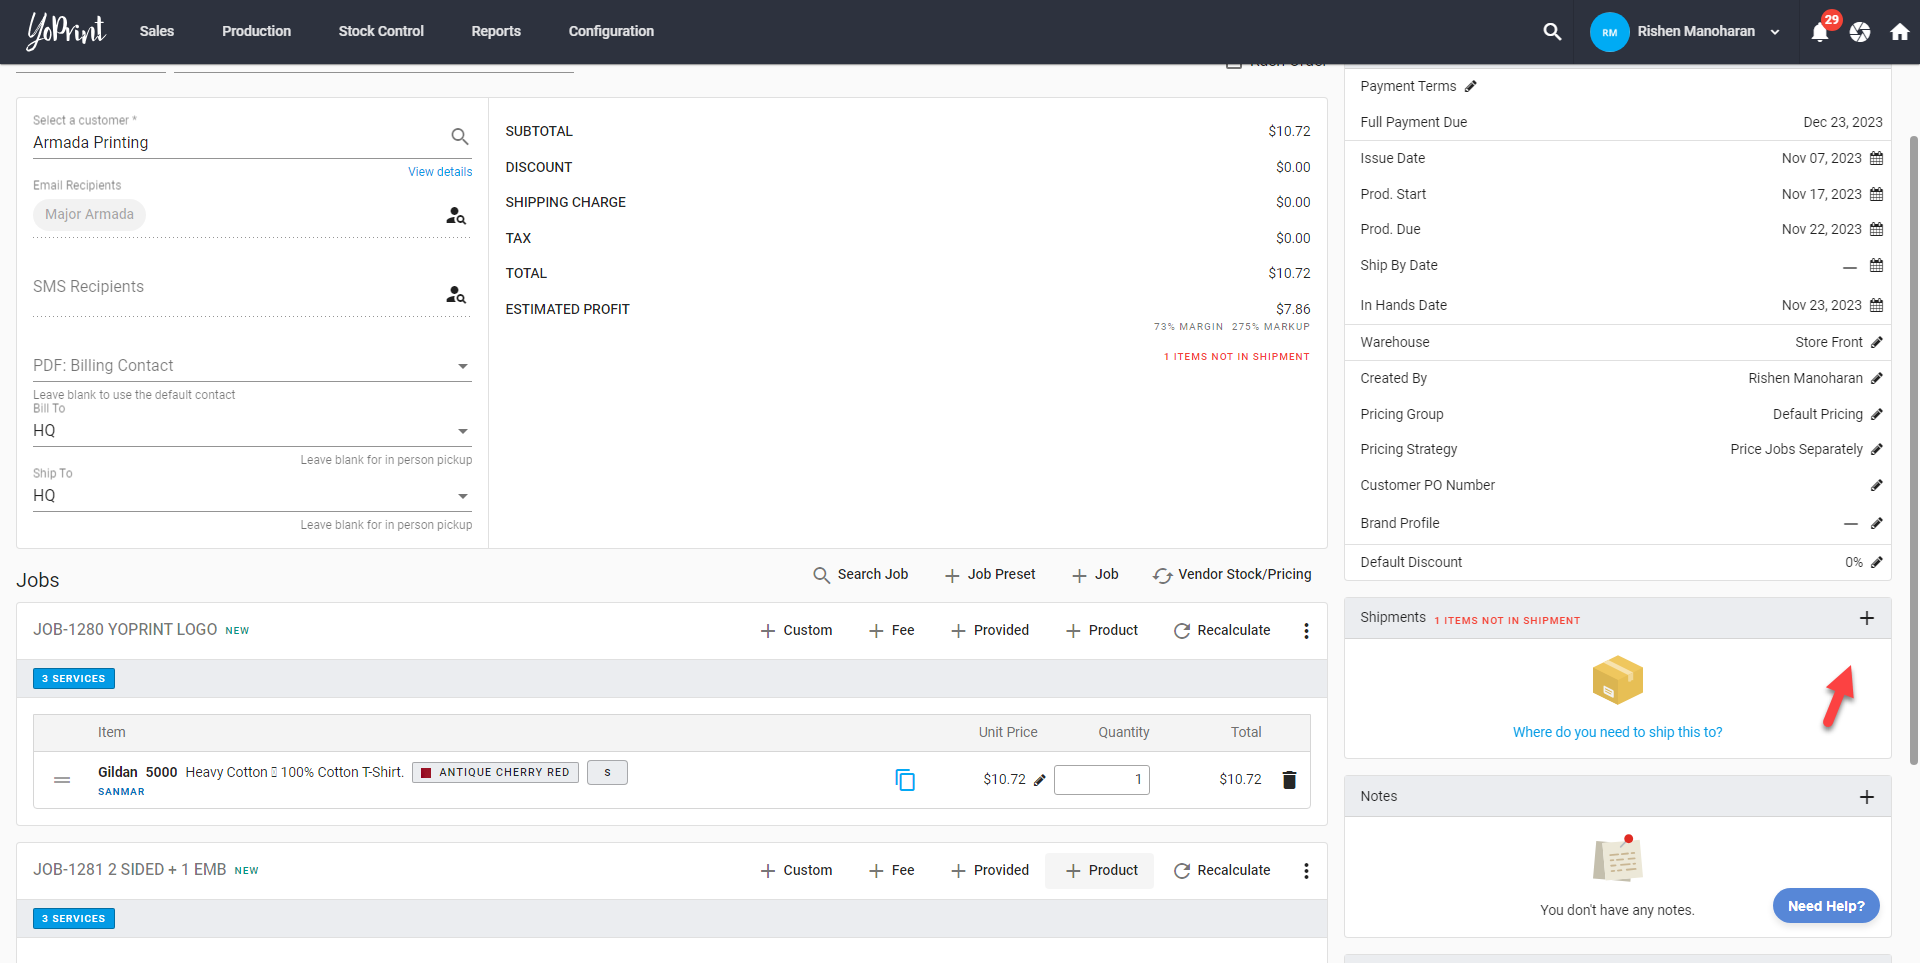
- After adding a product to a quote, click on "+shipment."
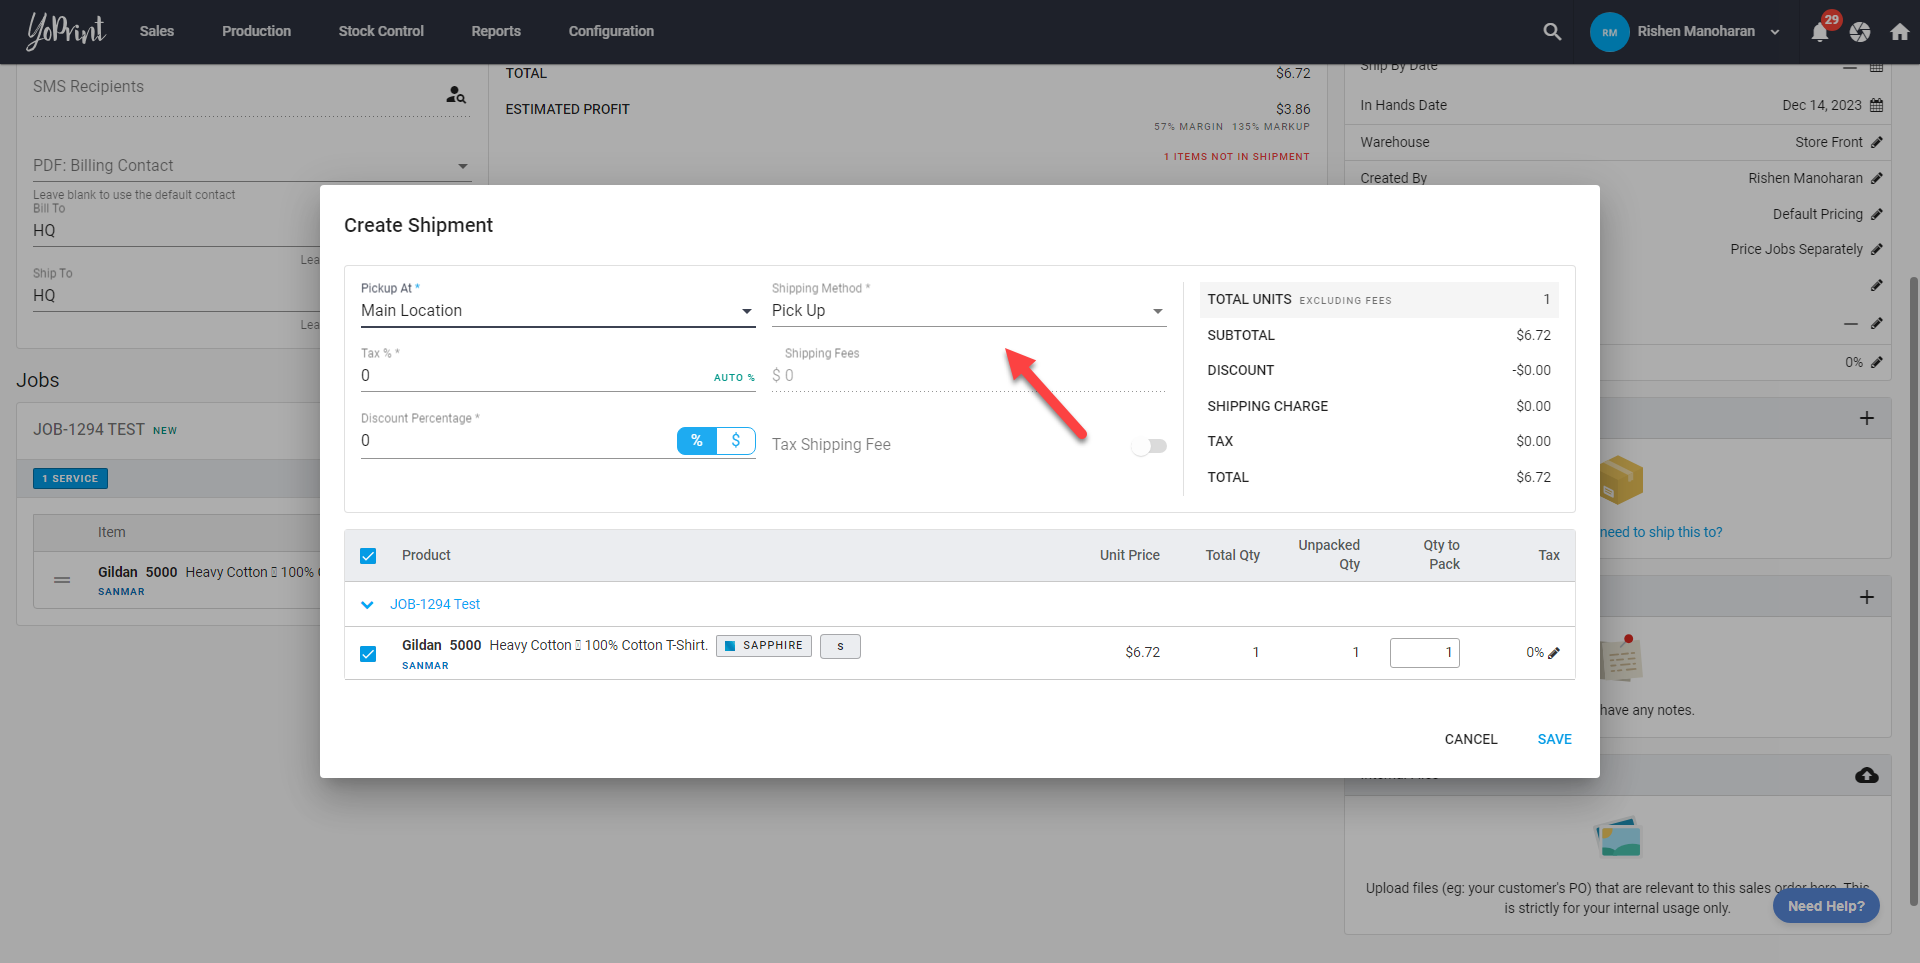
- Click on the shipping method dropdown box.
- Select Shippo from the dropdown menu.
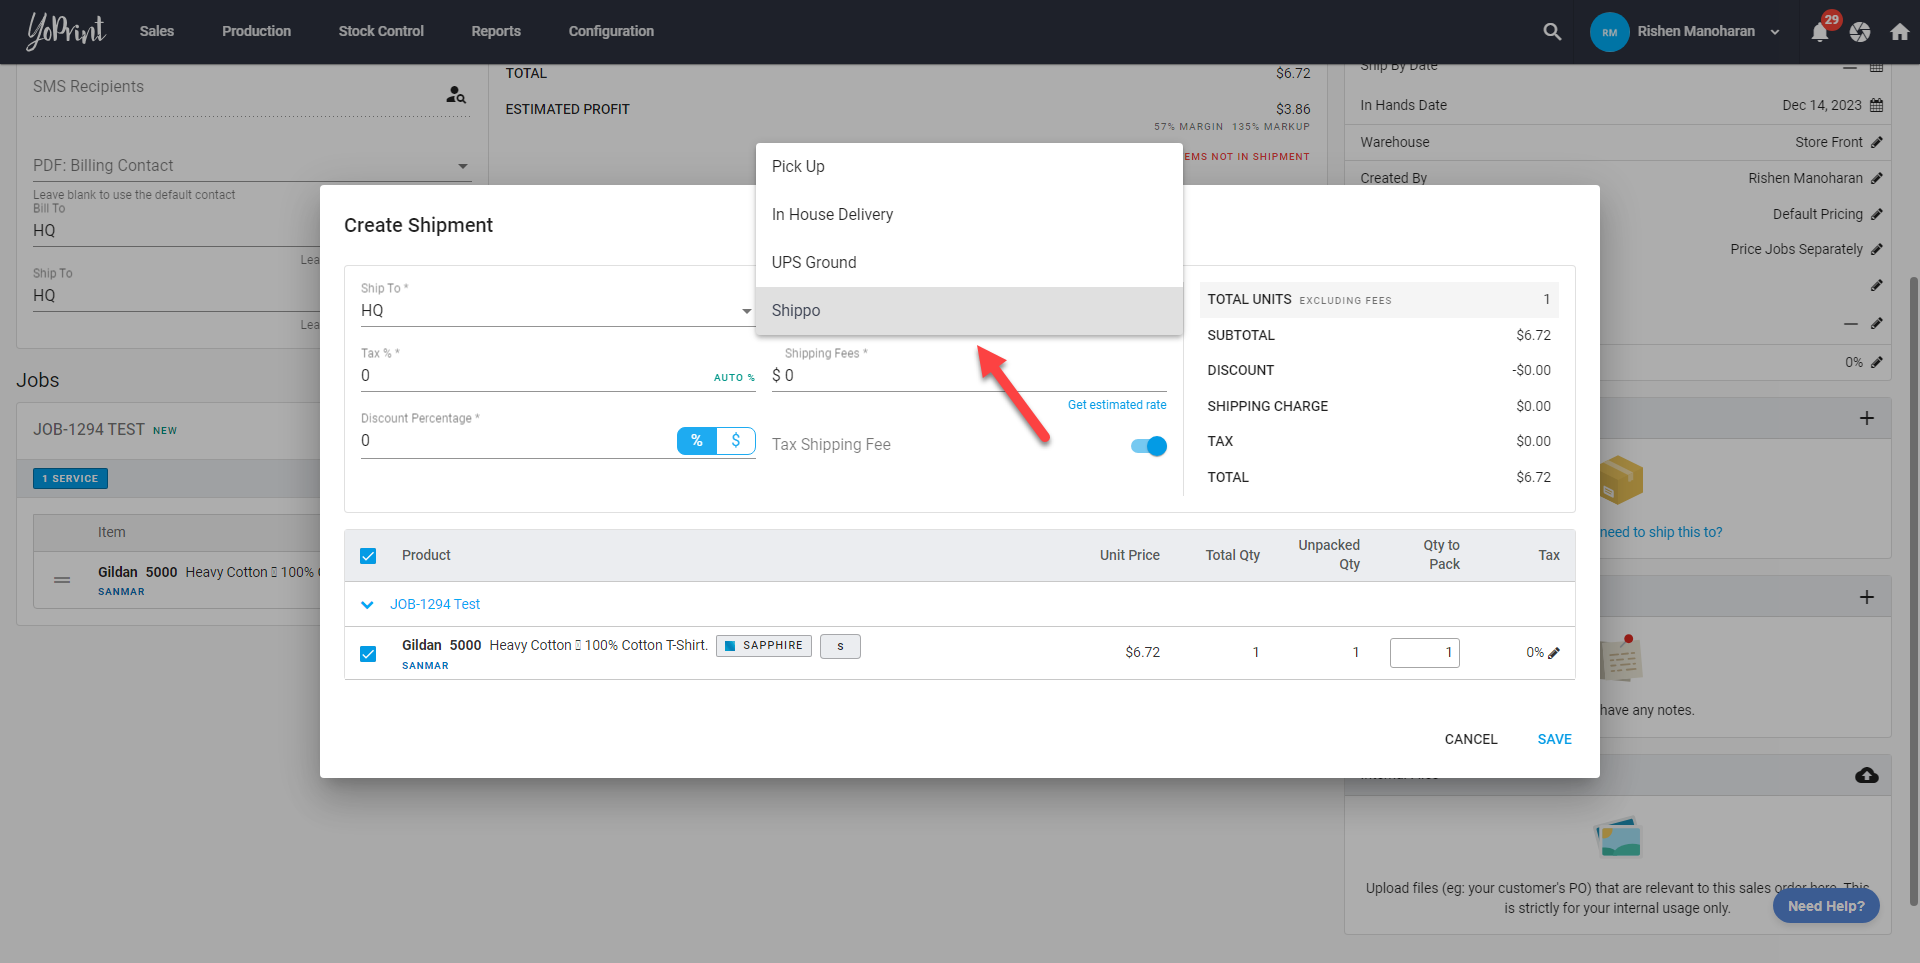
- Click on "Get Estimated Rate".
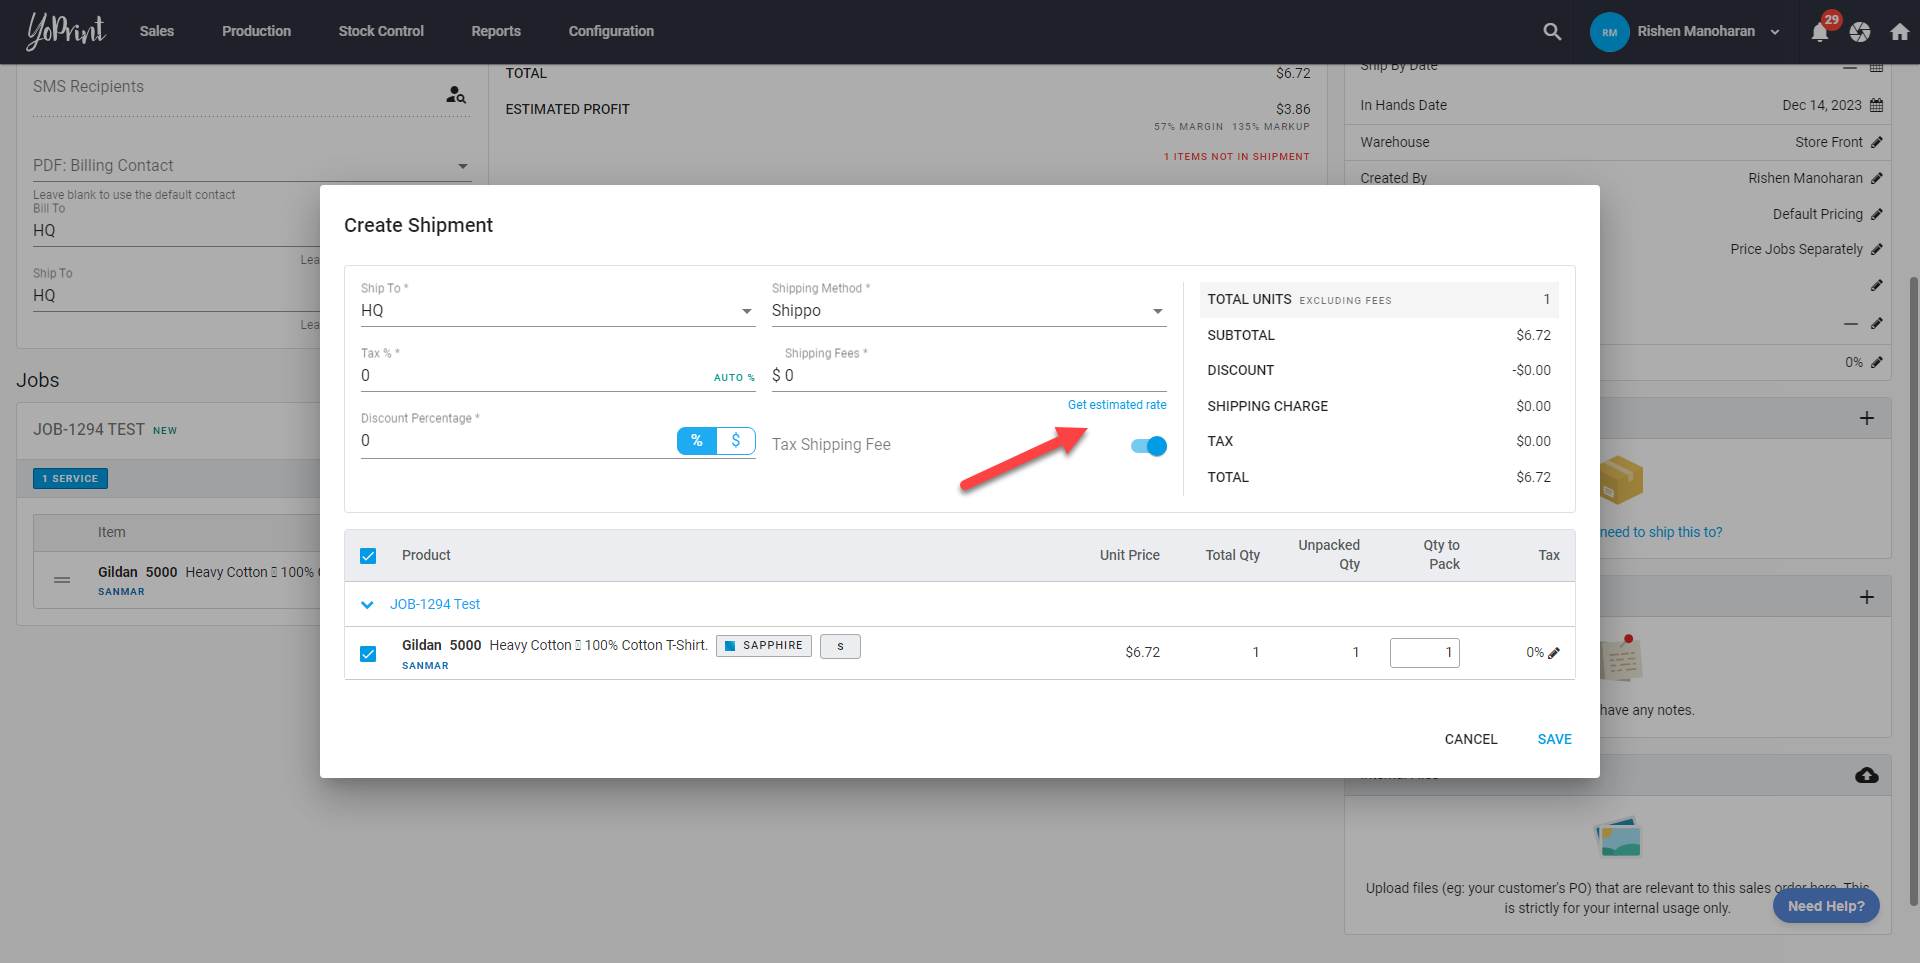
- Fill in the sender and recipient details.
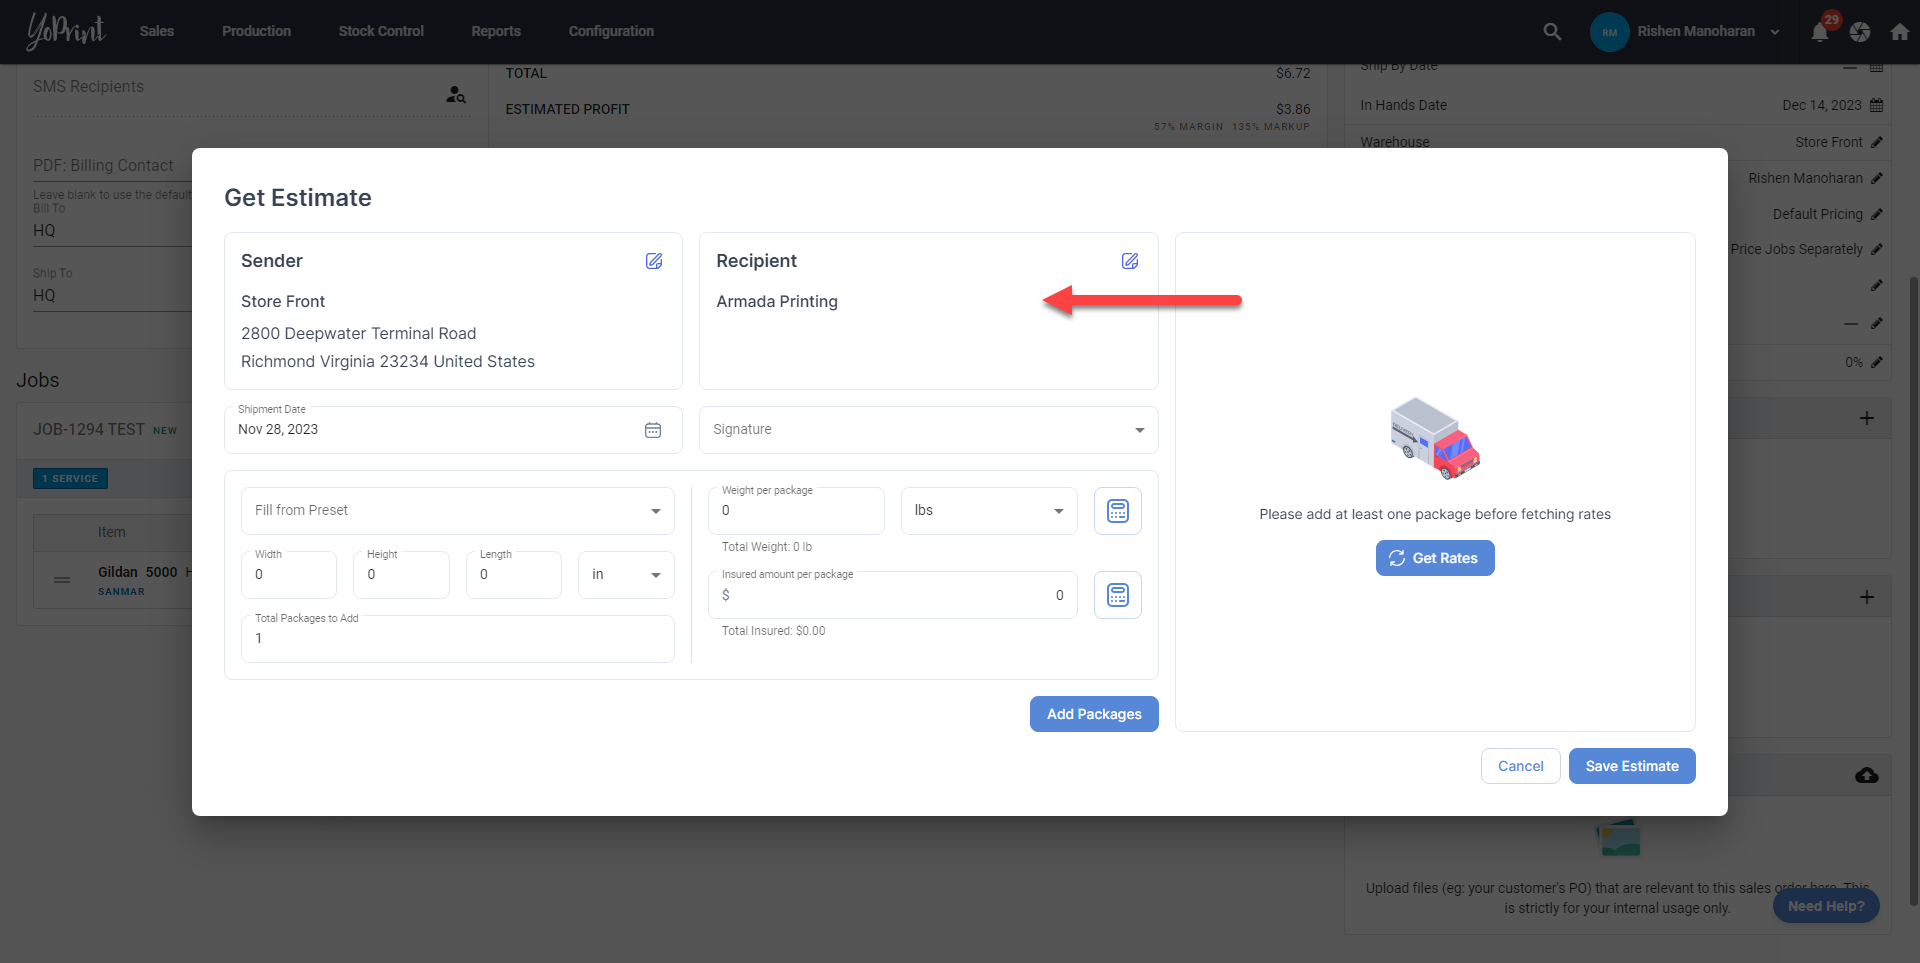
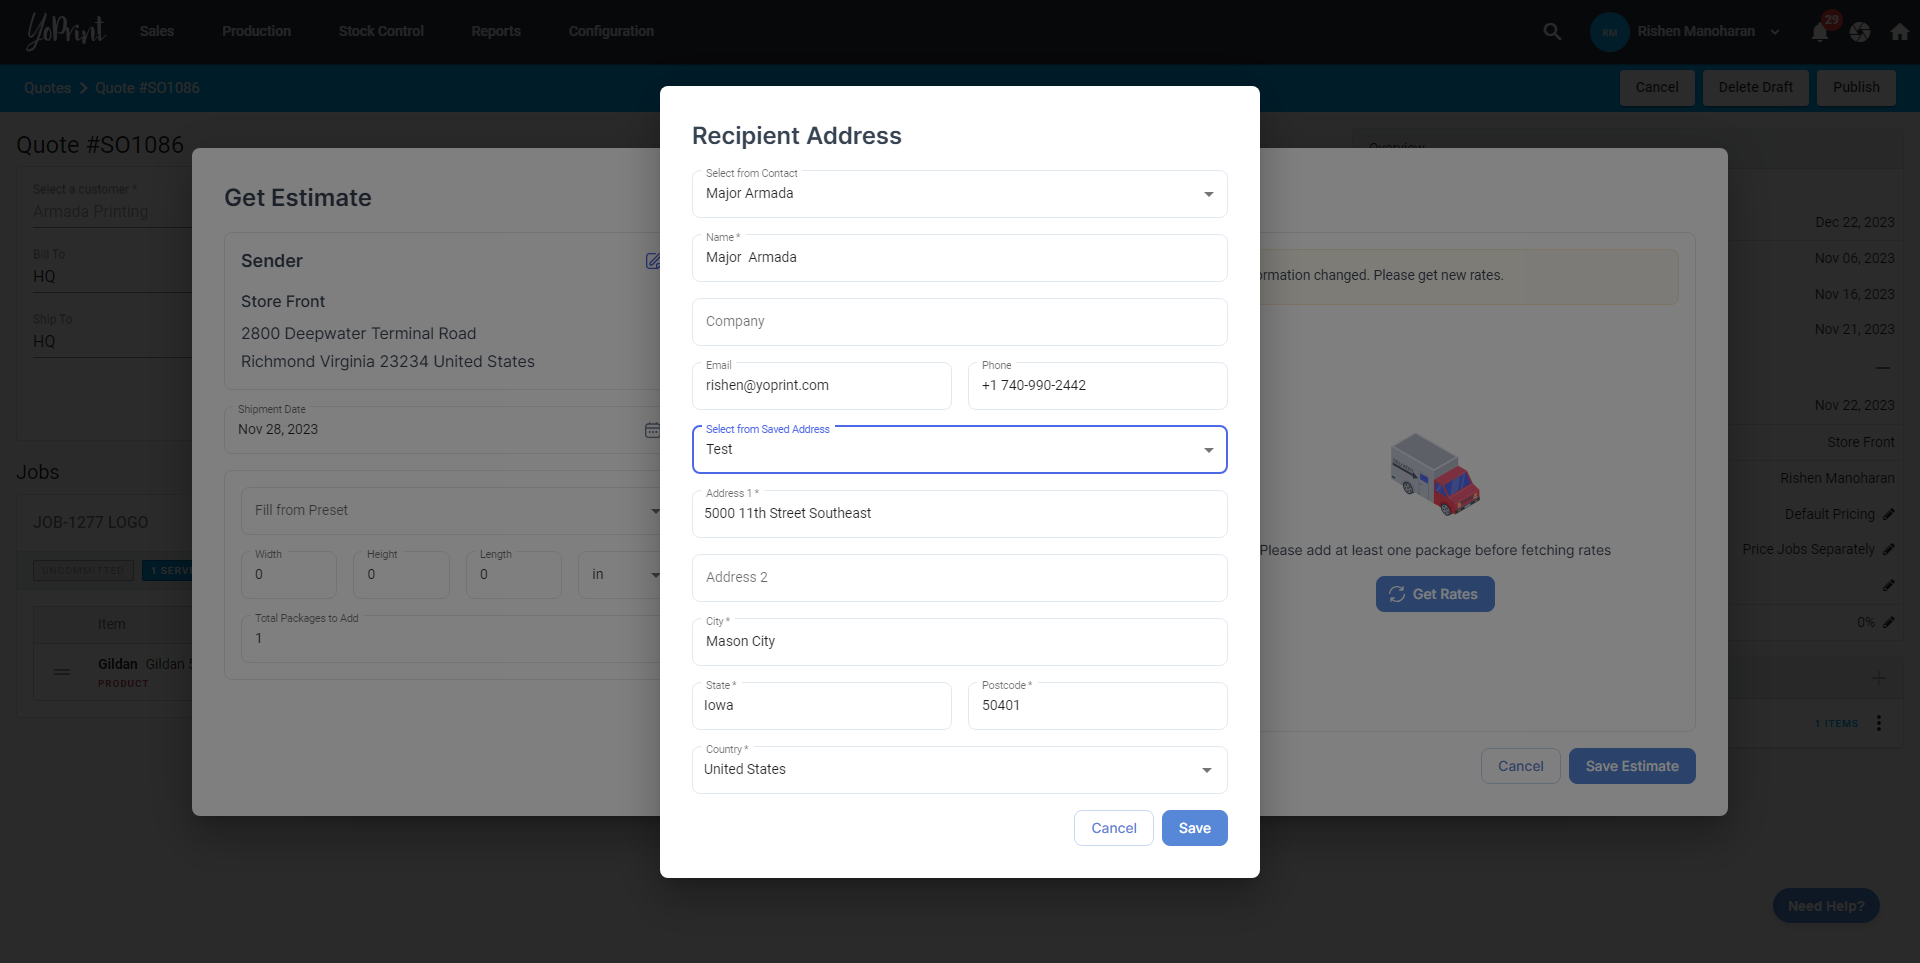
- Ensure that the address is valid.
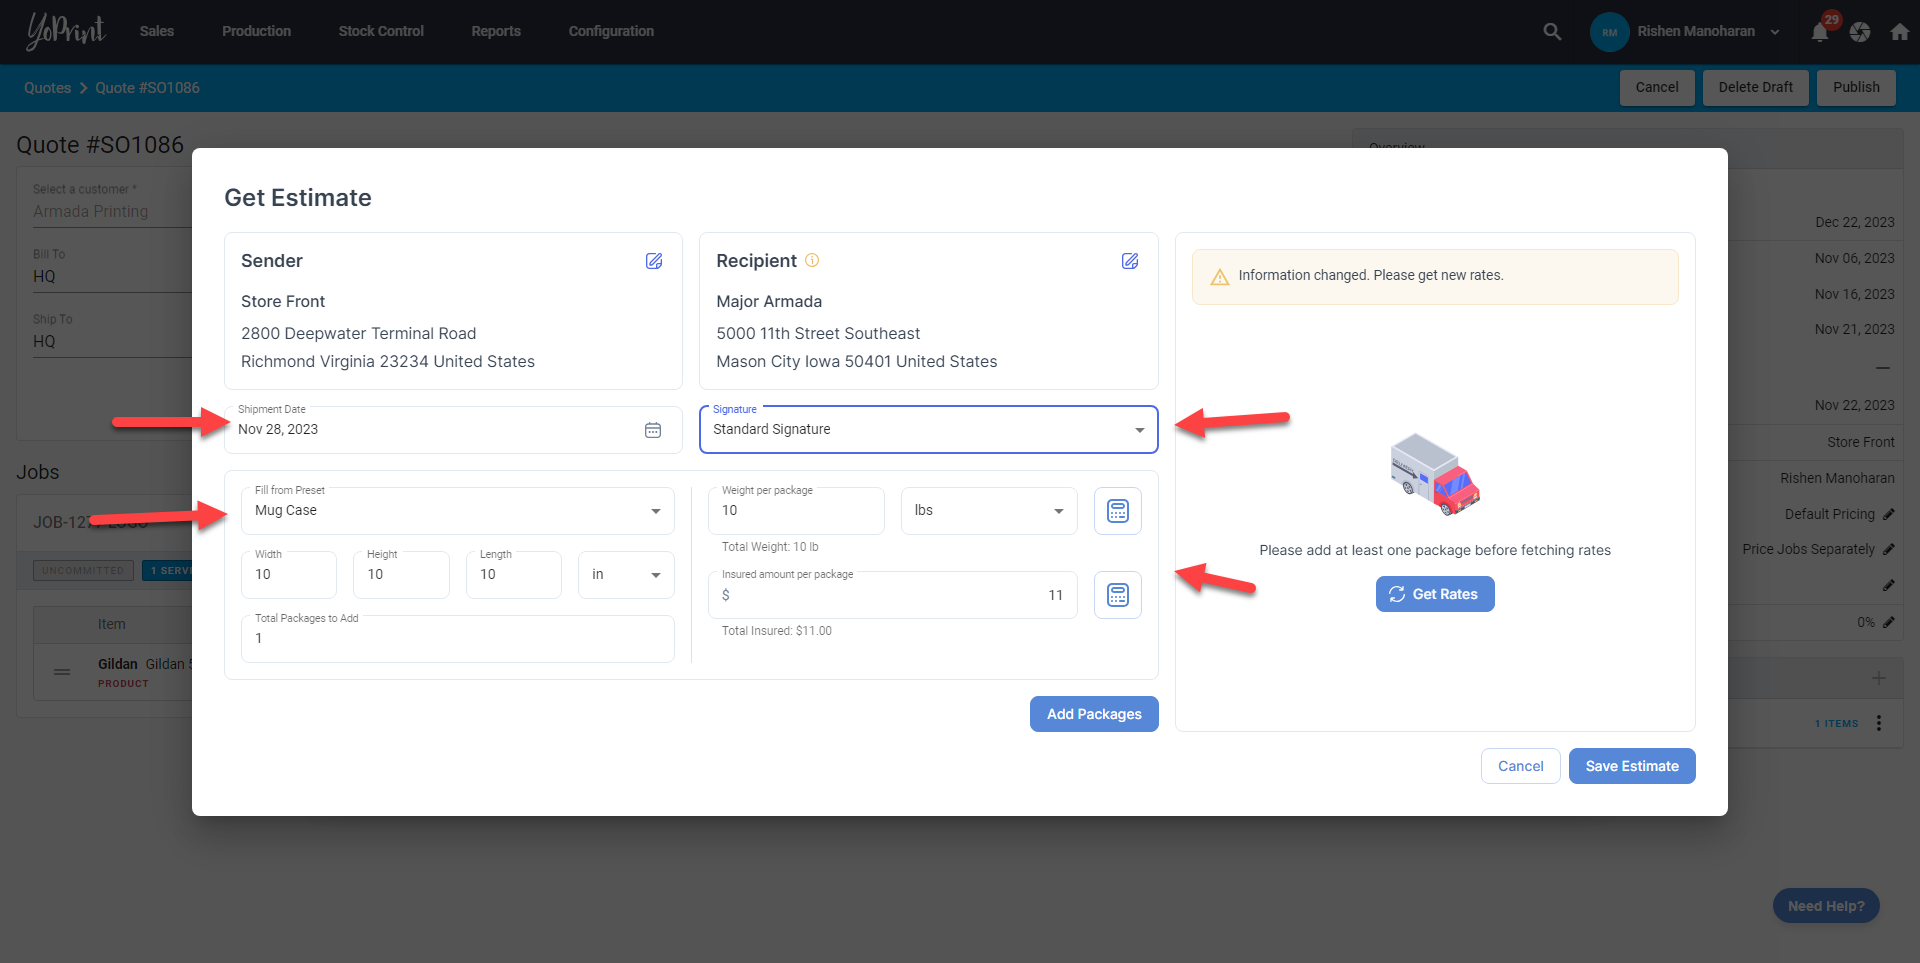
- Fill in the shipment date, signature, and package details. Then click on "Add Packages".
- You will see that the packages have been added below.
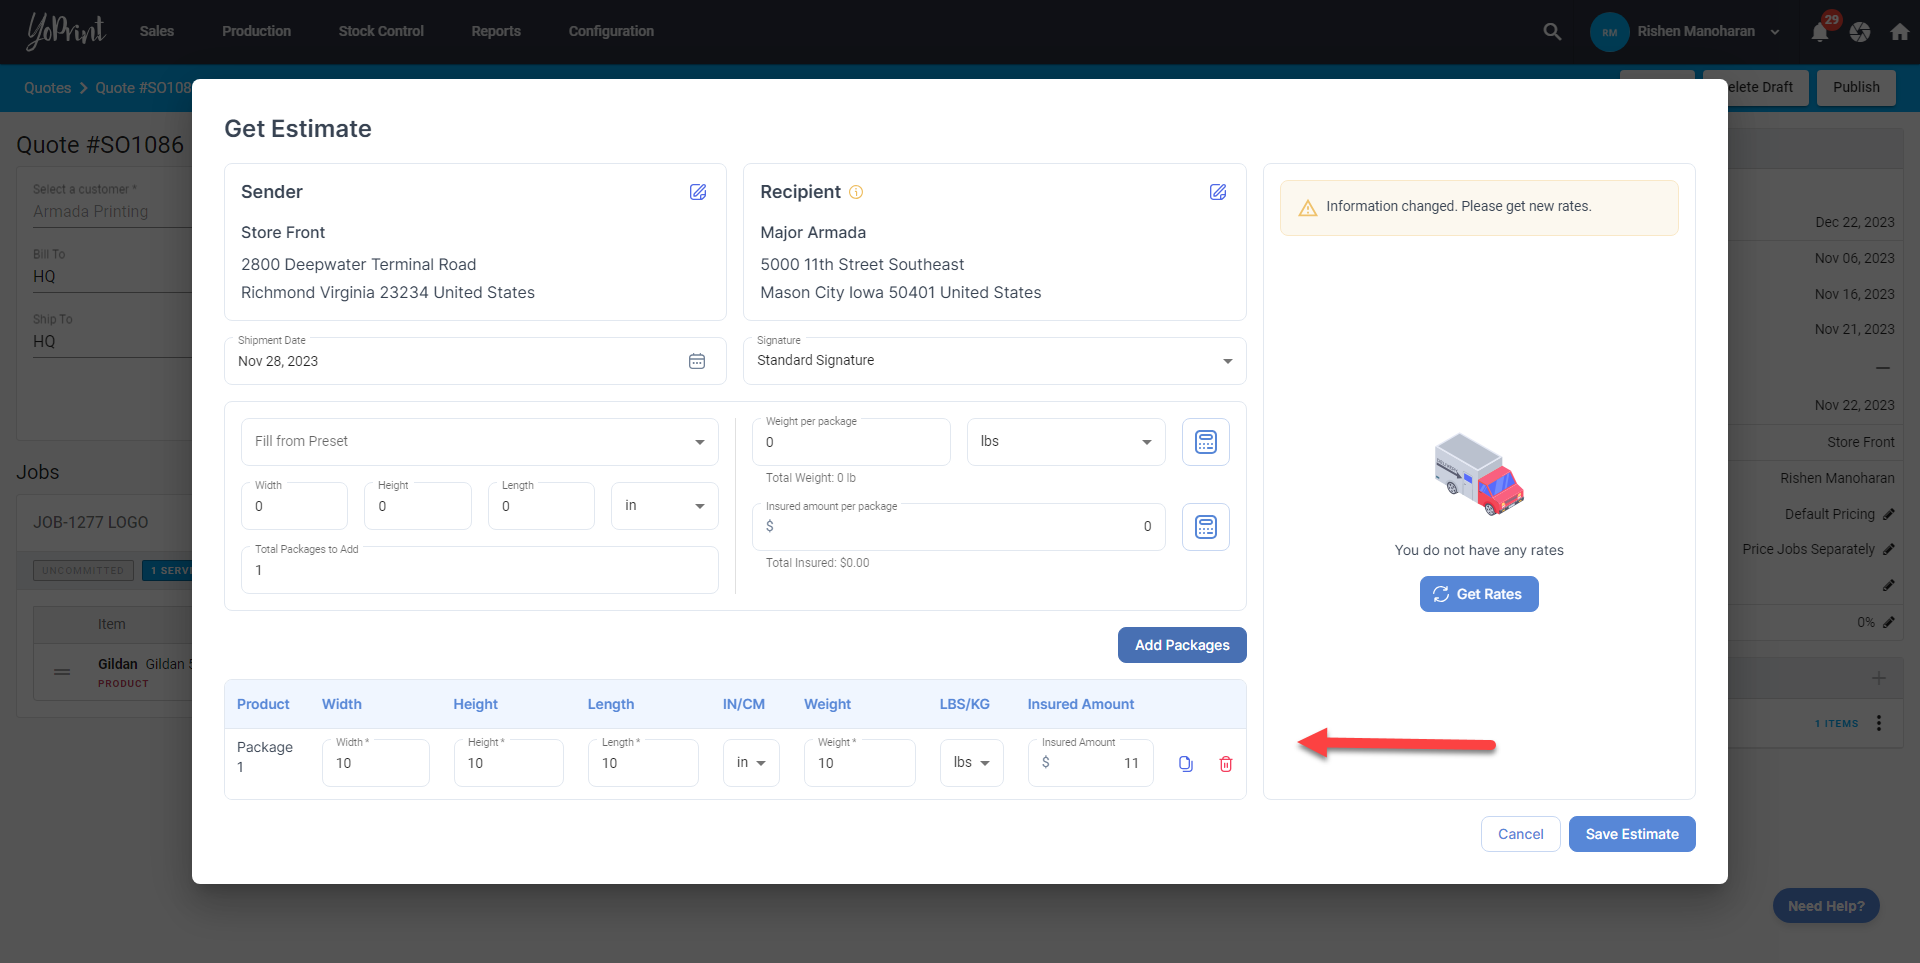
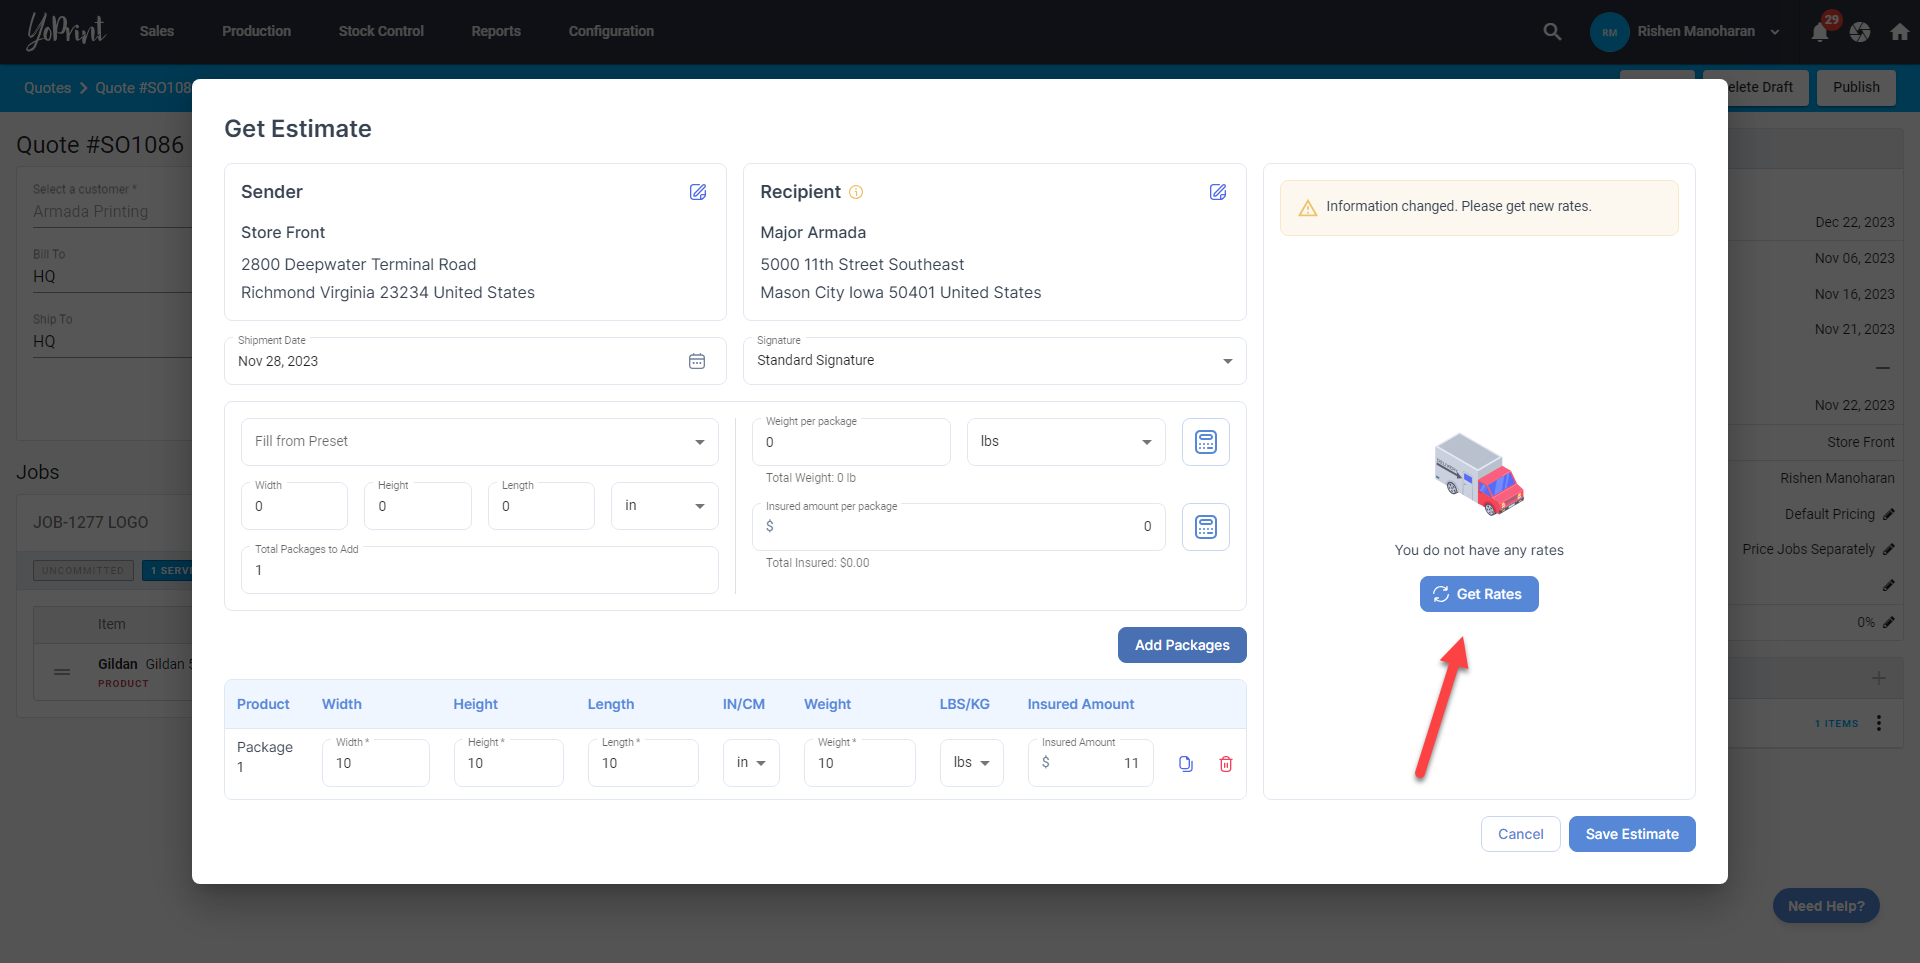
- Click on "Get Rates".
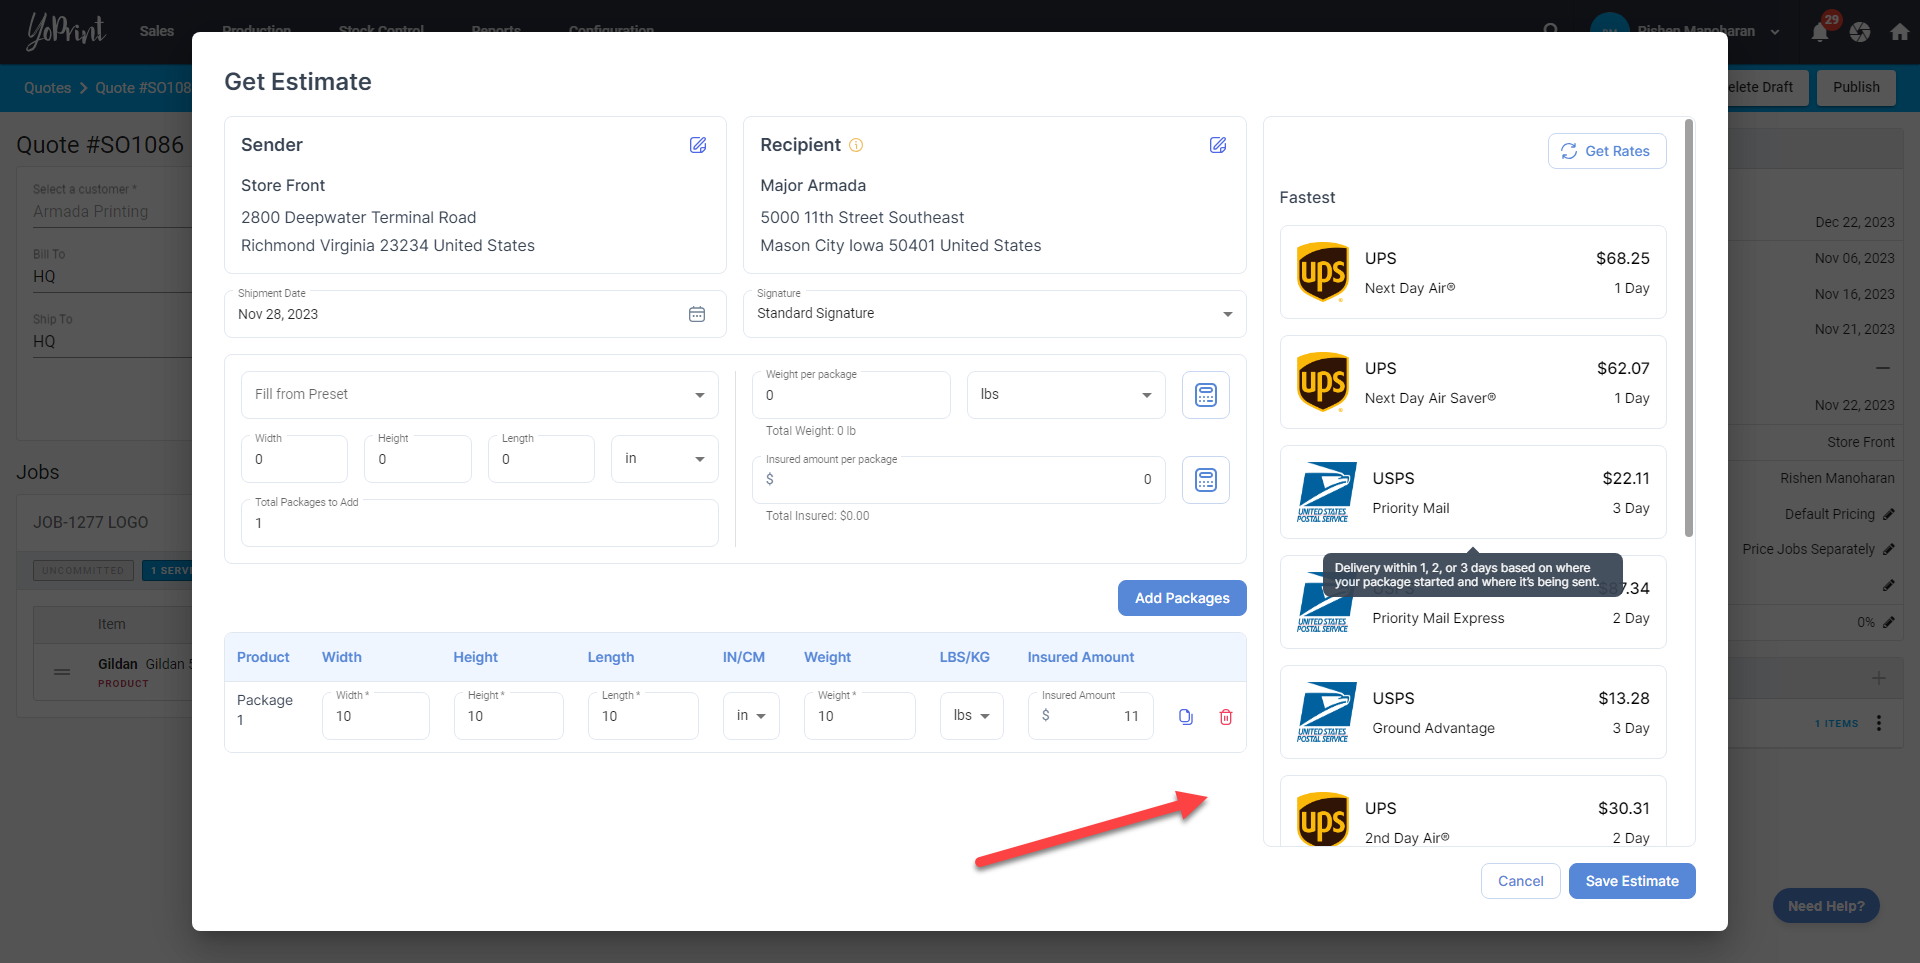
- This will display a list of rates to choose from. Select the desired rate and click on "Save Estimate."
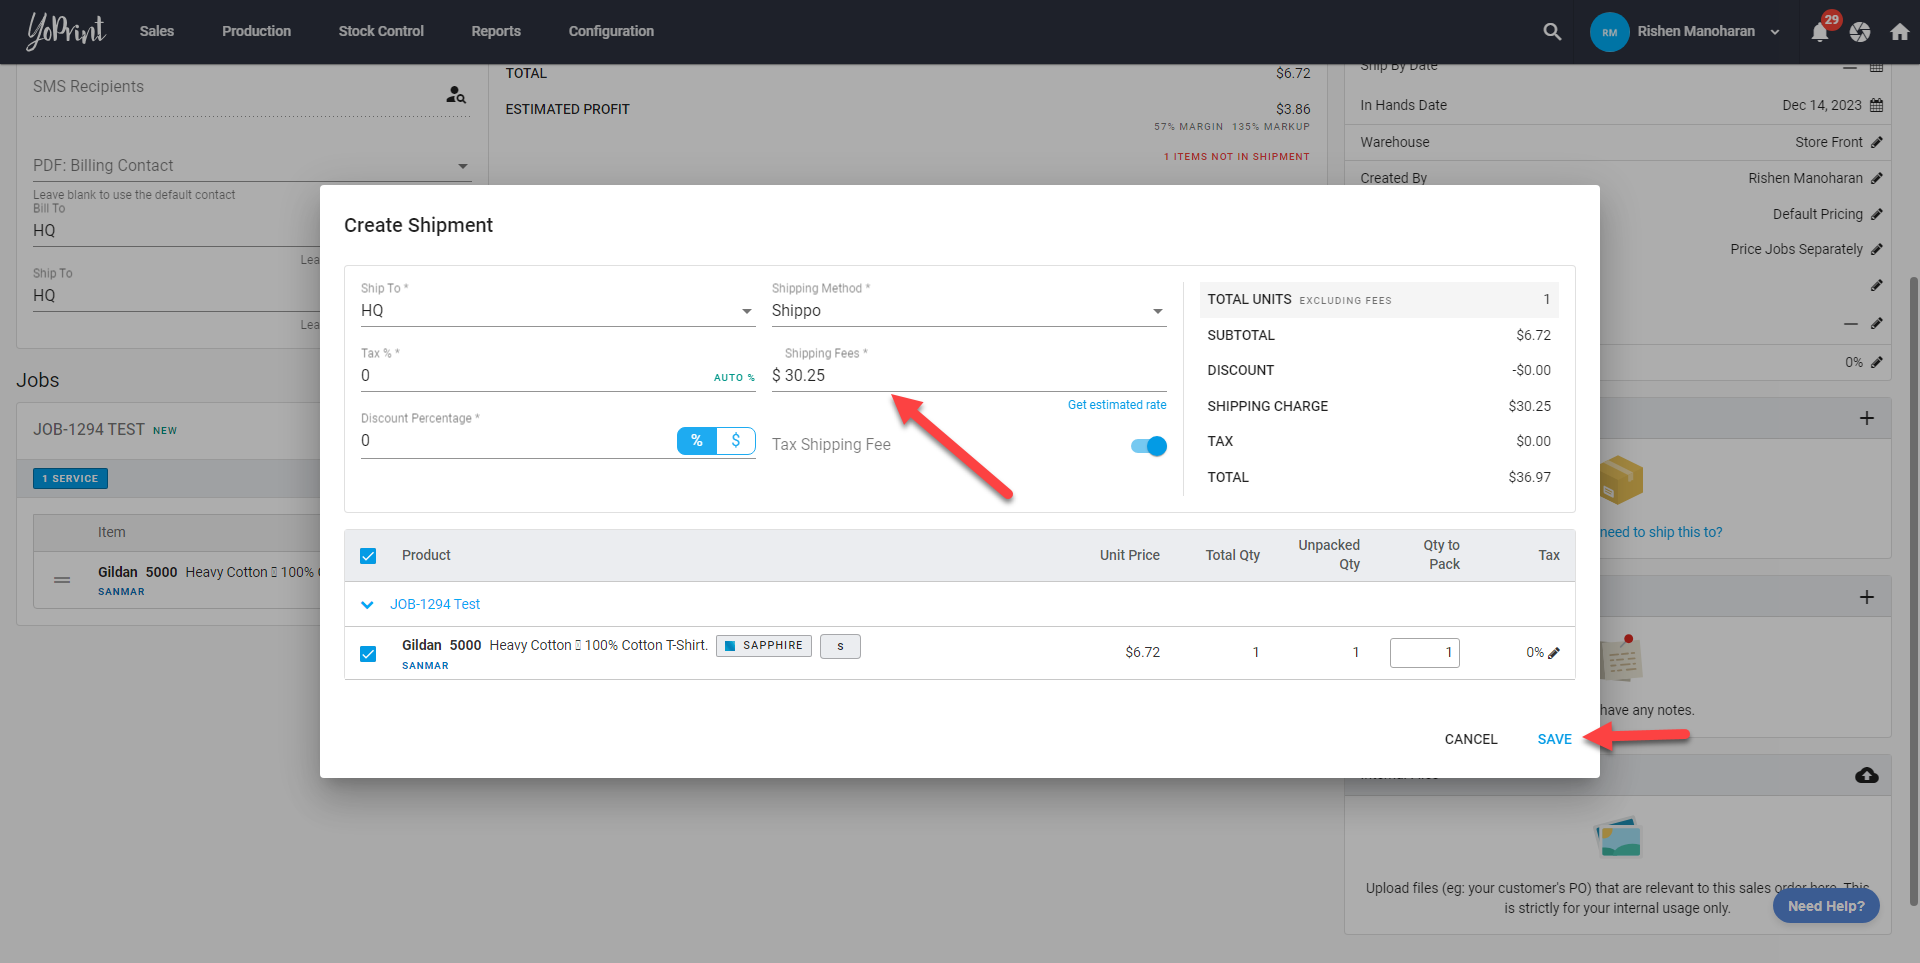
- You will now see the calculated shipping fees in the create shipment box. Click on "Save".
Creating A Label
- Once the quote is created, click the three-dot actions button under "Shipments" and select "View."
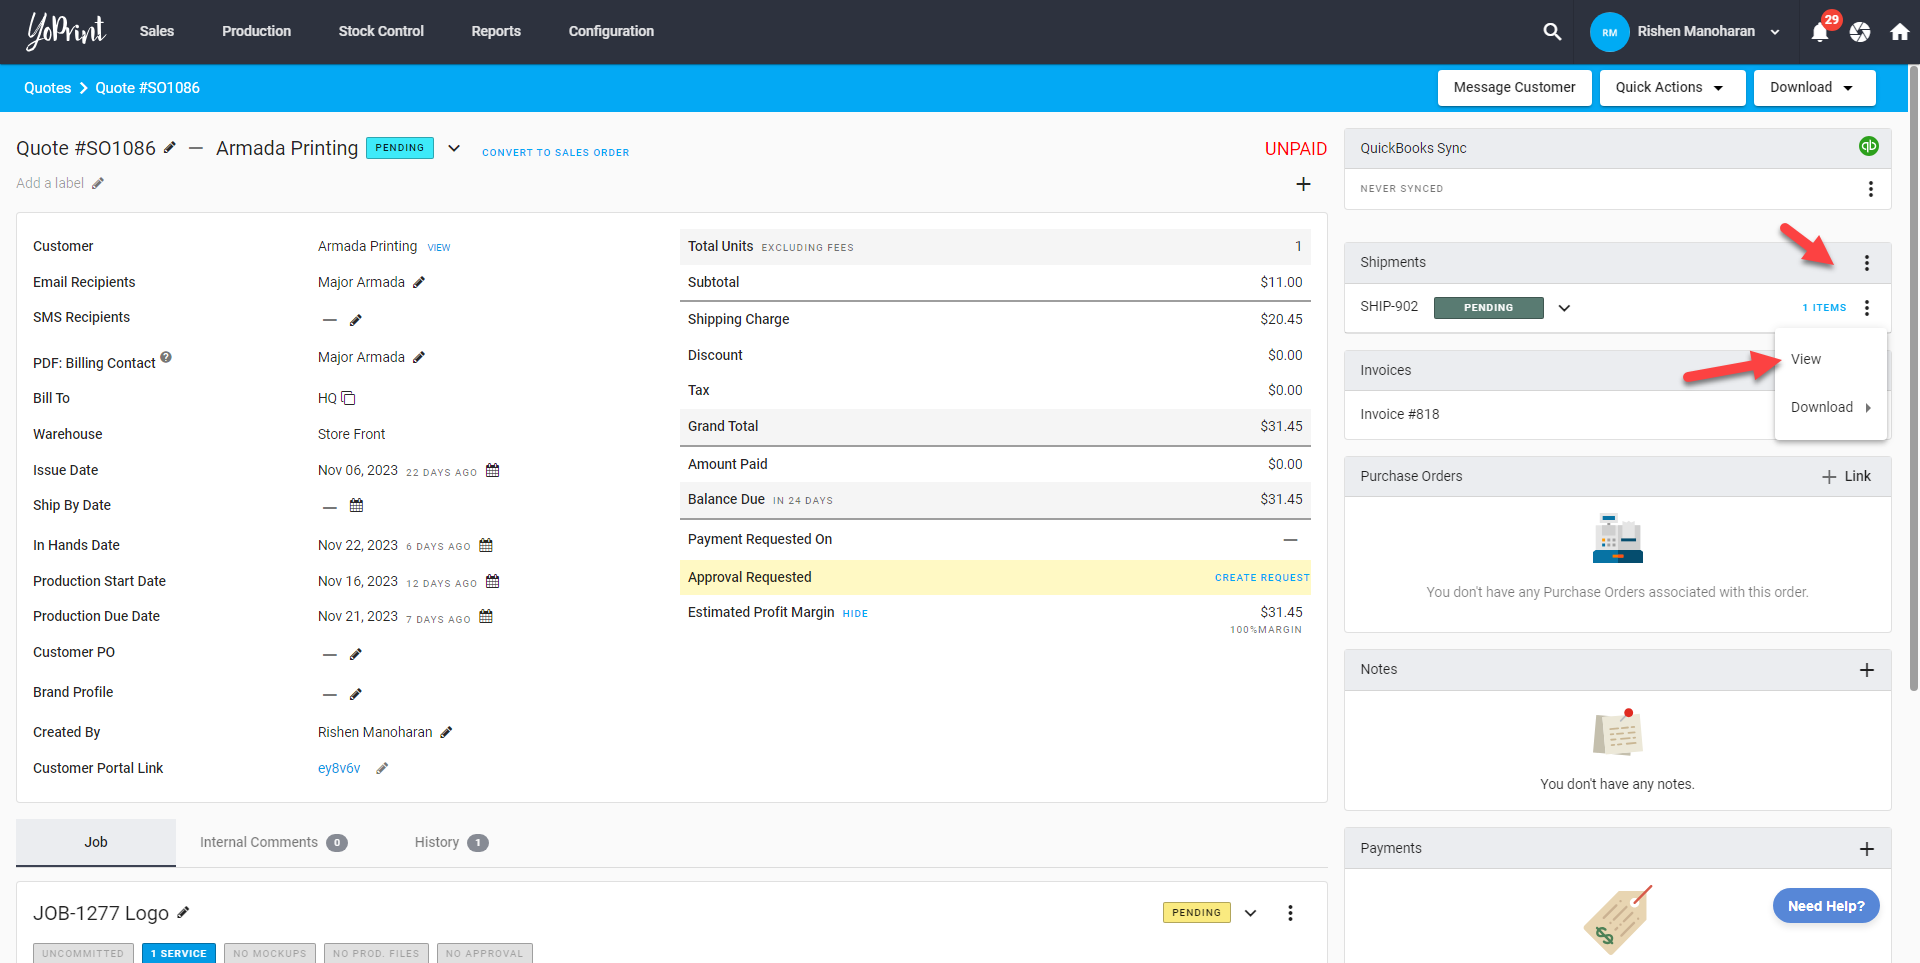
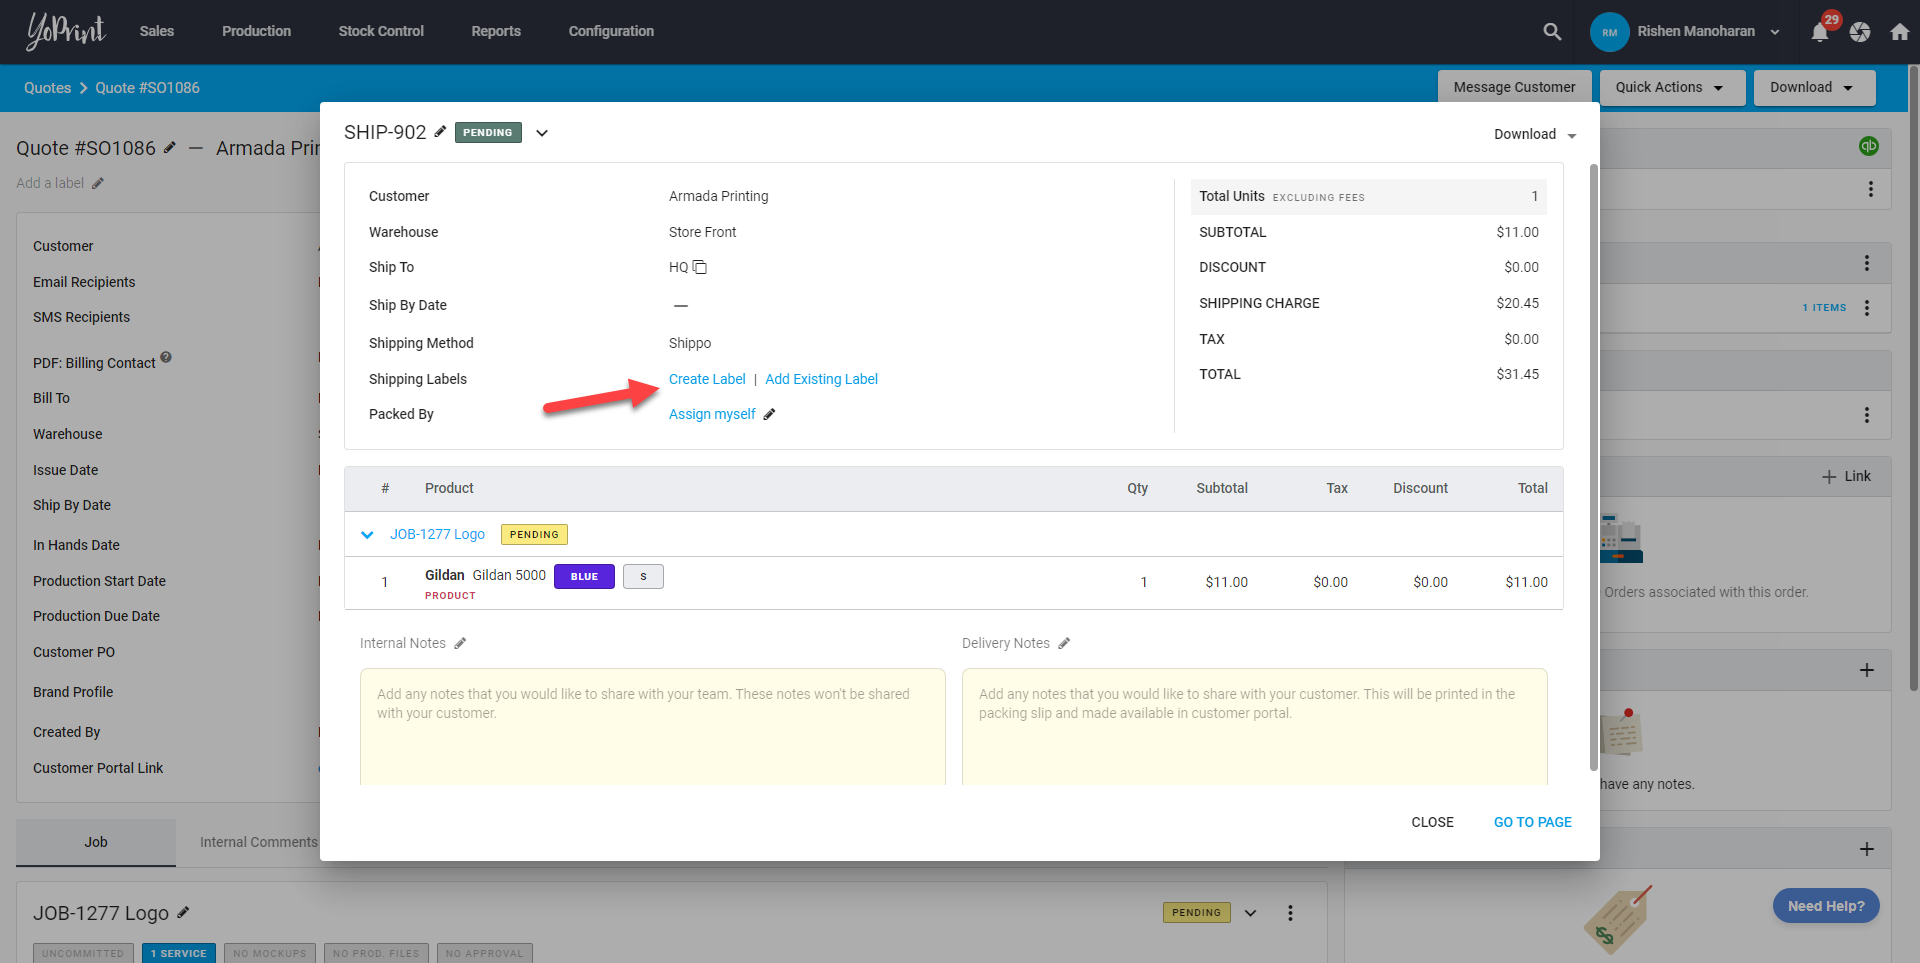
- This will open up the shipment. Under "Shipping Labels," click on "Create Label."
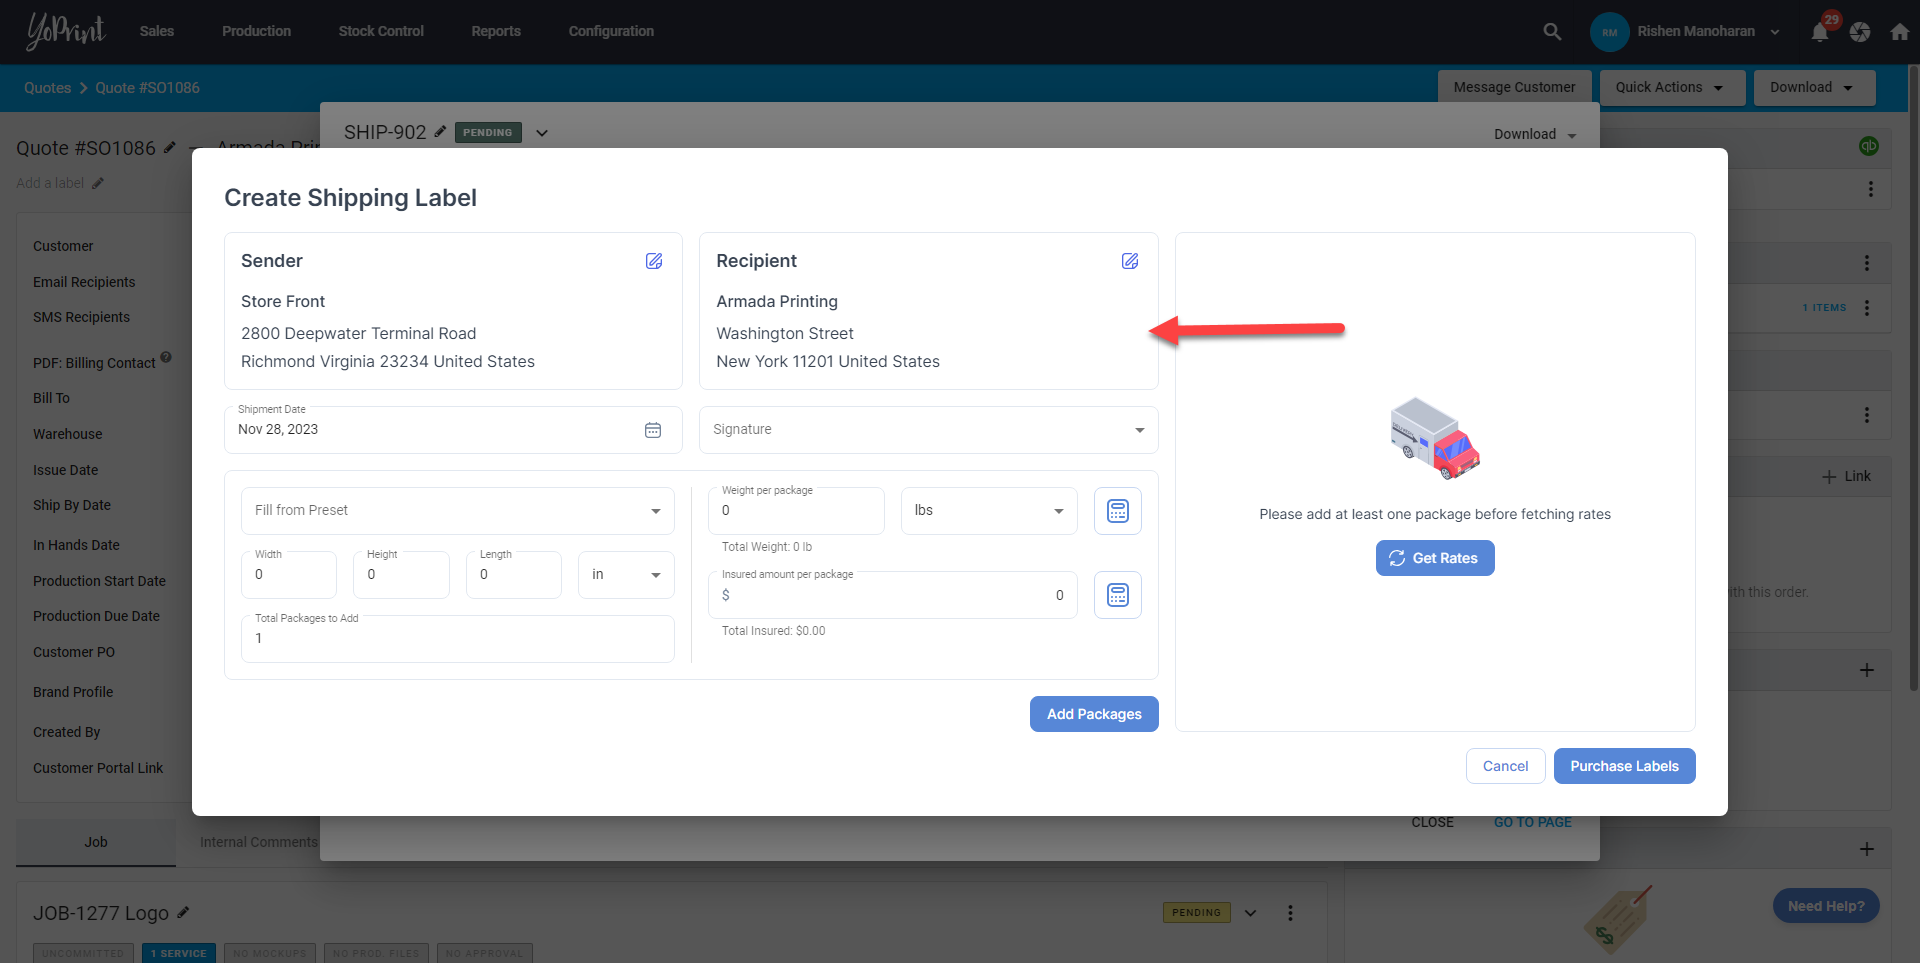
- Fill in the sender and recipient details.
- Ensure that the address is valid.
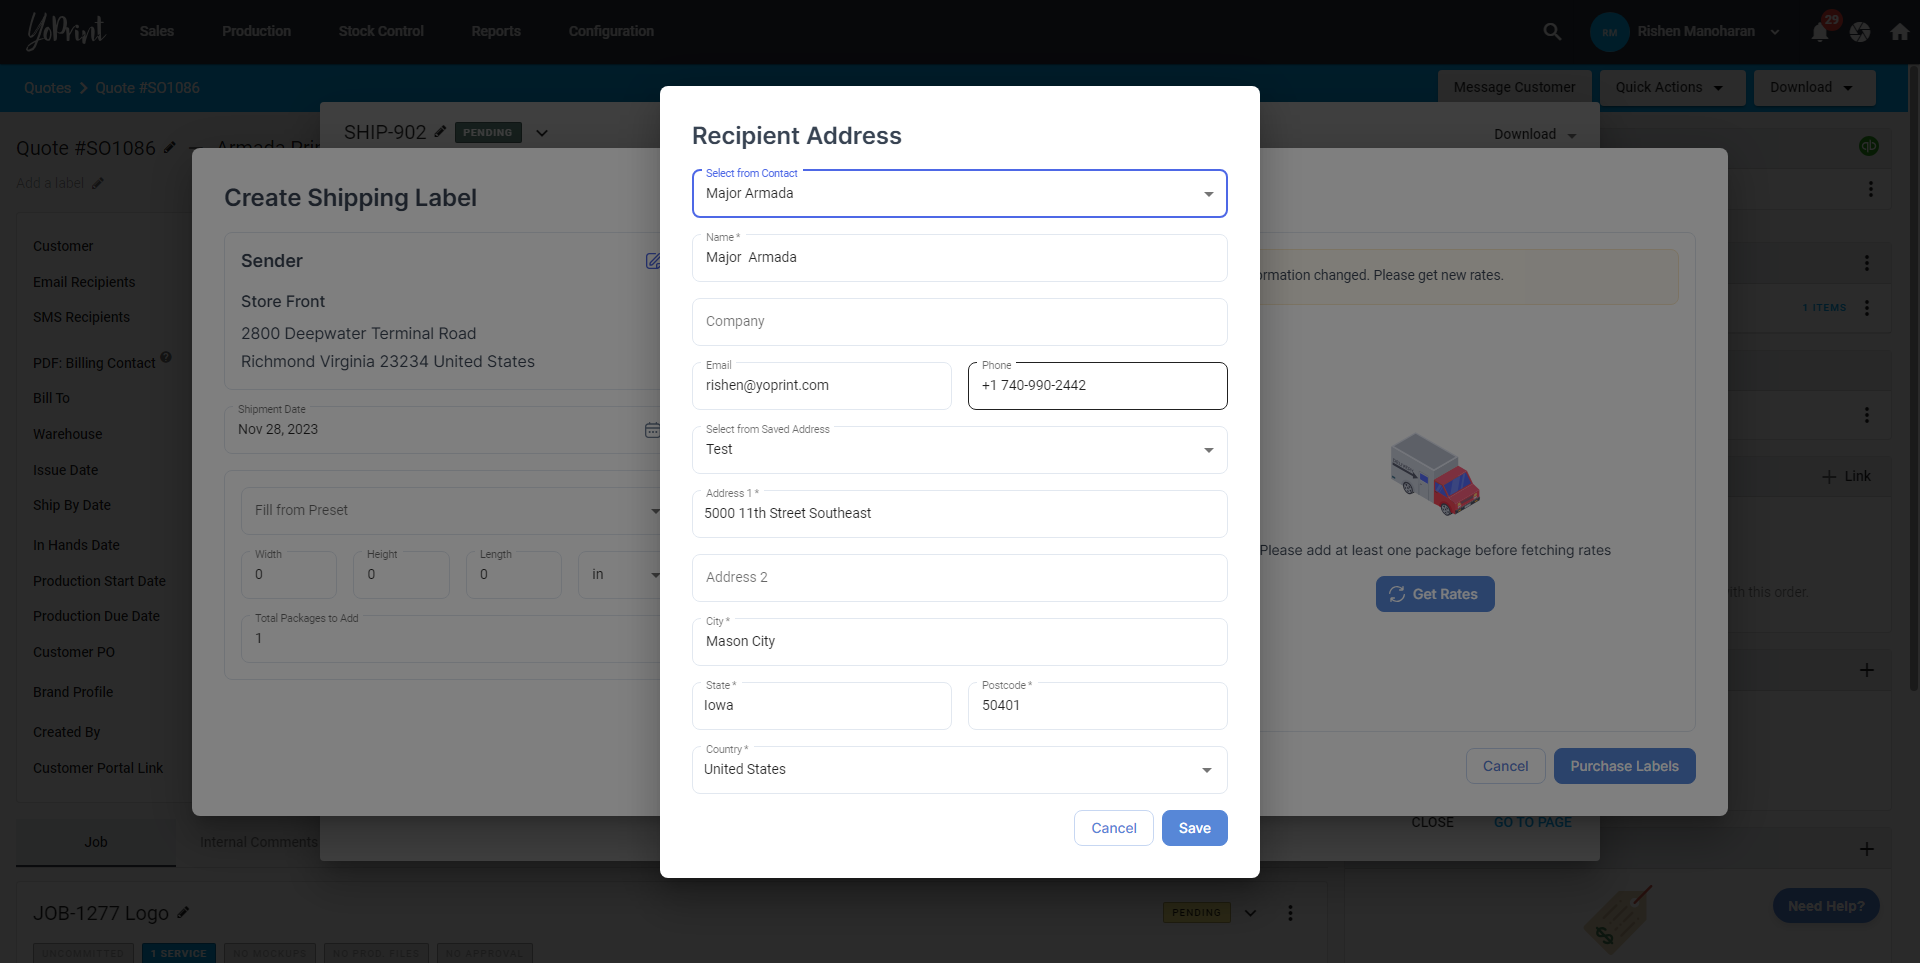
- Fill in the shipment date, signature, and package details. Then click on "Add Packages".
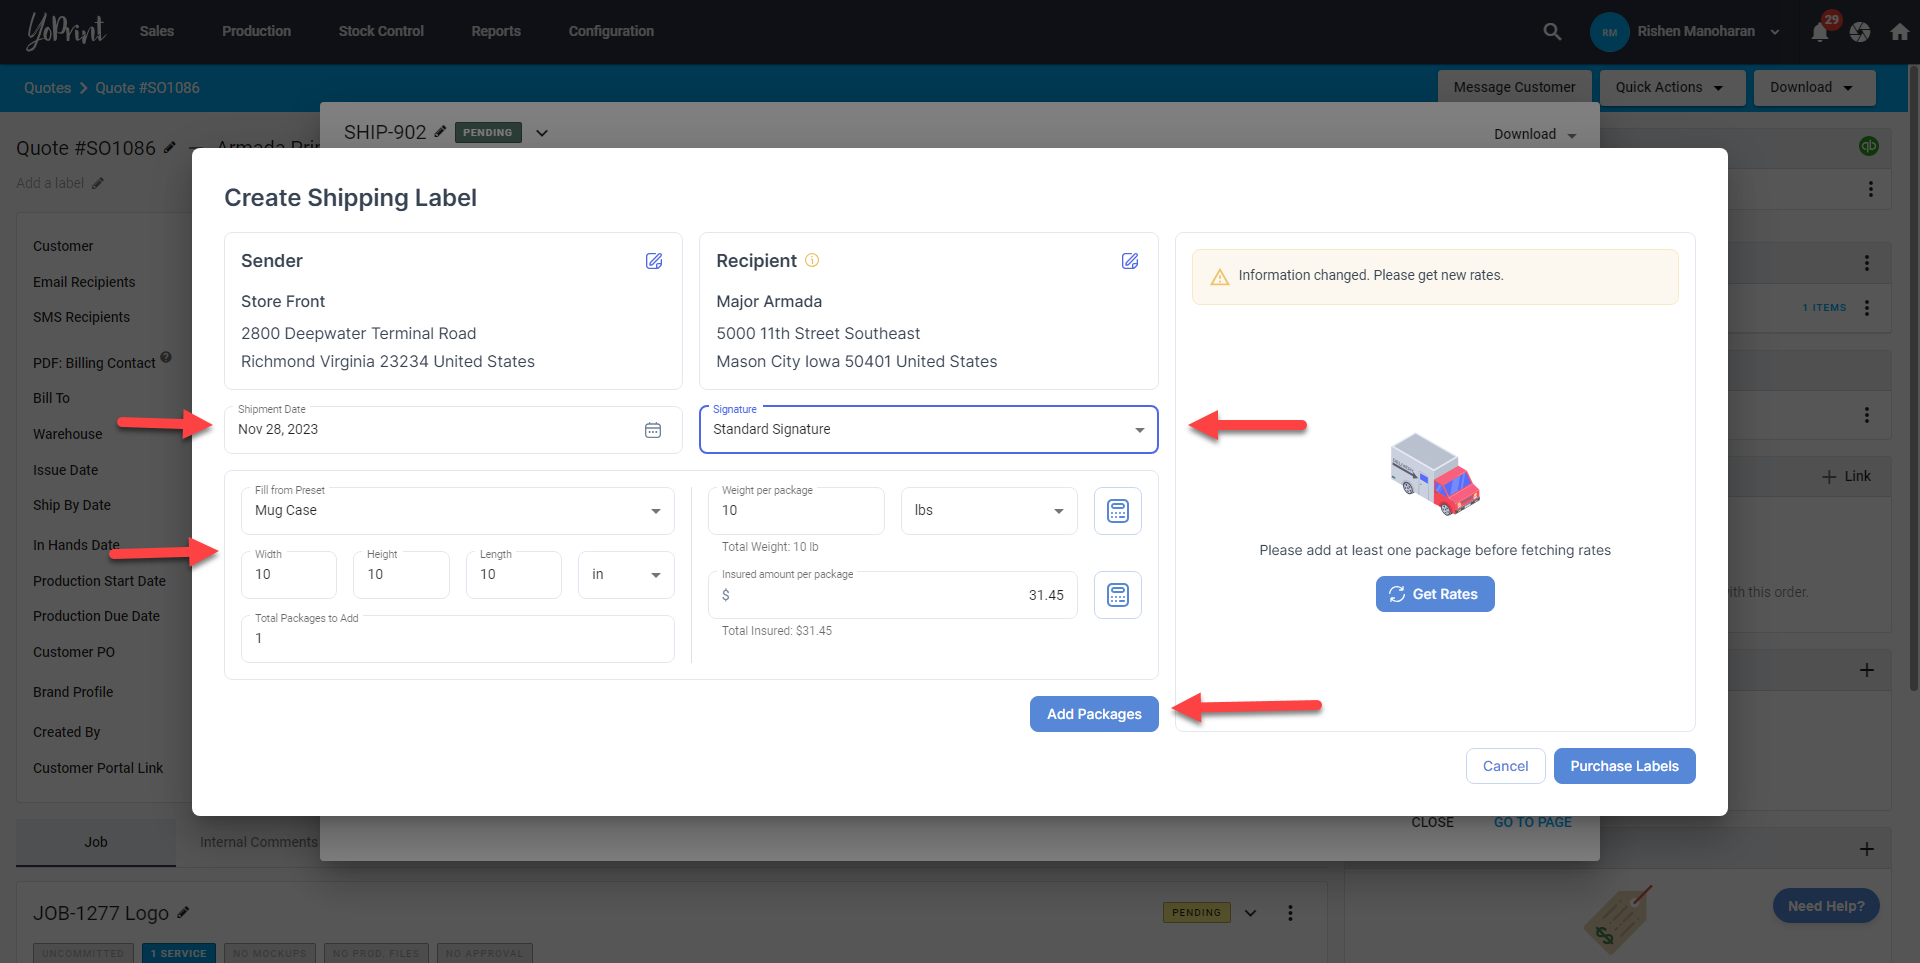
- You will see that the packages have been added below.
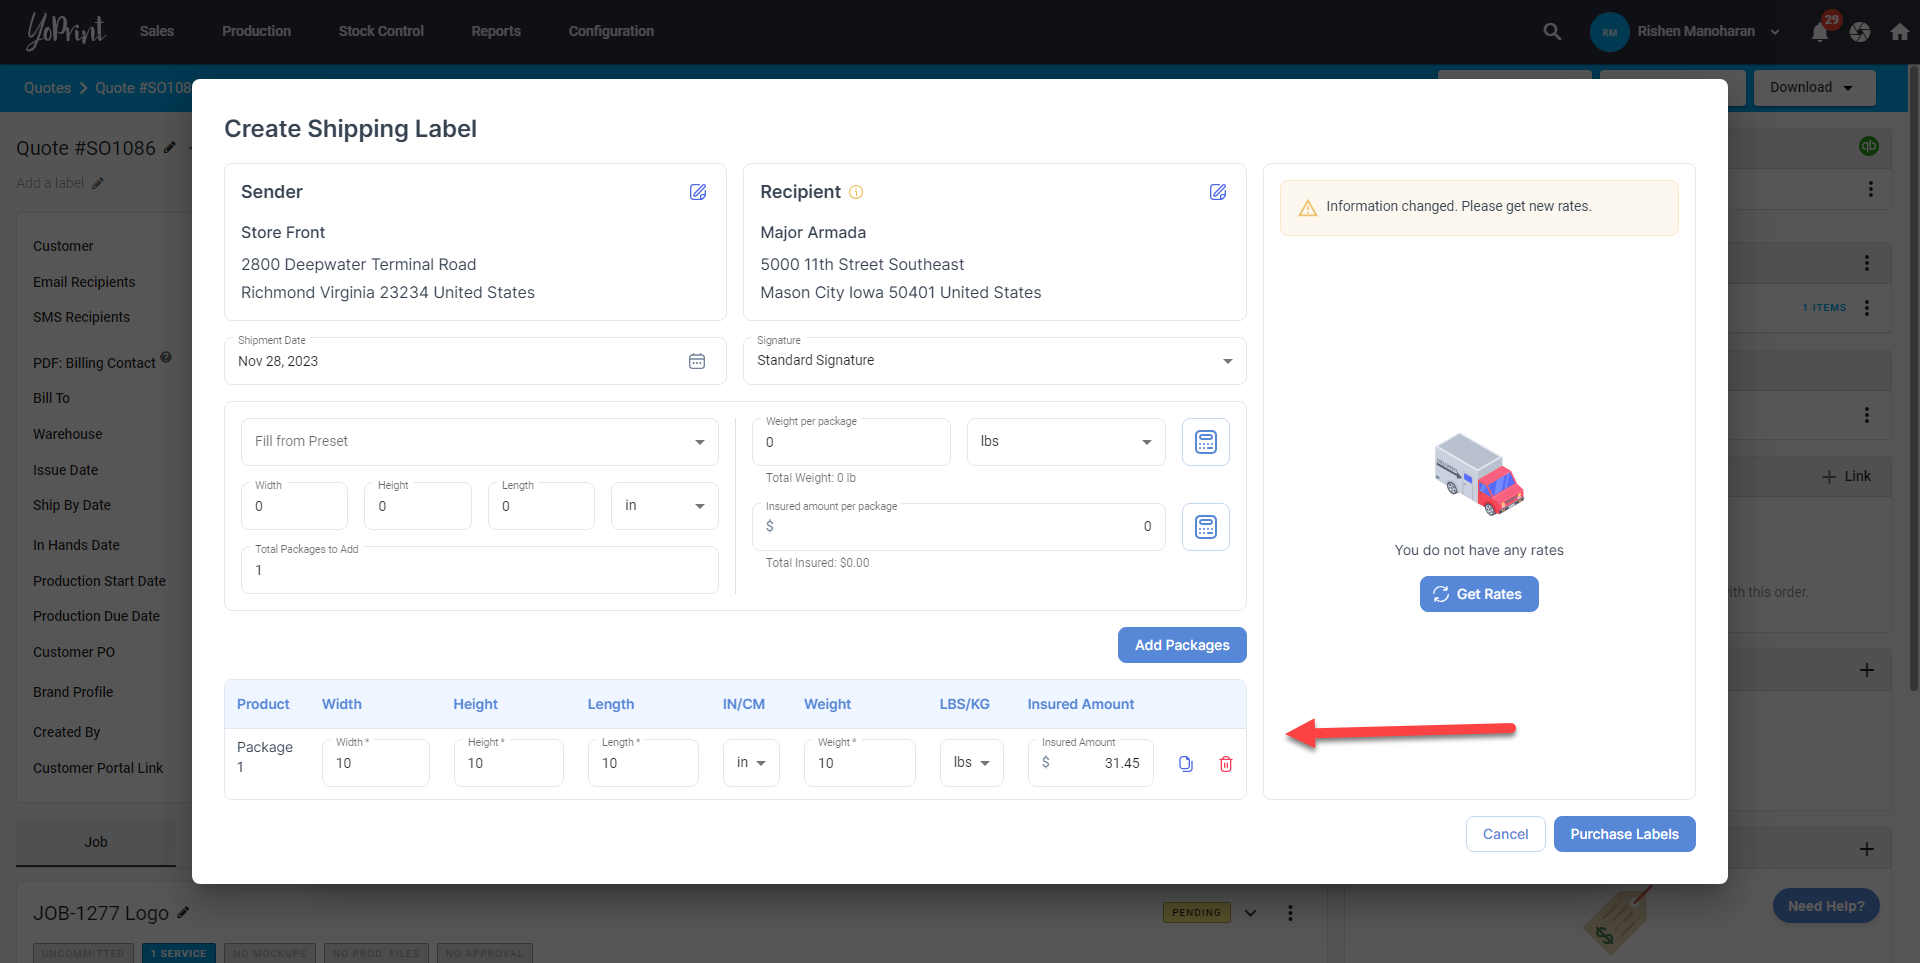
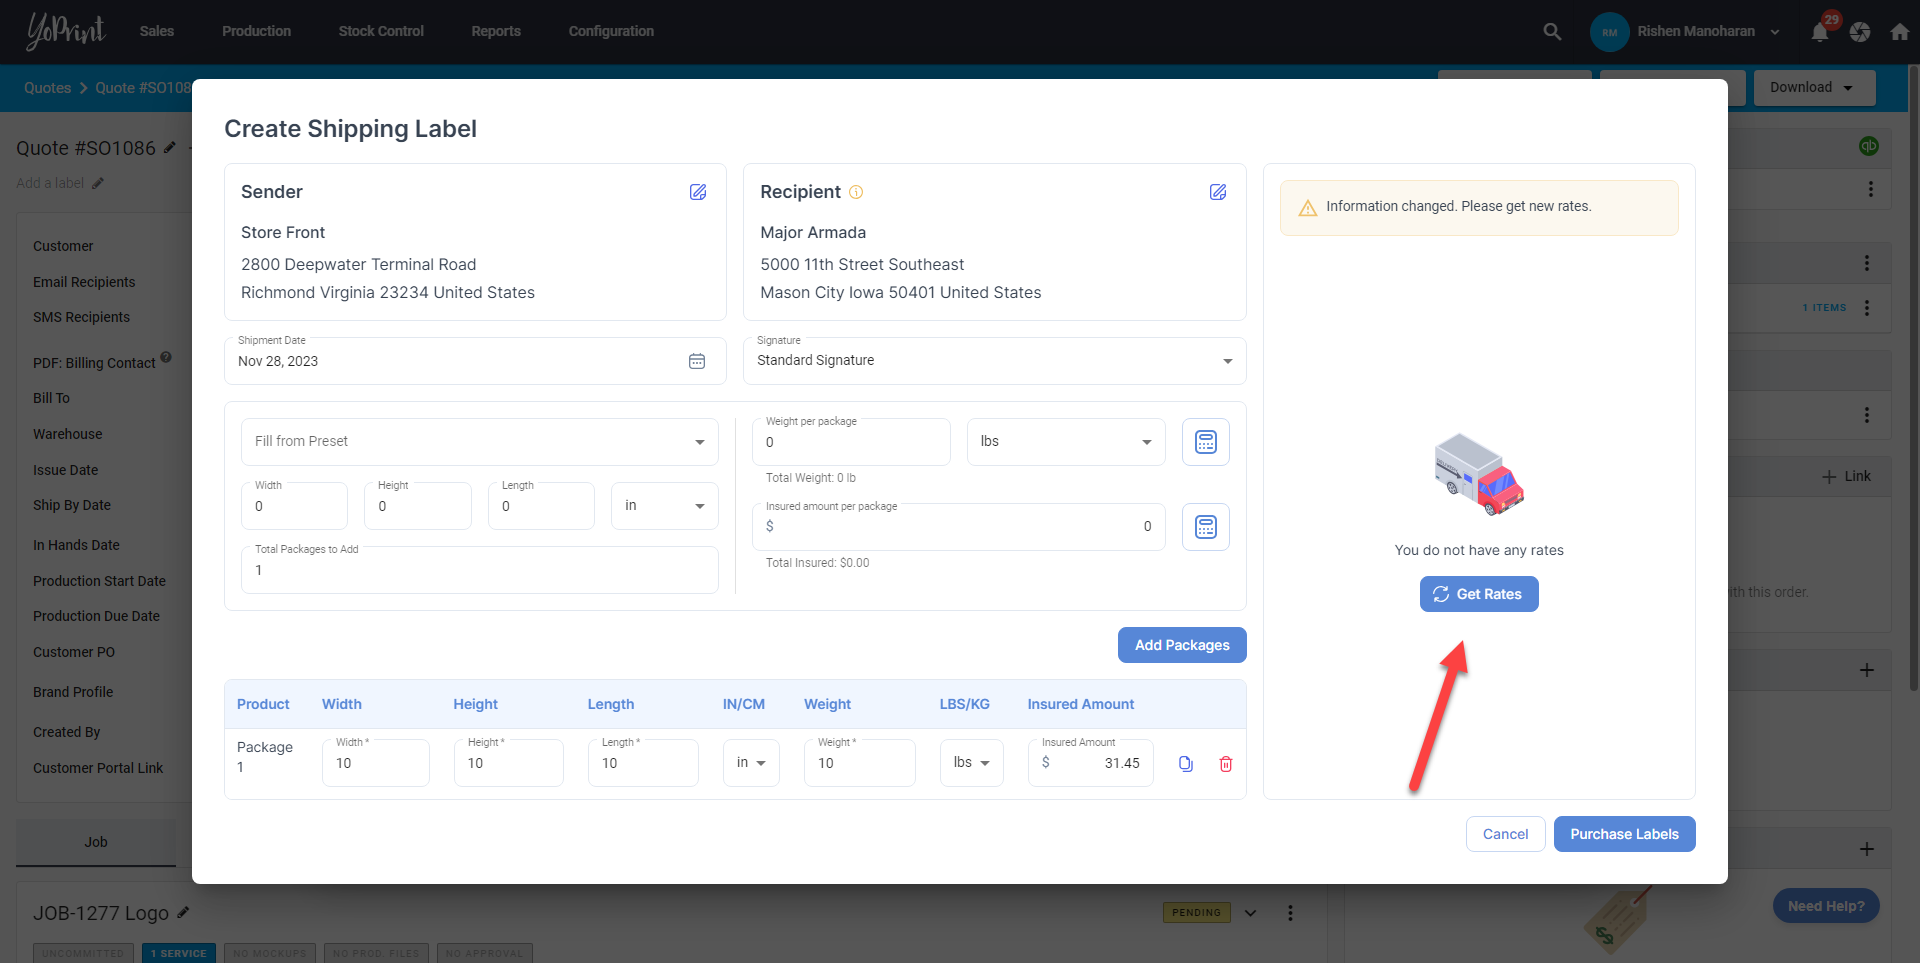
- Click on "Get Rates".
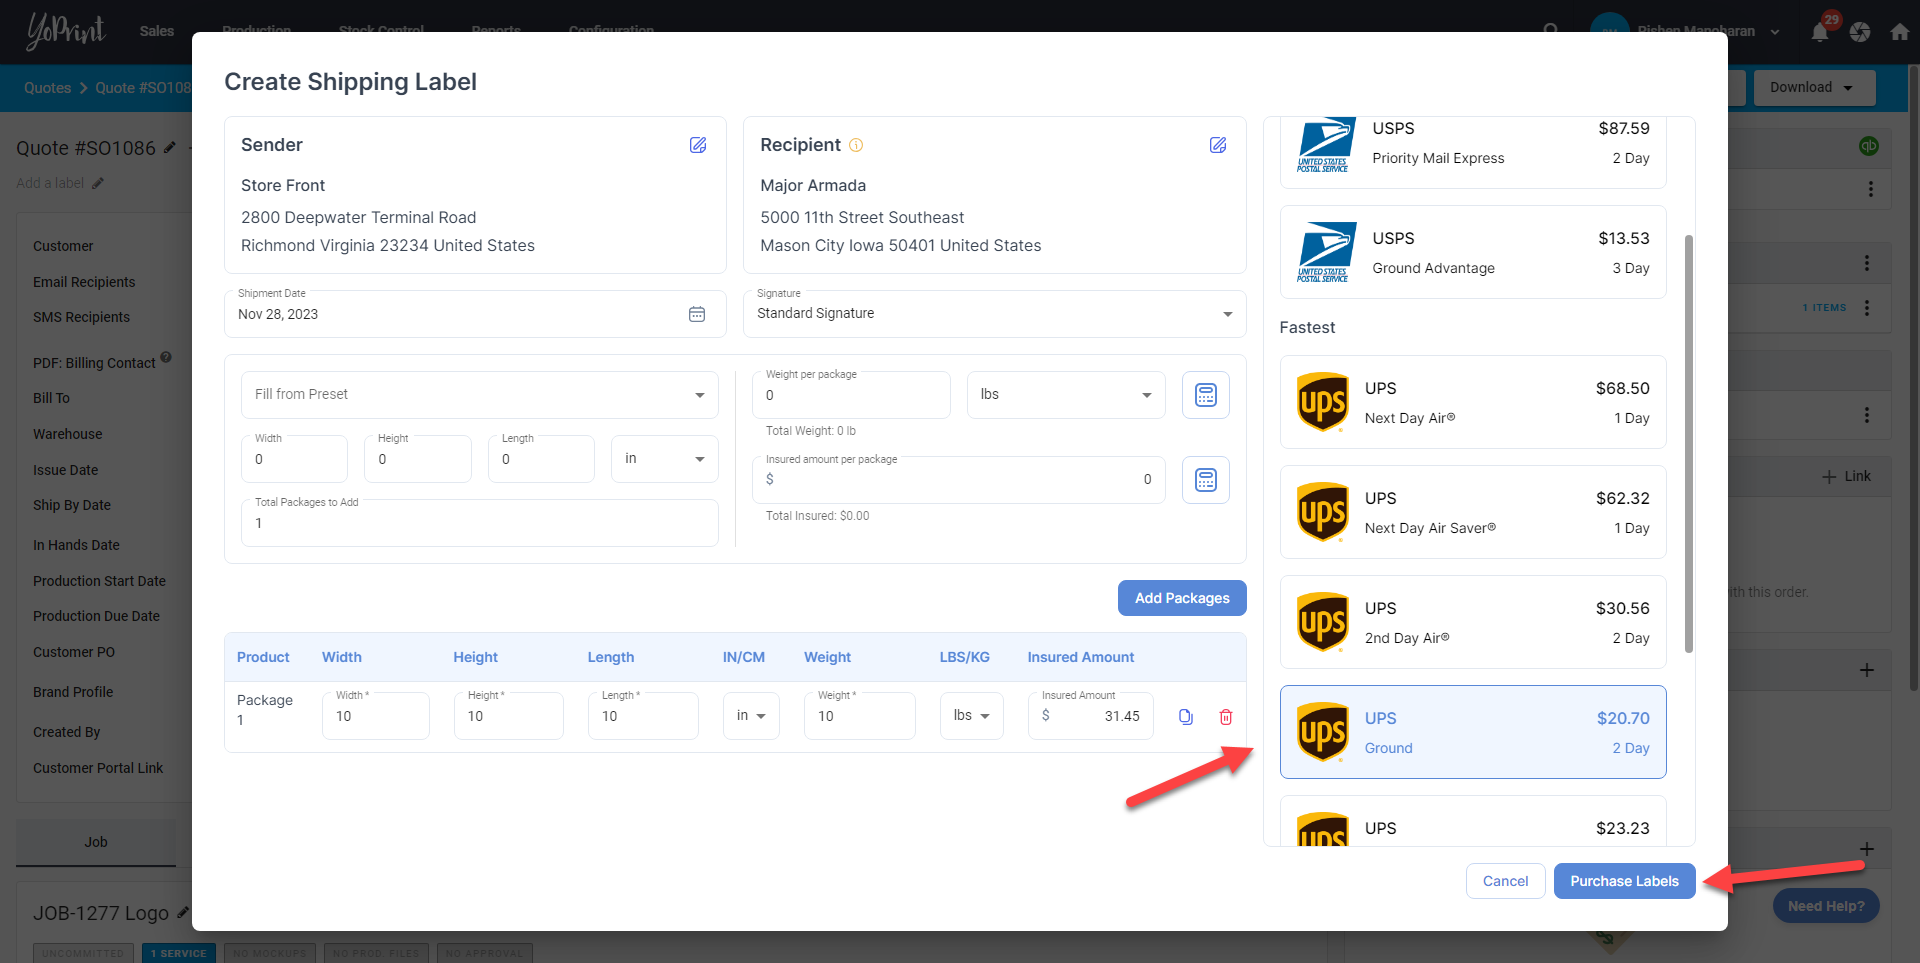
- This will display a list of couriers and rates to choose from. Once you've selected a rate, click on "Purchase Labels".
- Once the labels are purchased, the package details will appear. Click on "Print" to print the labels. You can always void the shipment if you want to cancel it.
