Setting Up Customer Portal and Email Sending Domain
In this article
In this article, we will walk you through how to set up your customer portal and email sending domain using GoDaddy.
Customer Portal Domain
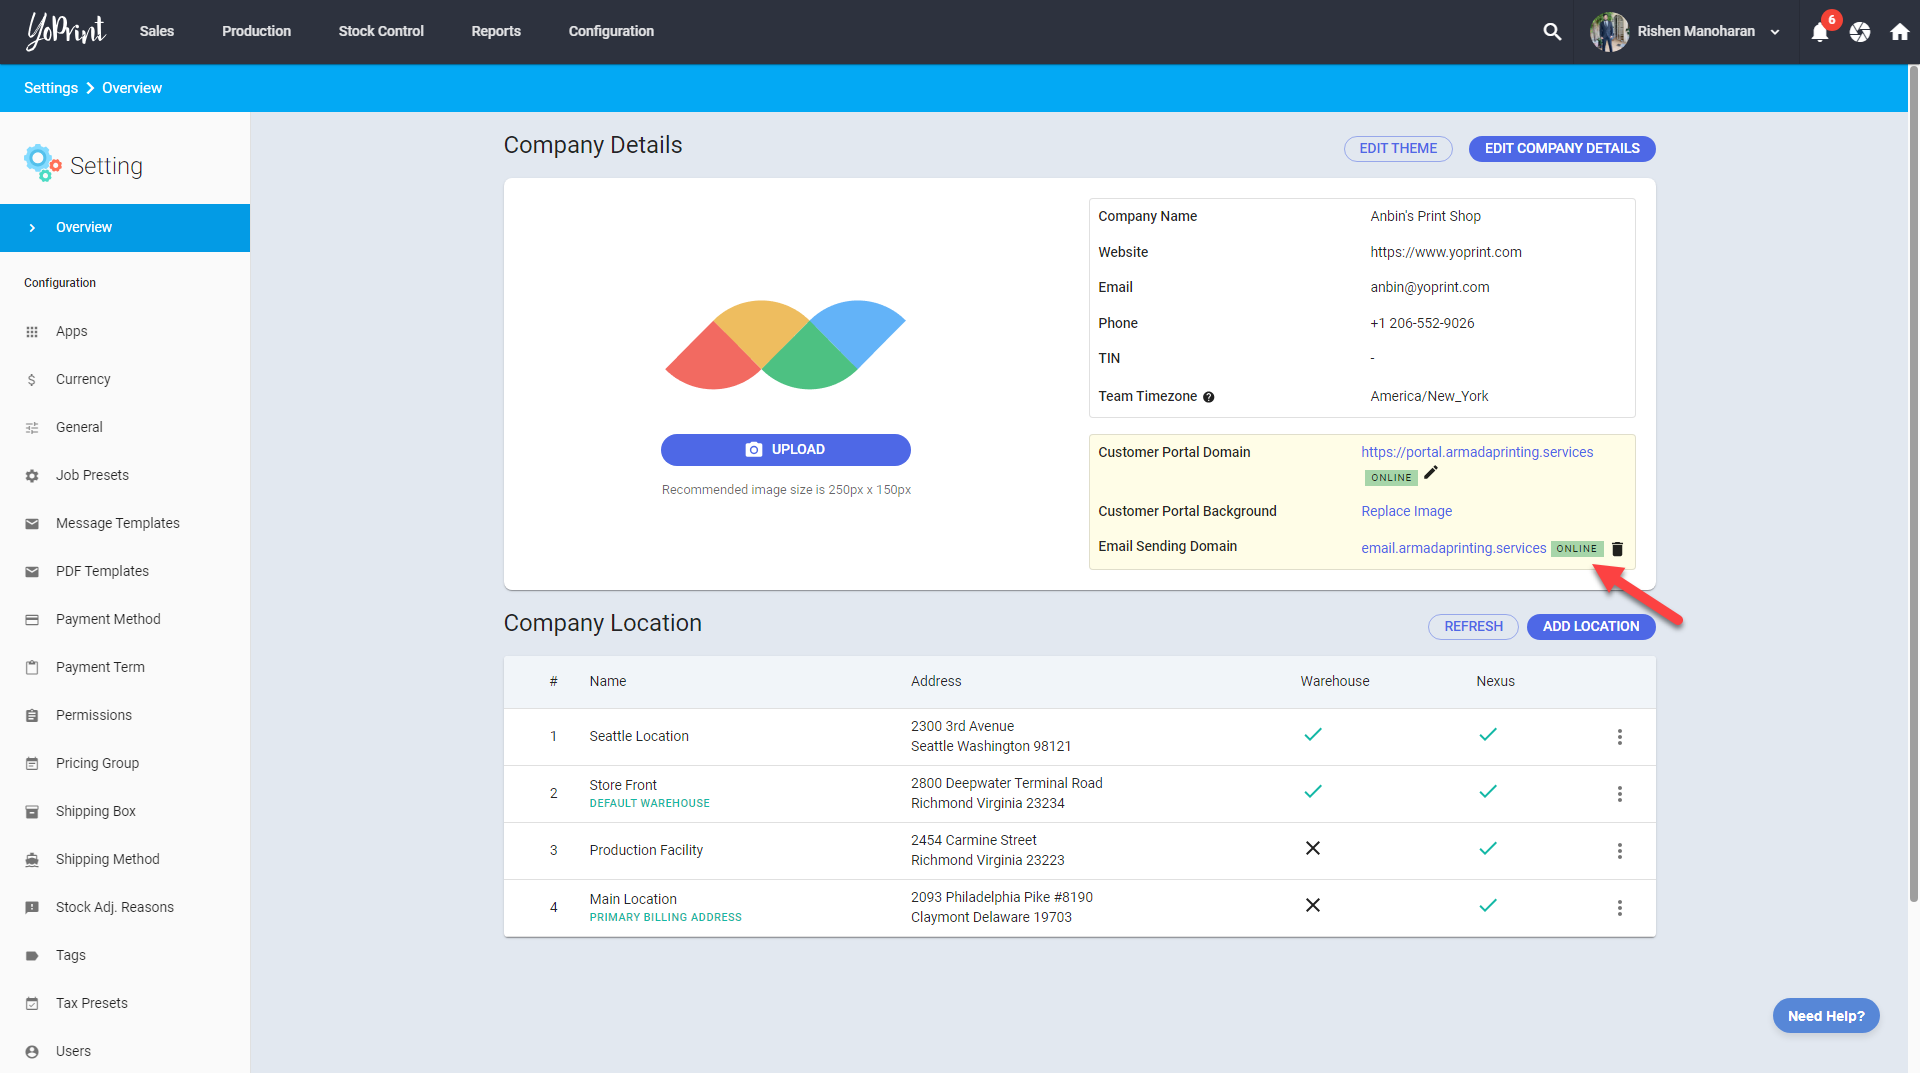
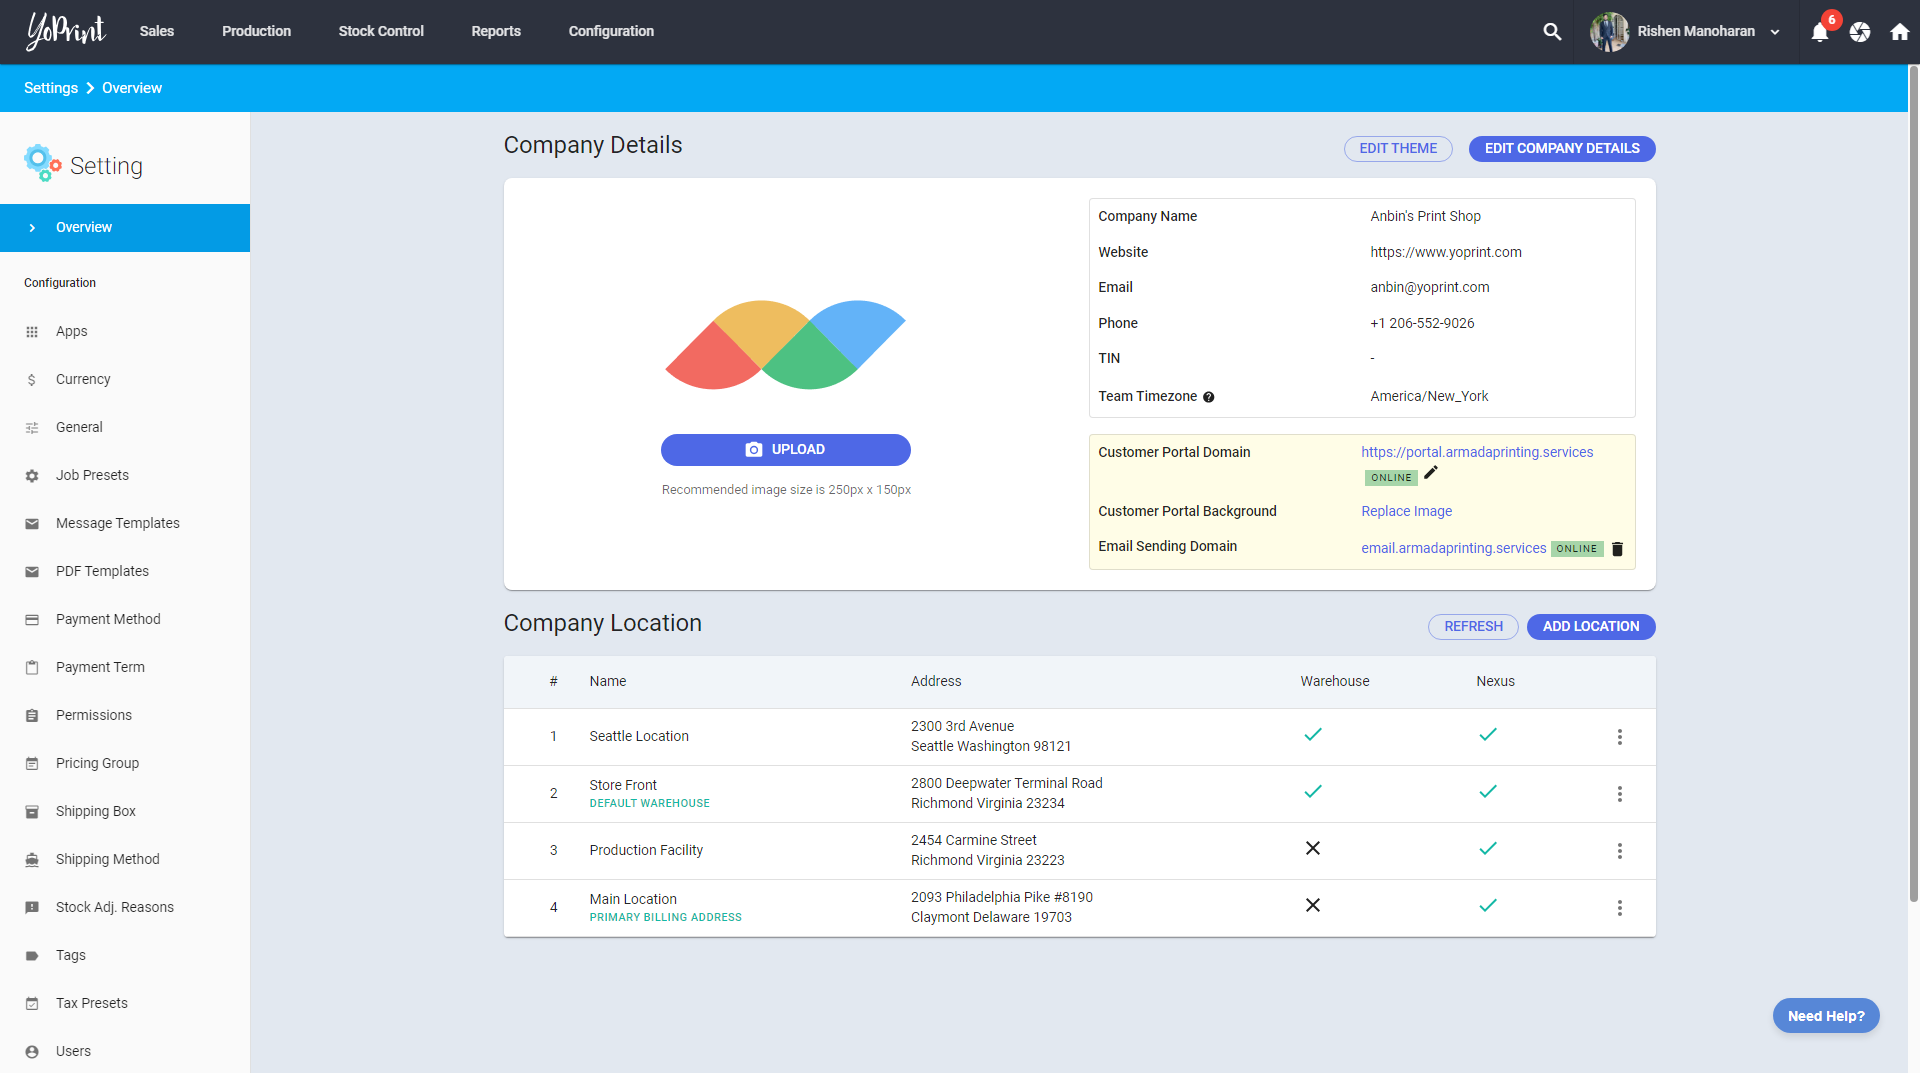
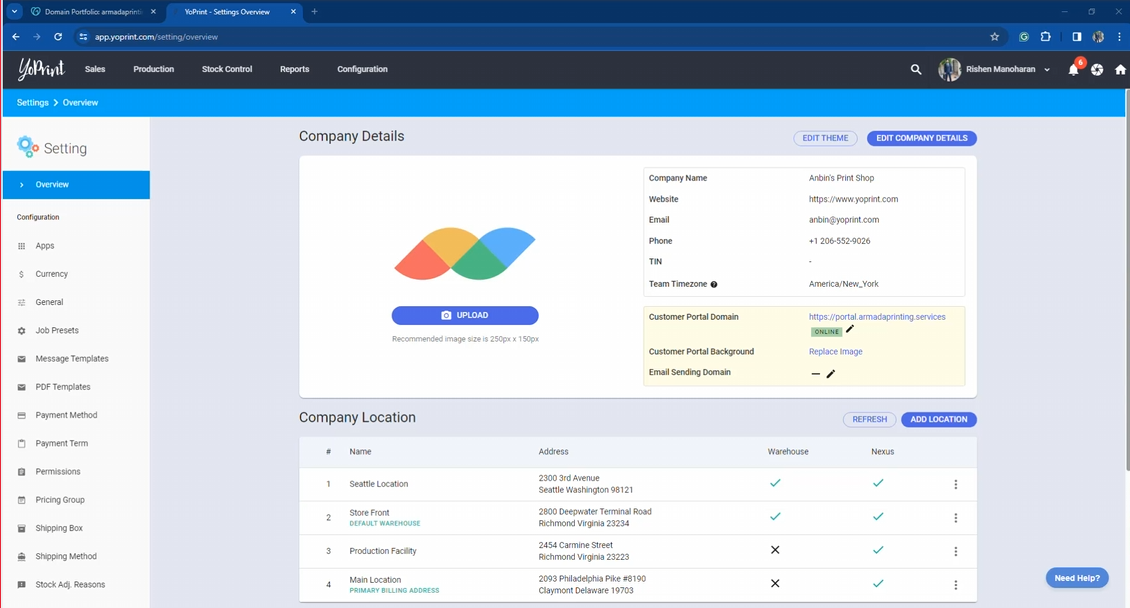
- Log in to YoPrint and go to Configurations > Settings > Overview.

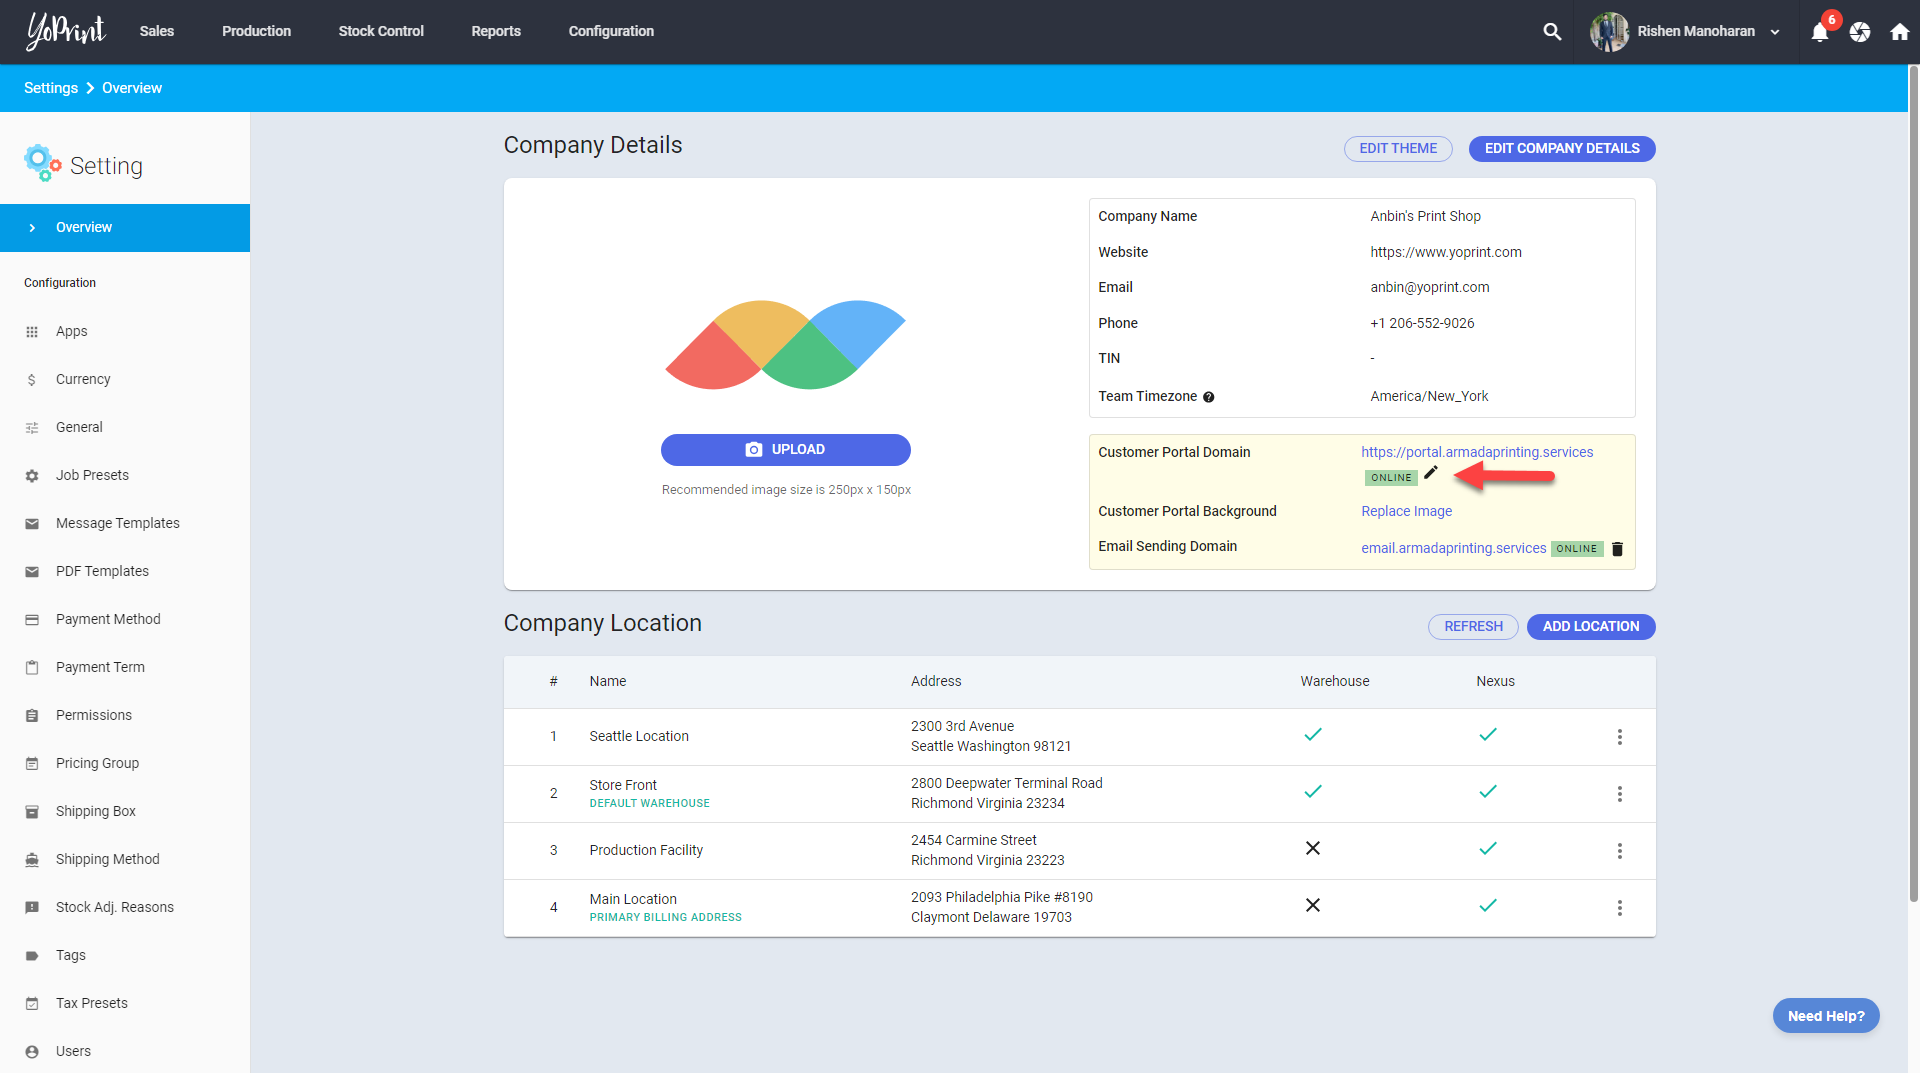
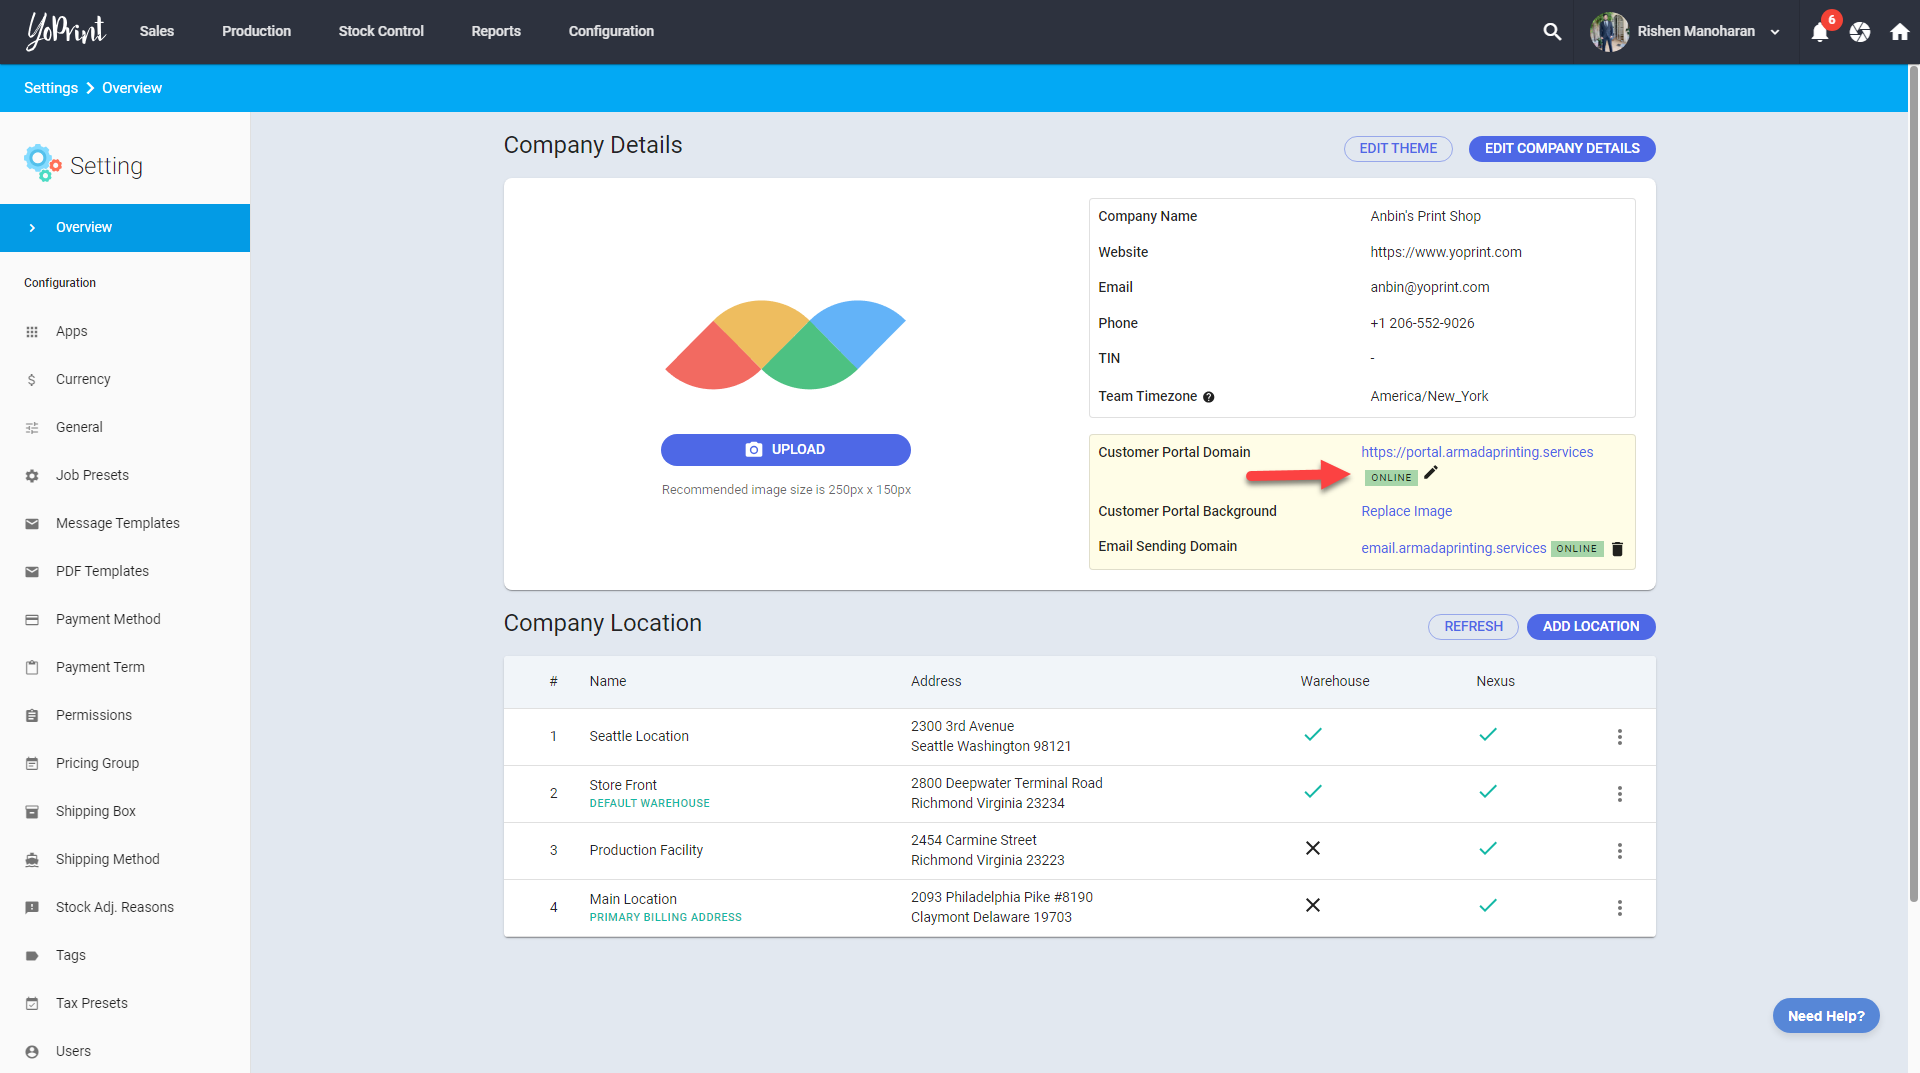
- Navigate to "Customer Portal Domain" and click on the Pencil icon.
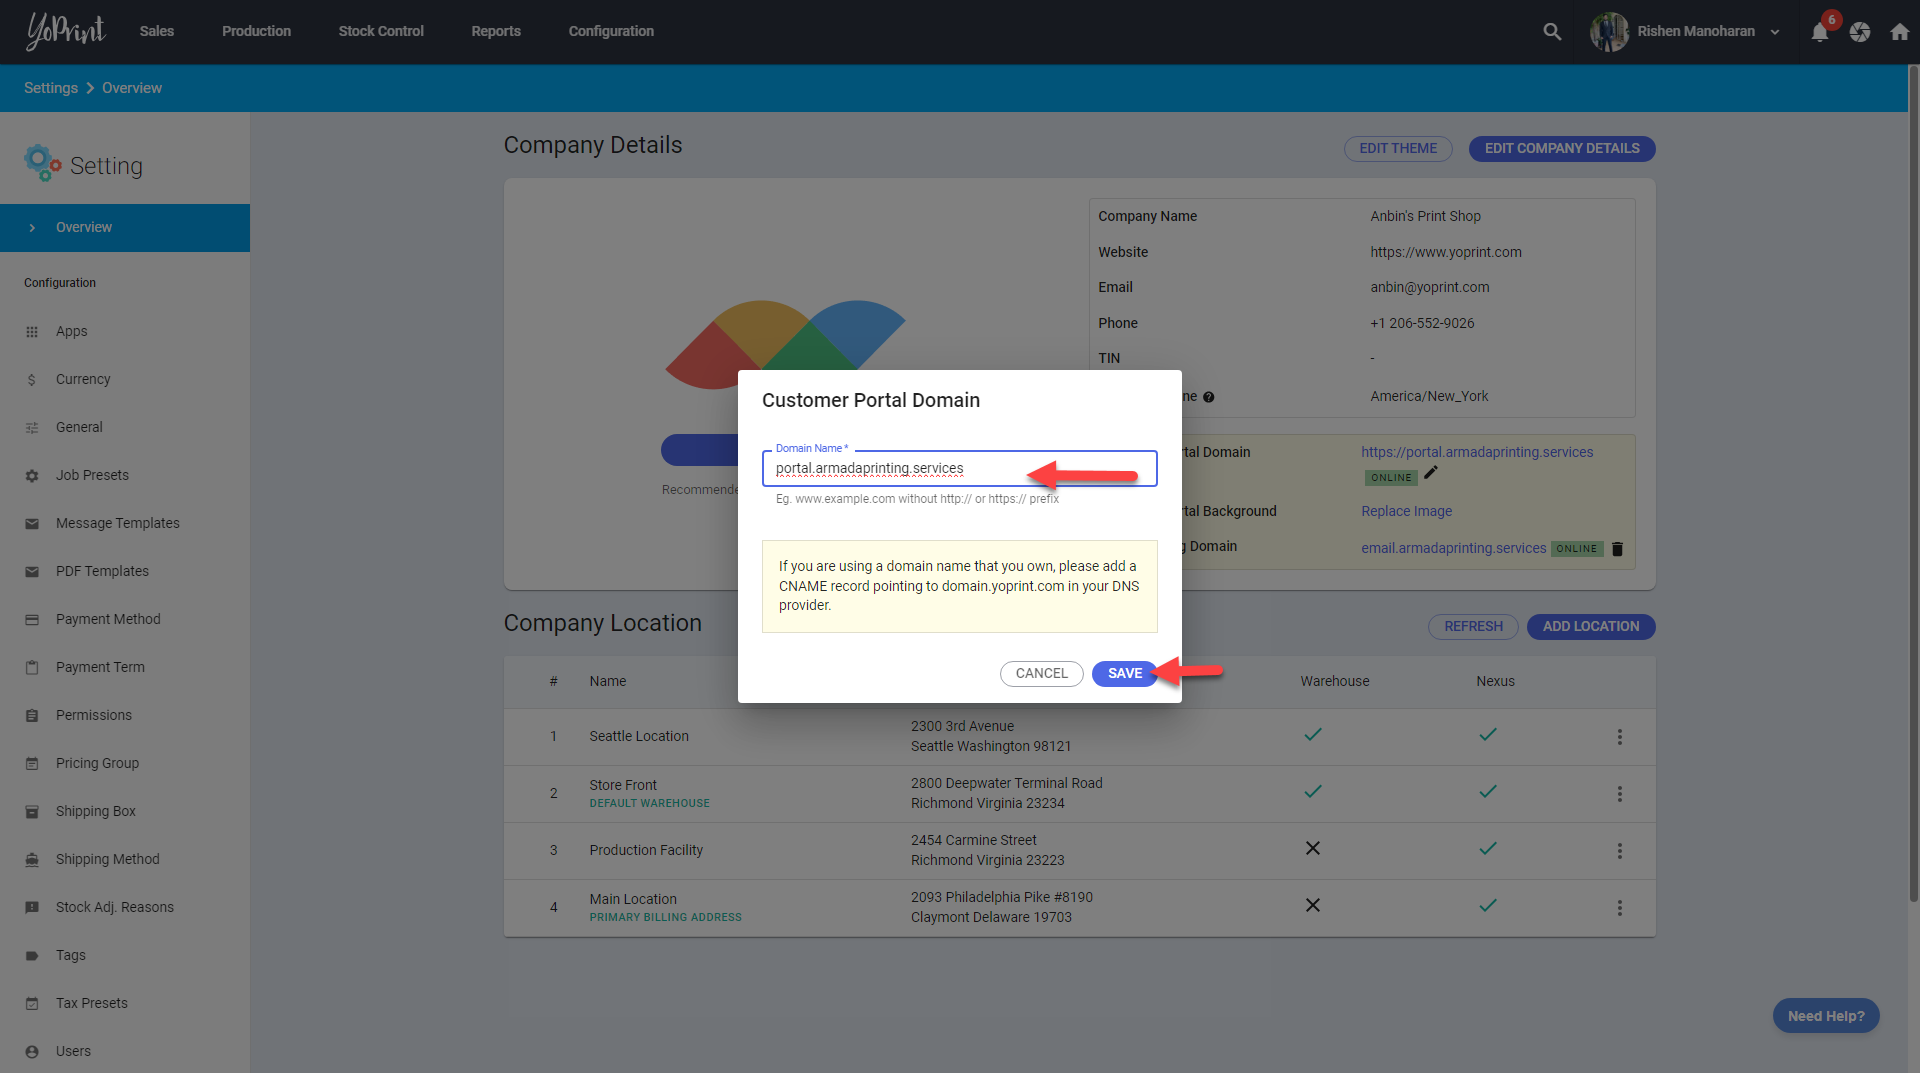
- Type out your desired domain name. It is recommended to use portal.(your business name).com. Click on "Save" once done.
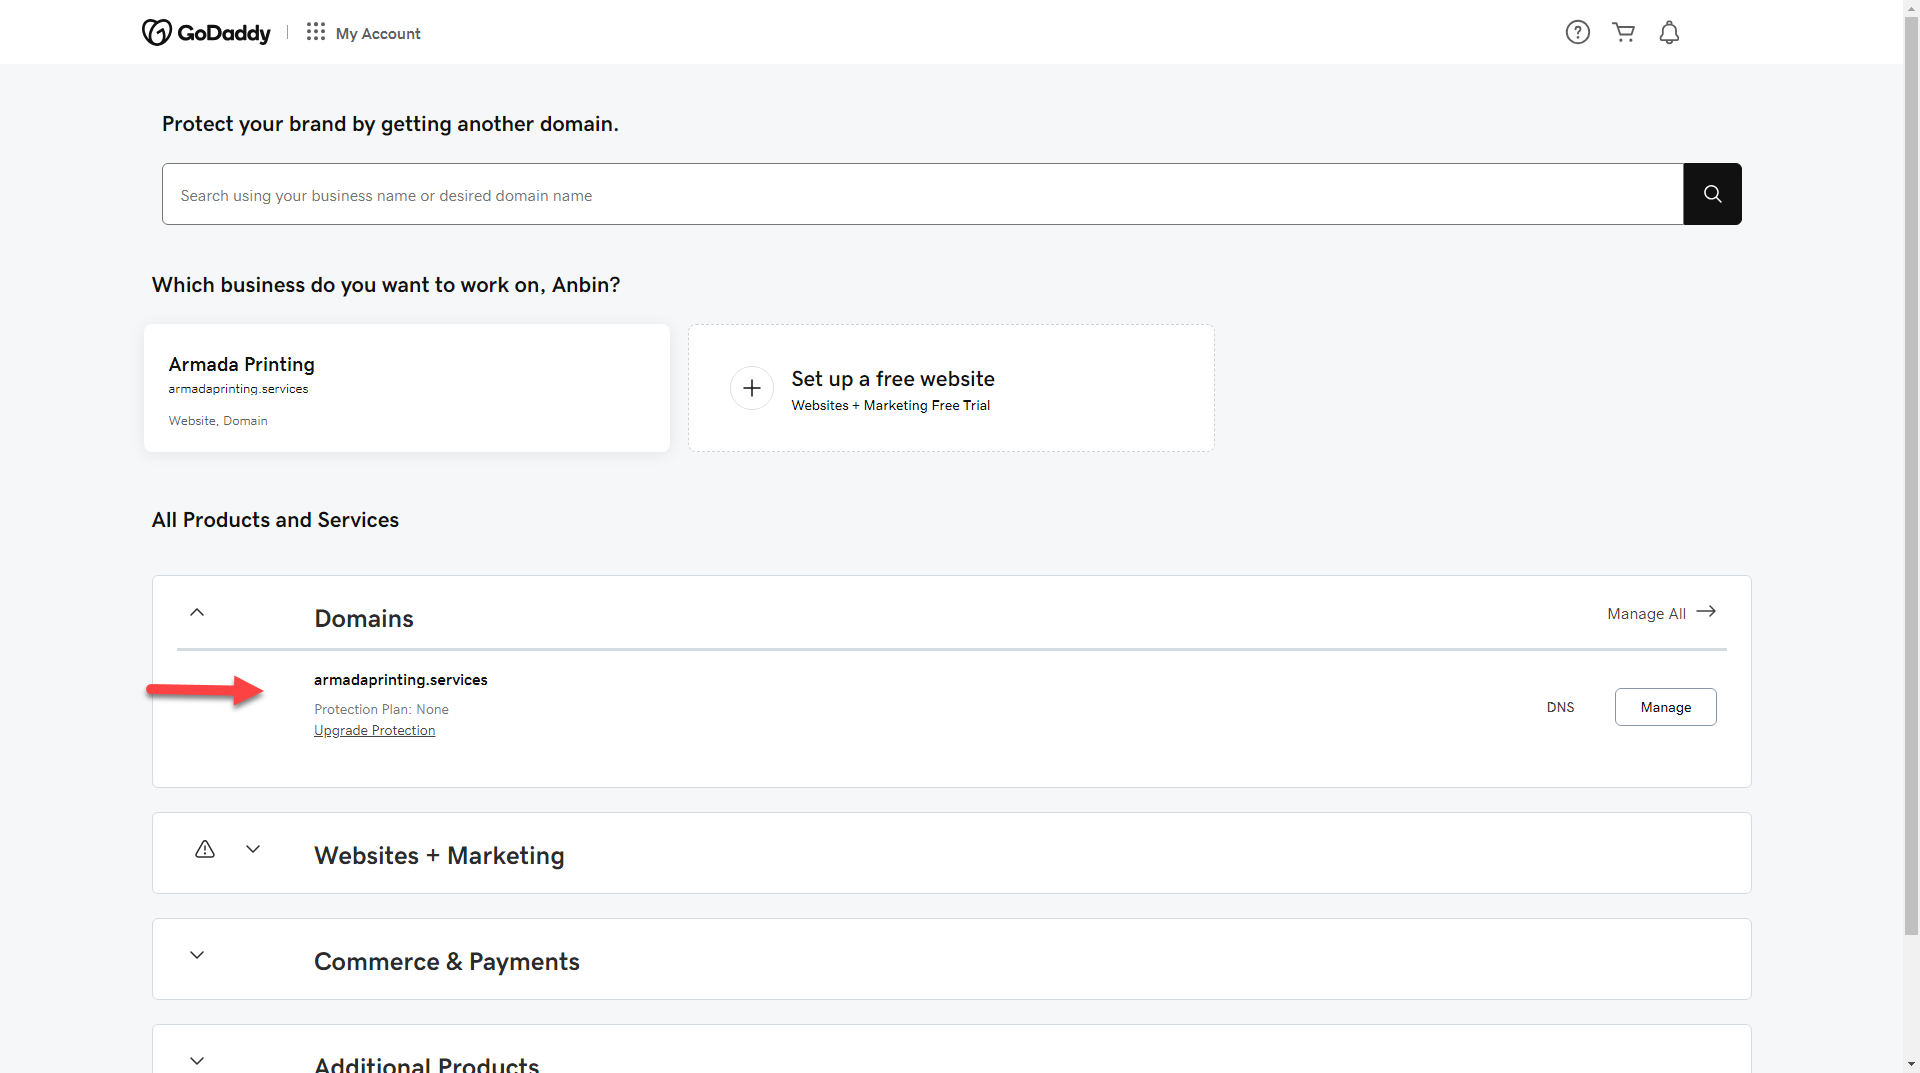
- Open up a new tab and go to wherever you've purchased your domain from. For this example, we will be using GoDaddy.
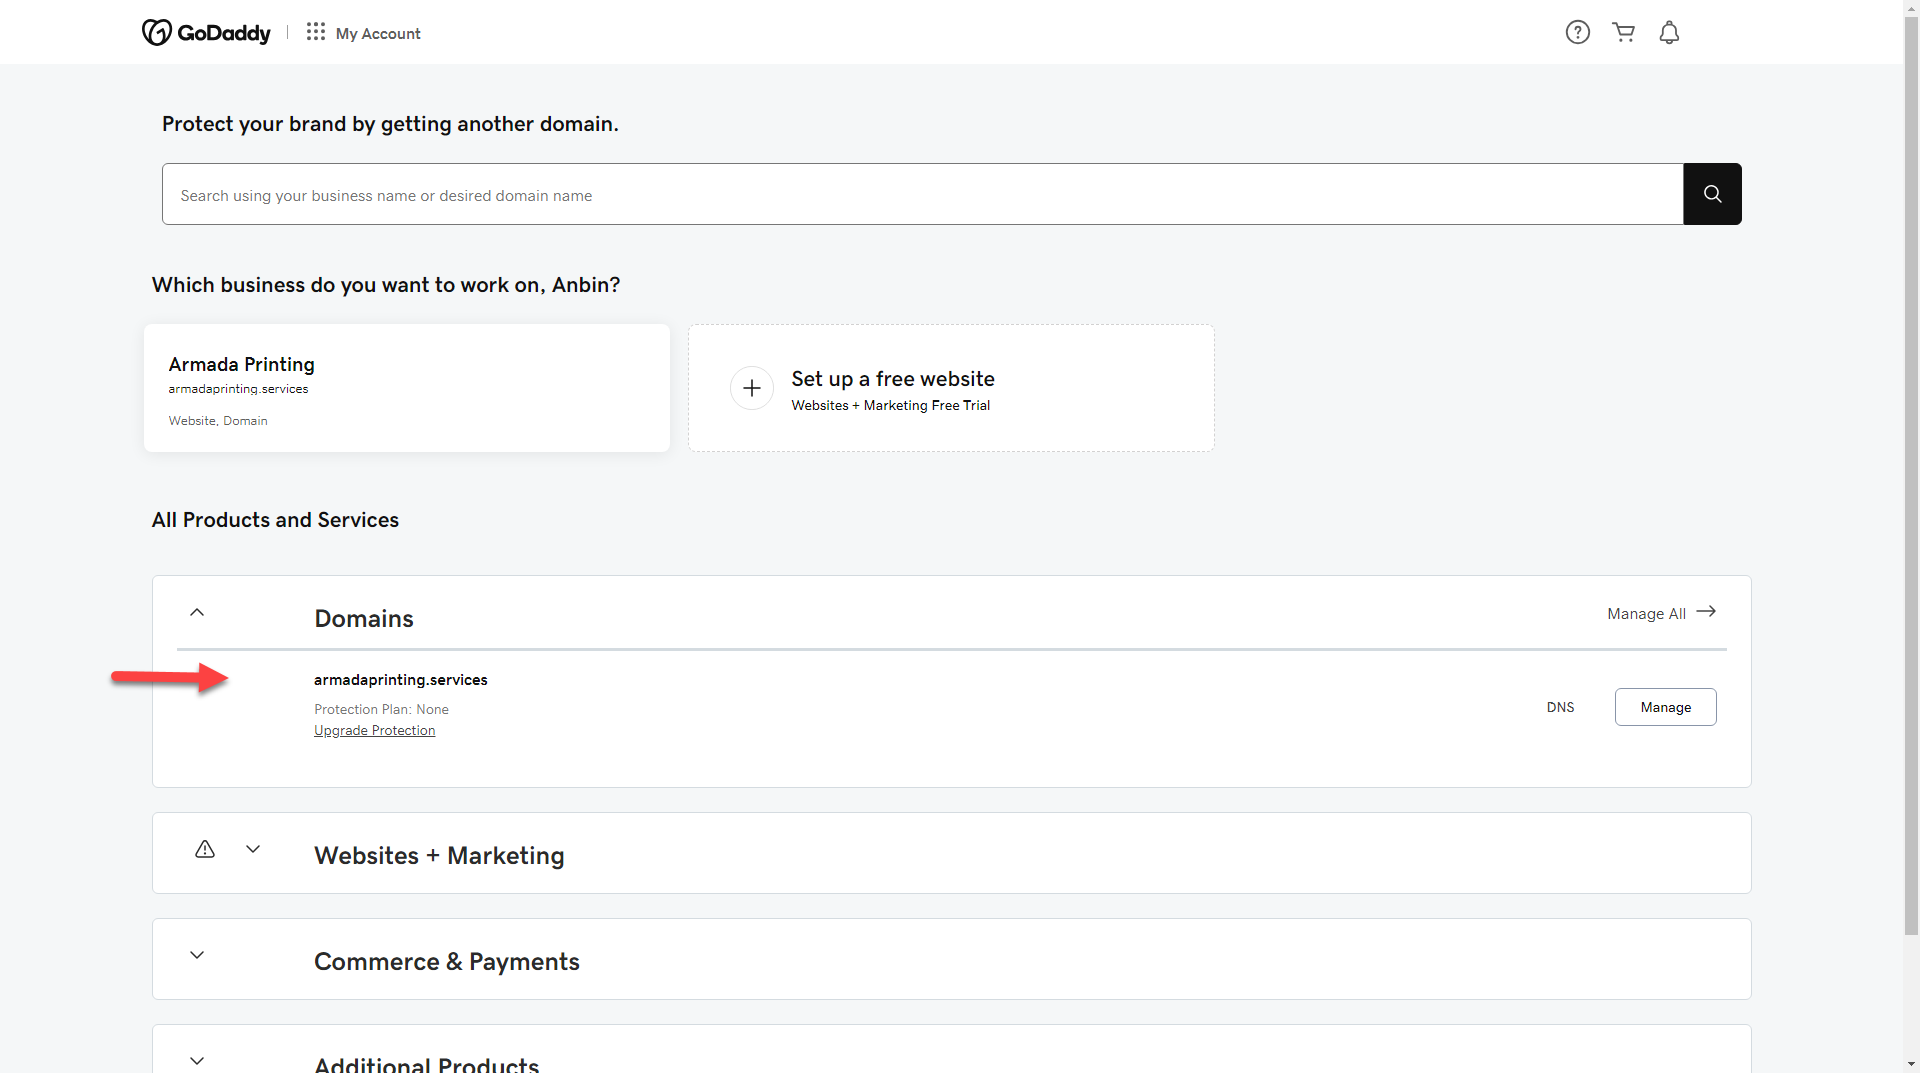
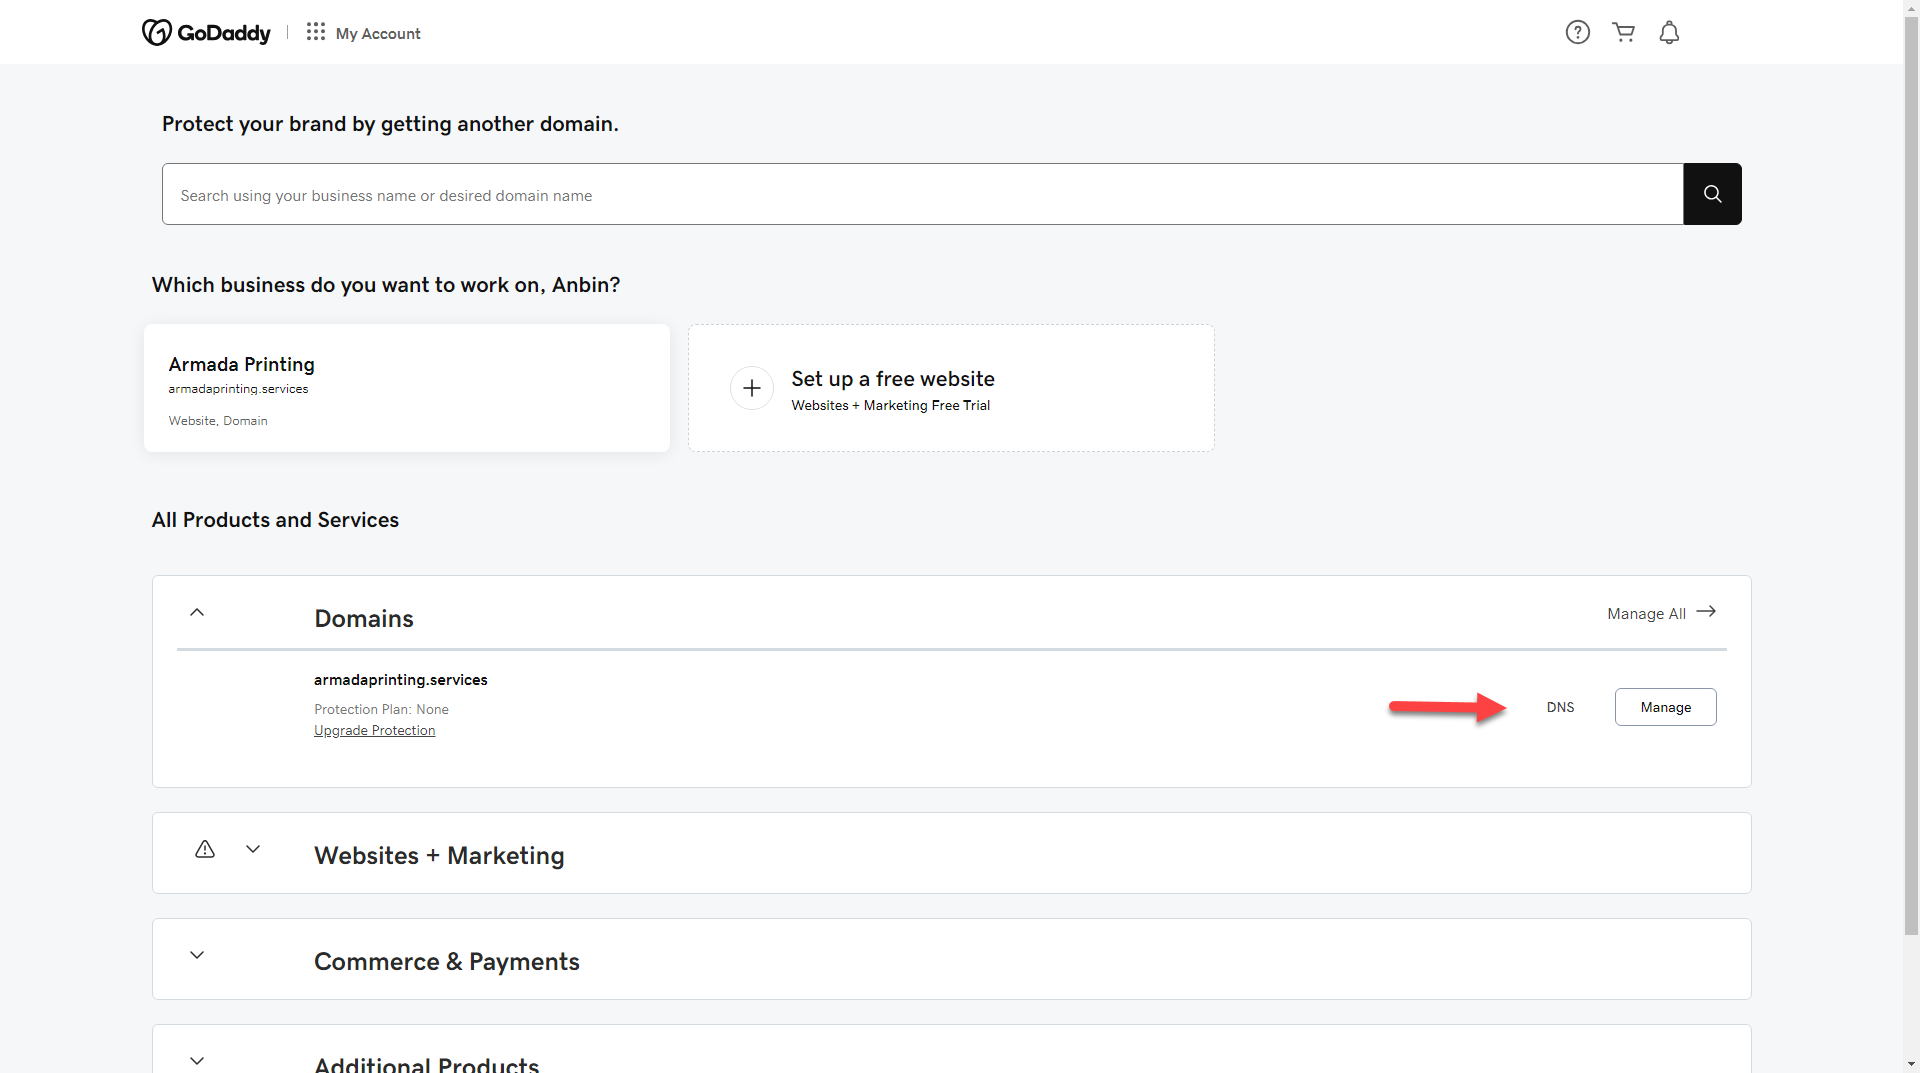
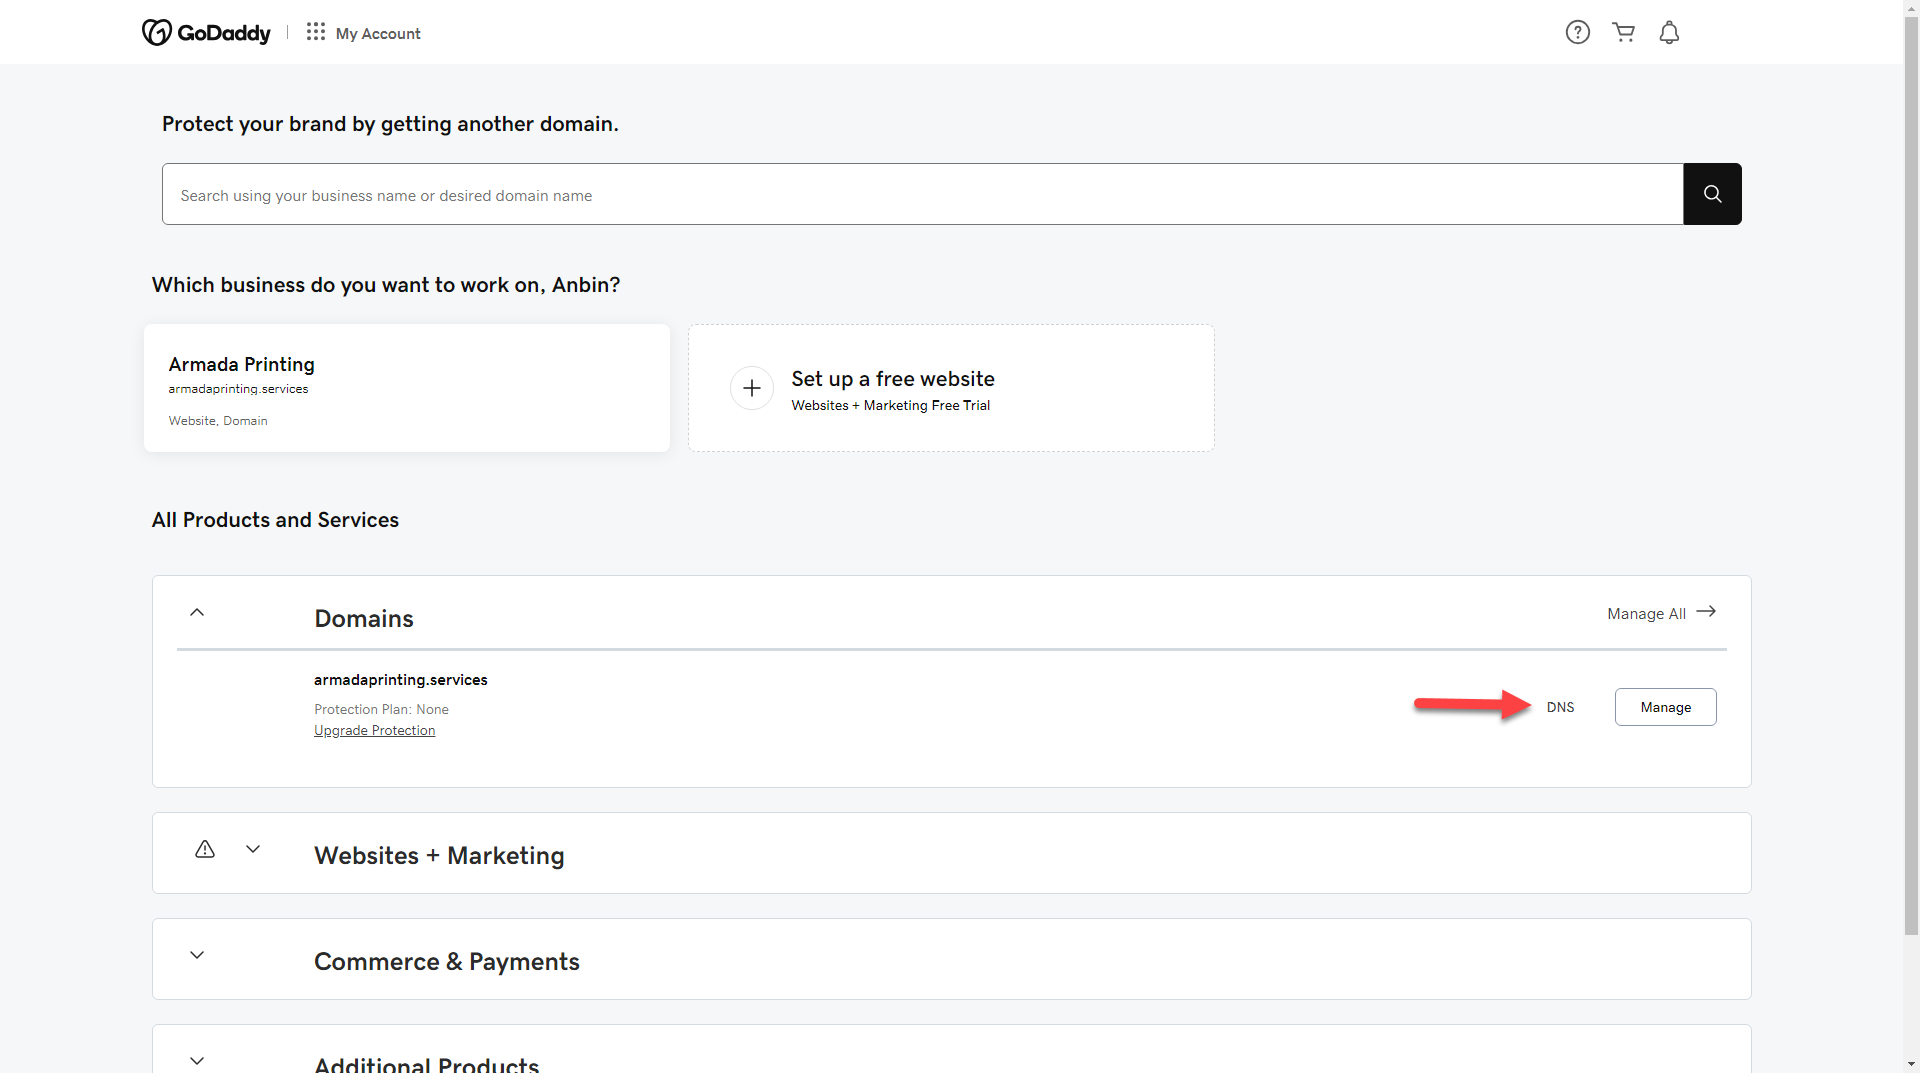
- Click on "DNS" to manage your DNS Records.
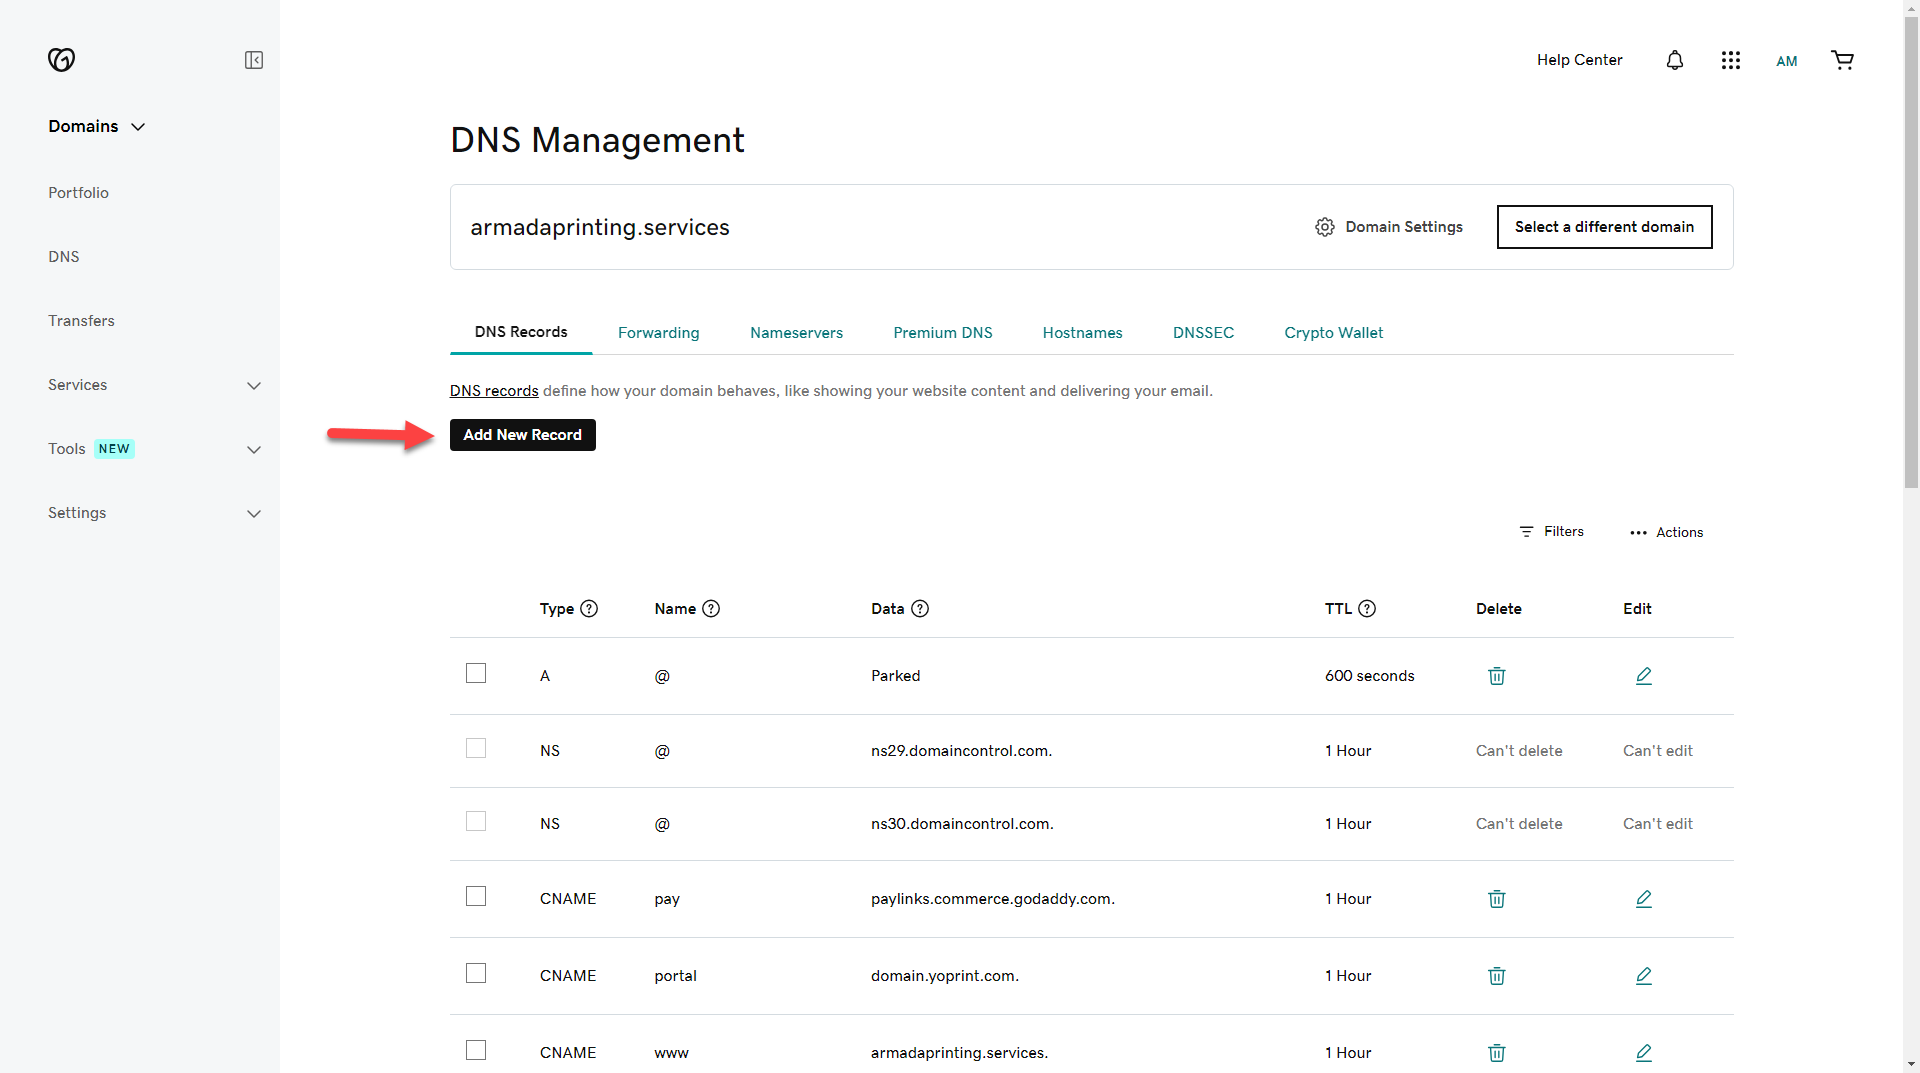
- Next, you need to add a DNS Record. Click on "Add New Record".
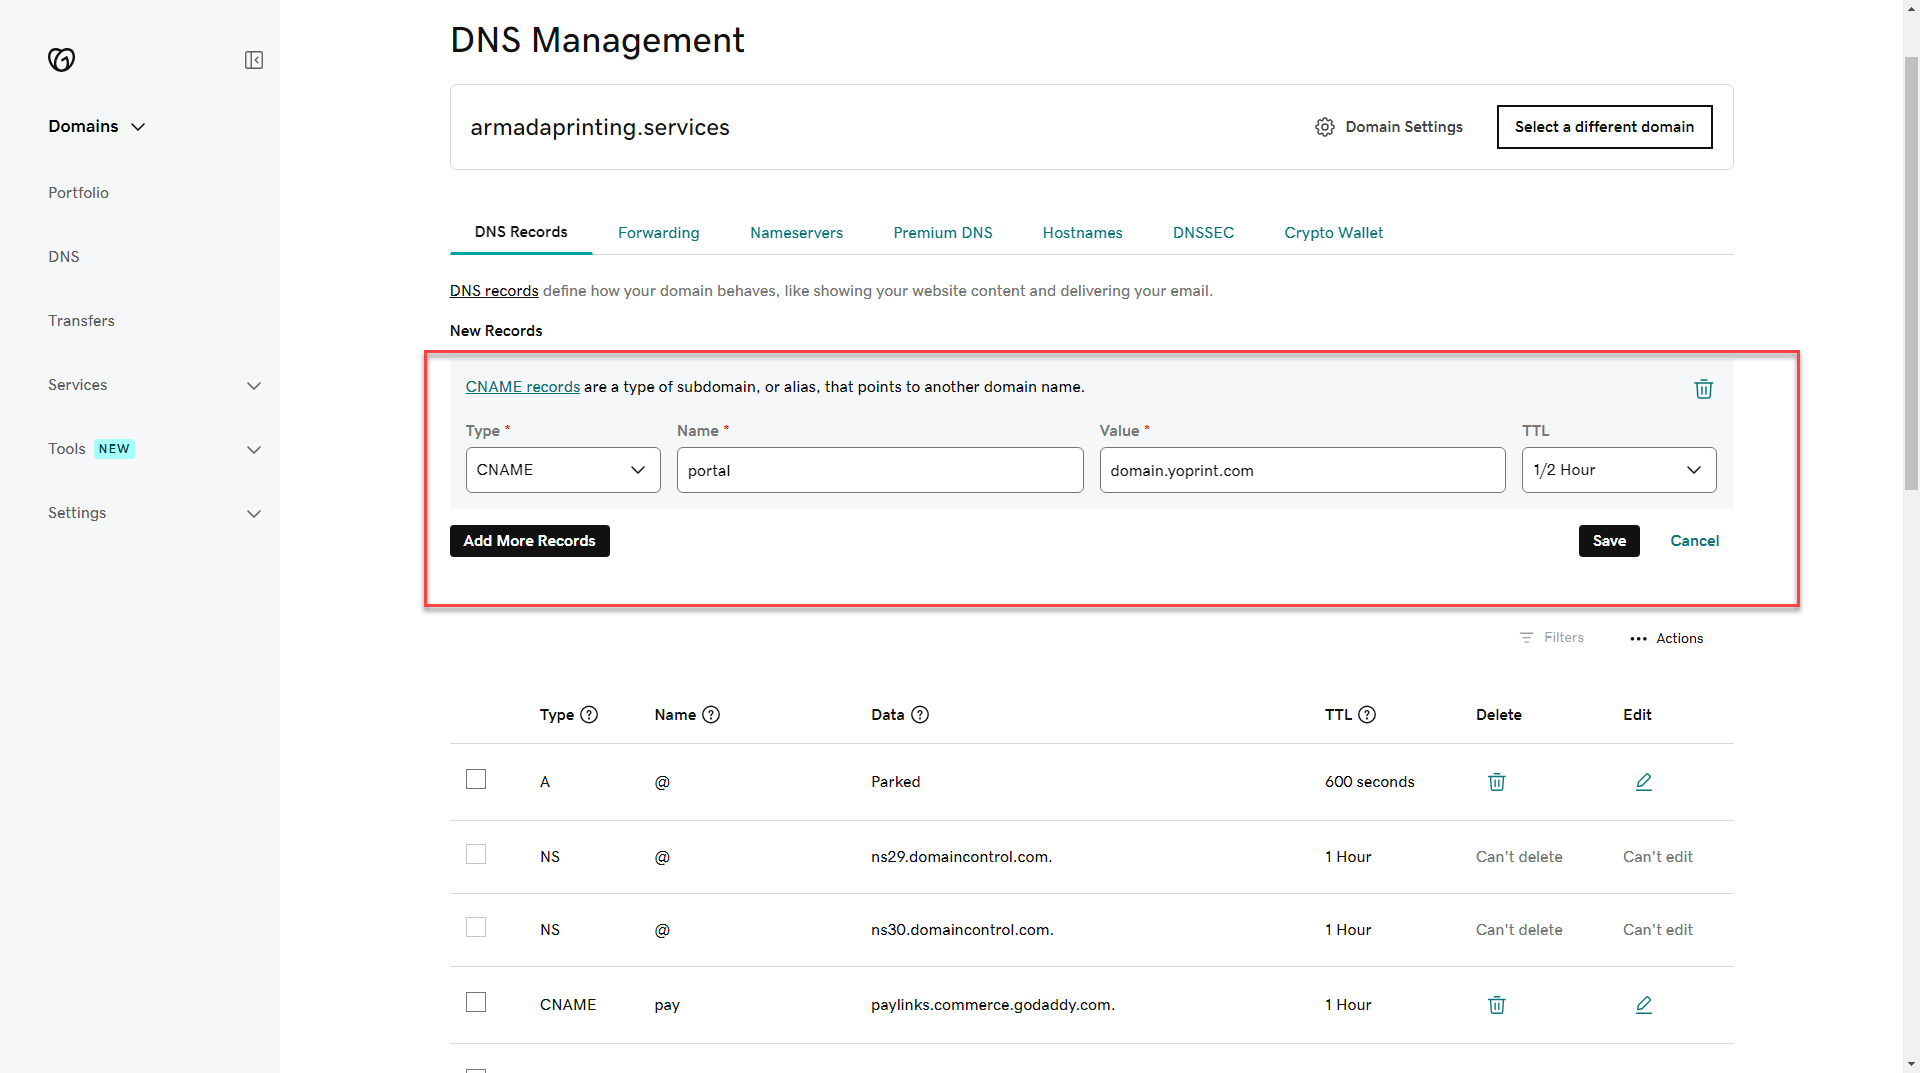
- For the "Type," you should choose "CNAME." The "Name" would be "portal," and the "TTL" would be the lowest value. In this case, it's "1/2 Hour." Once done, click on "Save".
- Go back to the "Overview" in YoPrint, and you should see that your "Customer Portal Domain" is now online. If you have purchased your domain from a different domain name provider, it can take anywhere from 24-48 hours to be online.
Email Sending Domain
- Log in to YoPrint and go to Configurations > Settings > Overview.
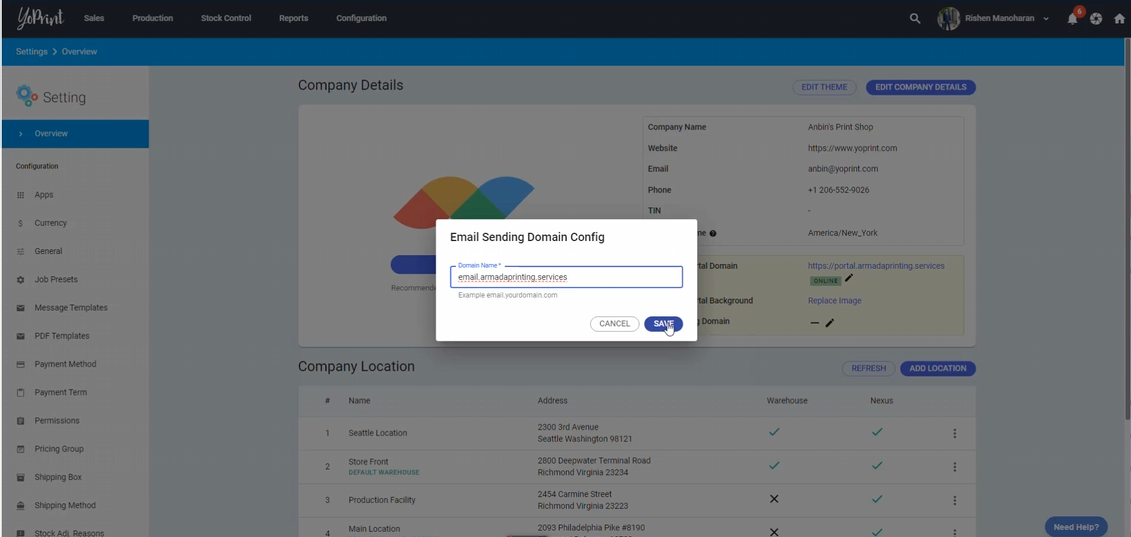
- Navigate to "Email Sending Domain" and click on the Pencil icon.
- Type out your desired domain name. It is recommended to use email.(your business name).com. Click on "Save" once done.
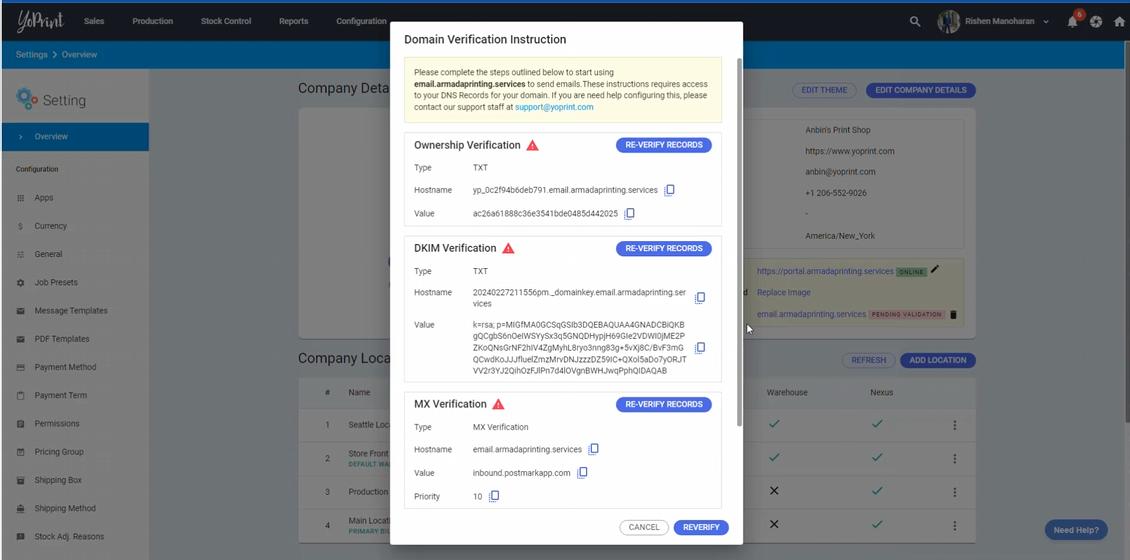
- This will open up a window that says "Domain Verification Instruction." You will need to use all of these to add 4 new DNS Records to your domain. You will have to copy and paste this info when you add those records. So please keep this tab open.
- Open up a new tab and go to wherever you've purchased your domain from. For this example, we will be using GoDaddy.
- Click on "DNS" to manage your DNS Records.
- Next, you need to add a DNS Record. Click on "Add New Record."

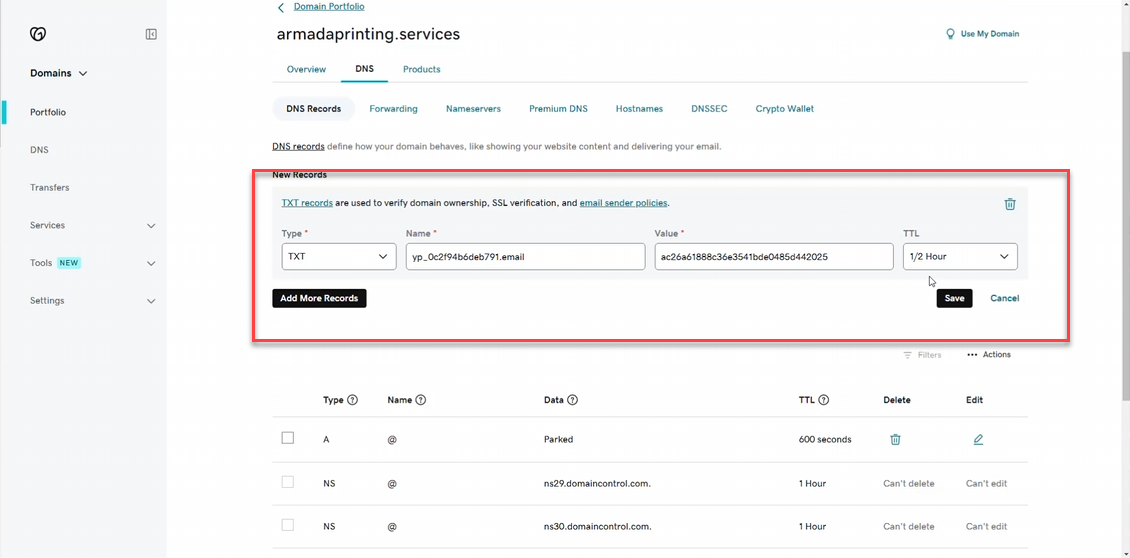
- The first record is a TXT record. Copy the "Hostname" from the "Domain Verification Instruction" and paste it into the "Name" column. Please make sure to erase the name's ending and leave it as (.email). Copy the "Value" from the "Domain Verification Instruction" and paste it into the "Value" column. Once done, click on "Save." Please refer to the image below for clarity.
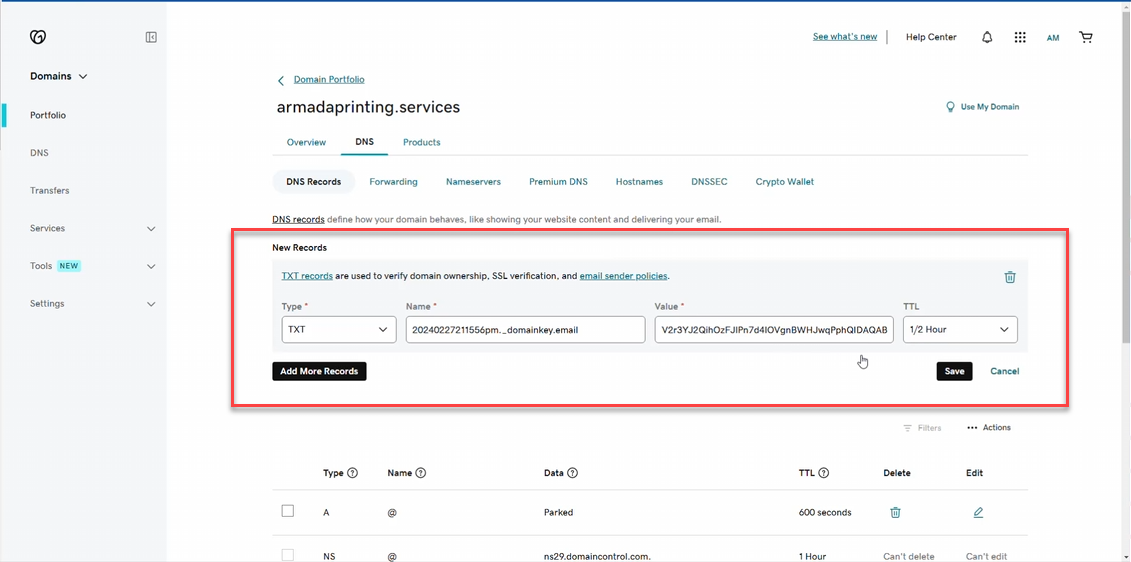
- The second record is also a TXT record. Copy the "Hostname" from the "Domain Verification Instruction" and paste it into the "Name" column. Please make sure to erase the name's ending and leave it as (.email). Copy the "Value" from the "Domain Verification Instruction" and paste it into the "Value" column. Once done, click "Save." Please refer to the image below for clarity.
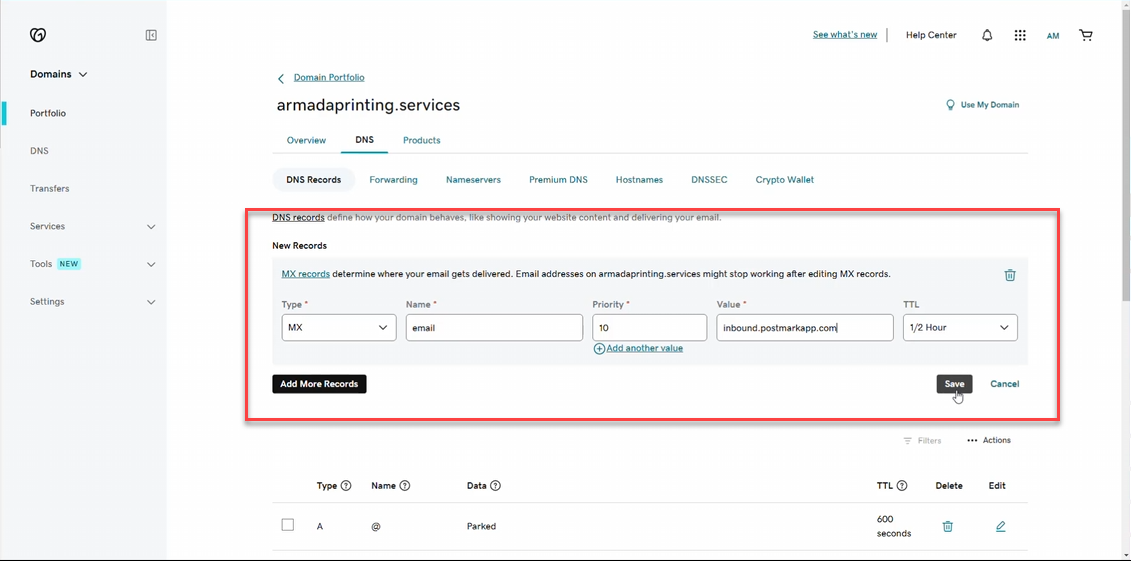
- The third record is an MX record. In this case, the "Name" is "email". The "Priority" is "10," copy the "Value" from the "Domain Verification Instruction," and paste it into the "Value" column. Once done, click "Save." Please refer to the image below for clarity.
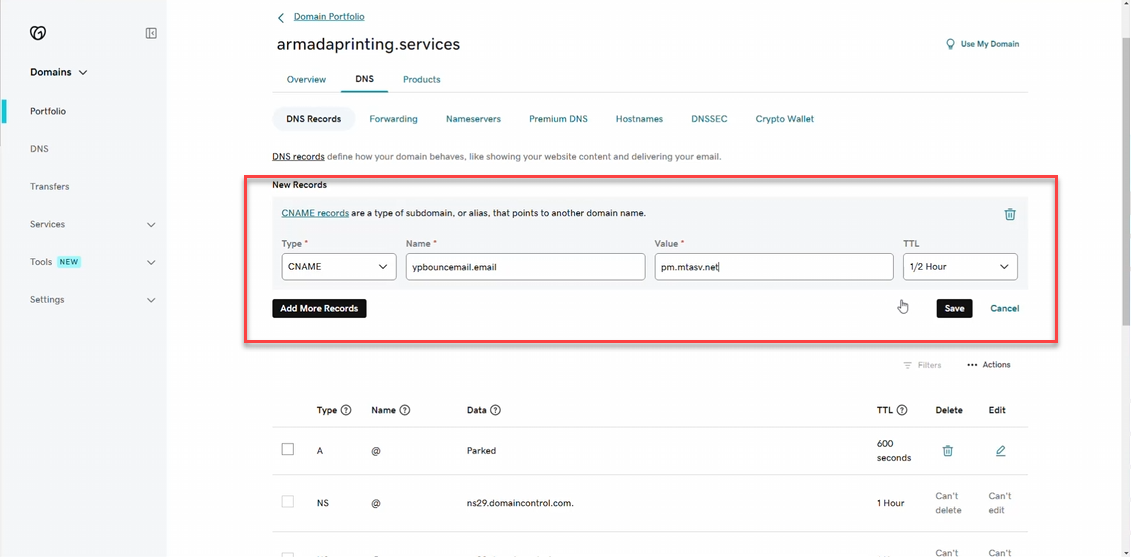
- The final record is a CNAME record. Copy the "Hostname" from the "Domain Verification Instruction" and paste it into the "Name" column. Please make sure to erase the name's ending and leave it as (.email). Copy the "Value" from the "Domain Verification Instruction" and paste it into the "Value" column. Once done, click "Save." Please refer to the image below for clarity.
- Return to the "Domain Verification Instruction" and click "Reverify". If you see 'Check Marks' beside the verifications, it means that your DNS Records have been added.

- It usually takes a couple of minutes before it shows up online. If you have purchased your domain from a different domain name provider, it can take anywhere from 24-48 hours to be online.