Utilize The Download Center
In this article
Use the Download Center to create CSV files for accounting, analysis, or other work outside YoPrint. Excel (.xlsx) format is not available here. Exports run in the background, so you can keep working and return for the file. You can choose and order columns, save column presets, and download files from the export history.
The Download Center also exports customer lists and product records, which do not have on-screen report screens.
Choose what to export
-
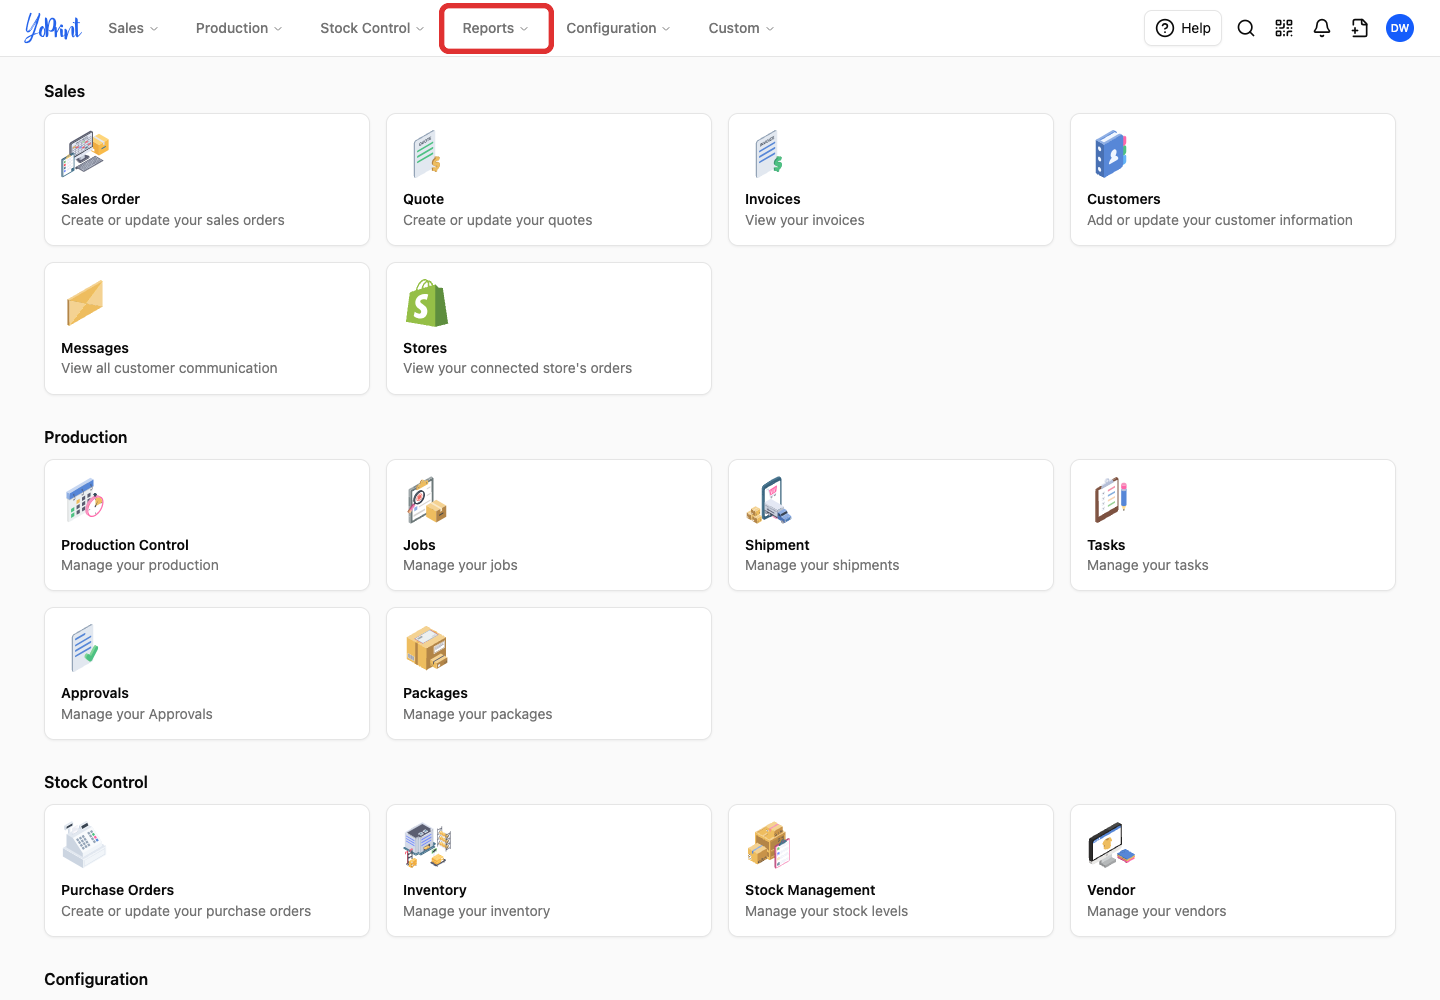
Open Reports in the top menu.
-
Choose Download Center under Downloads.
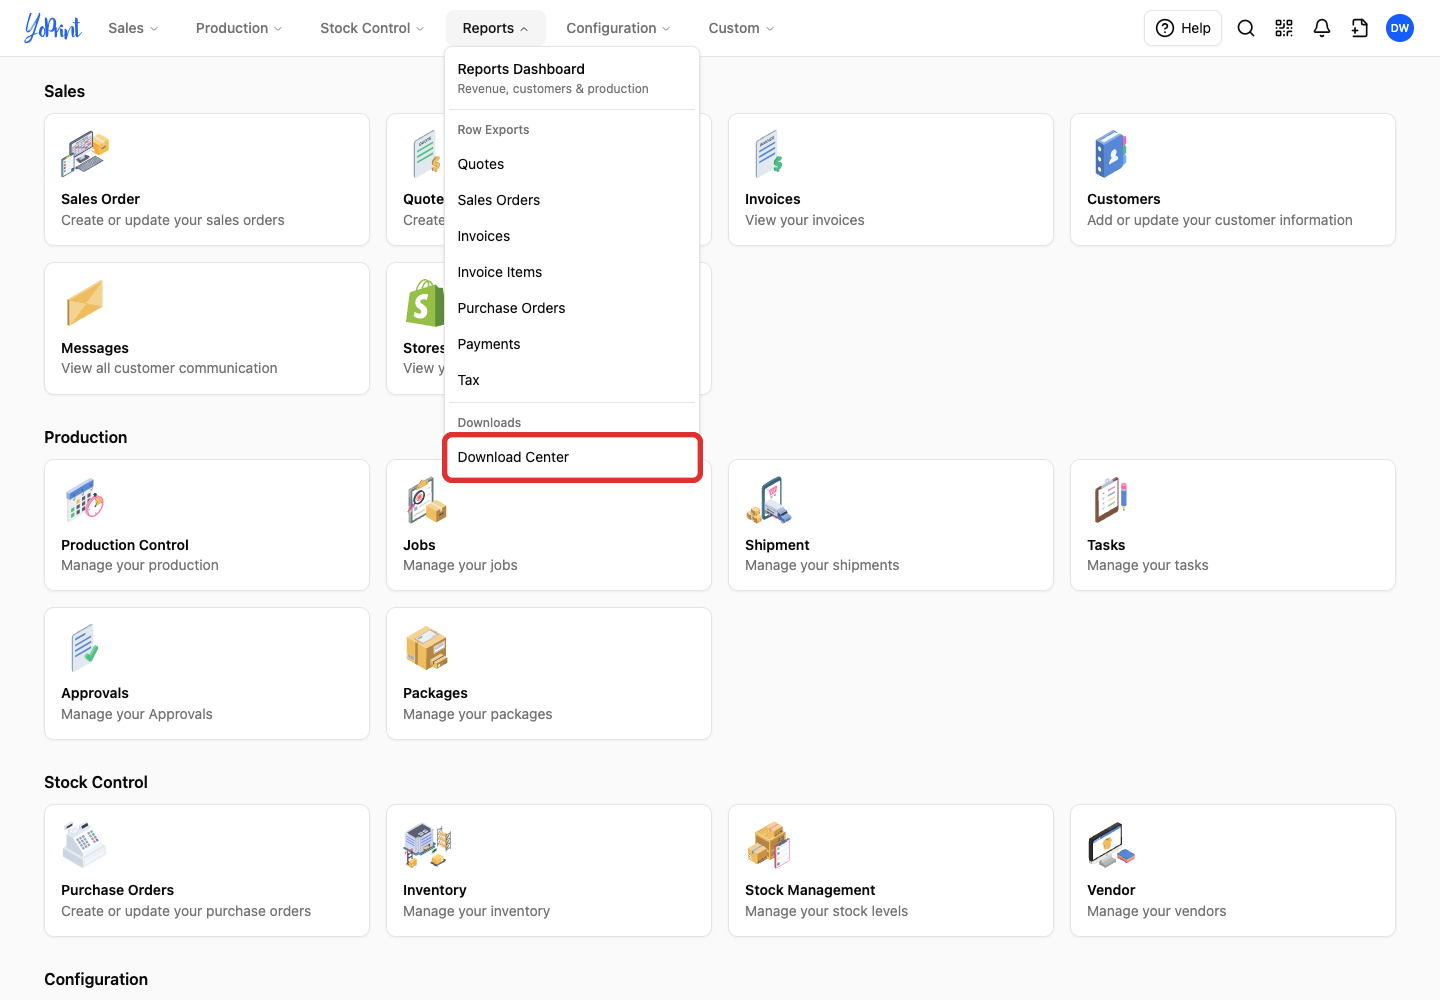
A report under Row Exports shows the grid on screen and downloads CSV or Excel at once. The Download Center runs in the background, lets you choose and order columns, saves presets, and keeps a history. To use an on-screen row report for a quick look or an immediate CSV or Excel file, see Reports.
-
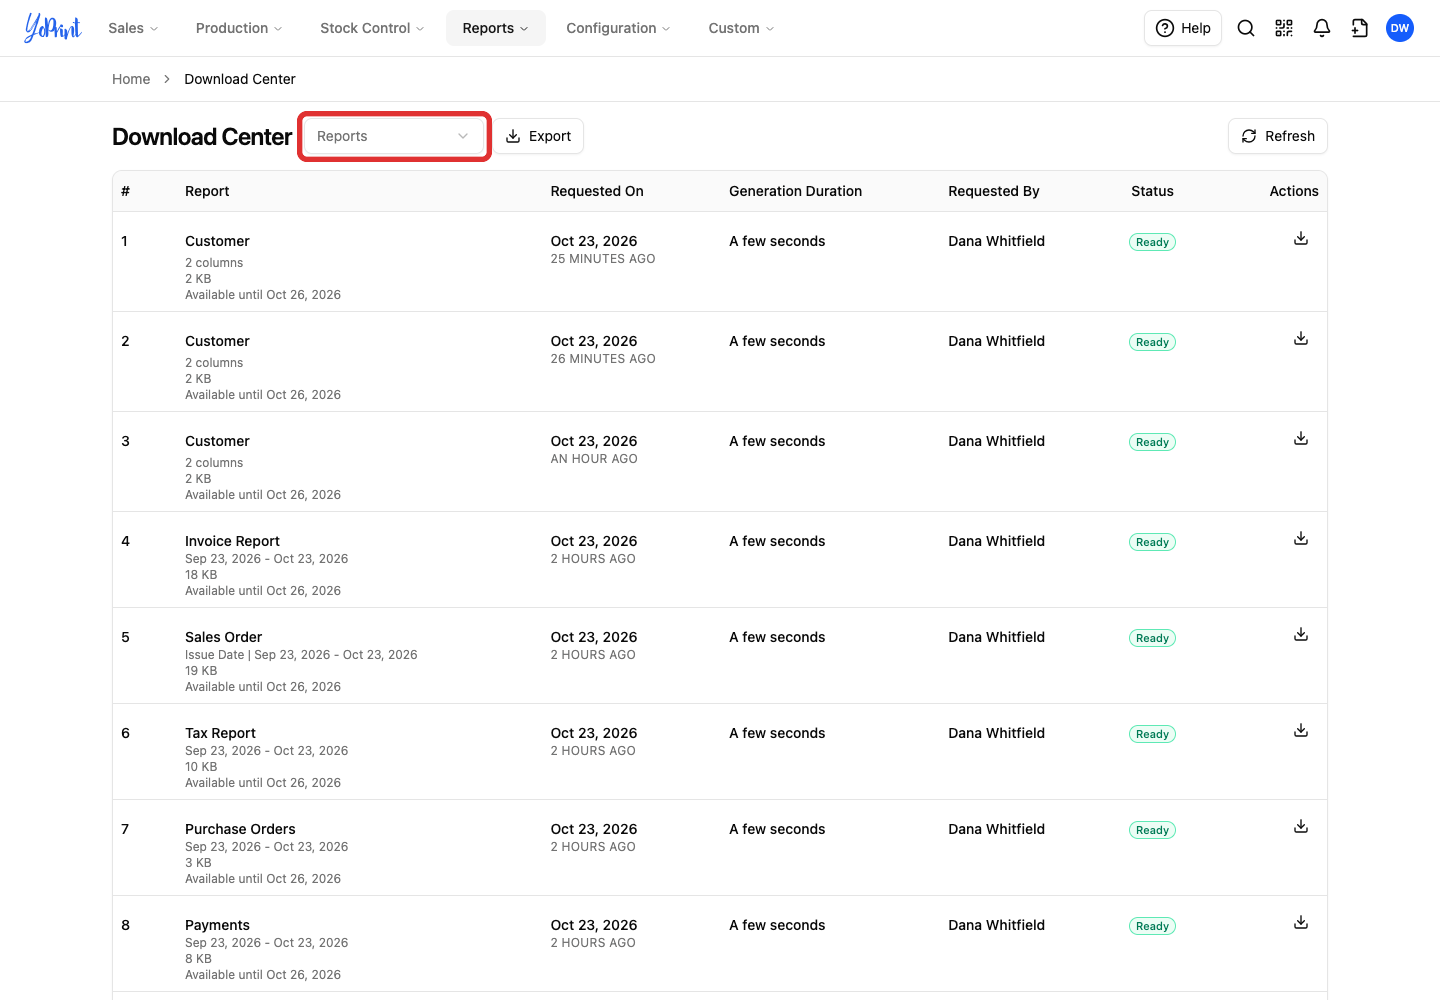
Open the Reports dropdown beside the page title.
-
Choose the export type you need. This example uses All Invoices.
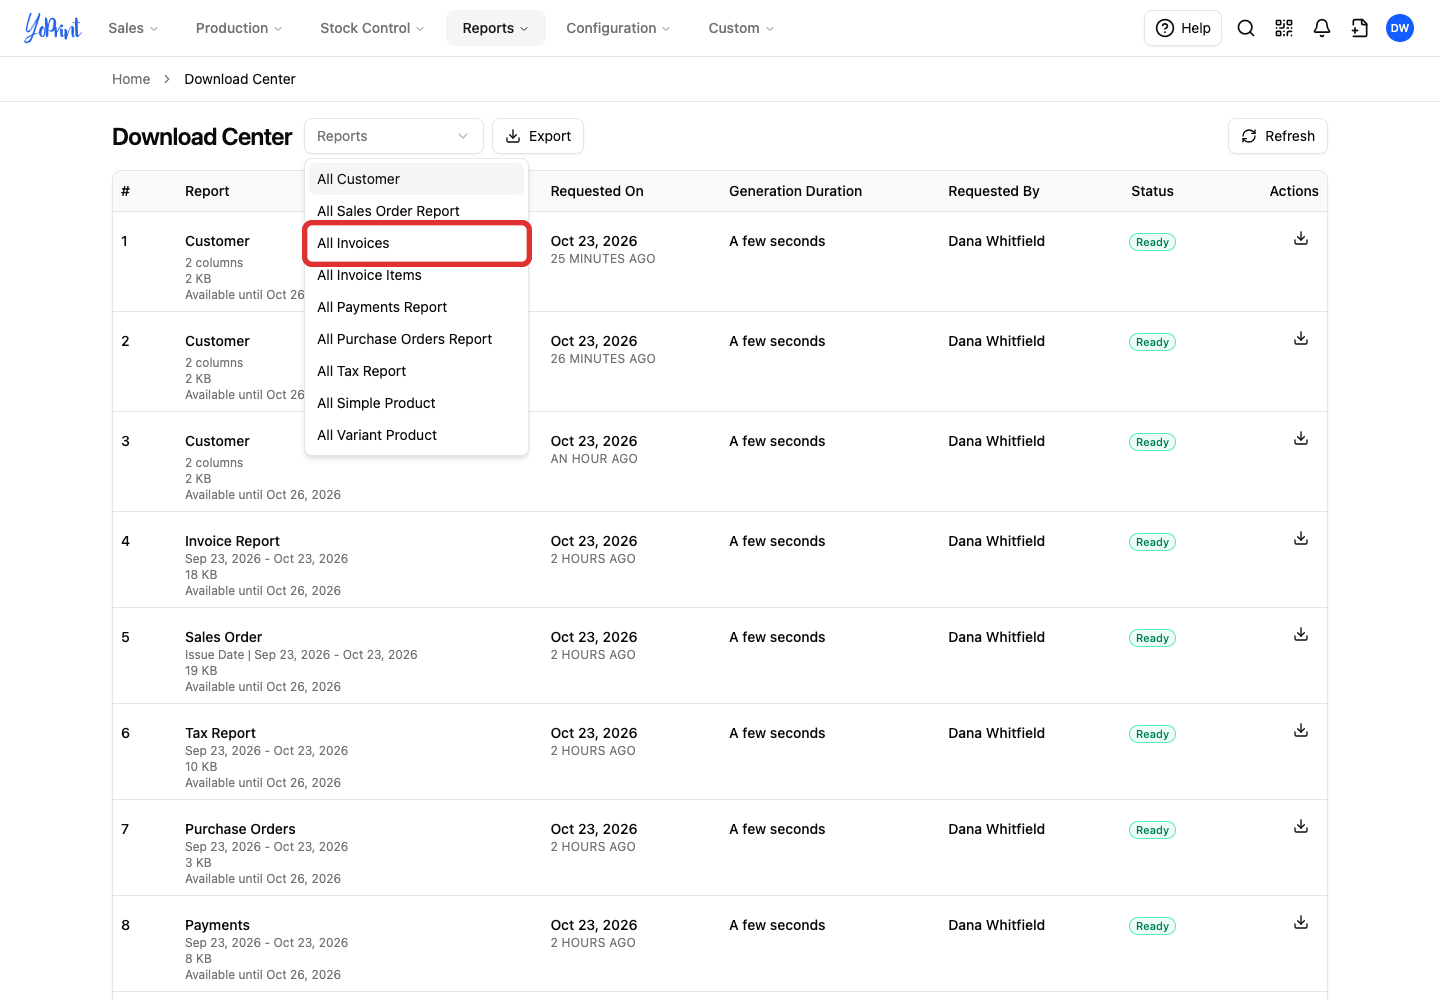
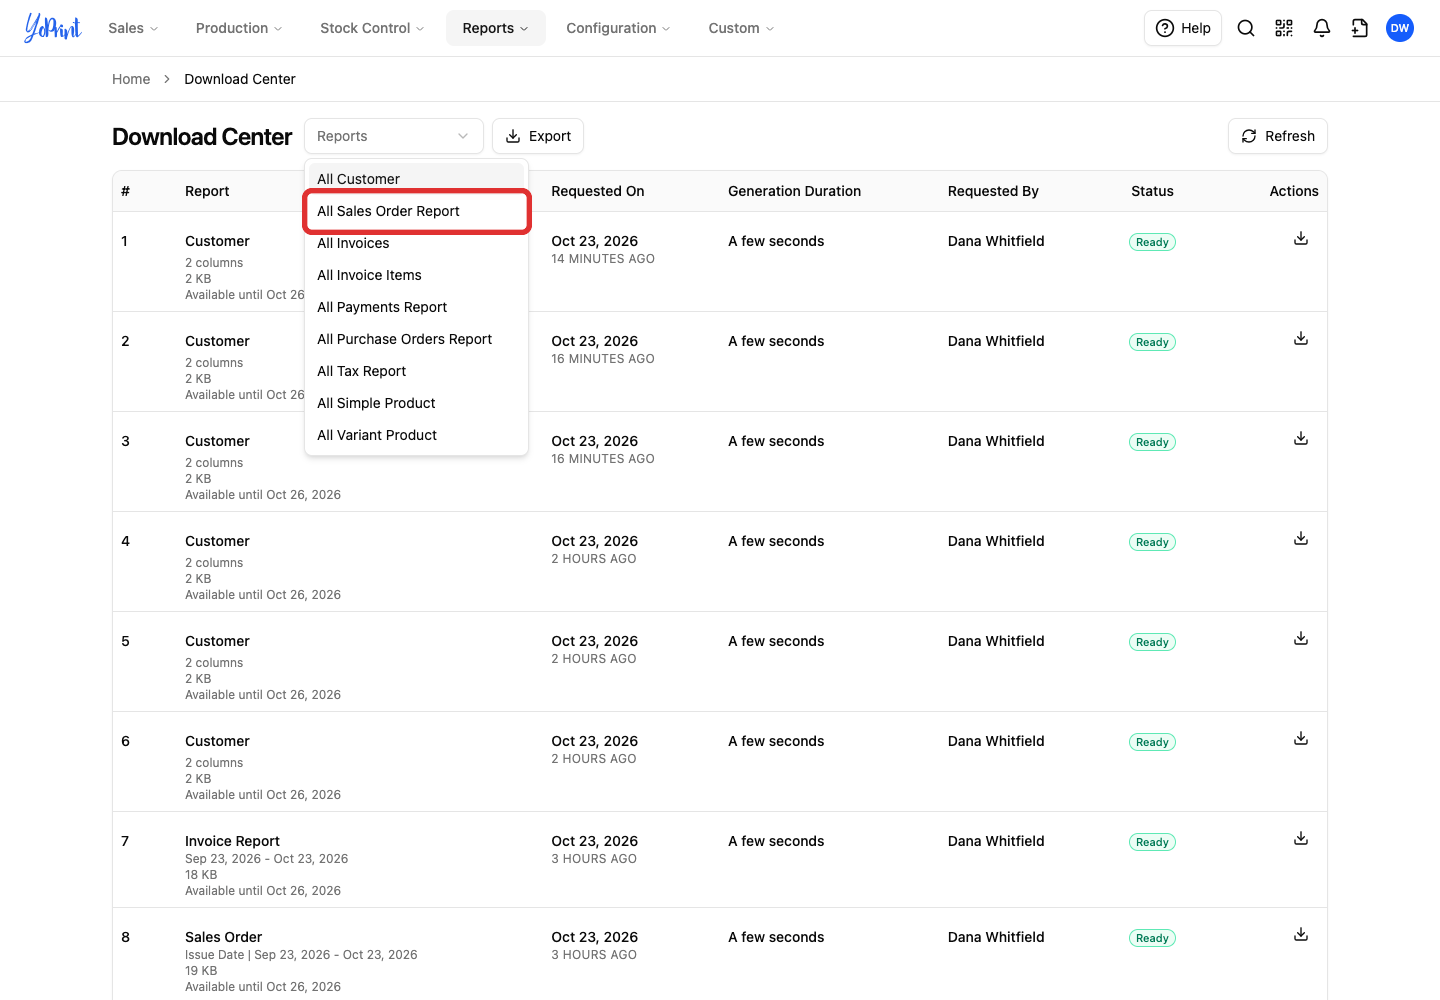
The nine choices are All Customer, All Sales Order Report, All Invoices, All Invoice Items, All Payments Report, All Purchase Orders Report, All Tax Report, All Simple Product, and All Variant Product. All Invoices includes one row per invoice. All Invoice Items includes one row per invoice item.
Customer and product exports include the non-deleted records of the selected type and need no date range. Continue to Choose and order columns.
For sales orders, first choose which sales order date to filter, then set the date range below.
Set the date range
Each date-based export filters records by a specific date:
- All Invoices and All Invoice Items use the sales order's issue date.
- All Payments Report and All Tax Report use the date the payment or refund was recorded.
- All Purchase Orders Report uses the purchase order's issue date.
- All Sales Order Report uses the date type you select in Choose which sales order date to filter.
-
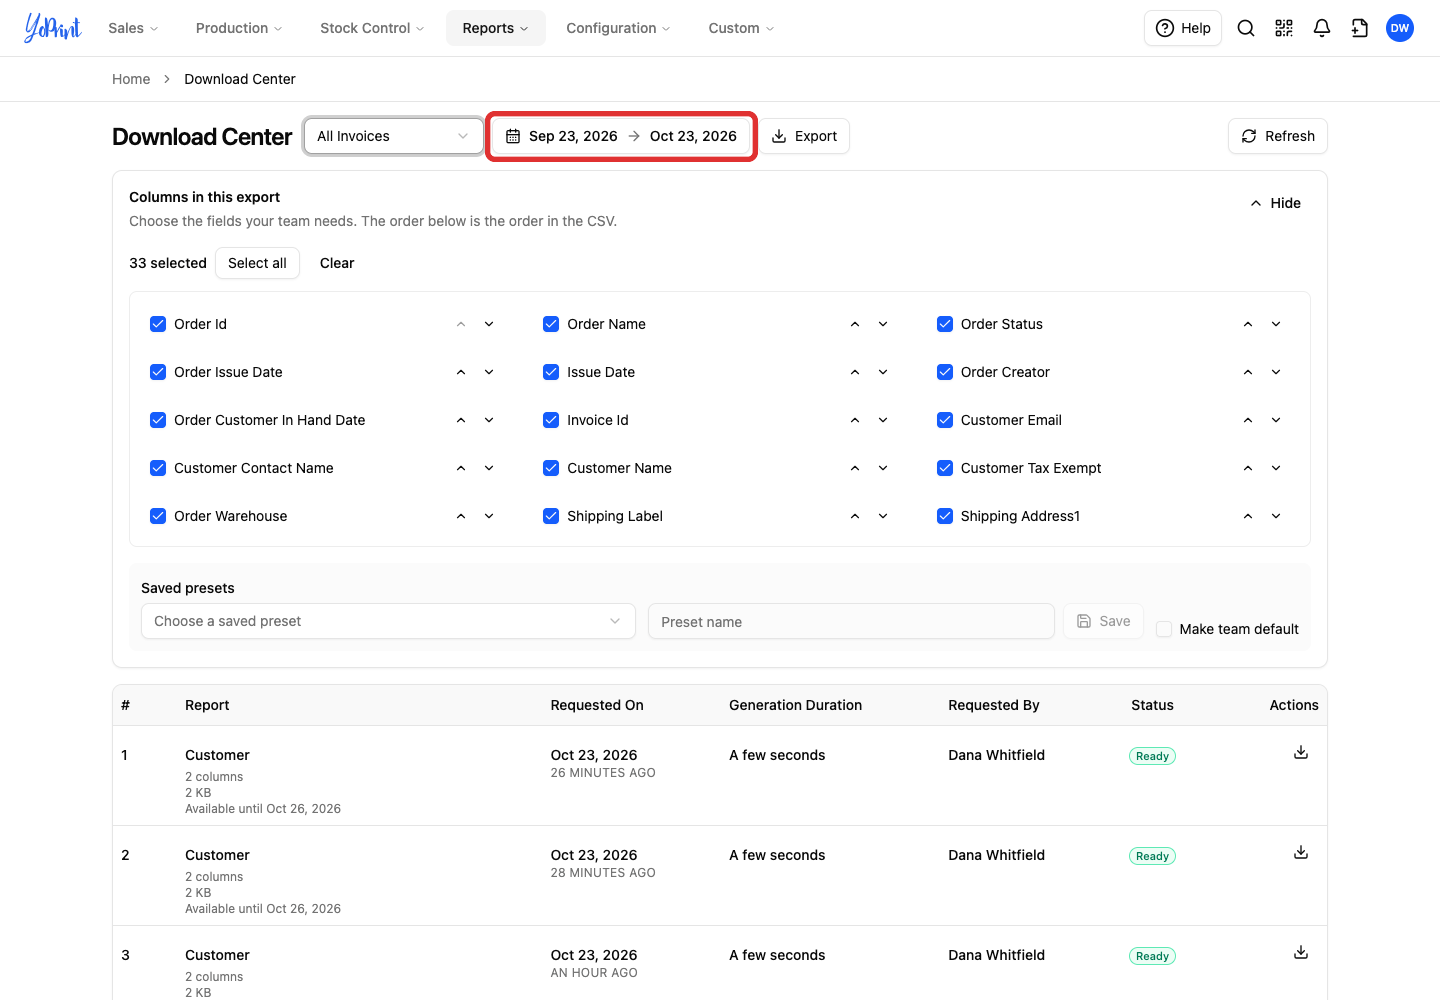
Click the date range beside the export type.
-
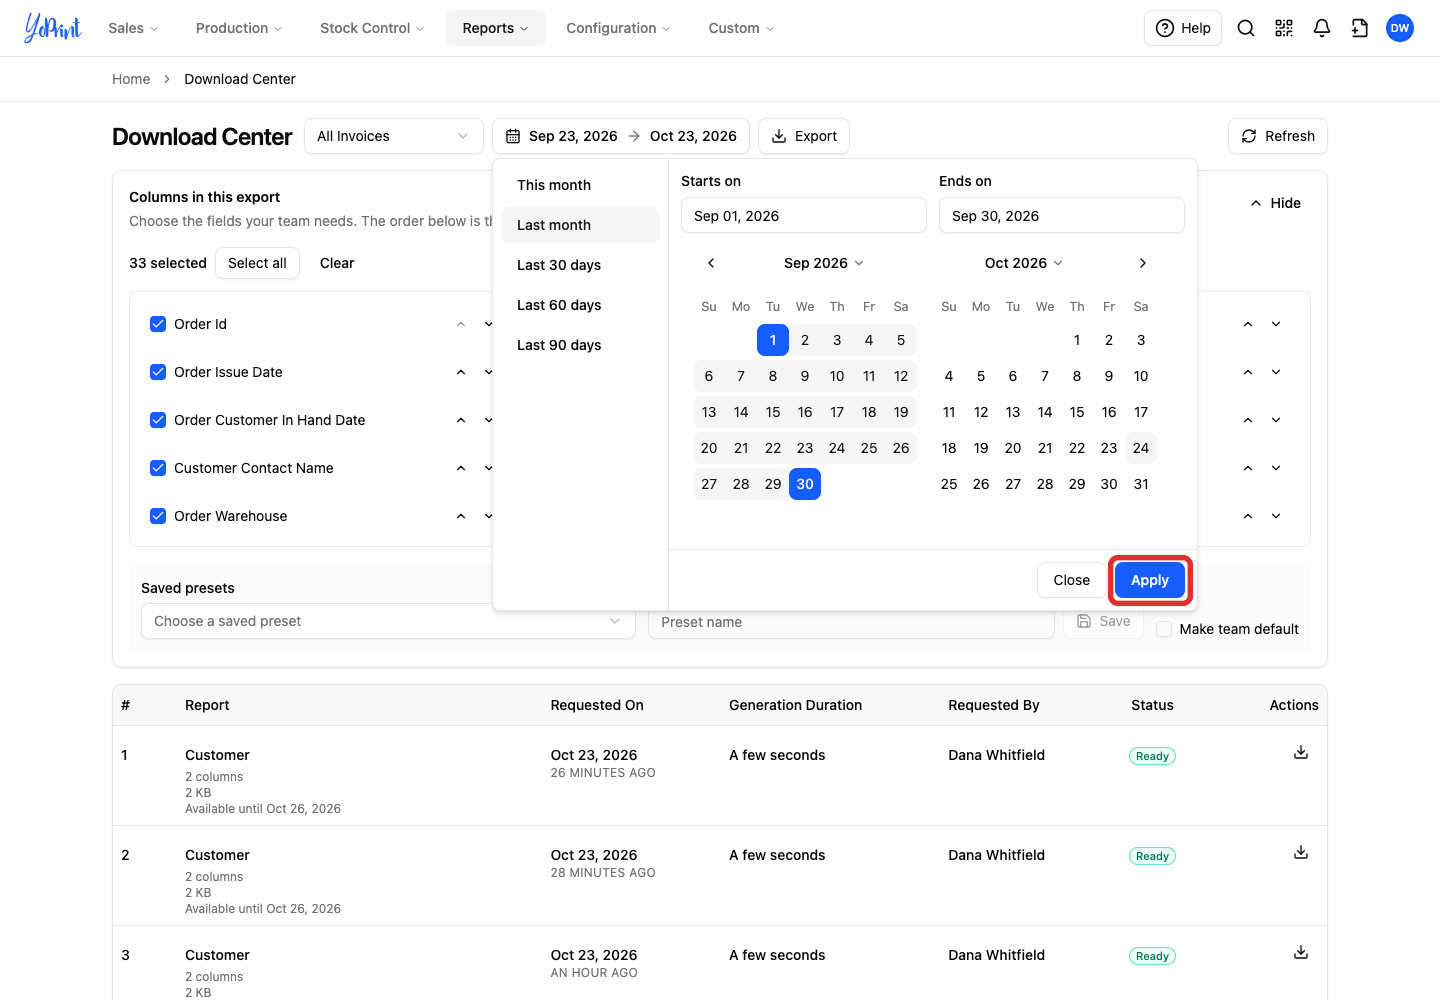
Click Last month to fill the whole previous calendar month.
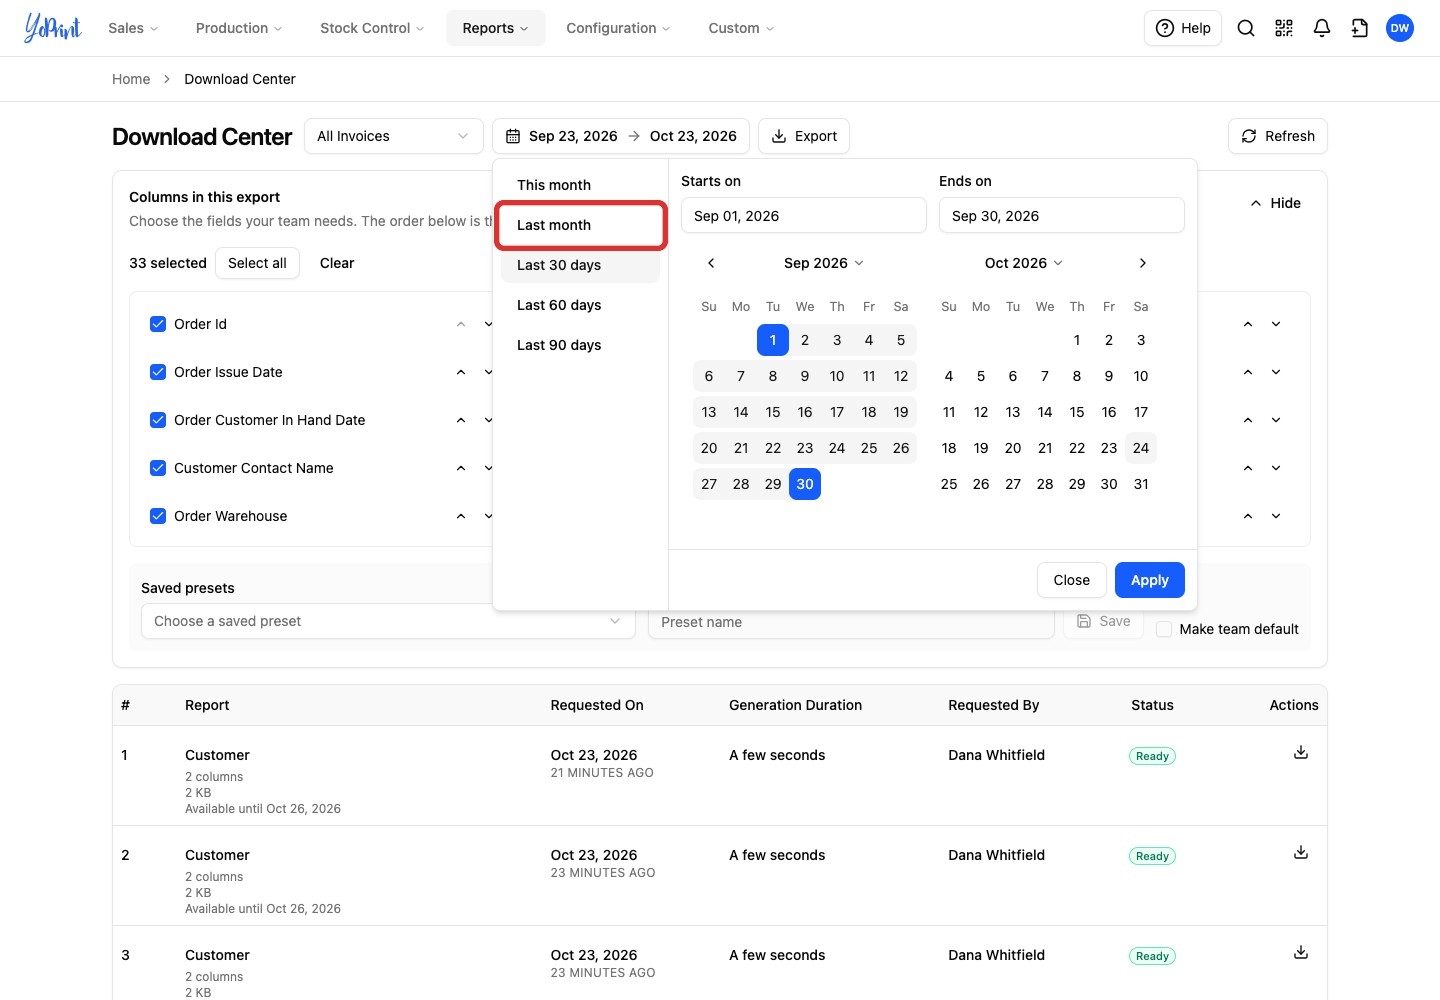
The picker also offers This month, Last 30 days, Last 60 days, and Last 90 days.
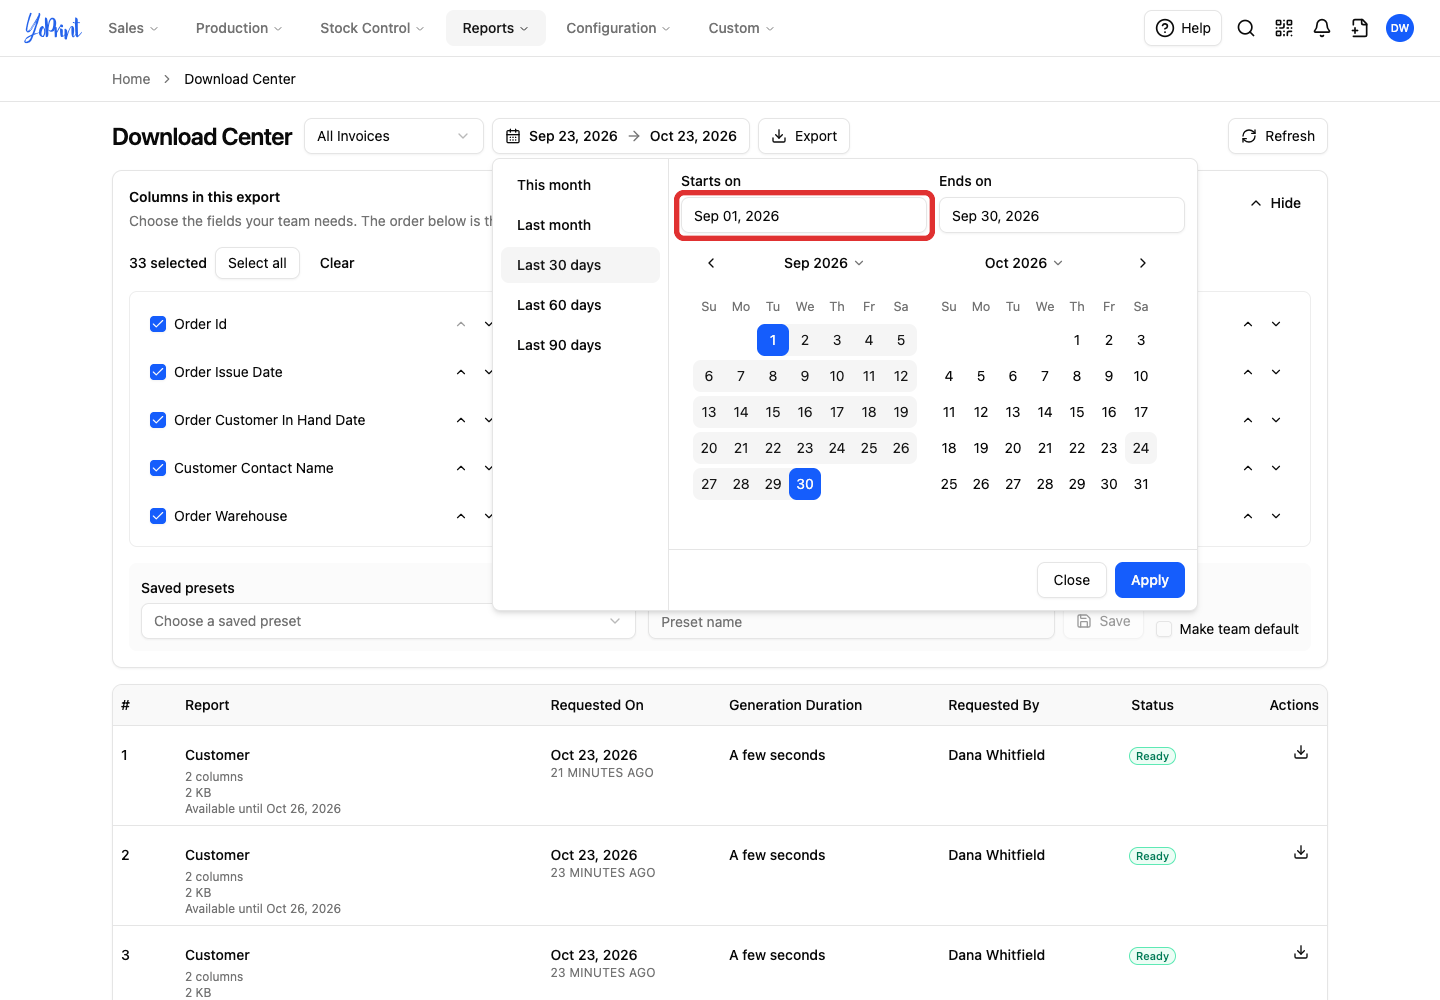
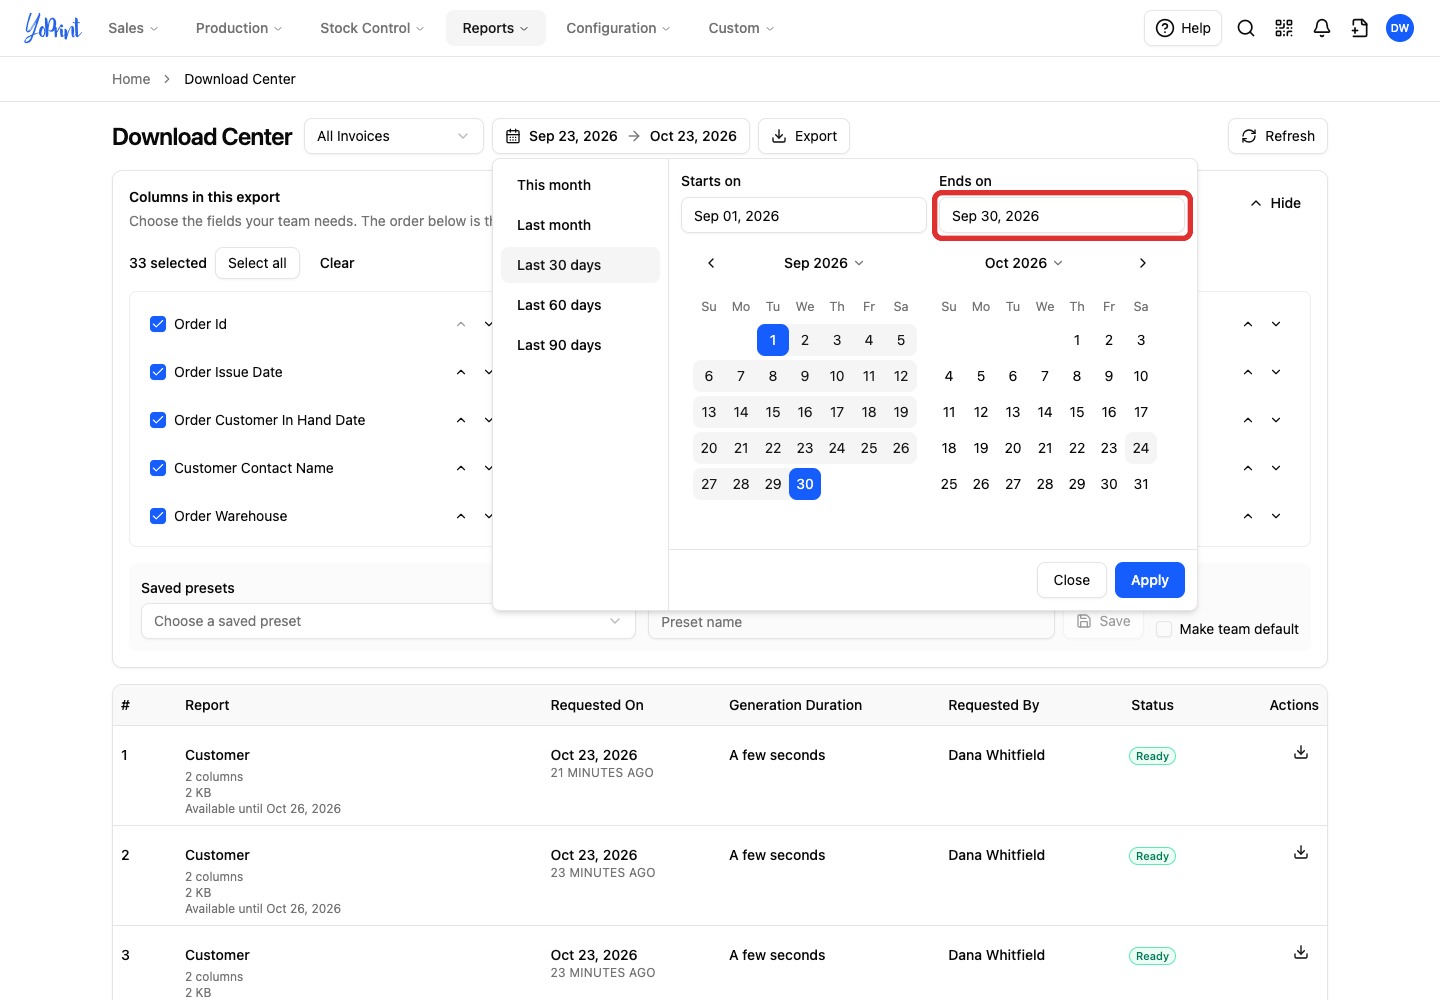
To set custom dates instead, enter the first date in Starts on, then enter the last date in Ends on.
-
Click Apply.
Continue to Choose and order columns.
Choose which sales order date to filter
For sales order exports, the date type determines which orders fall inside your range. For example, Issue Date finds orders issued during the period, while Ship By Date finds orders scheduled to ship during it.
-
Choose All Sales Order Report from the open Reports dropdown.
-
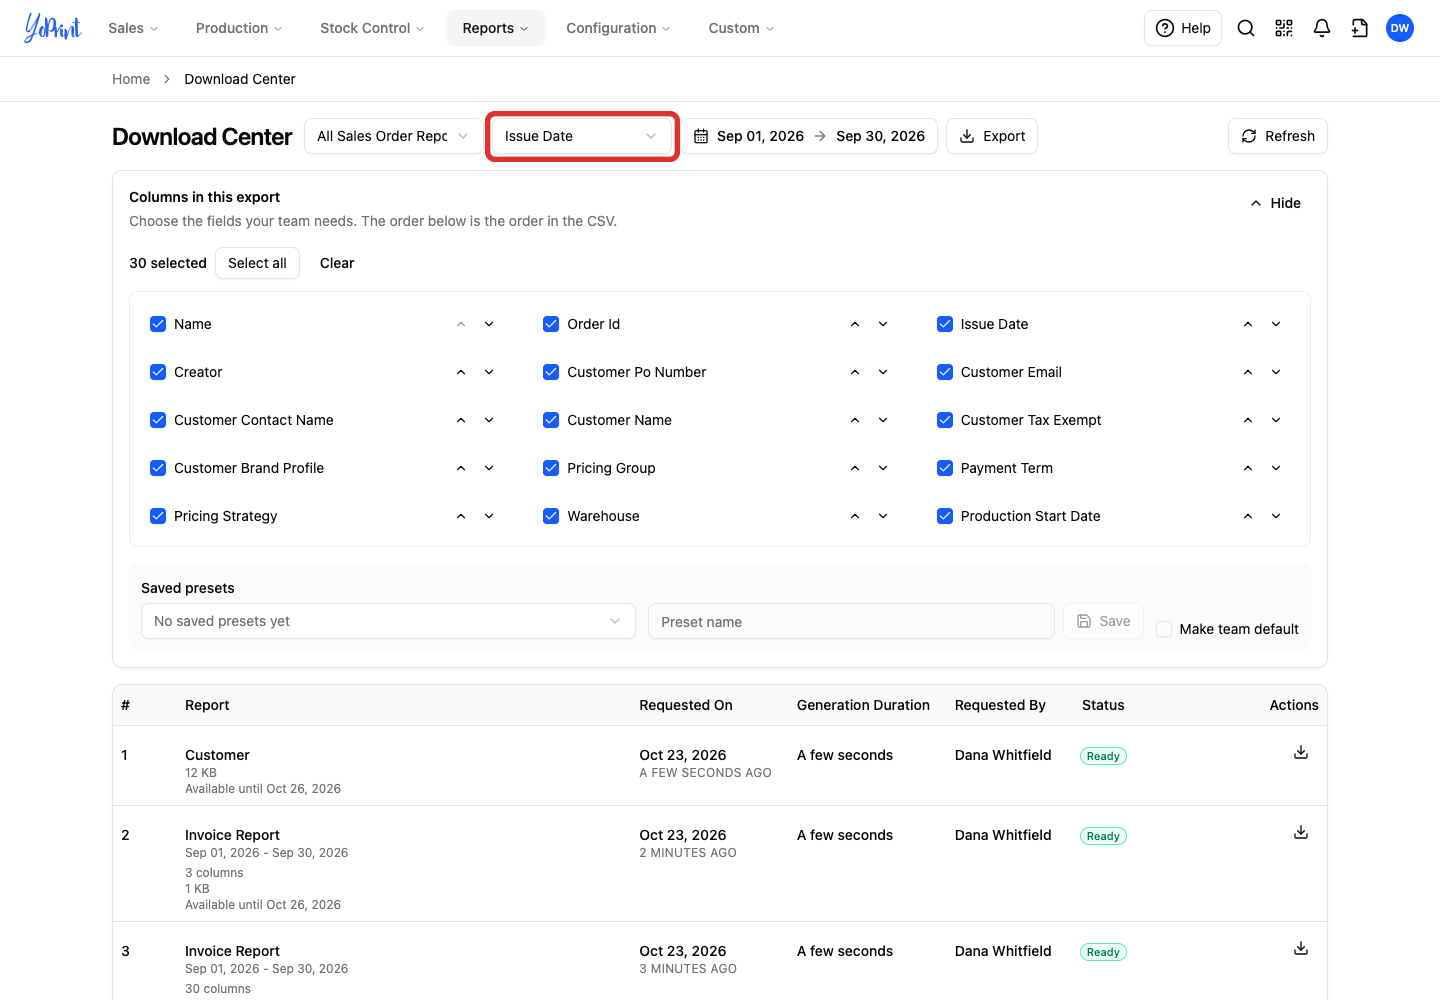
Open the date-type dropdown beside the report name.
-
Choose the date to use for your range.
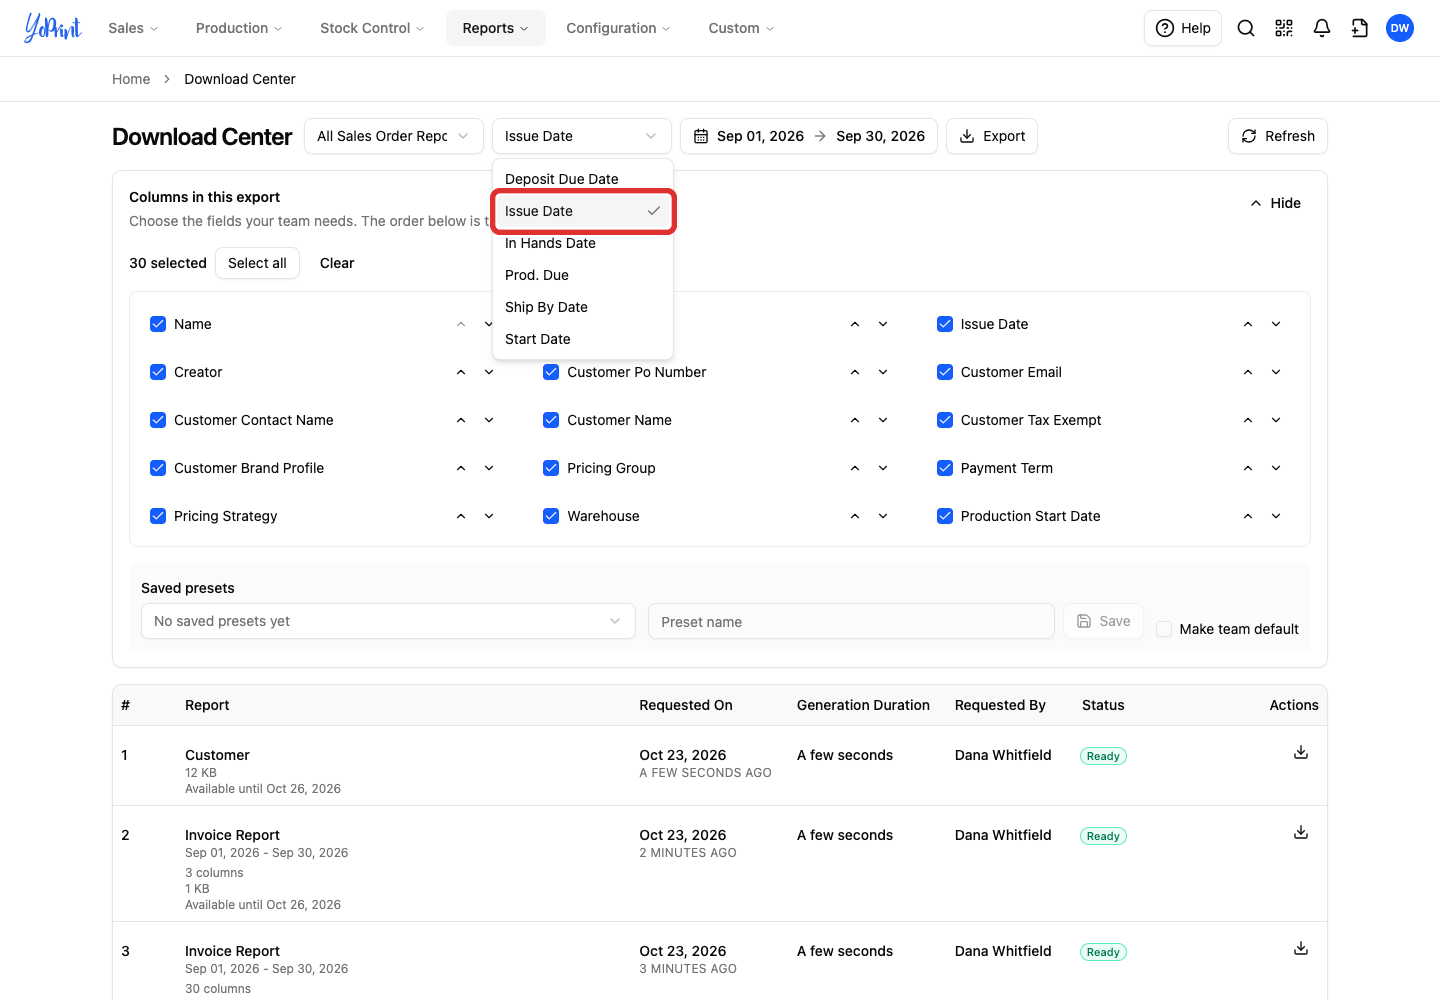
The available dates are:
- Deposit Due Date: When customer deposits are due.
- Issue Date: The order's editable issue date.
- Start Date: When production is scheduled to begin.
- Prod. Due: The production due date, when shop production must be completed.
- Ship By Date: When the completed order must ship.
- In Hands Date: When the customer expects delivery in hand.
Continue to Set the date range, then choose your columns.
Choose and order columns
Under Columns in this export, every column starts ticked, or the team default's columns start ticked when one exists. The list reads left to right, row by row, and sets the column order in the CSV. This example uses Invoice Id, Customer Name, and Total.
-
Click Clear to uncheck the selected columns.
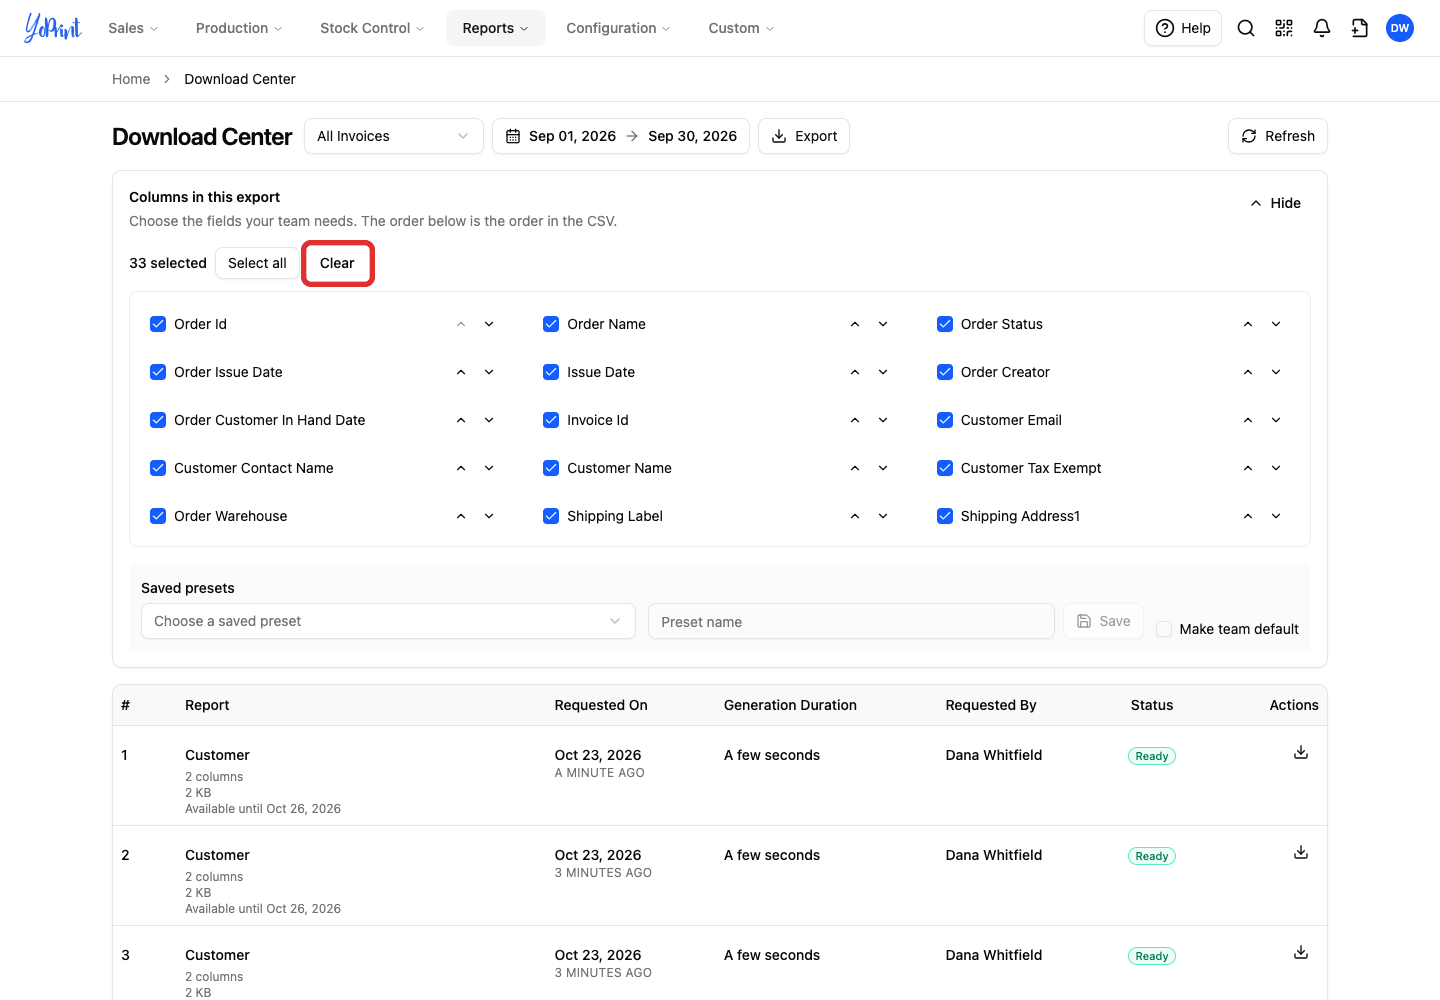
Click Select all to include every available column instead. At least one column is required. Export is unavailable when none are selected.
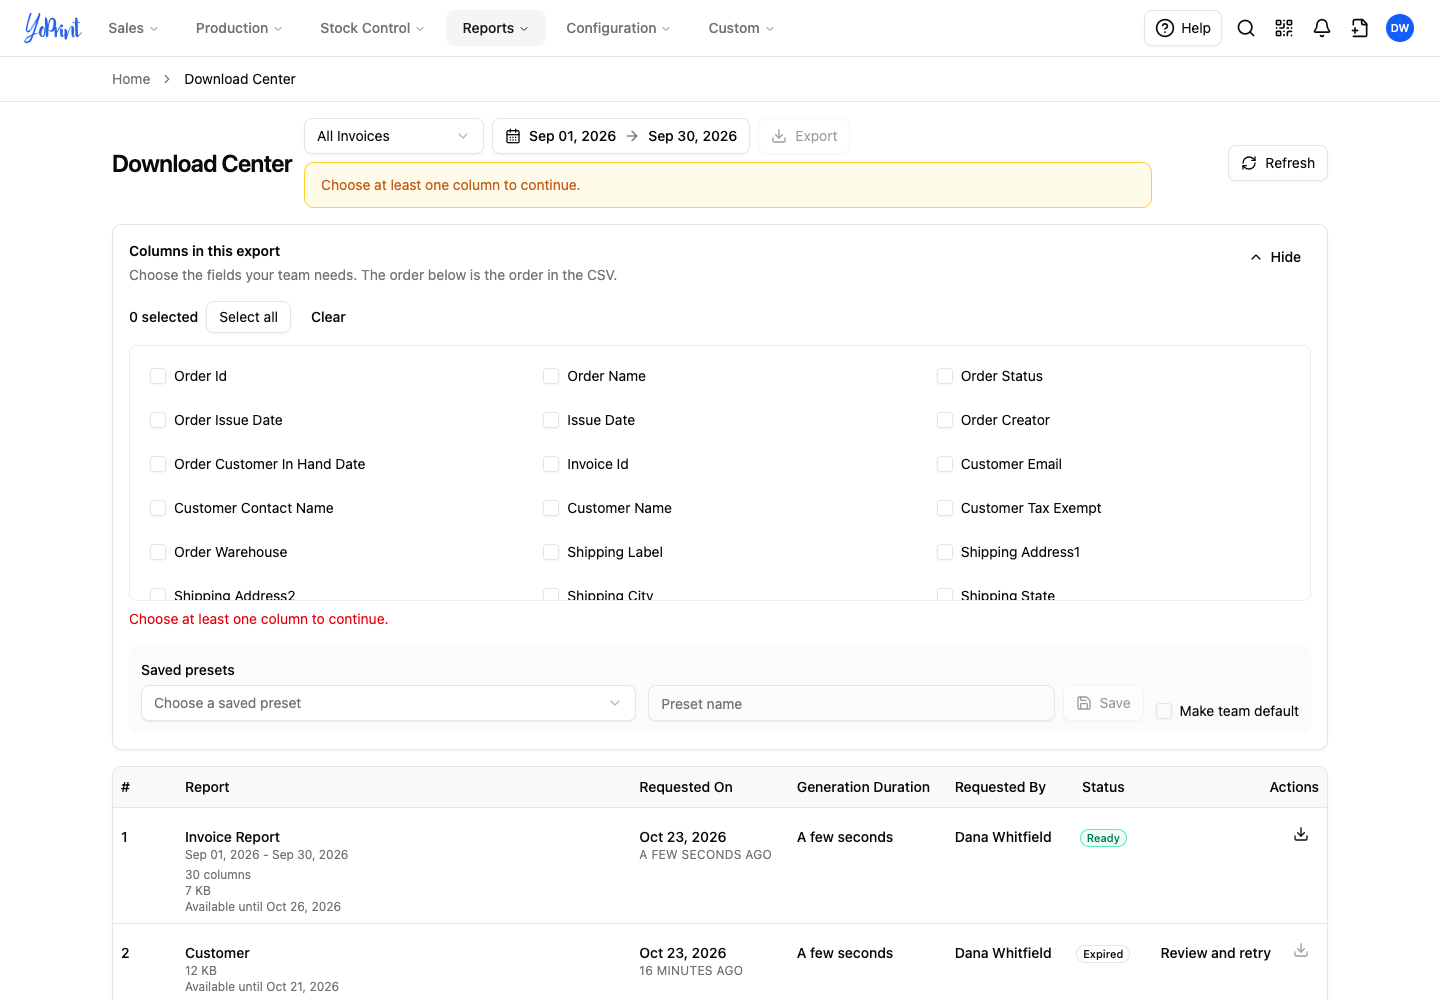
-
Tick the checkboxes for the fields you need.
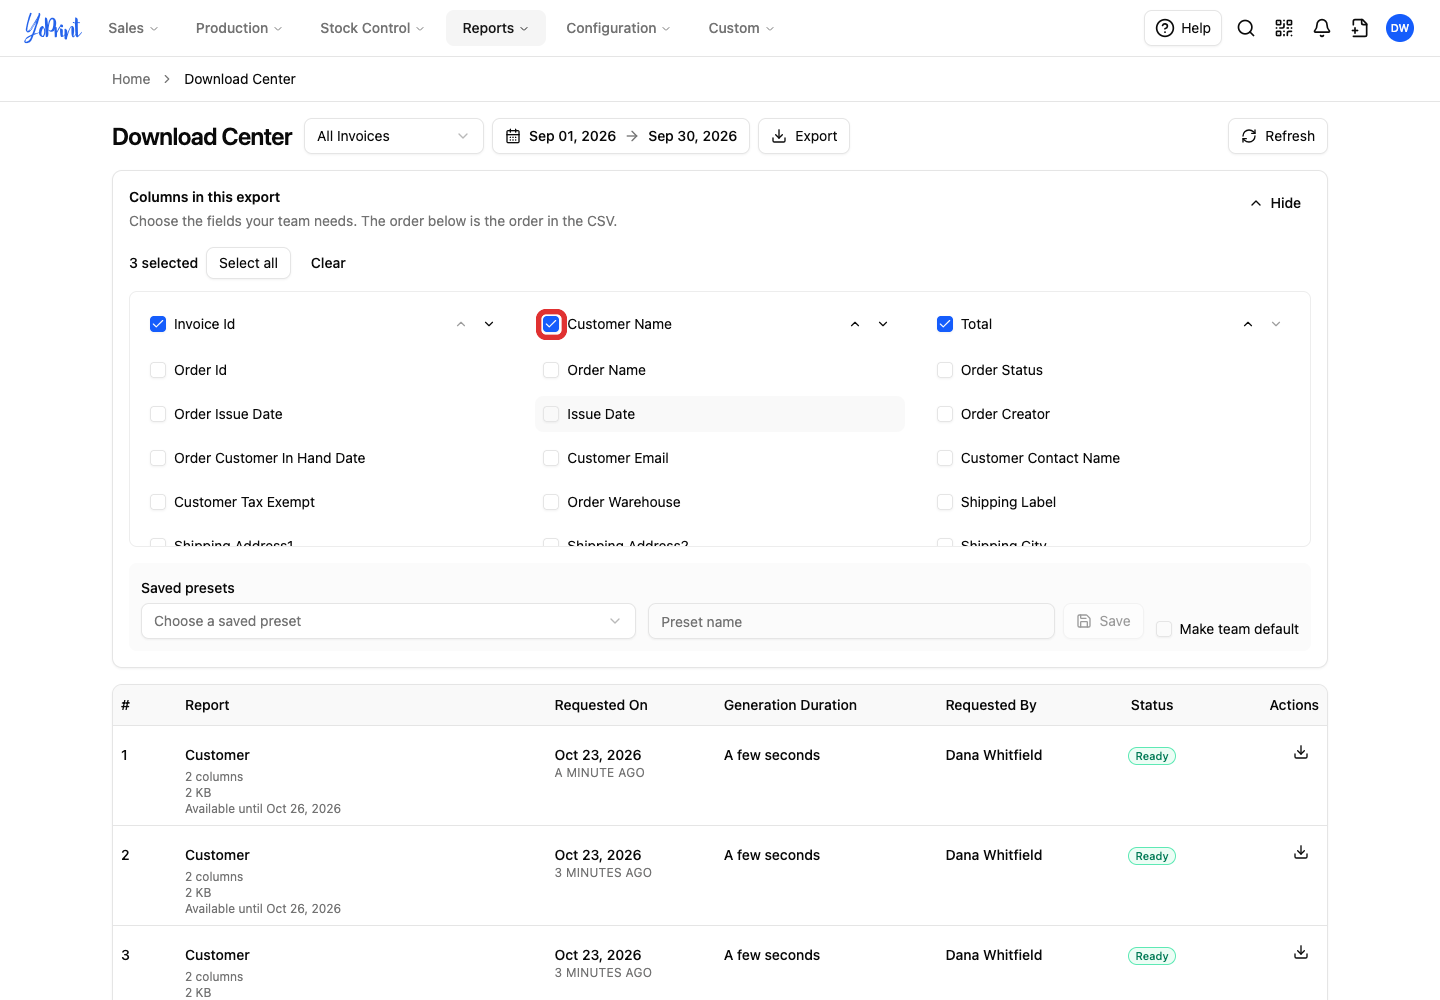
YoPrint adds each ticked field to the end of the list.
-
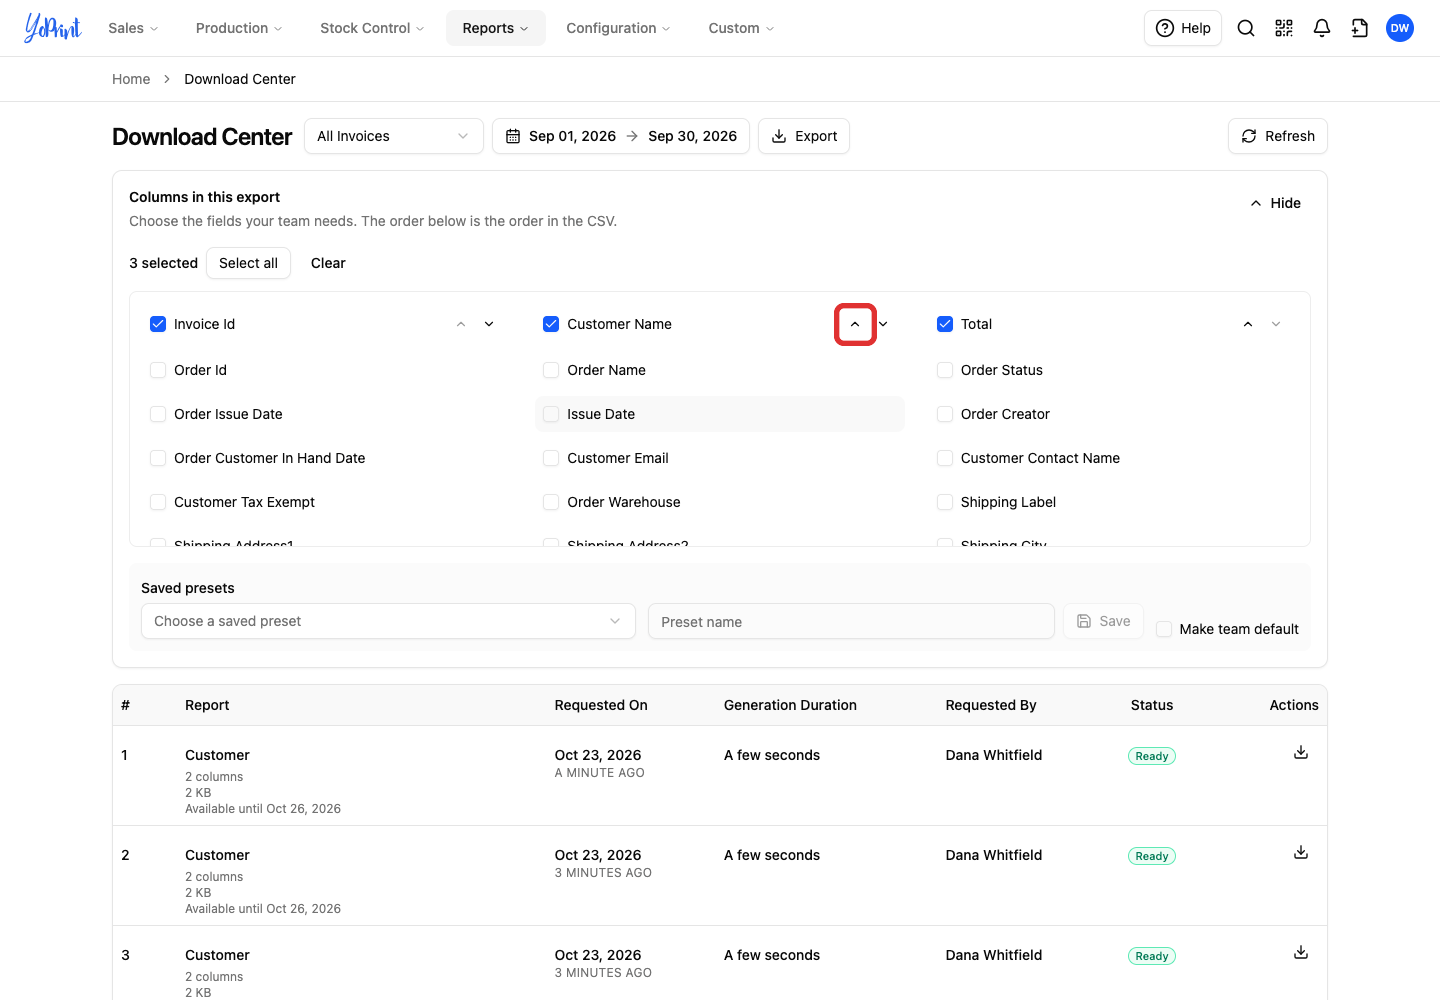
Click the up or down arrow beside a selected field to move it. Here, the up arrow moves Customer Name before Invoice Id.
To reuse this column selection and order later, follow Save and reuse a column preset before clicking Export.
-
Click Export.
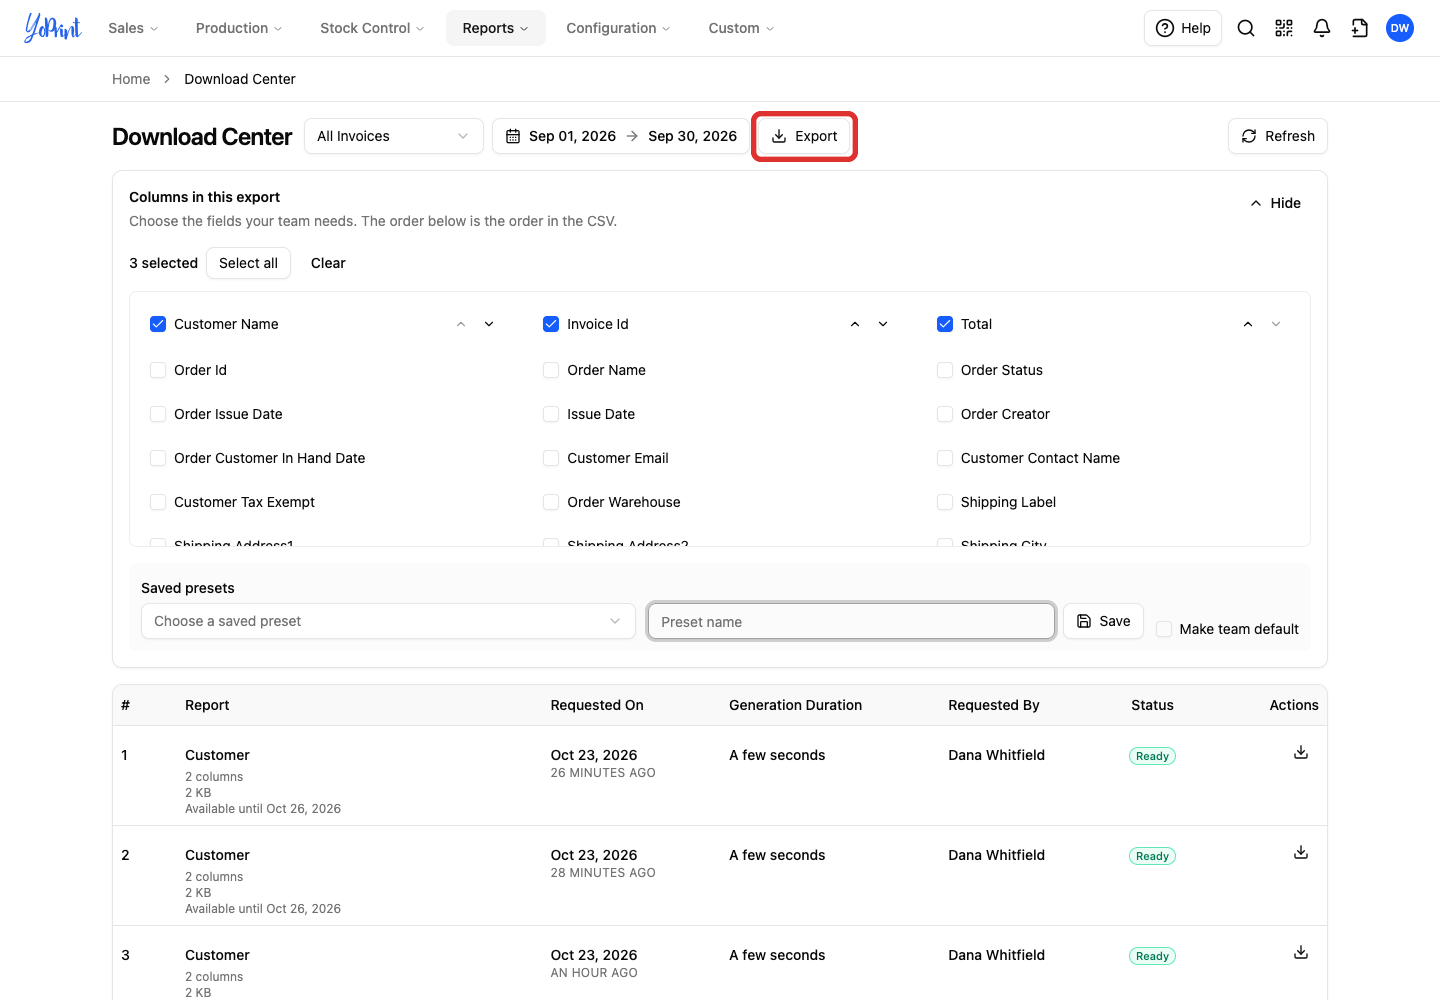
The request appears in the history as Pending while it waits to generate. Generating means YoPrint is preparing the file. Larger exports can take longer.
YoPrint does not send an email alert or in-app bell notification when the file is ready. The history does not update by itself. Click Refresh to see whether a Pending or Generating export is ready.
Download a ready file
The history is shared across your shop. There is no search filter in the Download Center. Use the report type, selected dates, Requested By, Requested On, and Generation Duration to find the file you need.
-
Click Refresh to check an export that is still Pending or Generating.
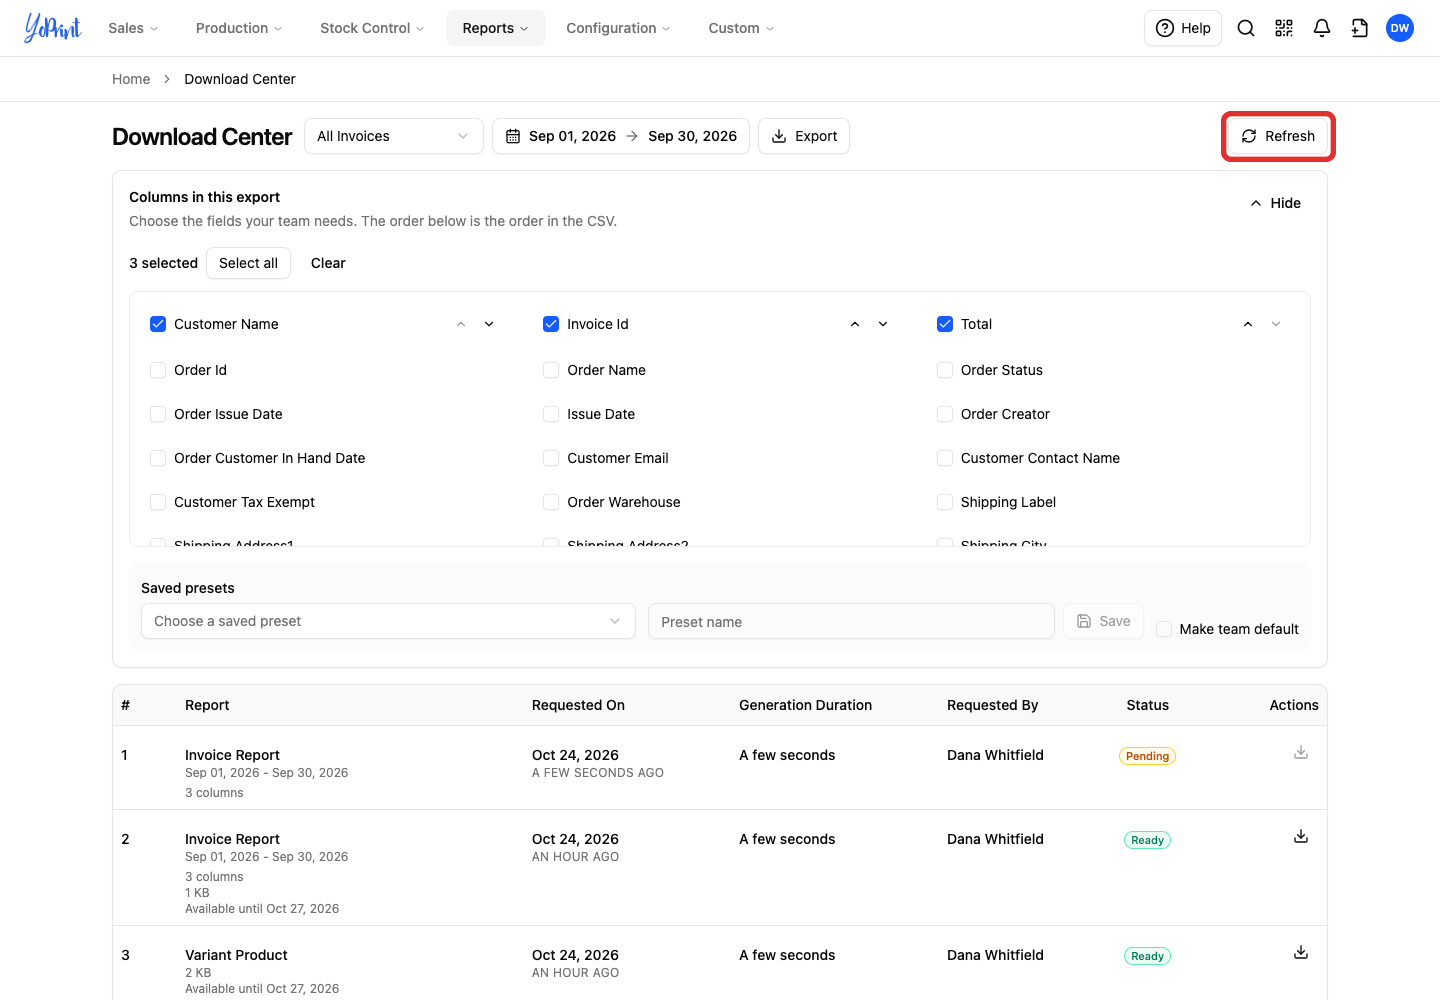
-
Click the Download icon on the Ready row.
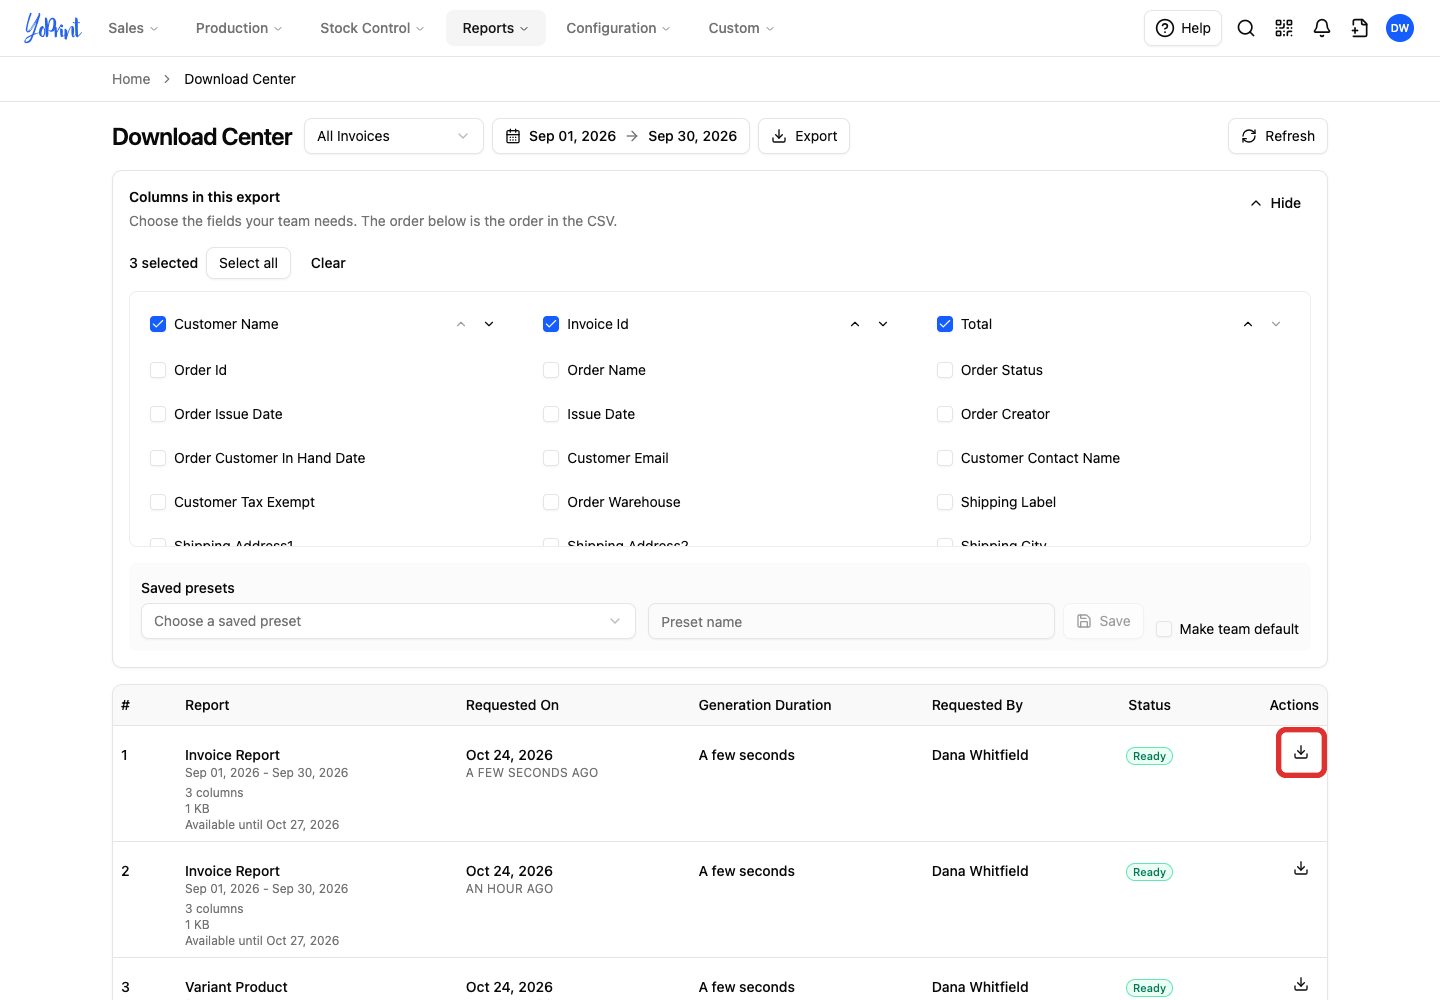
The CSV downloads to your computer. Keep a copy before its Available until date, which is three days after the export. After that date, the file is removed, the history row remains as Expired, and Download is unavailable.
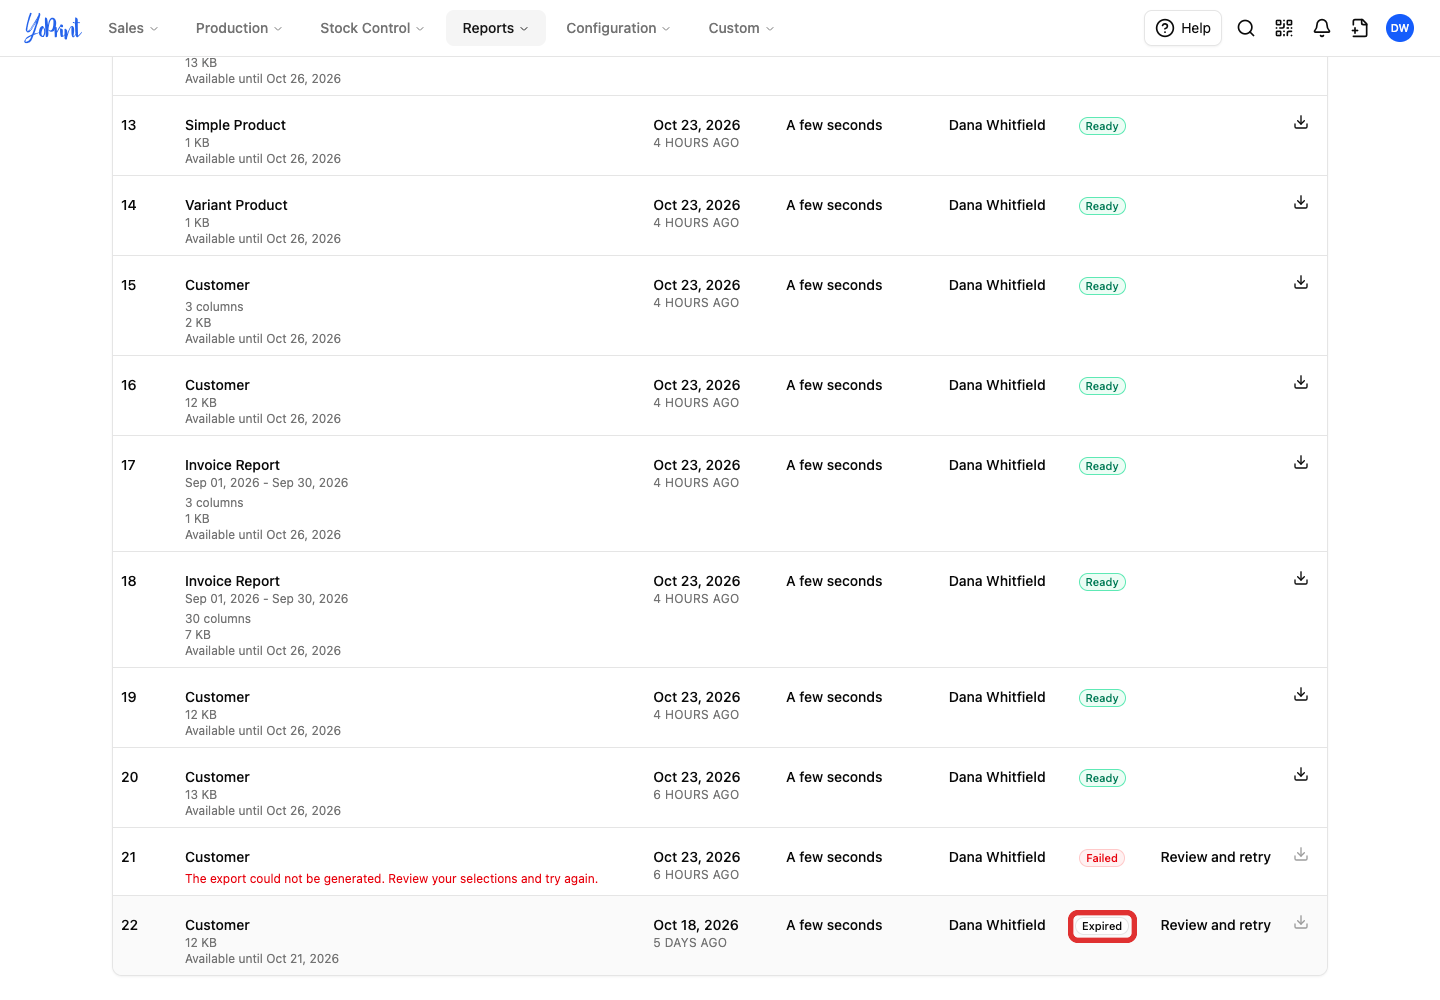
If you need current information later, create another export with the type, dates, and columns you need. For the customer-list walkthrough, see How to Export Customers. To send invoices and payments to QuickBooks instead of exporting each month, see Connect YoPrint with QuickBooks Online.
Find older exports
-
Click Load older exports at the bottom of the history when the button is available.
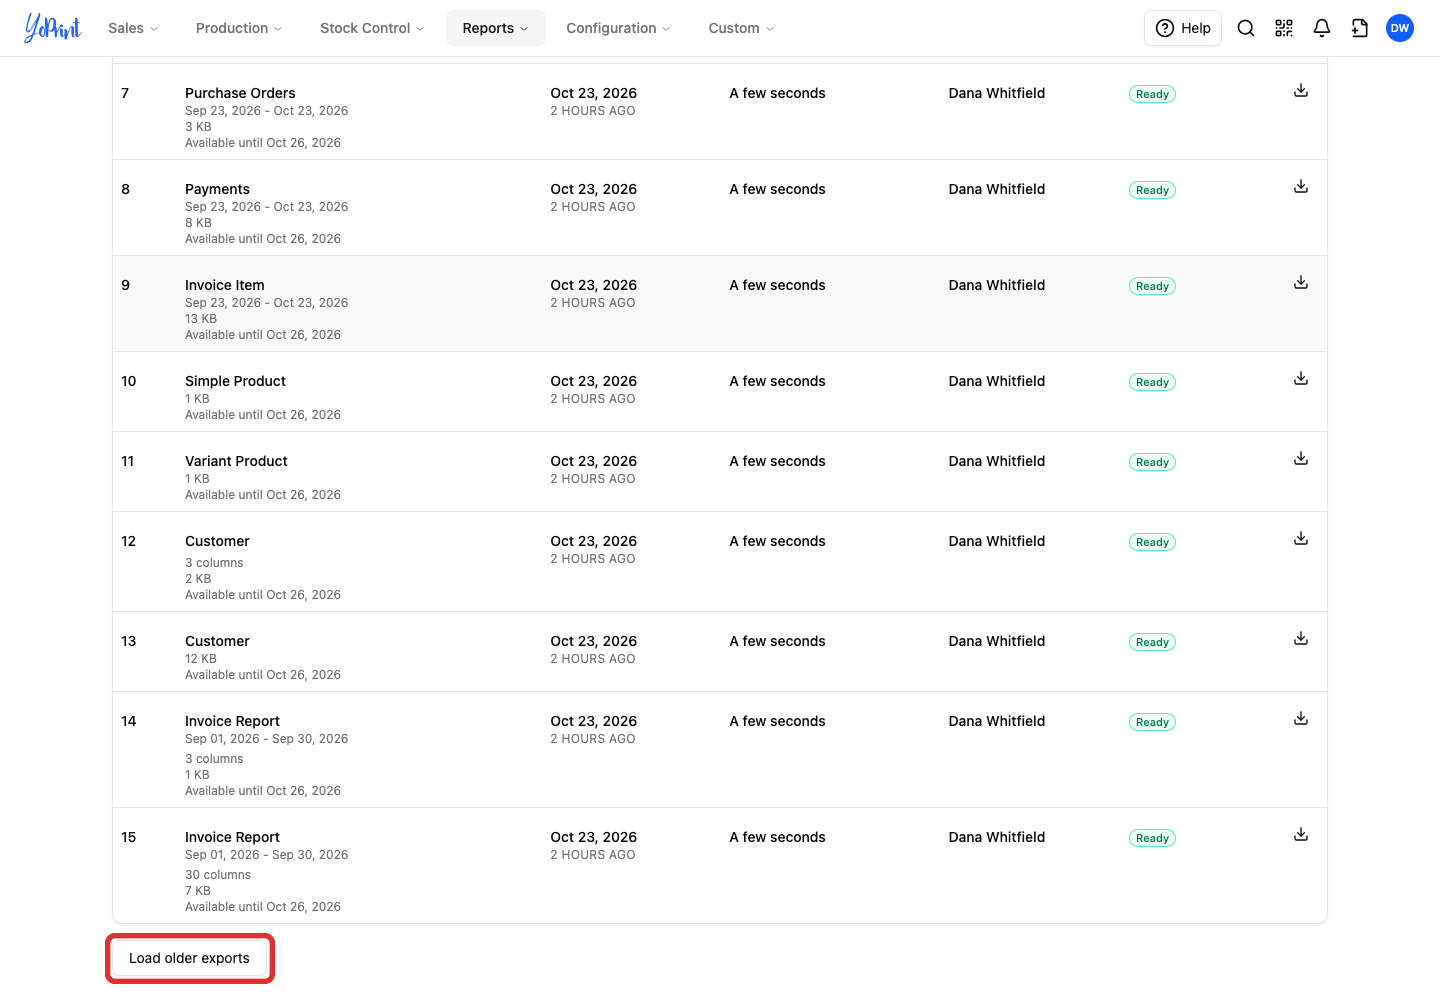
Older rows are added to the list. Check their Available until date and status before downloading.
Retry a failed or expired export
-
Click Review and retry on the Failed or Expired row.
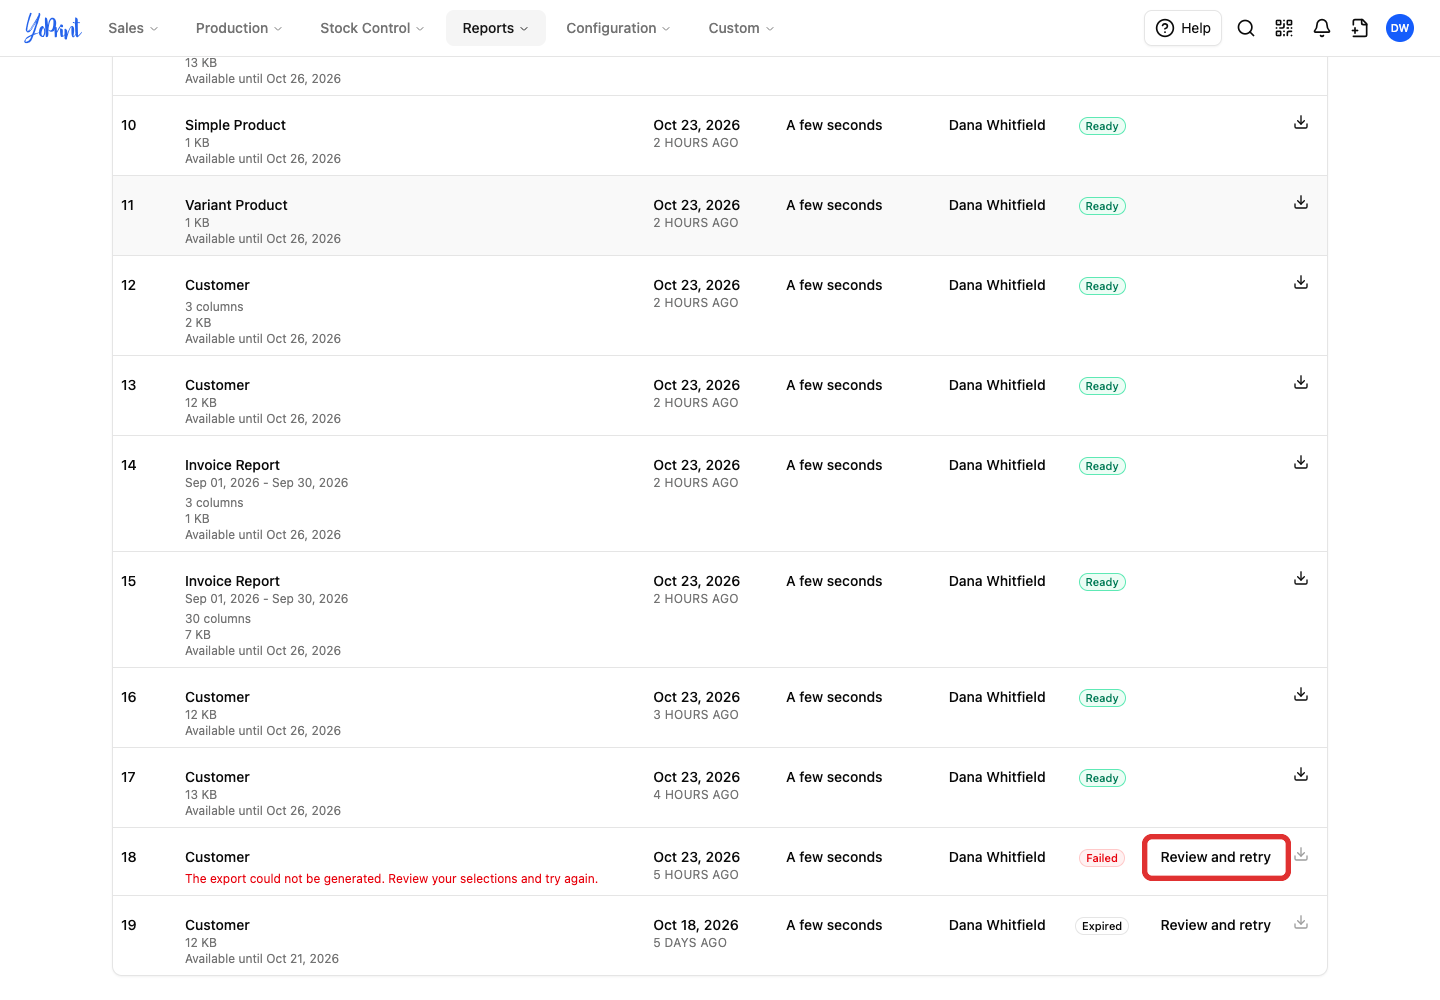
The export controls are filled from that request. Review or adjust the export type, dates where applicable, and selected columns before continuing.
-
Click Export to request the file again.
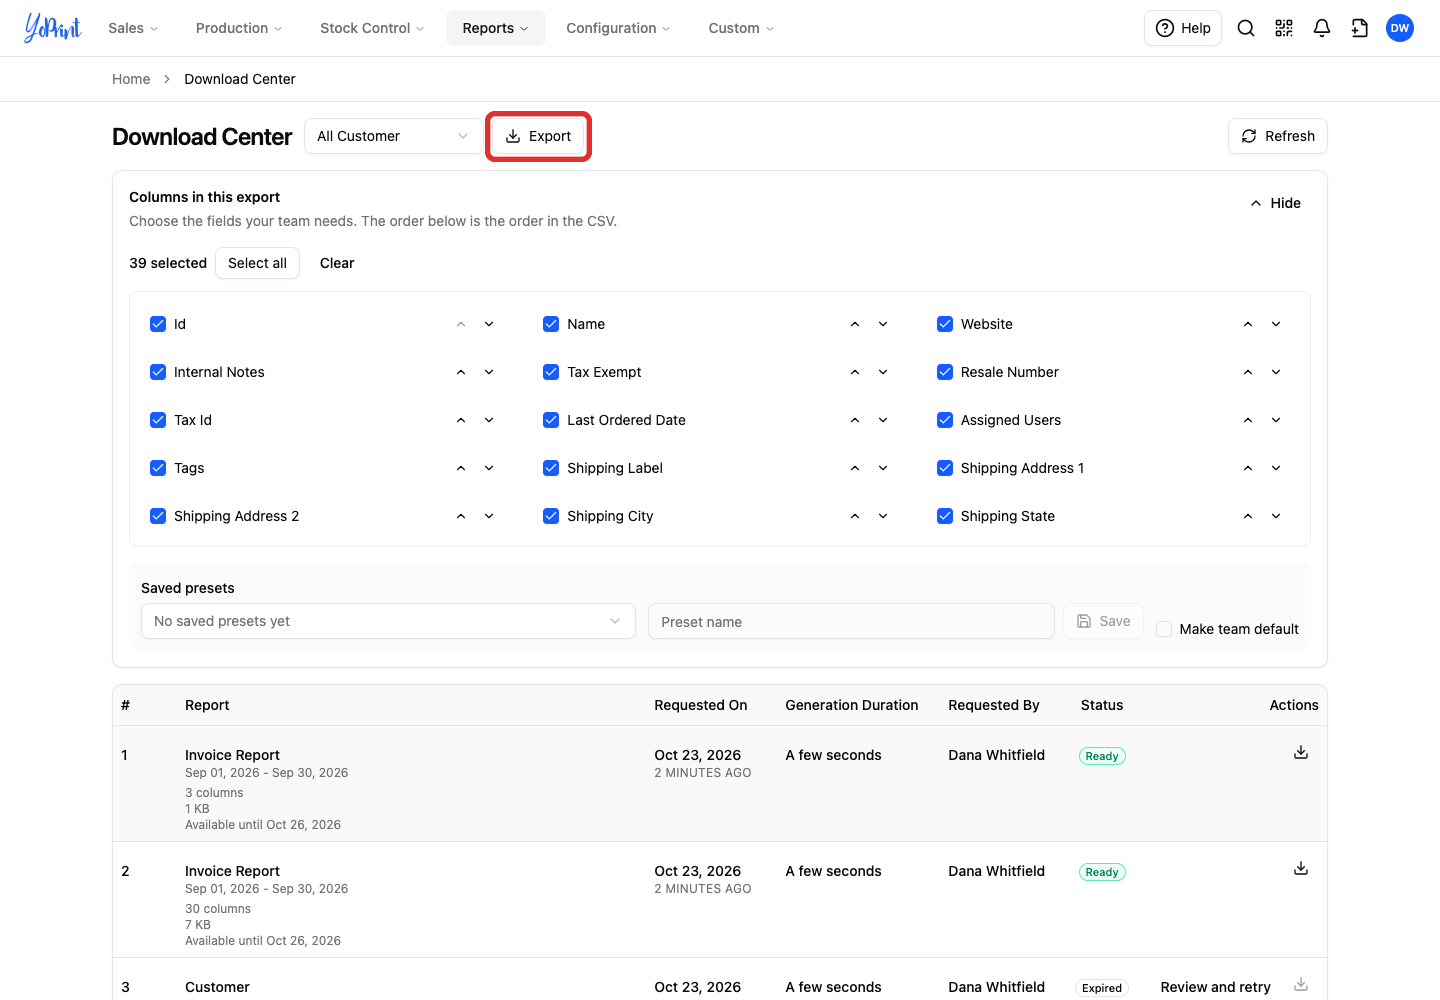
Download the file from the history when its status is Ready.
Save and reuse a column preset
A preset saves your selected columns and their order for one export type. Presets are personal unless the owner saves one as a team default. A team default loads for the owner and the whole team when anyone chooses that export type. Team members can still change the columns for their own export. Set the date range separately for each export.
Save your preset after choosing and ordering your columns, before clicking Export. If Columns in this export is collapsed, click Show to open it.
-
Enter a name in Preset name.
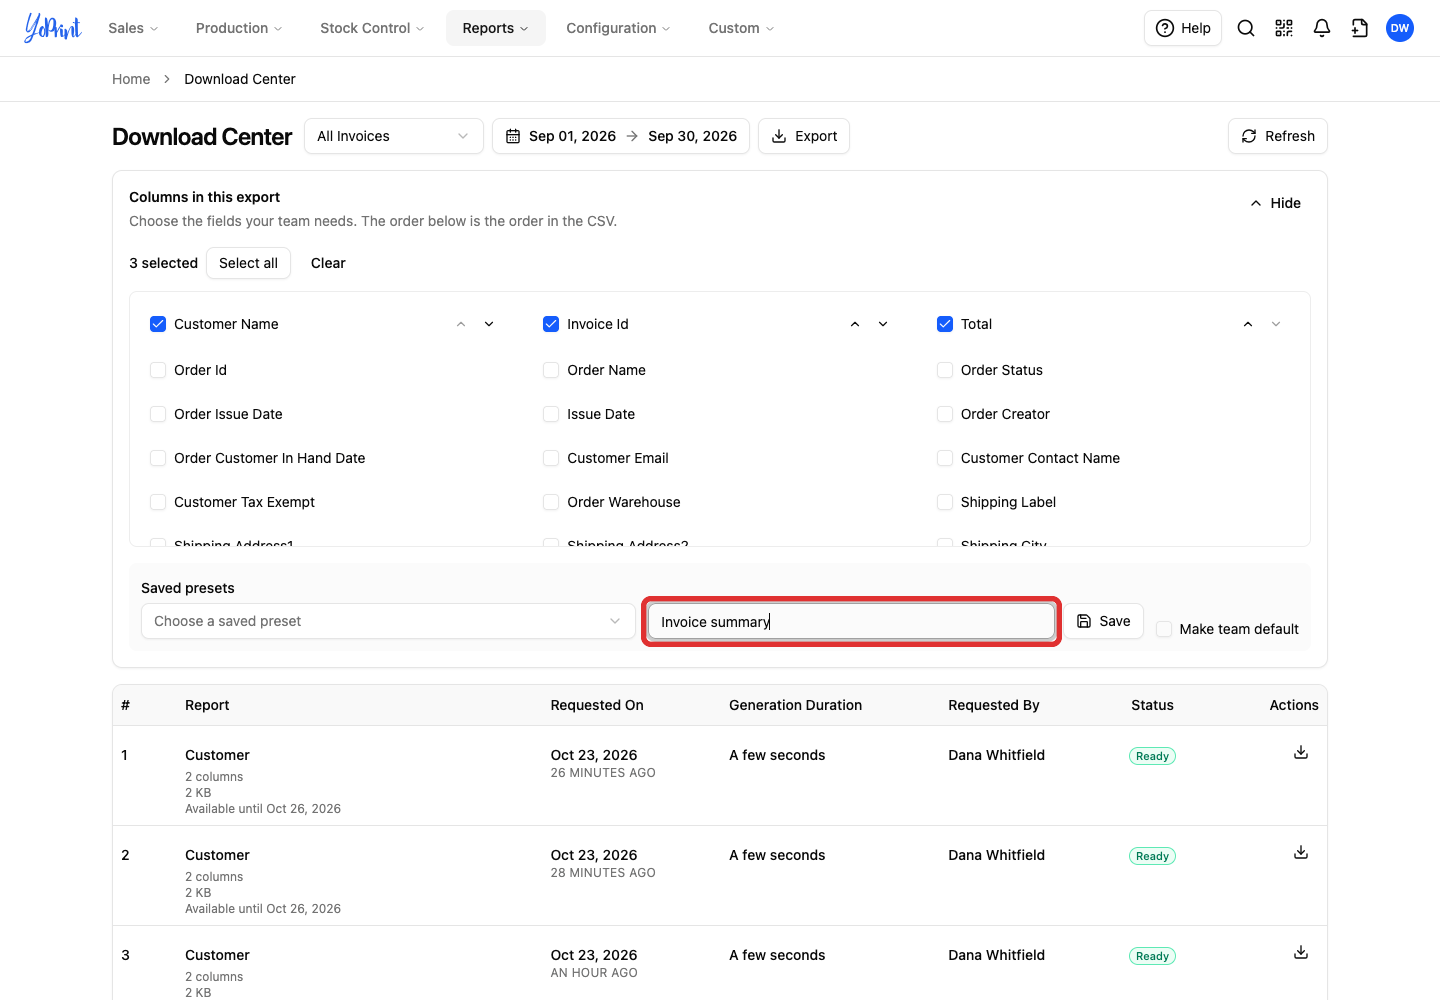
If you are the team owner, tick Make team default in the same save to make this preset load automatically for you and the whole team.
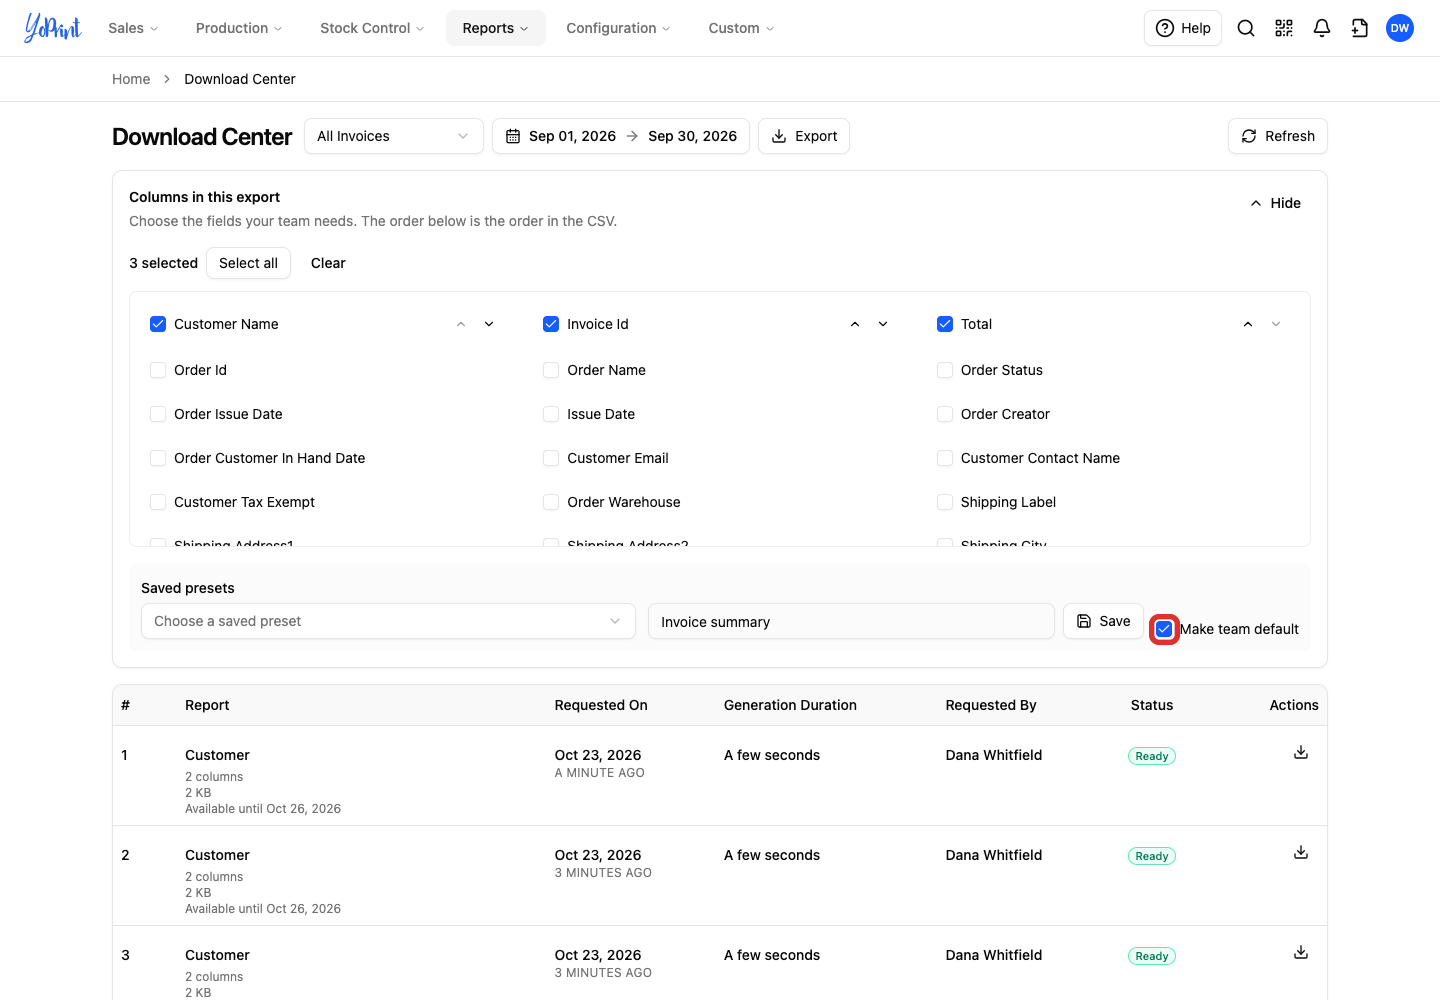
-
Click Save.
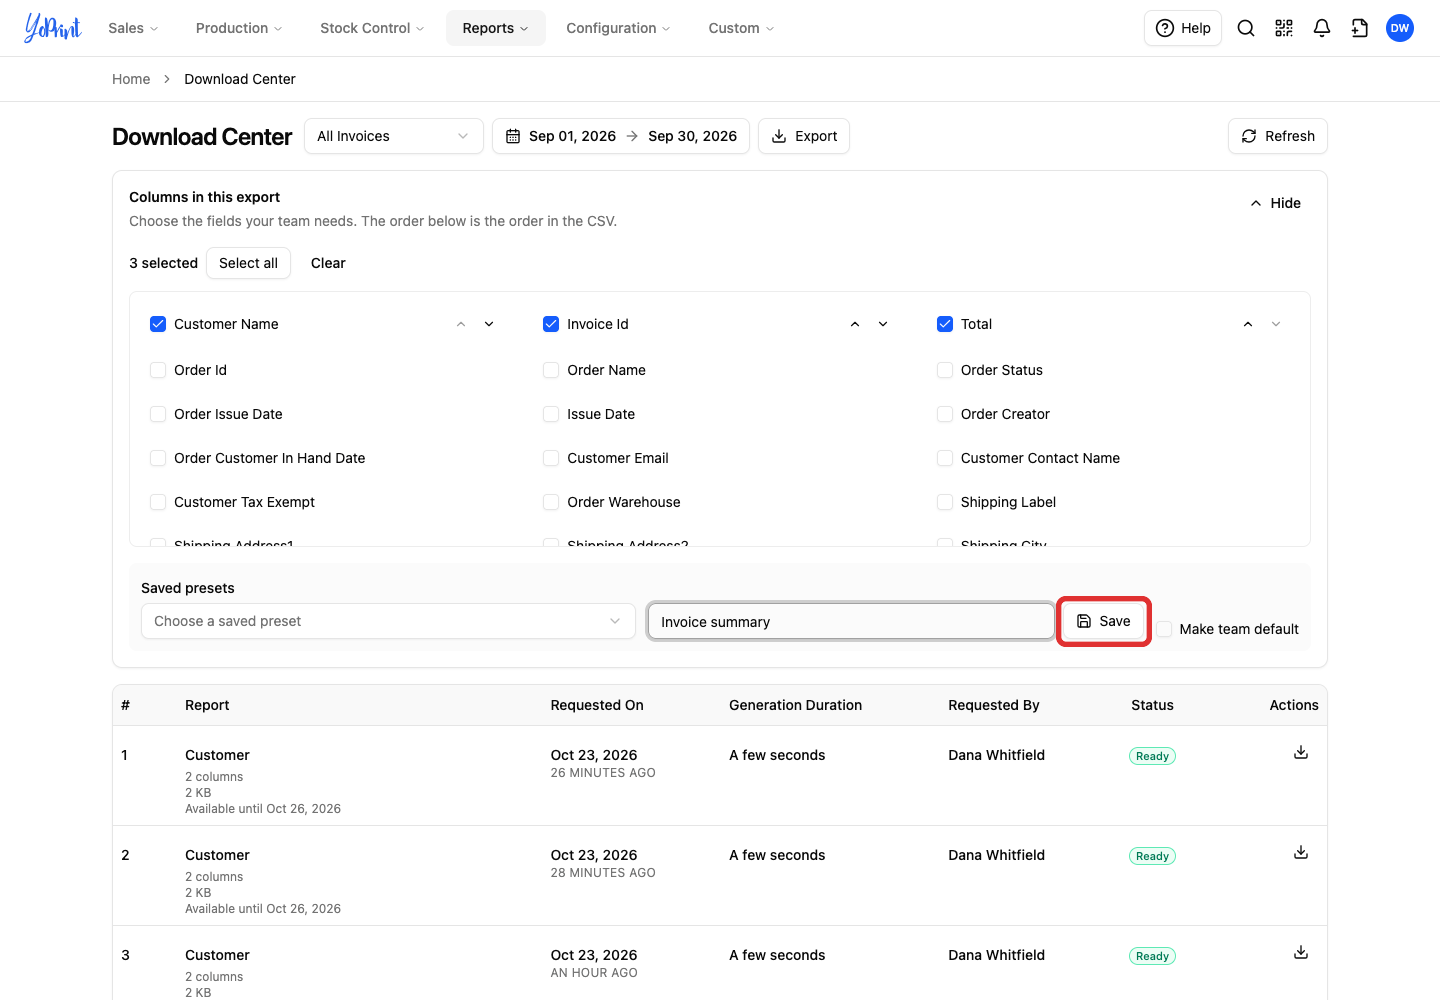
Click Export to create the file.
To use a saved preset on a future export, choose the same export type first. If your shop has a team default for that export type, its columns load automatically. To choose another saved preset:
-
Open Saved presets.
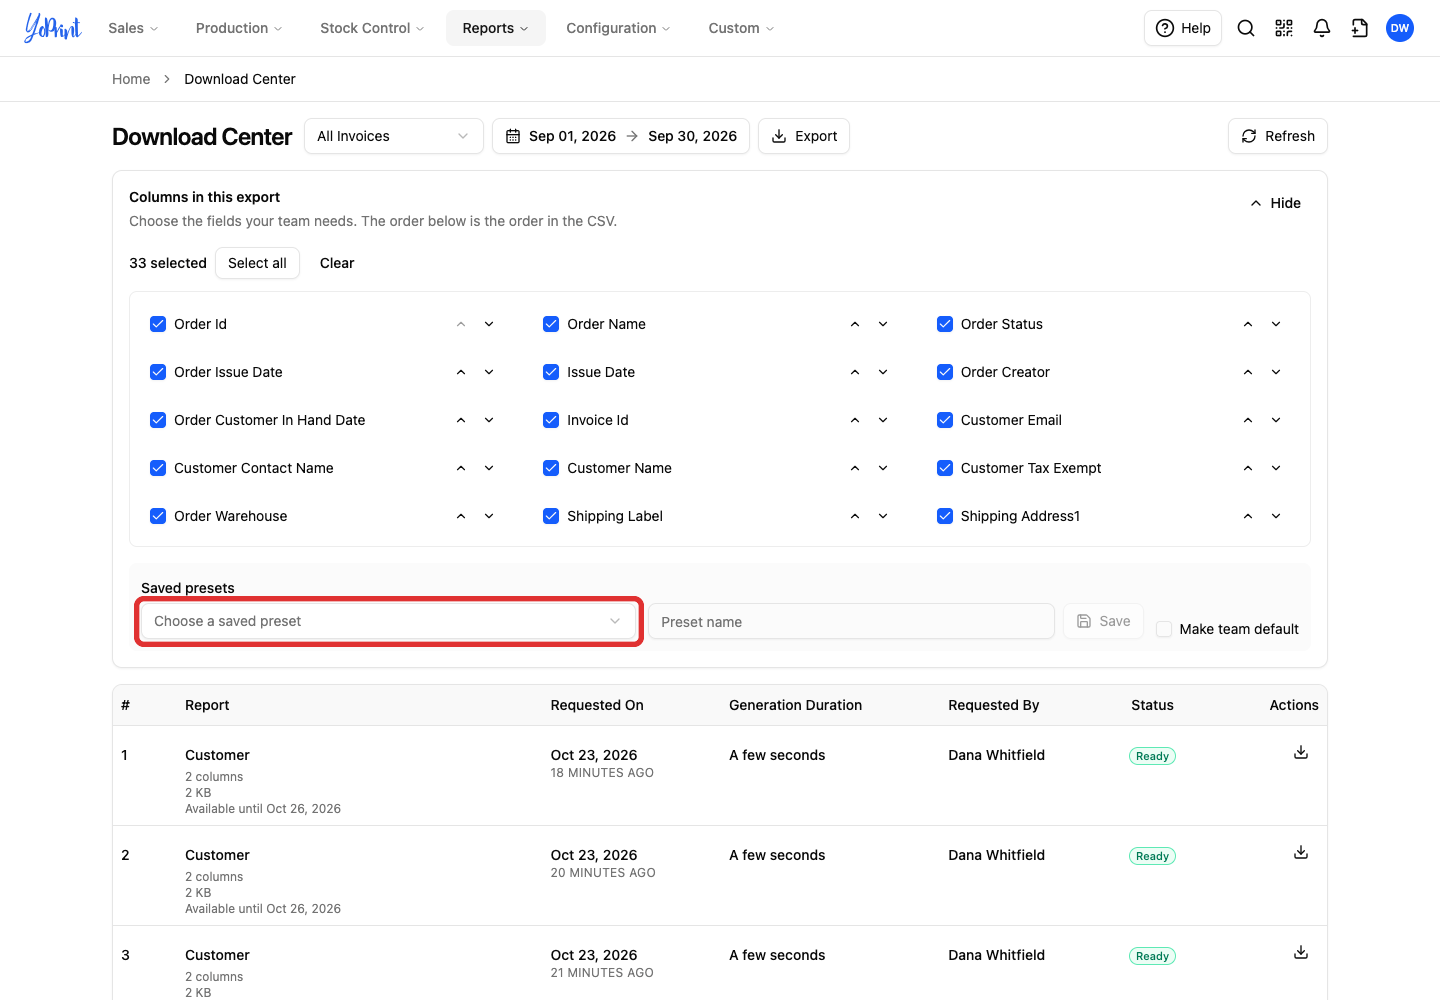
-
Choose the preset.
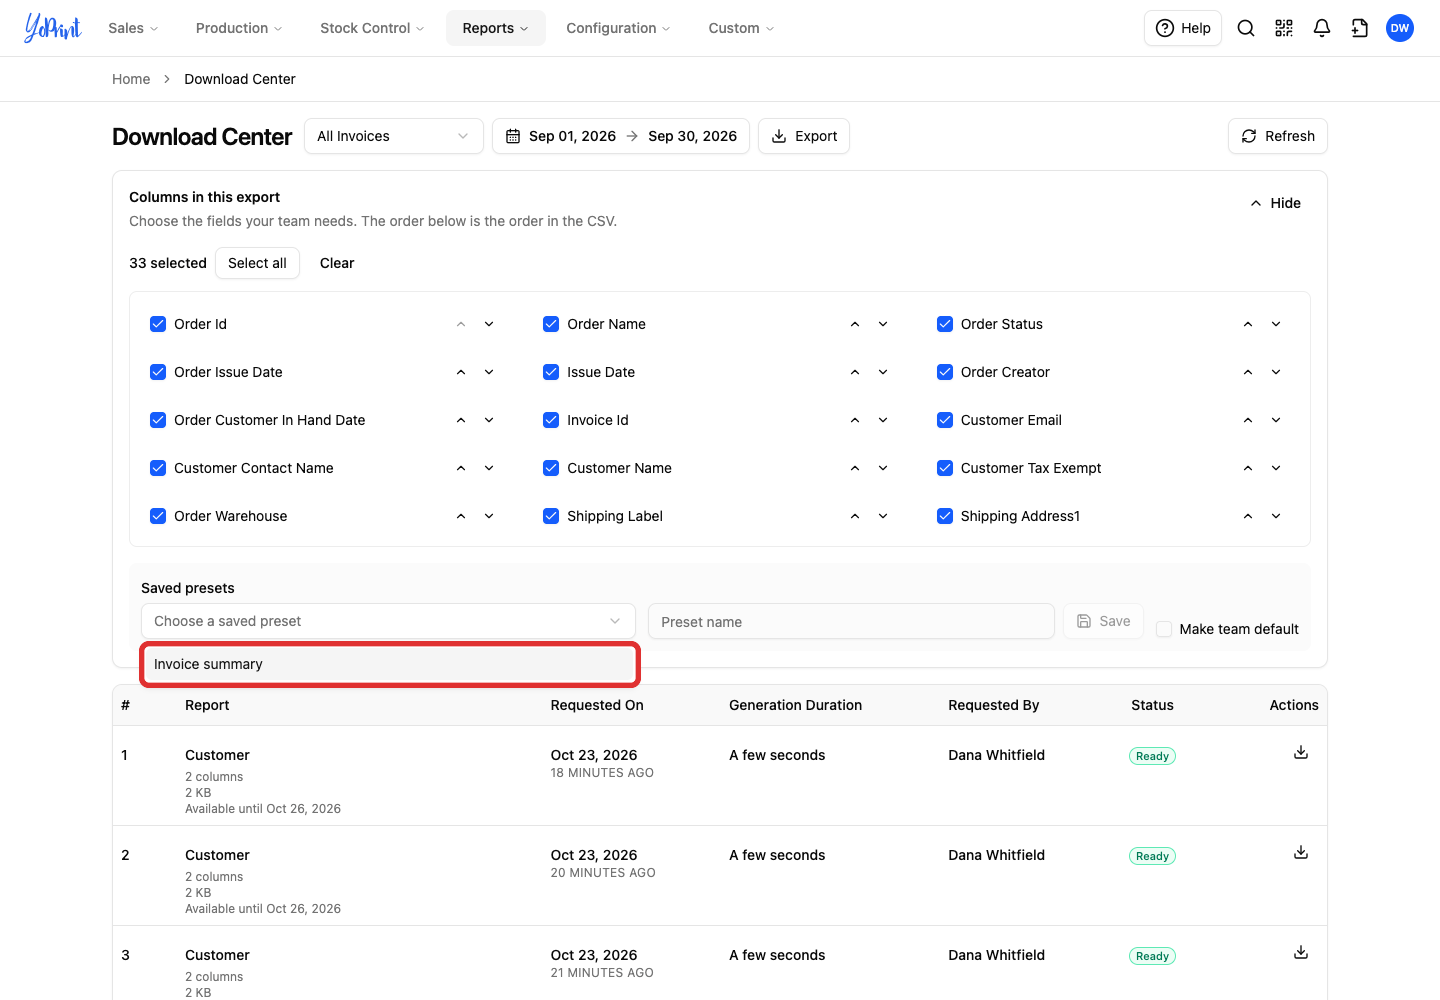
The preset loads its columns and their order. Review your dates, then click Export to create the file.
Remove a saved preset
There is no rename or edit option for a saved preset. To change a preset, delete it and save another one.
Choose the export type and select the preset from Saved presets, as shown in Save and reuse a column preset. If Columns in this export is collapsed, click Show to open it.
-
Click Delete preset beneath the selected preset.
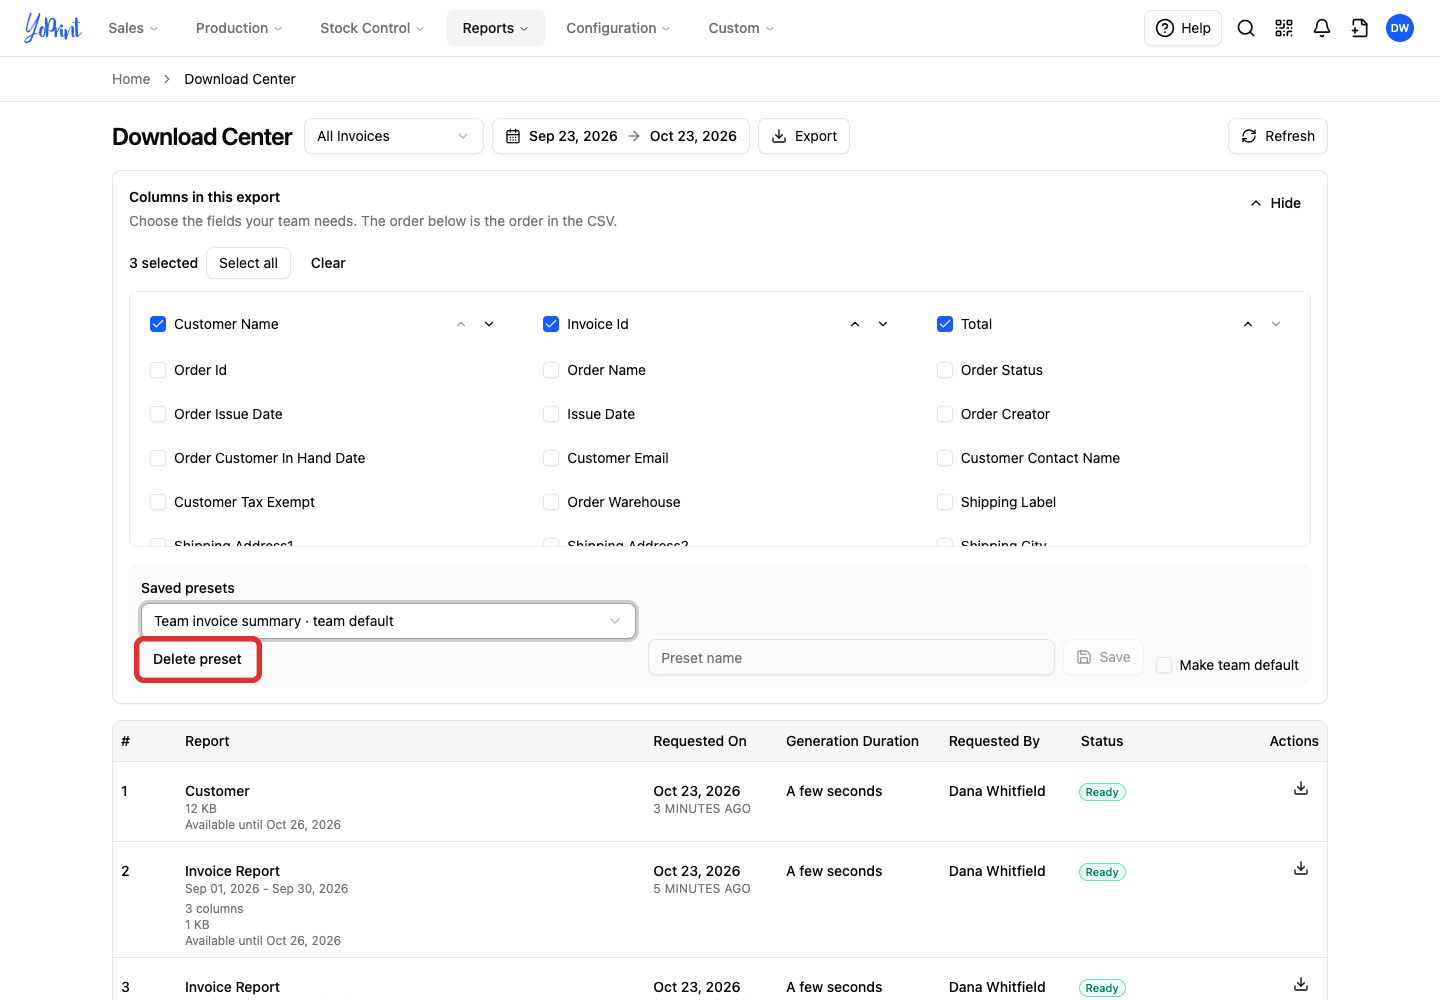
You can delete your personal presets. The owner can also delete the team default. Deleting a preset does not remove completed export files from history.