Set Up Your Company Details and Locations in YoPrint
Learn how to set up your company's information and locations in YoPrint with this step-by-step guide. Update details, add a logo, and customize brand colors to align your business profile with your brand.
Update Company Details
- Open the Configuration menu from the top navigation of your dashboard.
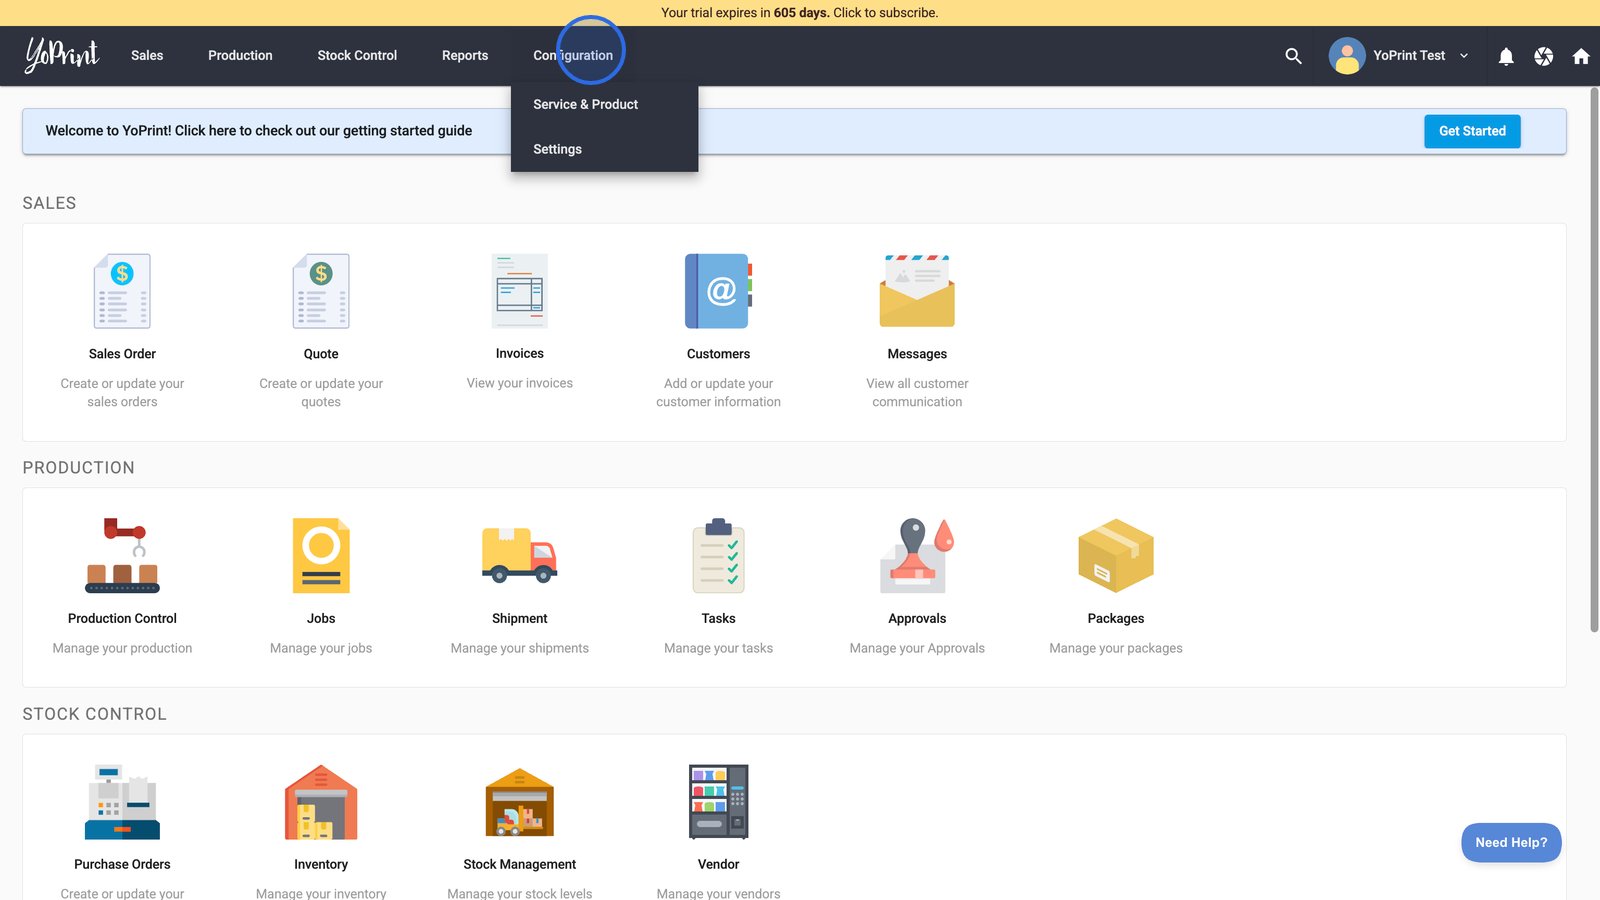
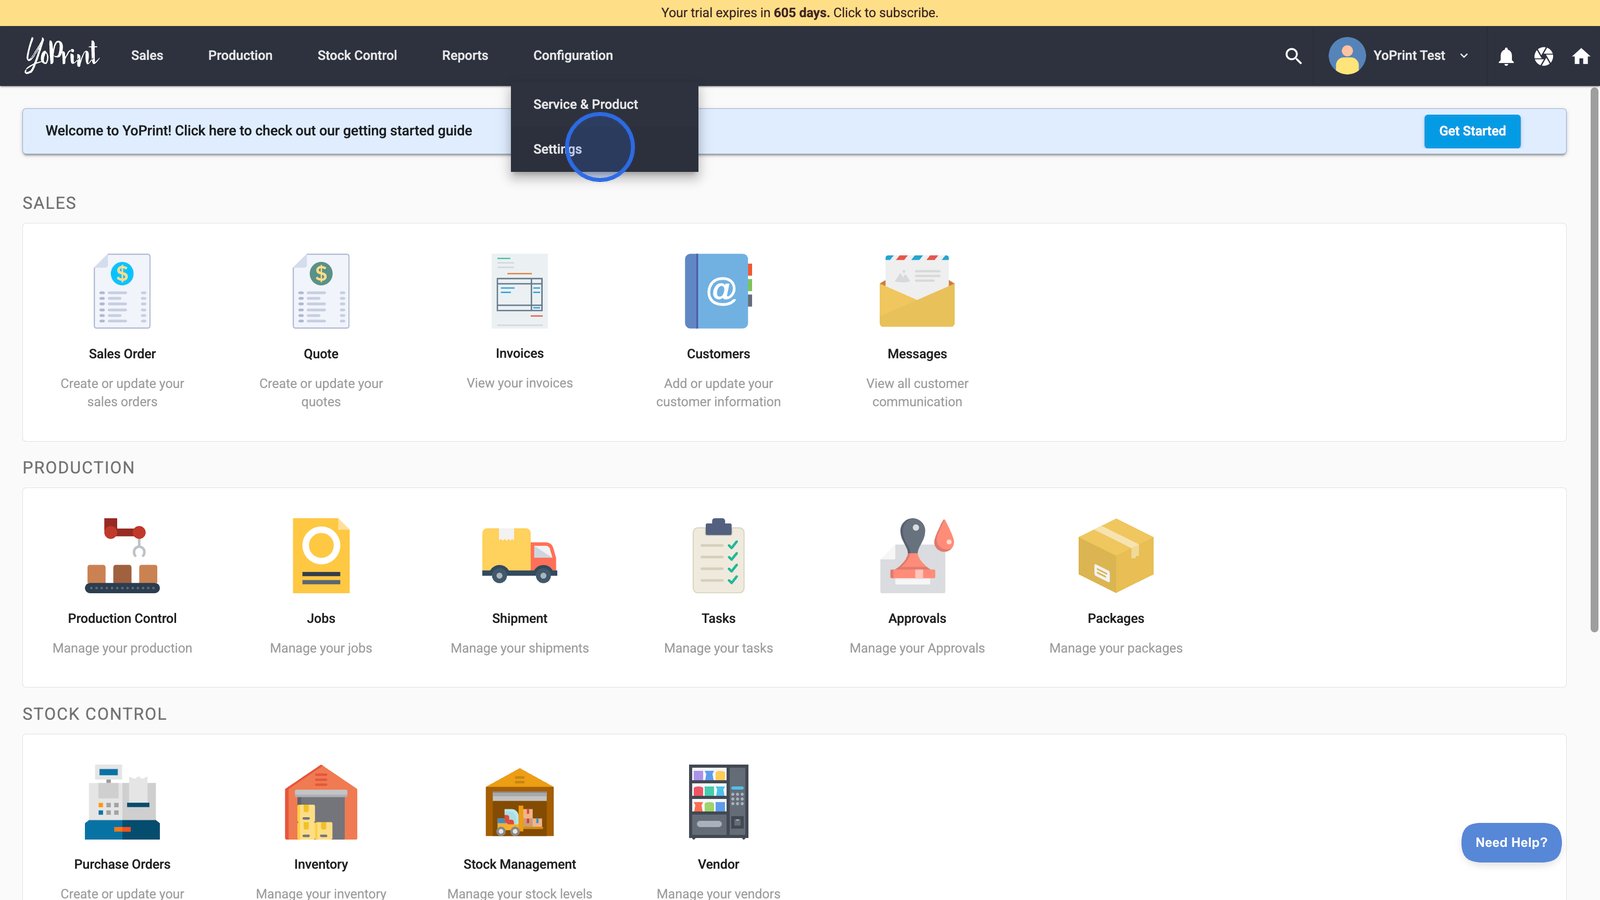
- Select Settings.
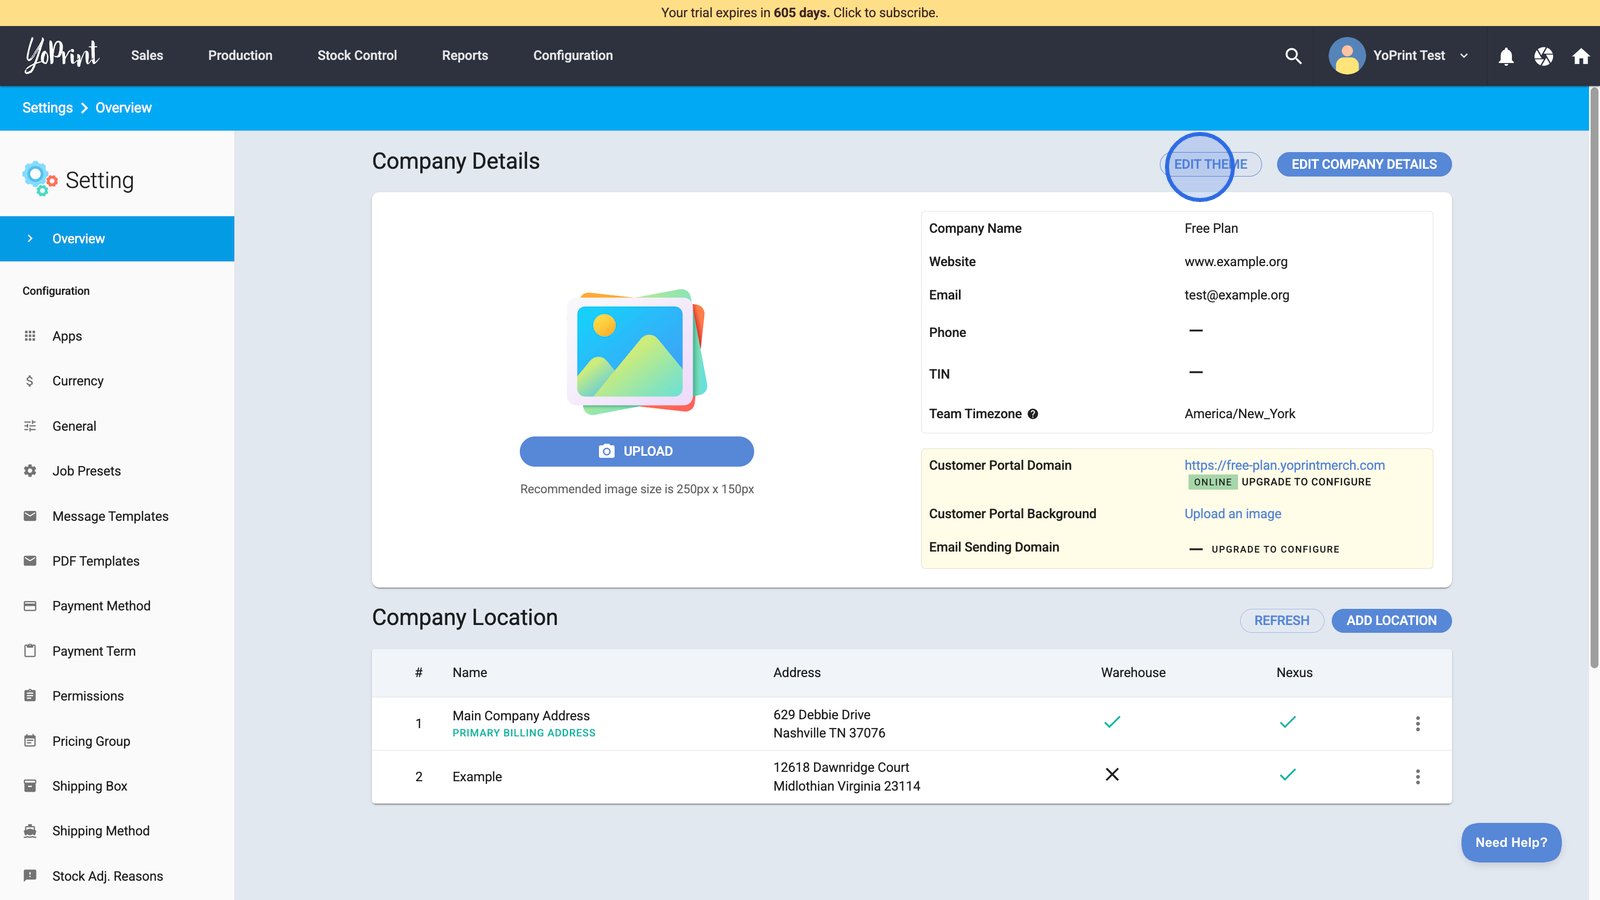
- To edit your Company Details, click the Edit Company Details button at the top right-hand side.
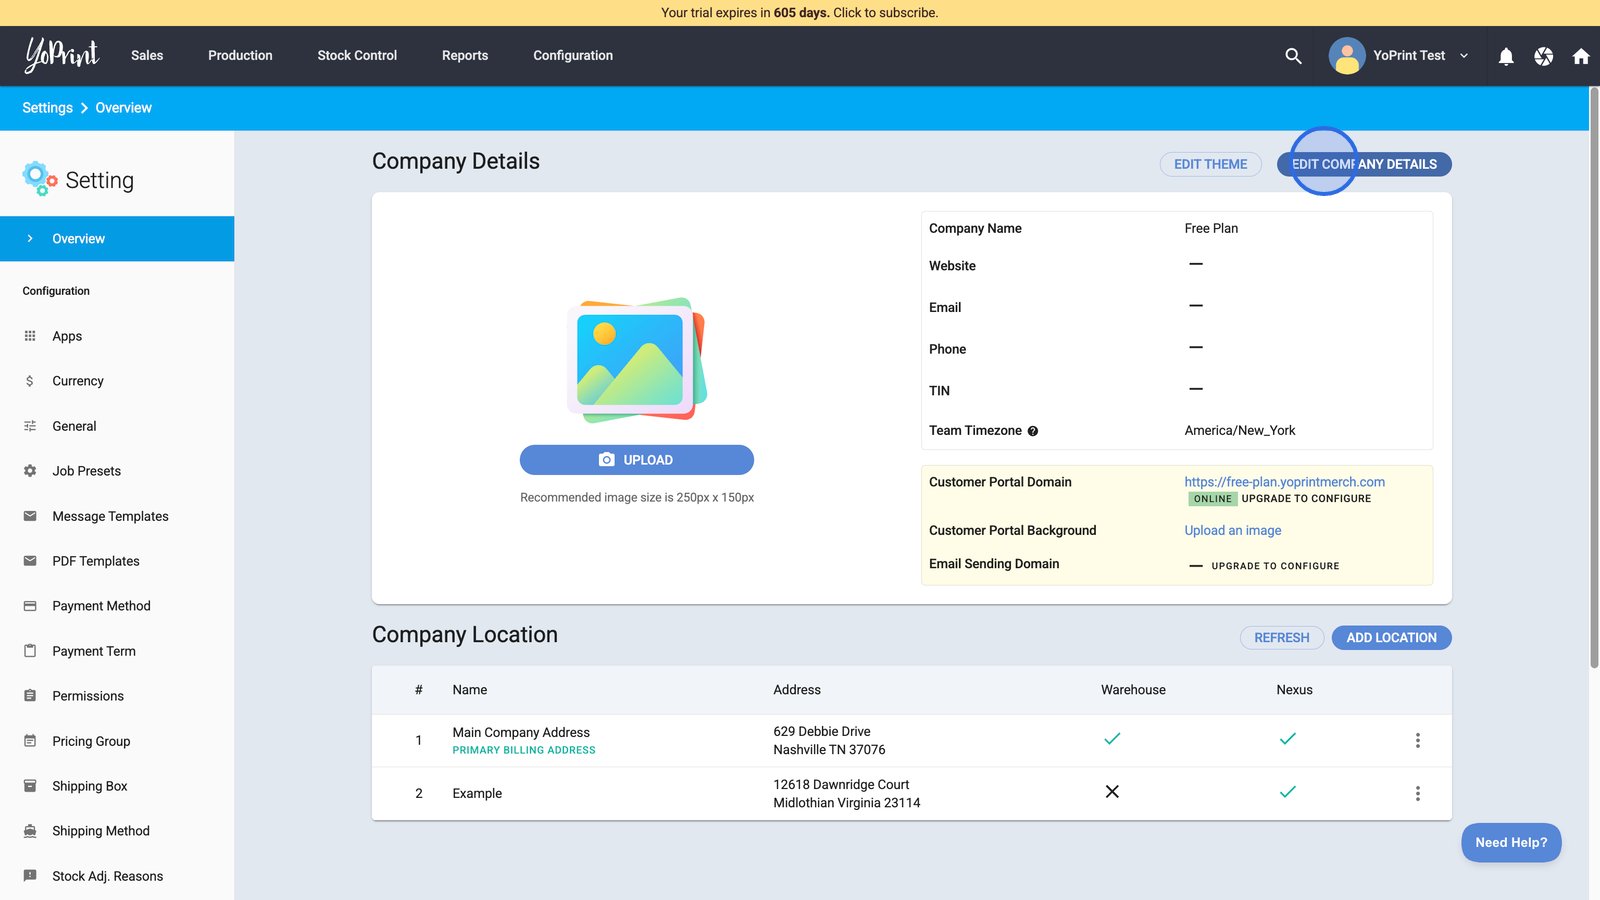
- Click each field and start editing your company details.

- Click SAVE to apply all updates to your company’s details.

- You can upload or change your company logo by clicking the Upload button beneath the image placeholder.
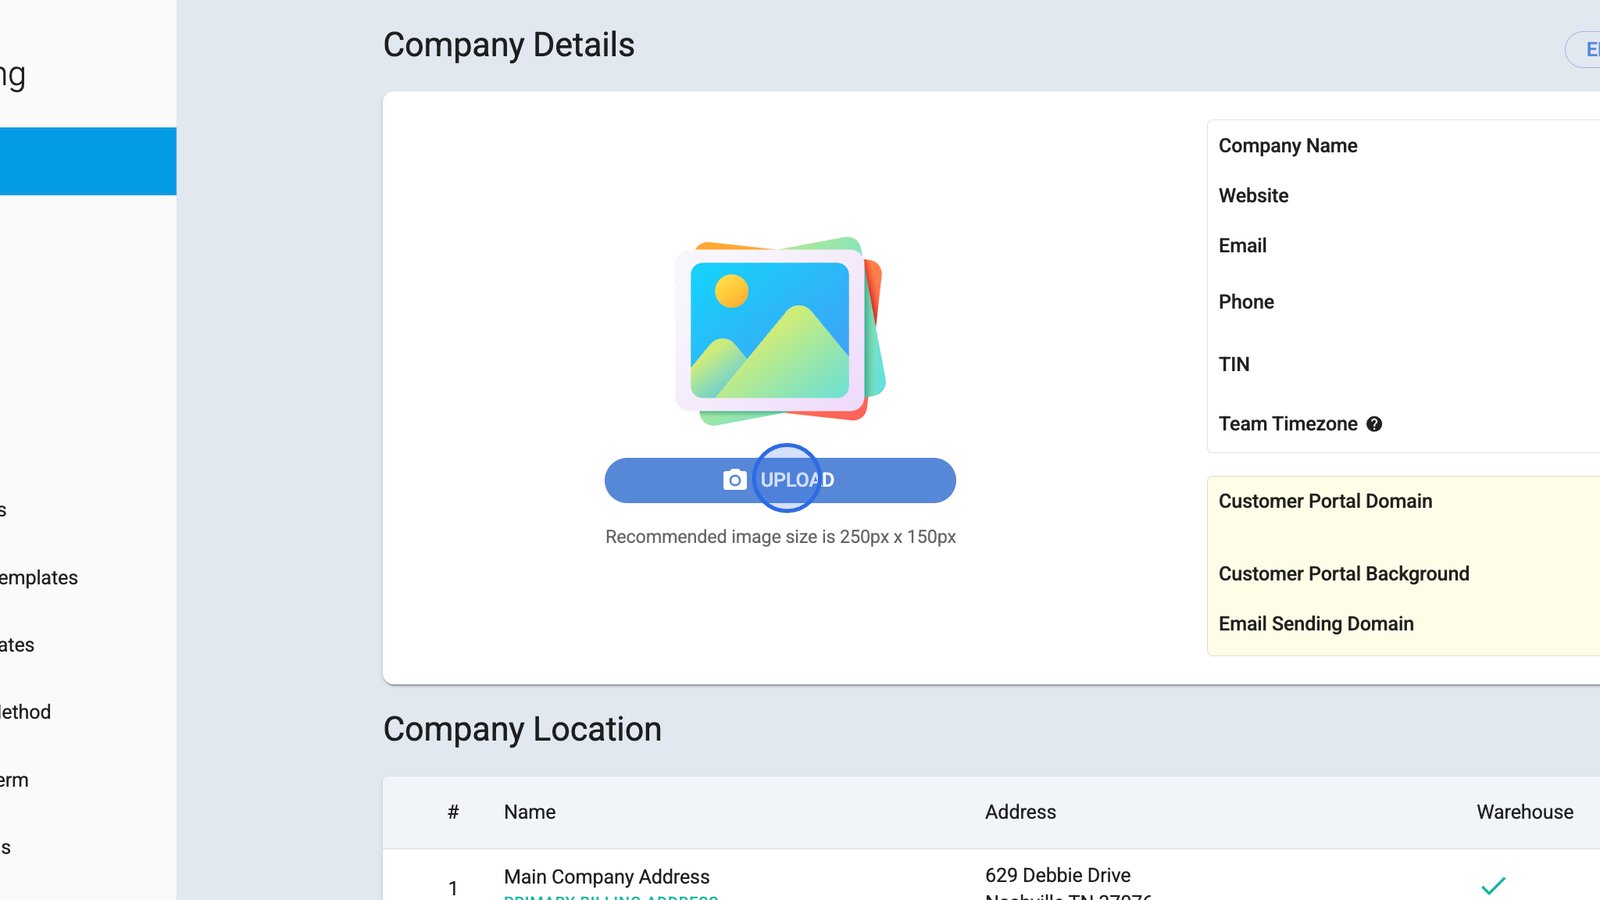
- Personalize your portal’s look by clicking EDIT THEME to adjust branding colors and styles.
Add and manage Company Locations
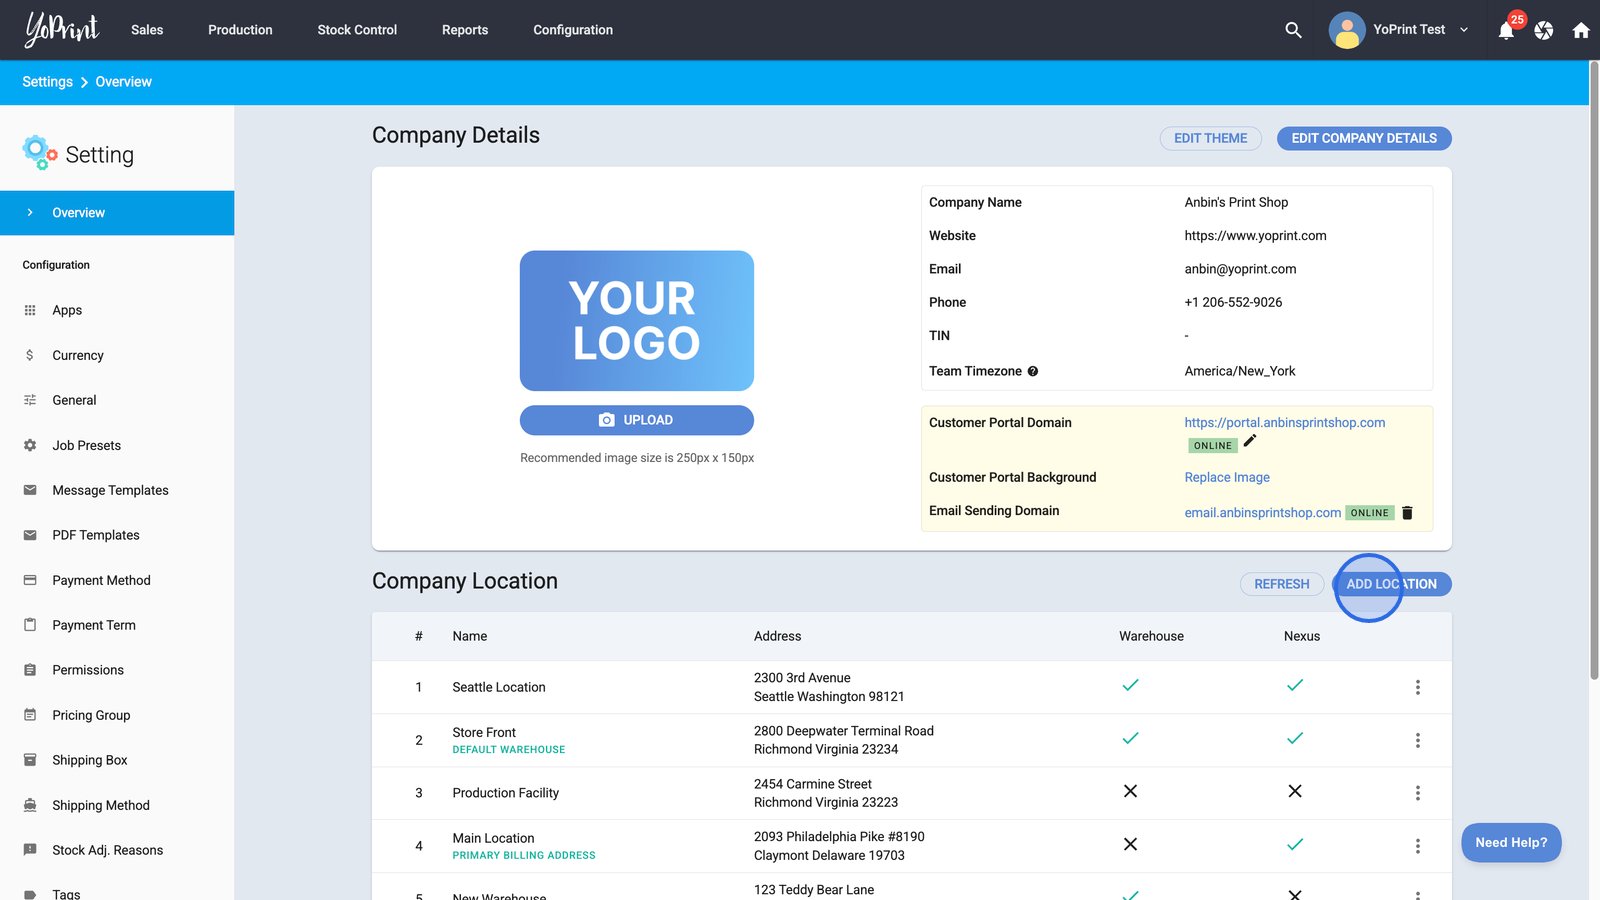
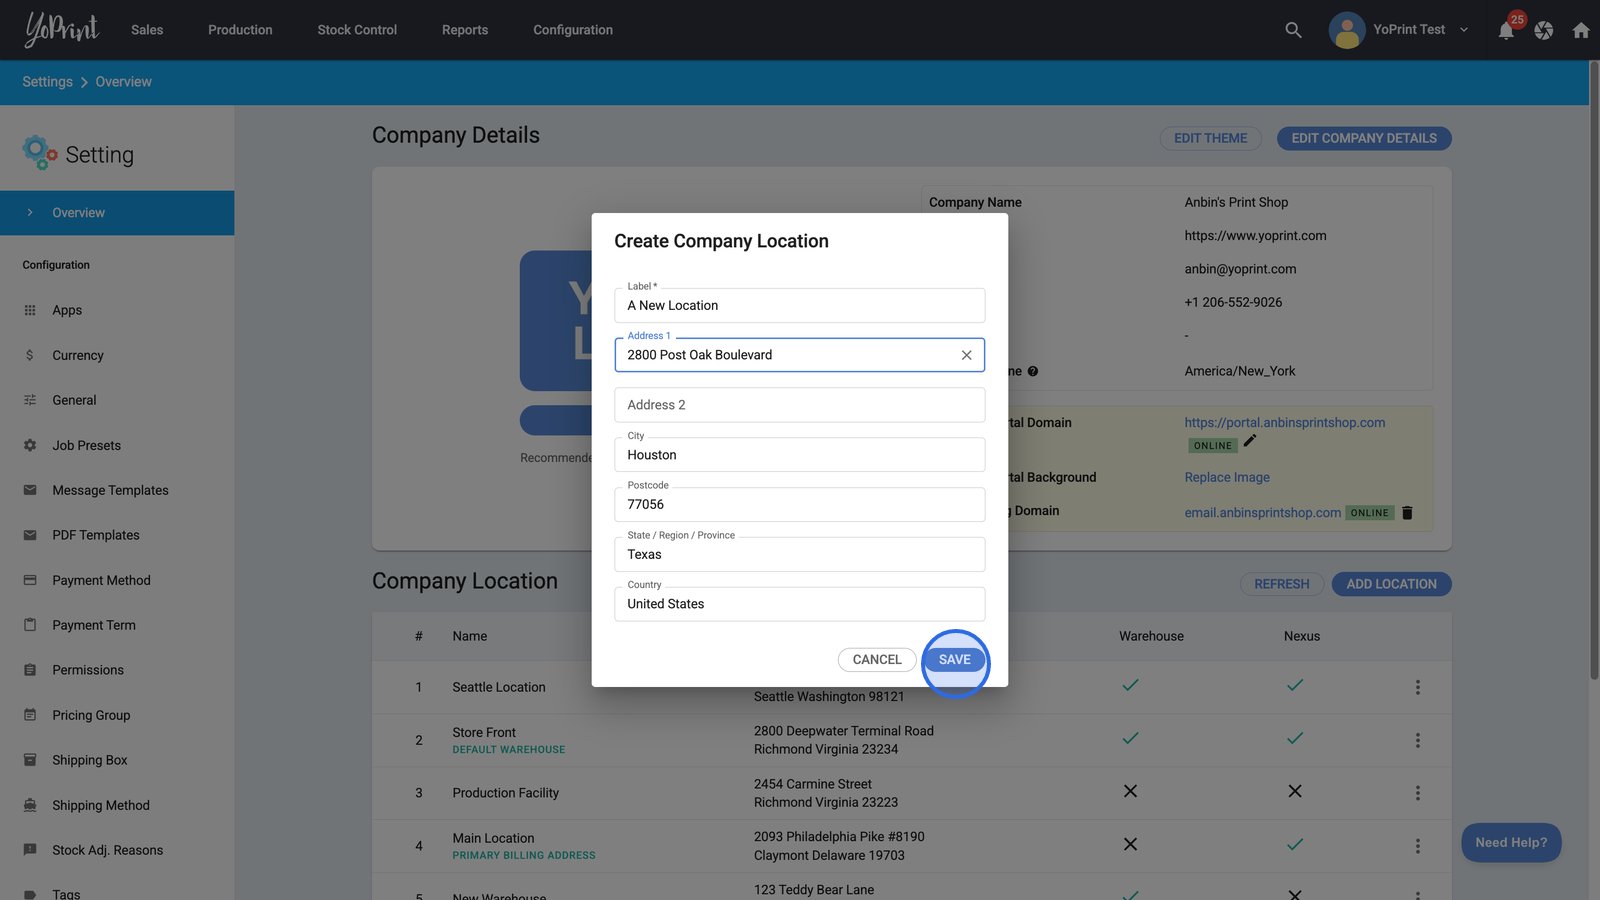
- Click the Add Location button.
- Add a label to your company location.
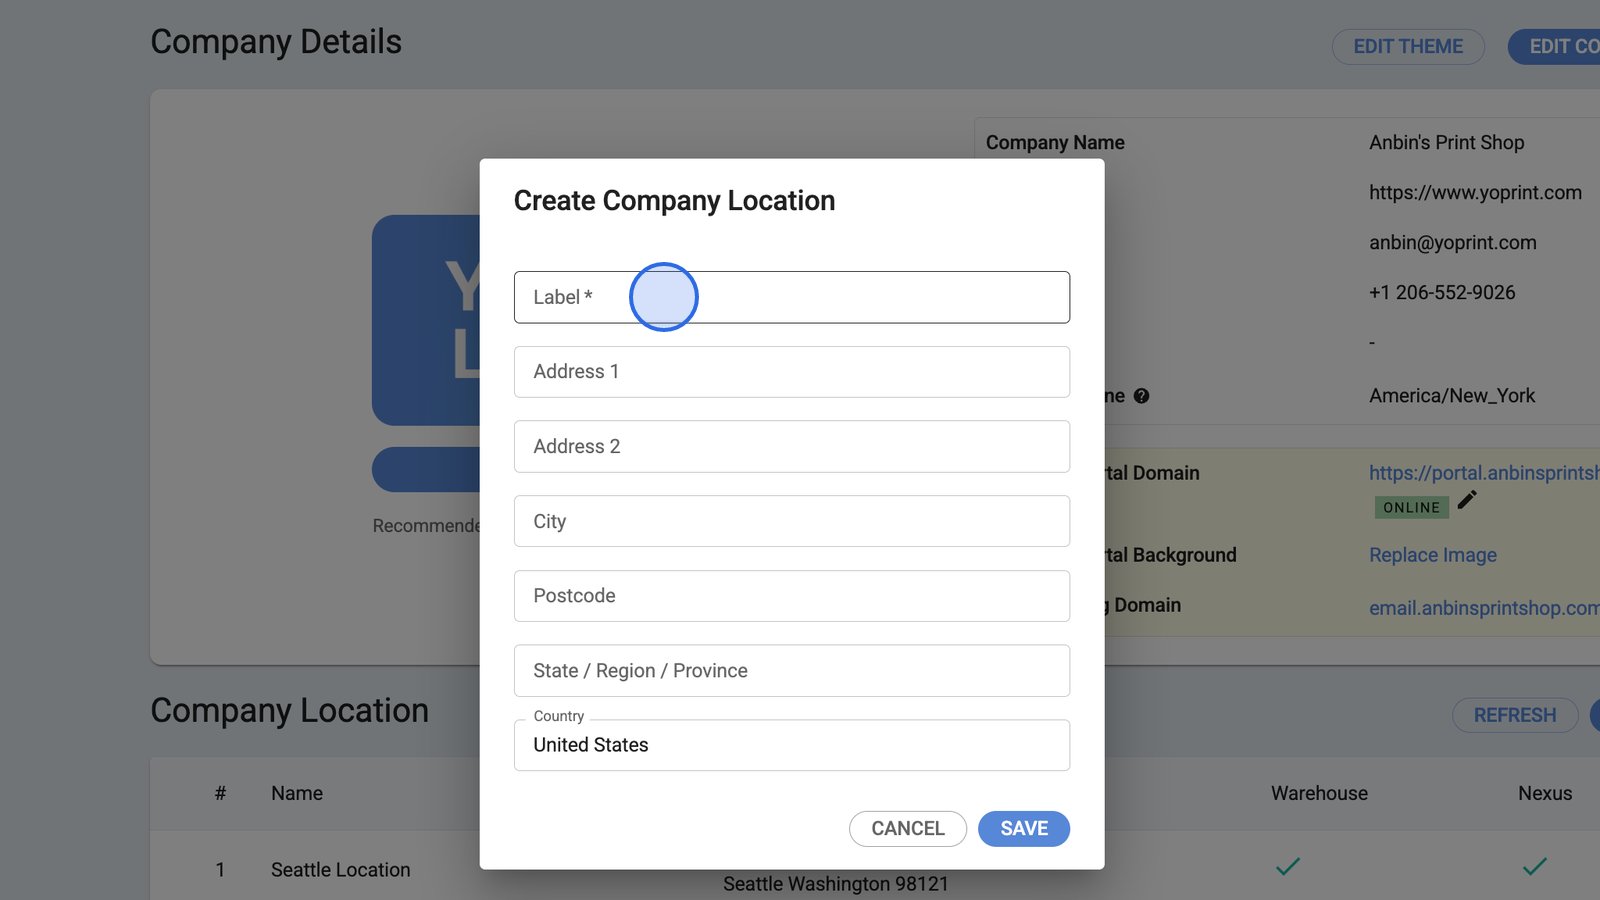
- Fill in the address details.
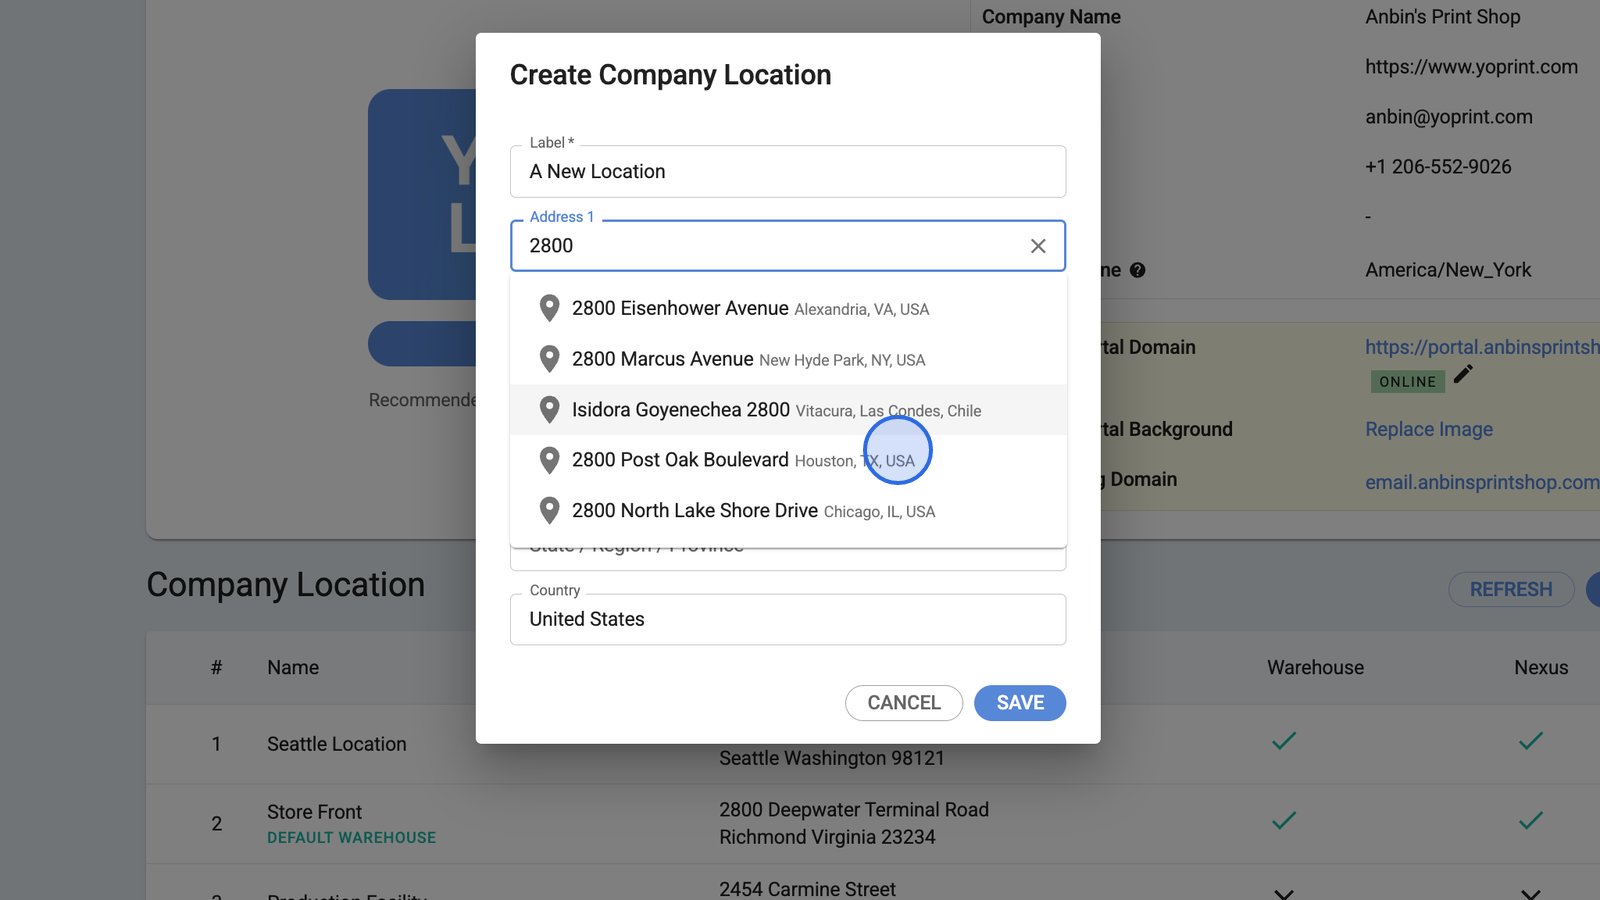
- Click SAVE to add your new company location to the list.
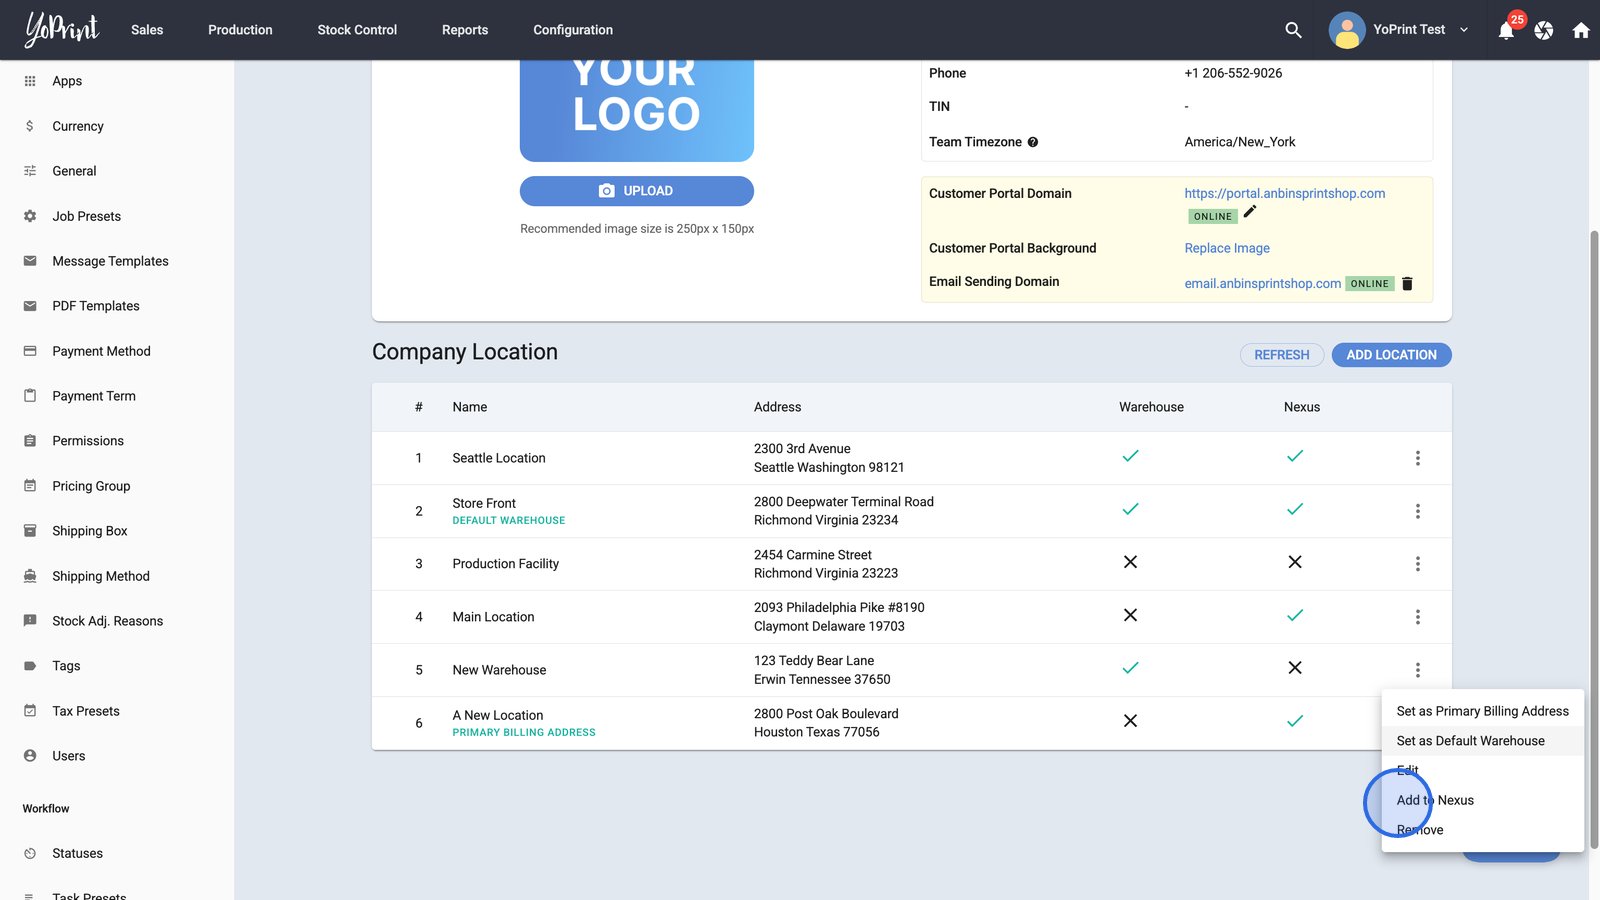
- Use the more options menu (three dots) to set the billing address, default warehouse, or manage nexus for this location.
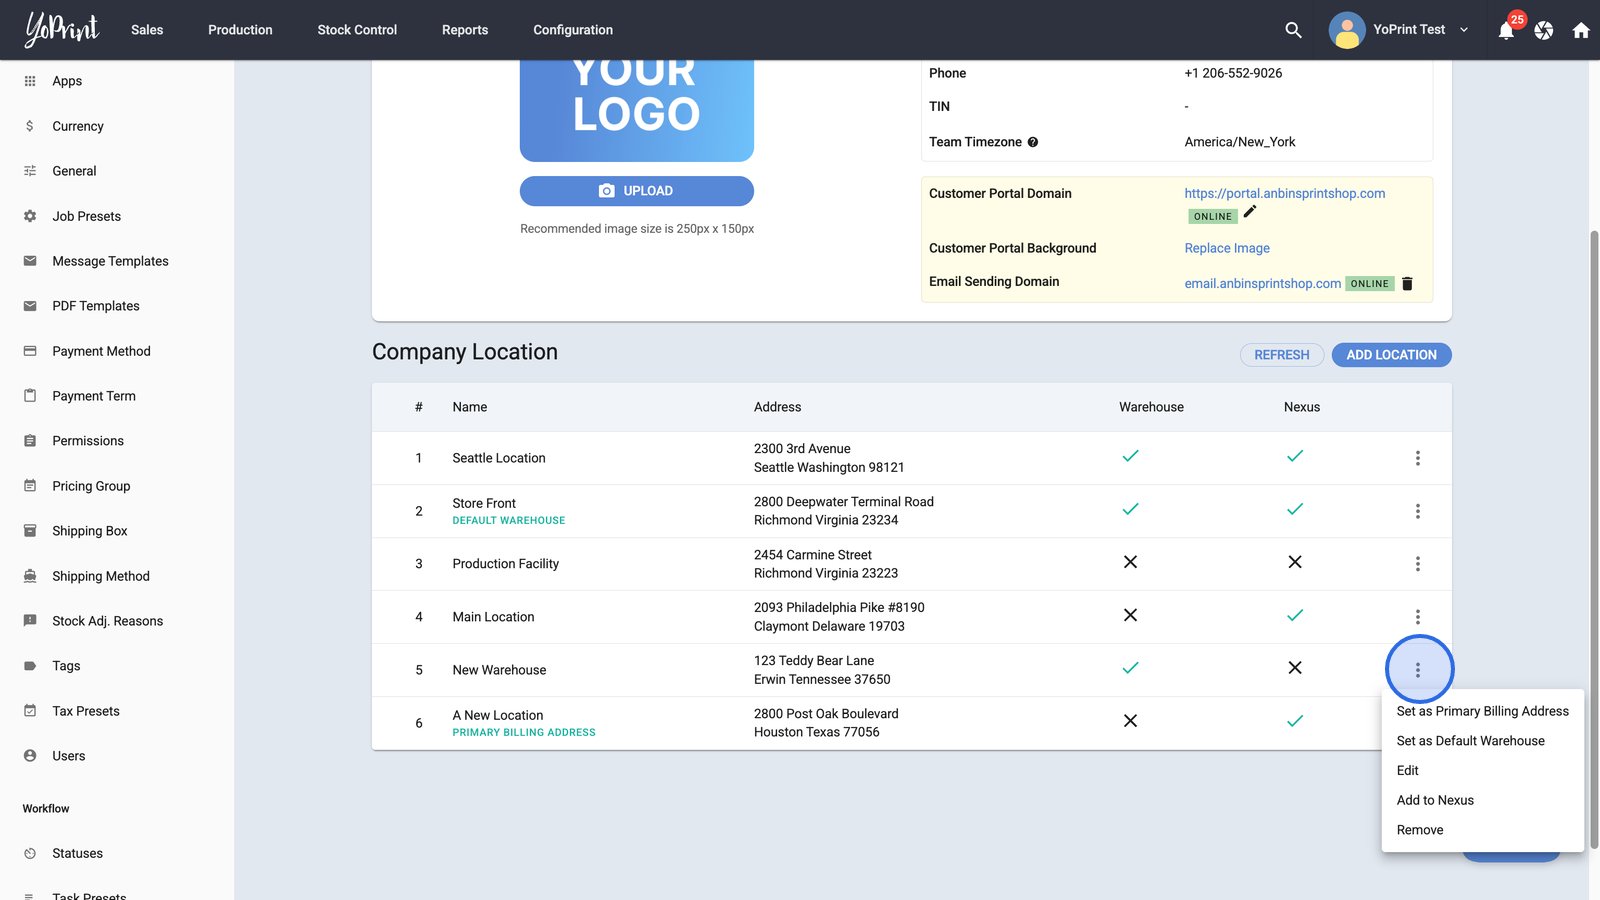
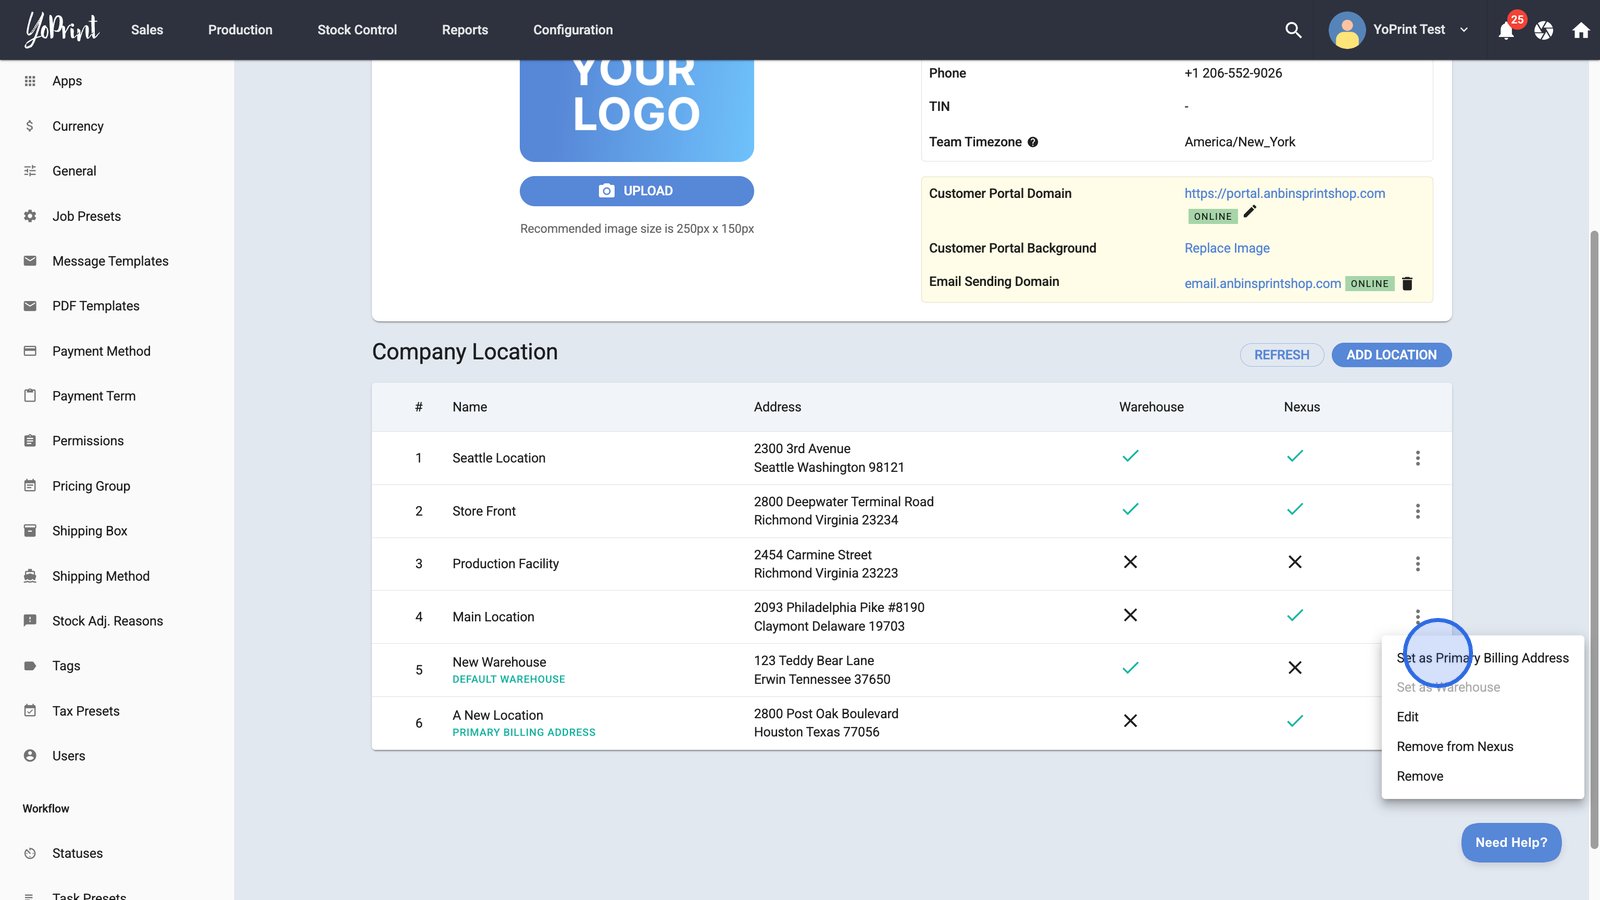
- Select Set as Primary Billing Address to update where your company receives invoices and billing communications.
- To enable inventory tracking, you should mark any location that keeps inventory as a warehouse.
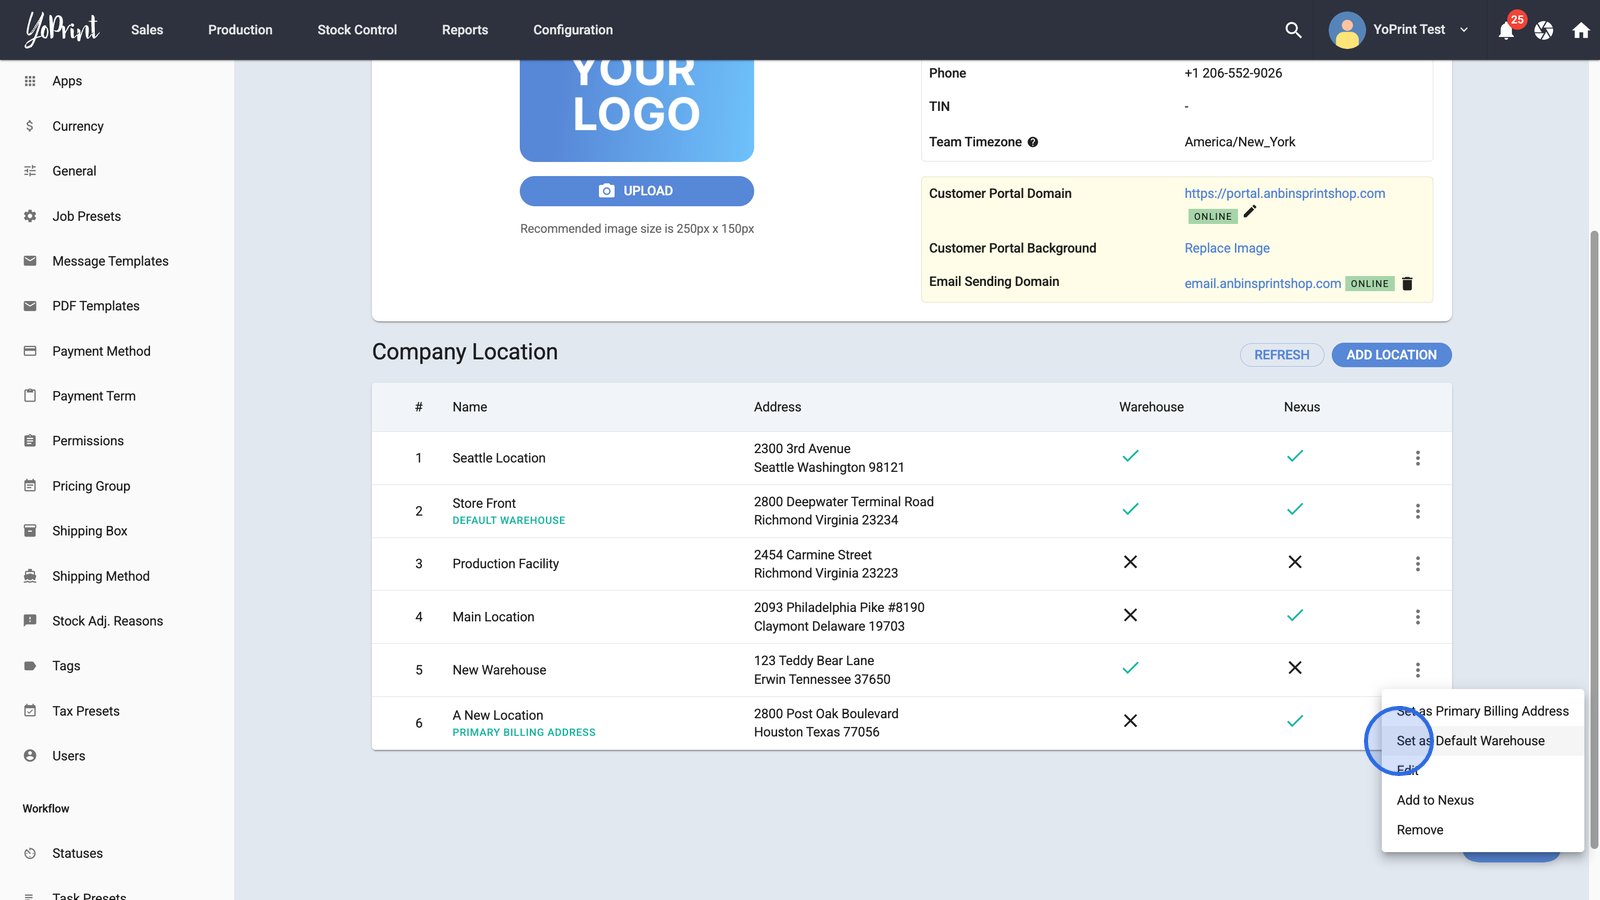
- Choose Add to Nexus to include this location as a nexus address for tax and compliance purposes.
Tip:
- To take advantage of YoPrint's Stock Management and Smart Sales Tax systems, we recommend adding all your locations.
- If you are unsure which address qualifies for nexus, simply add them all, and YoPrint will take care of figuring it out for you.