Manage Users in Your Team
In this article
Bring your staff into YoPrint by inviting them to your team and assigning them to built-in or custom permission groups. You can invite employees, manage pending invitations, adjust access as job roles change, and remove members who leave your shop.
Team owner access
The team owner has full, permanent access across YoPrint and cannot be removed or assigned to another permission group. Each shop has exactly one team owner. To transfer ownership to another team member, contact YoPrint support.
YoPrint provides standard permission groups out of the box. If you want to customize permission groups before inviting team members, see Permission.
Open Team Members
-
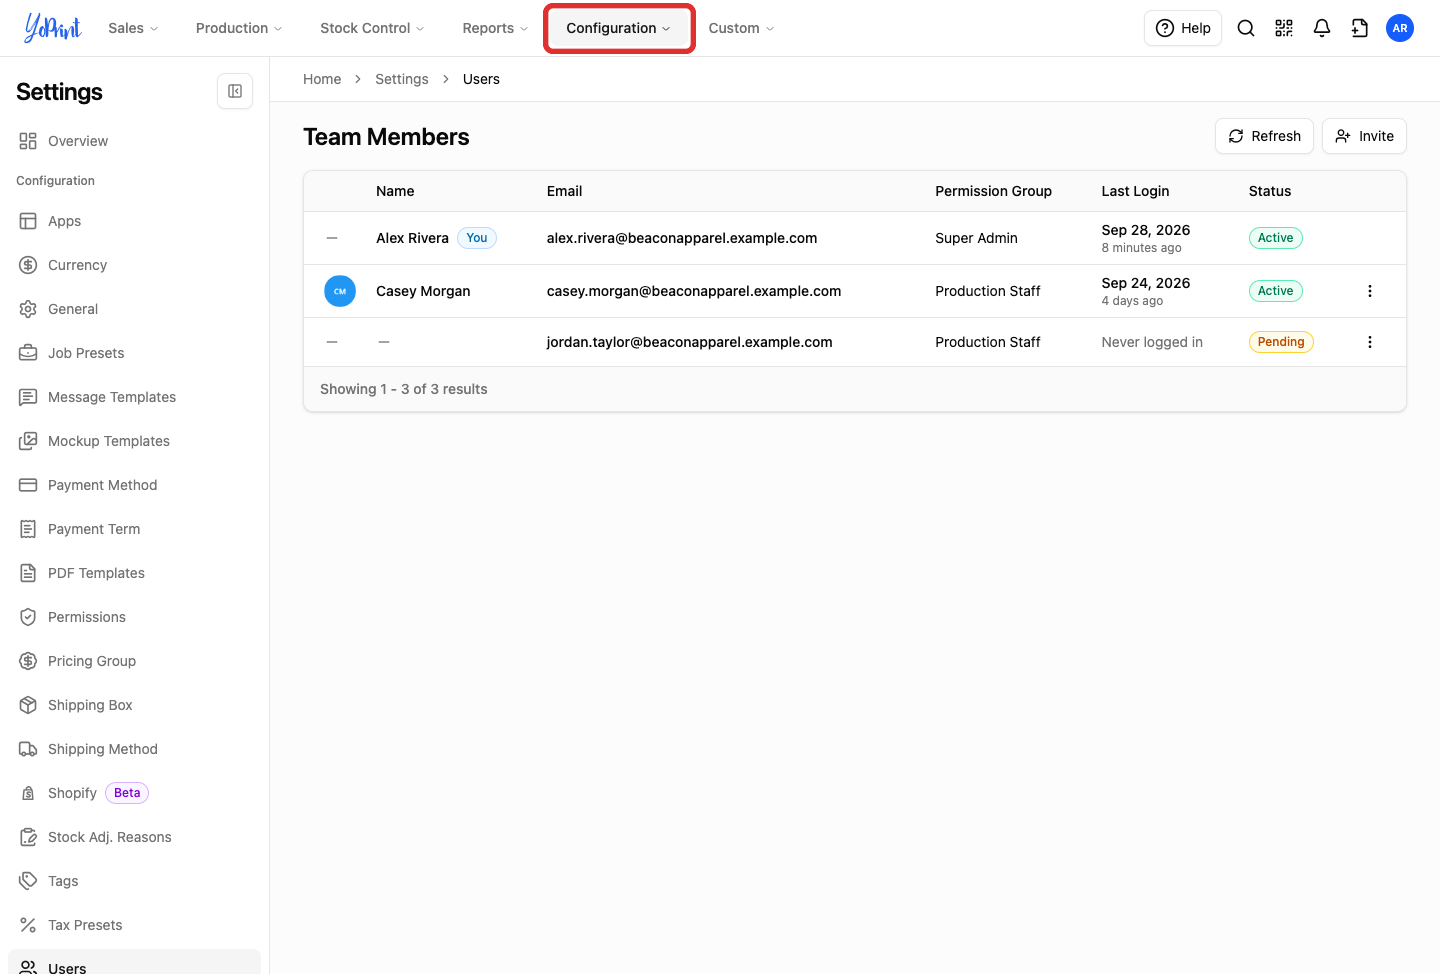
In the top navigation bar, click Configuration.
-
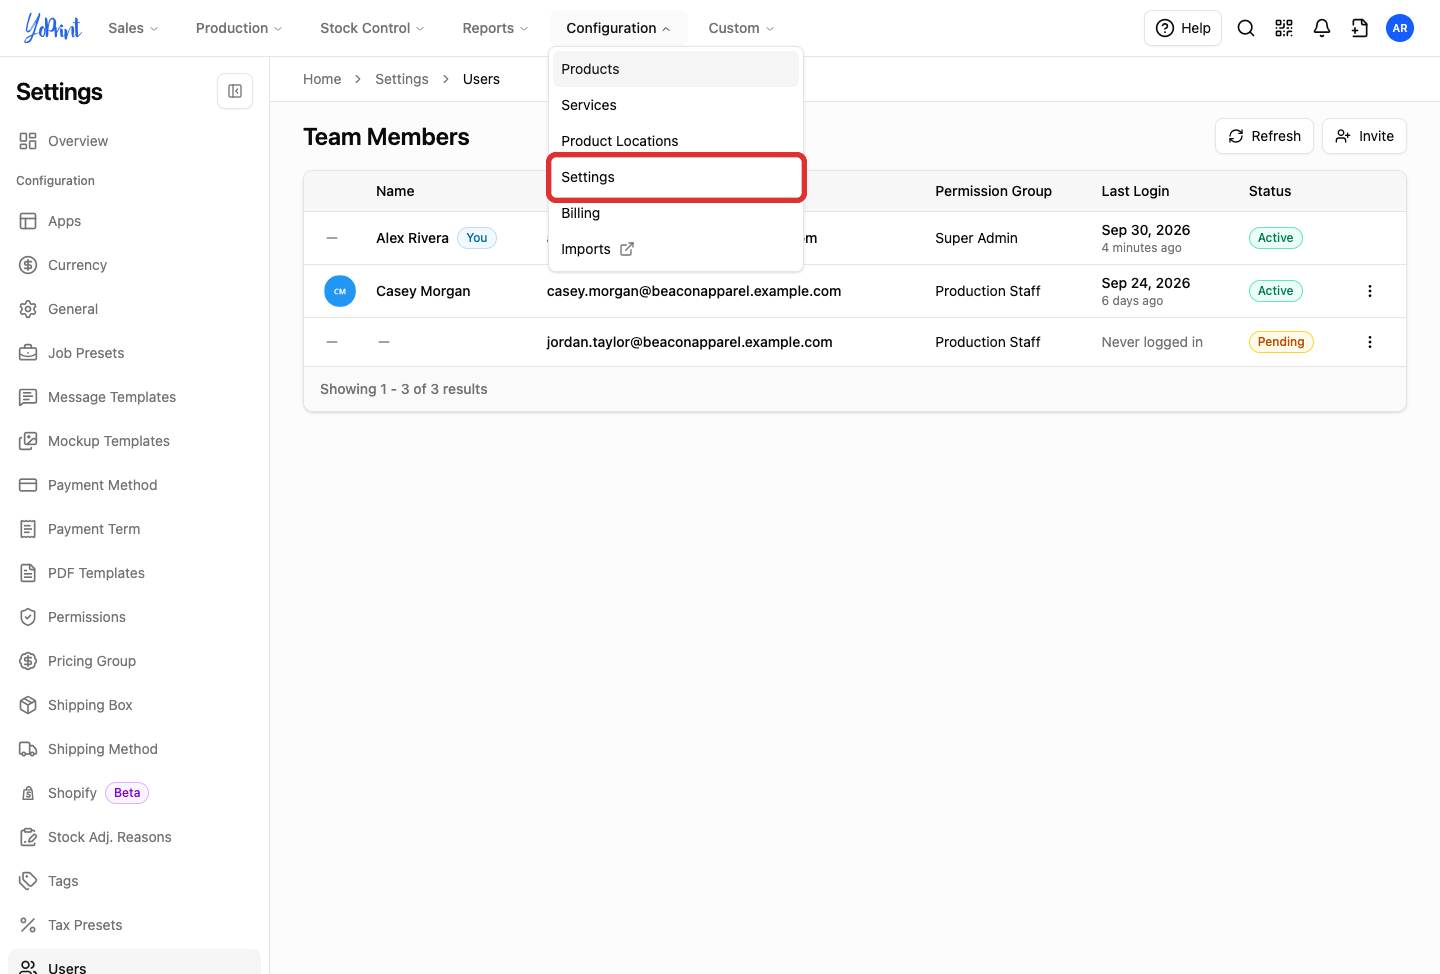
In the dropdown menu, click Settings to open your shop settings.
-
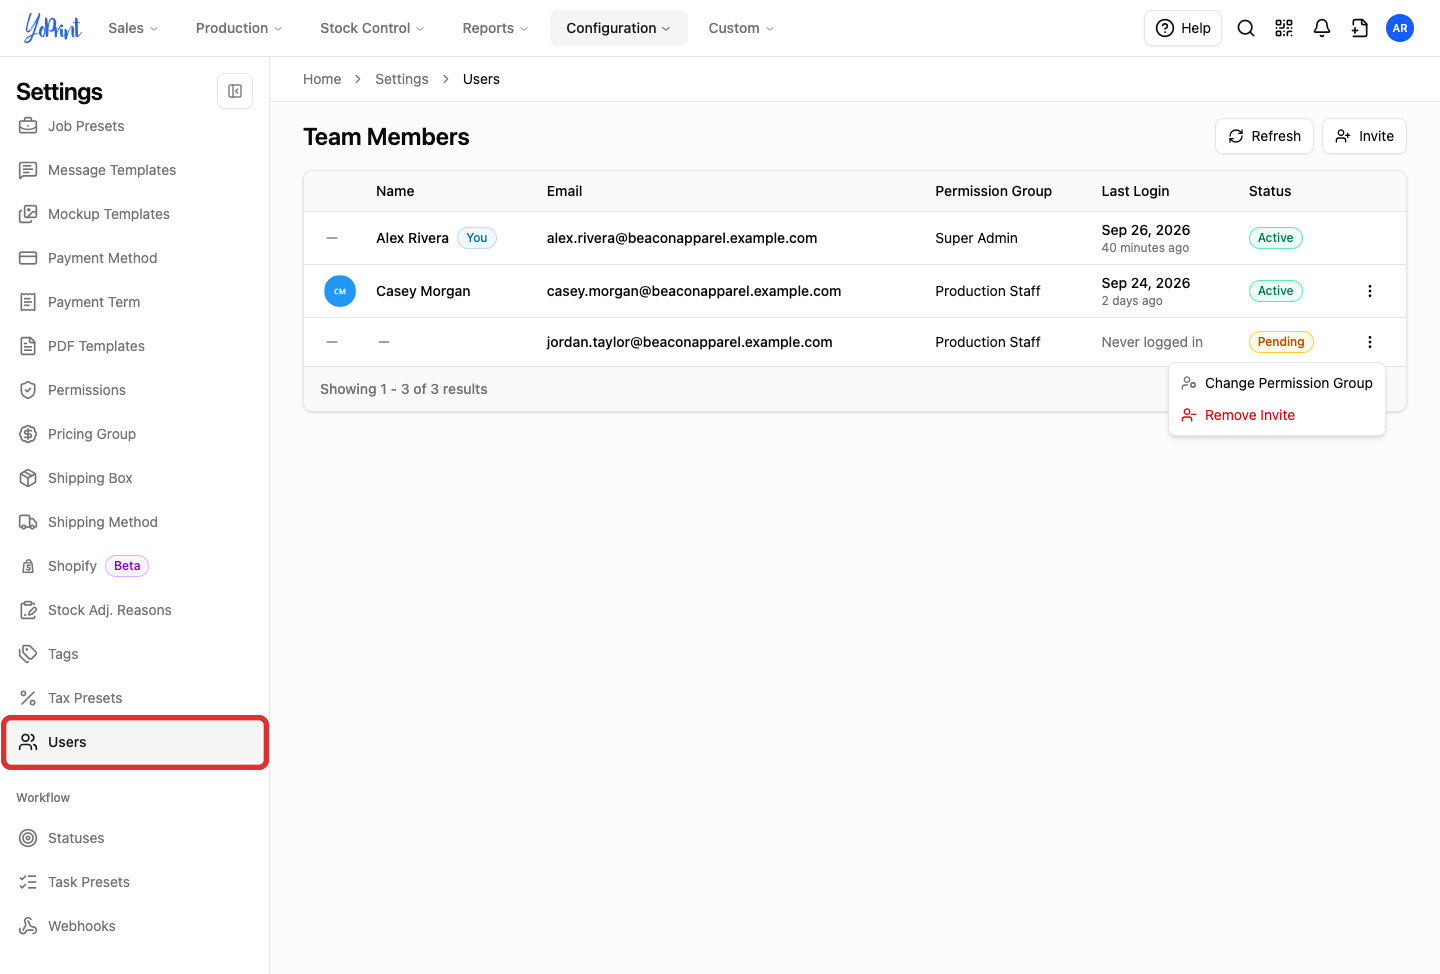
In the Settings sidebar, click Users to open the Team Members page.
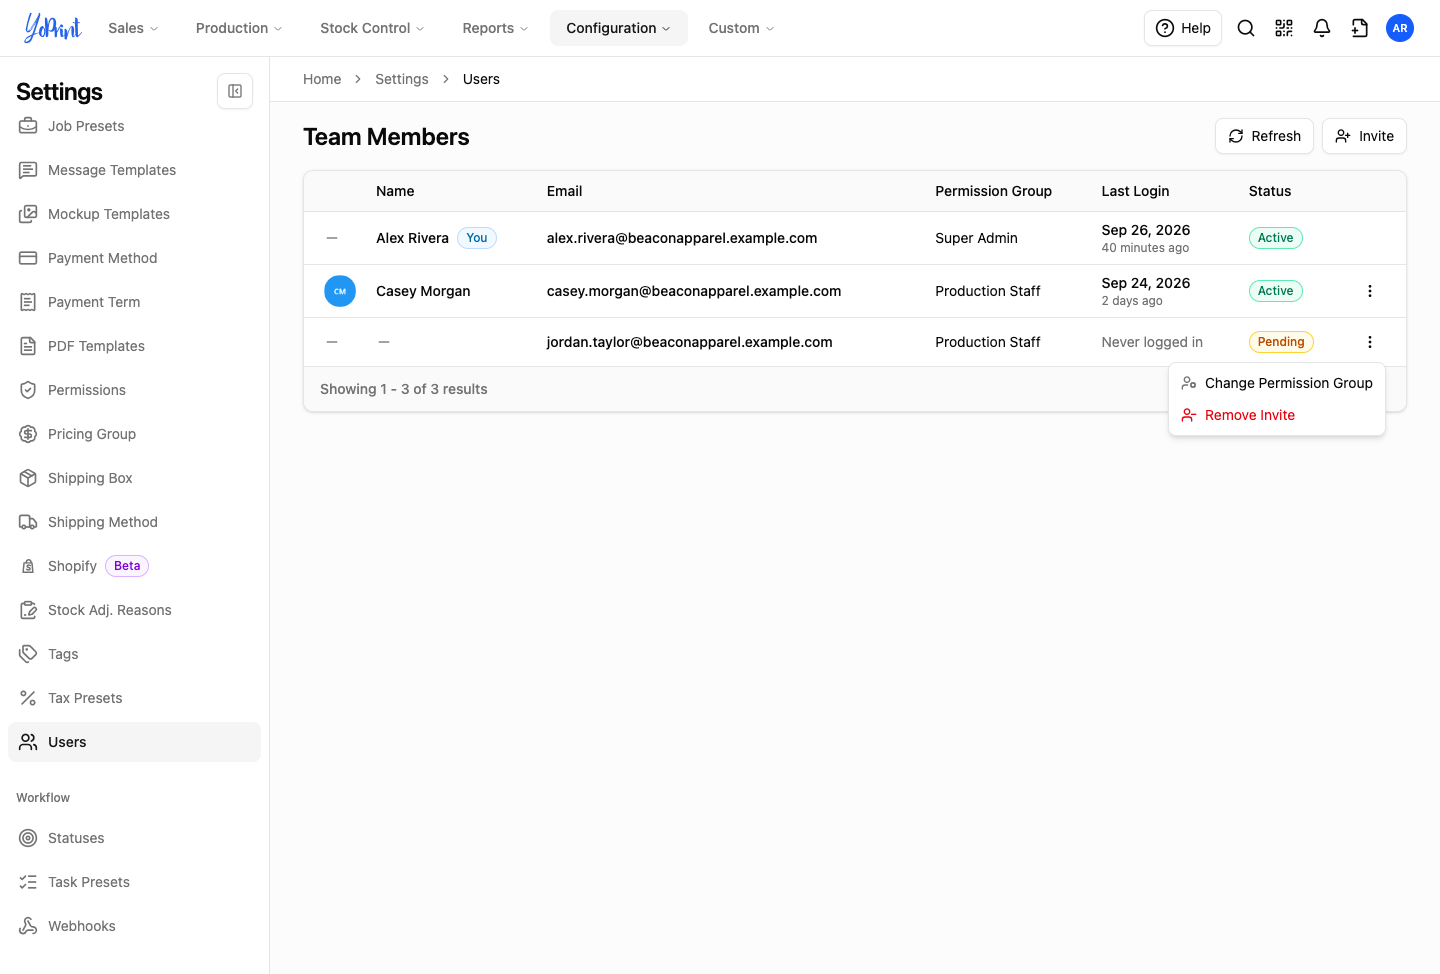
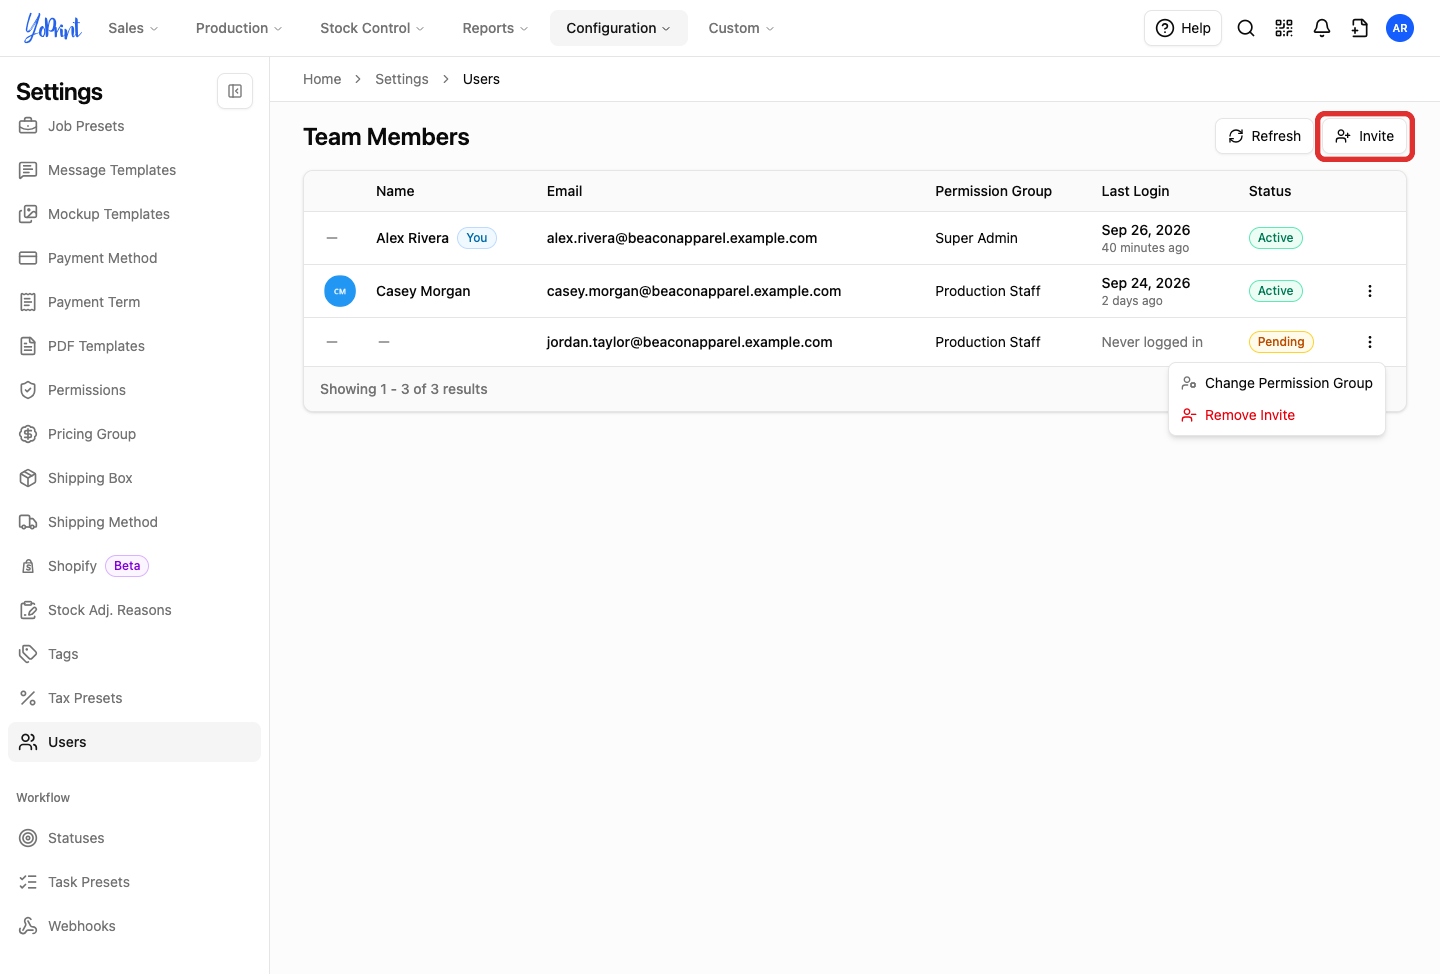
The Team Members page displays all active members, their assigned permission groups, last login times, and pending invitations. Active team members display their name and avatar, while pending invitations show Not available in the Name column and are identified by their email address.
Invite a team member
Each YoPrint subscription plan includes a set number of user seats. When all seats on your plan are in use, you cannot invite another person until you upgrade your plan. To check your plan details or upgrade your subscription, go to Configuration > Billing or see Pricing.
-
Click Invite.
-
In the Invite User dialog, type the employee's email address and choose their Permission Group.
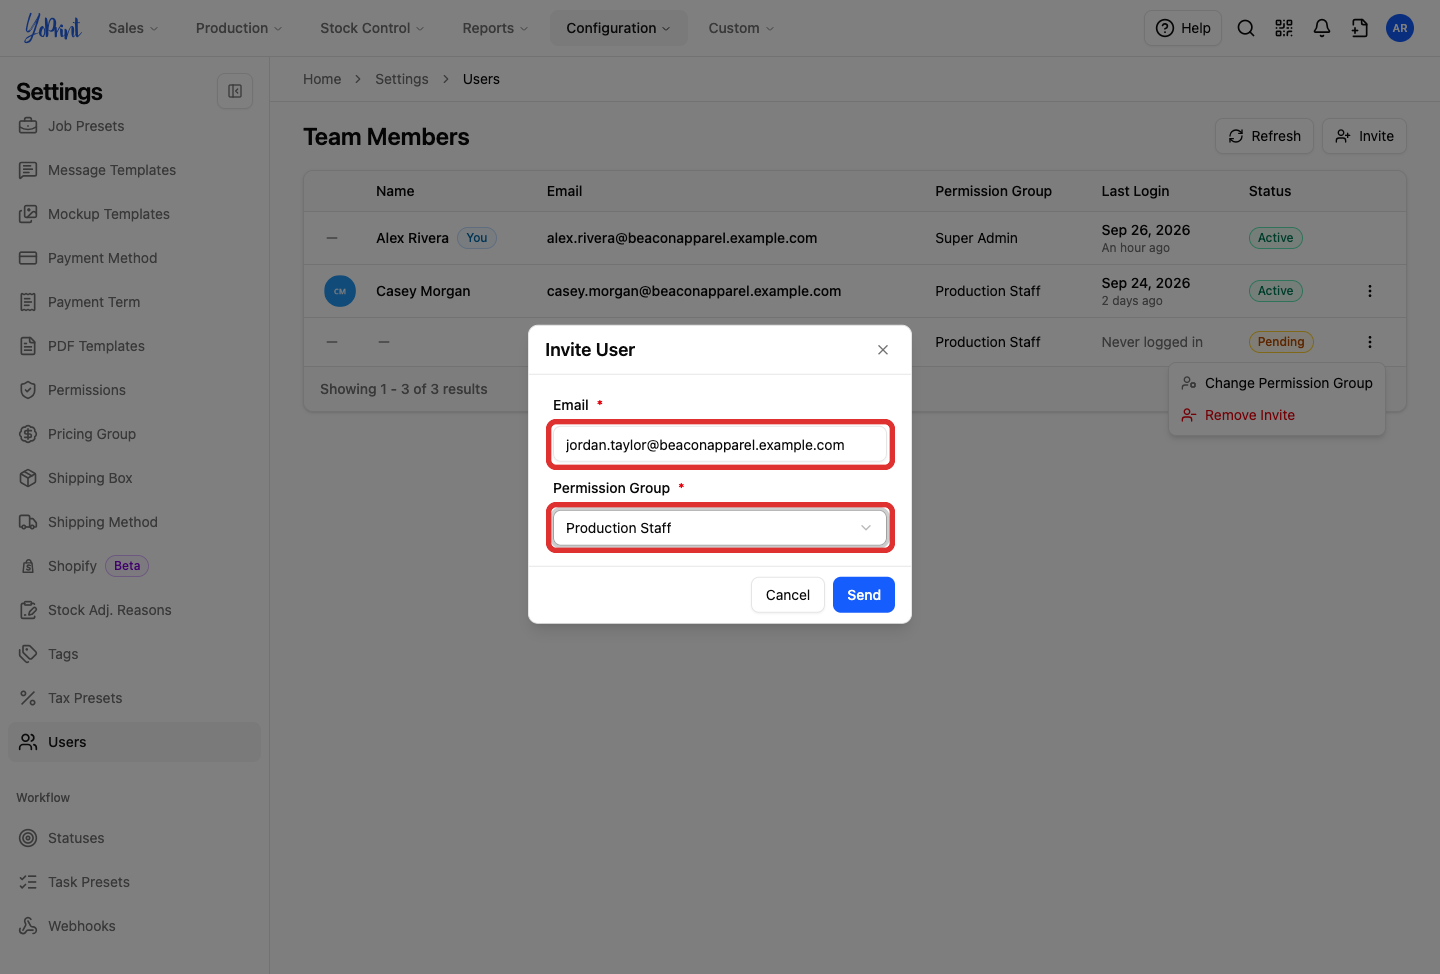
The invitation requires only an email address and a permission group. The employee enters their own name and password when they accept.
-
Click Send.
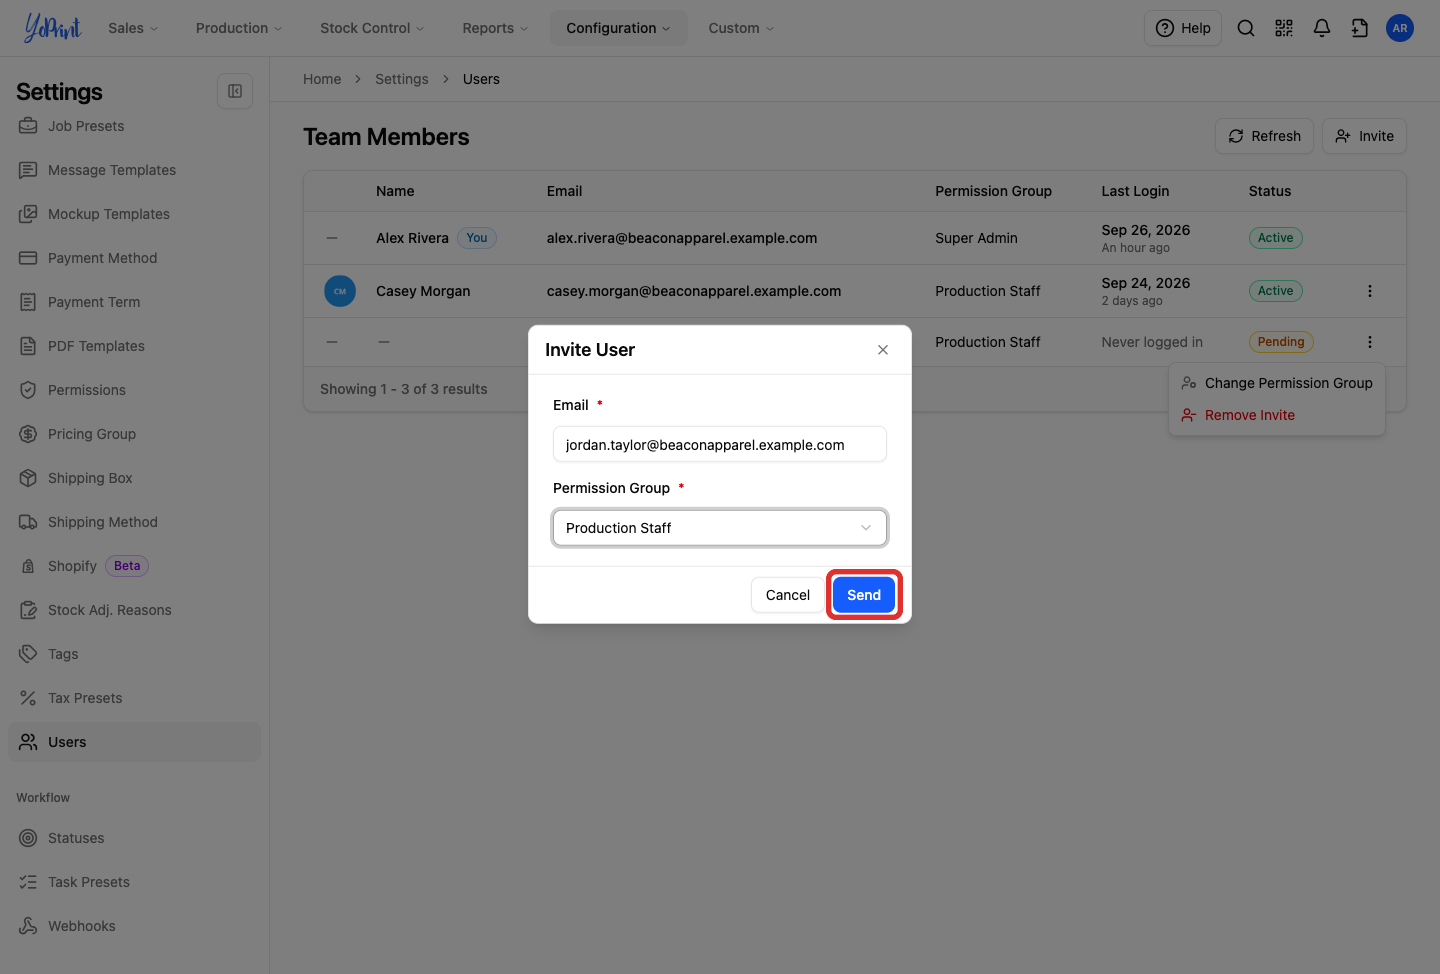
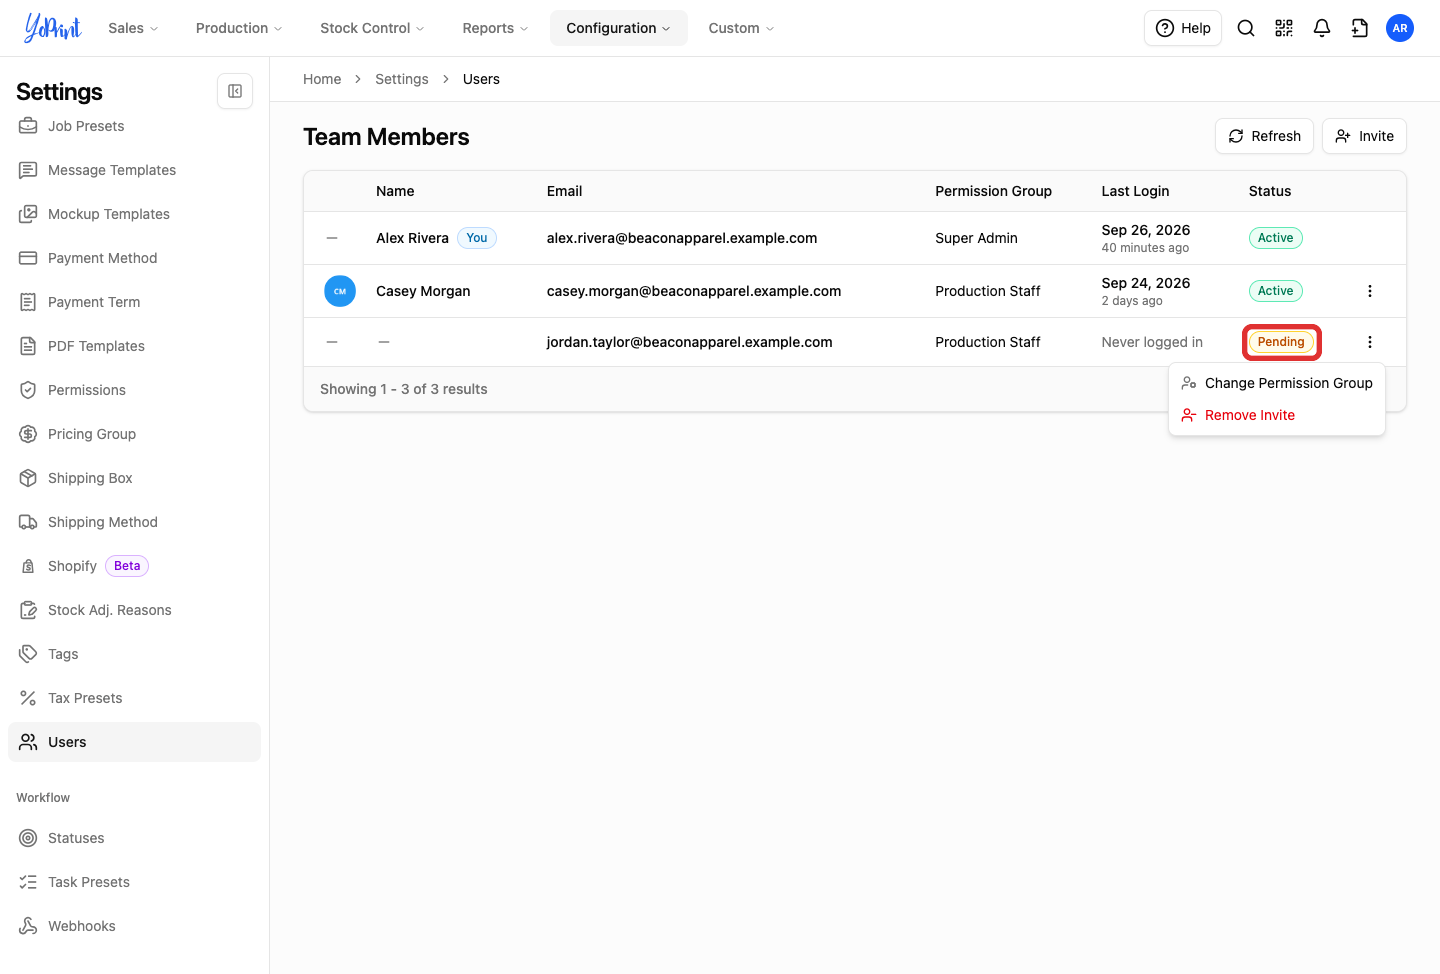
The dialog closes, and YoPrint sends an email invitation to the recipient with a secure link to join your team. The new user appears in the Team Members table with a Pending status as confirmation until they accept.
Manage pending invitations
Invitation links remain valid for seven days. While an invitation is pending, the table displays Pending in the Status column and Never logged in under Last Login. If the link expires, the status changes to Expired. Because there is no resend button, remove the invite and send a fresh invitation if a link expires or needs to be resent.
Change the assigned permission group
-
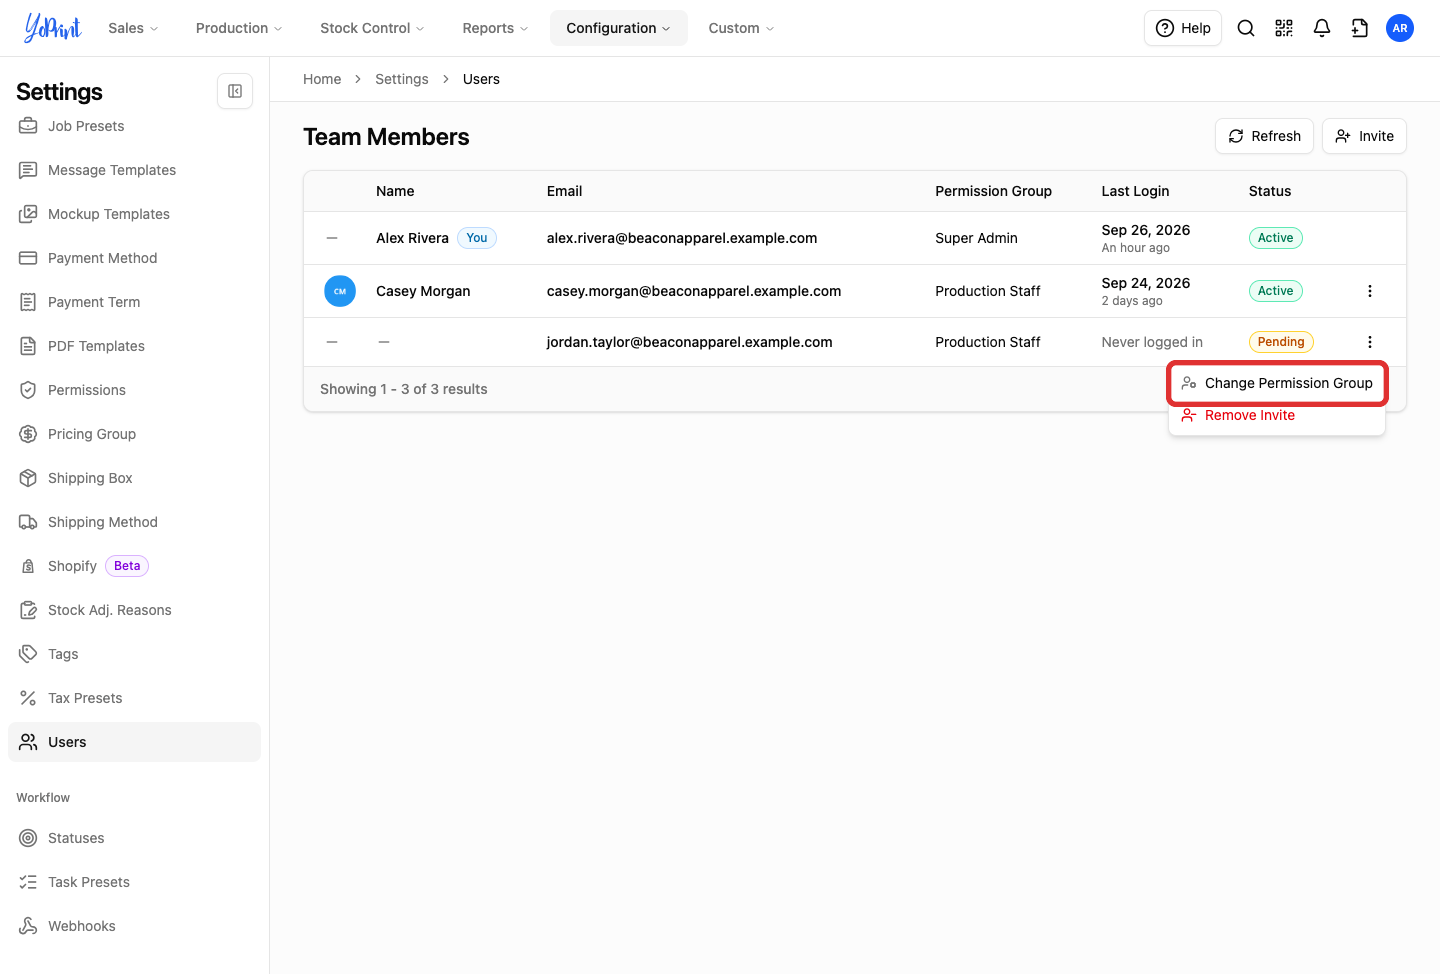
Click More actions on the pending row, then click Change Permission Group.
-
In the Update Permission dialog, select the new permission group, then click Update.
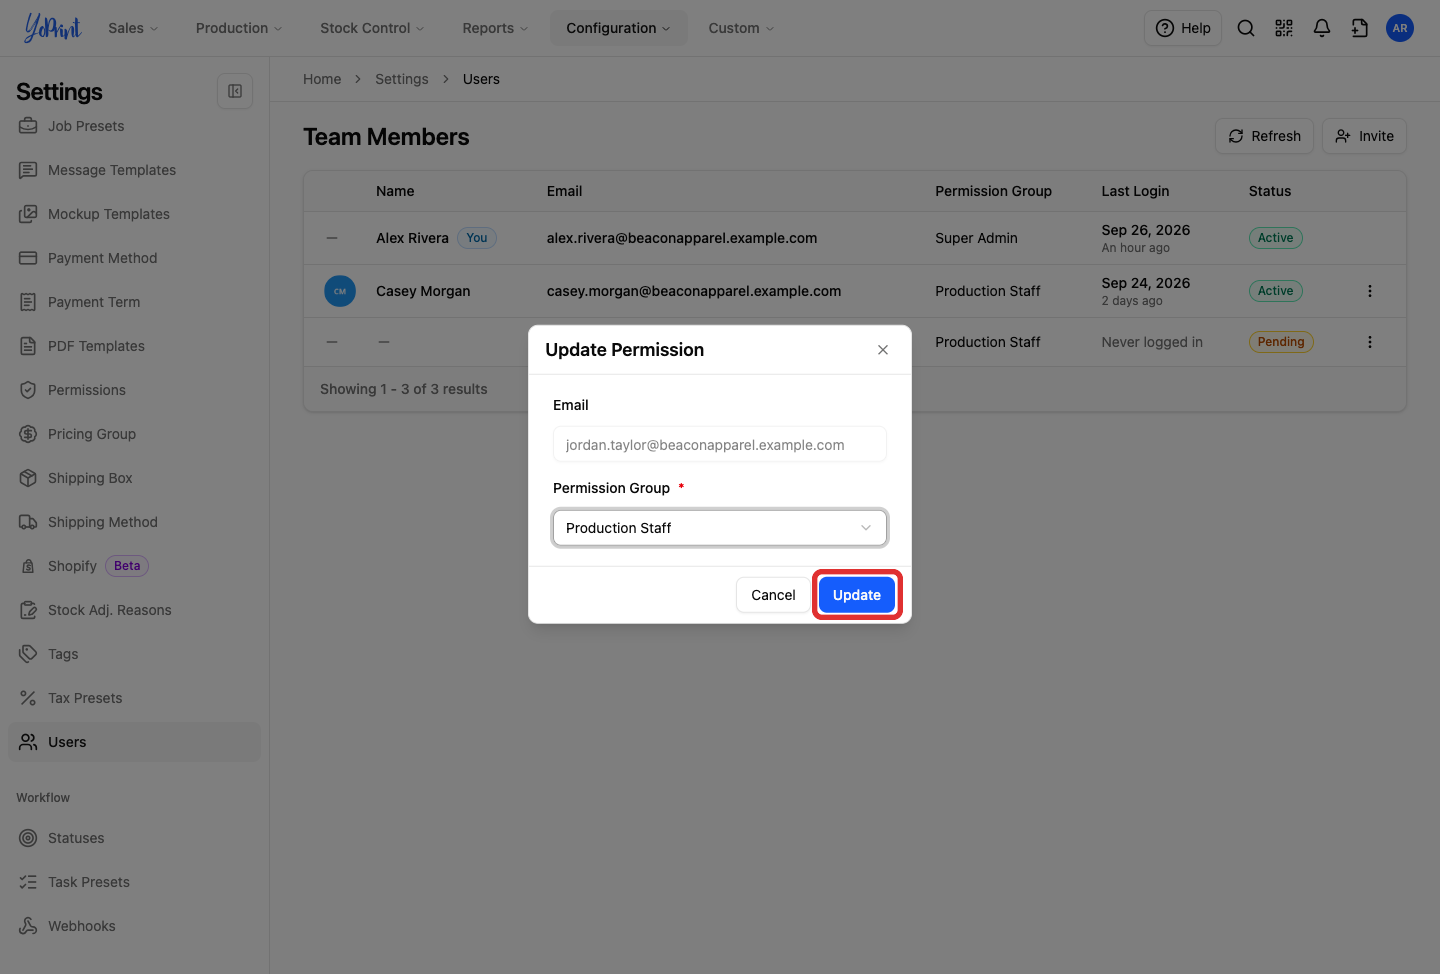
You can also change the permission group for an active team member at any time using the same Change Permission Group option in their row menu. The change takes effect immediately on their account. If the employee is currently signed in, refreshing their browser updates their navigation and permissions without disrupting their session.
Cancel a pending invitation
-
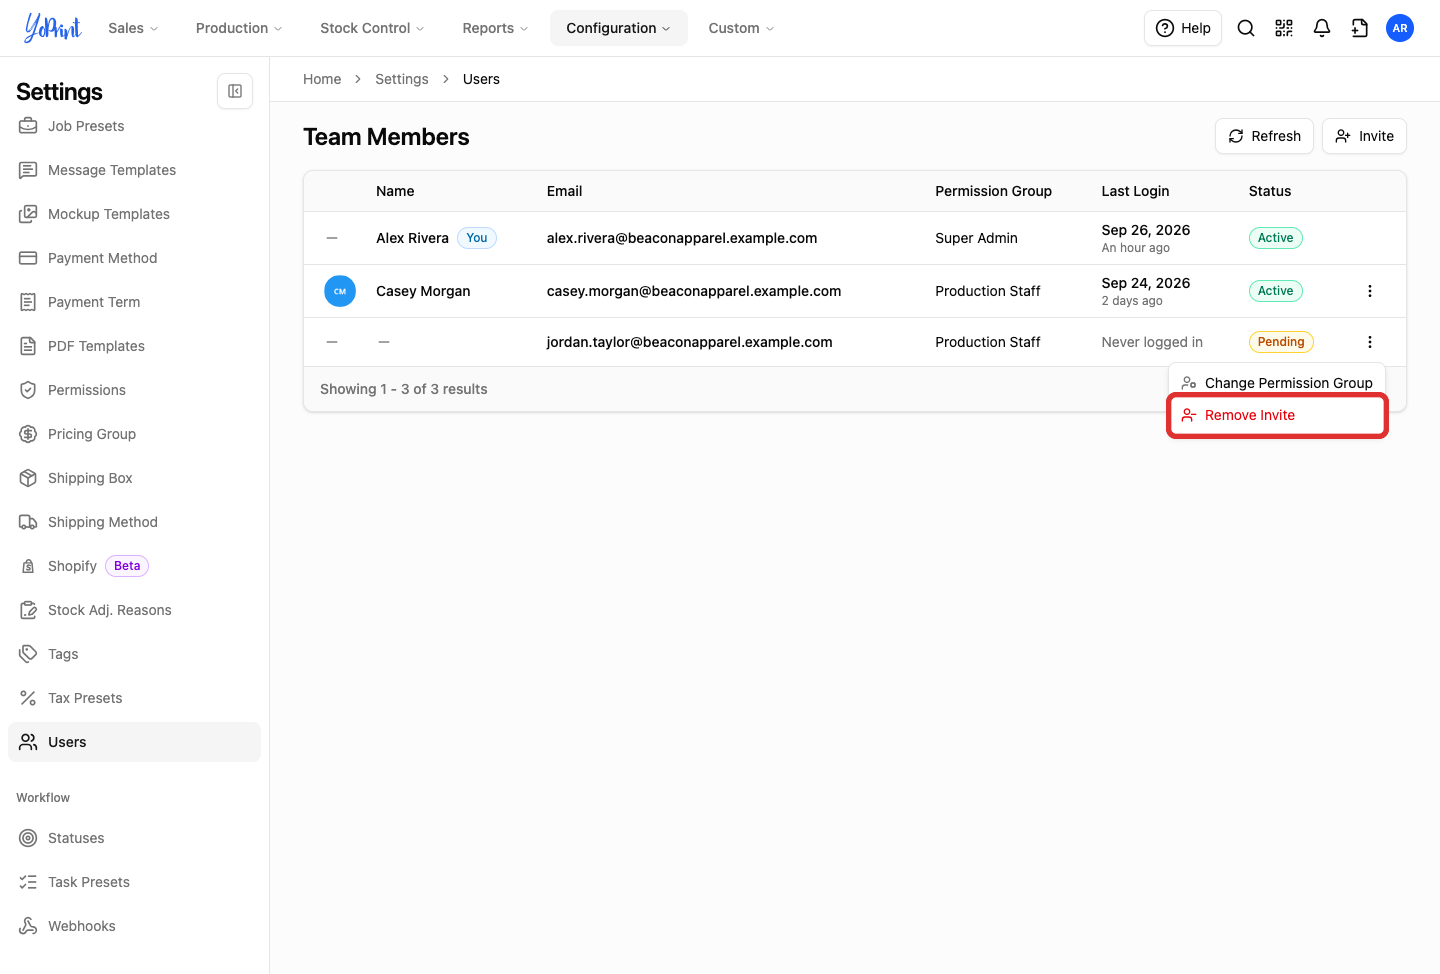
Click More actions on the pending row, then click Remove Invite.
-
In the confirmation dialog, click Remove.
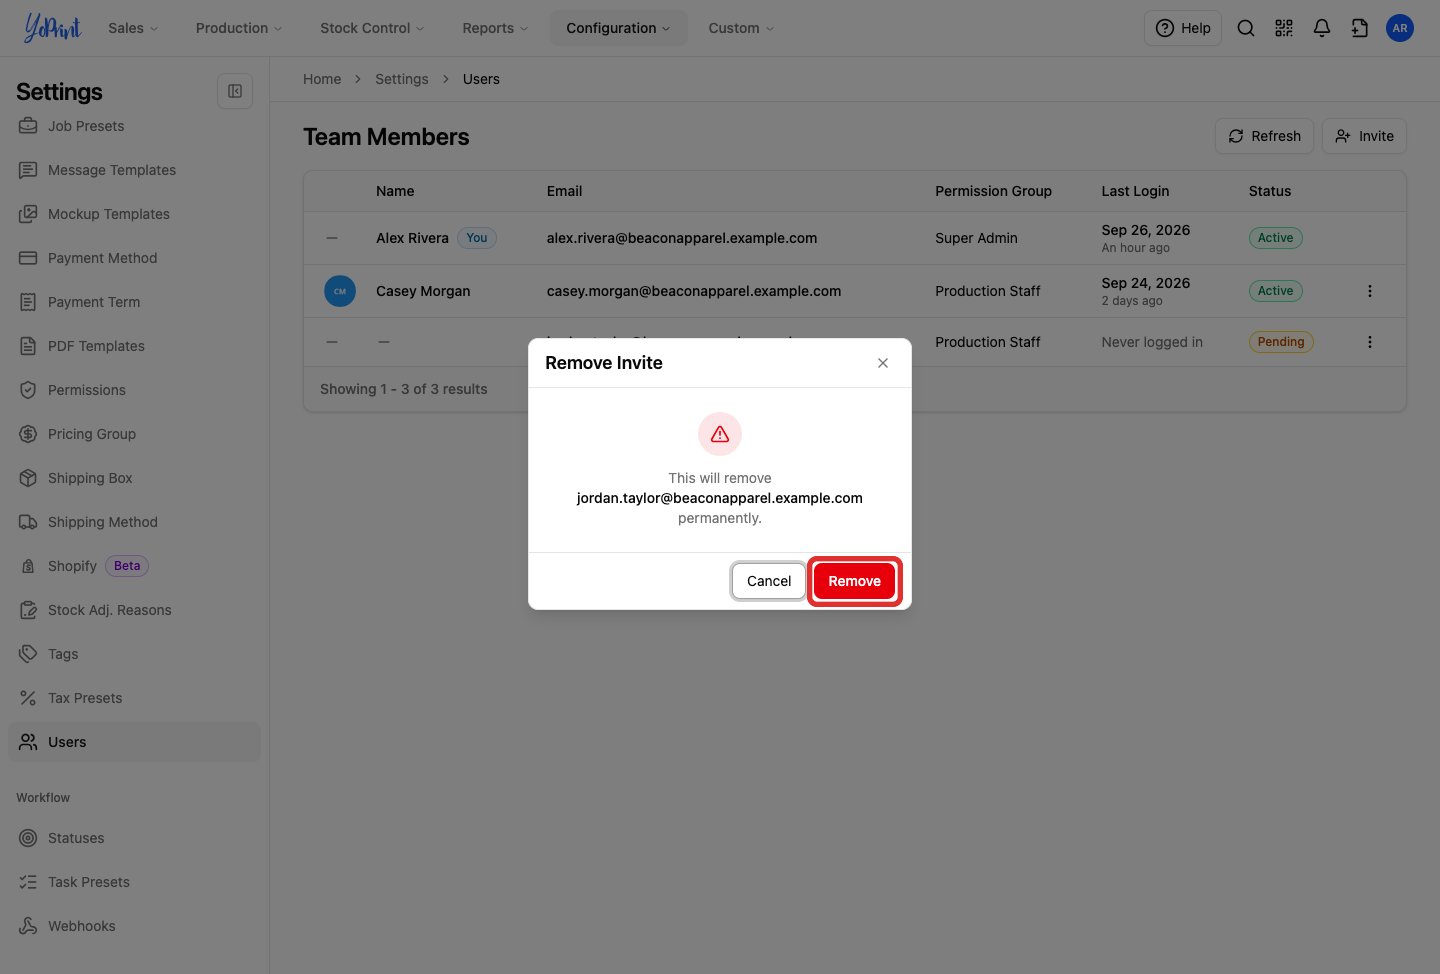
YoPrint cancels the invitation and removes the pending record from the table. Removing a pending invite does not block the email address; you can invite them again whenever you are ready.
How team members accept the invitation
To join the team automatically, the employee must create or log into a YoPrint account using the exact email address where the invitation was sent. The invitation link expires after seven days or when revoked. If there are issues, the team administrator can remove the pending invite and send a new invitation.
When you send an invite, the recipient receives an email from YoPrint containing a Join Team button. They must accept using the email address where the invite was sent; if they need to use a different address, send a new invitation to that address instead.
The employee clicks Join Team in the invitation email:
- If they do not have a YoPrint account, they enter their name and choose a password to complete registration.
- If they already have a YoPrint account with that email, they log in to join your shop immediately. Their existing shops and account settings remain intact, and they can switch between teams from the user menu.
After joining, the employee lands on the YoPrint dashboard and can start working with the access you assigned. In the Team Members table, their status automatically changes from Pending to Active.
Remove a team member
Your Own Account
Your own row displays (You) and omits the actions menu, so you cannot remove your own account or change your own permission group while signed in. The team owner account cannot be removed.
-
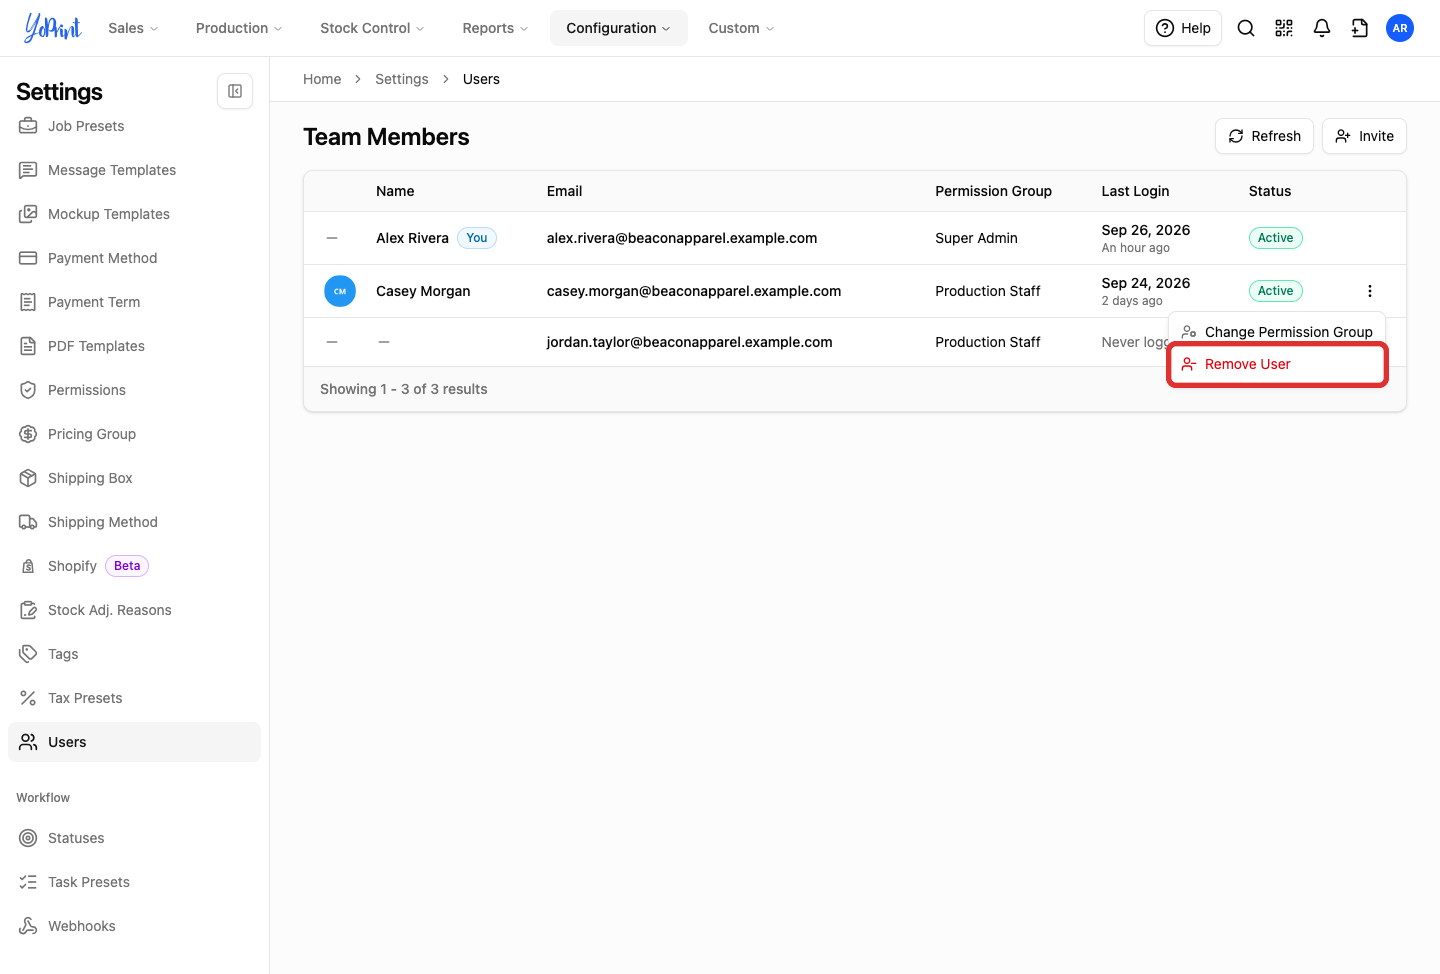
Click More actions on the member you want to remove, then click Remove User.
-
In the confirmation dialog, click Remove.
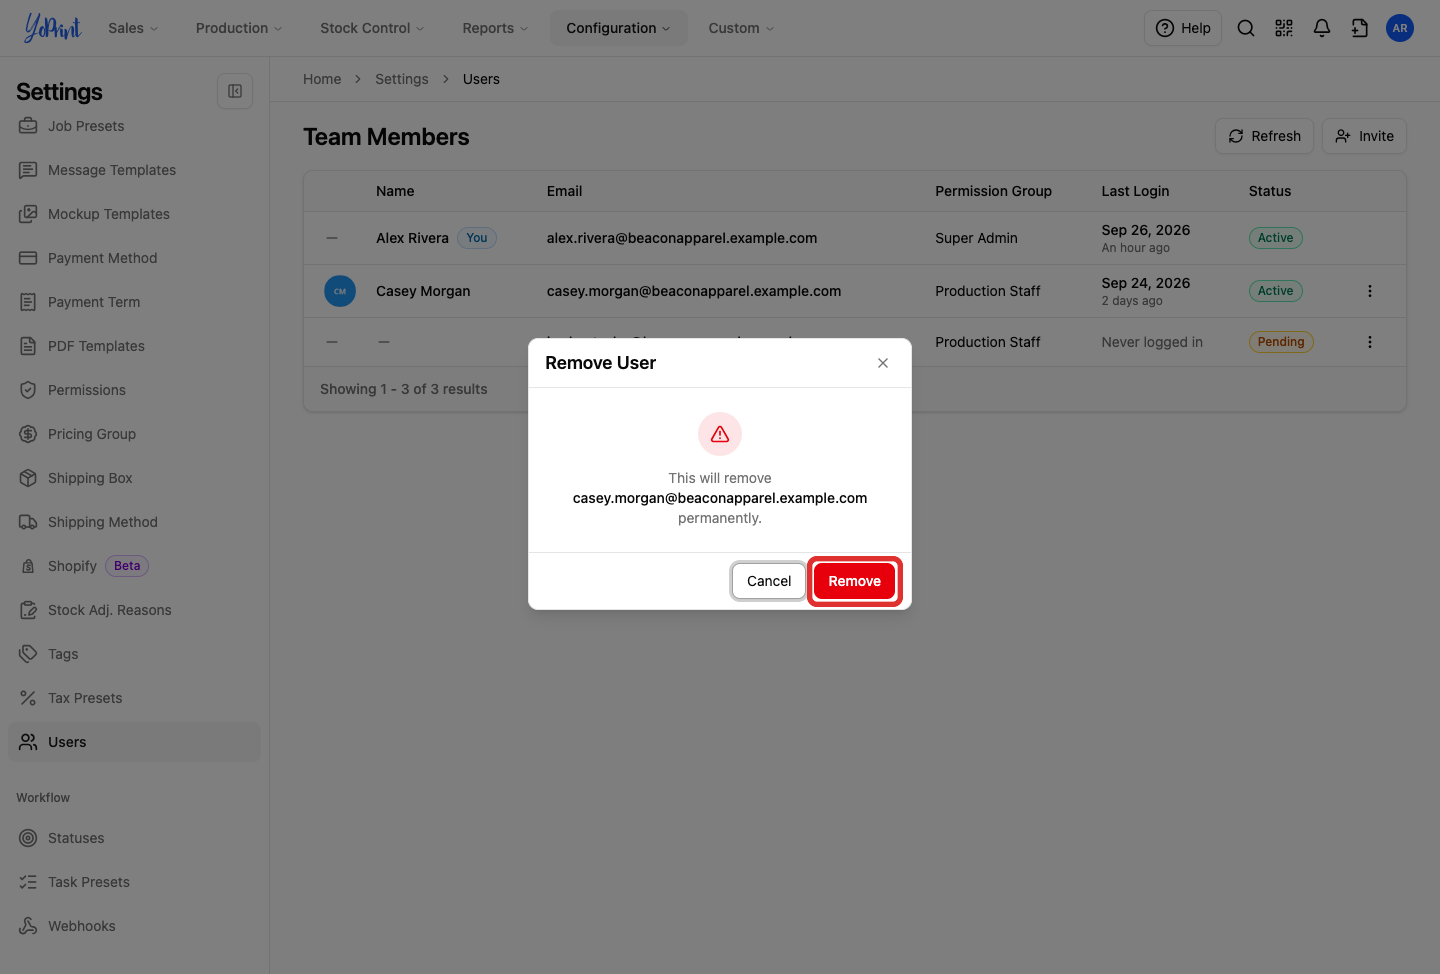
The user is immediately removed from the team and can no longer access your shop data or configuration. Removing a user does not delete or change historical shop records: past quotes, sales orders, jobs, and activity logs preserve their history and assignments.
