Manage Payment Terms
In this article
A payment term defines when deposits and final balances are due on your orders. Every new quote or sales order automatically applies your shop's default payment term. You can assign custom payment terms to specific customers or adjust deposit requirements on an individual quote without changing your team presets.

Add a payment term
-
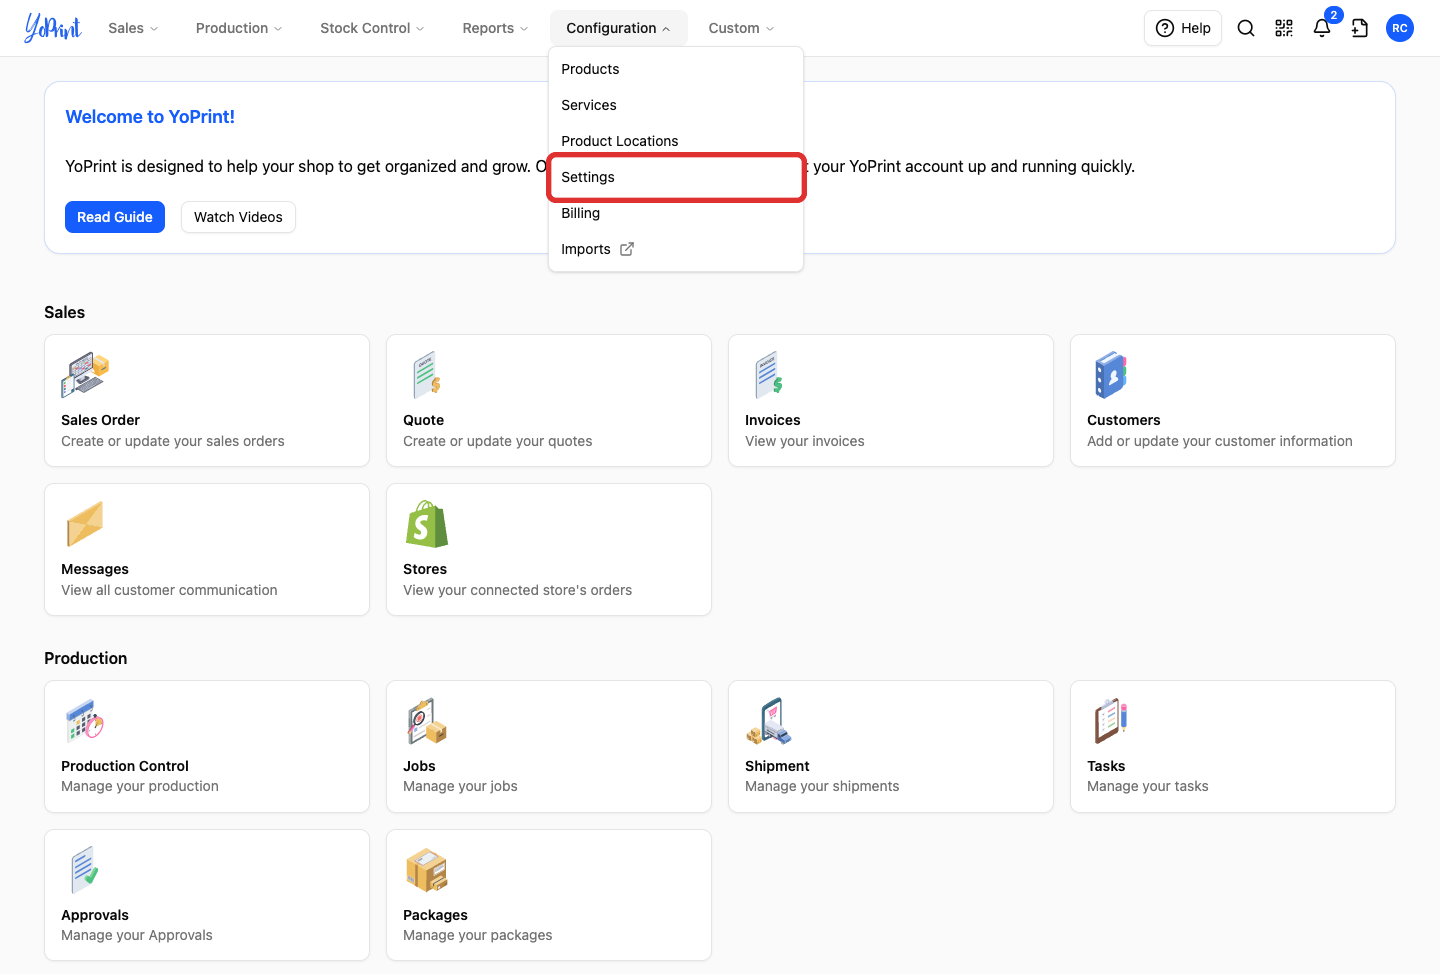
Go to Configuration > Settings.
-
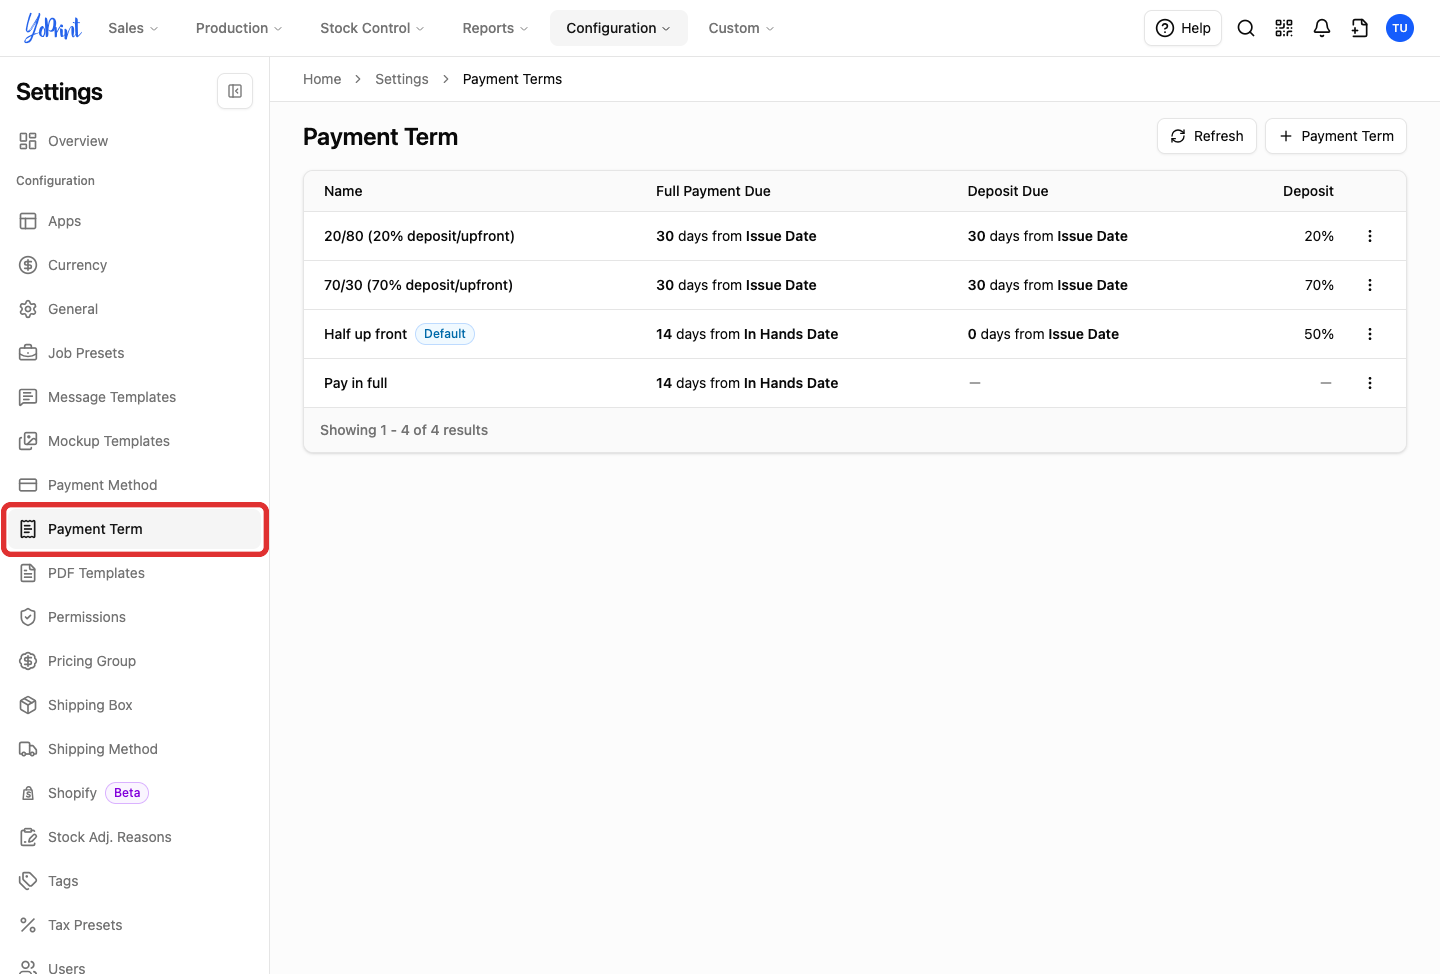
In the settings sidebar, click Payment Term.
-
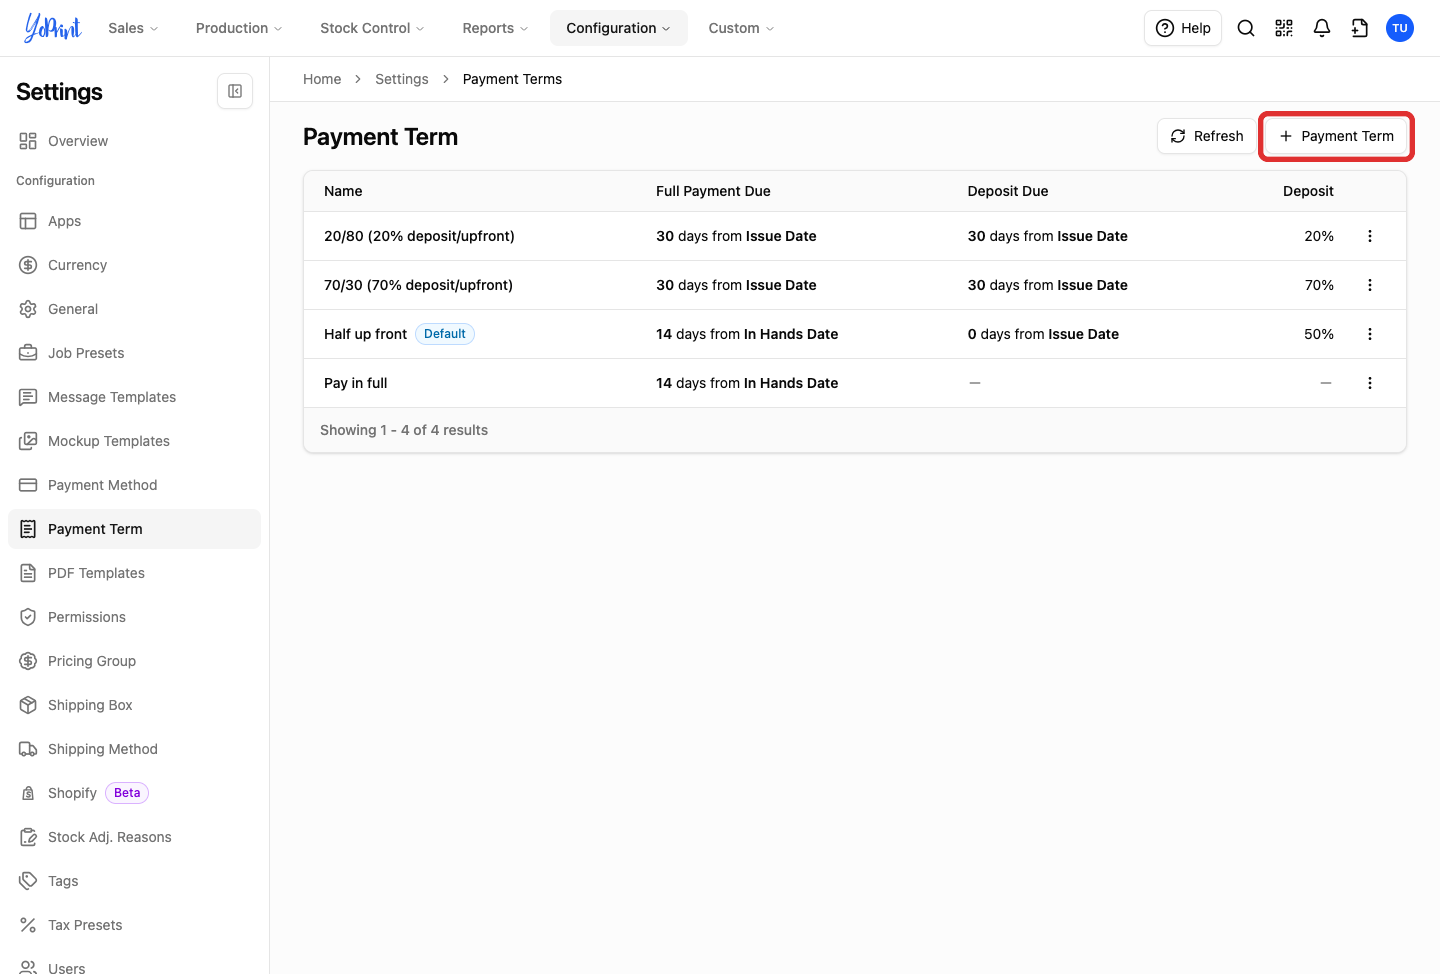
Click + Payment Term.
-
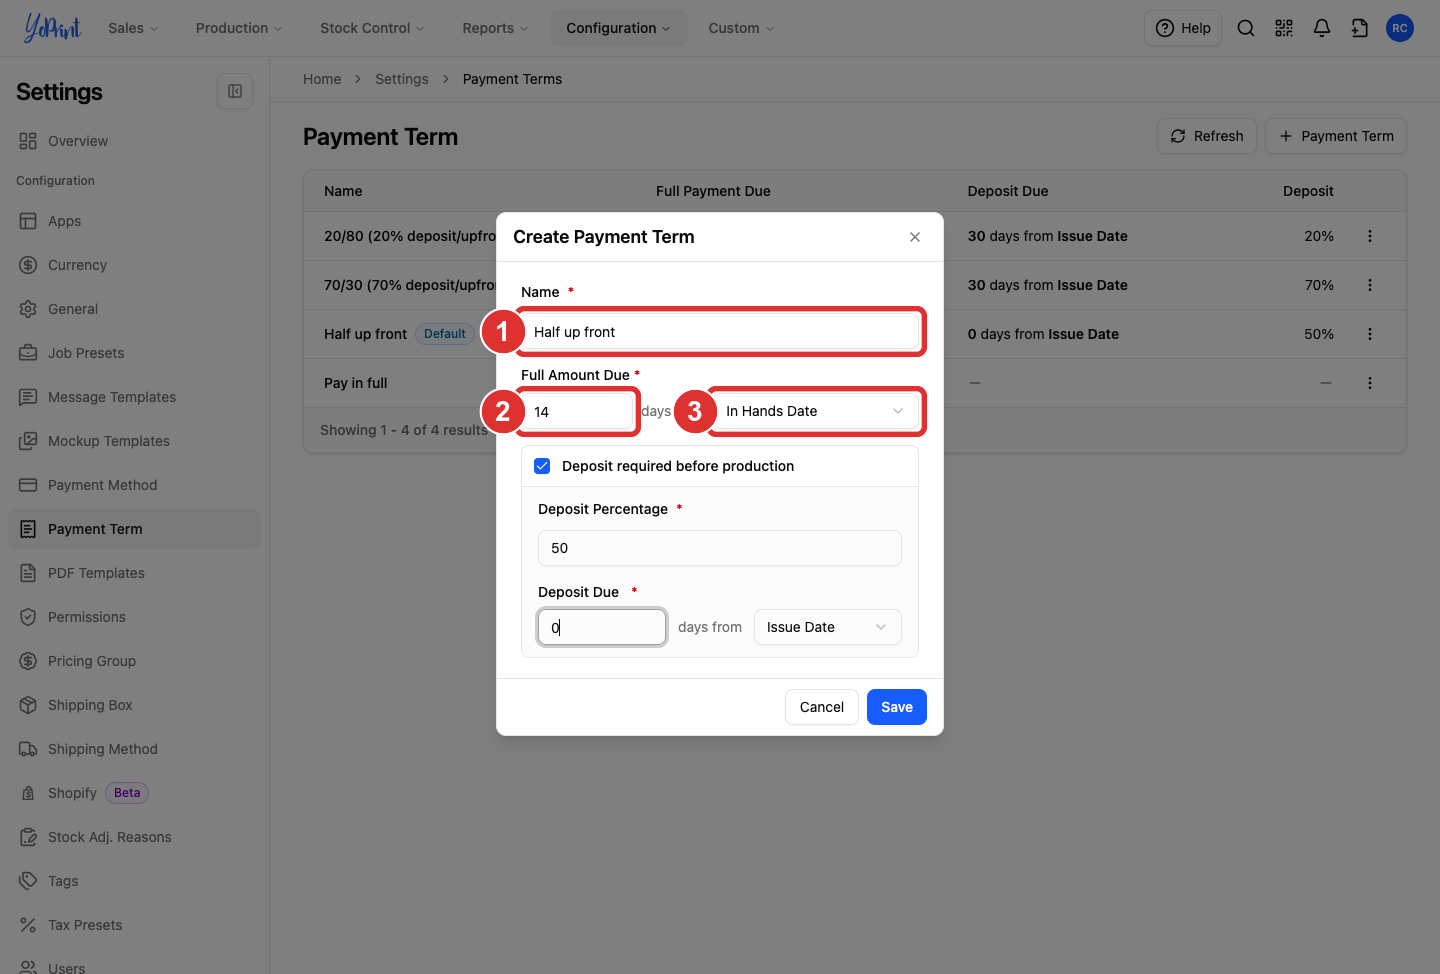
Enter a name for the term, set the number of days in Full Payment Due, and select whether those days count from the in-hands date or the issue date in Full Payment Due From. Counting from the Issue Date sets due dates relative to when the order is created. Counting from the In Hands Date ties payment to customer delivery.
-
If this term requires money up front, turn on Deposit required before production. Enter the deposit percentage, enter the days until the deposit is due in Deposit Due, and select whether those days count from the issue date or the in-hands date in Deposit Due From.
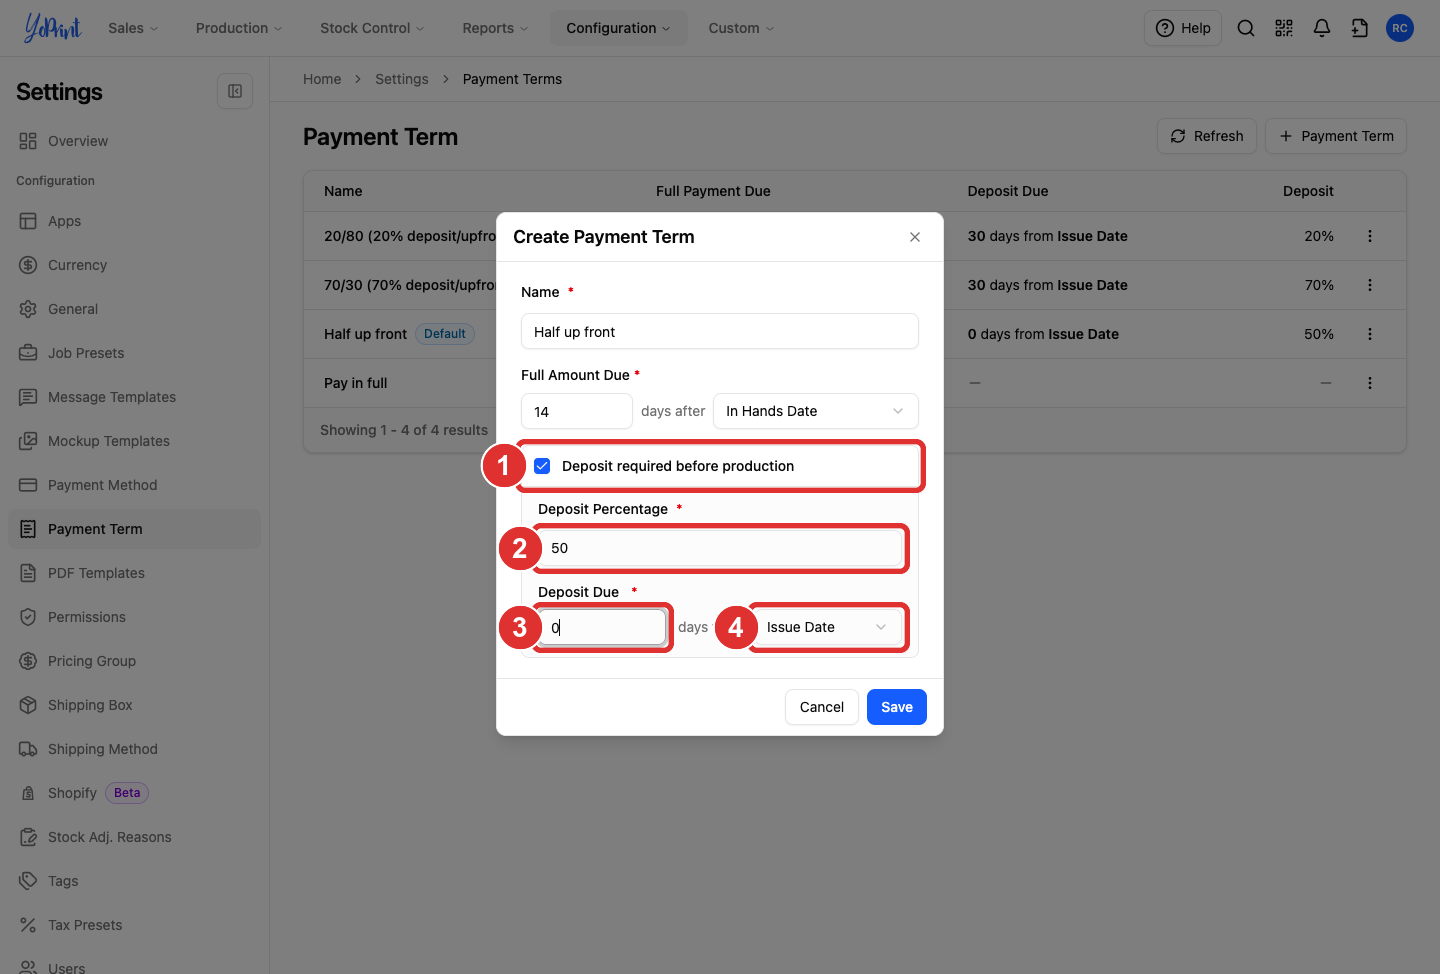
For terms that do not require an up-front deposit (such as "Pay in full"), leave Deposit required before production turned off. The term displays No deposit on the Payment Terms list, and the entire balance becomes due on the full payment due date without requiring a deposit before production starts.
For example, Half up front requires a 50% deposit due 0 days from the issue date (due immediately upon order creation), with the balance due 14 days from the in-hands date.
-
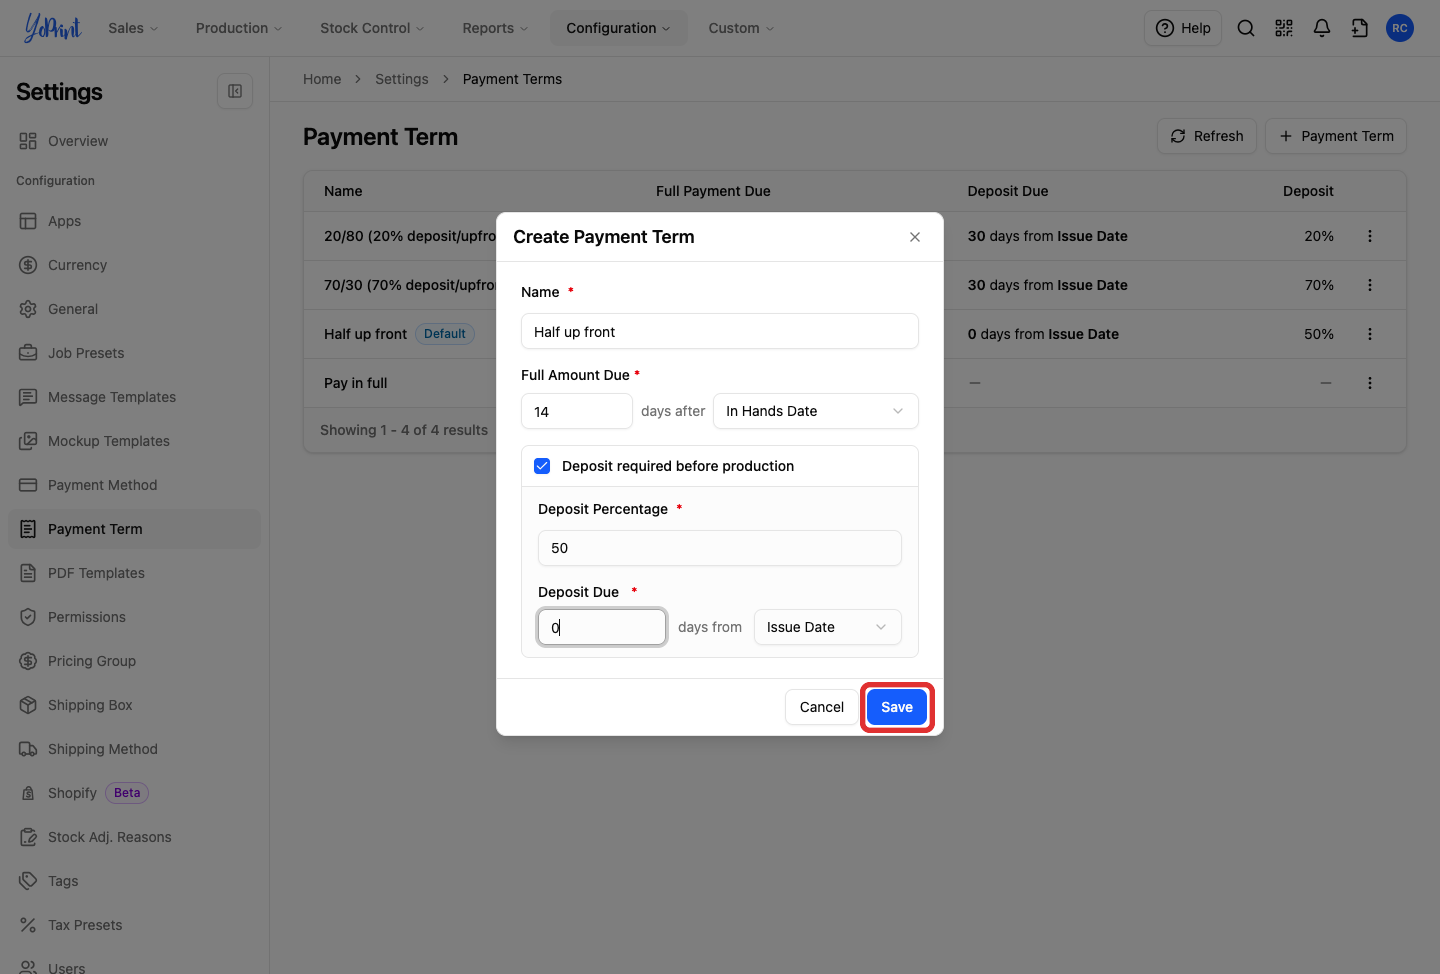
Click Save.
Set a term as default
To apply a payment term to all new quotes and sales orders automatically:
-
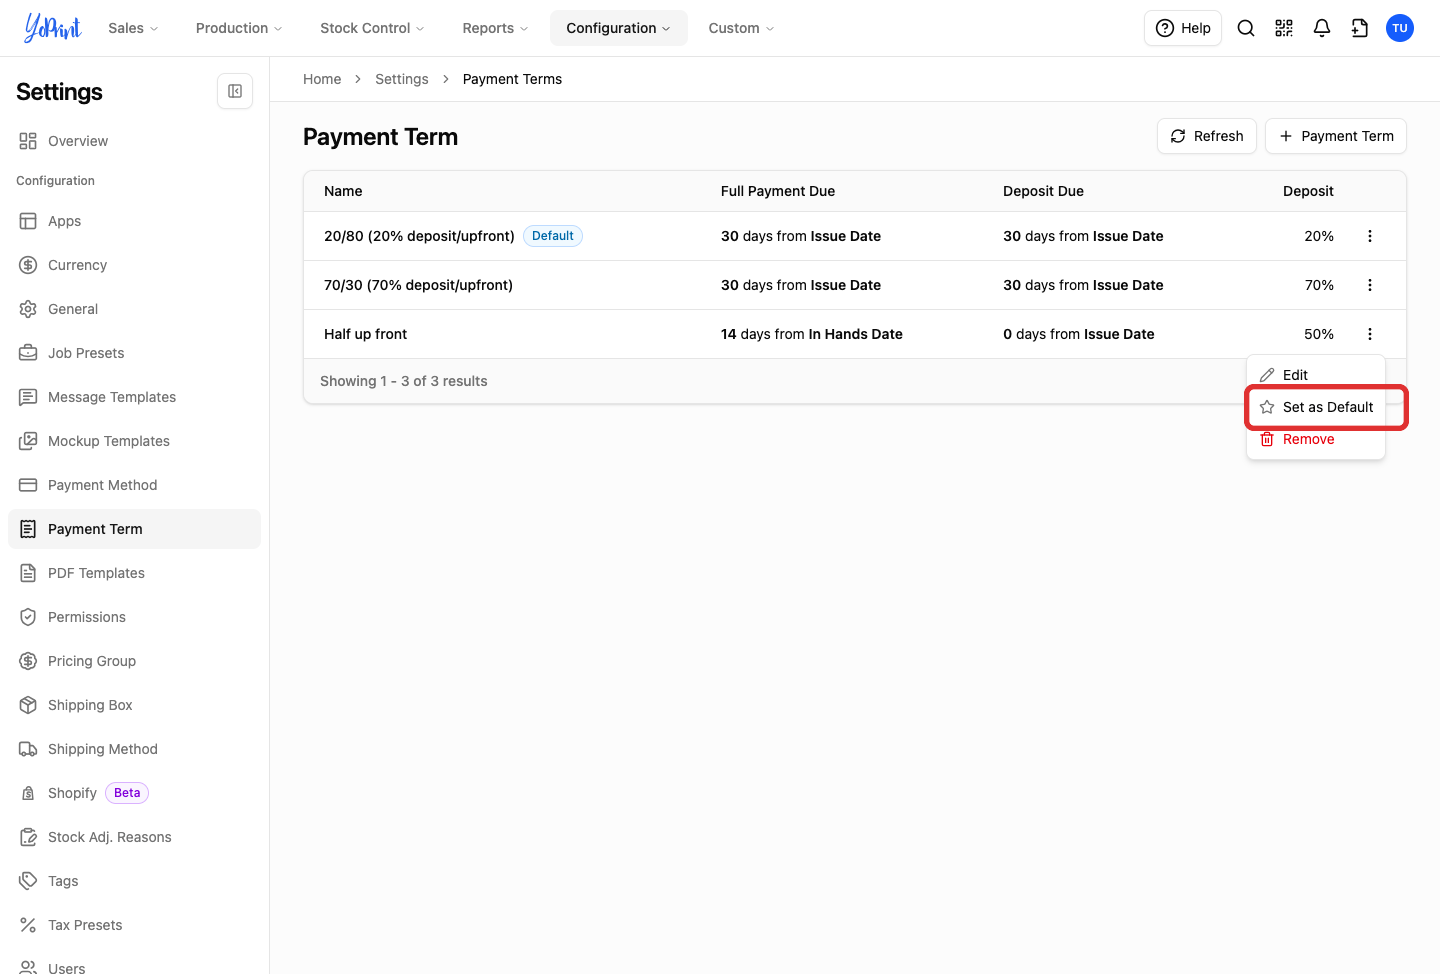
Open the three-dot row menu on the payment term.
-
Click Set as Default.
Orders for customers with their own assigned payment terms will continue using the customer's term.
Edit or remove a payment term
-
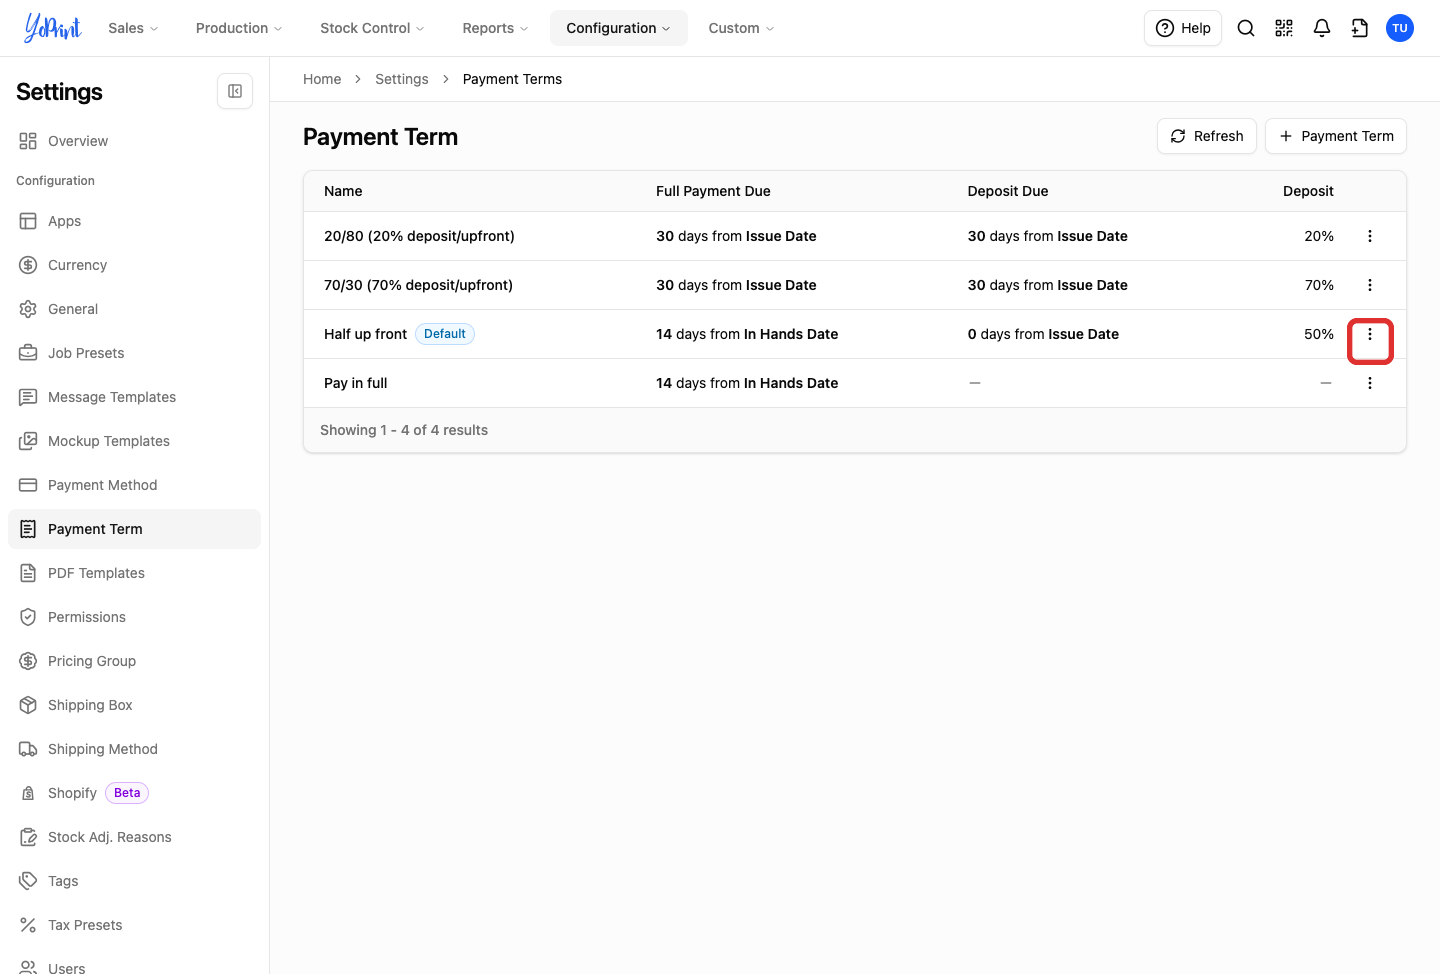
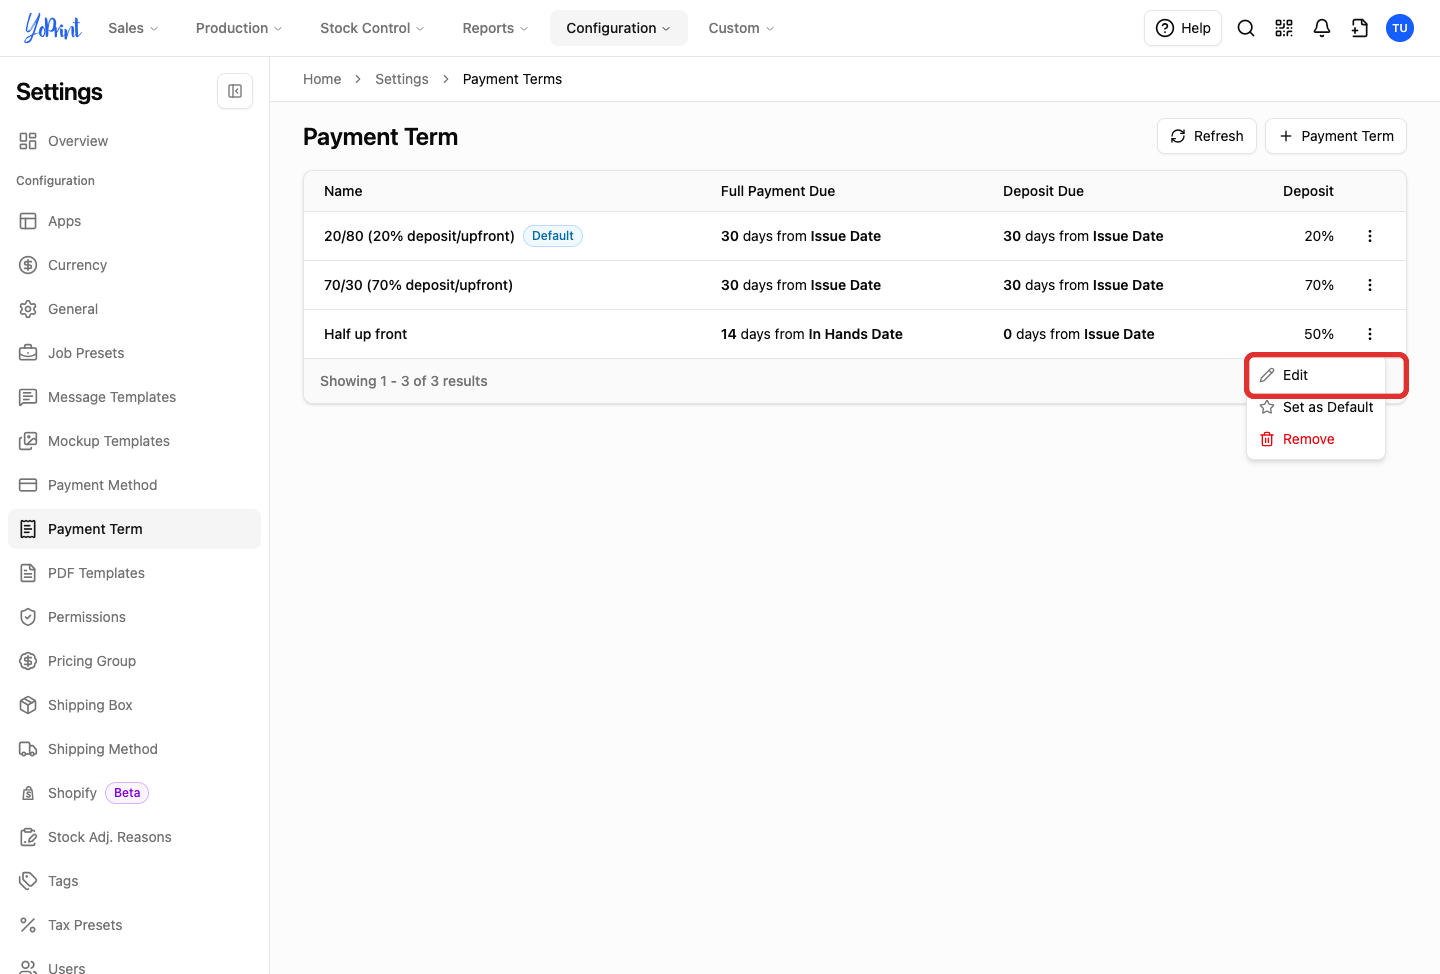
Open the three-dot row menu on the payment term you want to change.
-
Click Edit.
-
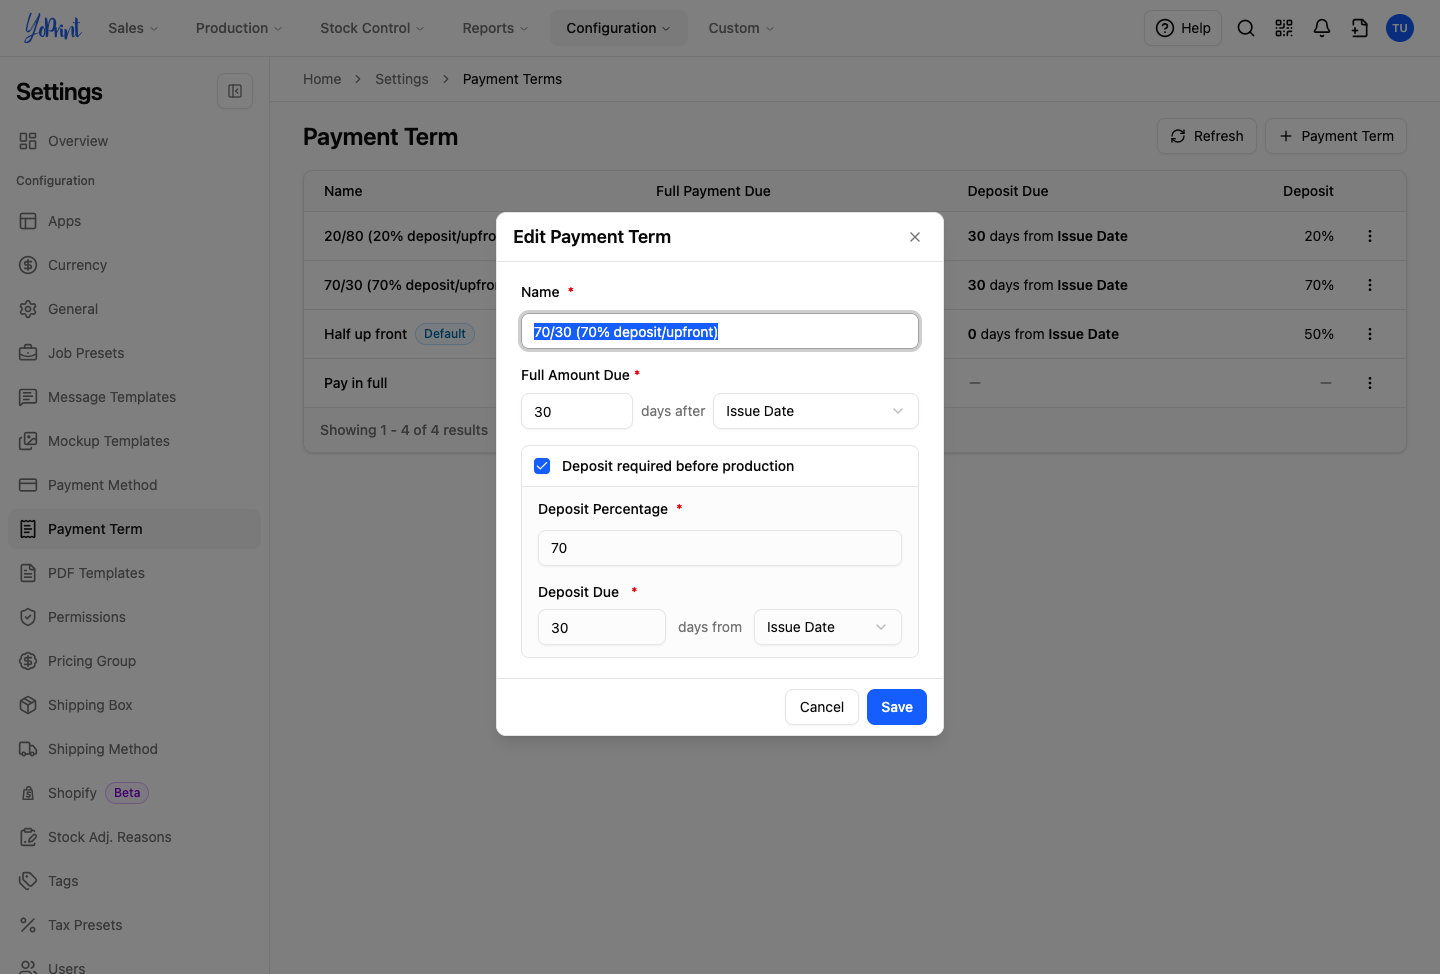
Modify the term's details, such as the deposit percentage or due dates.
-
Click Save.
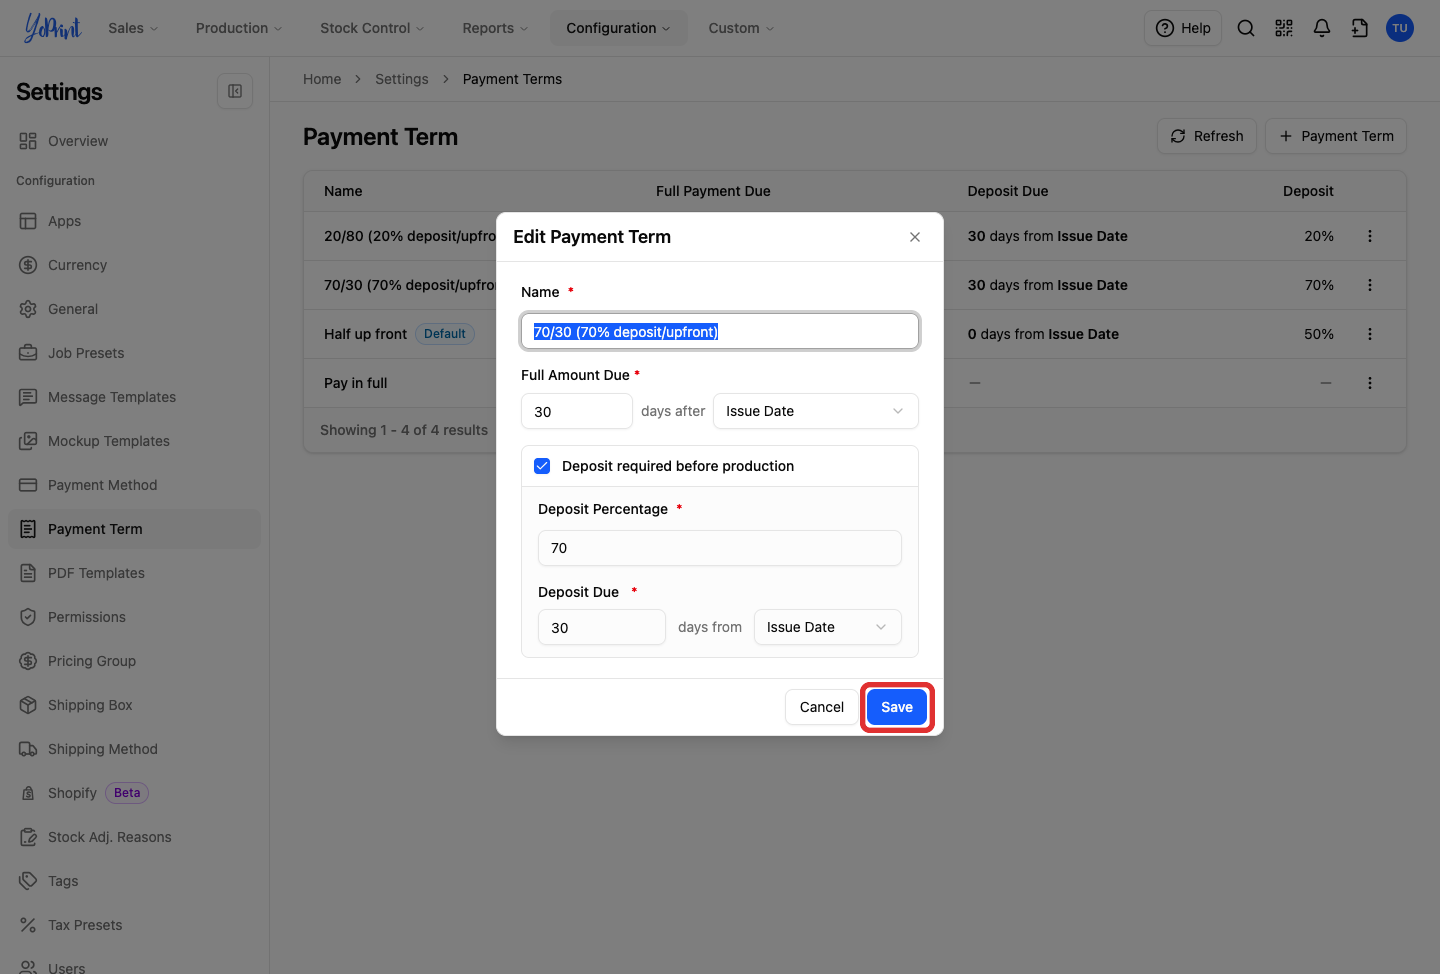
Modifying a payment term updates the preset for future orders; existing quotes and orders keep their saved dates and terms.
Remove a payment term
To delete a term your shop no longer uses:
-
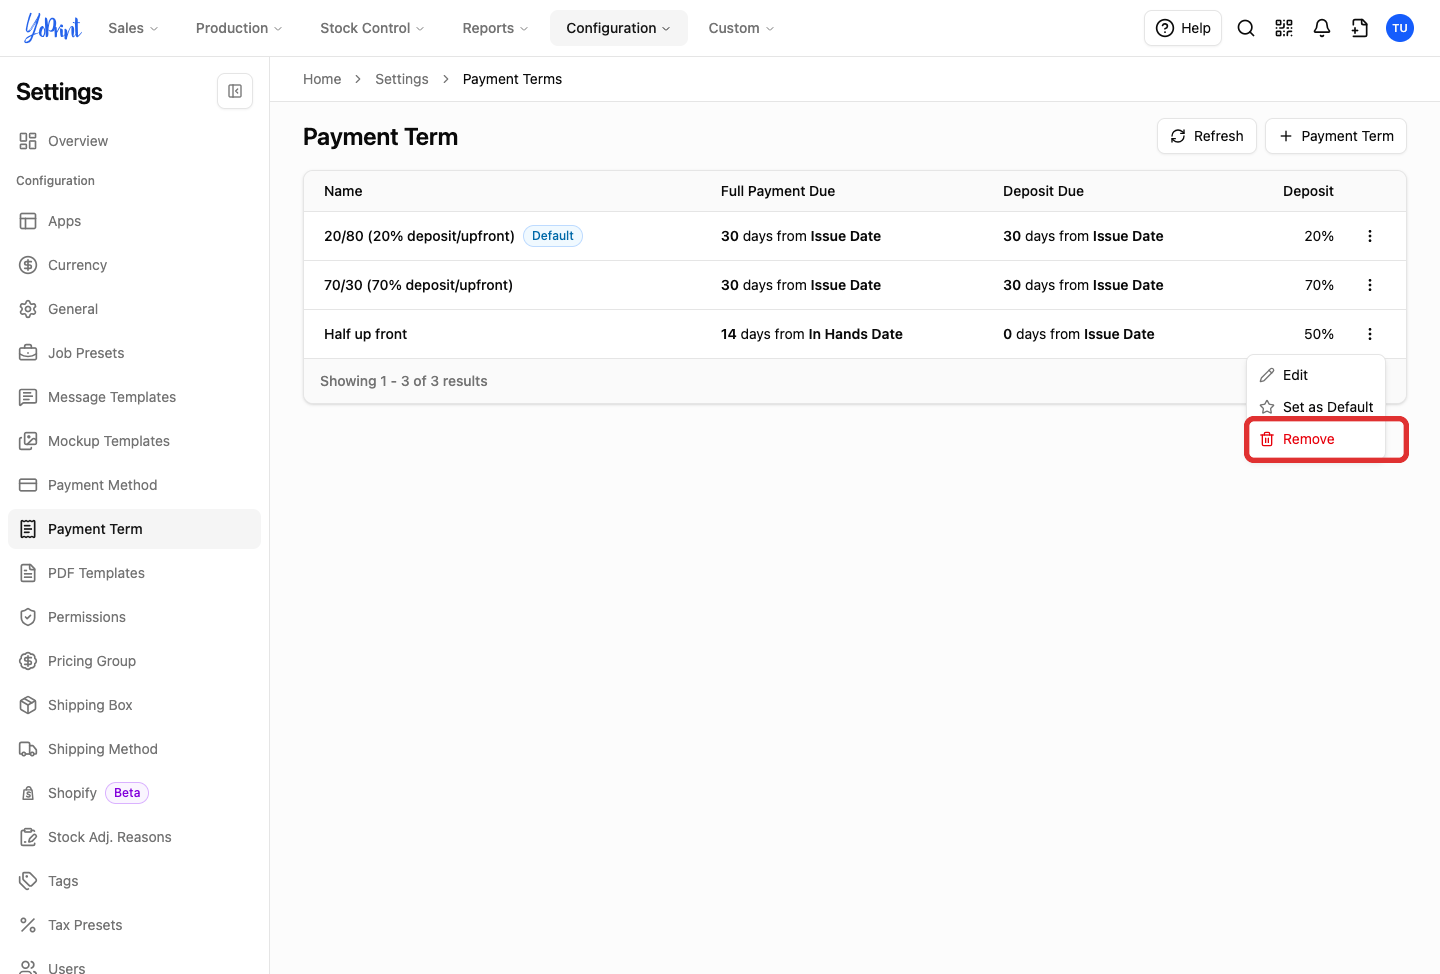
Open the three-dot row menu on the payment term and select Remove.
-
In the confirmation dialog, click Remove to permanently delete the term.
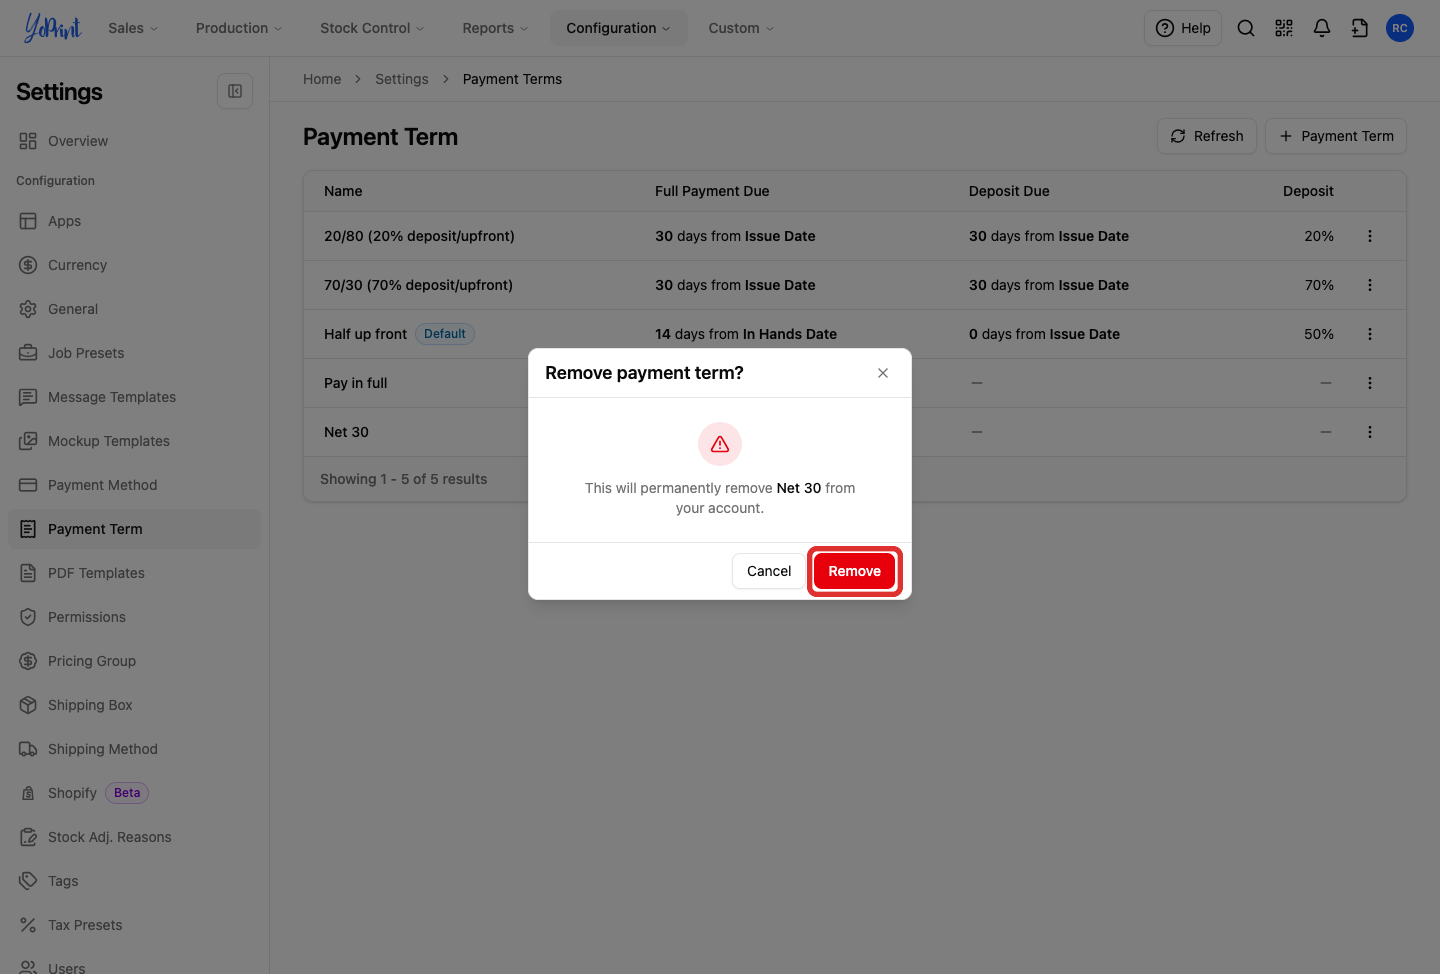
Removing a payment term is permanent and cannot be undone. If removed by mistake, you can create the term again. A payment term currently set as default cannot be removed; to delete a default term, set another term as default first.
Give one customer a different term
Go to Sales > Customers and double-click the customer's row to open their record.
-
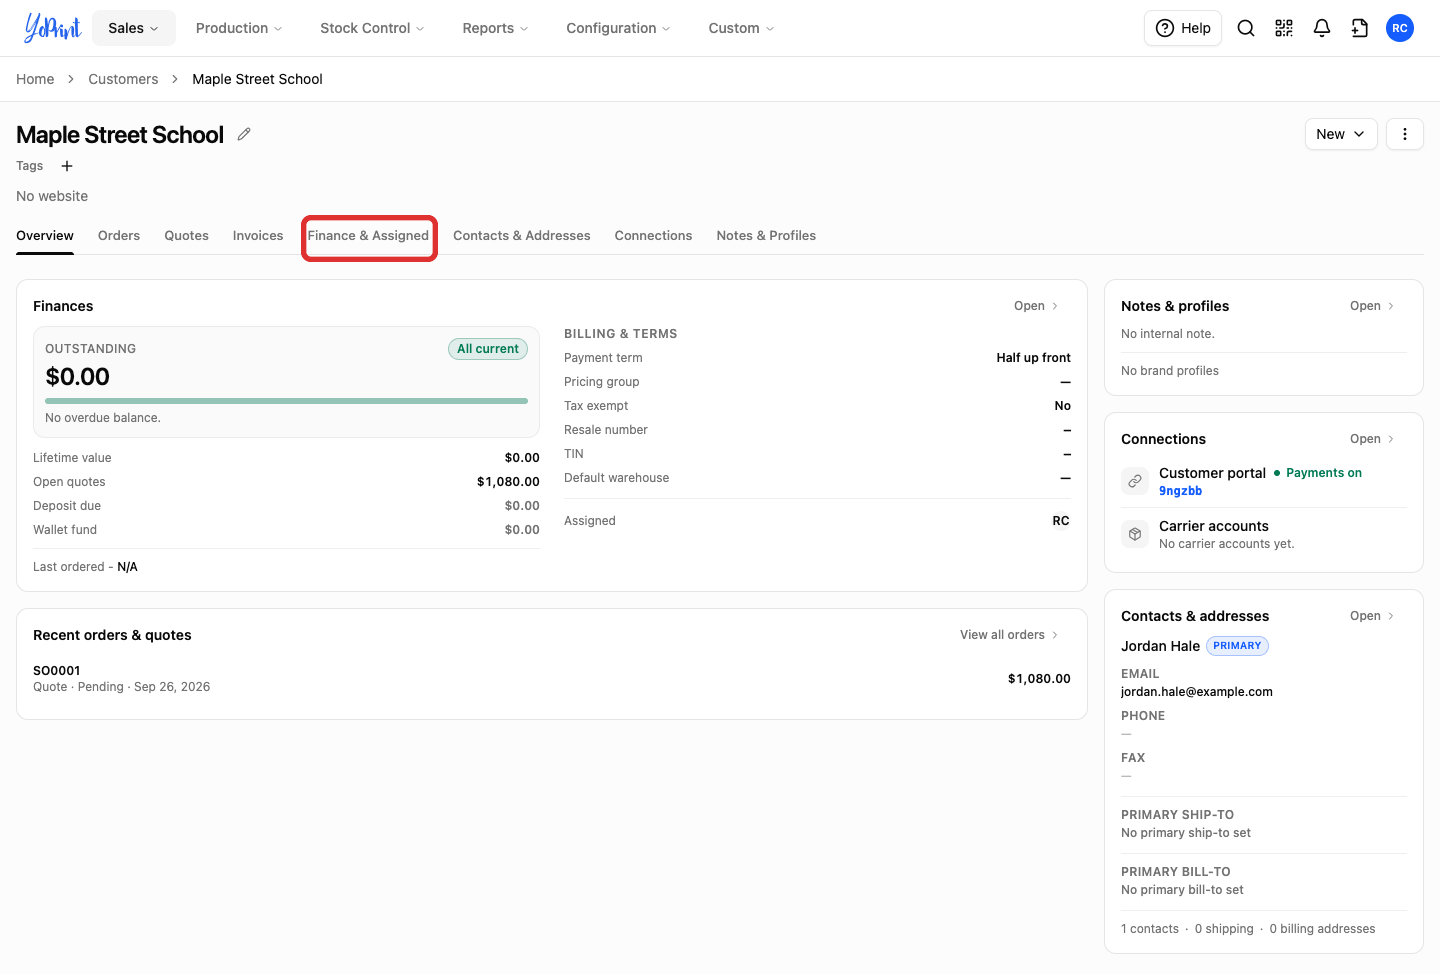
Click the Finance & Assigned tab.
-
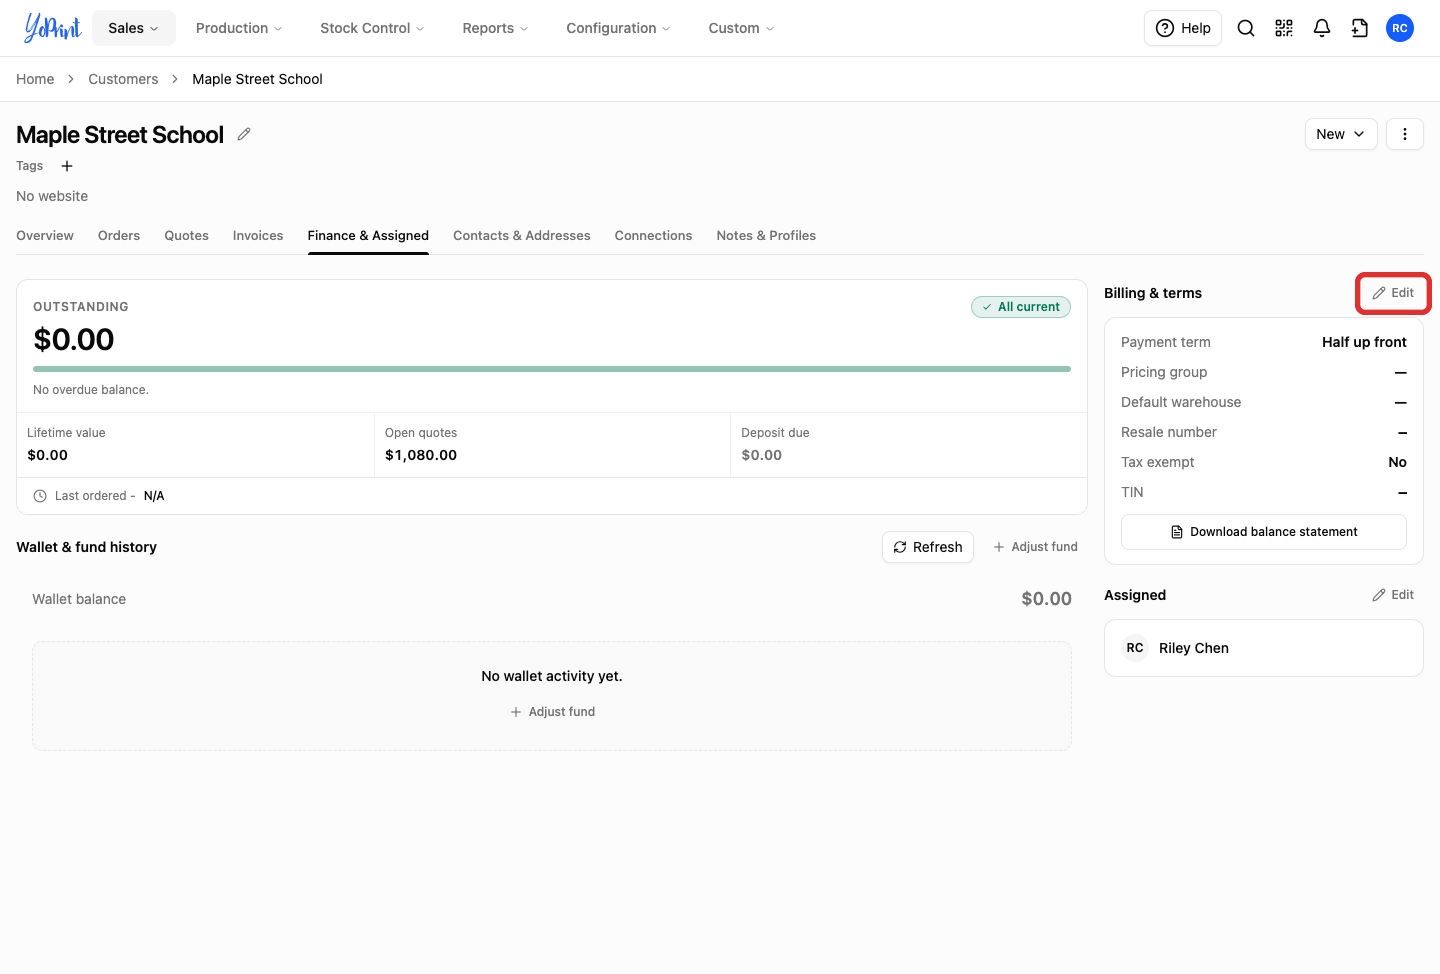
In the Billing & terms section, click Edit.
-
In the Payment term dropdown, select the term for this customer.
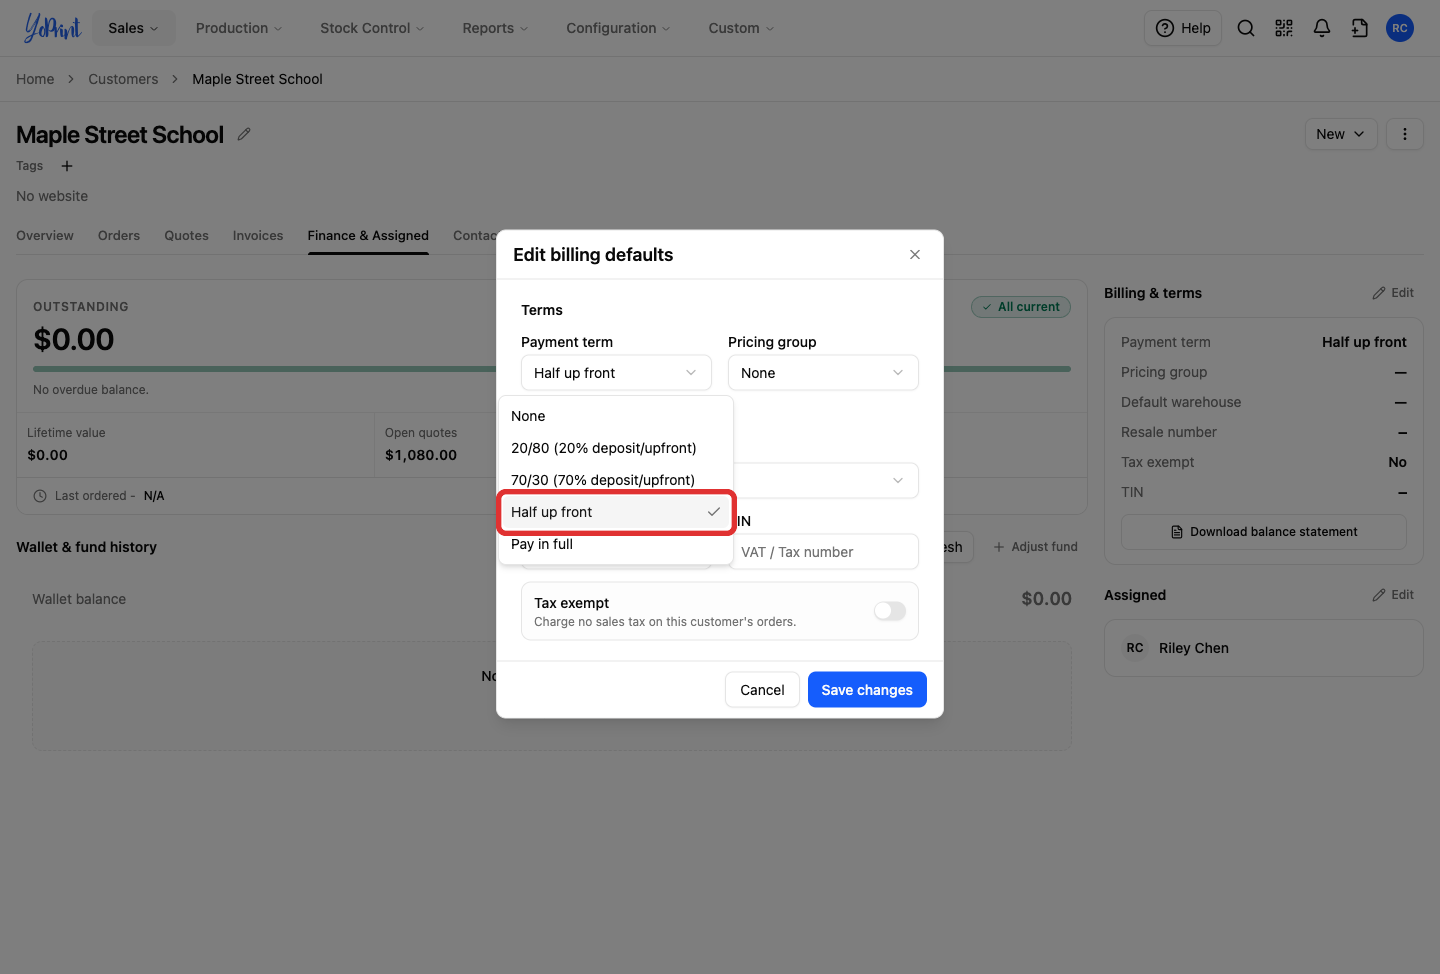
The Edit billing defaults dialog also includes a Pricing group dropdown for customer-specific price levels. Payment terms and pricing groups operate independently: leave Pricing group unchanged unless you also want to adjust this customer's pricing tier.
-
Click Save changes.
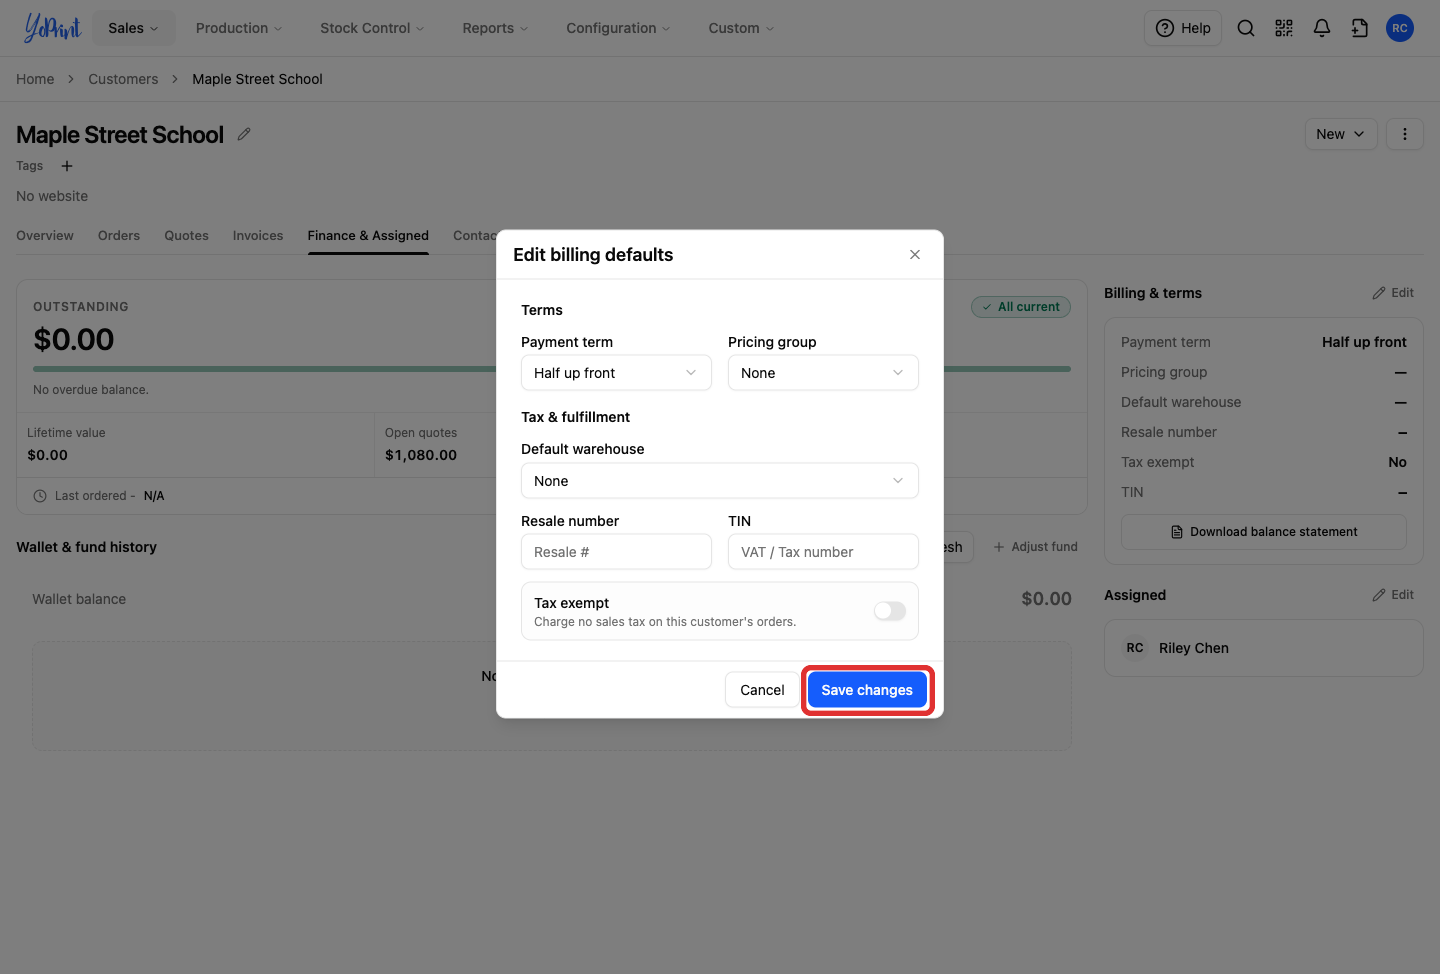
YoPrint automatically applies this payment term the next time you create a quote or sales order for this customer. Existing quotes and orders are not affected; to update an existing order, edit the payment term directly on that quote or order.
Change the deposit on one quote
You can adjust deposit requirements, percentages, or due dates on an individual quote or sales order without changing your shop presets. Sales orders use the same Payment Term settings. Go to Sales > Quotes and double-click the quote to open it.
-
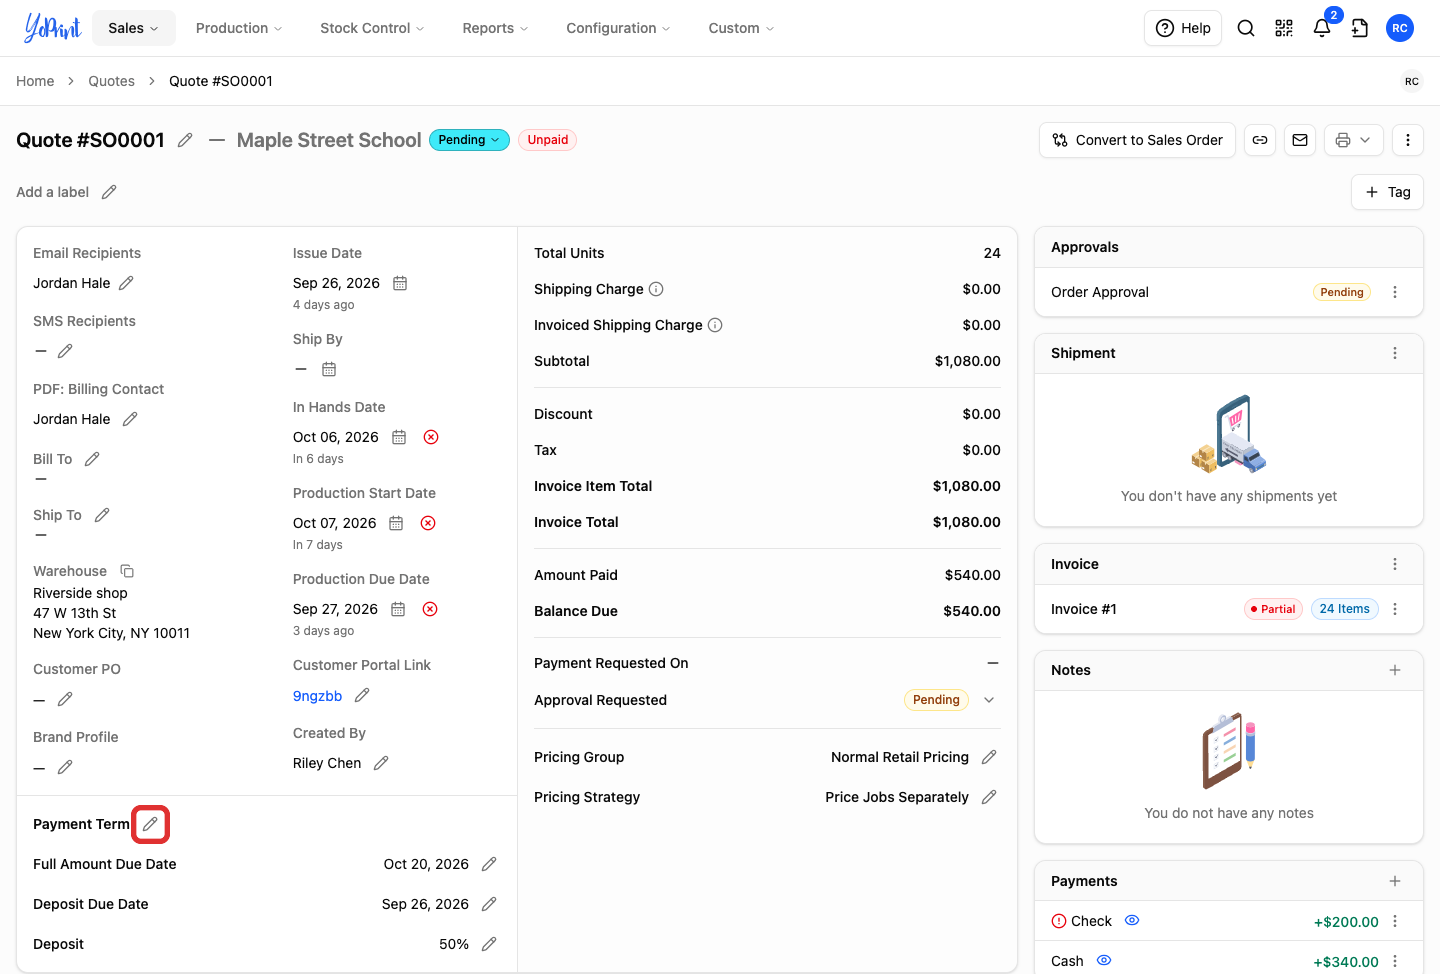
On the quote, click the pencil edit icon beside the Payment Term section header.
-
Set the Deposit percentage and Deposit Due date, keeping Collect Deposit checked. Context notes below the dates indicate how each date calculates relative to the quote's issue date and in-hands date. Selecting a date on the calendar fixes that exact due date for this order.
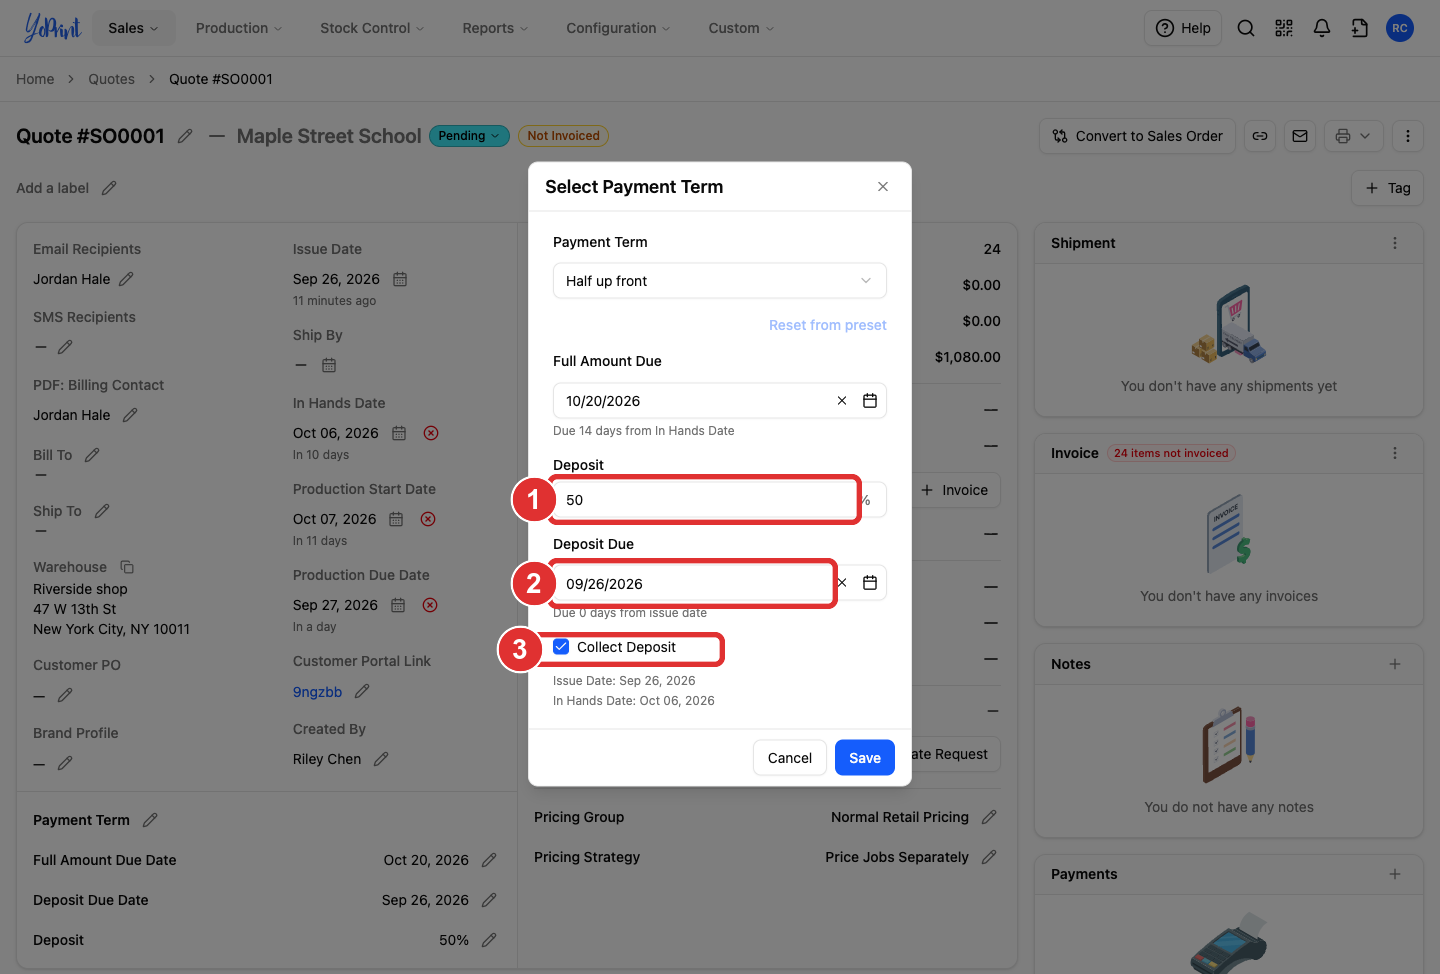
Click Reset from preset if you want to restore the payment term's original deposit percentage and calculation rules. If production or delivery dates change later, resetting recalculates due dates using the term's relative rules. On this quote, resetting Half up front sets the deposit to the issue date (Sep 26, 2026) and the balance to 14 days after the in-hands date (Oct 20, 2026).
-
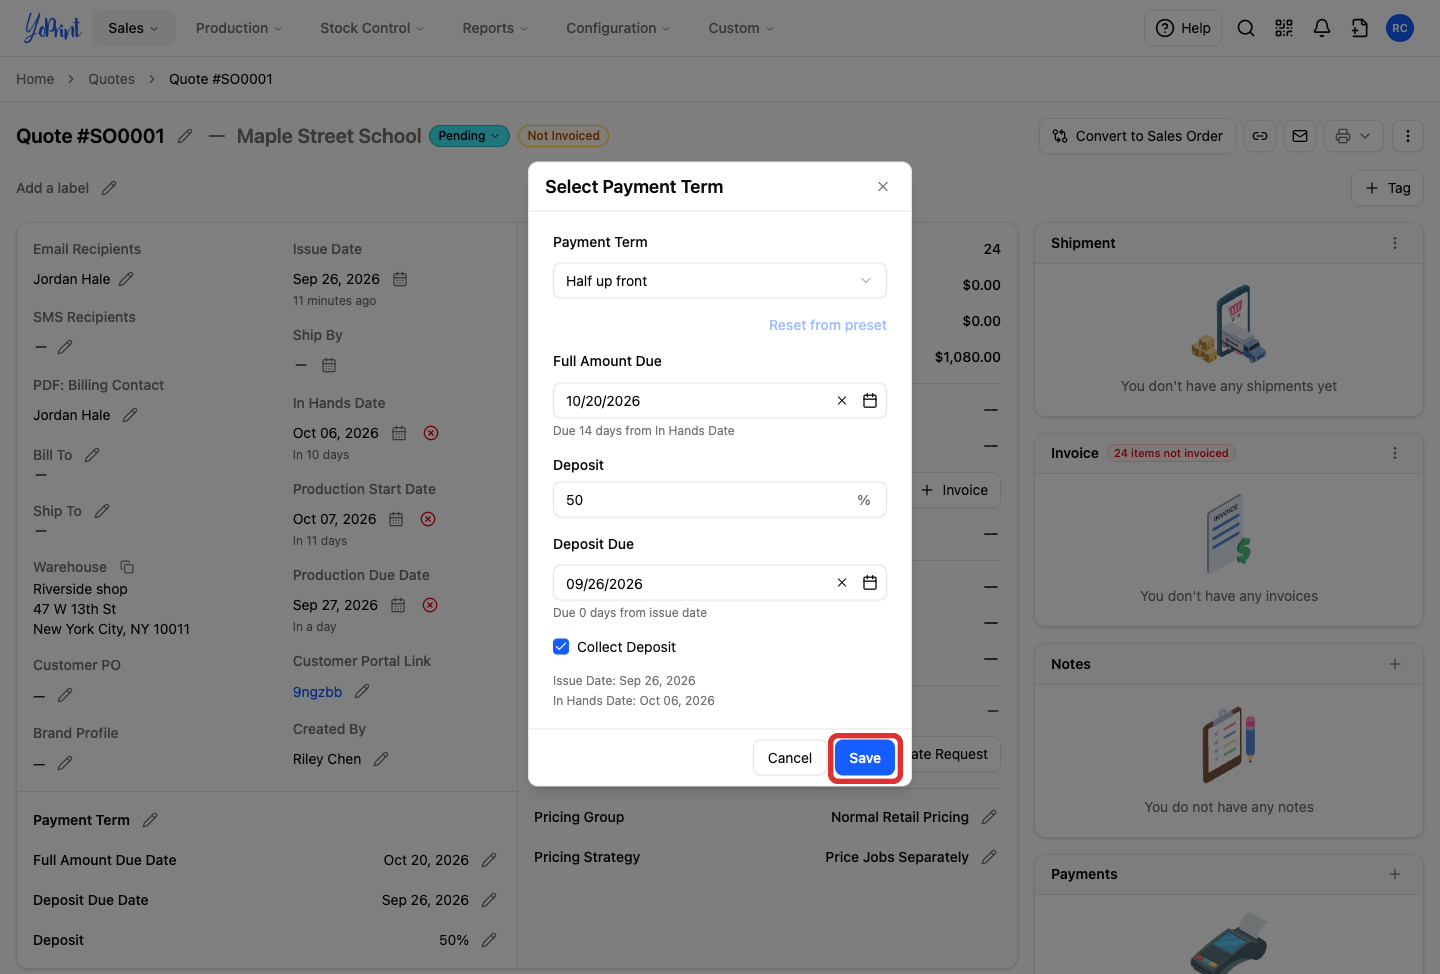
Click Save.
Turn off the deposit for an individual quote
To waive the deposit requirement on a single order, uncheck Collect Deposit. The deposit percentage and deposit due date fields disappear, leaving only the full amount due date. Click Save to apply the change. Your team preset and other customer orders remain unchanged.

Read the deposit amount
YoPrint calculates the dollar amount for Deposit Due from invoiced line items and applicable taxes. Because the deposit percentage applies to invoiced totals, Deposit Due remains blank on the quote until line items are added to an invoice.
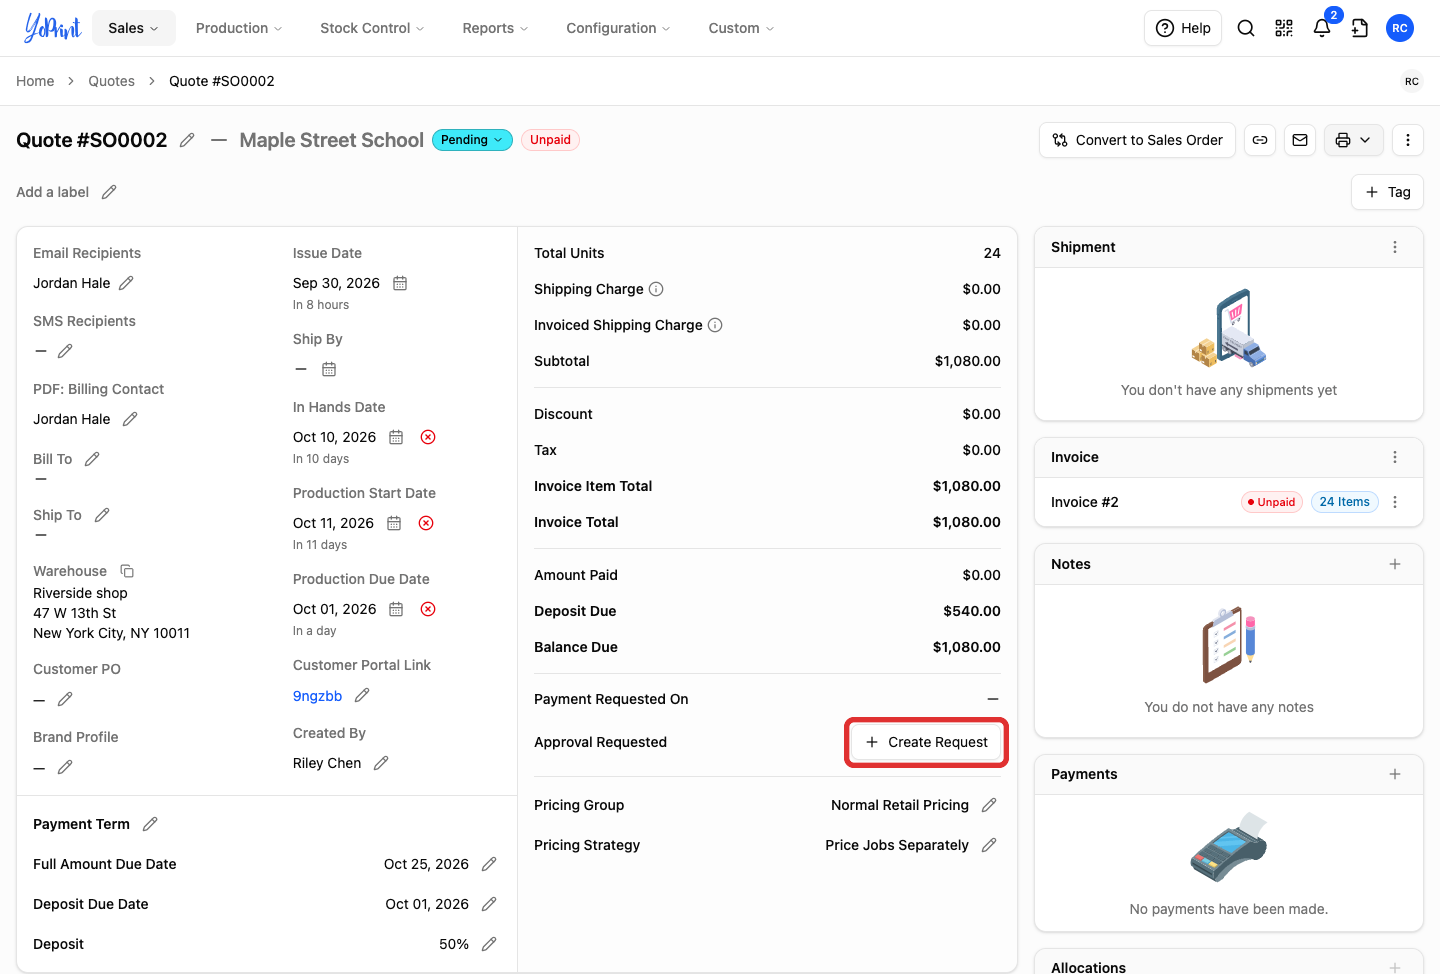
Once an invoice is created, Deposit Due appears in the quote's financial breakdown panel to display the required deposit amount. Deposit Due shows the portion of the total required up front (for example, $540.00 on a $1,080.00 order with a 50% deposit term). Balance Due reflects the total unpaid amount on the order ($1,080.00) until payments are recorded. Once the deposit is paid, Balance Due decreases to the remaining balance ($540.00) and Deposit Due clears from the summary.

To create the invoice, click the three-dot Invoice Actions menu in the Invoice section, select Add Invoice, choose the line items to invoice, assign your tax preset, and save. In this example, the invoice uses Tax Free, keeping the total at $1,080.00. For details on automated sales tax calculation, see Automatic Sales Tax.
Approval does not collect the deposit
-
On the quote under Approval Requested, click + Create Request.
-
In the Create Quote Approval dialog, click Create to create the request internally, or click Create & Email Customer to email the request to your customer.
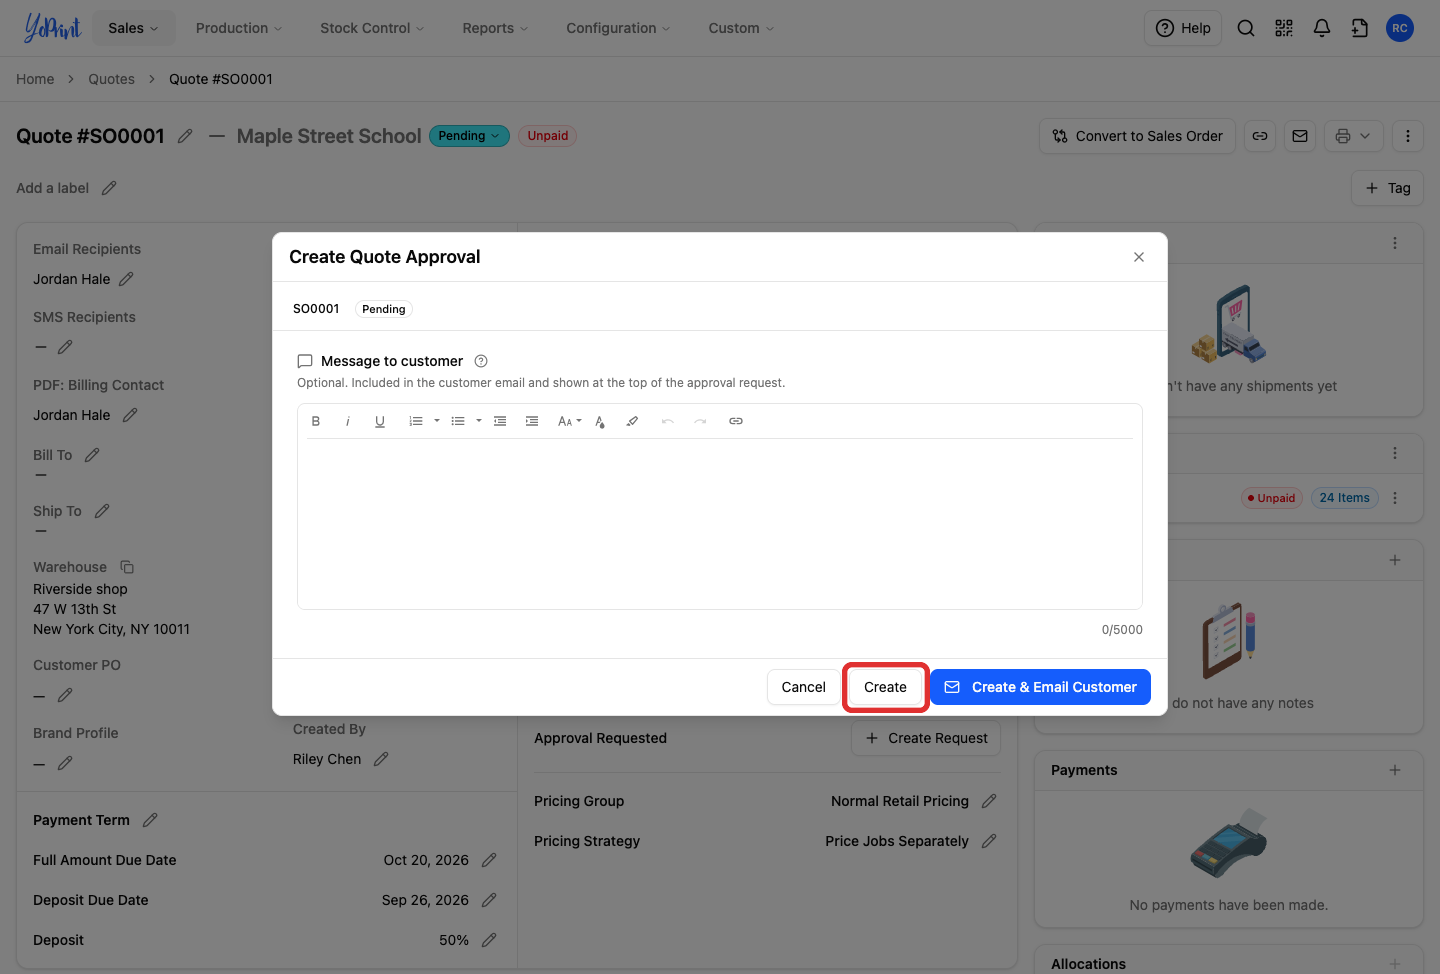
Requesting quote approval only asks the customer to approve the job specifications and pricing. It does not collect the deposit, process an electronic charge, or populate the Payment Requested On field. Approval Requested updates to Pending, while Deposit Due remains outstanding. The Payment Requested On field populates only when you formally send a payment request email to your customer (by selecting Send Payment Request from the quote's Quick Actions menu).
Payment terms set due dates and calculate deposit amounts, but do not automatically charge cards. To collect payment, send a payment request for your customer to pay online through the customer portal, or record manual payments received at your shop.
To learn how customers review and approve quotes, see How To Get Quote Approval From Your Customer. To send an email requesting payment for the deposit or balance, see Collect and Record Payments. To record manual payments such as cash or checks, see Customizing Payment Method.