Configure Pricing Matrix in YoPrint
In YoPrint, embellishments or decorations are referred to as services. Each service includes a pricing matrix and designated application locations.
Learn how to add and set up a pricing matrix inside YoPrint.
Add a pricing matrix
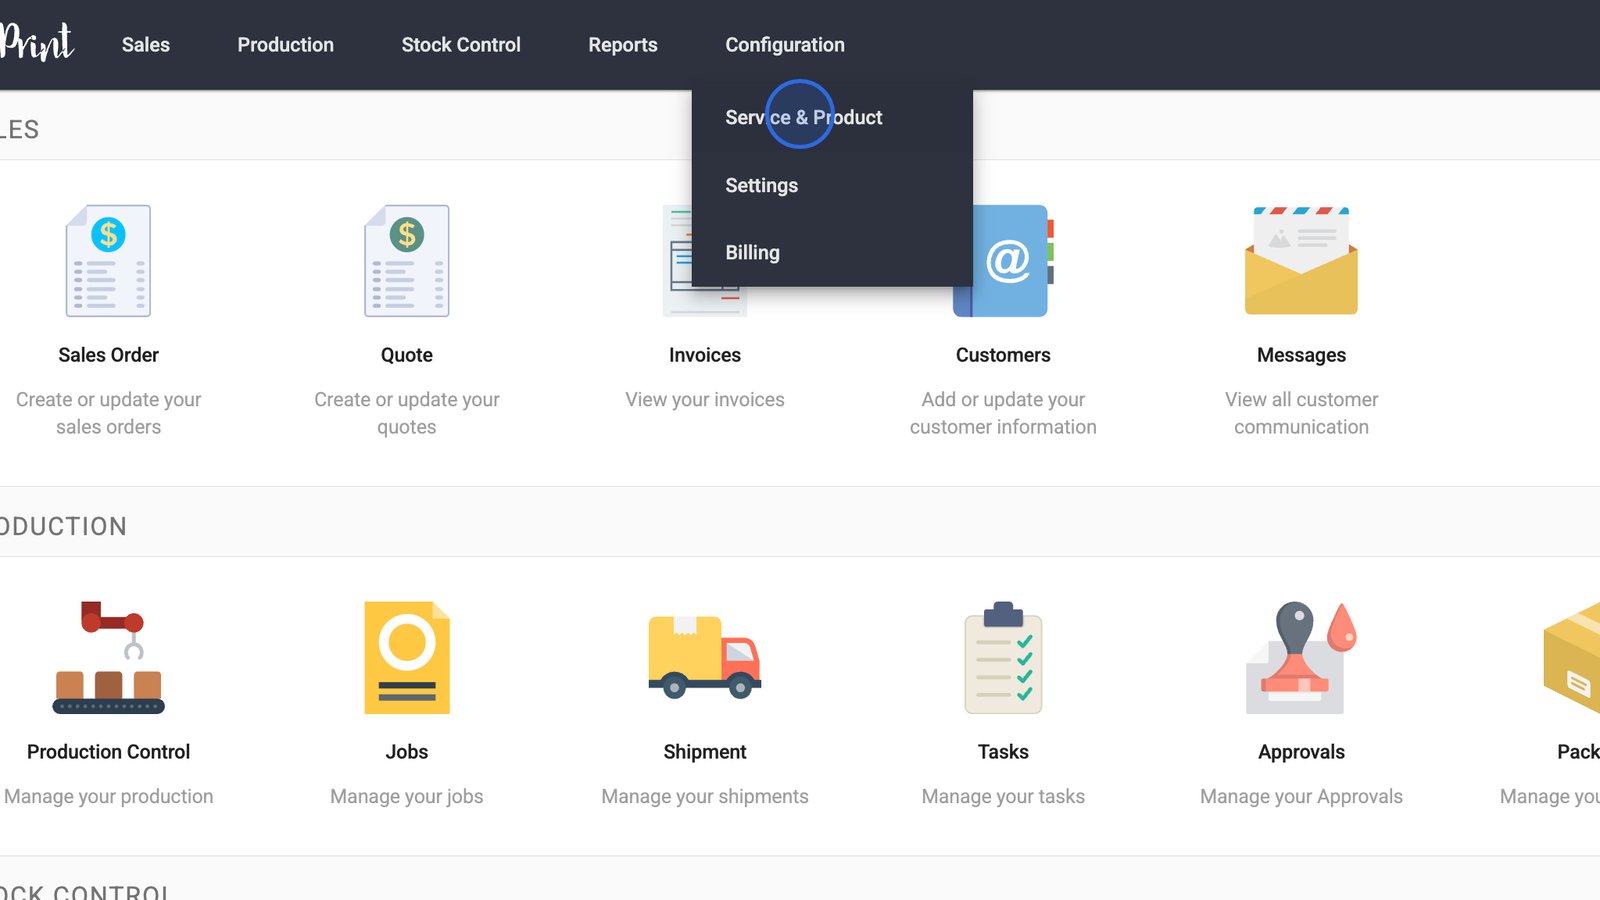
- To get started, select Service & Product from the Configuration menu.
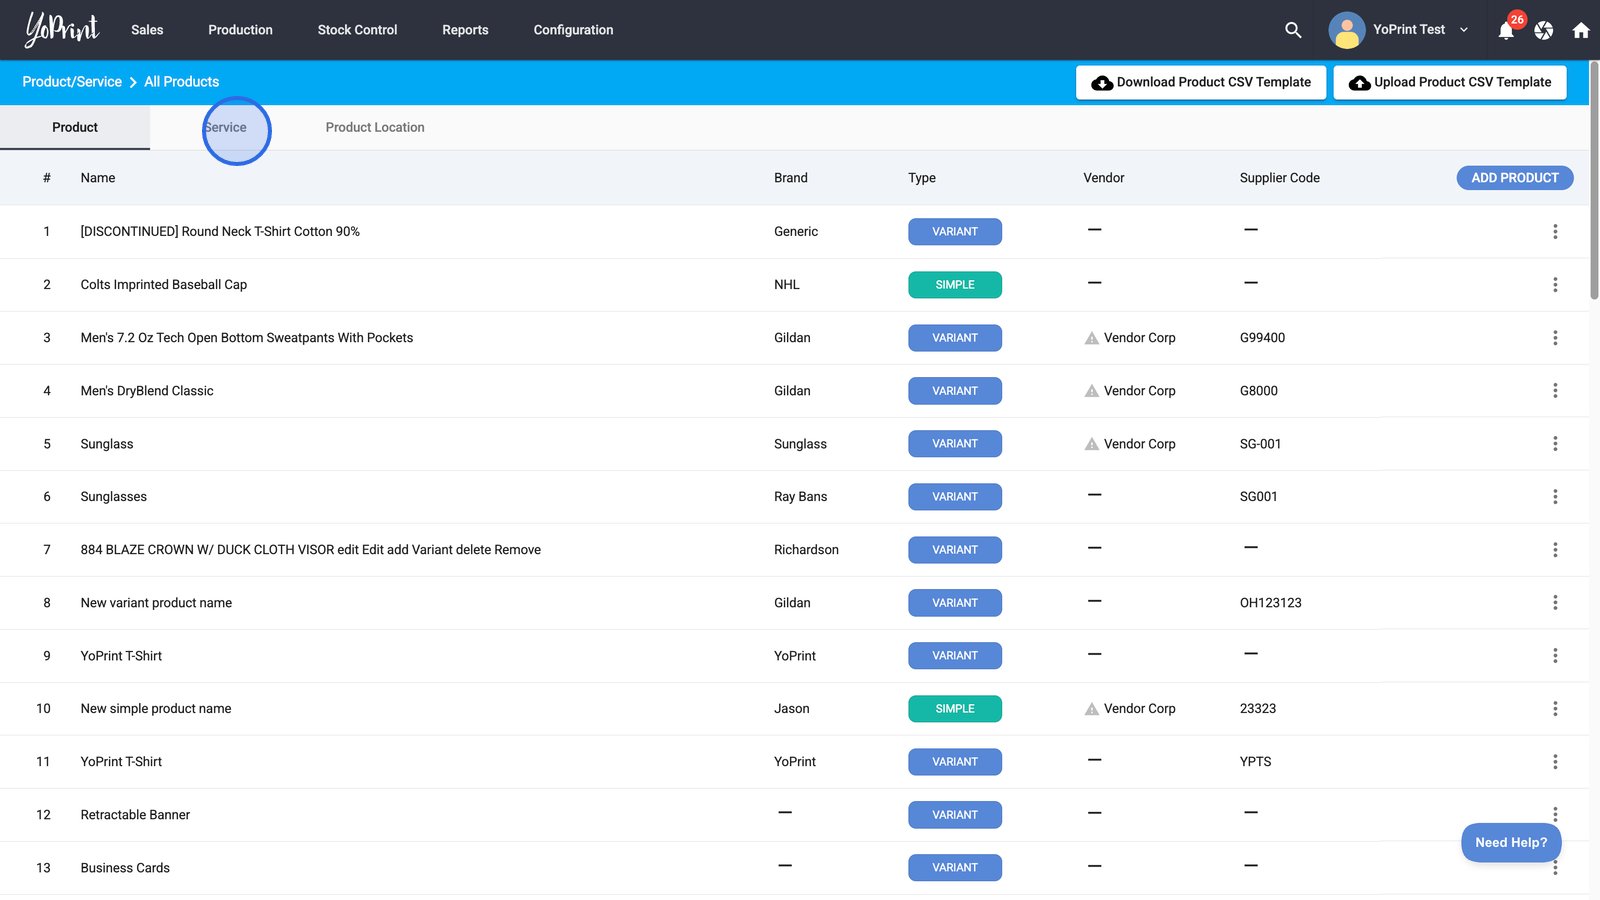
- Switch to the Service tab to access the pricing matrices page.
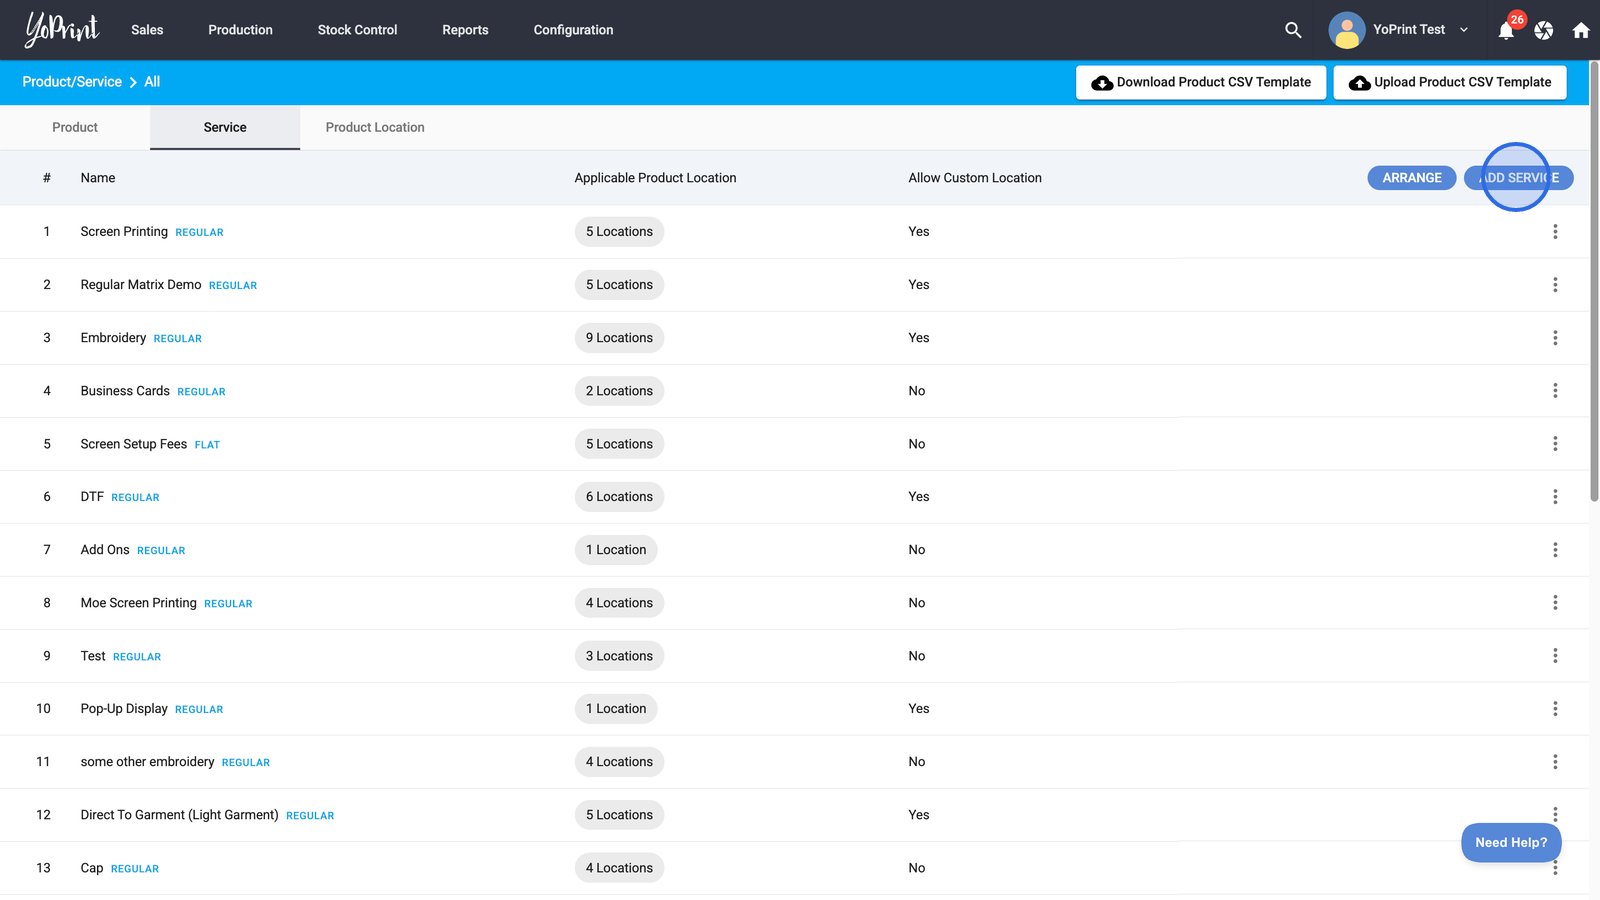
- Click Add Service to begin creating a new pricing matrix.
In this example, we will use the Regular Matrix.
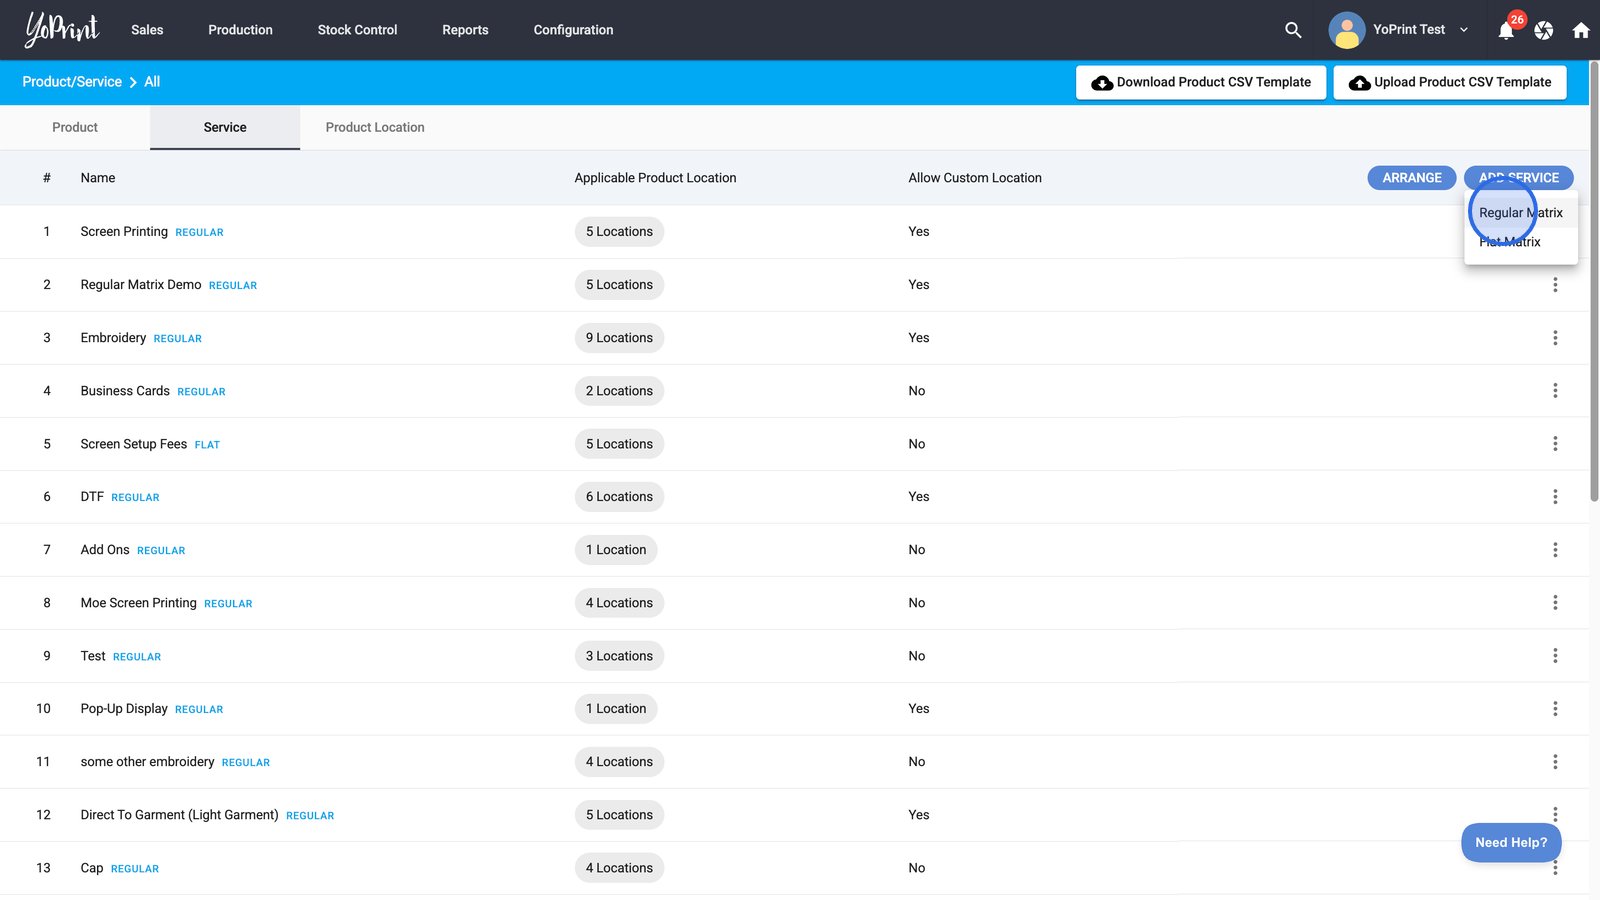
Regular Matrix vs Flat Matrix
The Flat Matrix differs from the Regular Matrix in how pricing is calculated. With a Flat Matrix, the price is charged once per job rather than per garment in the cart, and the total cost is evenly distributed across all line items.
For example, if the price for 1 - 100 garments is set at $6.99, and you have 50 items in the cart:
- Regular Matrix: The total cost would be $6.99 × 50 = $349.50 (charged per garment).
- Flat Matrix: The total cost remains $6.99, regardless of the quantity.
This makes the Flat Matrix ideal for services with a fixed cost, such as setup fees or one-time charges.
- Enter a unique name for your pricing matrix.
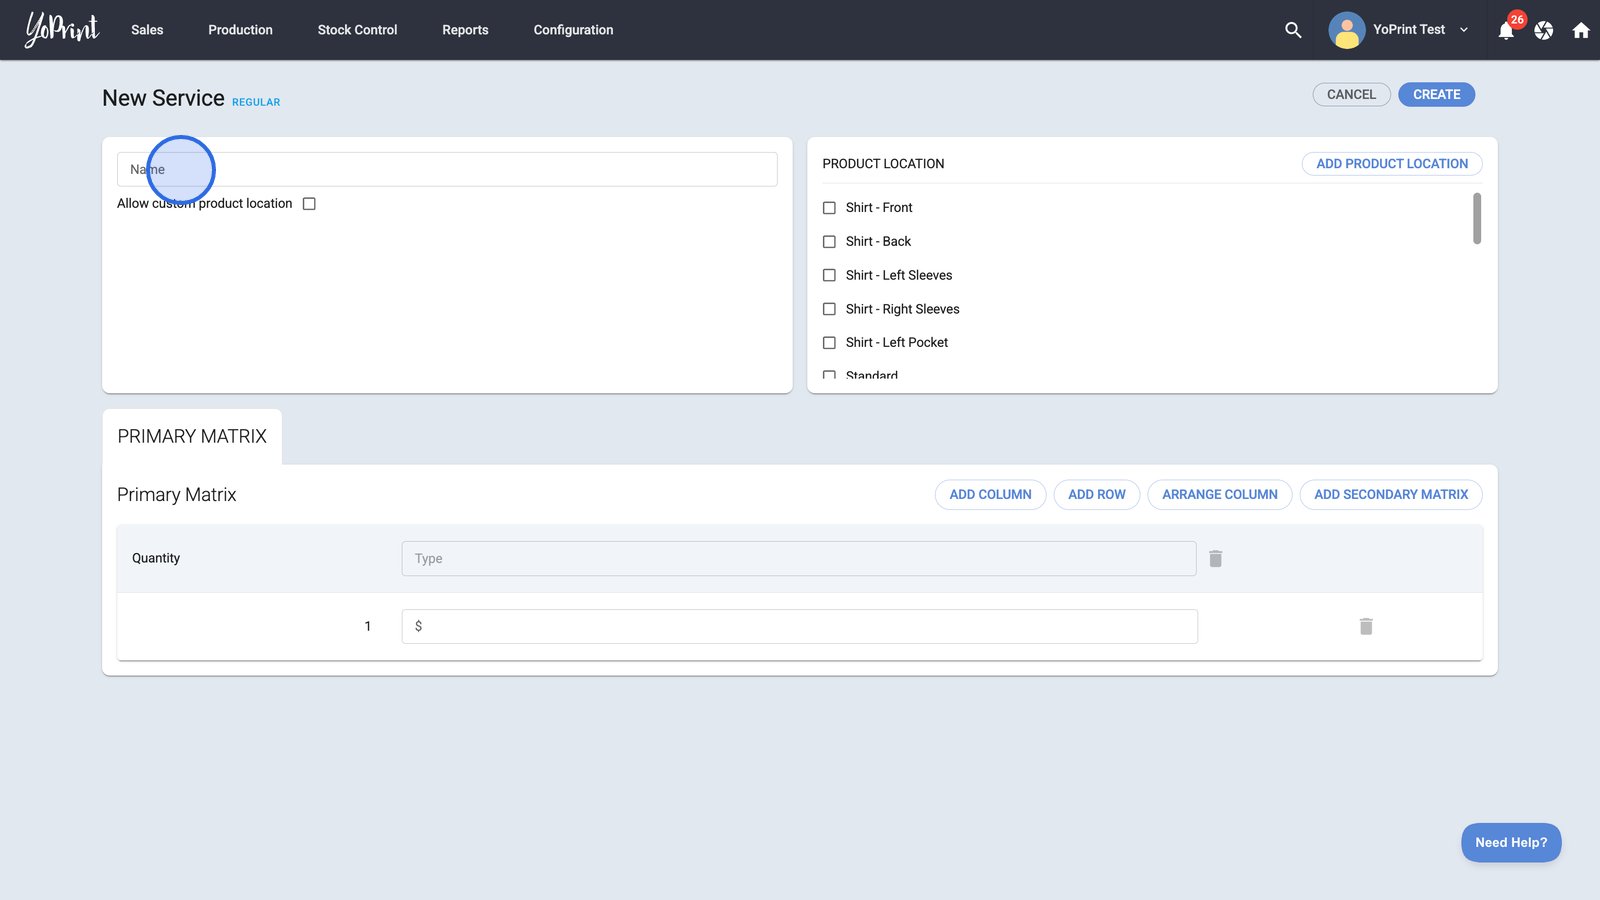
You have the option to enable the Allow custom product location setting if you want customers to be able to specify their preferred locations for this service.
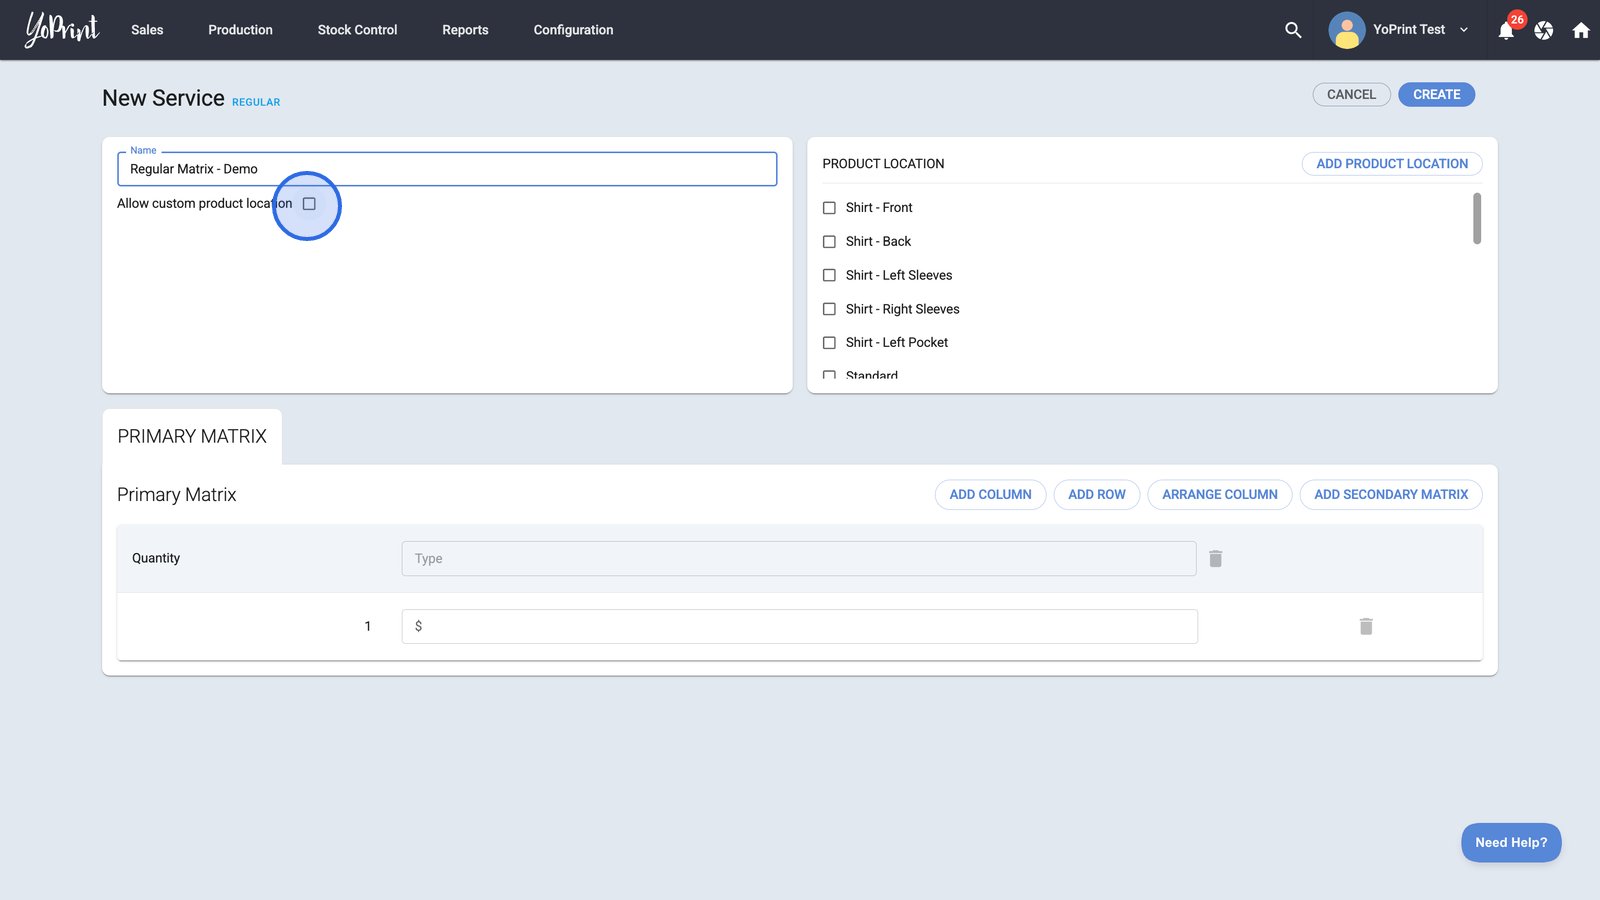
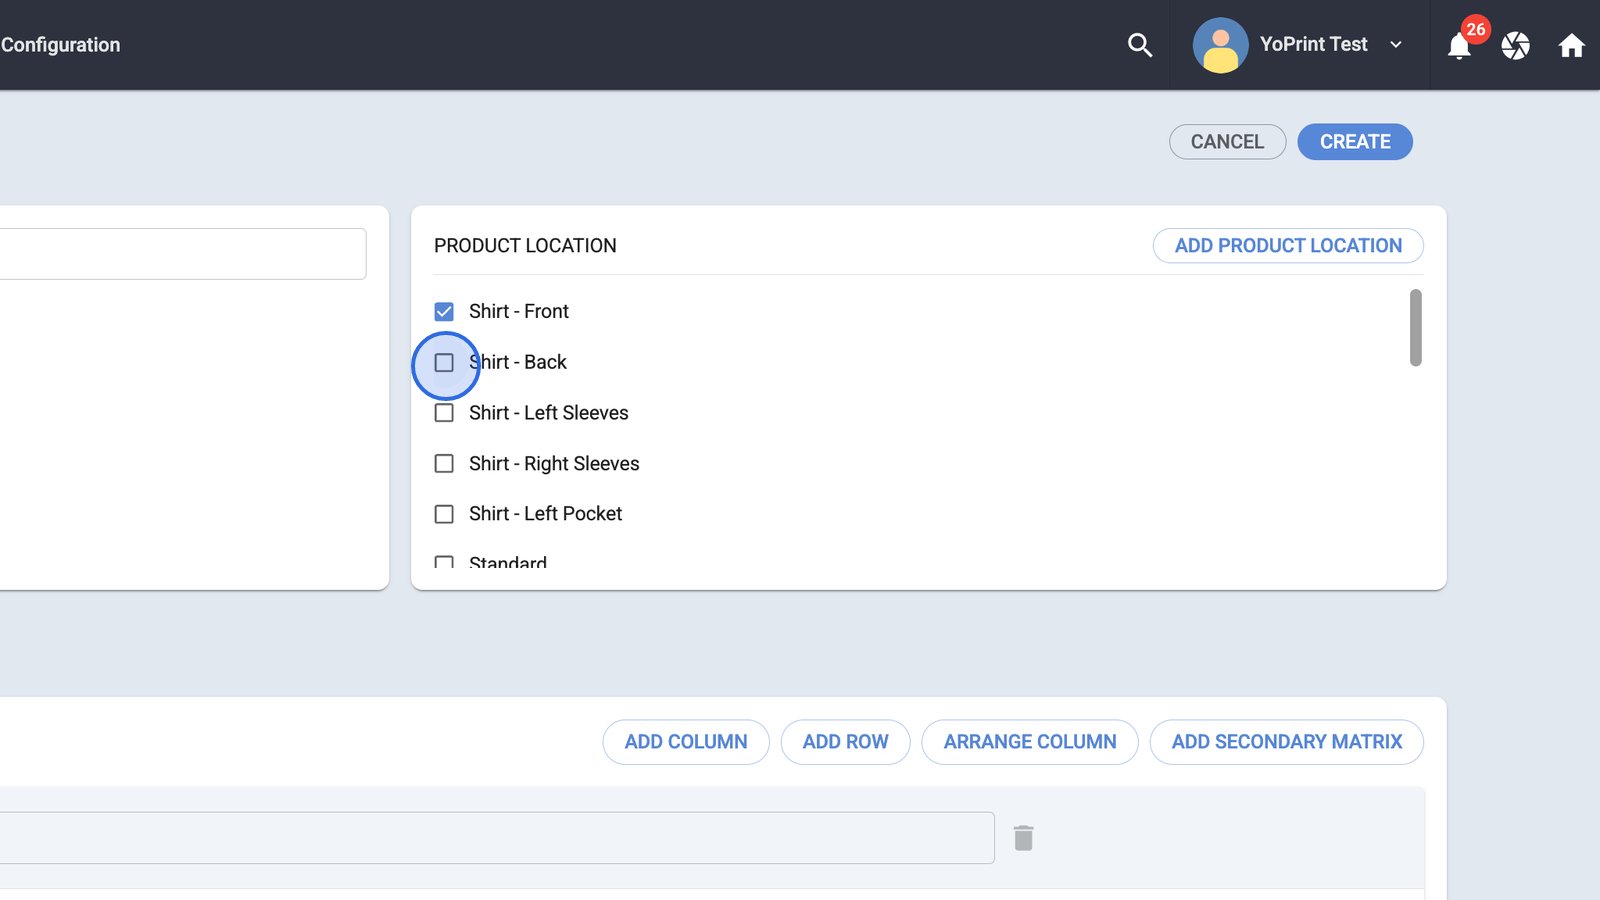
- Select one or more product locations allowed for this service.
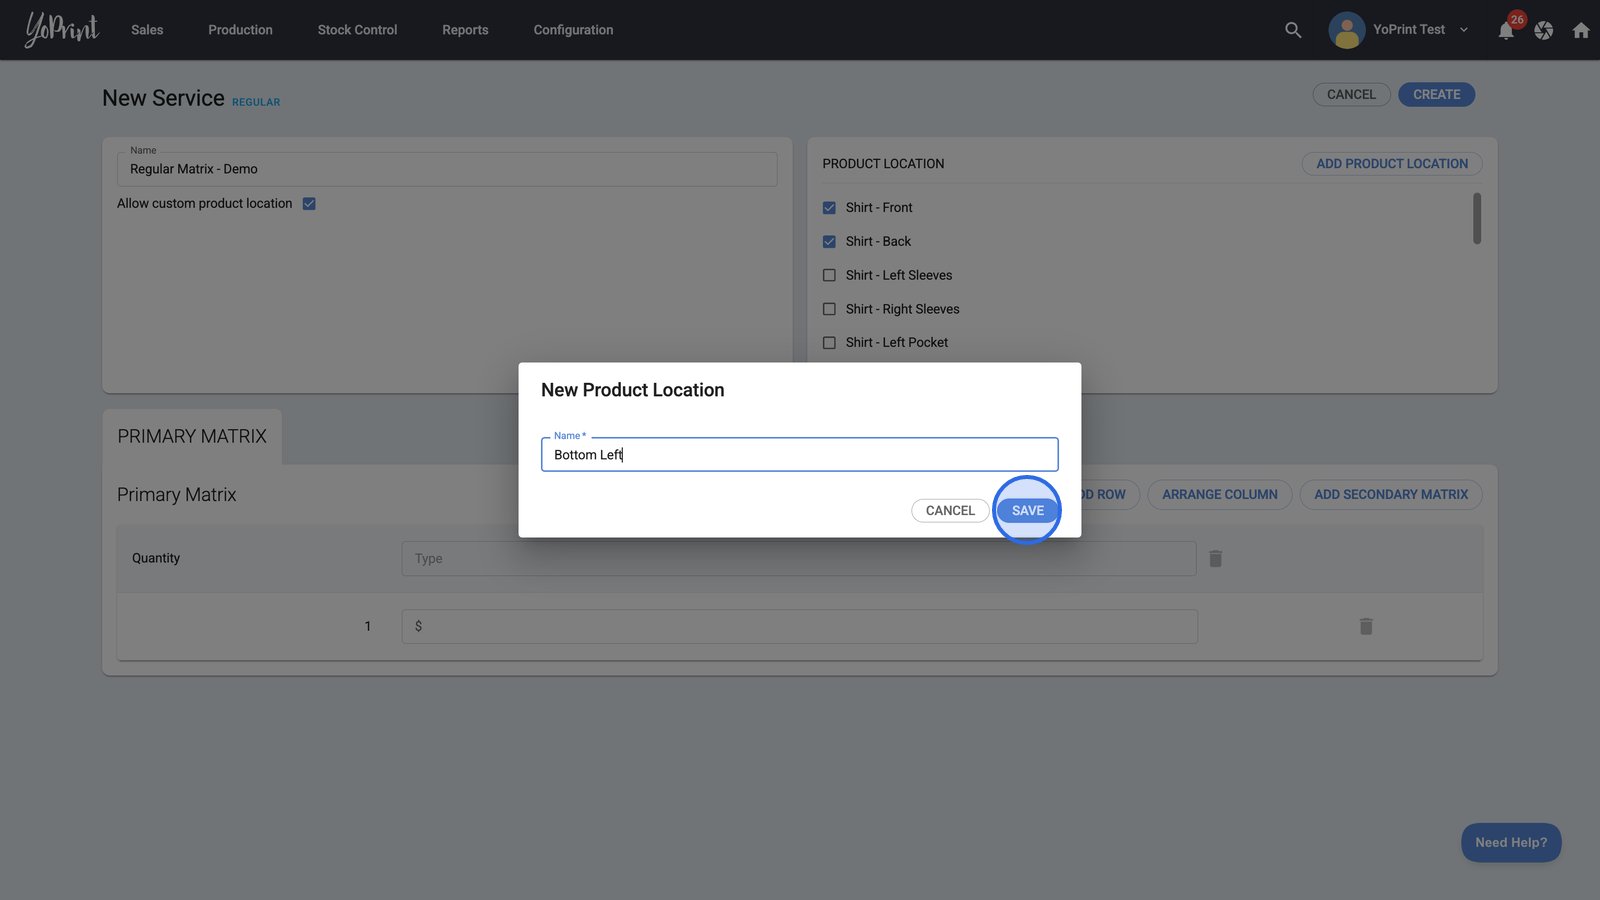
- Click Add Product Location to create a new, customized location option.
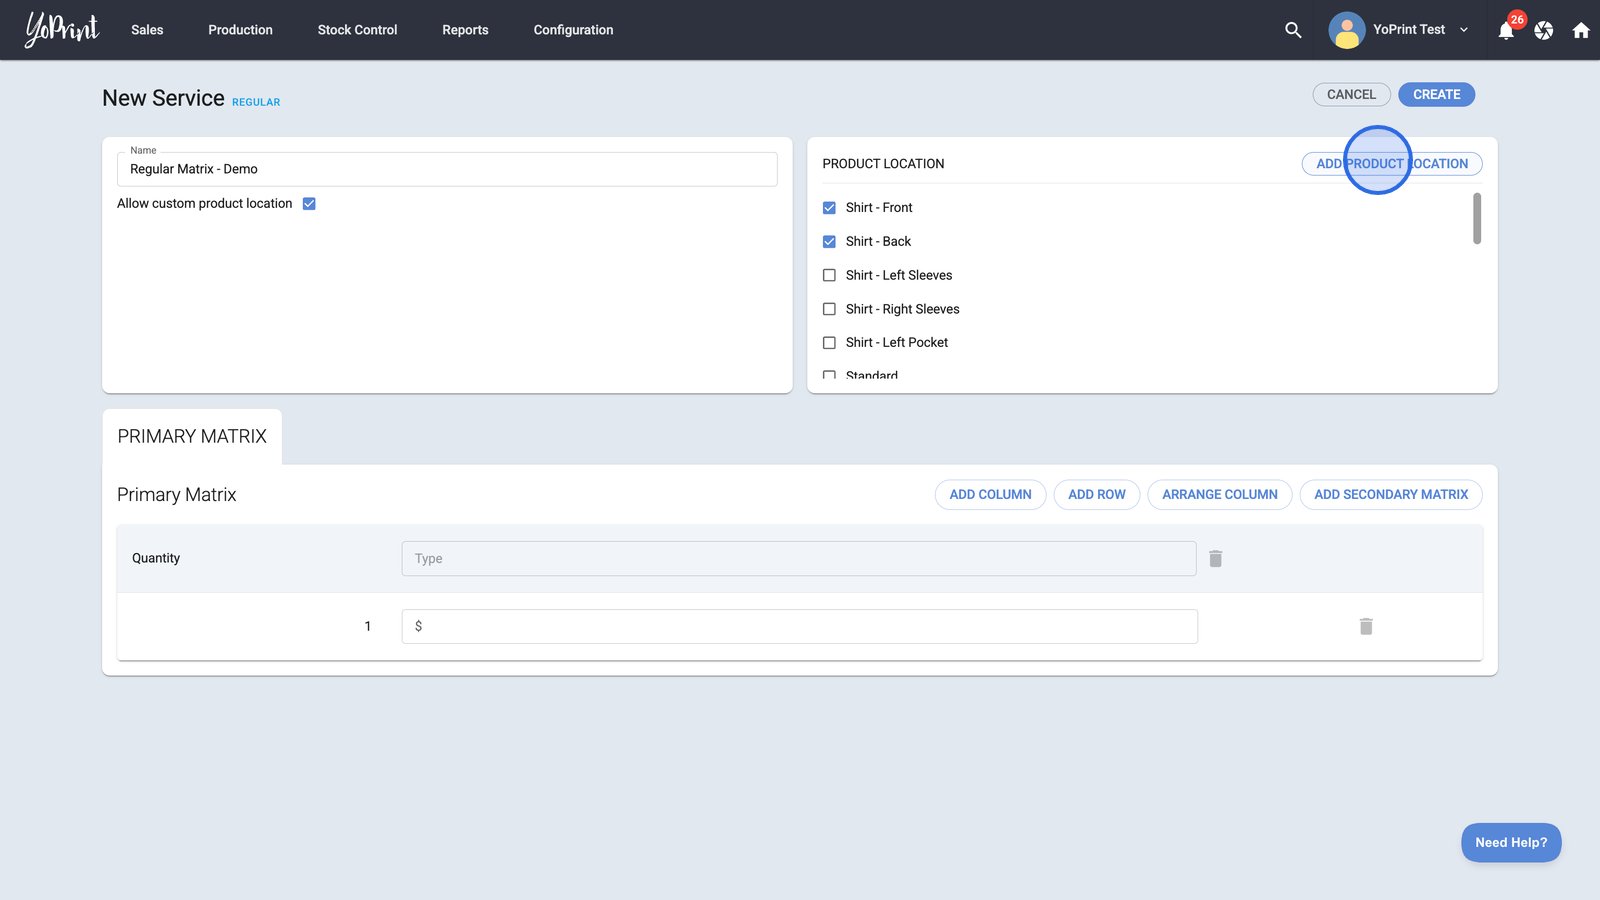
- Add a label and click Save to add your new product location to the available options.
Configure a pricing matrix
The Primary Matrix is the default matrix used to calculate the price when you add this service to any sales order. This is where you will use columns and rows to build out your entire pricing matrix.
Tips:
- It is important that you give unique names across all your services.
- You can choose to allow custom product location if you want to specify the location outside of your presets during sales order creation.
- For each service, you can select all the locations allowed for it.
- Start adding details (i.e., type and price) to your matrix according to your planned pricing.
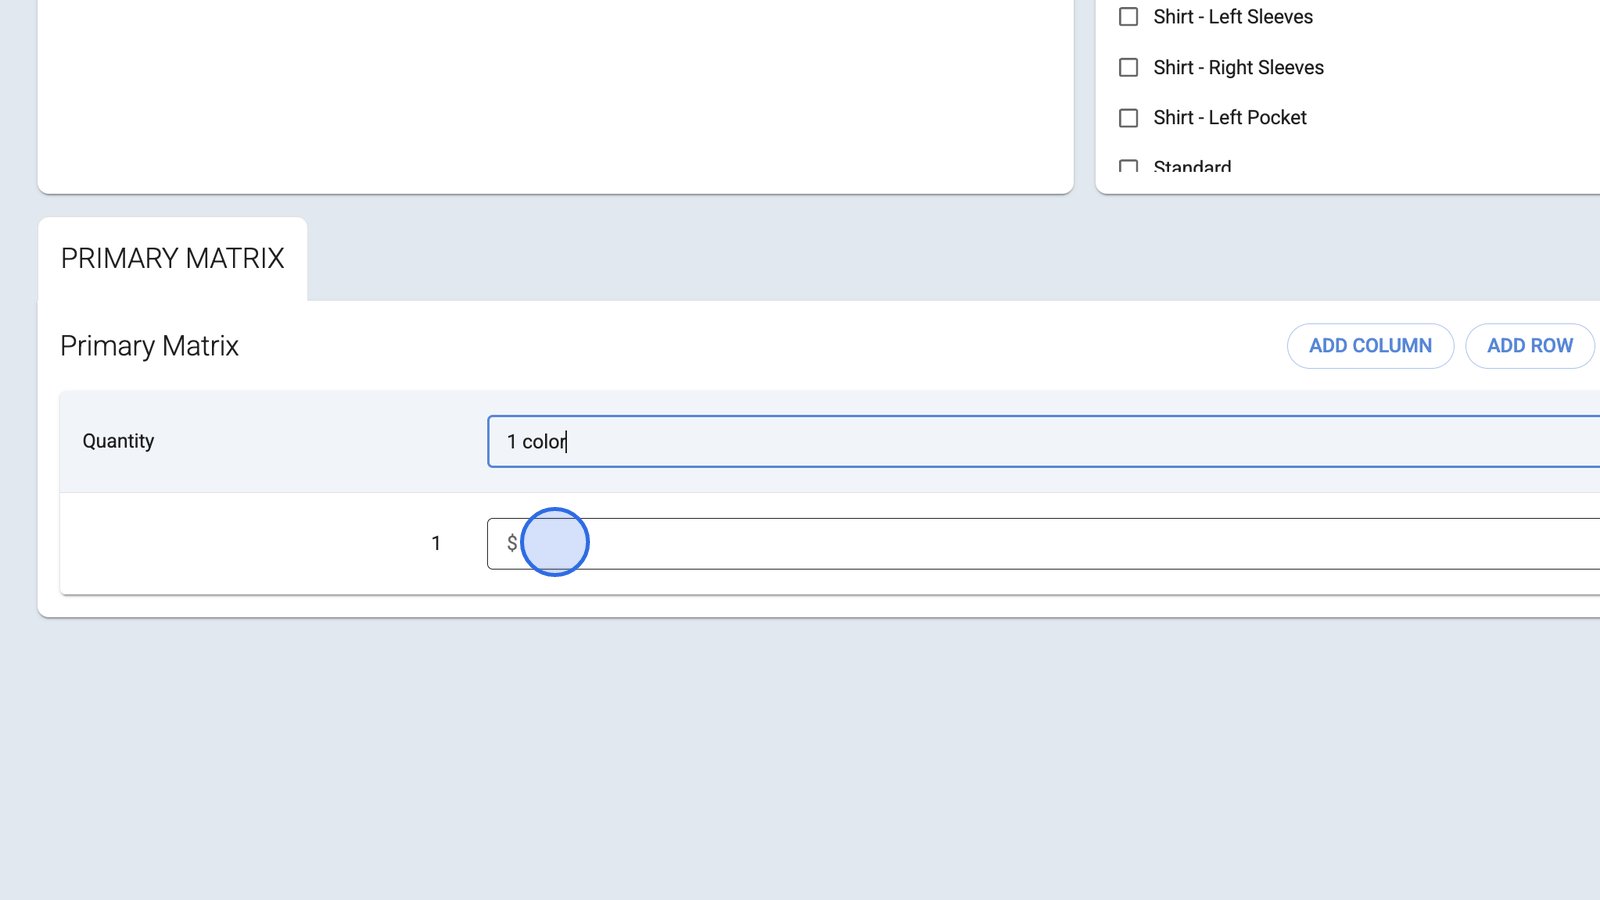
Example:
- For screen printing, you can configure it by the number of colors.
- For embroidery, you can do it by the number of stitches.
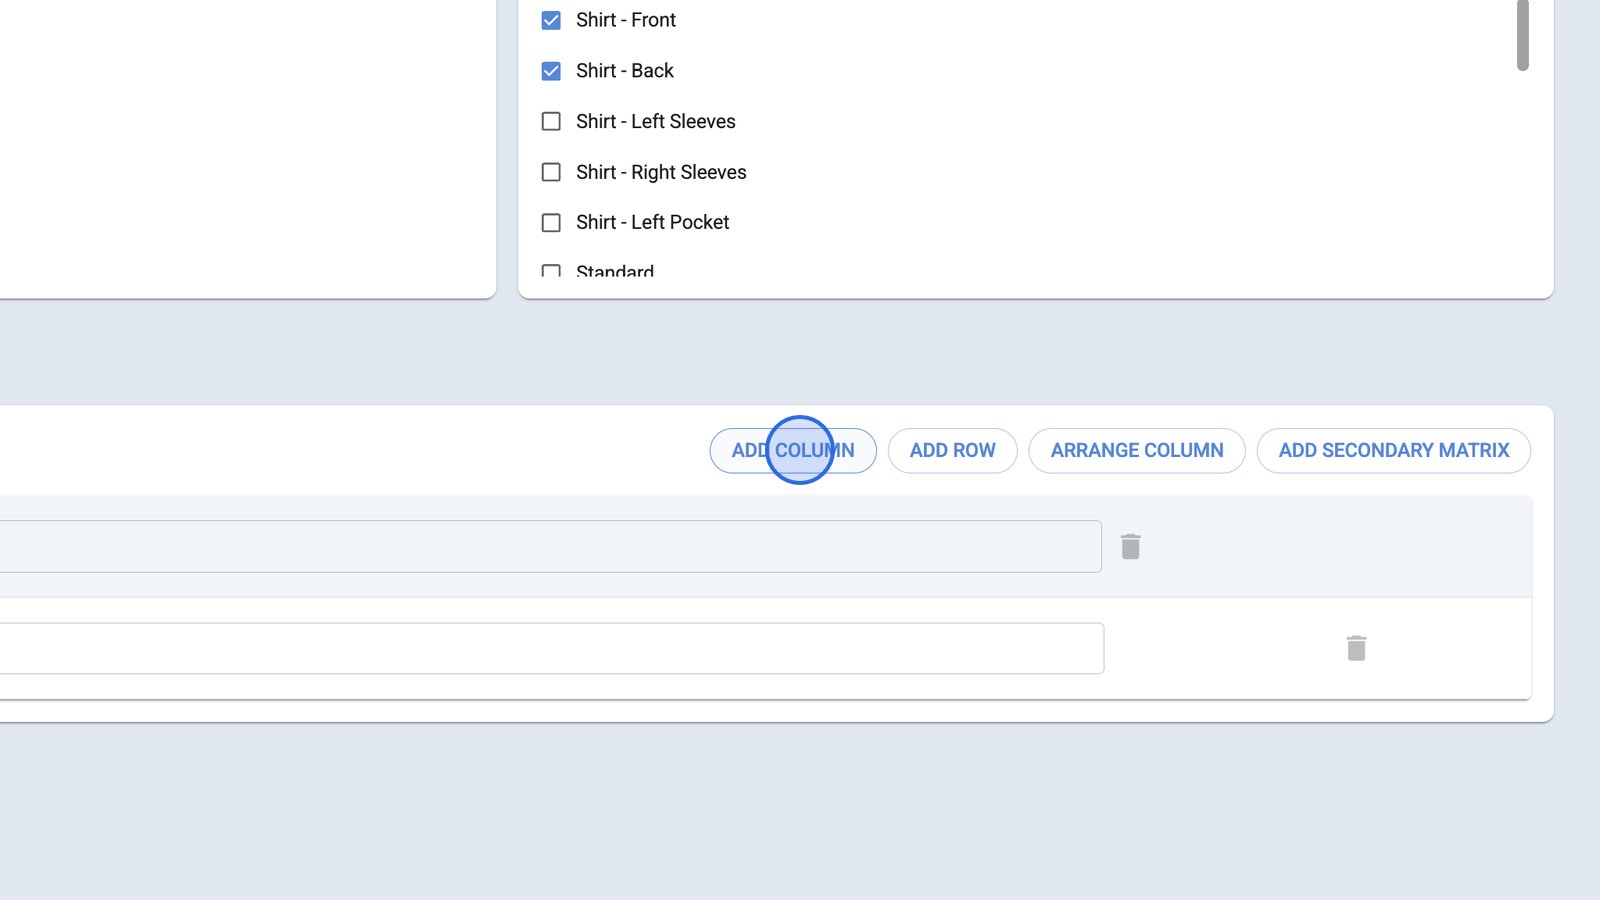
- Click Add Column to expand your pricing matrix with an additional attribute or option.
- Add a new row to your pricing matrix to define another quantity or pricing level.
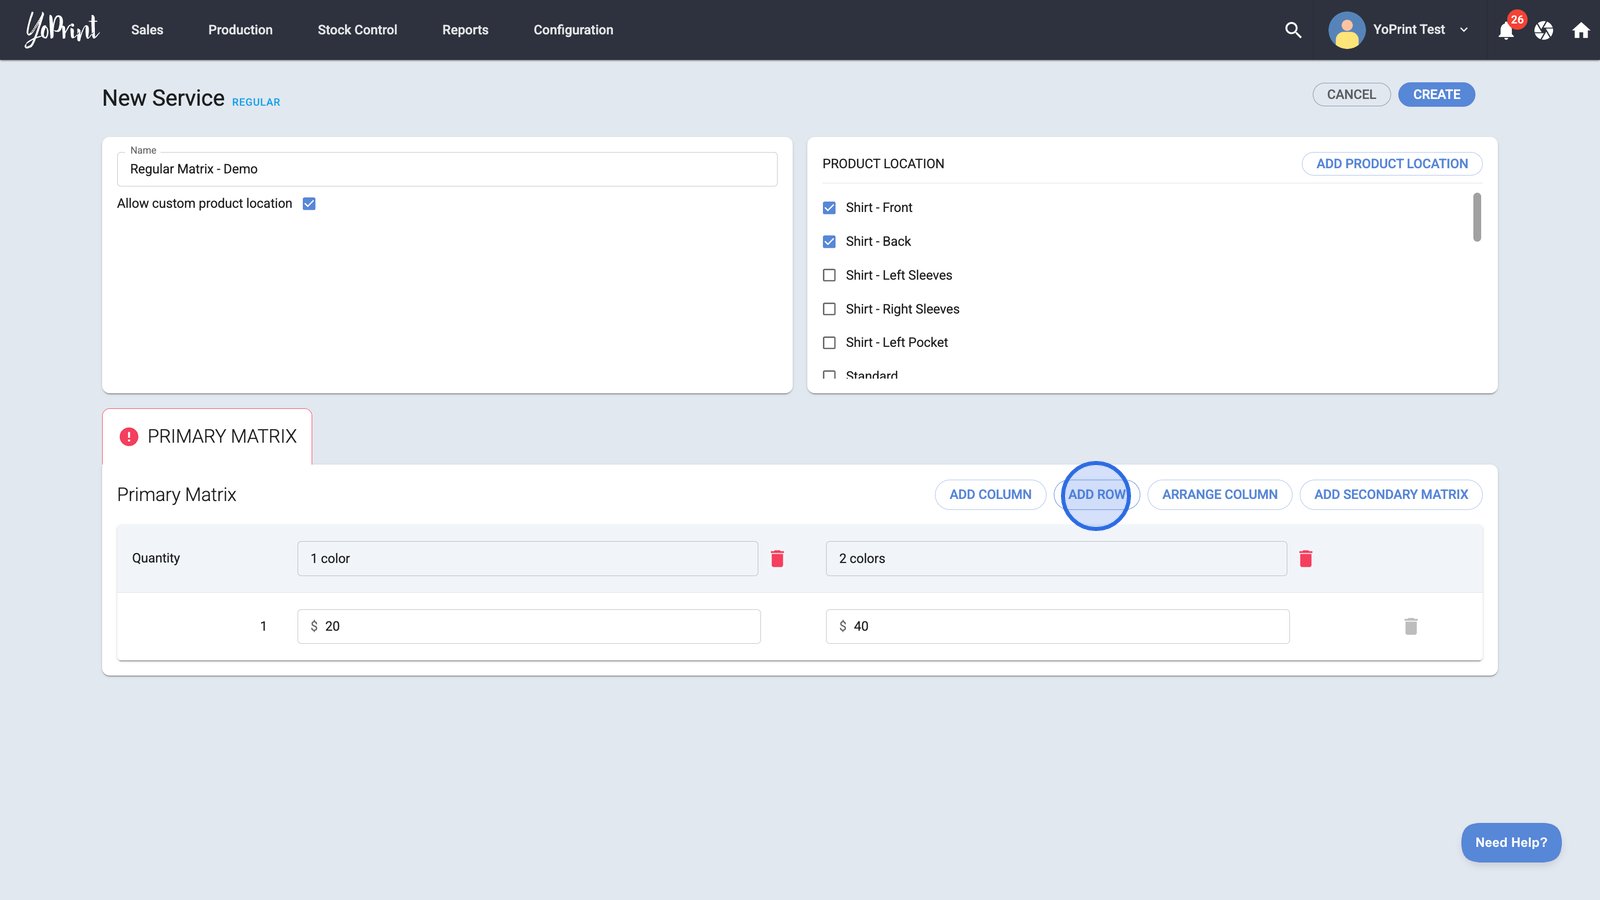
For instance, you can use this new field for configuring bulk quantity pricing:

- Once you've added the appropriate pricing for all attributes, click the Create button to finalize and save your new service with its custom locations and pricing matrix.

Configure a secondary pricing matrix
Let's say a customer requests a two-sided print job, and you want to set different pricing for each side, you need to add a secondary pricing matrix to implement this pricing strategy.
- Open the options menu for the service.
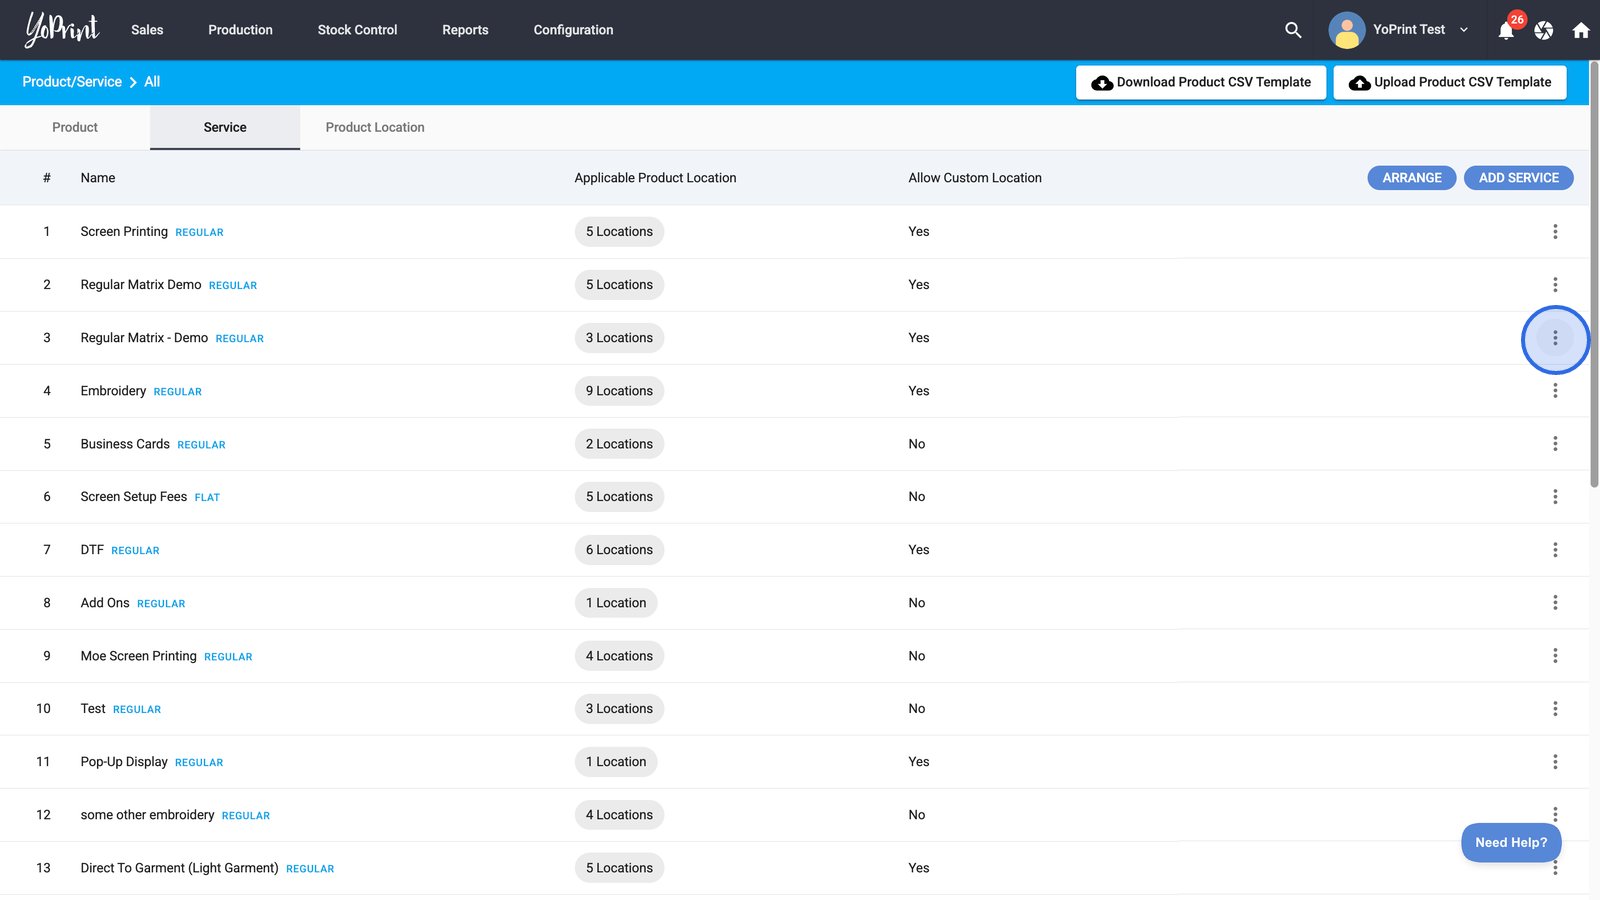
- Select the Edit option.
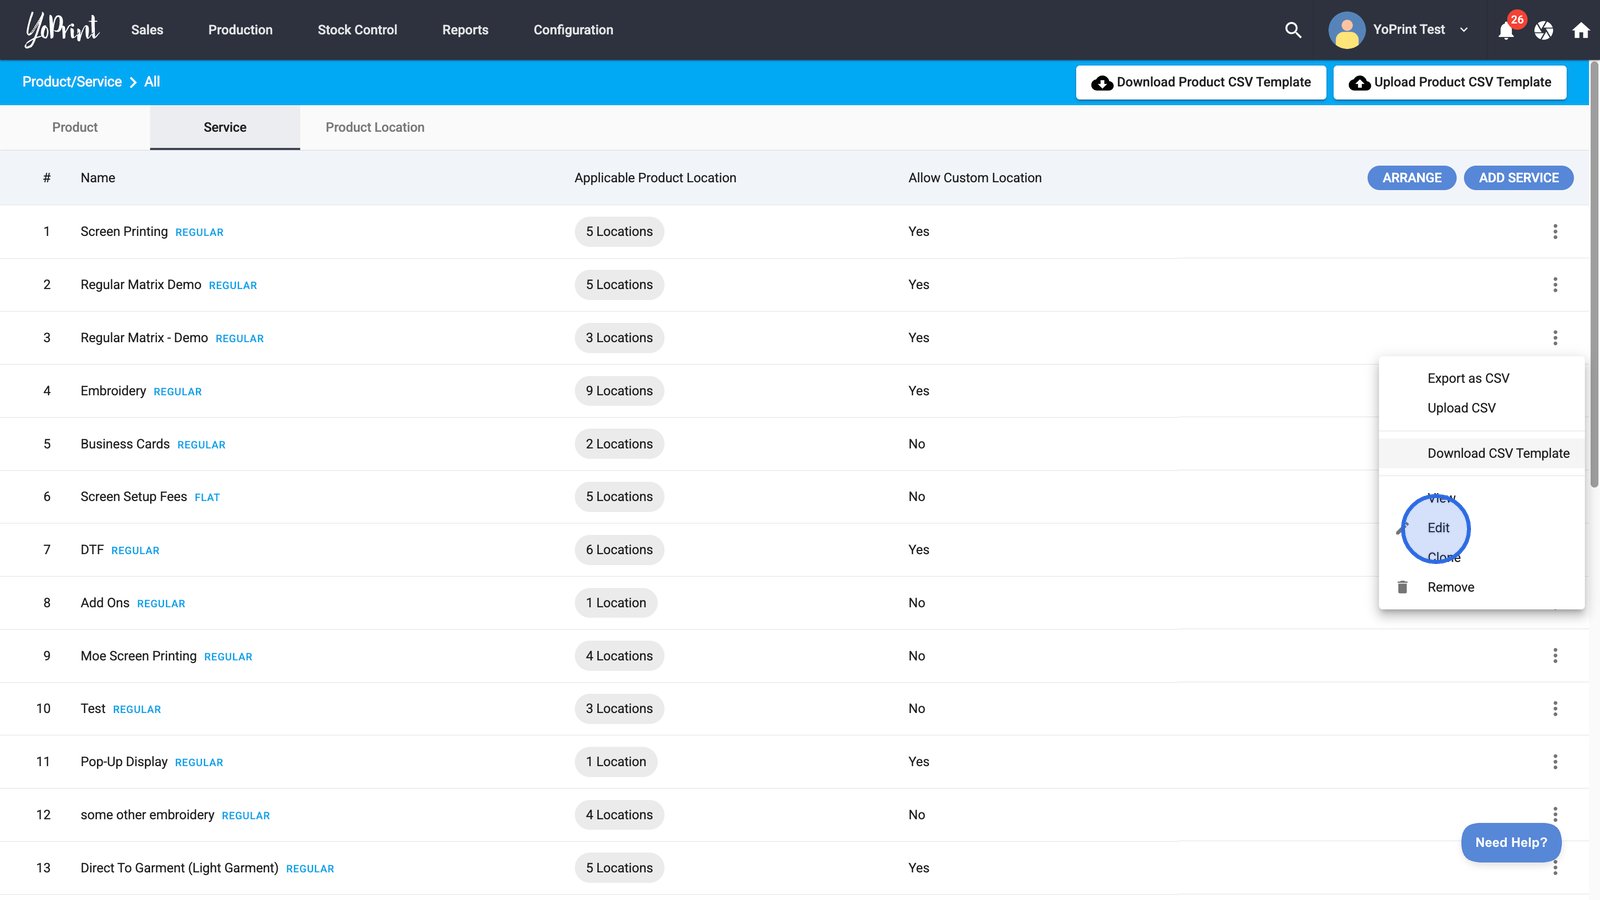
- Click the Add Secondary Matrix button to introduce a secondary pricing matrix.

- Adjust your pricing and quantity for your secondary pricing matrix as needed, and don't forget to save your changes!

Use a pricing matrix as a template
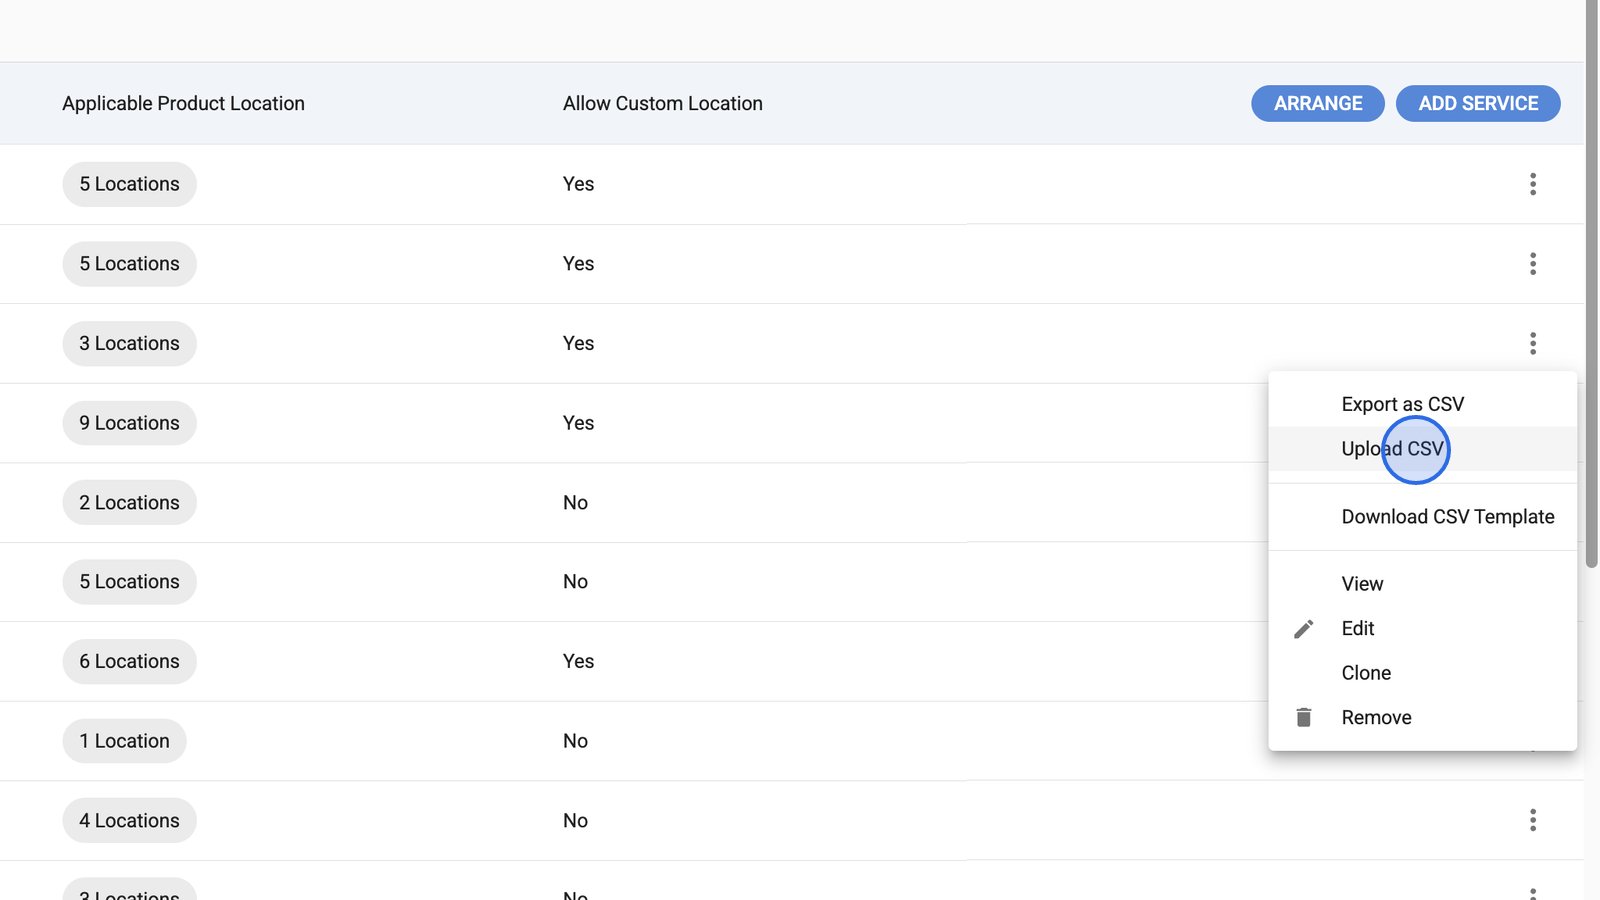
- Click the more options menu next to your chosen pricing matrix. This will serve as your placeholder matrix.
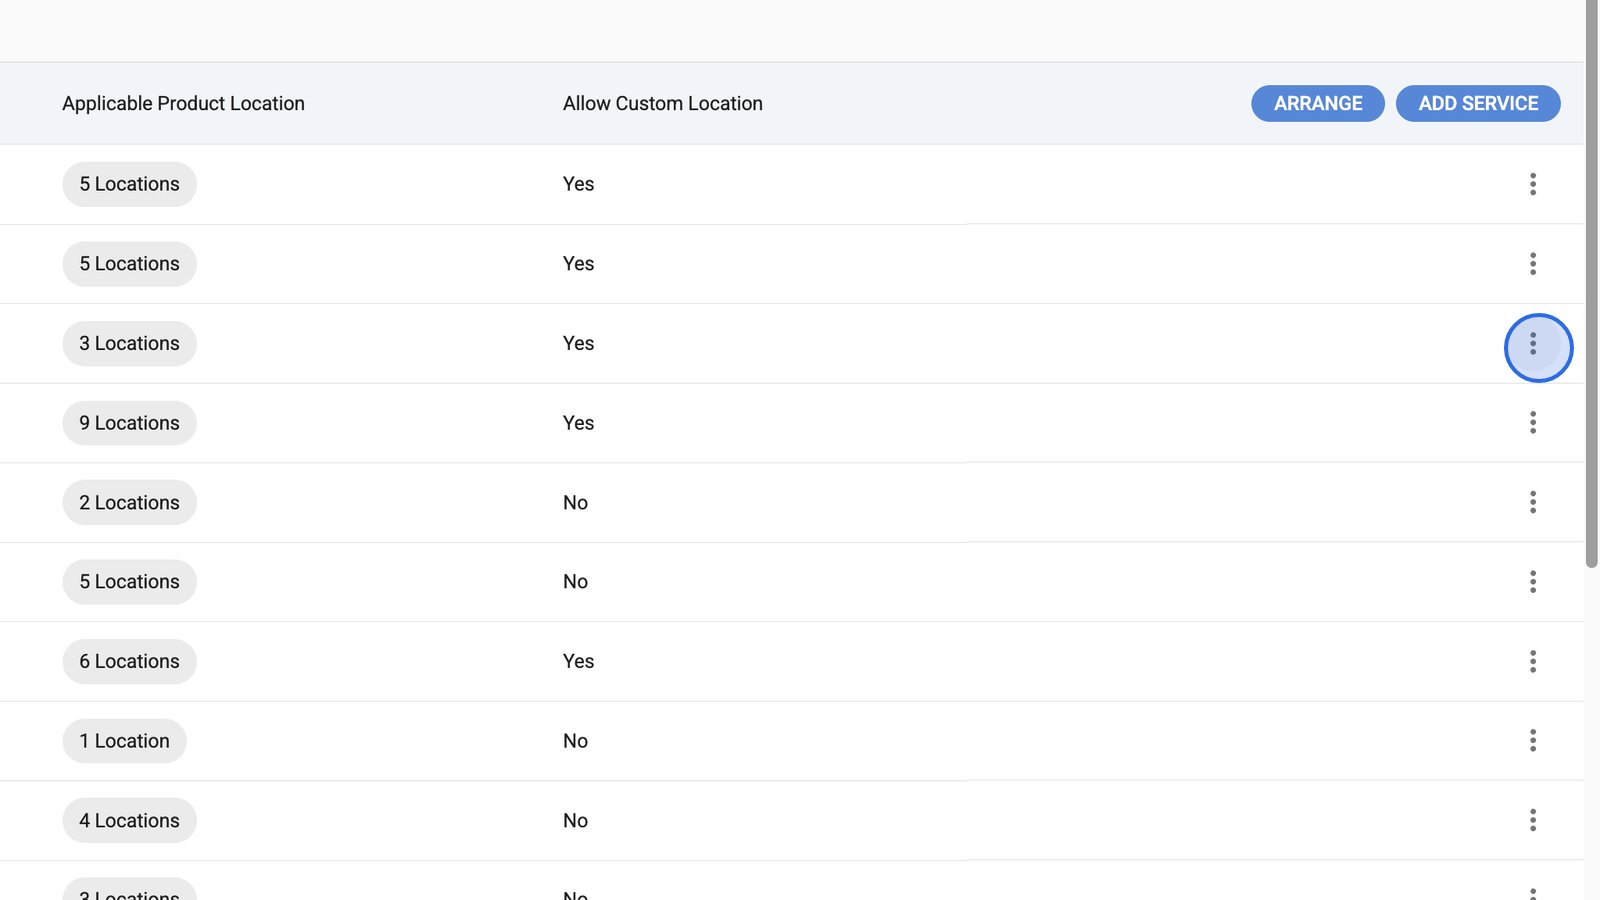
- Select the Download CSV Template option to save a copy of this pricing matrix in a spreadsheet. Use this file to update your pricing.
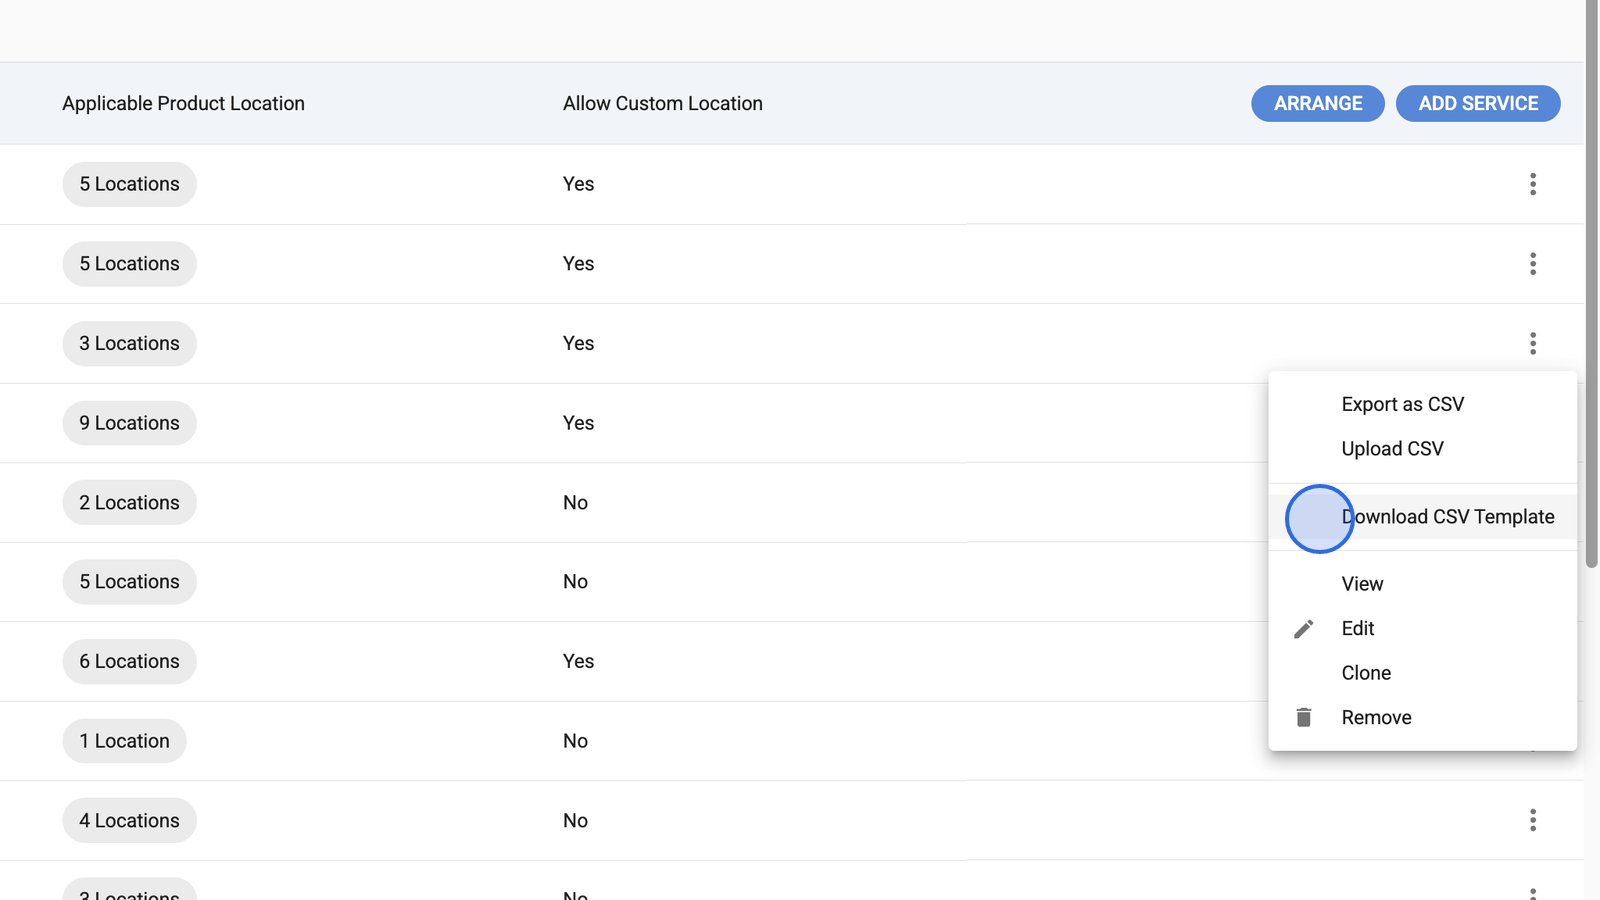
- Once you're ready, select the Upload CSV option to import your pricing matrix using your prepared CSV file.
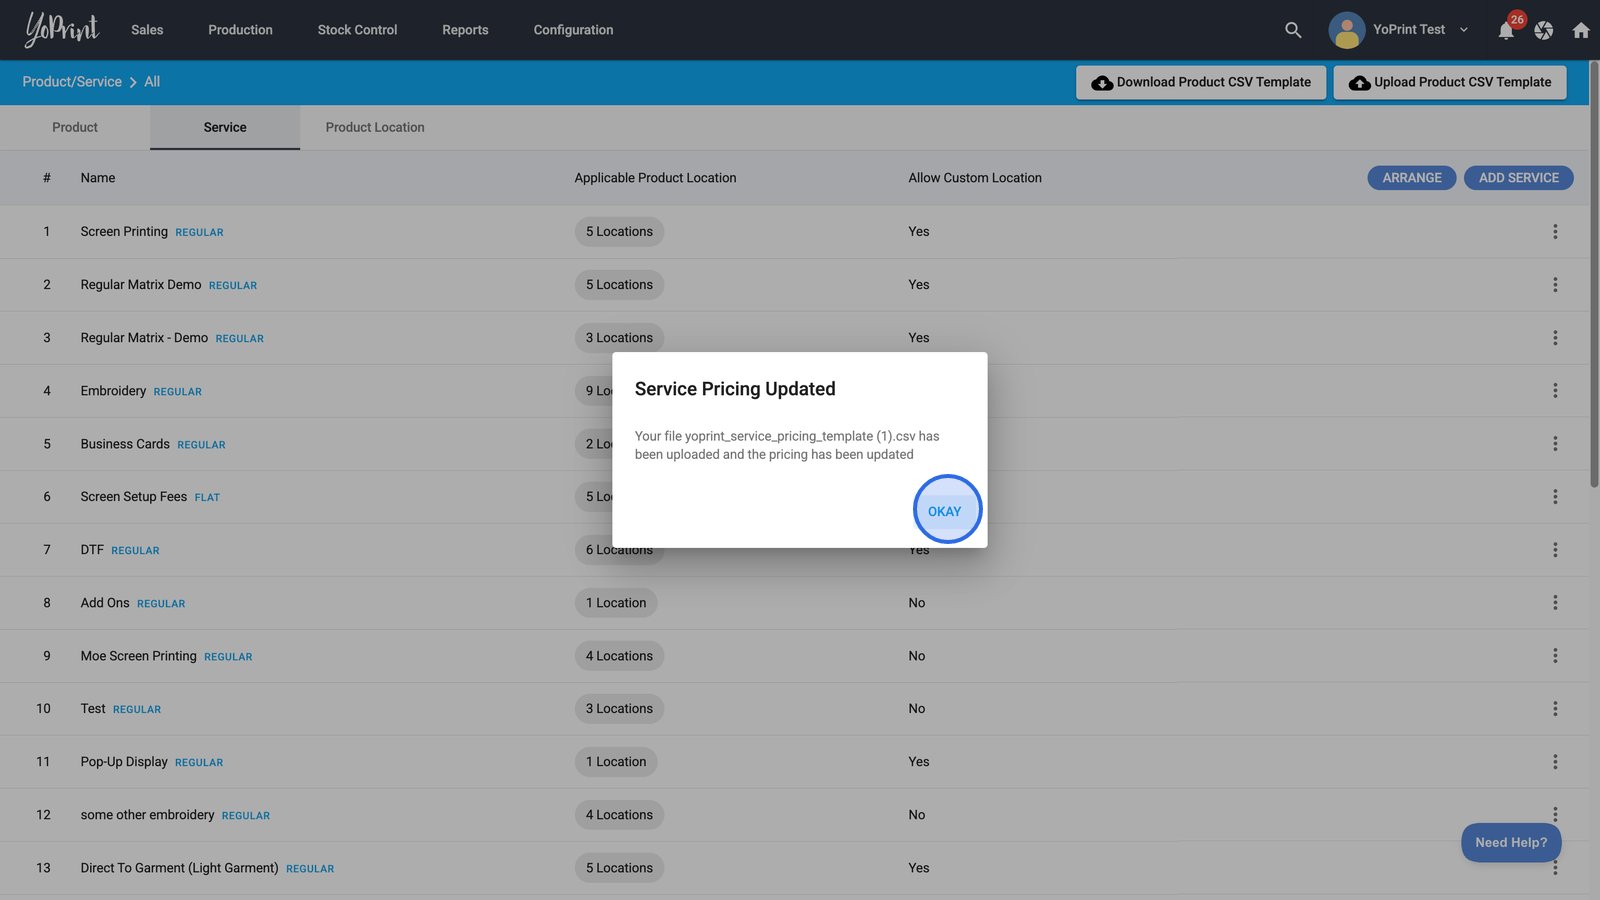
- Click OKAY on the confirmation dialog to finalize your CSV upload and update your pricing matrix.
Congratulations! You're now an expert in managing pricing matrices in YoPrint.