Set Up Tax Presets in YoPrint
Learn to add and configure custom tax presets for your organization.
Collecting sales tax from customers can be challenging, especially when shipping to different states, each with its own tax rules. On the Pro plan, you can use YoPrint's Automatic Sales Tax calculation feature to handle this easily.
If Automatic Sales Tax isn't available in your plan or region, you can set up Tax Presets to speed up tax management.
Set up a single-line tax preset
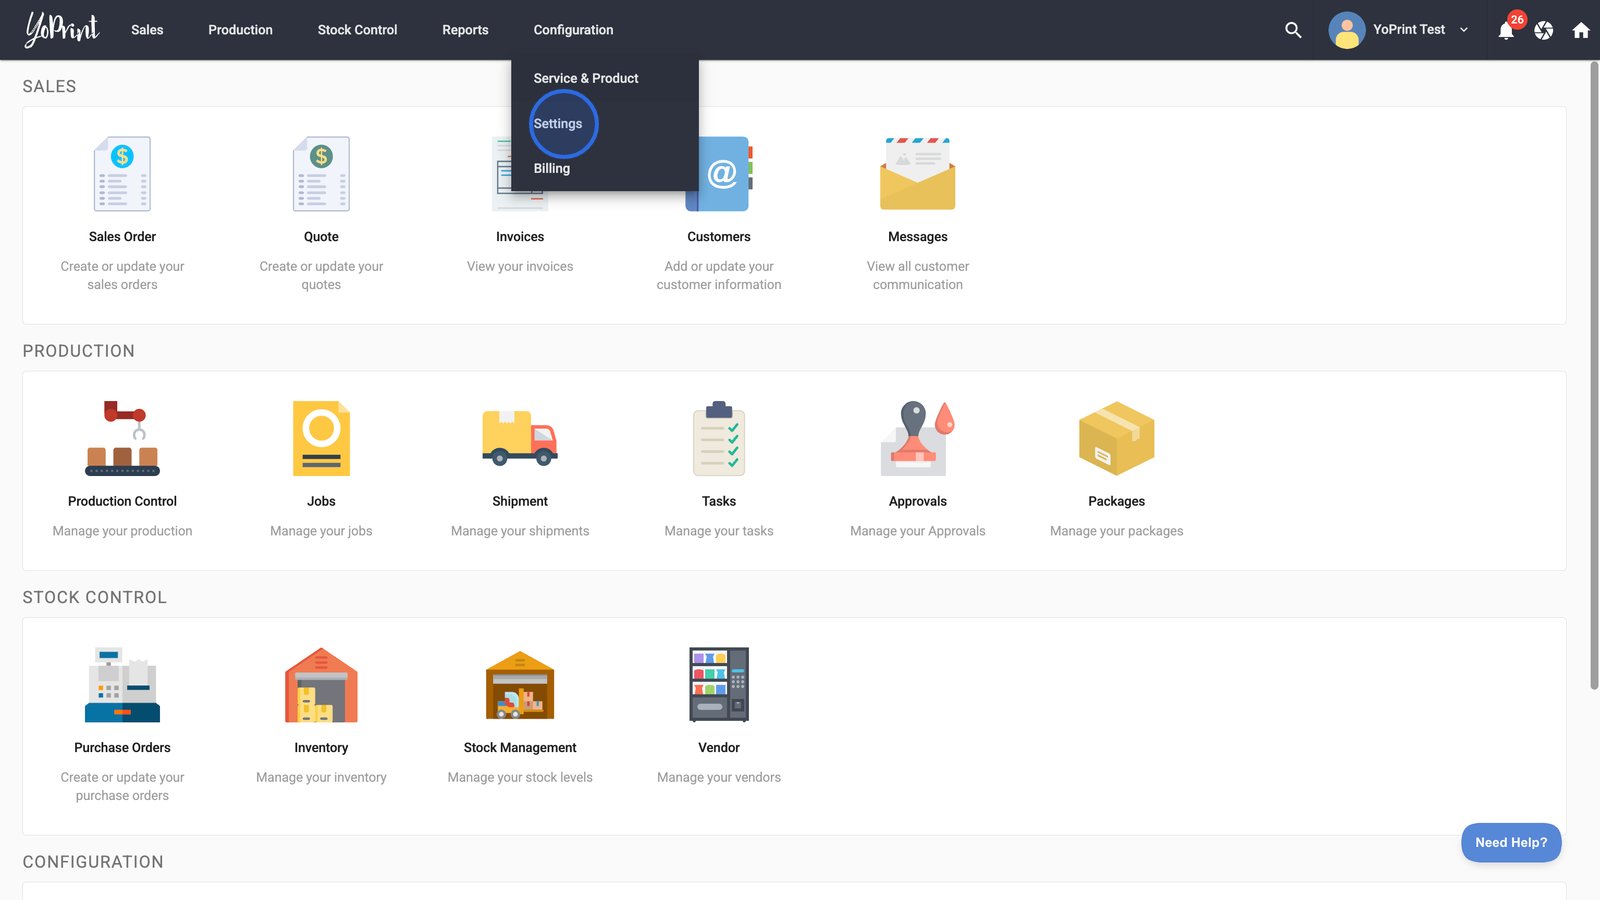
- Start by clicking Settings under the Configuration tab in your dashboard.
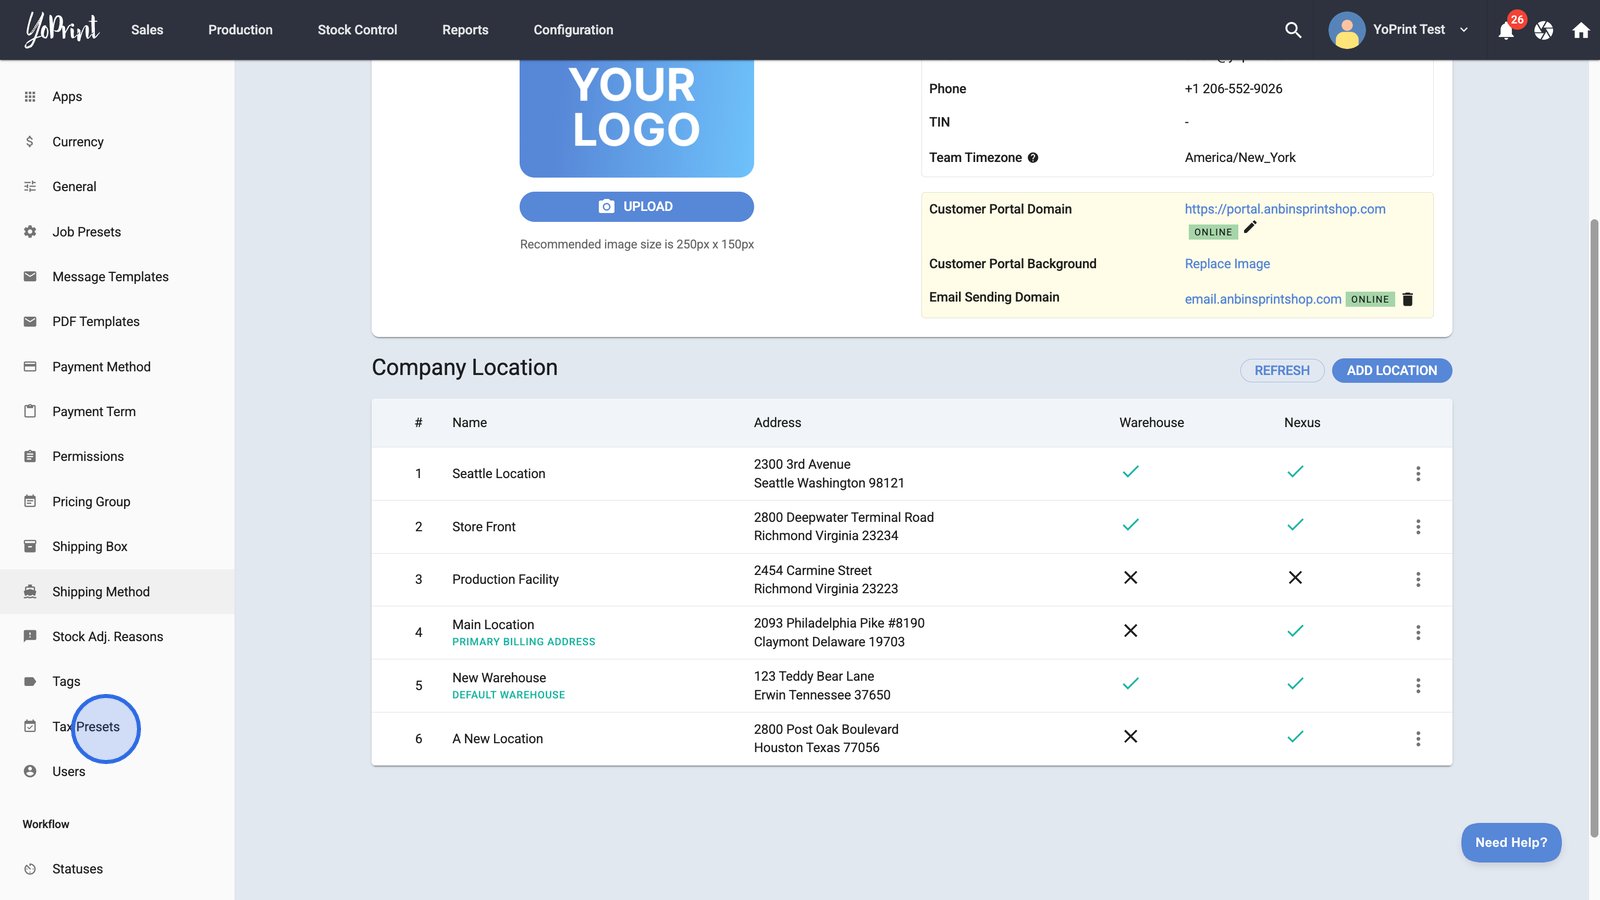
- Select Tax Presets from the sidebar to manage or create preset tax configurations.
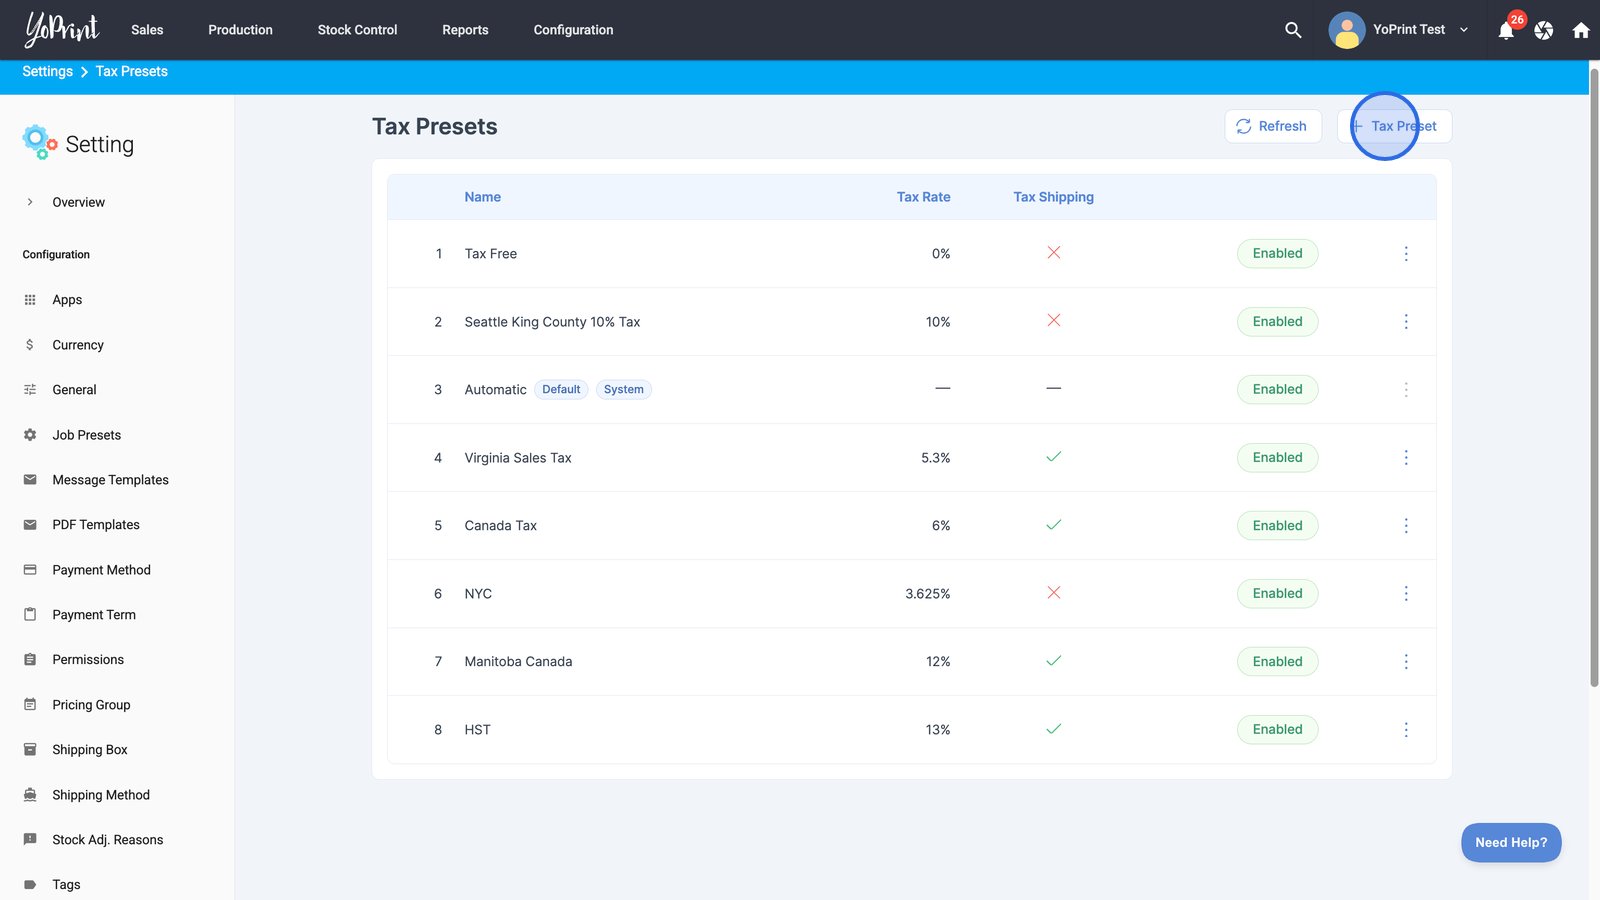
- Click the + Tax Preset button to start creating a new tax preset.
- Enter a name for your tax preset.
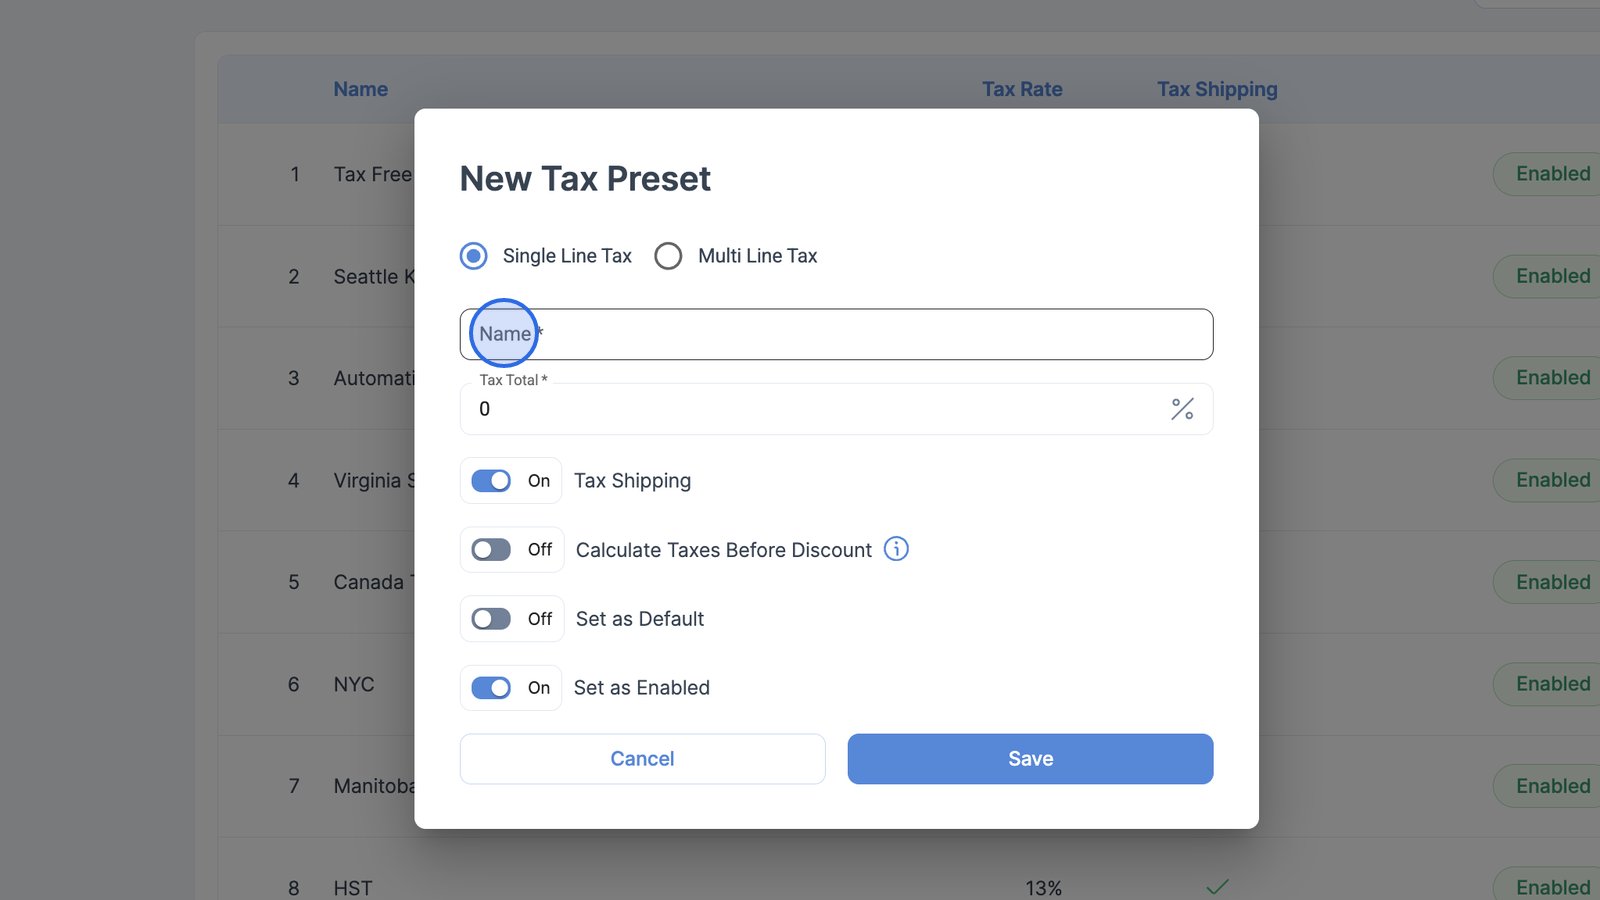
- Set the tax percentage.
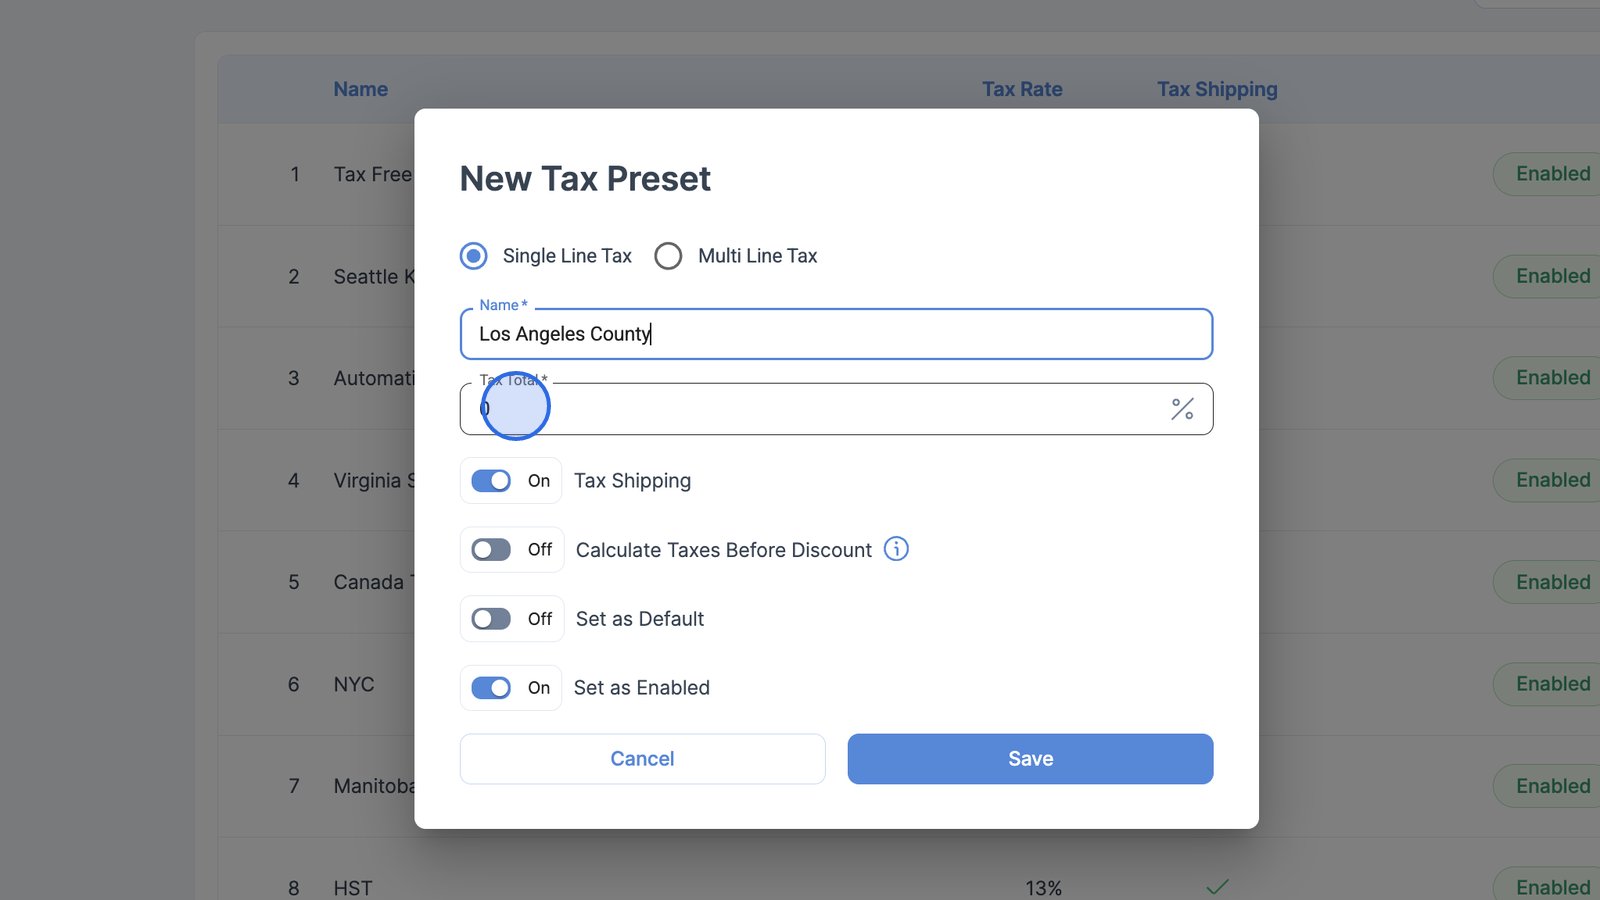
- Use the toggles to choose how you want to proceed with your tax settings.
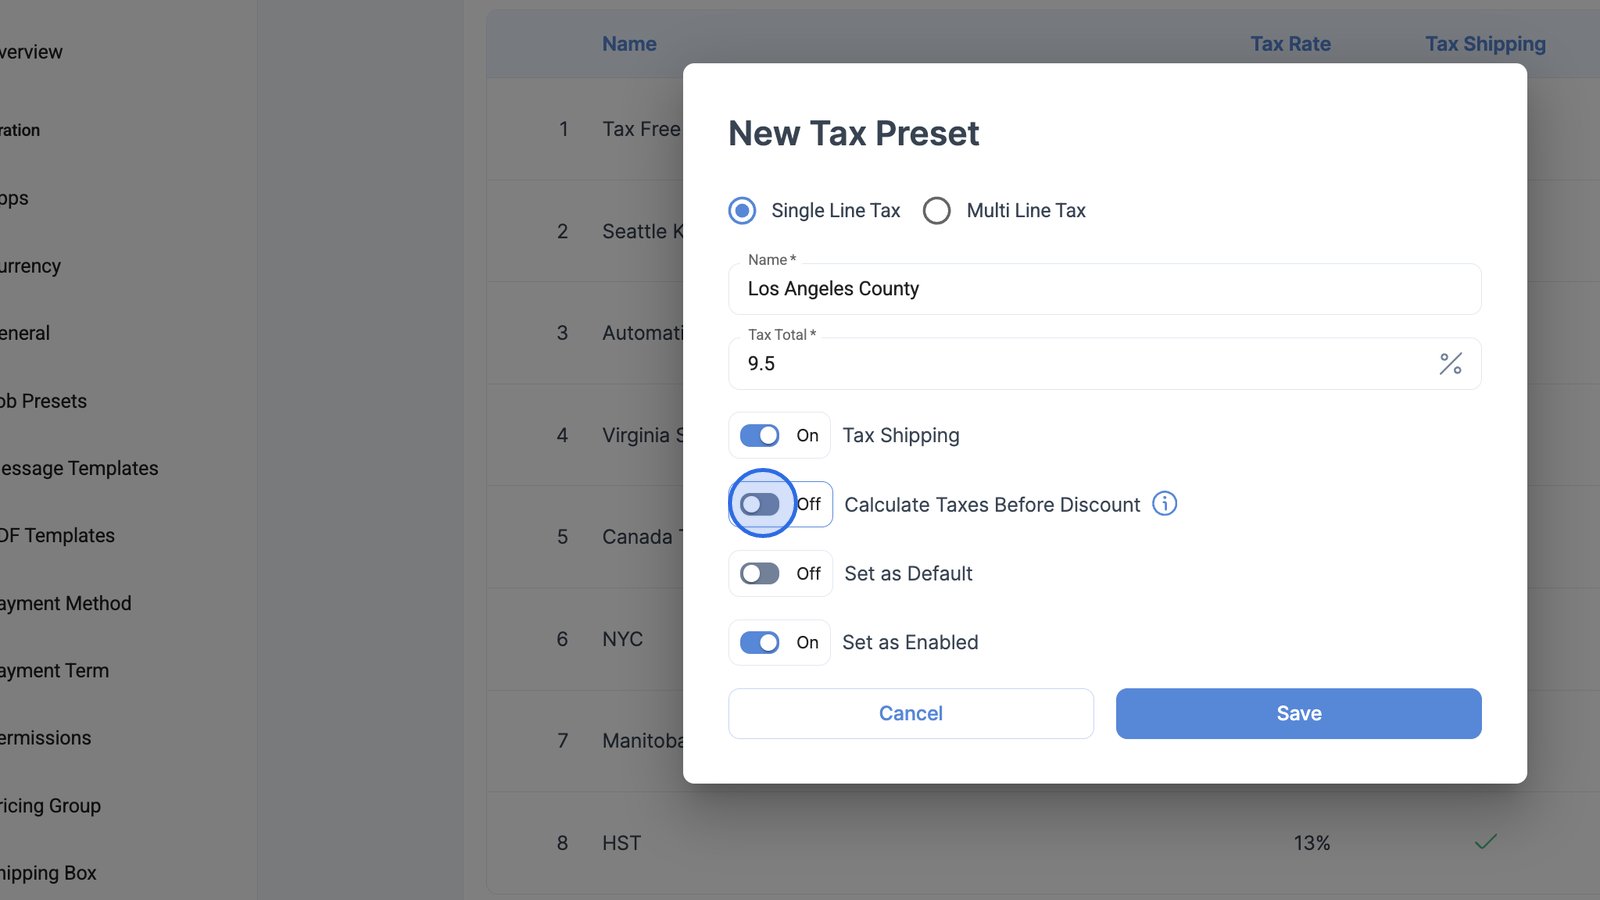
- For example, you can choose to calculate taxes either before or after discounts are applied. Typically, taxes are calculated after discounts have been applied.
- You can also set this tax preset as a default.
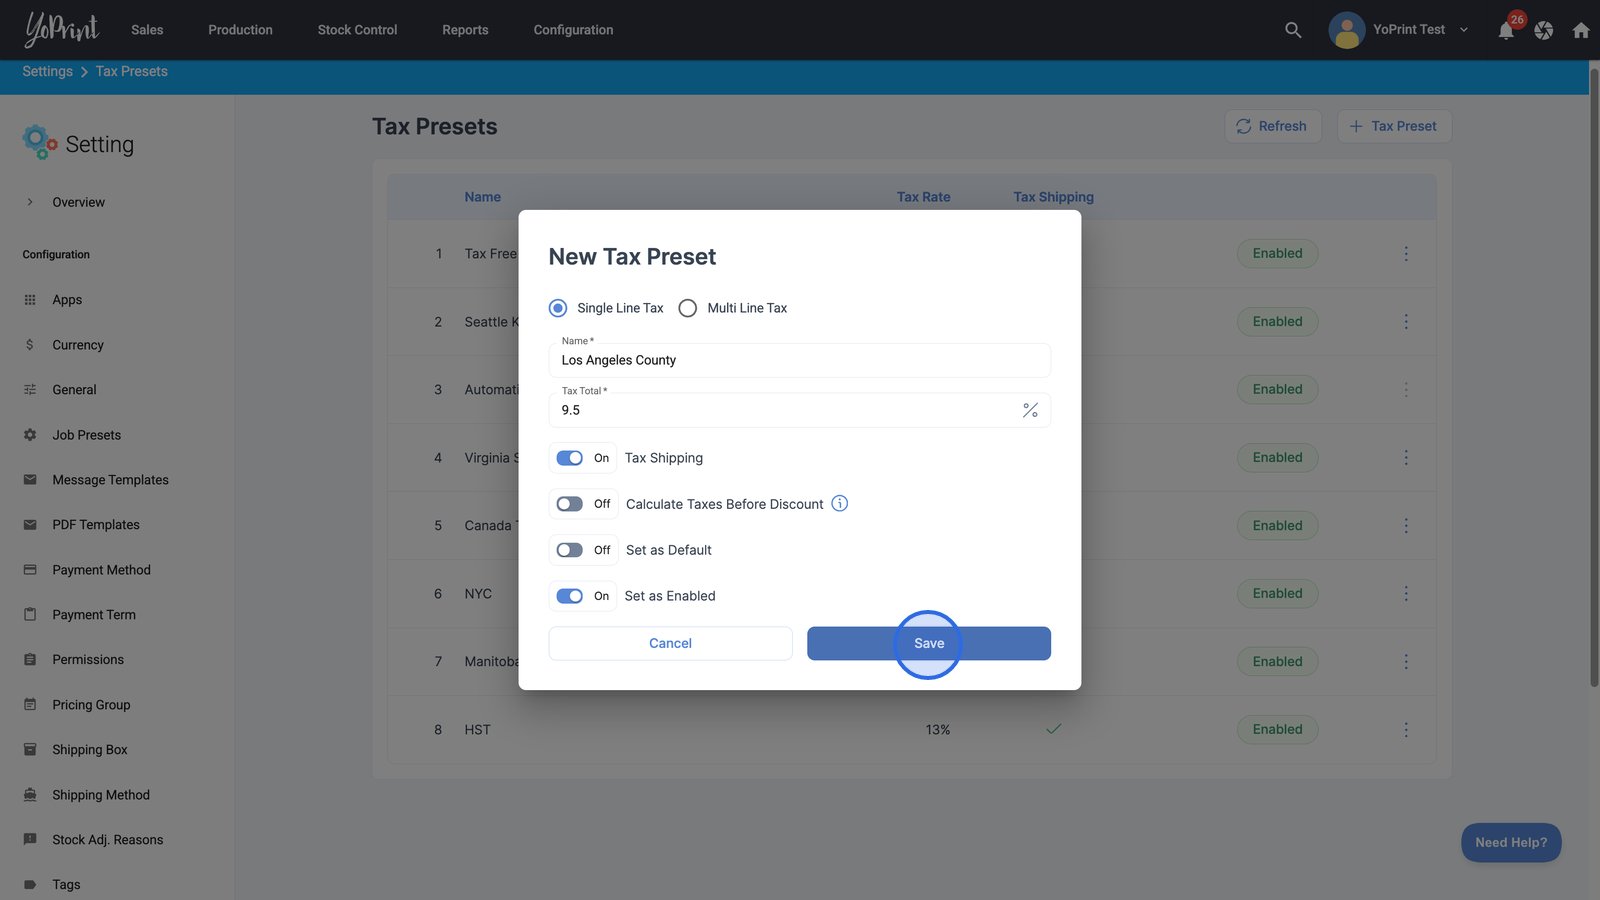
- Click Save to create your new tax preset with the selected settings.
Configure a multi-line tax preset
You can also set up a multi-line tax rate configuration. For example, in Canada, there is GST, PST, and HST, where this can be useful.
- In the Tax Presets page, click on + Tax Preset.
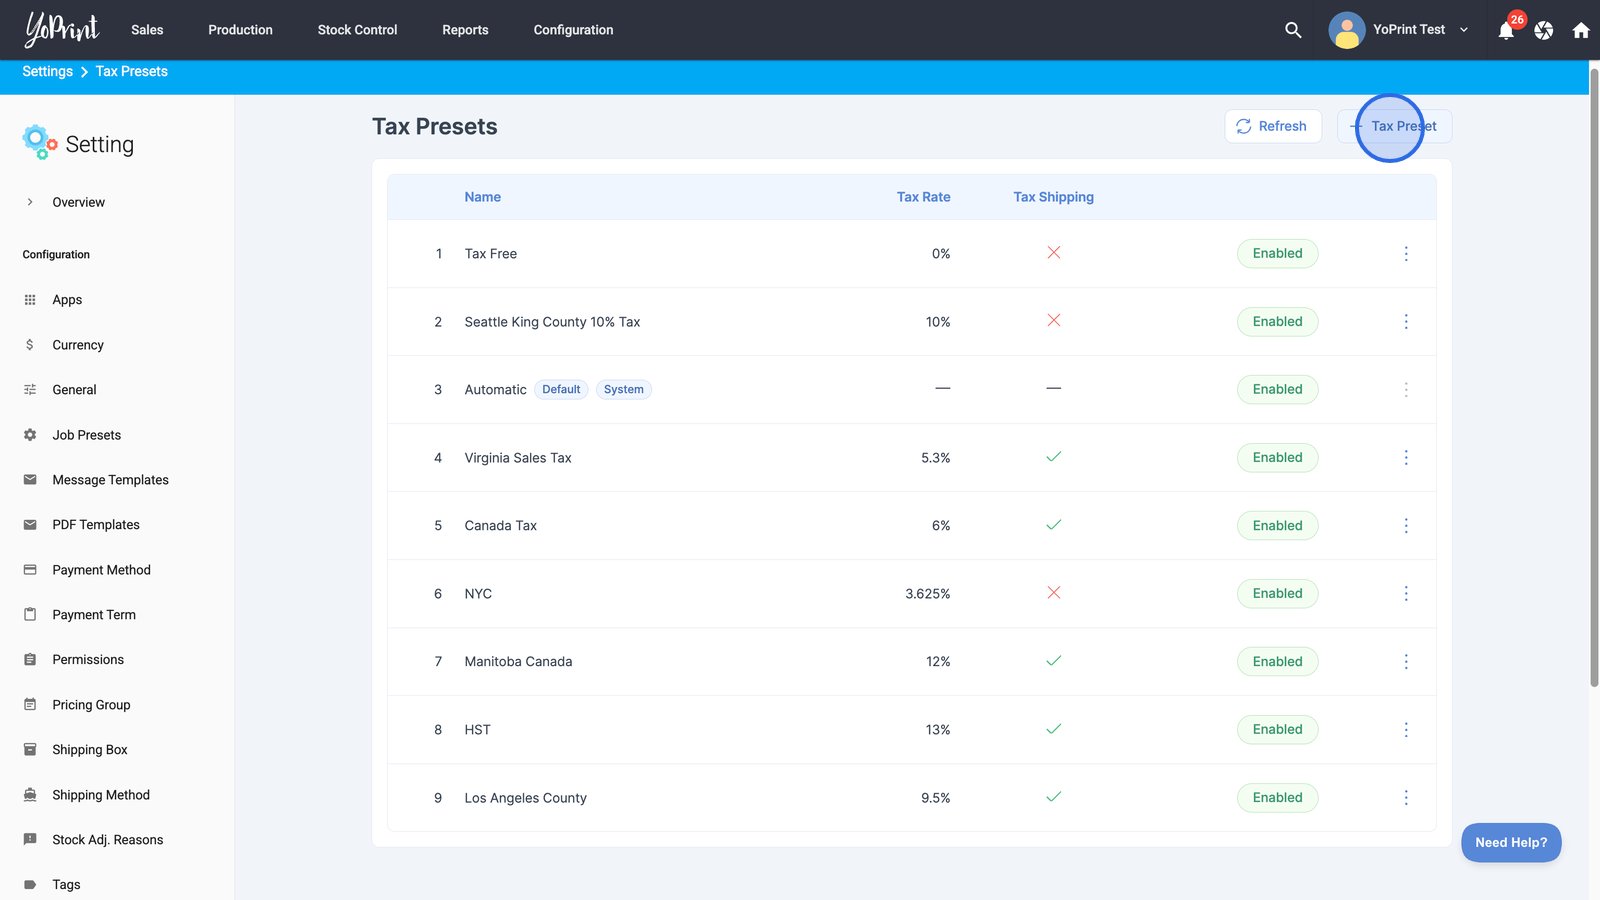
- Choose Multi Line Tax for your new tax preset.
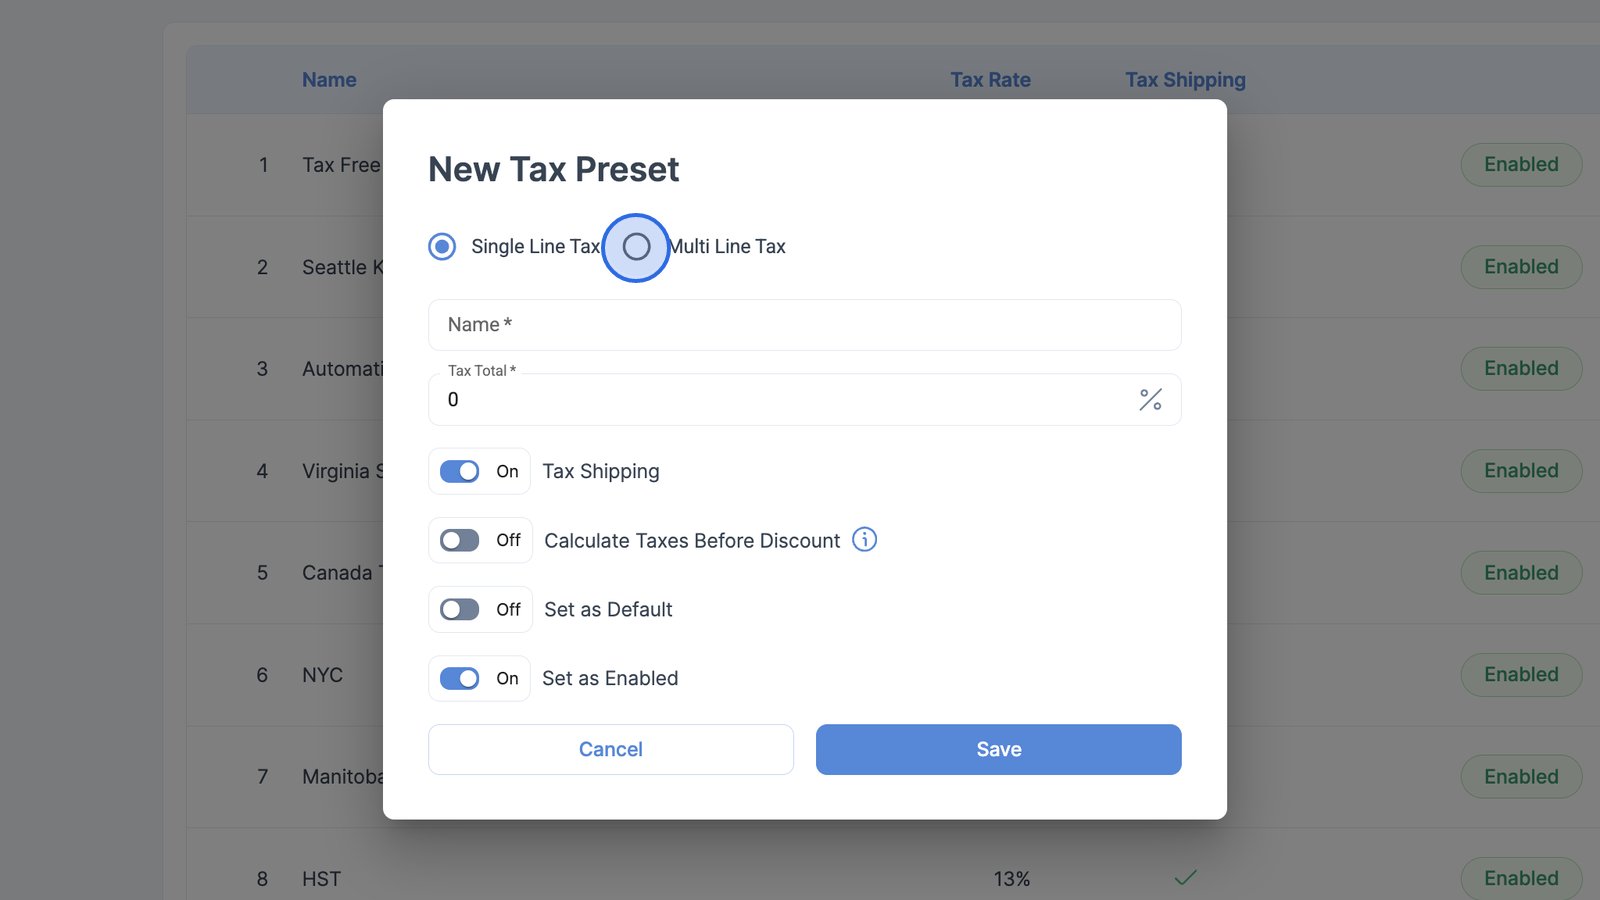
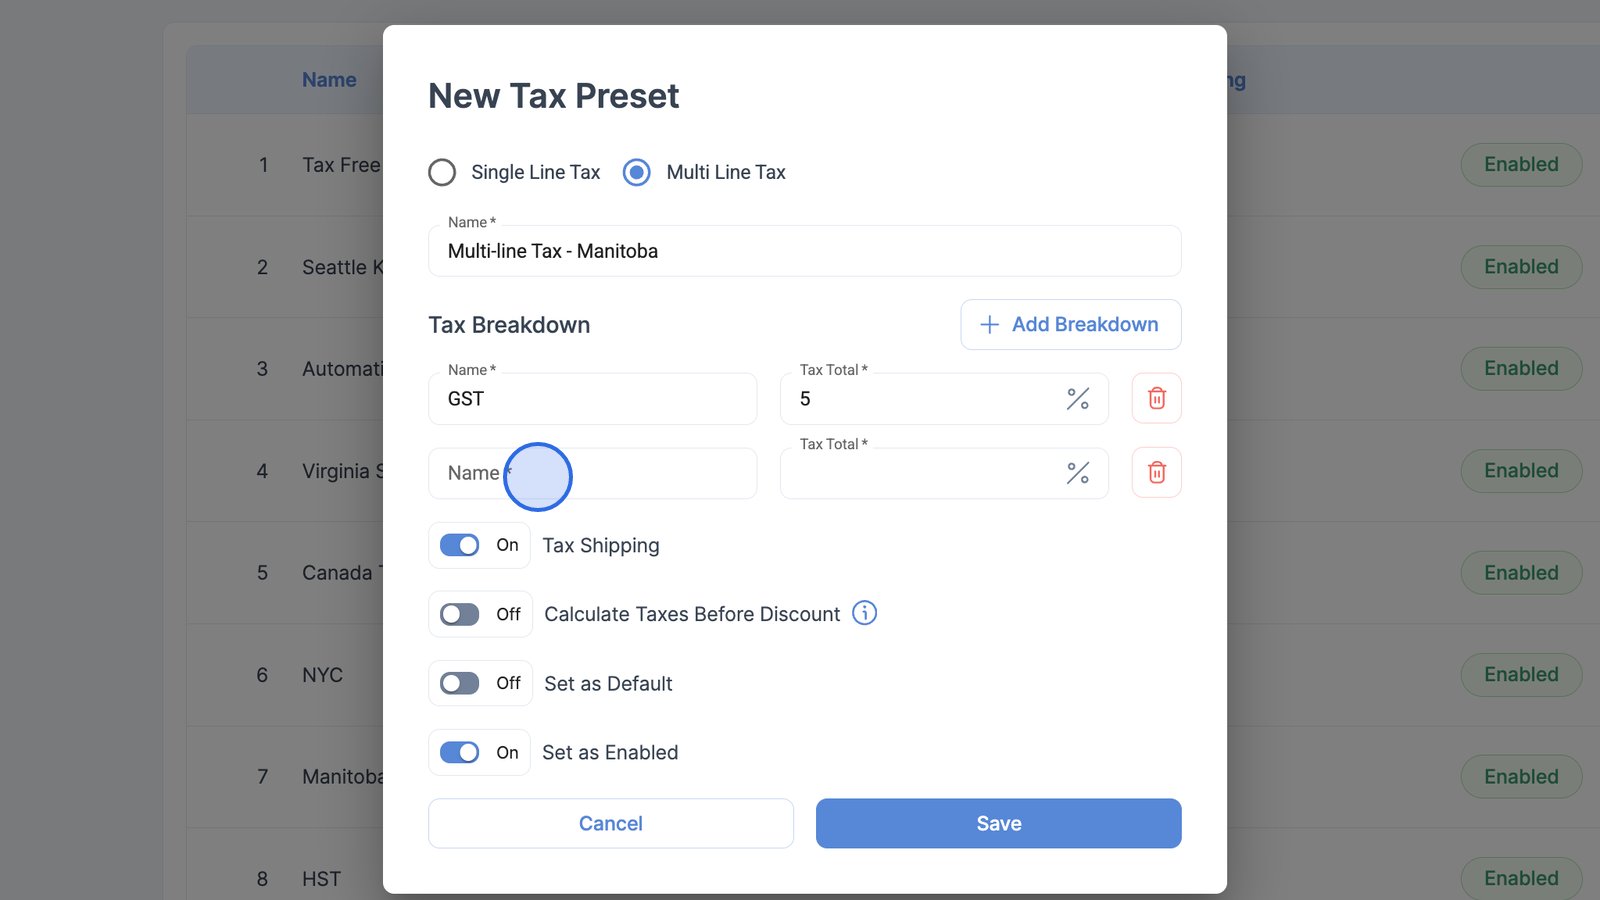
- Enter the name and configure the multi-line tax preset.
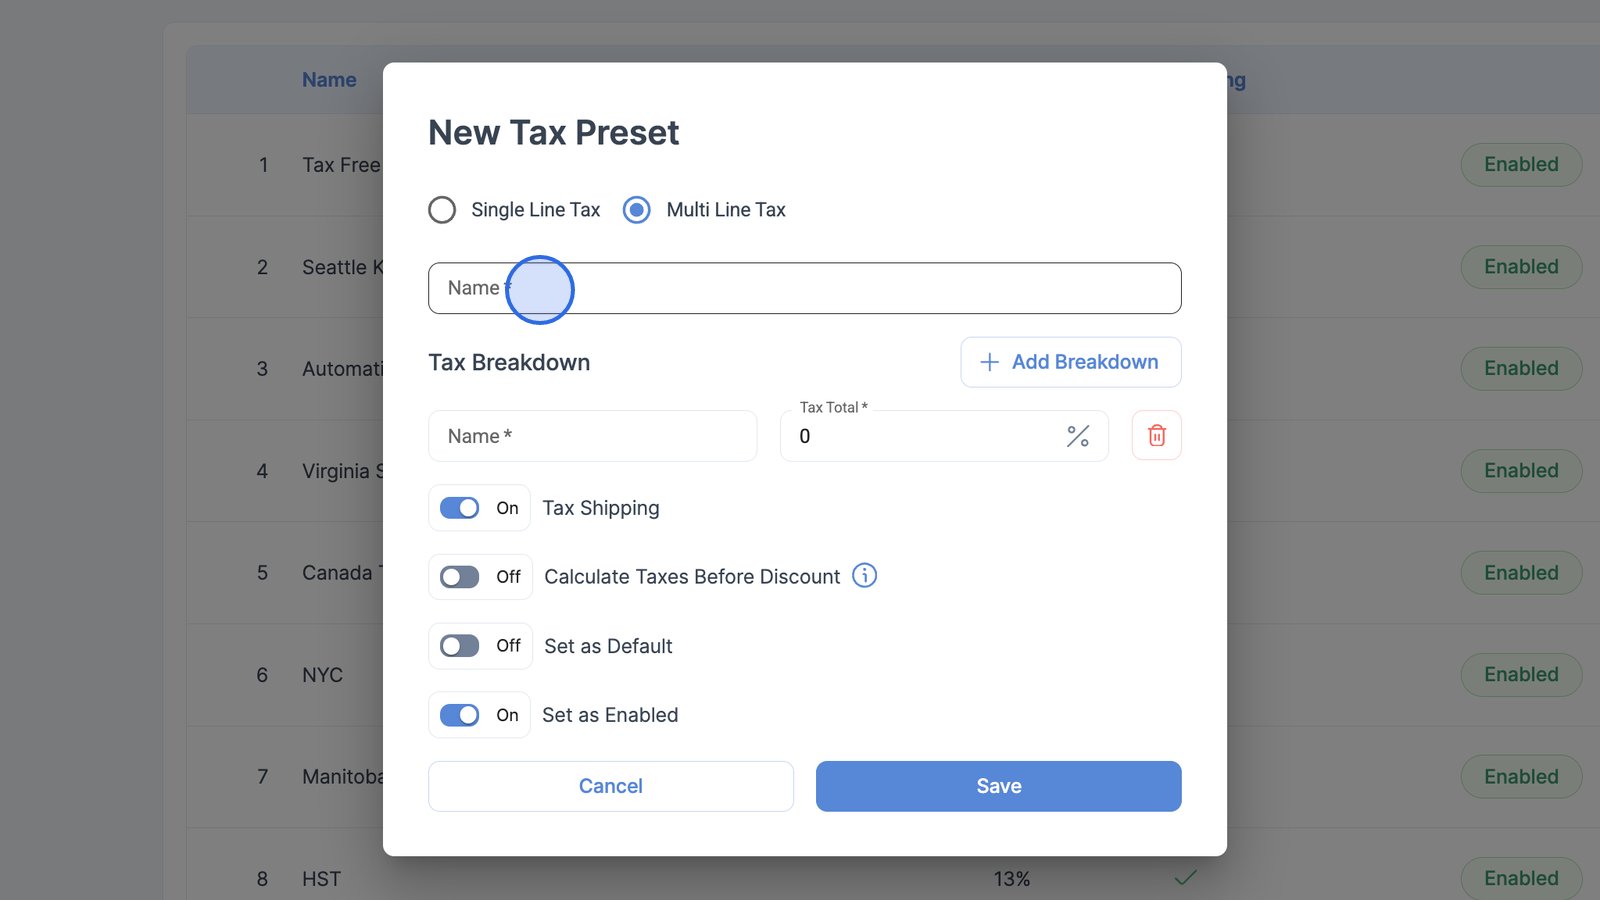
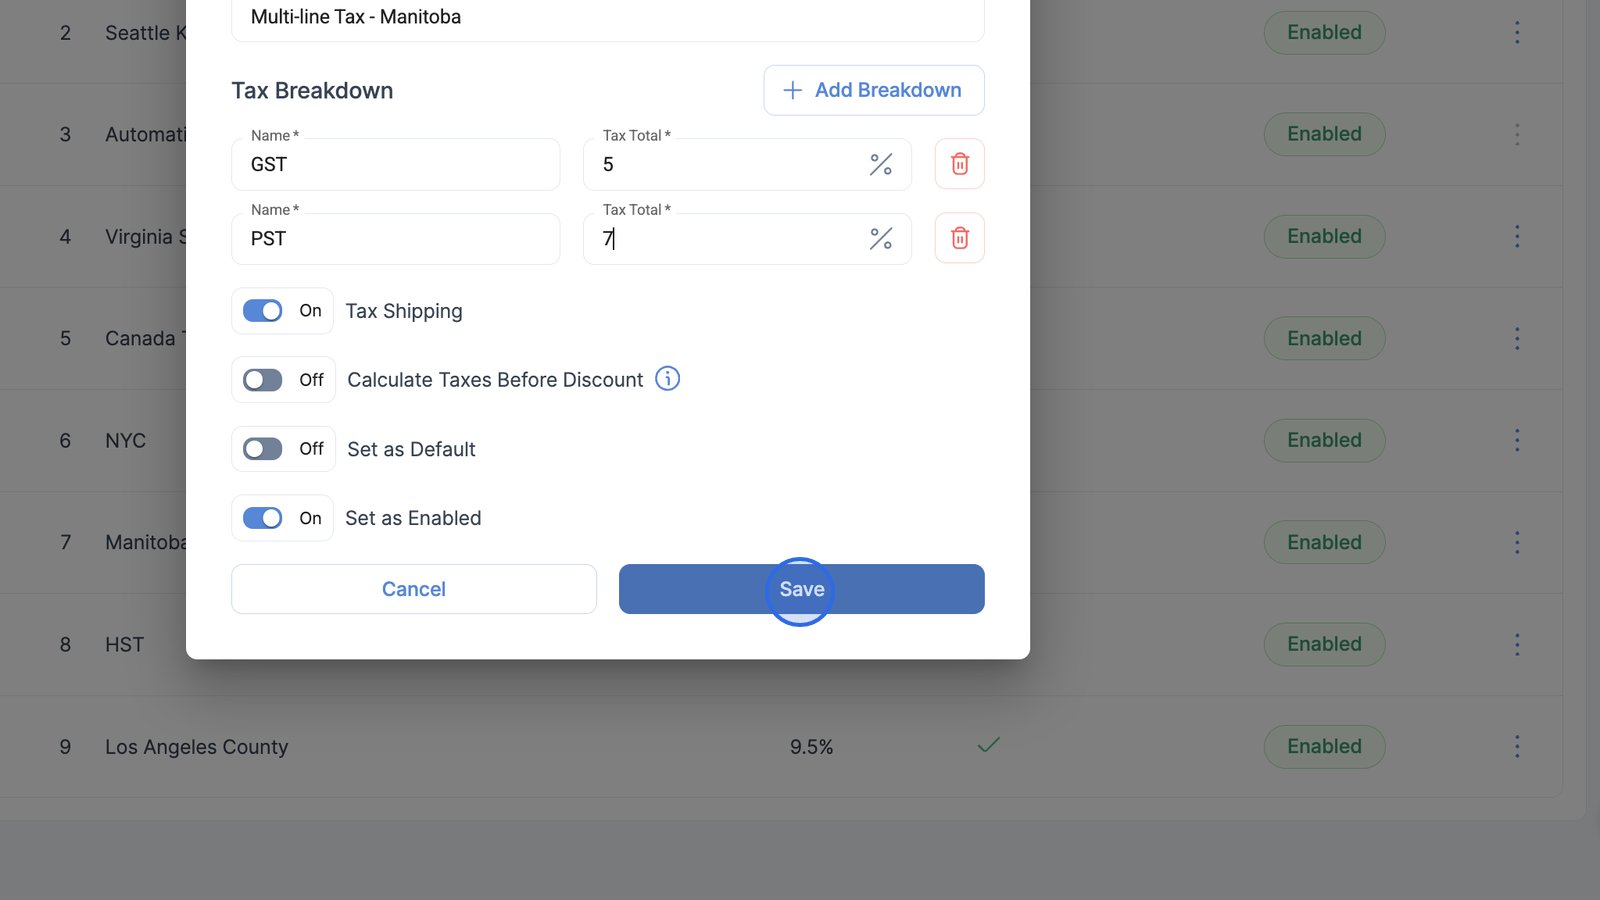
In the province of Manitoba, there's a 5% GST and a 7% PST. We can use this scenario as our example.
- To set this up, enter the GST rate as your first tax line.
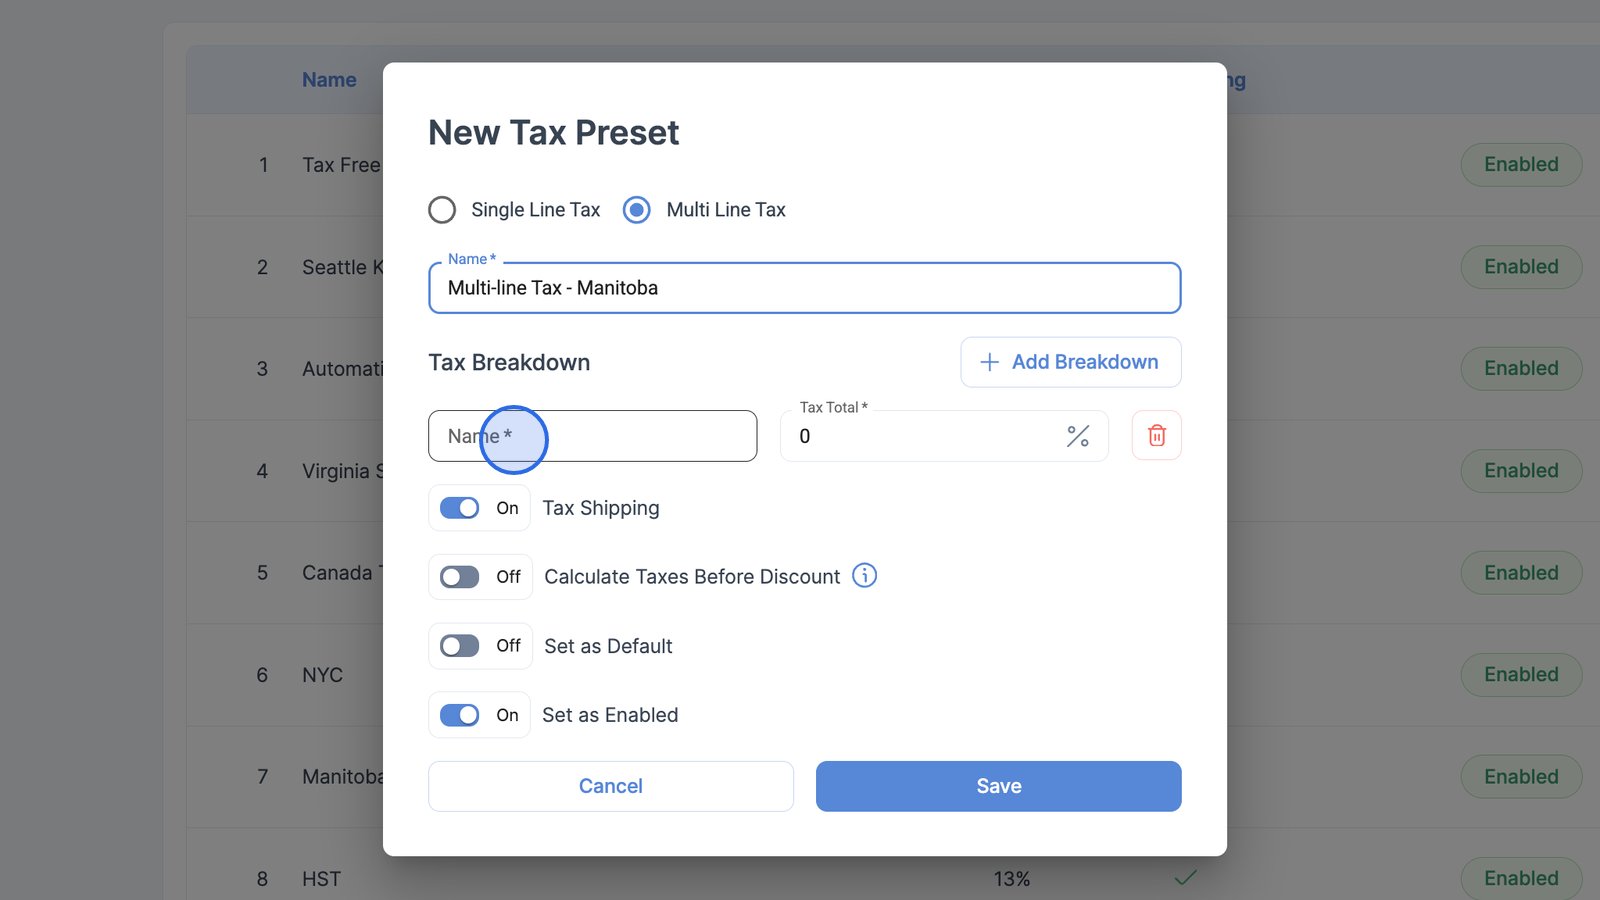
- Click + Add Breakdown.
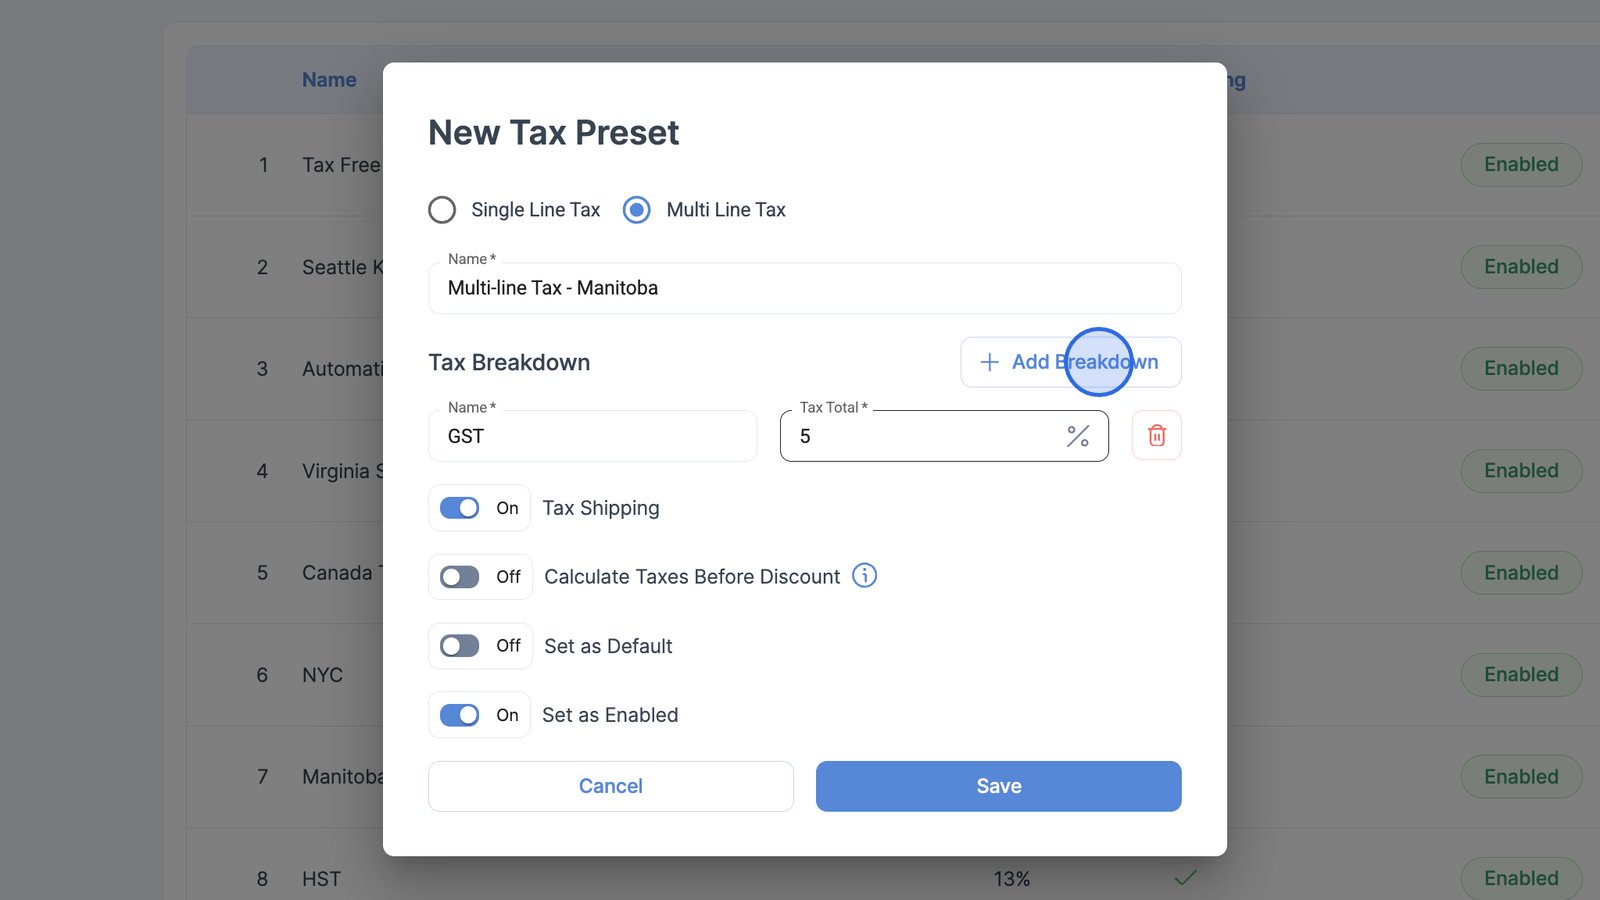
- Configure the PST rate as your second tax line.
- Specify your toggles and click the Save button to store your new multi-line tax preset.
Apply a tax preset to a sales order
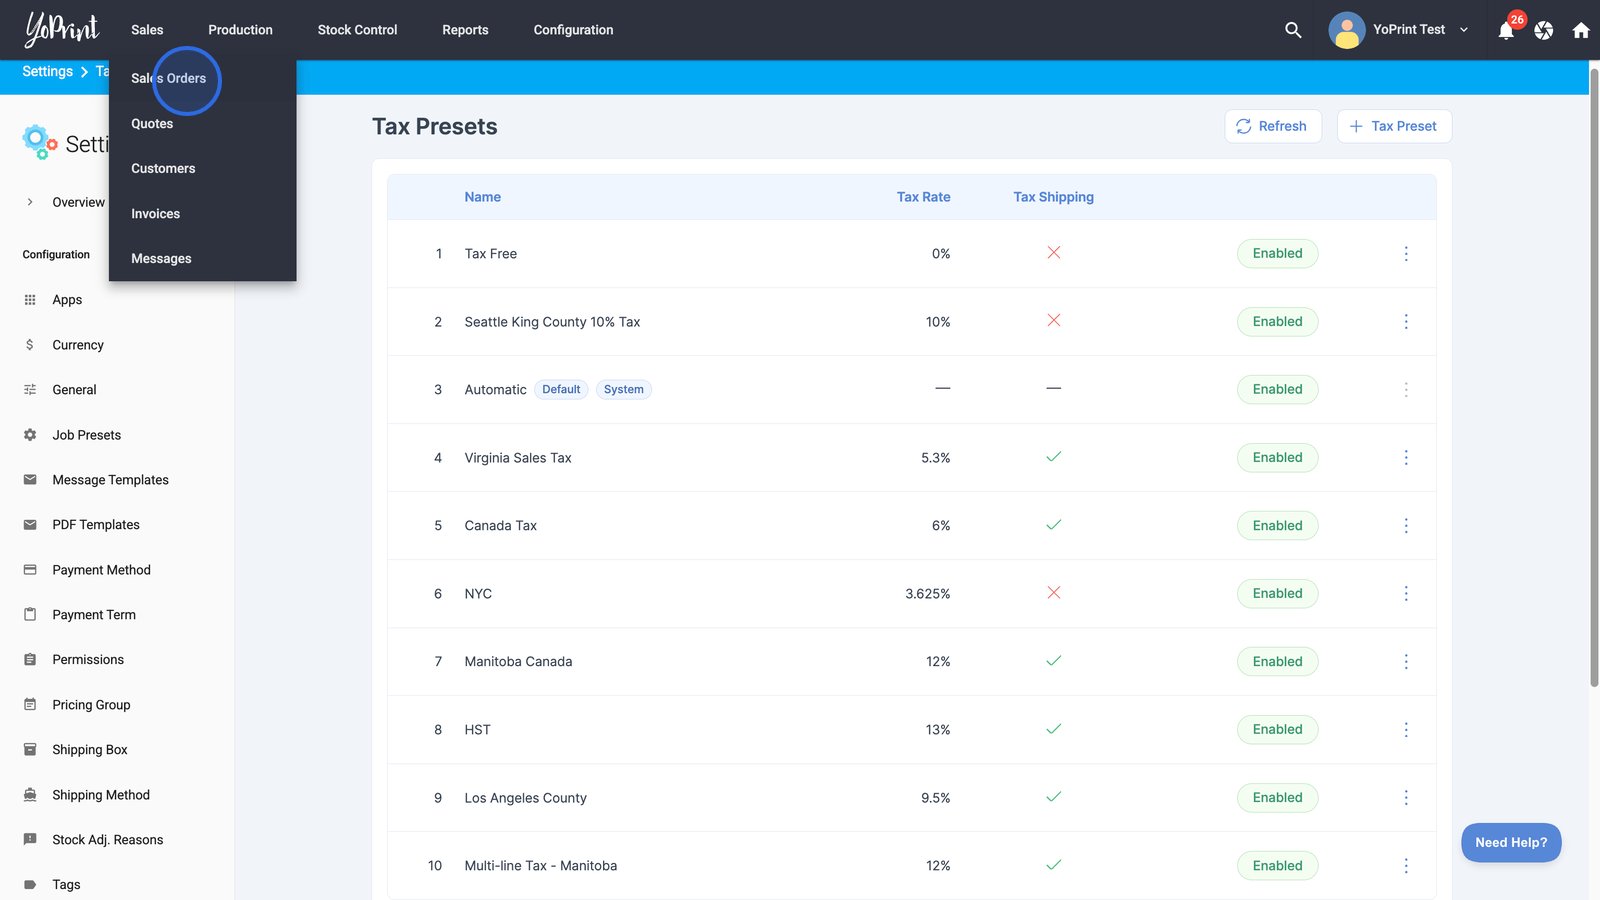
- Navigate to the Sales Orders page.
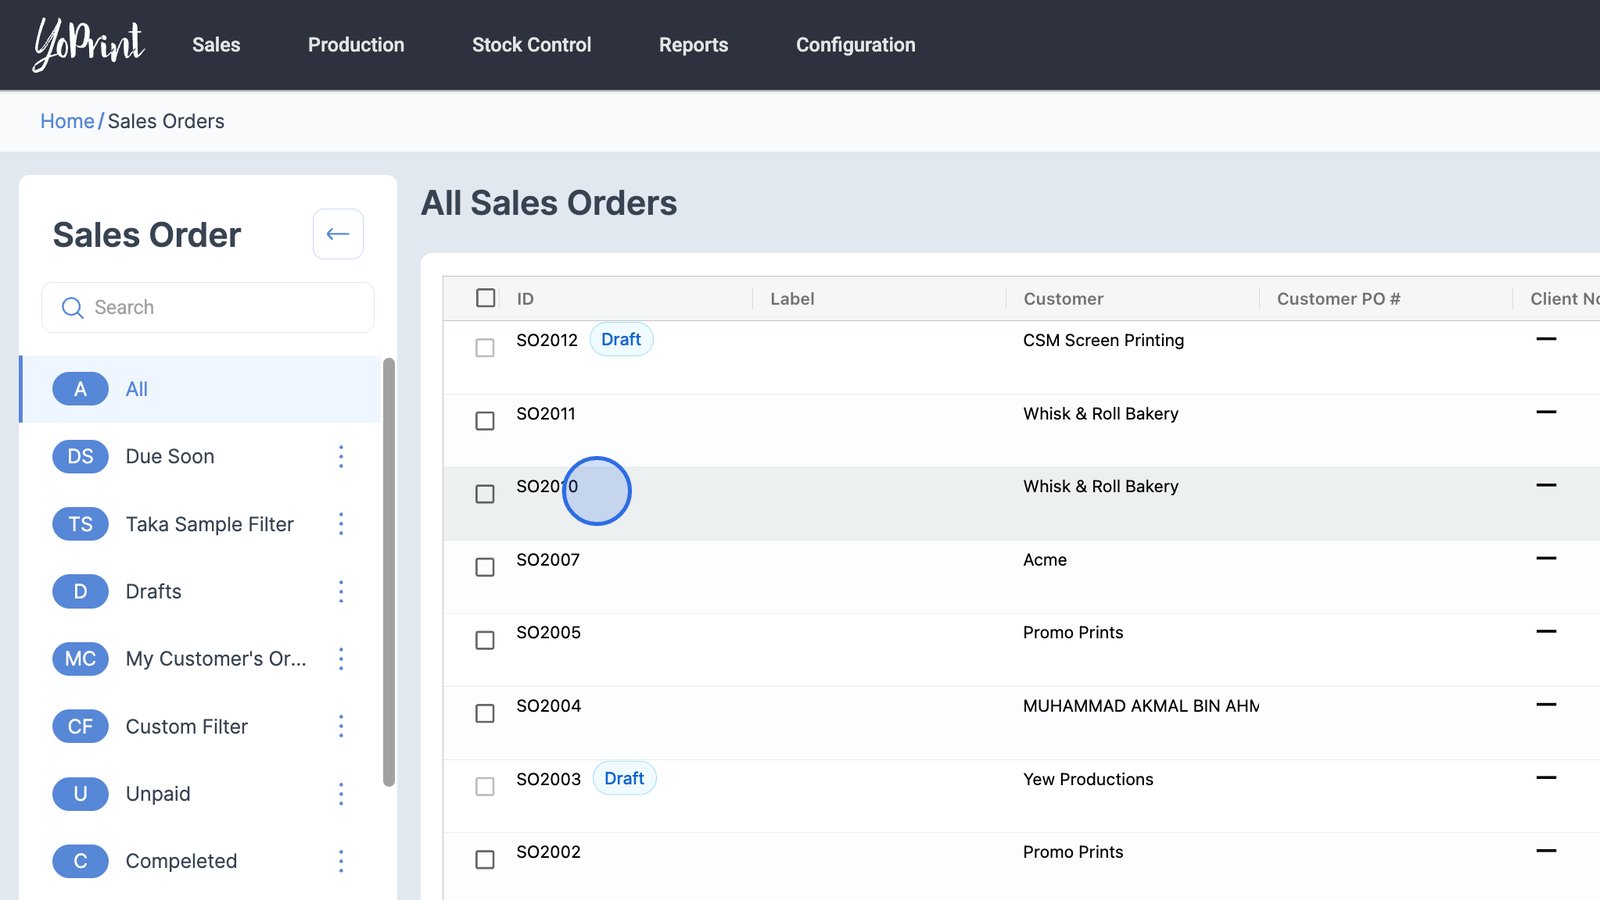
- Double-click to open a sales order.
Note: Taxes are calculated after the order is finalized. This means you will need to create your invoice first before the tax calculation takes place.
- Open the invoice for the sales order.
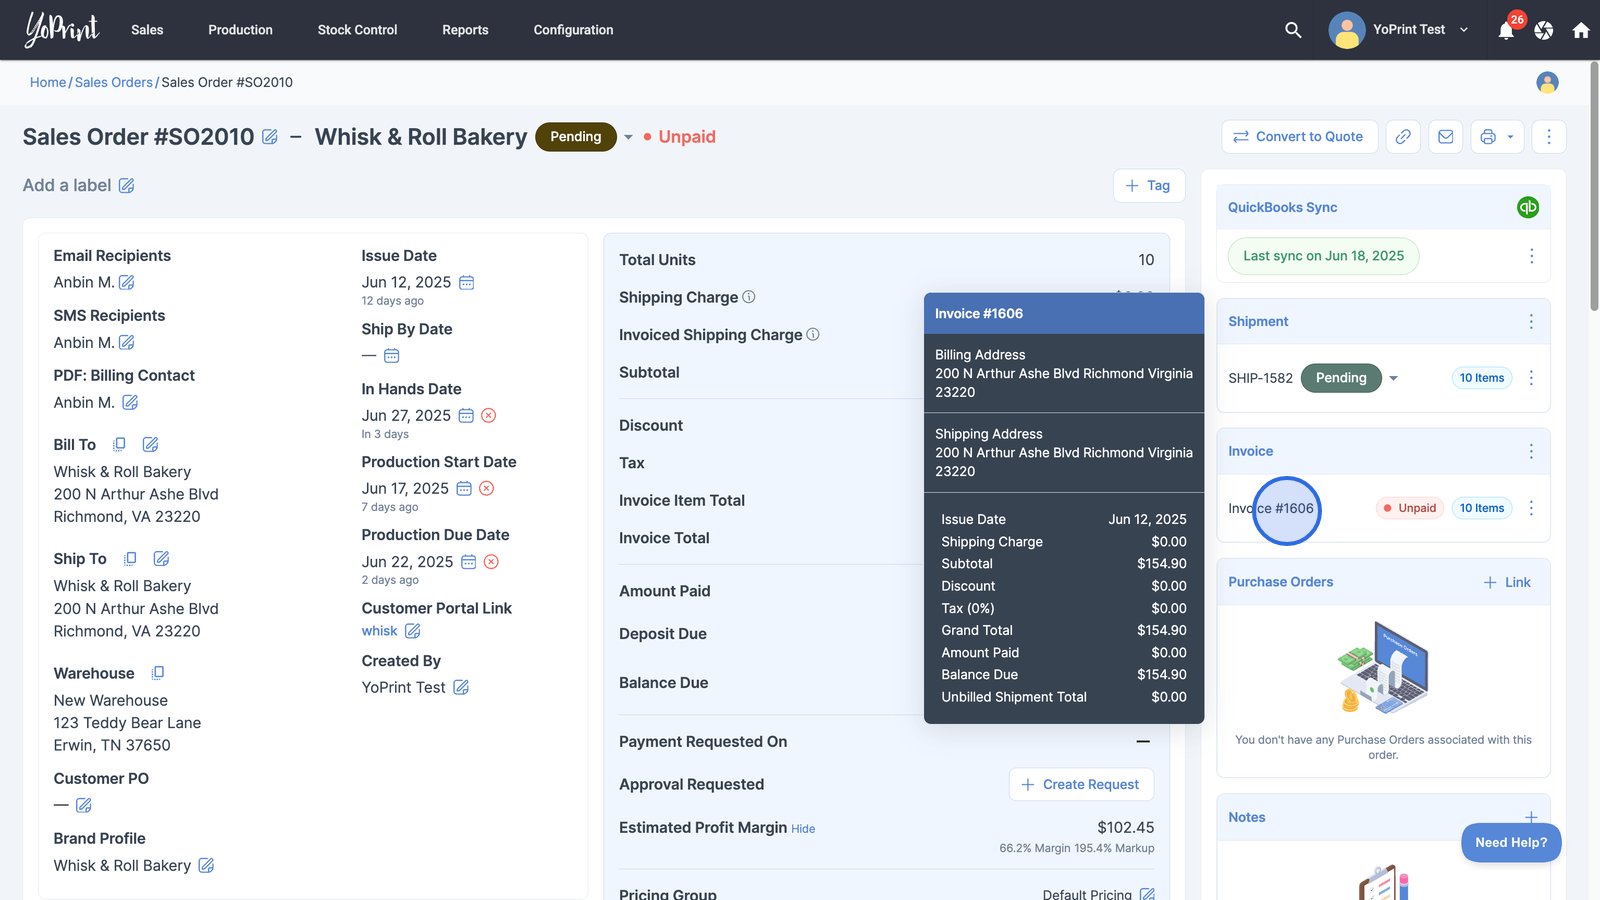
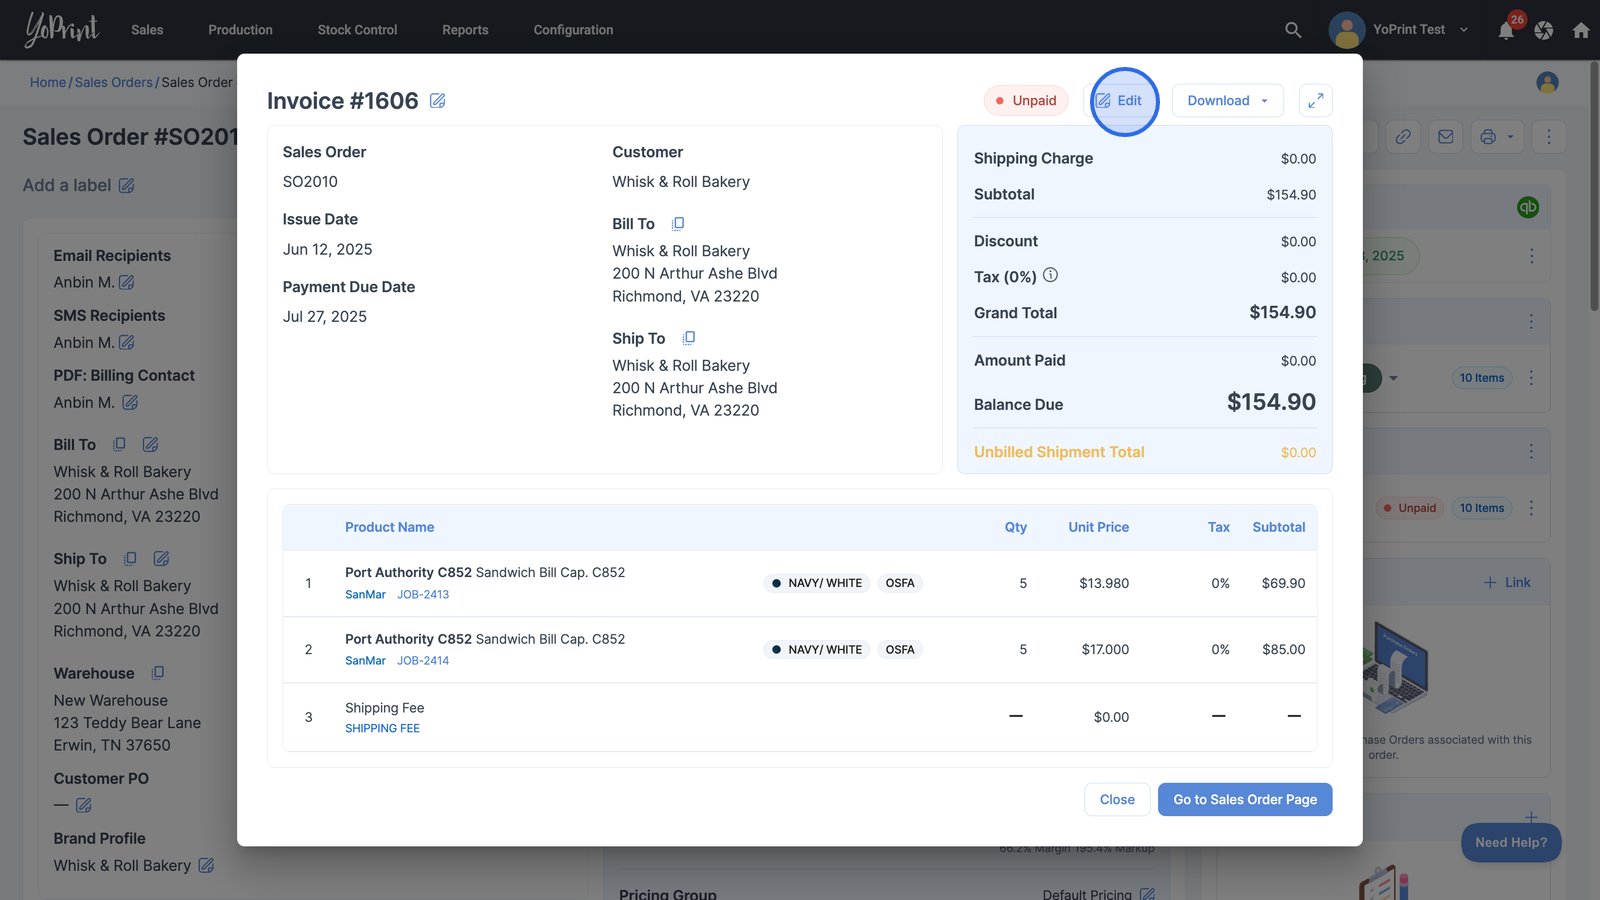
- Click Edit to modify the invoice details for this sales order.
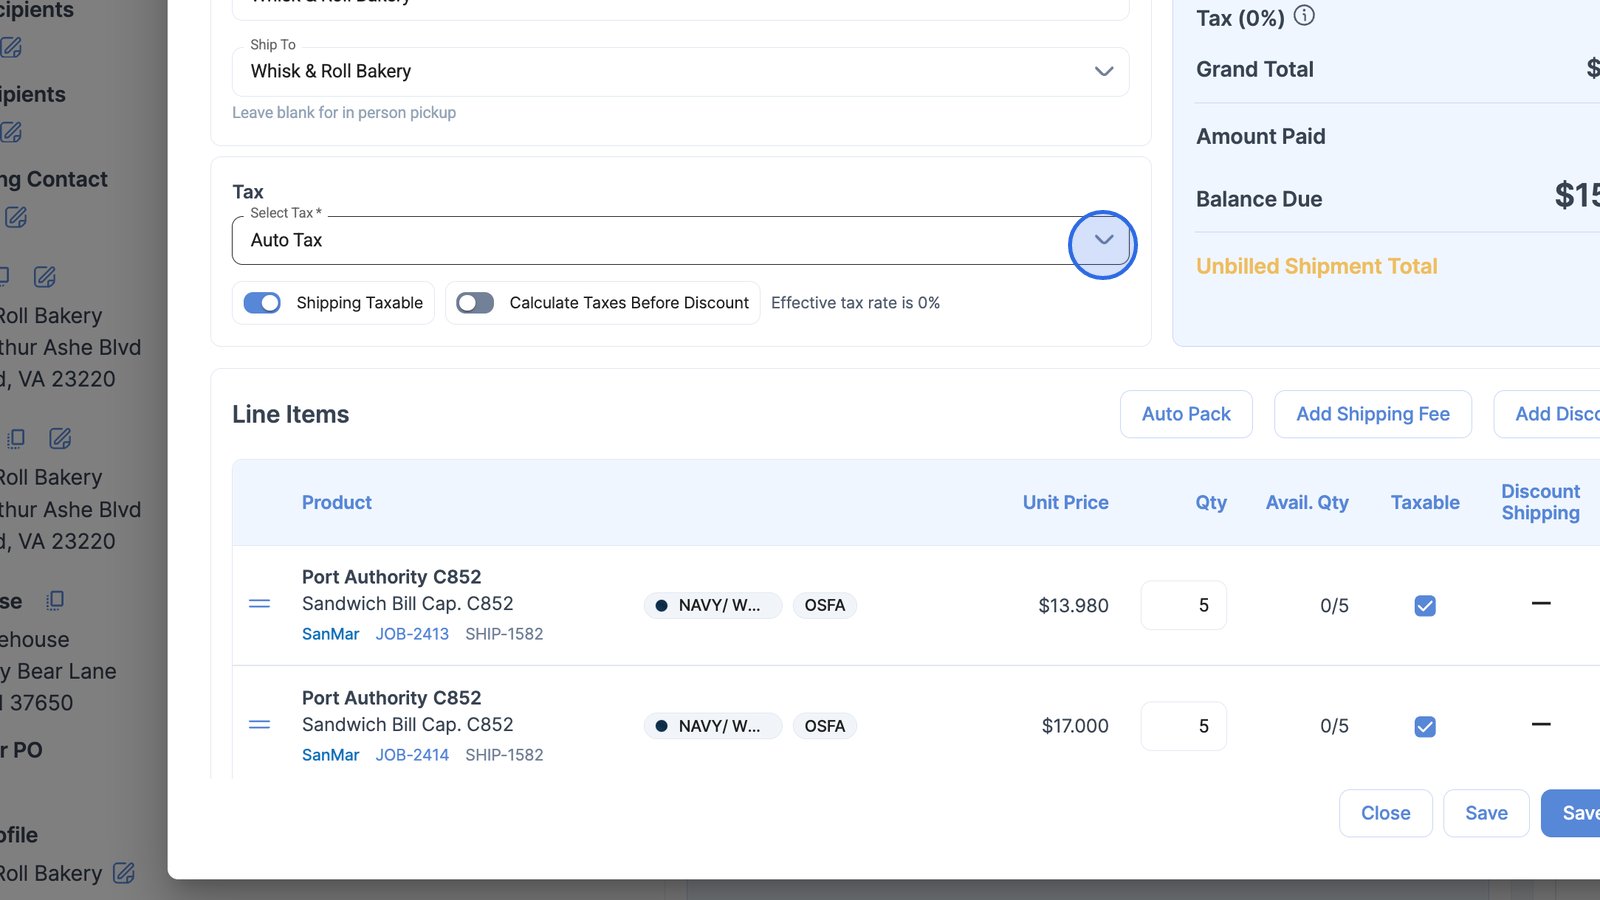
- Click on the tax selection drop-down menu.
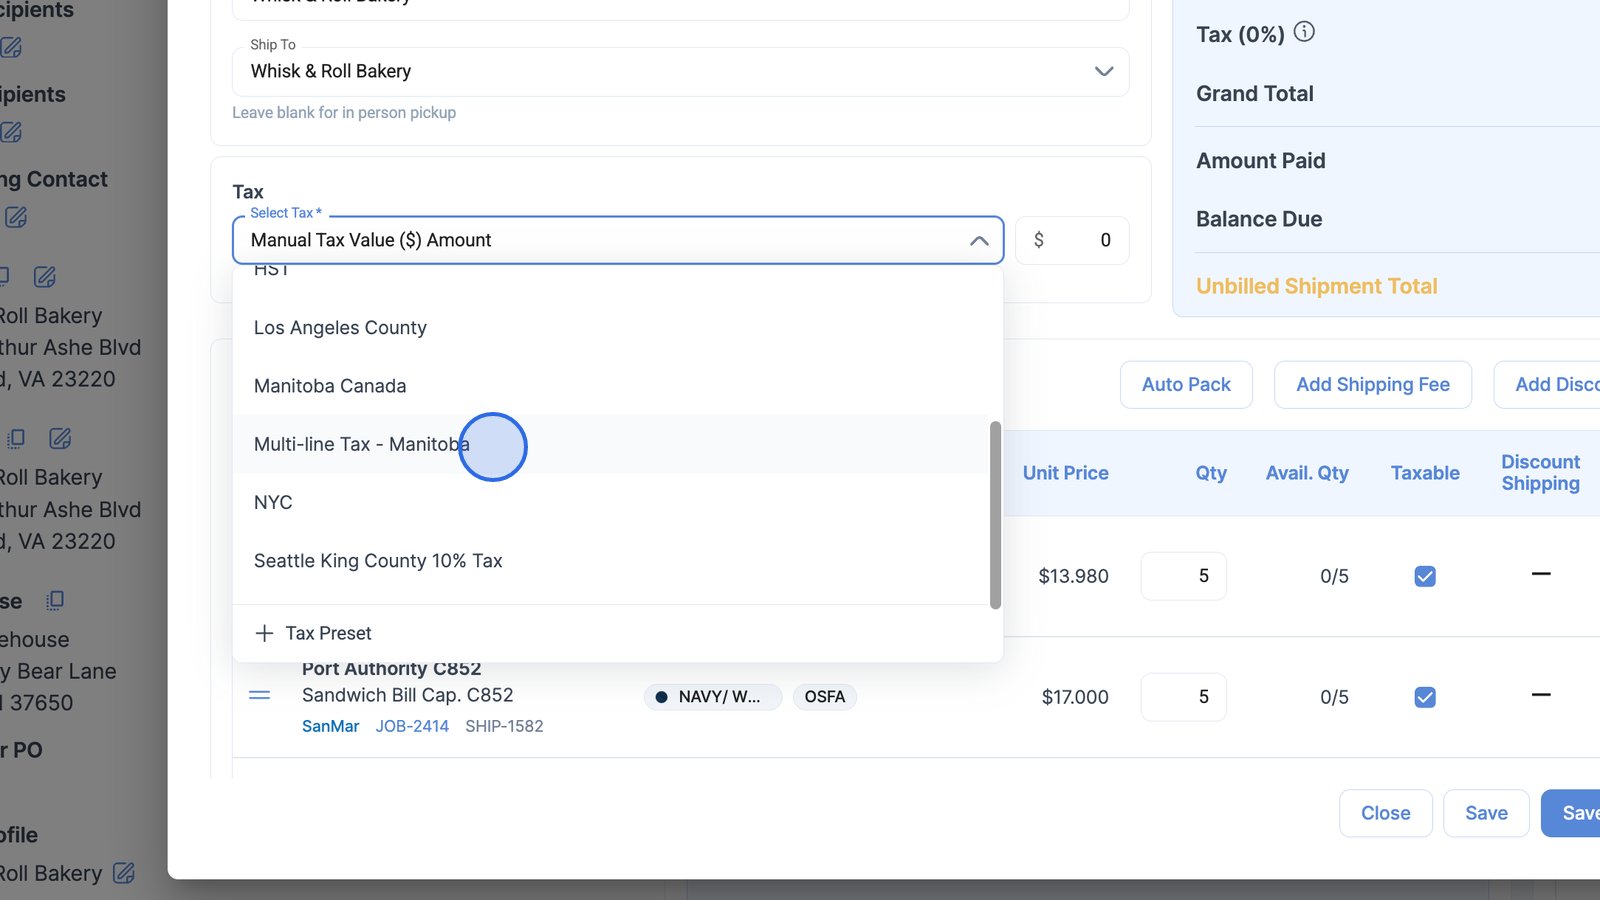
- Select the tax preset to apply to the sales order.
- Click the Save to apply your changes to the sales order's tax settings.
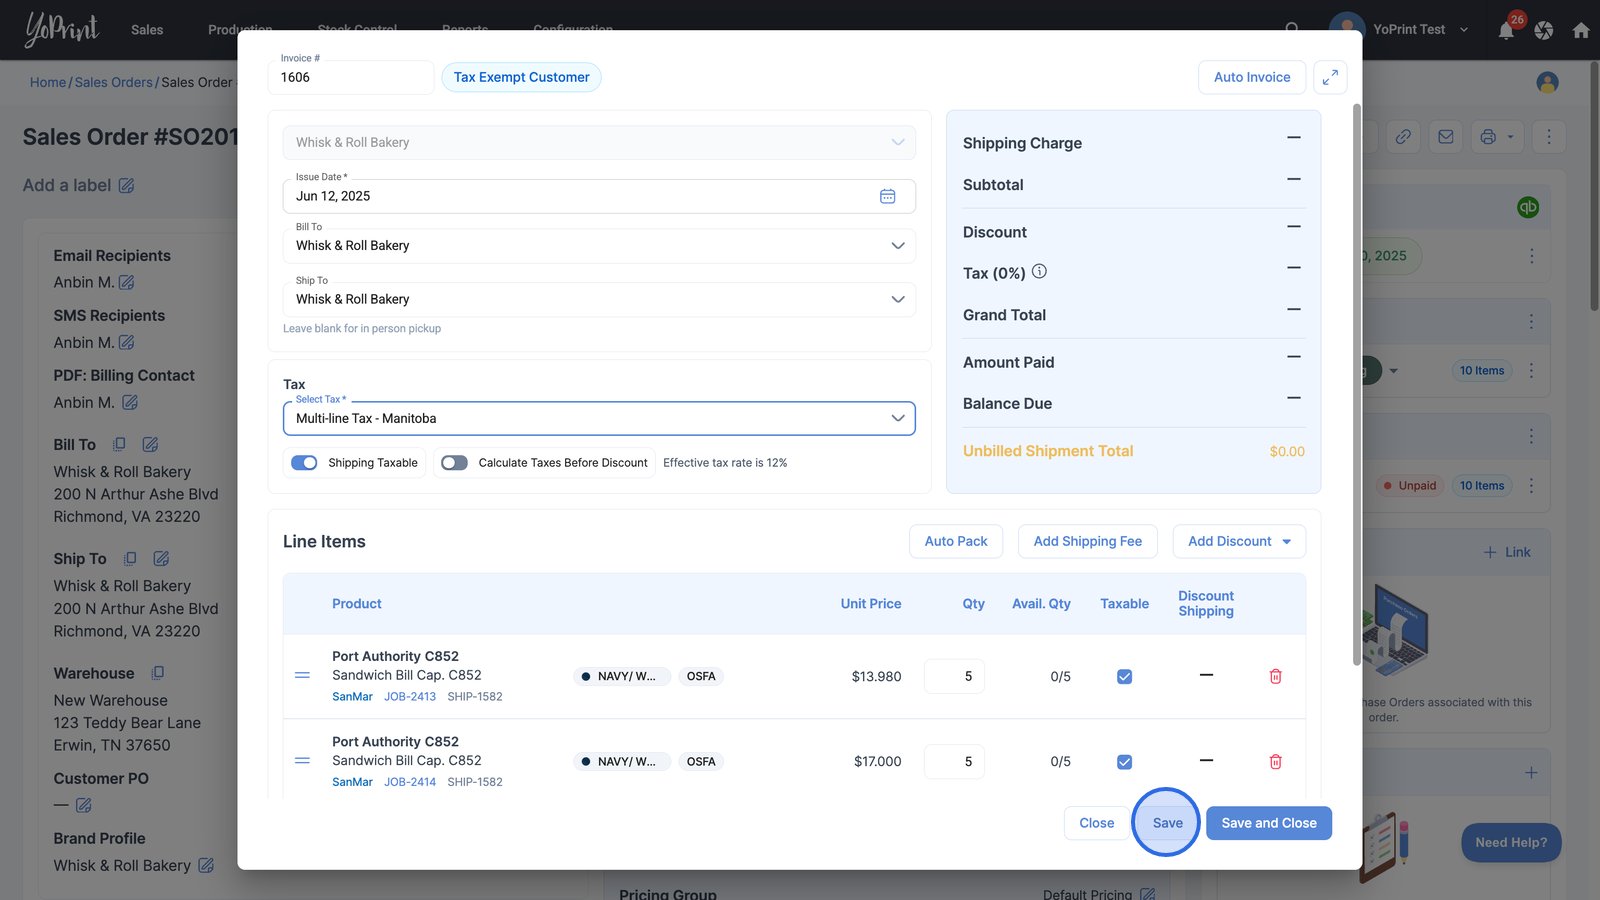
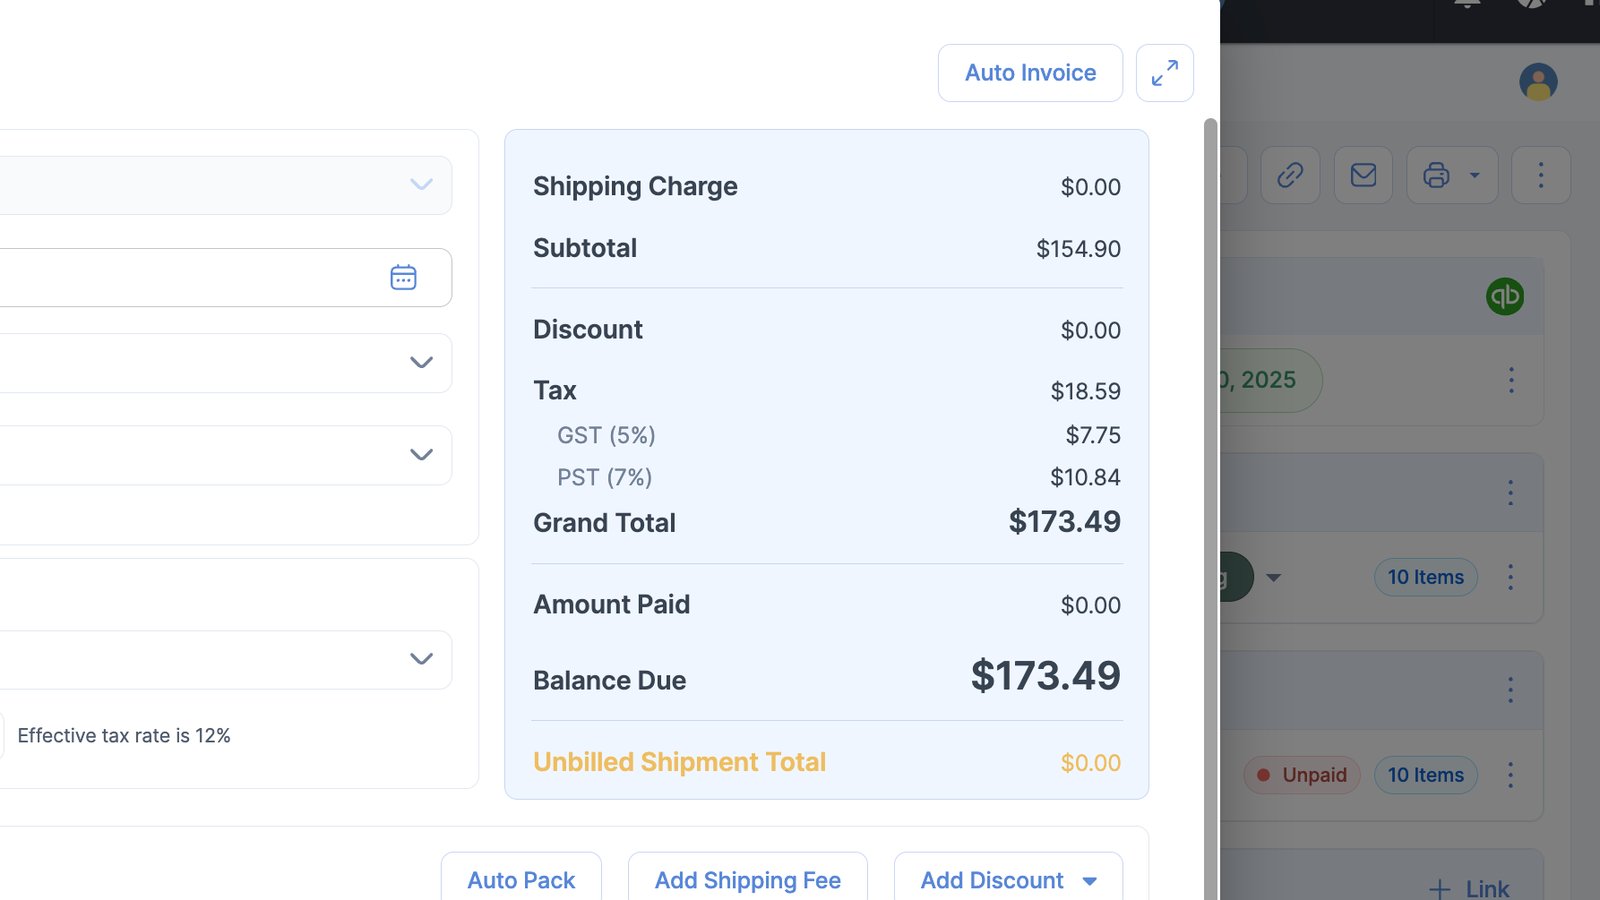
As soon as you hit save, YoPrint will automatically calculate the tax for you.
Pro Tip:
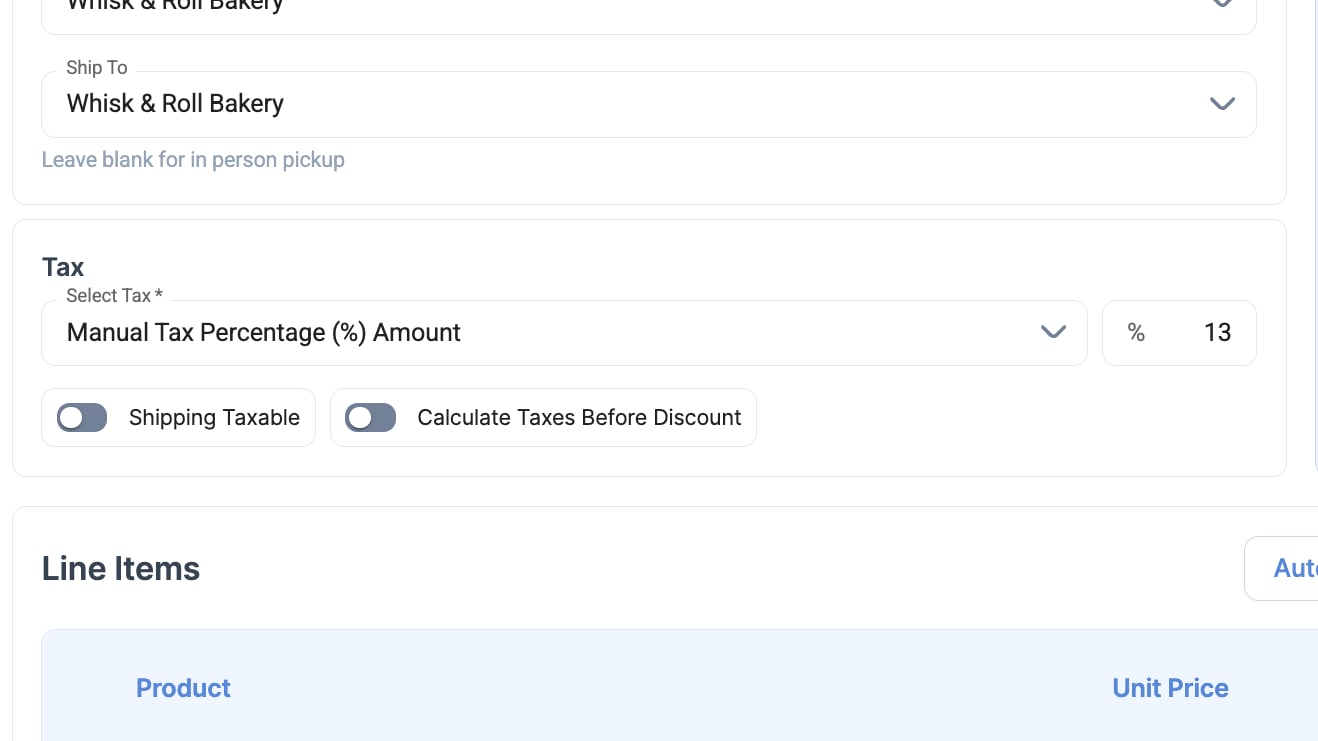
- You can also specify the tax percentage directly without having to select a preset.
- For example, if you are shipping to Ontario, which has a 13% HST, you can select the Manual Tax Percentage (%) Amount option and type “13” in the percentage field.
Override tax percentage for a specific line item
YoPrint allows you to control tax settings on a per-line-item basis.
- If a specific item is non-taxable, simply uncheck the box, and the system will exclude tax for that item.
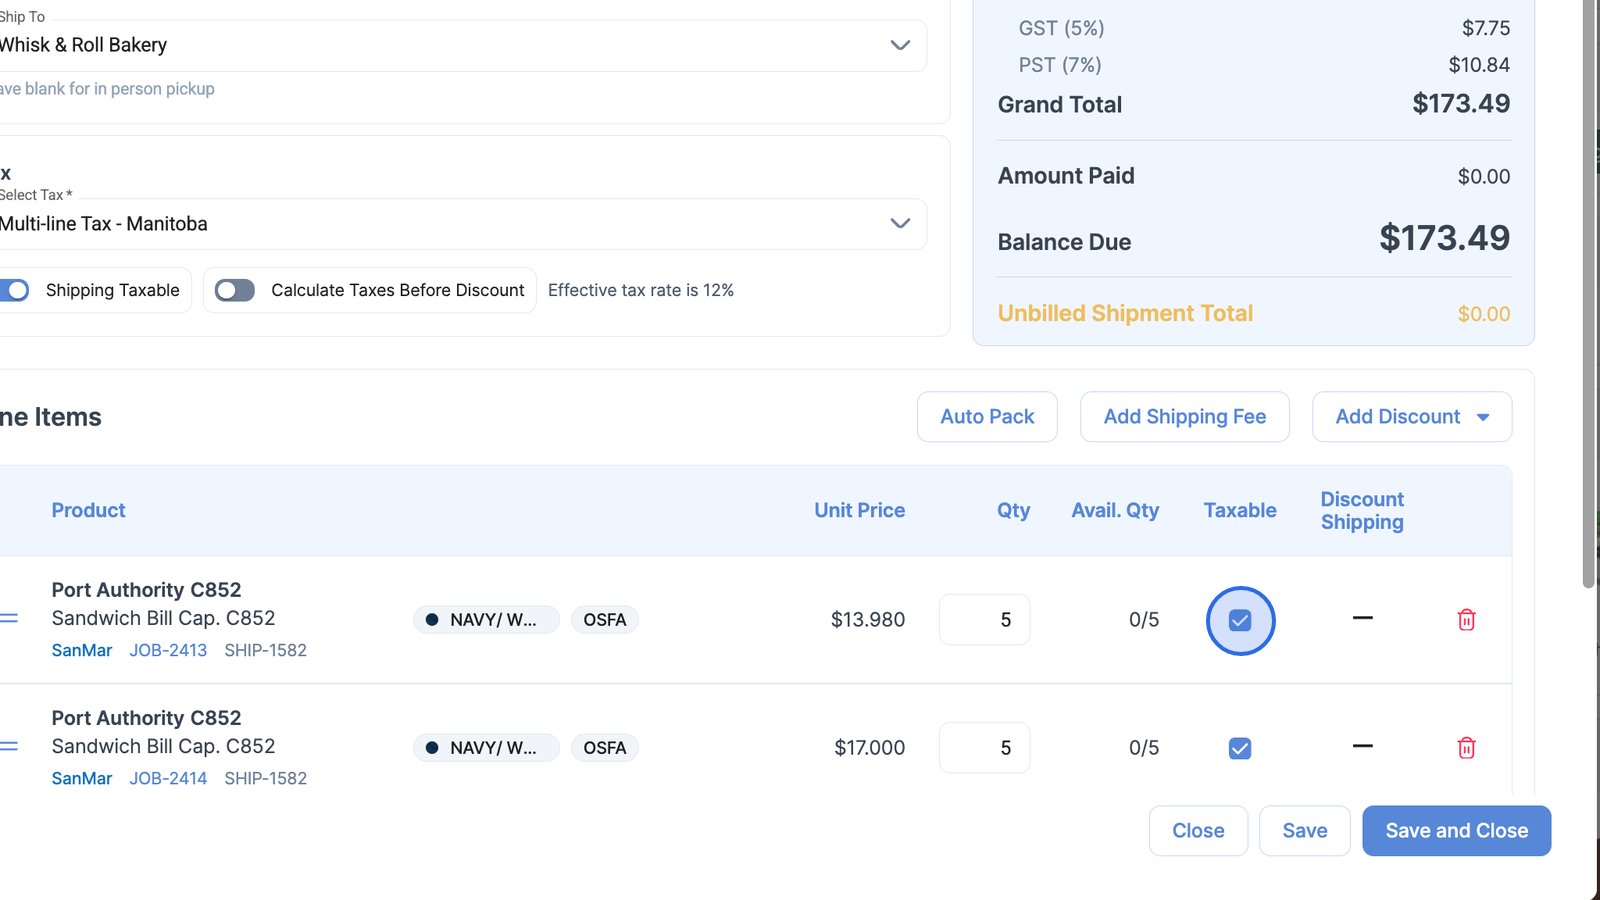
- Click the Save button to update the sales order with your changes.
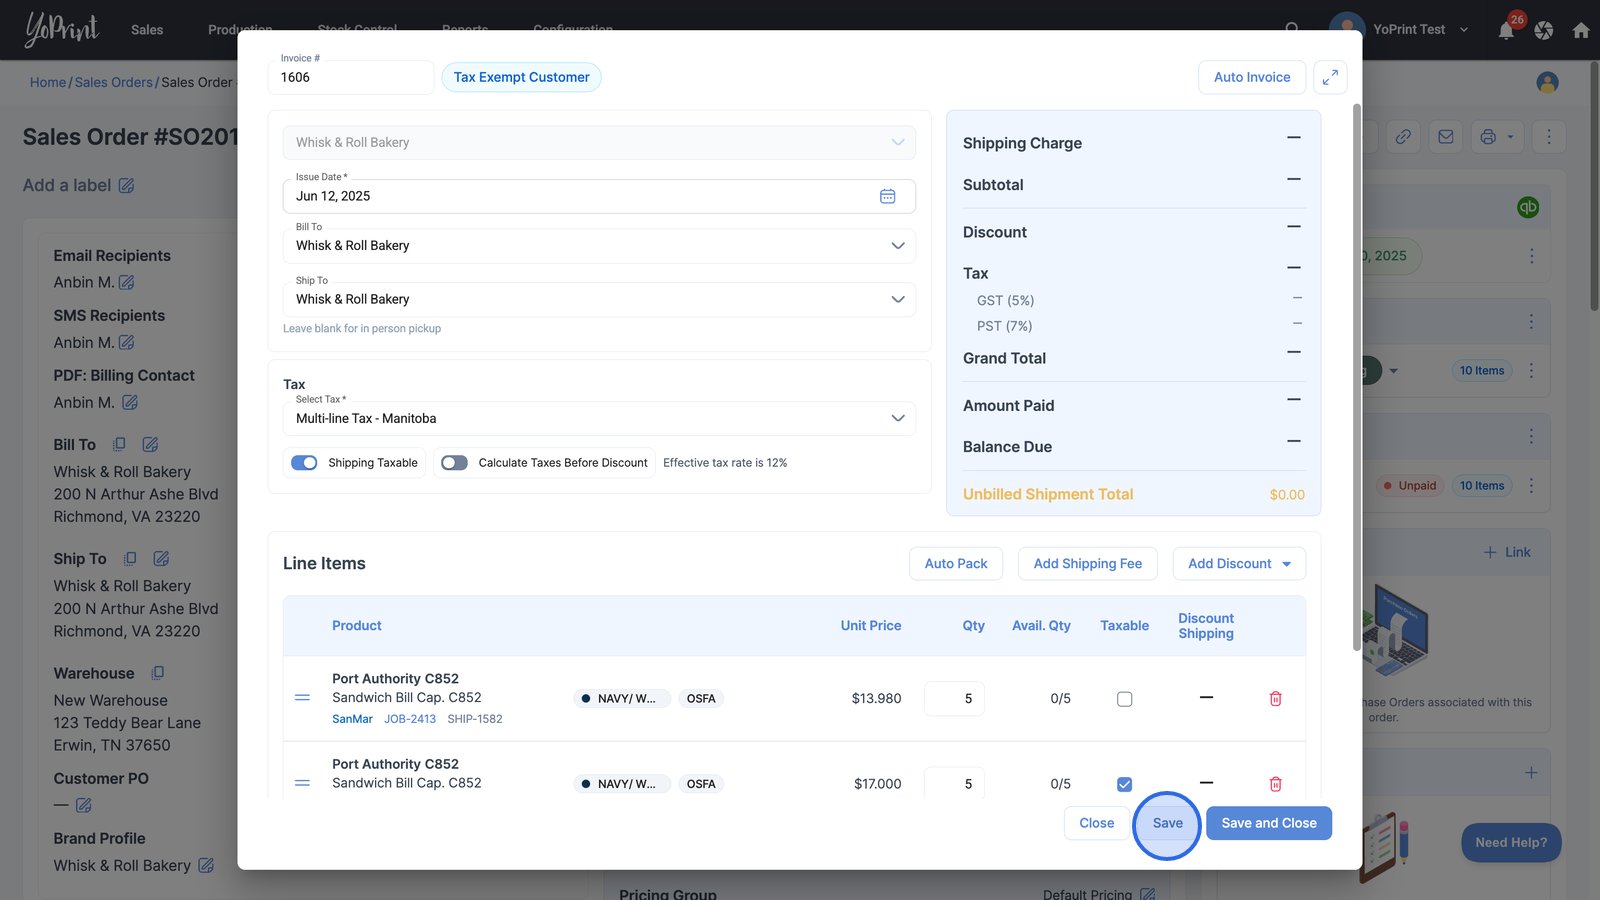
The tax details will automatically adjust.
How to tax-exempt a customer
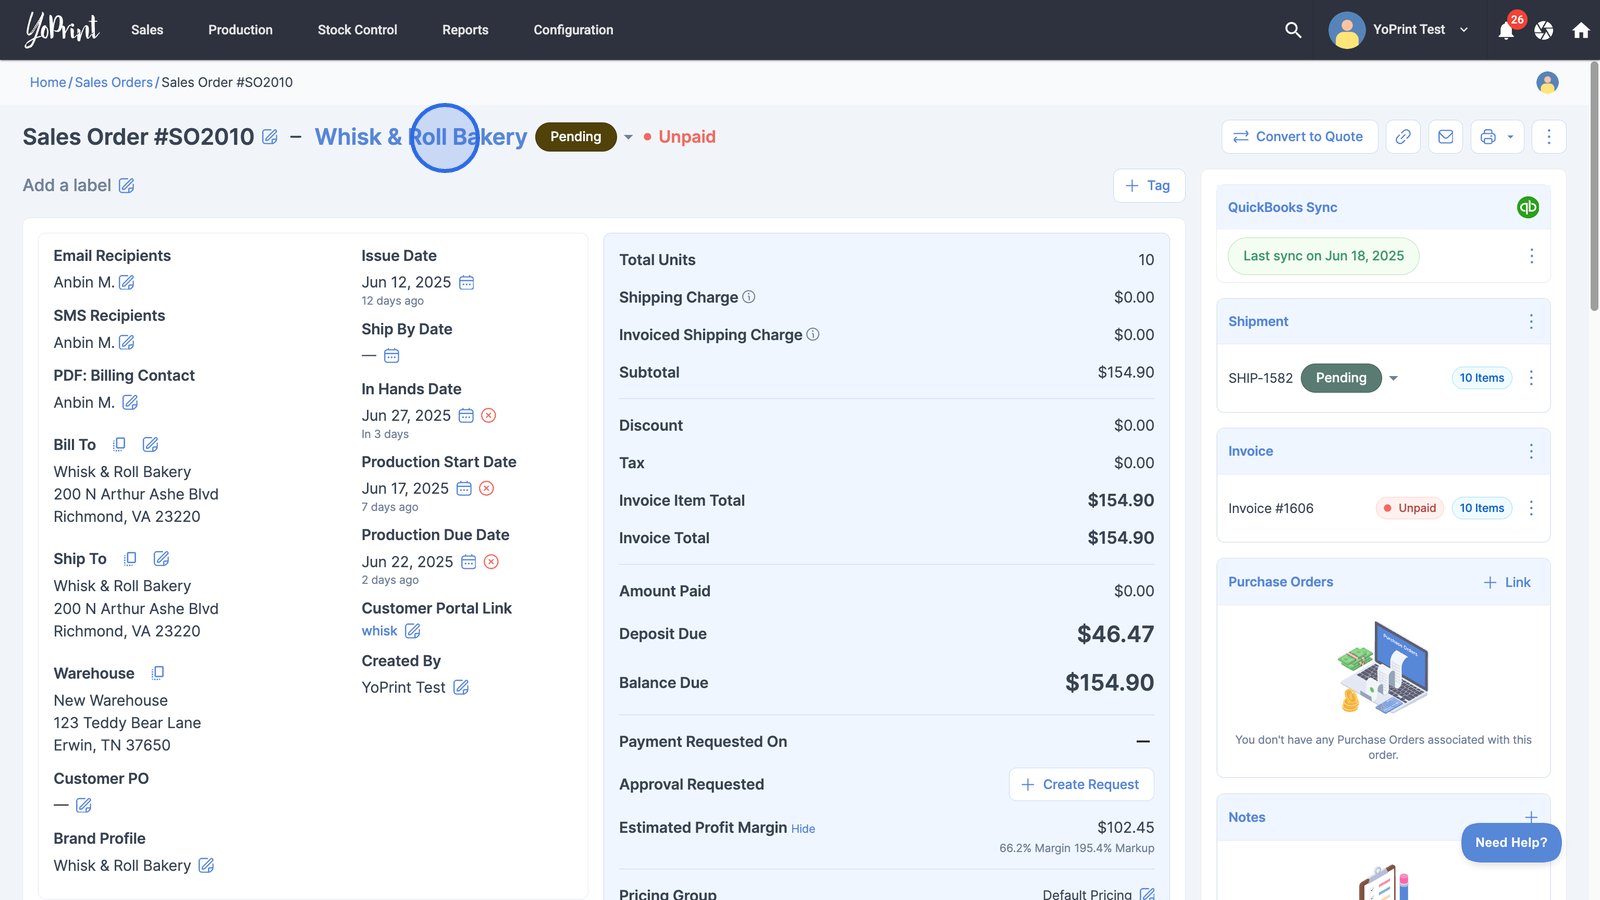
- Click on the customer from the sales order to view their profile and related details.
- Use the "Tax Exempt" switch to enable tax exemption for the customer.
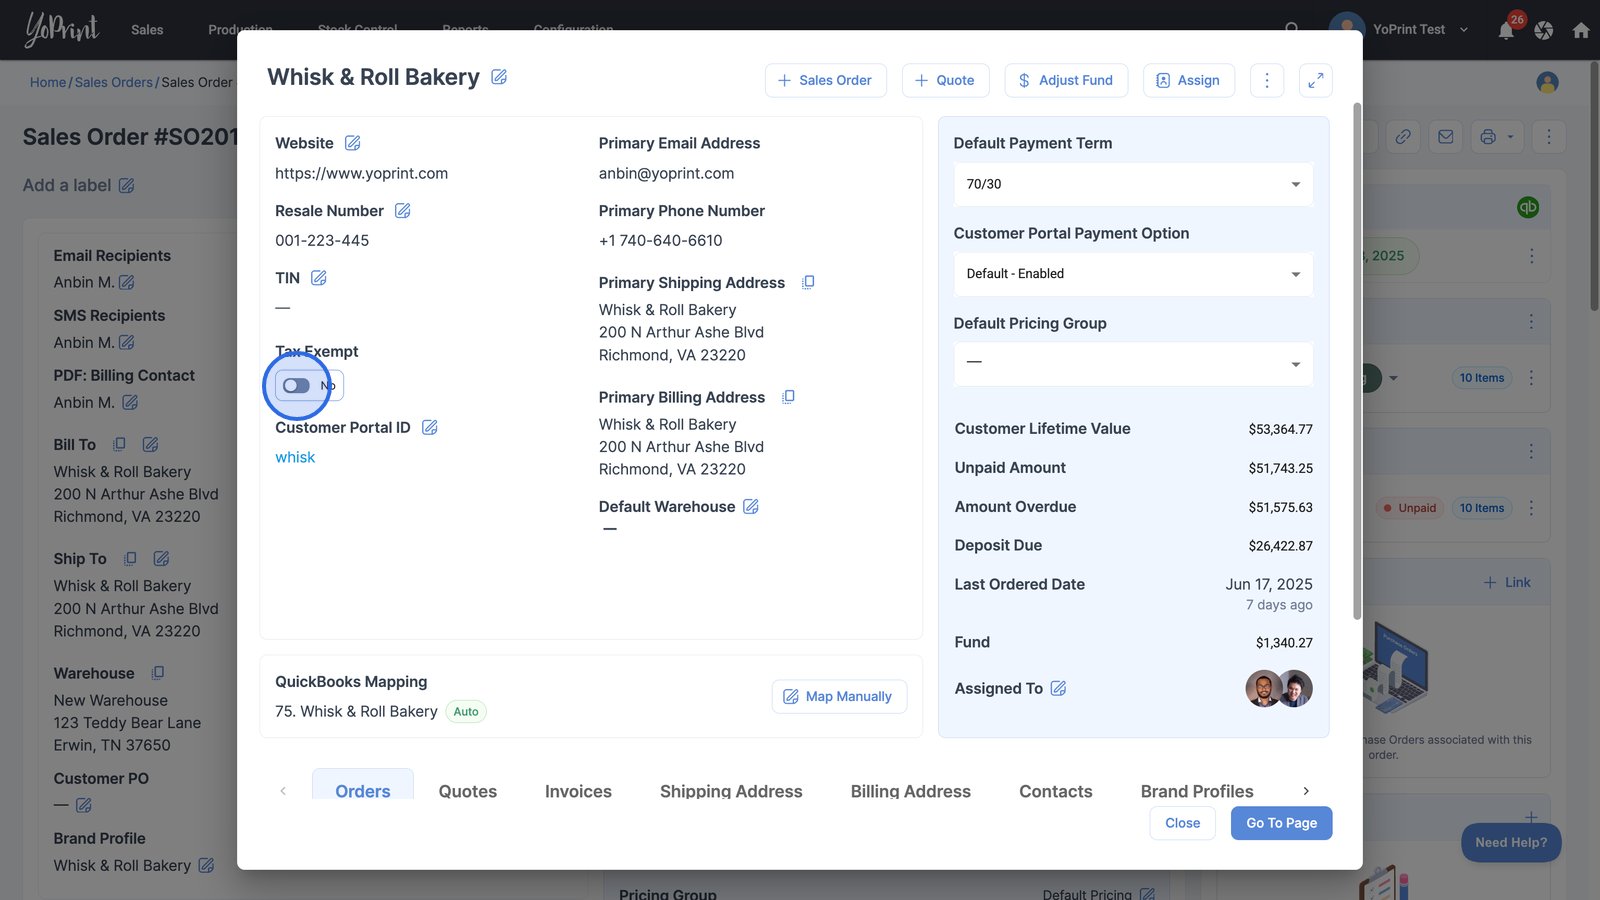
Note: Future invoices will accurately reflect the new tax-exempt status, but existing invoices will need to be updated manually.