How to Create and Use a Message Template
In this article
Create an email template
A message template saves wording you can reuse when emailing customers or vendors. Variables fill in details such as the order number for the order you are messaging about.
Go to Configuration > Settings > Message Templates or open Settings > Message Templates. This guide uses email; see Set Up SMS Message Templates for text messages.
Templates marked System are used when sending new sales order or quote details. You can edit them, but you cannot remove them. See Types of Message Templates for the difference.
-
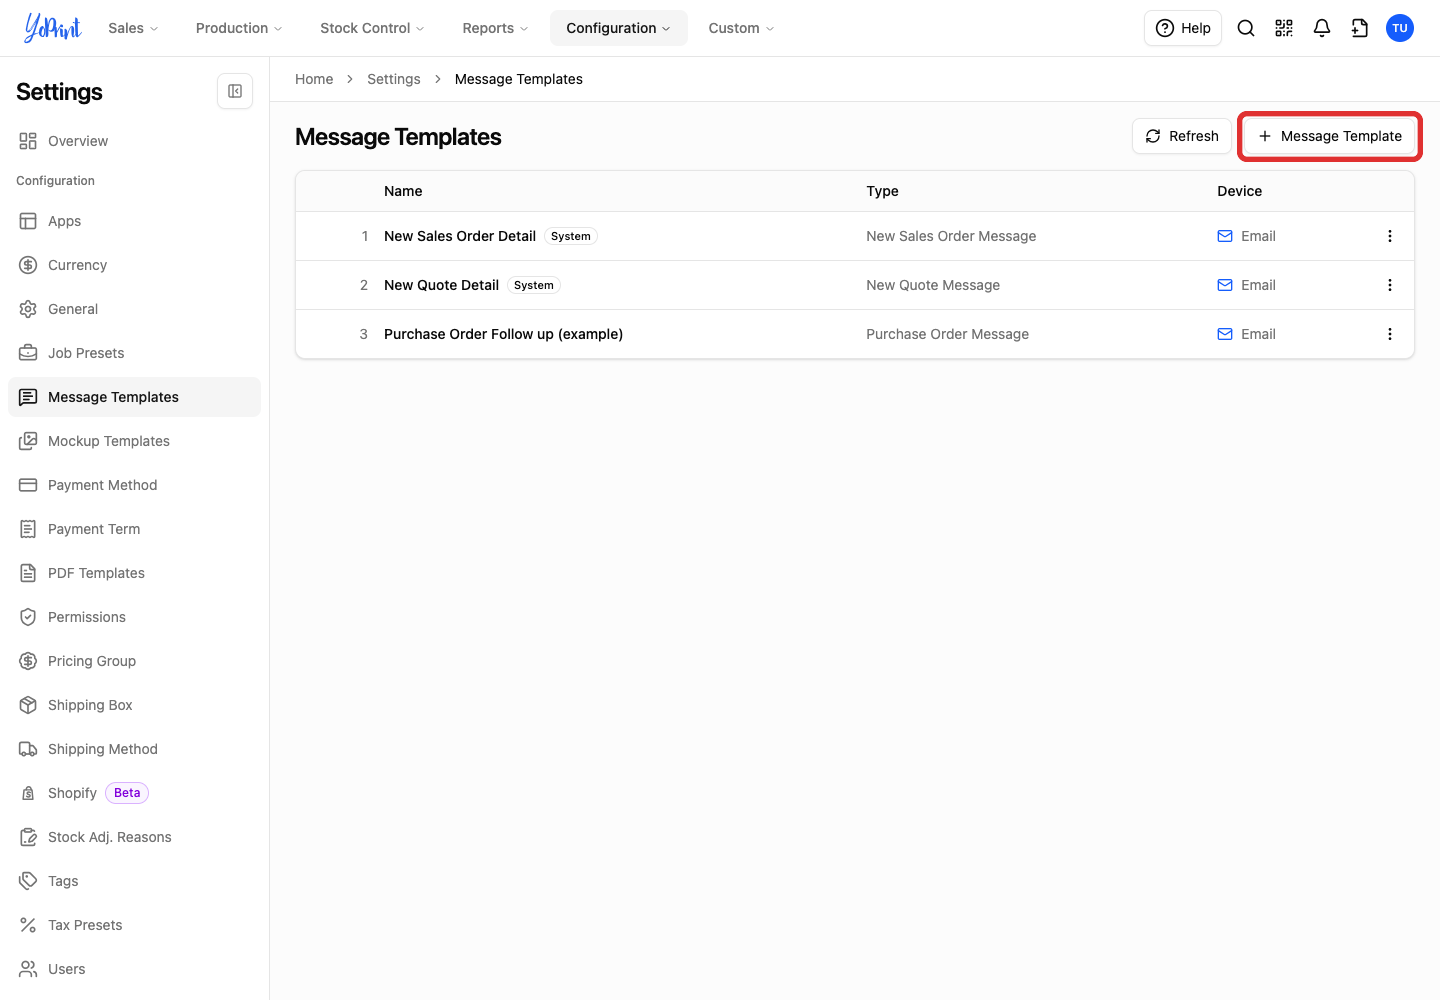
Click the Message Template button at the top right.
-
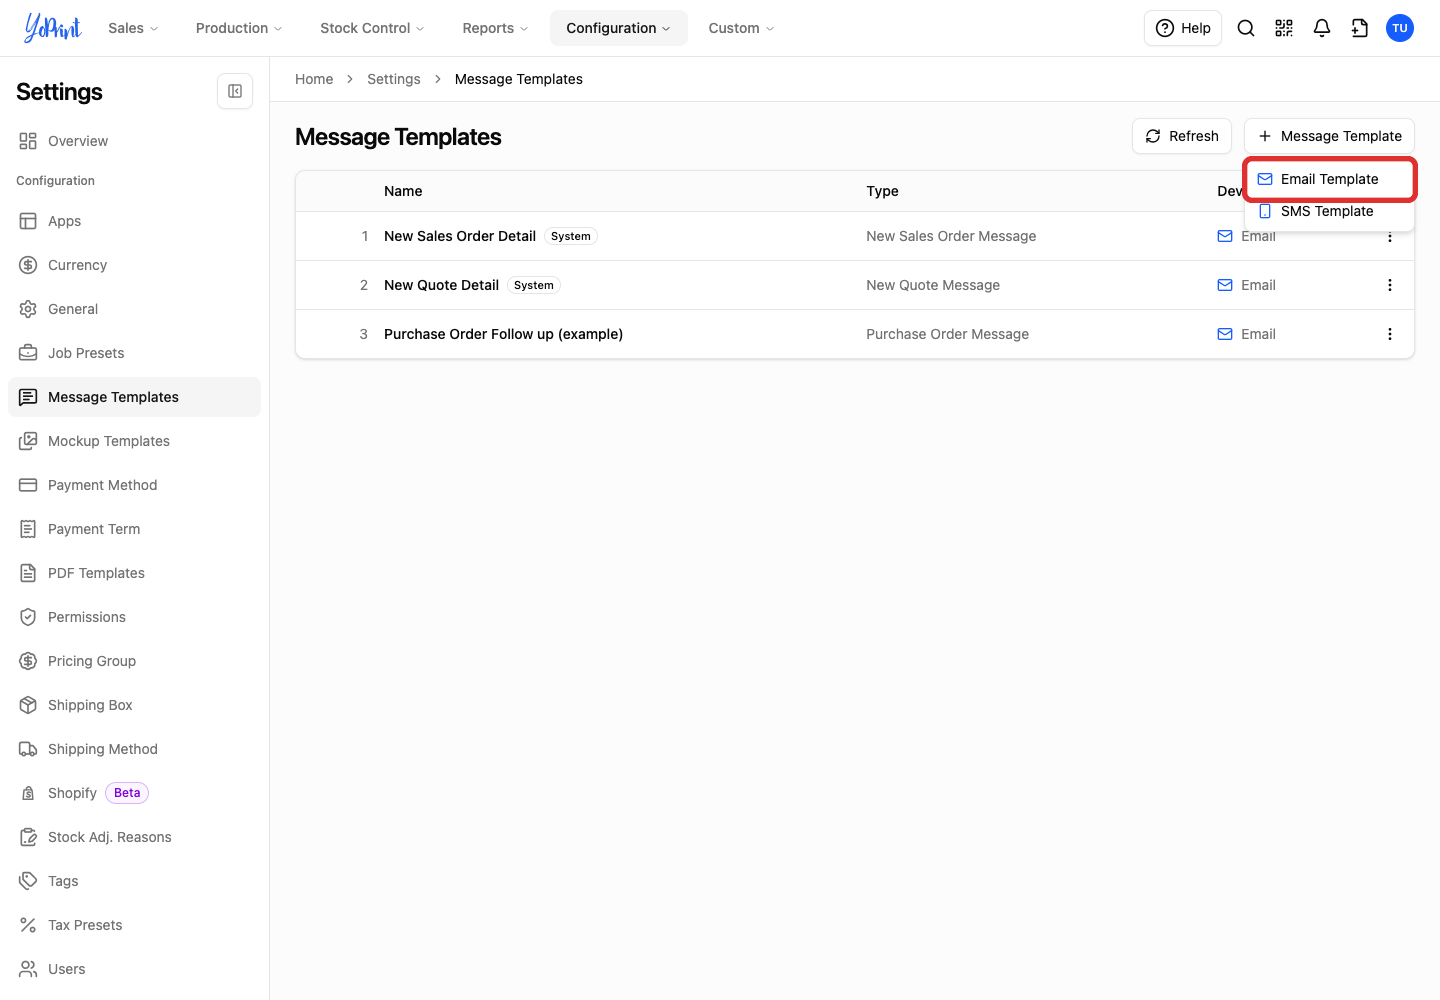
Choose Email Template.
-
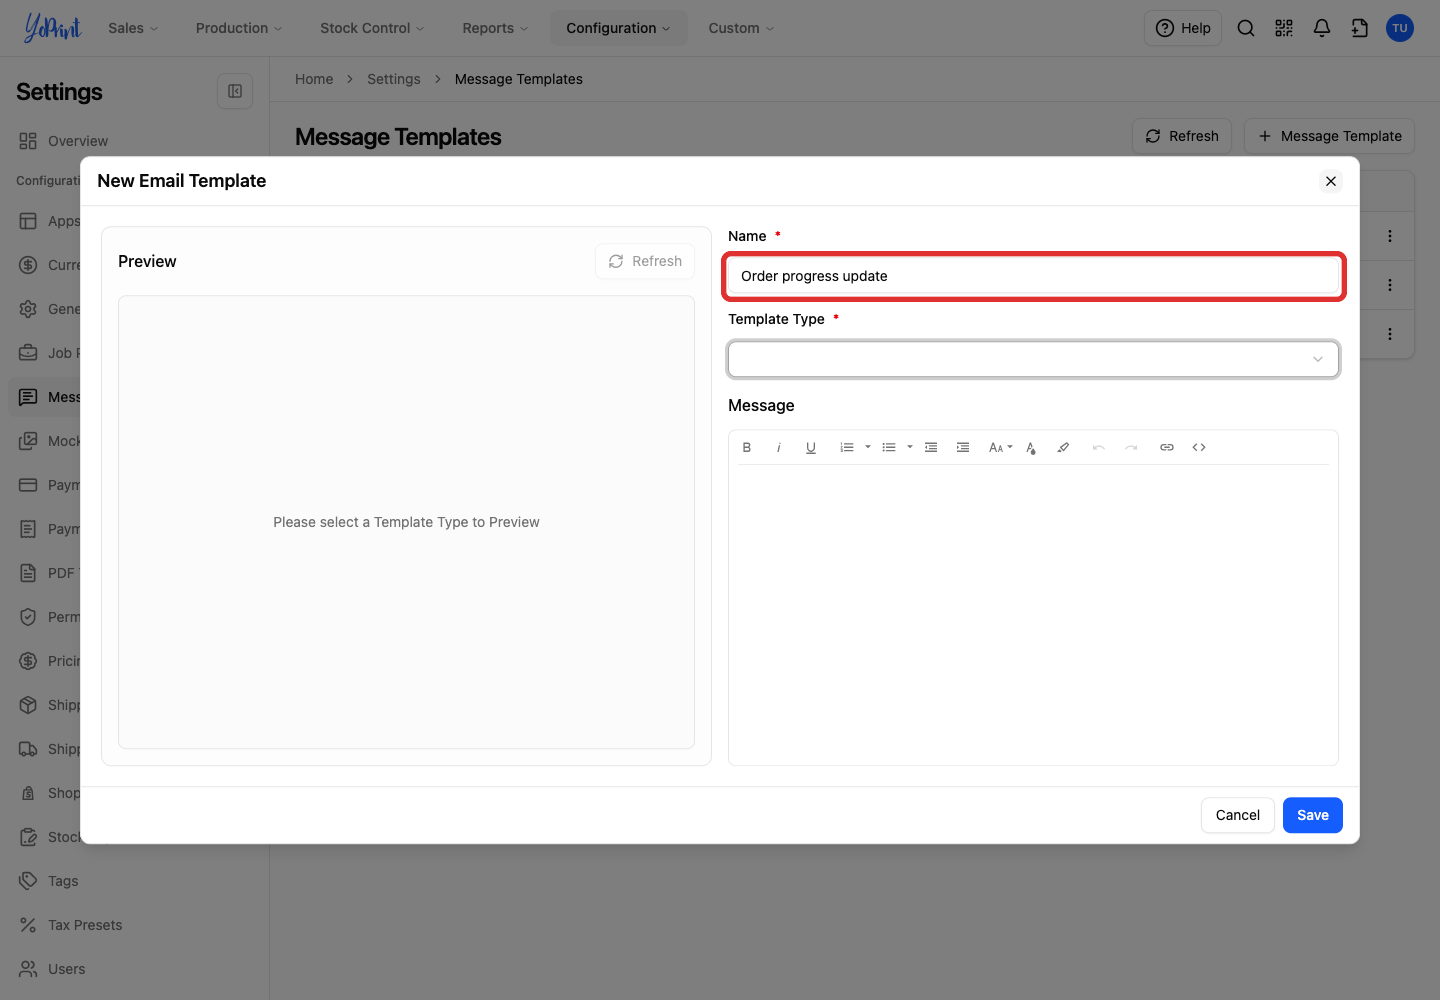
Enter a descriptive Name, such as Order progress update.
-
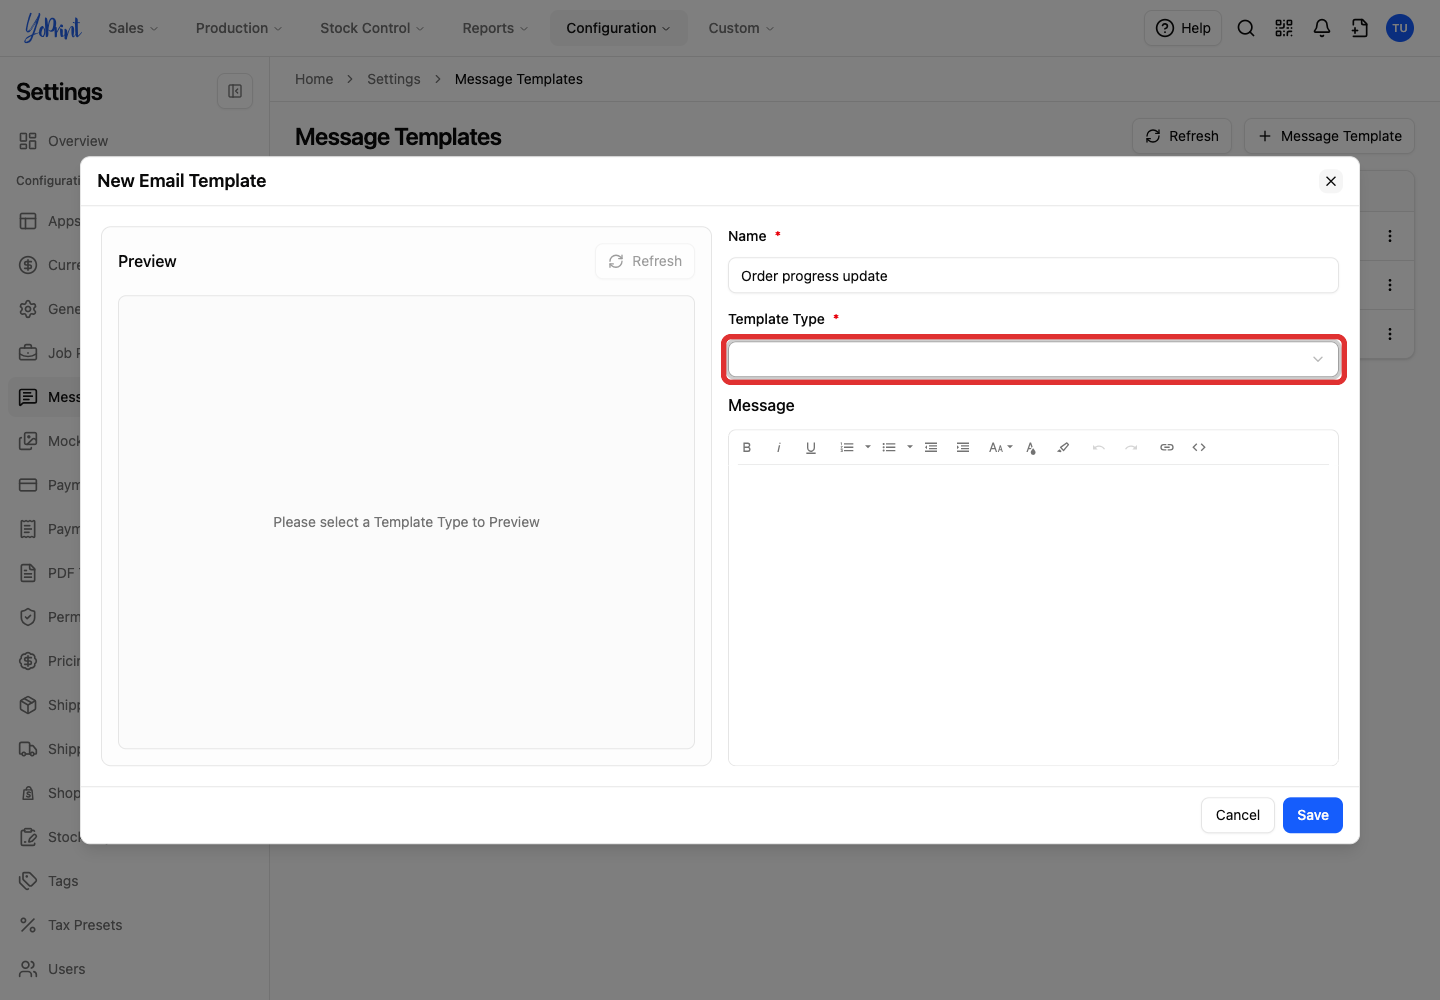
Open Template Type.
-
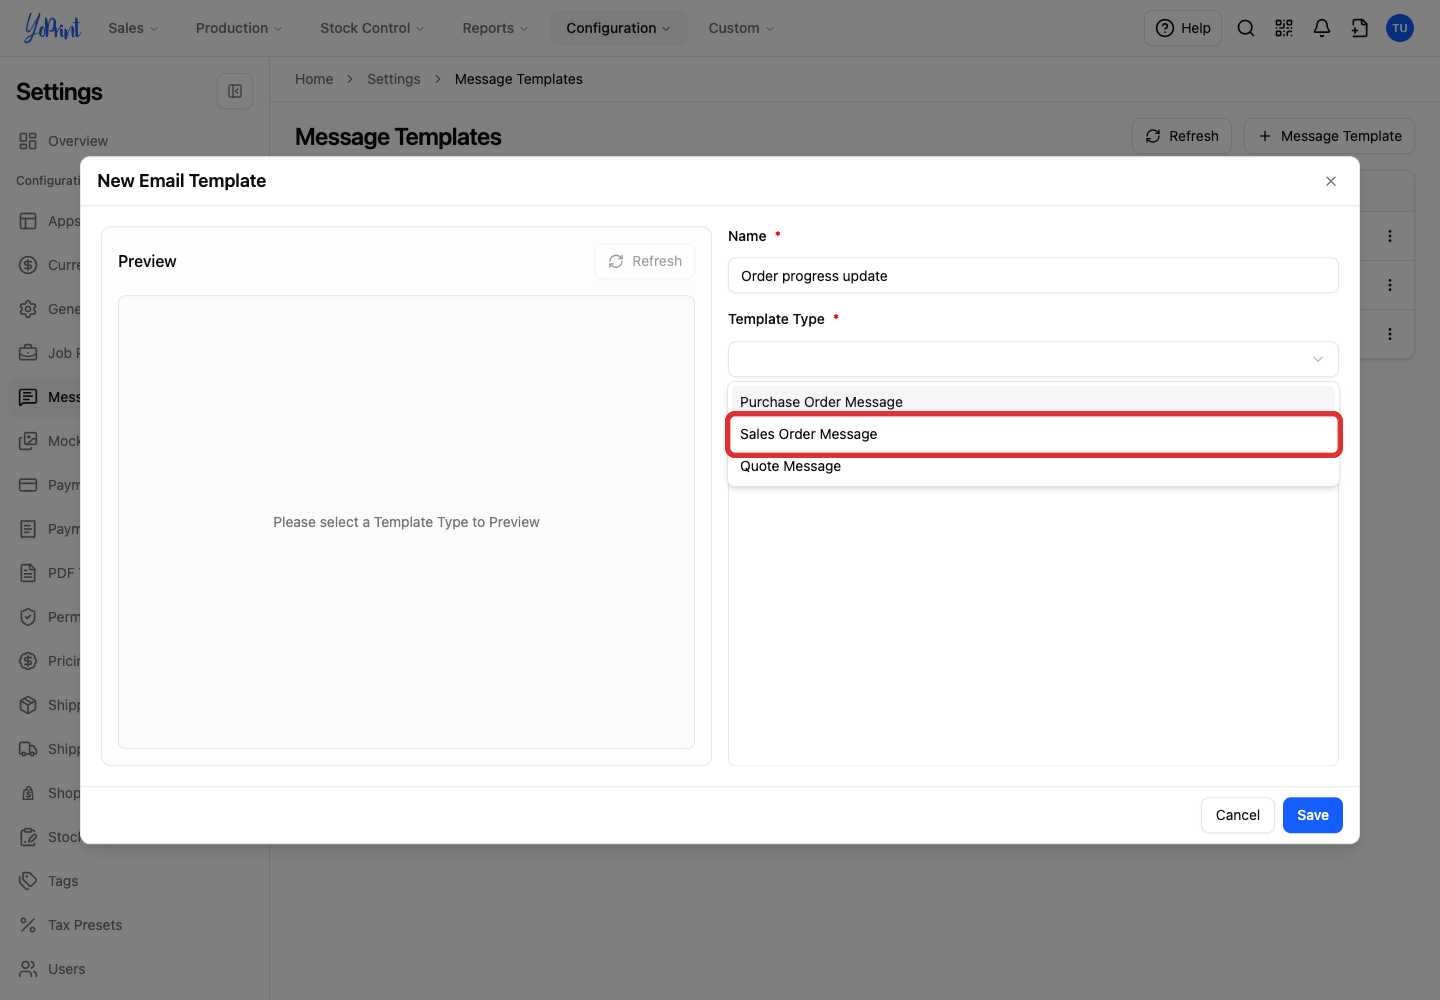
Choose Purchase Order Message, Sales Order Message or Quote Message to match where you will use it. Selecting a type supplies starter text and available variables.
-
Replace the suggested Message with your own wording. You can select all text to clear it first.
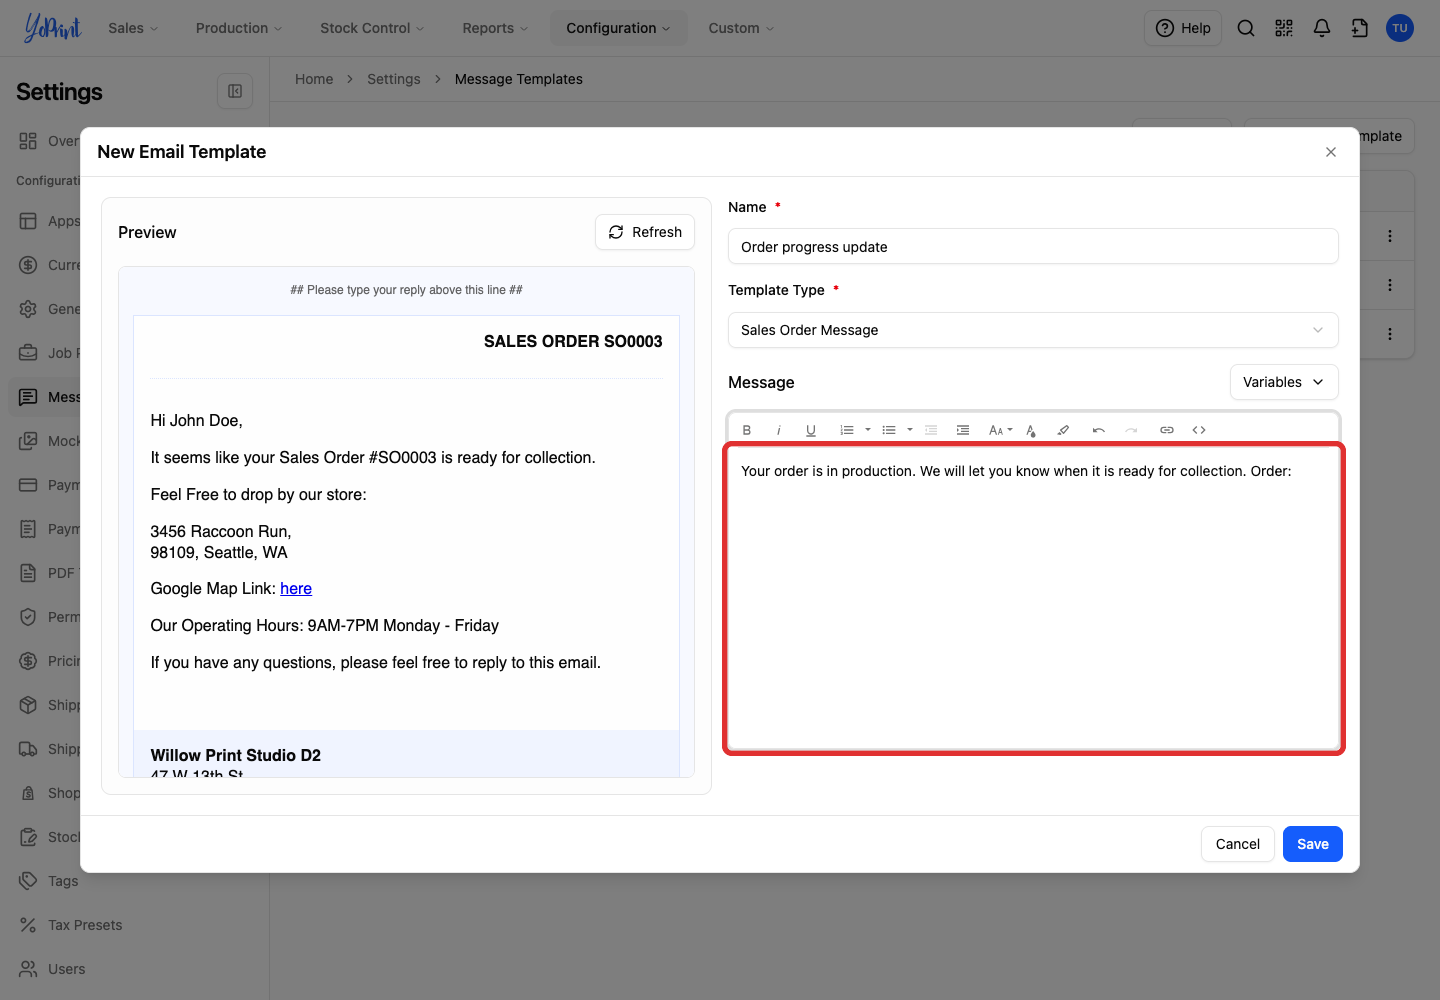
Templates come in three types, one each for purchase orders, sales orders and quotes, and you can keep several of each for the messages you send often. Invoices and shipping updates are sent as a Sales Order Message, so a Sales Order Message template works for any message you send a customer during an order.
Insert variables and preview the message
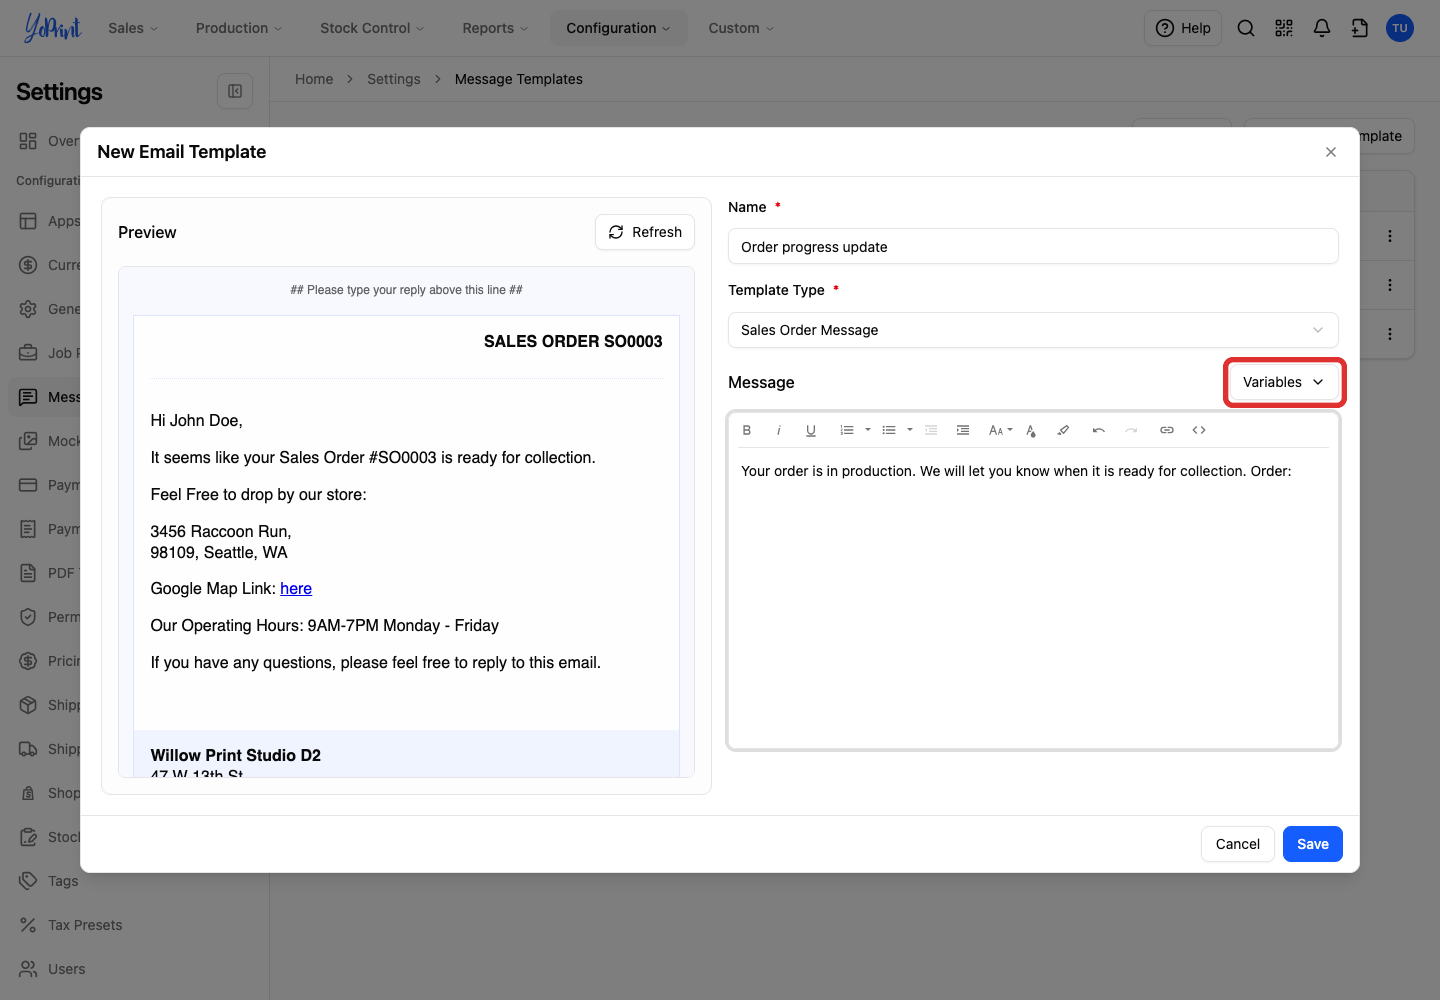
A variable is a placeholder, such as {{order_number}} . YoPrint replaces it with the relevant value when you use the template. Variables are inserted at the cursor position in your message.
-
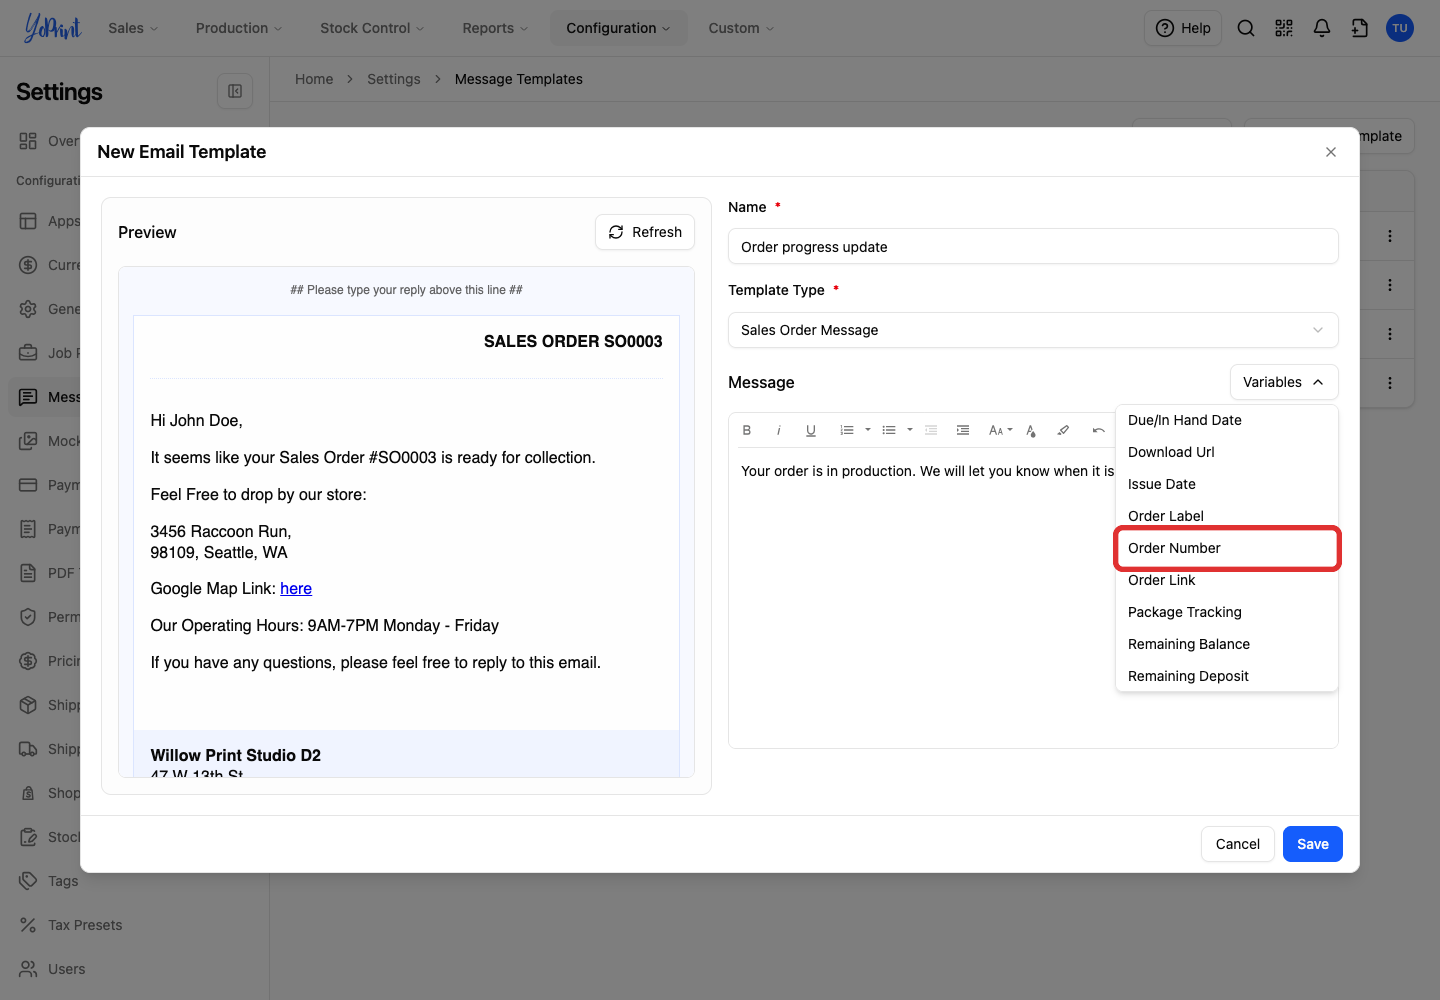
Place your cursor in the message, then click Variables above the formatting toolbar.
-
Choose a variable, such as Order Number.
-
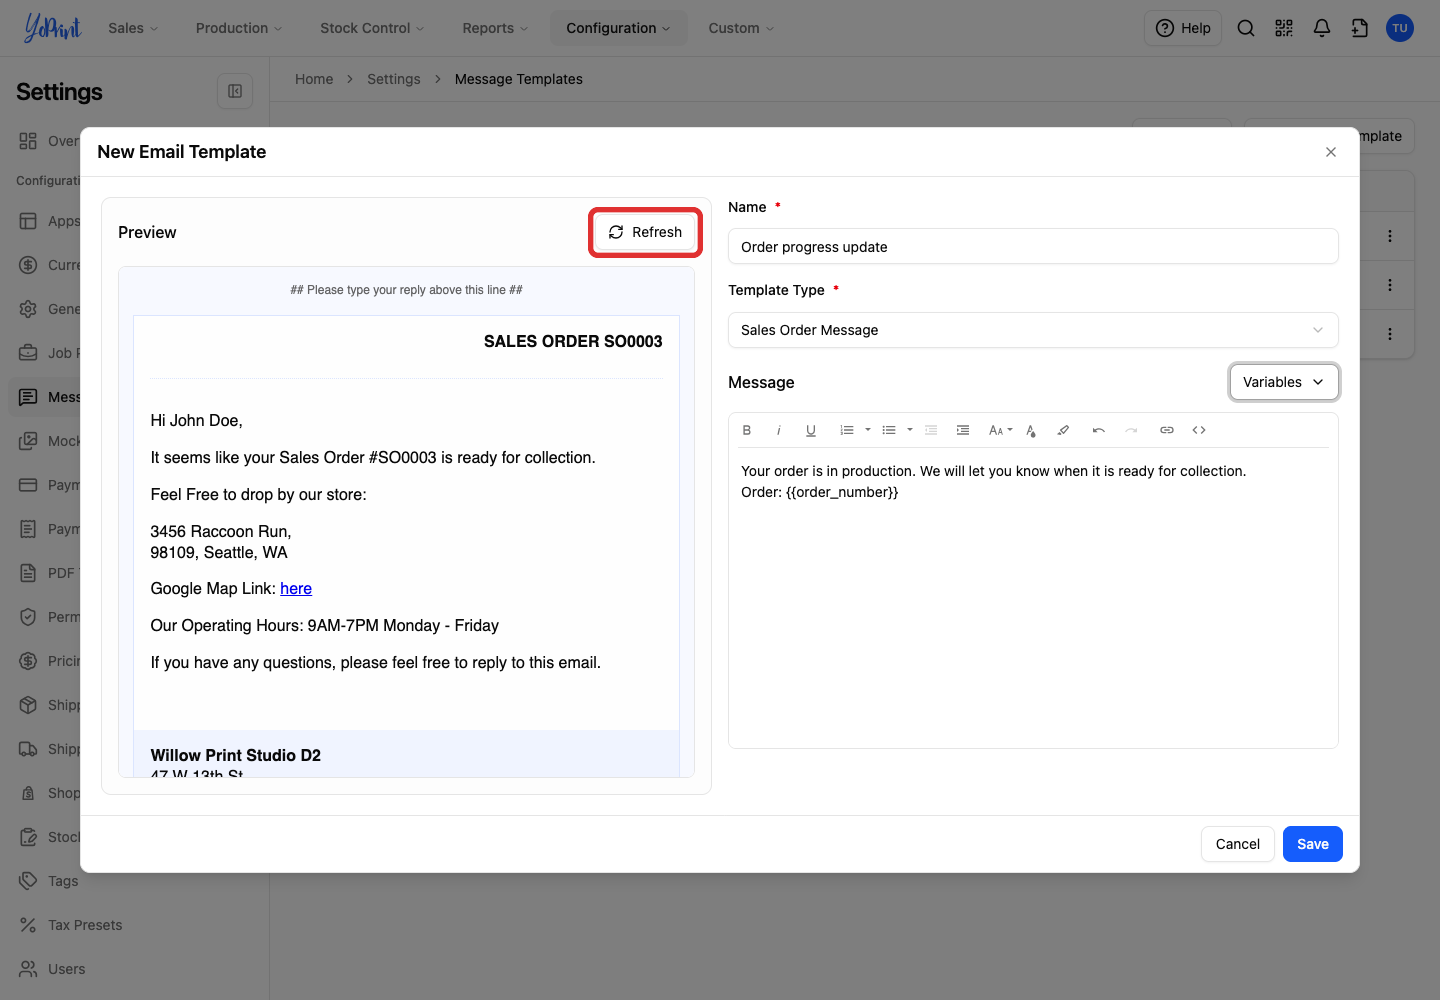
Click Refresh to update the preview after your changes.
-
Check the preview, then click Save.
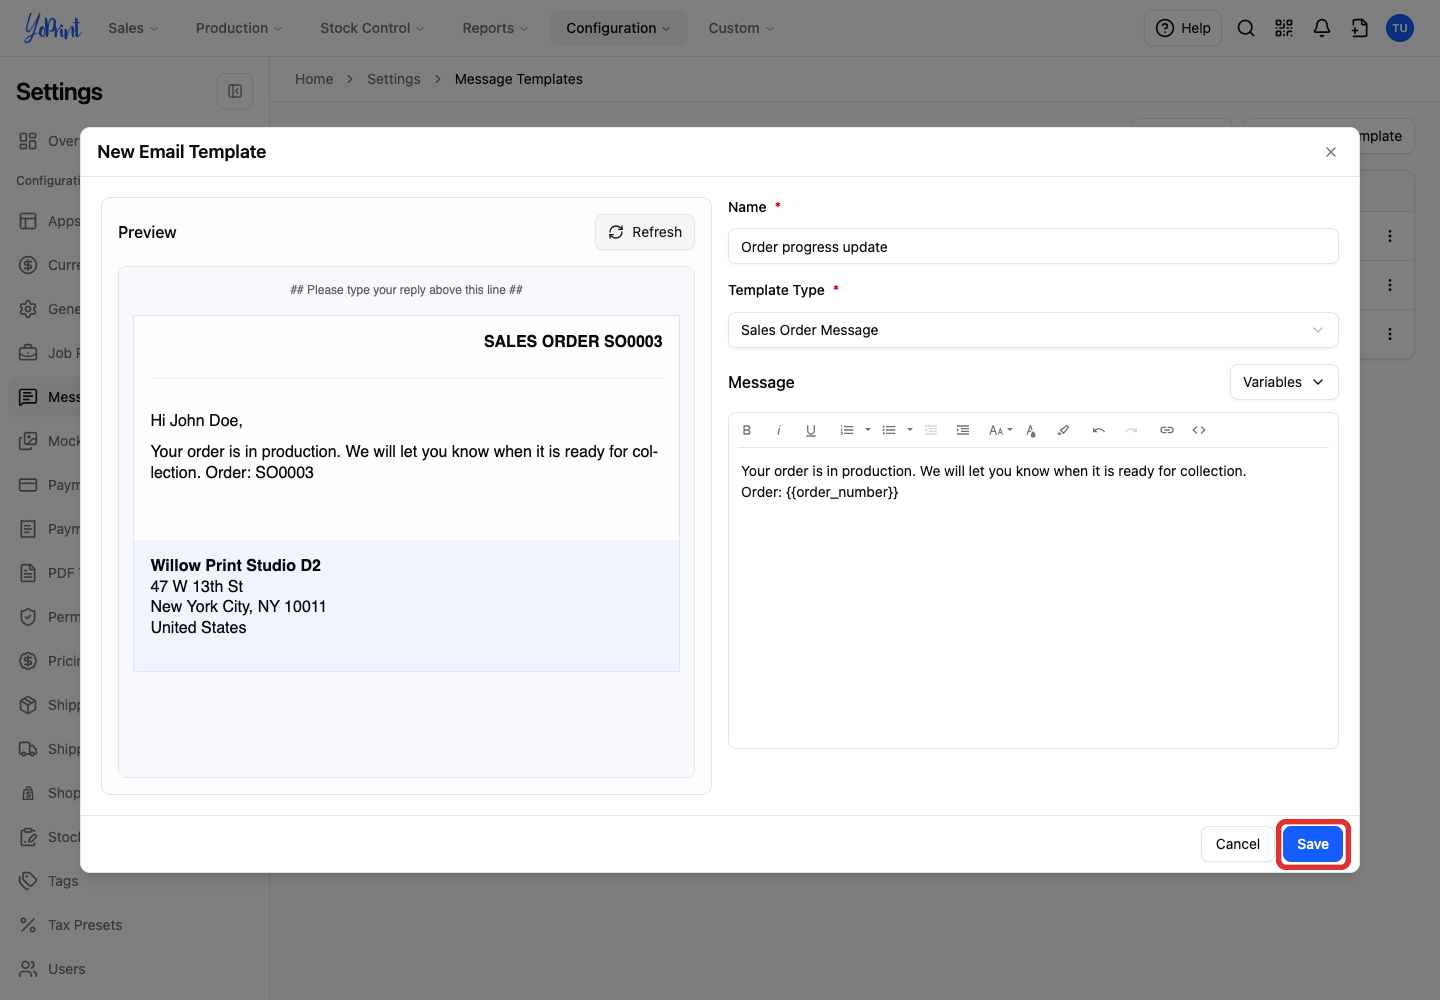
The preview shows sample details and how your message is formatted. YoPrint automatically adds a standard greeting and your shop footer to outgoing emails. You can repeat the variable steps to include other details, such as the customer name, order link, or due date.
Edit an existing template
In Settings > Message Templates:
-
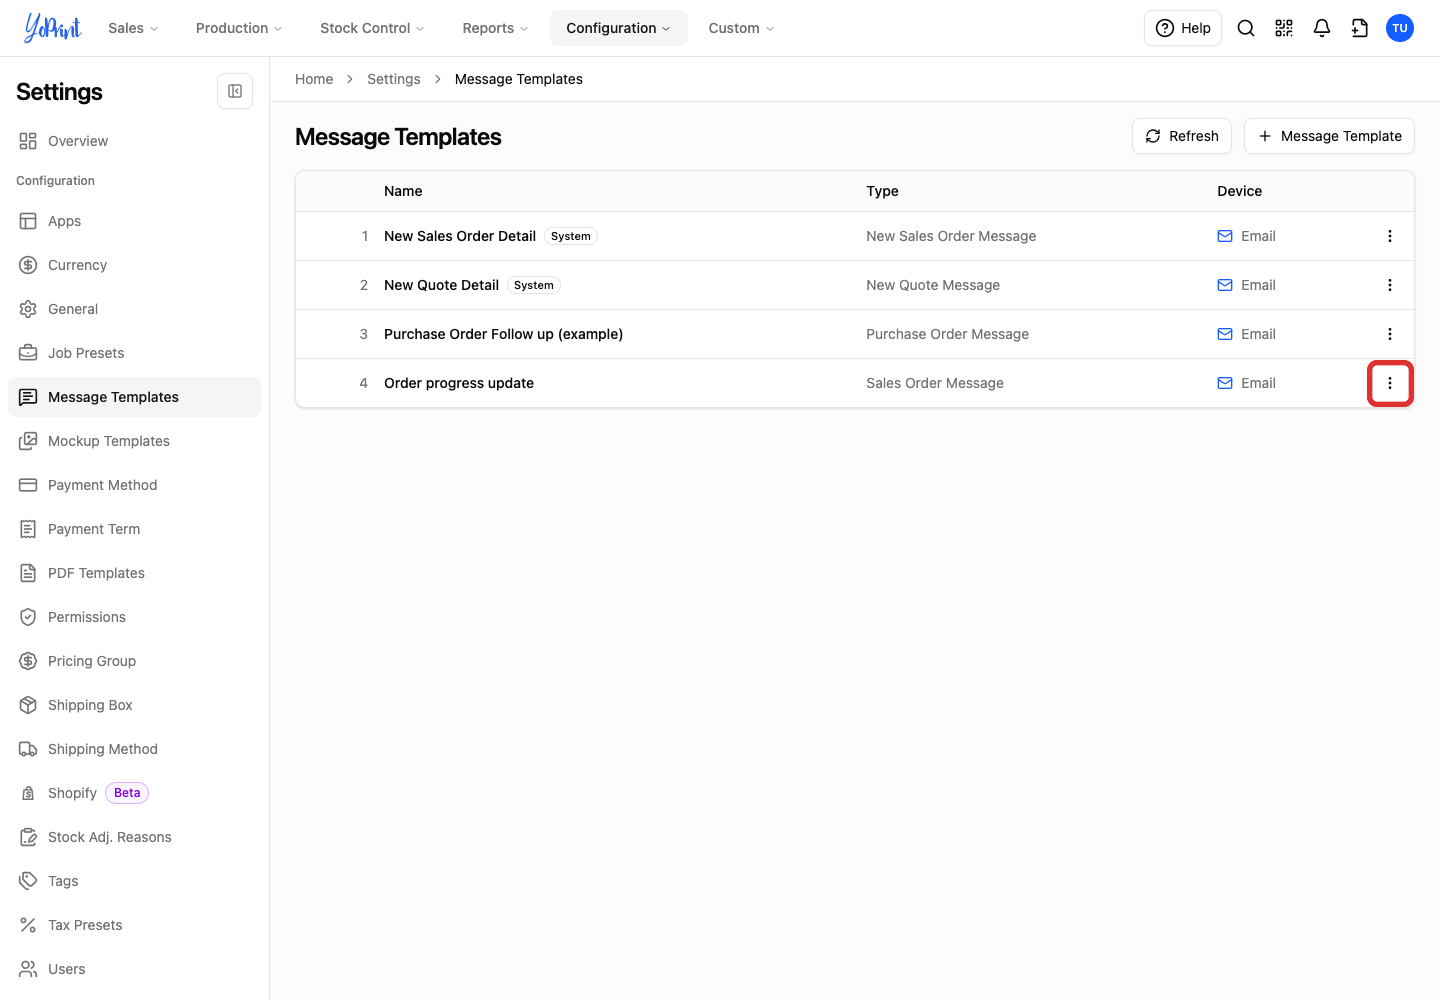
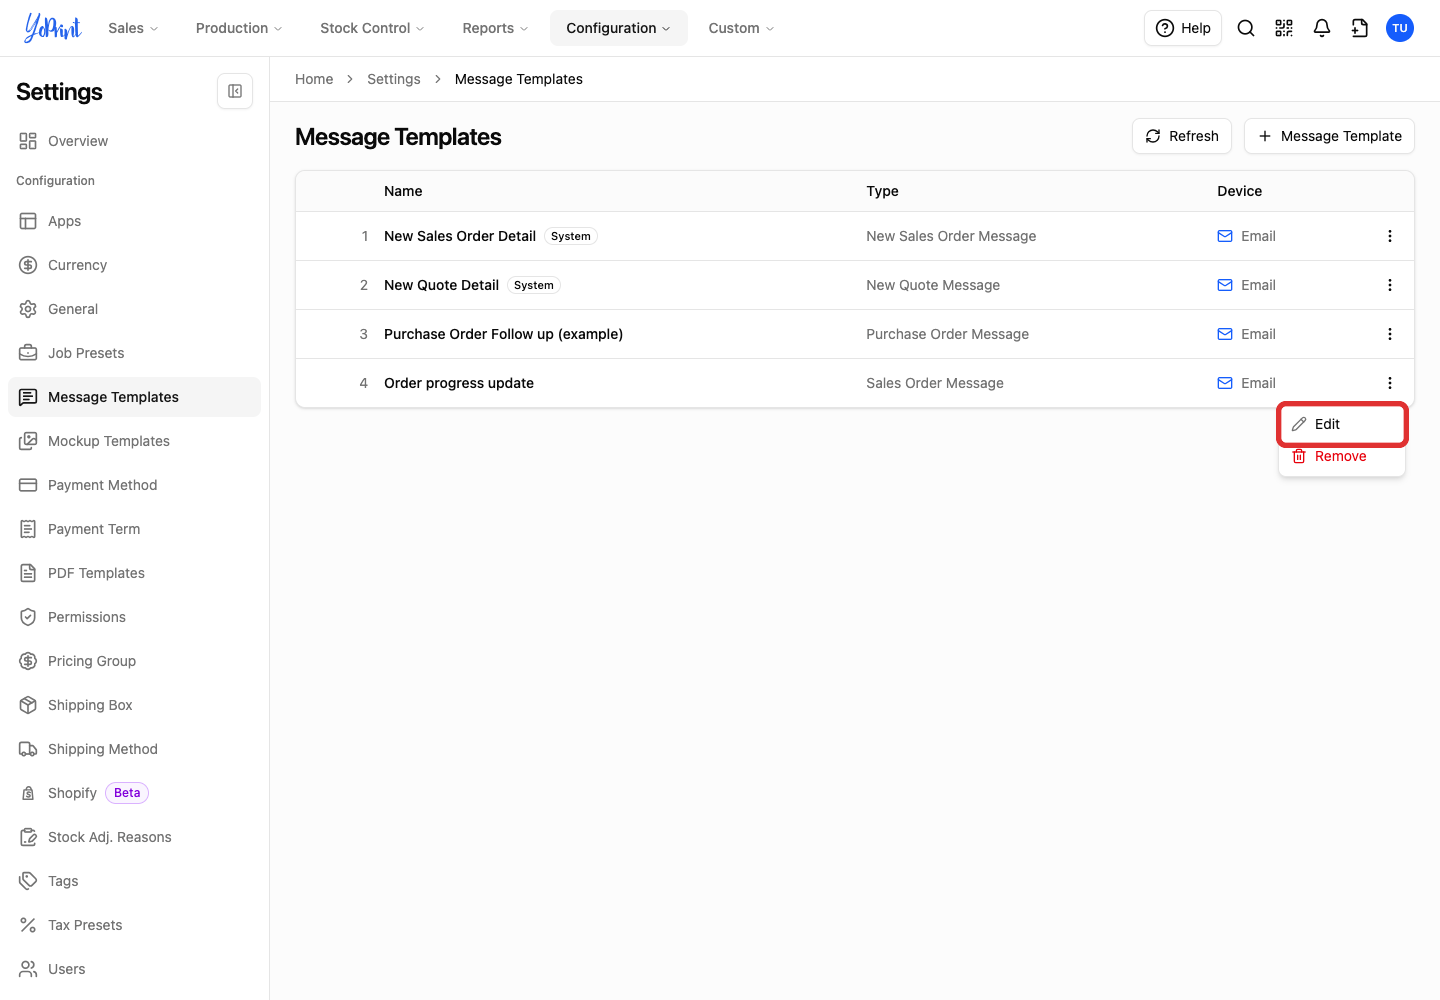
Click the three-dot More actions button beside the template.
-
Choose Edit.
-
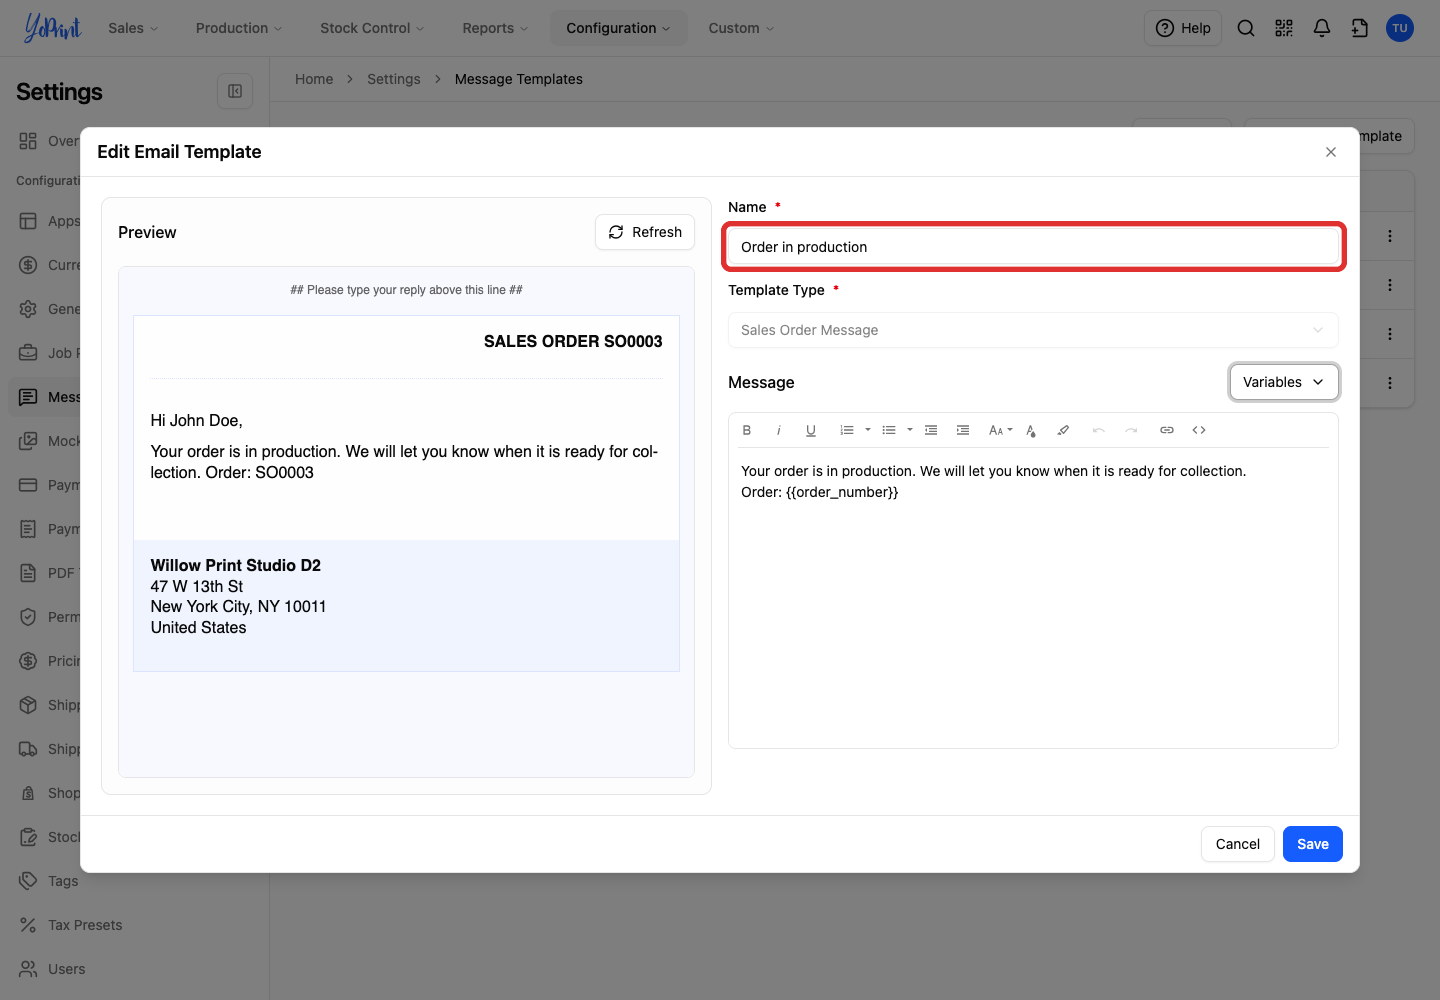
Update Name if you want a clearer label. Give each template its own name so your team can tell them apart in the picker. Here, Order progress update becomes Order in production.
-
Click Save.
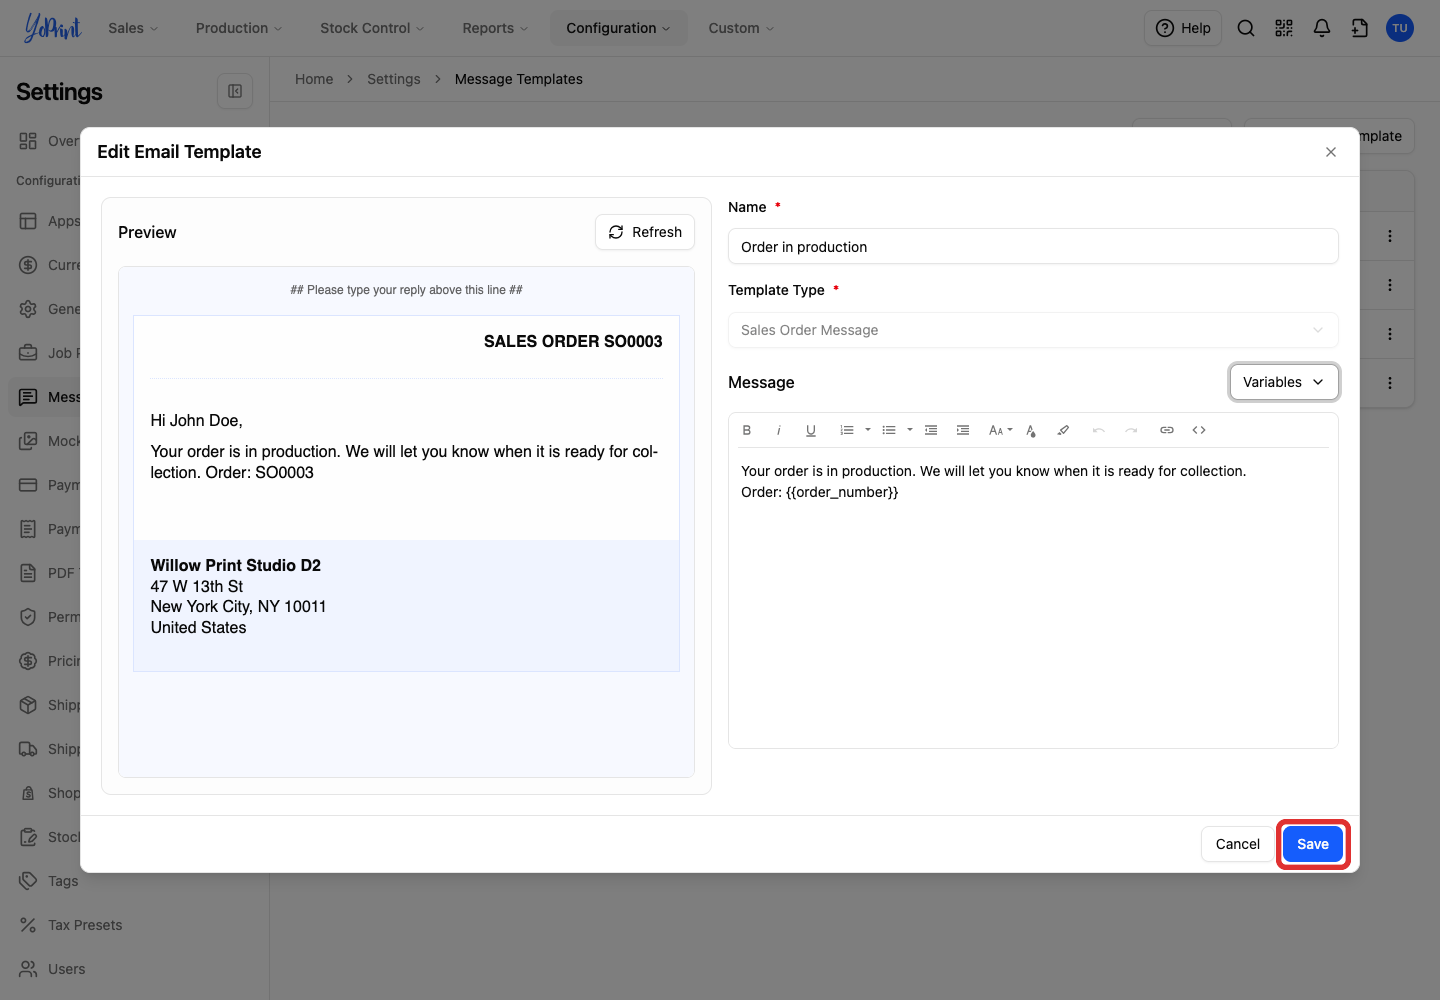
You can also revise Message and use Refresh to check the result. Because variables belong to specific order types, you cannot change Template Type after saving a template. Create another template if you need a different type.
Send a message using a template
Open the sales order you want to message about from Sales Orders by clicking the three-dot More actions button on its row and choosing View. The example below uses the renamed Order in production template.
-
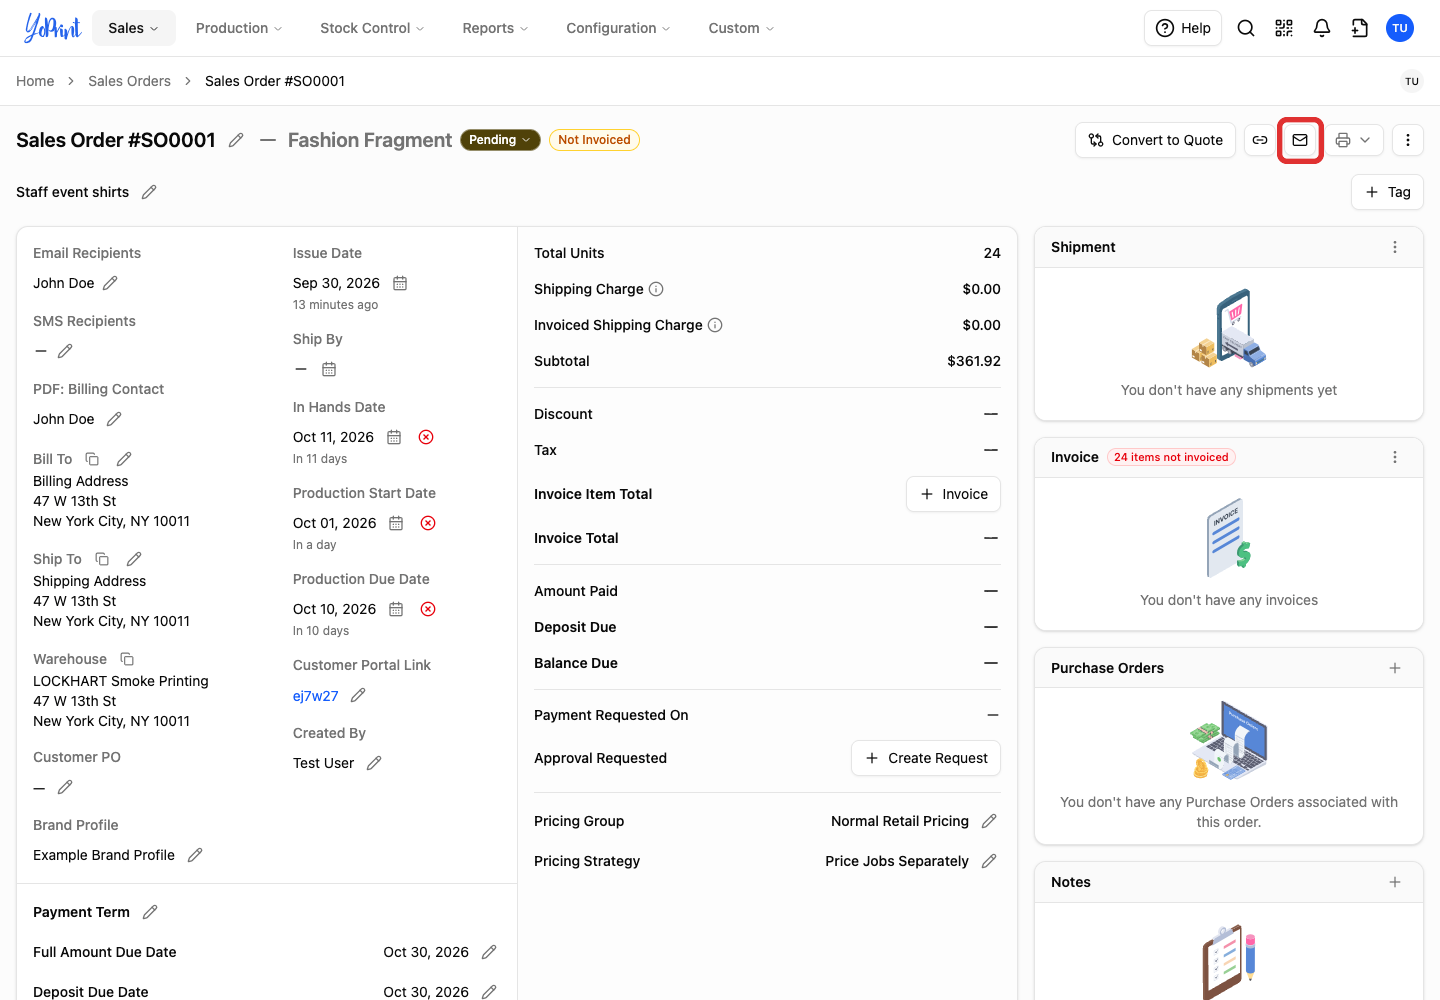
Click the envelope-shaped Customer Message button at the top right.
-
Click Message Template.
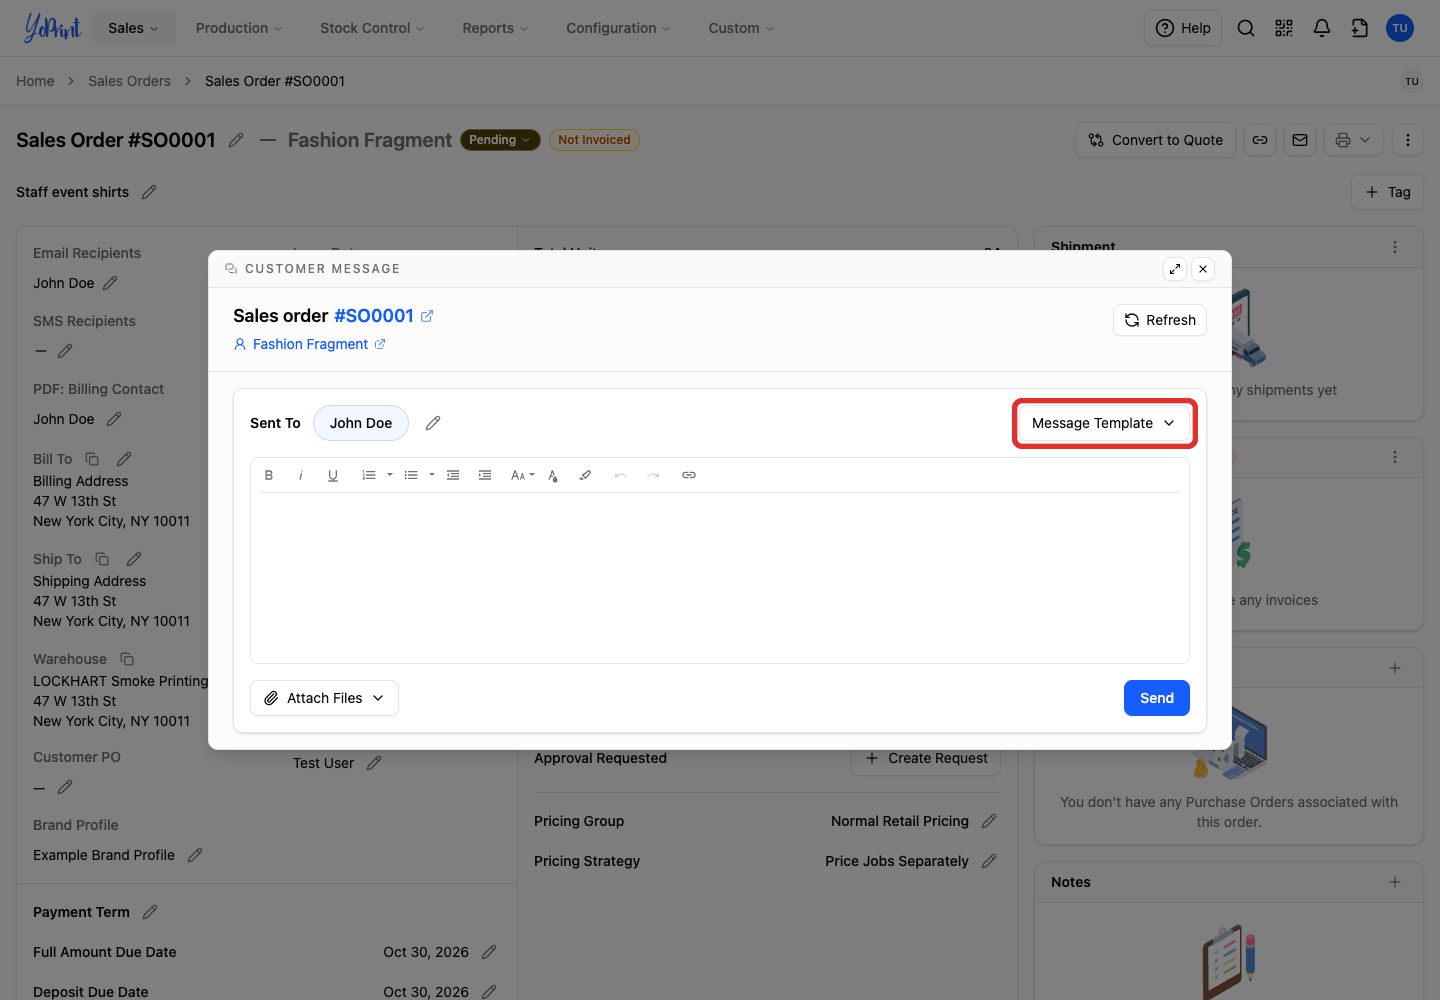
-
Choose the template you want to use.
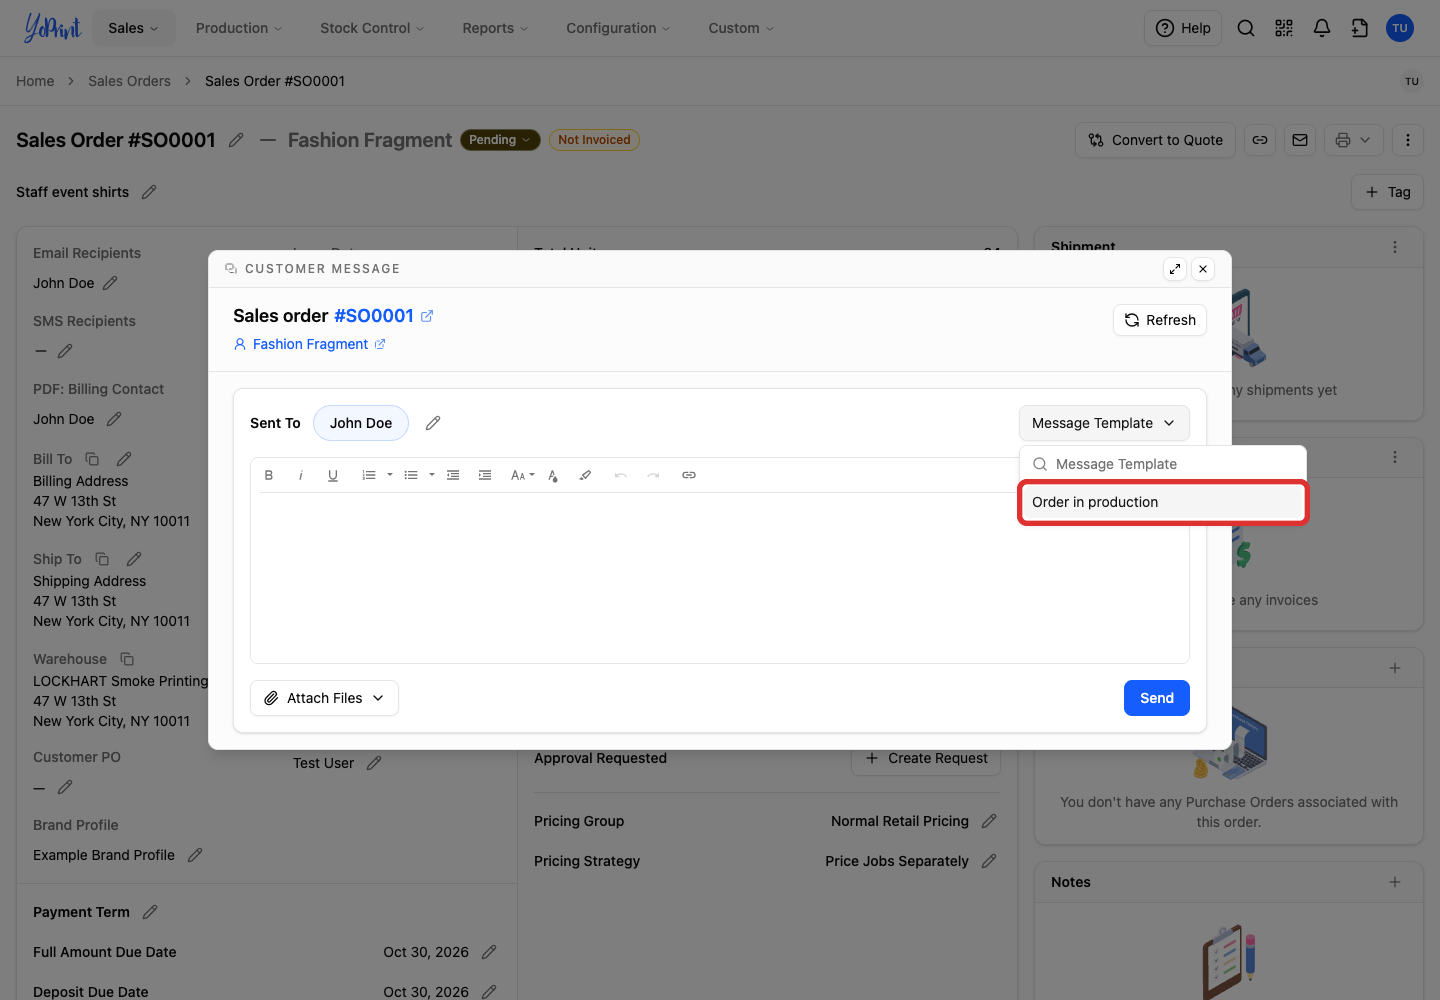
-
Check the recipients and message, then click Send. You can click Edit email recipients to verify the address before sending.
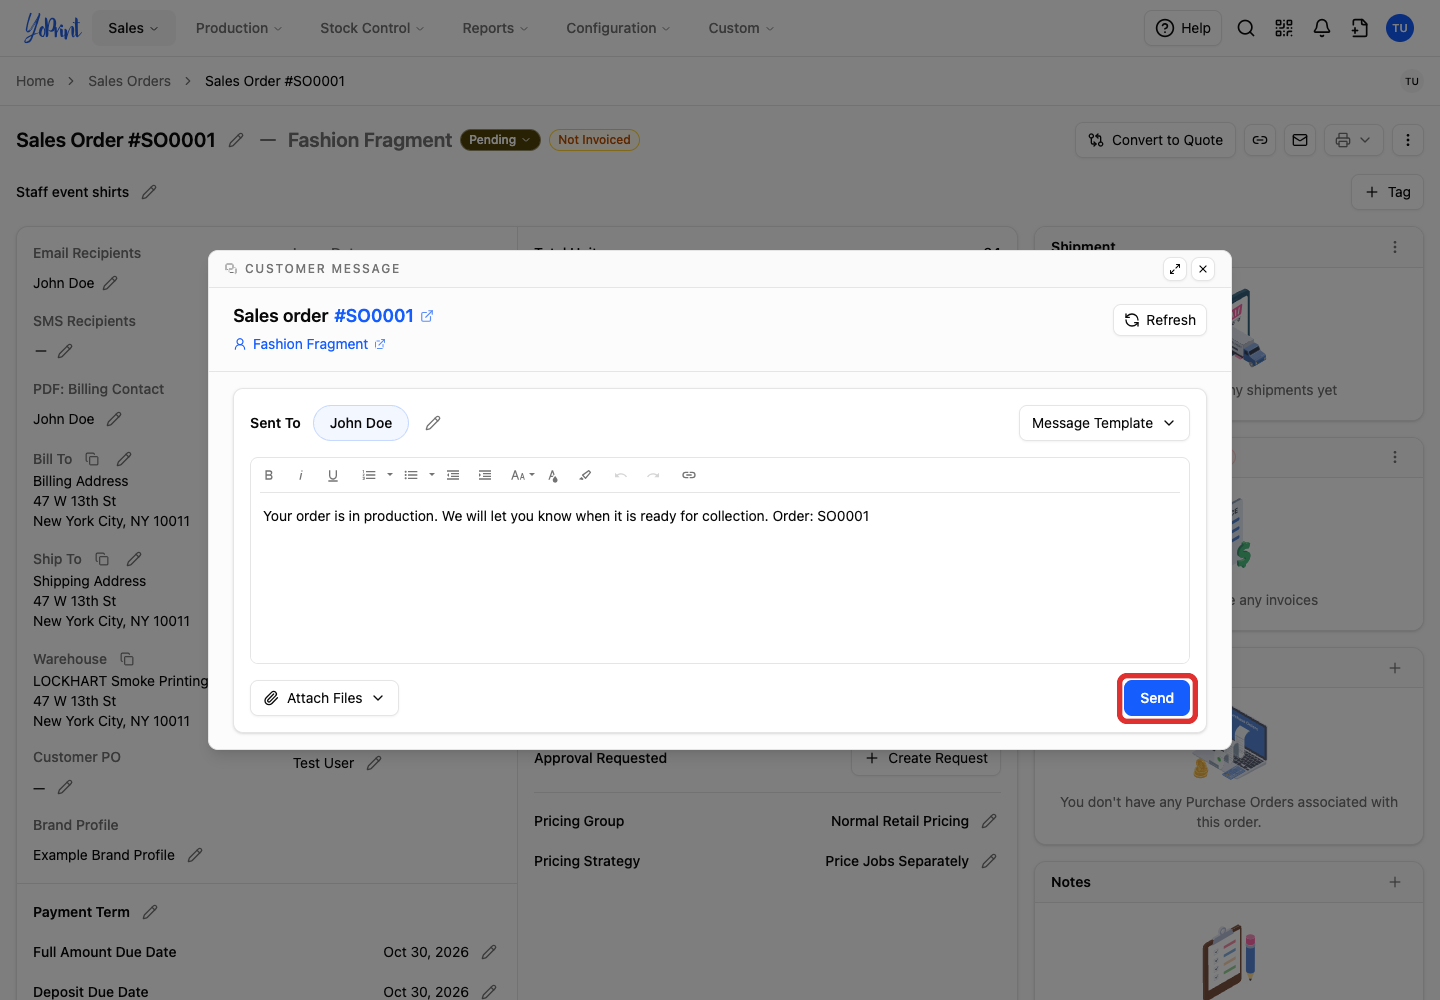
-
Click Close when you have finished.
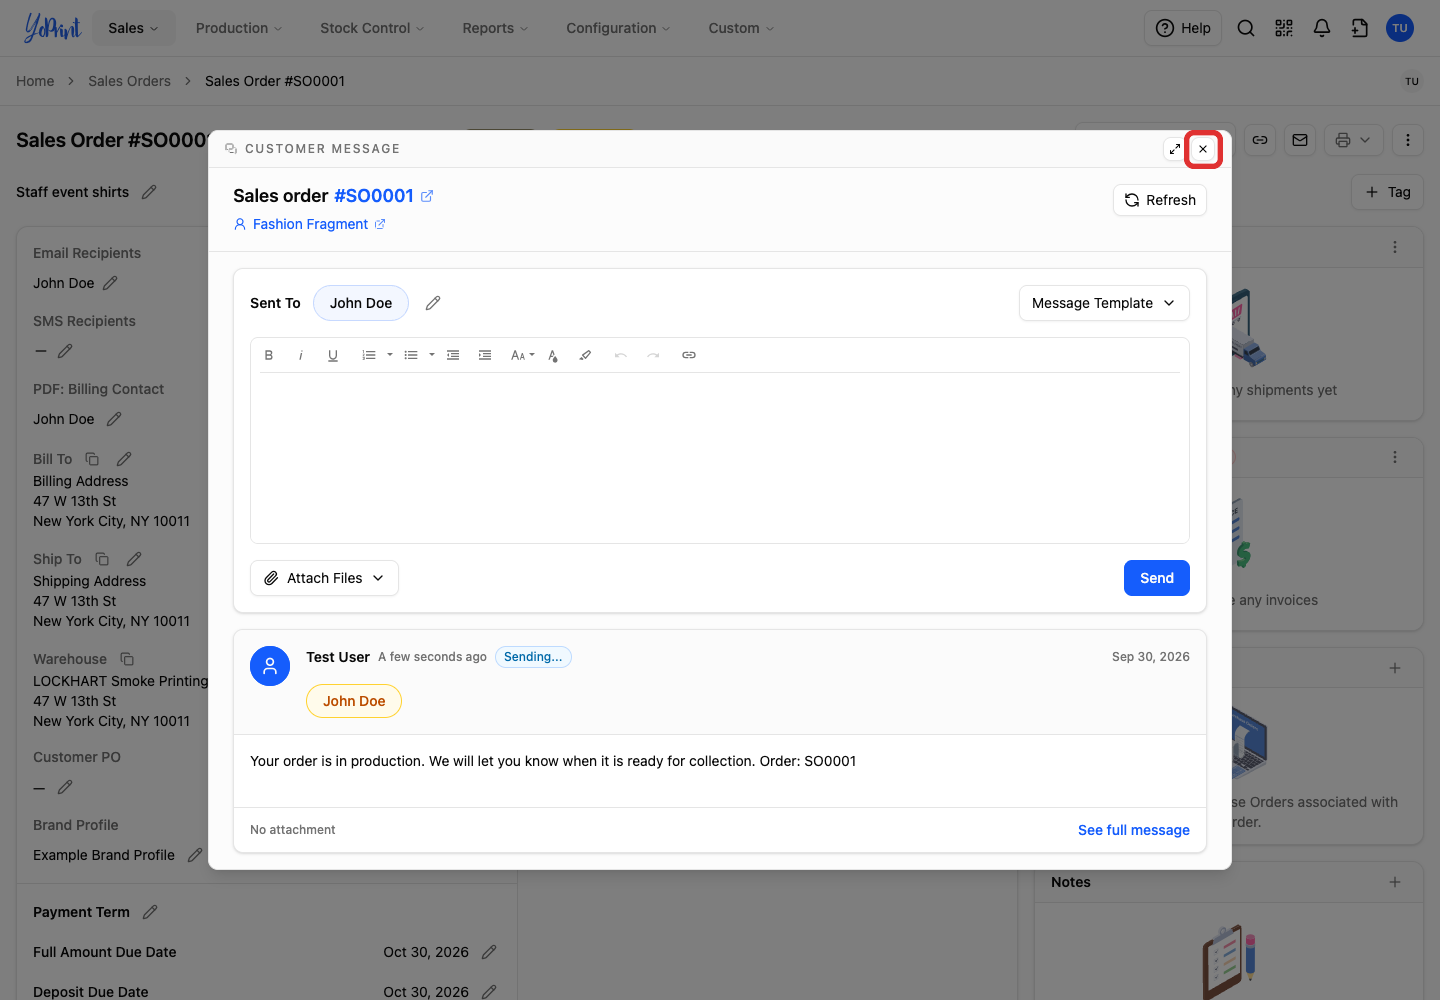
The template fills the message box with the order’s details. You can adjust this message before sending it without changing the saved template. After you send, the message appears in the conversation with its delivery status; customer replies go to your shop inbox.
This is how your message looks in your customer’s email.

Remove a custom template
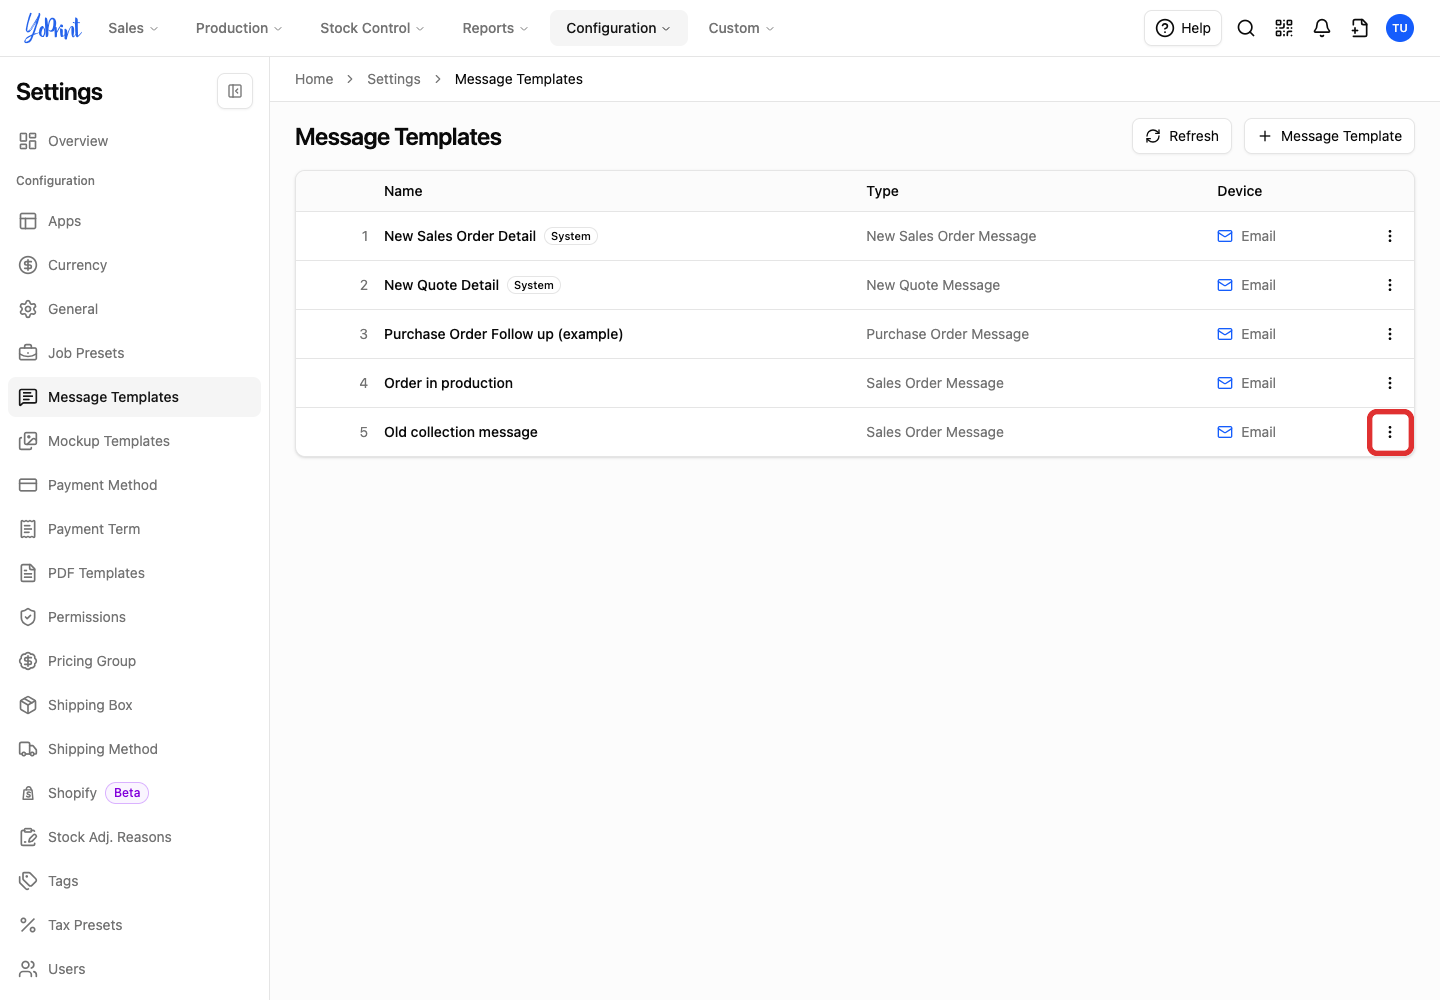
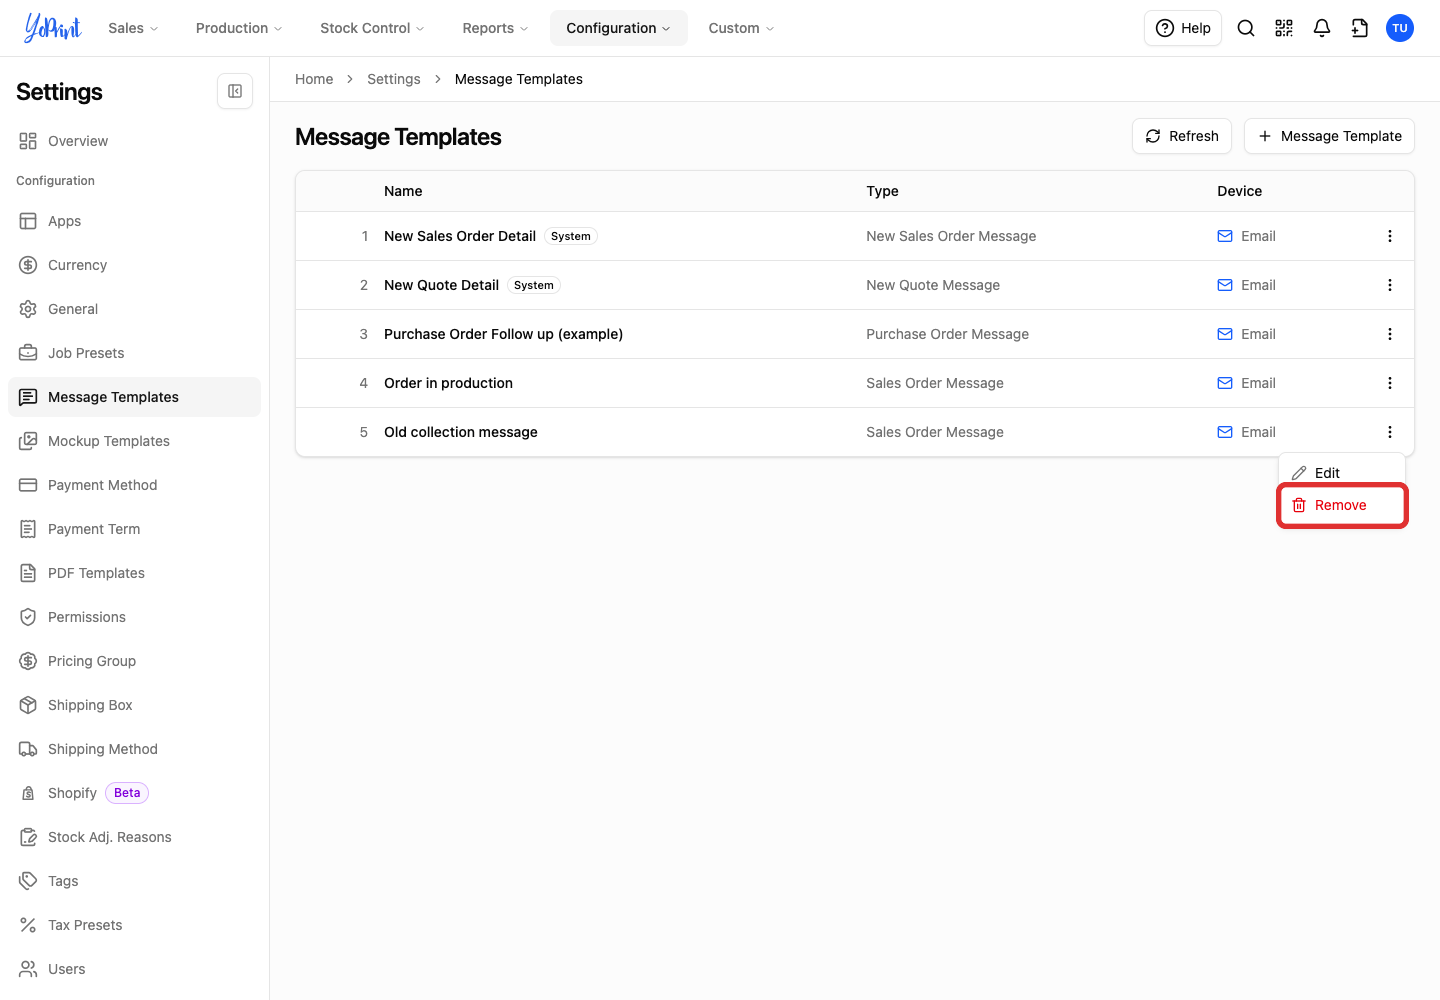
In Settings > Message Templates, you can remove custom templates from the list. System templates do not have a Remove option.
-
Click the three-dot More actions button beside the custom template.
-
Choose Remove.
-
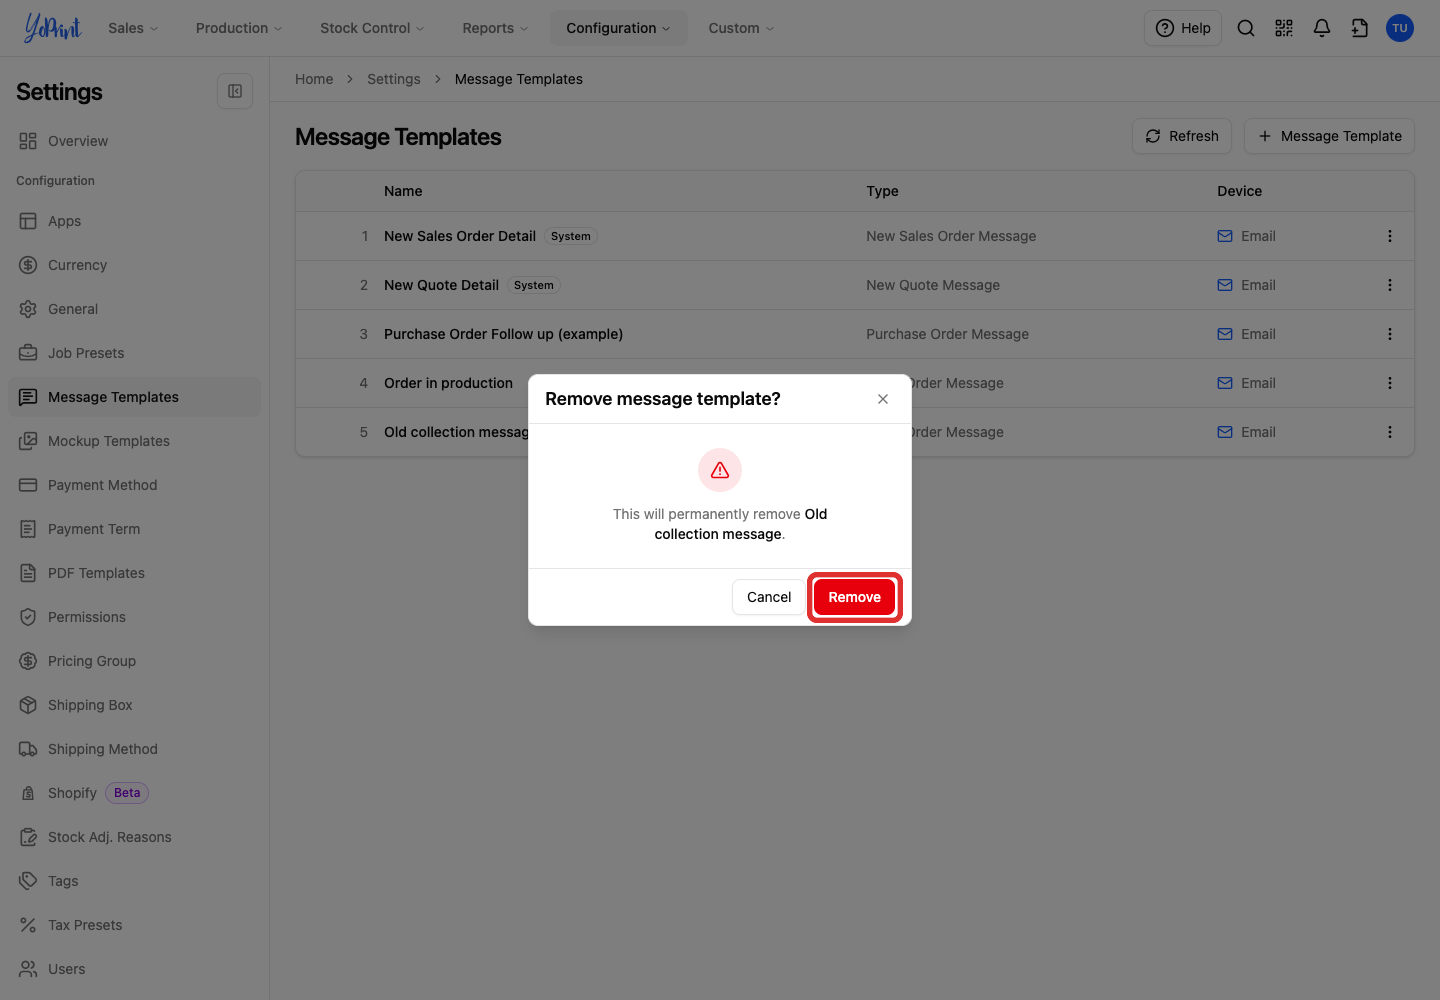
Check the template name, then click Remove to confirm.