Task Preset
In this article
Tasks are the workhorse of YoPrint. A task is a single step in the order fulfillment process. You can define a task to be anything that is required to complete the order. For example, ordering blanks, digitization, screen printing, embroidery, folding & packing could all be configured as a task with their own statuses.
The tasks below have to be completed in the following order before moving on to the next stage:
- Customer to send artwork
- Prepare production files
- Send finalized artwork to the customer for approval
- Completed
Create A Task Preset
Knowing the progress status of the task helps to move things along. Here is how to create an Artwork Approval Task Preset based on the tasks above.
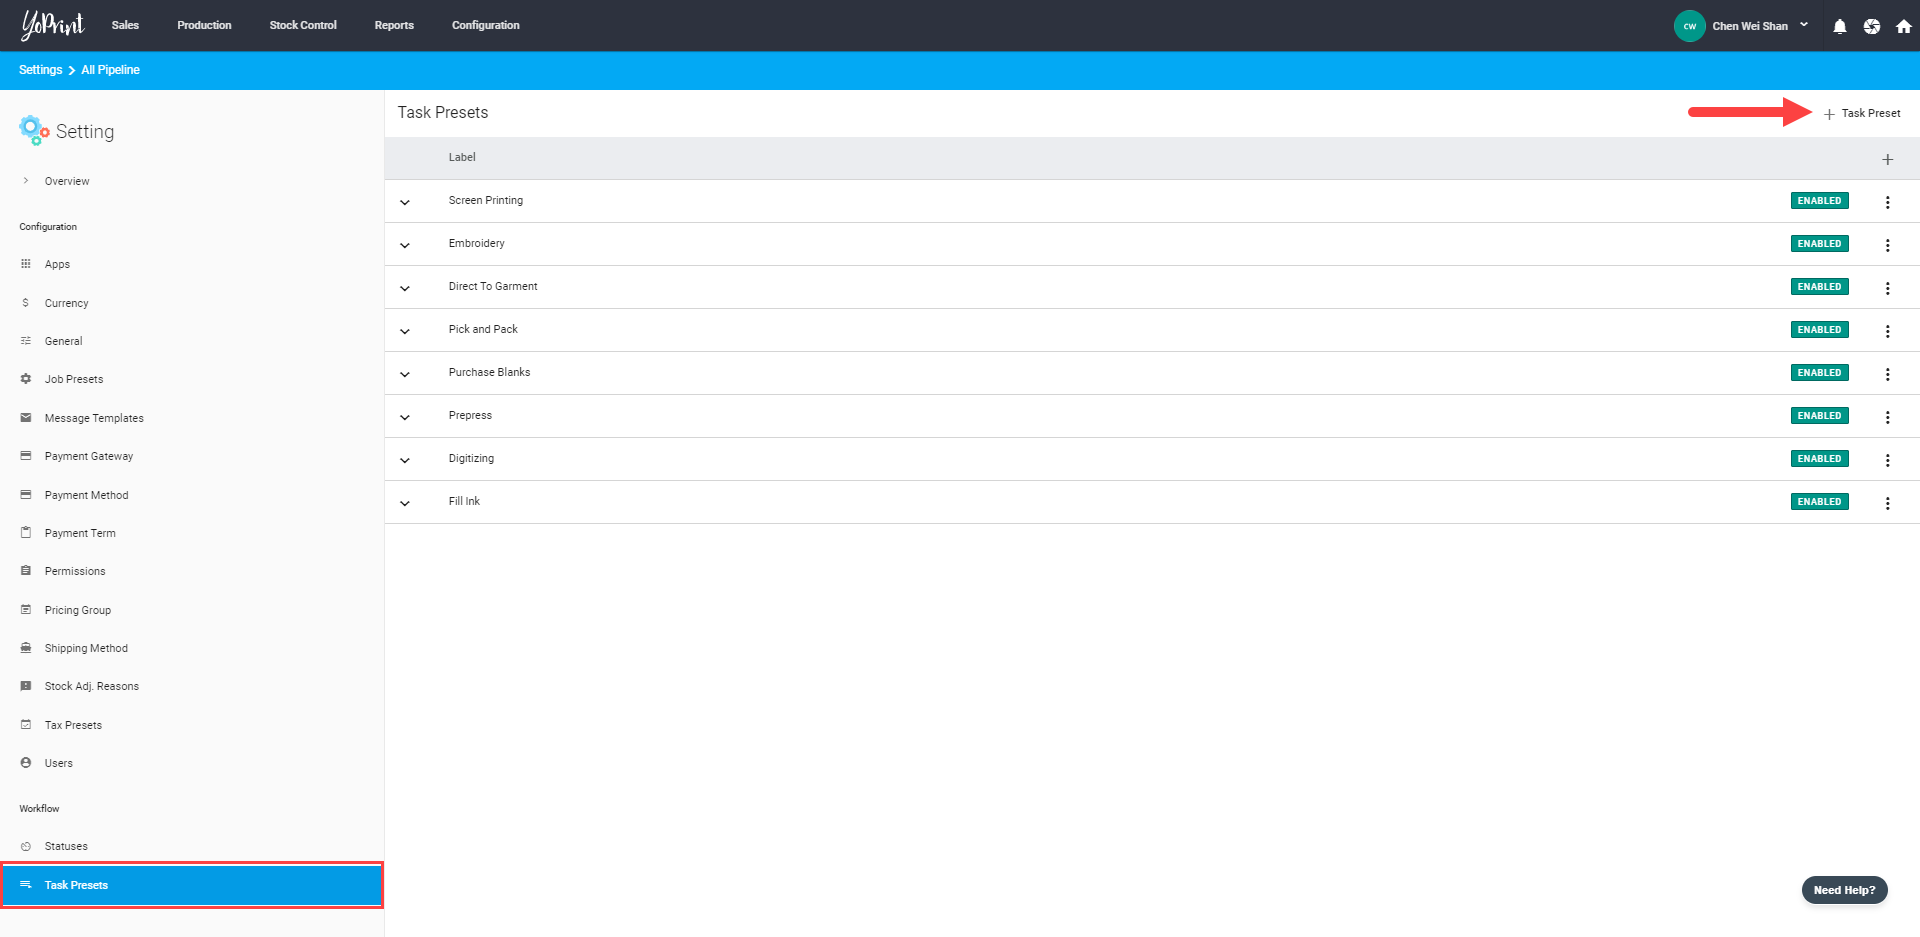
- Navigate to https://app.yoprint.com/setting/overview.
- Under the Workflow tab at the sidebar, go to Task Preset.
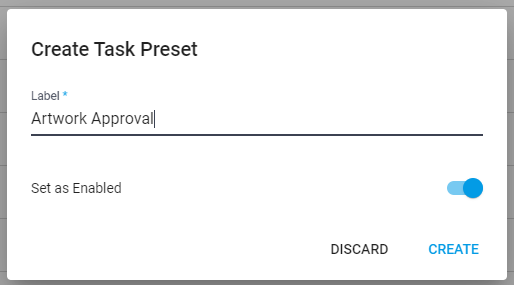
- Name the Task Preset as Artwork Approval and click Create.
Edit and Remove a Task Preset
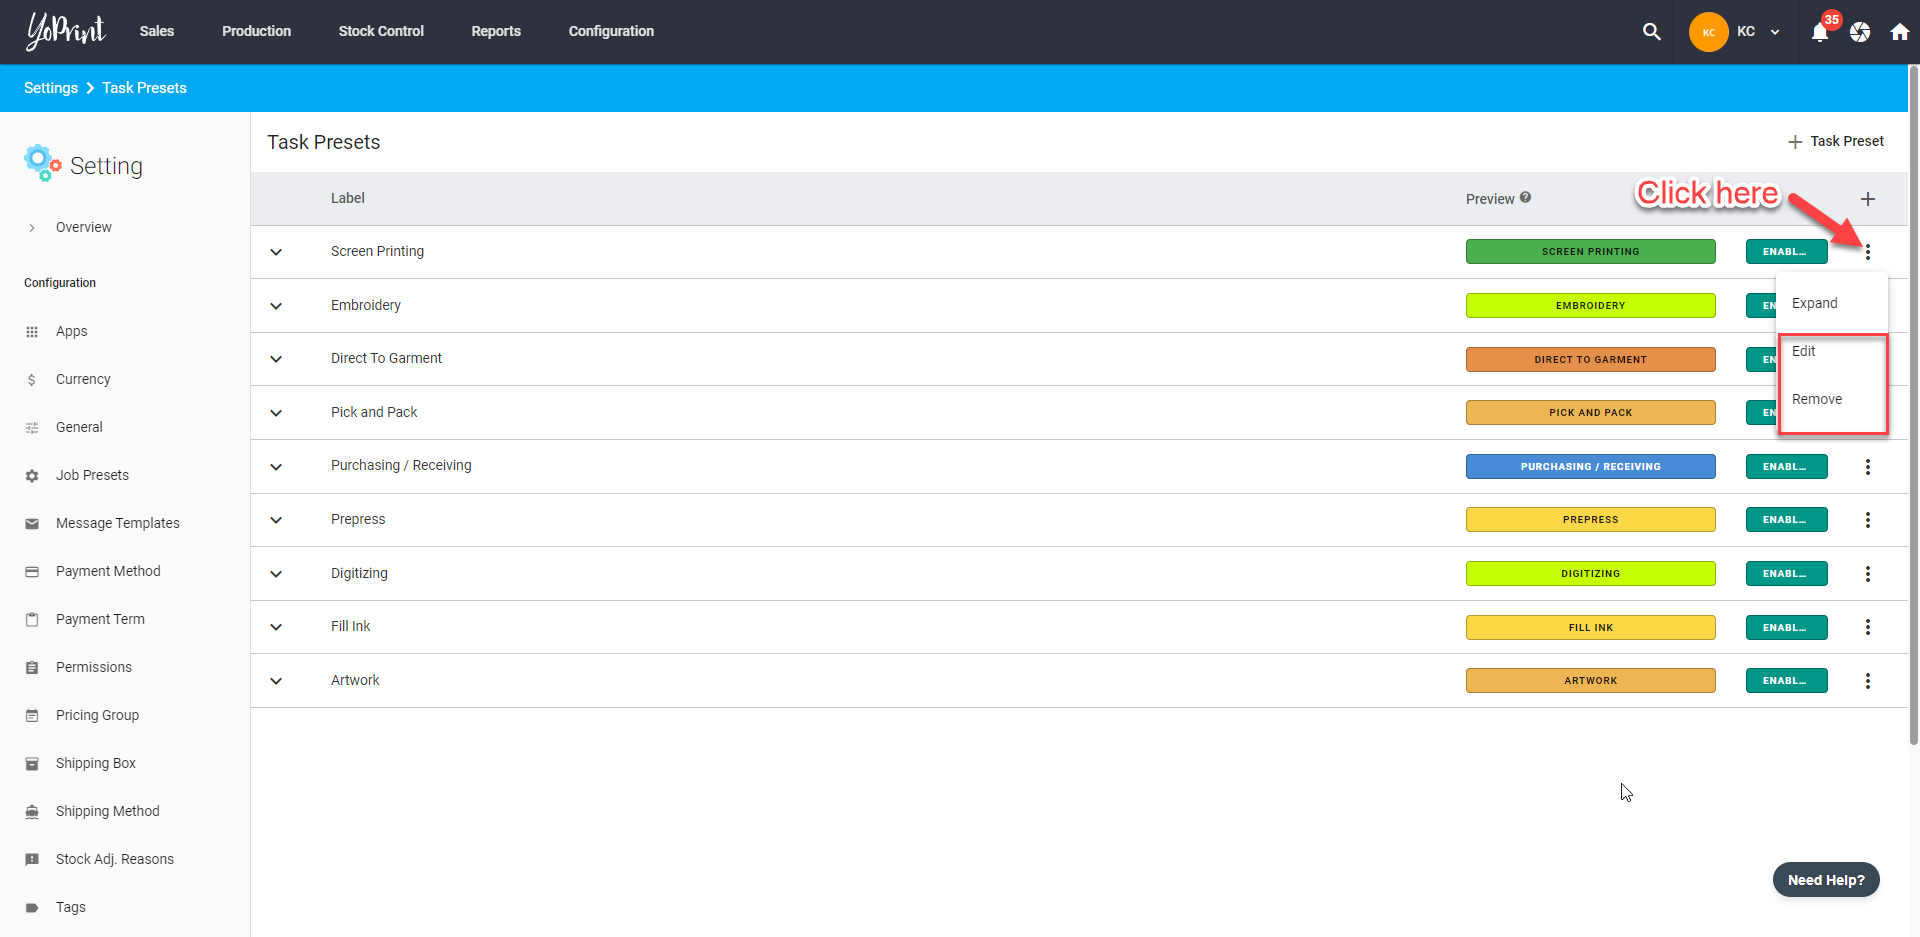
- Click ⋮ on the right side and choose Edit or Remove a Task Preset. Once a preset has been removed, it can't be undone but you can always add the preset again.
Create and Arrange Status Labels
Once the task is created, you can add multiple status labels to indicate the stages involved in the workflow and rearrange them according to your workflow. Here is how to do it:
- Click on the Task to expand the section.

Note: The Start and End labels are provided by the system. They can be edited but cannot be deleted.
Starting status - This indicates a task has started.
Ending status - This indicates a task is about to complete or has been completed.
Any other status except Starting will automatically allocate stock to the job. - Click on + Status to add a new status.
- Name your Status and click Create.
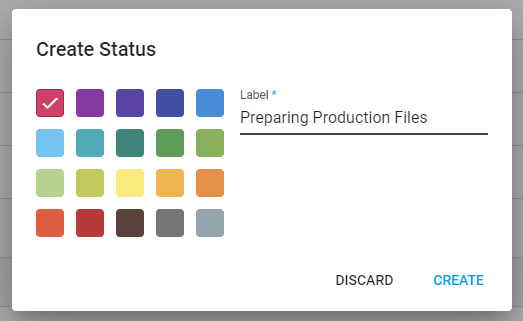
- After creating your statuses, you can rearrange them by clicking on Arrange, then Save it.

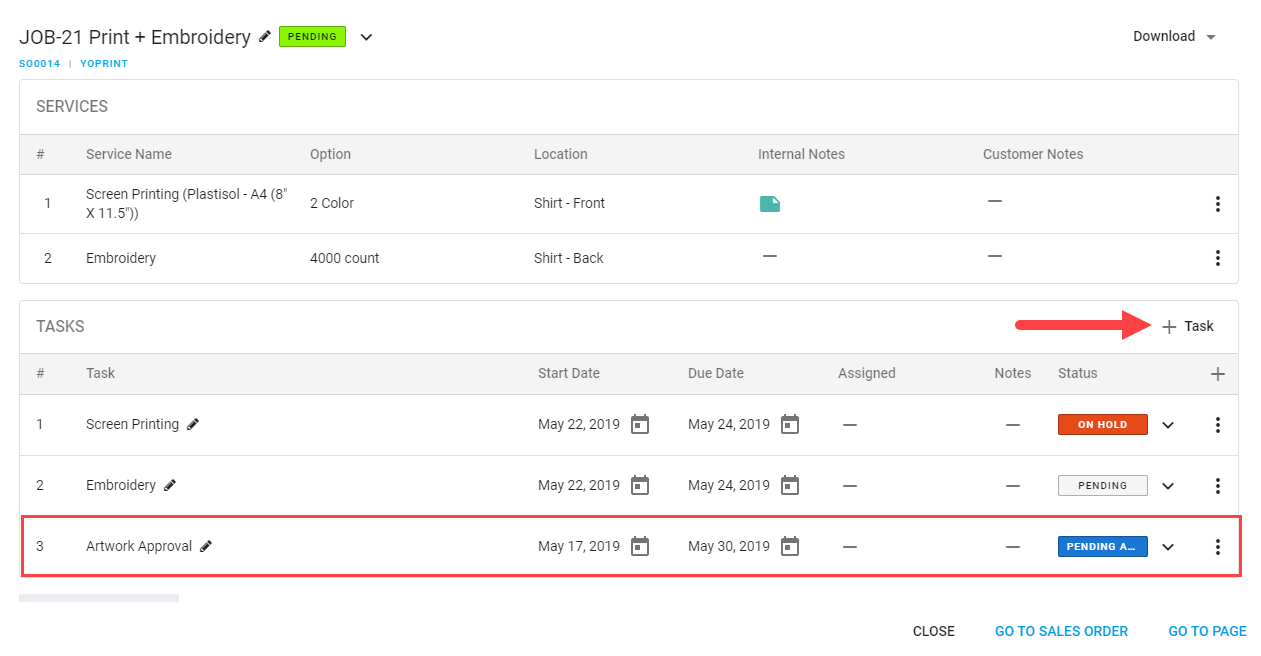
Now you can use this task preset in your jobs by clicking on + Task and editing the status accordingly as the work progresses.
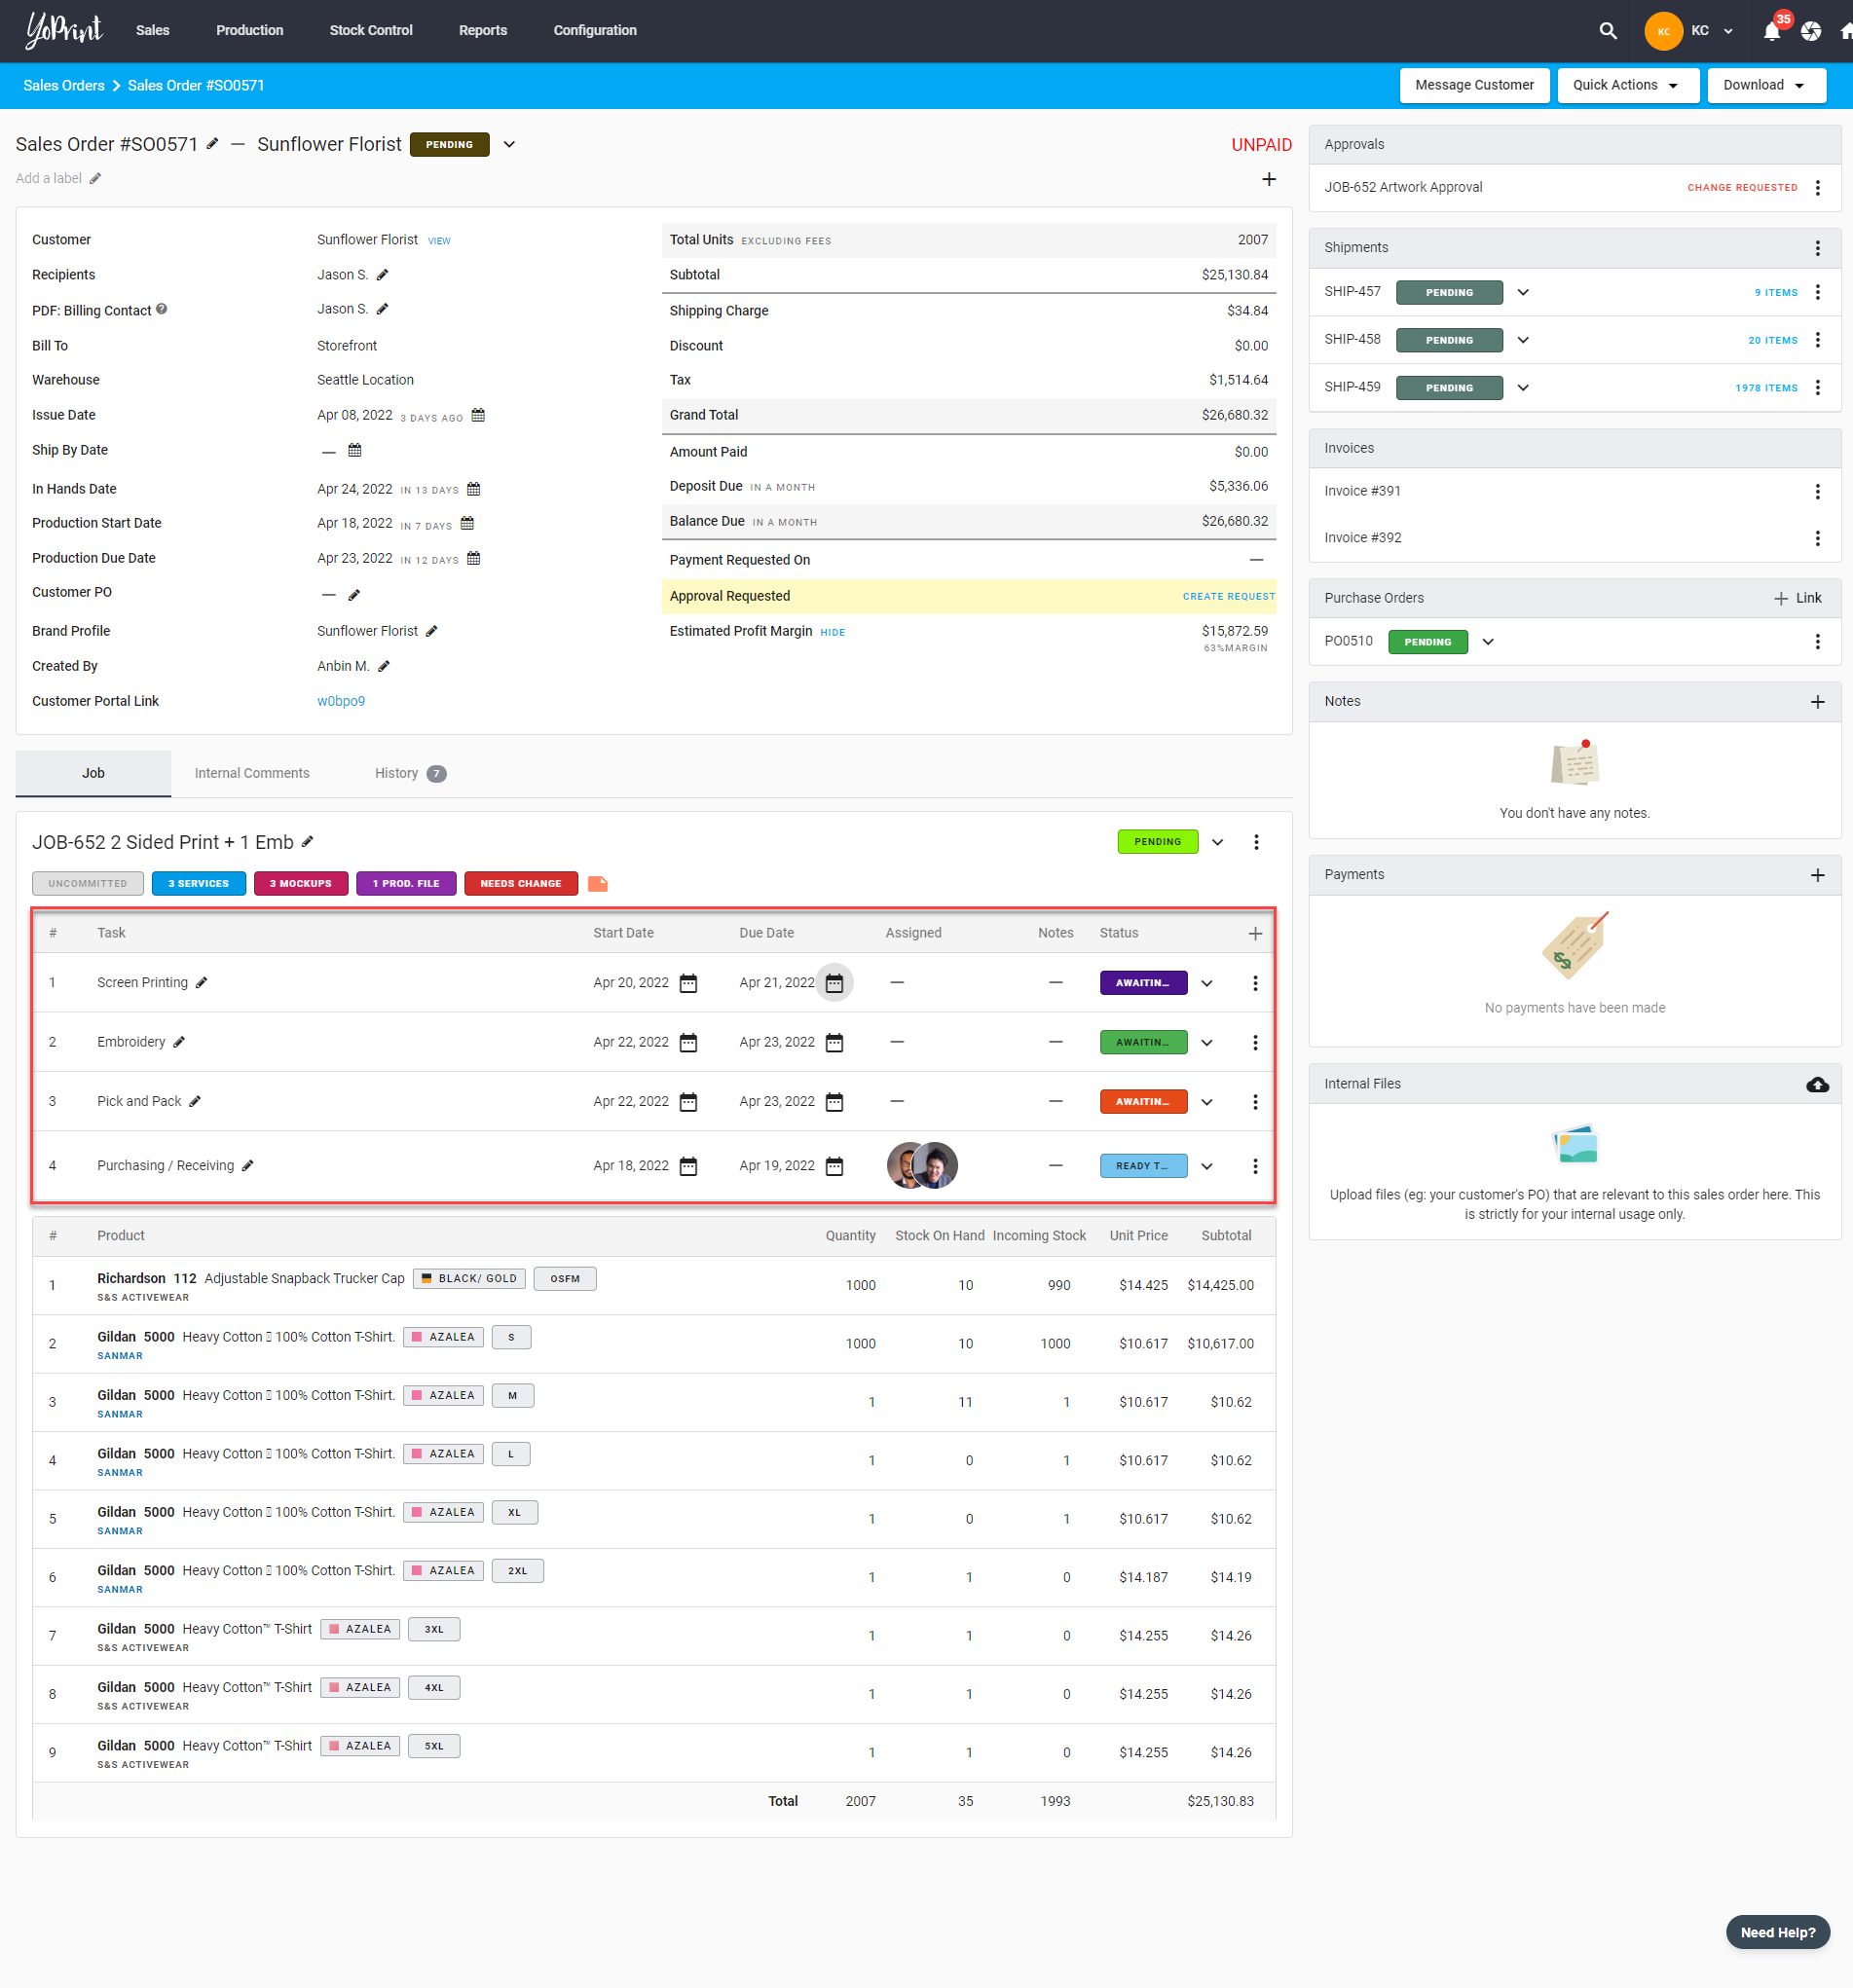
Sales Order Tasks
- Here's an example of Tasks and the Statuses in a Sales Order.
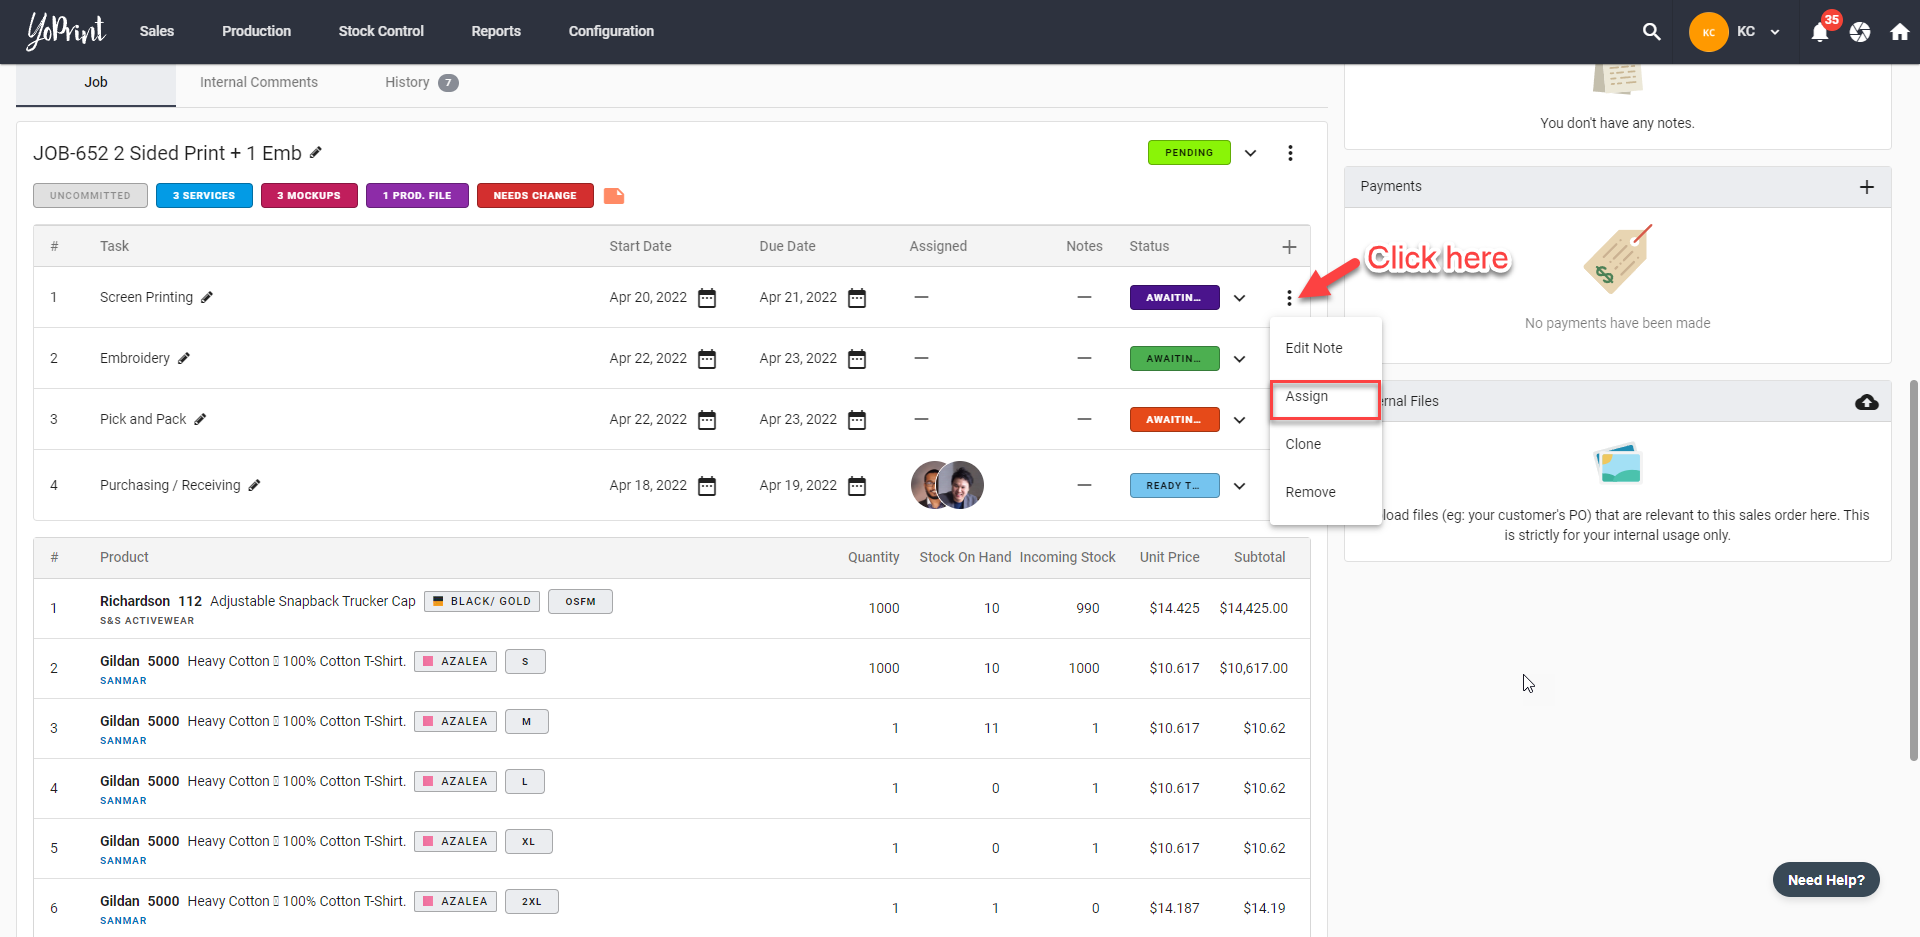
- You can also assign users to a task. Click ⋮ and choose Assign.
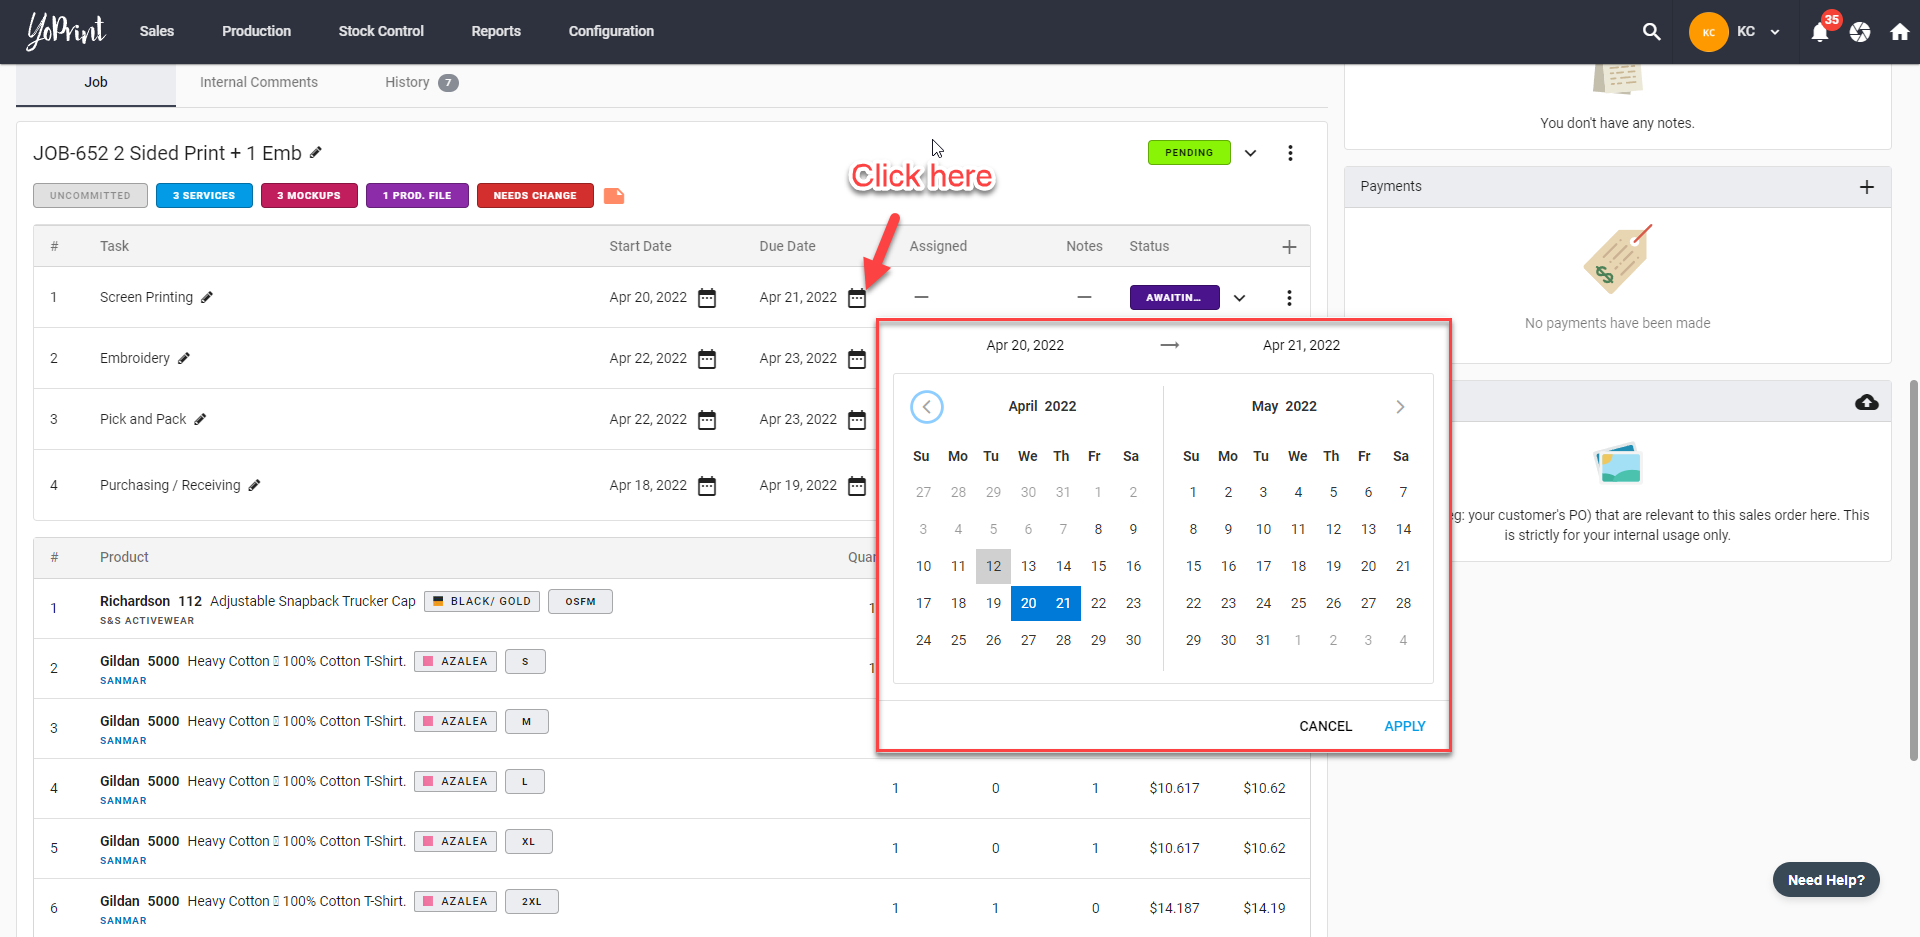
- You can view a task calendar as well and set the Start and Due Date.
