Purchase Order Receiving
In this article
Open the purchase order
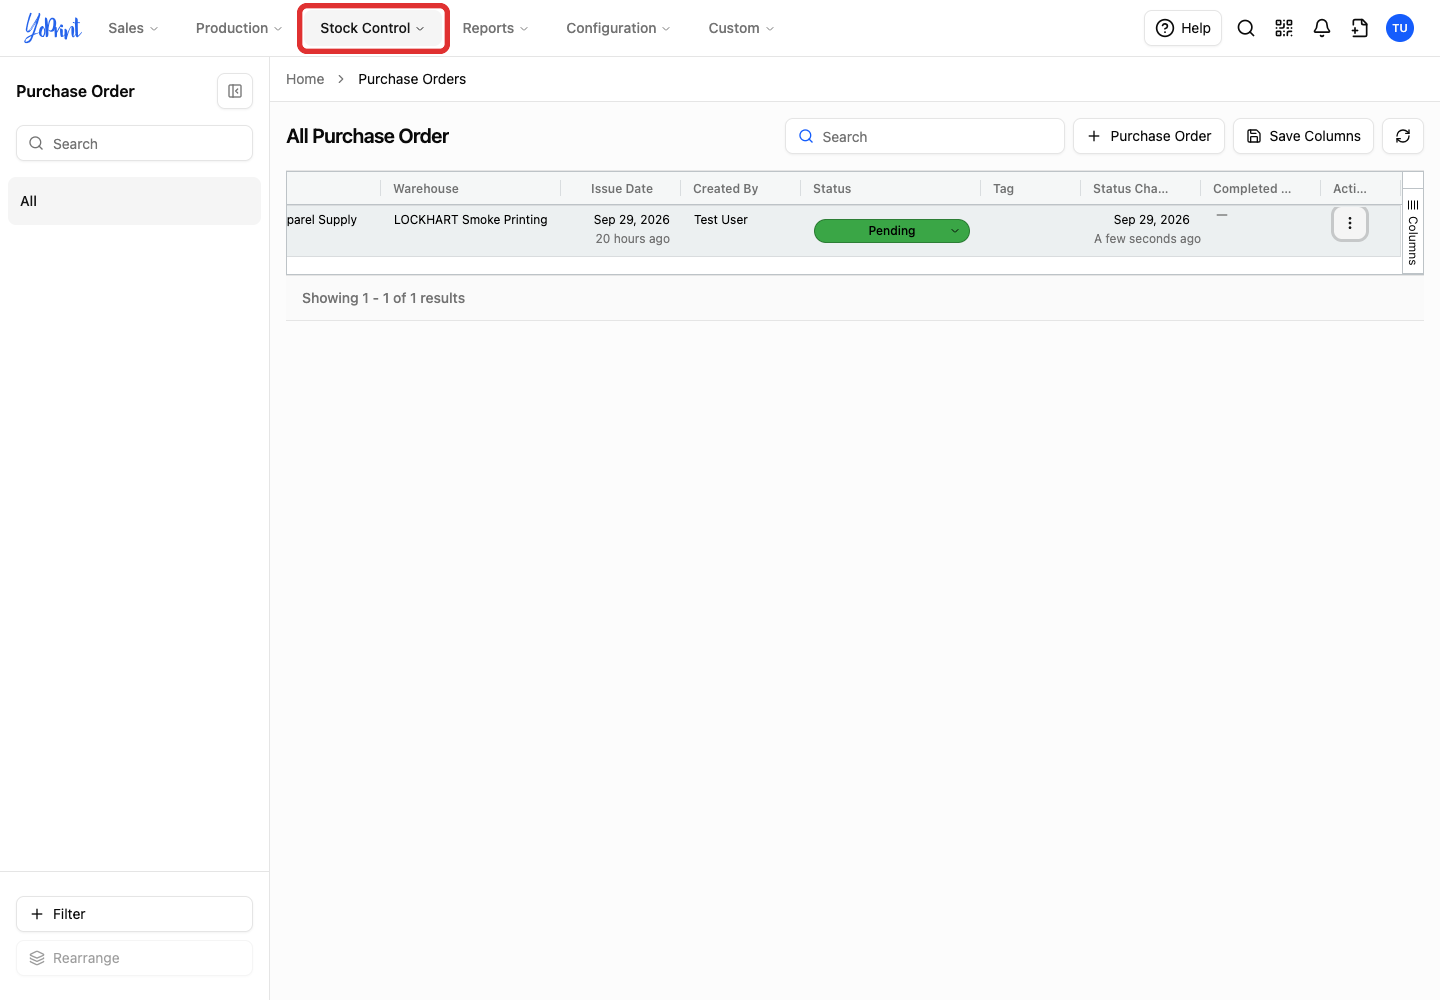
Record what arrived against your purchase order. You can receive the whole order or record separate deliveries as they arrive. In the top navigation, purchase orders are listed under Stock Control.
-
Click Stock Control in the top navigation.
-
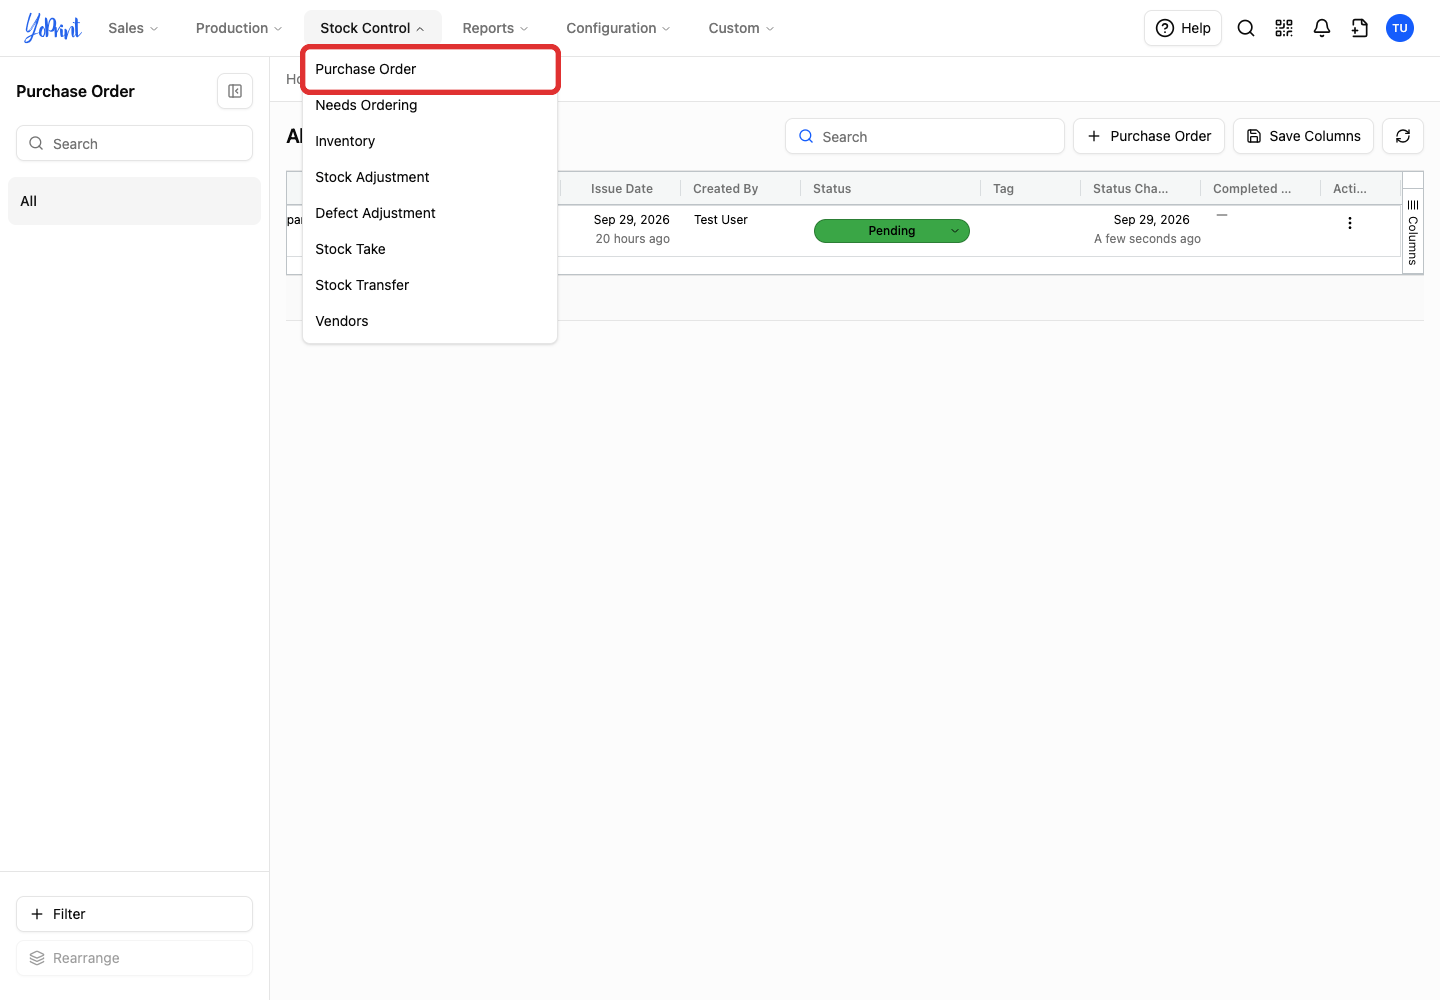
Choose Purchase Order.
-
Double-click the purchase order number.
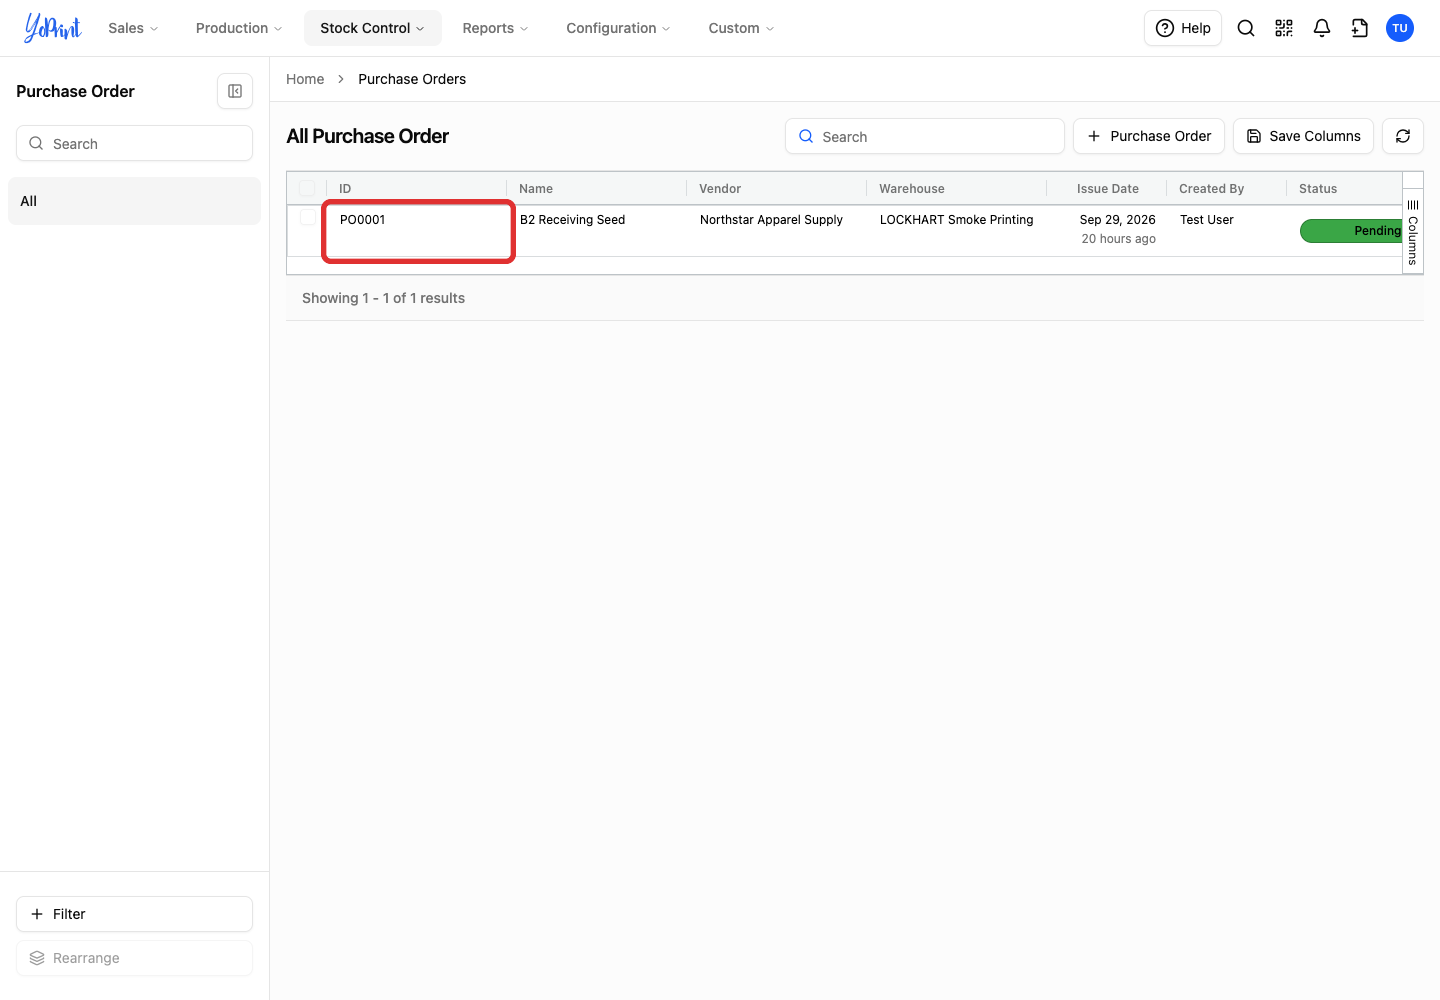
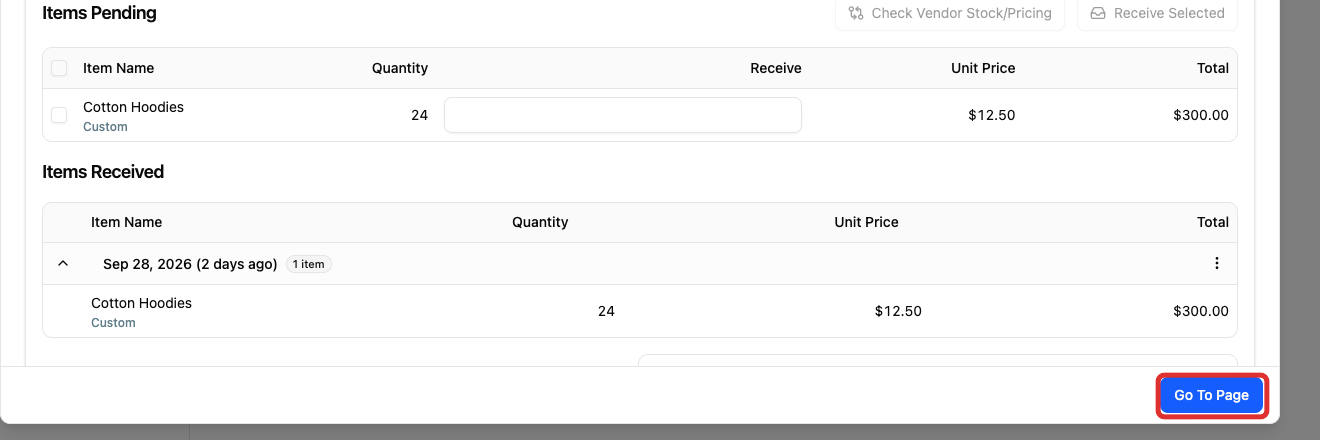
Double-clicking opens the purchase order window. You can receive items directly inside this window, or open the full page as shown in step 4.
-
Click Go To Page at the bottom of the purchase order window.
-
Select Receiving.
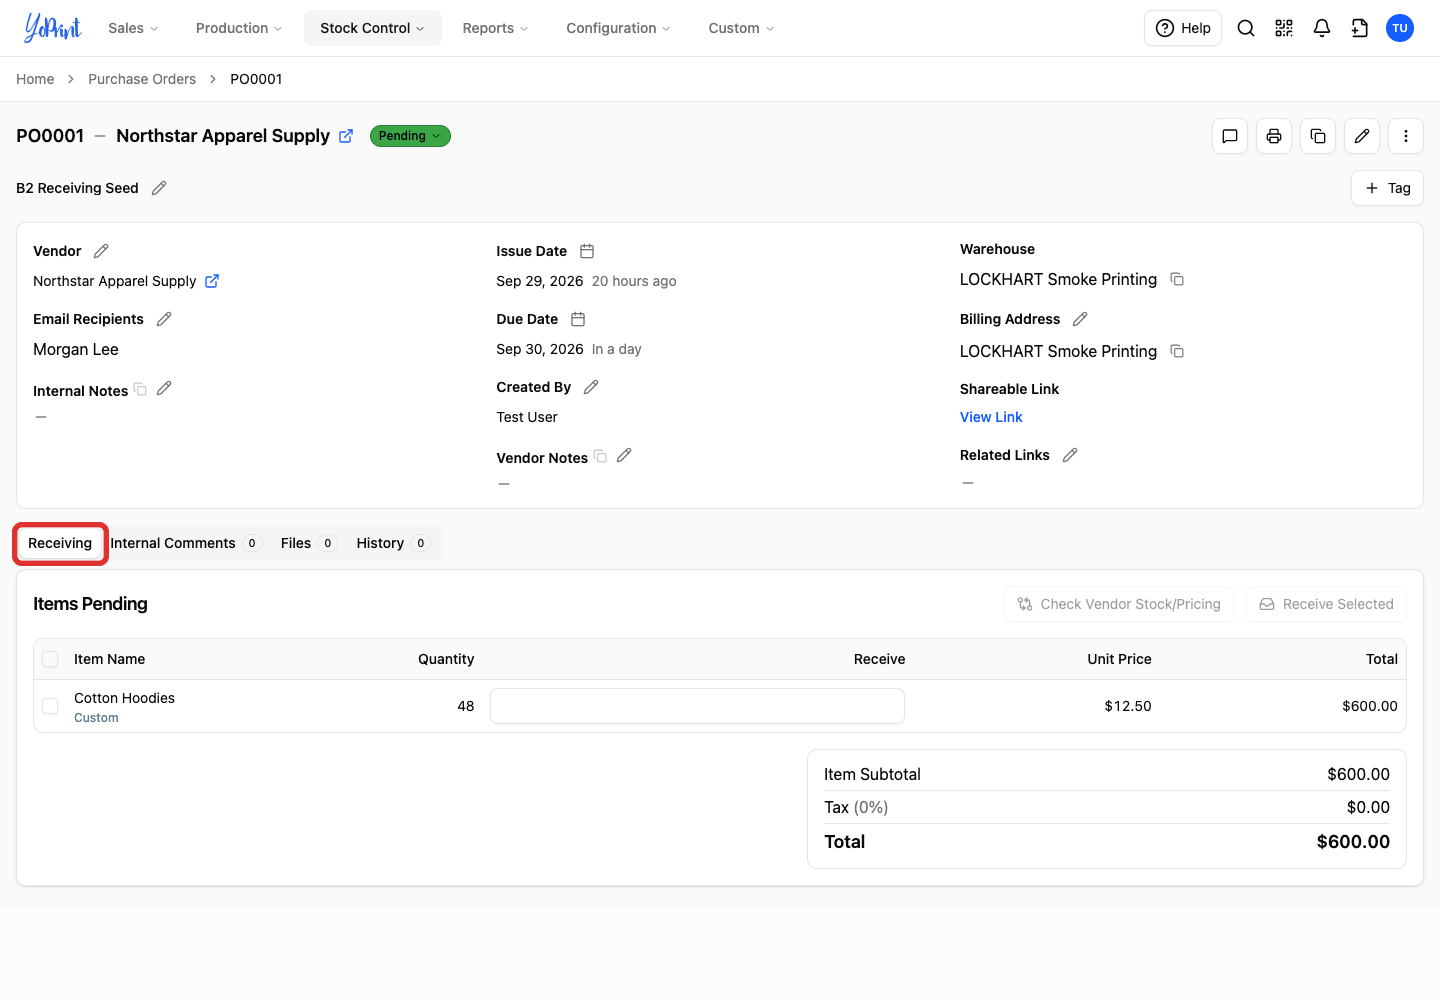
The Receiving tab is selected by default. If another tab is open, click Receiving to return to the delivery table.
Record a delivery
Items Pending shows the quantities still to receive. Count the delivery before recording it. In this example, 24 of the 48 hoodies have arrived.
-
Select the checkbox beside each item that arrived. Use the checkbox in the table header to select every pending item.
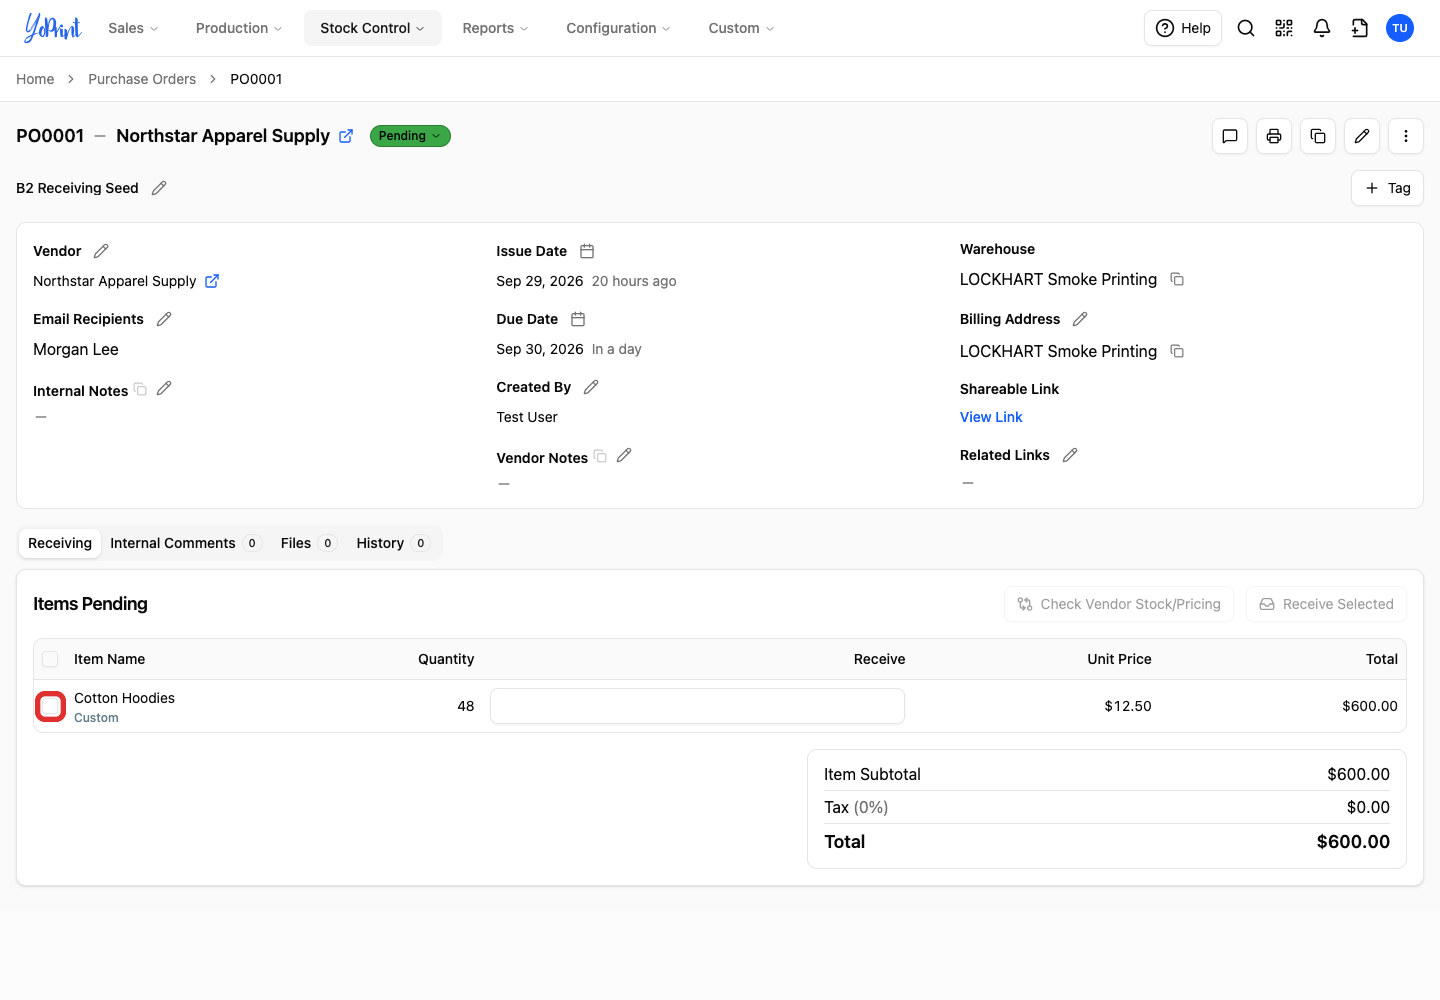
-
Enter the quantity that arrived in the Receive field for each selected item.
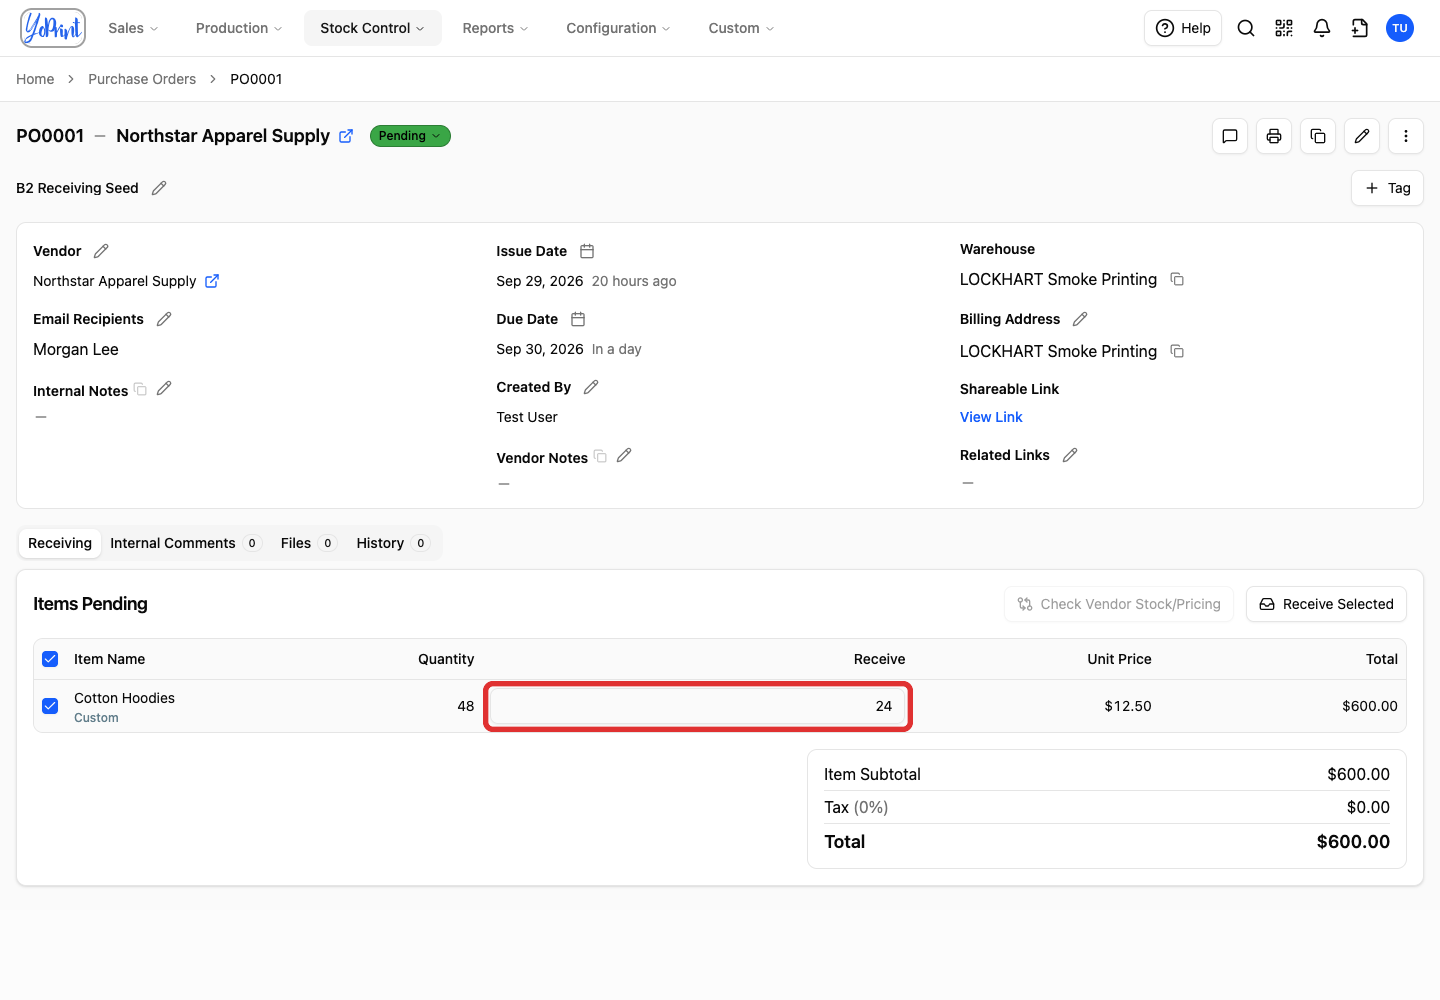
Selecting an item fills in its whole pending quantity. For a partial delivery, replace that quantity with the amount that arrived. You cannot enter a quantity greater than the pending amount.
-
Click Receive Selected.
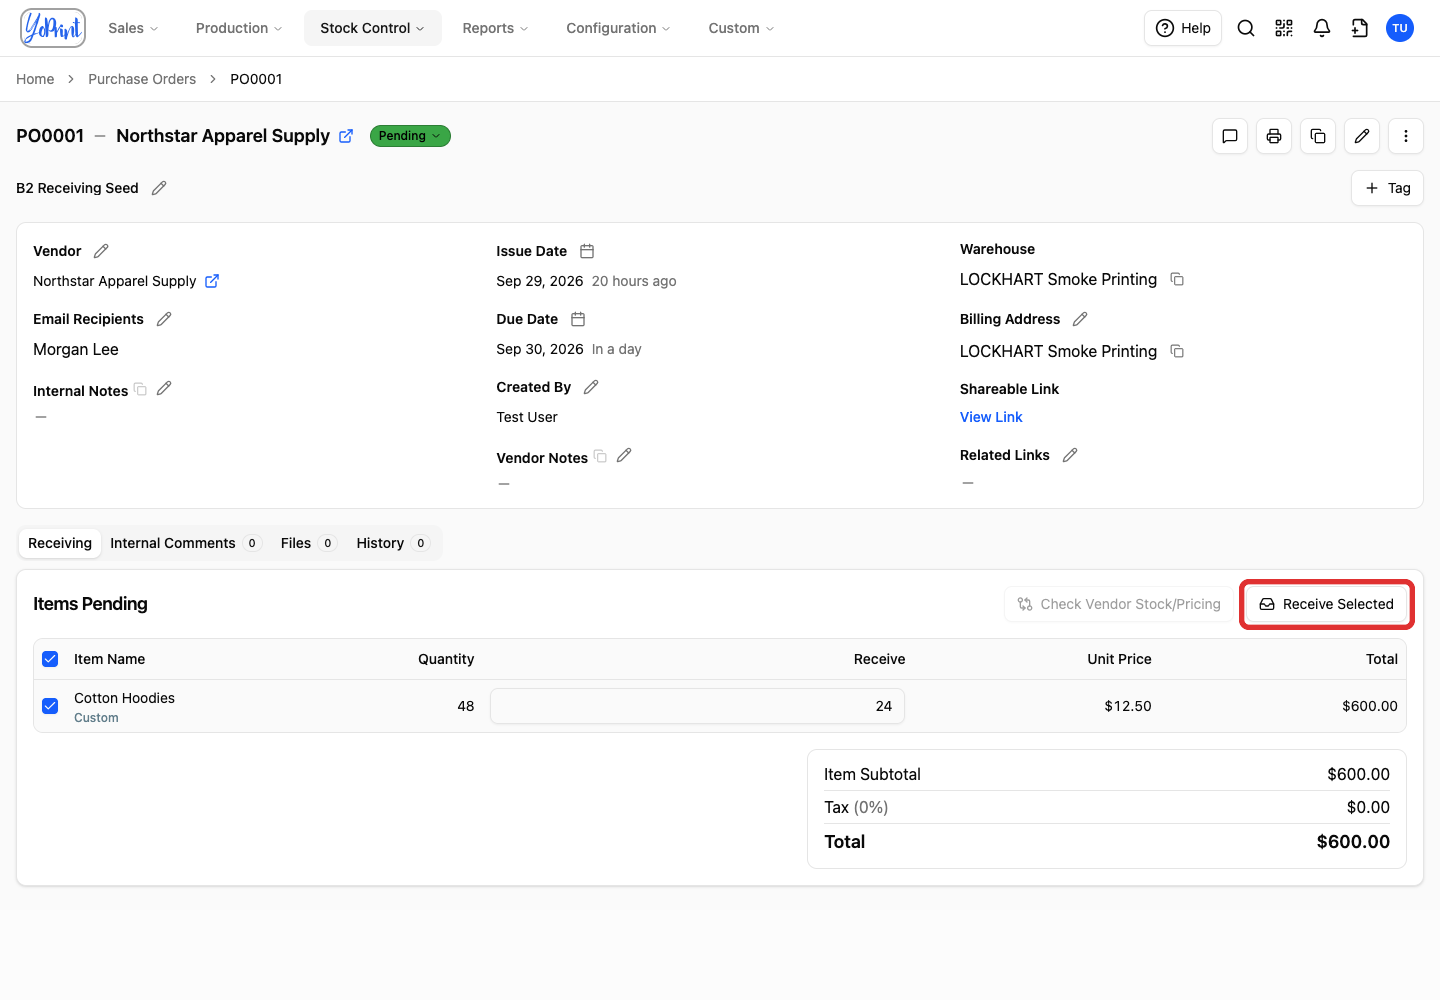
-
Check the total items in New Procurement and set Receipt Date to the delivery date.
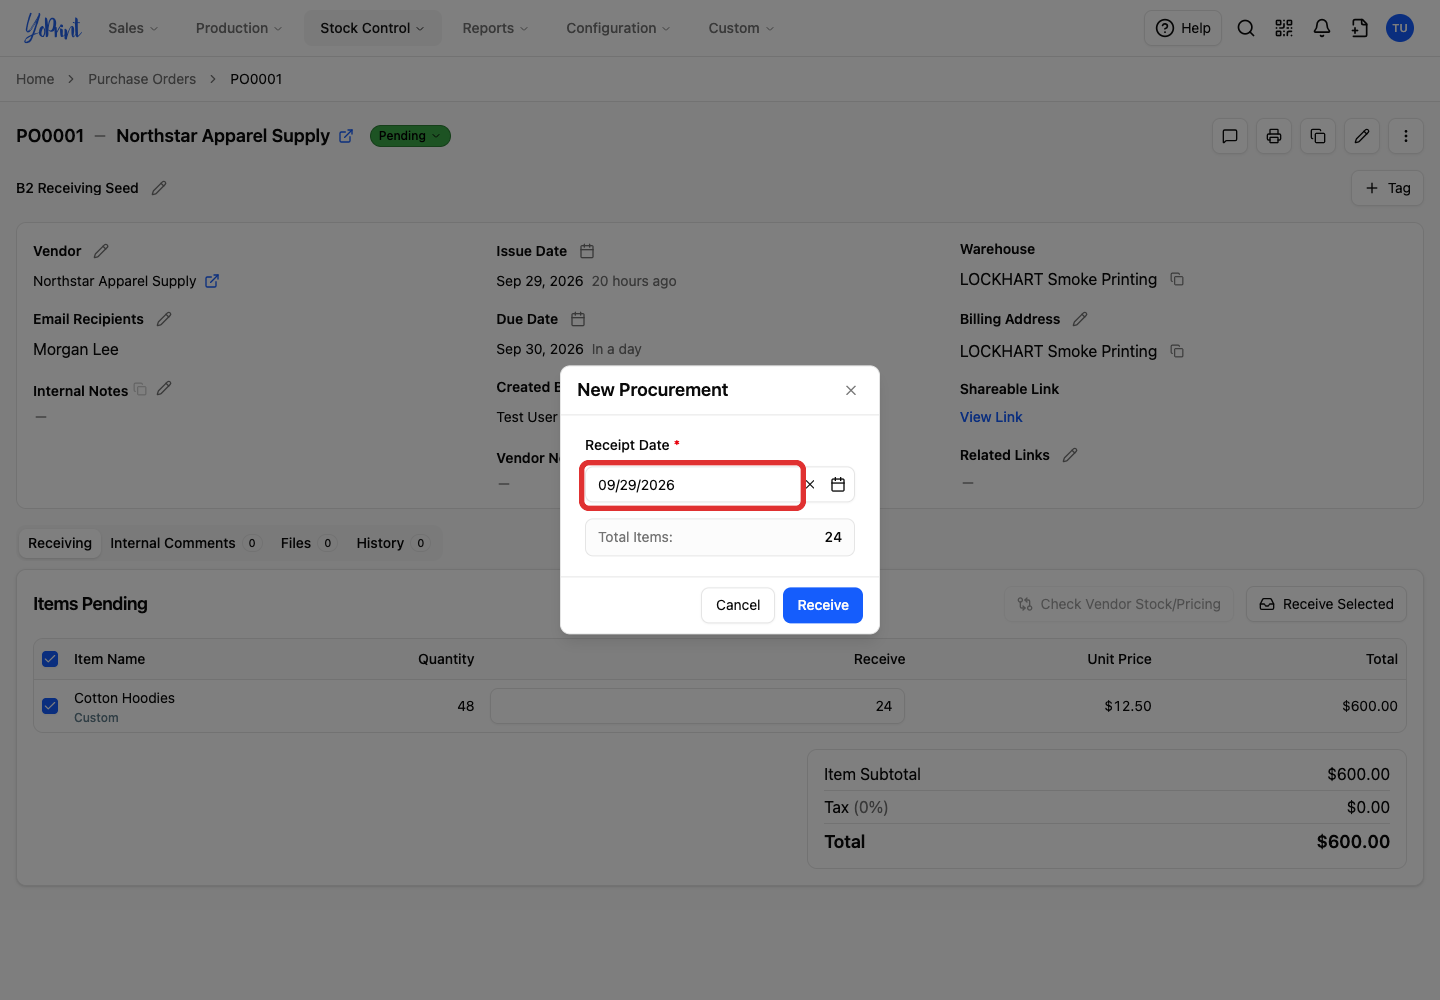
YoPrint titles this delivery receipt dialog New Procurement. It records what arrived at your shop; it does not place a new order with your vendor.
-
Click Receive.
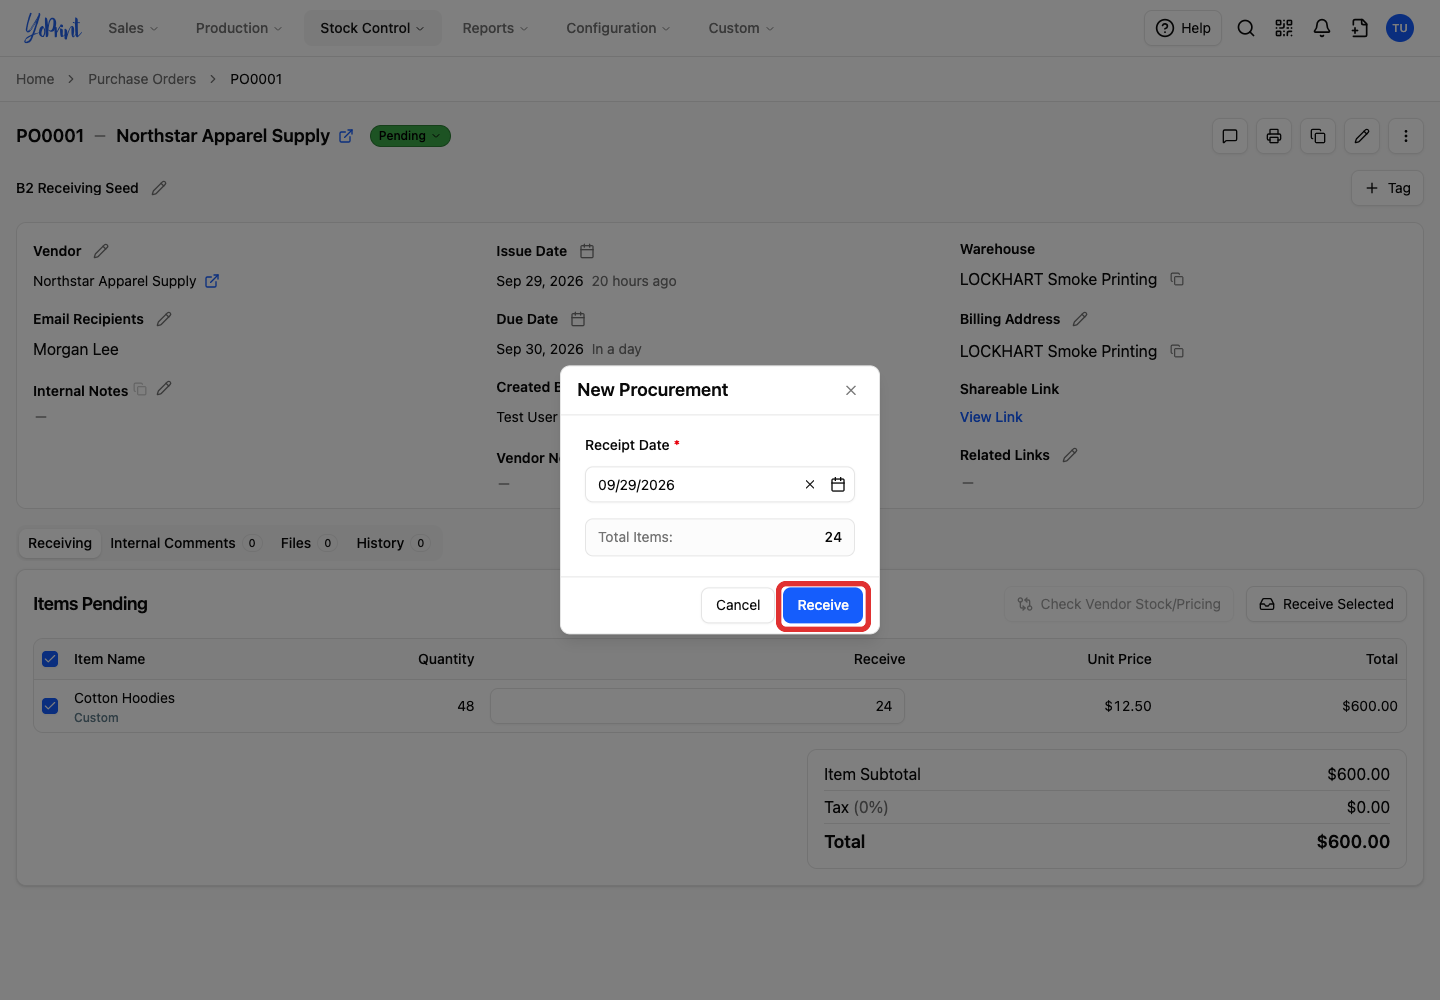
The delivery appears as a dated receipt under Items Received. Any outstanding quantity stays under Items Pending. Here, 24 hoodies are received and 24 are still pending. The purchase order status stays Pending until all items are received. To track partial deliveries in your order list, you can update the purchase order status manually.
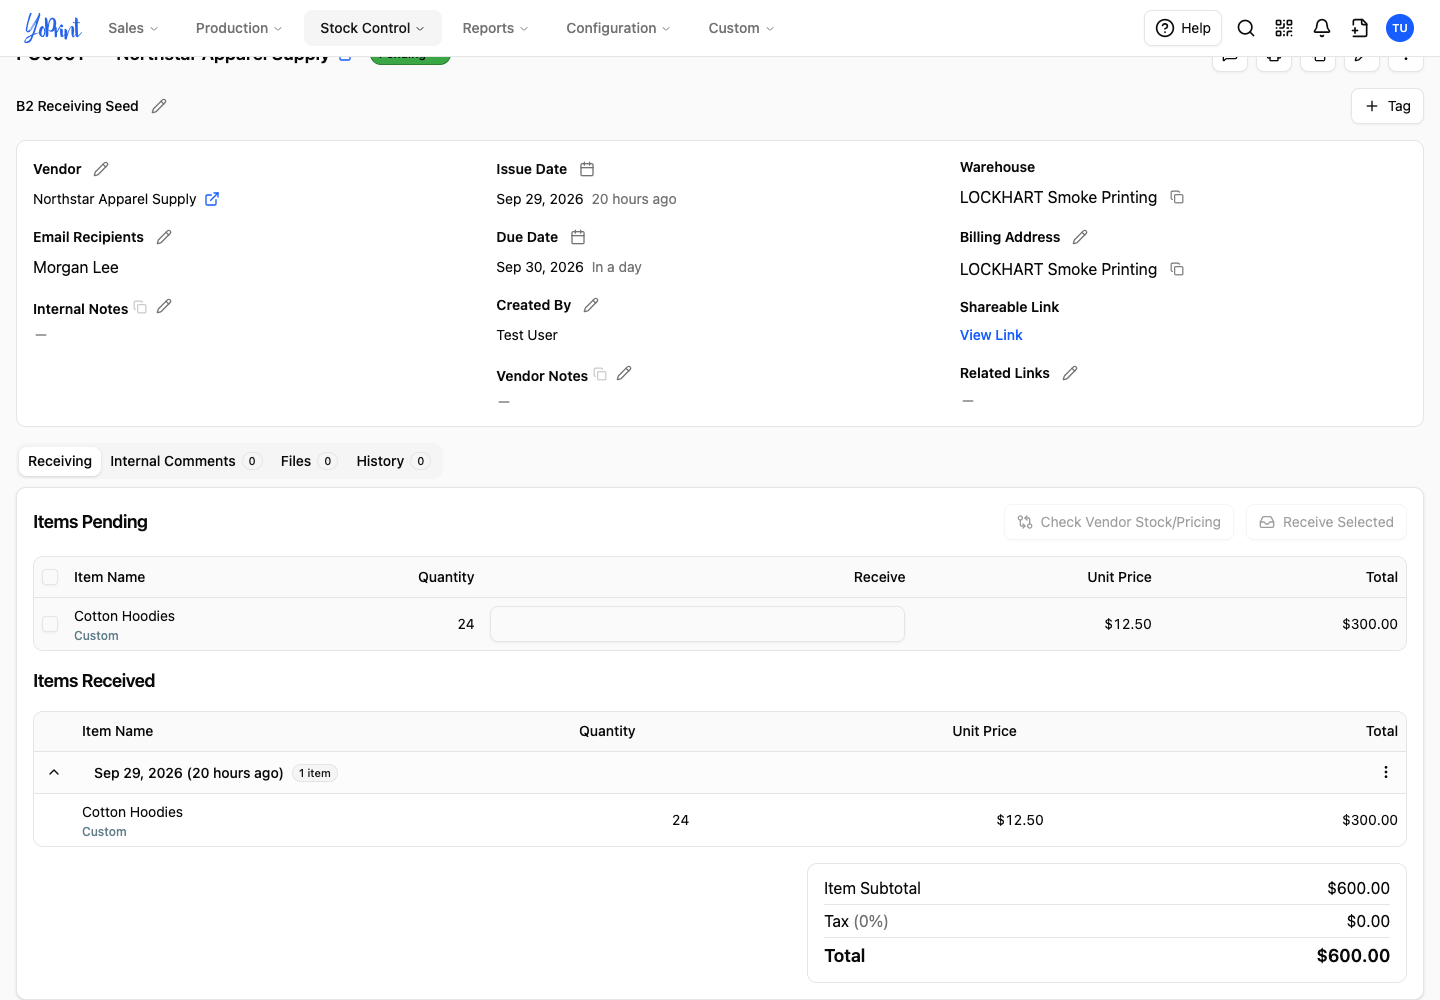
For inventory-tracked products, receiving also updates stock at the purchase order's warehouse. Custom items, such as the hoodies in this example, carry a grey Custom tag and do not represent a saved inventory product. Use Files to upload vendor packing slips or delivery photos, and Internal Comments to leave notes for your team.
Correct a receipt date
-
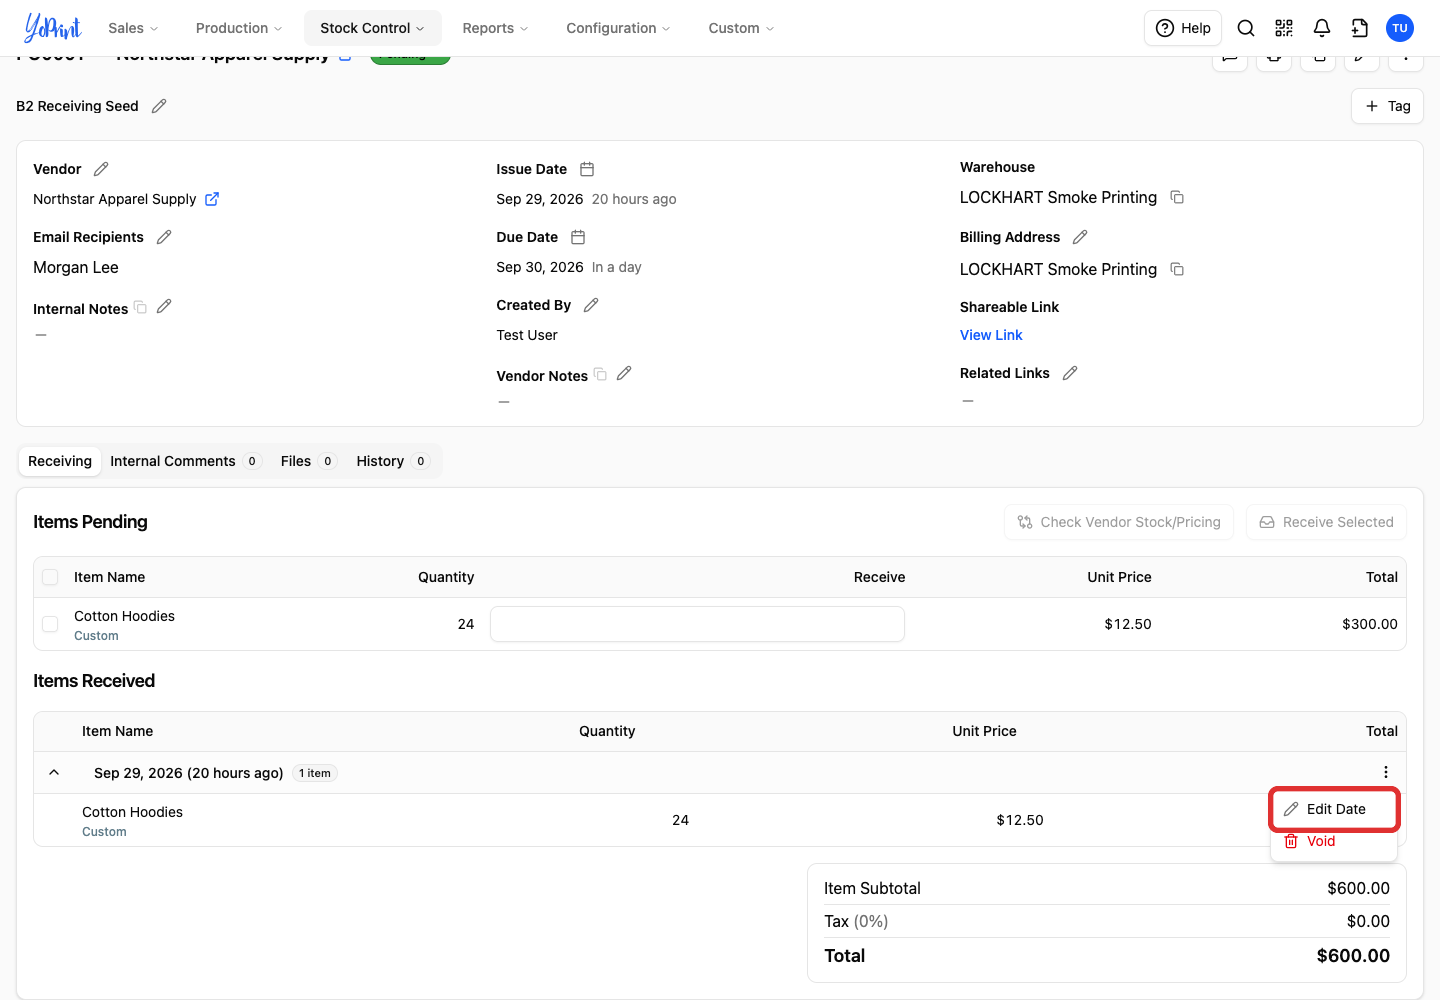
Under Items Received, click the three-dot More actions button beside the receipt date.
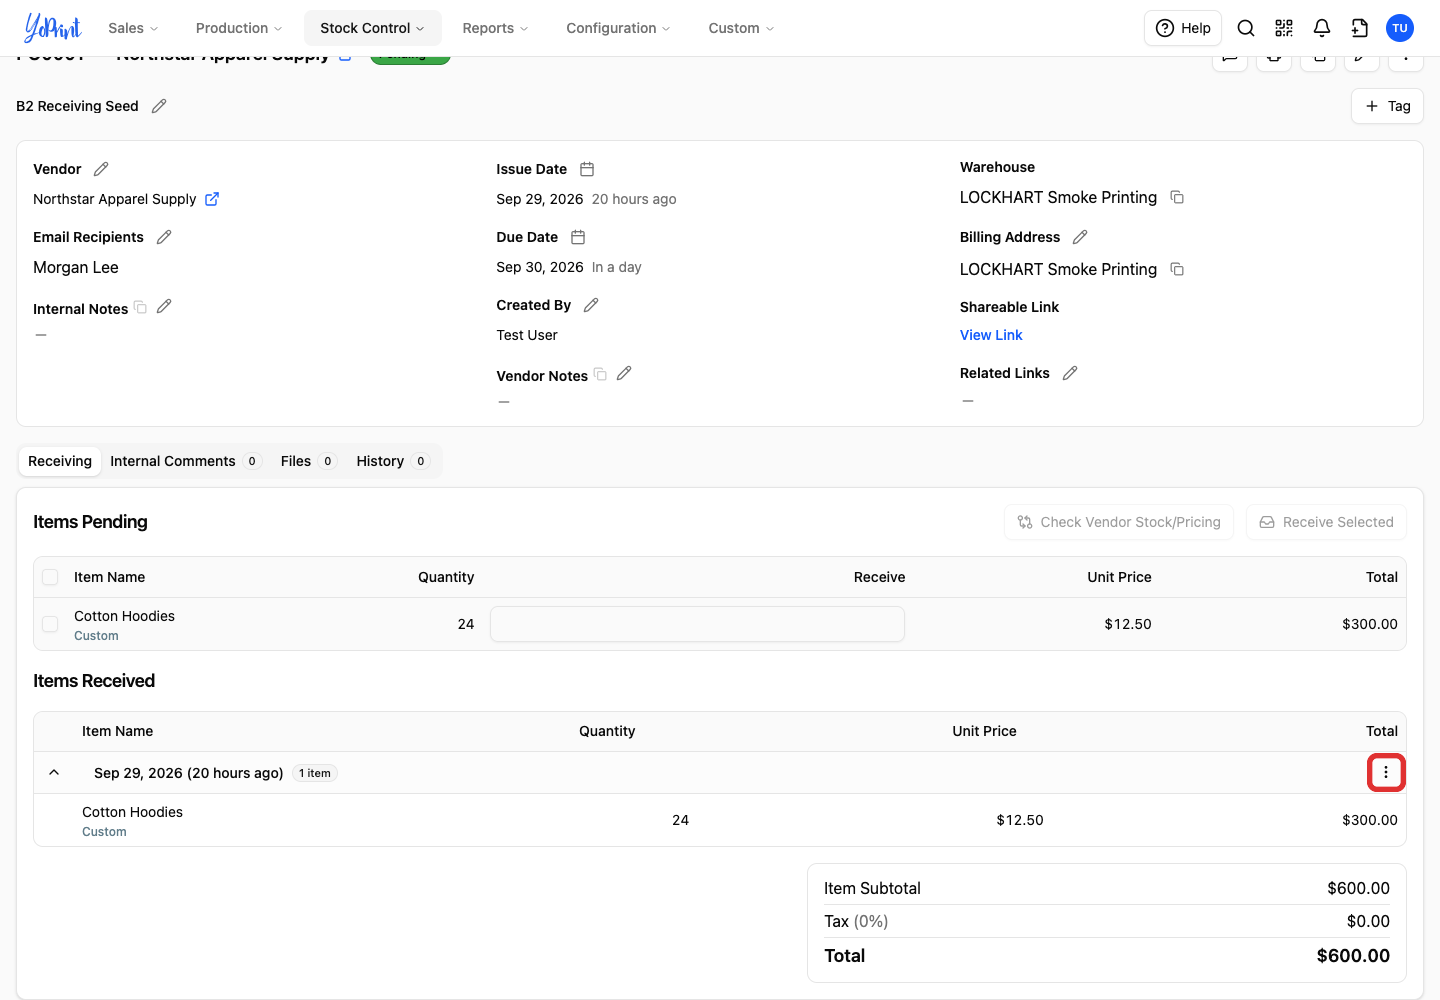
The More actions button appears on the dated receipt header, not on the individual item row.
-
Choose Edit Date.
-
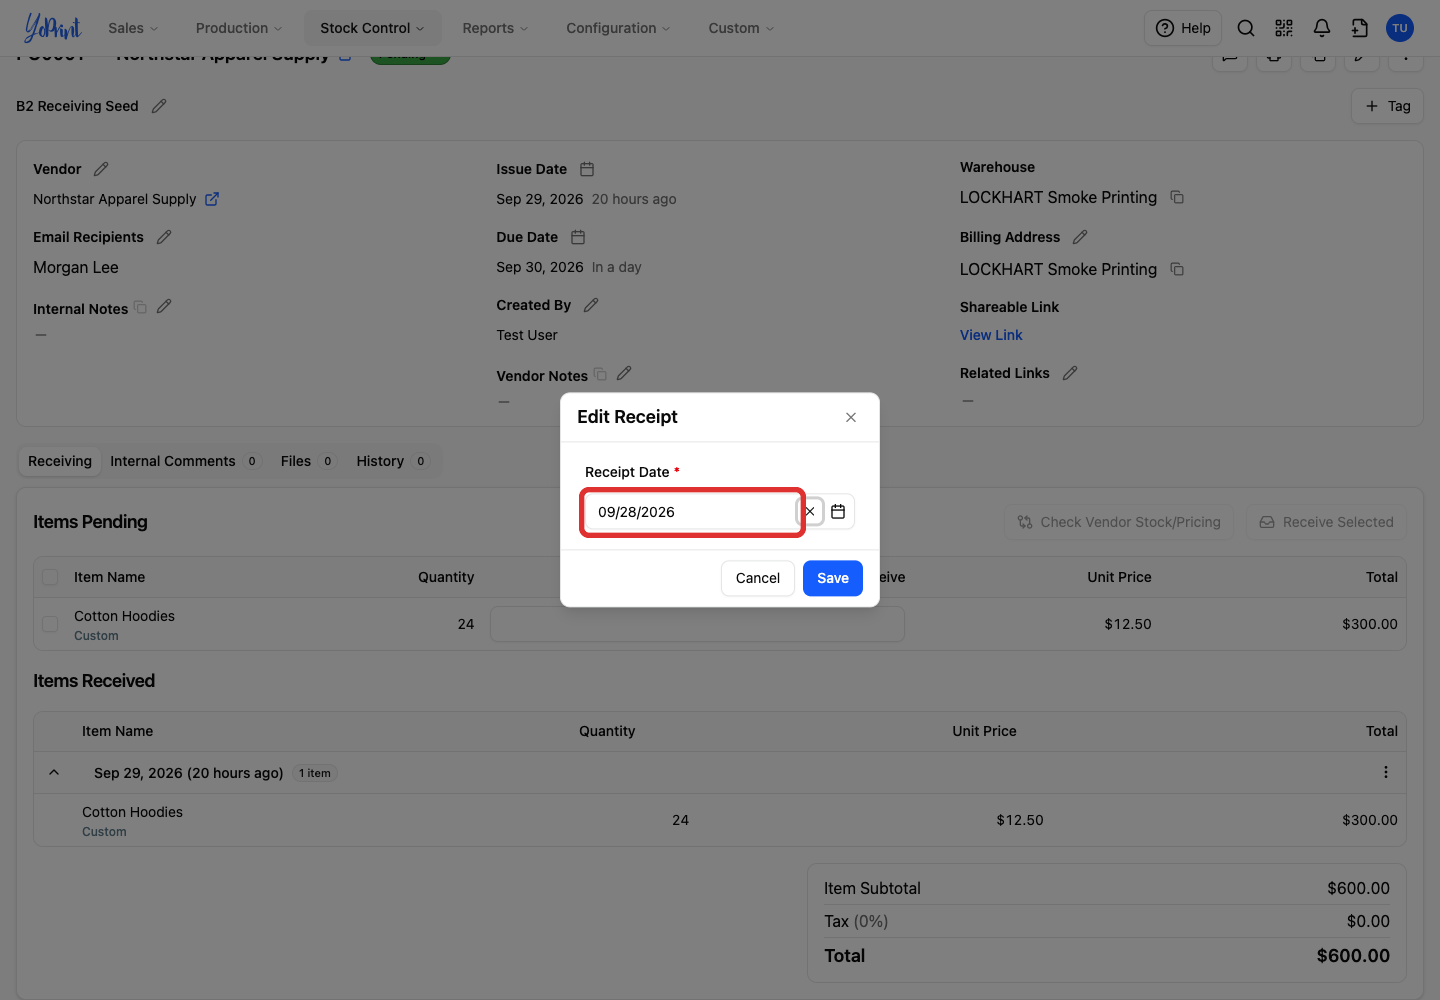
Enter the correct Receipt Date.
-
Click Save.
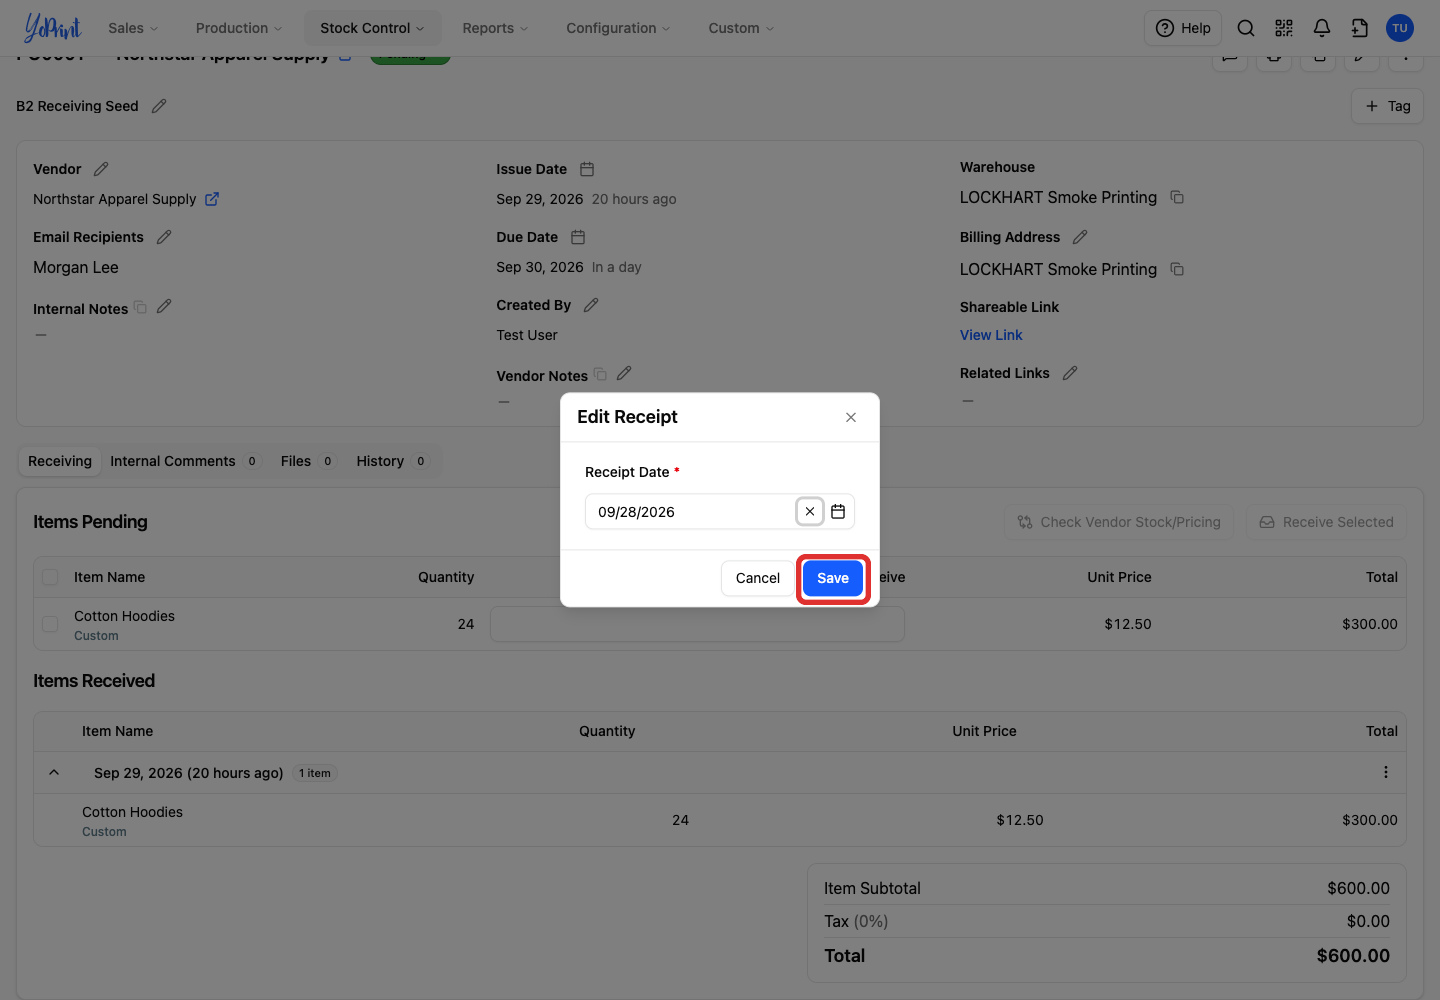
The receipt now appears under the corrected date. Editing the date does not change its quantities. To collapse or expand a receipt's items, click Collapse beside its date header.
Receive the remaining items
When another delivery arrives, repeat Record a delivery for the quantities still pending. Each delivery gets its own dated receipt.
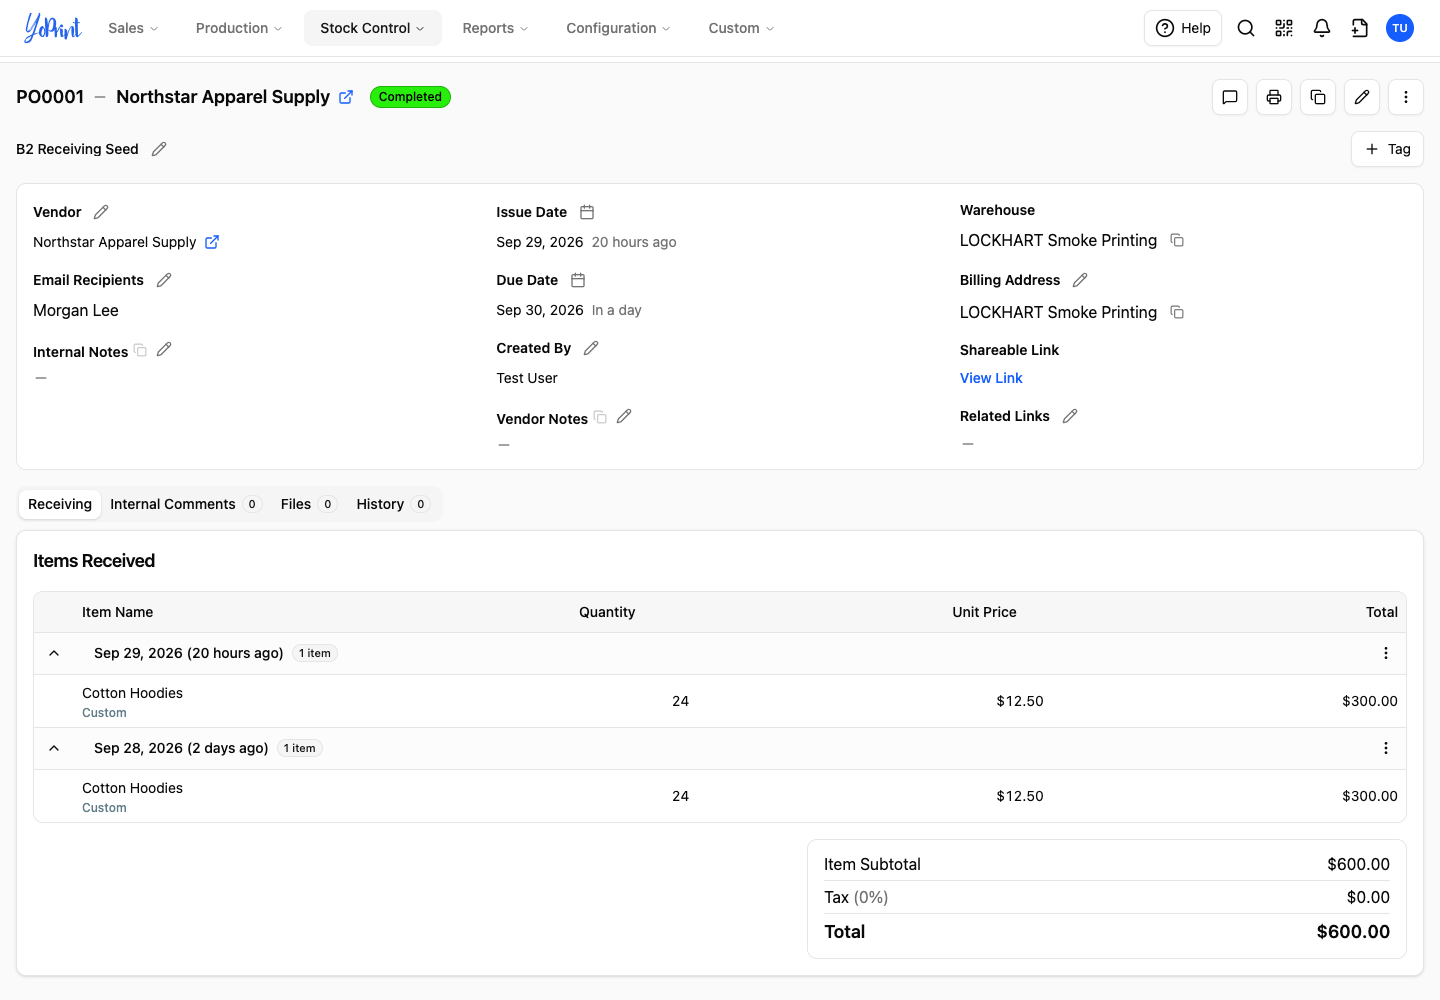
When all items have been received, the purchase order changes to Completed and no items remain pending. This example has two receipts of 24 hoodies each.
Undo a receipt or correct quantities
To correct a quantity, void the incorrect receipt and record the delivery again. Voiding removes every item in that receipt; other receipts on the purchase order stay in place.
-
Click the three-dot More actions button beside the receipt you want to undo.
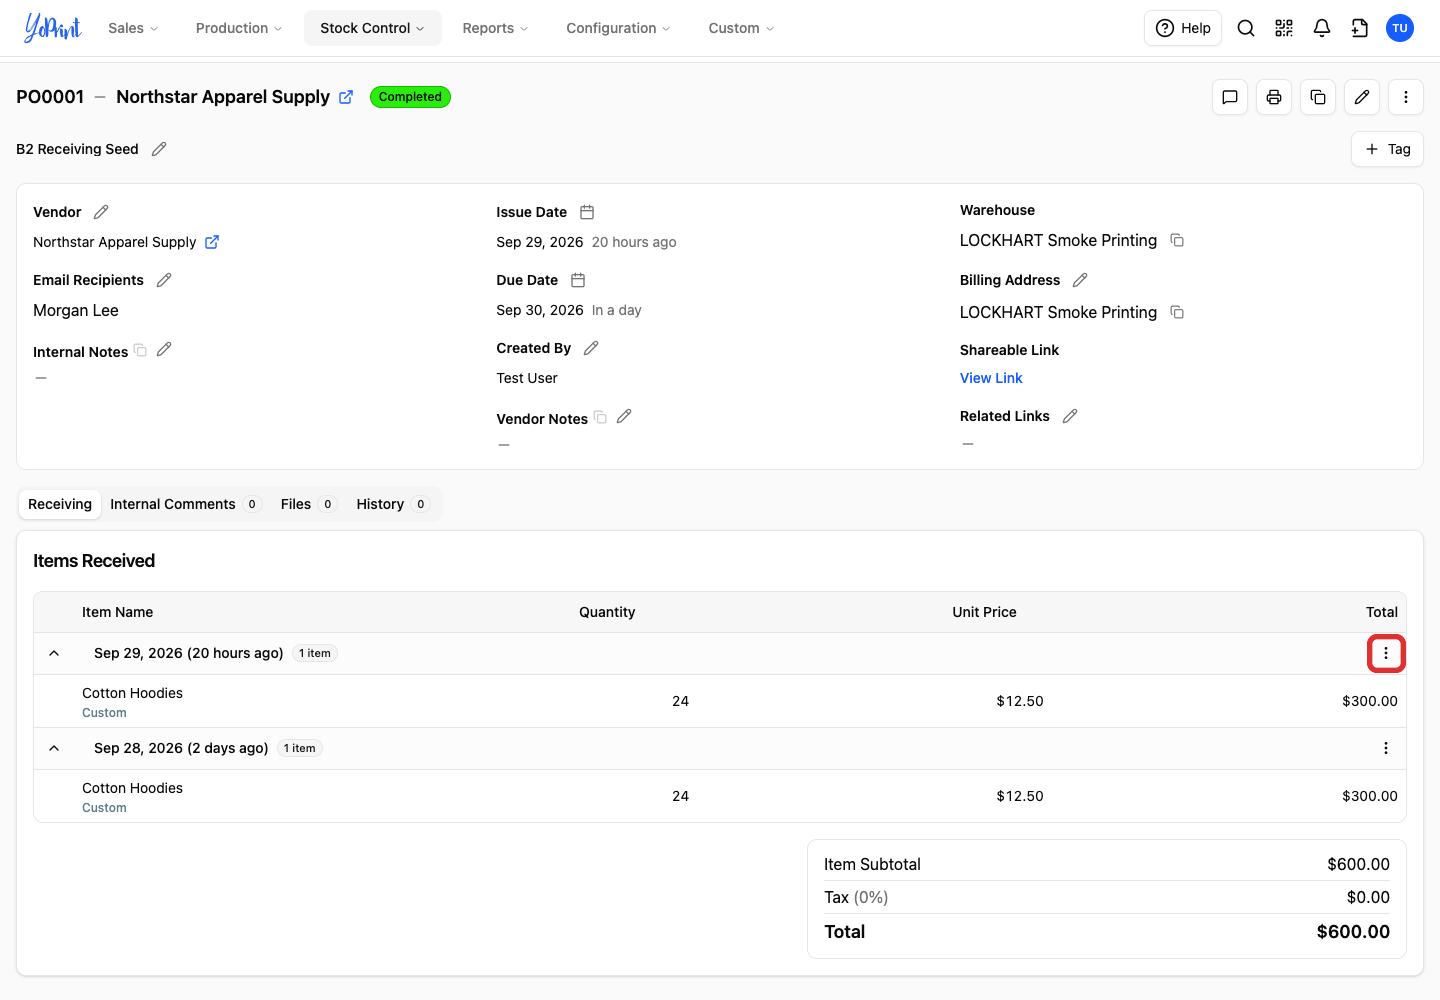
The More actions button appears on the dated receipt header, not on the individual item row.
-
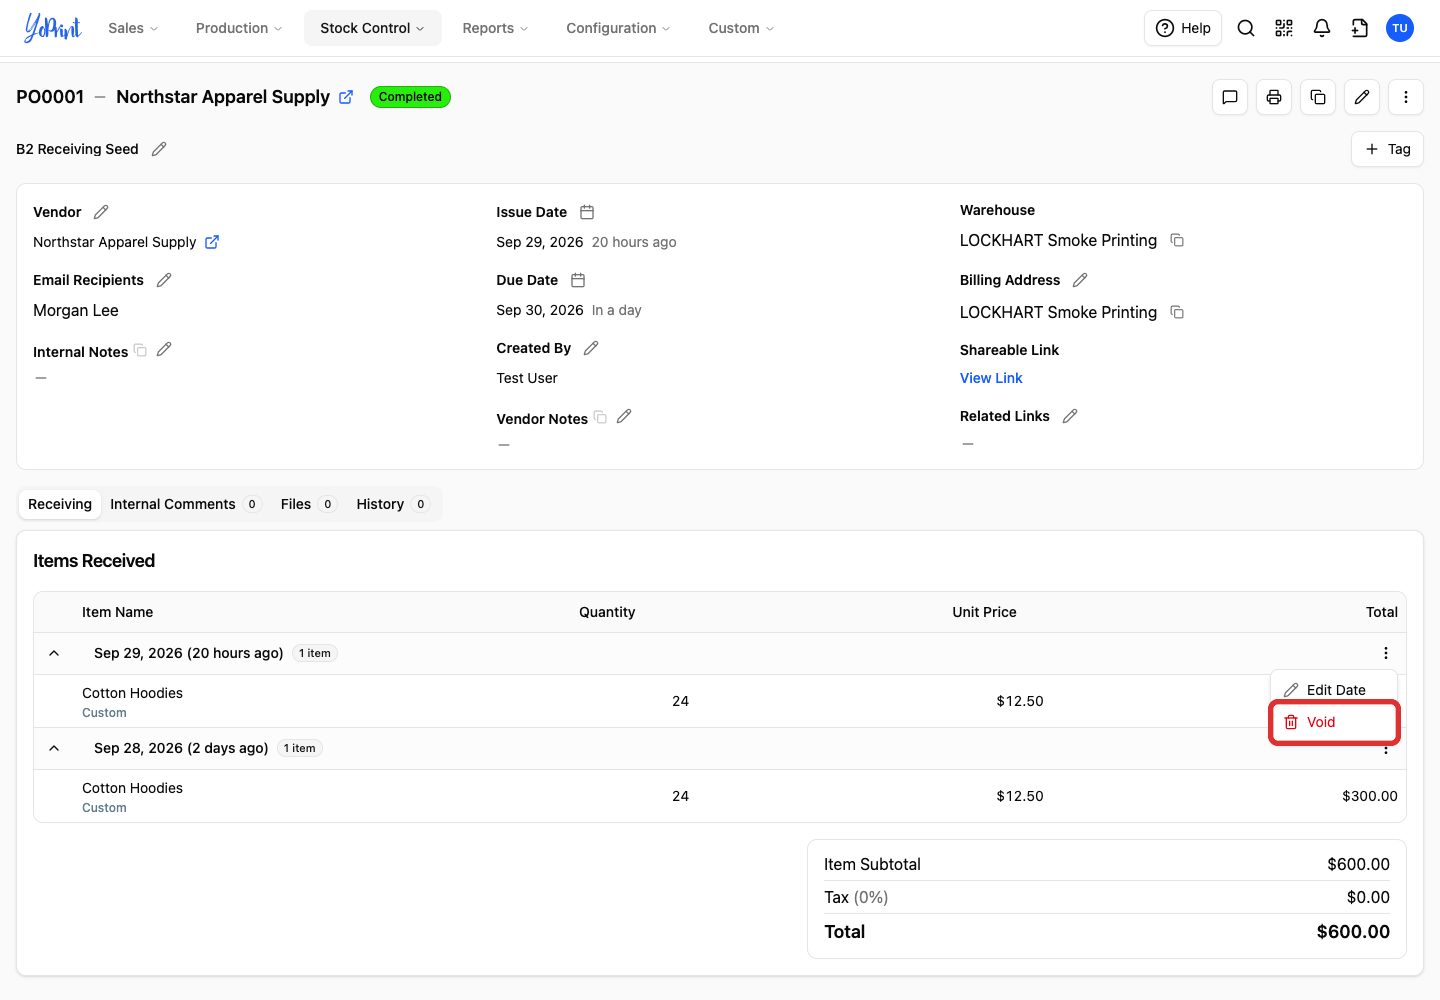
Choose Void.
-
Click Void in the confirmation dialog.
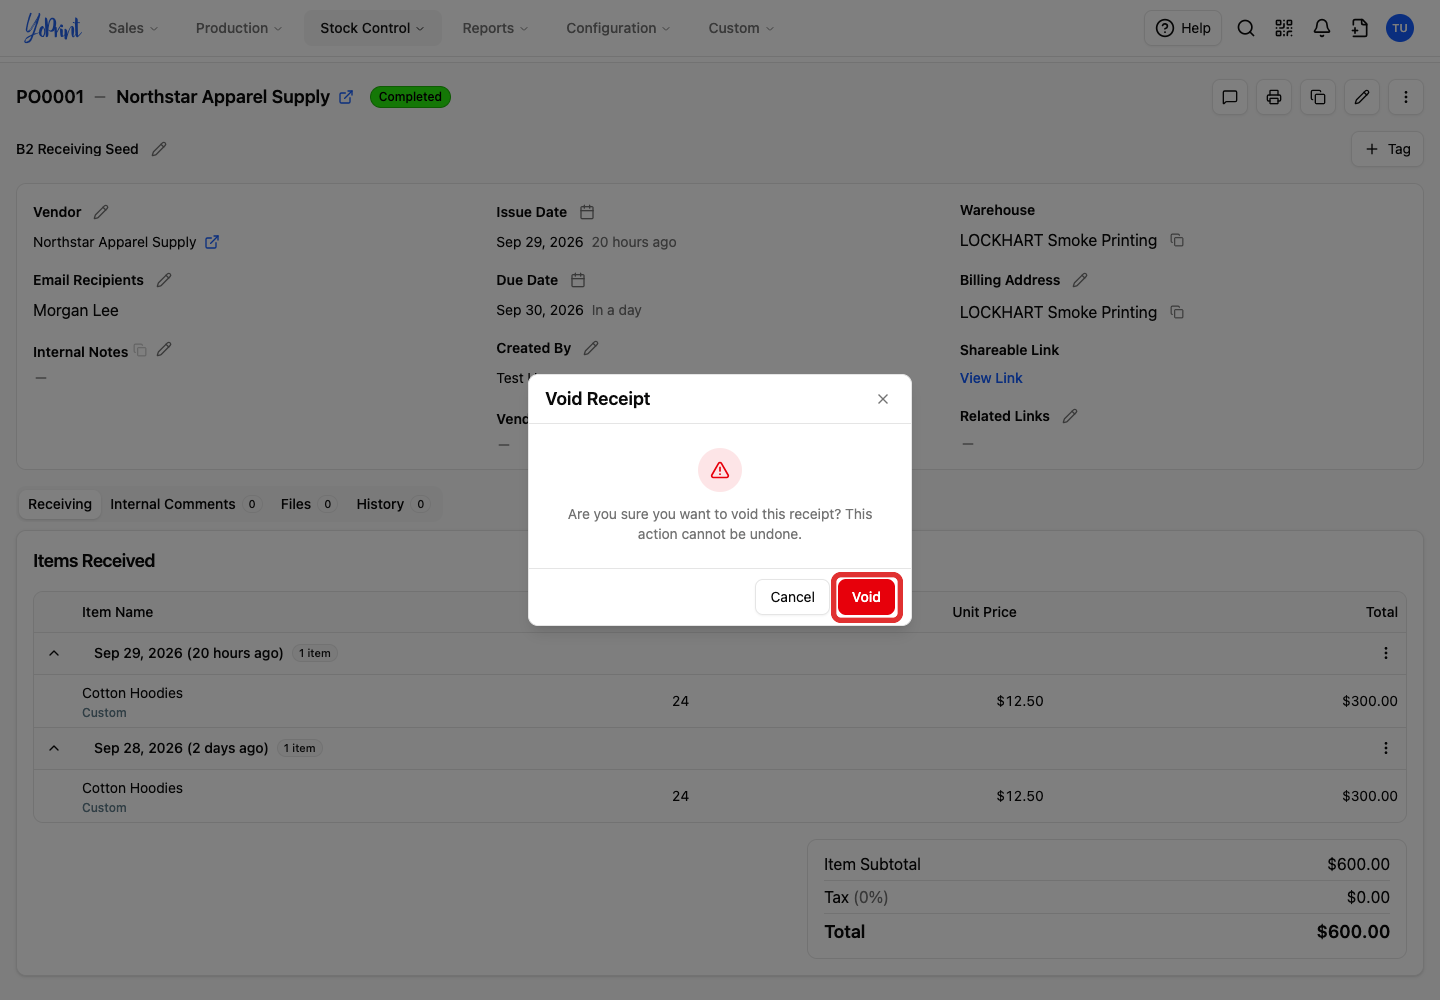
Voiding removes only the selected delivery receipt. It returns those items to Items Pending without affecting other receipts.
The receipt is removed and its quantities return to Items Pending. A completed purchase order returns to Pending when items are outstanding again.
If the delivery needs to be recorded with different quantities, follow Record a delivery with the corrected amounts.