Stock Transfer
In this article
This article will walk you through the process of Stock Transfer.
Create Stock Transfer
- Navigate to https://app.yoprint.com/stock-control/stock-management/stock-adjustment.
- Click on Stock Transfer at the sidebar and click on + Stock Transfer.

- Select the source warehouse and destination warehouse to transfer the items.

- Select the item to transfer, along with the color, size, and quantity. You can add more items to transfer by clicking on + Item. Be sure to select items from the same vendor. YoPrint doesn't automatically recognize the same items from different vendors due to each vendor using their own unique SKU. Once you're done, click Create to start the stock transfer process. This will now check the goods out of the source warehouse.

- Optionally, you can put down any notes here if you want before you click Create.

Voiding and Editing a Stock Transfer
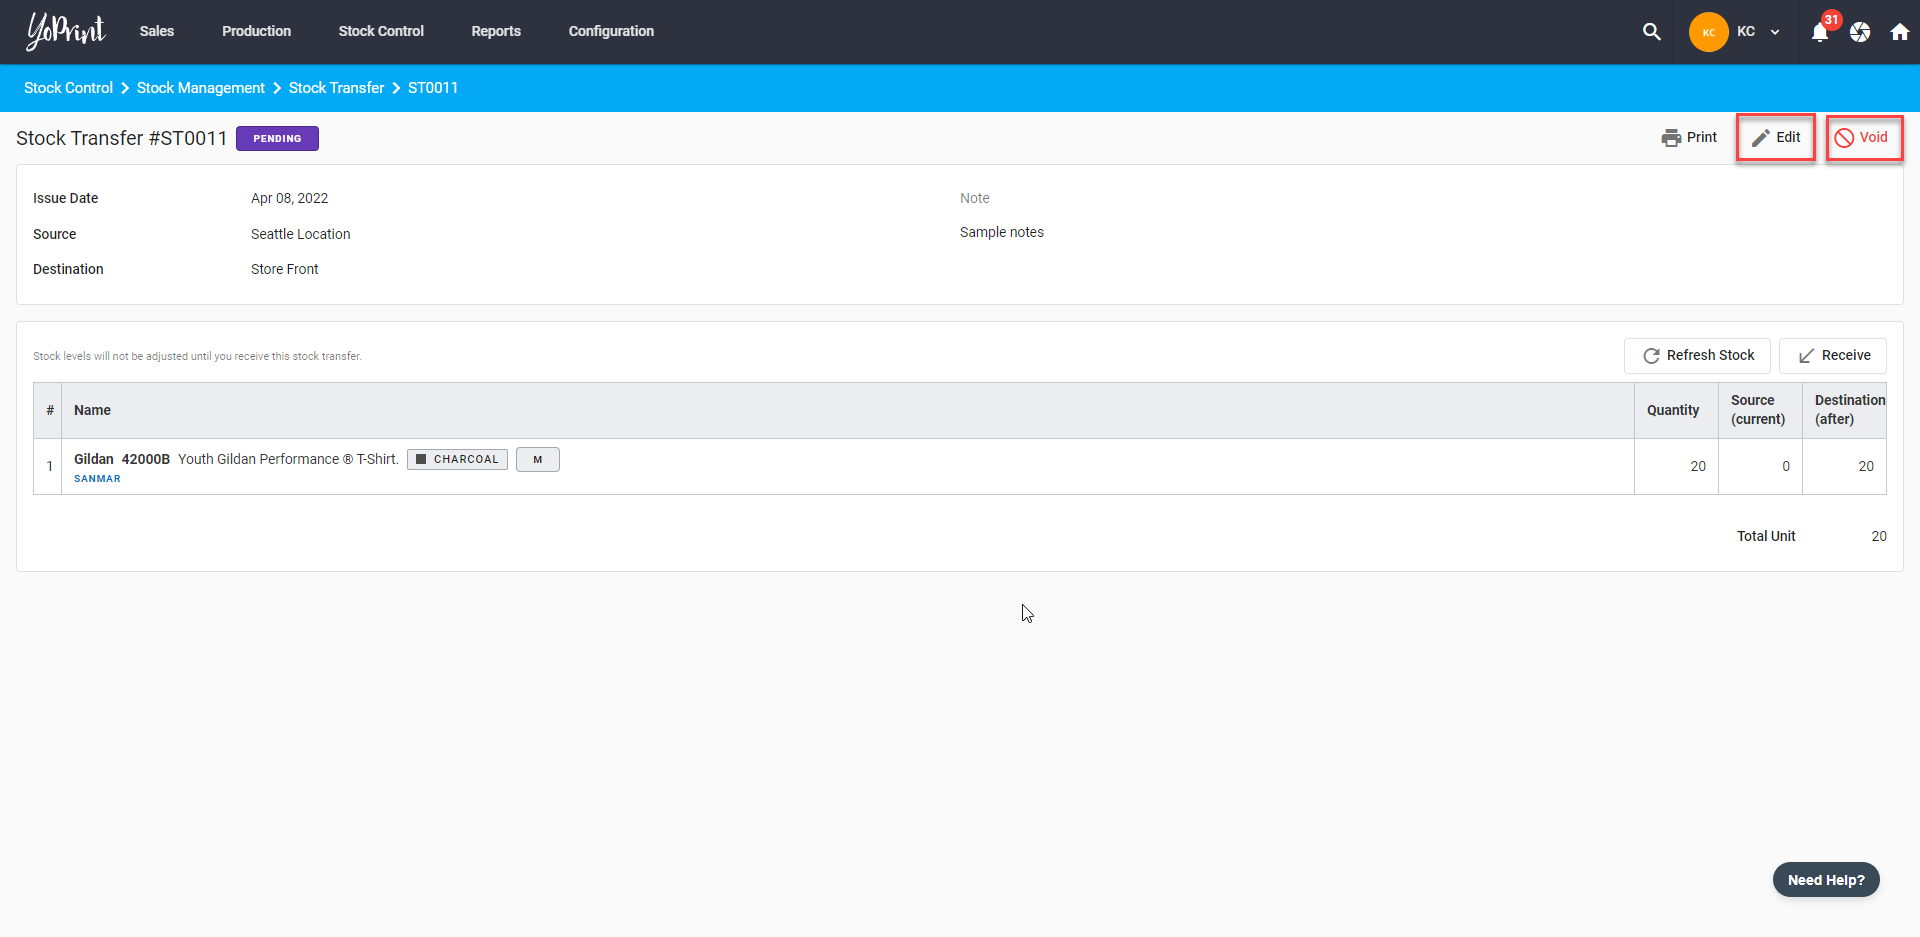
- After you've created a stock transfer, you can Edit or Void it if it's not completed or received. Be careful, voiding a stock transfer is permanent and cannot be undone.

Receiving Stock Transfer
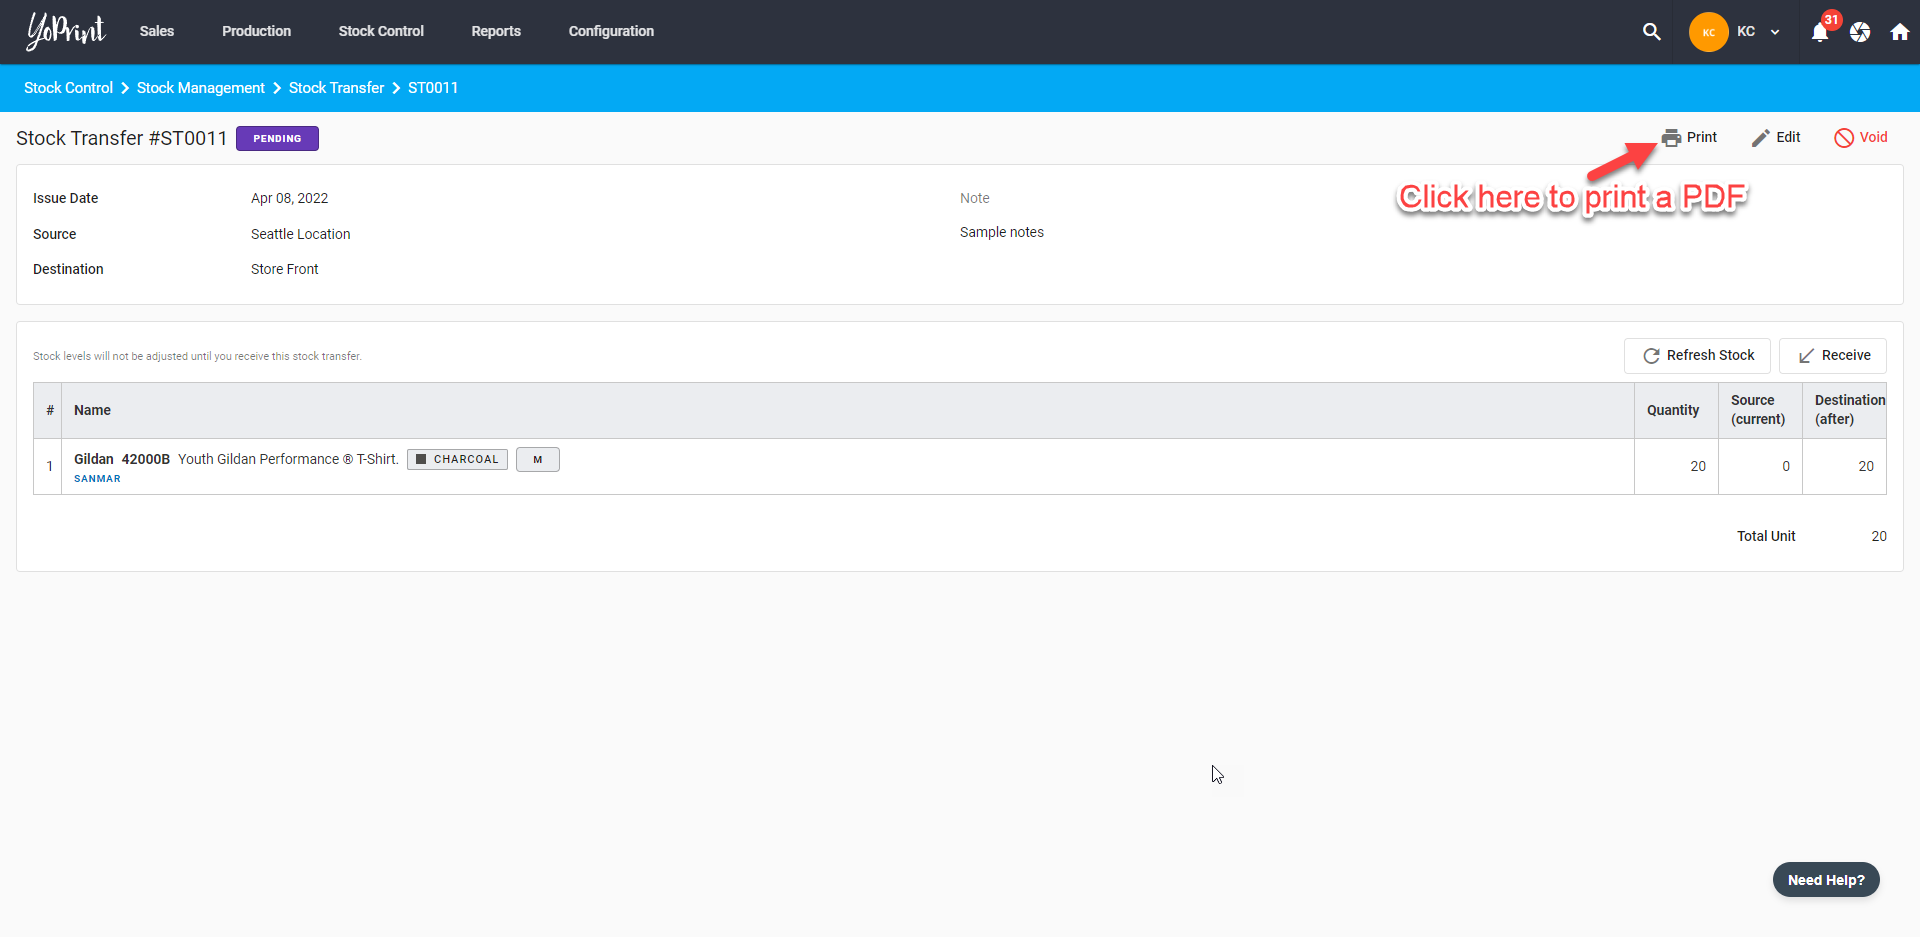
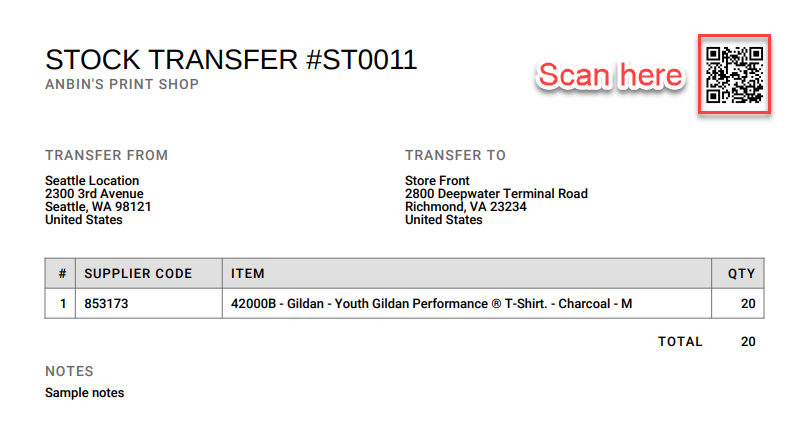
- You can print a PDF of the stock transfer and ship it together to your destination.

- The destination warehouse can scan the QR code on the PDF to pull up a stock transfer.

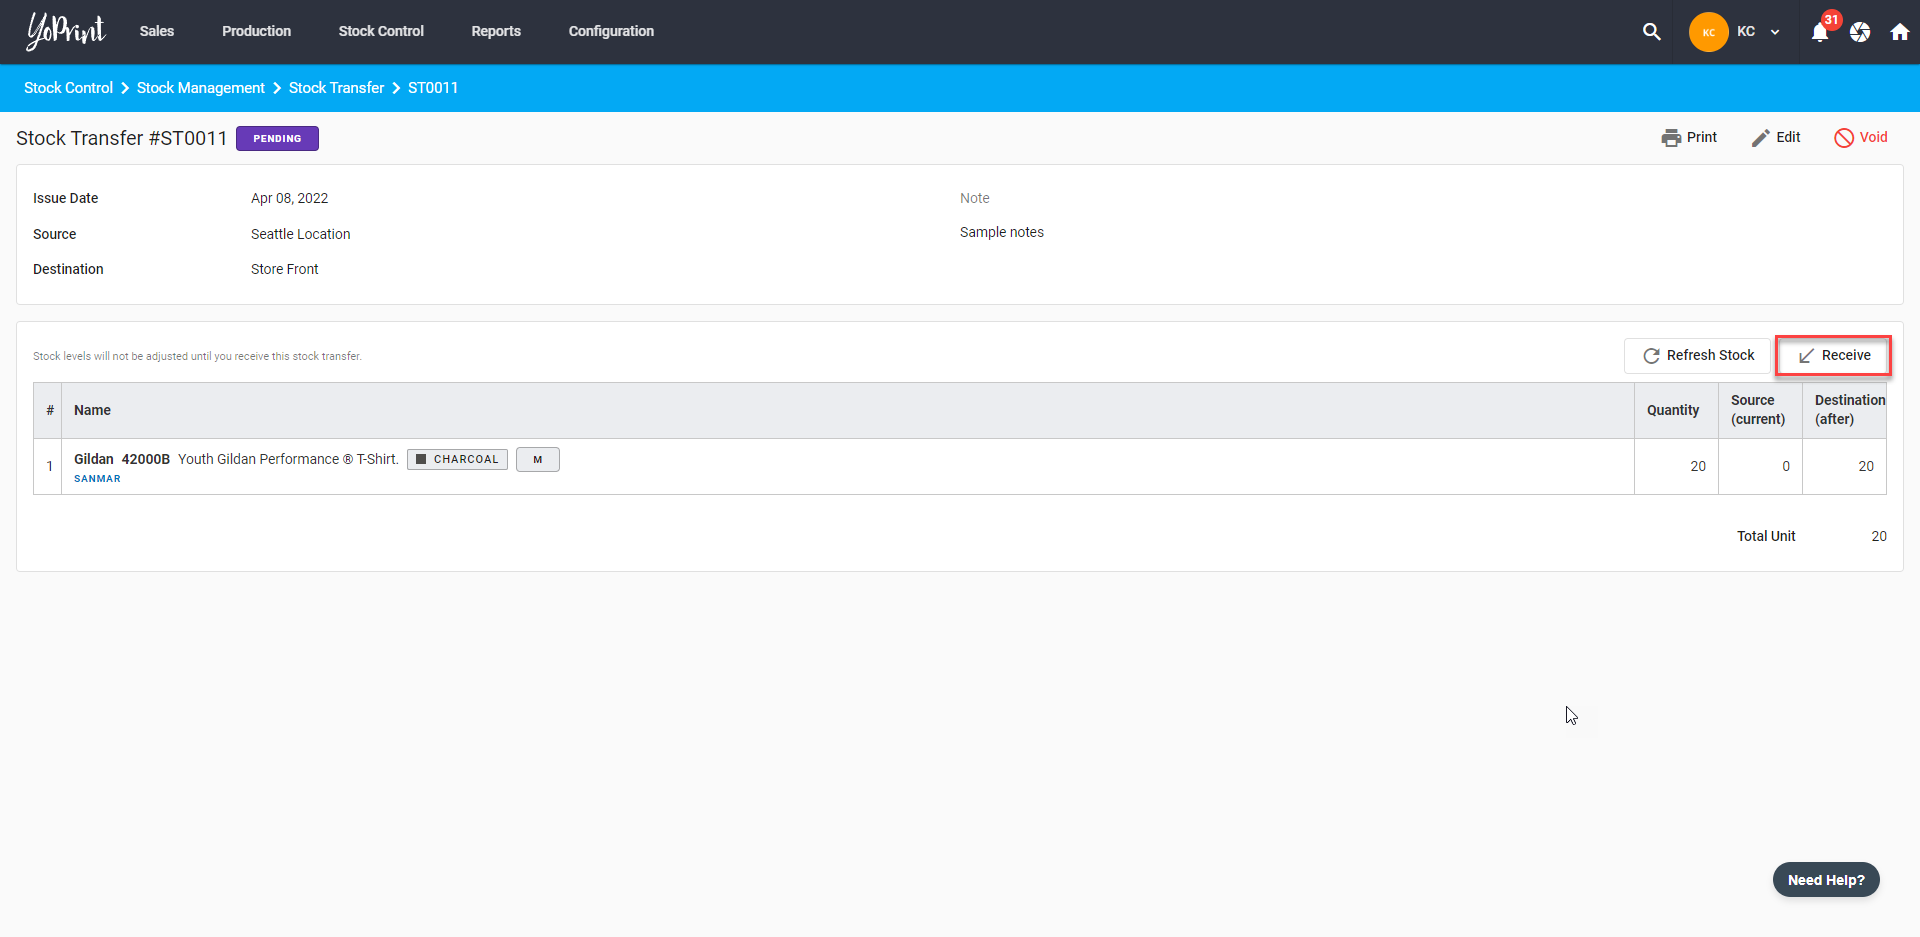
- Once the destination mark it as received, we'll make the transfer complete. At this point, the transfer is no longer editable.
