Customize Email Sending Domain
In this article
Use your own domain for emails sent from YoPrint. For example, you can use email.yourshop.com while keeping your everyday business email on yourshop.com .
Paid plans include custom email sending domains; check your subscription in Configuration > Billing. You'll need access to your domain's DNS settings. DNS records tell email services which systems can send and receive mail for that domain. If someone else manages your website or email, ask them to help with the DNS records.
Add your sending domain
Use a dedicated subdomain, such as email.yourshop.com or message.yourshop.com . Using a subdomain prevents YoPrint's records from interfering with your everyday email service, like Google Workspace.
-
Open Configuration.
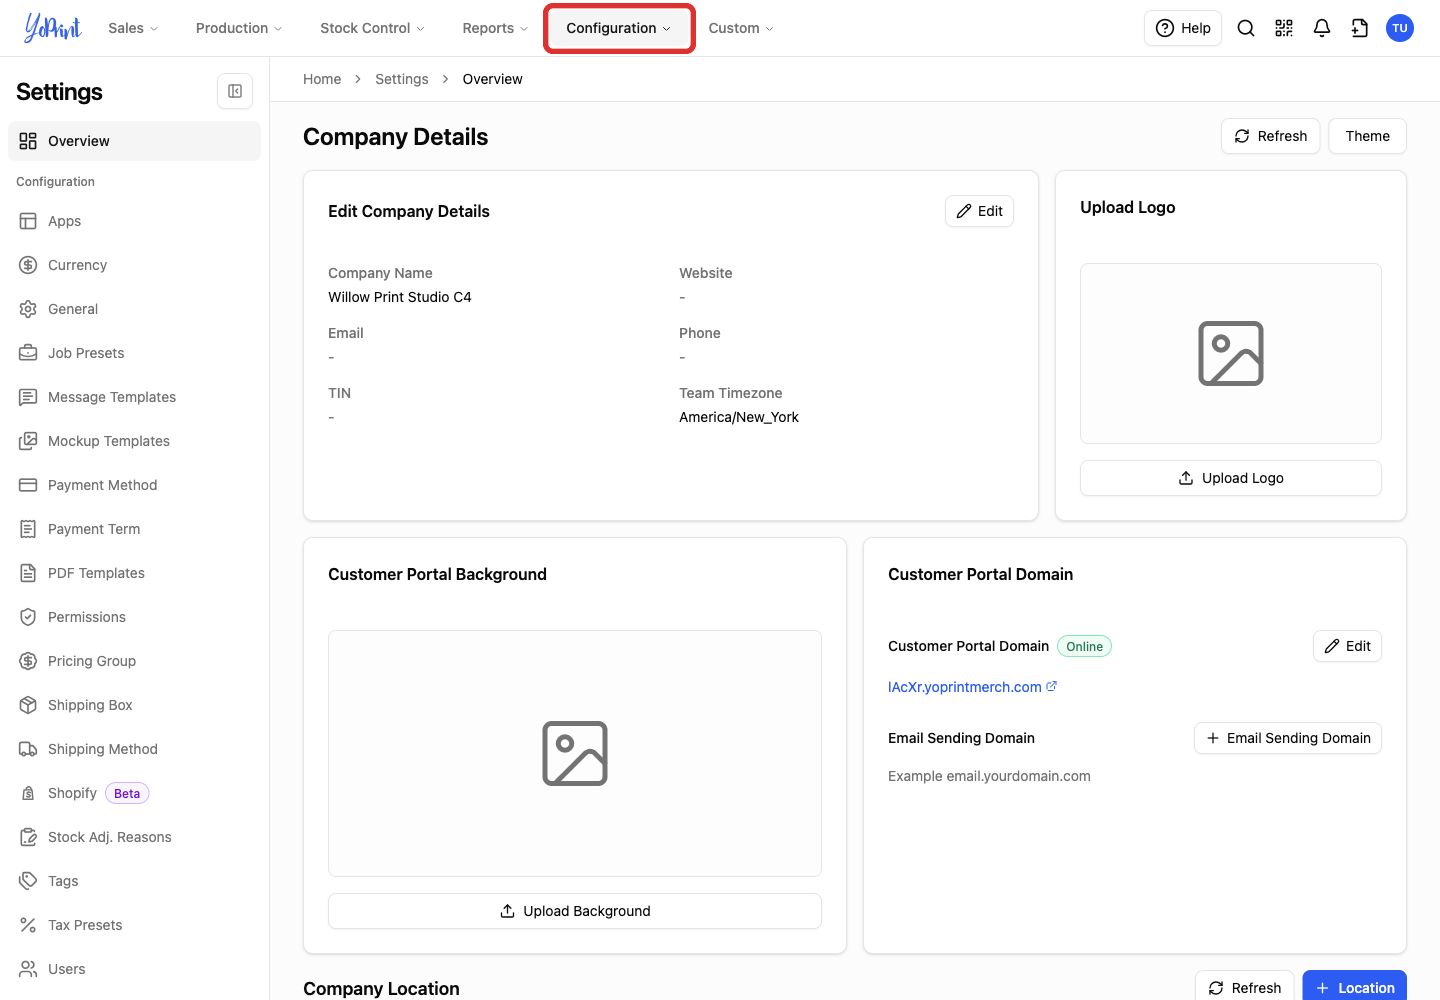
-
Choose Settings. YoPrint opens Settings > Overview.
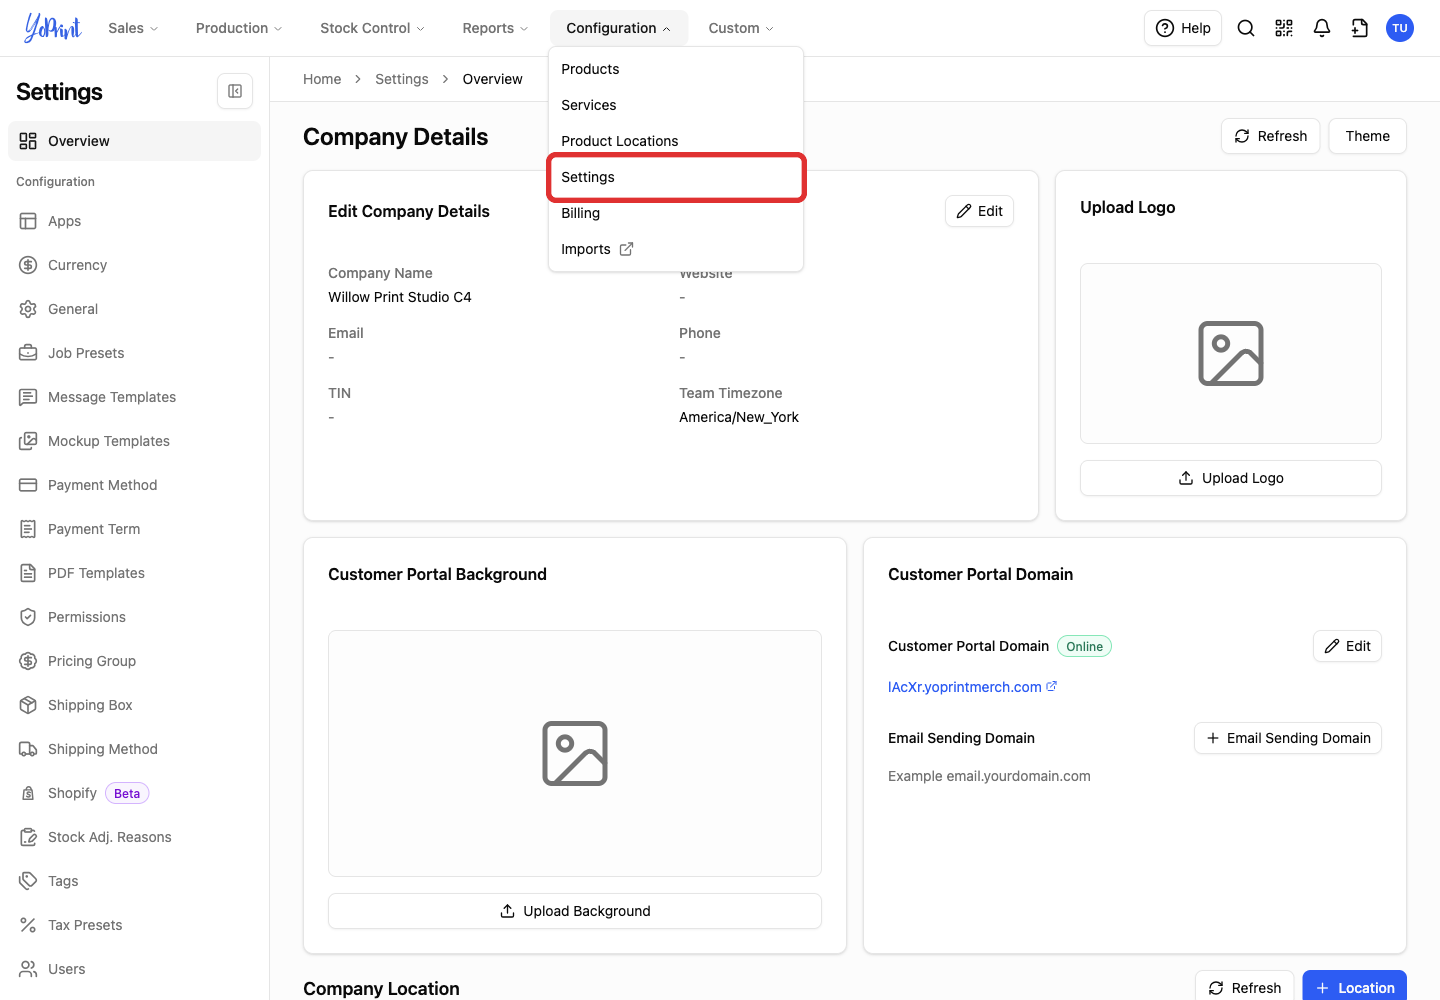
-
Select Overview in the sidebar if you are on another settings page.
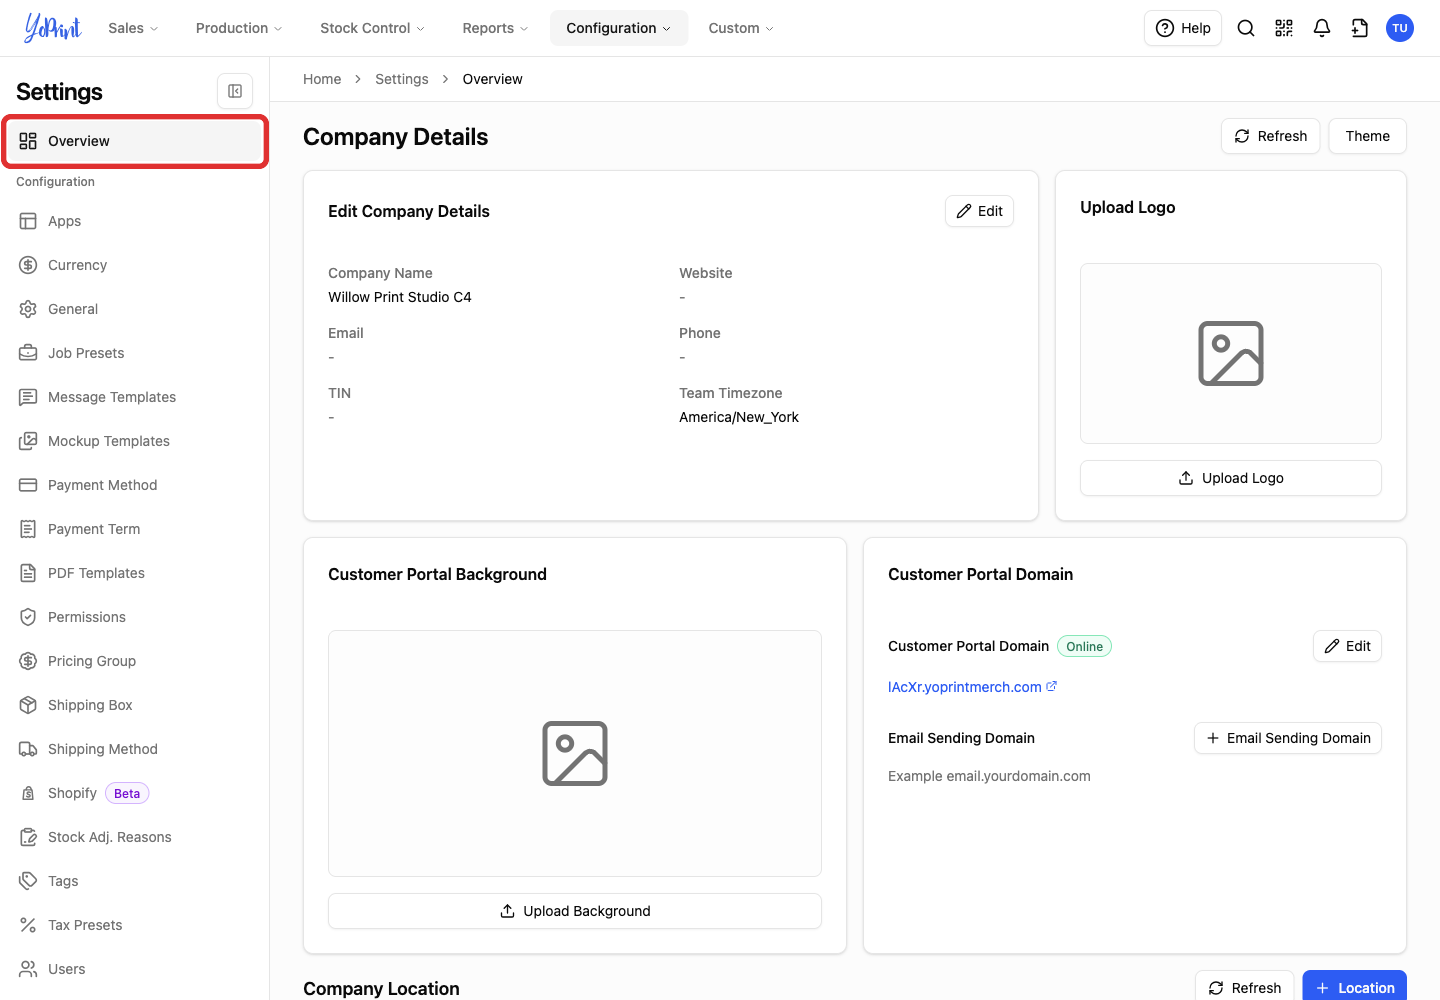
-
Click Email Sending Domain (+ Email Sending Domain) under Company Details.
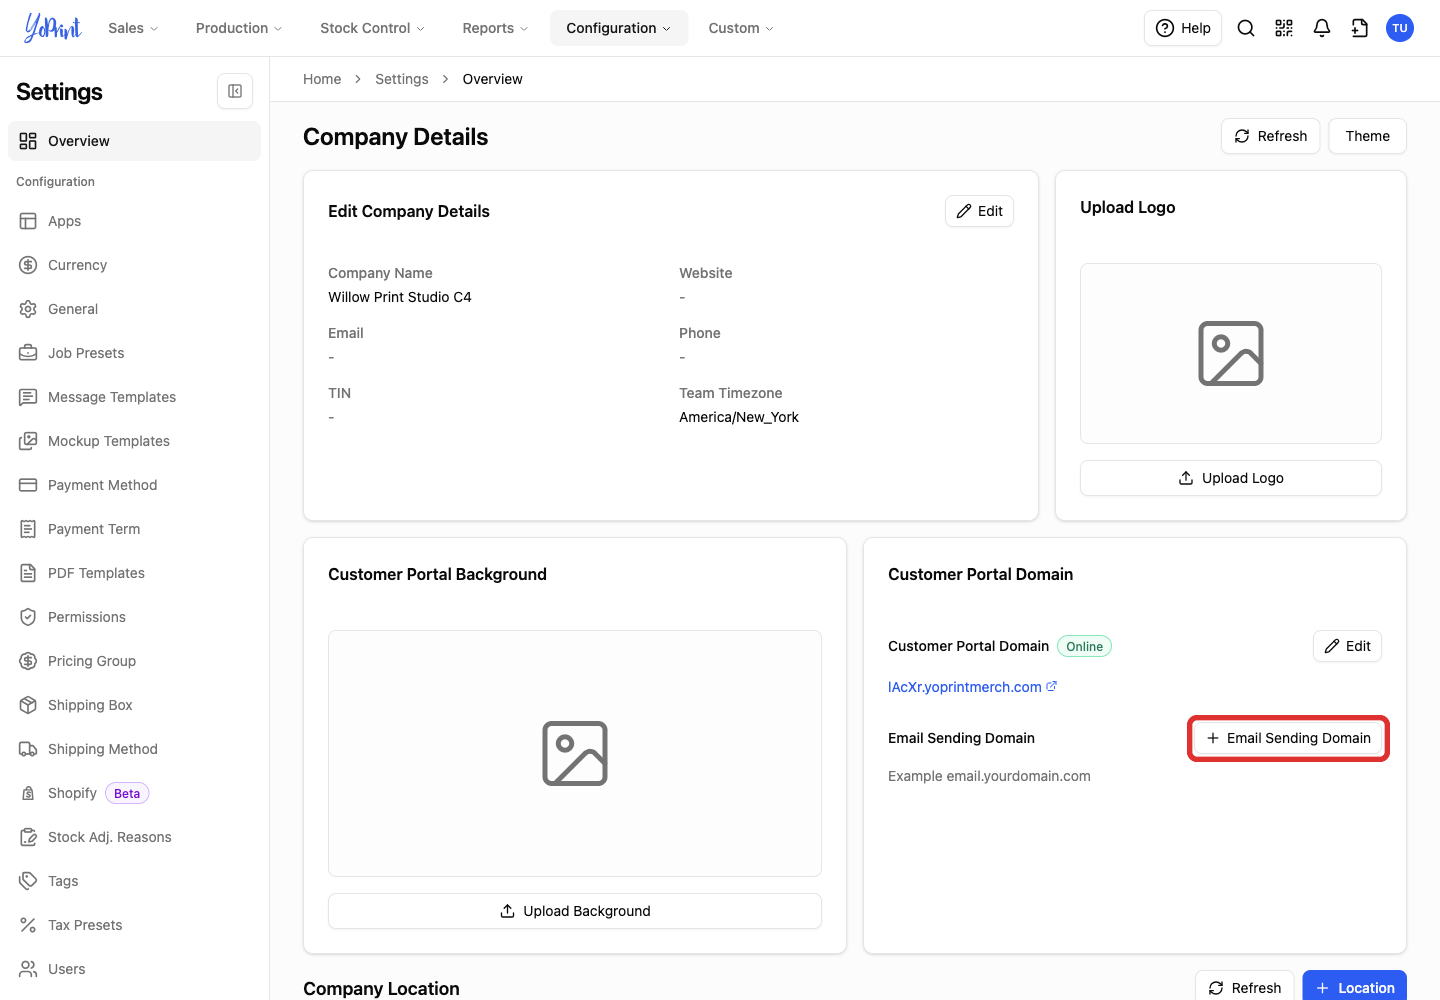
-
In Email Sending Domain Config, enter your subdomain in Domain Name. Enter only the domain, without
https://or an email address.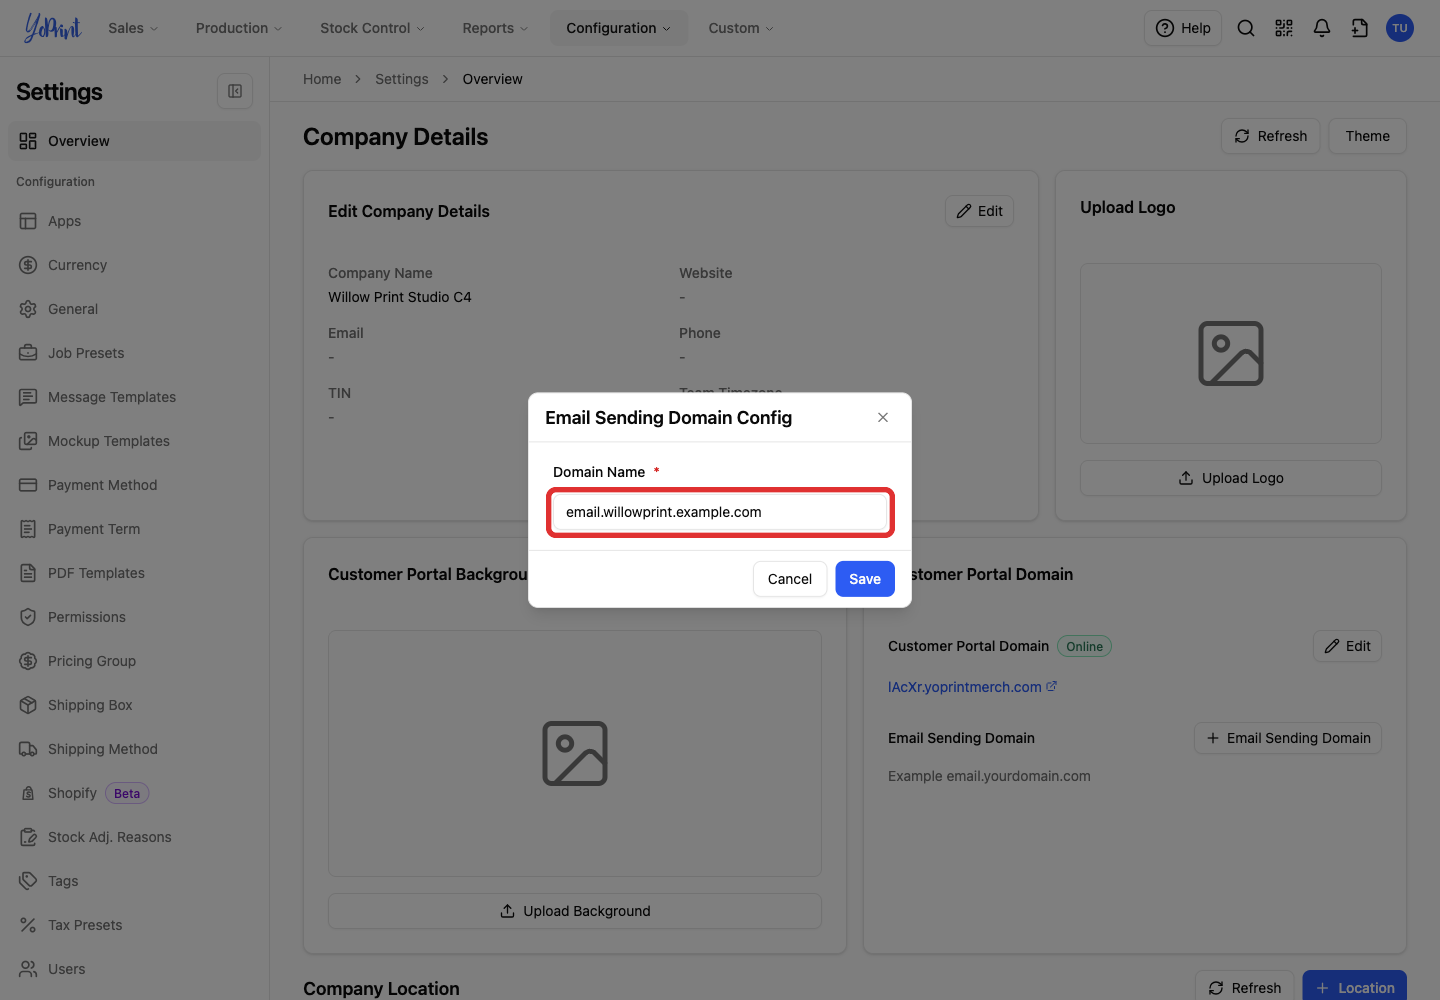
-
Click Save. YoPrint opens Domain Verification Instruction, with the DNS records needed for your domain.
Add the records at your DNS provider
Keep Domain Verification Instruction open while you add these four records at your DNS provider. Use the Hostname and Value shown for your domain, plus Priority for the MX record. YoPrint displays the exact priority number in the instructions. The copy buttons beside each value help avoid typing mistakes.
| YoPrint section | Record type |
|---|---|
| Ownership Verification | TXT |
| DKIM Verification | TXT |
| MX Verification | MX |
| Return Path Verification | CNAME |
At your DNS provider
These changes happen in the account that manages your domain's DNS. Common DNS providers include GoDaddy, Cloudflare, and Namecheap. If you use GoDaddy, follow its guides to add a TXT record, add an MX record and add a CNAME record. Other providers have their own DNS instructions. After saving all four records, return to YoPrint.
Some providers ask for a host name without the domain suffix (for example, entering email instead of email.yourshop.com ). Follow your provider's format so the domain name is not added twice.
Add the records in GoDaddy
In GoDaddy
These steps happen in GoDaddy. Its screens may have changed since these pictures were taken. Use its current guides for TXT, MX and CNAME records if the layout differs.
- Keep YoPrint's Domain Verification Instruction open in another tab.
- Use your own record values, not the example values in the pictures.
- Leave the TTL at GoDaddy's default unless your DNS administrator advises otherwise. It controls how quickly updates spread.
-
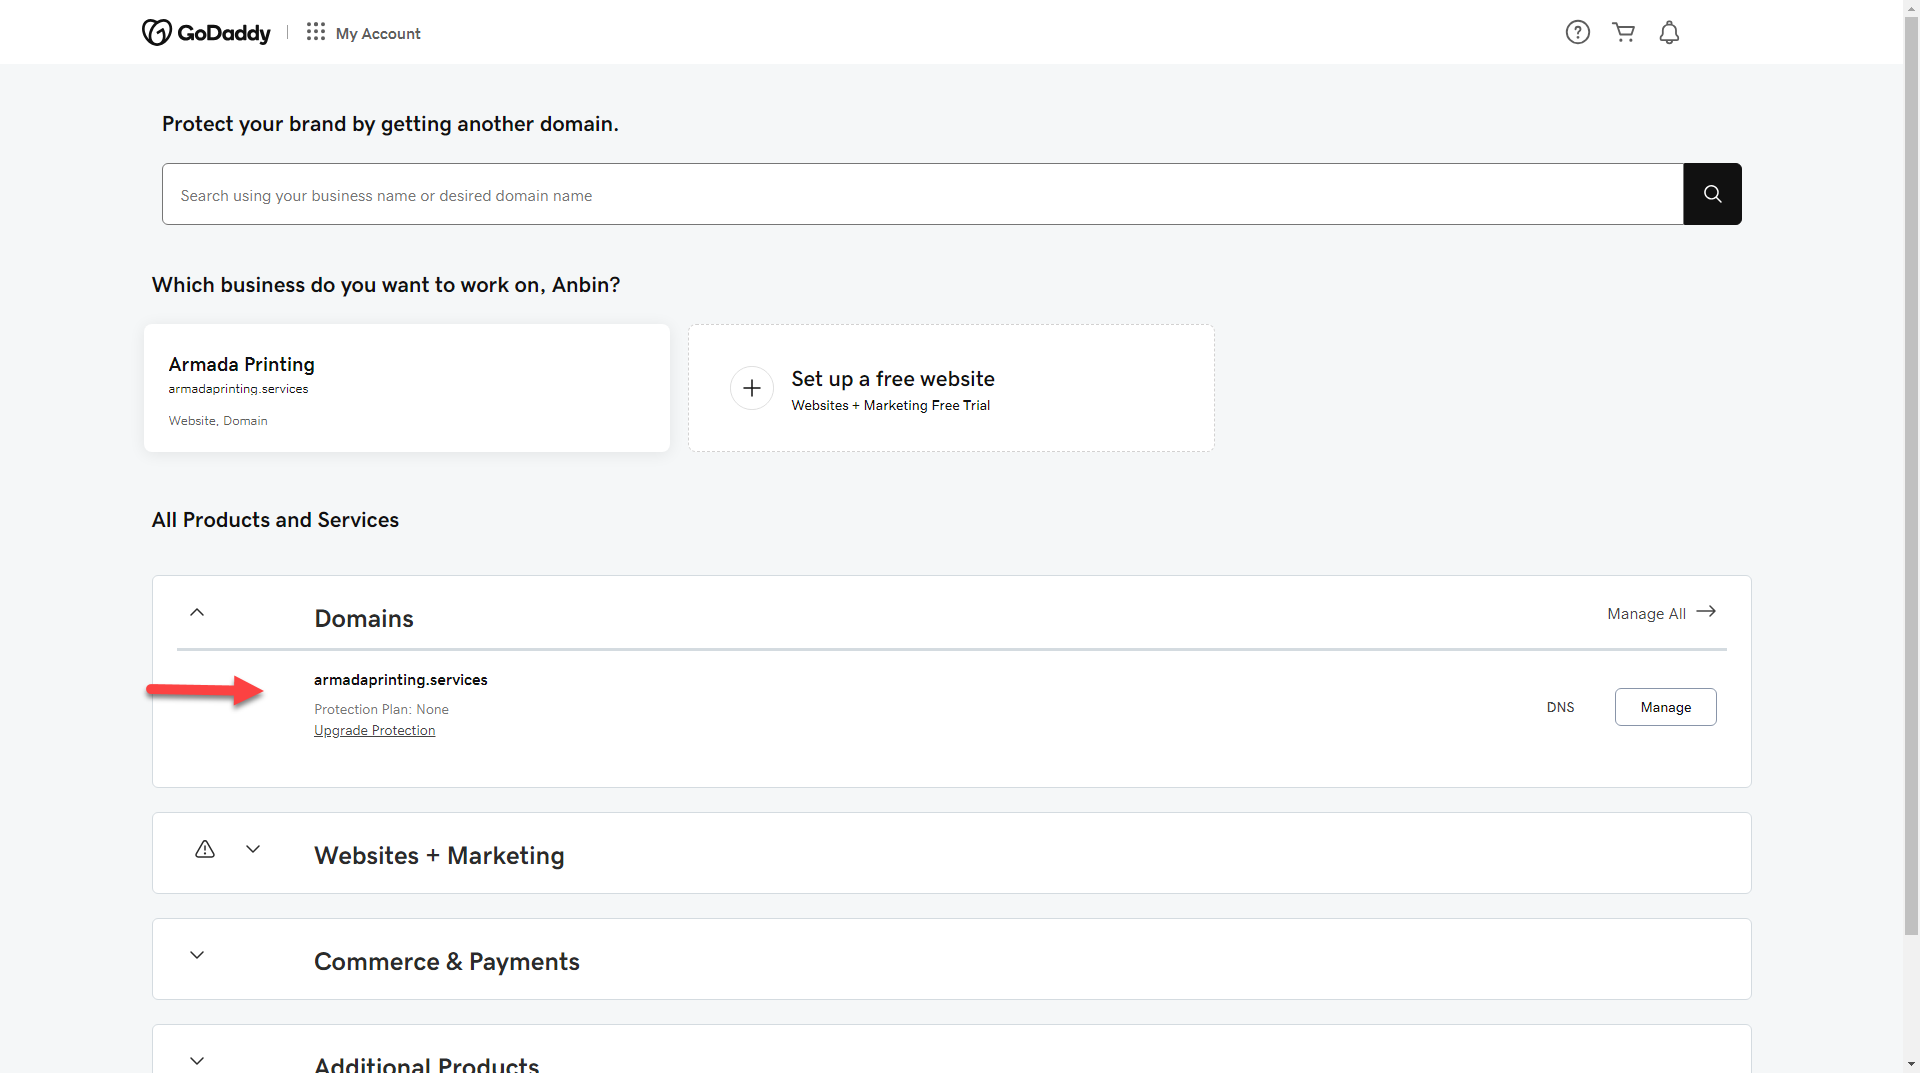
In your GoDaddy account, select the domain you want to use.
-
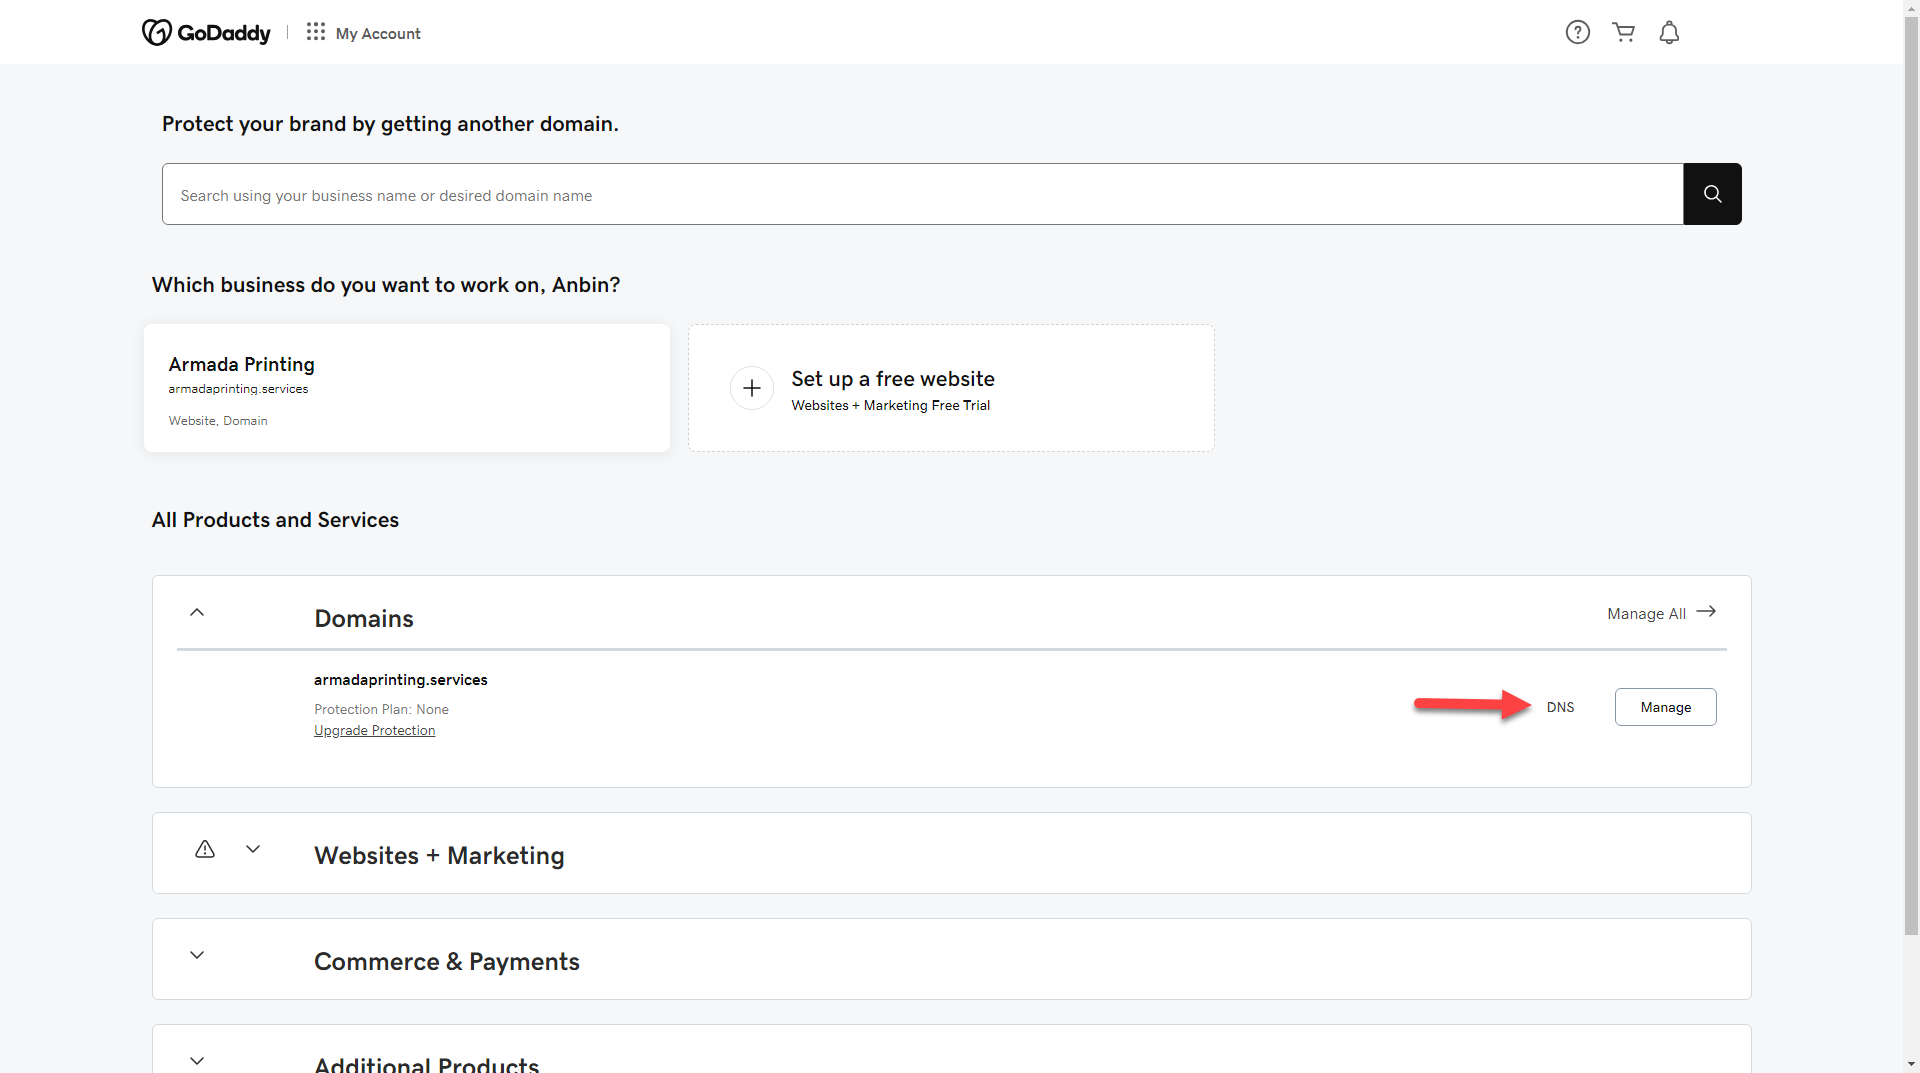
Open DNS for that domain.
-
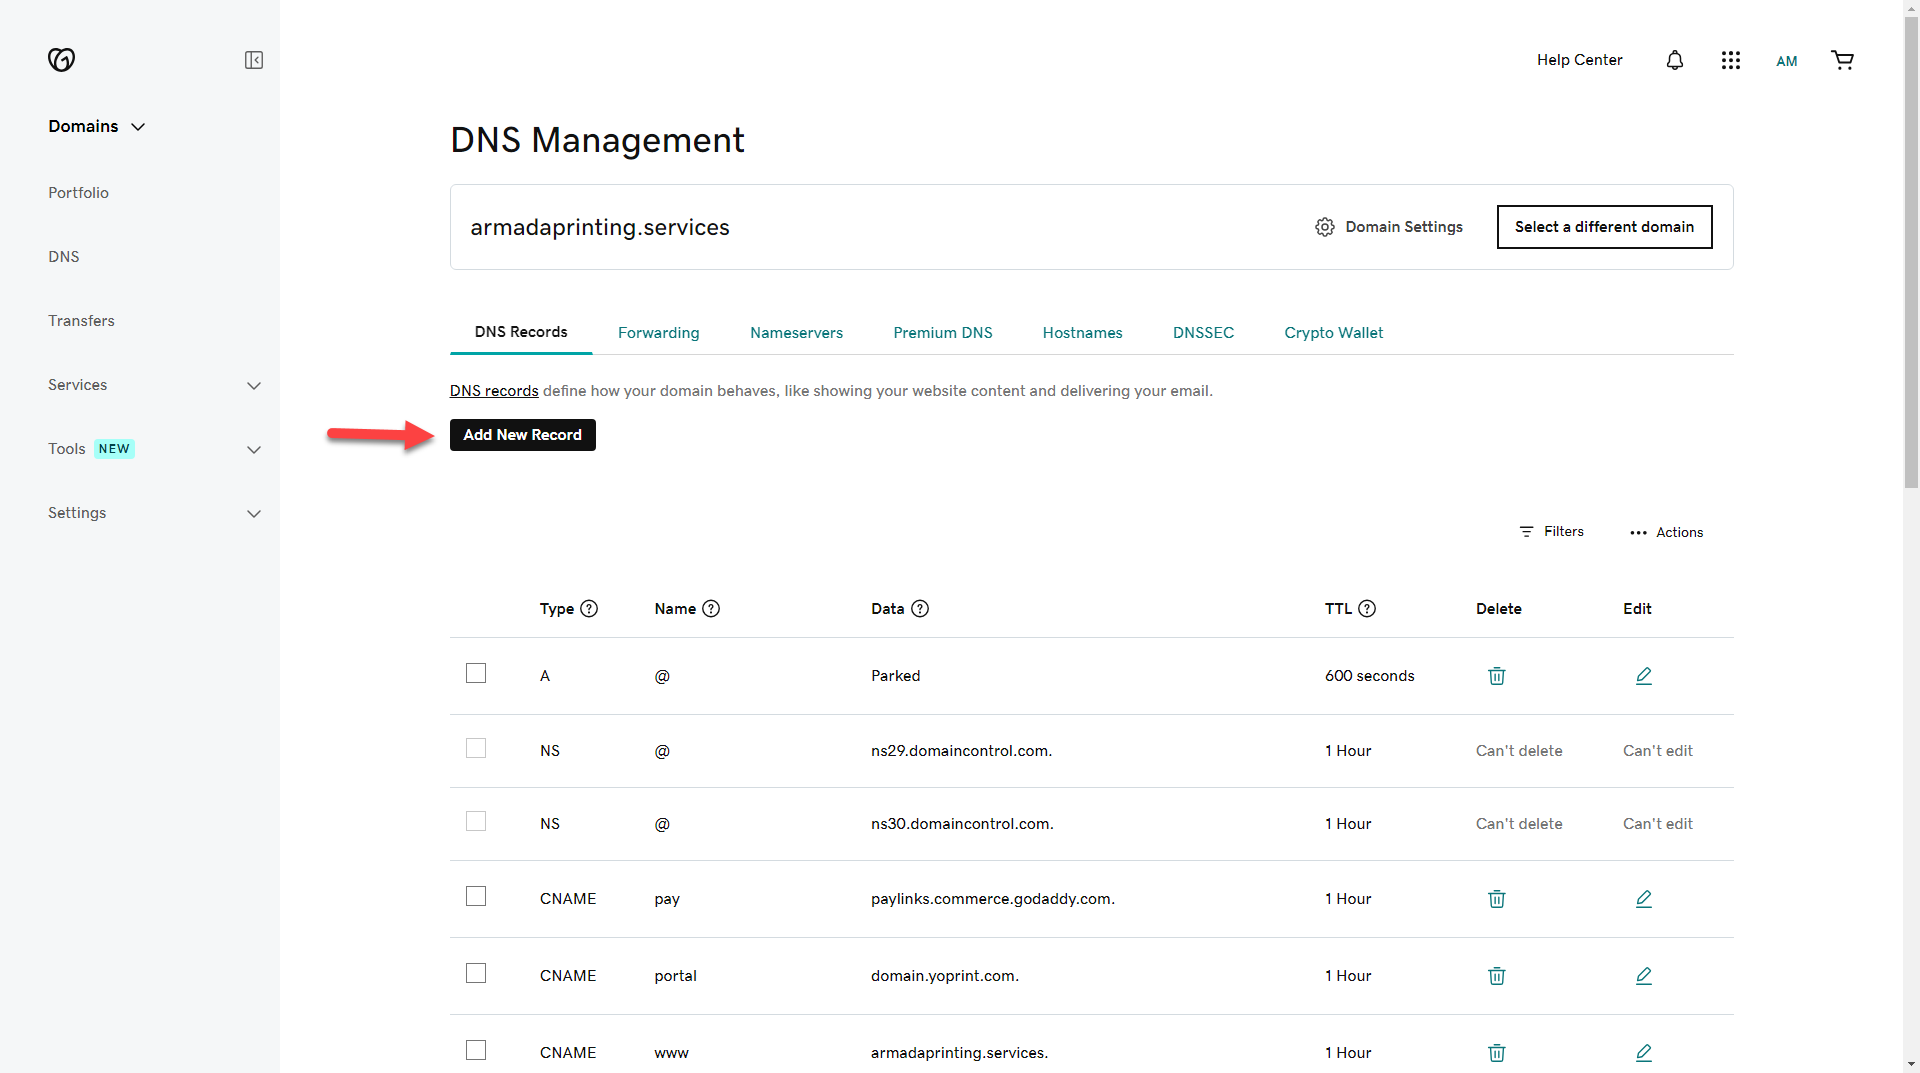
Click Add New Record. Repeat this for each of the four records below.
-
Add the Ownership Verification record:
- Set Type to TXT.
- In Name, paste the Hostname from YoPrint's Ownership Verification section, with your root domain (
.yourshop.com) trimmed off the end. Foremail.yourshop.com, enteremail. - In Value, paste the Value from Ownership Verification.
- Click Save.
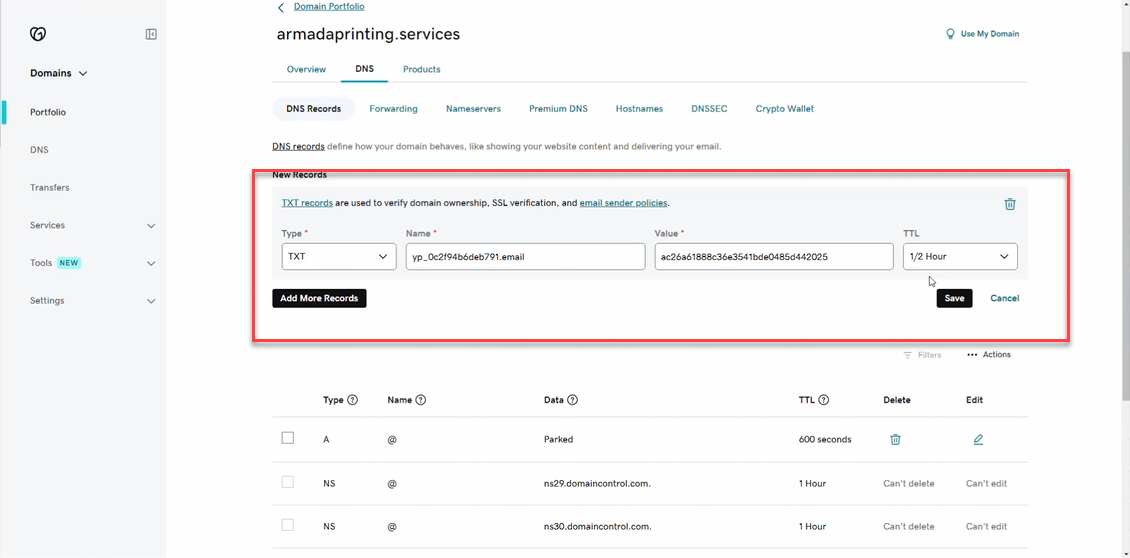
-
Add the DKIM Verification record:
- Set Type to TXT.
- In Name, paste the Hostname from YoPrint's DKIM Verification section, with your root domain (
.yourshop.com) trimmed off the end. Fork1._domainkey.email.yourshop.com, enterk1._domainkey.email. - In Value, paste the Value from DKIM Verification.
- Click Save.
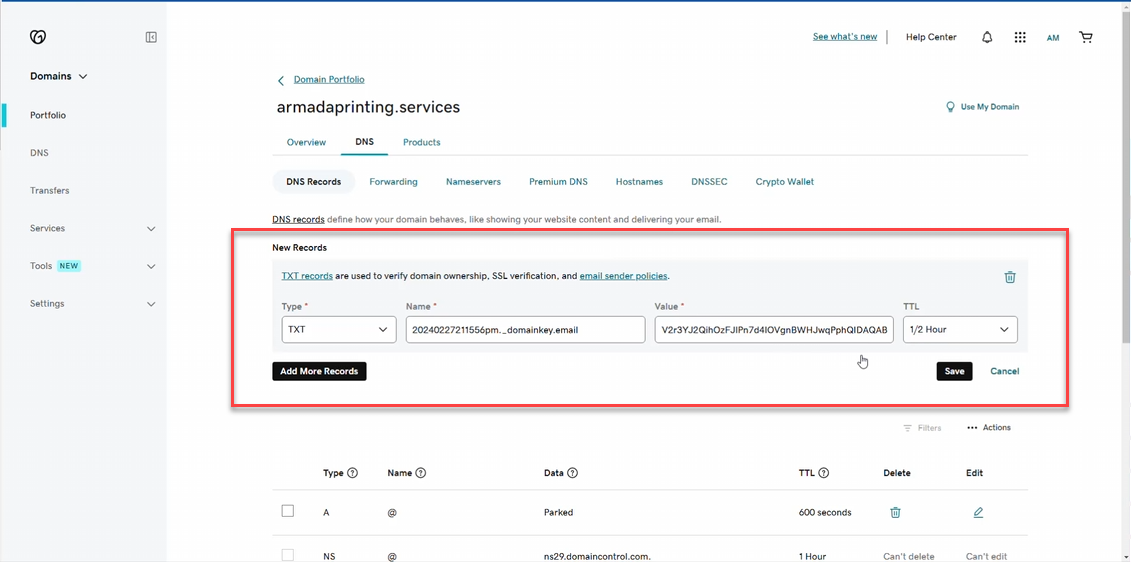
-
Add the MX Verification record:
- Set Type to MX.
- In Name, paste the Hostname from YoPrint's MX Verification section, with your root domain (
.yourshop.com) trimmed off the end. Foremail.yourshop.com, enteremail. - In Value, paste the Value from MX Verification.
- In Priority, enter the Priority from MX Verification.
- Click Save.
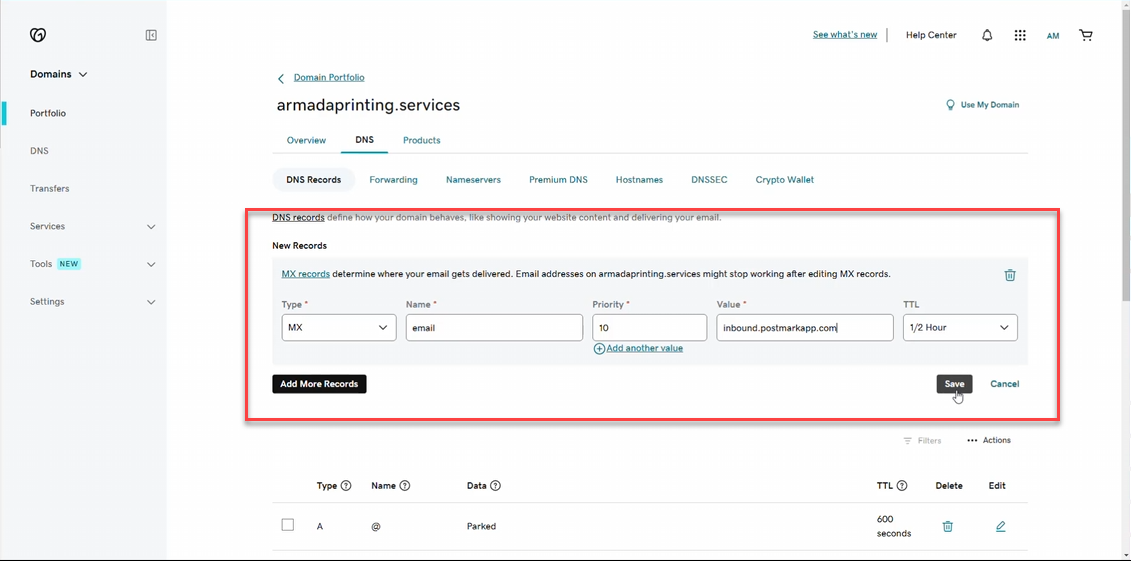
-
Add the Return Path Verification record:
- Set Type to CNAME.
- In Name, paste the Hostname from YoPrint's Return Path Verification section, with your root domain (
.yourshop.com) trimmed off the end. Forpm-bounces.email.yourshop.com, enterpm-bounces.email. - In Value, paste the Value from Return Path Verification.
- Click Save.
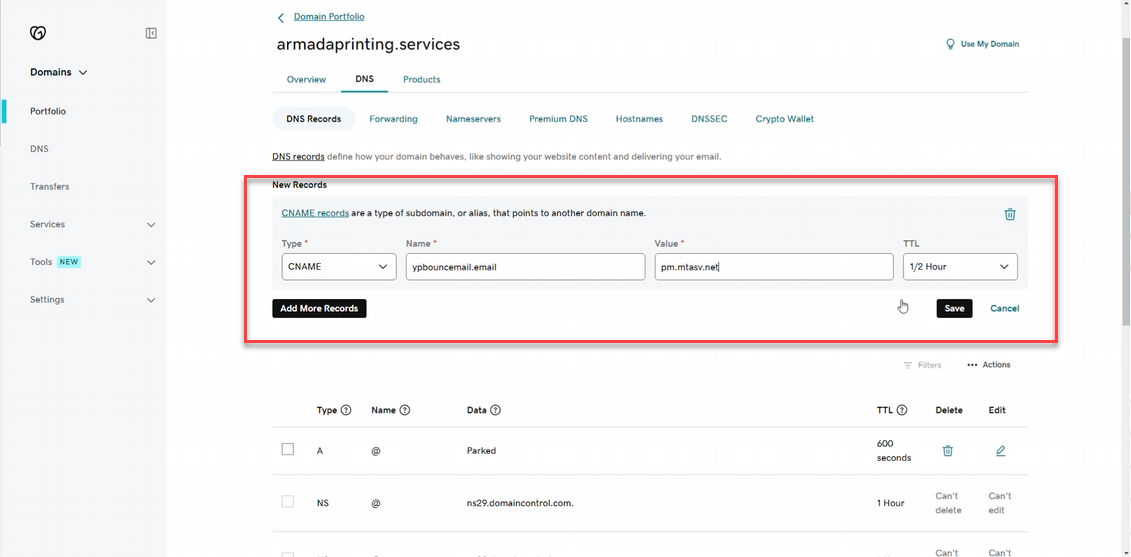
Return to YoPrint to verify all four records. GoDaddy says DNS changes can take up to 48 hours to update globally, but you can safely close YoPrint while waiting.
Verify the records and check activation
-
Back in Domain Verification Instruction, click Reverify after saving the DNS records.
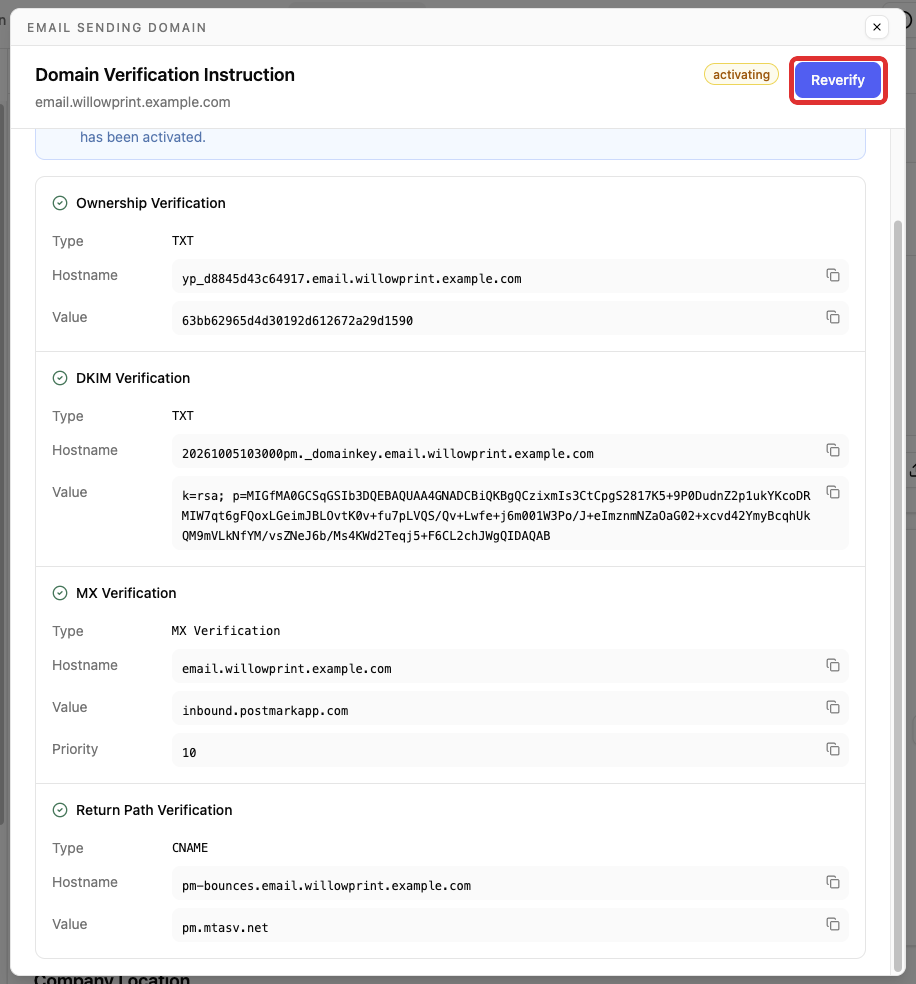
All four groups need a checkmark before activation can begin. If one is still unverified, compare its hostname and value with your DNS provider, allow time for the DNS change to take effect, then try Reverify again.
The badge beside Email Sending Domain shows the setup progress:
- Pending Validation: the DNS records still need to pass verification.
- activating: the records passed verification. YoPrint is preparing the domain for use.
- Online: the domain is ready to send email.
You'll receive an email when activation is complete. The subject line is Your domain <domain> is activated . It includes your domain name.

Online beside Email Sending Domain means the domain is ready. YoPrint now sends your customer and vendor emails from this domain instead of its default address.

To return to the instructions later, open Settings > Overview and click the domain name or Reverify beside Email Sending Domain.
Keep the sending domain working
After your domain is Online, YoPrint periodically checks its MX and DKIM records. The MX record routes replies. The DKIM record confirms that messages come from your domain. If either record fails the check, YoPrint disables the domain.
An Offline badge means the domain is disabled. Meanwhile, your emails go out from YoPrint's default address.

YoPrint also emails your shop owner with the subject <domain> blocked as sending domain . The subject includes the affected domain name.

To recover, correct the affected DNS record at your provider. Then repeat Verify the records and check activation. Use the hostname and value in Domain Verification Instruction. Allow time for the DNS change to take effect before trying Reverify again. When the records pass and the badge returns to Online, YoPrint uses your domain again.
Change or remove the sending domain
-
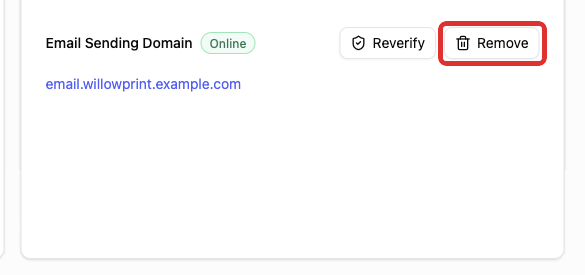
In Settings > Overview, click Remove beside Email Sending Domain.
-
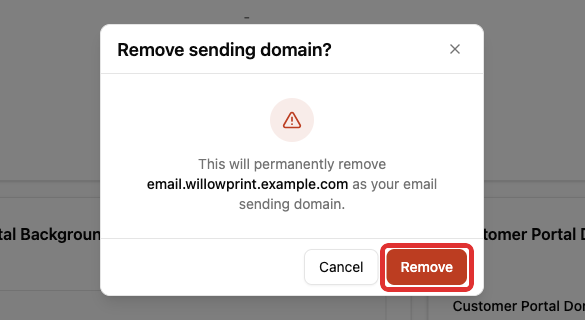
The Remove sending domain? dialog shows your domain name. Click Remove.
-
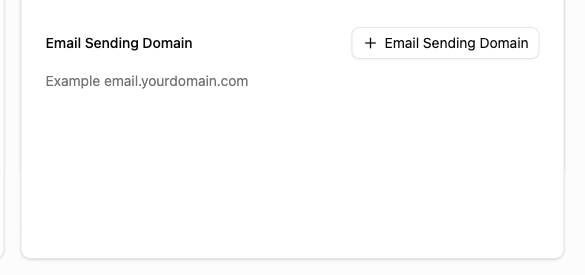
The card now shows + Email Sending Domain with no domain configured. Mail goes out from YoPrint's default address again.
To use a different domain, remove the current domain first, then add the new domain with the steps at the top of the page.