How to Edit Sales Orders
In this article
After you publish a sales order, update garment quantities and line items using Live Edit on the job card. In YoPrint, line items live on the job, while discounts, taxes, and billing amounts live on the invoice. To adjust billing amounts or apply discounts, edit the invoice. Inside the order, the Quick Actions menu lets you send, clone, or void the order, but it does not open the order for editing.

Open the sales order
-
On the Sales Orders page, double-click the order.
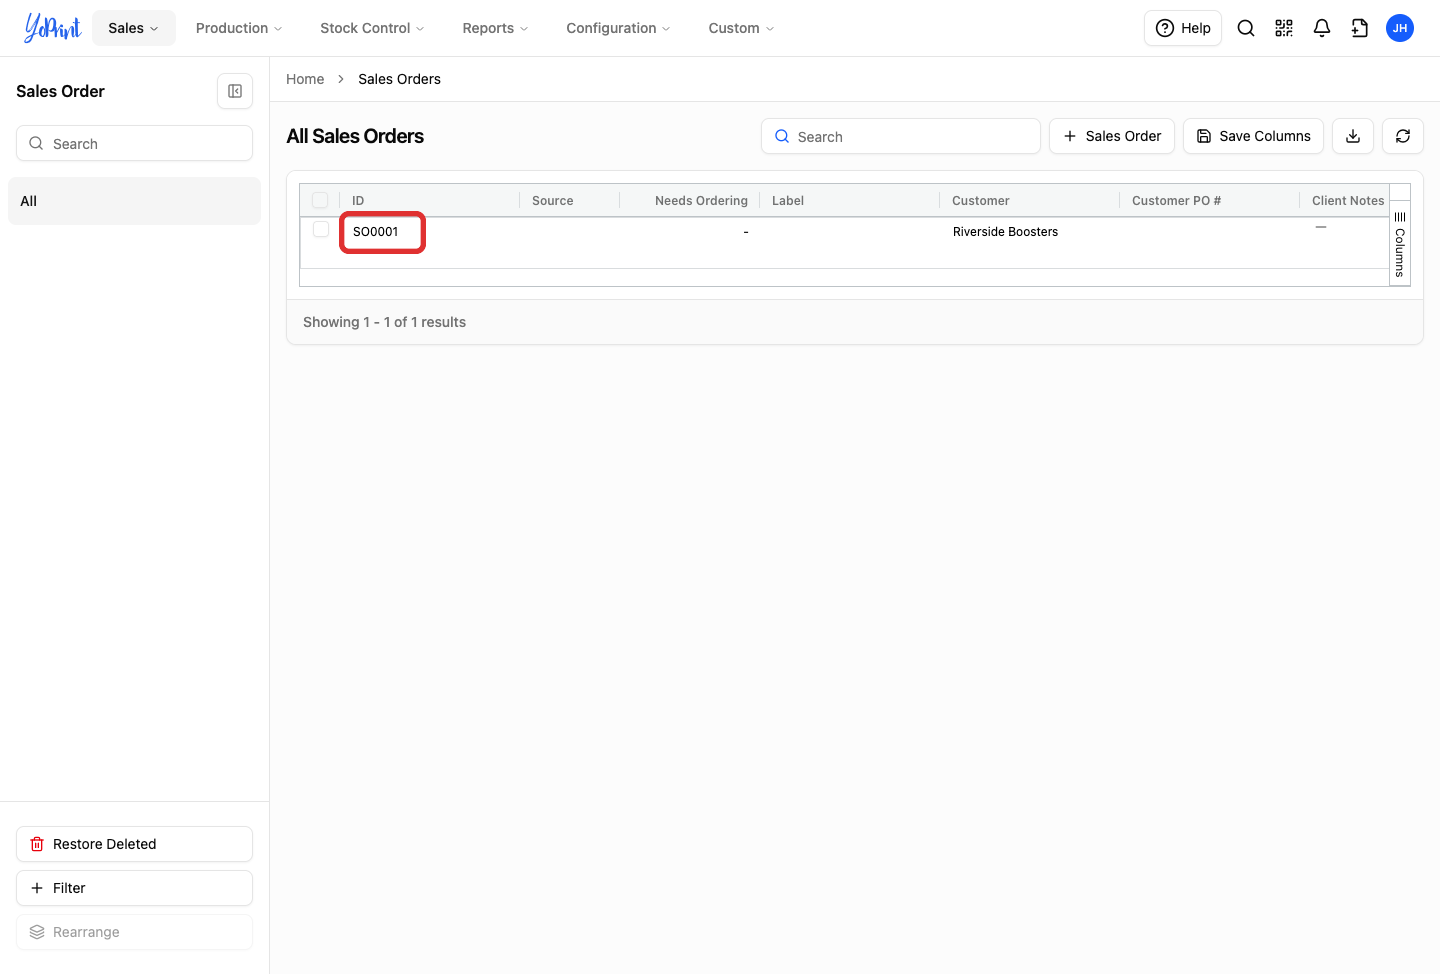
The order opens in a preview modal over the list. Inside the modal, you can click View Sales Order in the bottom-right corner to open the order as a full page. Both views provide the same editing controls.
Published orders do not need to be converted into drafts to make changes. You can update schedule dates, customer purchase order numbers, notes, and production tasks directly on the order page, change garments with Live Edit, and adjust totals on the invoice.
Published quotes use the same Live Edit and Invoice controls. To add or edit decoration services on a job, see Edit a Job After Creating a Quote or Sales Order. If your order has not been published yet, see YoPrint's Draft System Explained.
Change the quantity on the job
-
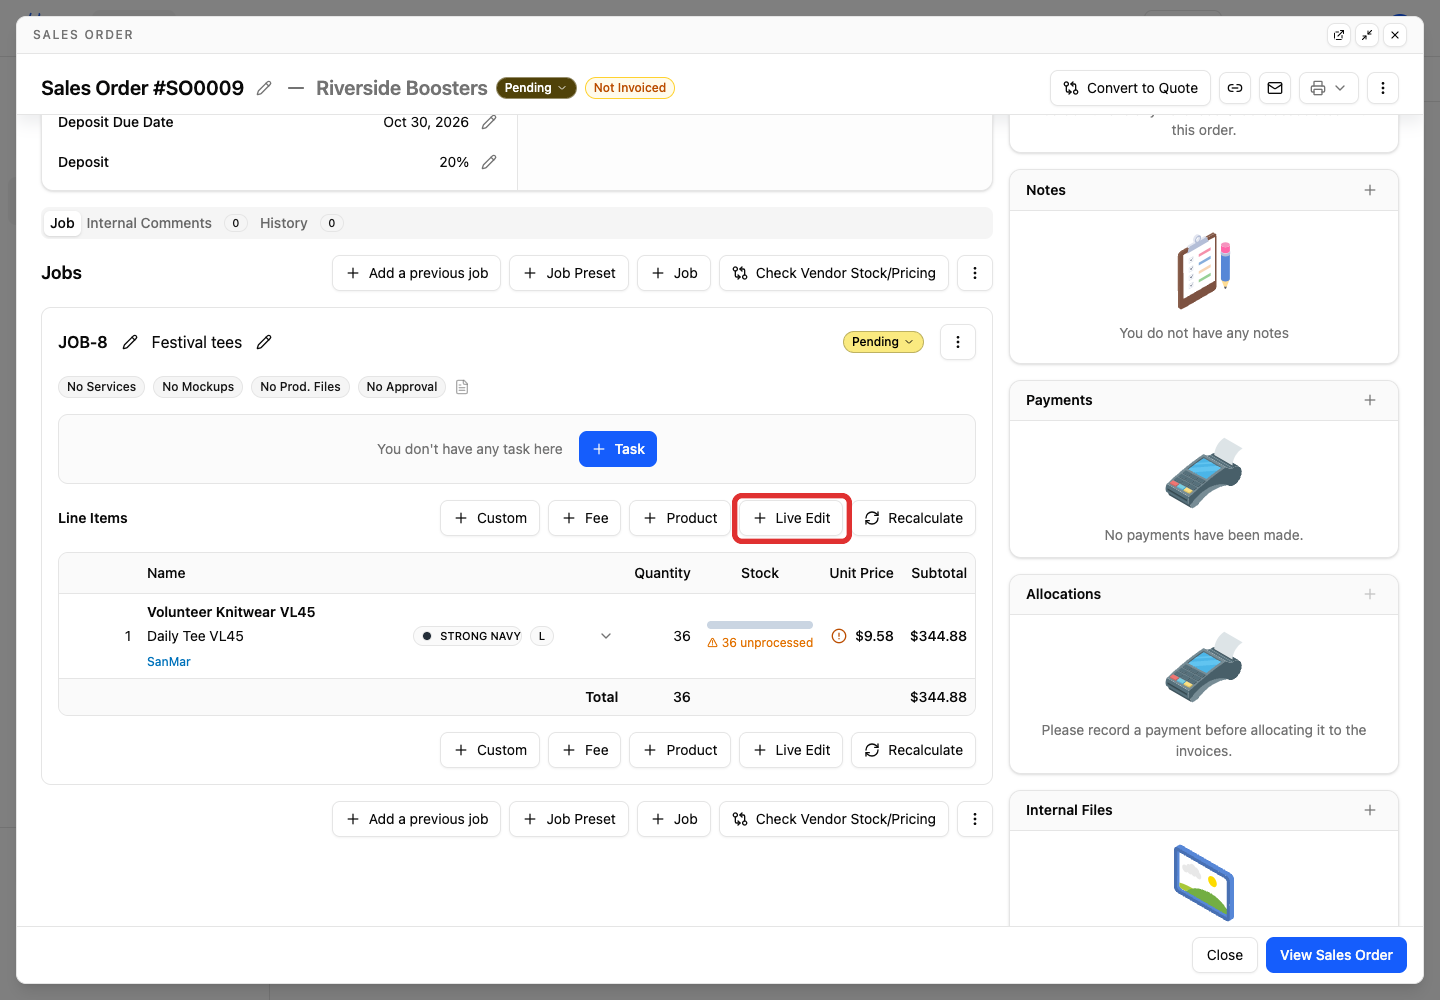
On the job card, click Live Edit.
-
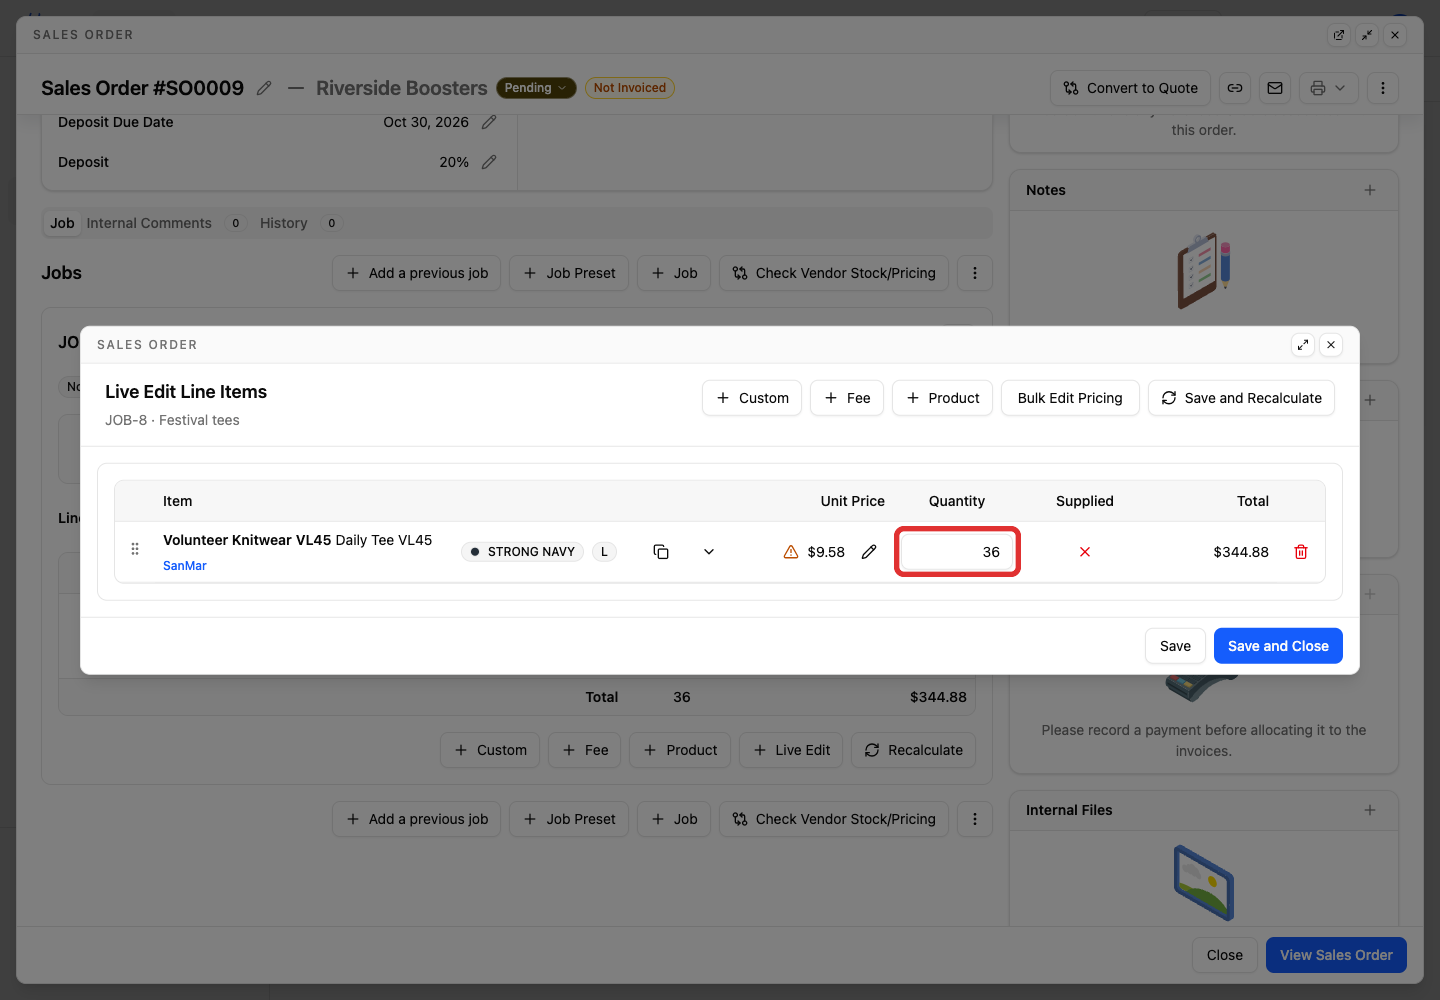
In the Quantity field, enter the updated number of pieces (such as 36 in this example).
-
Click Save and Close.
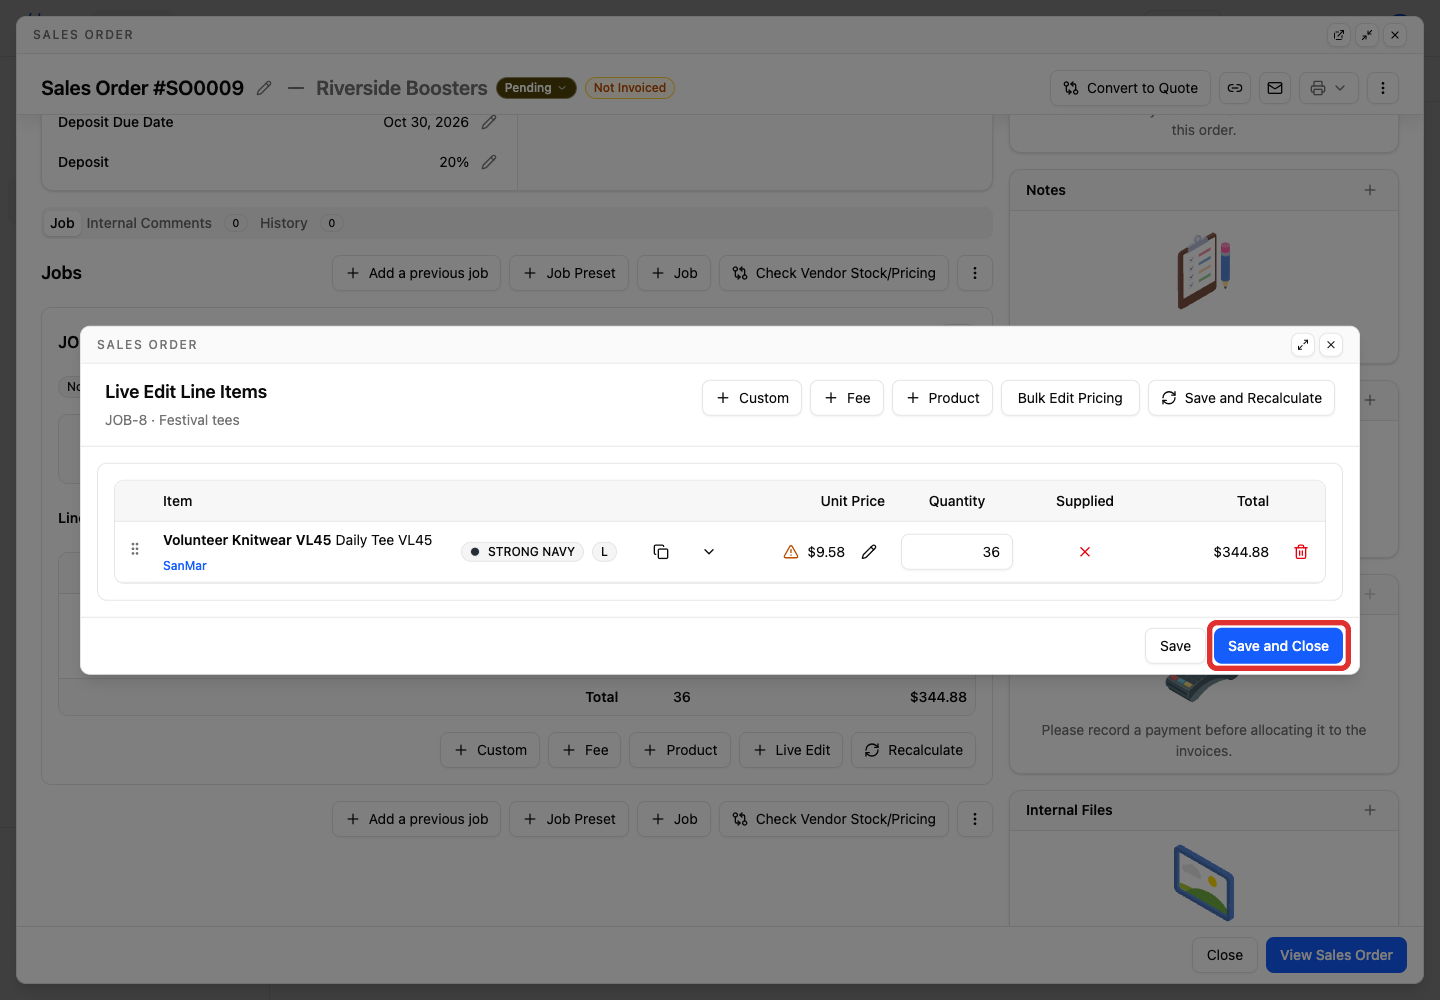
The order subtotal updates automatically. If you have not created an invoice yet, continue with Create the invoice to create one. If you already created an invoice for this order, the invoice retains its original quantities until you update it manually; follow Change an invoice you already saved.
The unprocessed label on the line indicates stock that has not yet been allocated from inventory or ordered on a purchase order. It does not block editing or saving the order; you can order required stock later through Stock Control.
To adjust pricing rules or tiers on the order, see Switch Pricing Groups in Quotes or Sales Orders.
Create the invoice
-
Click Invoice.
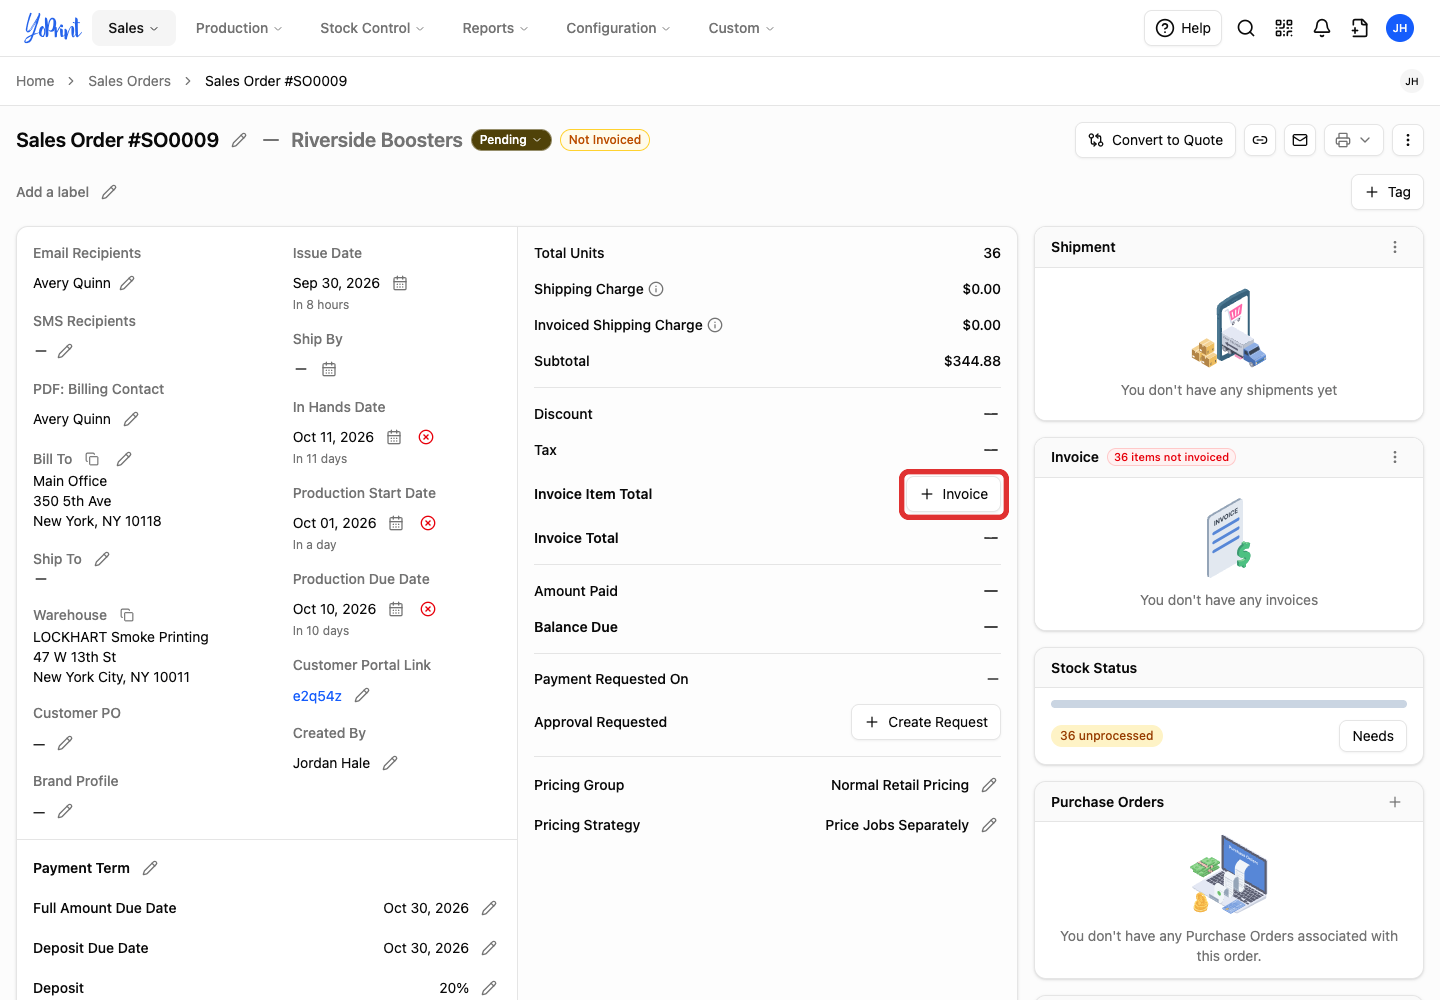
-
Click Auto Pack.
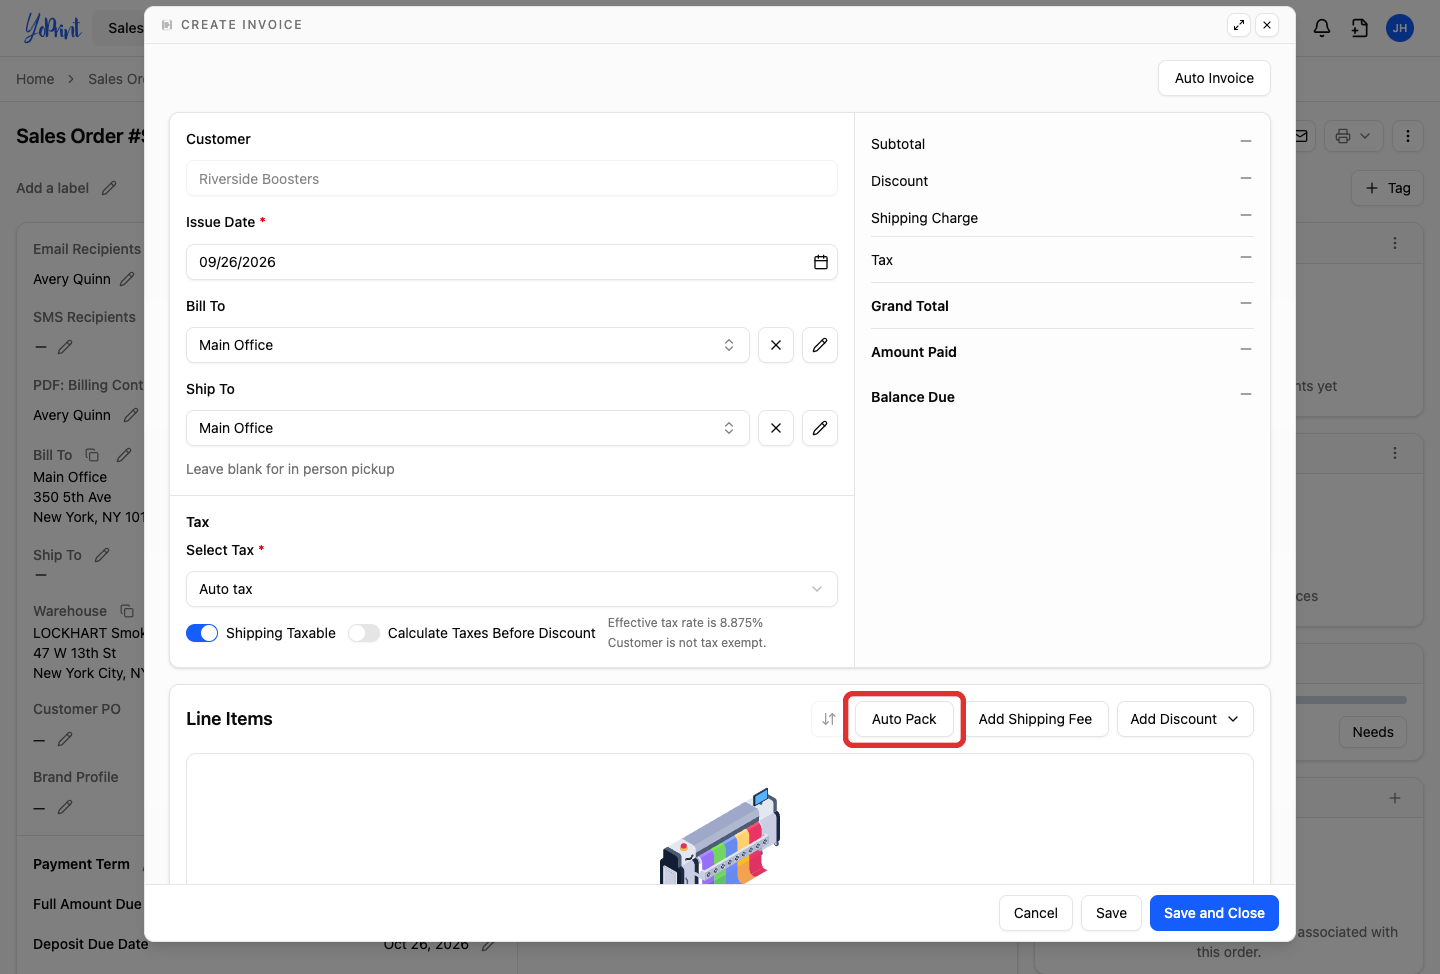
In YoPrint, packing an invoice means adding billable items from your jobs onto the invoice. Auto Pack automatically adds all unpacked items from the order. In this example, Auto Pack adds 36 navy tees at $9.58 each.
Add a discount and tax
-
Click Add Discount.
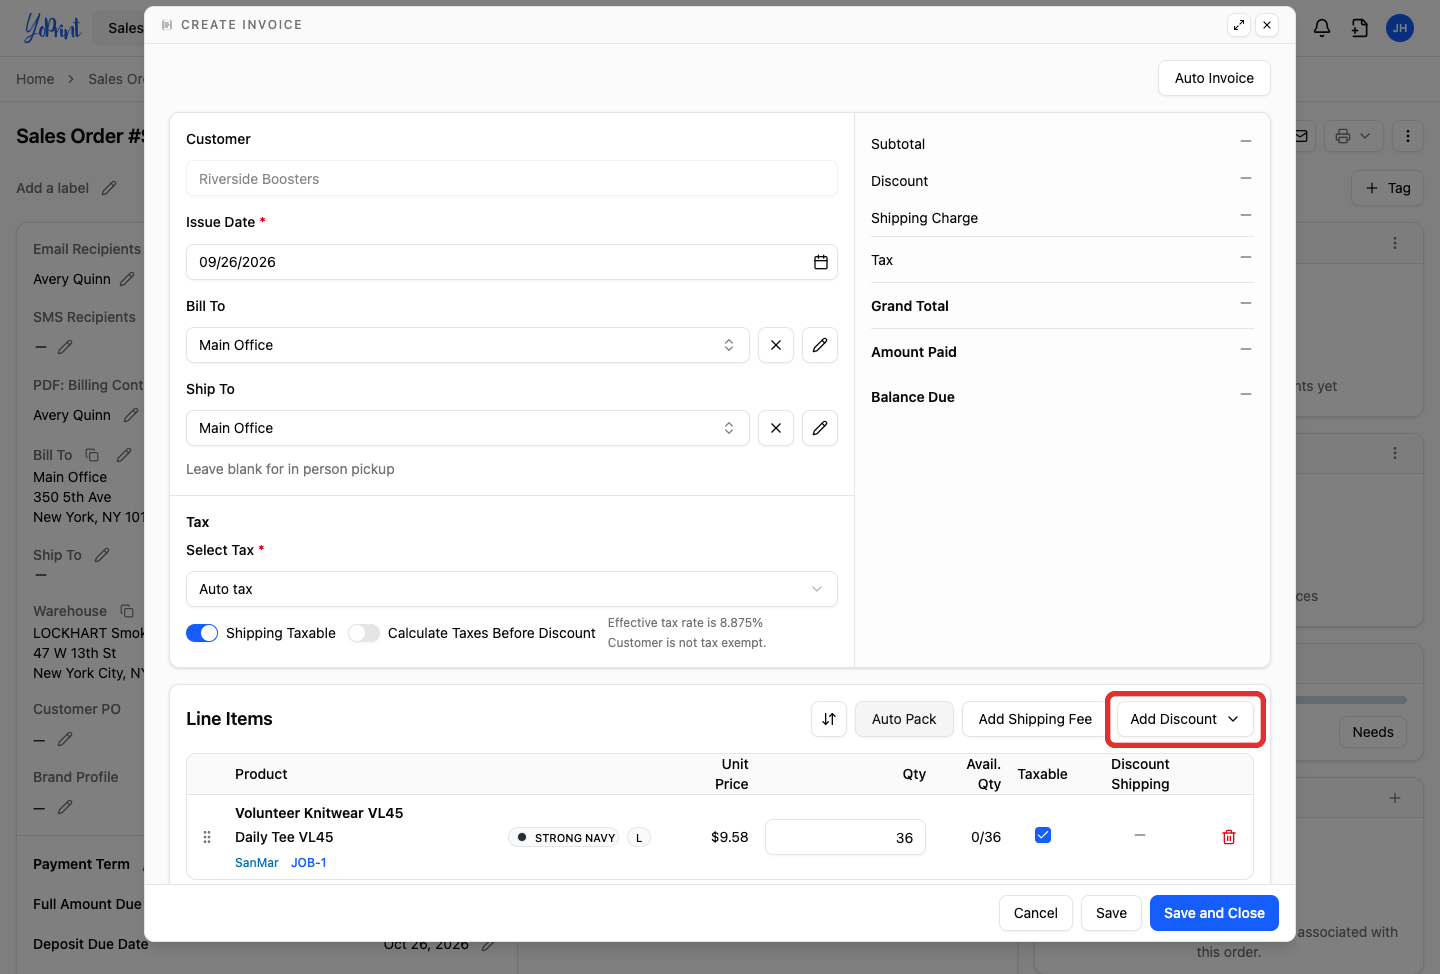
-
Choose Percentage Discount.
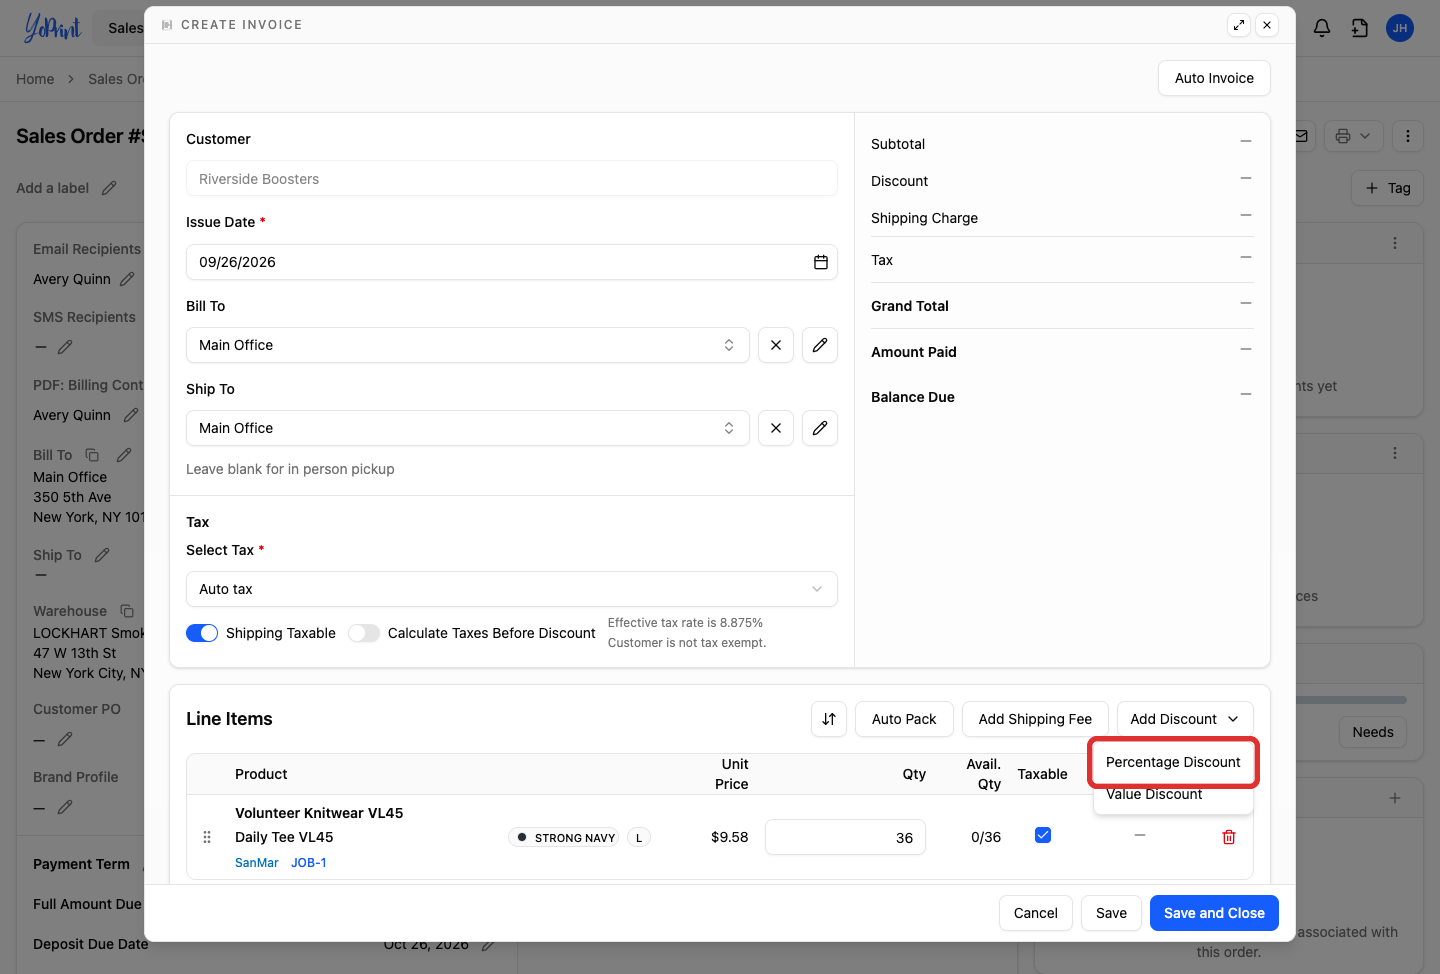
Dollar amount discount
To discount a fixed dollar amount instead of a percentage:
-
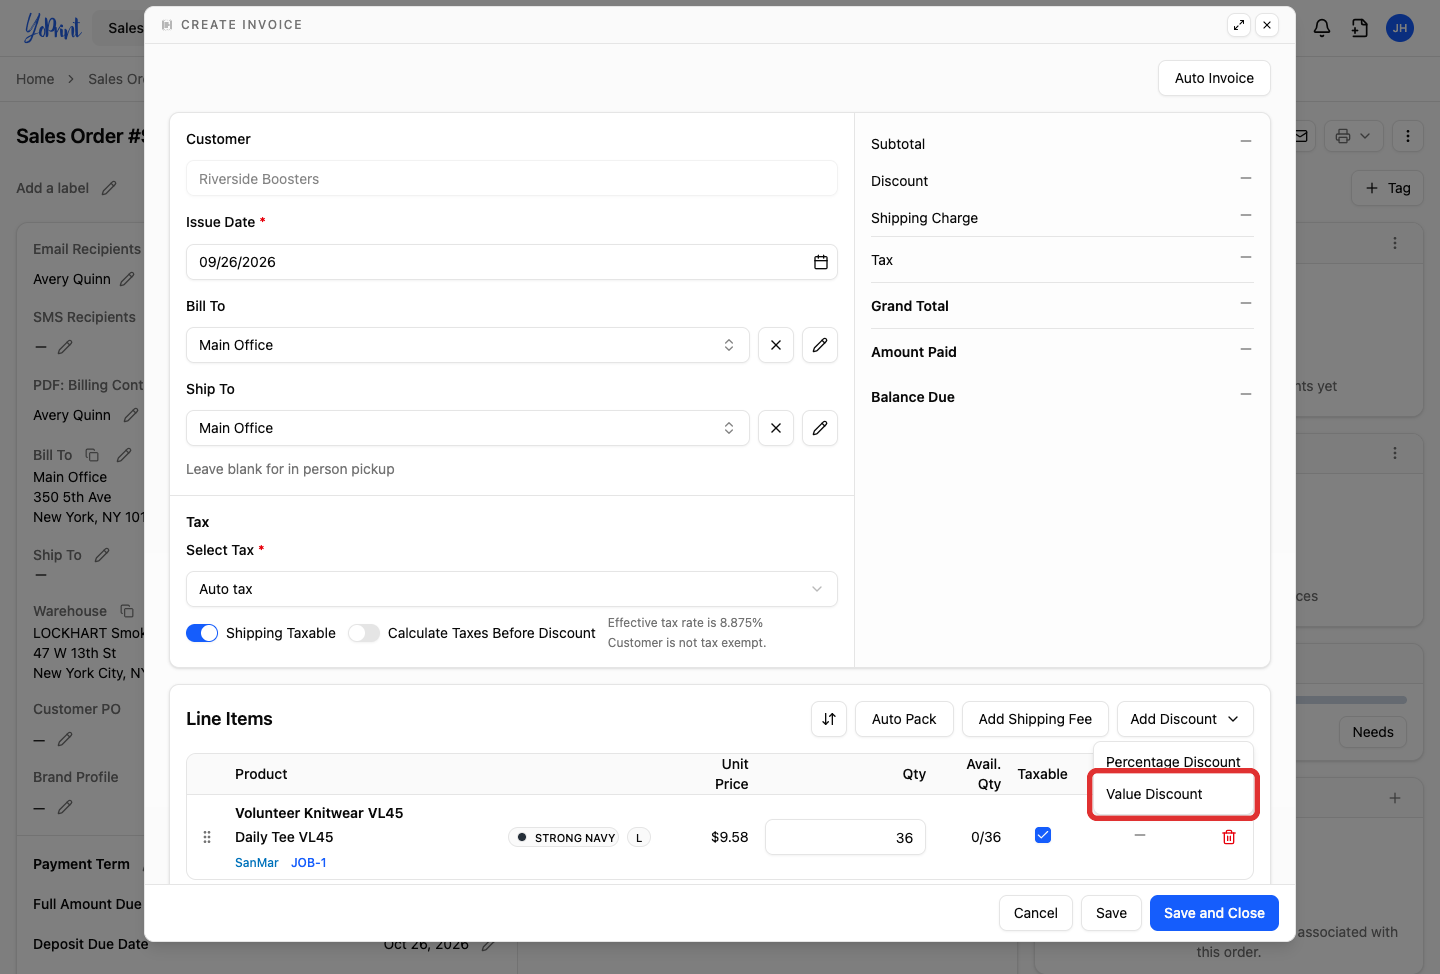
Choose Value Discount.
-
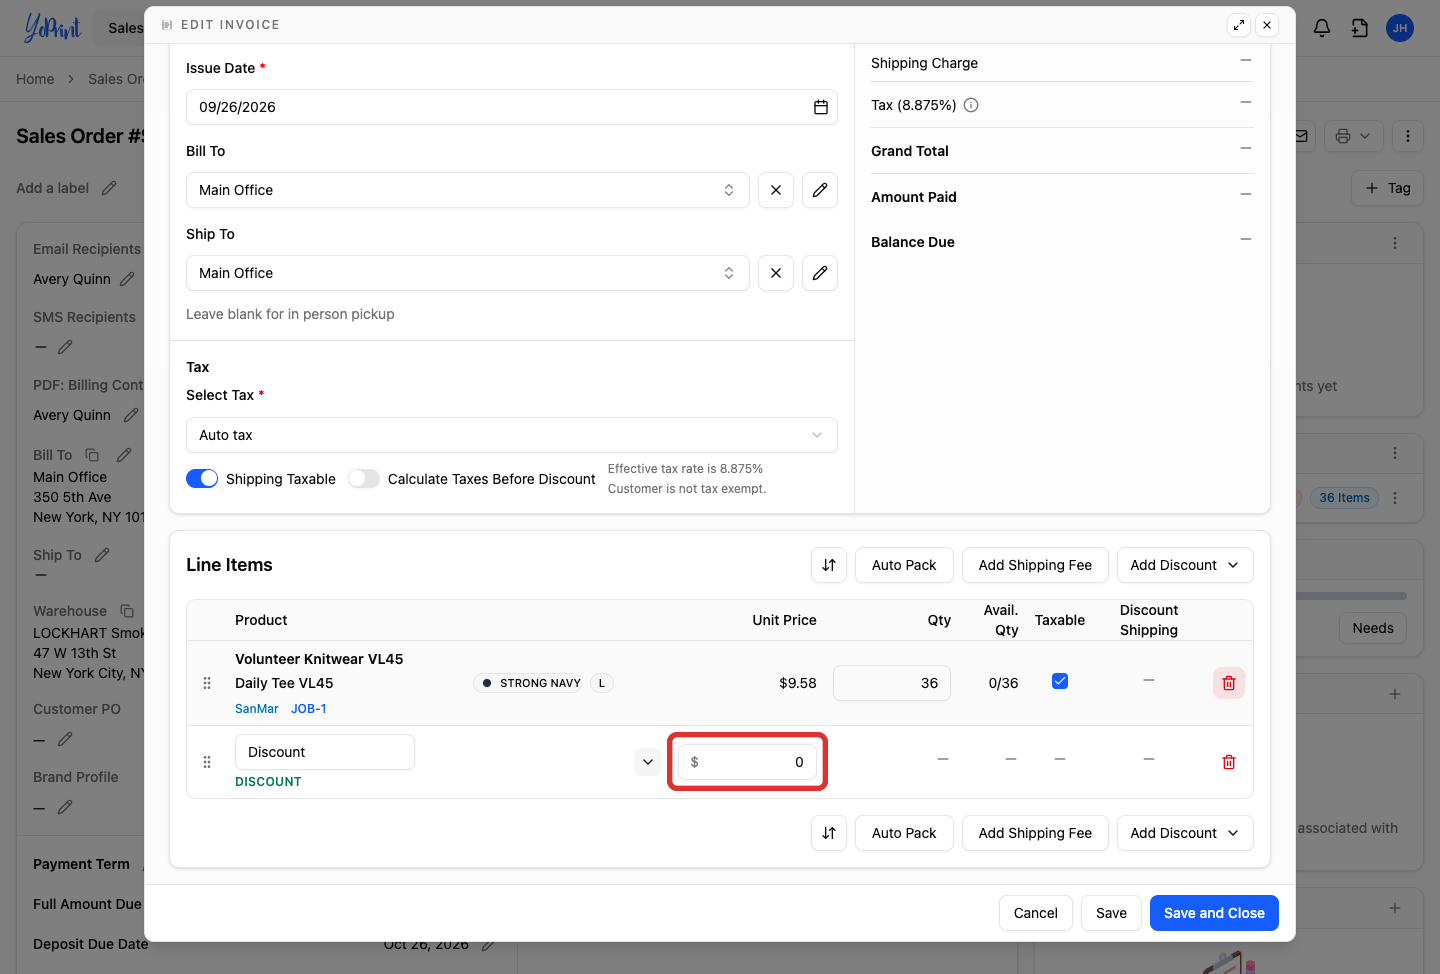
Type the dollar amount in the discount field.
-
-
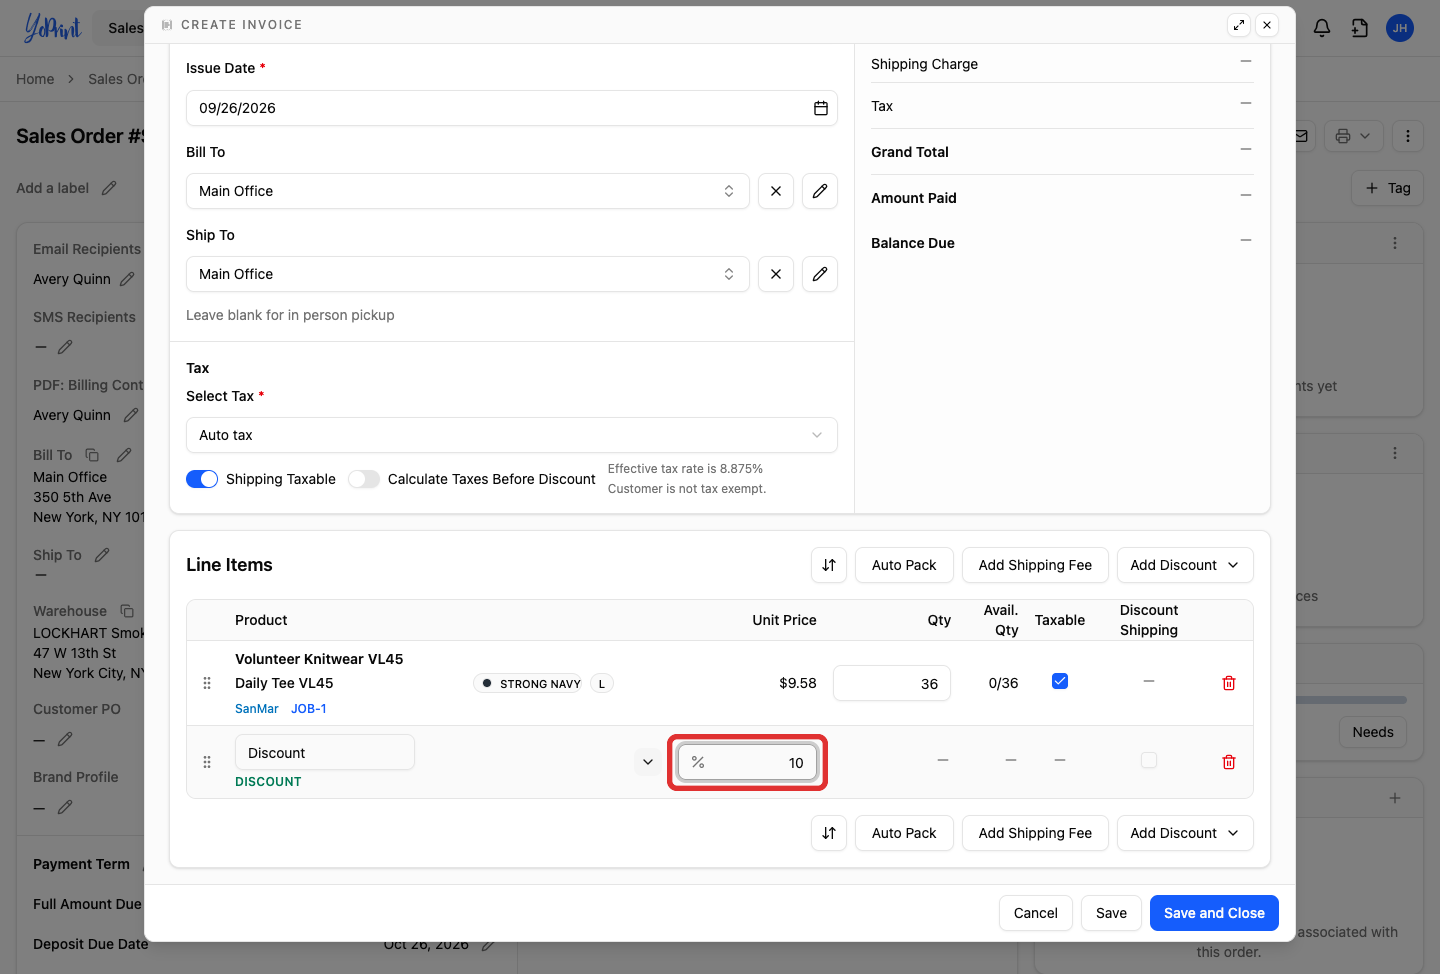
Type the percentage in the discount field.
-
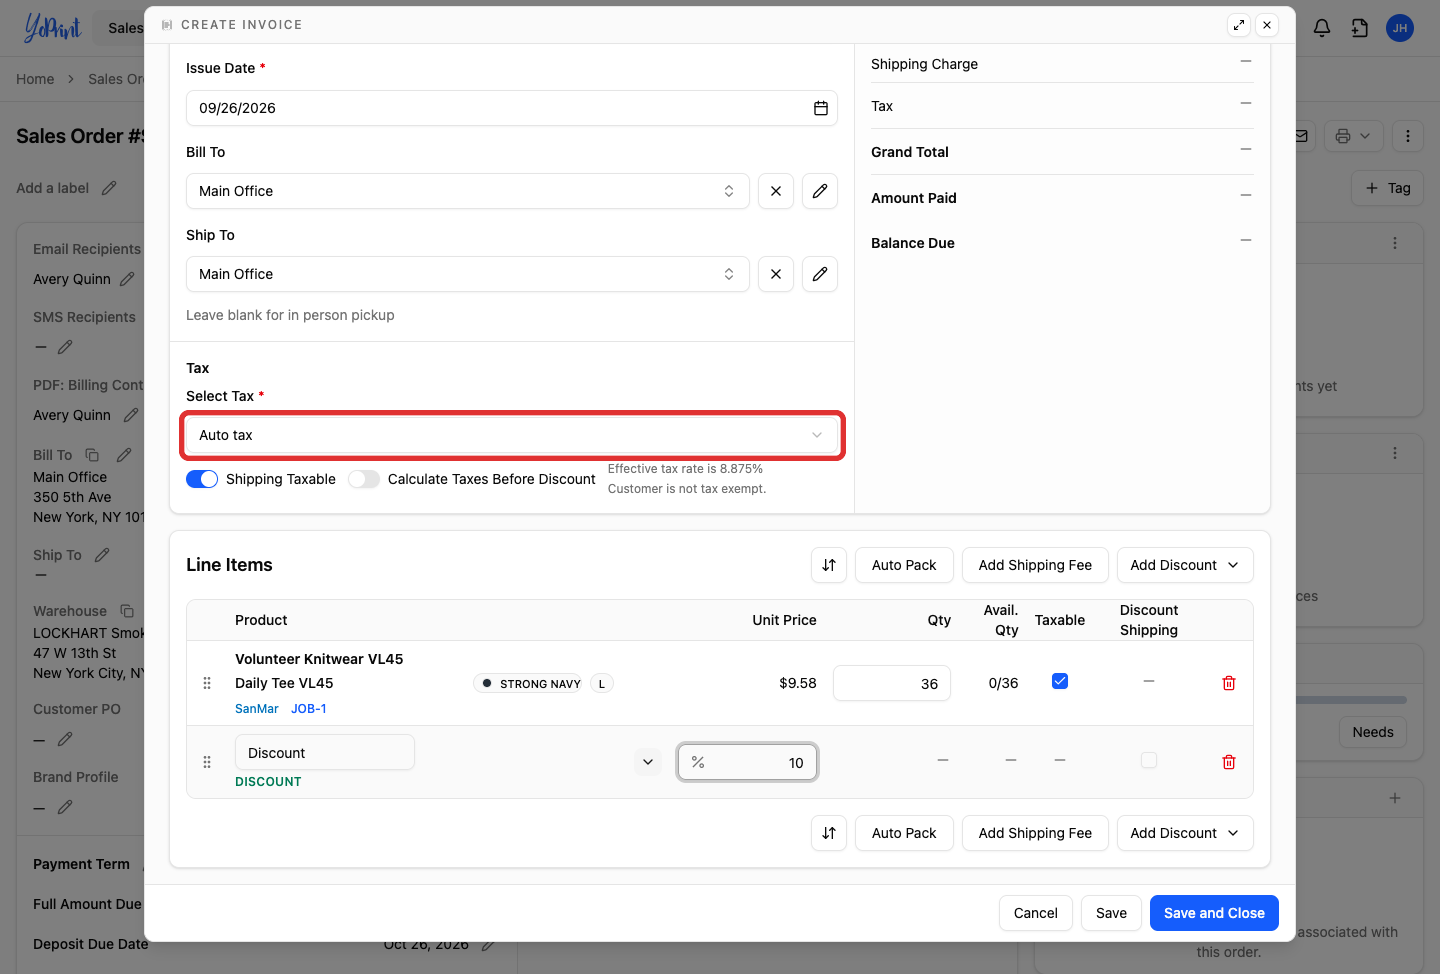
Click Select Tax.
-
Choose the tax rate for this invoice.
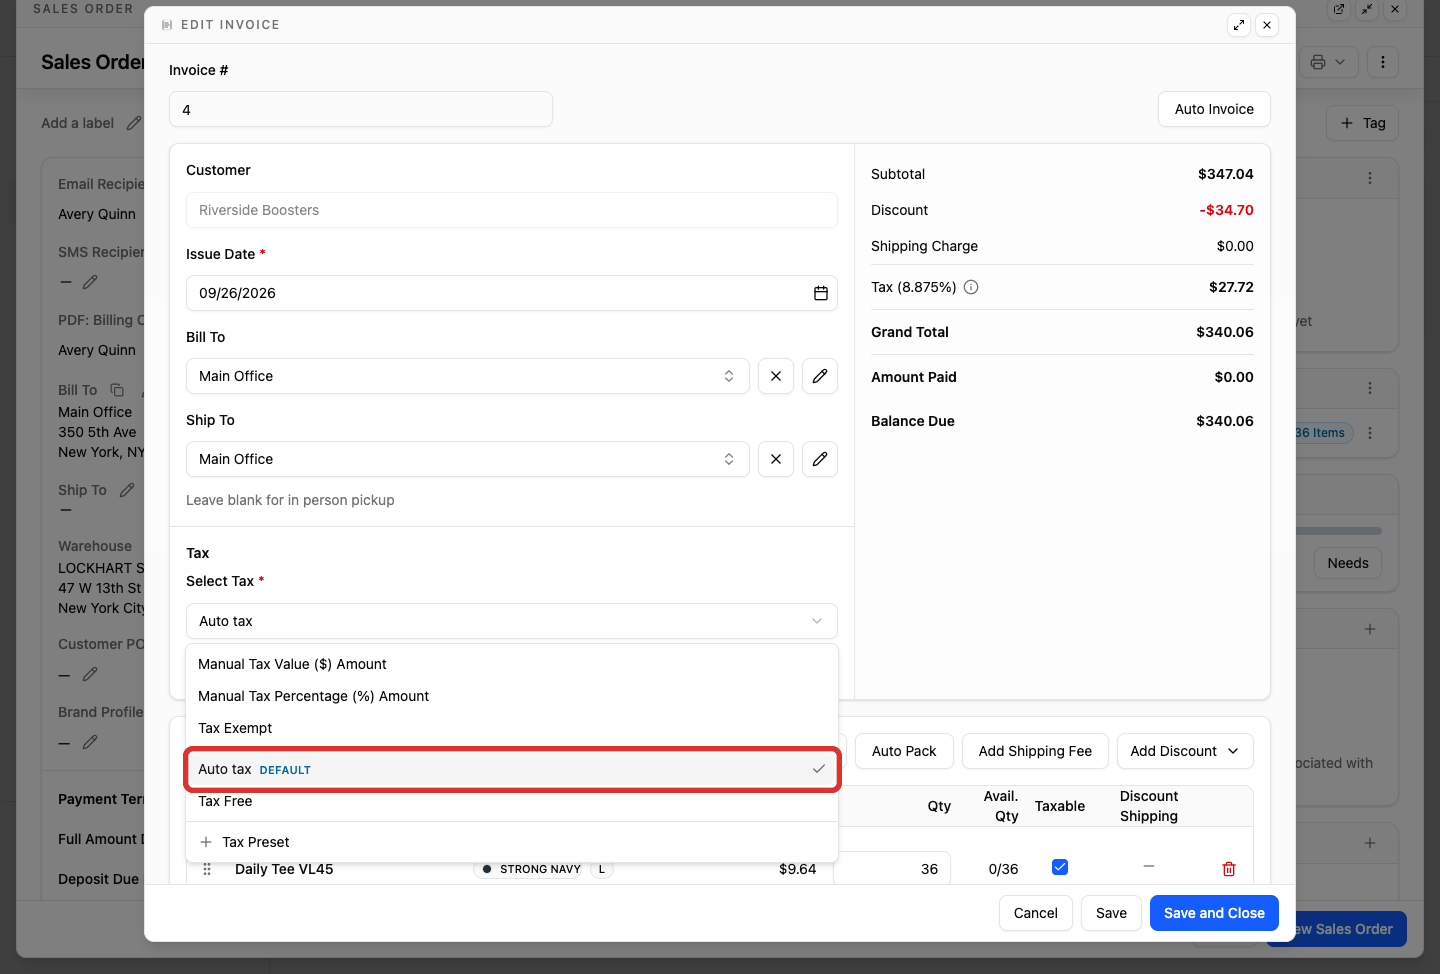
In this example, Auto tax calculates an effective tax rate of 8.875% based on the customer's delivery address and your shop's tax nexus. If a customer is tax-exempt, turn on Tax Exempt on their customer record to remove sales tax. To set up automatic tax calculation, see Automatic Sales Tax. To modify taxes on an existing invoice, see Edit Tax in an Existing Order.
-
Click Save and Close.
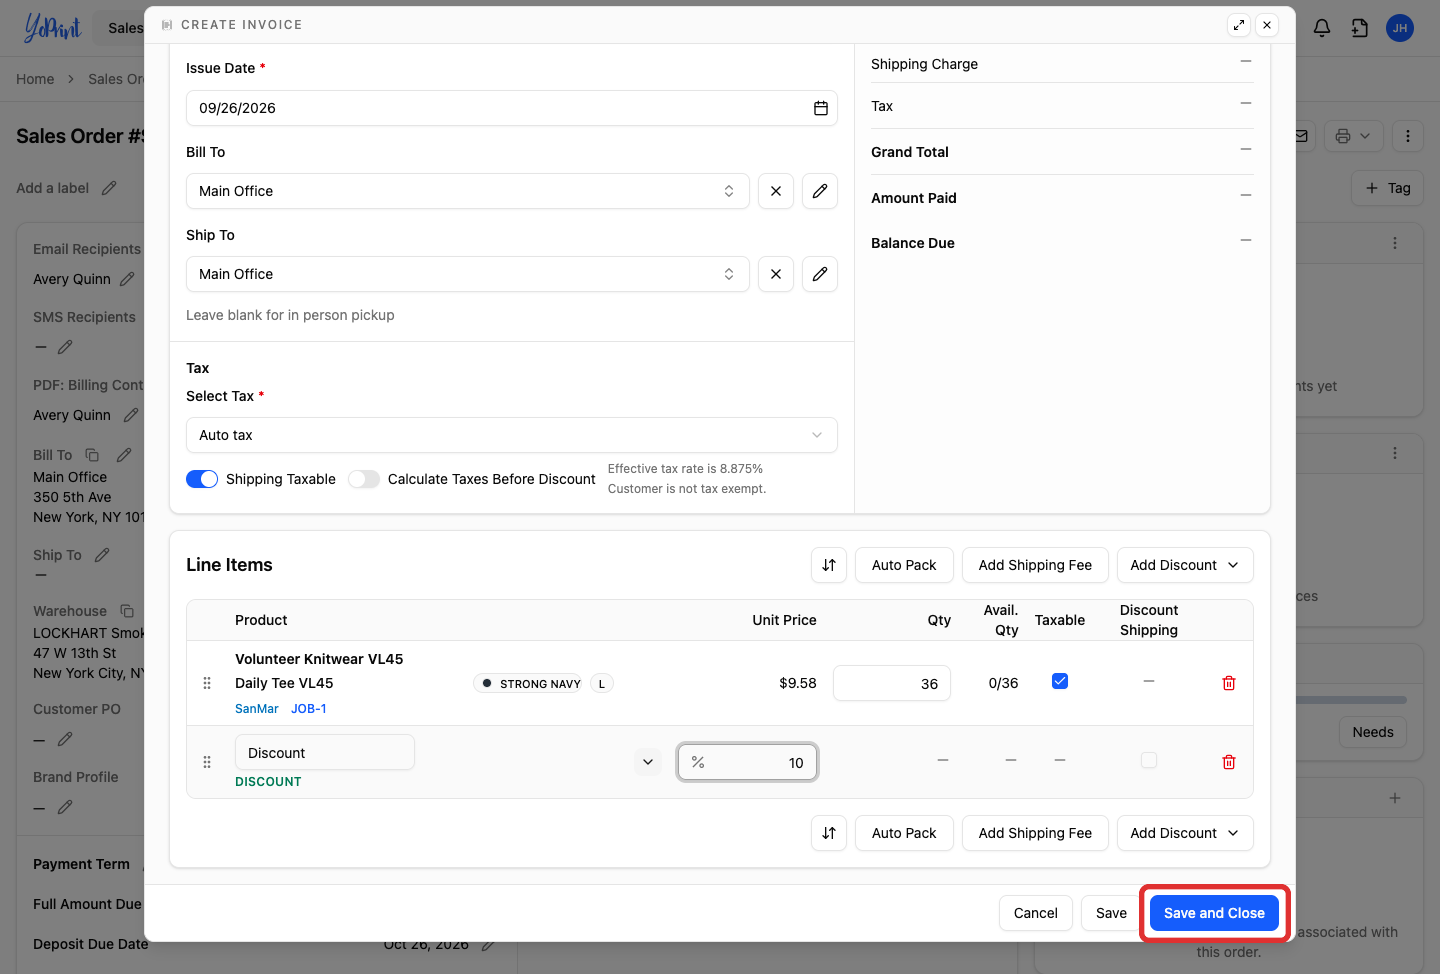
The order displays the discount, the updated invoice total, and the balance due.

In this example, the subtotal is $344.88, the 10% discount deducts $34.49, tax adds $27.55, and the invoice total is $337.94. The balance due updates to match the invoice total. The required deposit calculates against the invoice total based on the deposit percentage in your order's Payment Term settings (here, 20% of $337.94 is $67.59). To record customer payments against this balance, see Collect and Record Payments.
Change an invoice you already saved
-
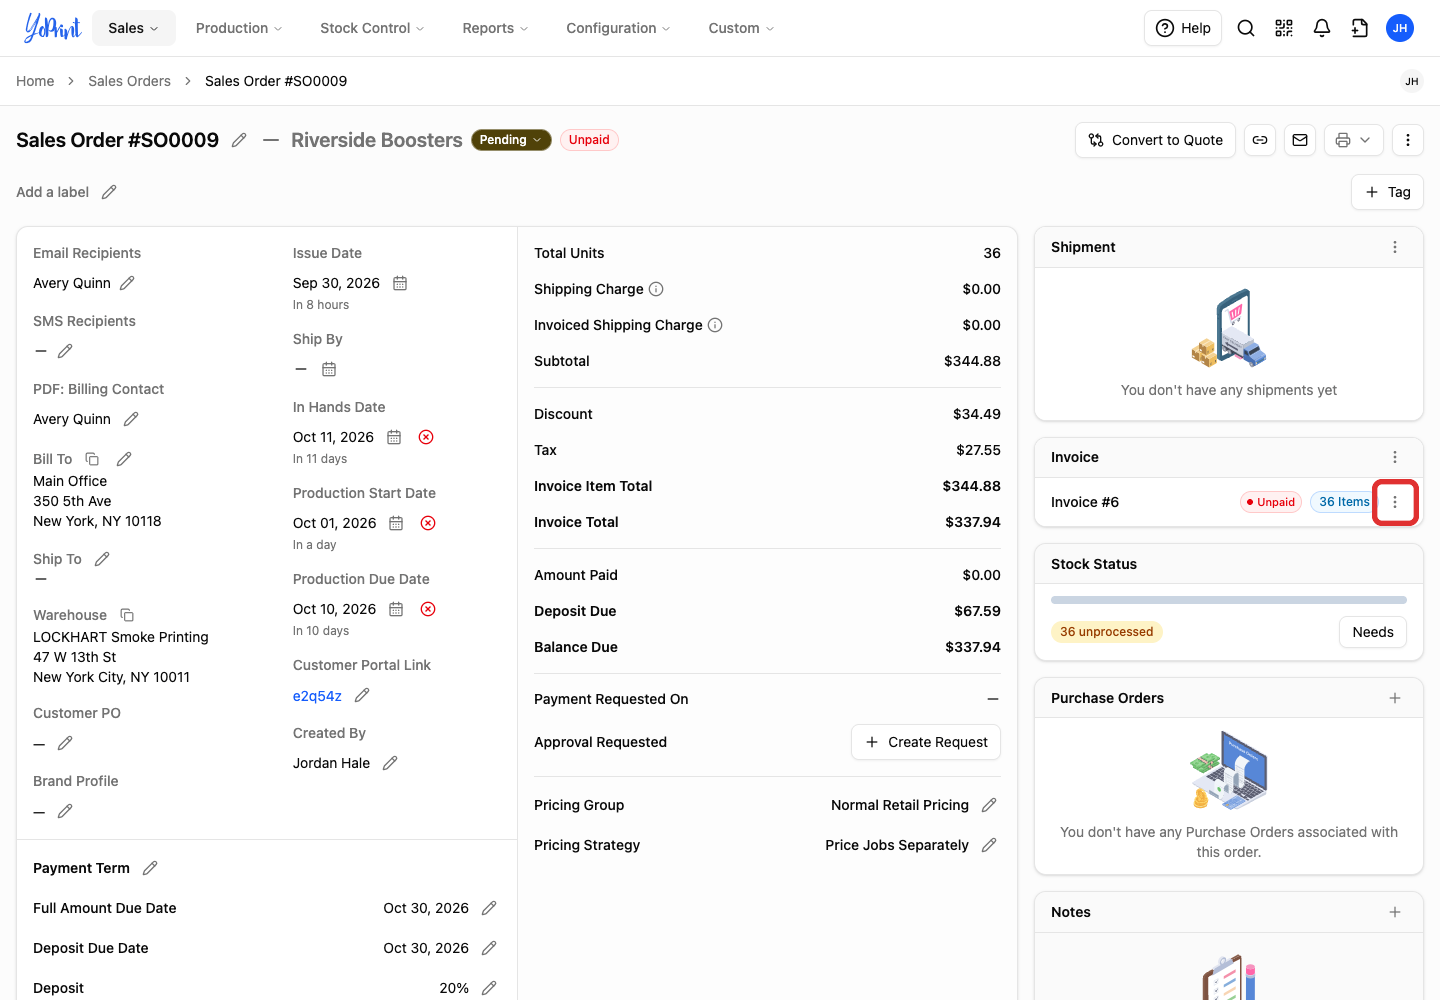
In the Invoice card, click the actions menu (⋮) on the invoice row (not the actions menu in the card header).
-
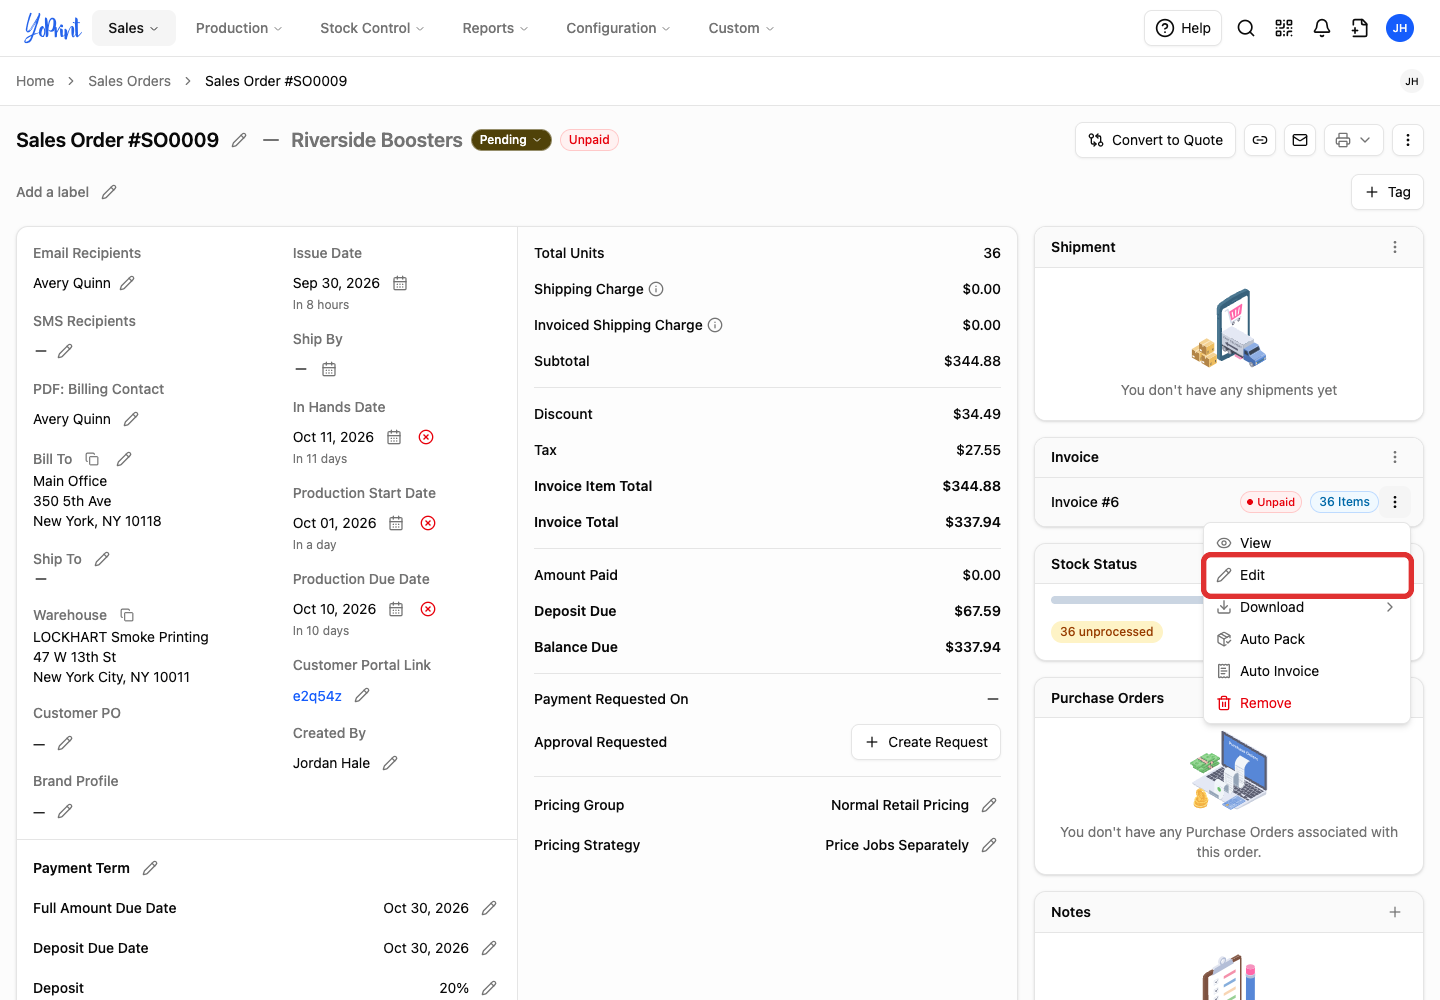
Click Edit.
-
Update the quantities or discount amounts as needed.
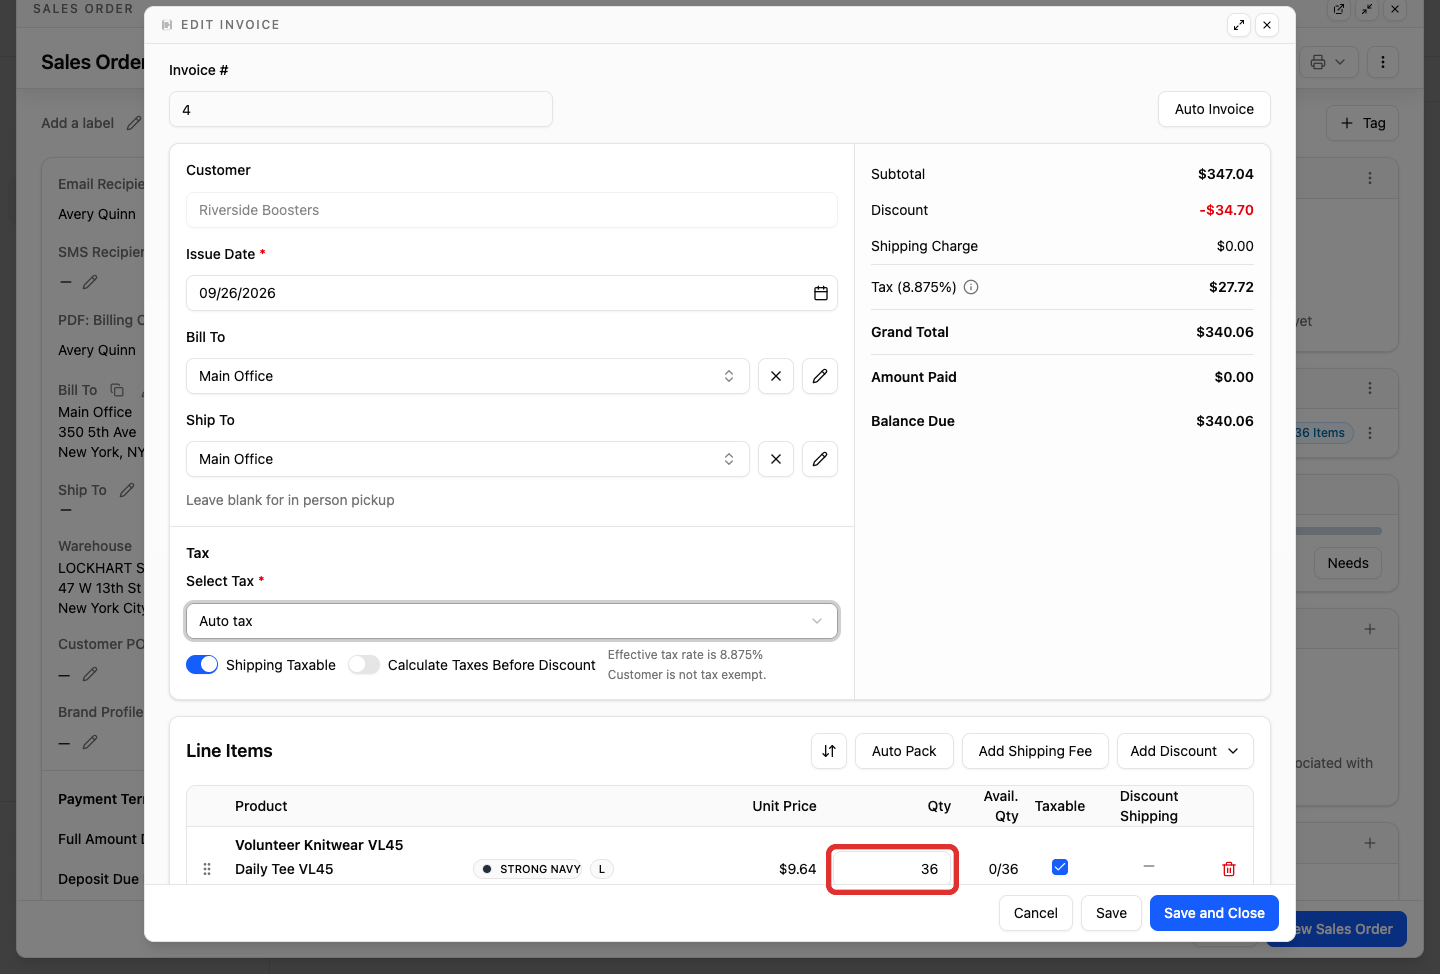
YoPrint does not automatically update saved invoices when job quantities change, protecting invoices that have already been sent to customers or exported to accounting. Updating the quantity here syncs the invoice with your updated job.
-
Click Save and Close.
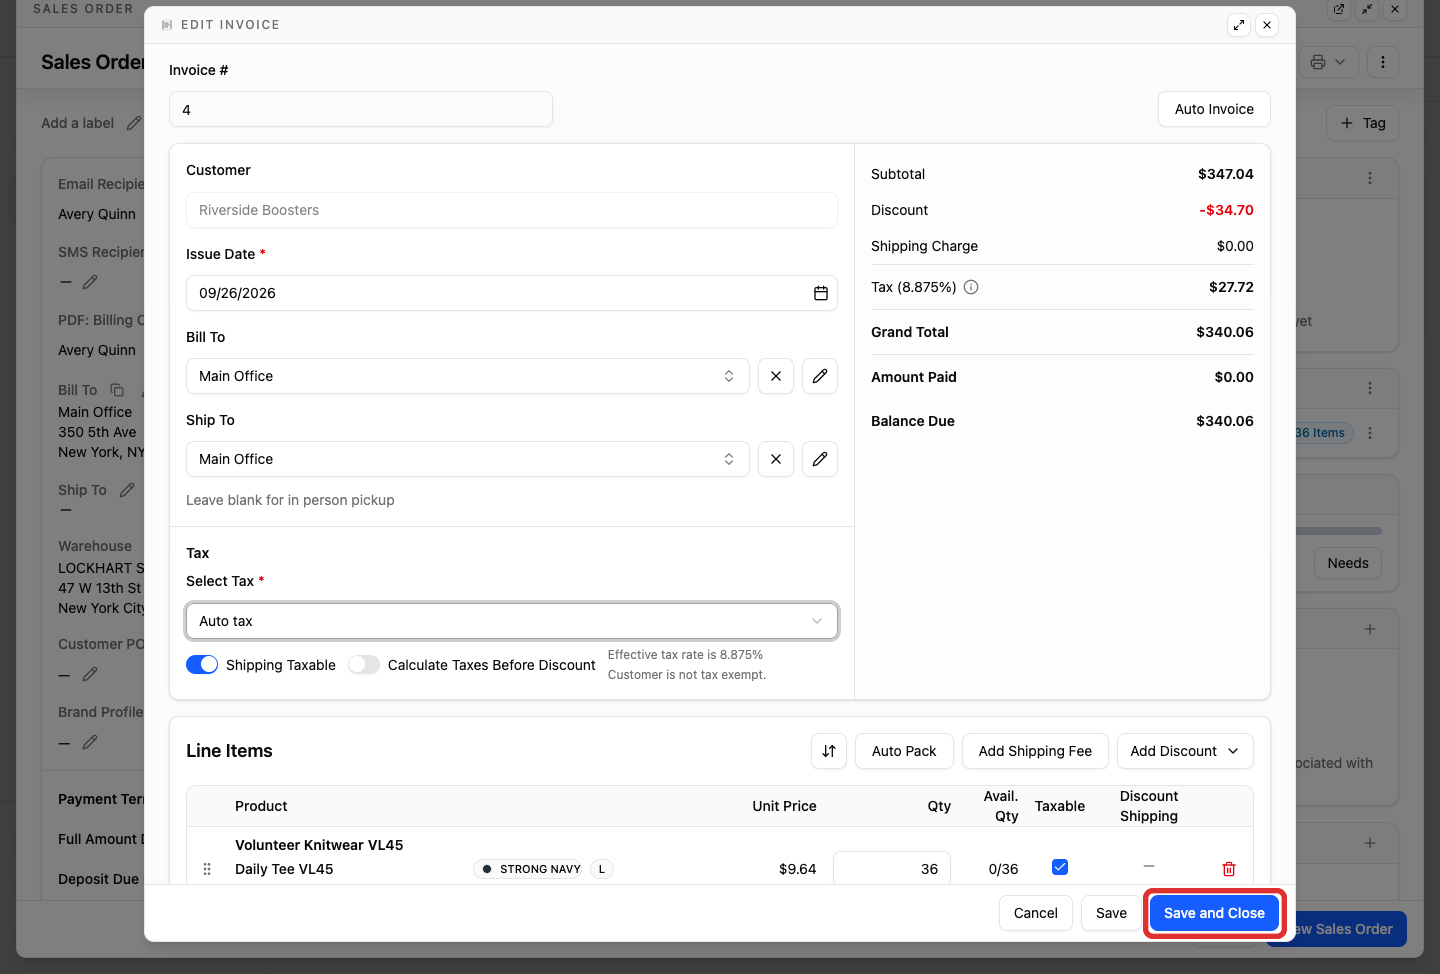
The invoice total, tax, and discount recalculate automatically. On this order, 36 pieces with a 10% discount save as a $34.49 discount, $27.55 tax, and a $337.94 invoice total.
What changes without Live Edit
You do not need Live Edit to update general order details. You can update schedule dates, order terms, notes, and records directly on the published sales order page as work progresses:
- Dates: Click the calendar icon beside Issue Date, Ship By, In Hands Date, Production Start Date, or Production Due Date to update schedule milestones.
- Customer PO and Terms: Click the edit pencil beside Customer PO, Payment Term, or Pricing Strategy to update reference numbers and billing terms. Pricing Strategy lets you choose whether to price each job on its own (Price Jobs Separately) or combine garment quantities across all jobs for volume discounts (Combine Jobs).
- Tasks: Add production tasks to a job card with + Task, and track progress by updating task statuses (such as Not Started, In Progress, or Completed) or assignees directly on the card. To set up reusable task workflows, see Task Preset.
- Linking purchase orders: Use the Purchase Orders card to link purchase orders created in Stock Control. Linking connects ordered vendor blanks to this sales order and tracks garment receiving.
- Notes: Add customer instructions or internal shop notes using Notes to Customer or Production Notes in the Notes card.
- Uploading files: Upload internal reference documents (such as a customer PO) using Upload Internal Files in the sidebar, or attach mockups and production files directly to the job card.
- Shipments: Prepare shipments and create shipping labels from the Shipment card, as explained in How to Get Shipping Rates and Create Labels.
- Recording payments: To record offline customer payments received by cash, check, or terminal, click Add in the Payments section and choose Manual Payment, as explained in Collect and Record Payments. To request an online payment from the customer through the customer portal instead, click Create Request under Payment Requested On.