Types of Message Templates
In this article
Your shop sends two kinds of message templates in YoPrint: automated system messages and custom canned messages. YoPrint distinguishes automated system-generated messages from user-generated custom canned messages. You can also write and send one-off messages directly from orders without using a template.
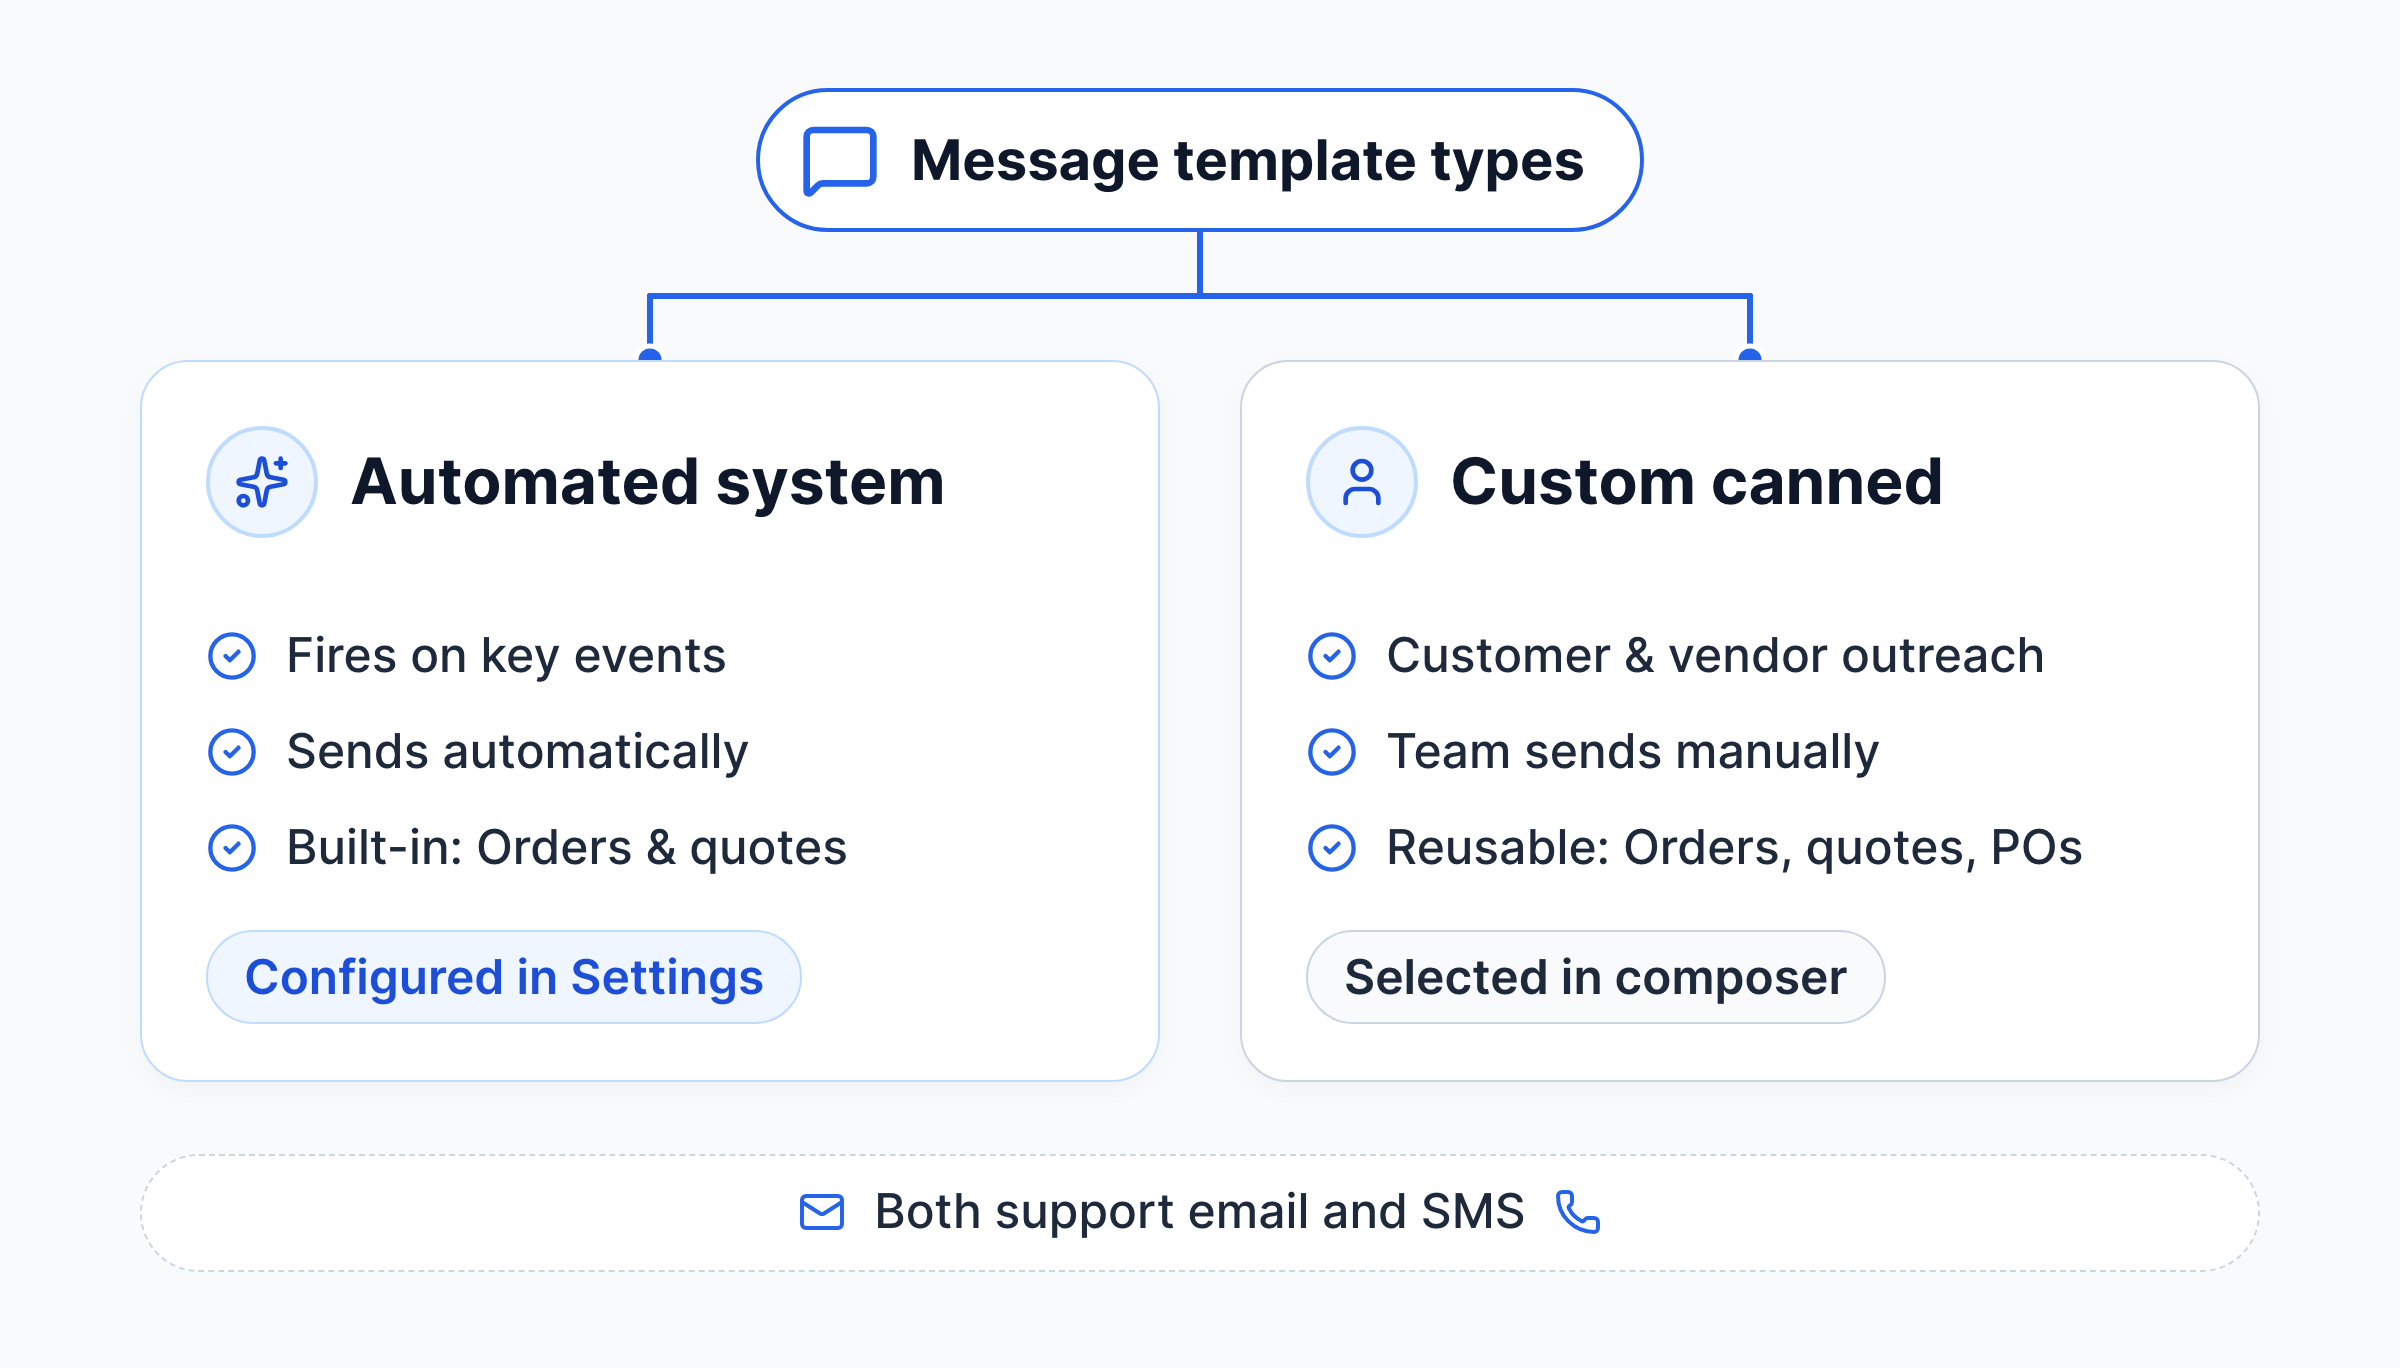
System templates format the automated notification emails sent to customer contacts when order details or quotes are dispatched from YoPrint. They do not email customers while you are drafting or editing an uncompleted order.
Custom templates are reusable canned messages your team selects and sends manually during customer or vendor communication.
YoPrint supports both email and SMS templates. Sending SMS requires setting up an SMS integration (such as Twilio) in your shop settings. SMS messages are sent only to customer contacts who have a valid mobile phone number on file.
System message templates
These two message templates are used when you send sales order or quote details to your customer. YoPrint provides two built-in system templates:
- New Sales Order Detail: Sends when you create a sales order.
- New Quote Detail: Sends when you create a quote.
You cannot delete system templates or change their type, but you can customize their subject lines and message copy to match your shop's communication style.
The default template text includes conditional tags such as {% if due_date %}...{% endif %} and {% if note %} . These tags ensure that phrases appear in the email only when that specific information exists on the order. You can safely keep, edit, or remove these conditional blocks to fit your shop's phrasing without breaking the email system.
-
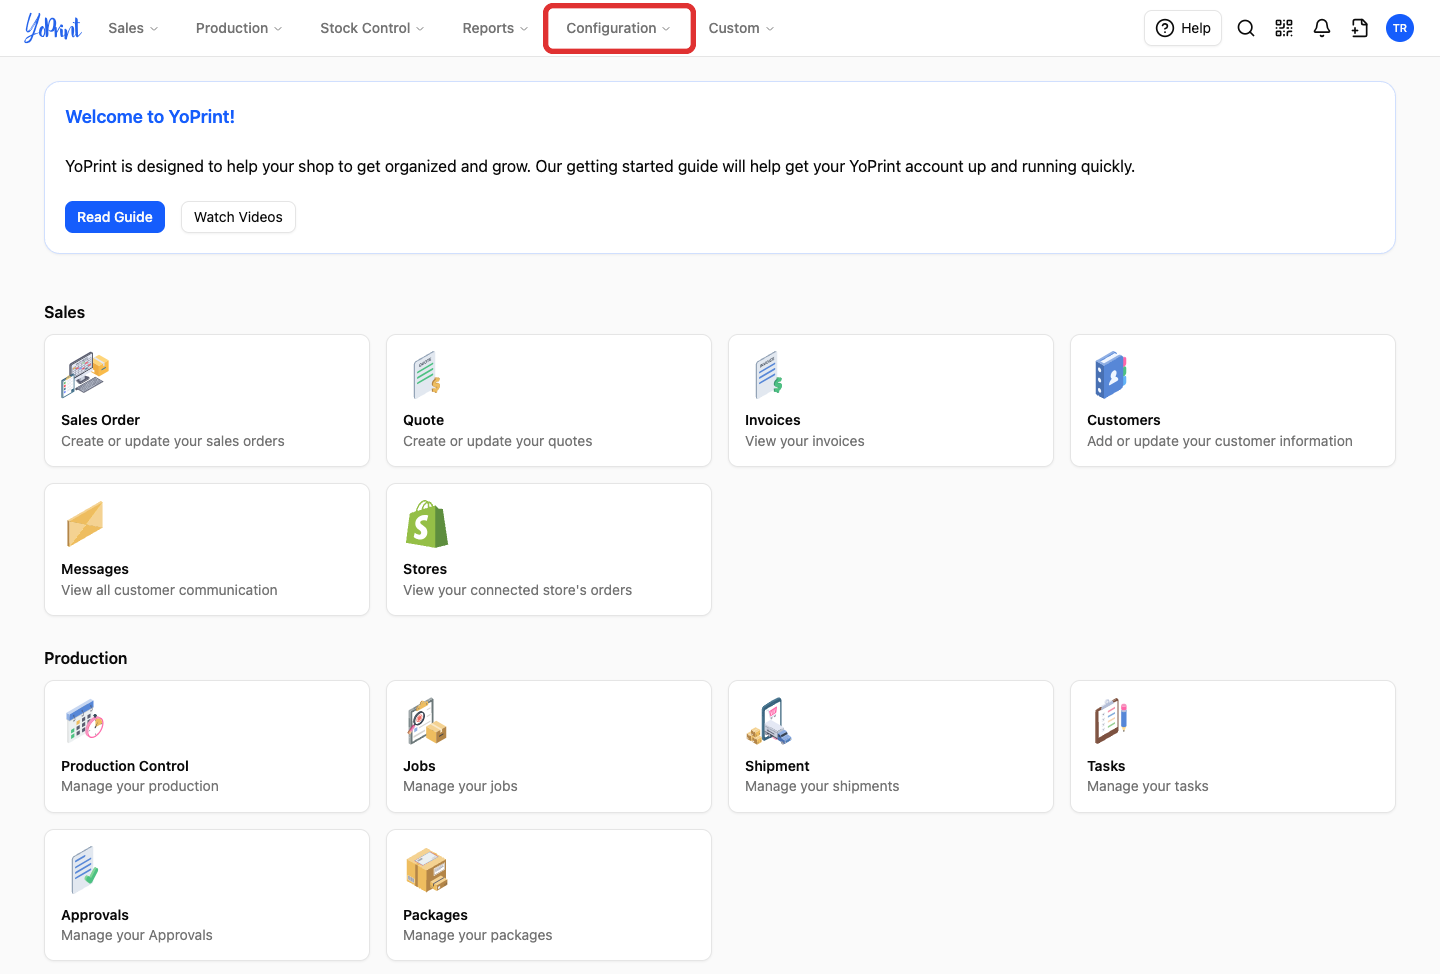
Click Configuration.
-
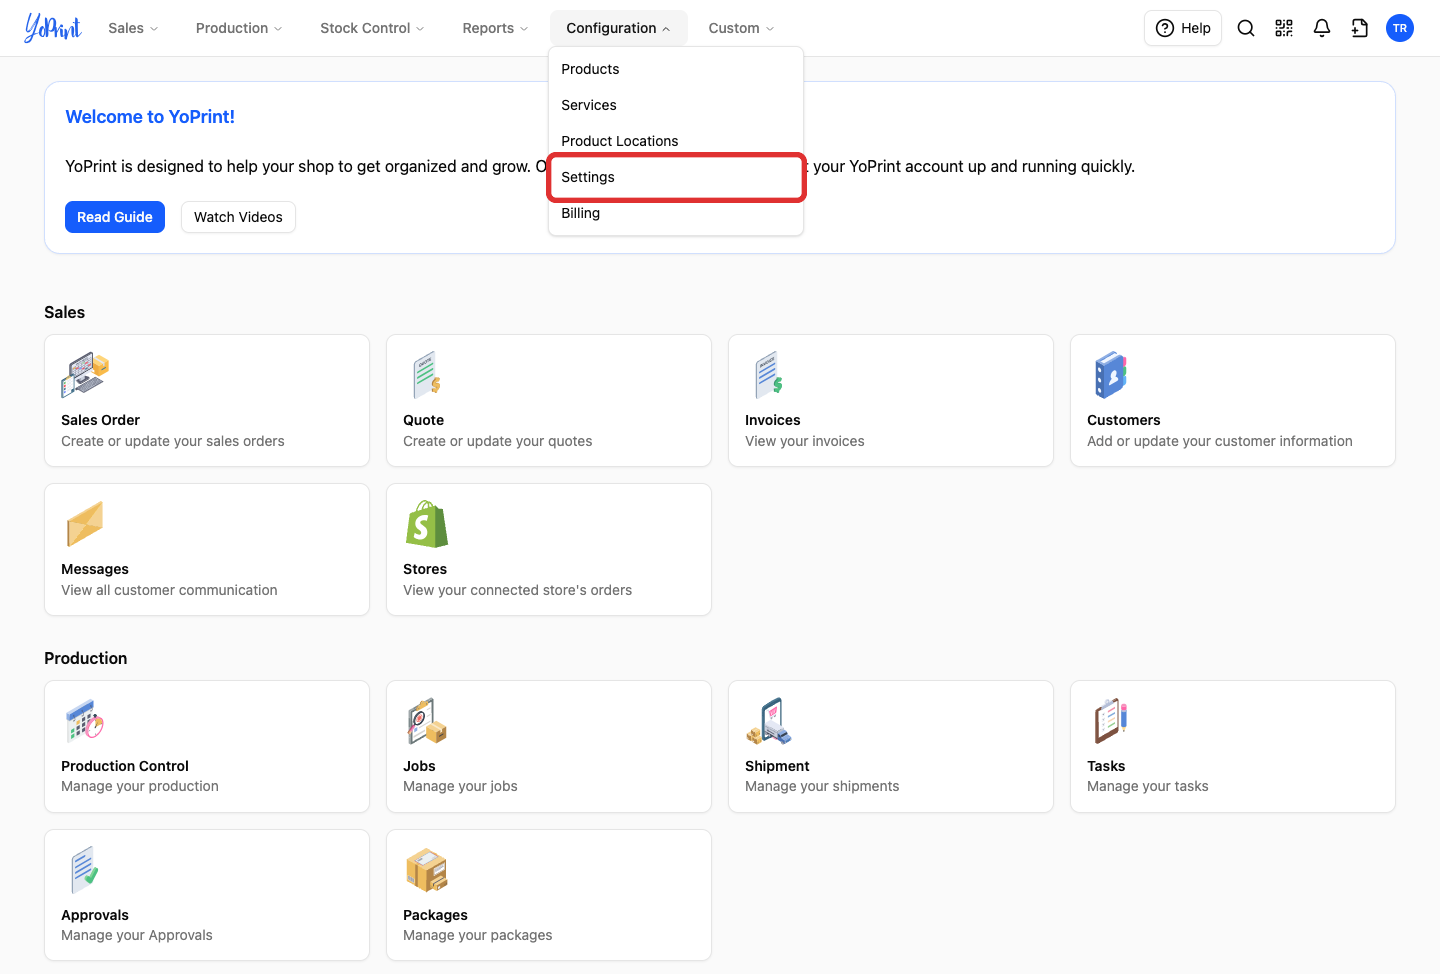
Click Settings.
-
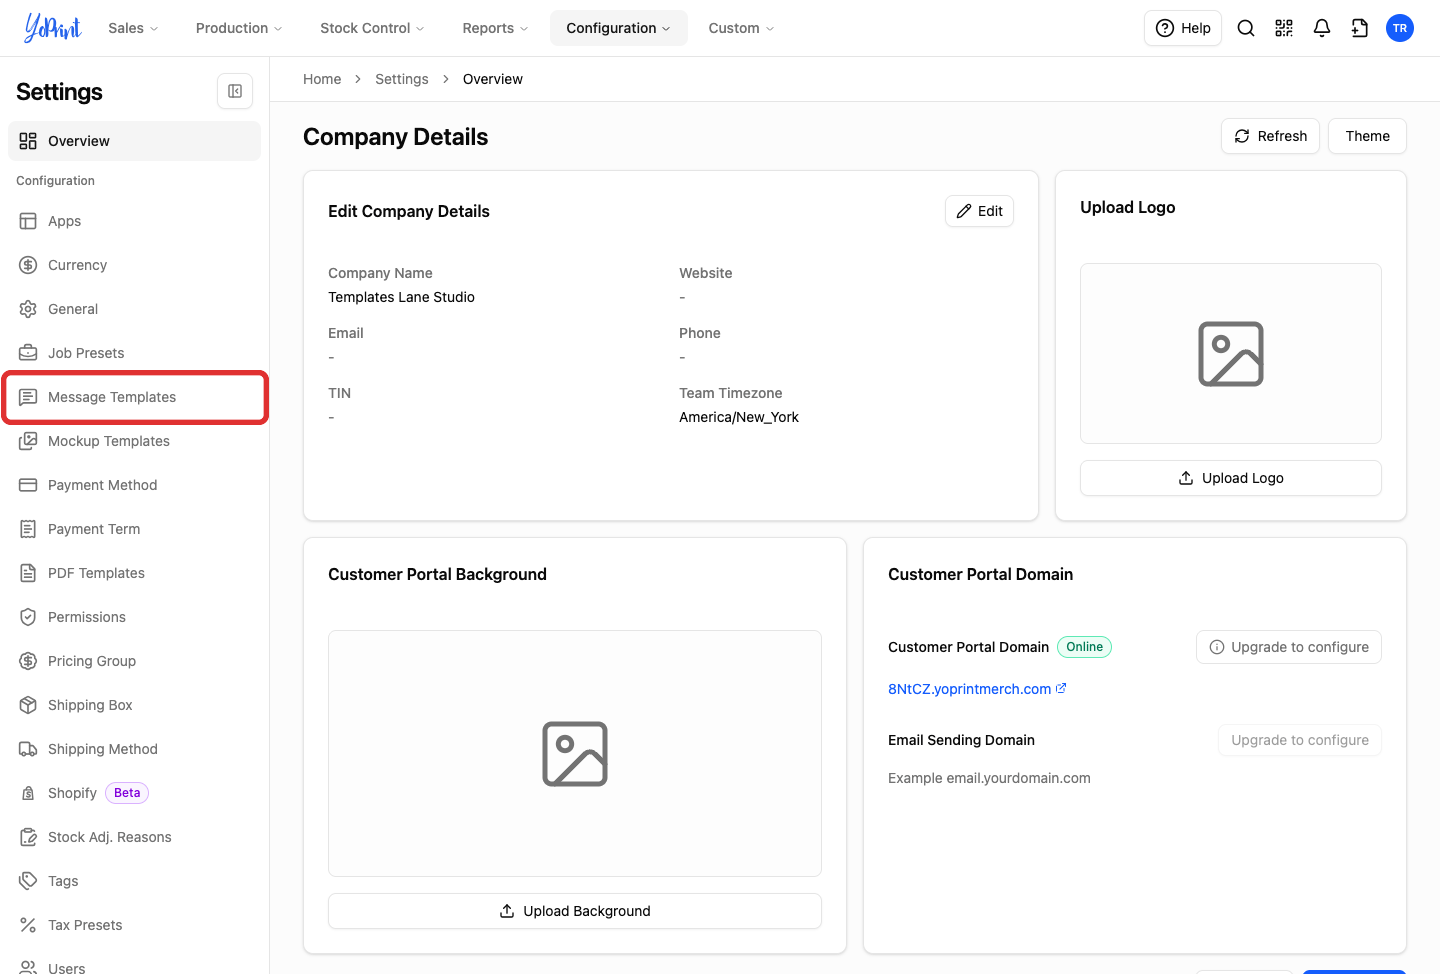
In the sidebar under Configuration, click Message Templates.
-
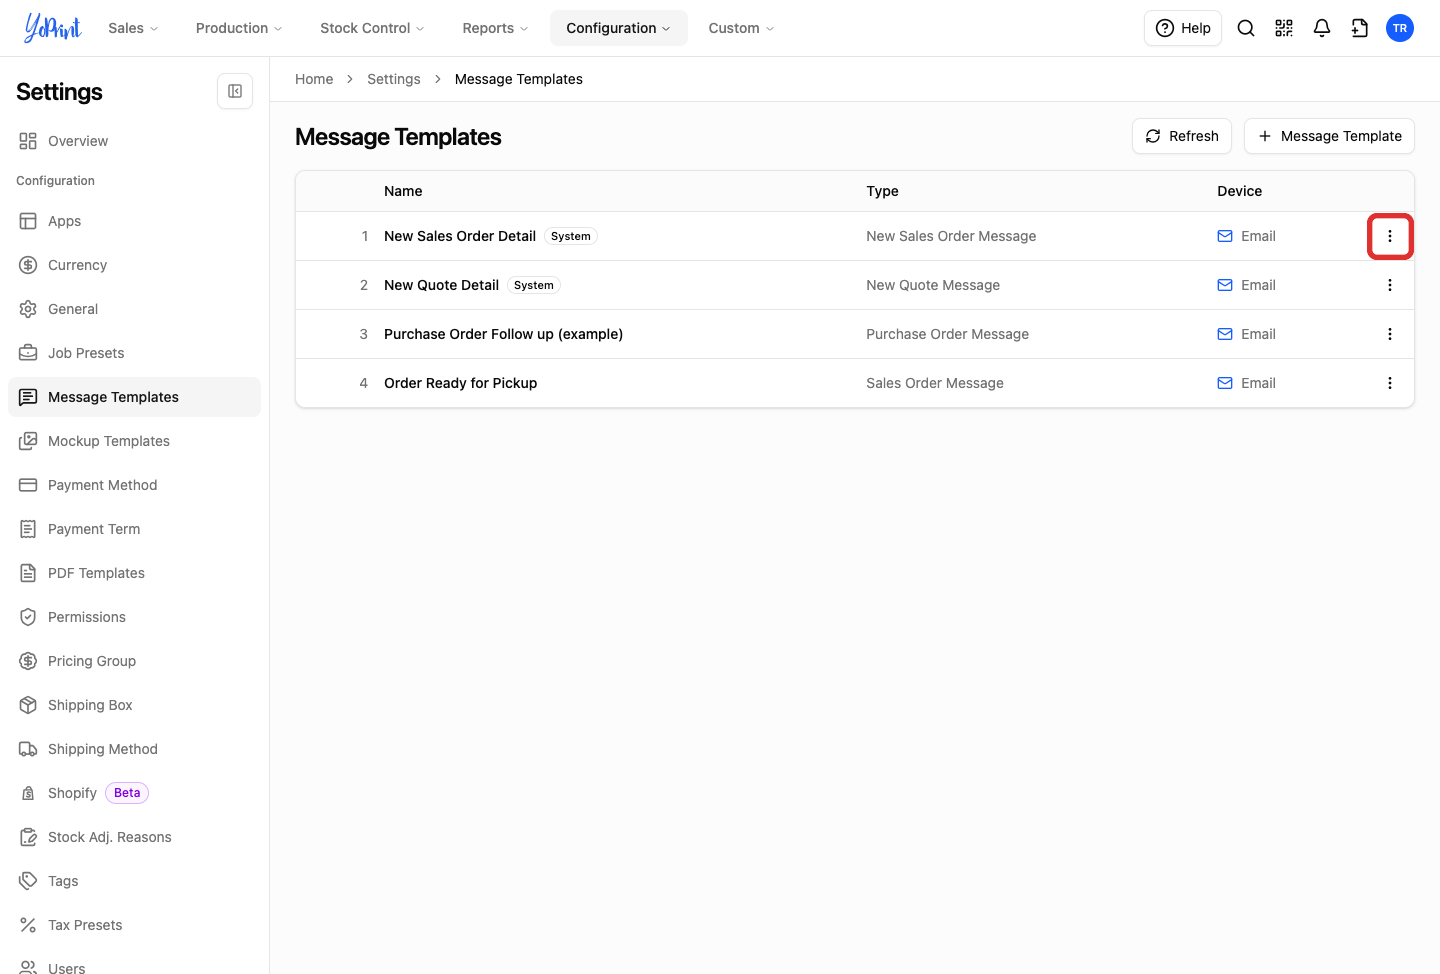
On the New Sales Order Detail row, click the three-dots More actions button.
-
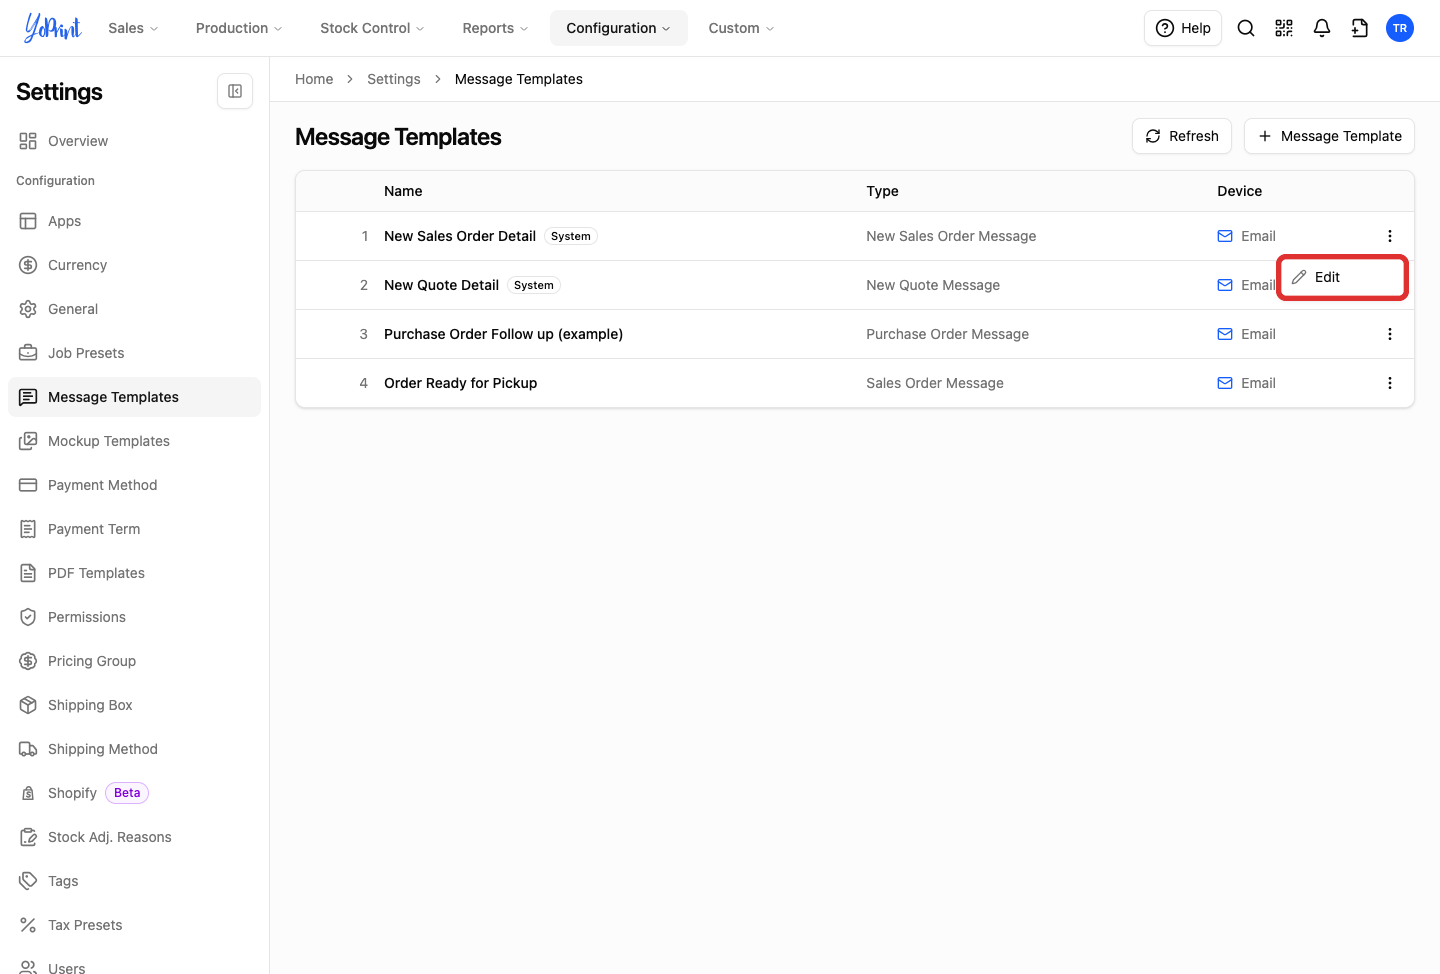
Click Edit.
-
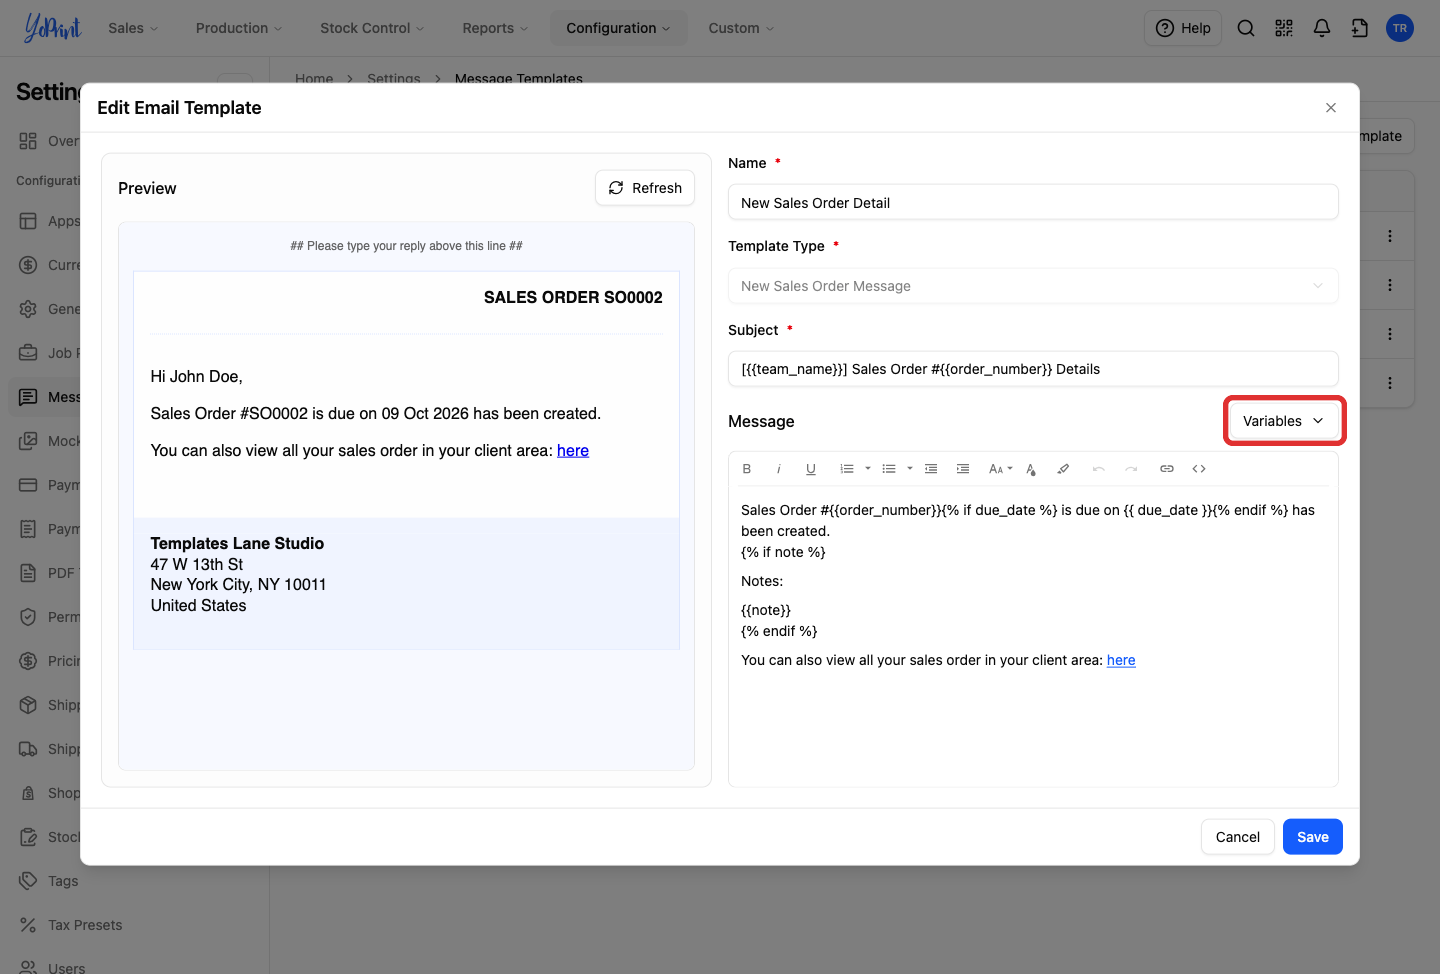
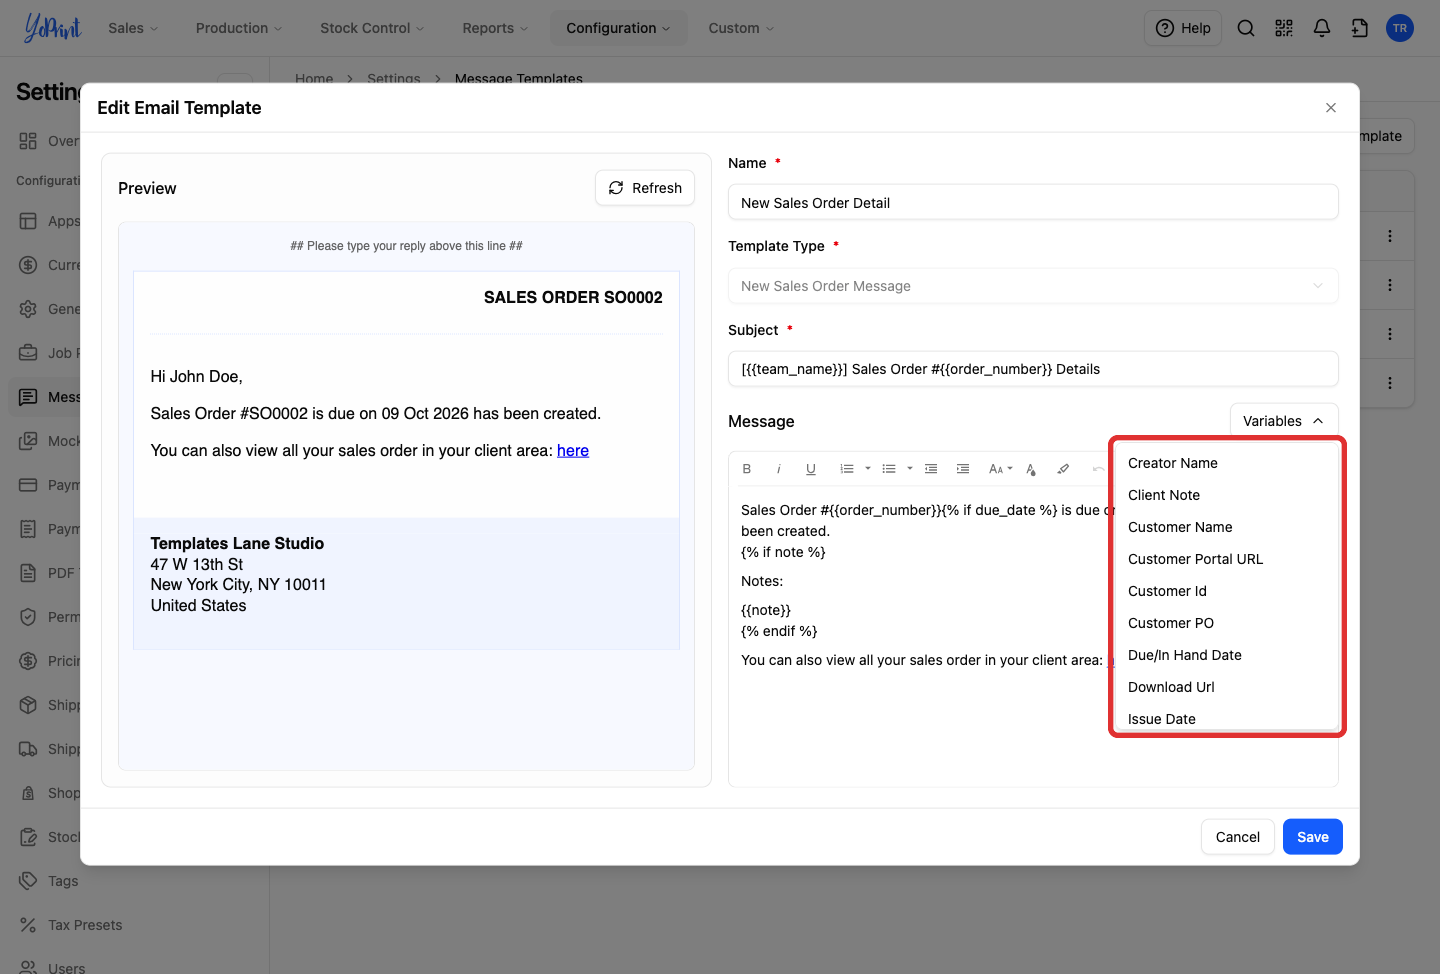
Above the message editor, click Variables to open the list of dynamic order tags.
Dynamic tags and URLs
URL variables (such as Customer Portal URL and Download Url) insert clickable links for your customer. Data variables (such as Customer Name or Sales Order Number) insert formatted plain text into the message body.
-
Place your cursor in the message editor where you want the placeholder to appear, then click a variable in the dropdown to insert it.
-
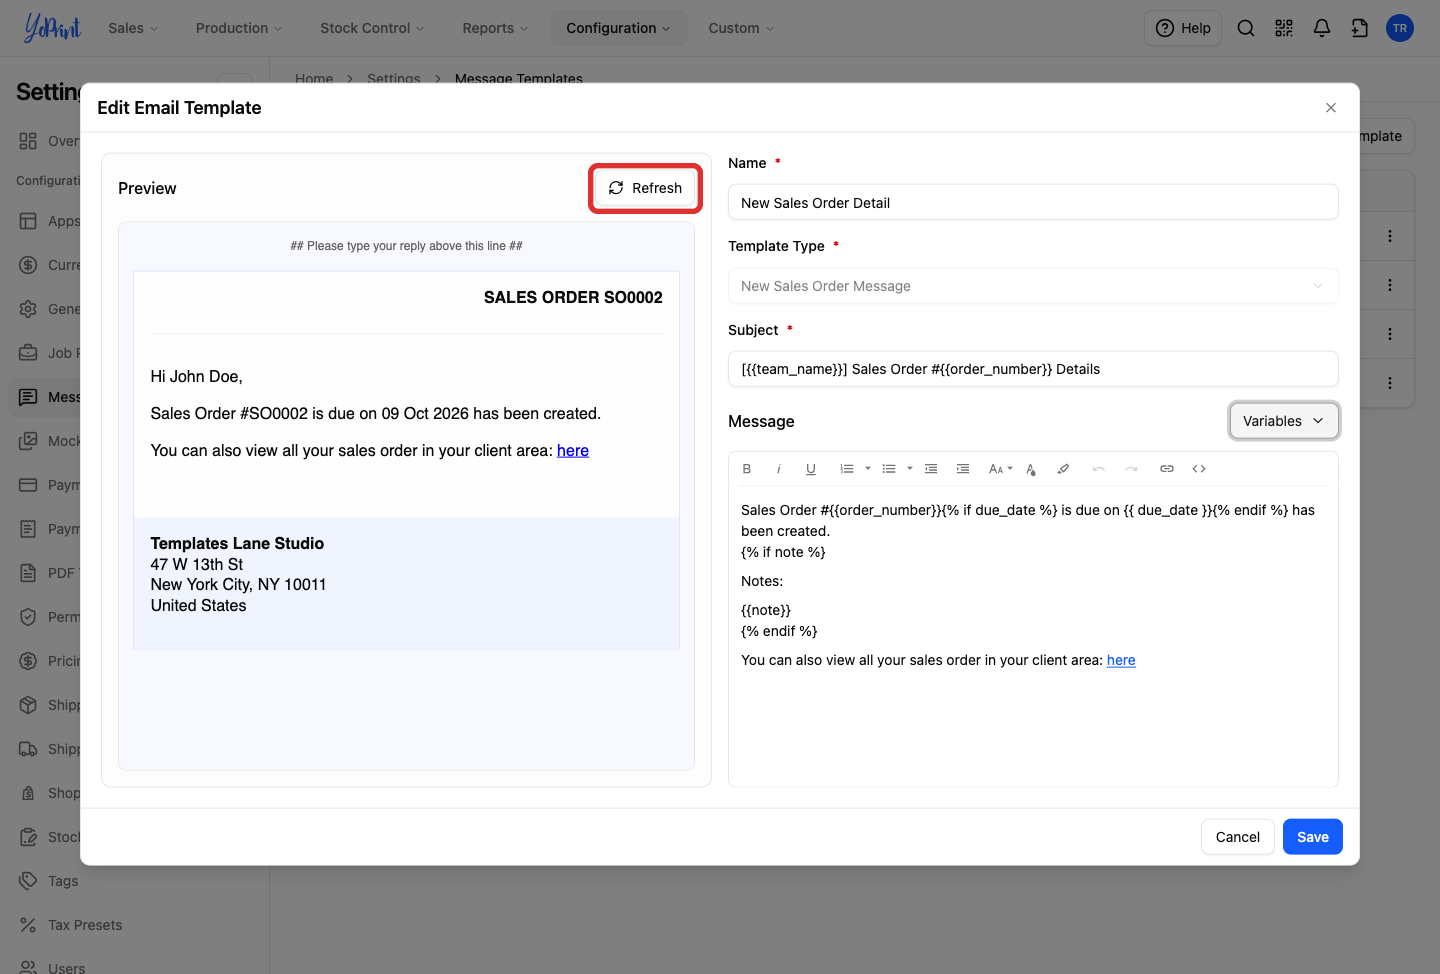
In the preview pane, click Refresh to update the preview with your changes.
-
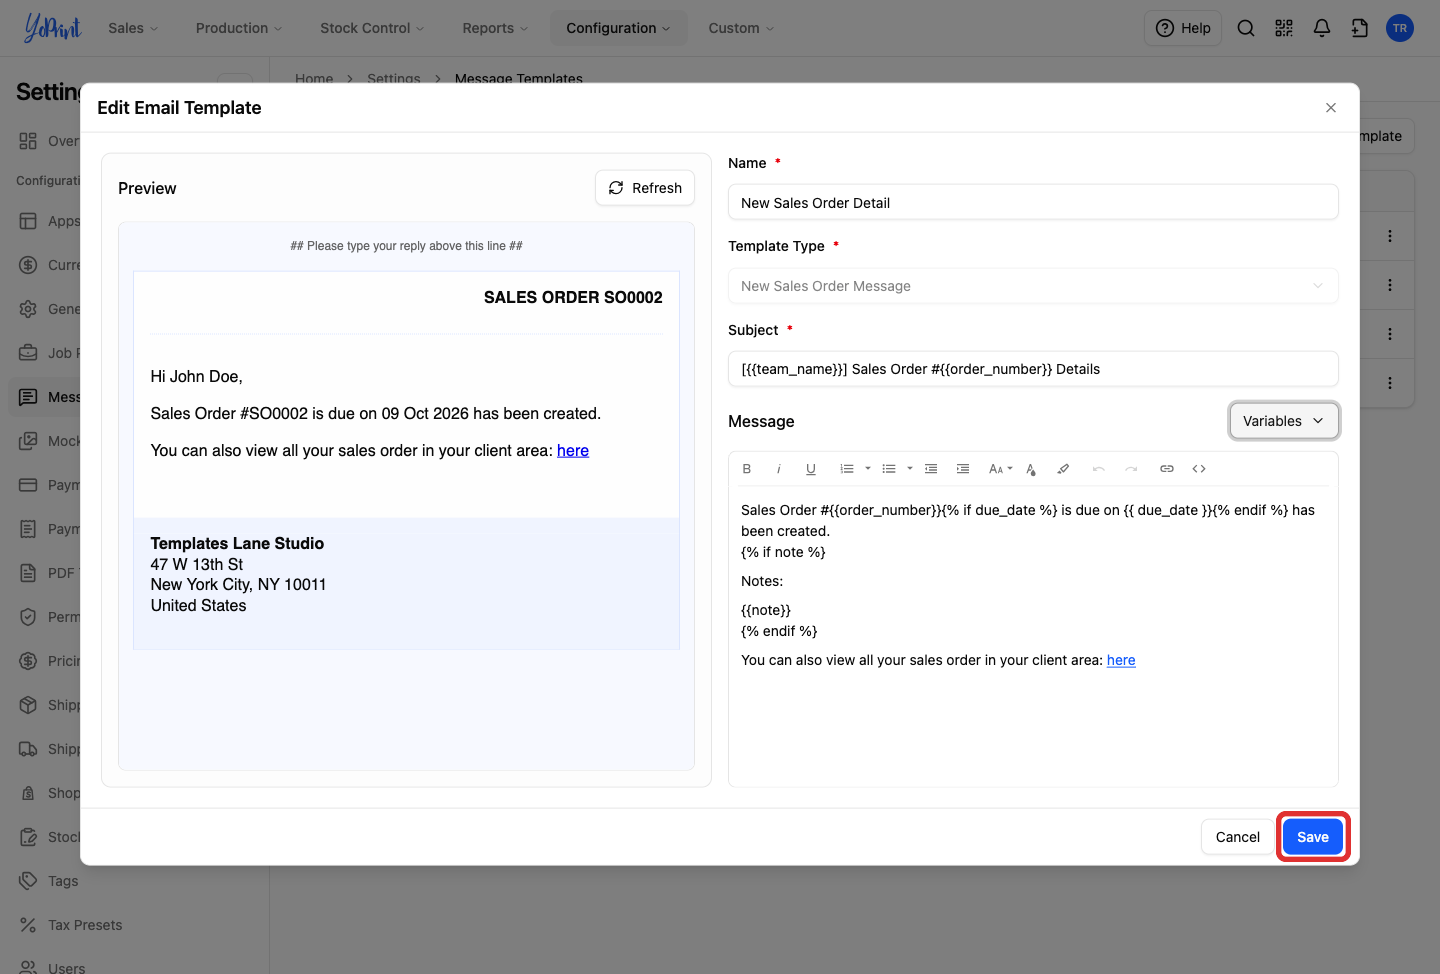
Click Save.
Custom message templates
Custom message templates save time on repeated customer and vendor communications. You can create multiple templates to match each stage of your shop's workflow.
YoPrint organizes custom templates around the three core order documents: Sales Order Message, Quote Message, and Purchase Order Message. Because invoices, shipments, and customer updates are handled within the sales order workflow, Sales Order Message templates can be used for any customer communication throughout the order lifecycle.
YoPrint supports three custom message types:
- Sales Order Message: For customer messages sent from a sales order, such as pickup notices or status updates.
- Quote Message: For customer messages sent from a quote.
- Purchase Order Message: For vendor emails sent from a purchase order.
-
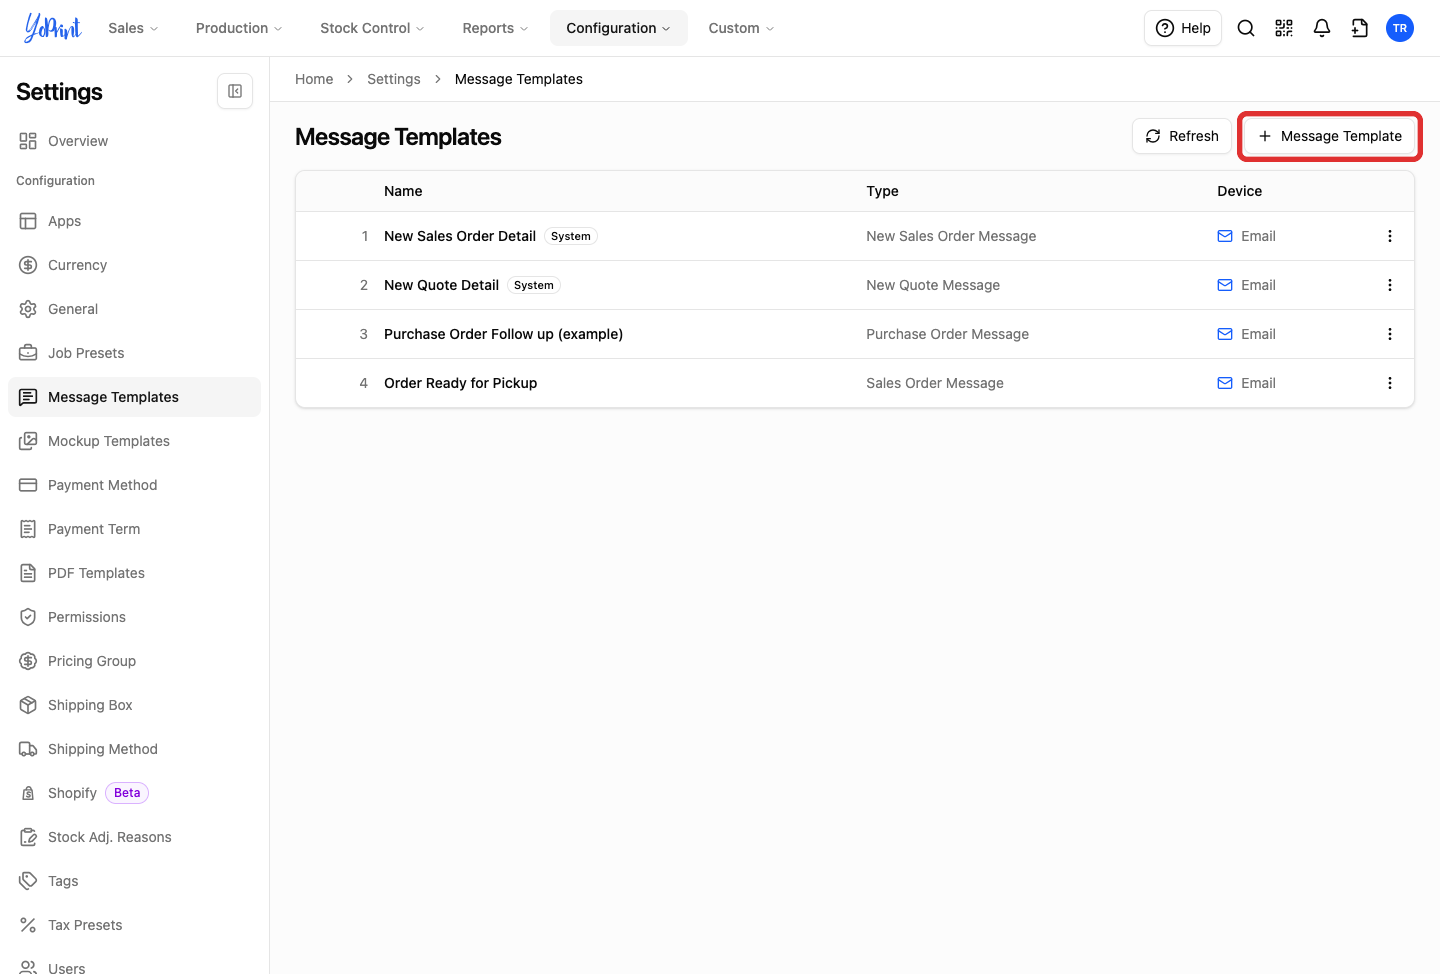
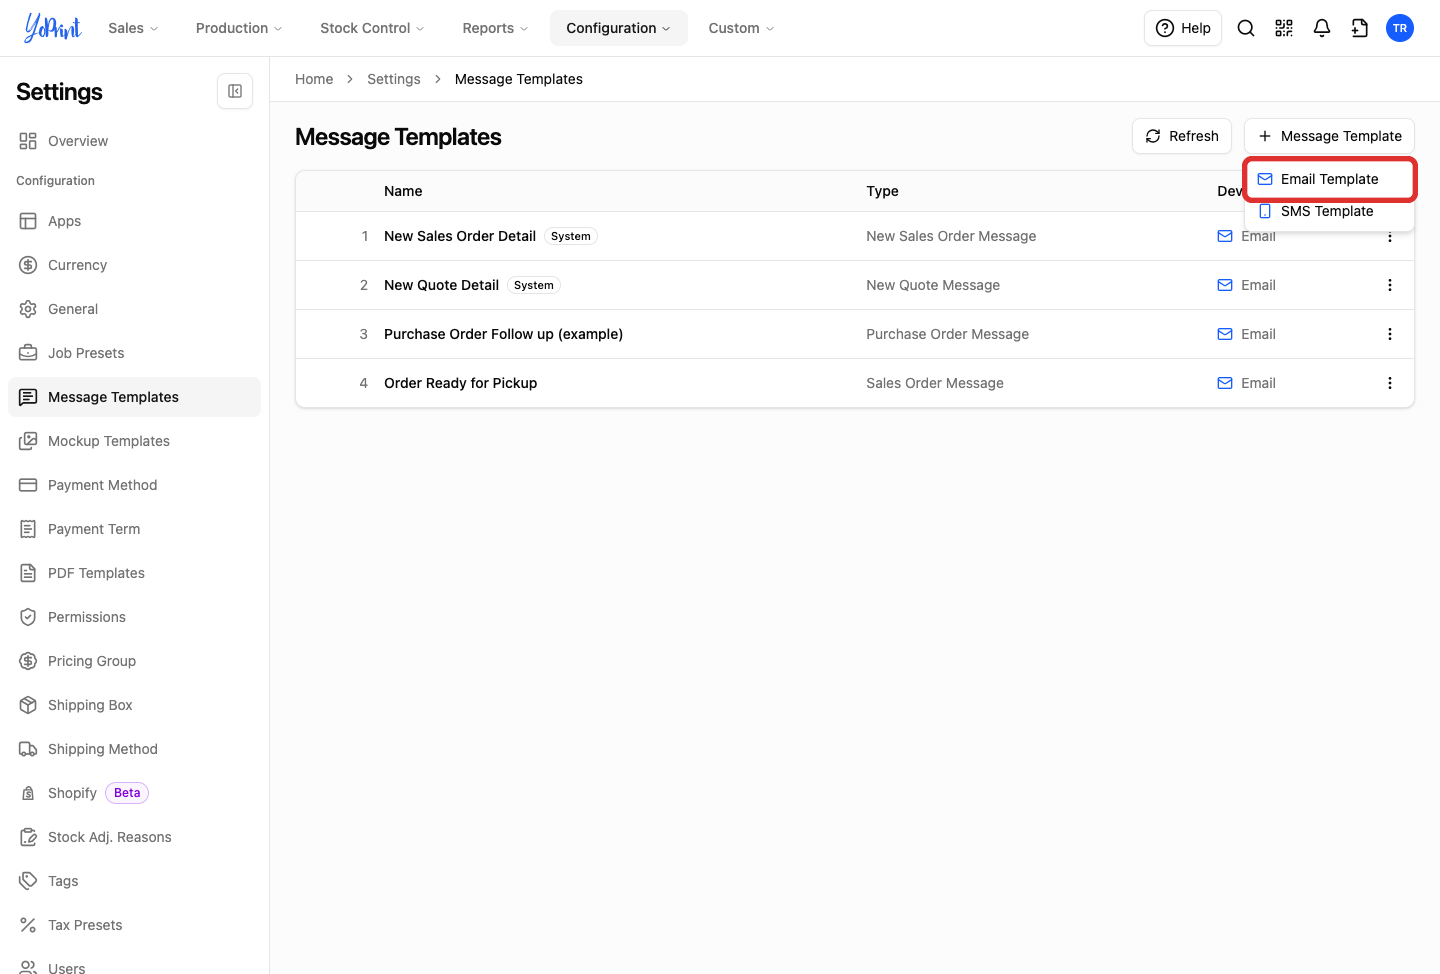
On the Message Templates page, click the Message Template button (with the plus icon).
-
Click Email Template.
SMS templates
If your shop uses SMS messaging, select SMS Template to create a canned text message instead.
-
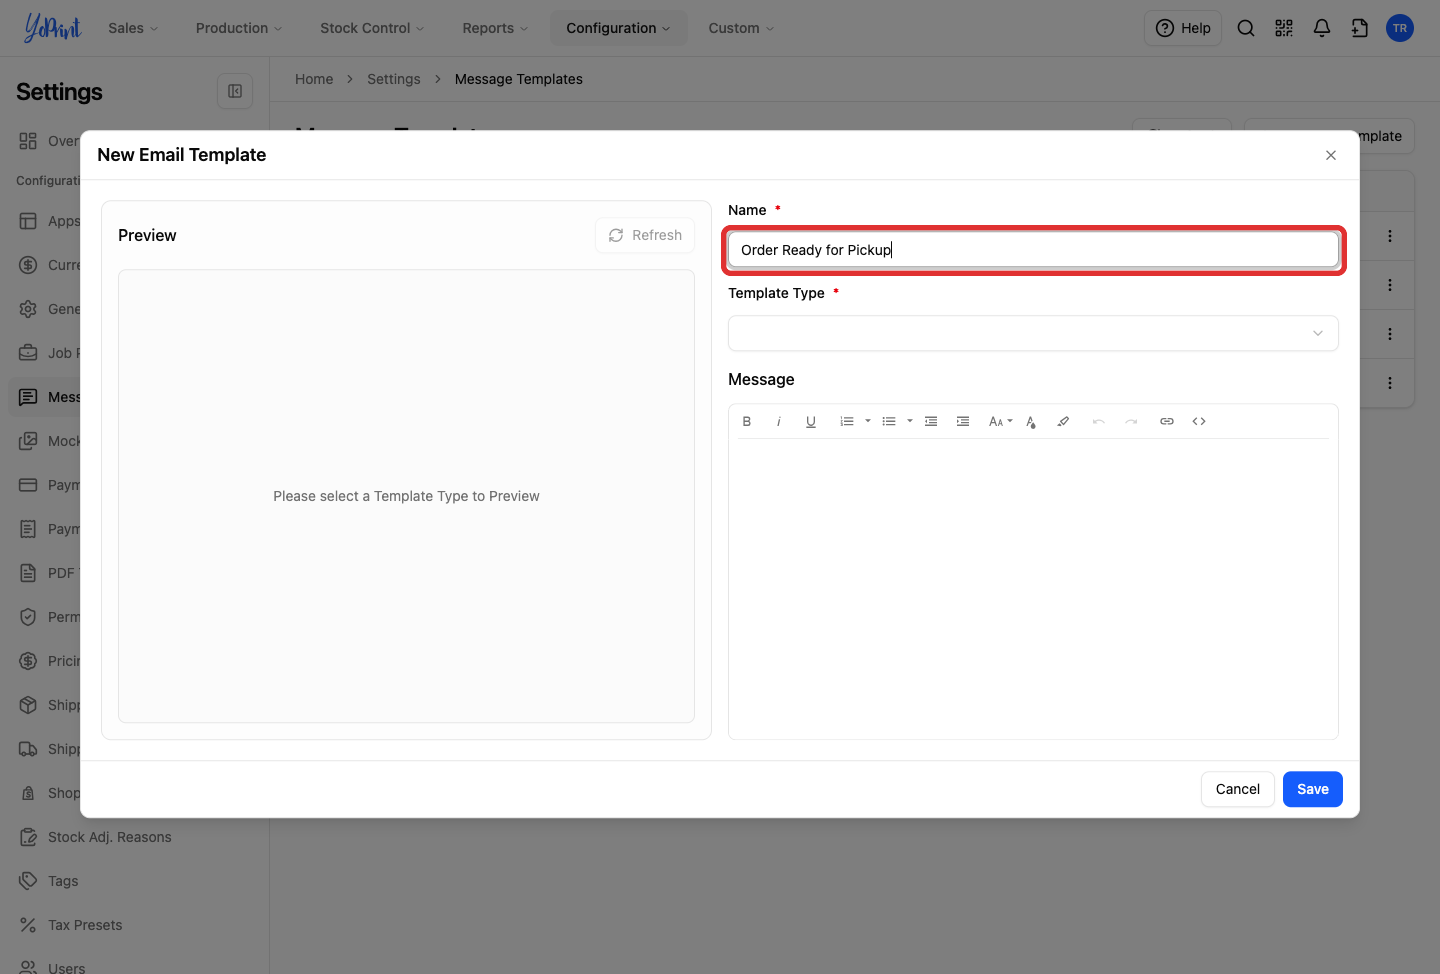
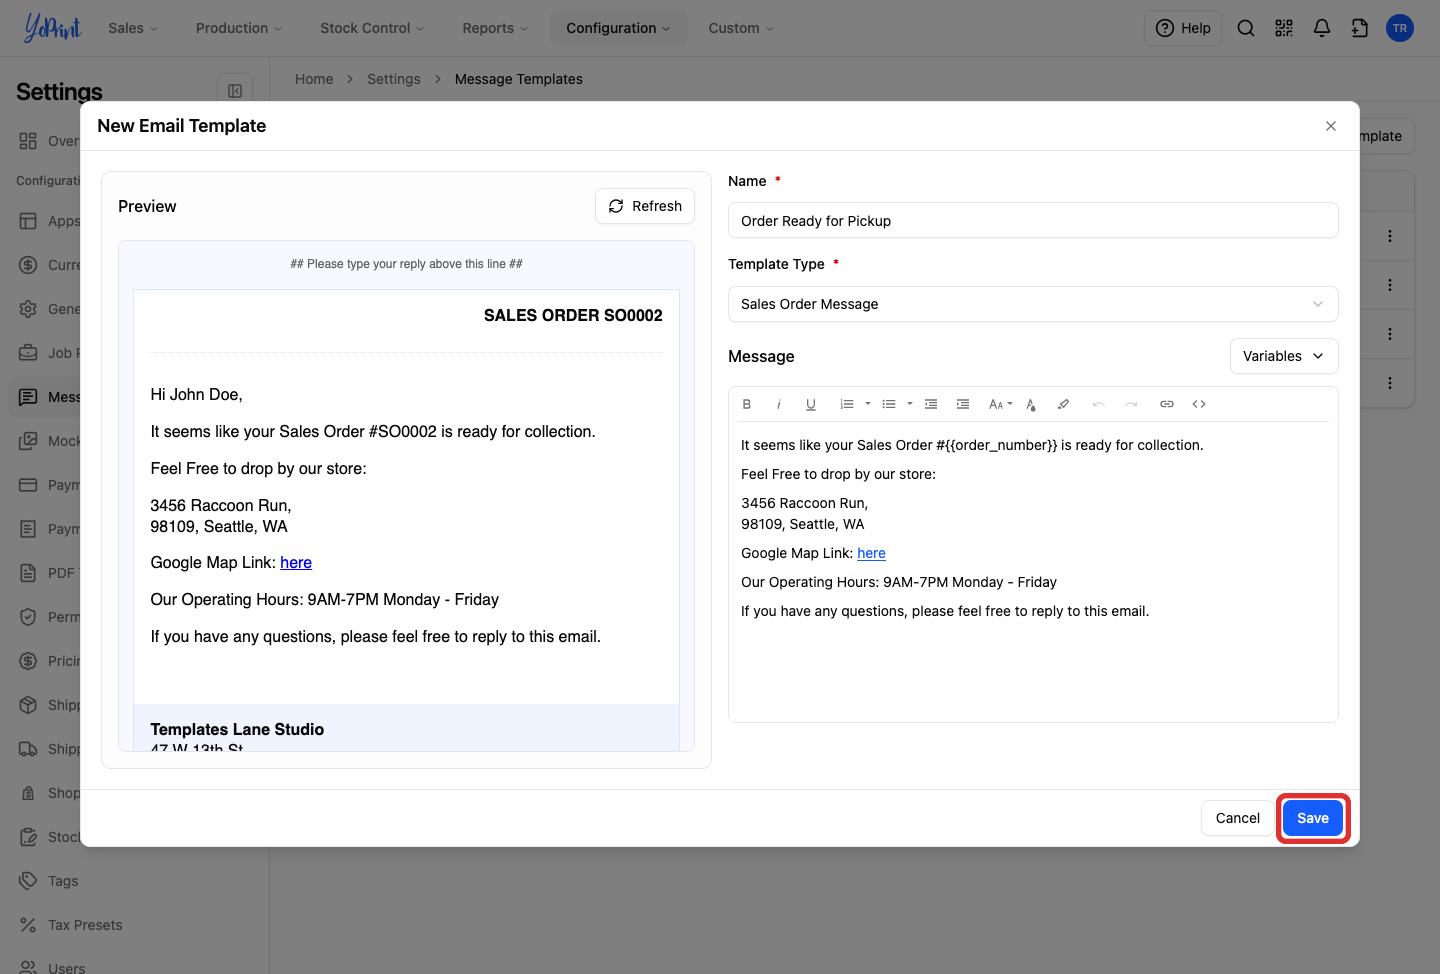
In the Name field, enter a descriptive title, such as
Order Ready for Pickup.Internal template name
The template Name is strictly internal for your team to identify canned messages; customers never see this name.
-
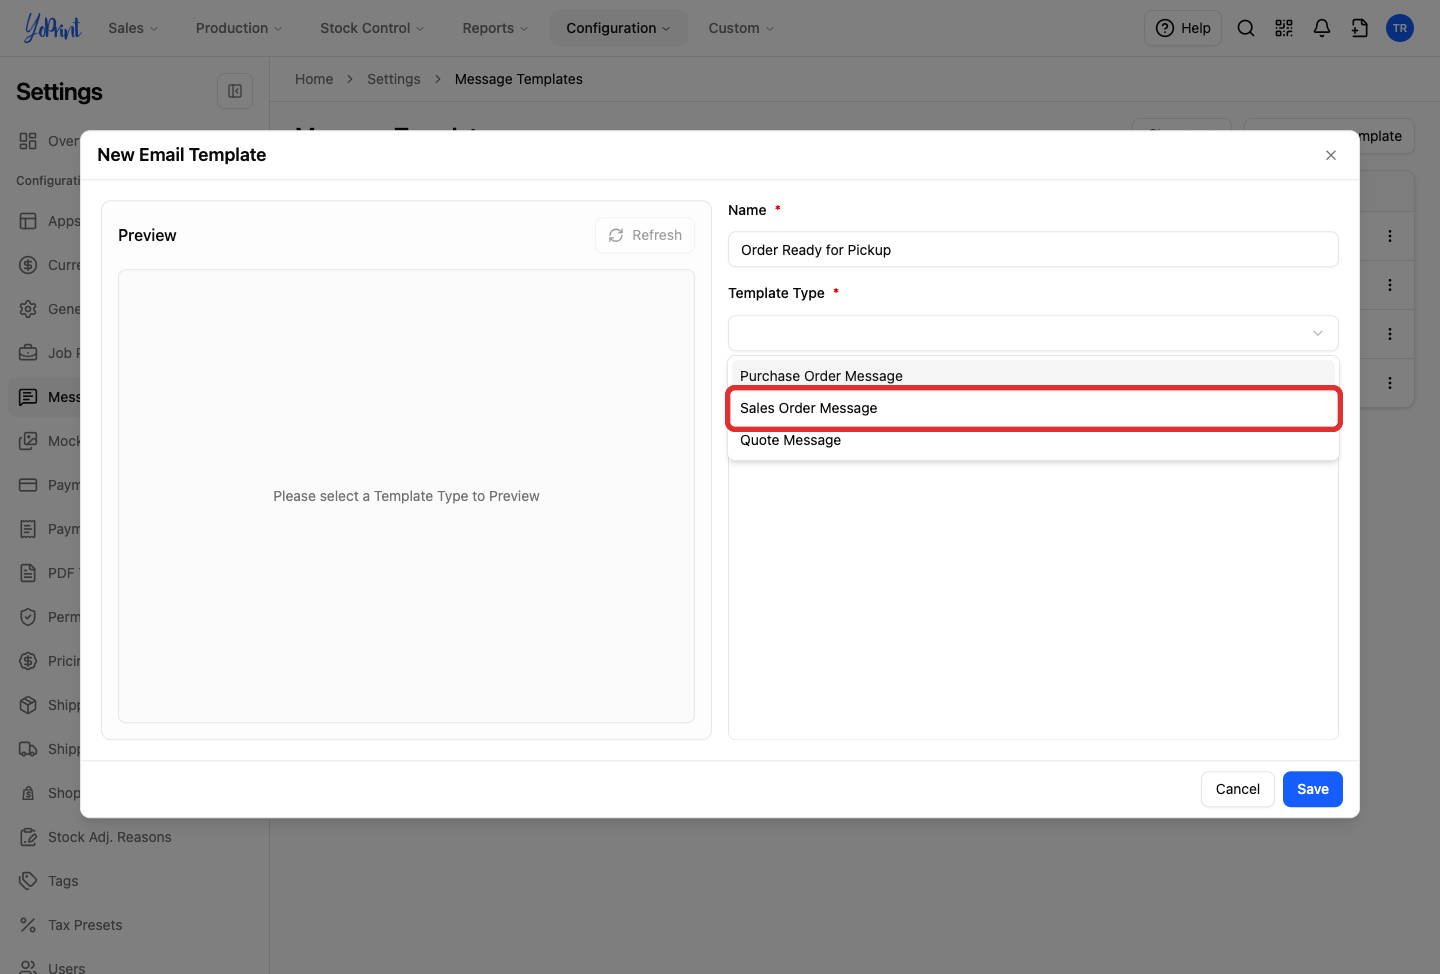
In the Template Type dropdown, select Sales Order Message.
Template controls activate on selection
Selecting a template type enables the message editor, displays the Variables button, enables Refresh, and populates starter text. Select Sales Order Message for customer order updates, Quote Message for quote communication, or Purchase Order Message for vendor emails.
-
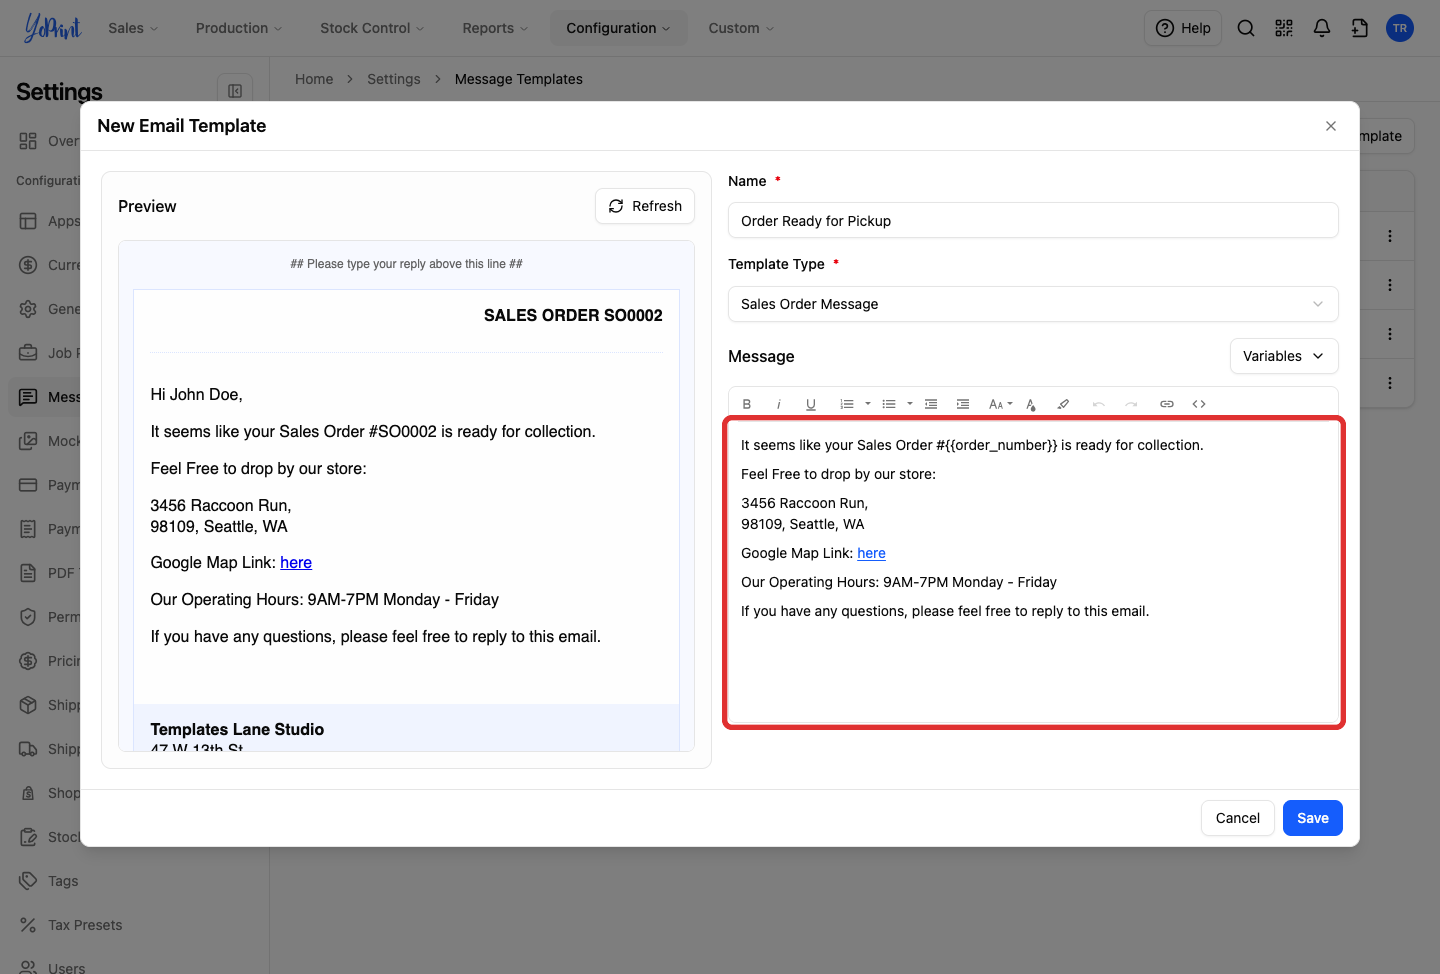
Enter your message body text in the editor, placing your cursor where needed to insert dynamic variables.
Subject lines and preview
Custom message templates do not include a subject field. When your team sends a message from an order, YoPrint automatically generates a subject line referencing the order (for example,
[Sales Order-SO0001] You got a New Message!).To preview how your message will look with sample order data, click Refresh above the preview pane.
-
Click Save.
-
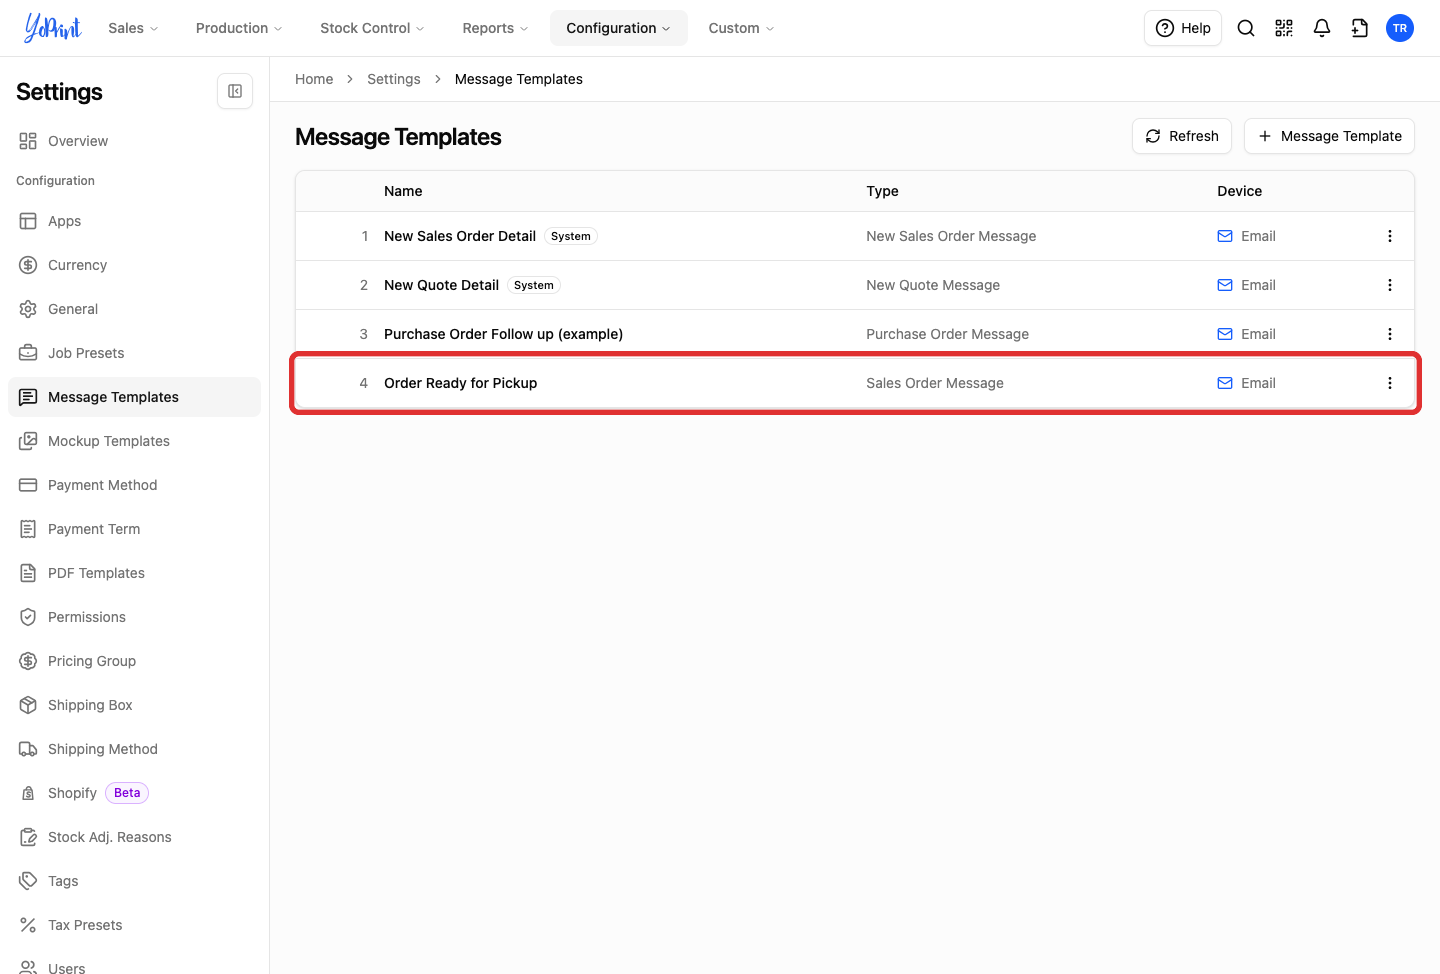
Locate your new template in the Message Templates list to confirm it was created.
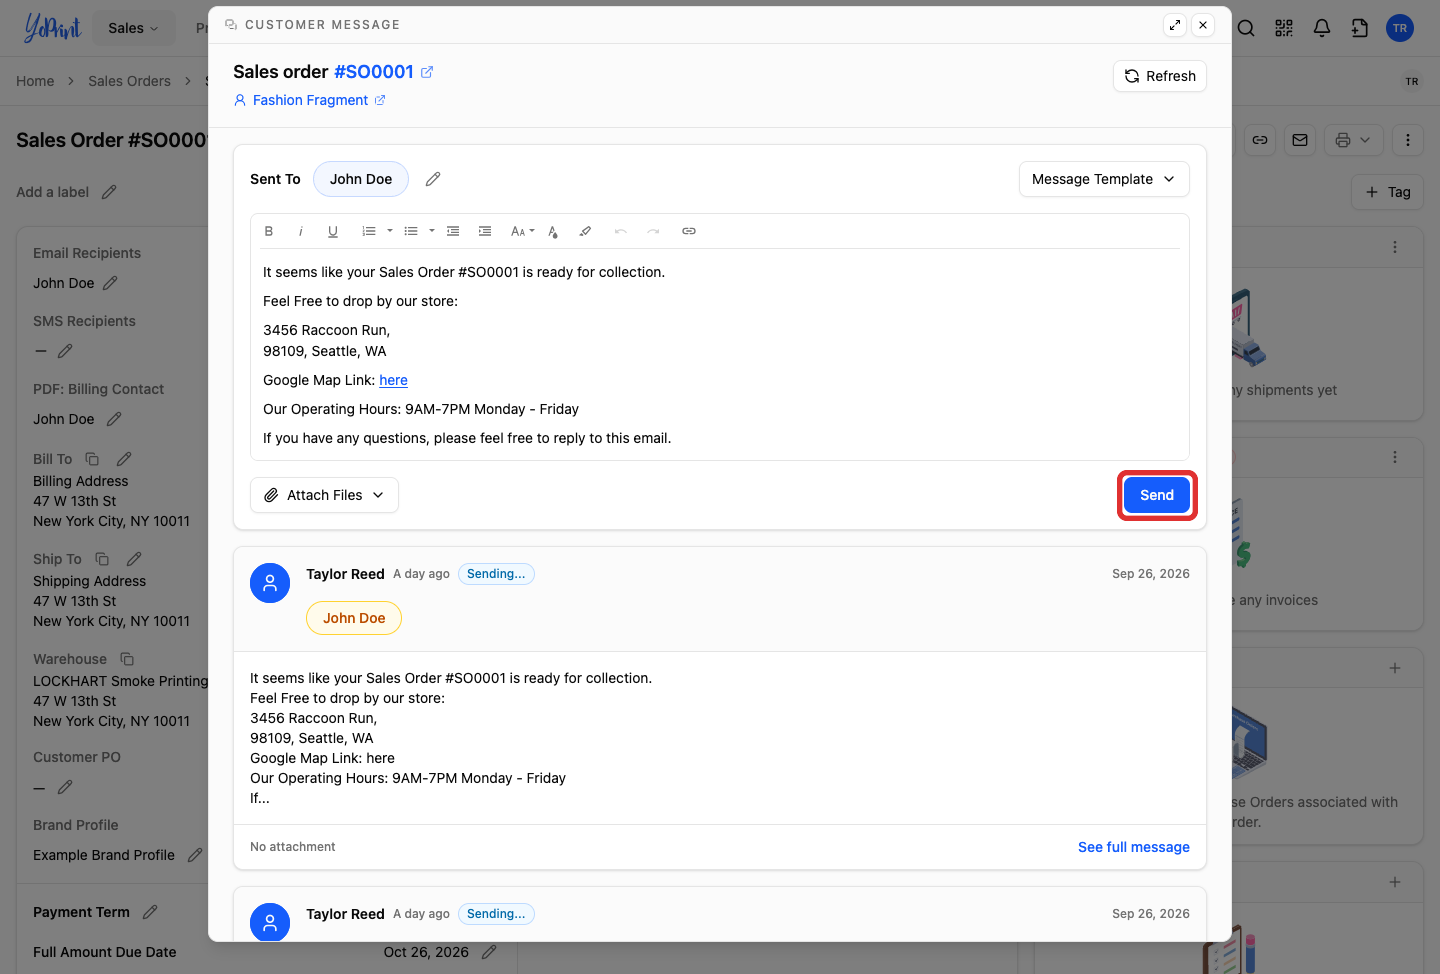
Use a message template on an order
Once created, custom templates are available directly inside order communication windows. When you send a message, YoPrint automatically threads the conversation with an email subject referencing the order number (for example, [Sales Order-SO0001] You got a New Message! ).
-
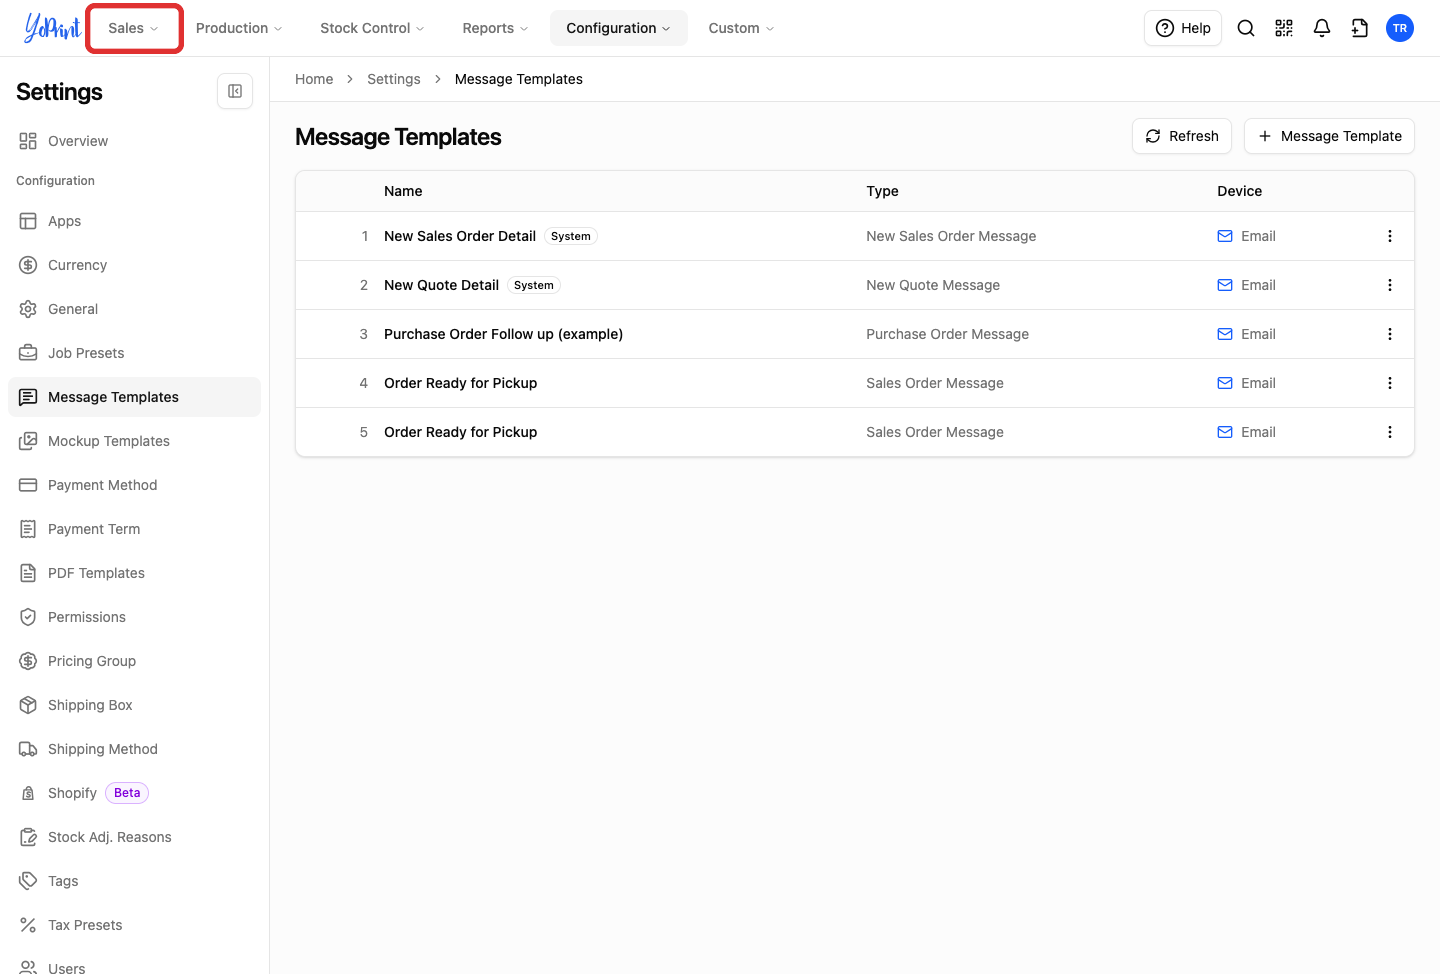
Click Sales.
-
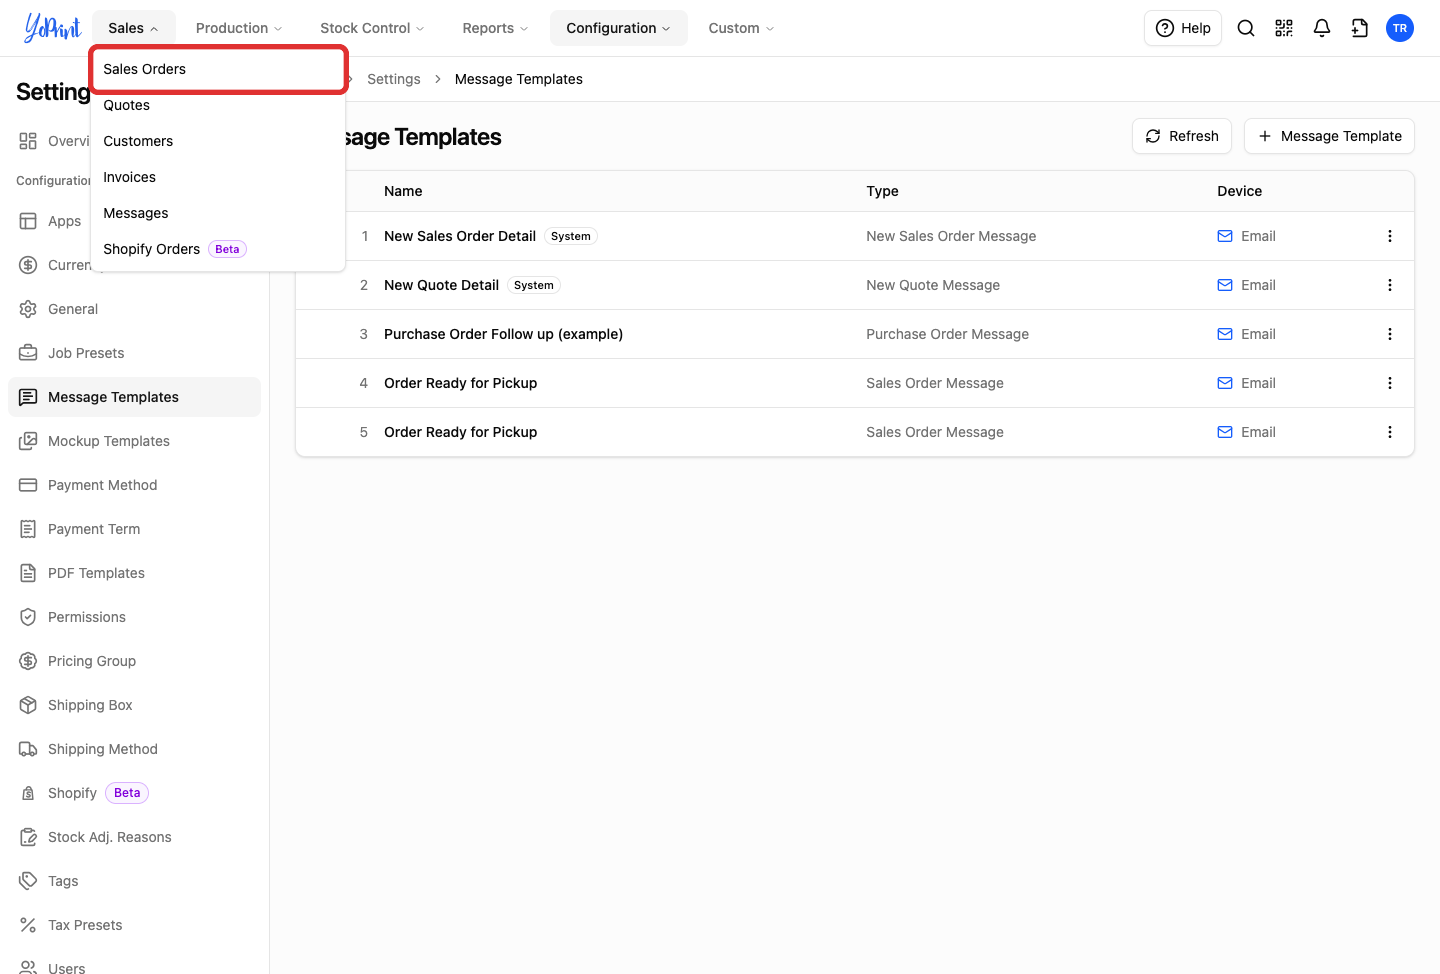
Click Sales Orders.
-
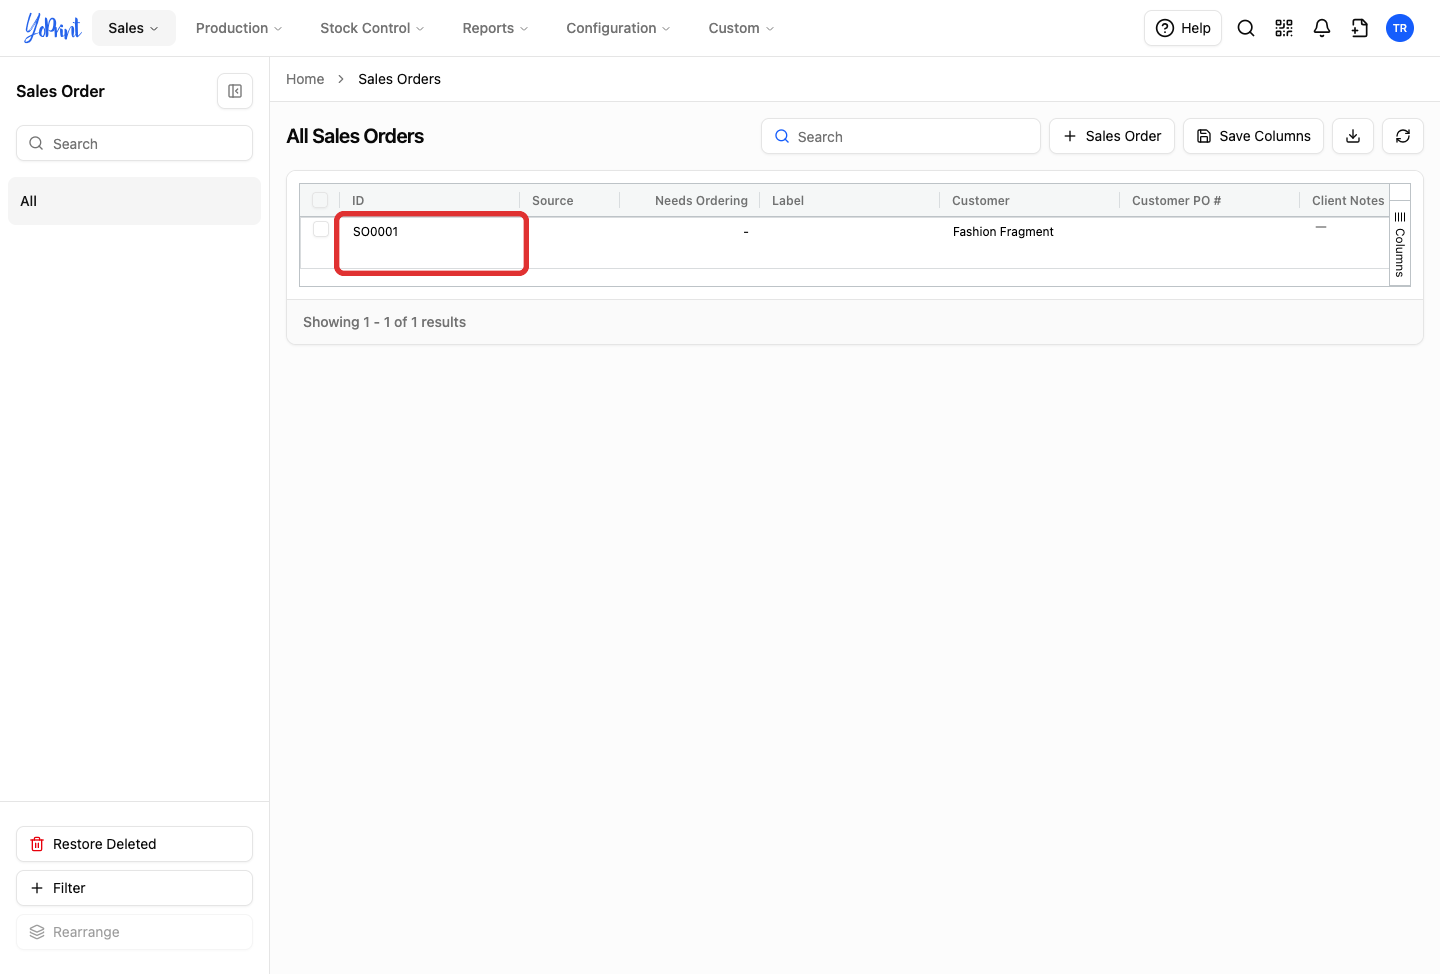
Double-click the sales order you want to open (such as SO0001), or click its three-dots More actions button and select View.
-
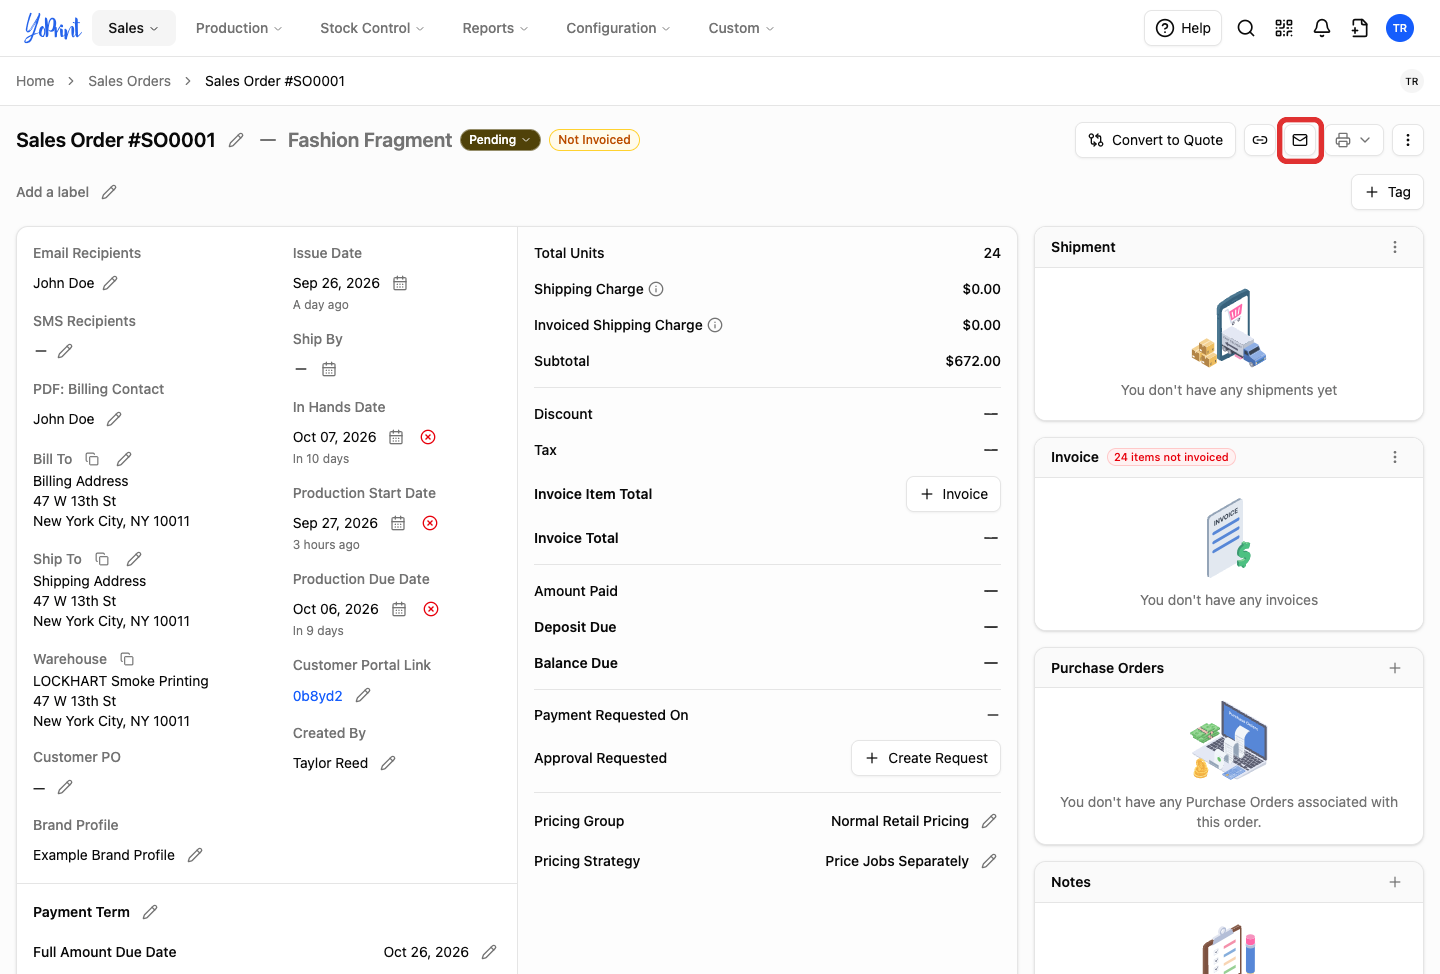
In the order header, click Customer Message.
-
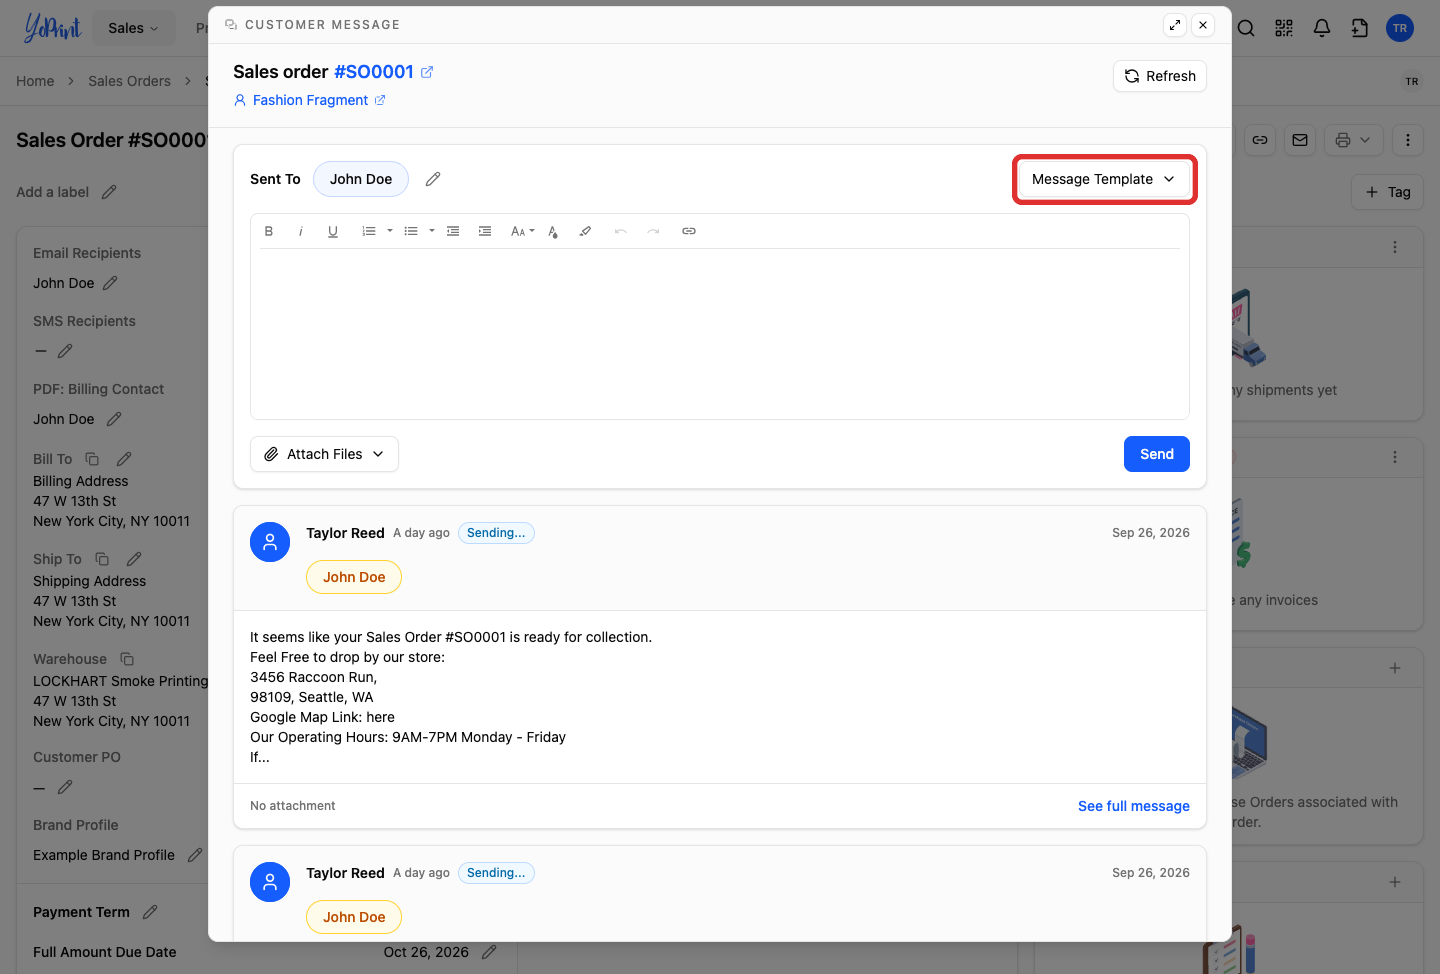
In the message composer toolbar, click Message Template.
-
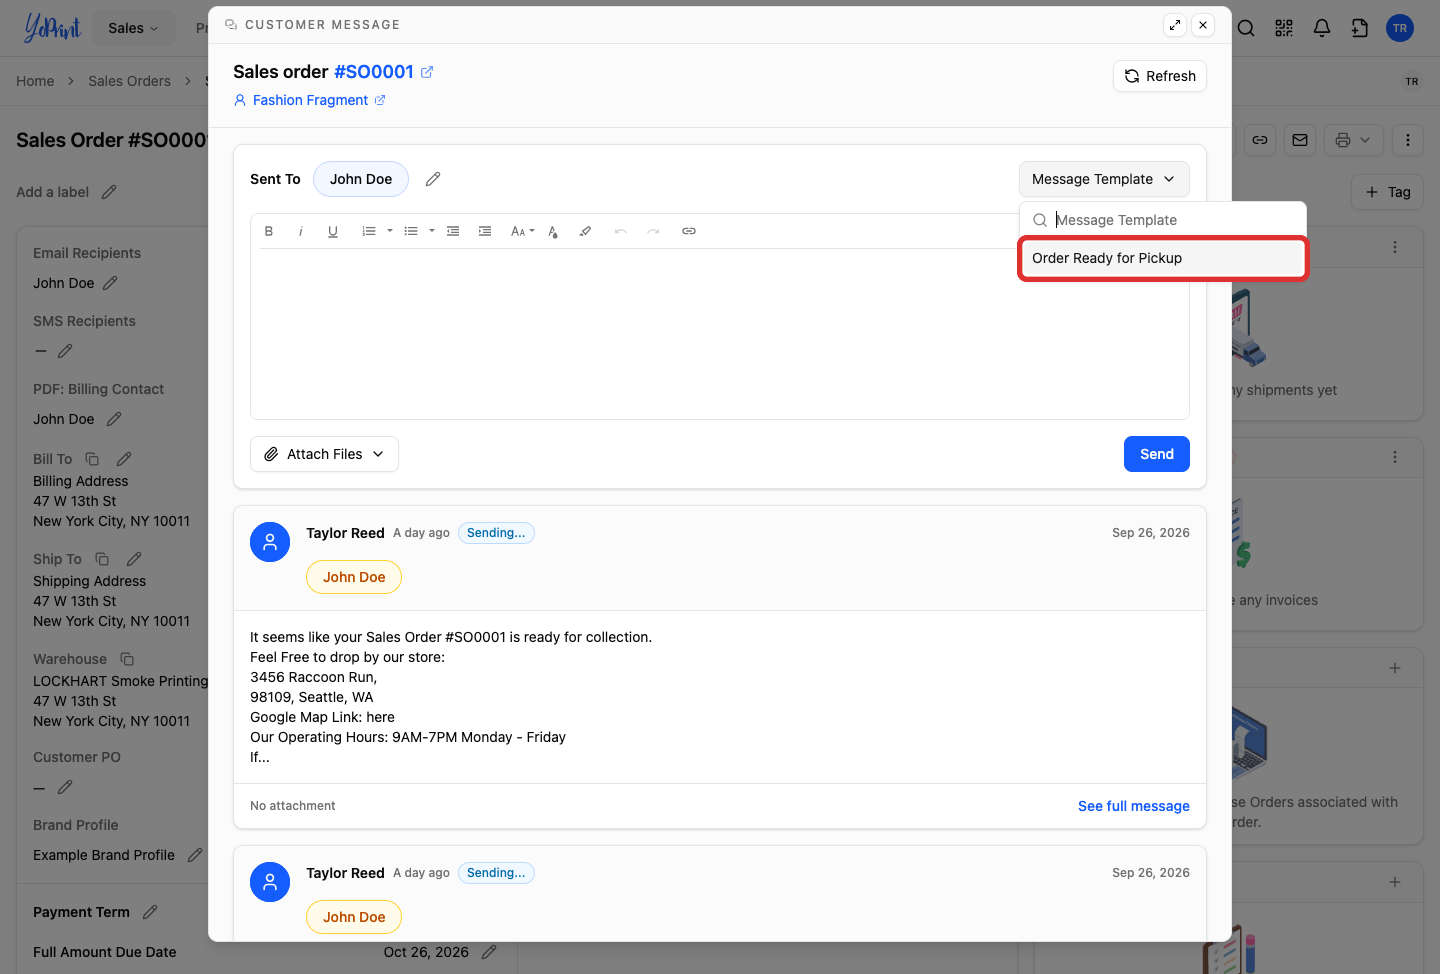
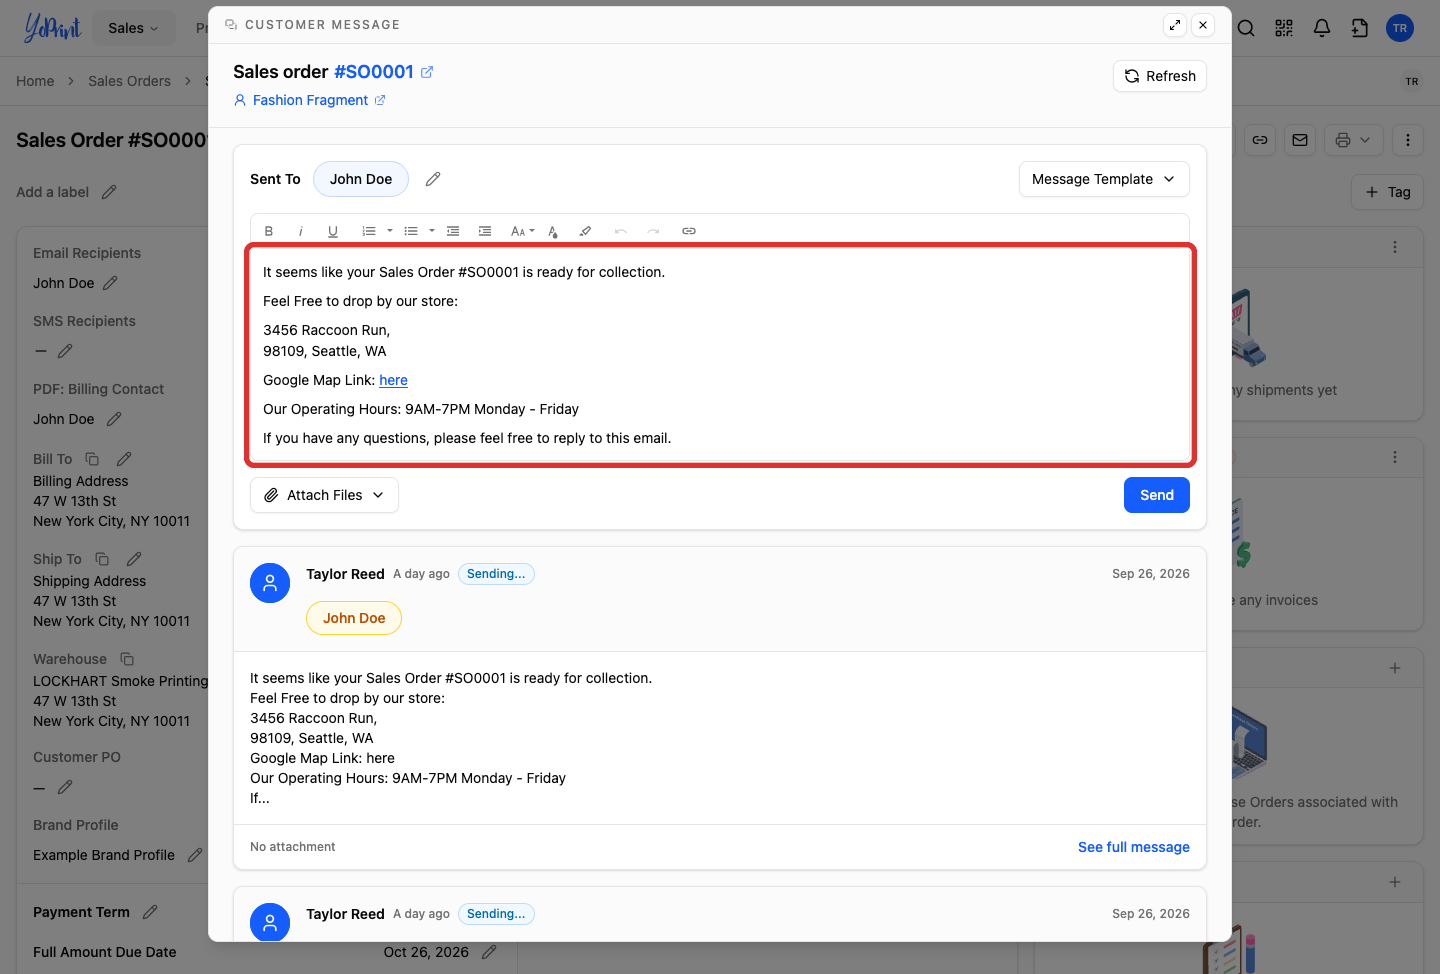
In the suggestions list, click your template, such as Order Ready for Pickup.
The composer briefly disables while loading the template and resolving dynamic variables, then populates the message body.
-
Review the populated message text and resolved order variables in the composer.
Personalizing individual messages
You can freely edit or add text in the composer before sending. Any edits you make here apply only to this specific outgoing message and do not modify the saved template.
-
Click Send.