Stock Take
In this article
Use Stock Take to compare a physical count with the quantity recorded for a warehouse and create a stock adjustment when the count differs.
Open Stock Take
-
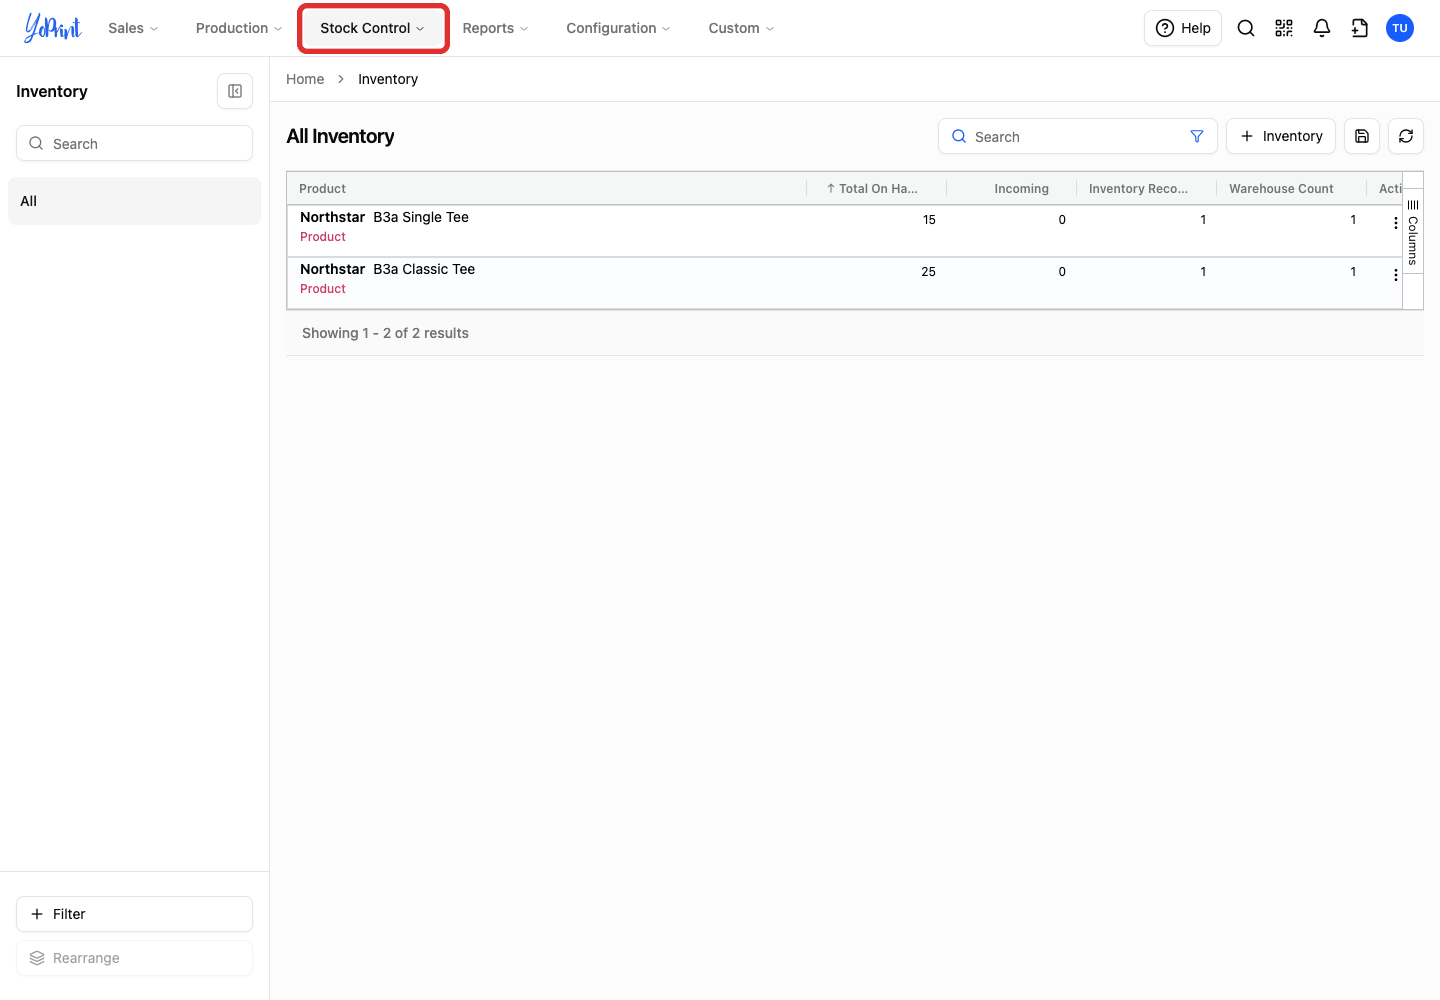
In the top navigation, click Stock Control.
-
Click Stock Take.
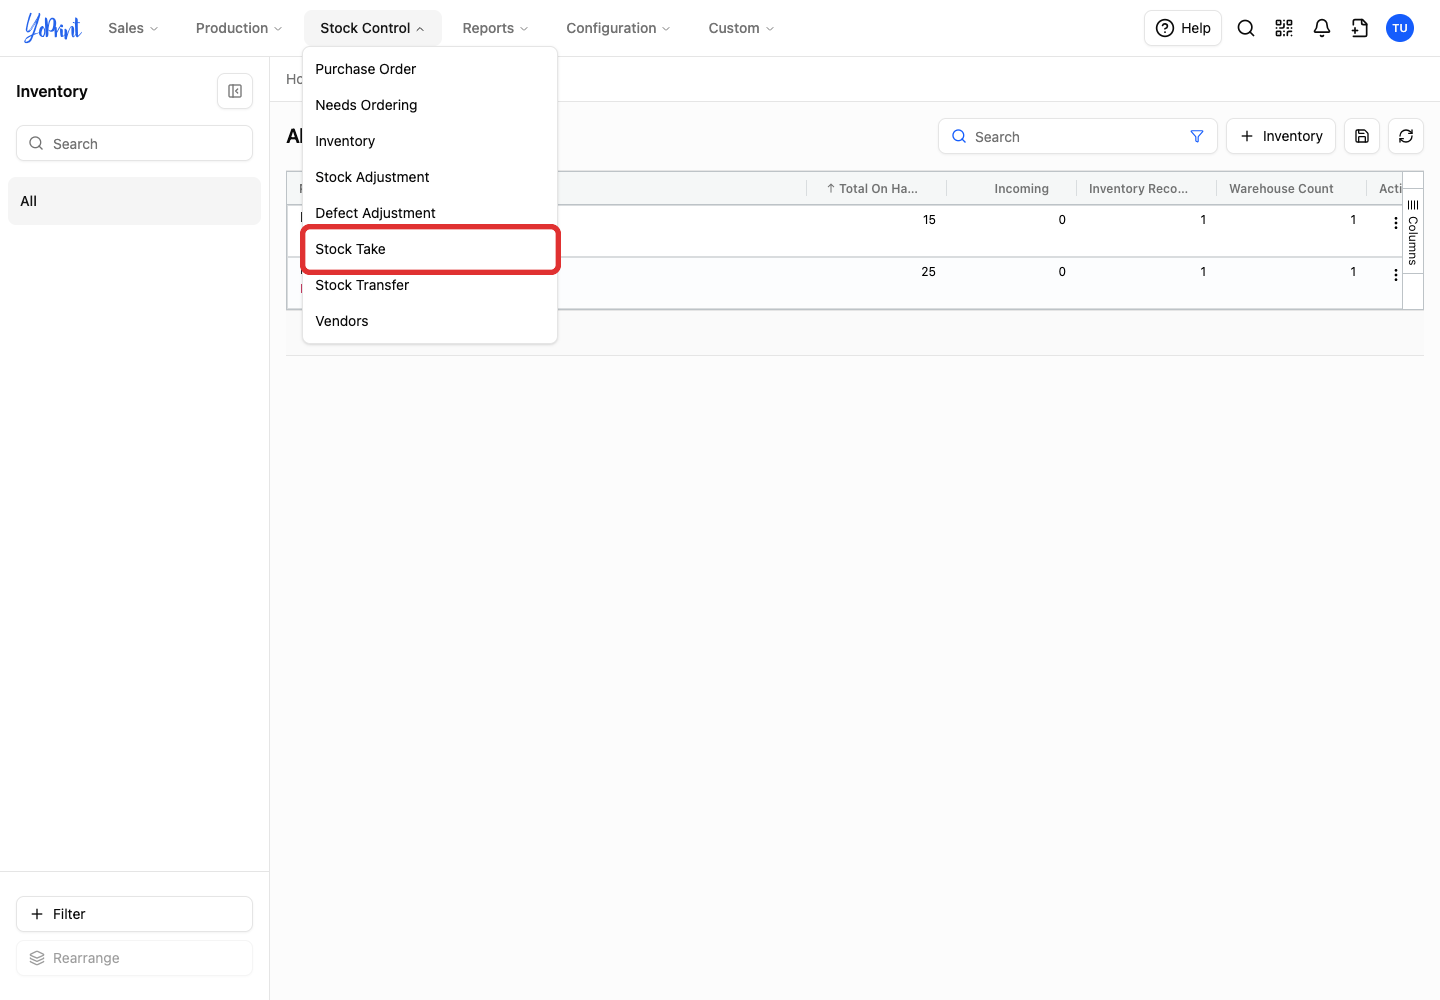
If your team manages multiple warehouses, select your warehouse on the warehouse selection screen and click Begin. If your team has one warehouse, YoPrint opens its count sheet directly.
-
Expand a product row to see its variants.
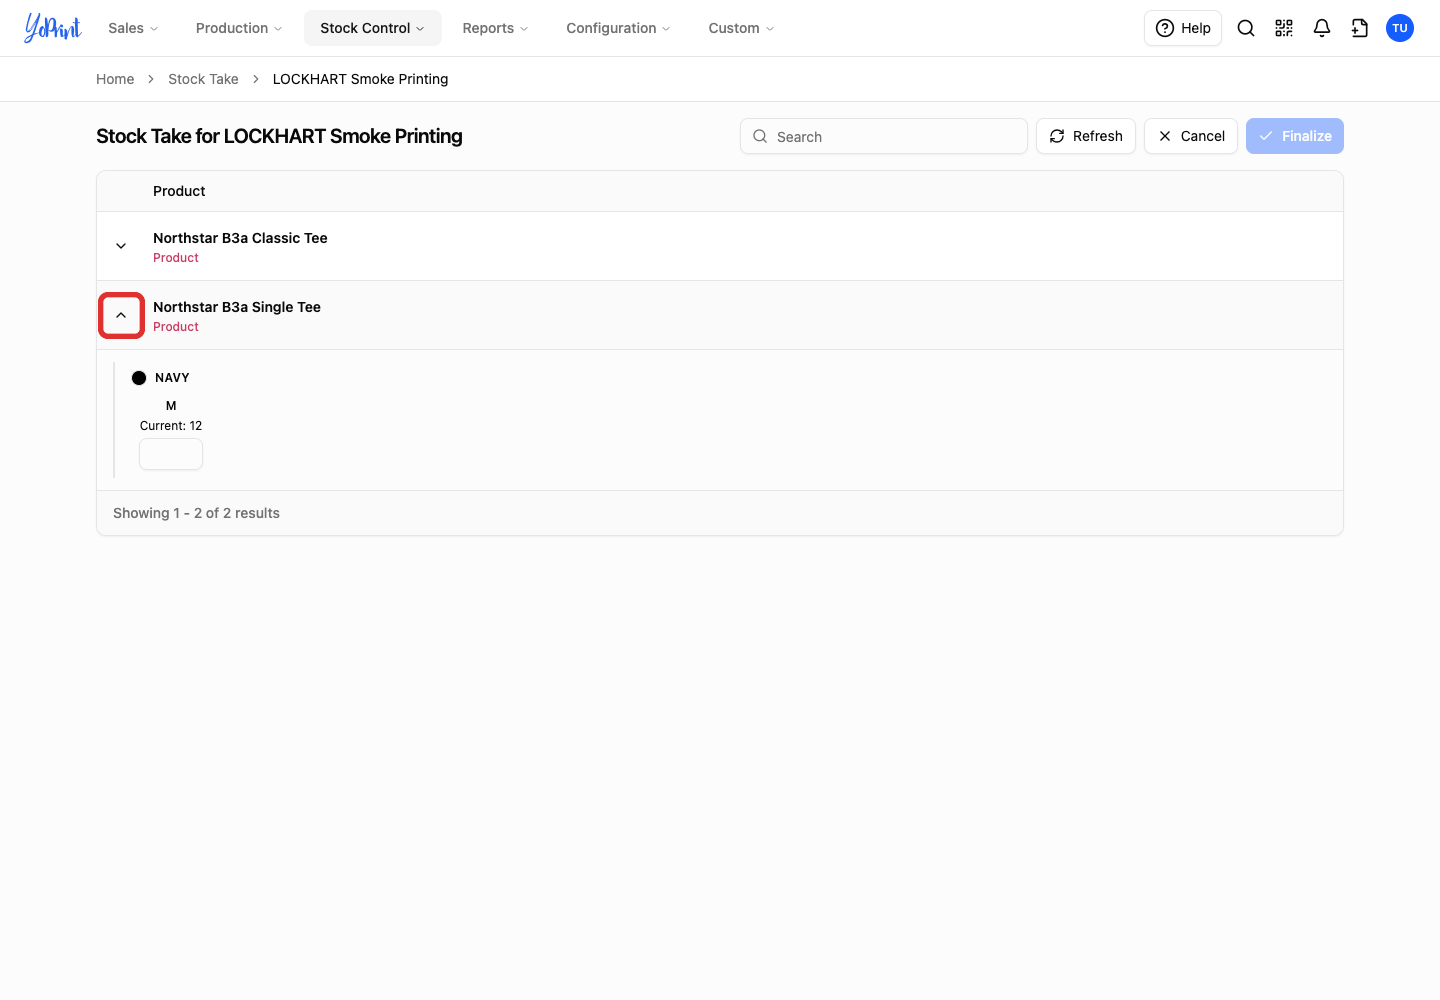
The table shows recorded product groups for the warehouse. Use Search to find products by name, or click Refresh to reload the list. Leaving uncounted variants blank keeps their recorded stock intact.
Enter the counted quantity
-
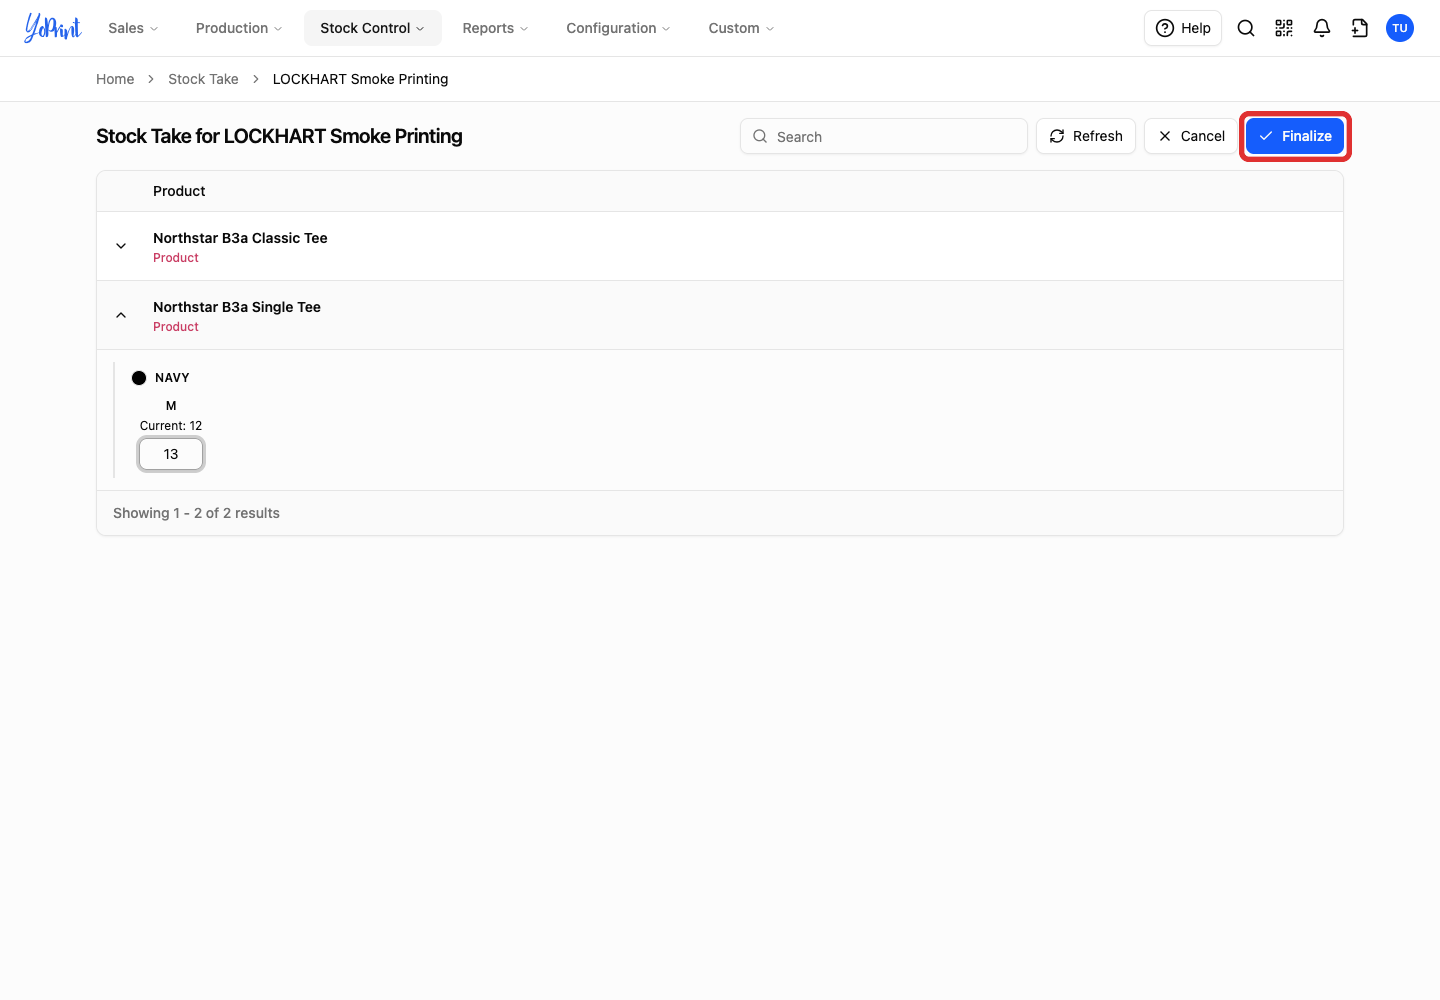
Locate the variant you counted and enter the physical count in its quantity field.
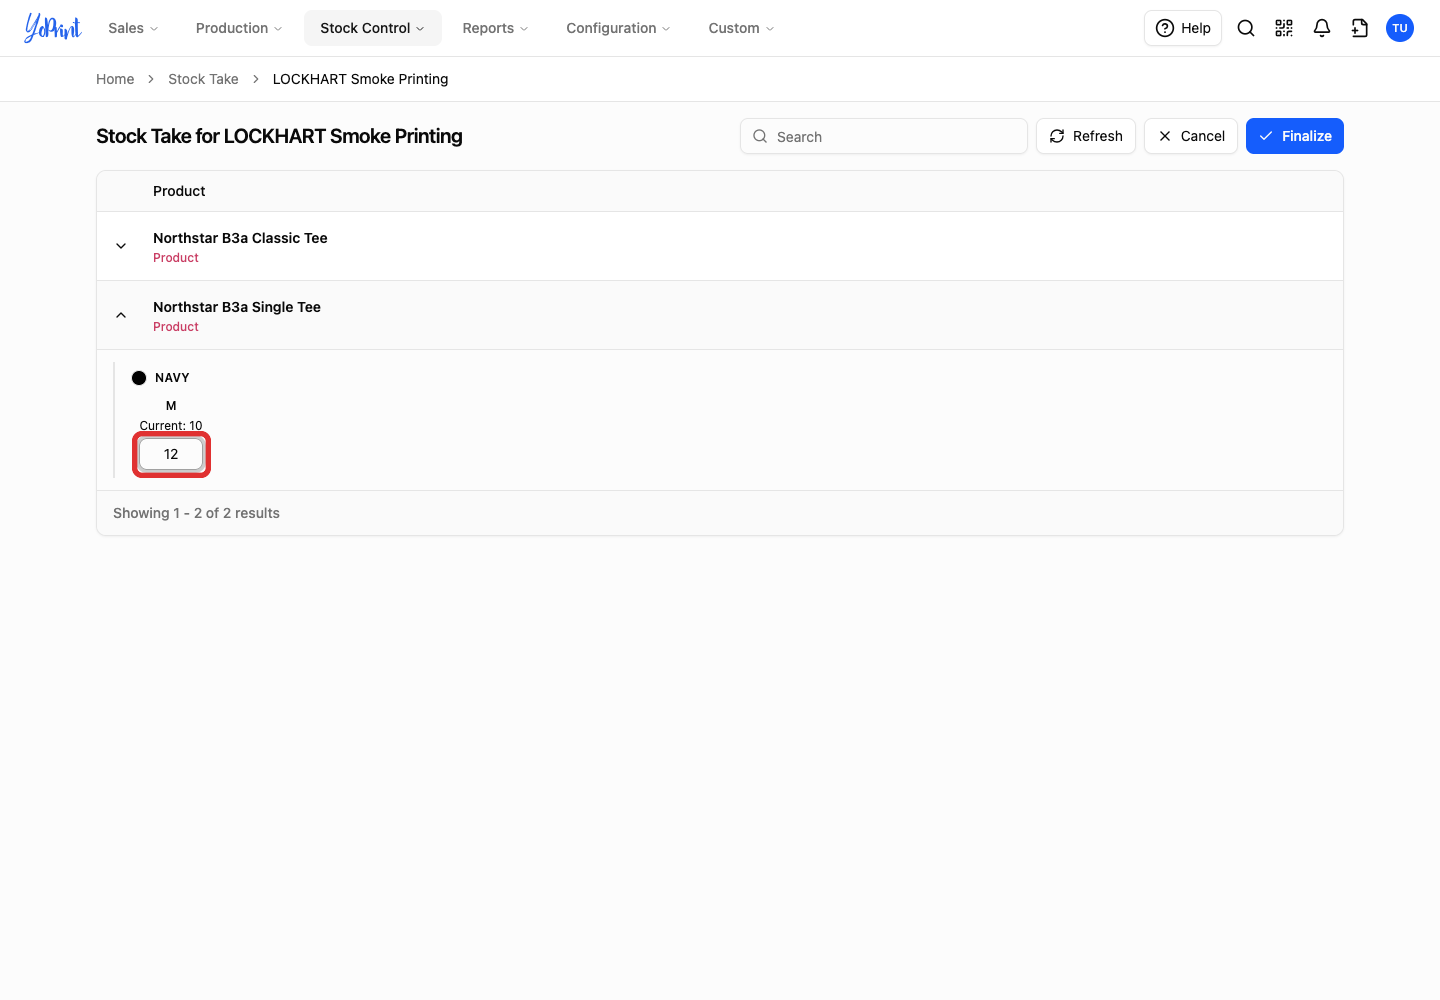
The row keeps the recorded count beside Current while you enter the new value. Entering a number activates the Finalize button. Leave matching variants blank to preserve their recorded counts, or enter 0 if an item is completely out of stock. Repeat for any other variants that need correction.
Review and finalize the stock take
-
Click Finalize after entering the counts.
-
Review each row in the Finalize Stock Take dialog, including Stock In Hand, New Quantity, and Quantity Change.
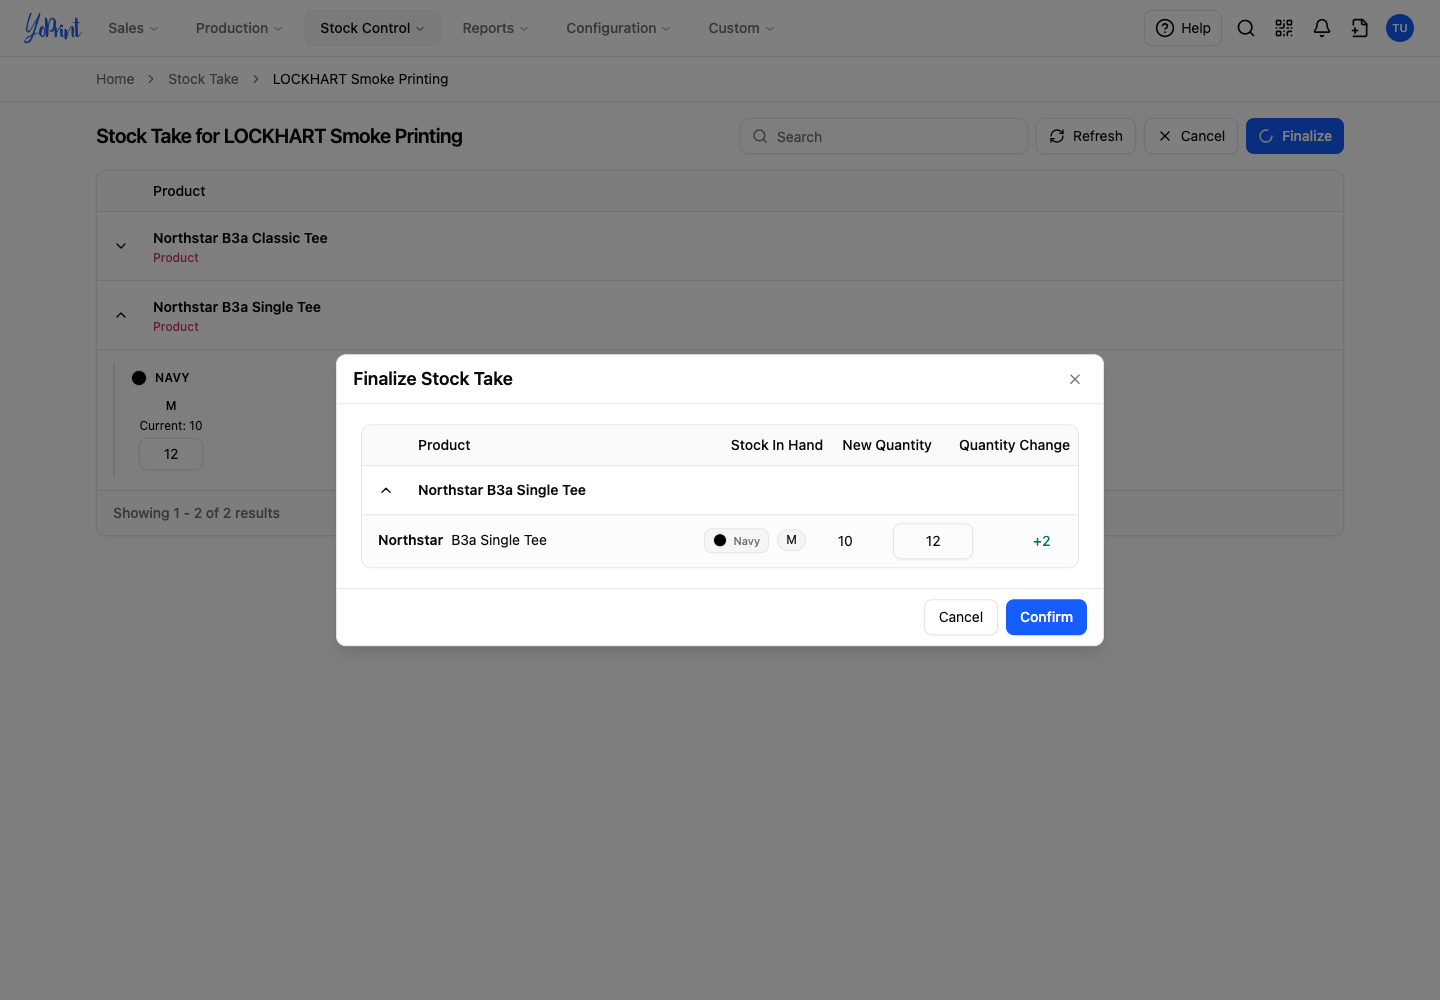
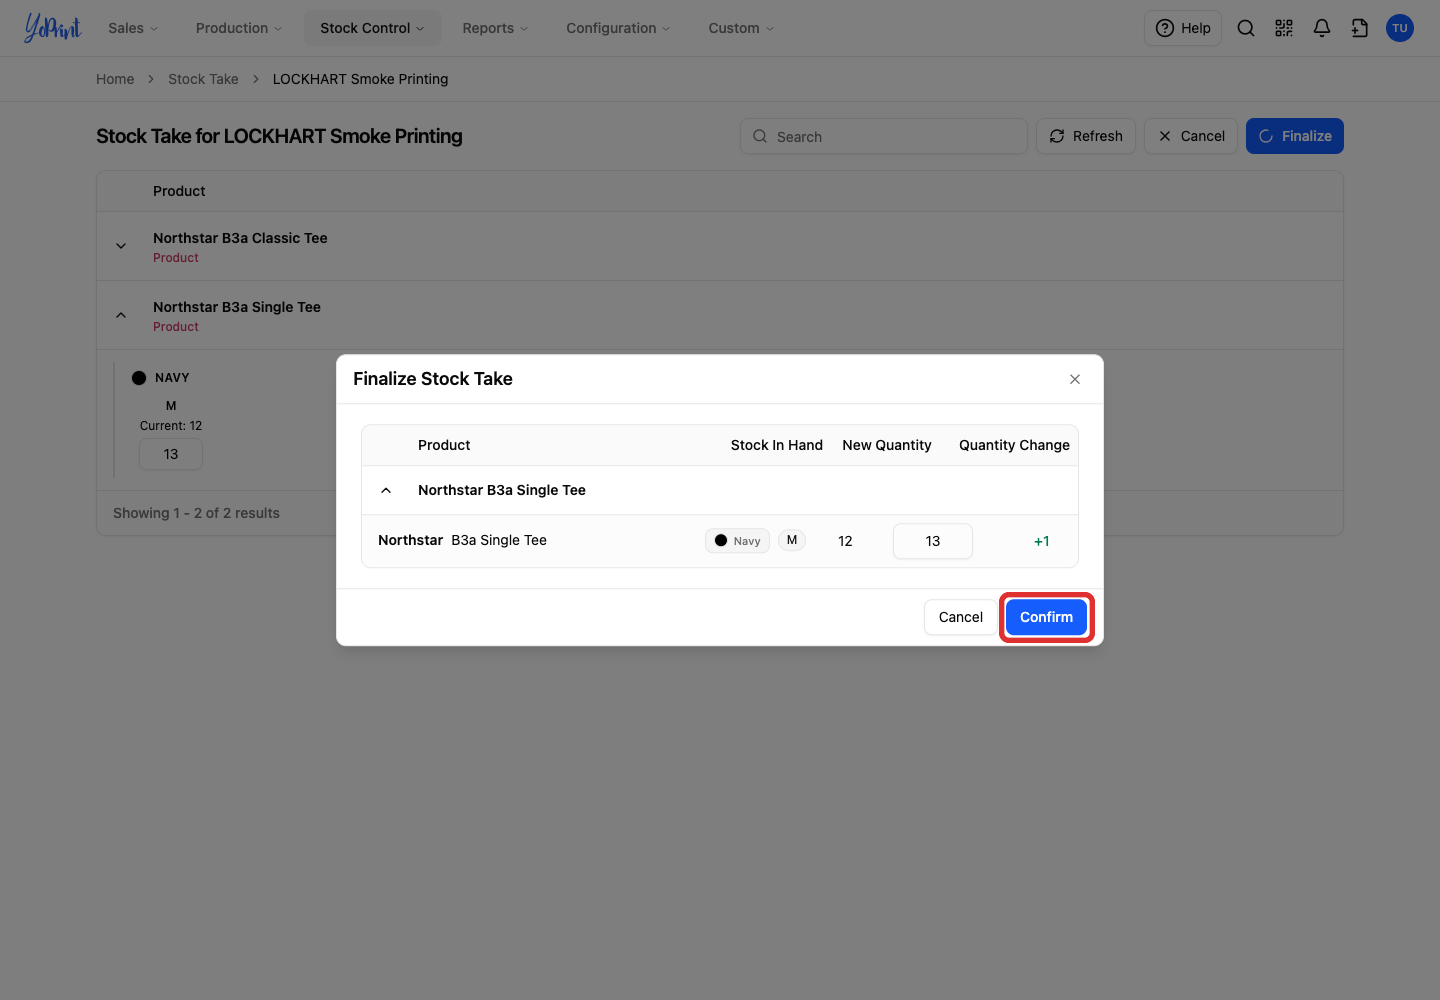
Both Current on the count sheet and Stock In Hand in the dialog show currently recorded stock. To correct a count, edit the New Quantity field directly in the dialog or click Cancel to return to the count sheet.
-
Click Confirm when the quantities are correct.
-
Check the completed Stock Adjustment record.
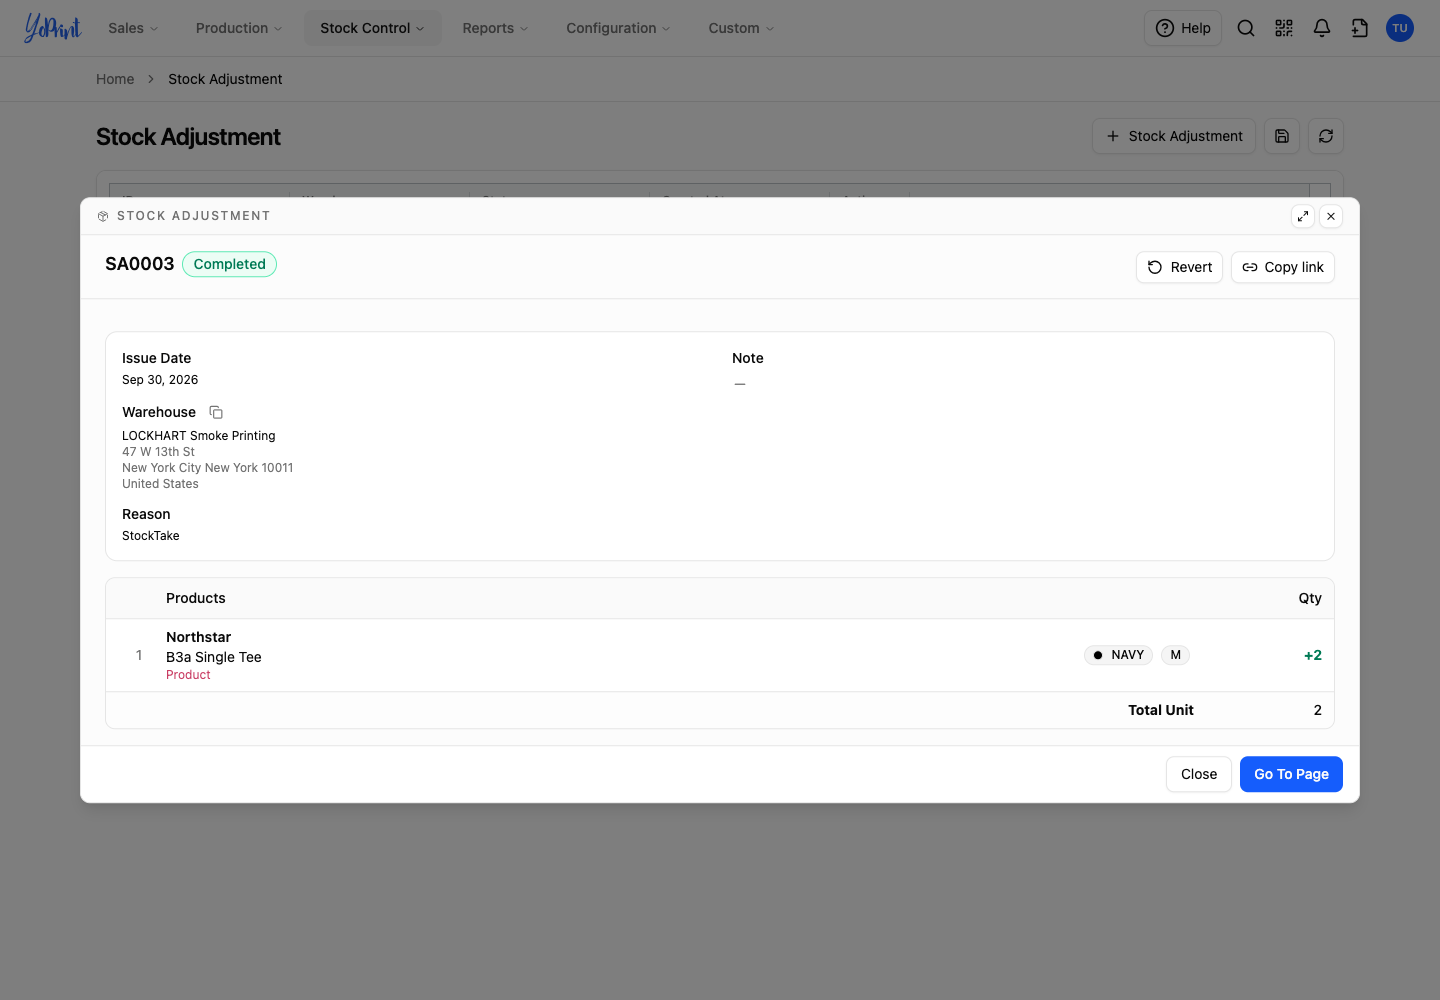
YoPrint opens the completed Stock Adjustment showing the warehouse, the StockTake reason, the affected variants, and the net unit changes. When you close the adjustment record, YoPrint opens the Stock Adjustment list. To start another count, open Stock Control > Stock Take. If you need to reverse a confirmed count later, click Revert on the completed adjustment record to create an inverse adjustment.