Stock Adjustments
In this article
Use a stock adjustment to correct a warehouse quantity outside the purchase order receiving process. For example, add products found during a recount or remove missing products. For a delivery against a purchase order, use Purchase Order Receiving.
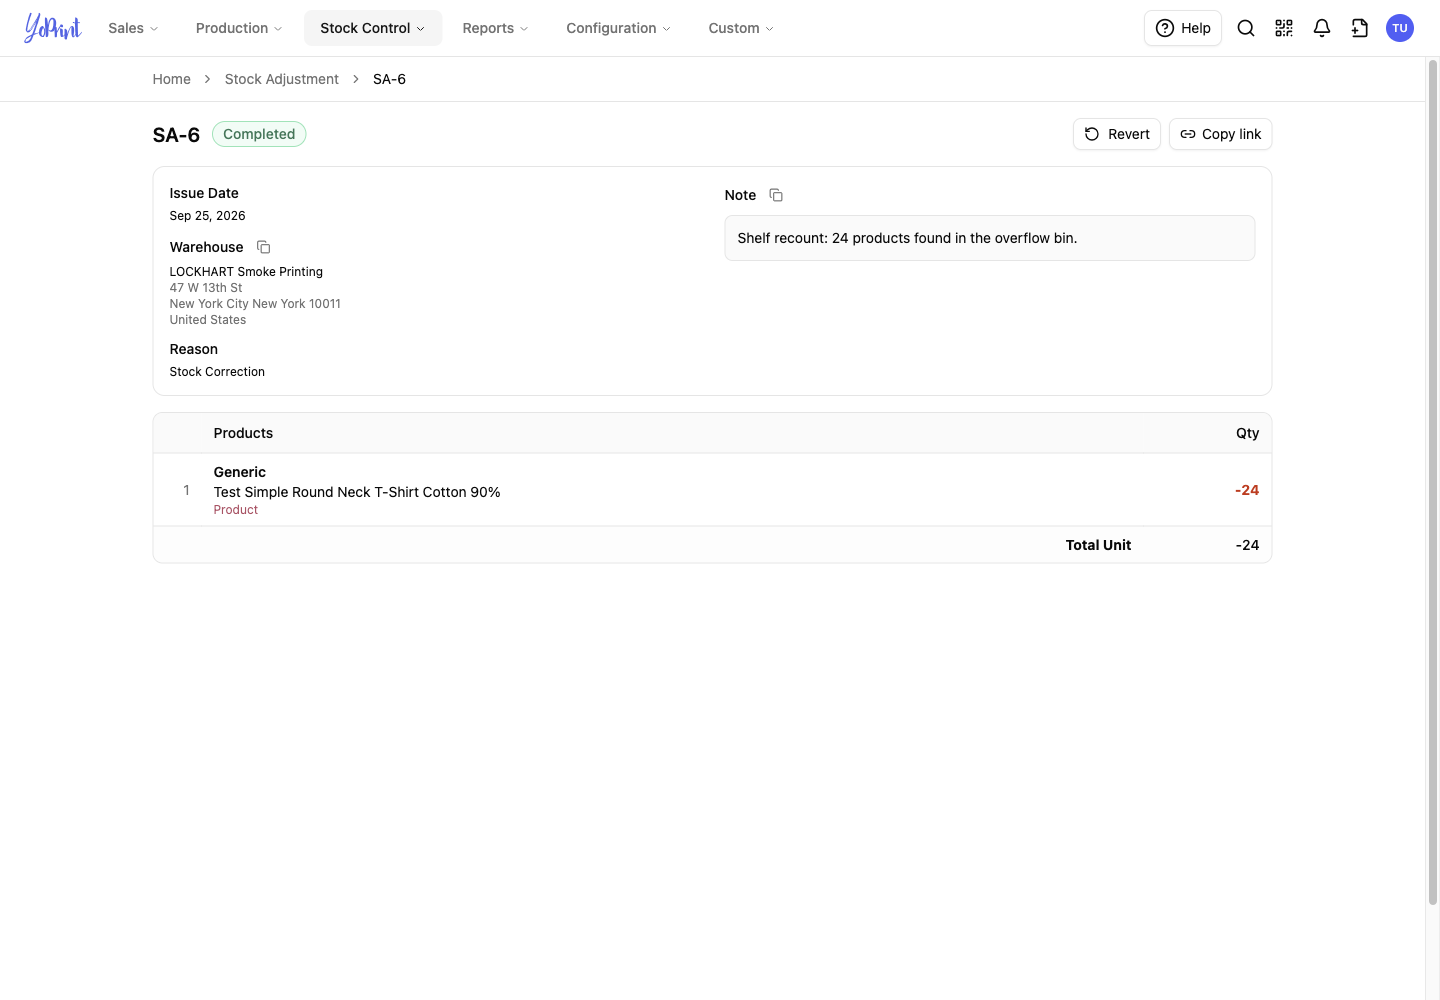
Creating an adjustment saves a Pending record. Inventory changes only when you commit it. A Completed adjustment stays in the Stock Adjustment list and cannot be edited or deleted. To undo its quantities, create and commit a reversal.
Open Stock Adjustments
-
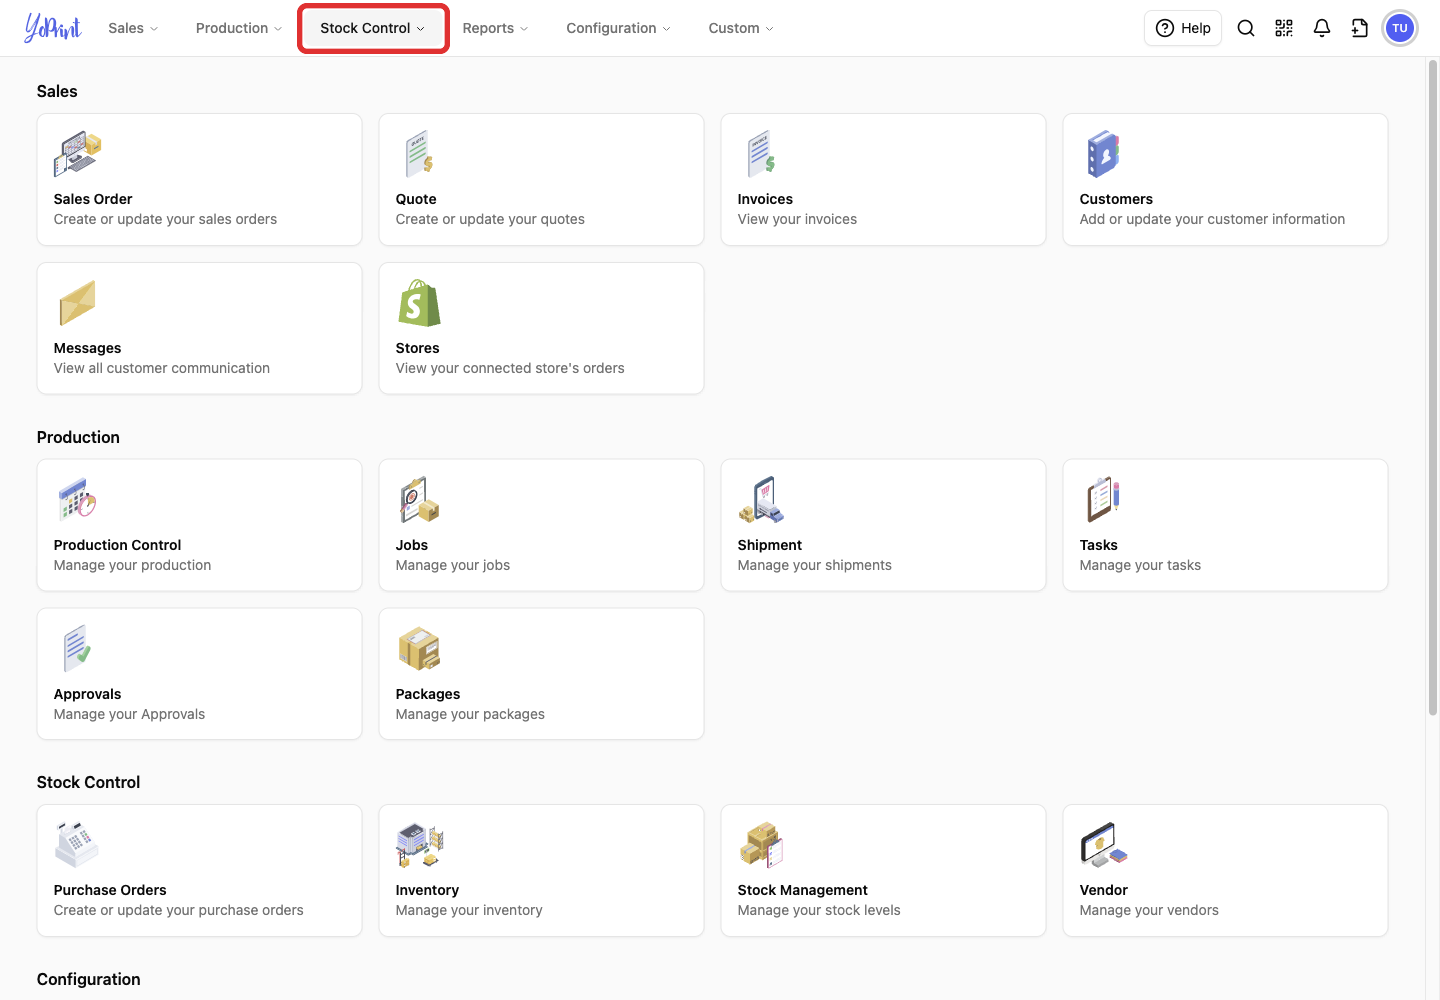
Click Stock Control in the navigation bar at the top of the page.
-
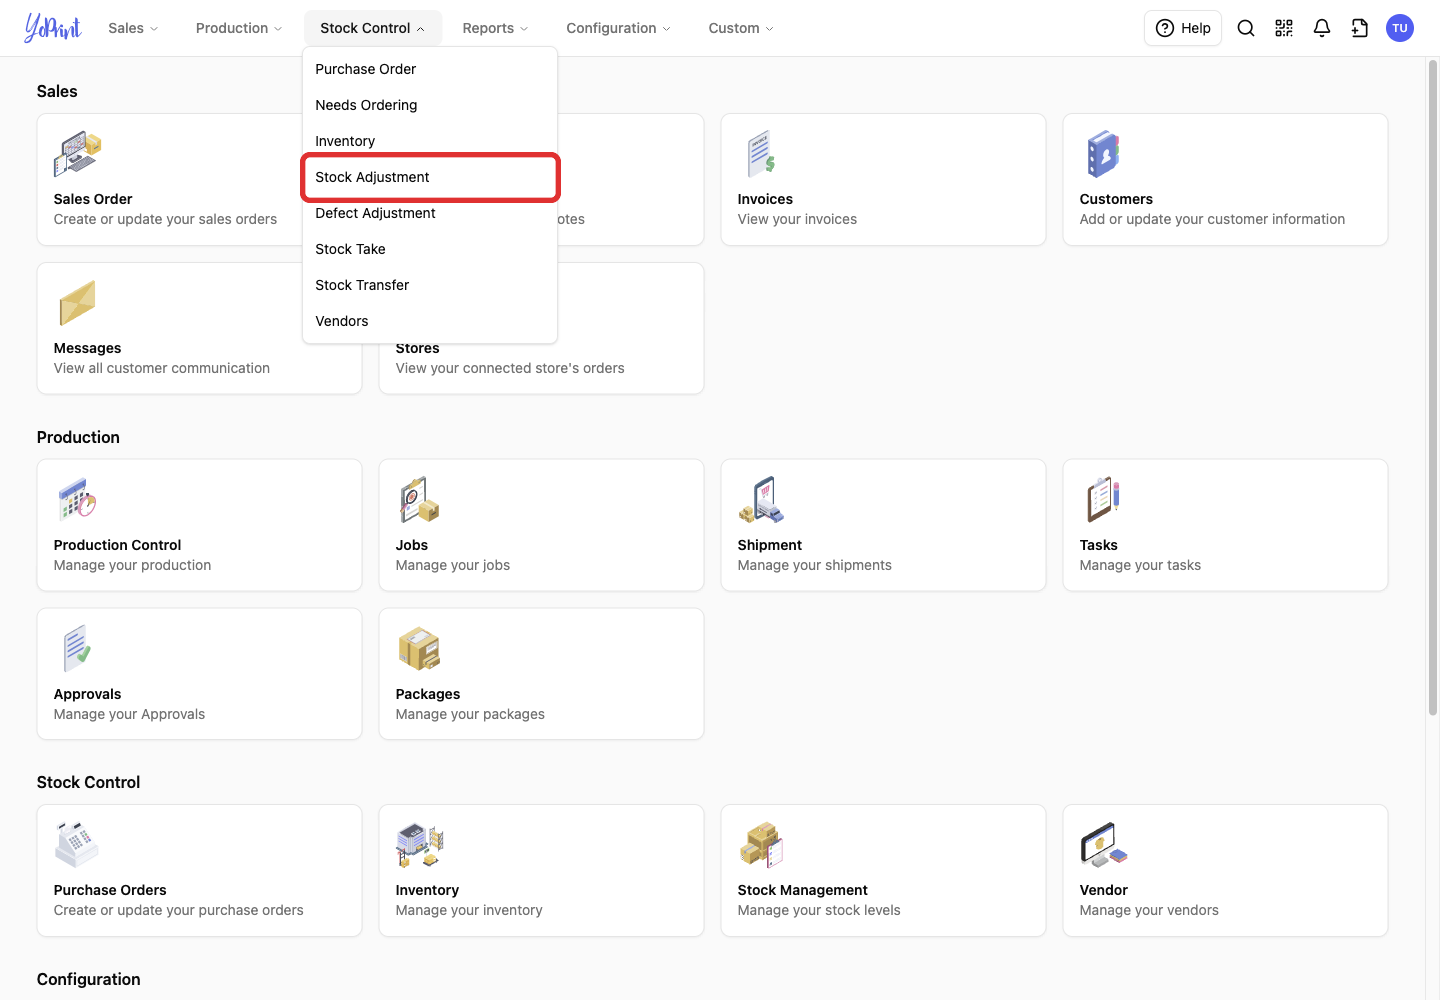
Choose Stock Adjustment from the menu.
Create a stock adjustment
-
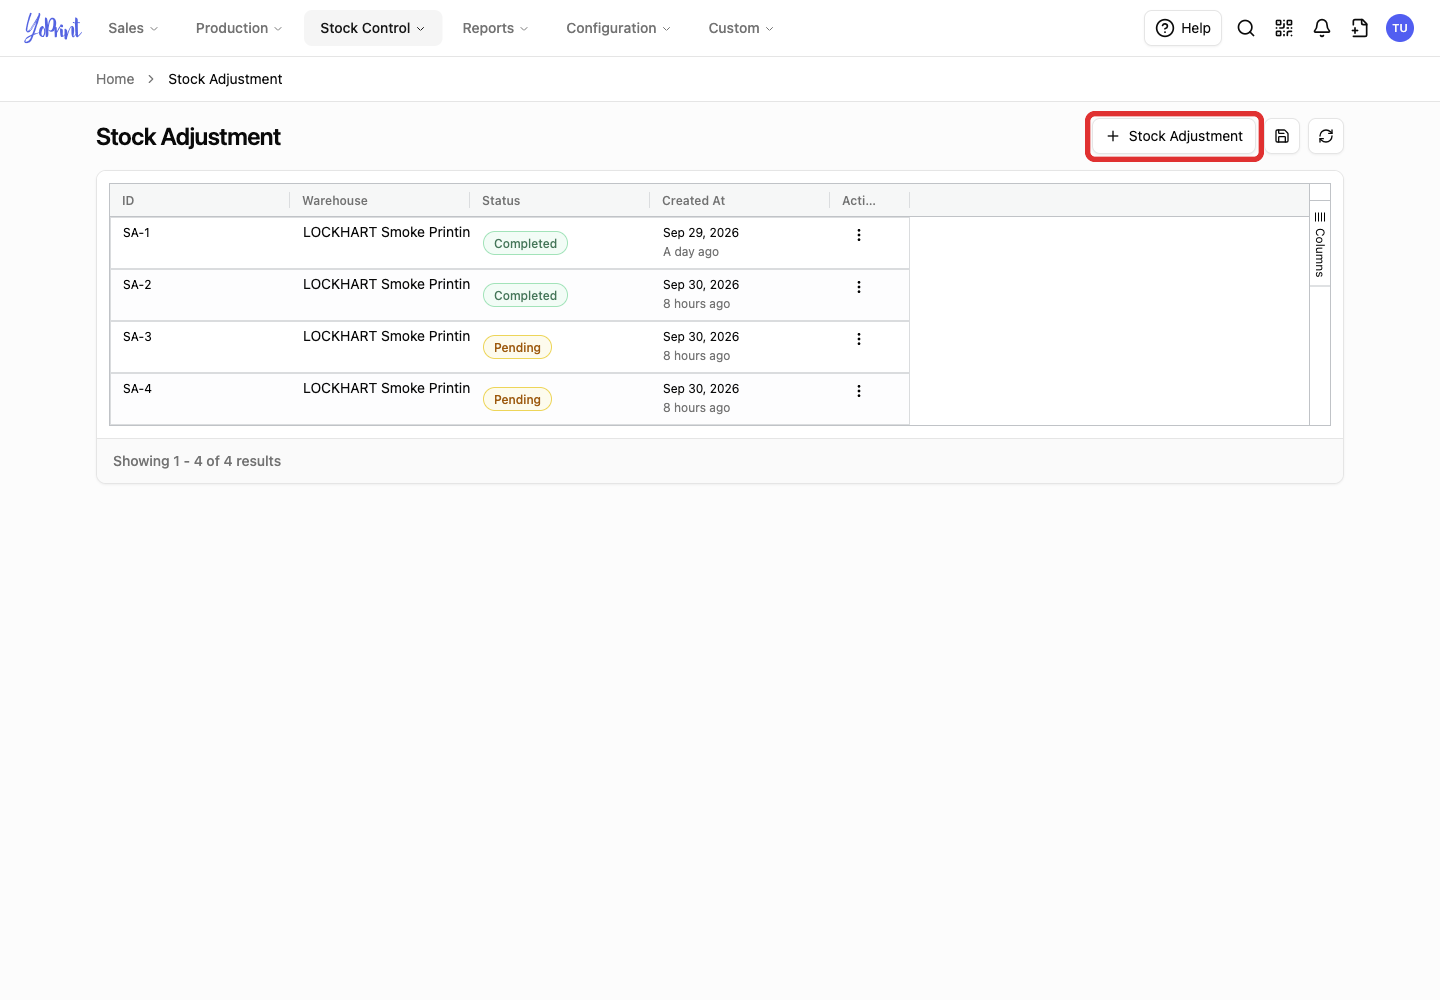
Click Stock Adjustment, the button with the plus icon at the top right.
-
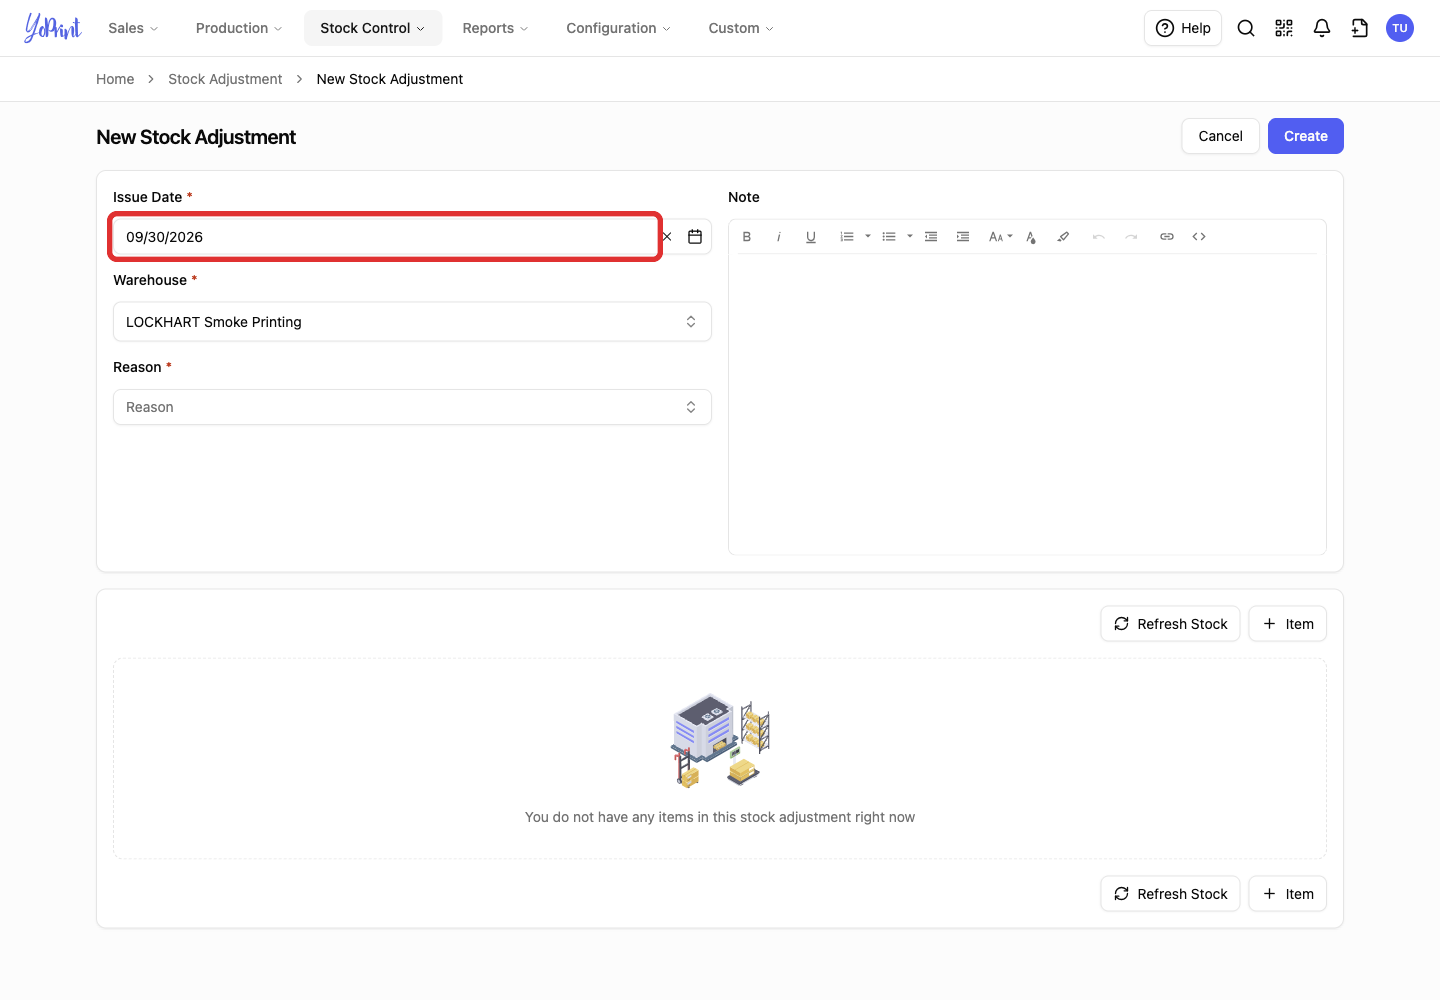
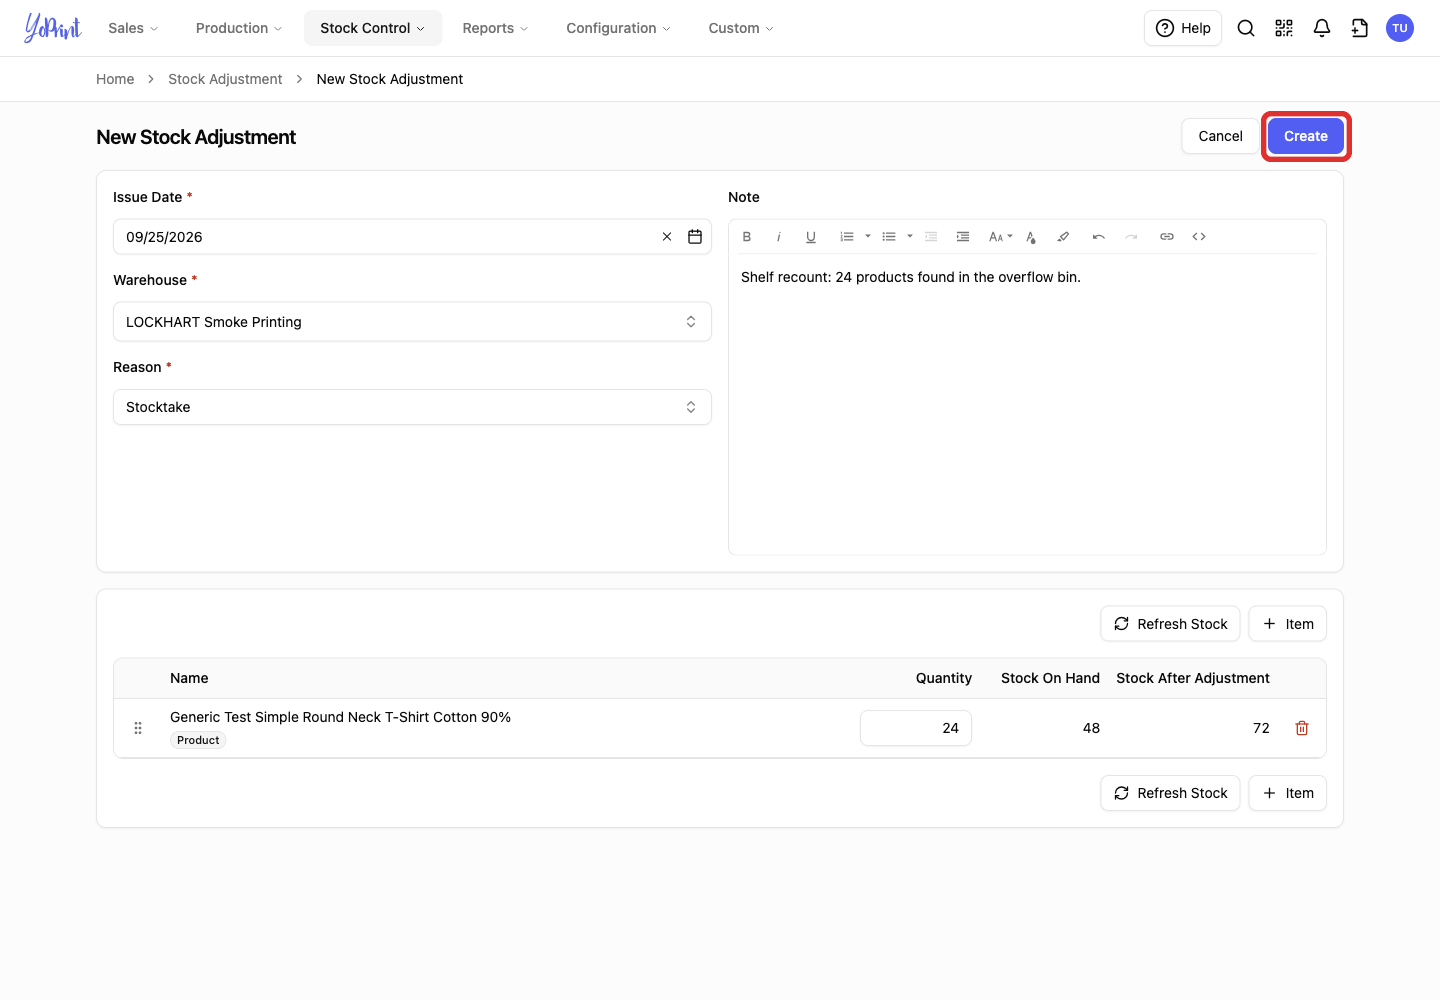
Enter the Issue Date for the adjustment. It defaults to today. An earlier date labels the record with that date; the stock change still happens when you commit.
-
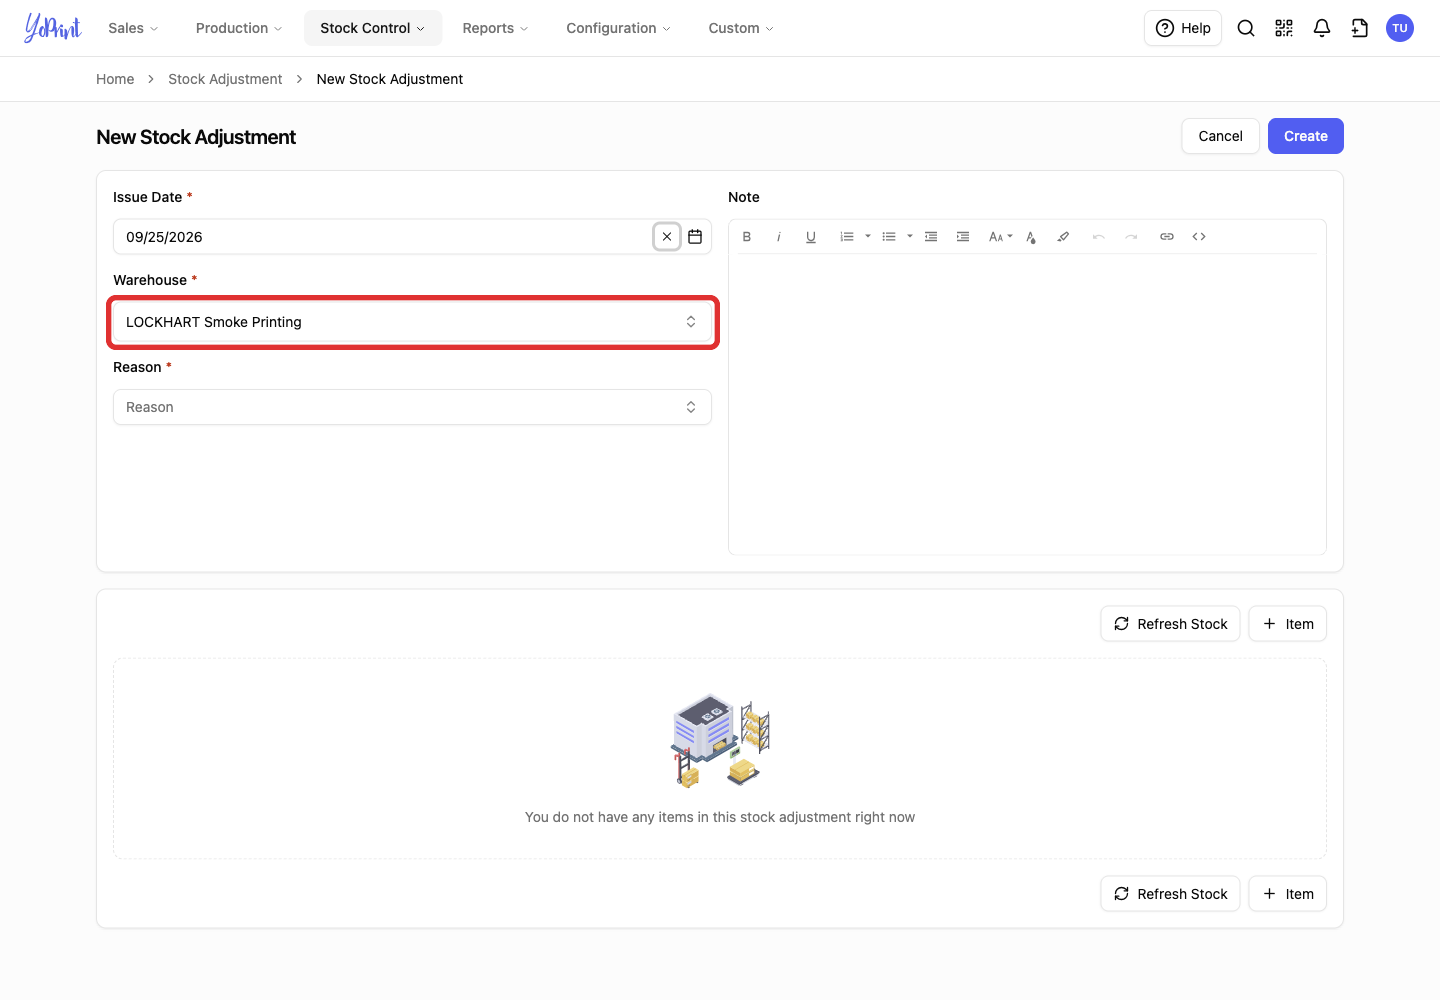
Open the Warehouse field.
-
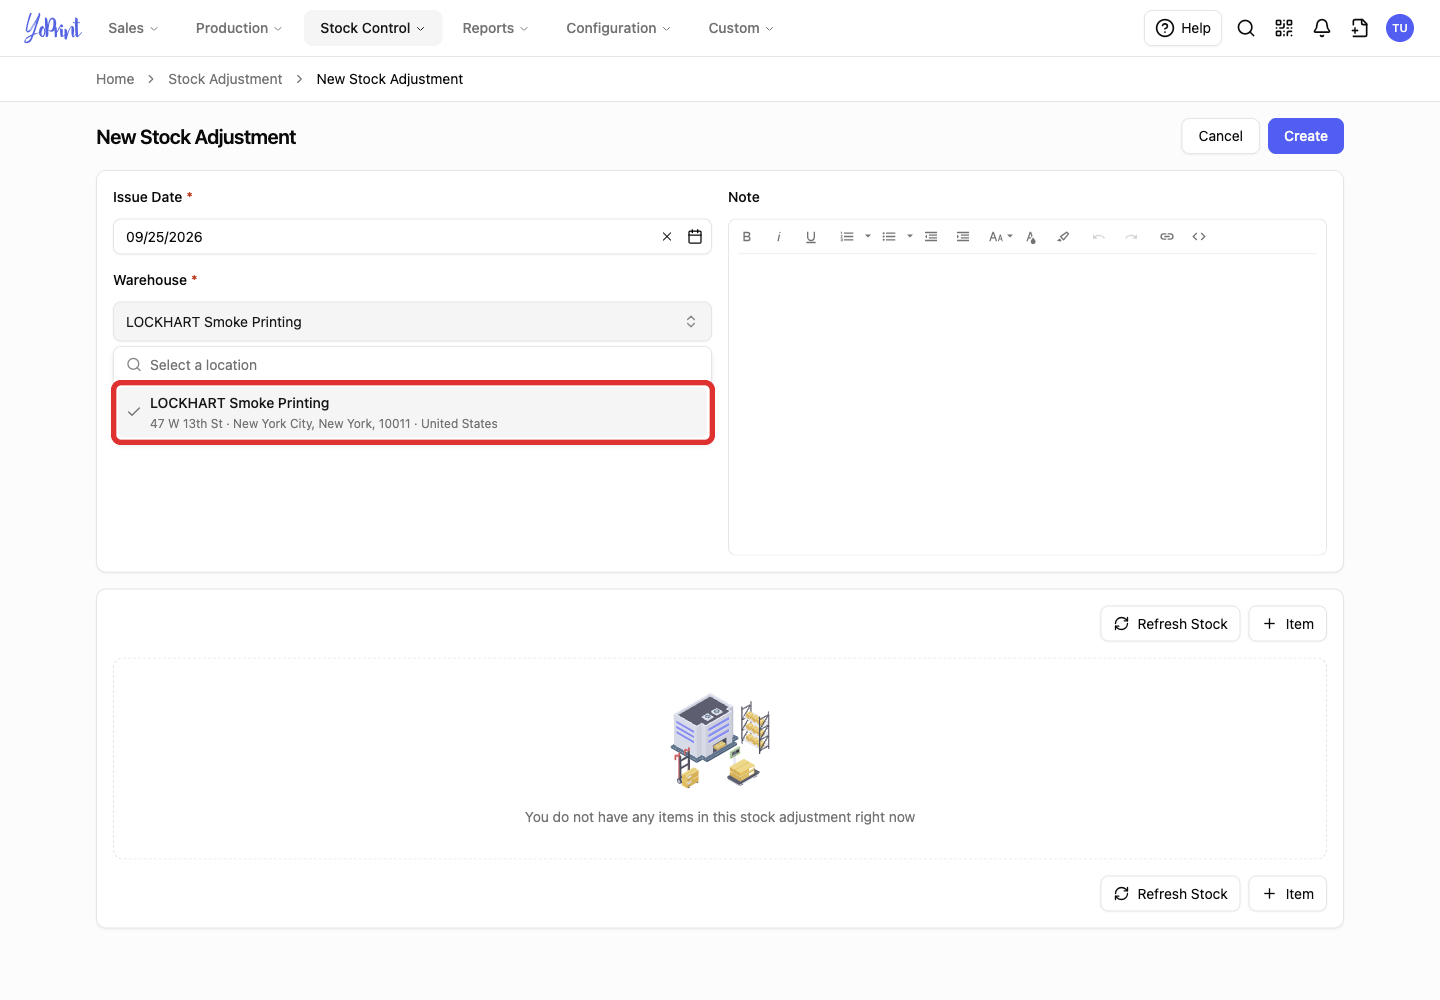
Select the warehouse whose stock you want to change.
-
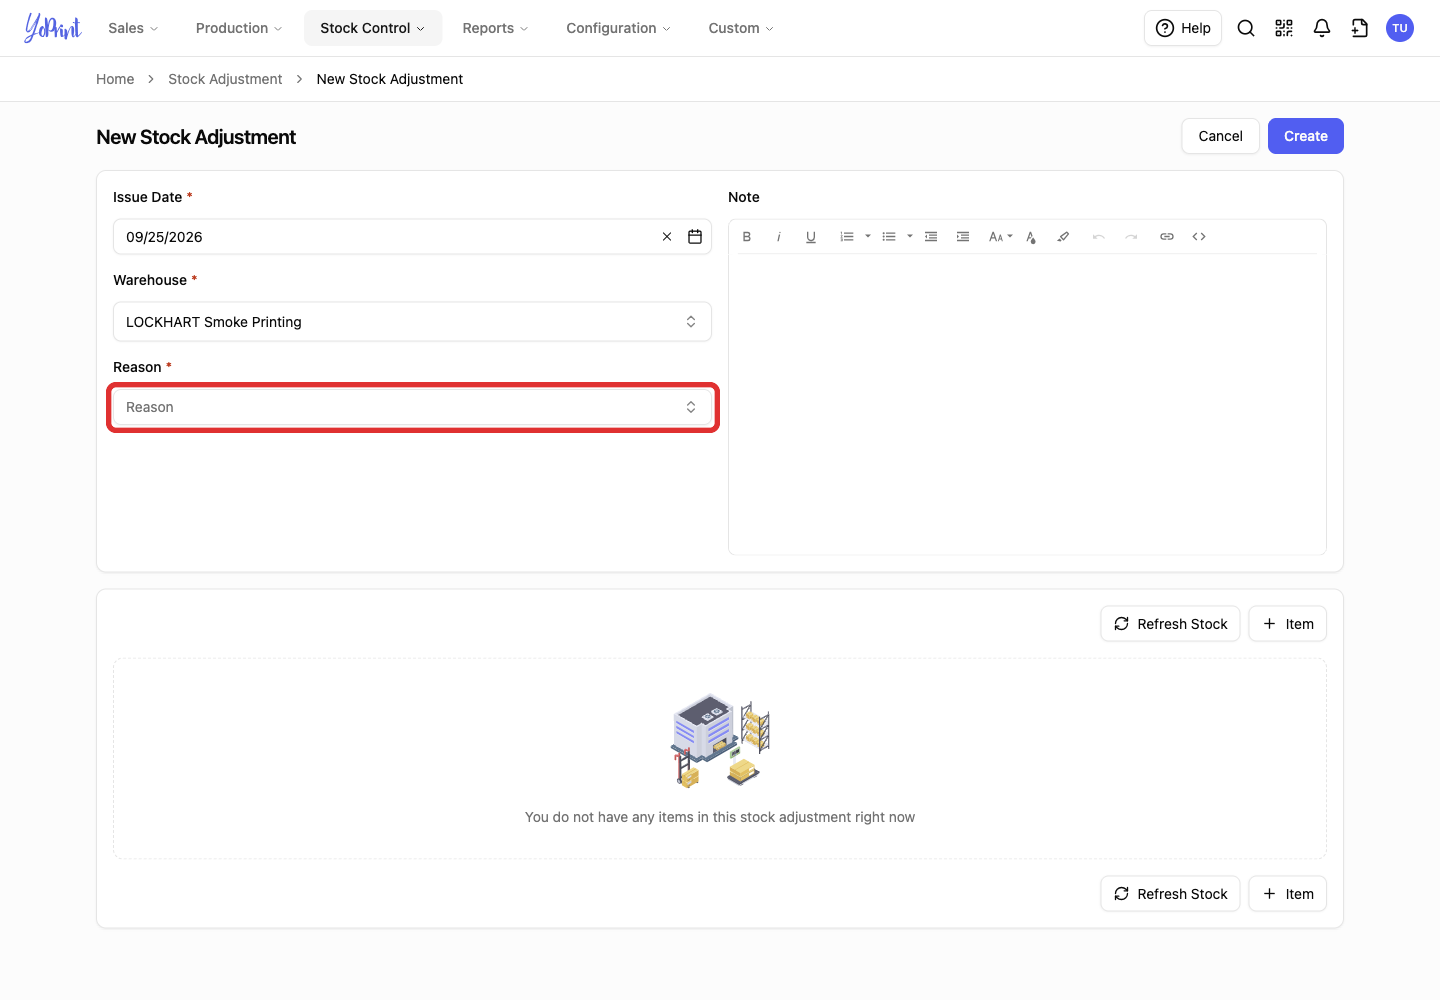
Open the Reason field.
-
Choose the reason for the change. A reason is required.
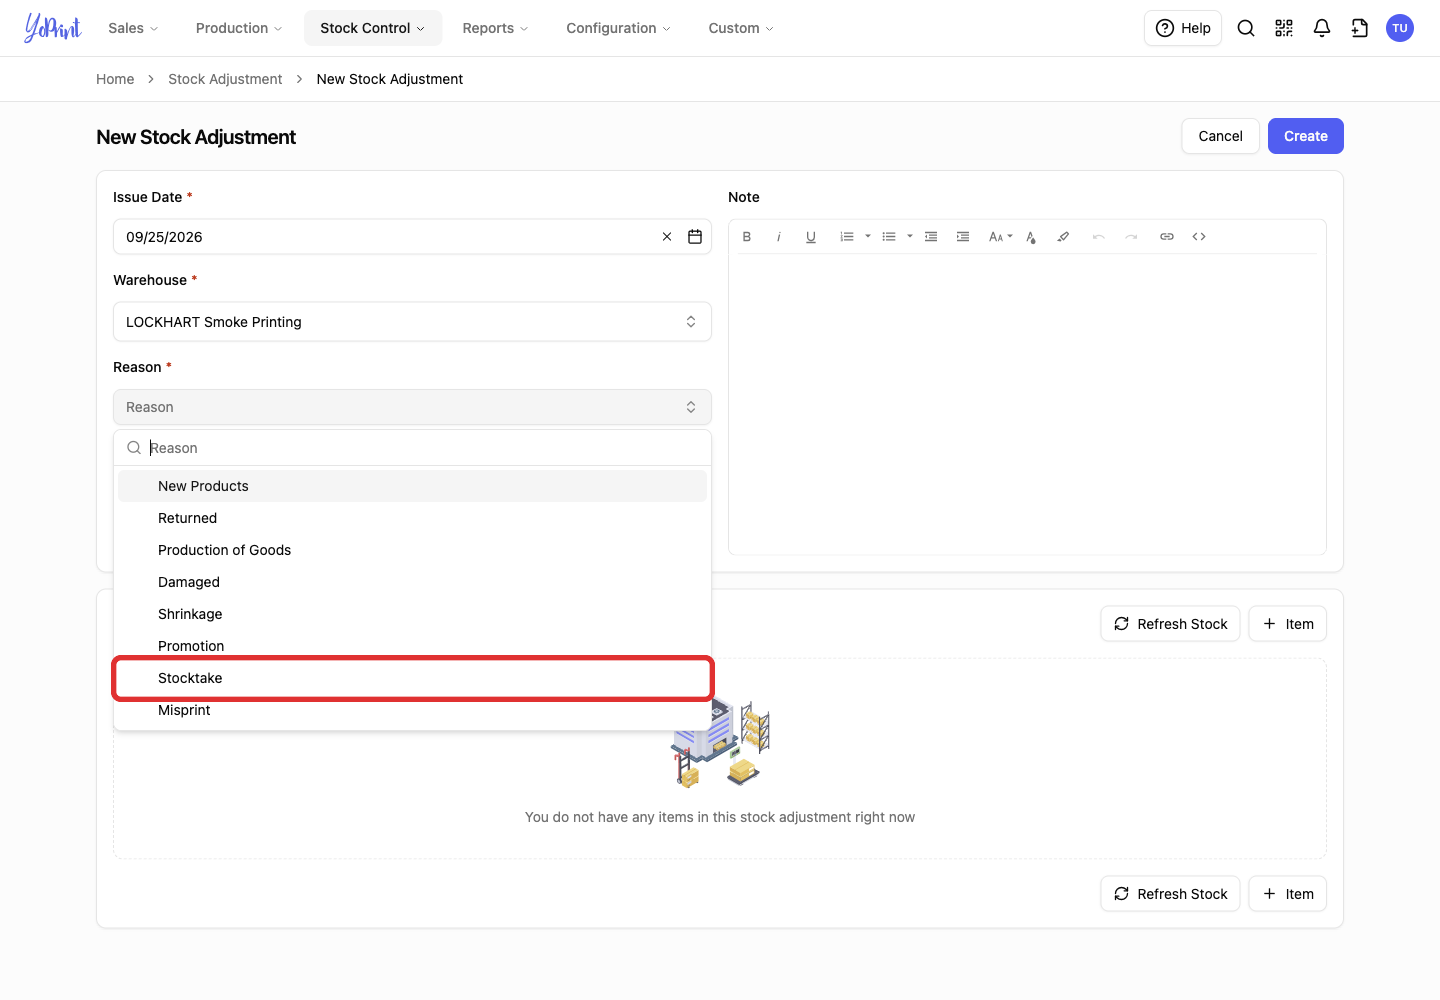
You can also type a reason in the dropdown’s search field. Manage the saved choices in Stock Adjustment Reasons.
-
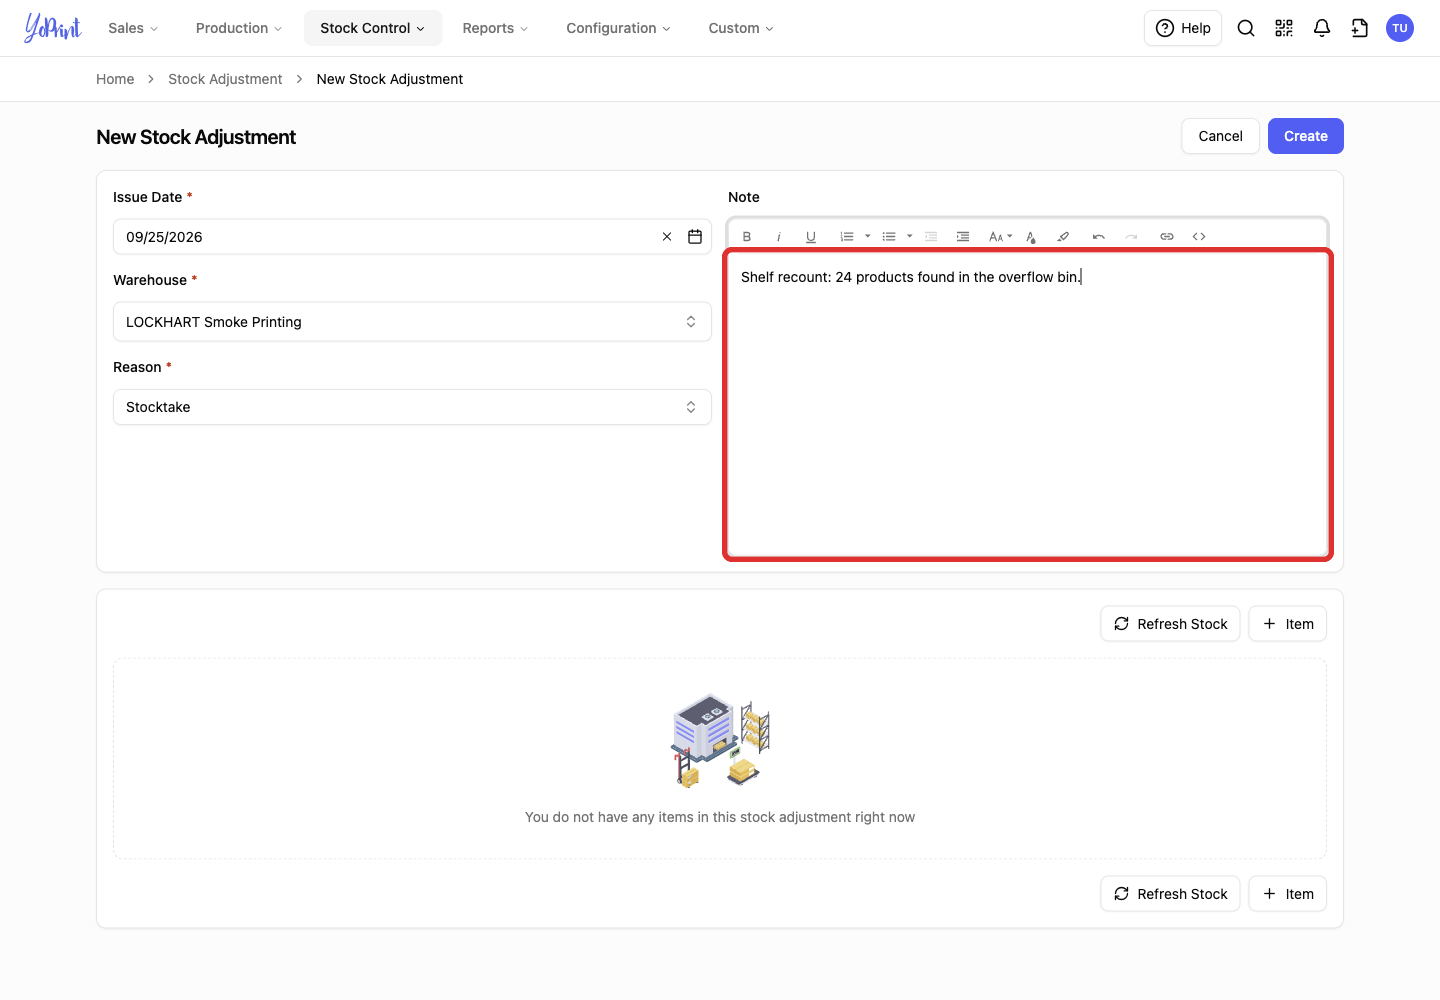
Enter a Note if staff need more context when reviewing this adjustment.
-
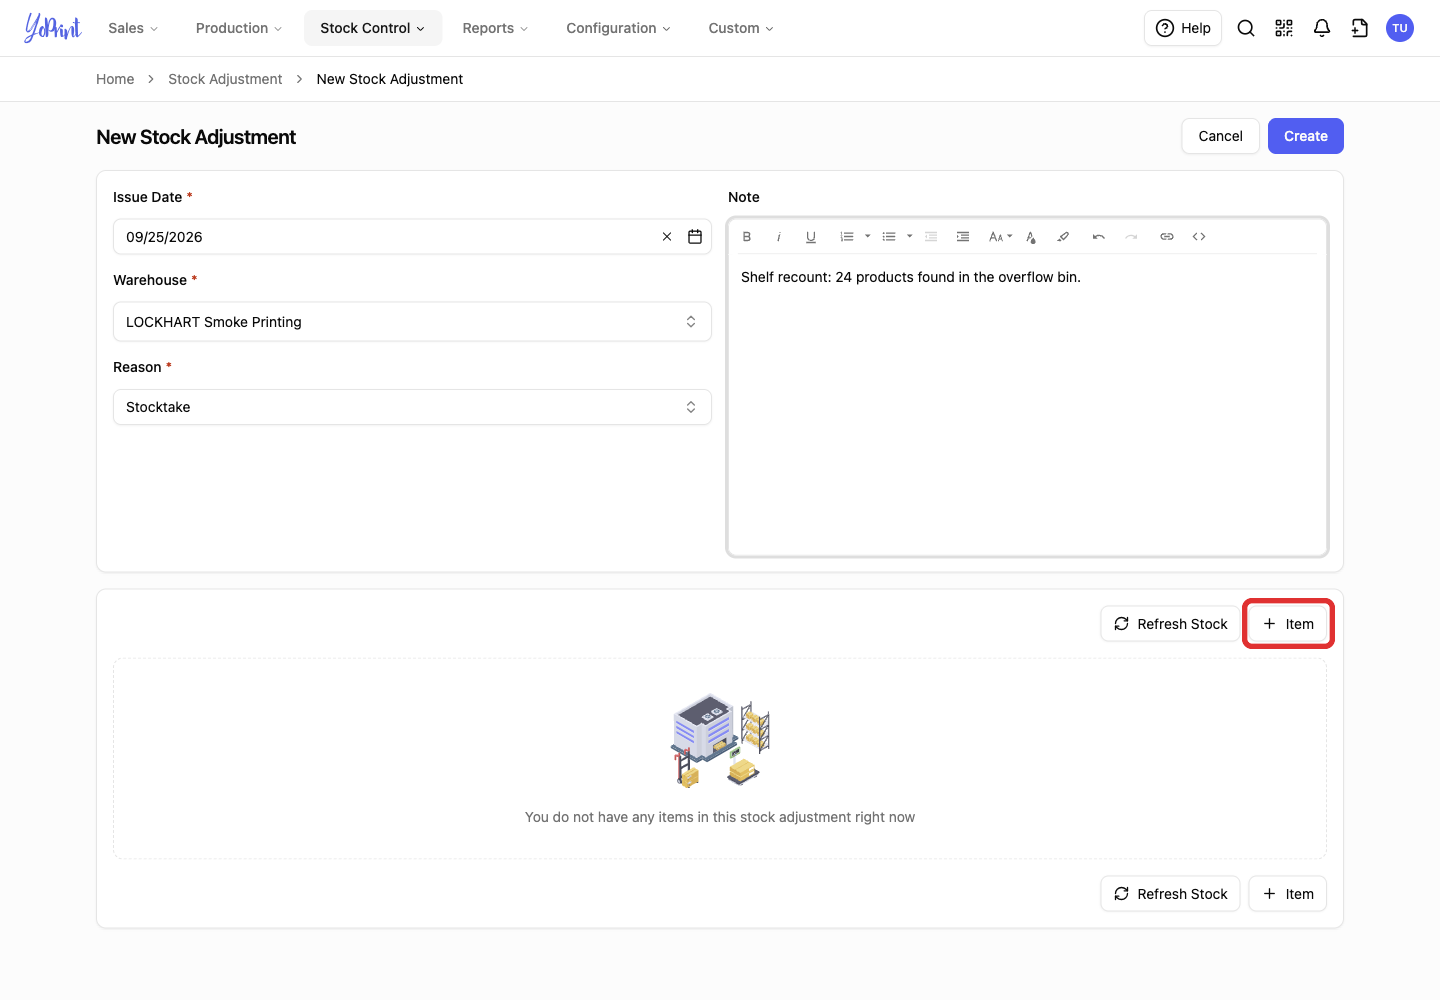
Click Item, the button with the plus icon above the products table.
-
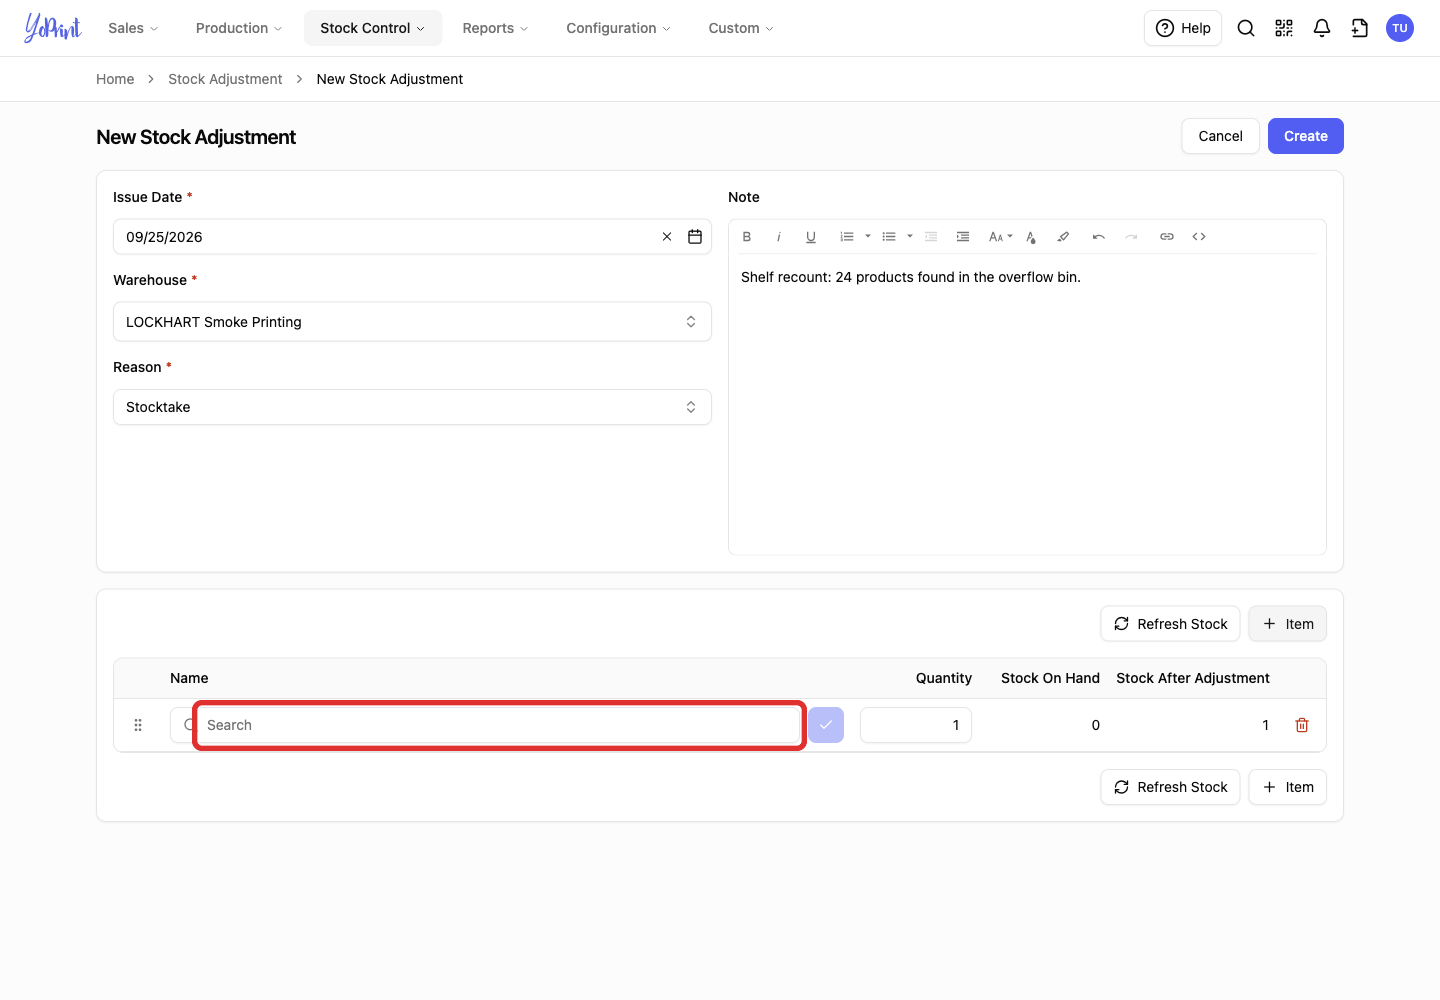
Type a product name in the new row’s search field.
-
Select the matching product from the suggestions.
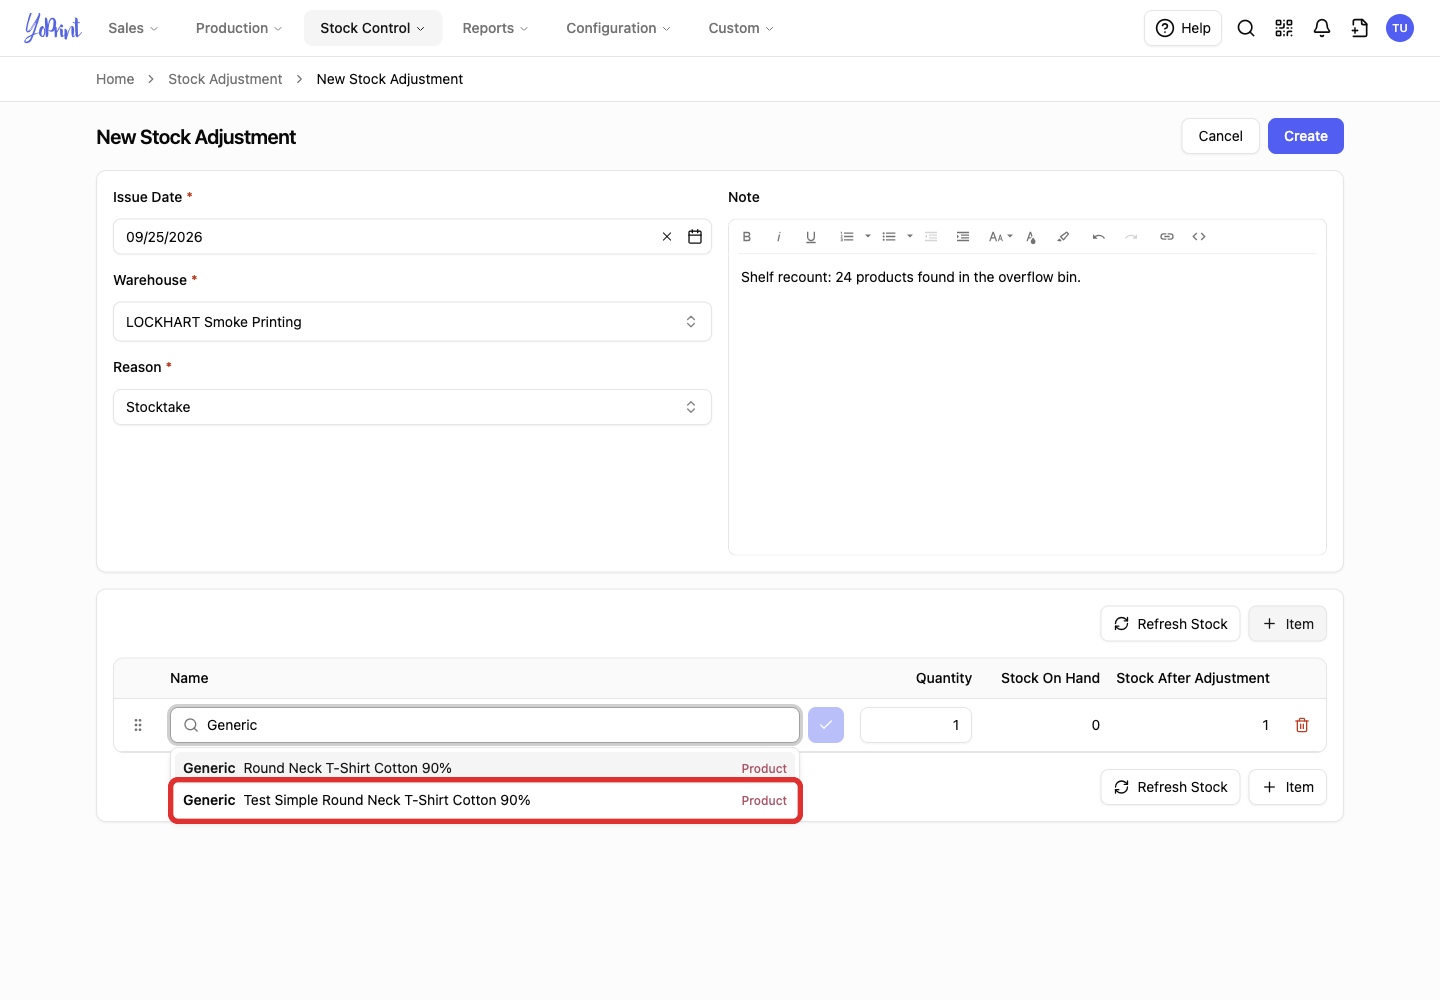
- Click the blue checkmark immediately to the right of the product search field. This confirms the product and loads its Stock On Hand quantity.
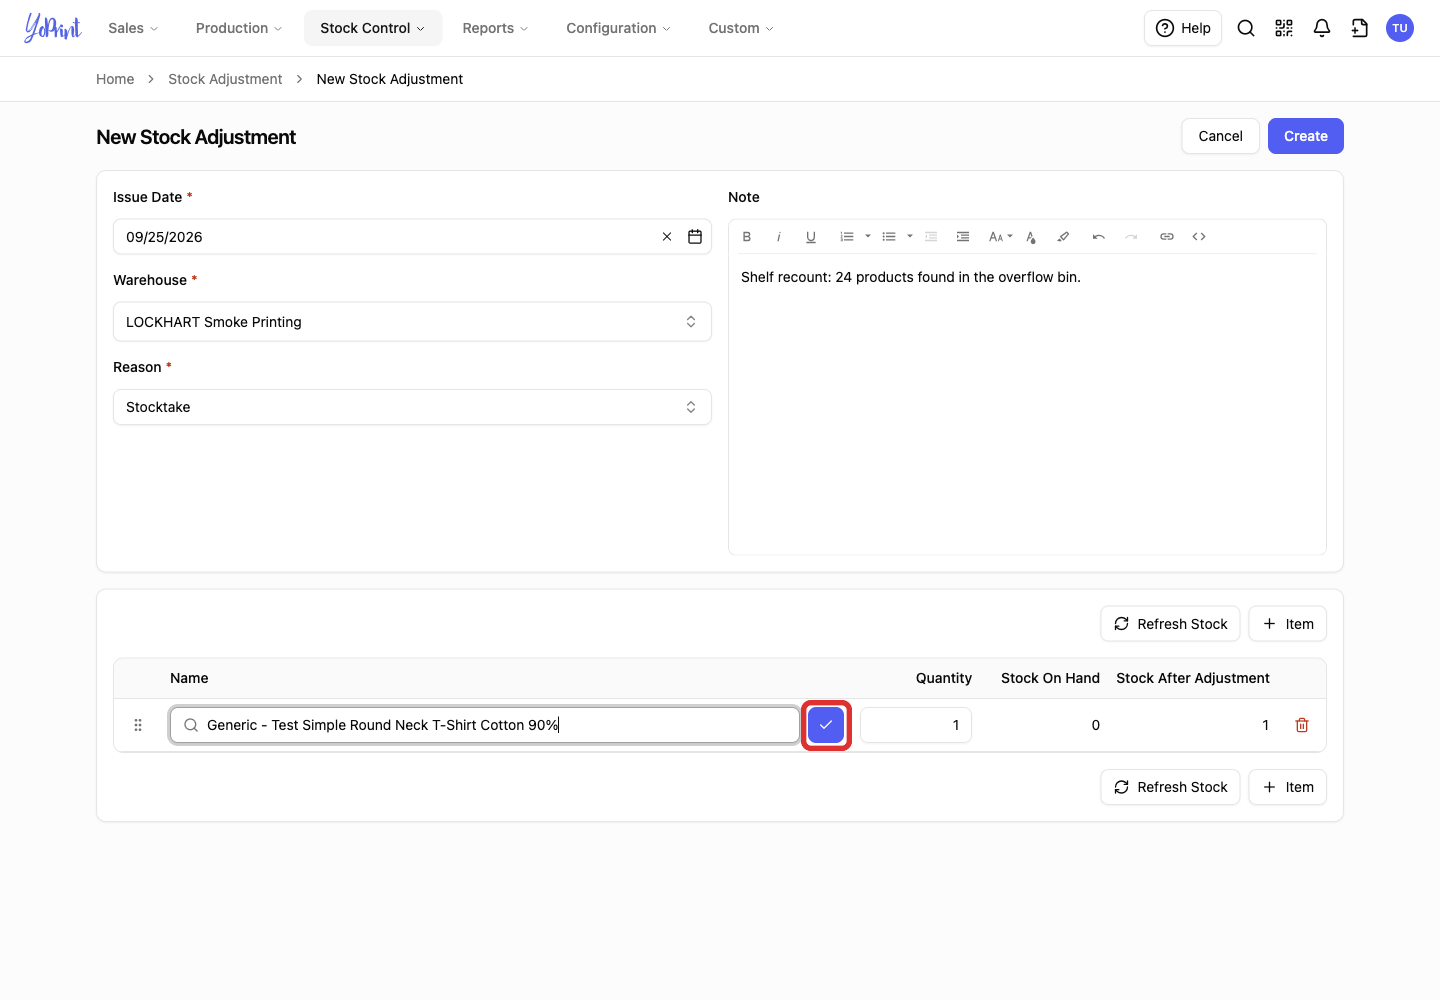
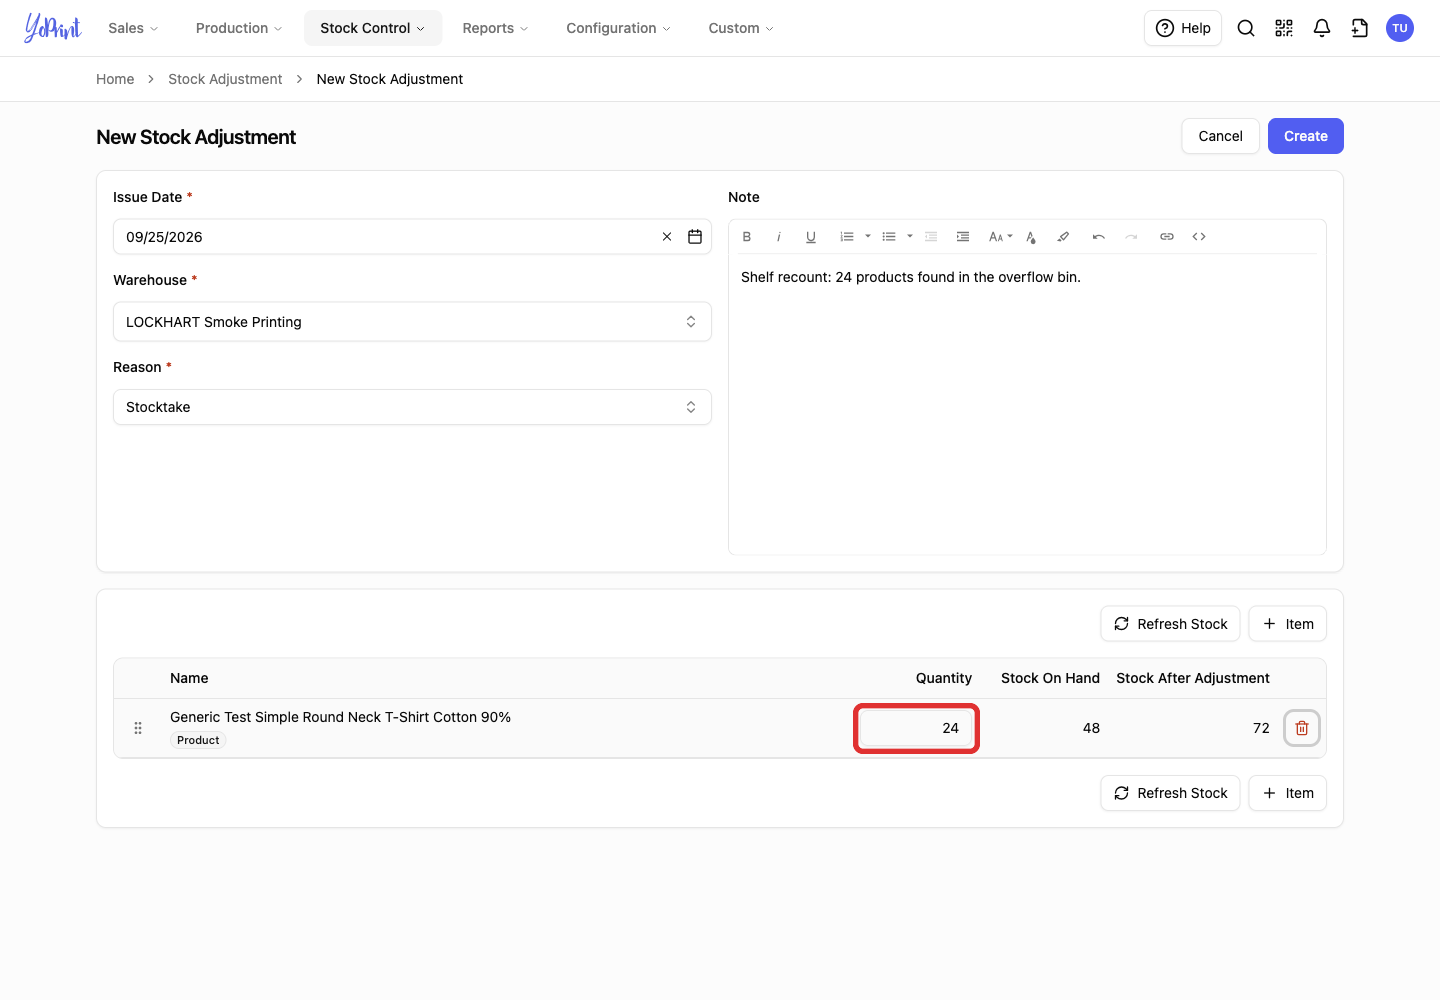
- Enter the quantity to add or remove. Use a positive number to add stock and a negative number to remove stock. Stock After Adjustment shows the proposed total. In this example, adding 24 to 48 gives 72.
To add another product, repeat steps 8–12 for that product.
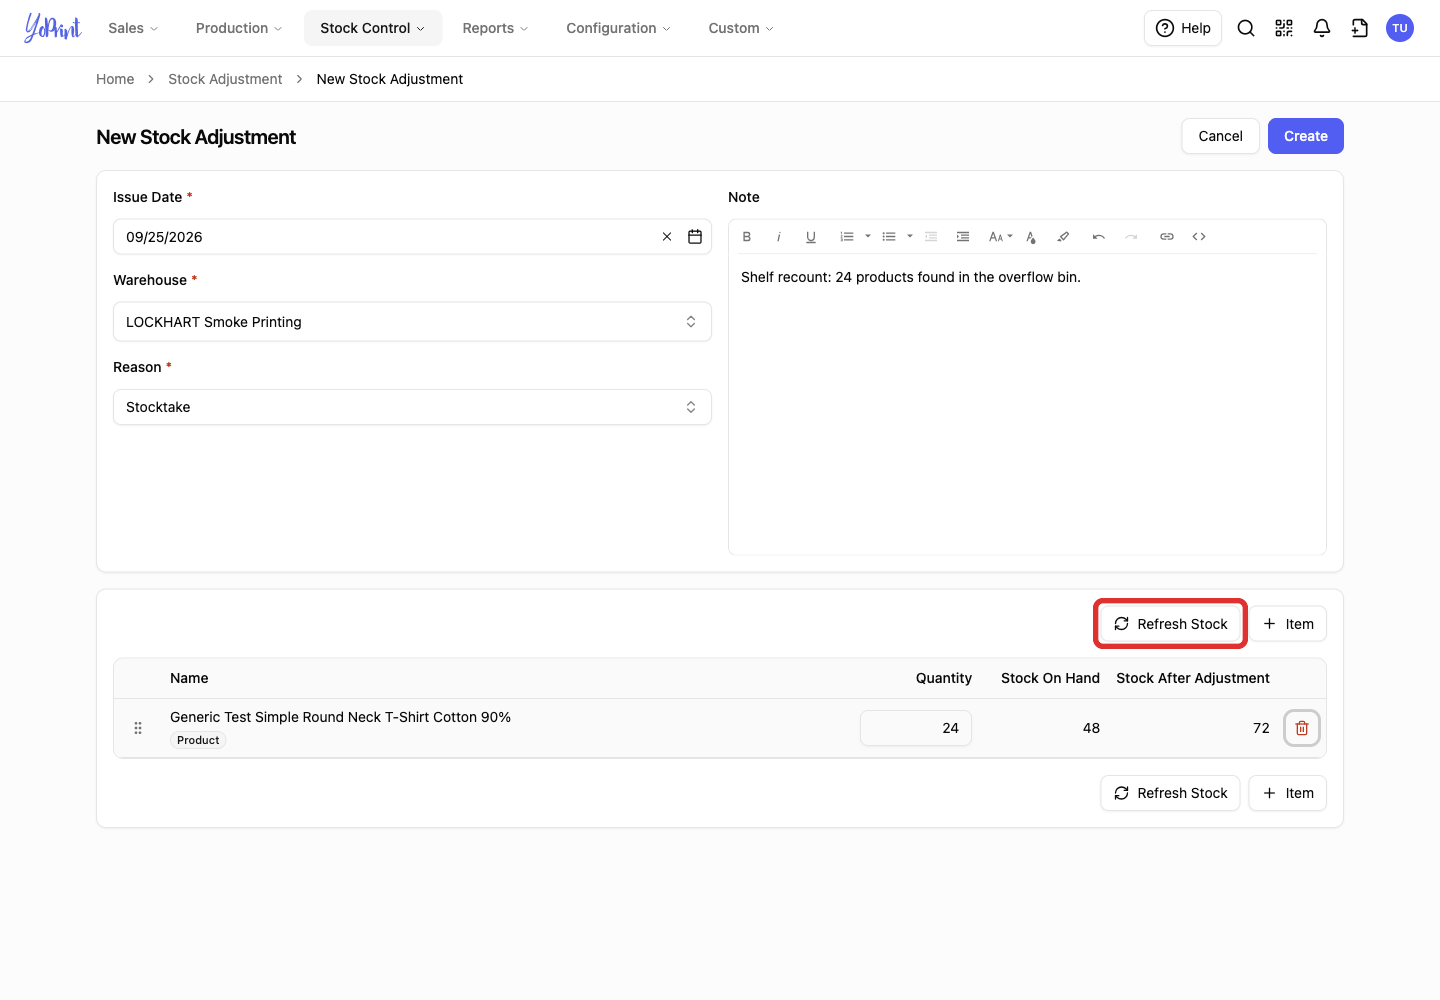
- Click Refresh Stock to load the latest on-hand quantities before saving. This refreshes the stock figures without committing your adjustment.
- Click Create to save the adjustment as Pending. The stock quantity has not changed yet.
Commit the adjustment
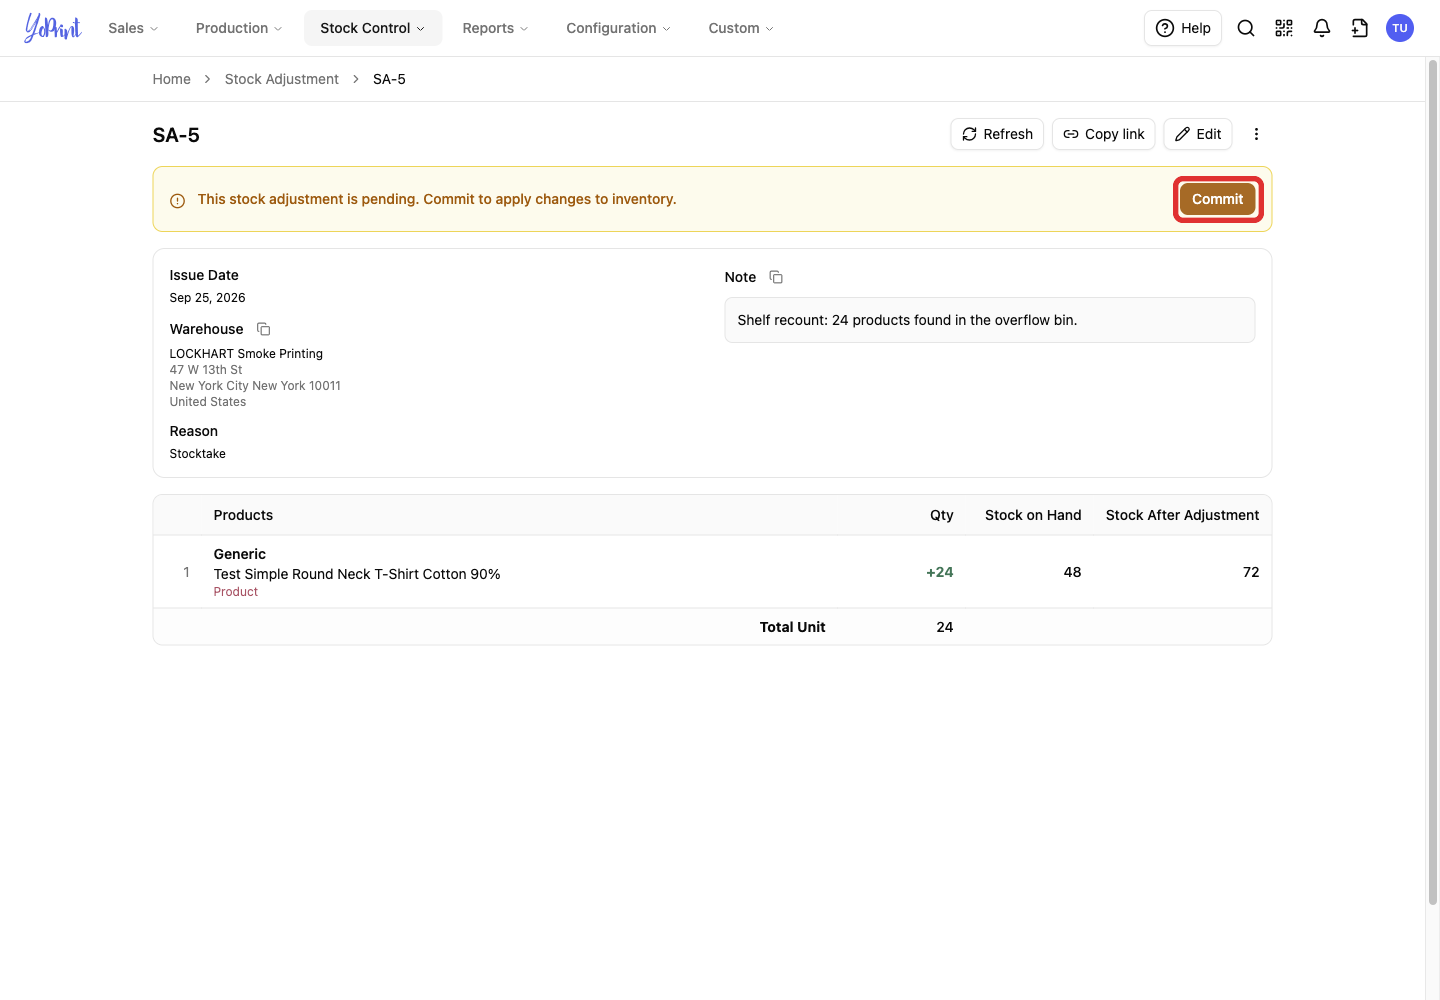
If a quantity is wrong, edit the Pending adjustment before committing. If you no longer need the adjustment, delete it while it is Pending.
-
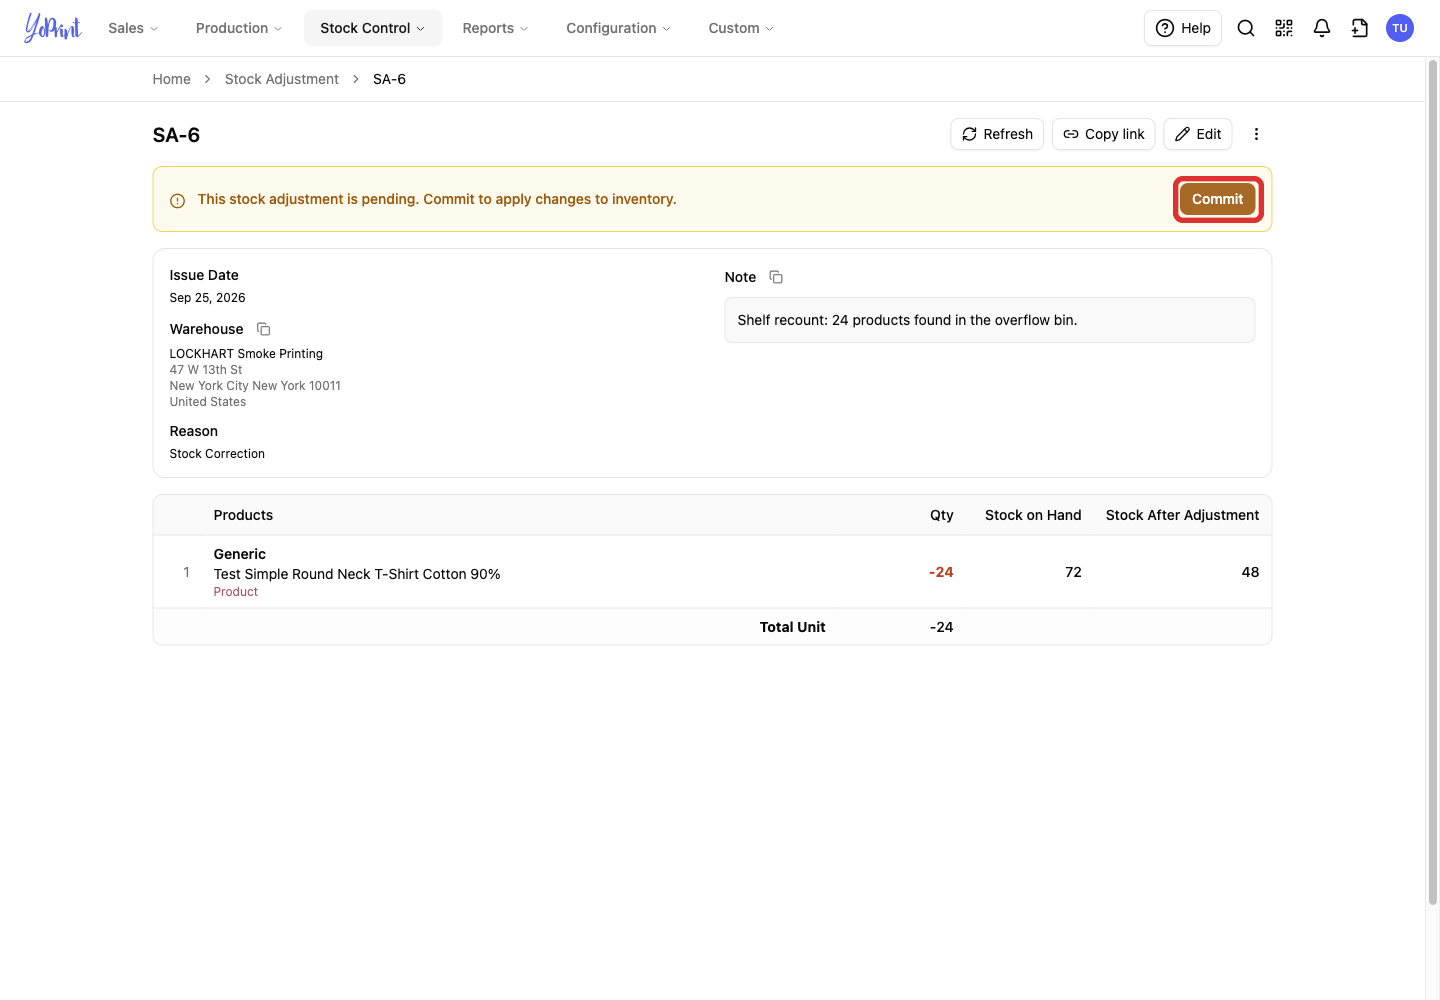
Review the Pending adjustment’s quantities, then click Commit.
-
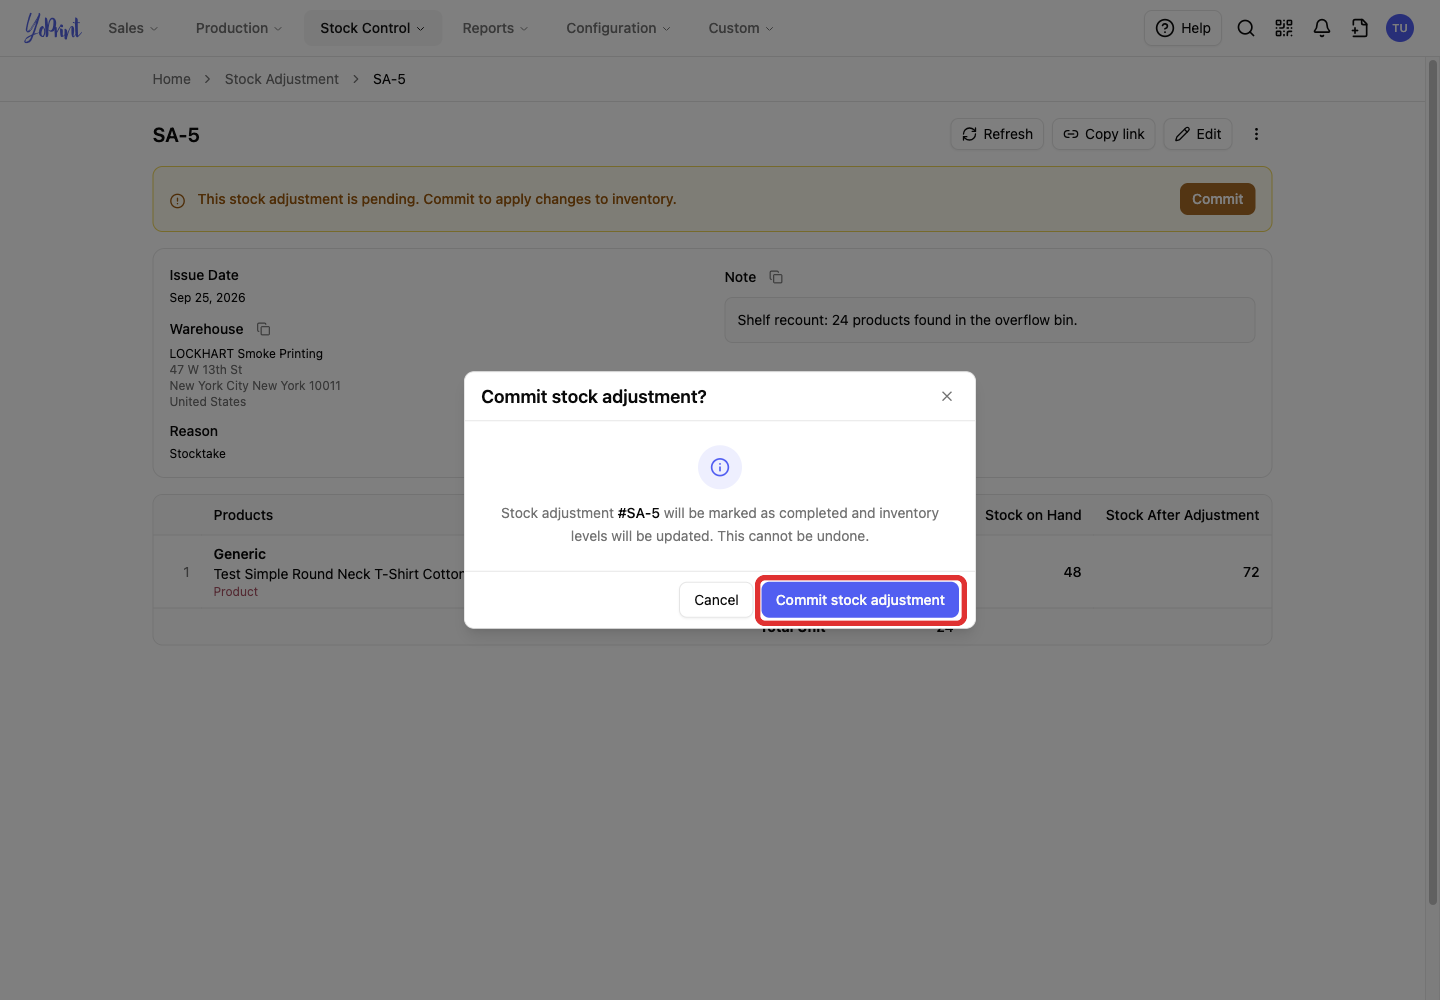
Click Commit stock adjustment in the confirmation dialog.
-
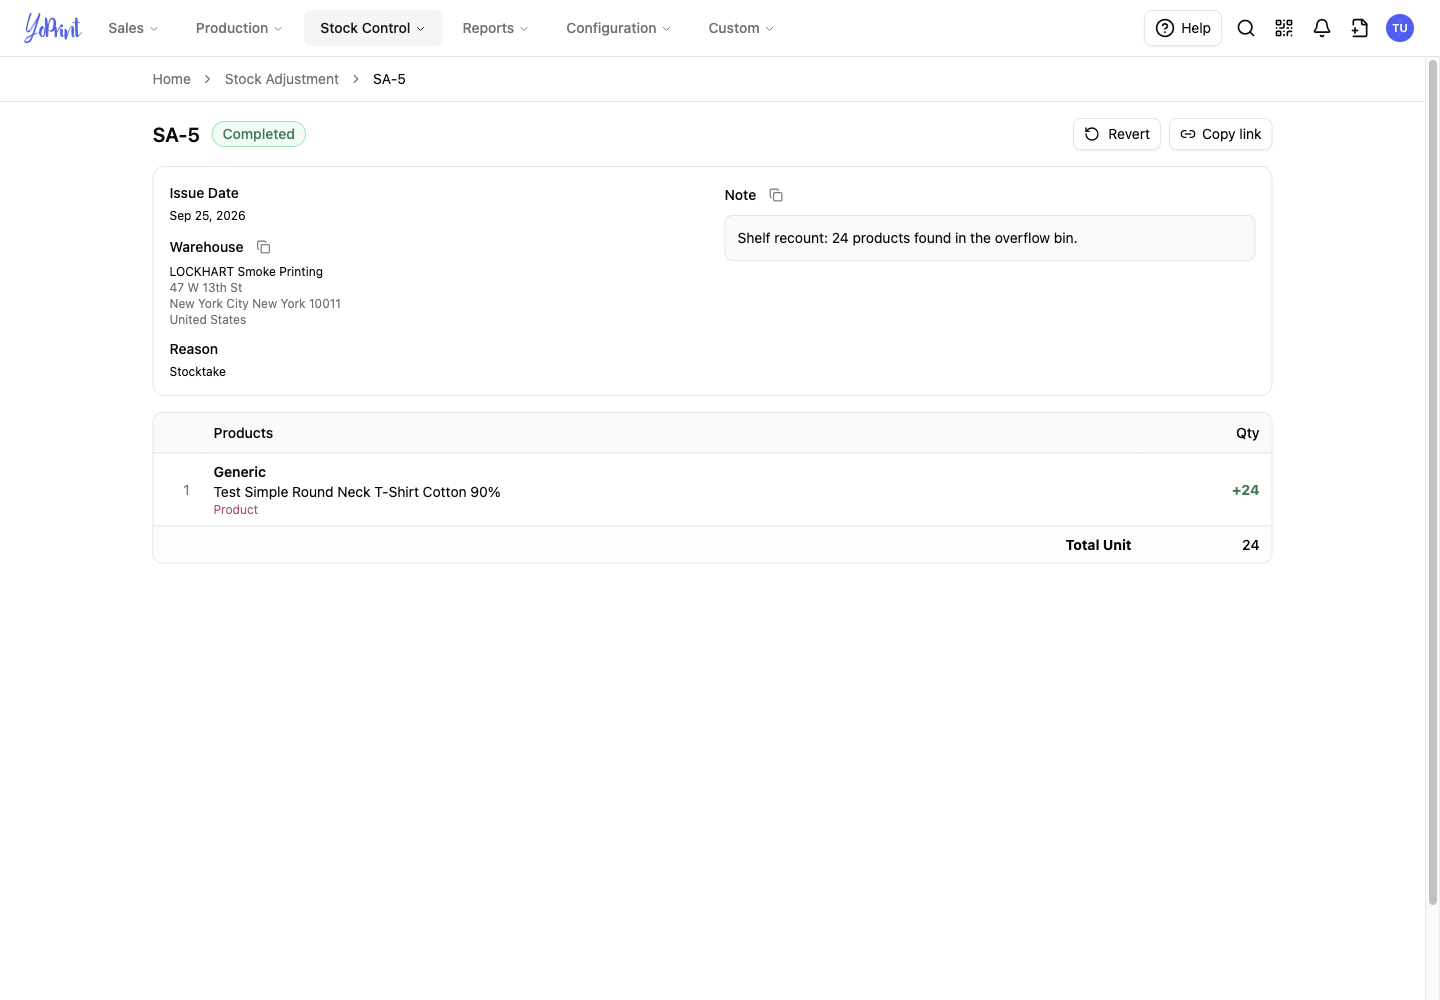
Check that the status is Completed. Qty shows how much this adjustment added or removed. The completed view no longer shows the before-and-after stock columns.
Edit a pending adjustment
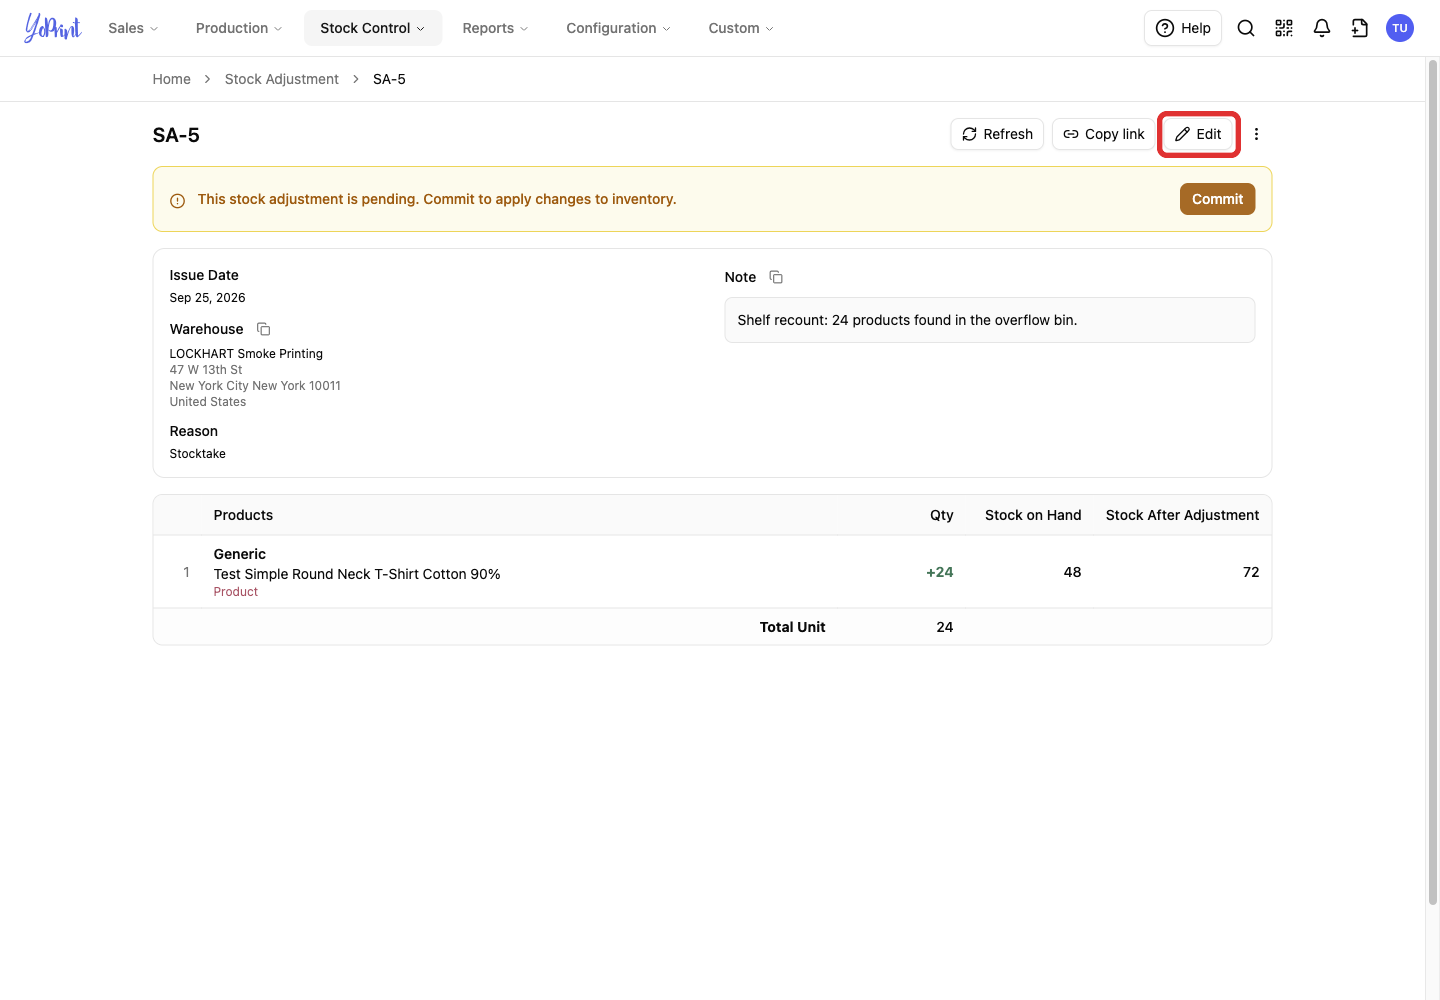
Editing a Pending adjustment does not apply its quantities to inventory. After saving, return to Commit the adjustment.
-
On the Pending adjustment, click Edit.
-
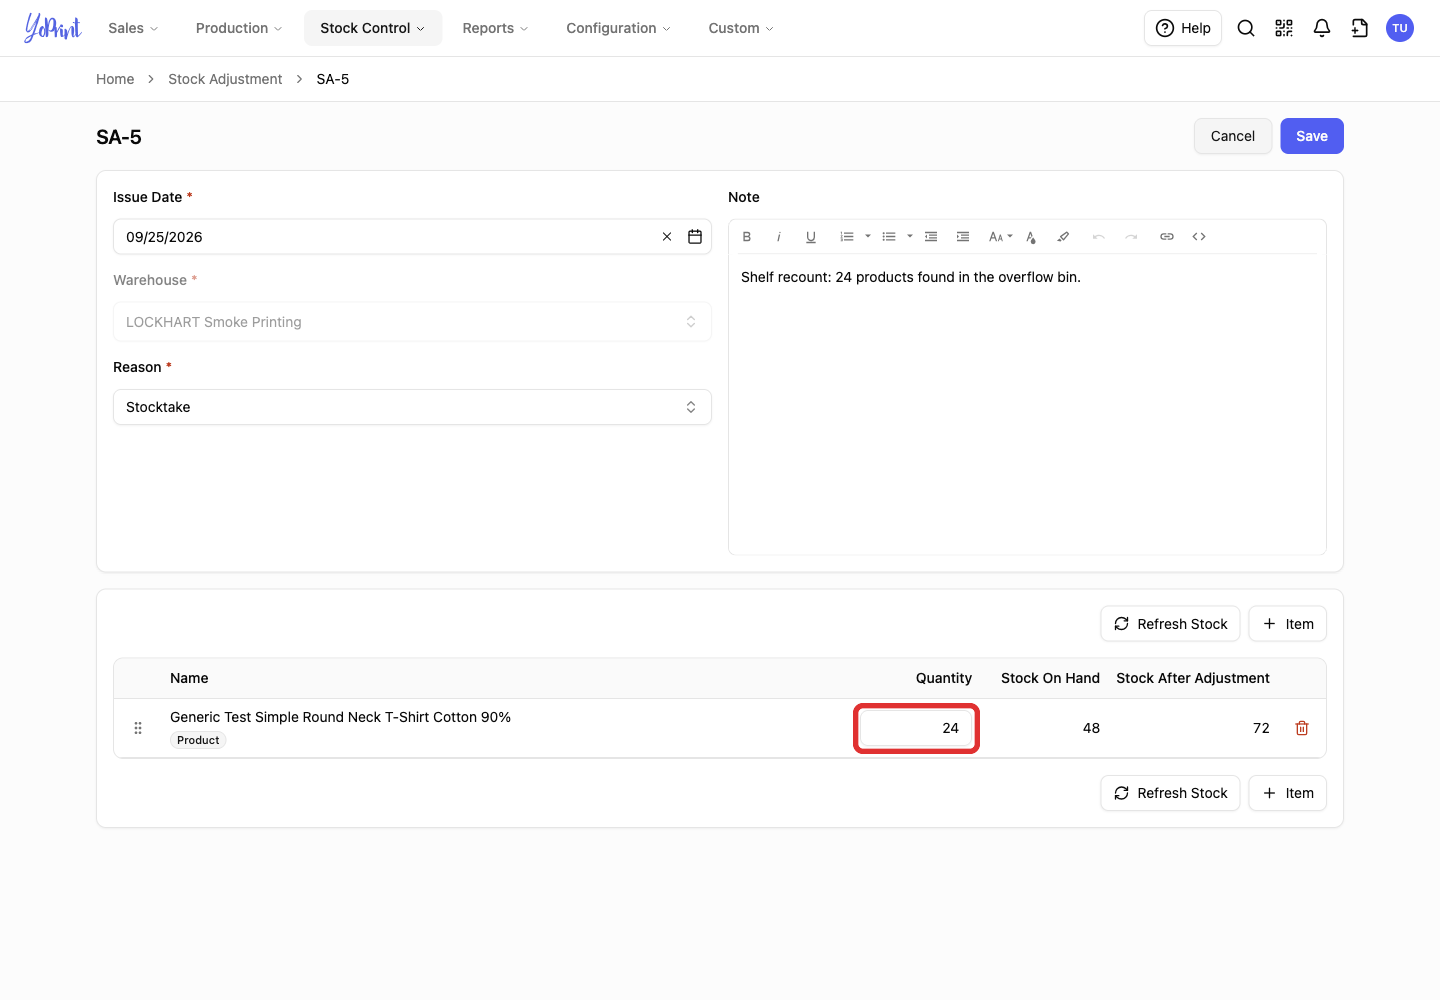
Correct the quantity or other editable details. The warehouse cannot be changed after creation.
-
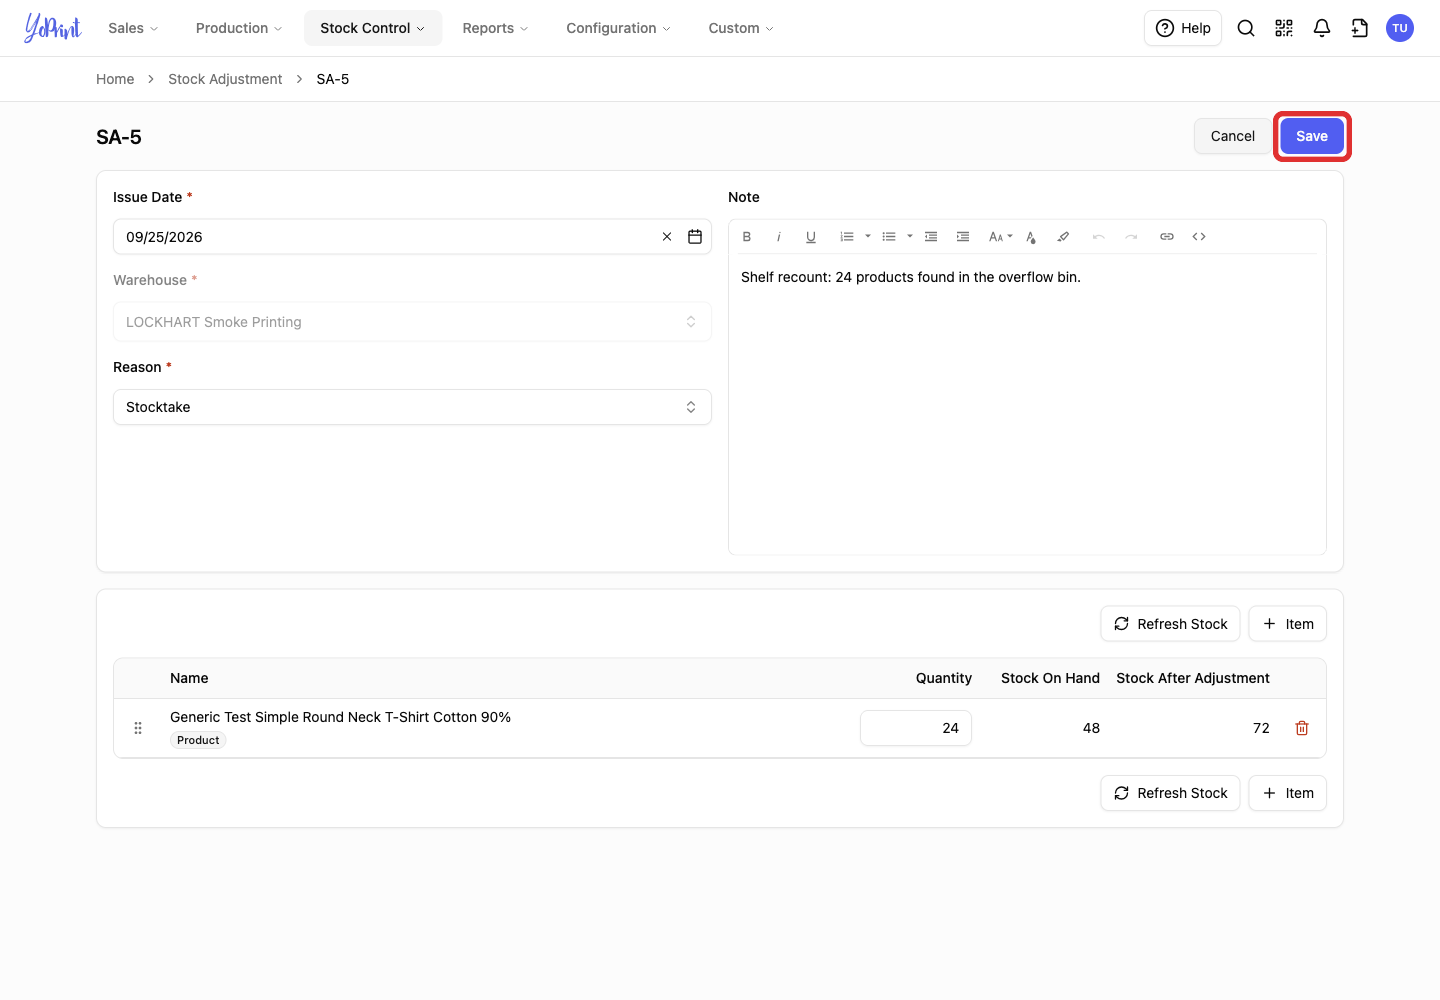
Click Save to return to the Pending record.
Delete a pending adjustment
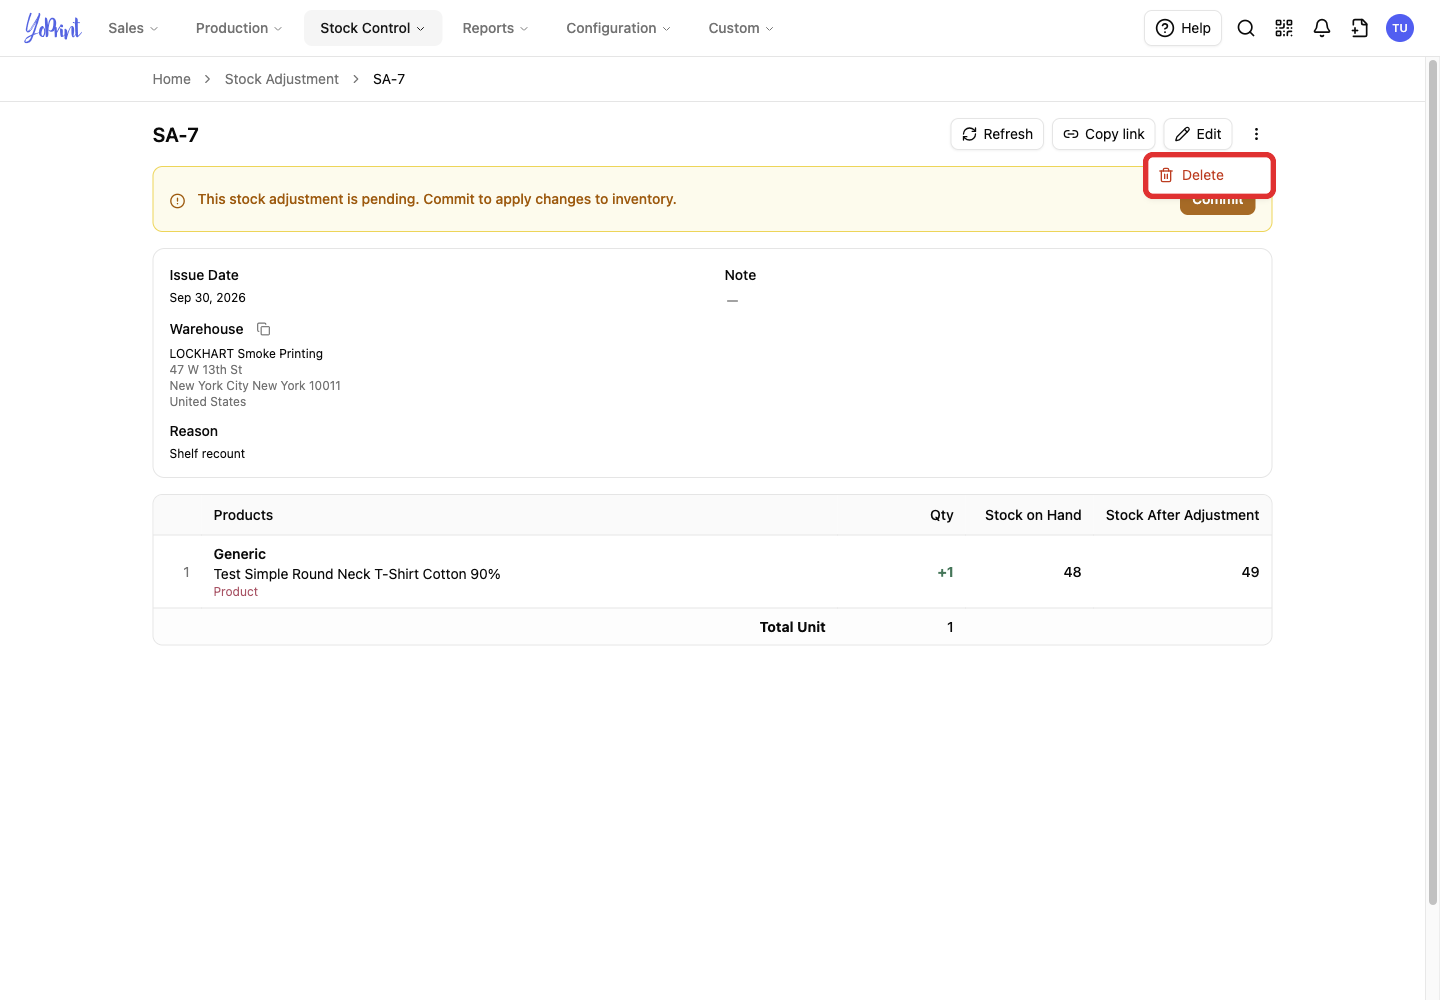
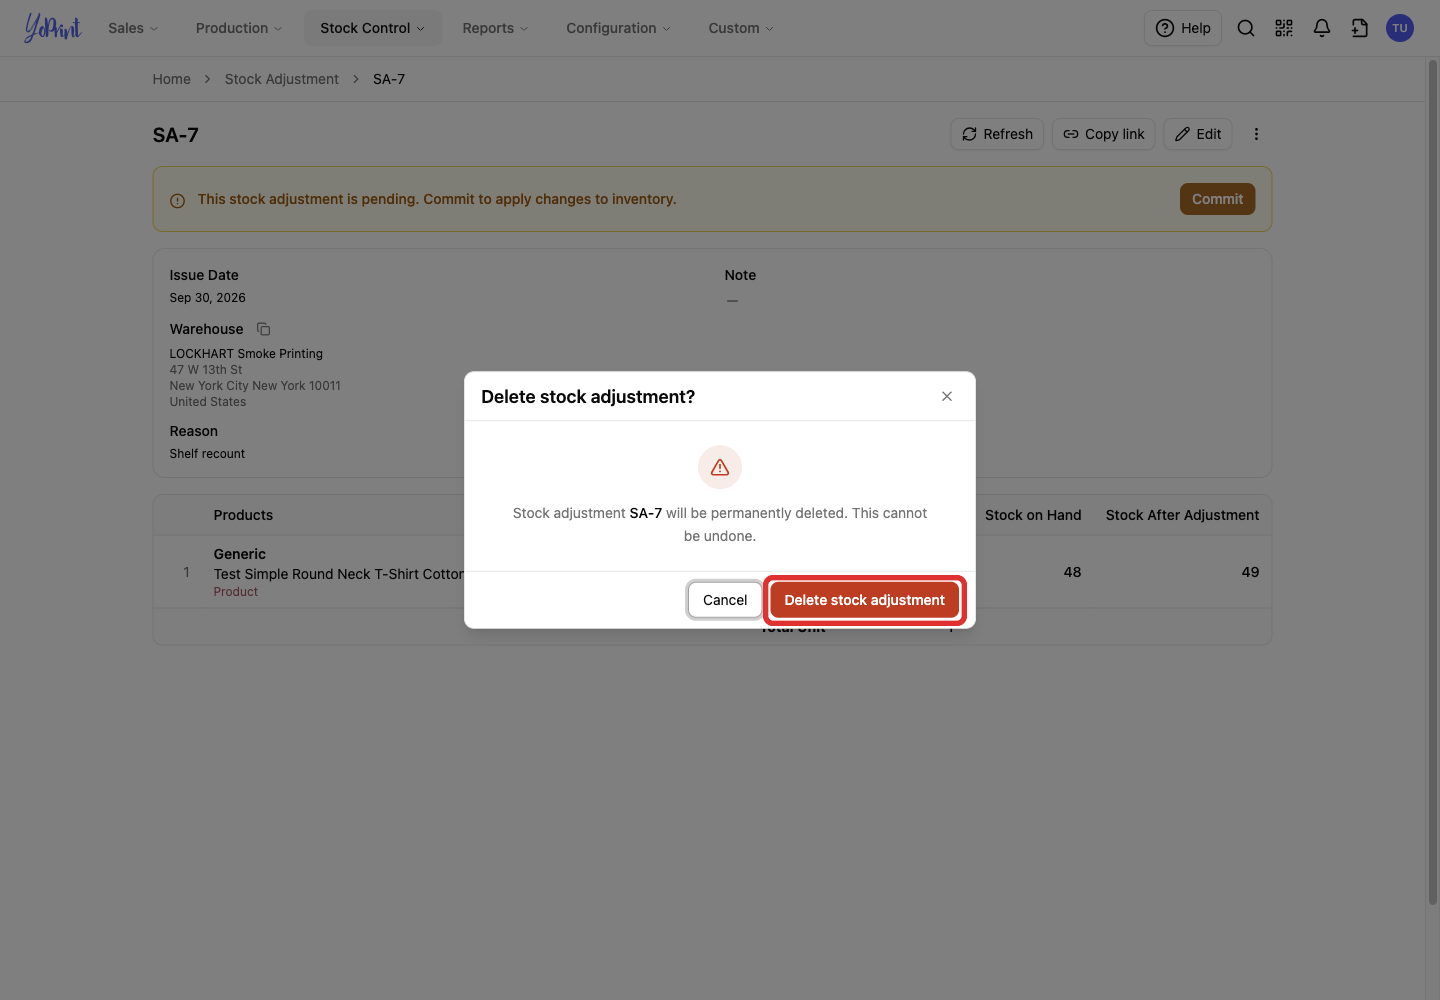
Delete only a Pending adjustment you no longer need. This removes the proposed change without applying it to inventory.
-
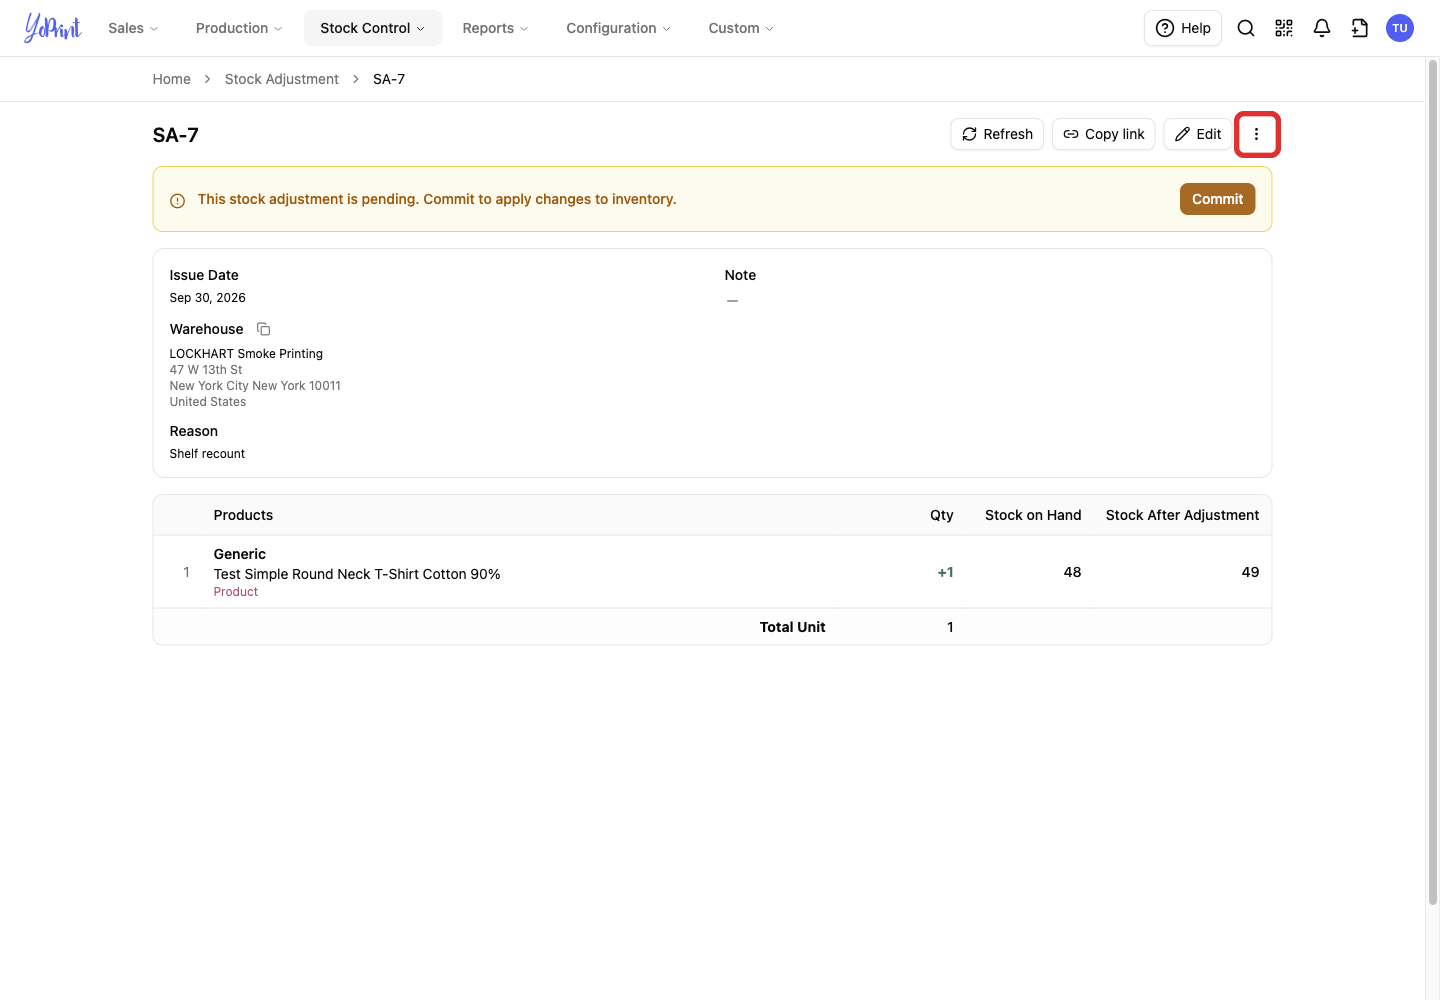
On the Pending adjustment, open the three-dot More actions menu.
-
Choose Delete.
-
Click Delete stock adjustment in the confirmation dialog.
Open an existing adjustment
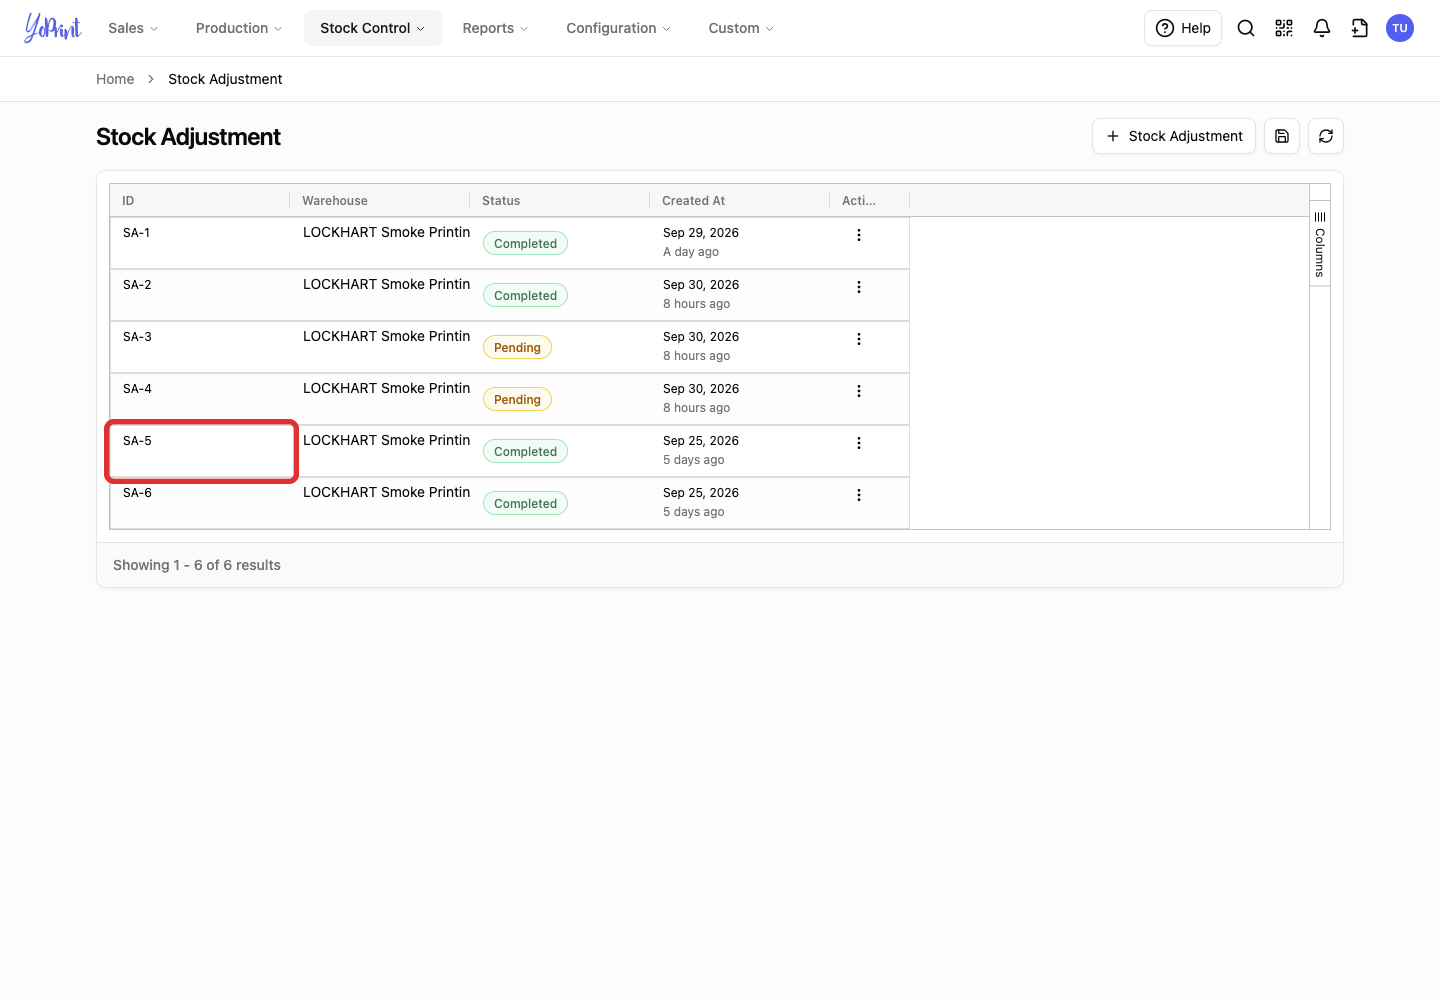
The list shows each adjustment’s ID, warehouse, status, and created date.
-
Double-click the adjustment’s row in the Stock Adjustment list to open a preview dialog.
-
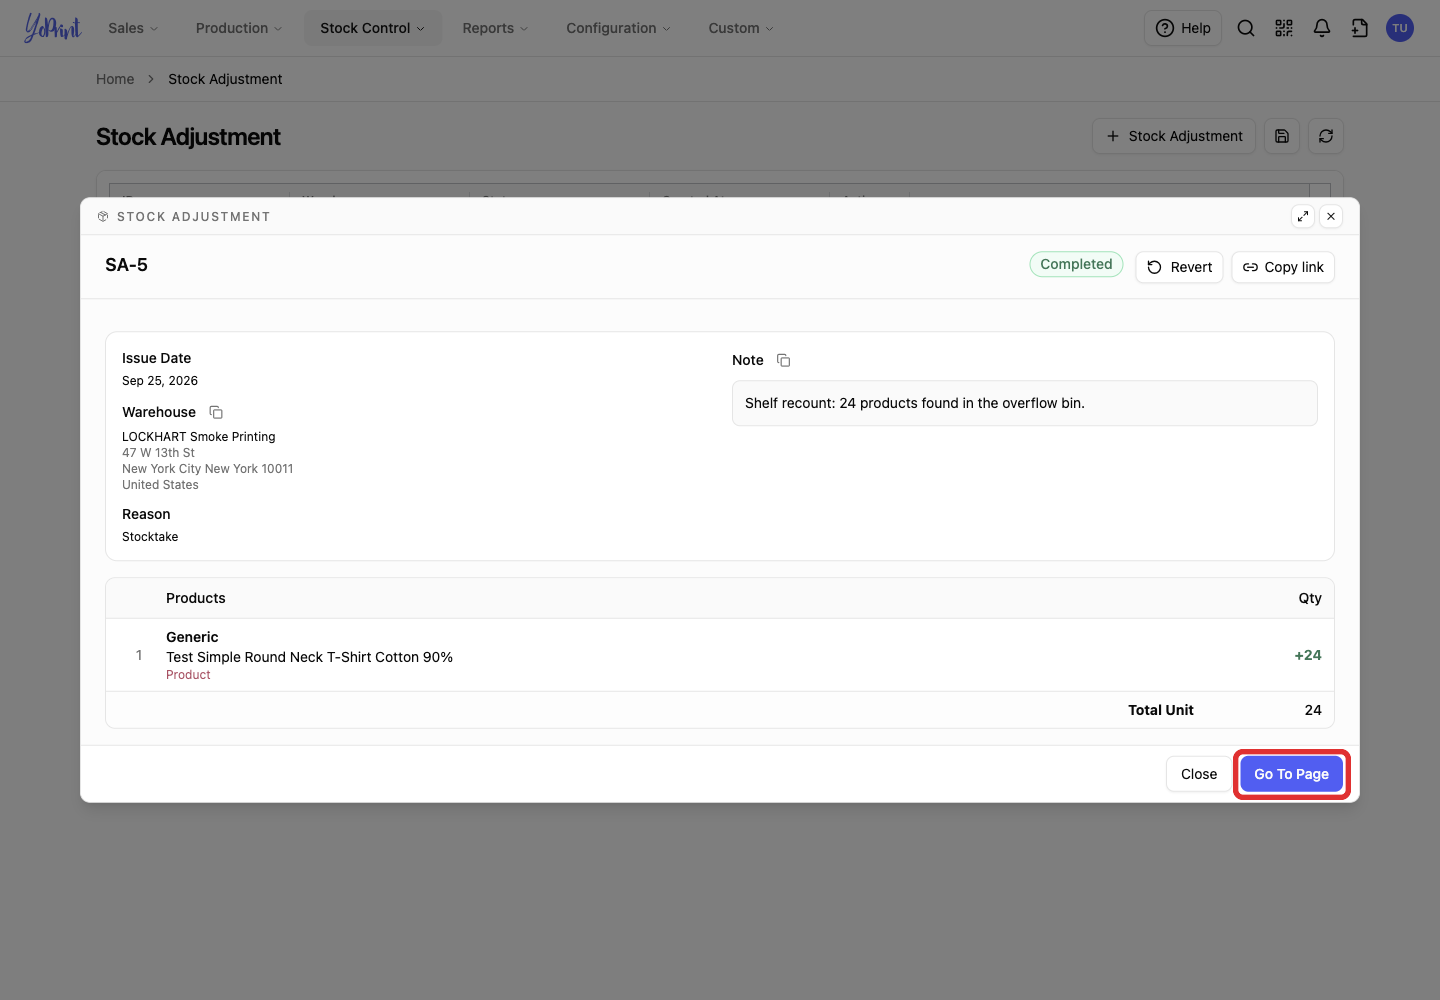
Click Go To Page at the bottom of the preview to open the full record.
Reverse a completed adjustment
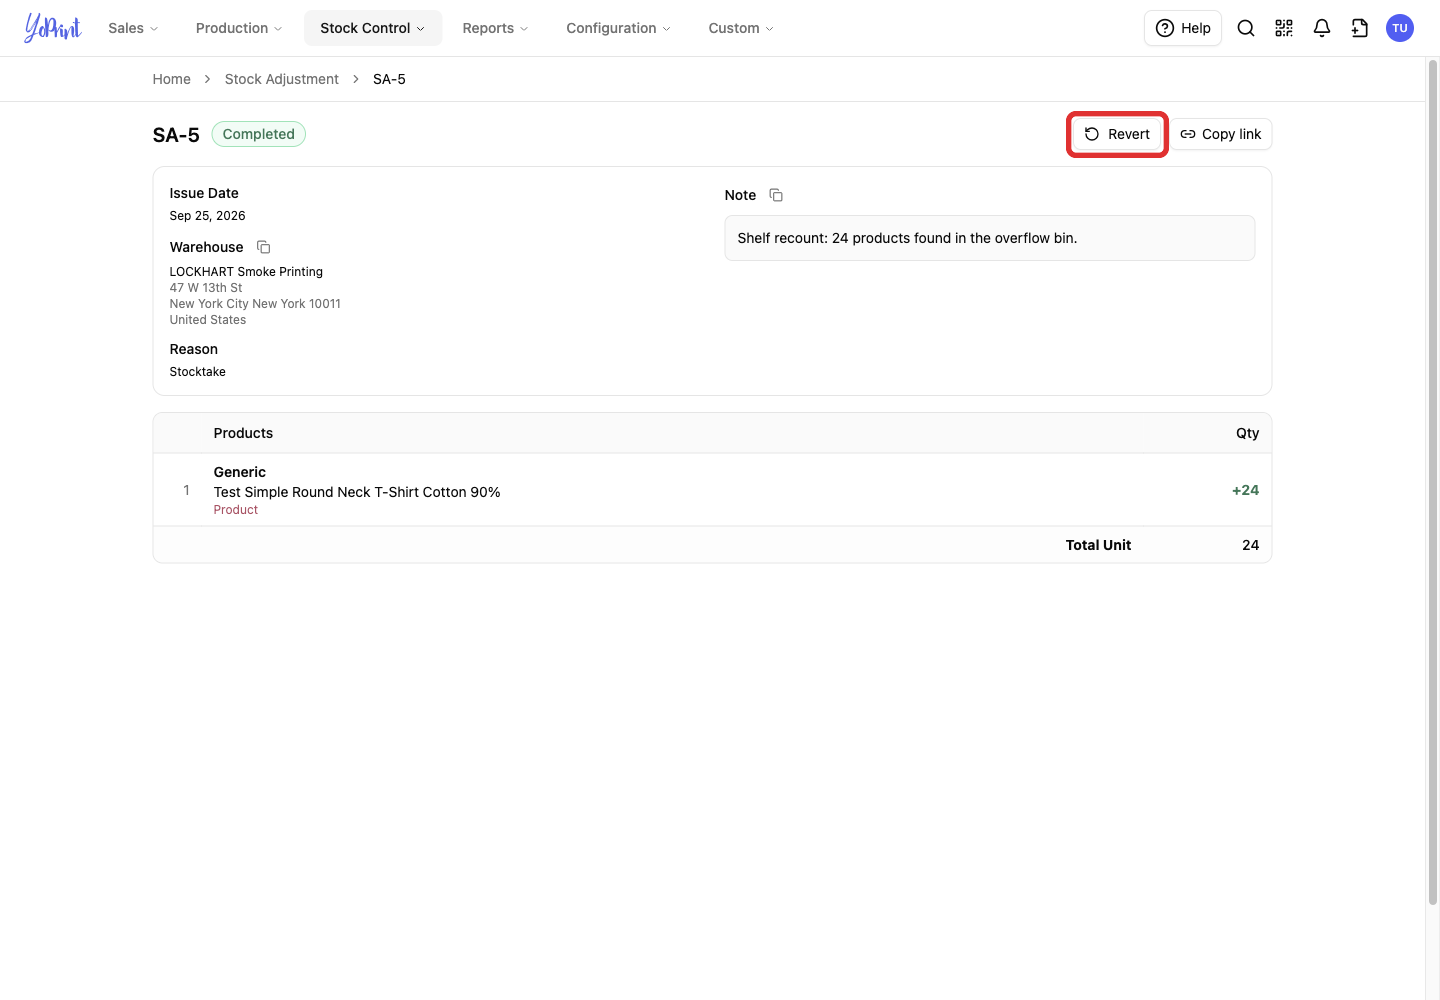
Revert opens a new form. It does not immediately undo the original adjustment.
-
On the Completed adjustment, click Revert.
-
Review the prefilled New Stock Adjustment form, then click Create. It uses the opposite quantities and the Stock Correction reason. For example, +24 becomes -24.
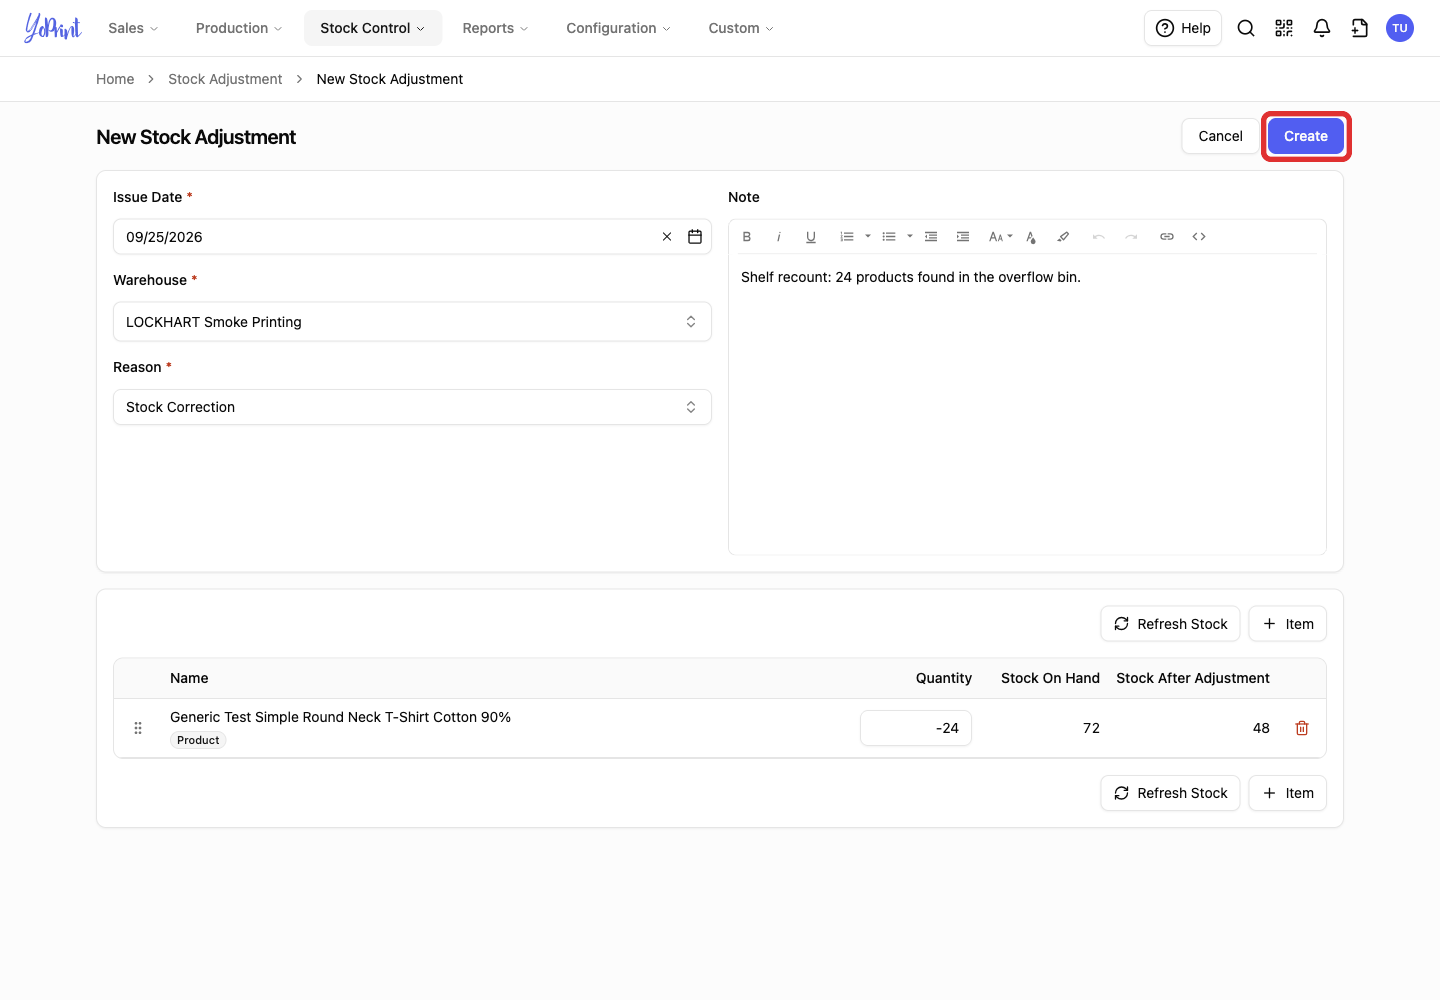
Check the copied Issue Date and Note before creating the reversal. If you do not want to proceed, Cancel leaves the original adjustment unchanged.
-
On the new Pending record, click Commit when the quantities are correct.
-
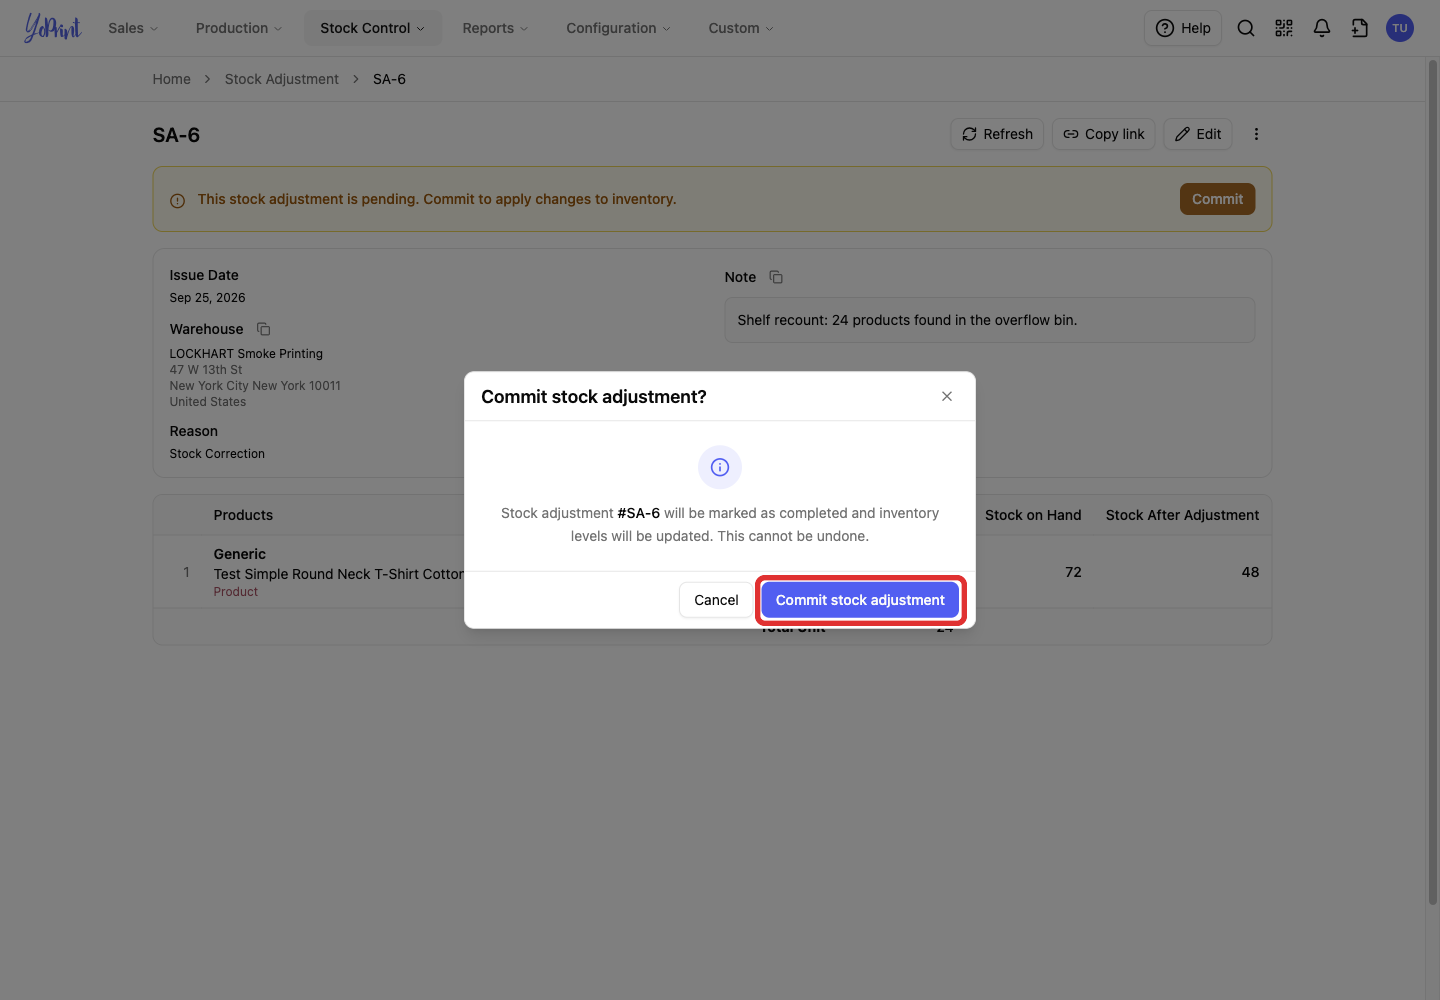
Click Commit stock adjustment in the confirmation dialog.
-
Check that the reversal is Completed. The original adjustment remains in the list alongside this new record.