Using Catalog Integrations and Getting Real-Time Stock and Pricing from Vendor Catalog
In this article
- Before you start
- Open a quote or sales order
- Find a catalog product
- Choose the product cost
- Set sizes and quantities
- Check the supplier's stock
- Add the product to the job
- Review prices for items already on a job
- Open a purchase order
- Add a catalog item to a purchase order
- Choose purchase-order pricing and check stock
- Check stock and prices on a saved purchase order
- Place the order with your supplier
Find products in a supplier catalog. Choose their colors and sizes, then add them to quotes, sales orders or purchase orders. A connected supplier account also lets YoPrint retrieve that supplier's stock and your account's costs.
This walkthrough uses a SanMar Gildan 5000 shirt. The same catalog picker also offers S&S Activewear when that catalog is enabled.
Before you start
Catalog visibility and a supplier connection are separate settings. Enabling a catalog makes its products searchable. The stock and account-pricing steps below need a connected supplier account and a plan that includes real-time vendor stock and pricing. Check the current plan comparison before setting up the connection. Catalog search and live supplier data are listed separately.
Use Configure SanMar Integration or Configure S&S Activewear Integration to connect your account.
This example uses US catalogs. The switches ending in Canada Catalog are for Canadian catalogs. Use the matching regional connection in Apps.
To show a catalog in product search:
-
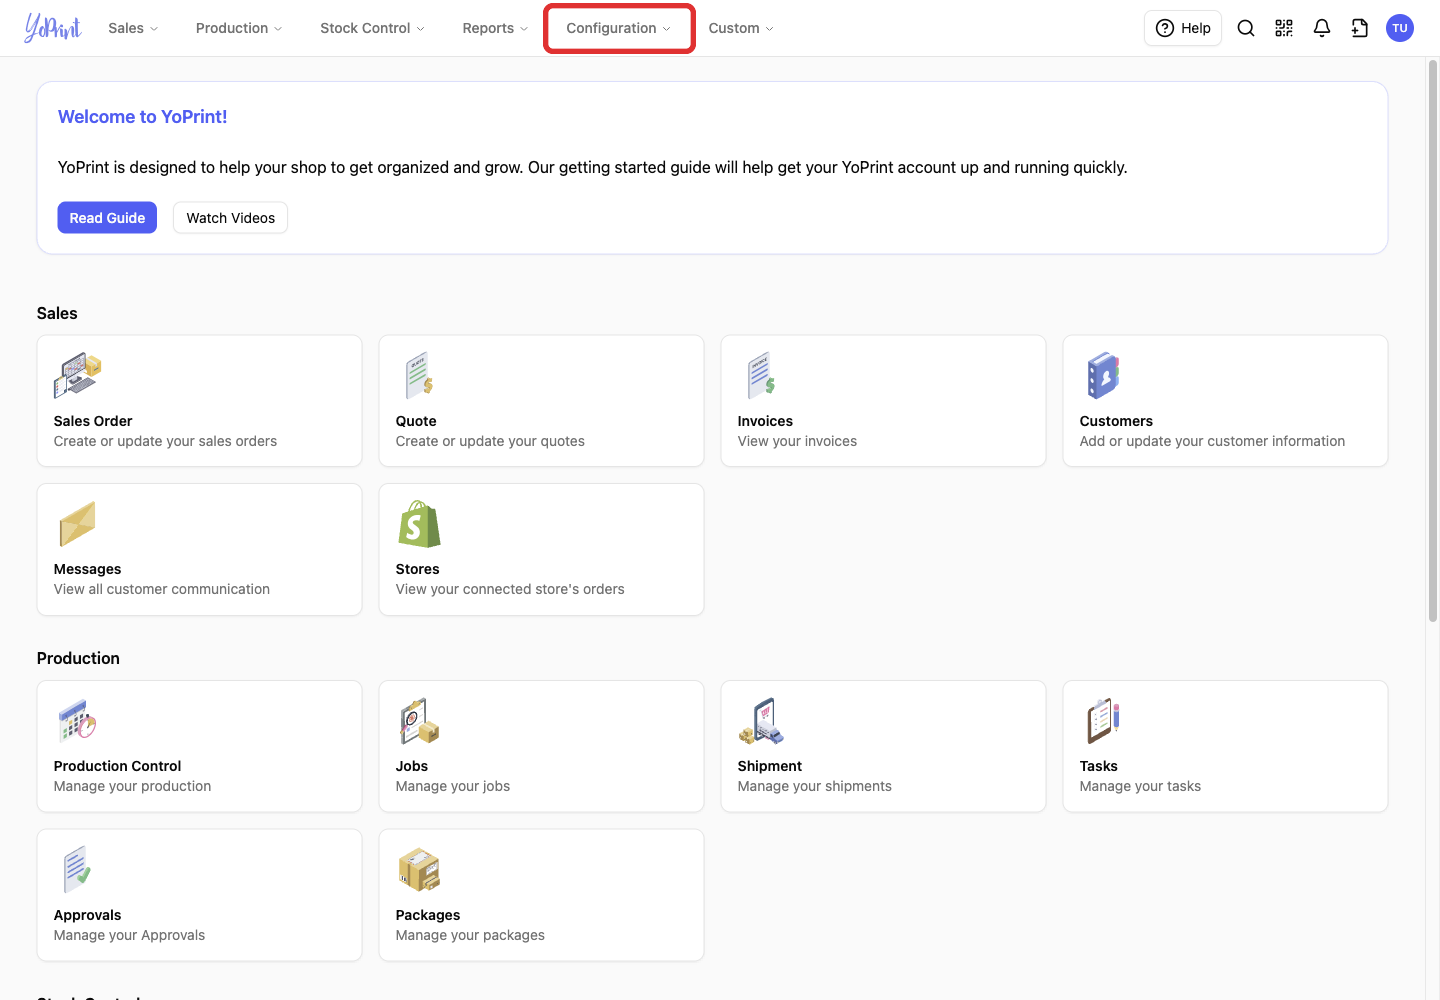
Open Configuration in the top navigation.
-
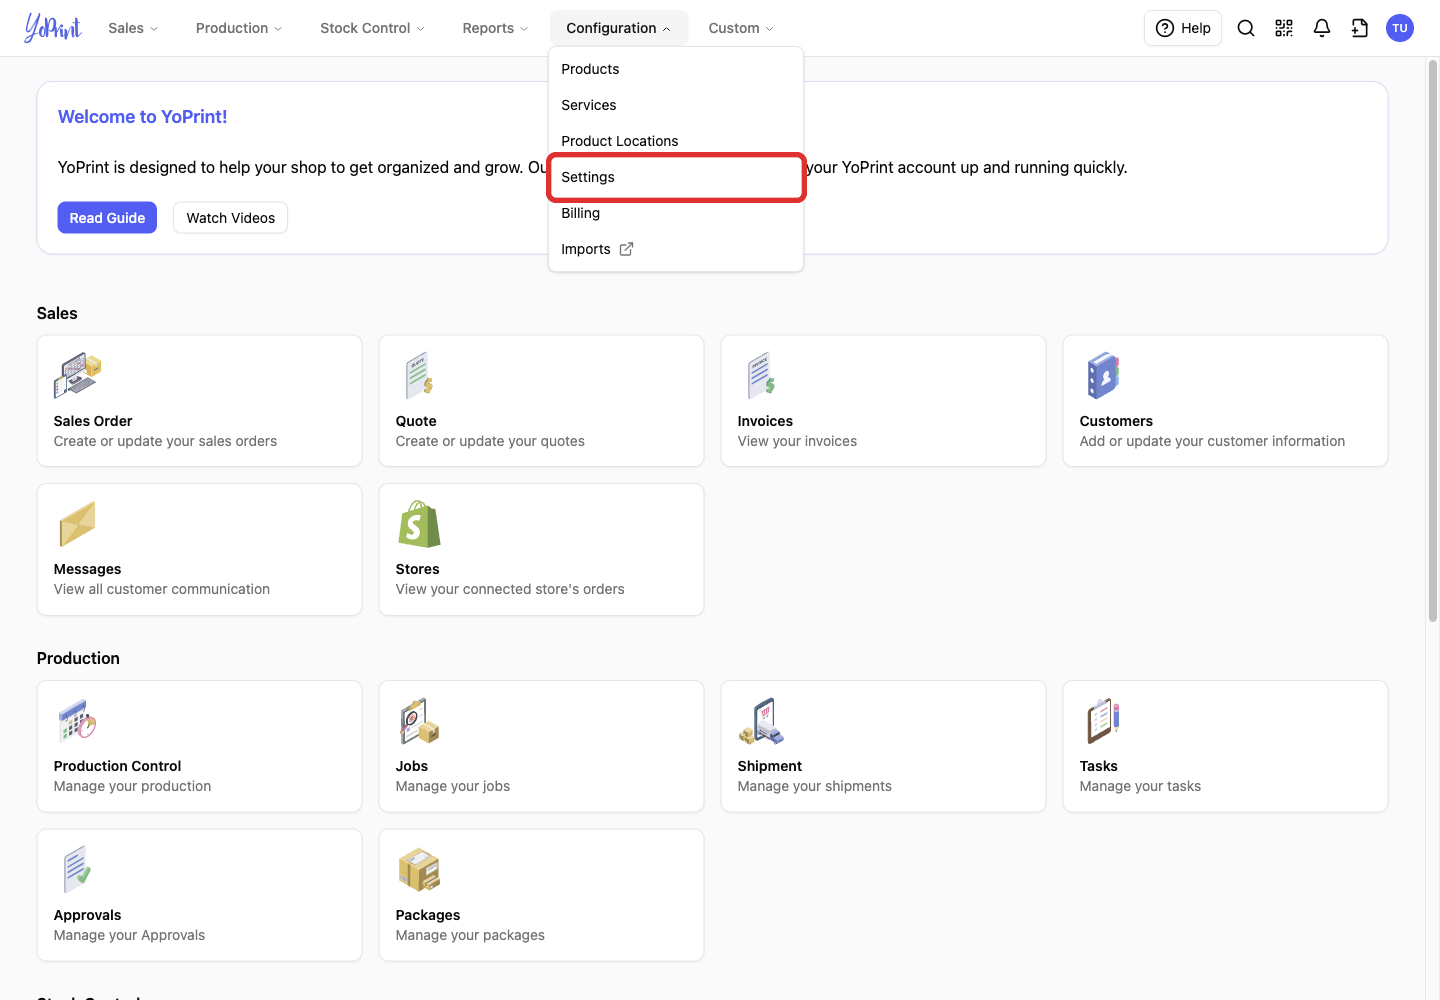
Select Settings.
-
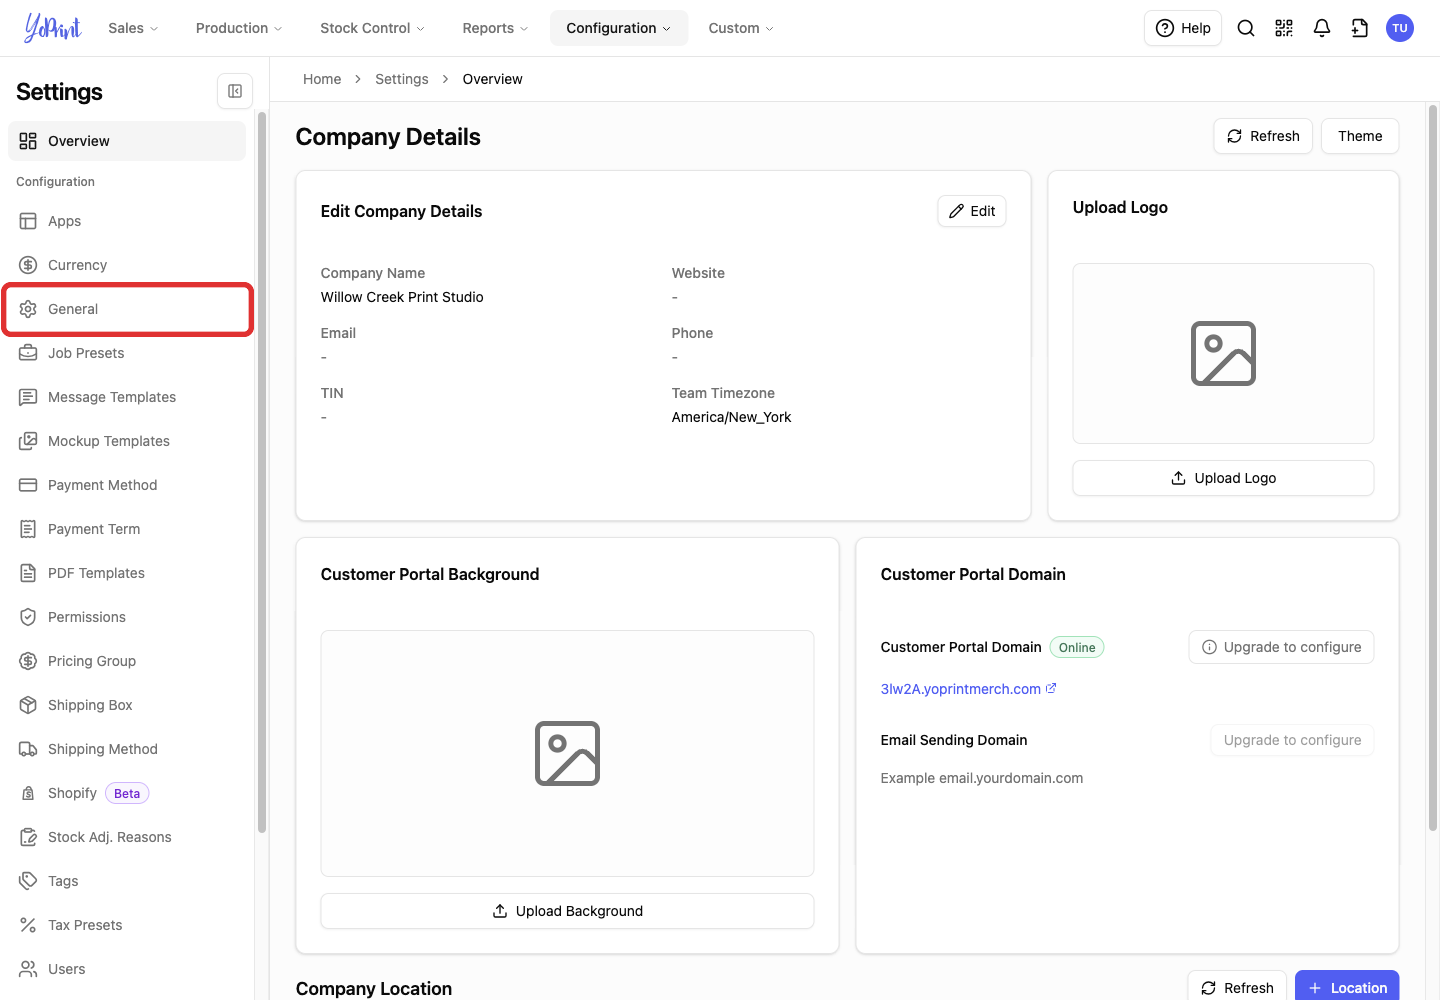
Select General in the Settings sidebar.
-
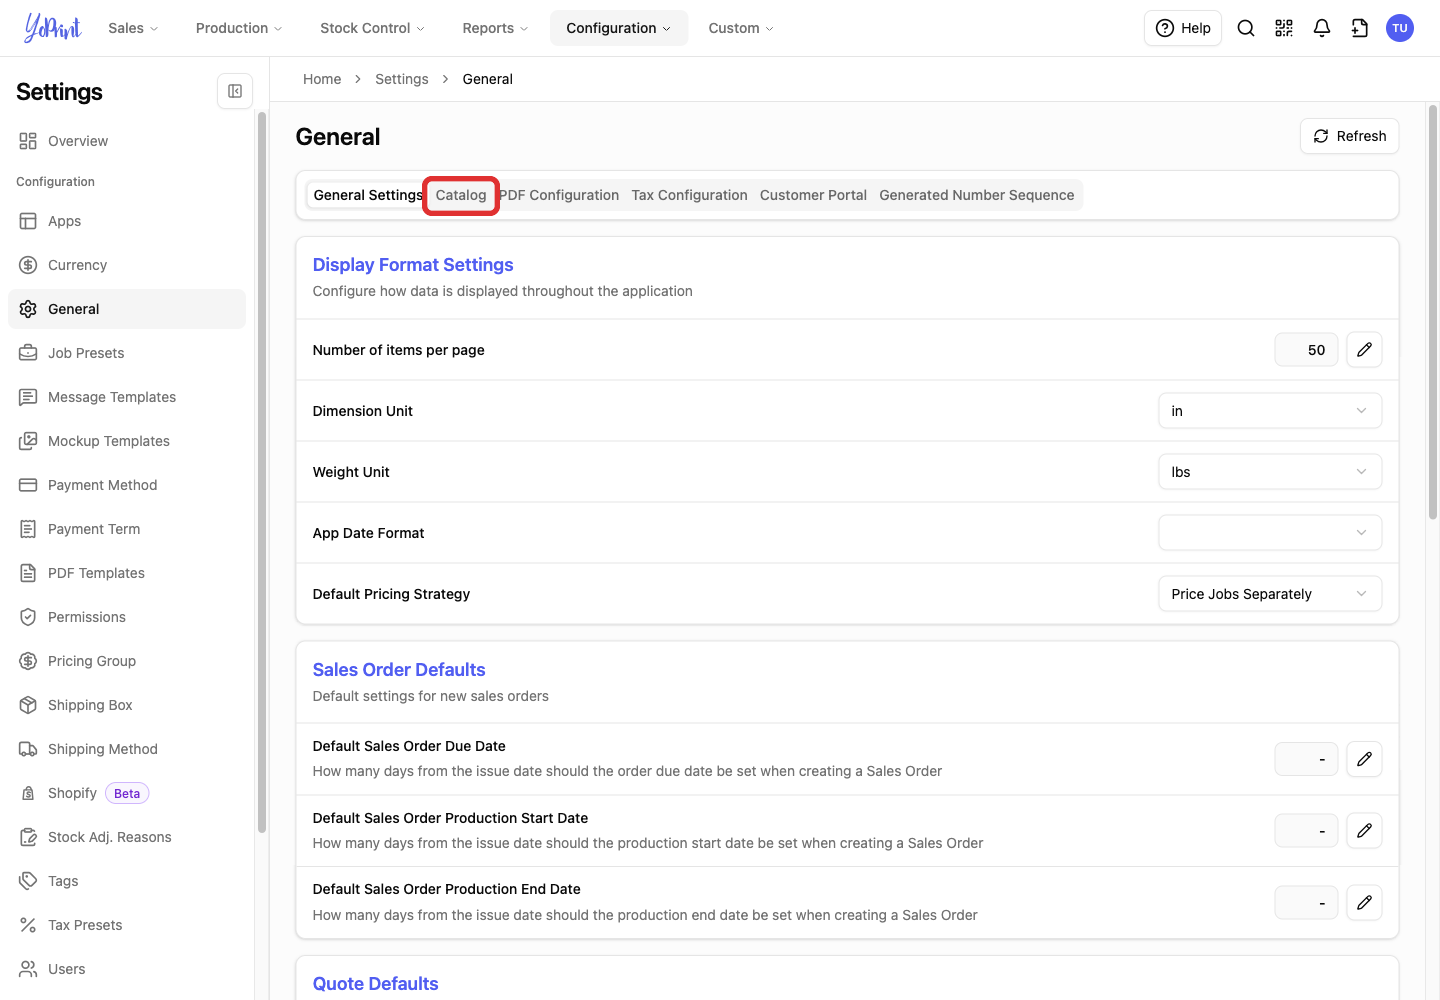
Select the Catalog tab.
-
Turn on the supplier's catalog. This example uses Enable Sanmar Catalog.
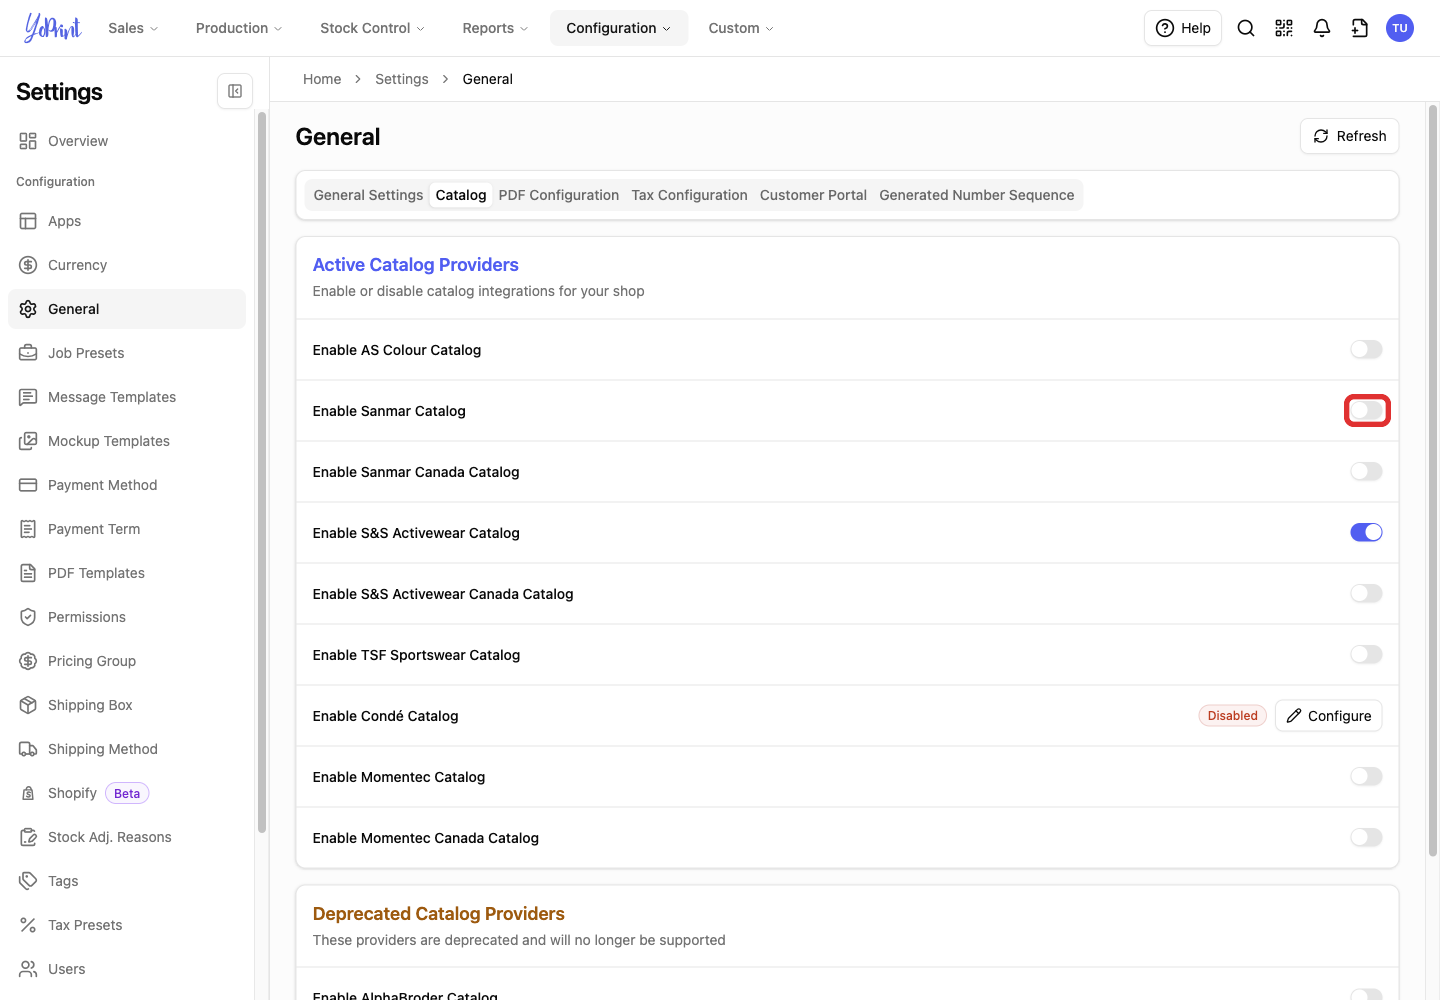
The switch saves automatically; there is no Save button. Reopen the Catalog tab to check that the switch stays on. A catalog that is turned off is hidden from product search.
Open a quote or sales order
A job groups the products and services for one part of an order, such as a run of printed shirts. If you do not have a quote and job yet, follow Create a Quote through Add a job, then return here.
To open an existing quote:
-
Open Sales in the top navigation.
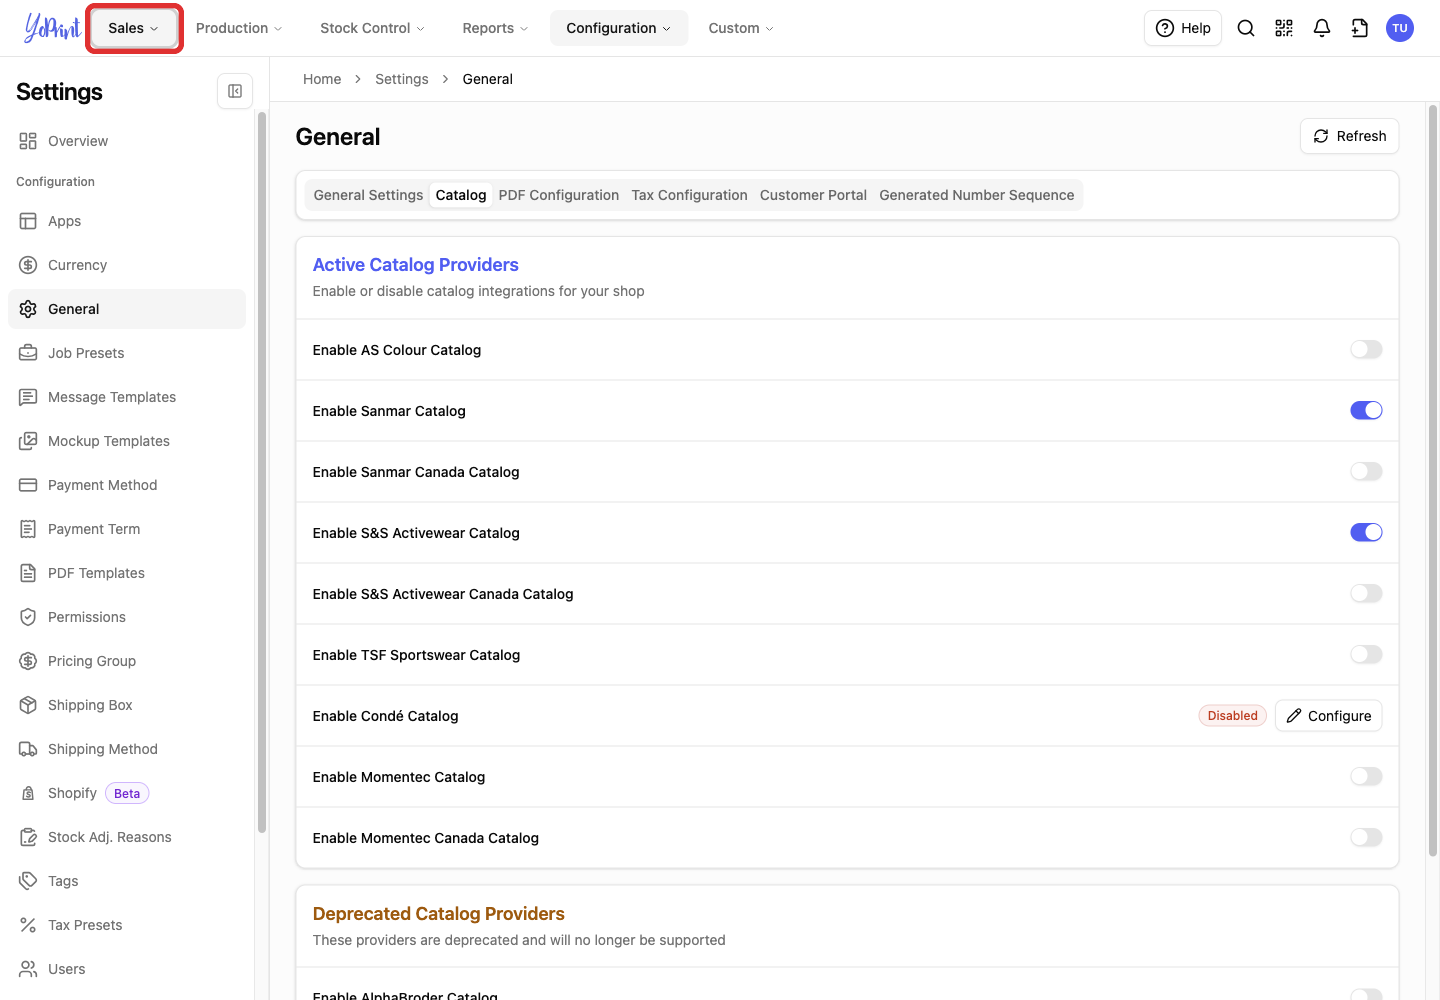
-
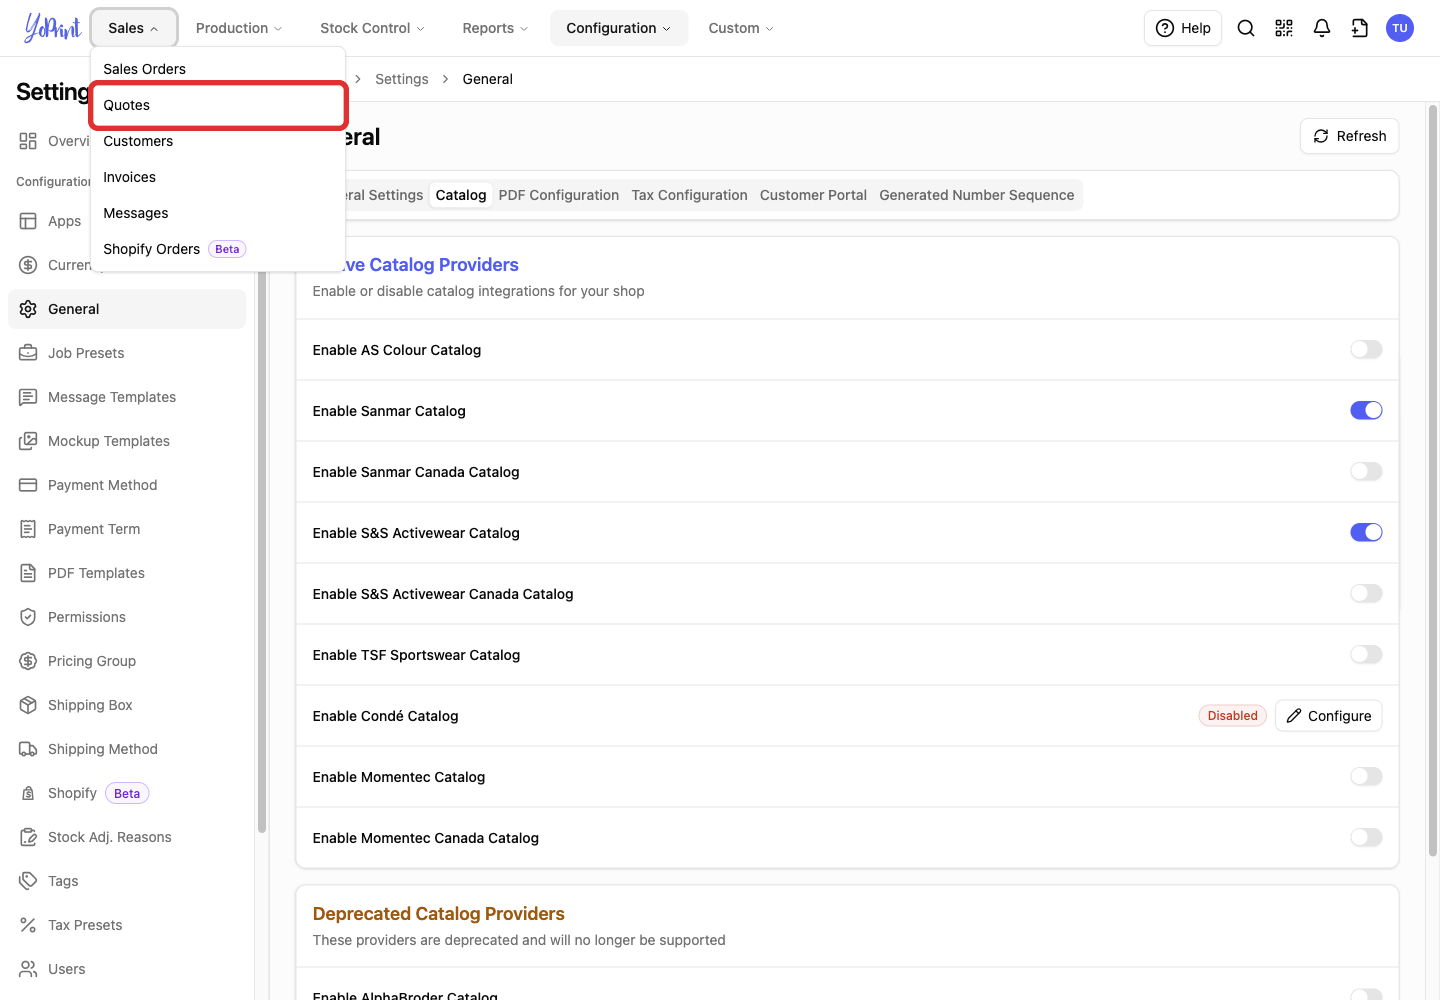
Select Quotes.
For an existing sales order, select Sales Orders instead.
-
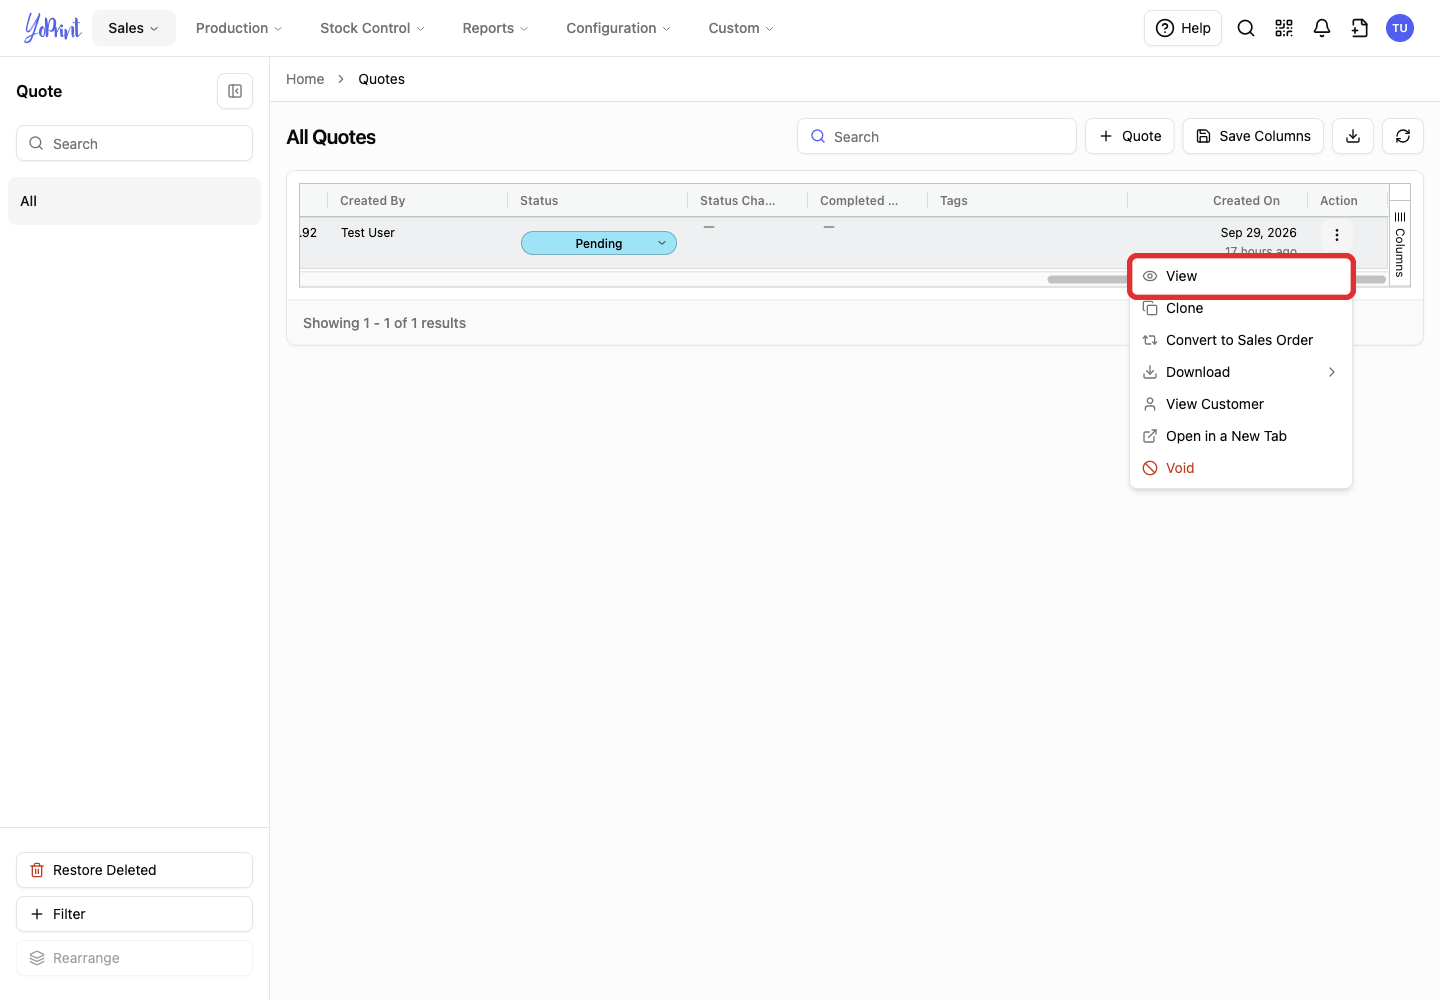
Open More actions on the row for your quote. Scroll the table to the right if you do not see the three-dot button.
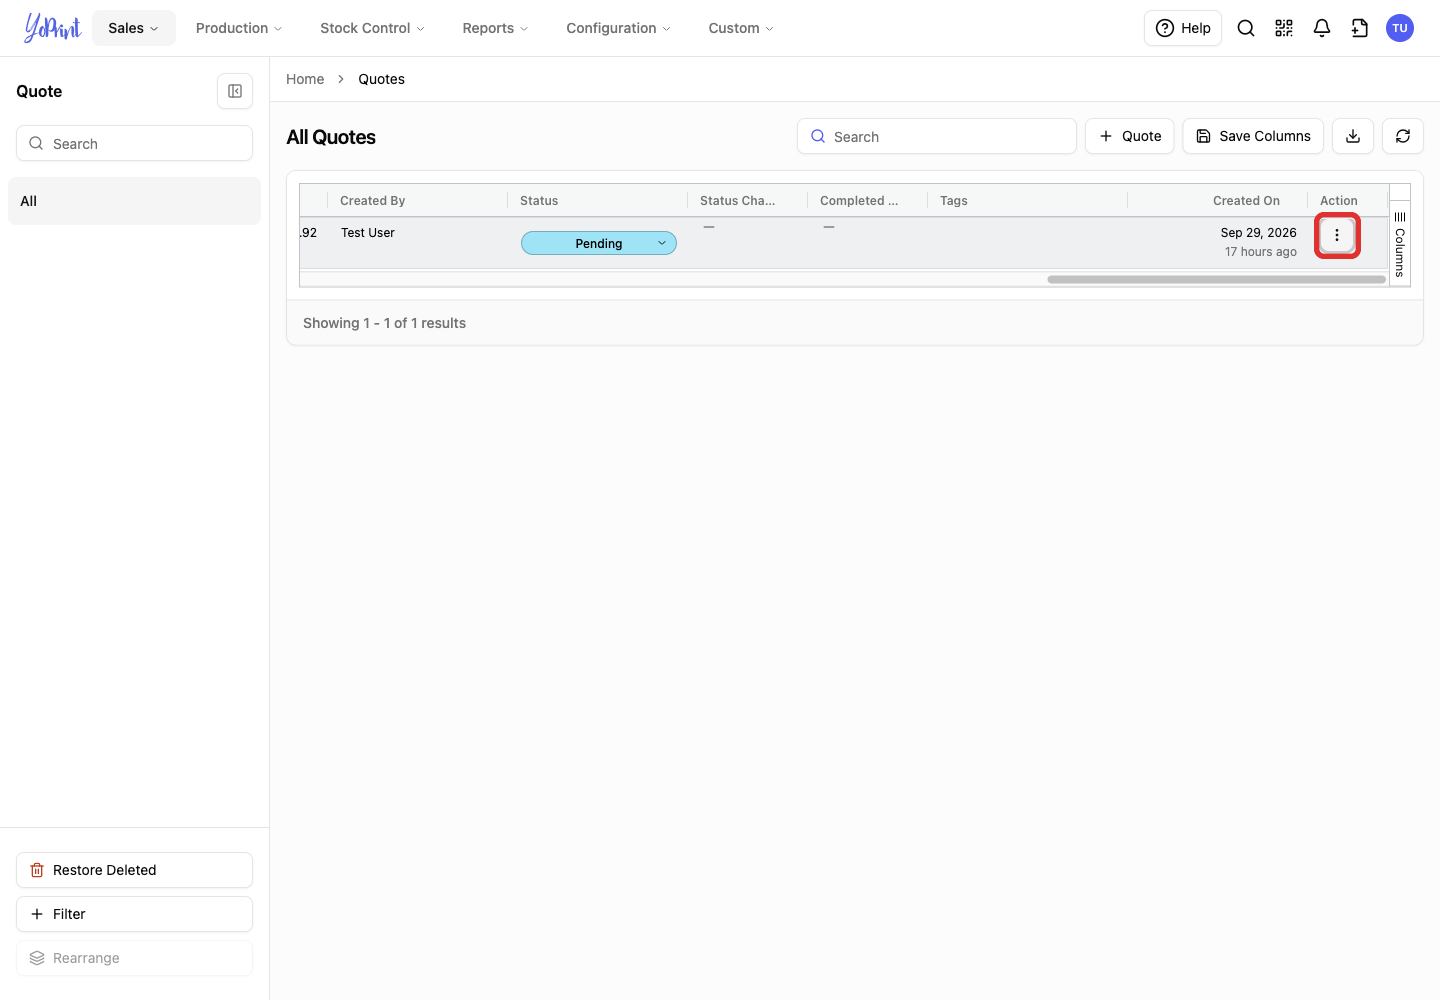
-
Select View.
-
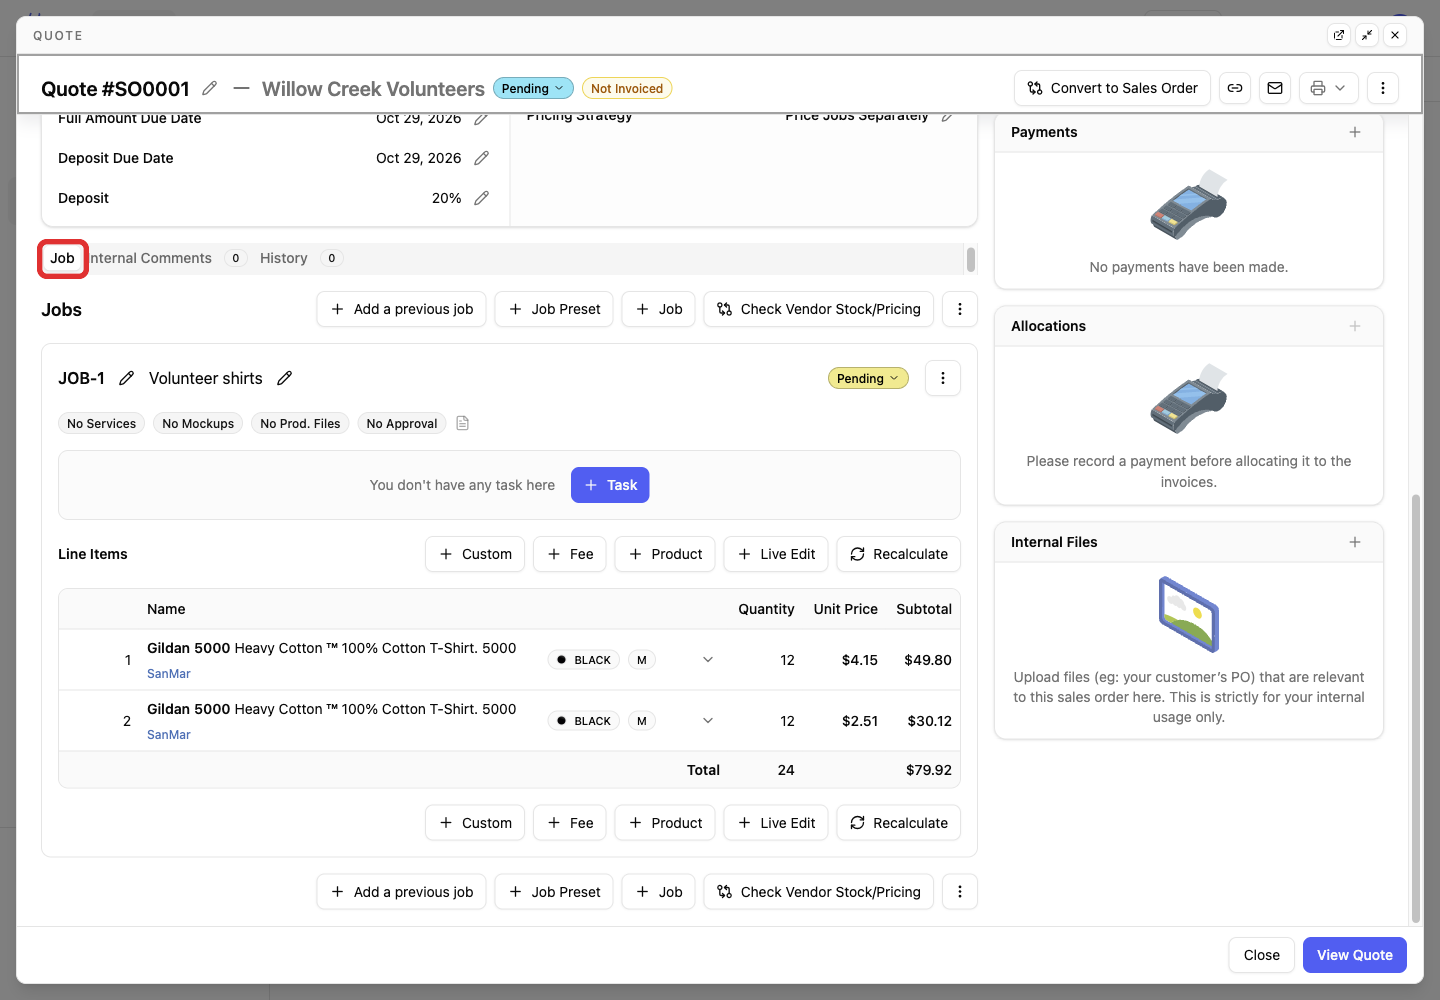
Select the Job tab. Scroll down if it is below the order details.
Find a catalog product
Start in the job you opened above. These steps add a new product; skip to Review prices for items already on a job if you only need to check an existing item.
-
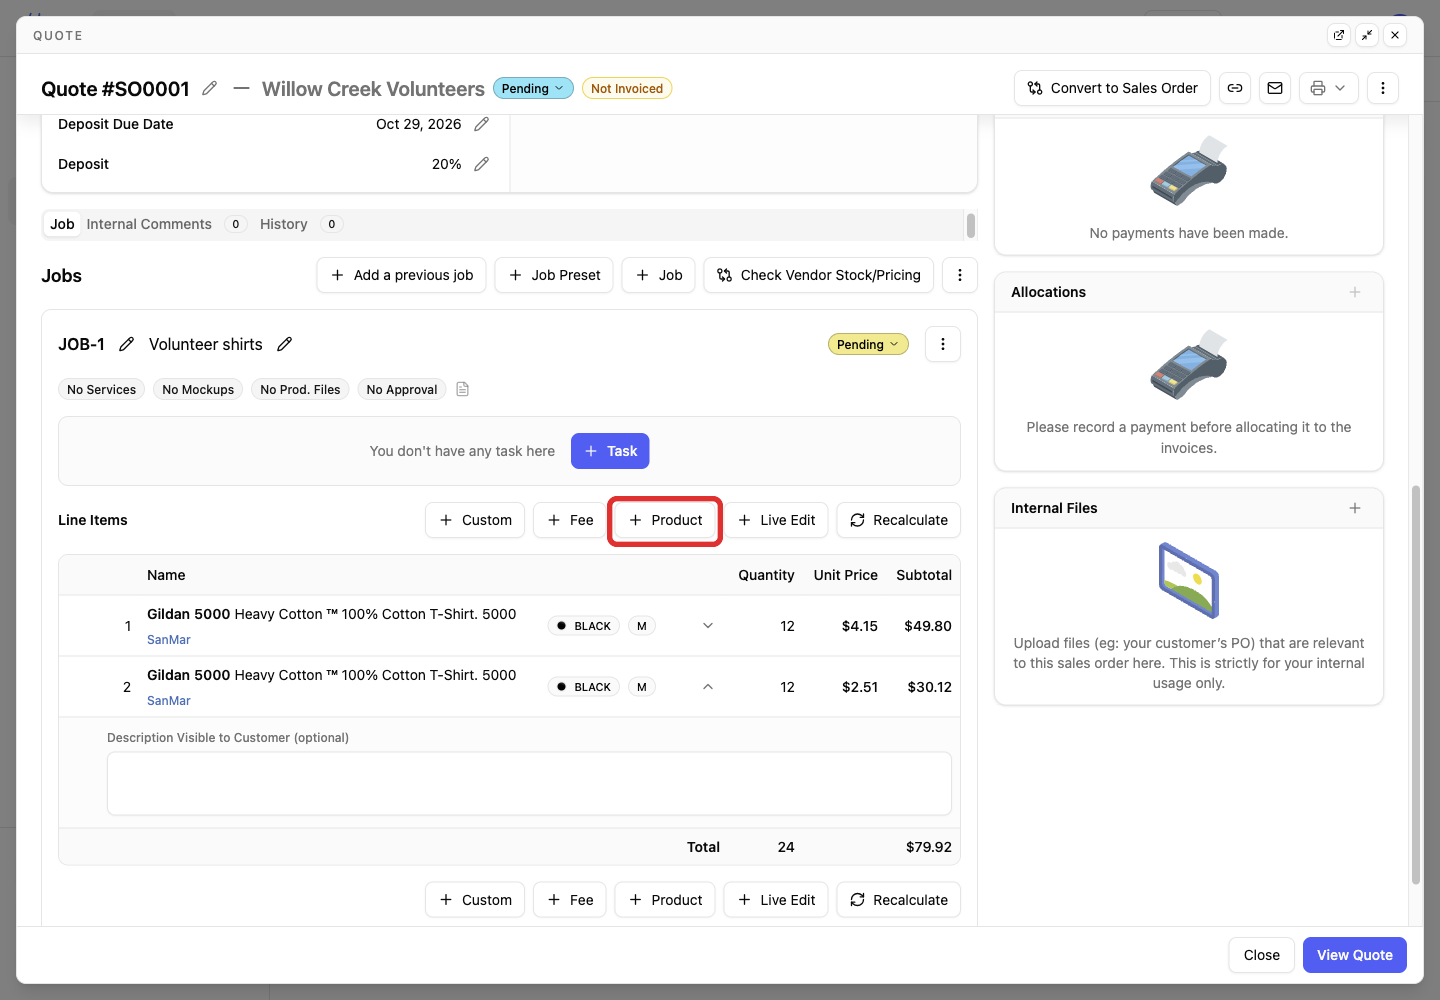
Click Product in the job.
-
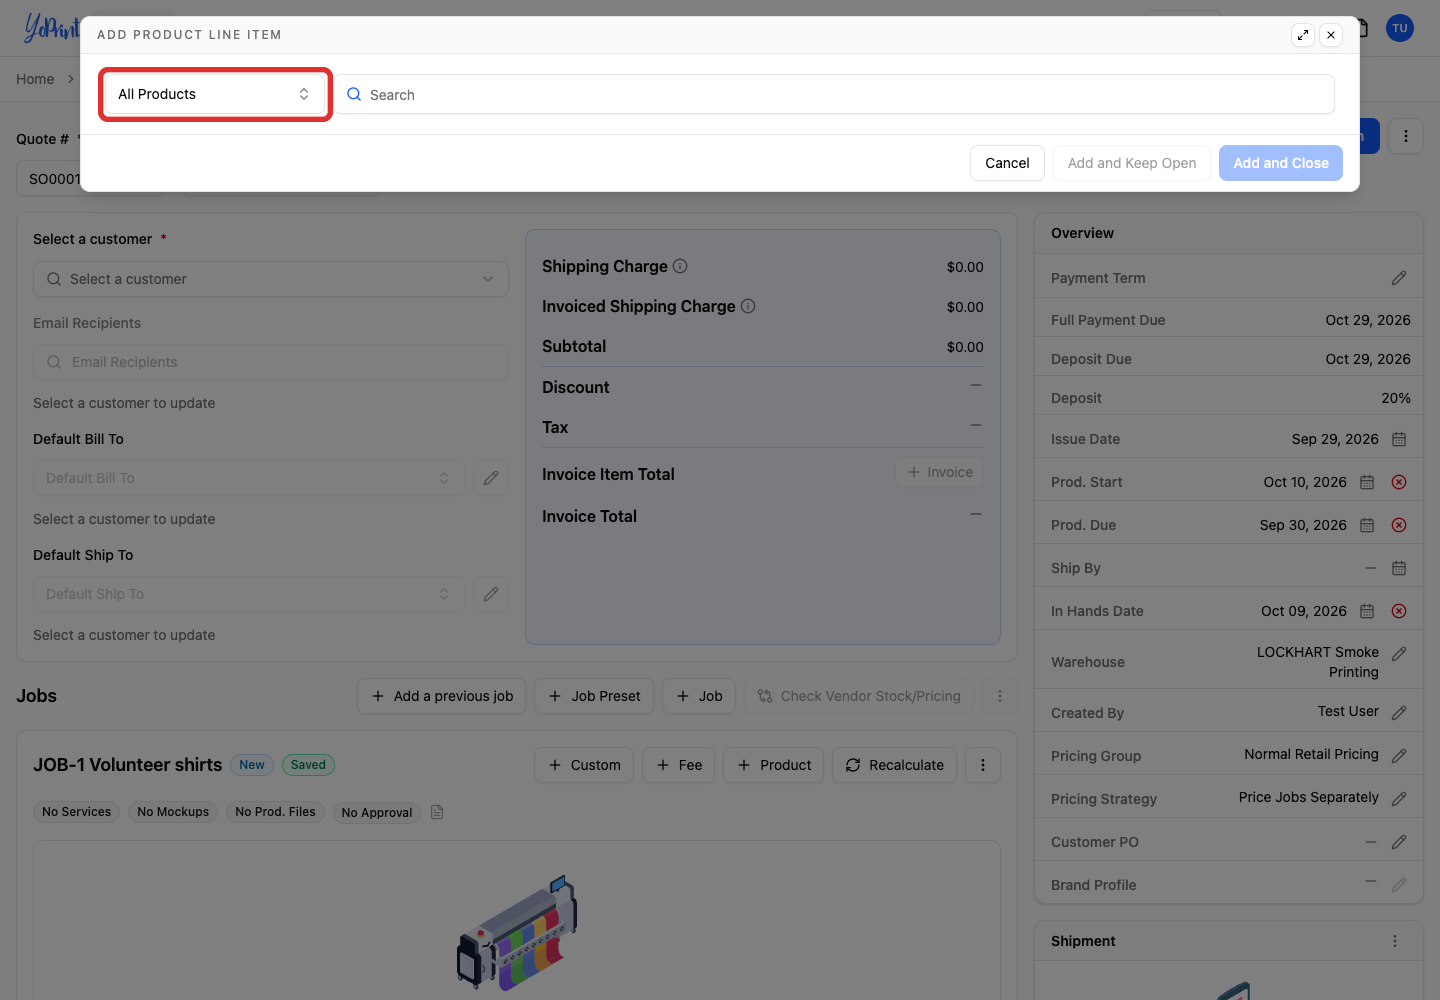
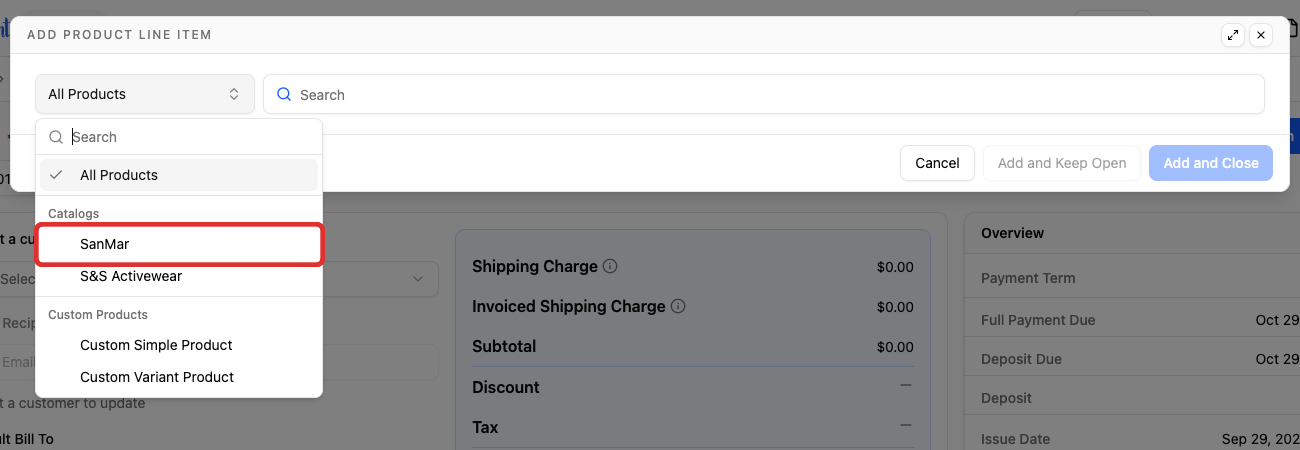
Open All Products.
-
Select the supplier's catalog, such as SanMar.
-
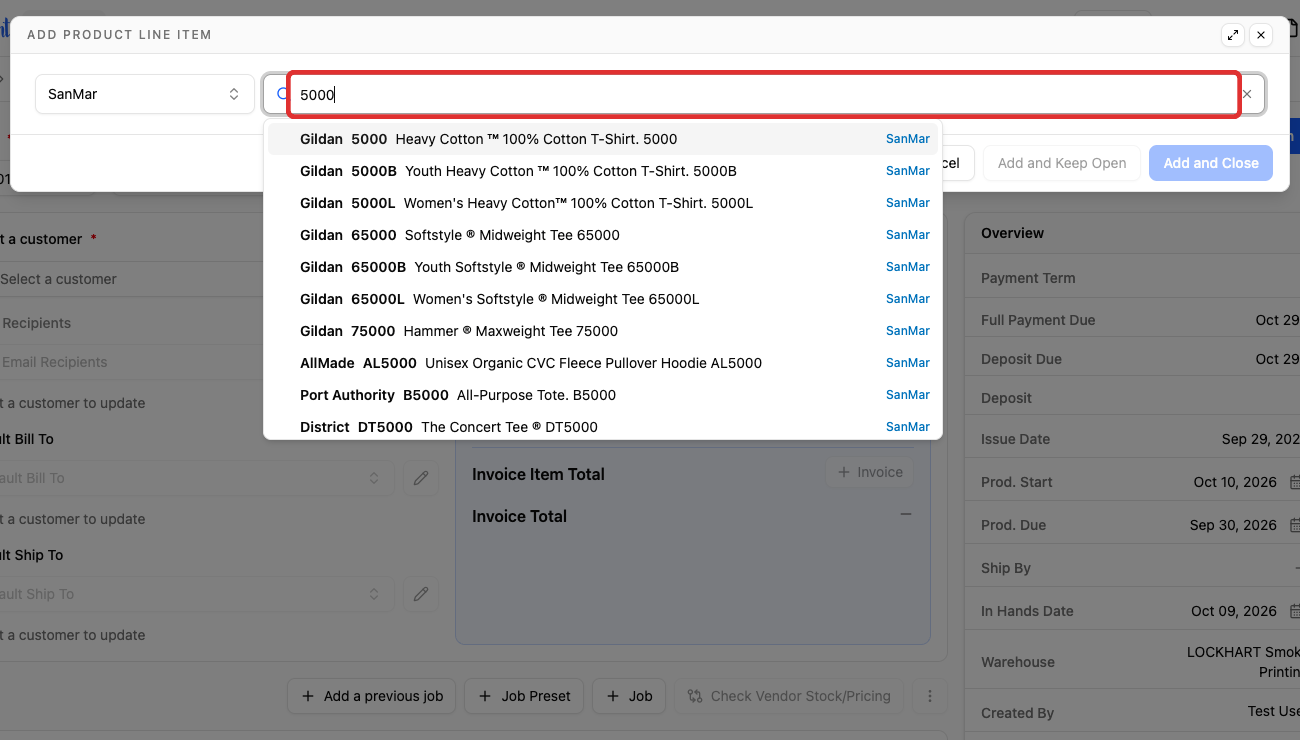
Enter the style number or product name in Search. This example uses 5000.
-
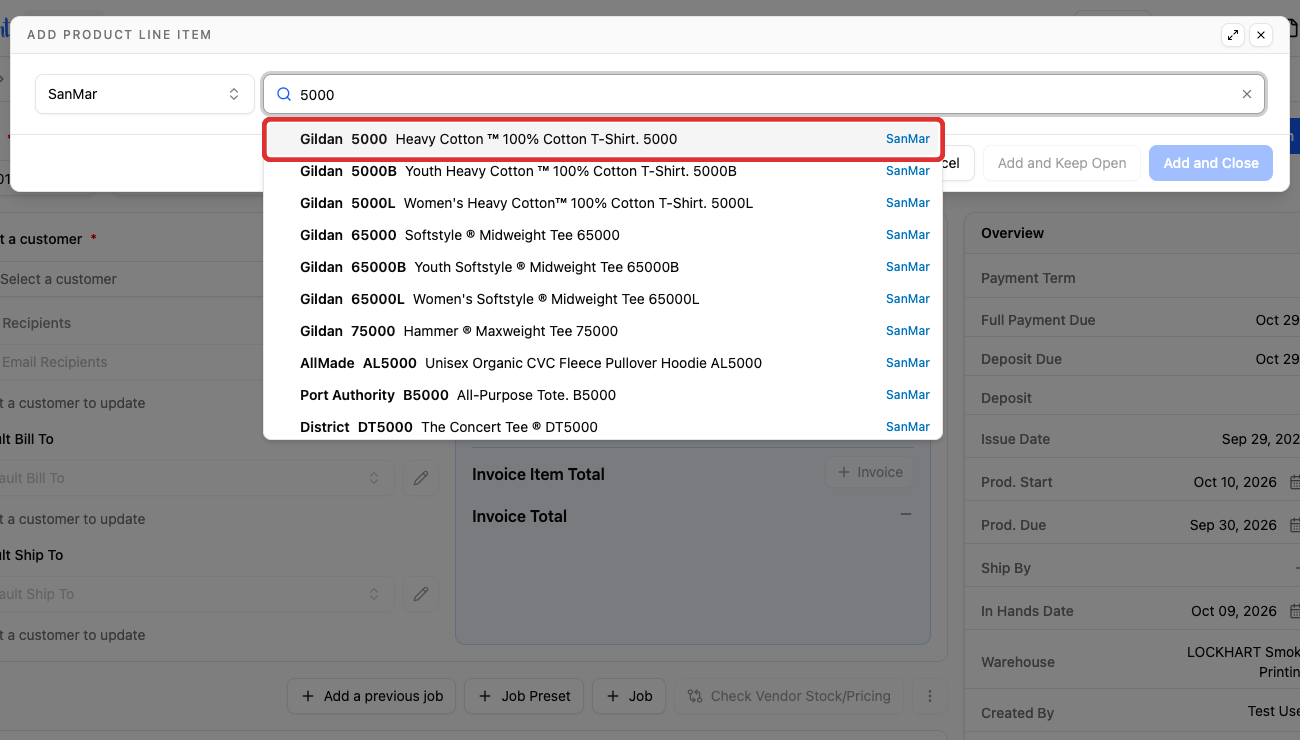
Select the matching product. The supplier's name appears at the right of each result.
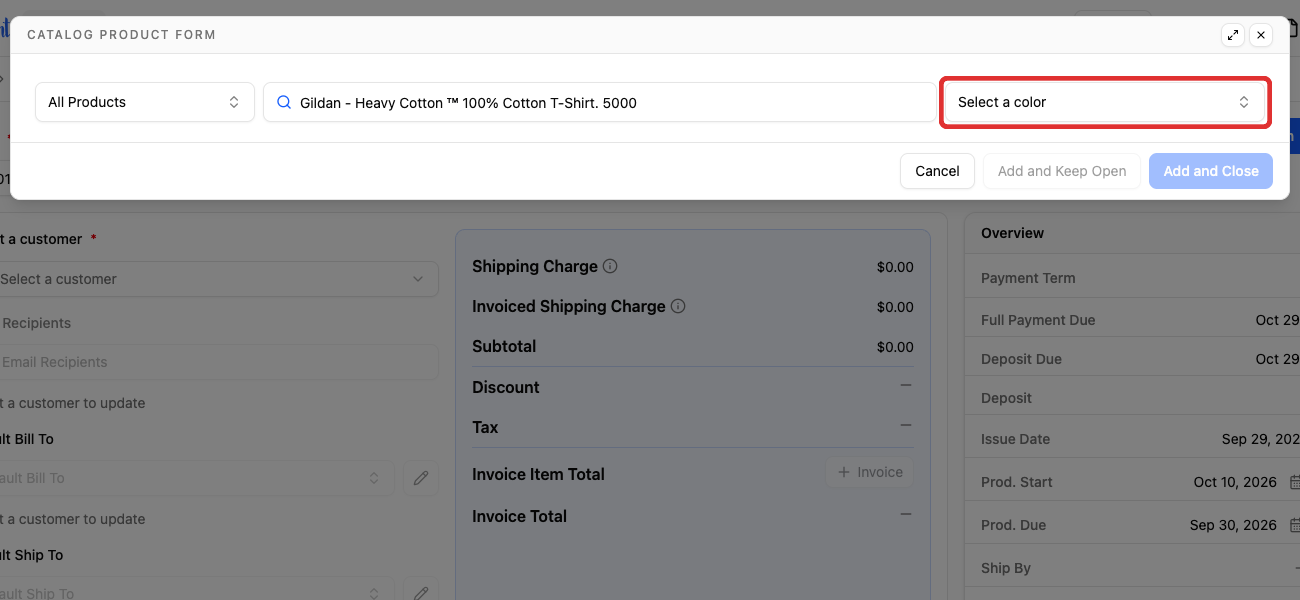
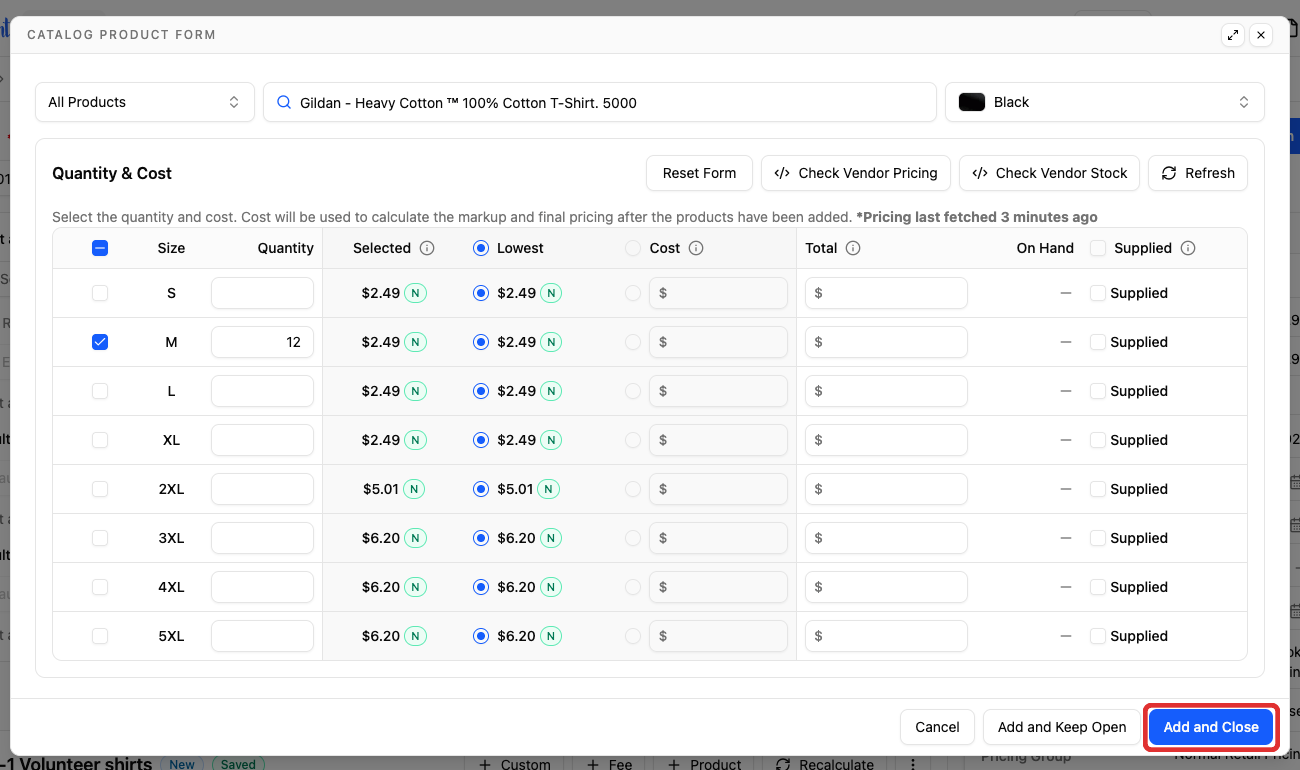
The heading changes to Catalog Product Form. The catalog filter returns to All Products. Your selected product stays in the form; check its name before choosing a color. You do not need to search again.
-
Open Select a color.
-
Select the color you need. This example uses Black.
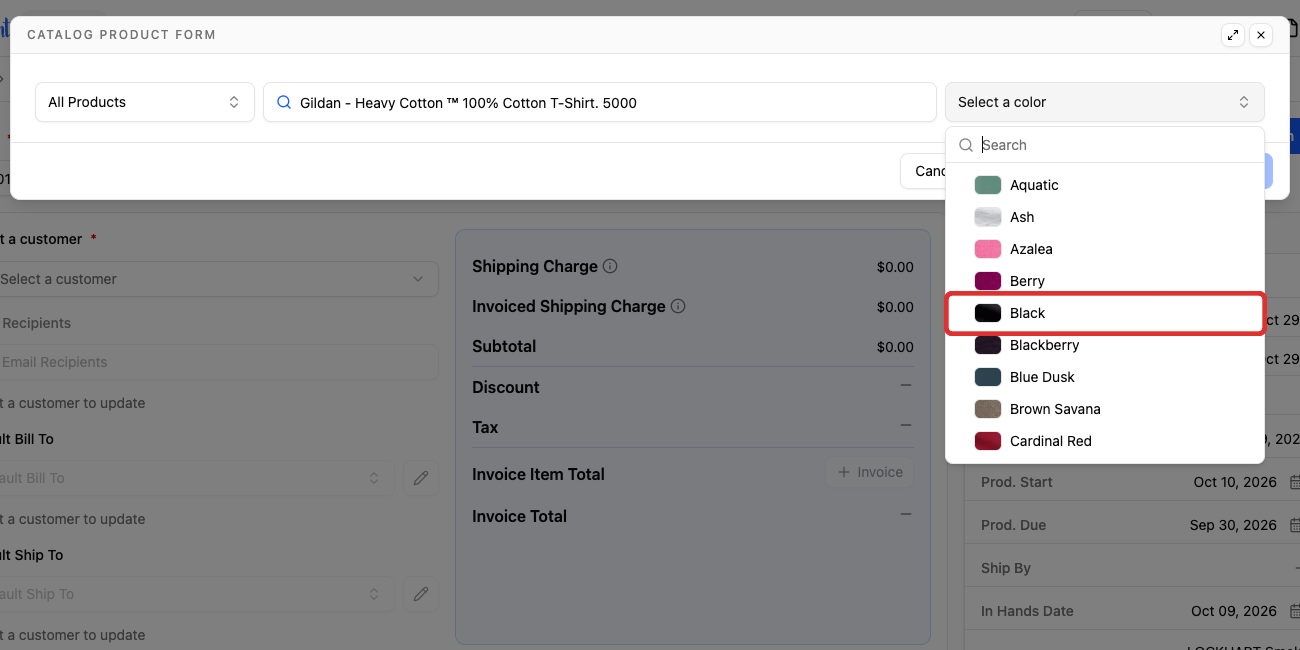
Wait for the size checkboxes, quantities and supplier-check buttons to become available. They can stay greyed out for several seconds while YoPrint requests the supplier data, even when no spinner appears. Keep the selected product and color while you wait. If the controls stay unavailable, check that the matching supplier account is connected in Settings, under Apps.
Product missing from the results
Check the style number and catalog filter. See Tips for searching catalog products for more help.
Choose the product cost
Your order's Pricing Group applies your shop's markup or margin to the supplier cost to calculate the selling price. The cost you choose here is not the price your customer pays. See Switch Pricing Groups in Quotes or Sales Orders to check or change the group used on this order. Your shop's settings determine the increase; the example prices are not a default rate.
-
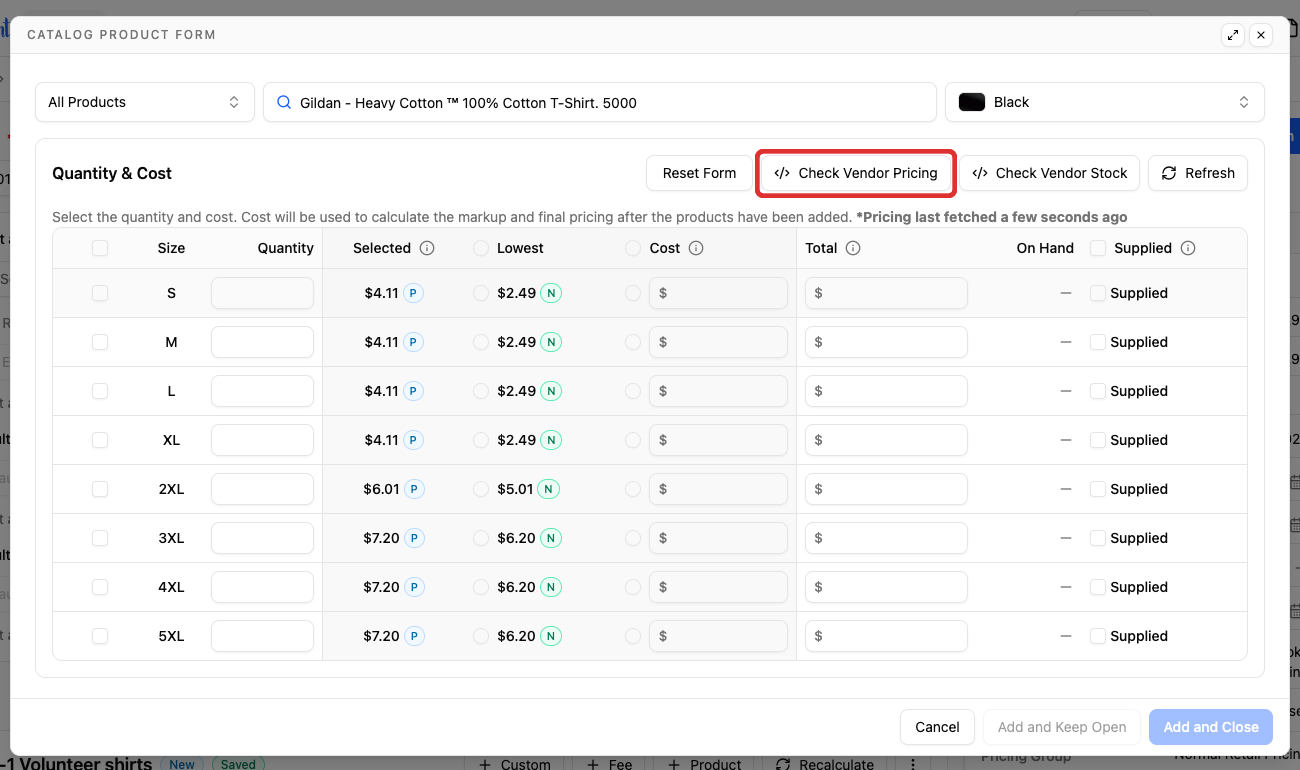
Click Check Vendor Pricing to open Pricing options.
-
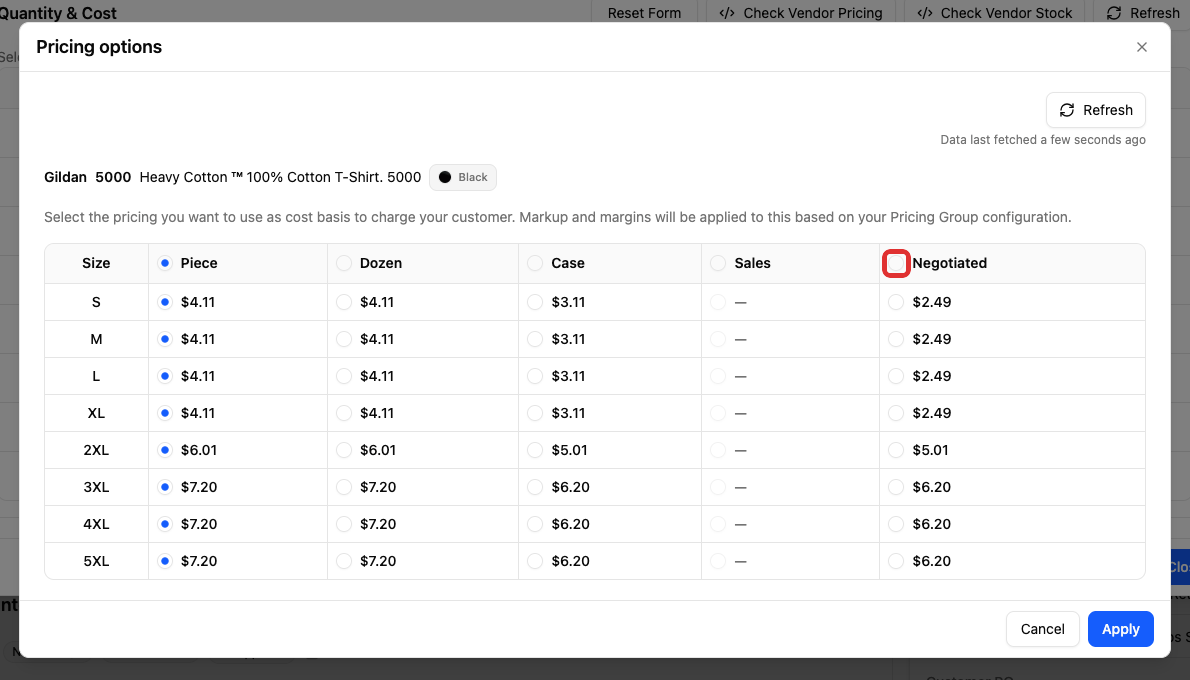
Select the pricing option you want. A choice in a size row applies to that size; a choice in the column heading applies to all sizes. This example selects Negotiated.
-
Click Apply.
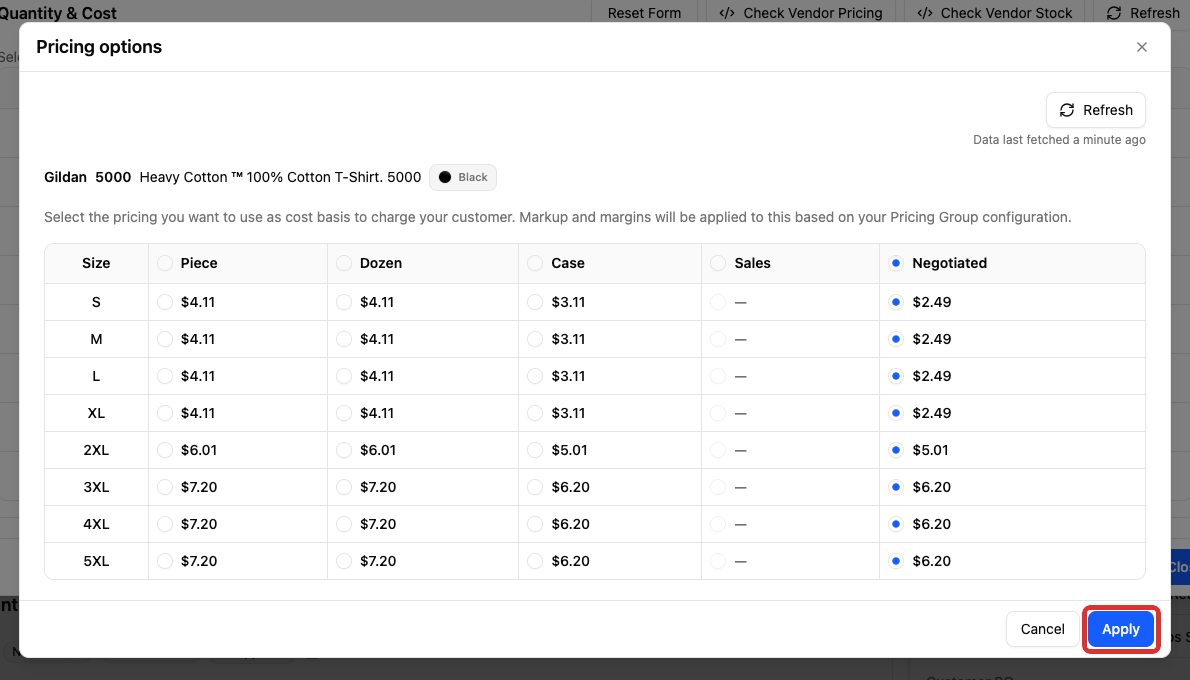
The Selected column shows the chosen cost and its price type. If that price is also the cheapest available, Lowest is selected too. For example, choosing the cheapest Negotiated price can select Lowest without changing your choice. Cost lets you enter a custom amount instead. Available pricing options depend on the supplier and product. An unavailable price cannot be selected.
Set sizes and quantities
-
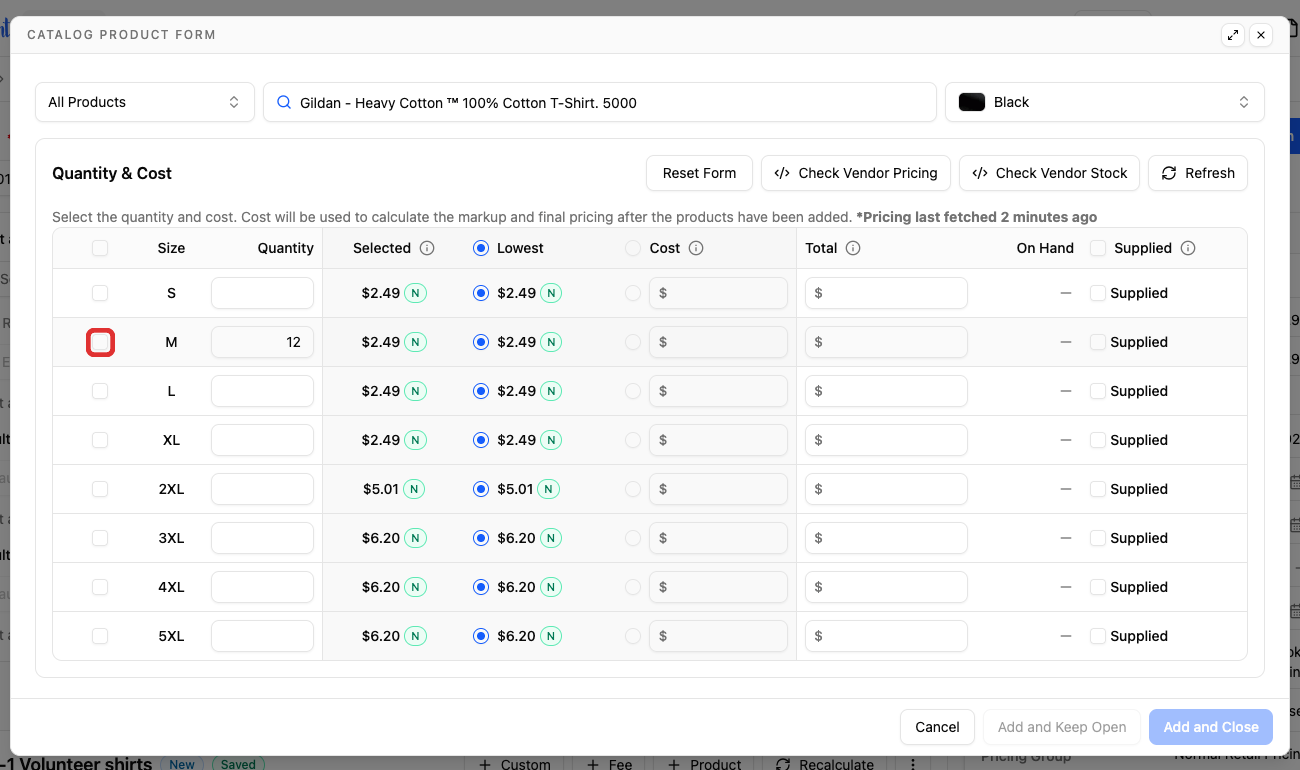
Select the checkbox beside each size you need.
-
Enter the Quantity for each selected size. This example uses 12 medium shirts.
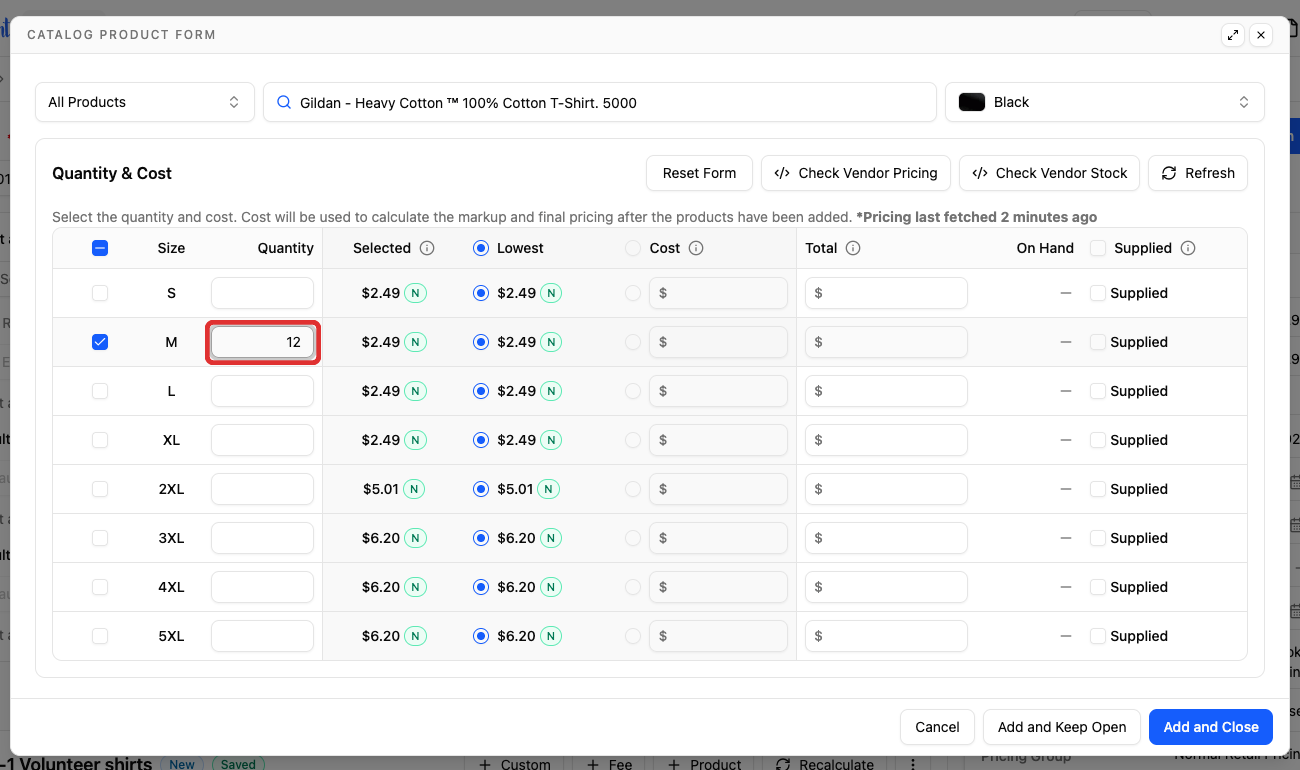
Only selected sizes are added. On Hand shows your shop's stock; supplier warehouse stock is in Check Vendor Stock.
Check the supplier's stock
-
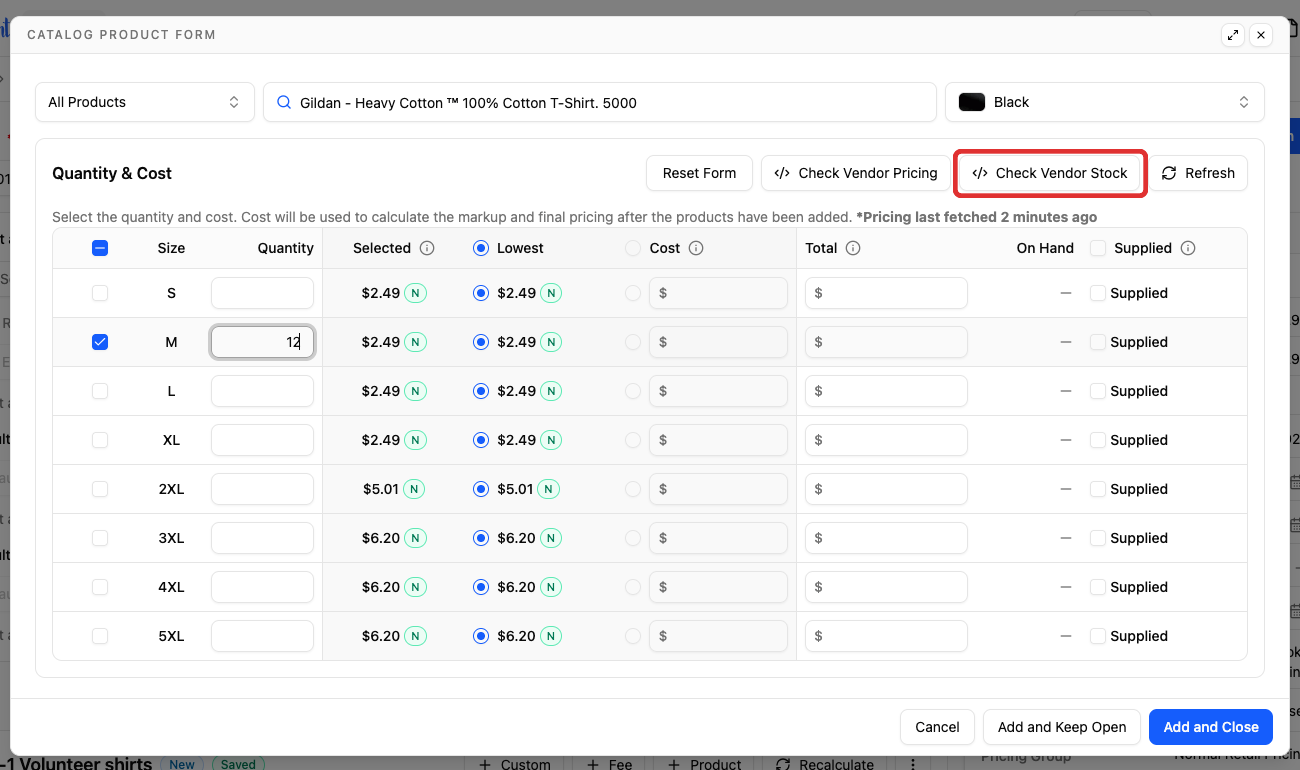
Click Check Vendor Stock.
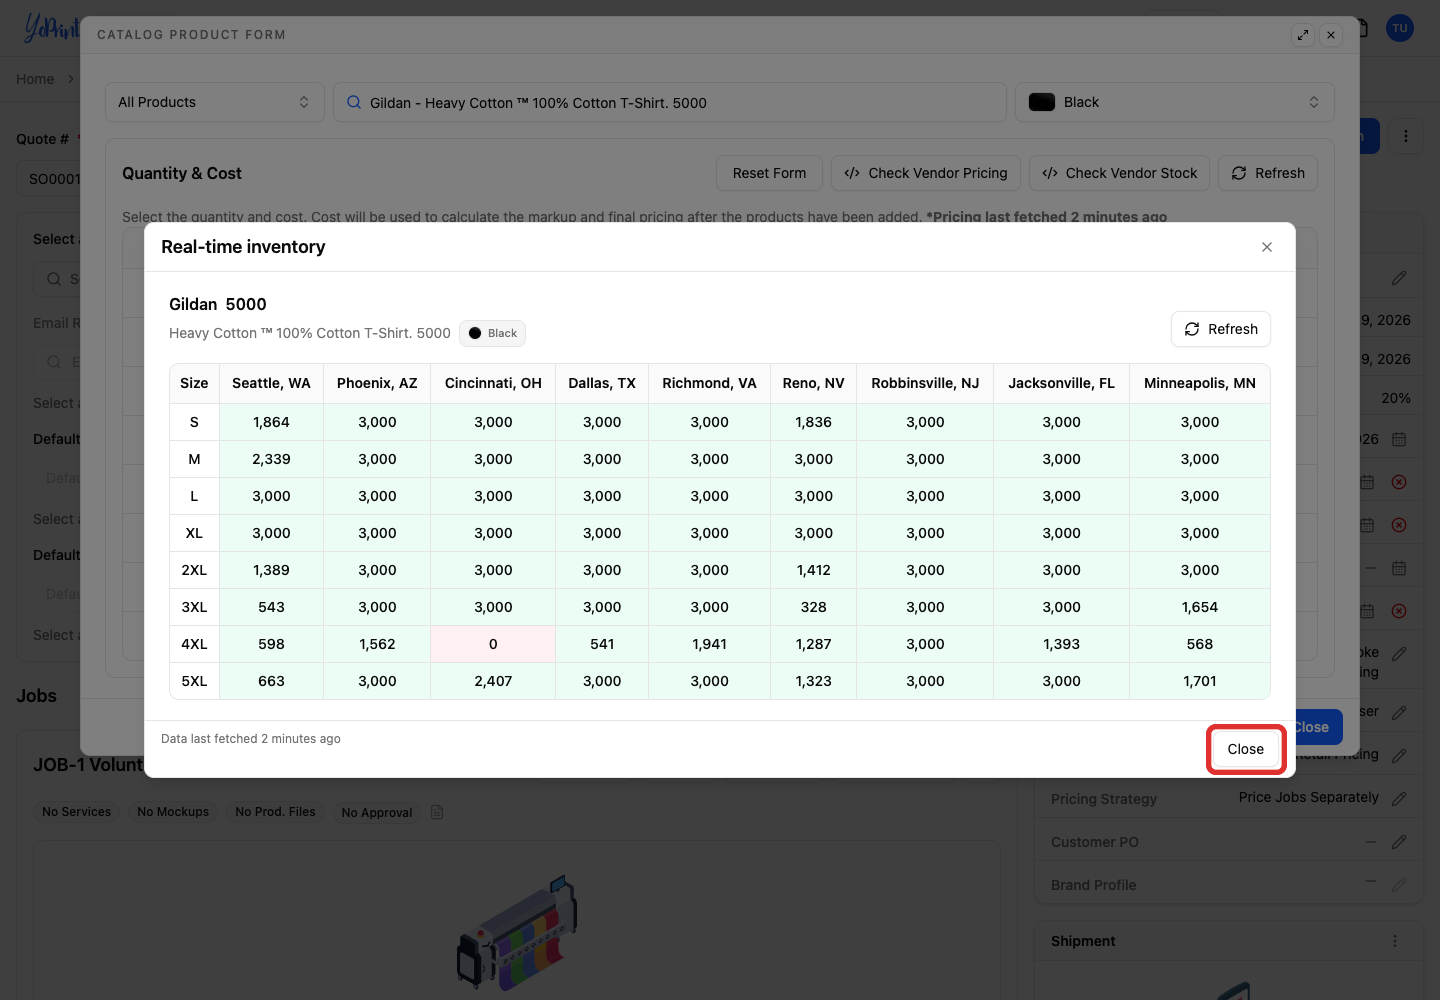
The Real-time inventory table shows sizes in rows and supplier warehouses in columns. A zero means that warehouse reported no stock for that size. The timestamp shows when YoPrint last fetched the data; availability can change.
-
Click Close to return to the product form.
Add the product to the job
-
Click Add and Close.
The product appears in the job with its supplier, color, size and quantity. Adding it to a job does not place an order with the supplier.
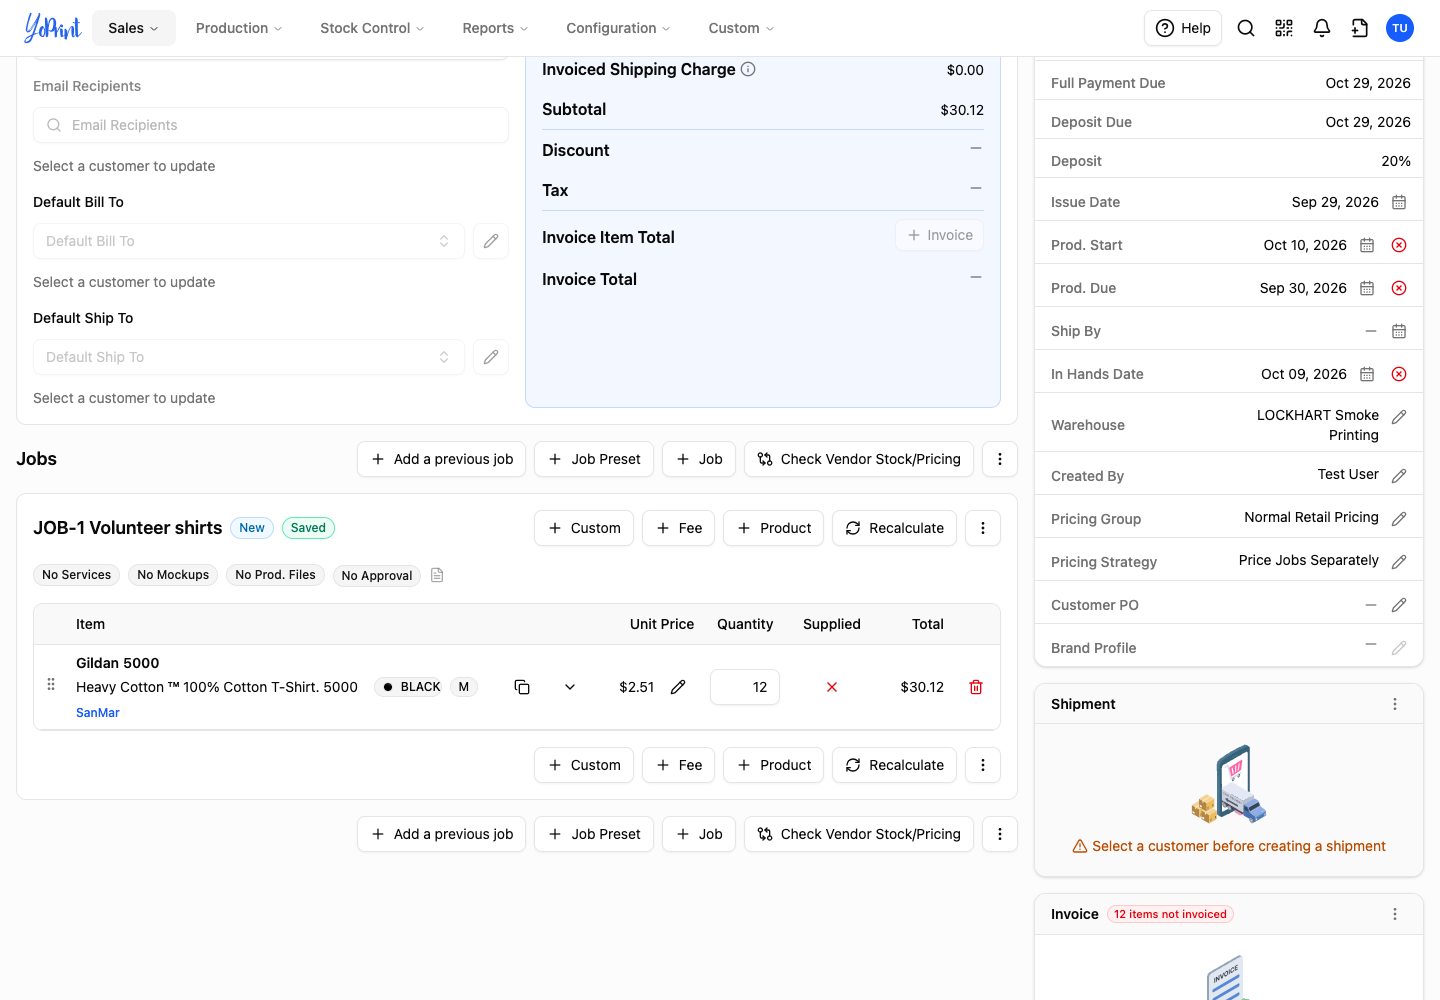
Add and Keep Open saves the items while leaving the product form open for another selection. Cancel closes the form without adding the current selection.
Review prices for items already on a job
Use the Job tab on the quote or sales order. The controls are the same whether you just added the items or reopened a saved order.
-
Click Check Vendor Stock/Pricing above the jobs.
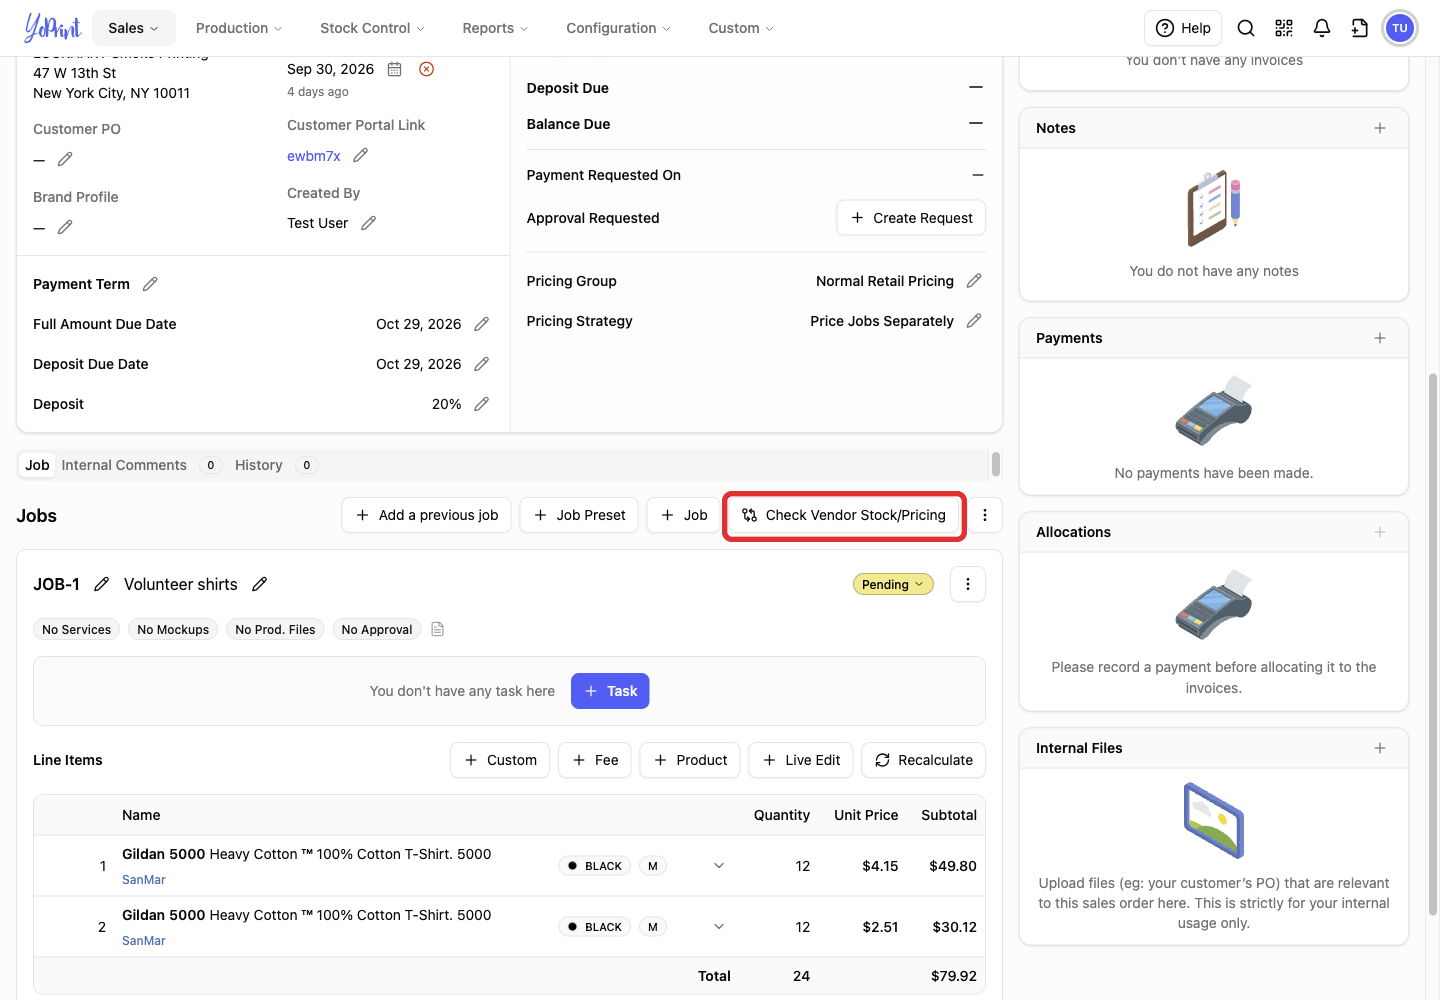
The Vendor Pricing dialog lists supplier costs and warehouse stock for each product. A choice in a column heading applies to all listed products.
Stock quantities show supplier warehouse inventory, not your shop's On Hand stock. Supplier warehouses may appear as numbers or codes. Ask the supplier to identify any code you do not recognize before choosing a warehouse for your purchase.
-
Select the cost you want in the item's row. This example selects Case for the first item.
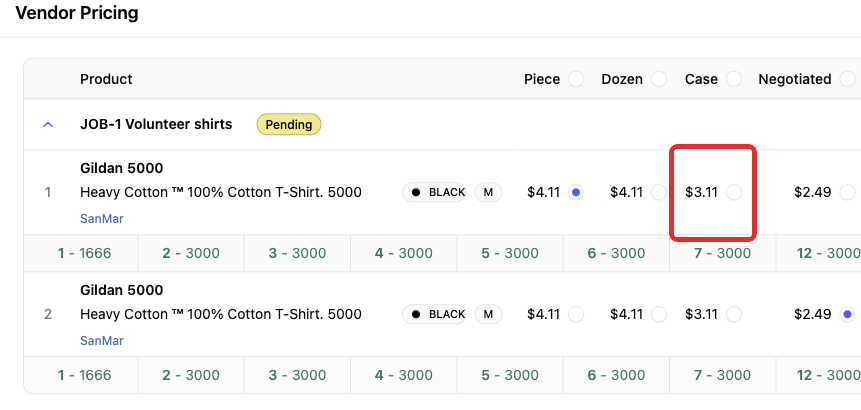
Click Cancel if you only want to check stock and prices, or if you do not want to change prices. Cancel leaves the job's prices unchanged.
-
Click Apply.
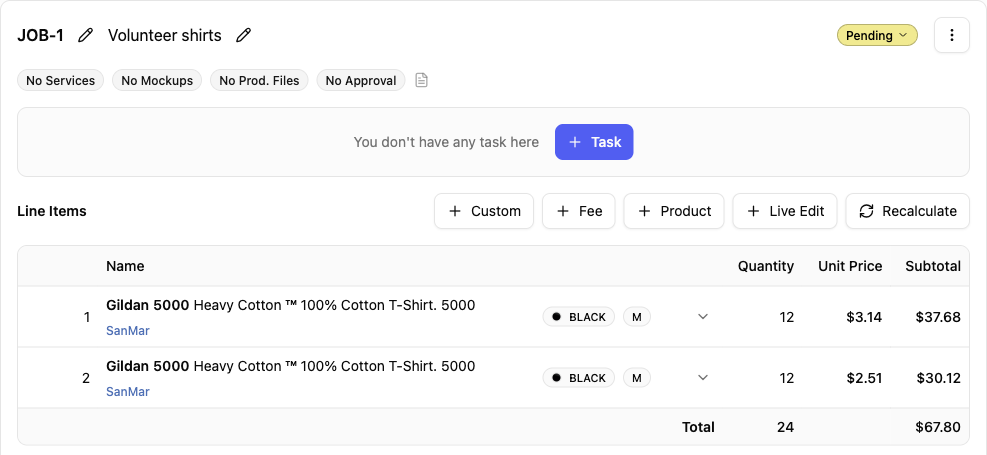
Check the resulting Unit Price on the job before sending the quote or order to your customer. Your order's Pricing Group calculates the selling price from the cost you selected. In this example, the first item's Unit Price changes from $4.15 to $3.14.
Open a purchase order
-
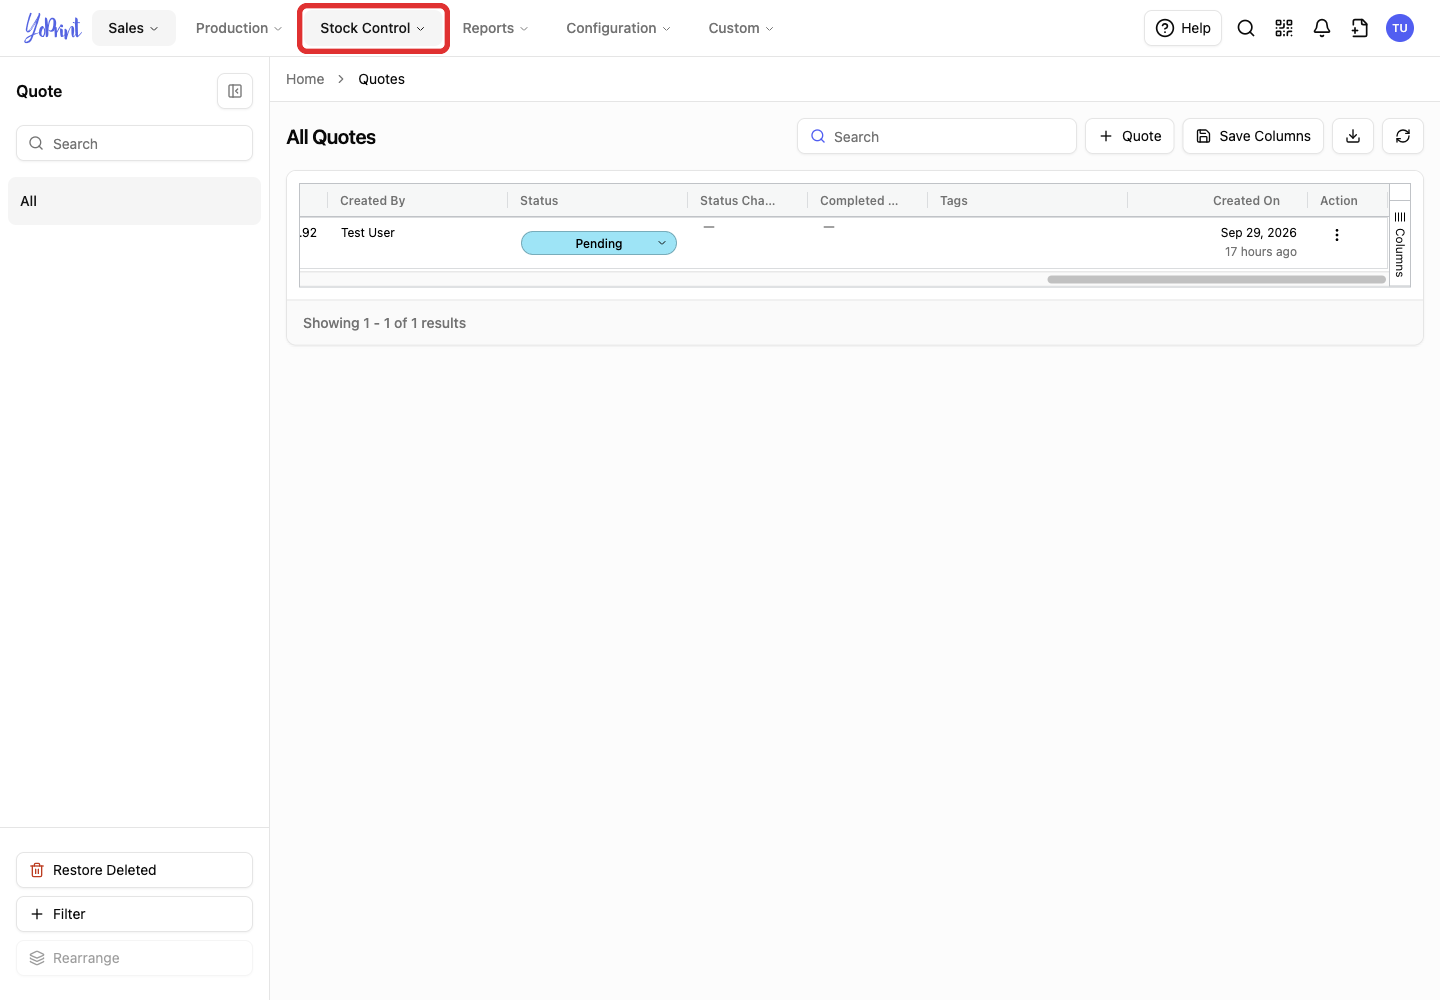
Open Stock Control in the top navigation.
-
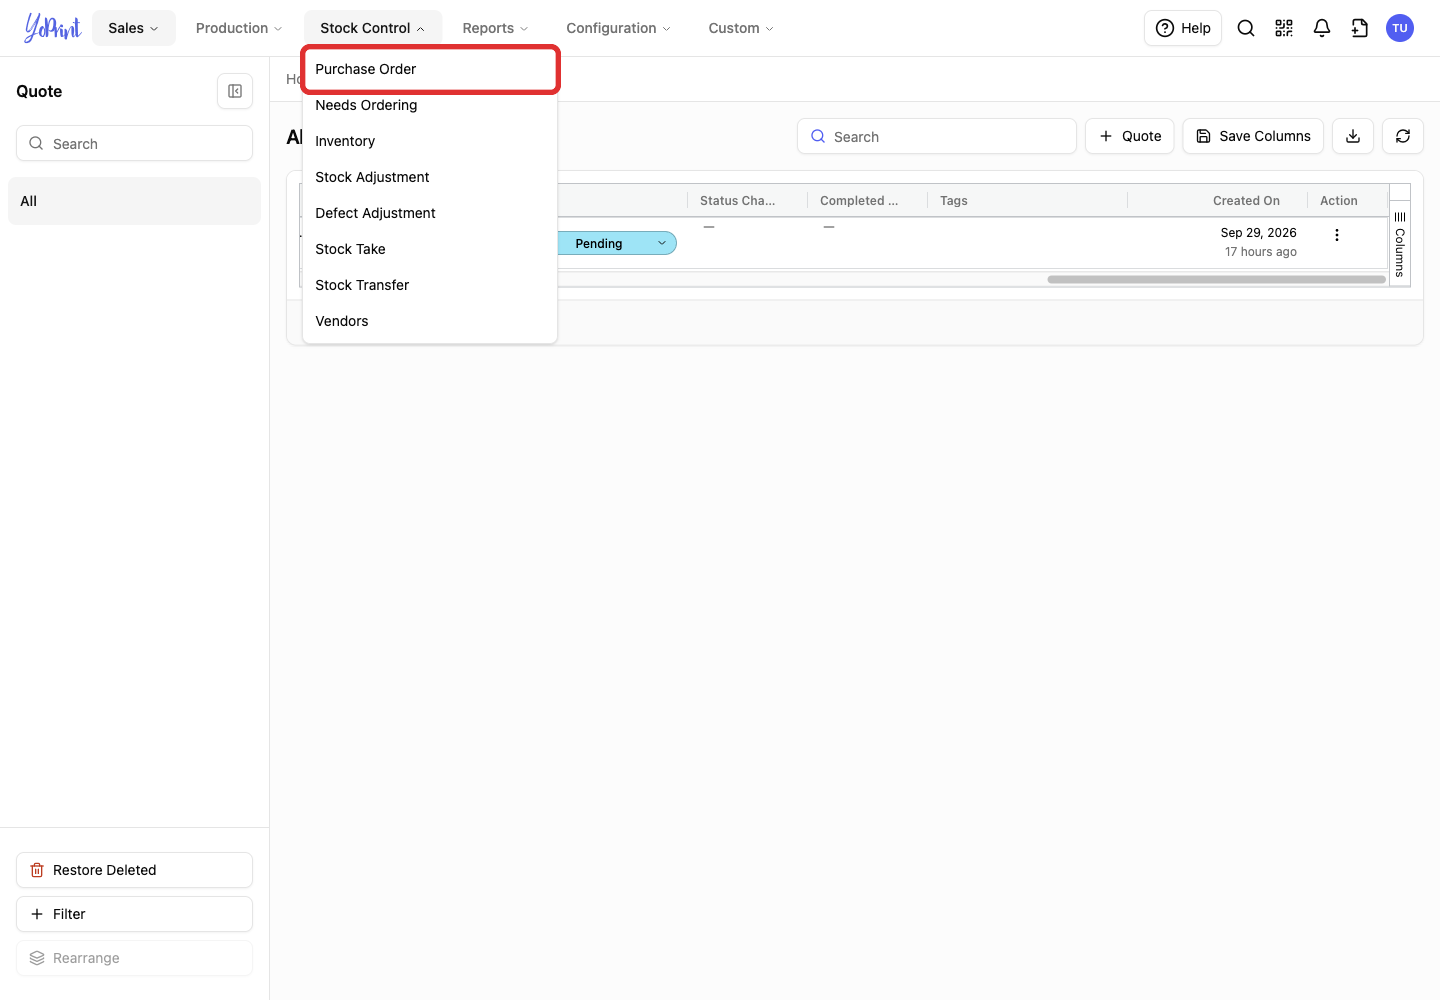
Select Purchase Order.
-
Click Purchase Order above the list to start a new order.
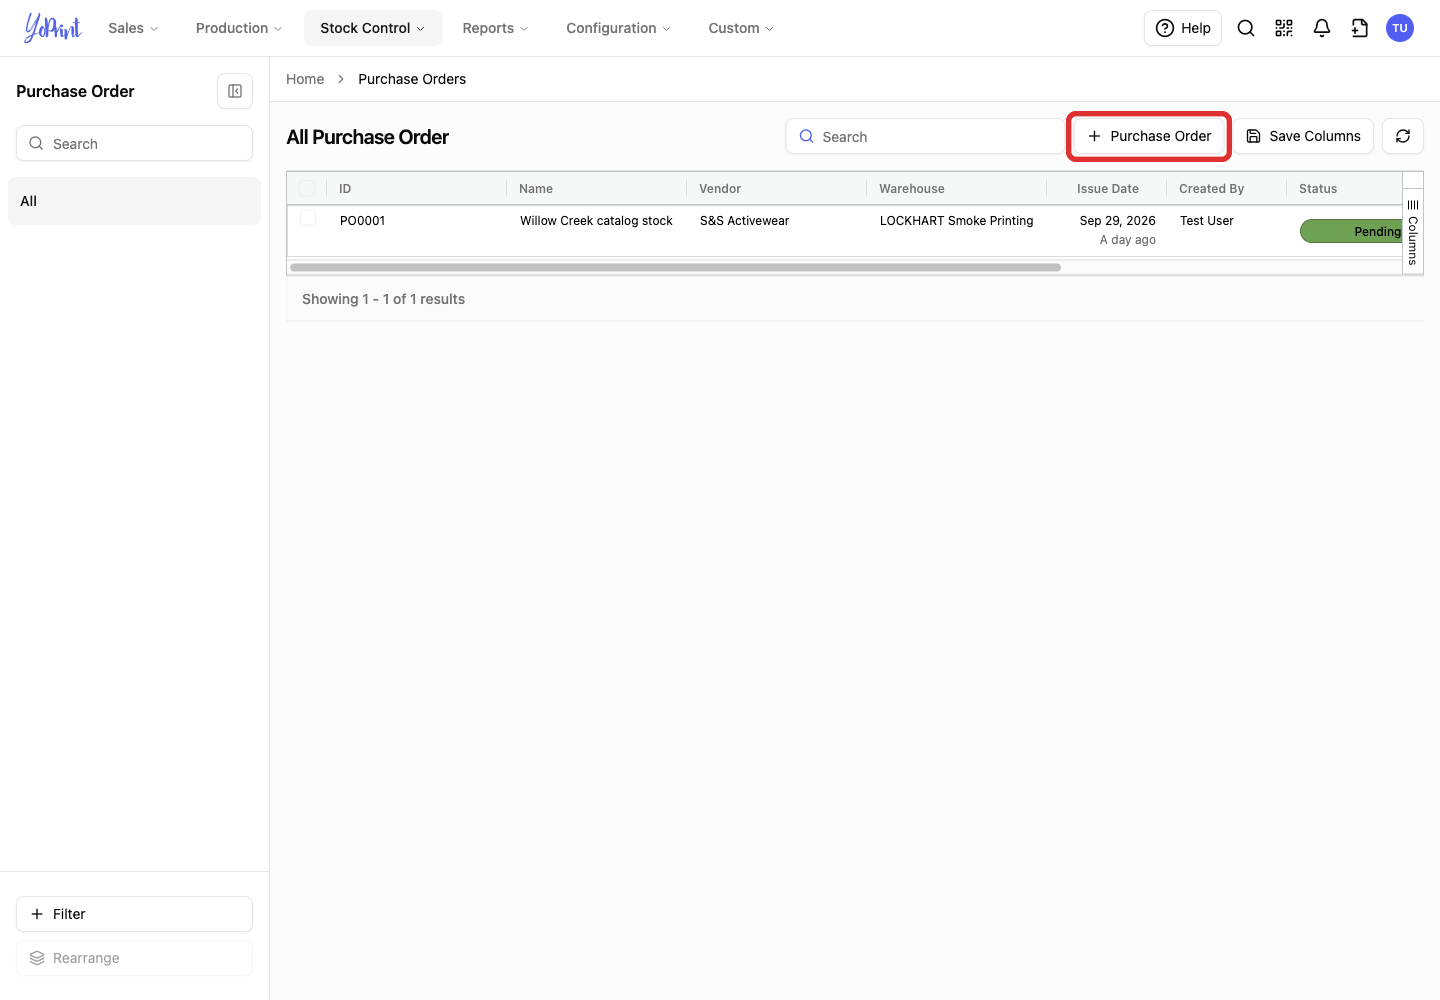
Choose the vendor and check Billing Address, Destination Address, Issue Date and Due Date before adding items. Inventory & Purchase Order Overview covers the full purchase-order workflow.
Existing purchase order
Open the purchase order from the list, then click Edit. The item and supplier-pricing steps below work in that form too. Use Save when you finish editing.
Add a catalog item to a purchase order
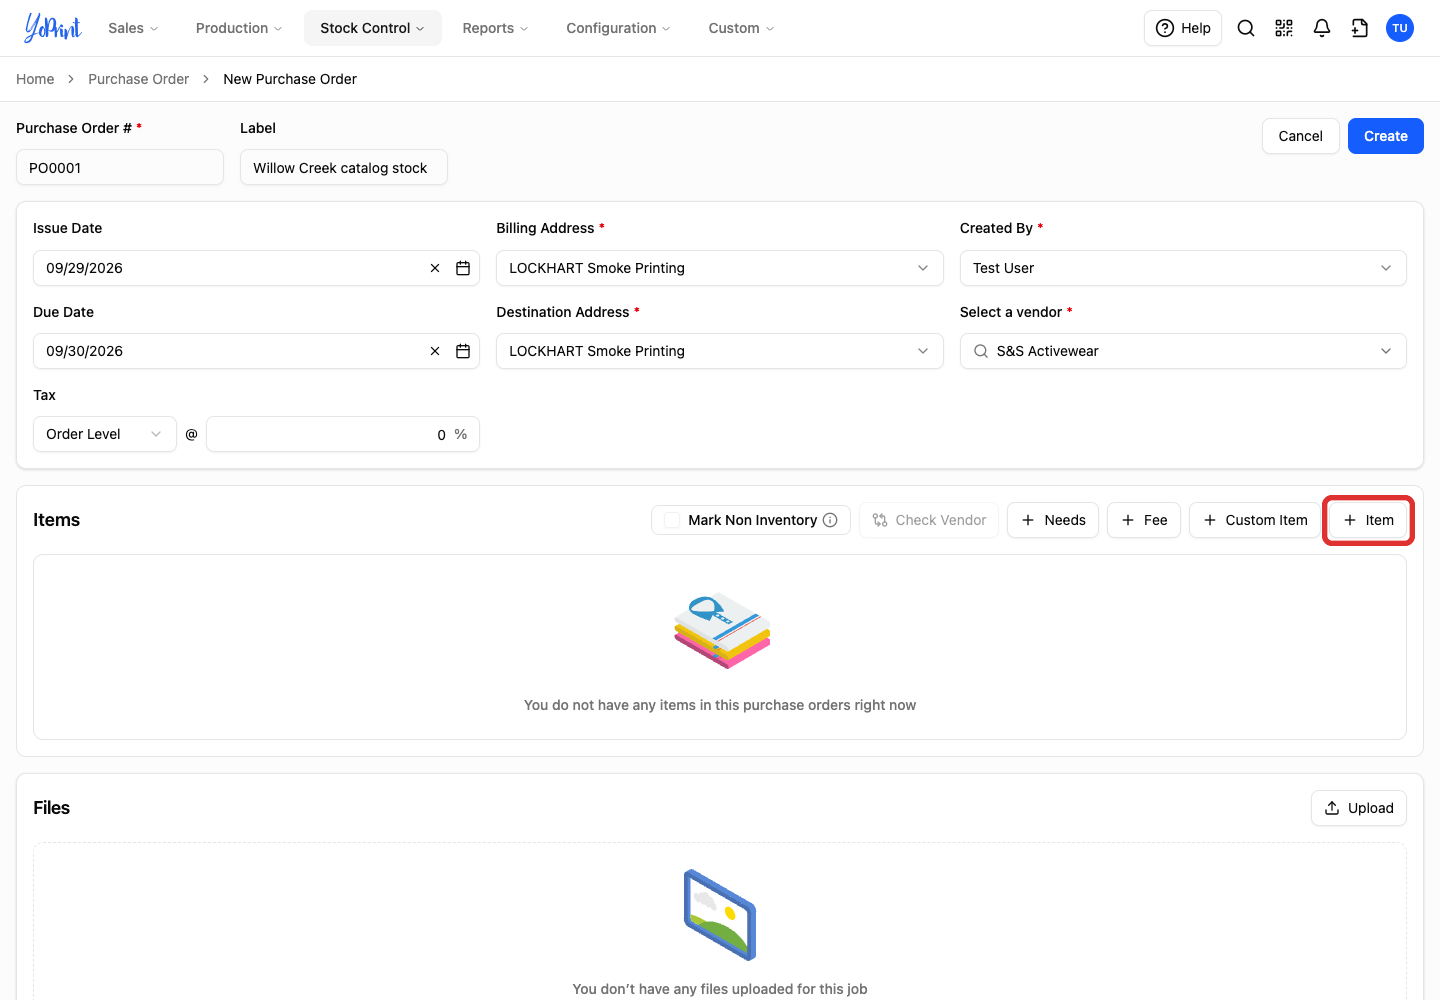
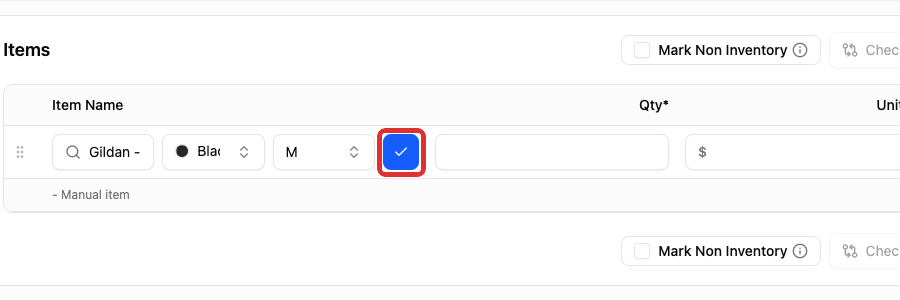
Start in the purchase-order form opened above. This example uses S&S Activewear. Unlike the quote's size table, each purchase-order row holds one product, color and size. Confirm that selection with the blue checkmark before entering its quantity. Add another row for each additional size or color.
-
Click Item.
-
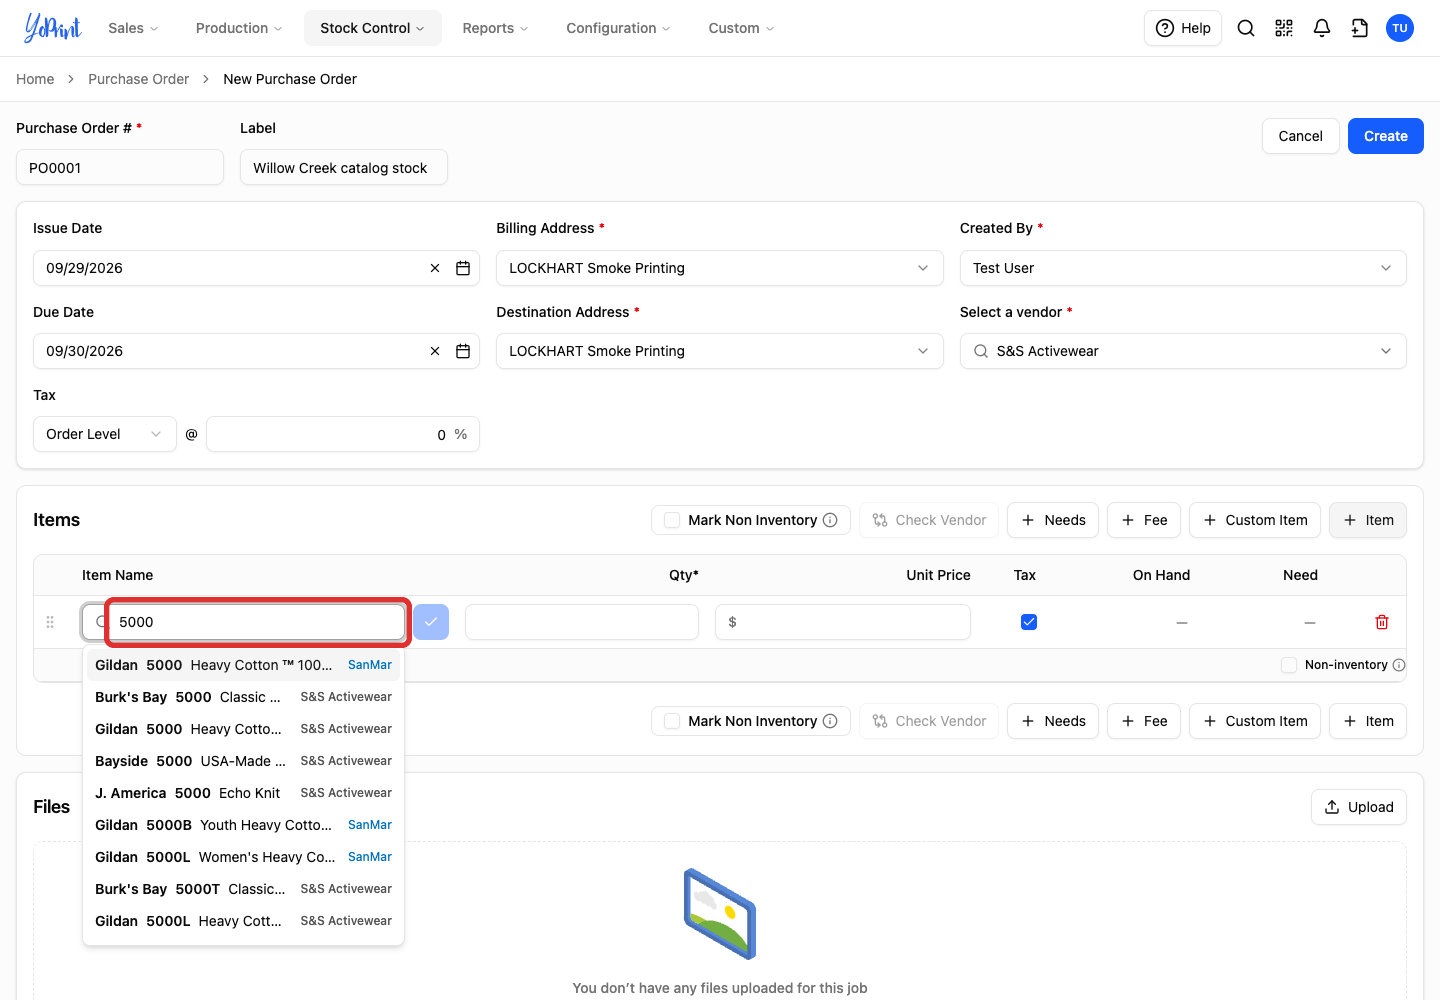
Enter the style number or product name in the new row's search box.
-
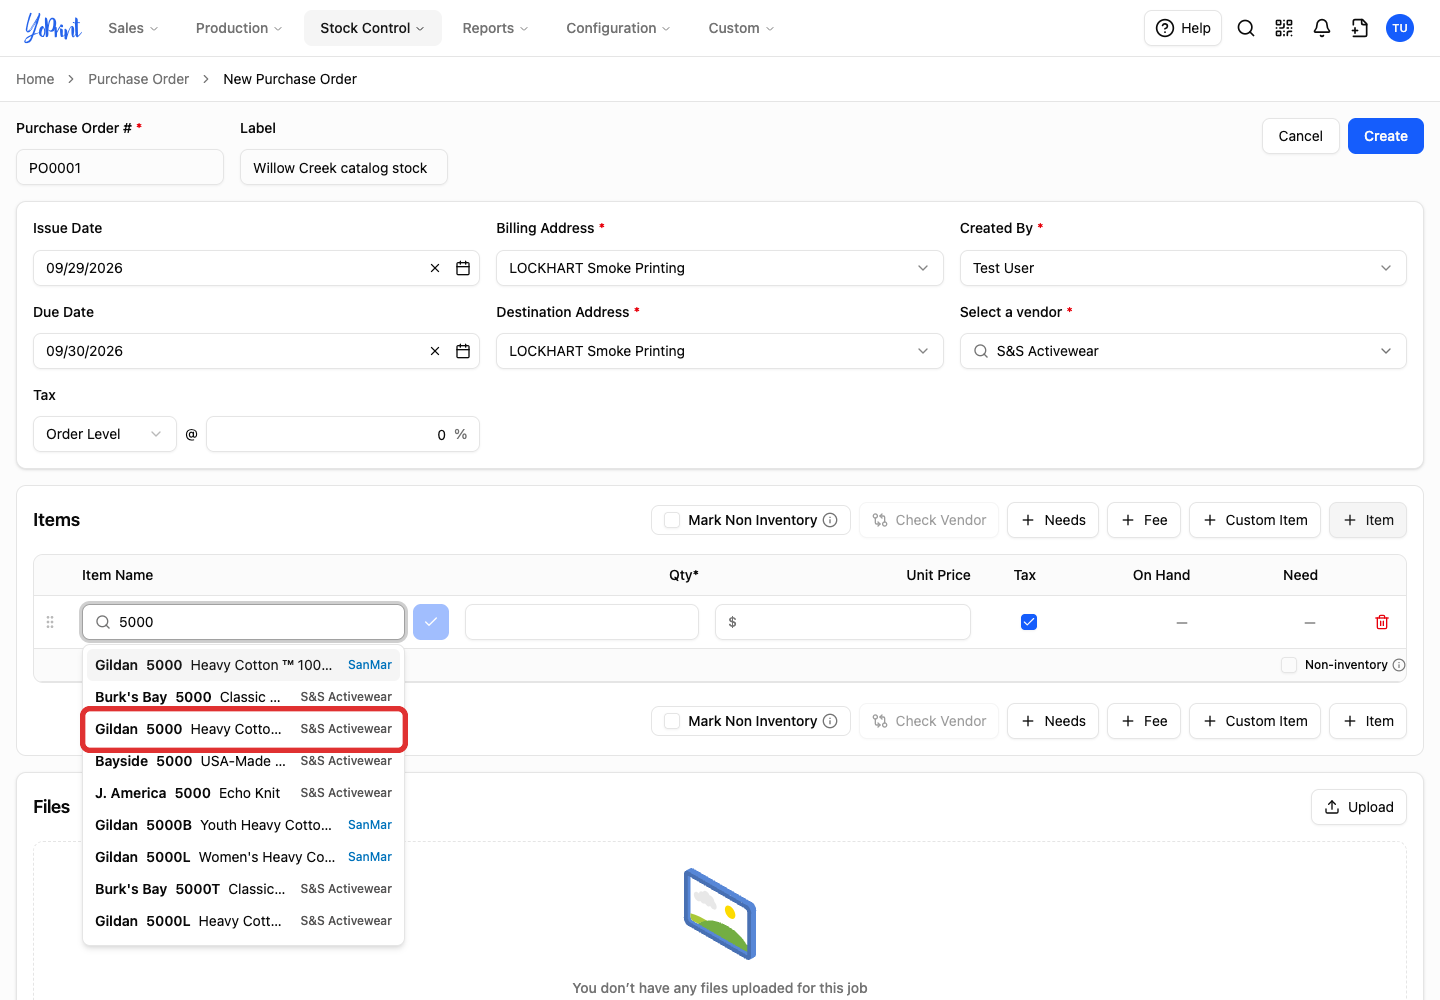
Select the result from the supplier you need. This example selects Gildan 5000 from S&S Activewear.
-
Open the color picker beside the product.
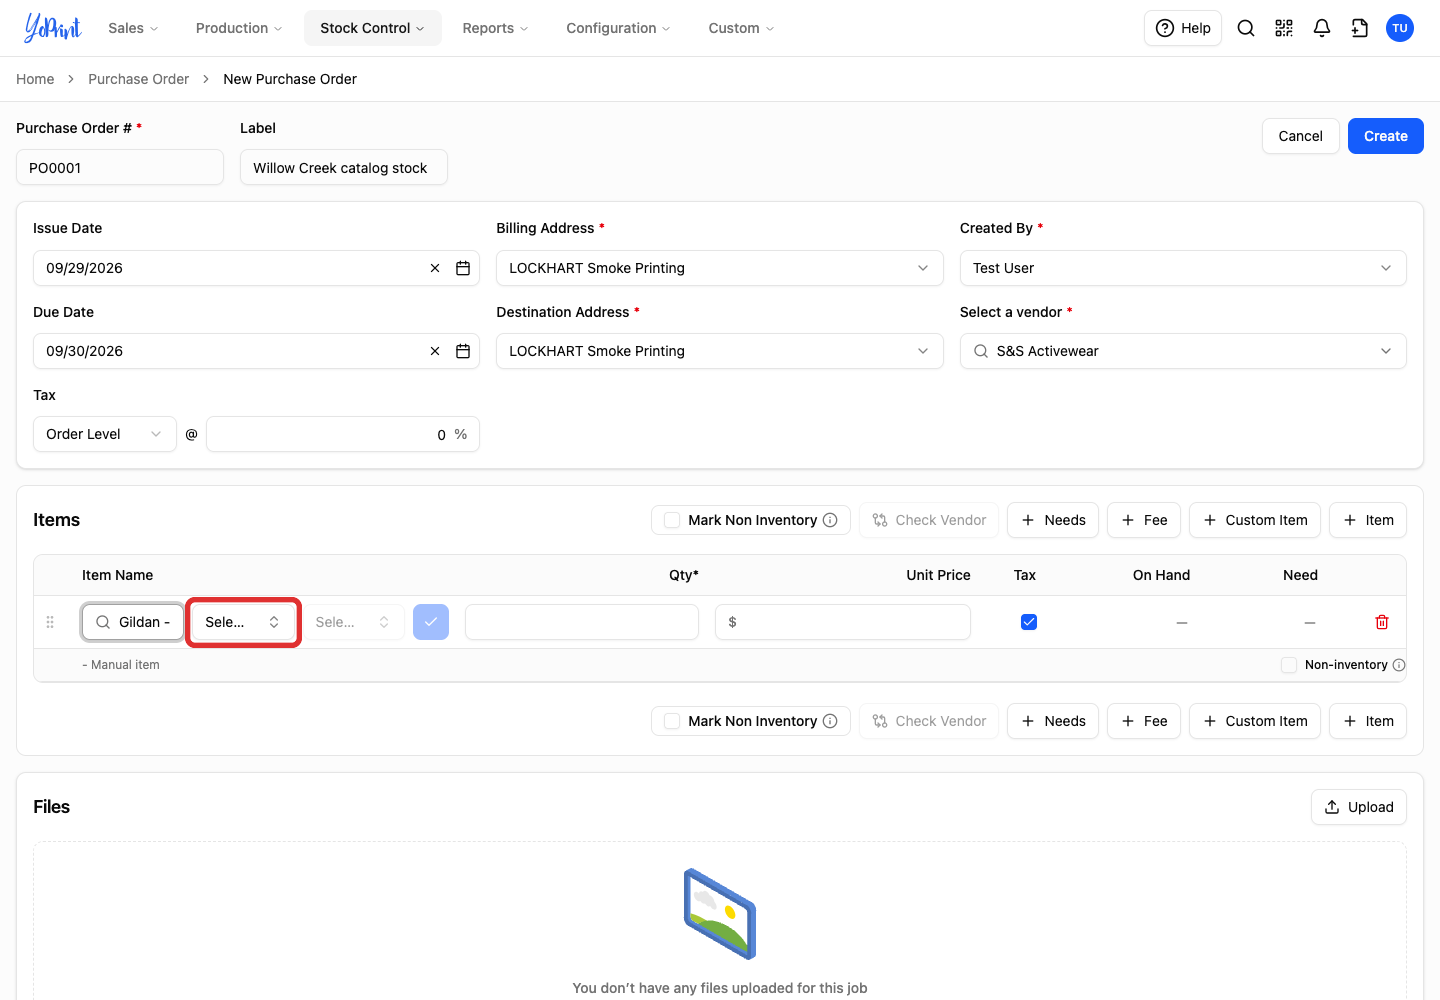
-
Select a color, such as Black.
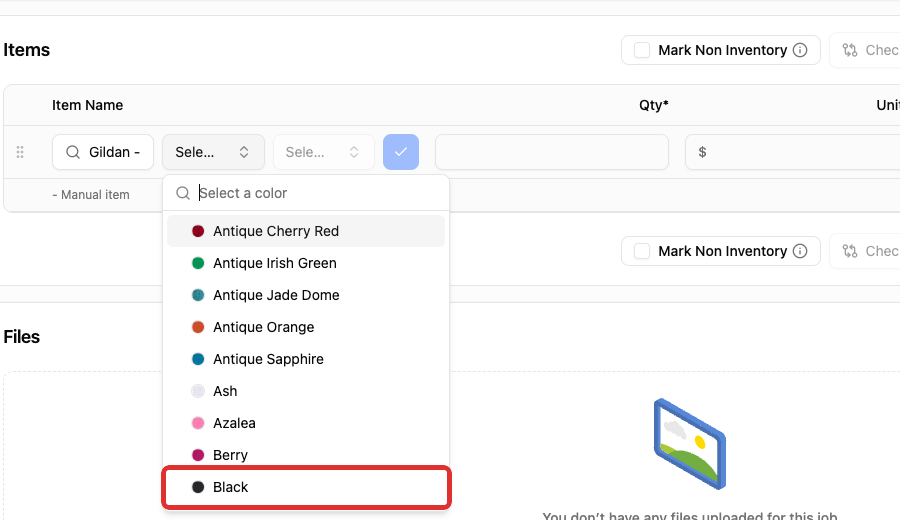
-
Open the size picker.
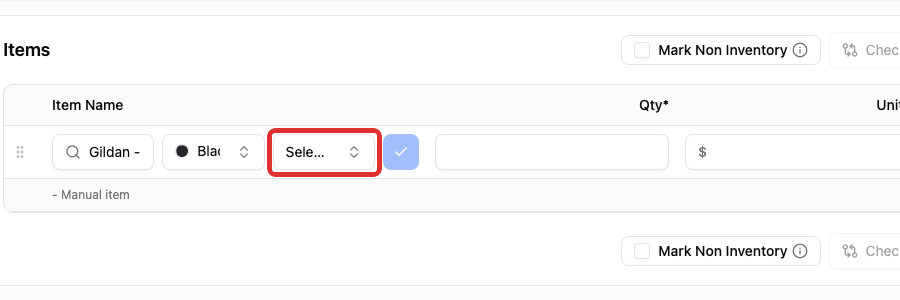
-
Select the size you need, such as M.
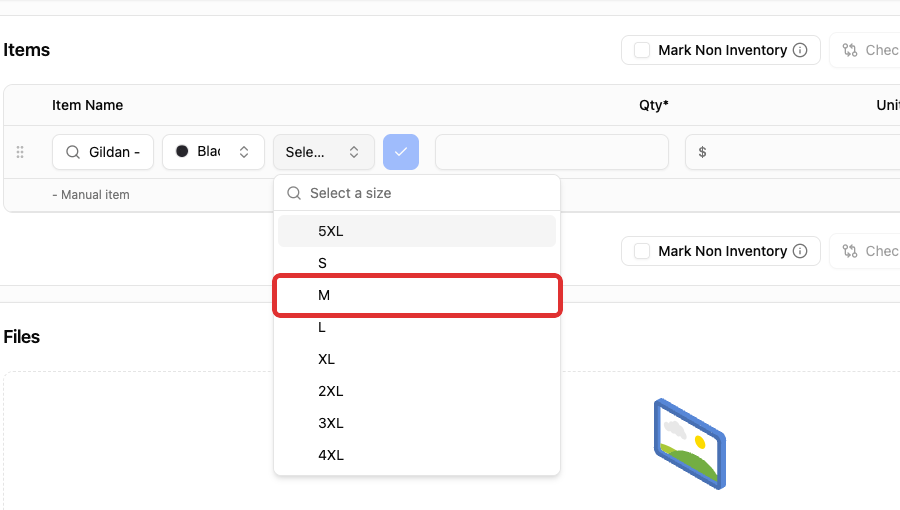
-
Click the blue checkmark to confirm the product selection.
-
Enter the quantity in Qty.
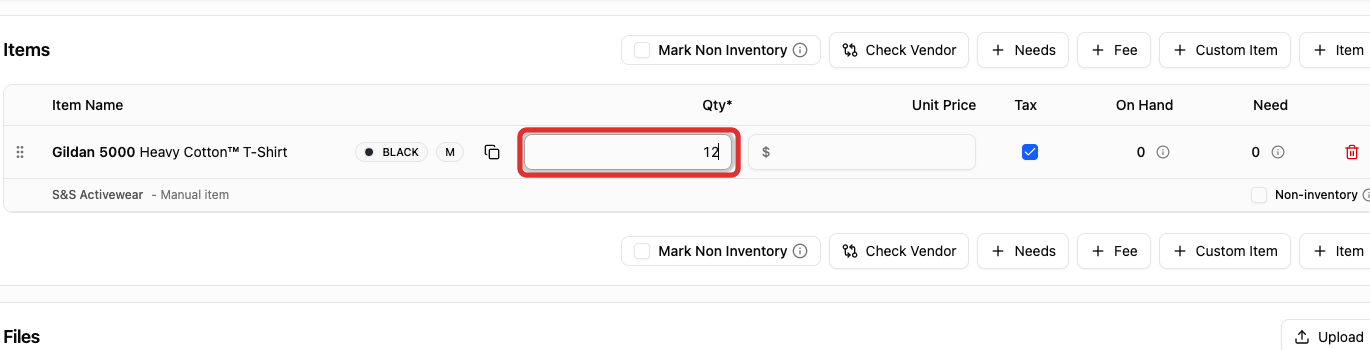
The item is now in the purchase-order form. Each row represents one color and size. Item adds another row.
Choose purchase-order pricing and check stock
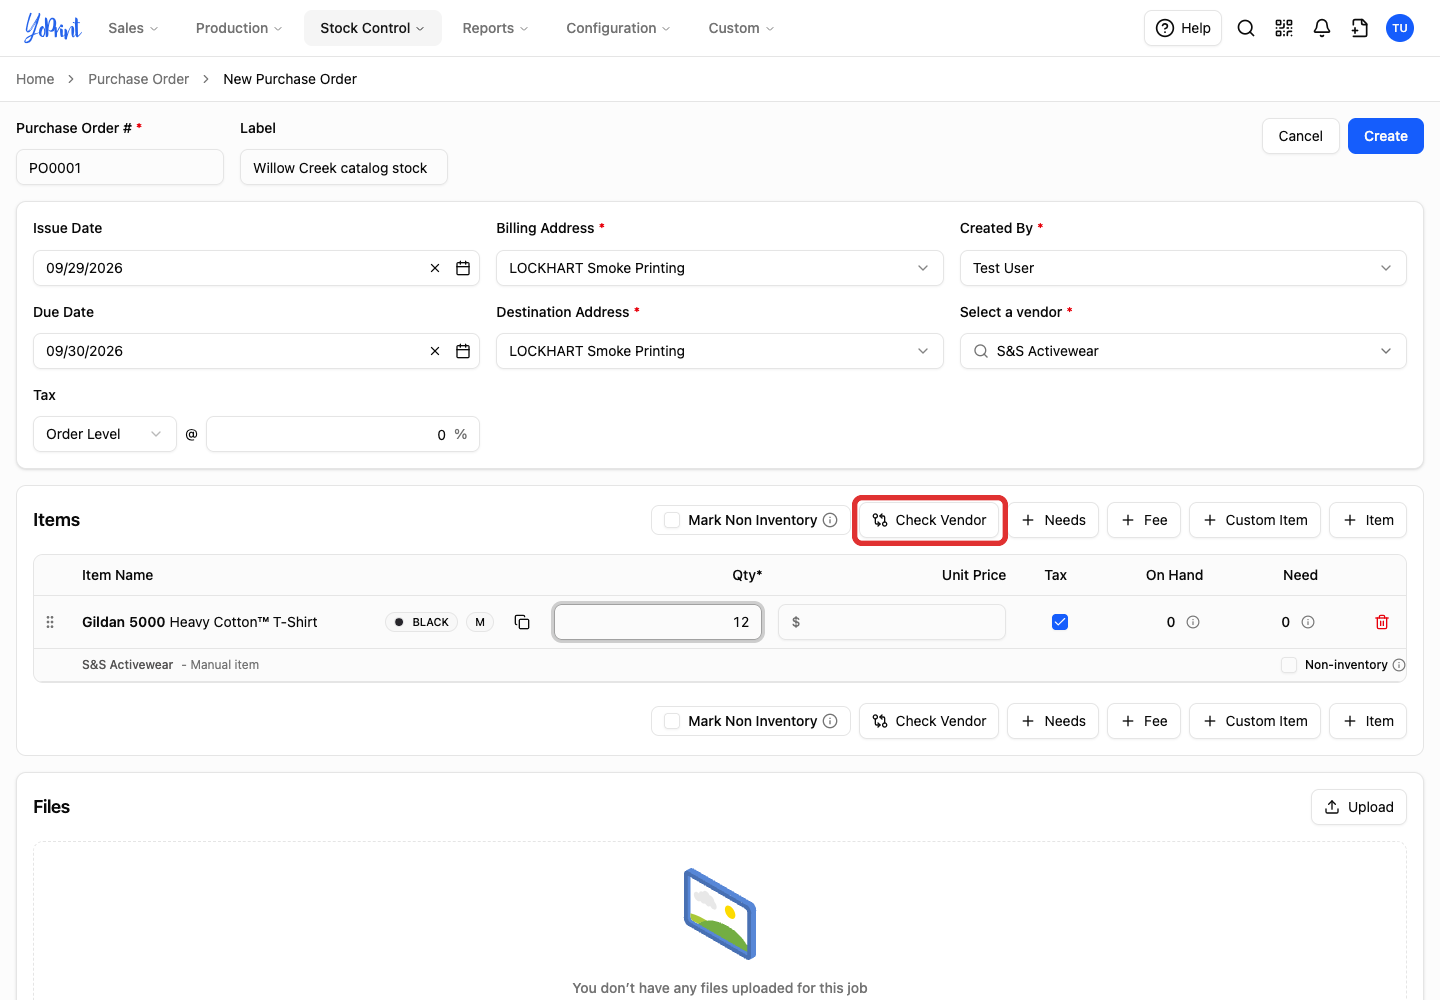
With a catalog item added to the purchase-order form, use Check Vendor. This button opens Vendor Pricing, where SELECT buttons choose costs instead of the radio buttons used on quotes.
-
Click Check Vendor.
-
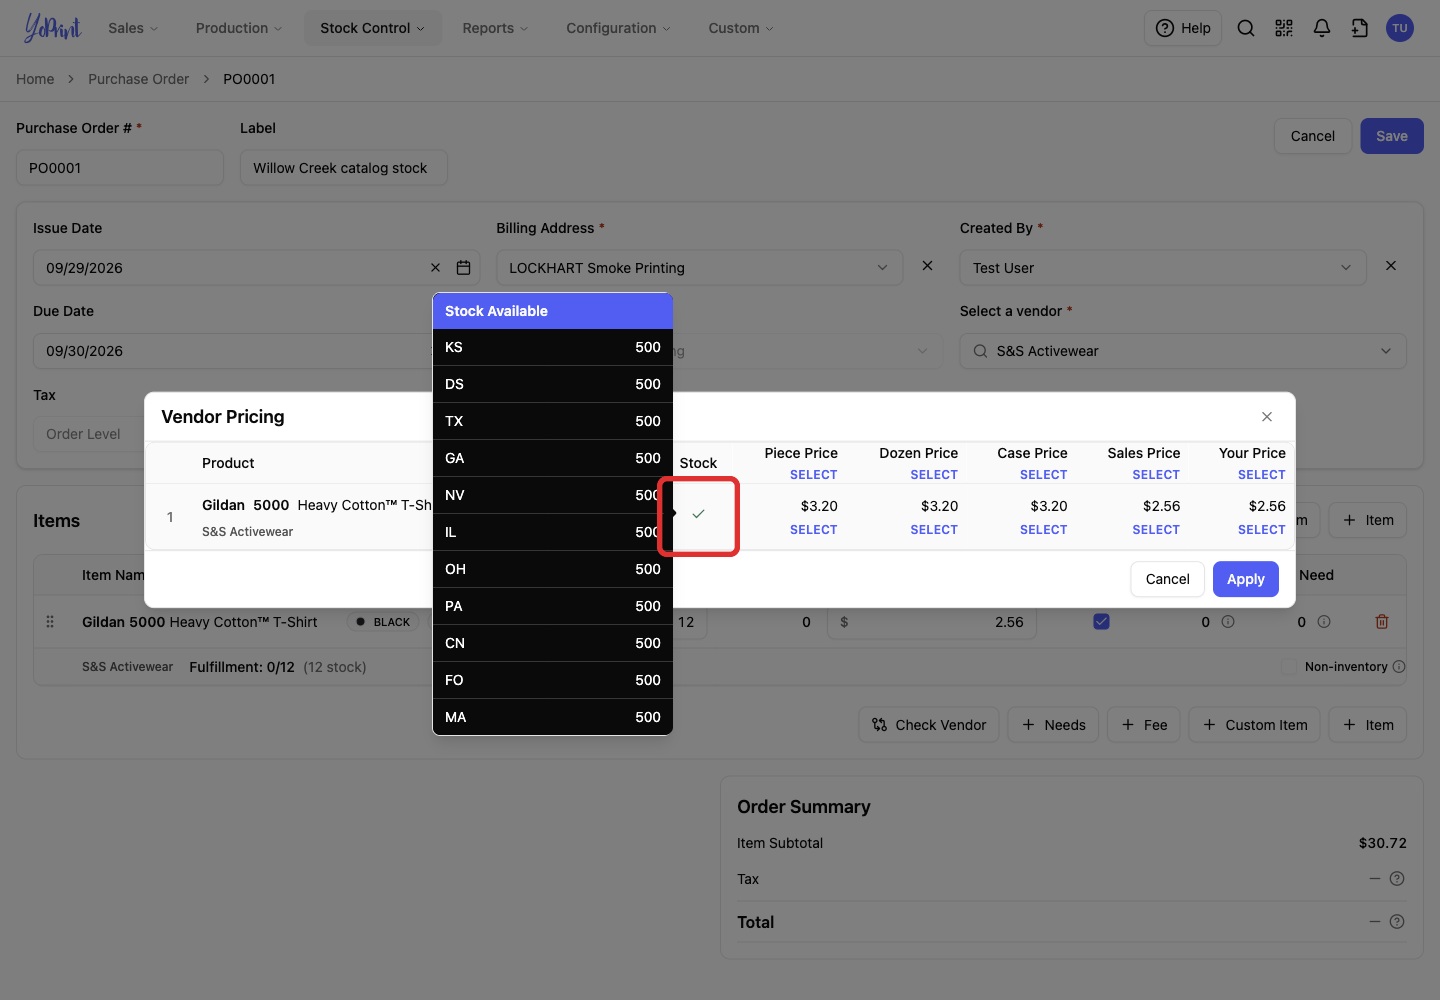
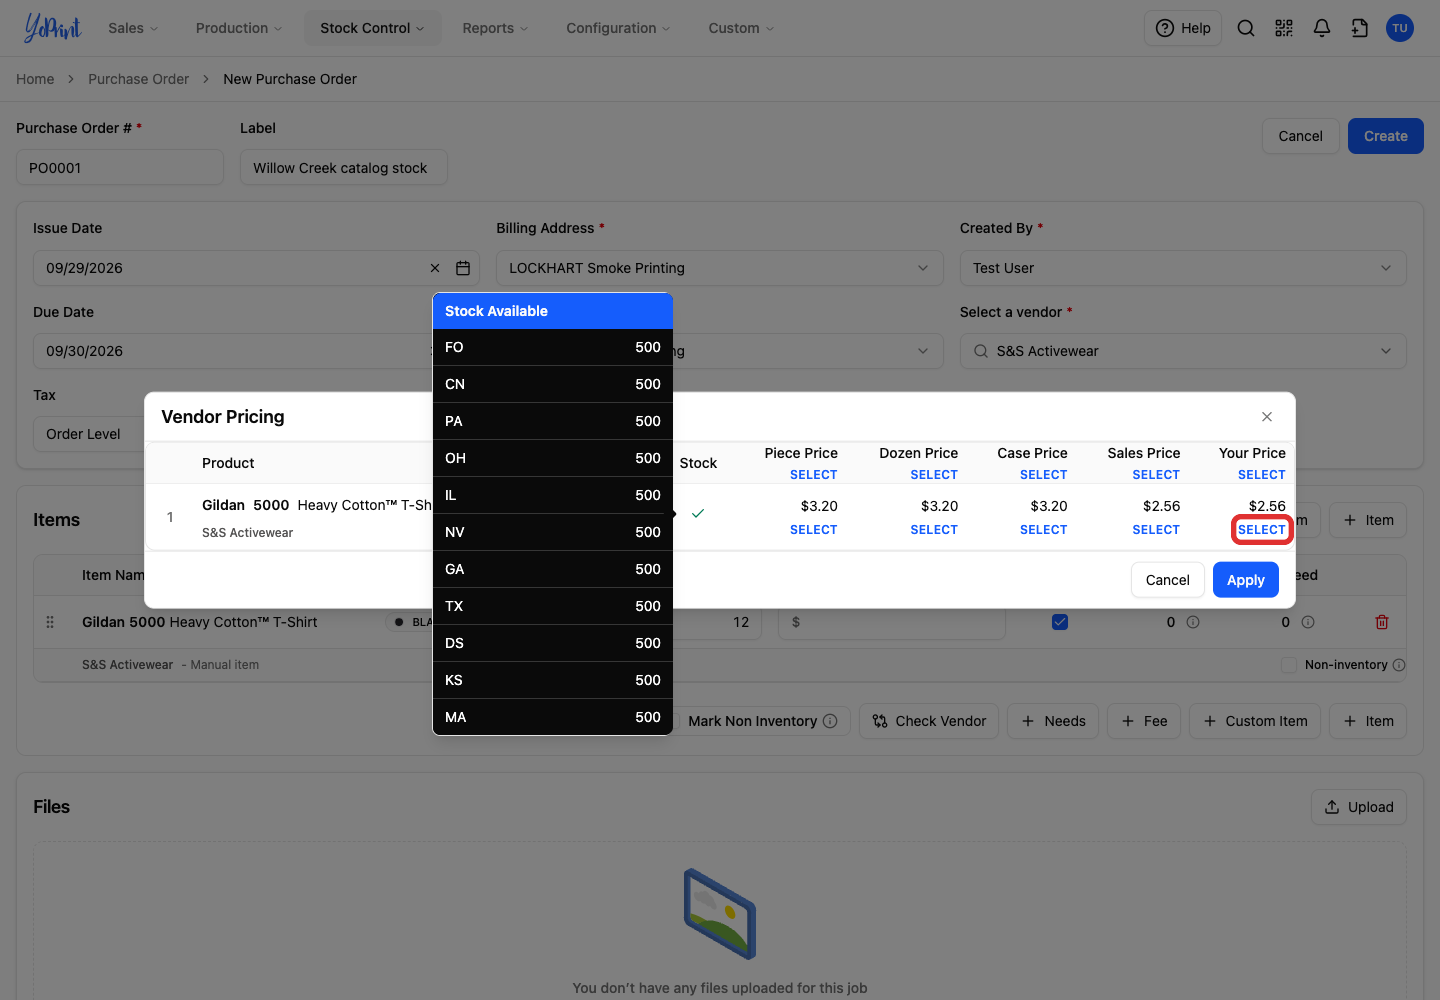
Hover over the indicator in the Stock column to see quantities by supplier warehouse. The checkmark opens the Stock Available tooltip.
-
Click SELECT under the price you want for the item. Your Price is the price returned for your connected supplier account. The column-heading SELECT applies that option to all listed items.
-
Click Apply.
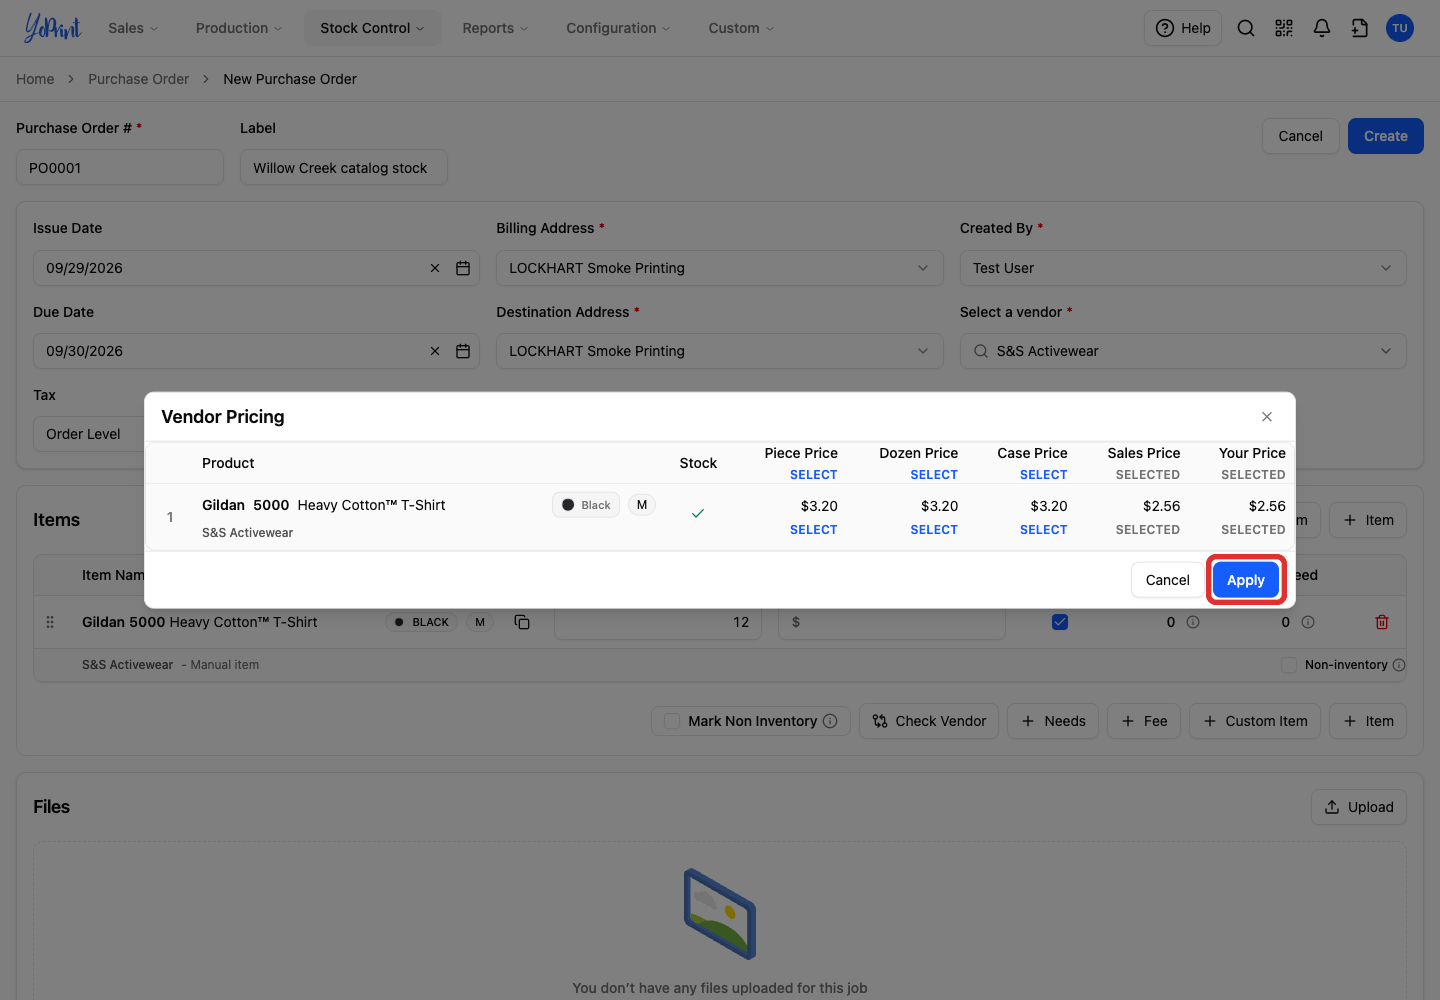
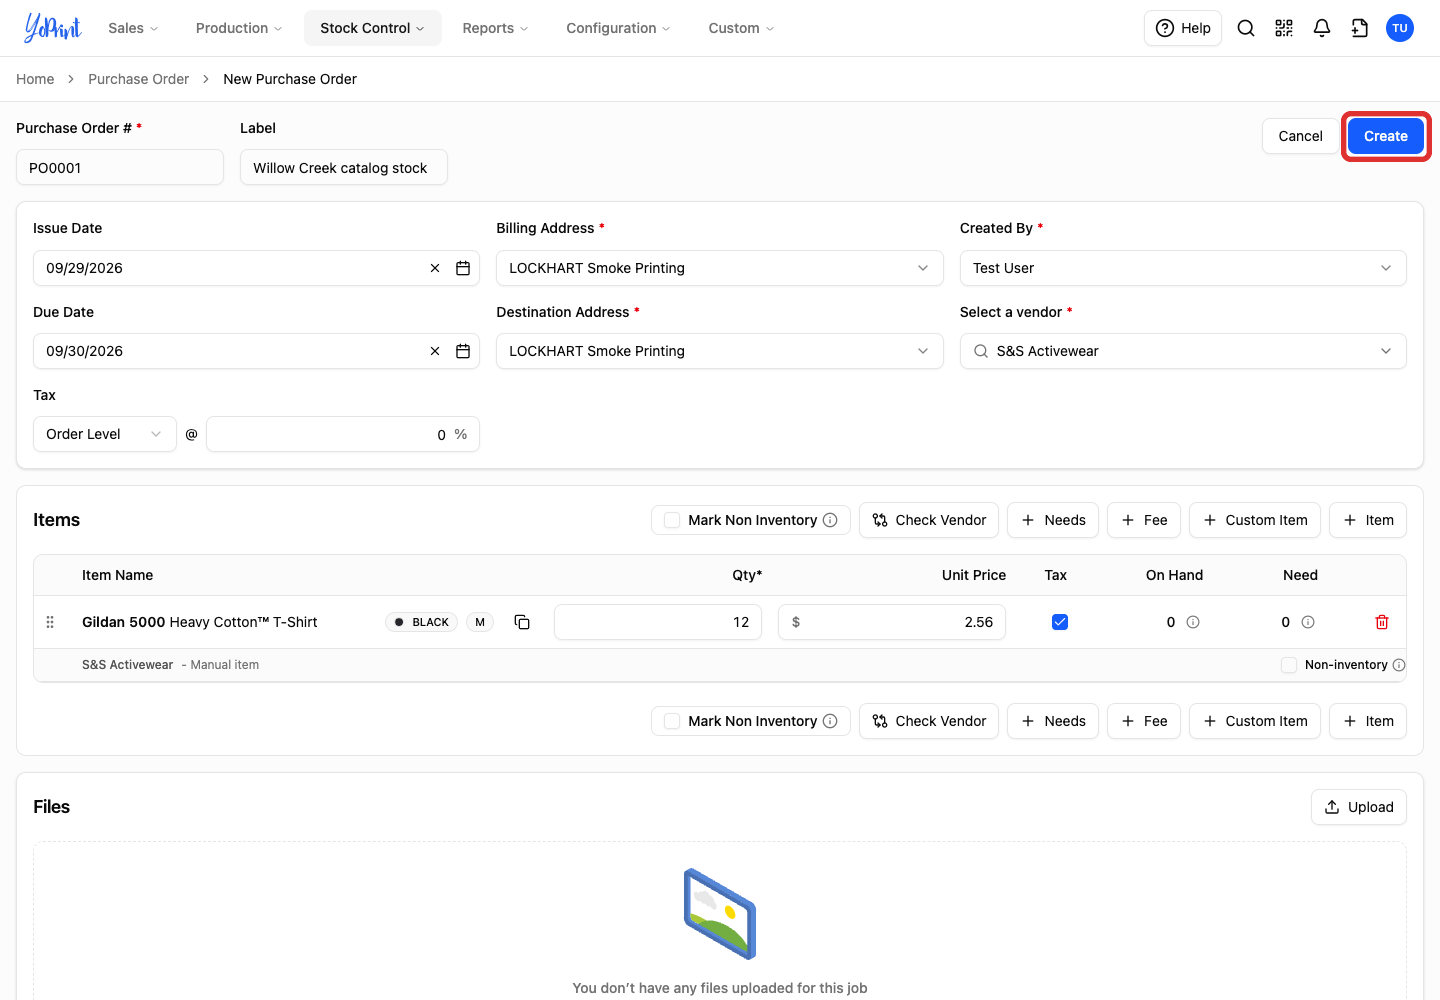
The chosen cost appears in Unit Price on the purchase-order form. Cancel leaves the form's prices unchanged. The stock tooltip uses the supplier's warehouse codes; ask the supplier about any code you do not recognize.
-
Click Create to save a new purchase order.
If you opened an existing order with Edit, click Save instead.
Check stock and prices on a saved purchase order
-
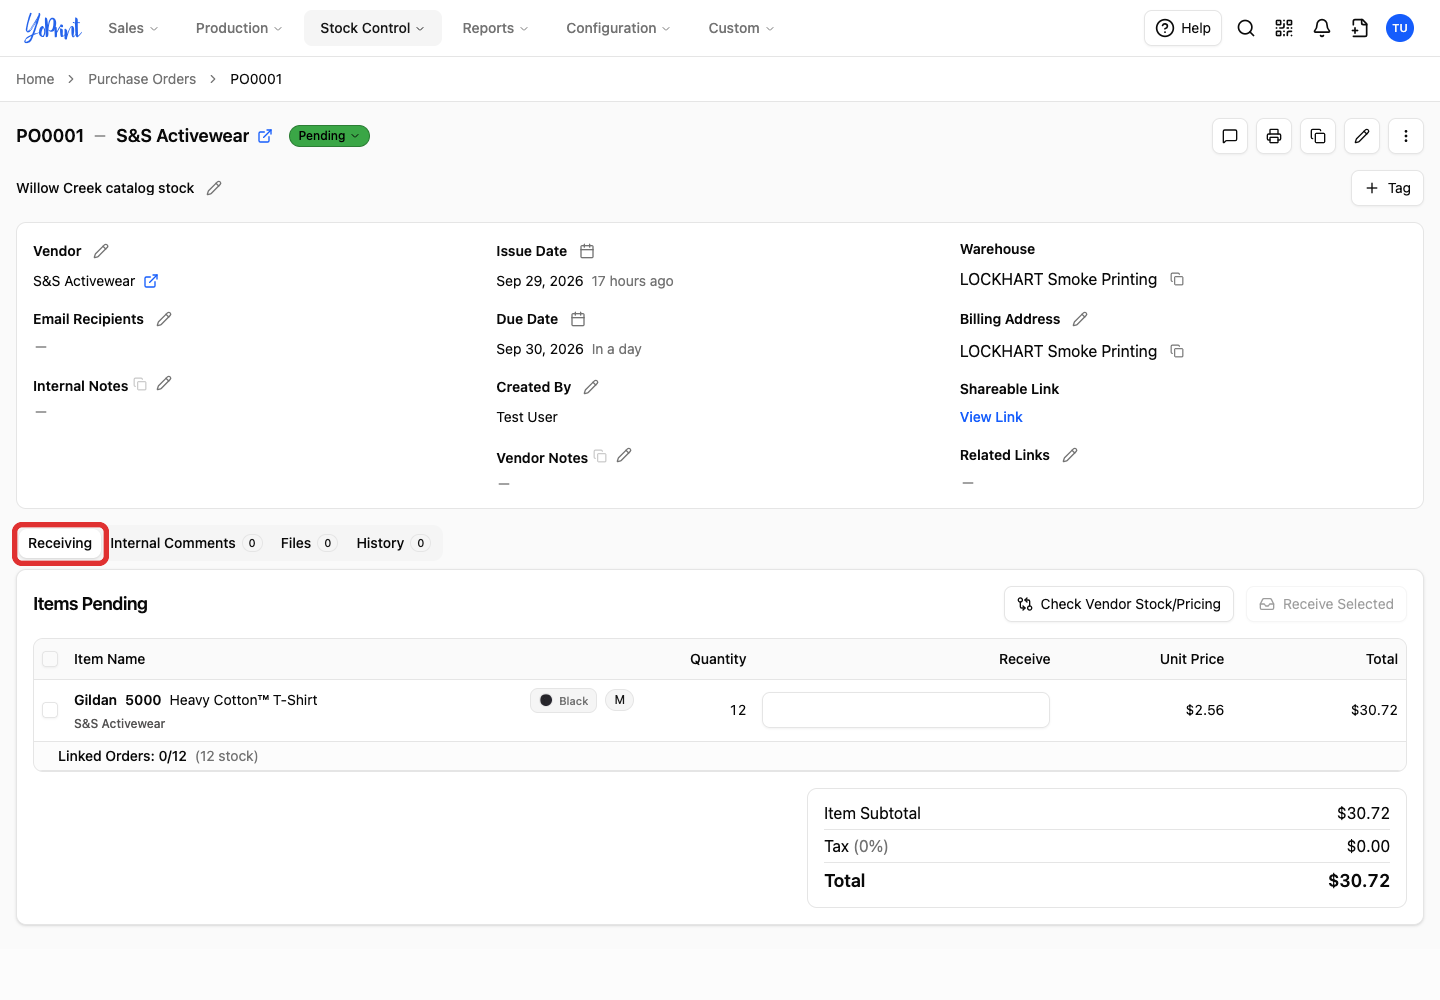
Select Receiving on the purchase order.
-
Click Check Vendor Stock/Pricing.
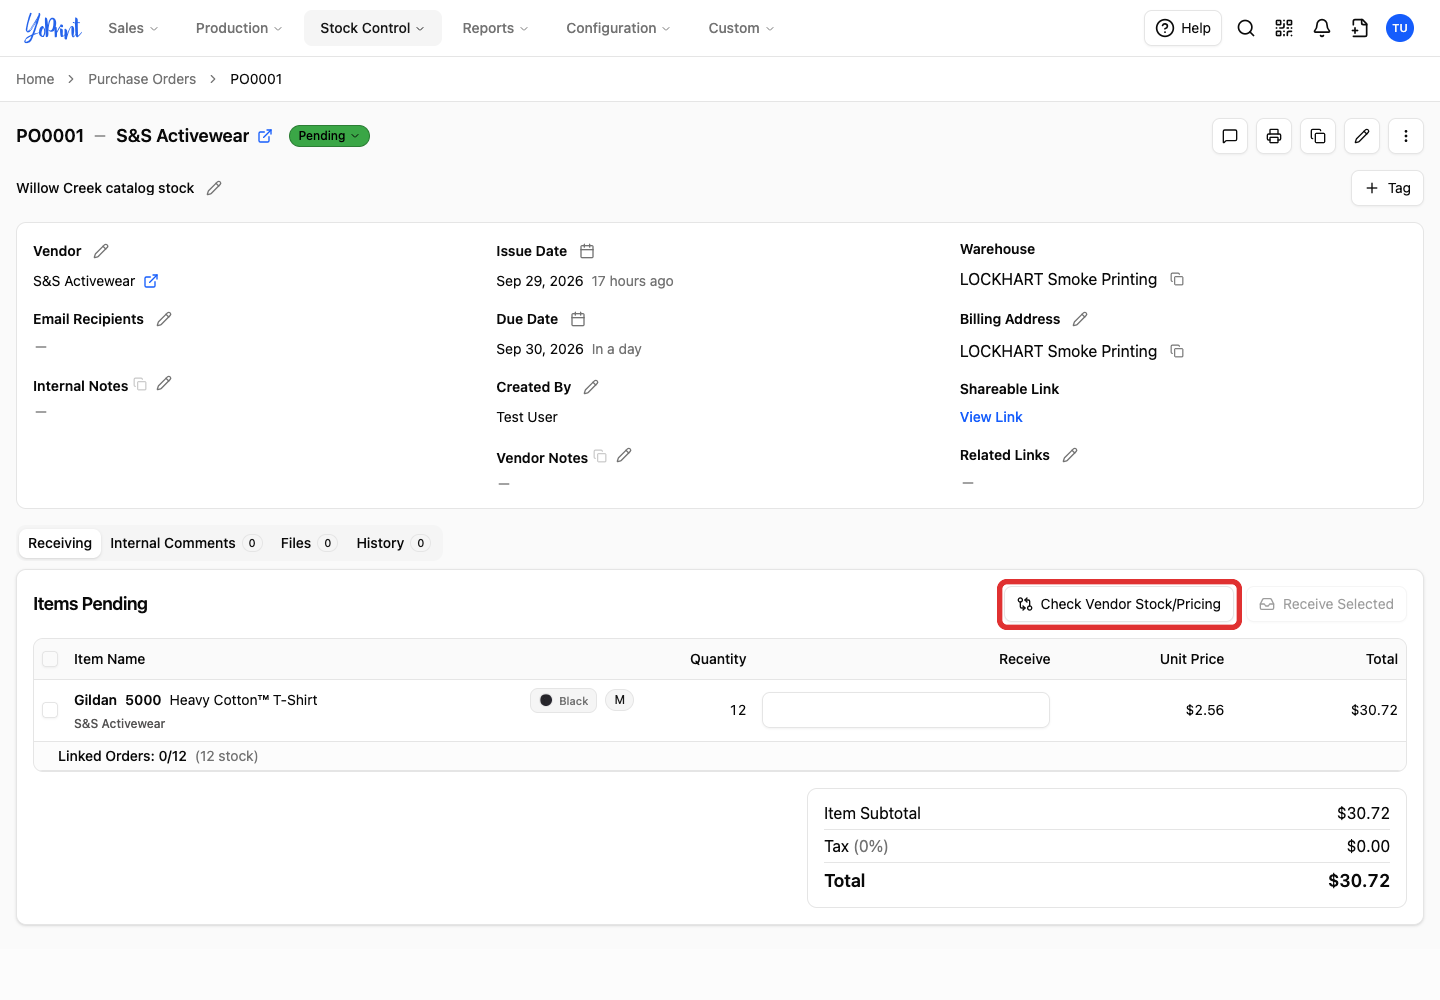
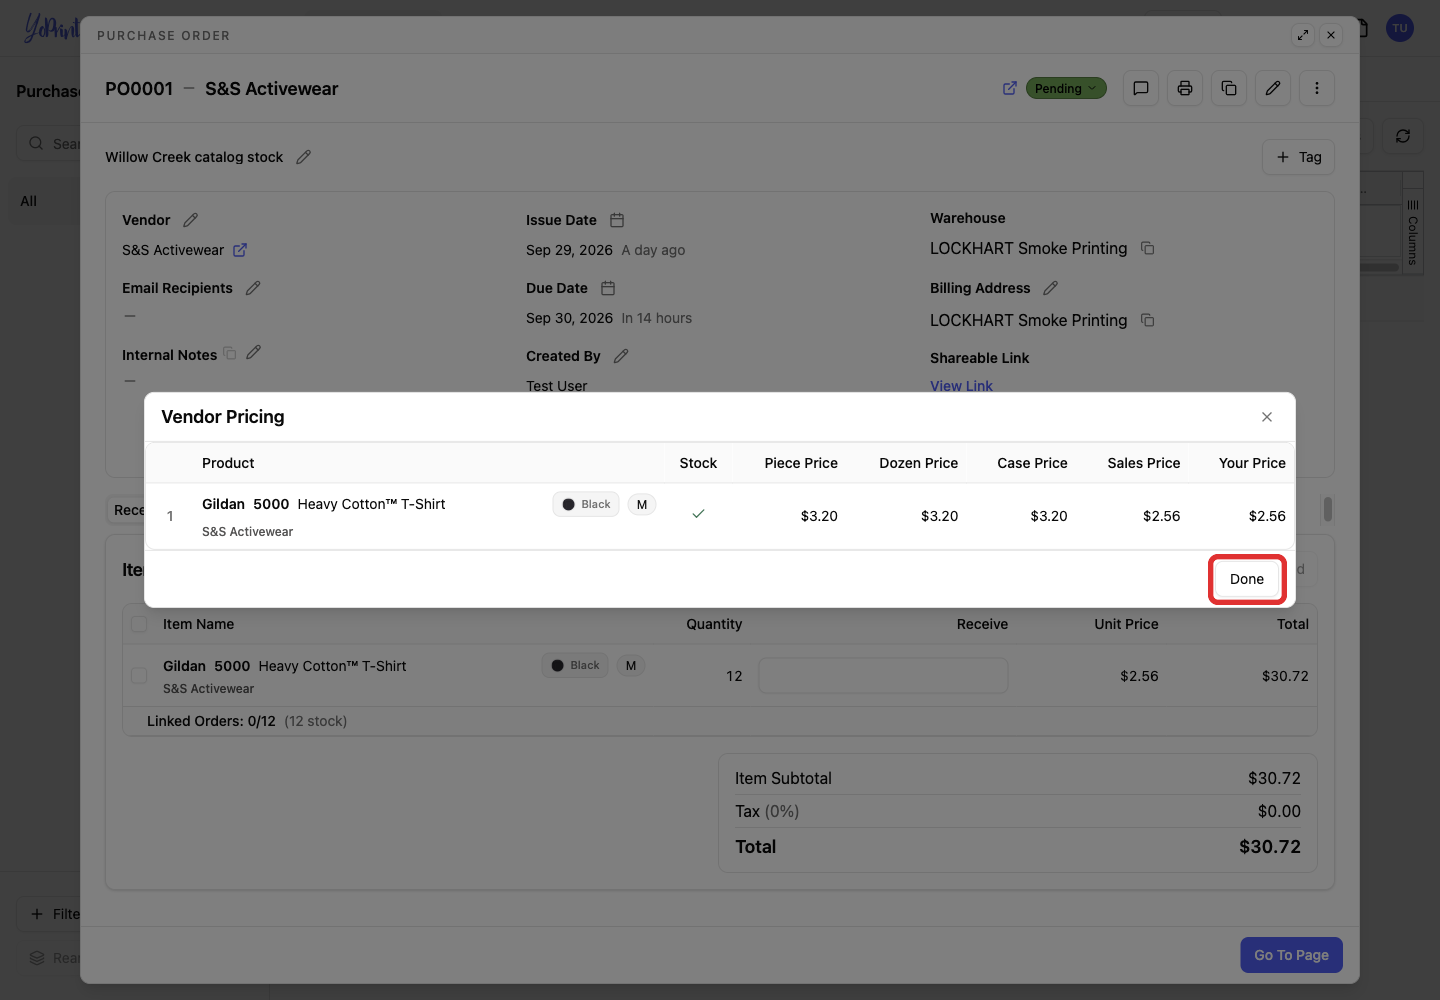
This view is read-only: it shows prices and the Stock tooltip, with Done as its only footer button. Unlike the saved quote, it has no SELECT or Apply controls. Close this view and click Edit on the purchase order to change its costs using Check Vendor.
-
Click Done to close the view.
Place the order with your supplier
Saving a quote, sales order or purchase order in YoPrint does not place an order with SanMar or S&S Activewear. Arrange the purchase through the supplier's website or your usual ordering process. You can also send the purchase order to your vendor as described in Inventory & Purchase Order Overview. Wait for the supplier's order confirmation before scheduling production.