Permission
In this article
Permission groups let you control what team members can see and do in YoPrint. By creating custom groups tailored to specific roles, such as sales reps, production operators, or bookkeepers, you protect sensitive financial data and shop settings while giving staff the exact tools they need.

Team owner access
The team creator is initially assigned to Super Admin, but the registered team owner always has full access to every area of YoPrint, including settings, billing, orders, and reports, regardless of any permission group settings. Customizing Super Admin affects other members assigned to that group, not the owner.
To invite team members and assign them to permission groups, see Manage Users in Your Team.
Open Permission Groups
-
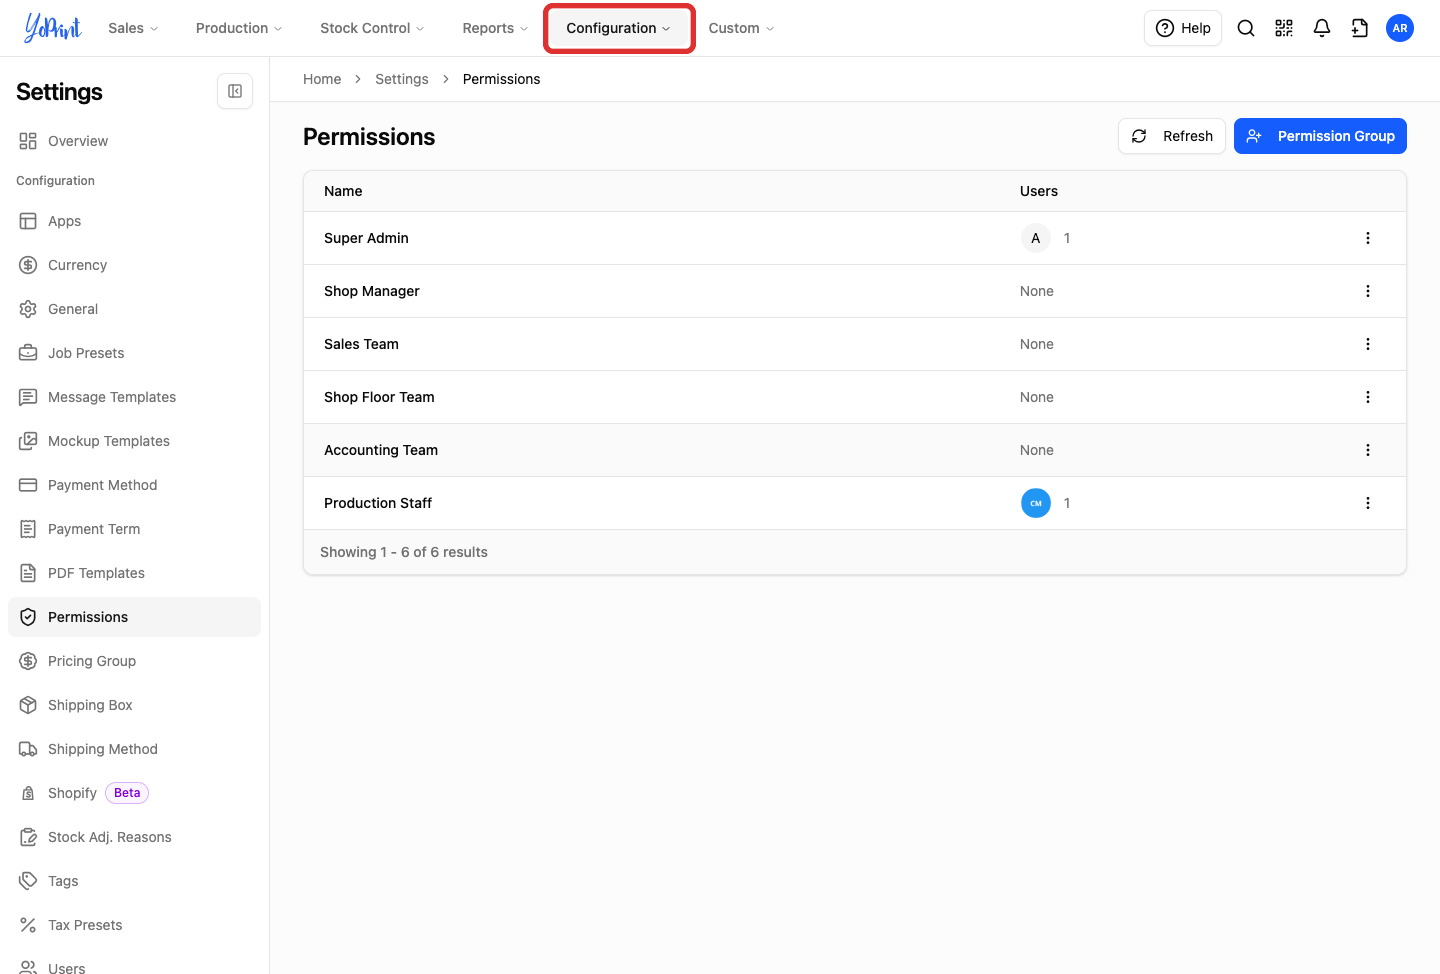
In the top navigation bar, click Configuration.
-
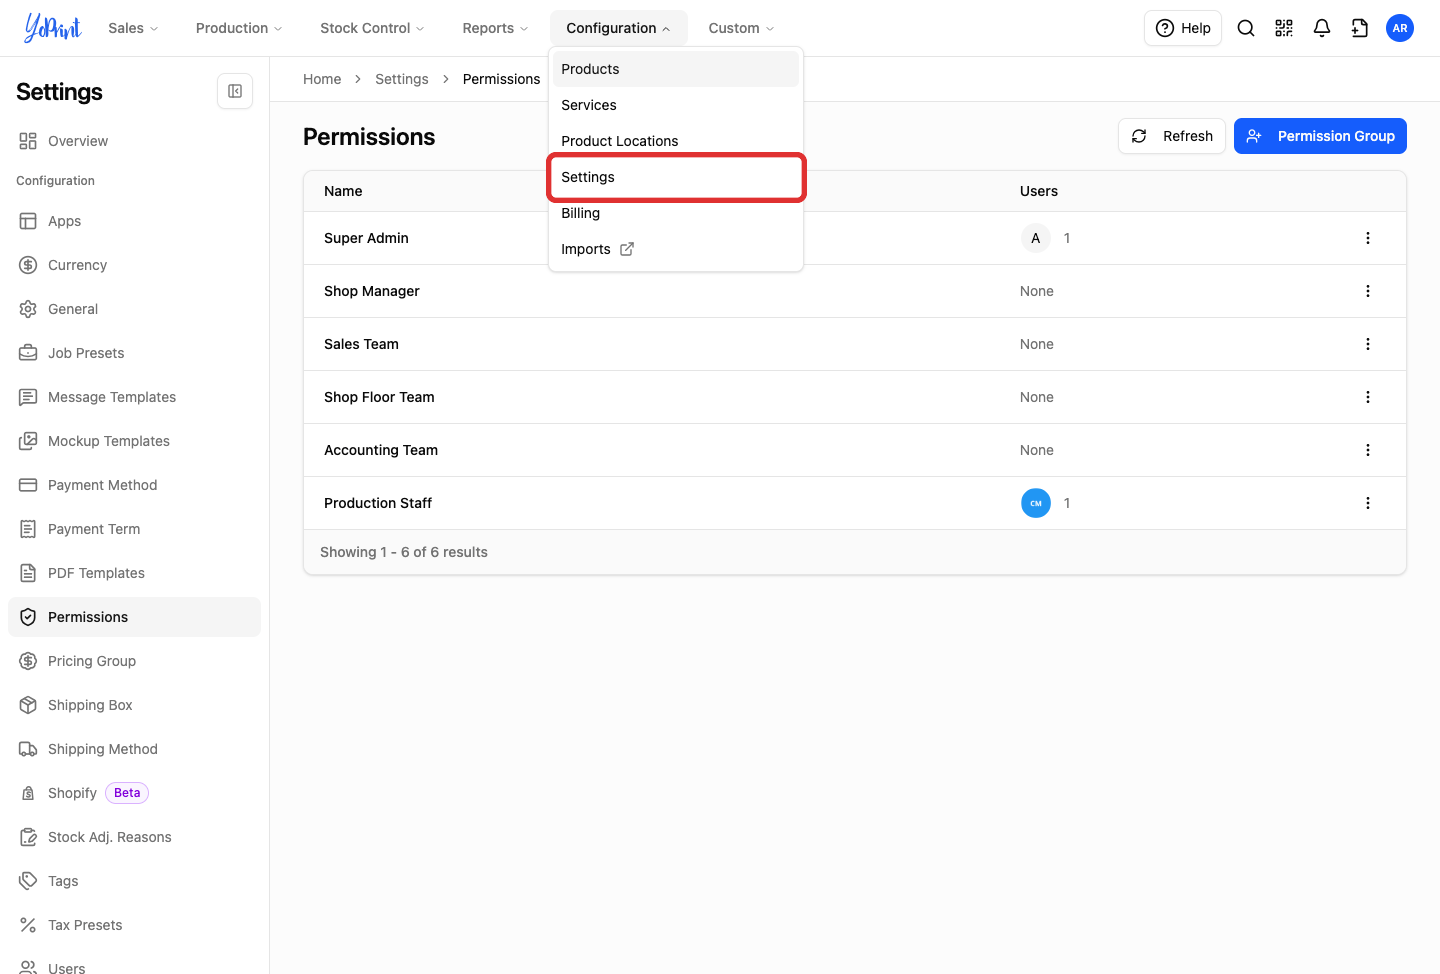
In the dropdown menu, select Settings.
-
In the Settings sidebar, click Permissions.
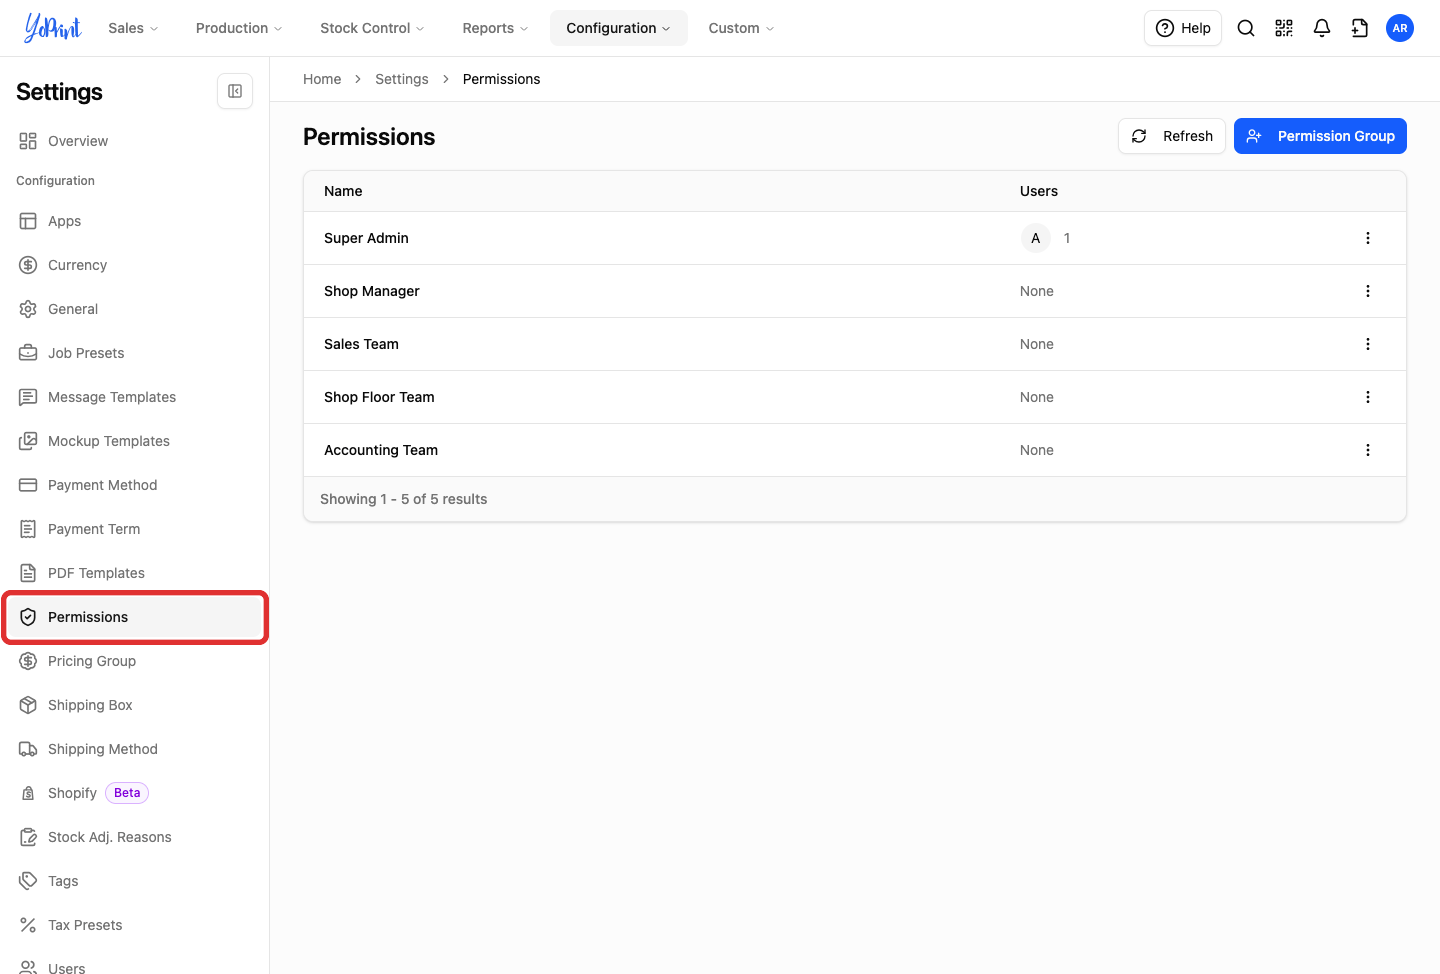
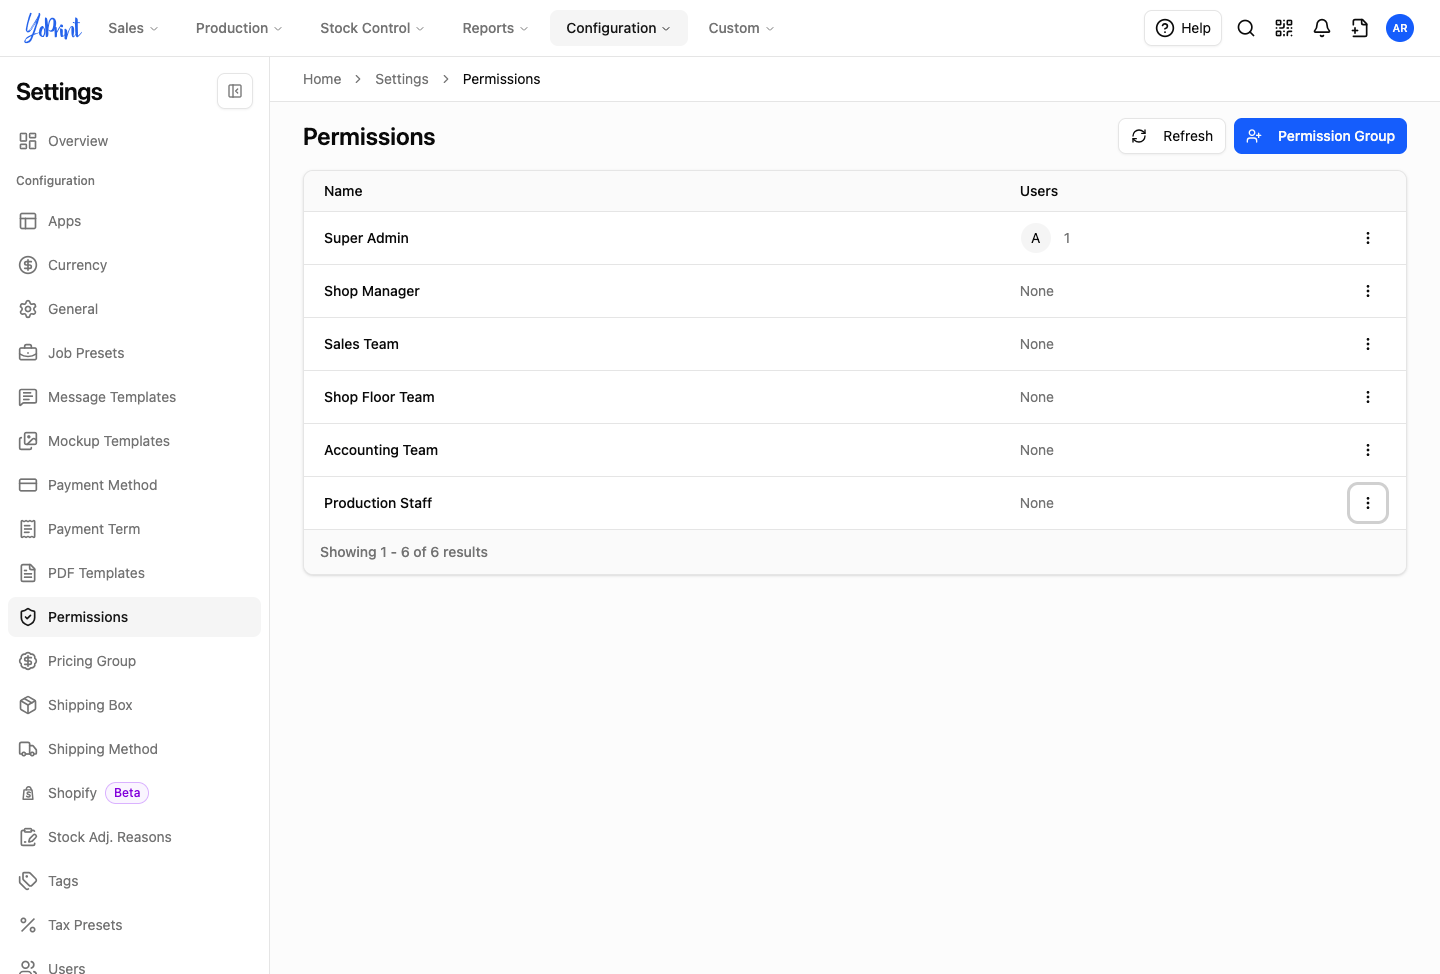
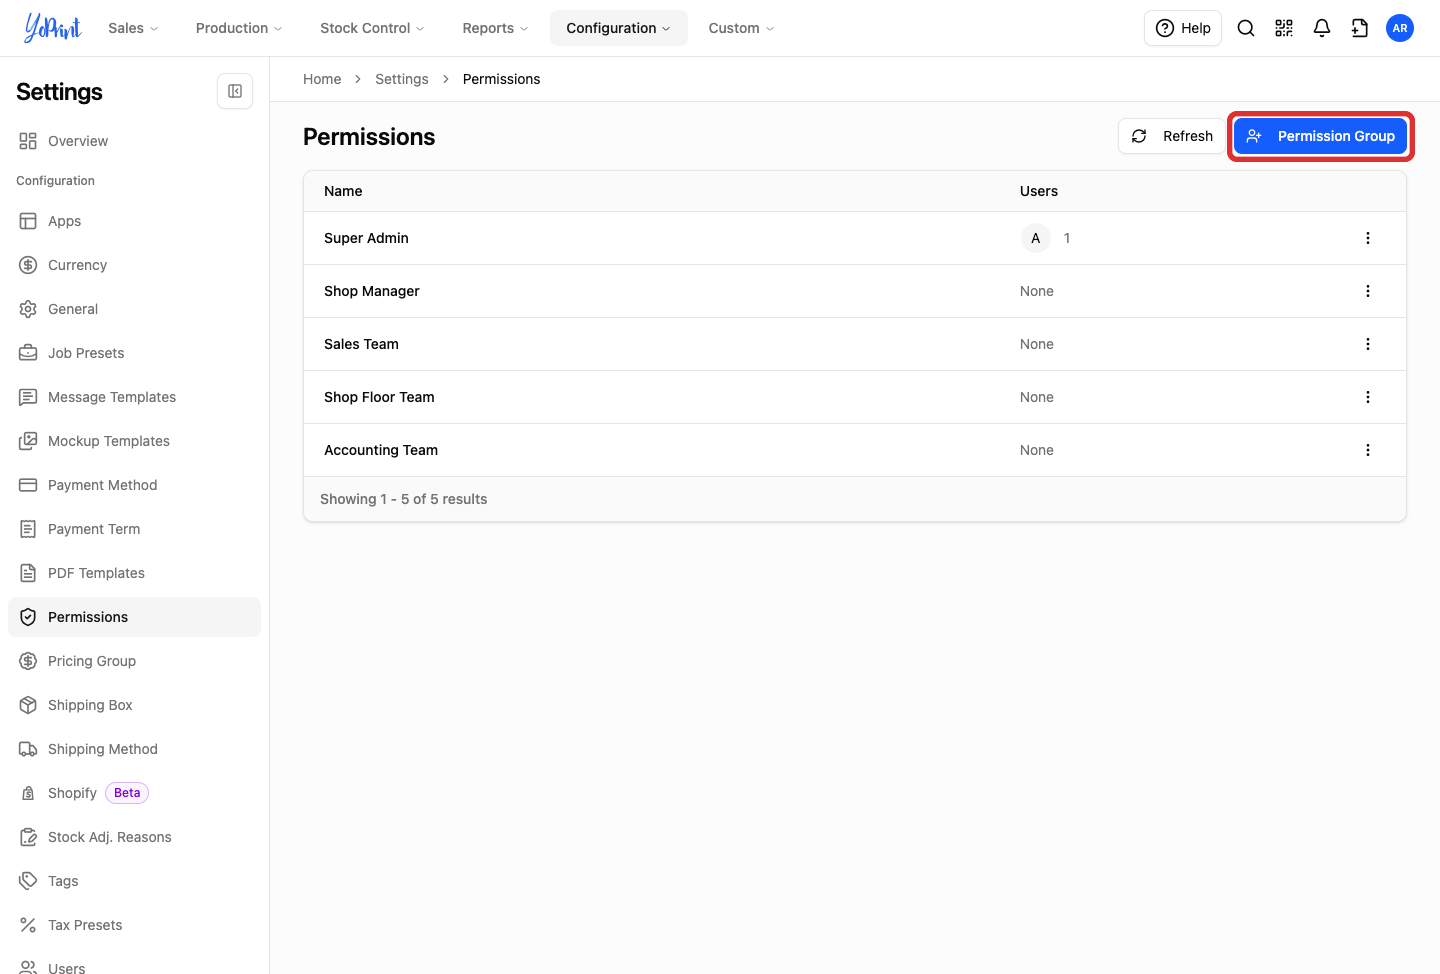
The Permissions page displays all default and custom groups, with the Users column showing assigned team members and counts, and a More actions (three dots) menu for each group.
Create a custom permission group
-
In the top right corner, click Permission Group (with the user-plus icon).
-
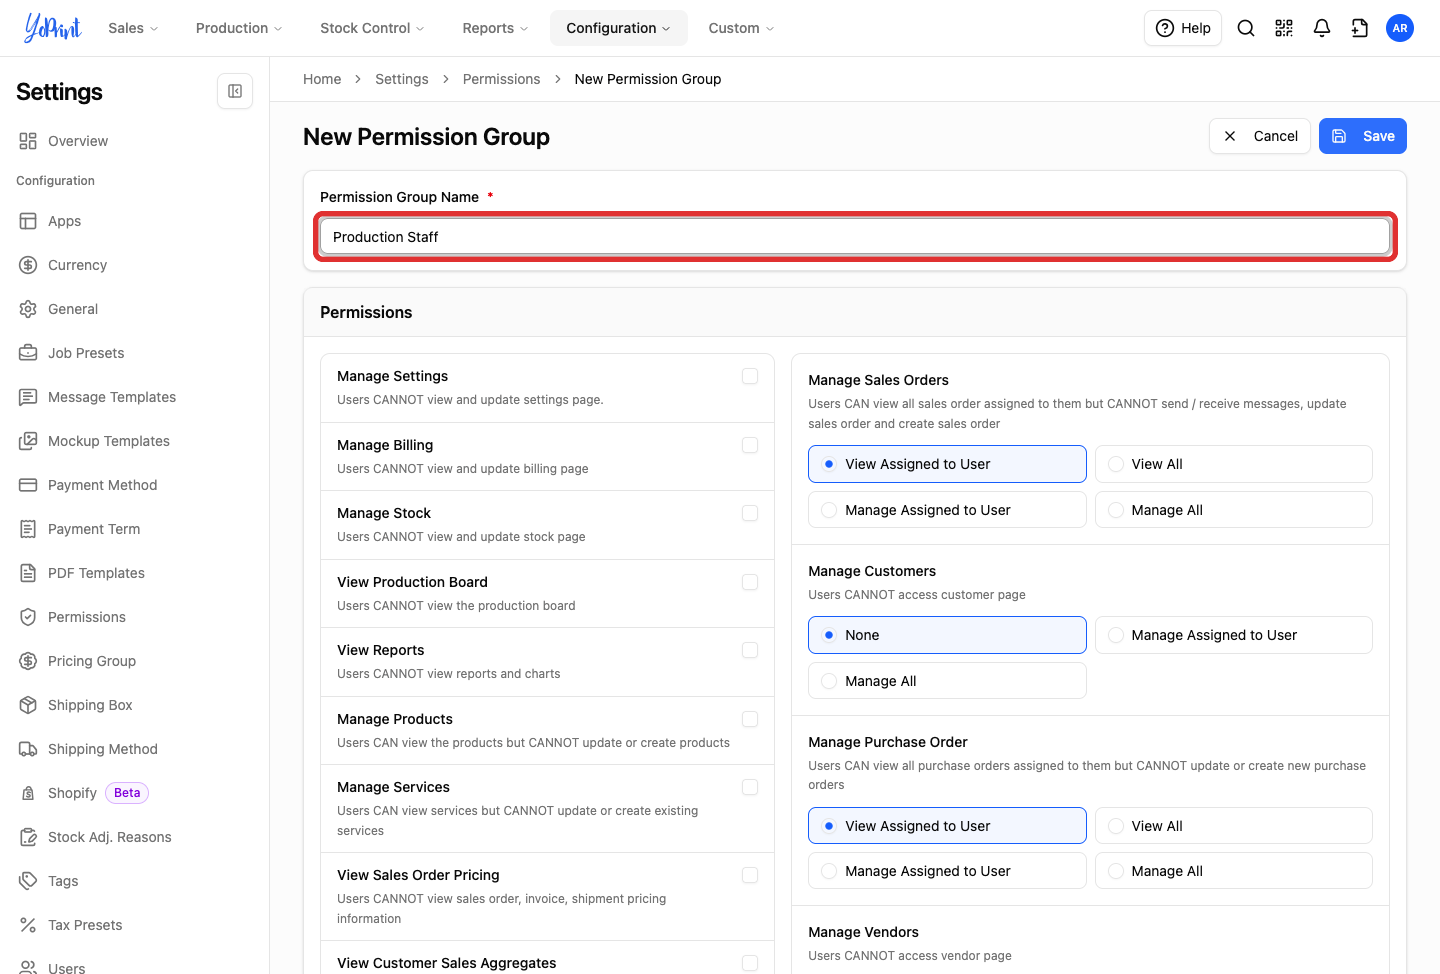
In Permission Group Name, type a clear name for the role.
-
Set the general shop and catalog access checkboxes. Each option displays dynamic subtext confirming what users can or cannot do when checked or unchecked.
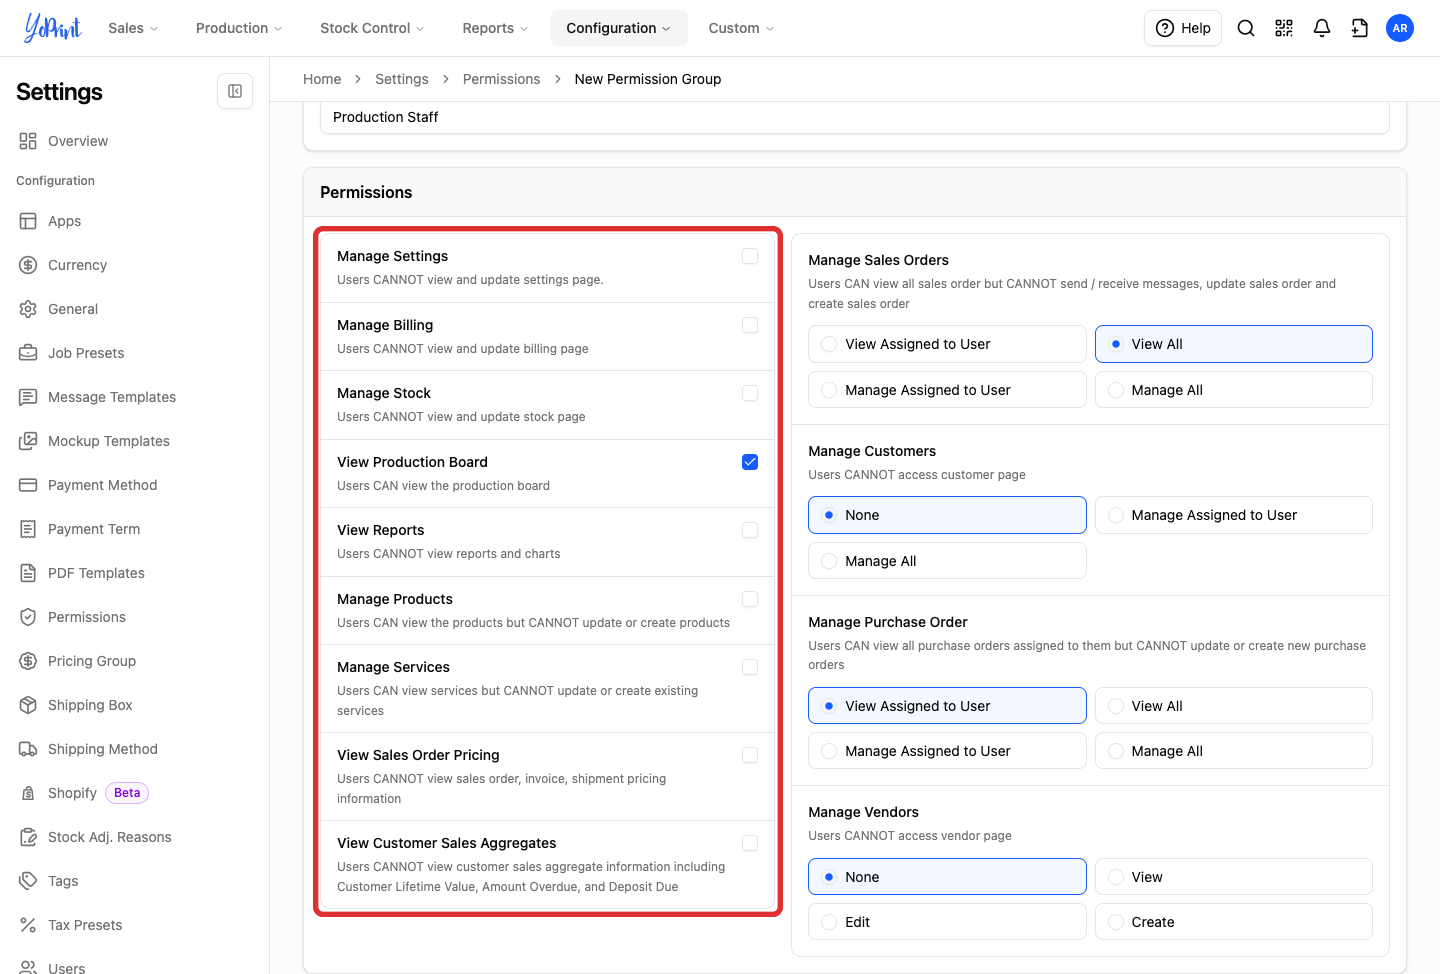
- Manage Settings: Turn on to let staff view and change shop configuration. Leave off to hide the Settings menu completely.
- Manage Billing: Turn on to let staff view and update your shop's YoPrint subscription plan, YoPrint billing invoices, and payment methods under Configuration > Billing. This does not affect customer sales invoices or payments in the Sales module.
- Manage Stock: Turn on to let staff manage inventory levels, stock adjustments, and stock takes. Purchase Orders and Vendors are controlled separately below.
- View Production Board: Turn on to let operators view the visual production board.
- View Reports: Turn on to give staff access to sales charts and business analytics.
- Manage Products: Turn on to allow creating and editing products. All staff can view products in the catalog; leave off to limit staff to view-only.
- Manage Services: Turn on to allow creating and editing services. All staff can view services in the catalog; leave off to limit staff to view-only.
- View Sales Order Pricing: Turn on to display costs, prices, and profit margins on sales orders, invoices, and shipments. Turn off to hide financial figures from staff.
- View Customer Sales Aggregates: Turn on to show customer lifetime values, overdue balances, and deposits. Turn off to hide aggregated sales revenue.
-
Select record-level access scopes for orders, customers, purchase orders, and vendors.
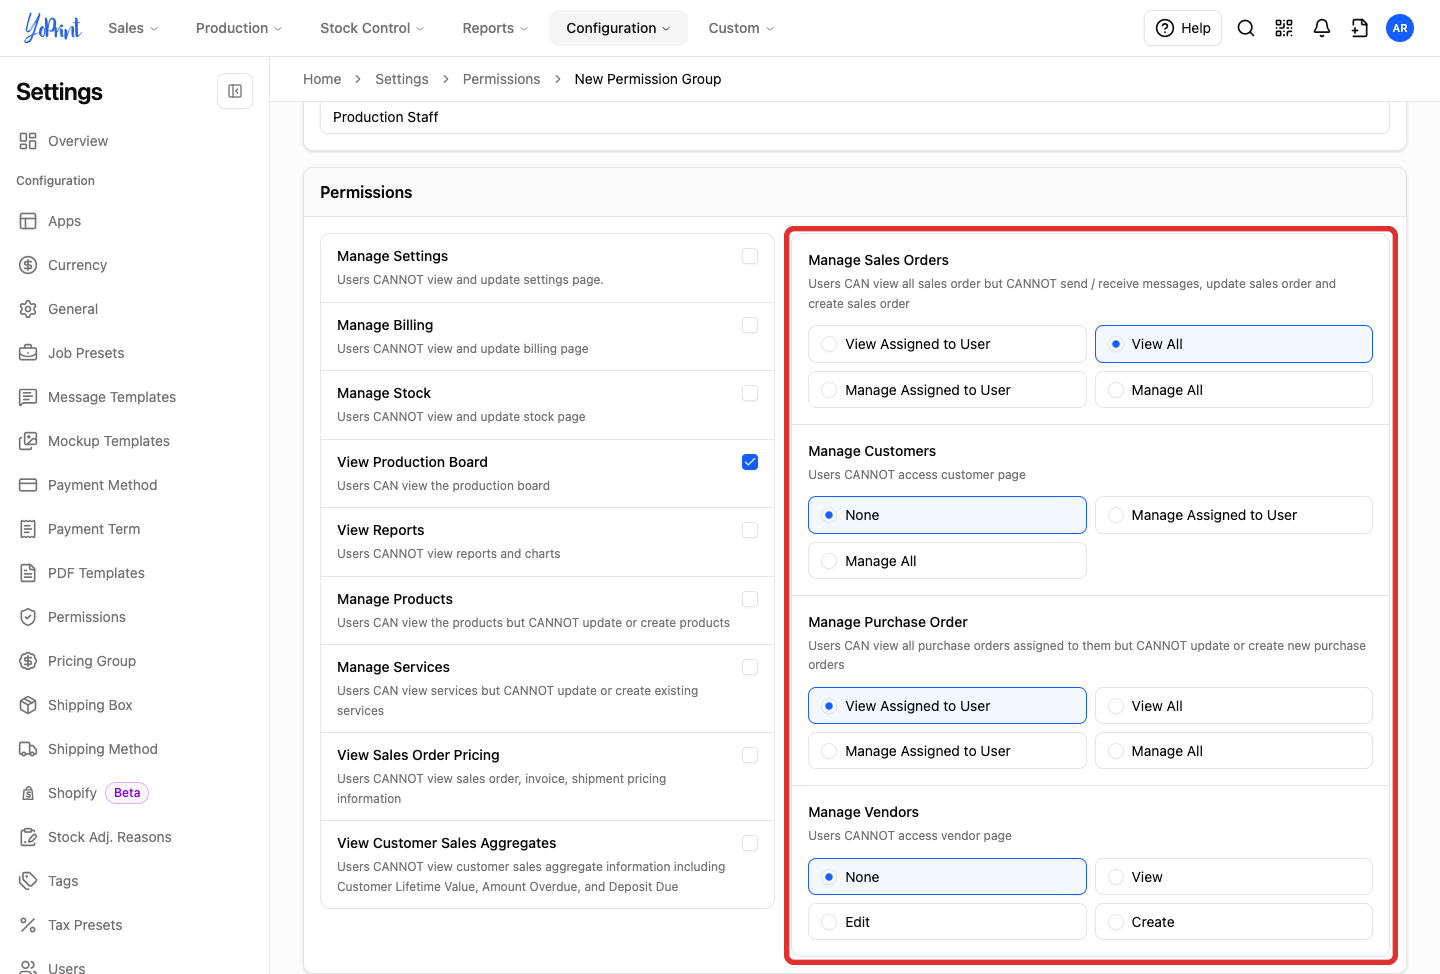
- Manage Sales Orders: Choose View Assigned to User to limit visibility to assigned orders (users cannot edit orders or send customer messages), View All to see all shop orders in view-only mode, Manage Assigned to User to update assigned work, send customer messages on those orders, and create new orders (automatically assigned to the creator), or Manage All for full order and customer messaging control across the shop.
- Manage Customers: Choose None to block customer directory access entirely, Manage Assigned to User to view, edit, and create assigned clients, or Manage All to access and manage all customer accounts.
- Manage Purchase Order: Choose View Assigned to User to limit visibility to assigned purchase orders, View All to see all shop purchase orders, Manage Assigned to User to update assigned orders and create purchase orders, or Manage All for full purchase order control across the shop.
- Manage Vendors: Choose None for no vendor access, View to view supplier directories only, Edit to view and update existing vendors, or Create for full access to view, update, and add new vendors.
-
In the top header bar, click Save.
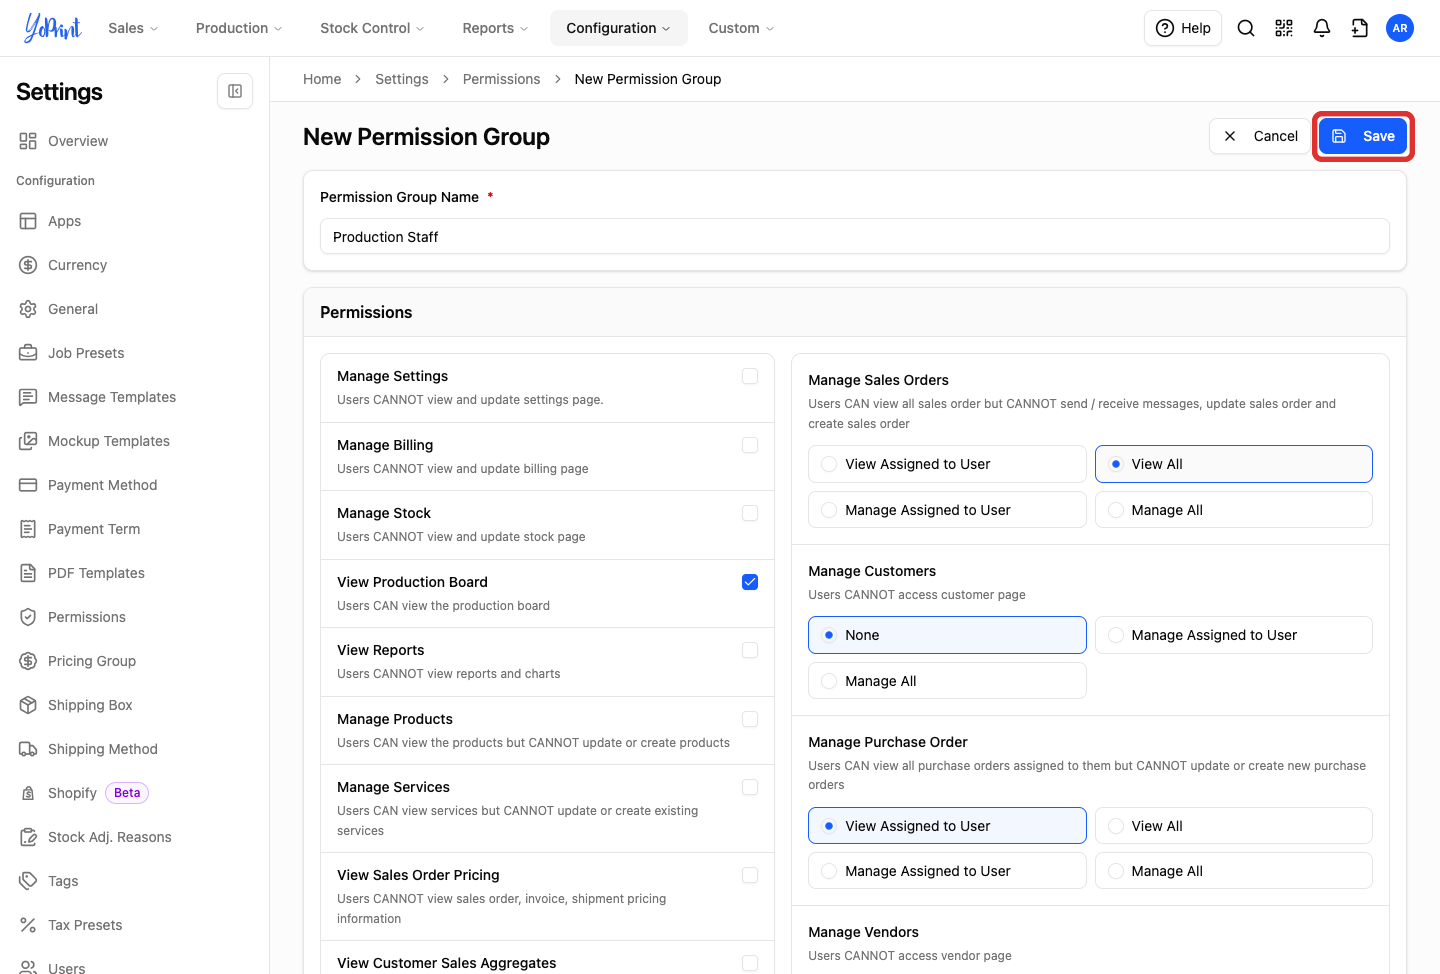
YoPrint creates your new group and returns you to the Permissions table.
Edit a permission group
When editing your own permission group, Manage Settings is locked to ensure you retain access to shop settings. To reassign a team member to a different group, see Manage Users in Your Team.
-
Click More actions (three dots) on the group you want to update, then click Edit.
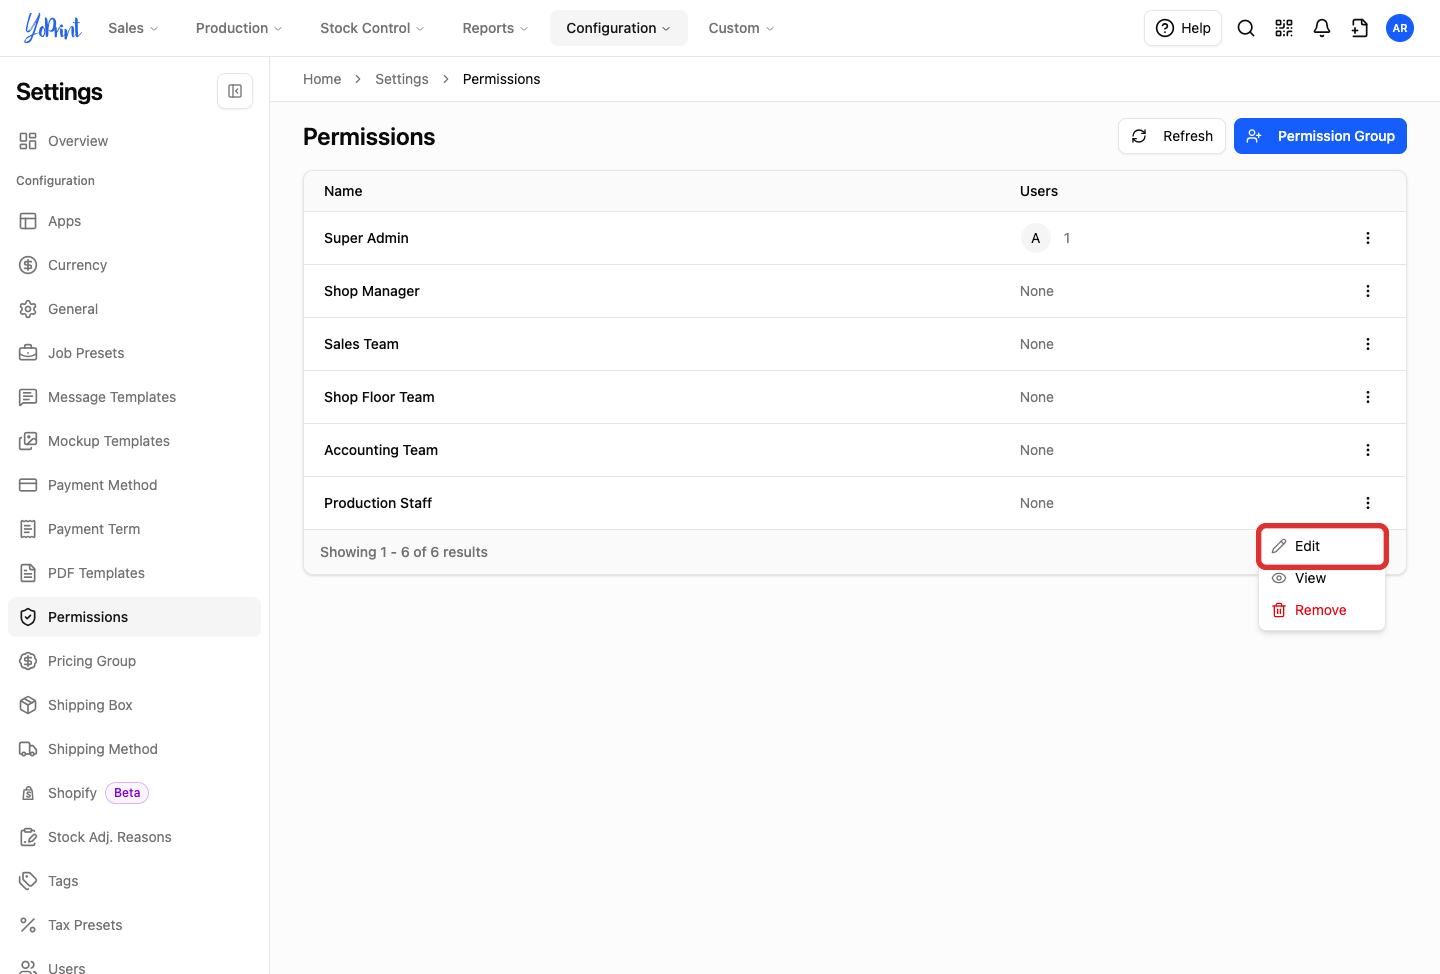
To review a group's settings without making changes, select View instead.
-
Adjust your permission checkboxes, scopes, or group name, then in the top header bar, click Save.
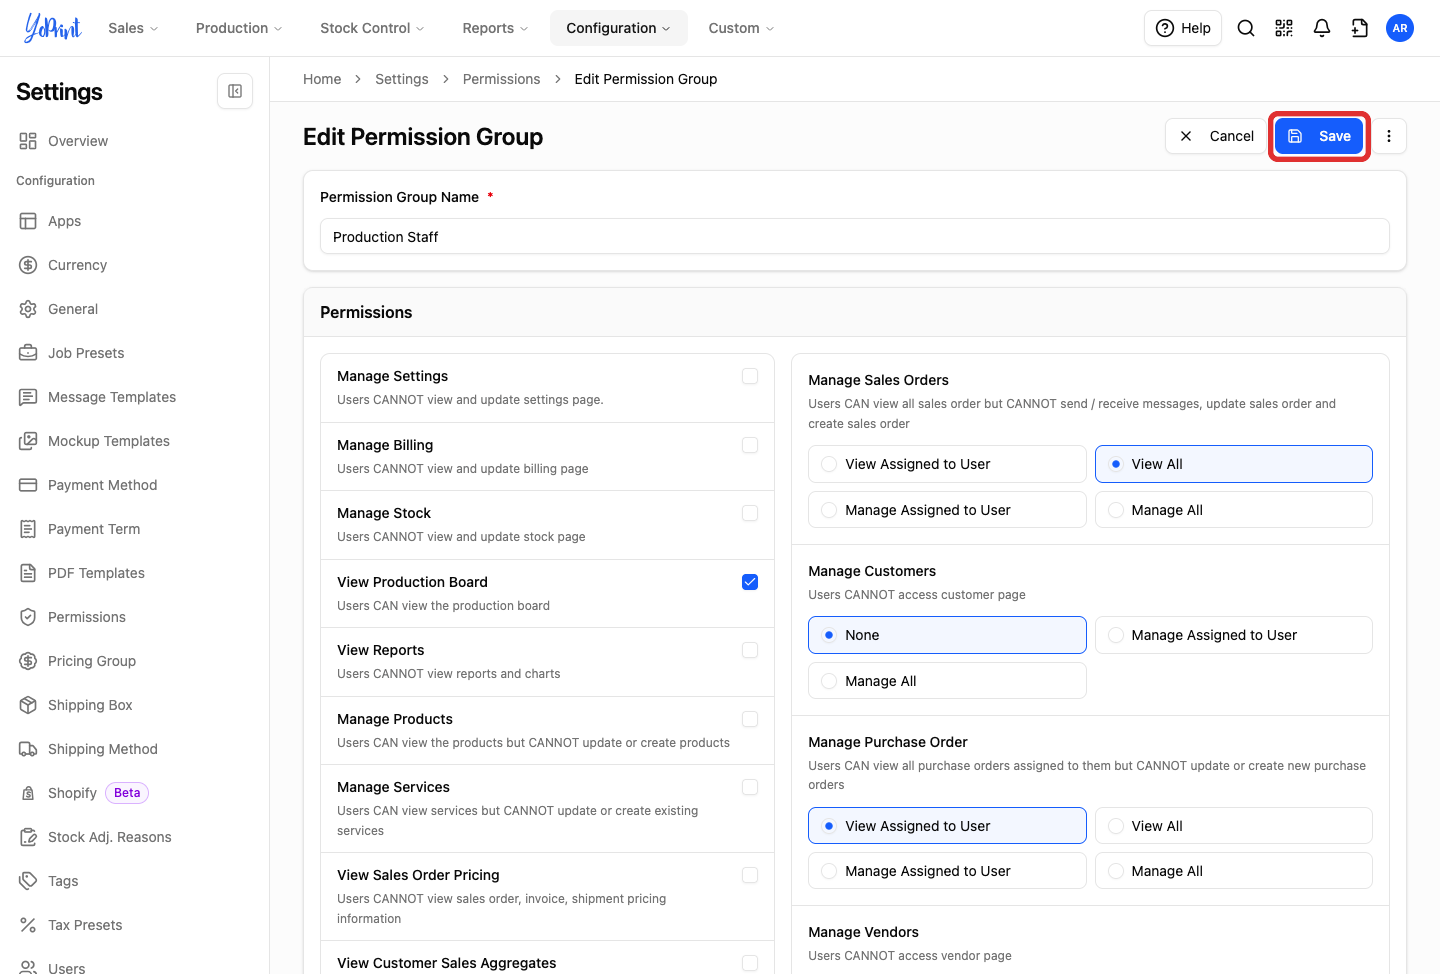
YoPrint updates the permission group immediately.
Remove a permission group
You cannot delete a group while team members are assigned to it, and you cannot delete your own permission group. Move all members to another group in Settings > Users before removing it (see Manage Users in Your Team).
-
Click More actions (three dots) on an unused group, then click Remove.
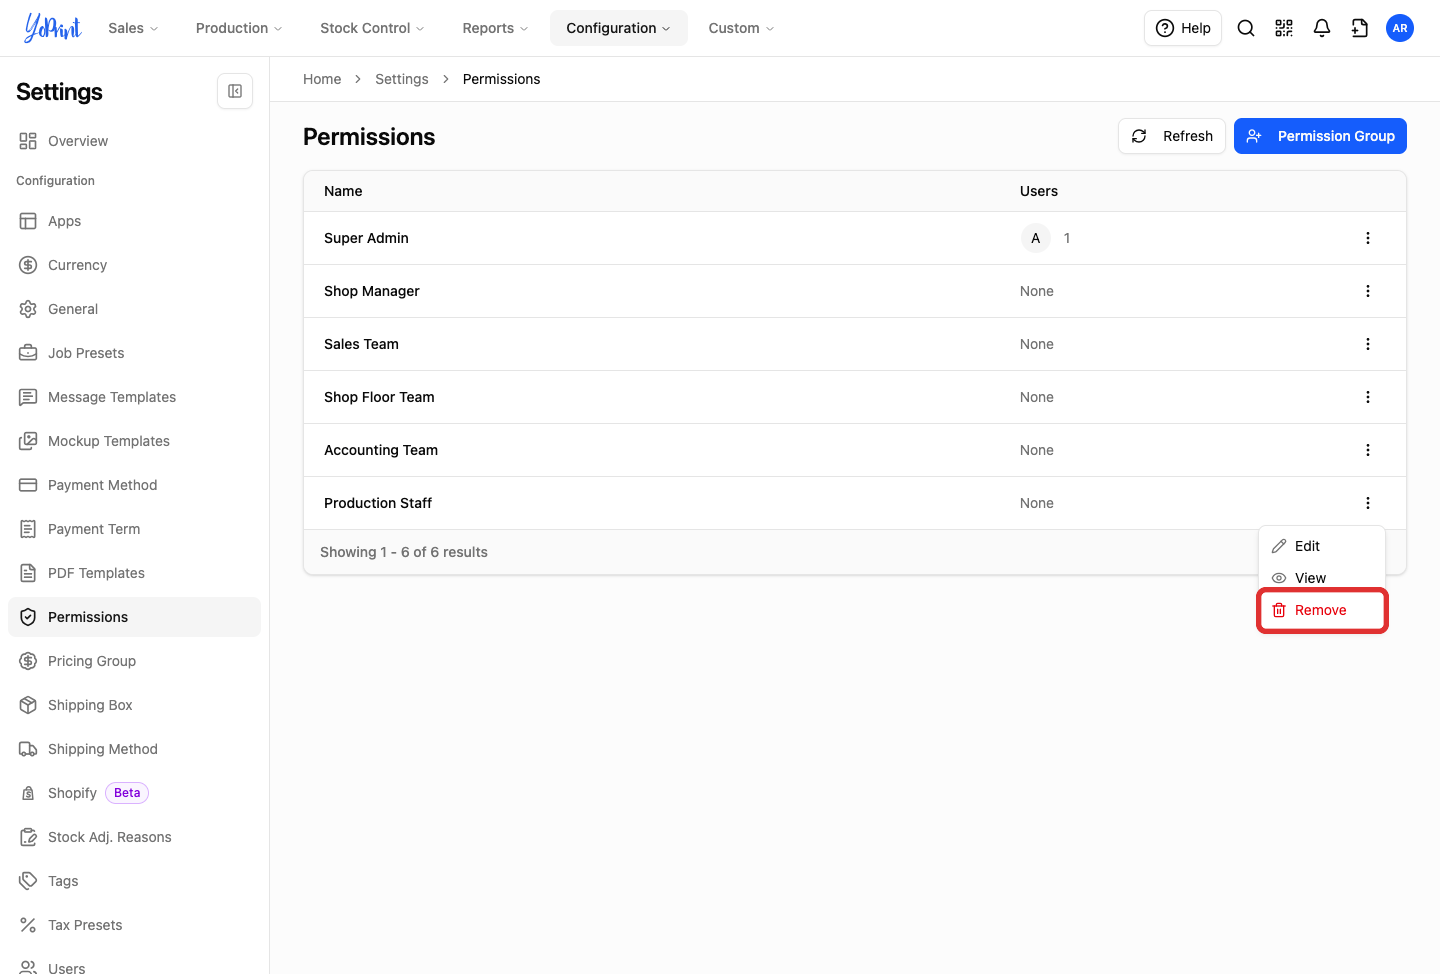
You can also delete an unused group from inside its edit screen by clicking More actions > Remove.
-
In the confirmation dialog, click Remove.
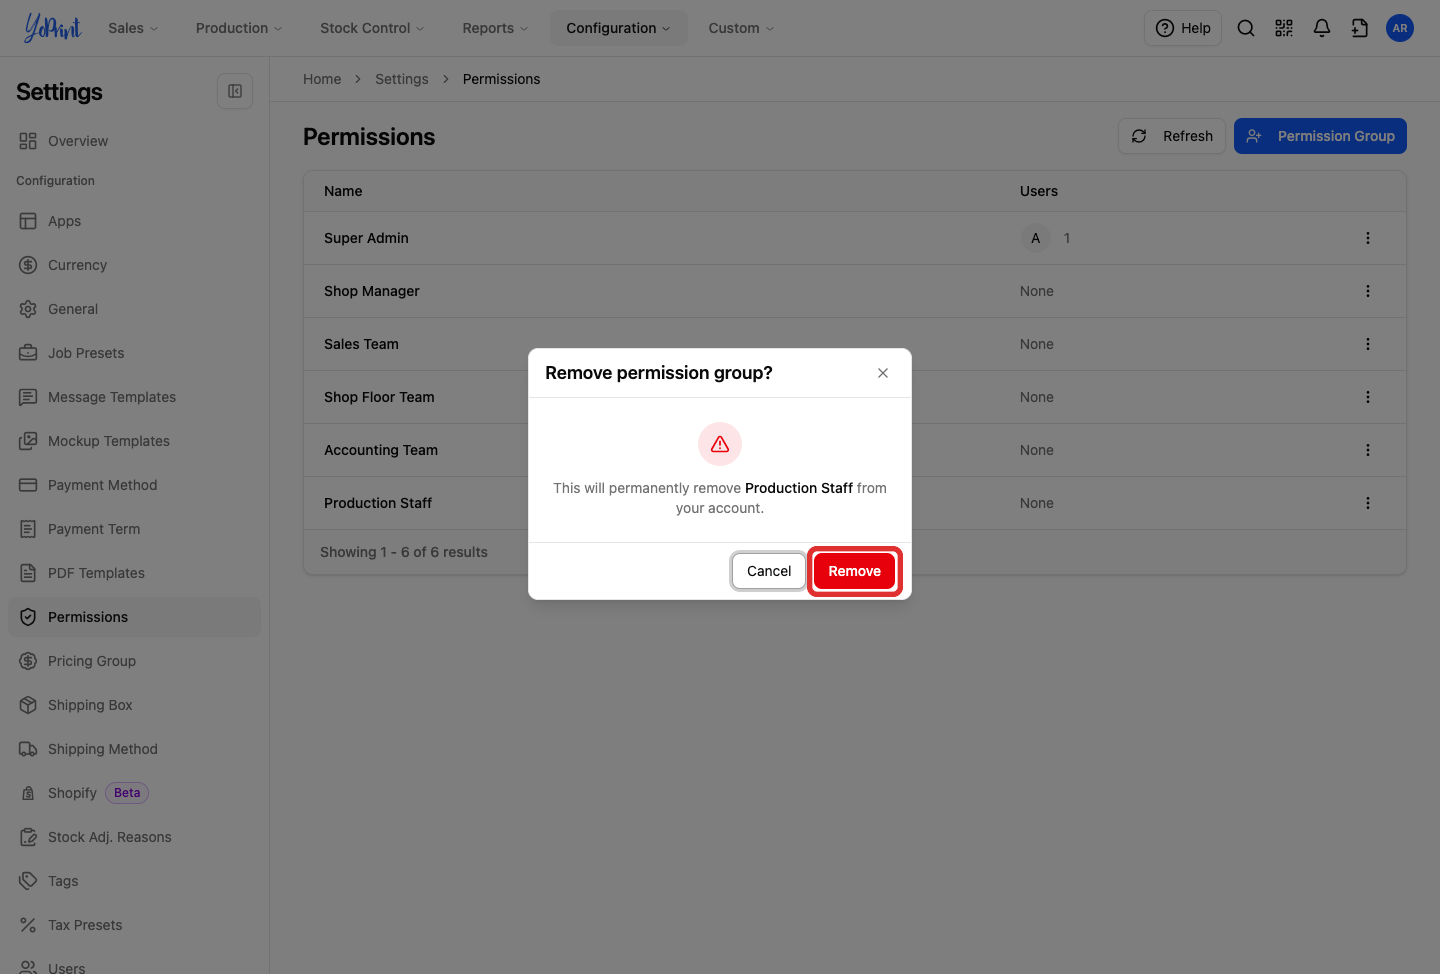
YoPrint permanently deletes the permission group and removes it from the table.
