Tasks List
In this article
Open the tasks list
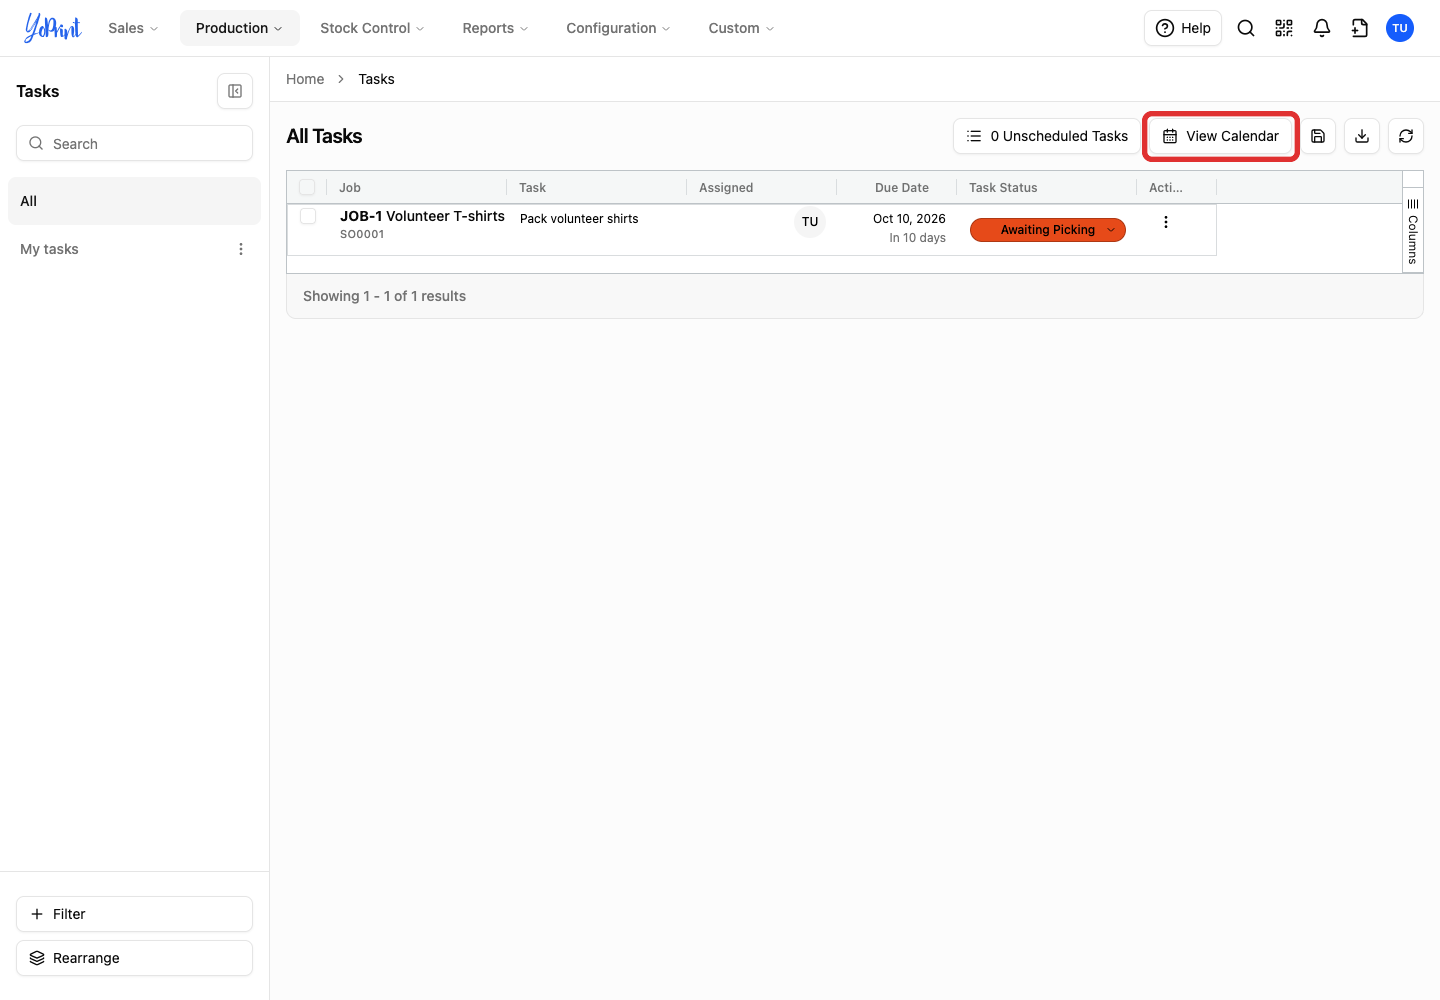
The tasks list brings your jobs' tasks together. Tasks are created inside individual jobs. Use this list to check assignments and due dates, update statuses, or open a job for more detail.
-
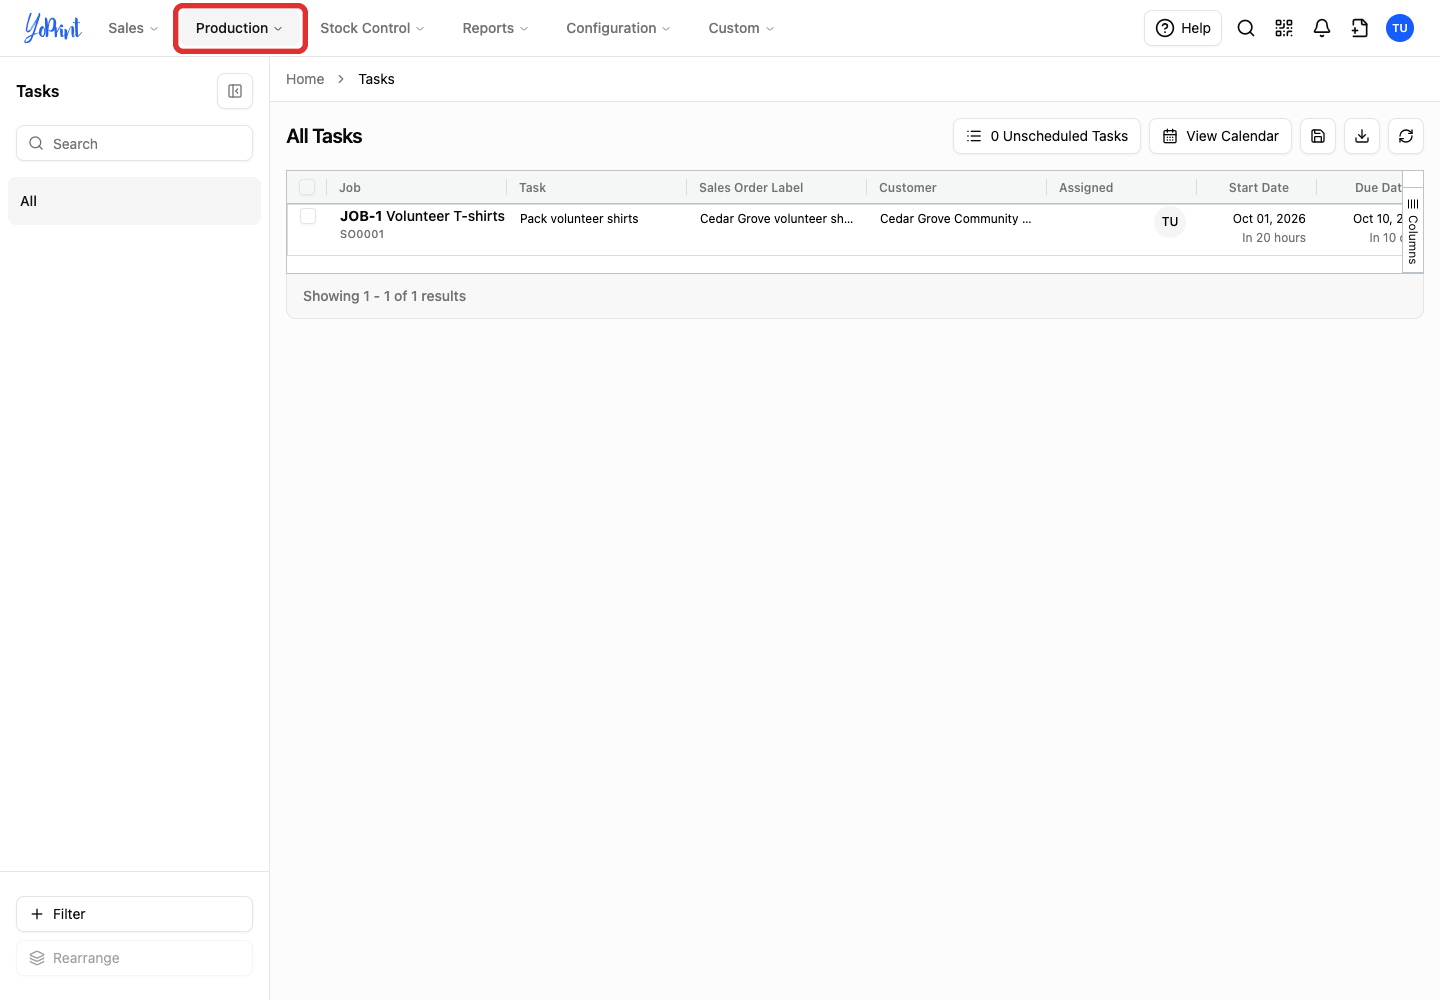
Open Production in the top menu.
-
Select All Tasks.
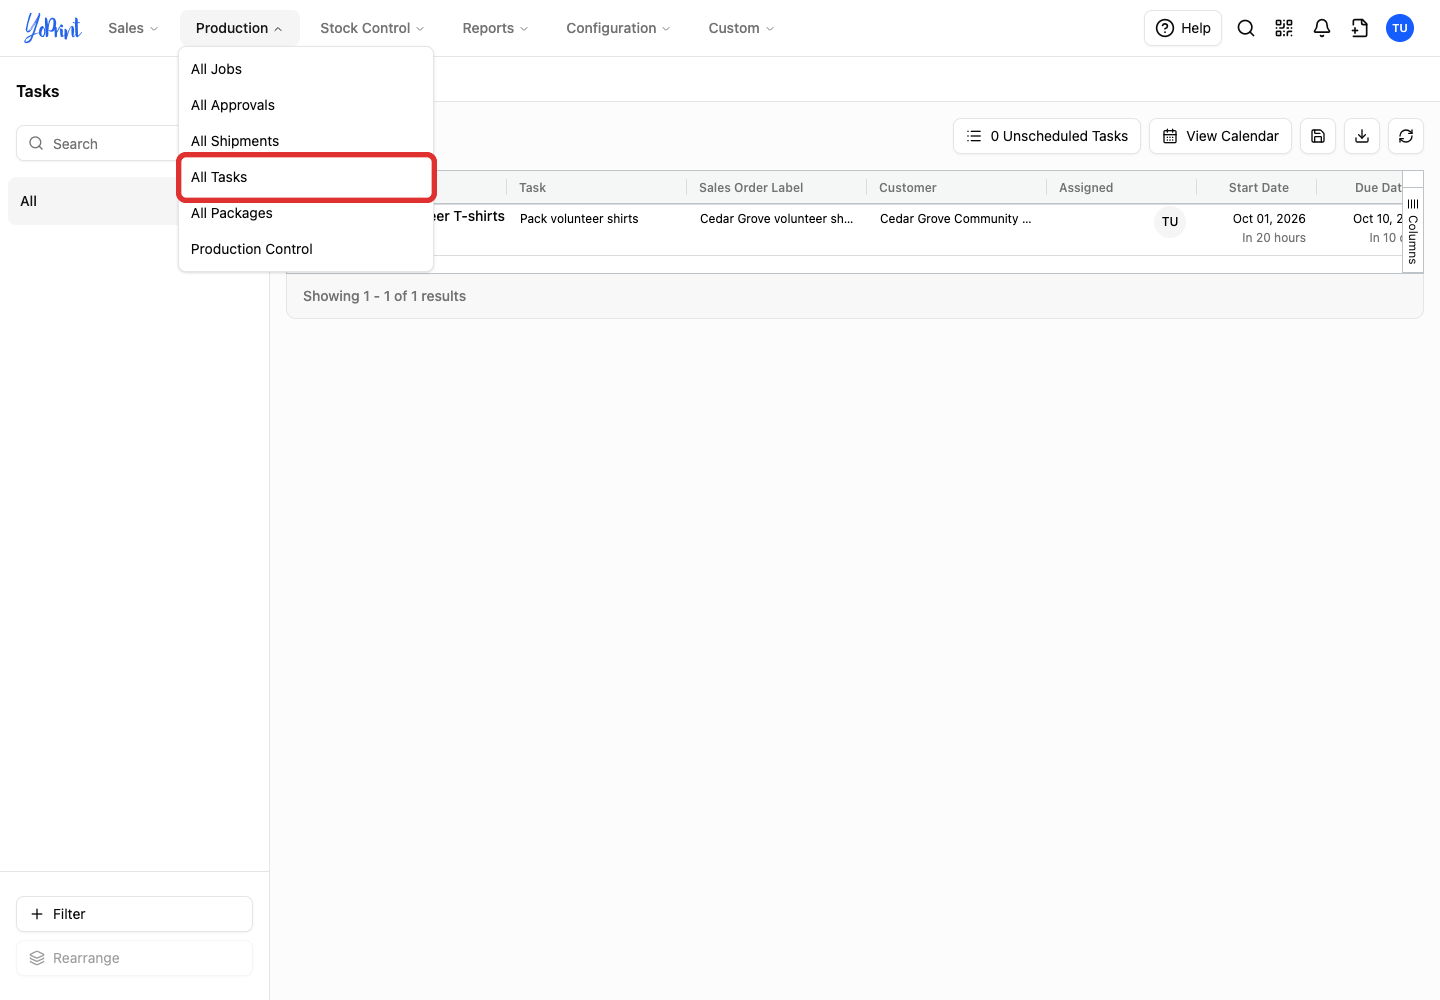
Each row is an individual task; jobs cannot be grouped or nested into expandable rows.
Choose your columns
-
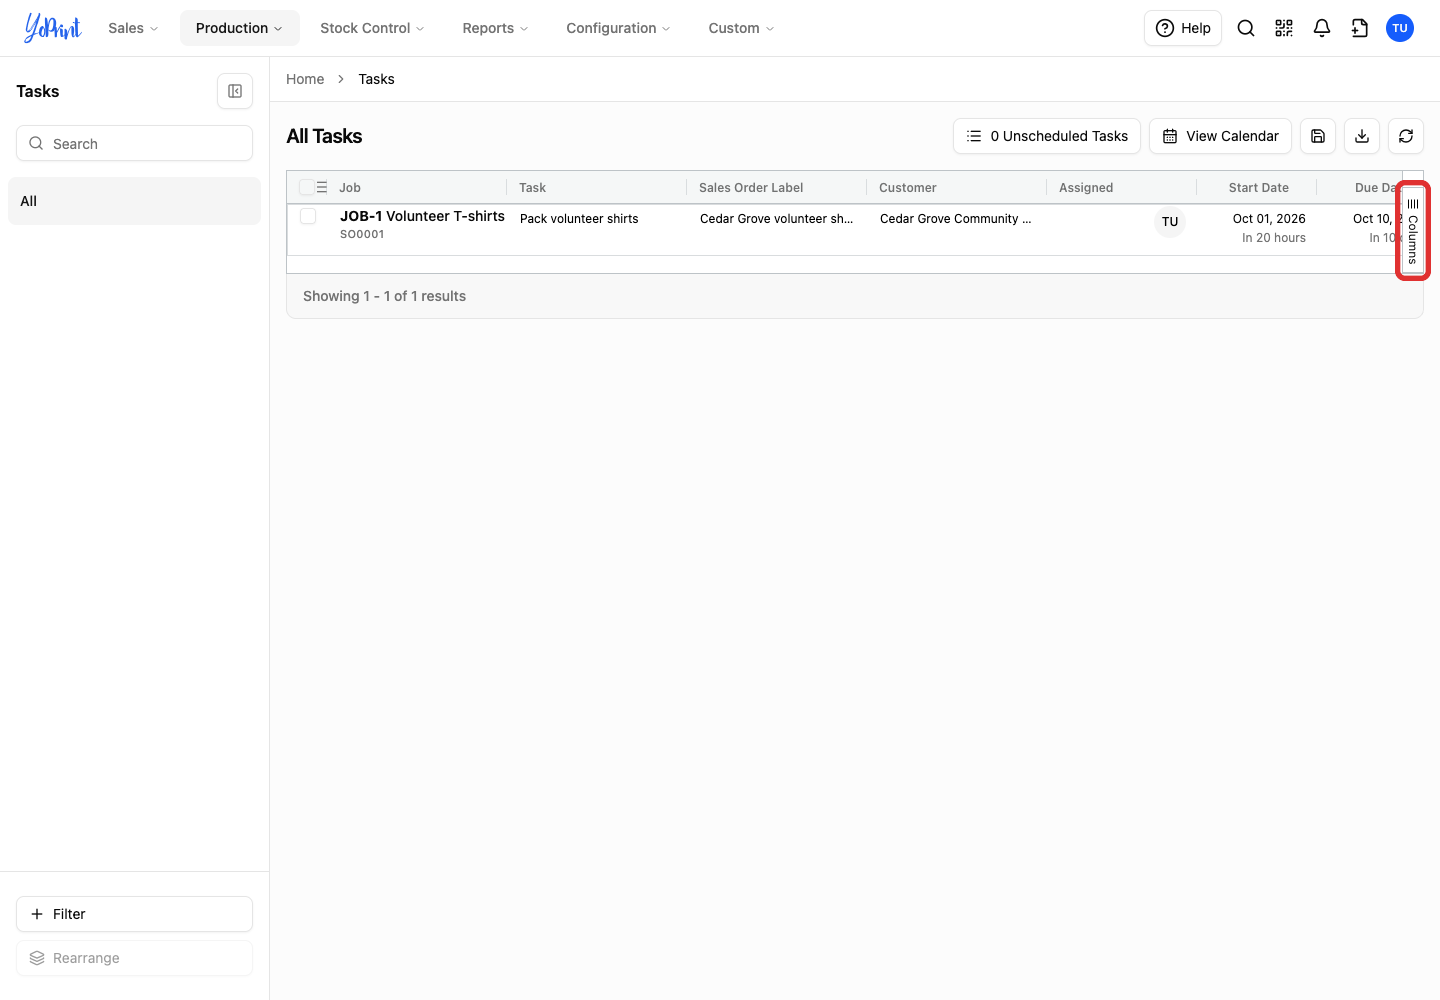
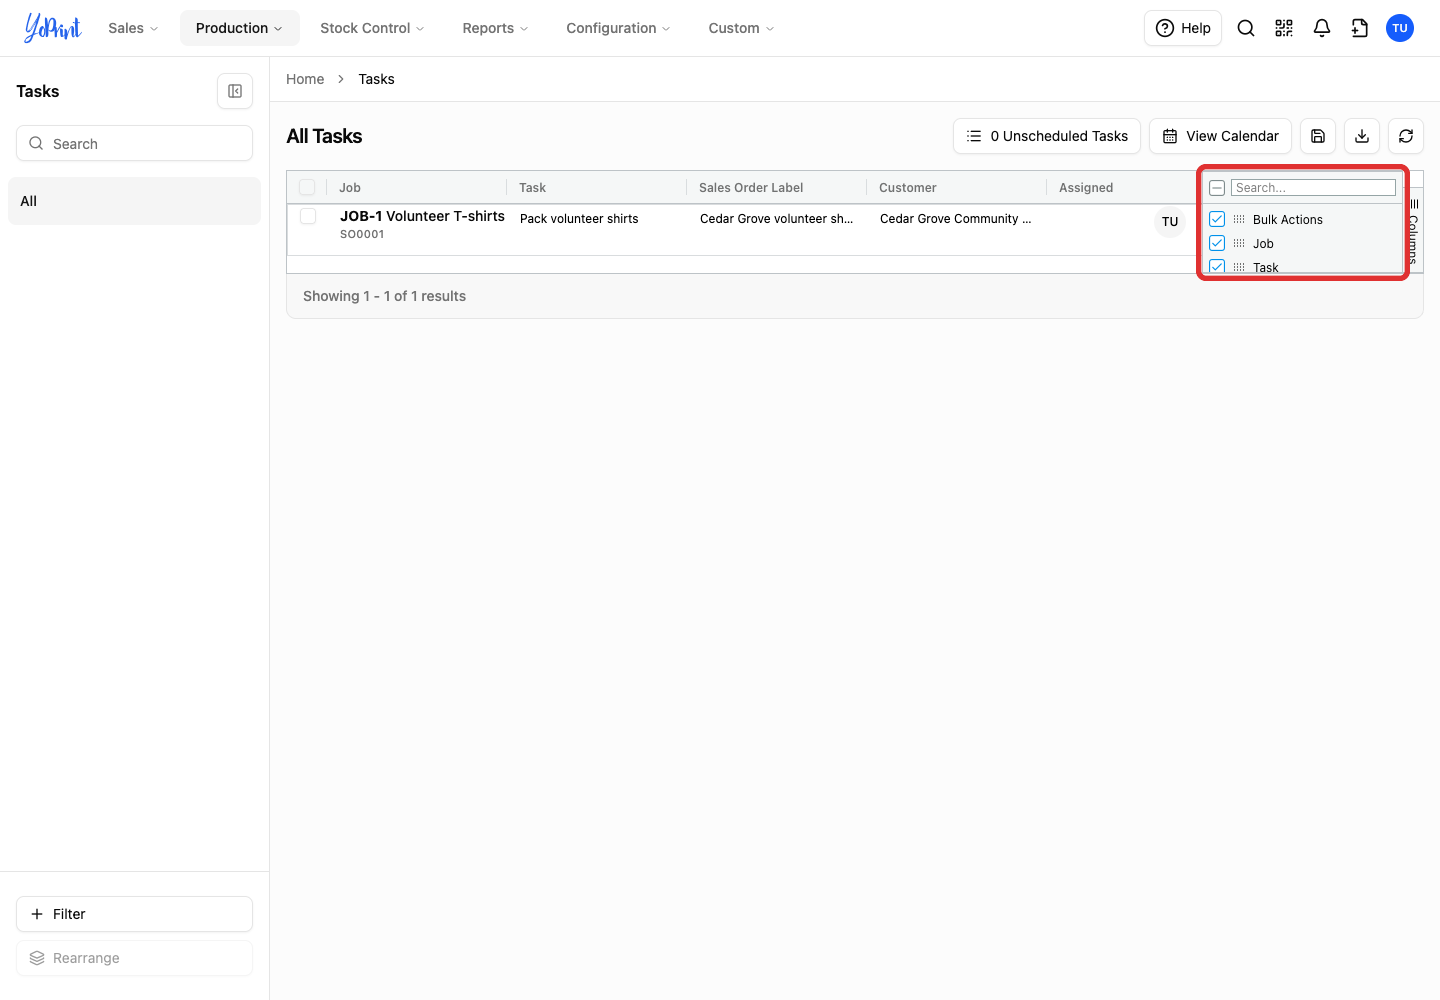
Click Columns on the right edge of the list.
-
Check the columns you want to show and clear the ones you want to hide. Scroll the panel to see more options.
-
Click the floppy disk icon above the list to save your columns. The button does not display text or a confirmation message.
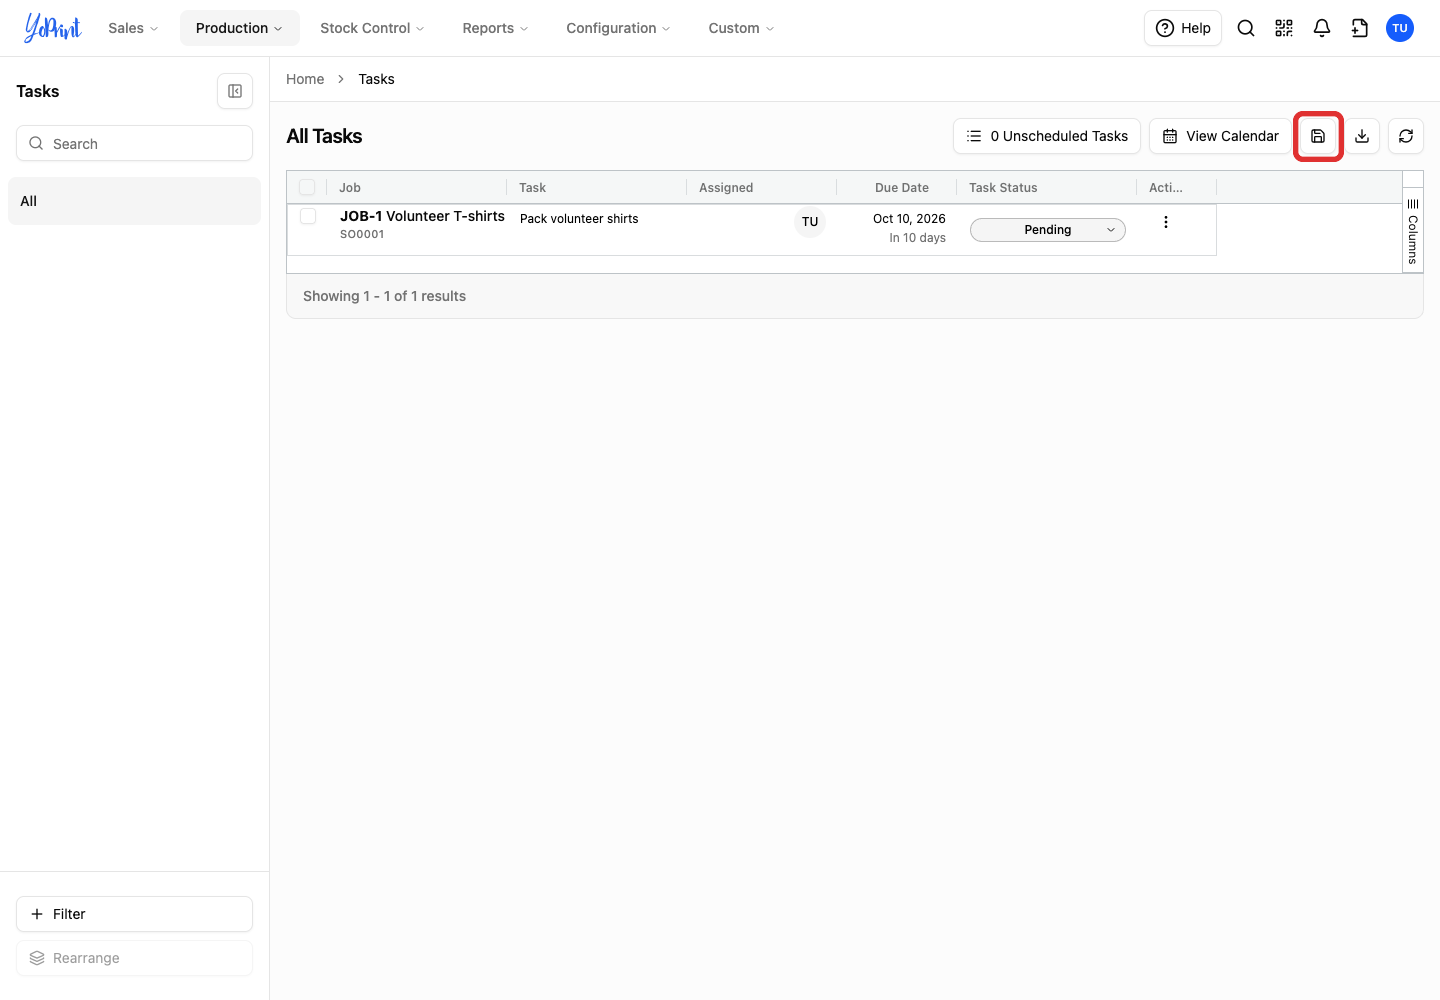
Your saved column layout belongs to your user account, so you can use it when you sign in on another device. Saved column preferences do not affect other team members.
Change a task's status
-
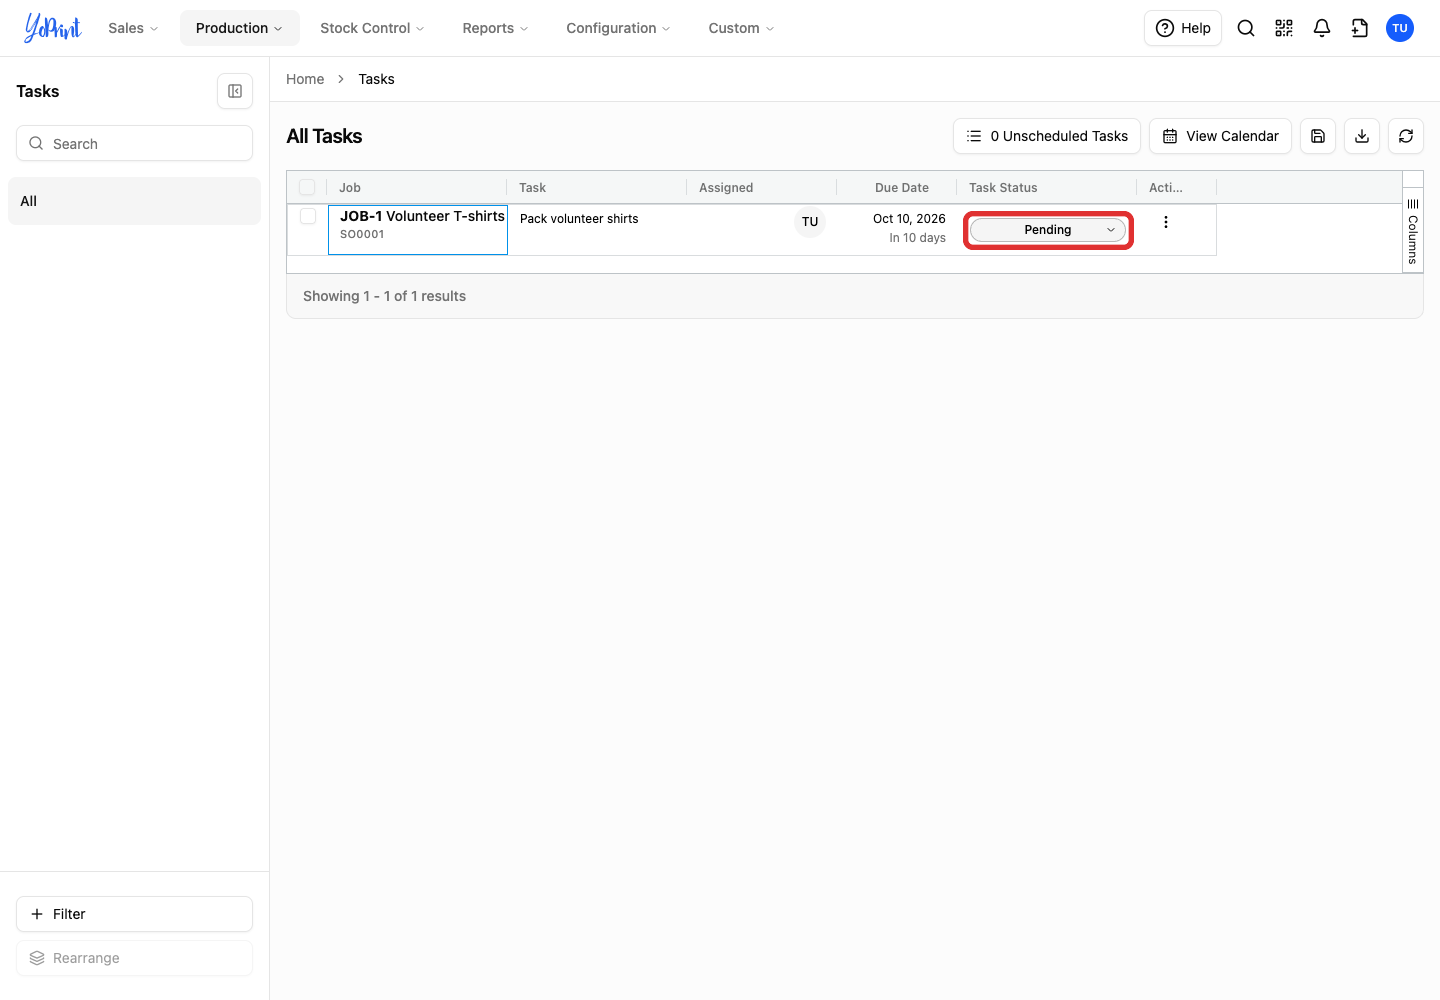
Click the status in the Task Status column.
-
Choose the new status. The choices depend on the task preset configured for that type of work in Configuration > Settings; this example uses Awaiting Picking.
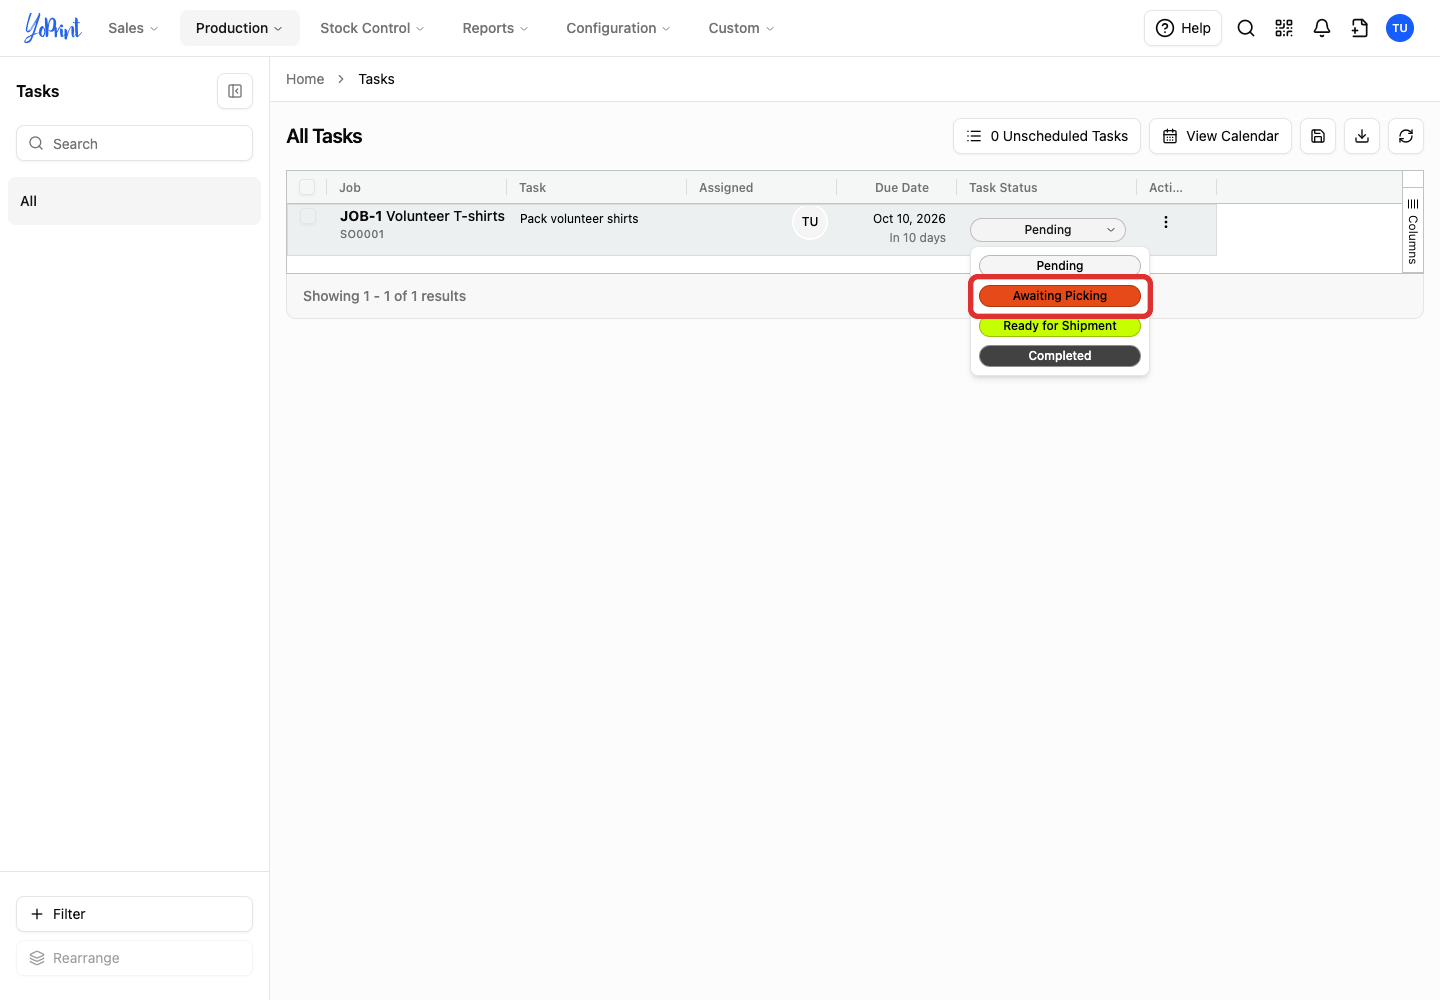
The new status appears on the row.
Assign someone to a task
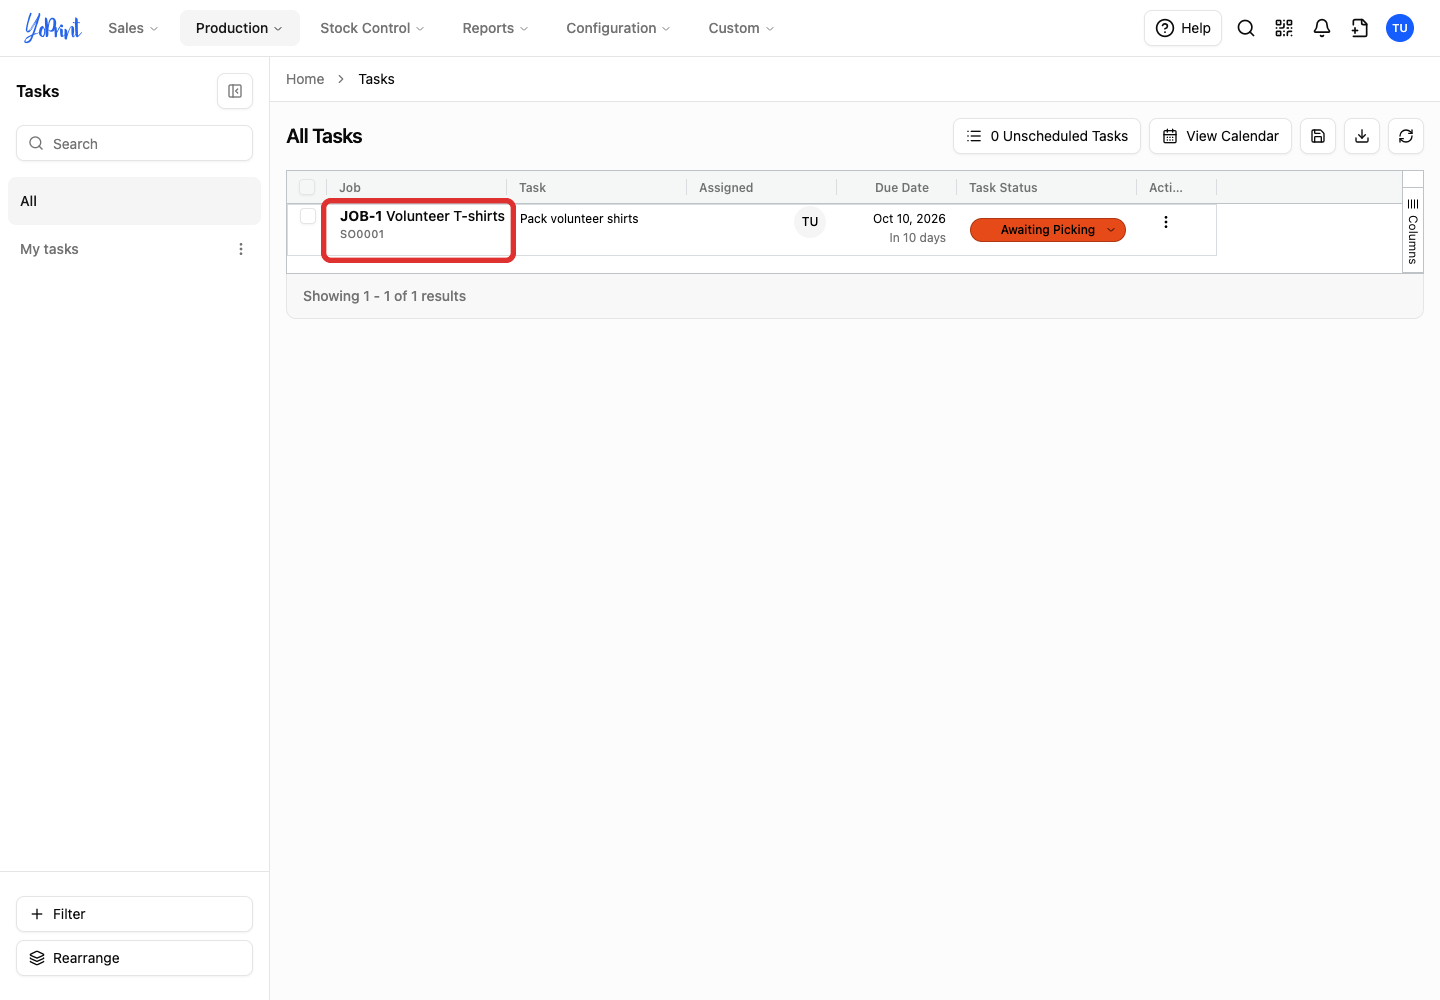
The Assigned column displays current team members but is not directly editable from the list.
-
Double-click the Job cell to open its details.
-
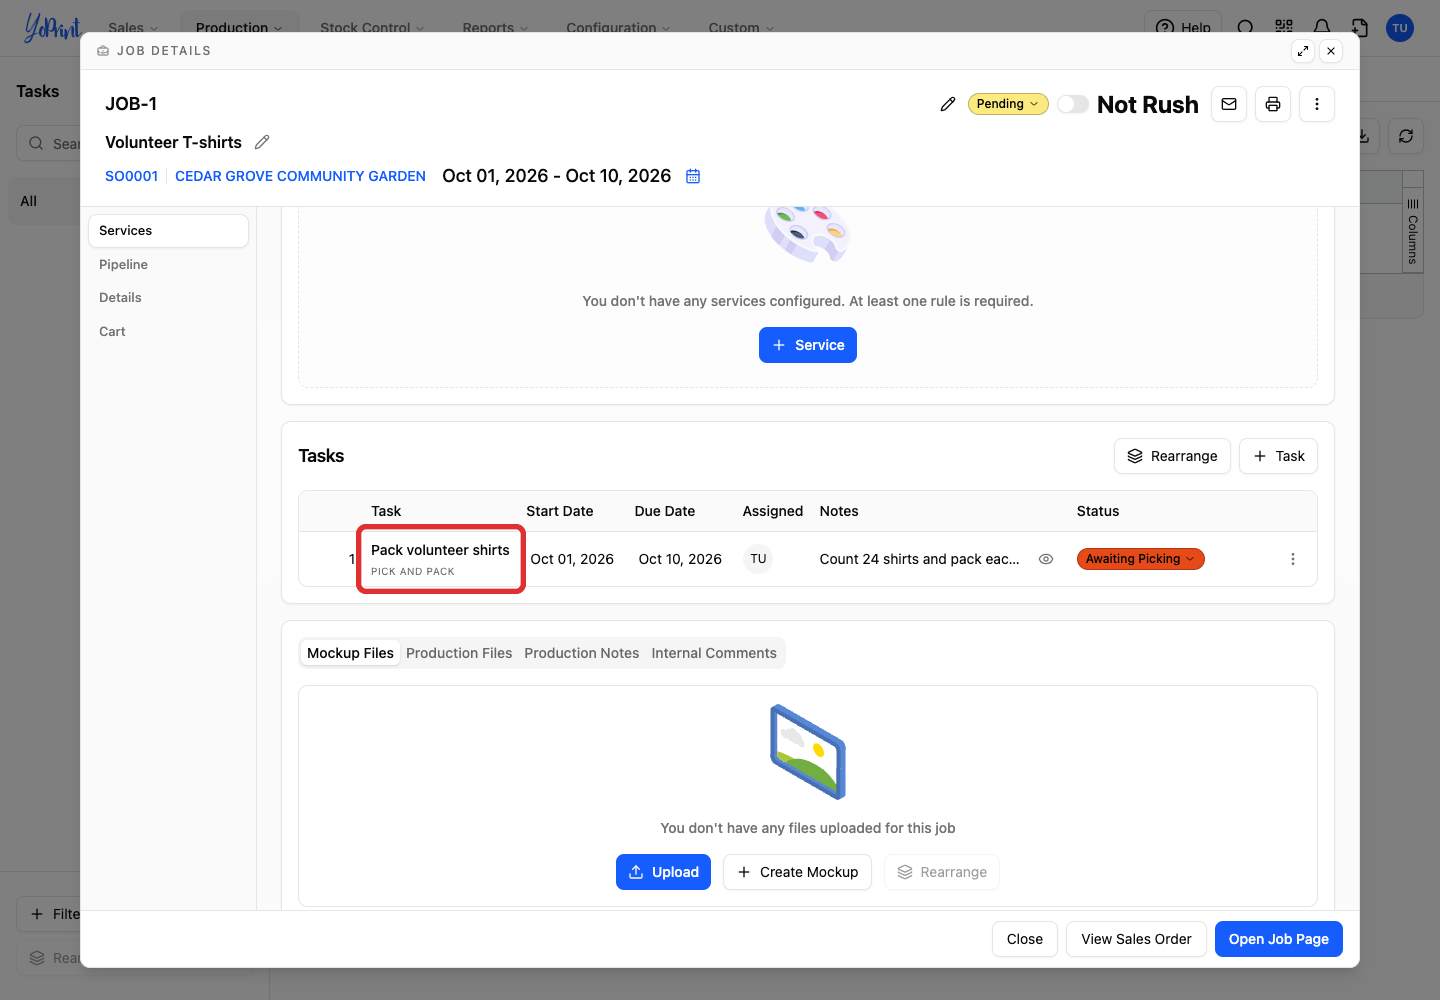
Under the Tasks heading, double-click the task row you want to assign.
-
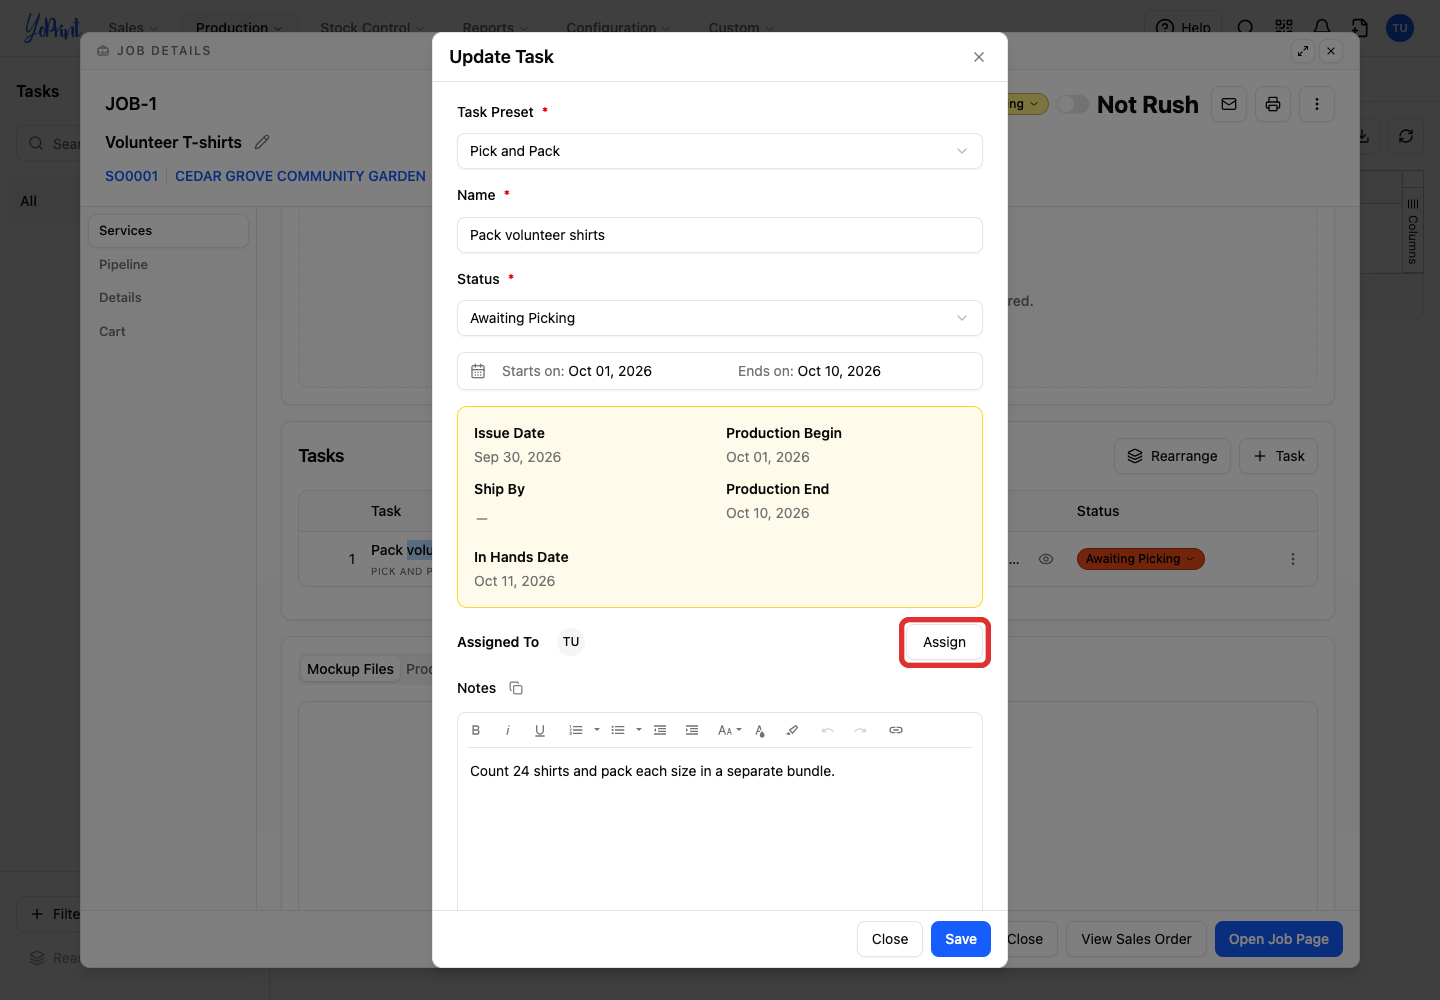
Click Assign next to the assigned users.
-
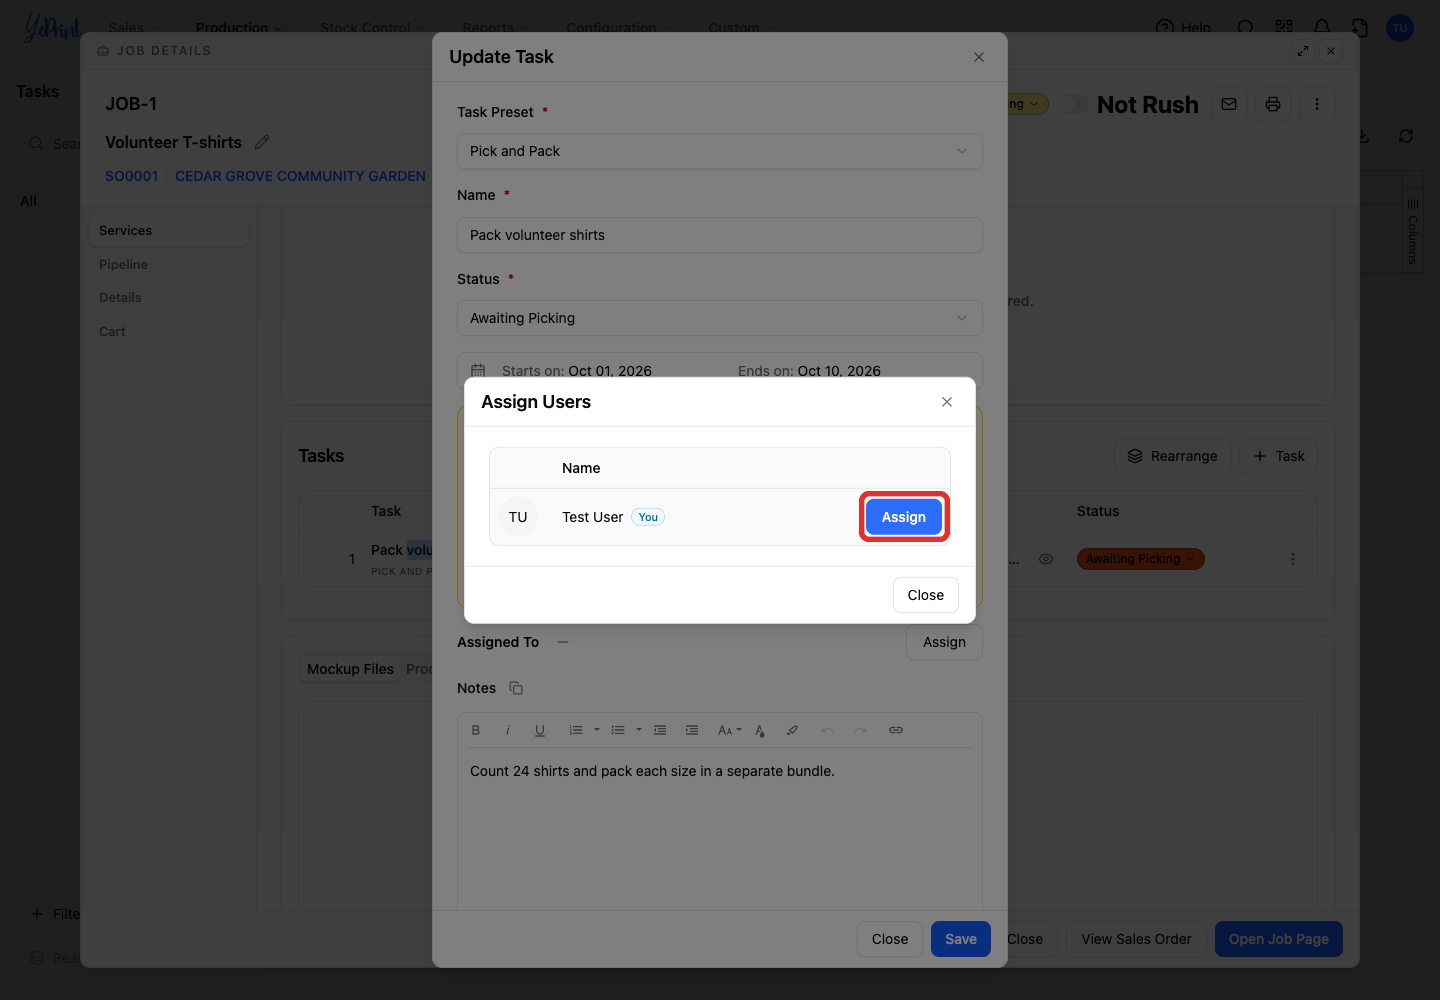
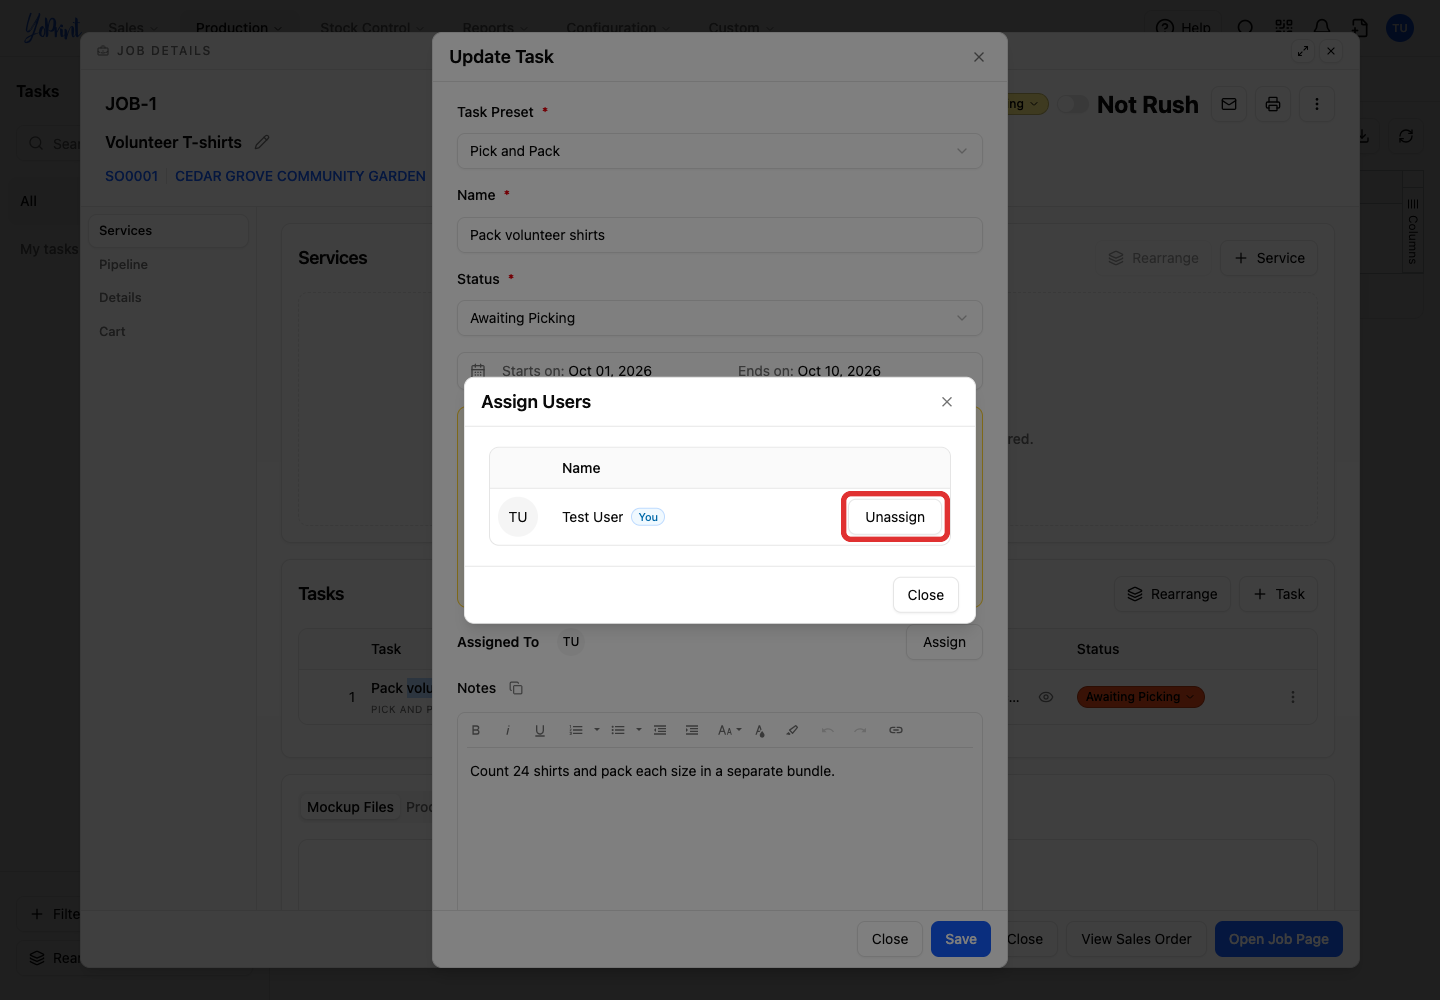
Click Assign beside the team member's name. If that person is already assigned, the button displays Unassign instead.
Remove an assignment
Click Unassign beside that person instead, then continue with Close and Save below.
-
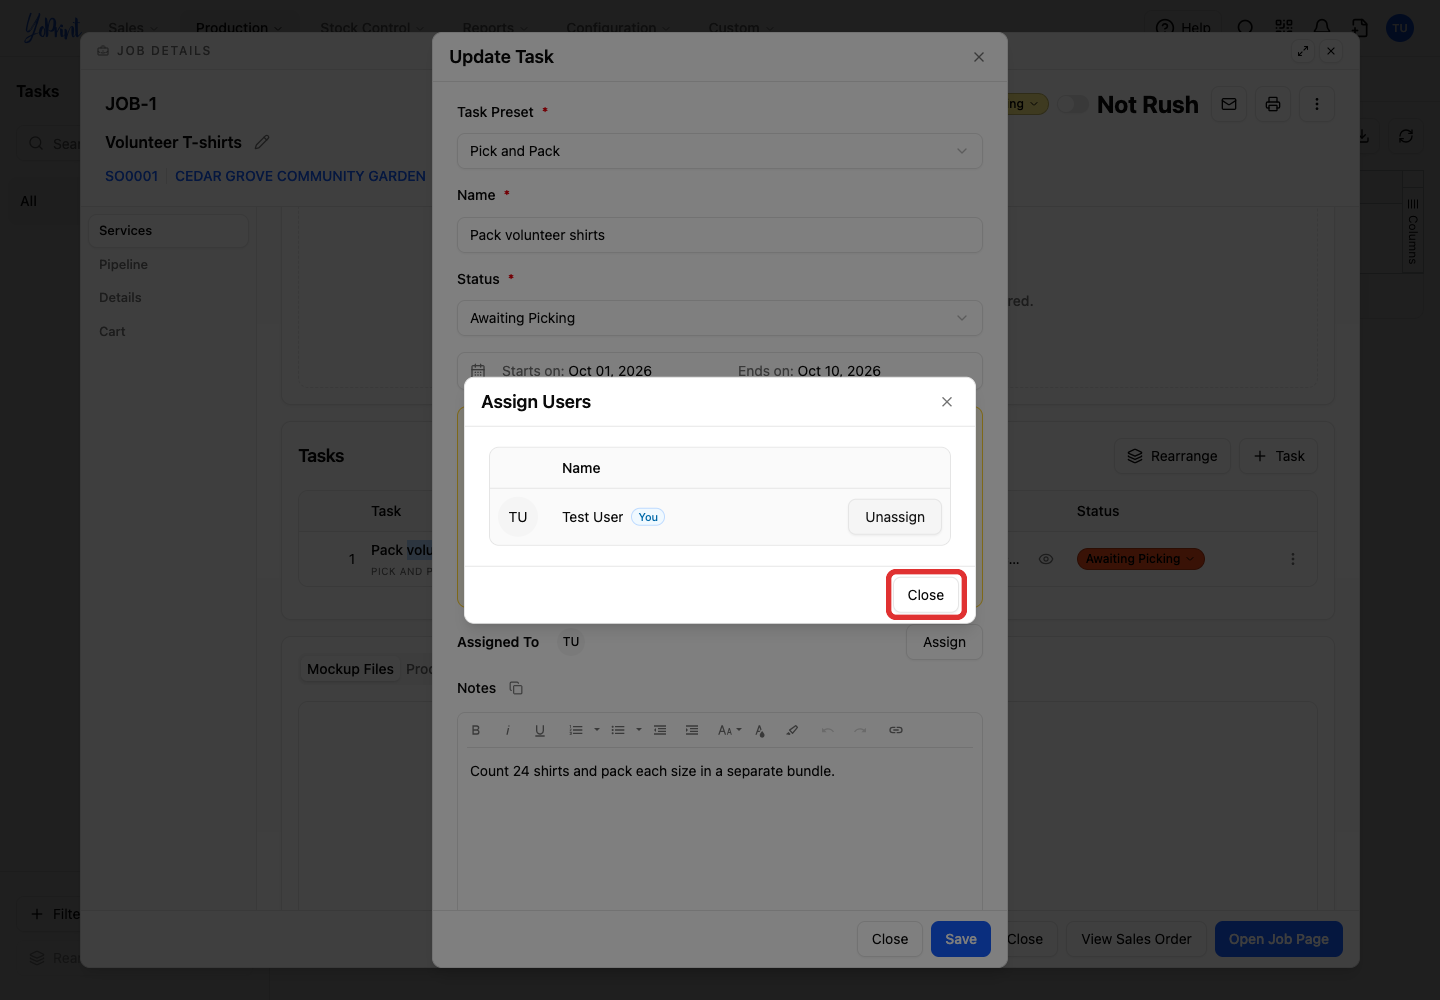
Click Close to return to the task editor.
-
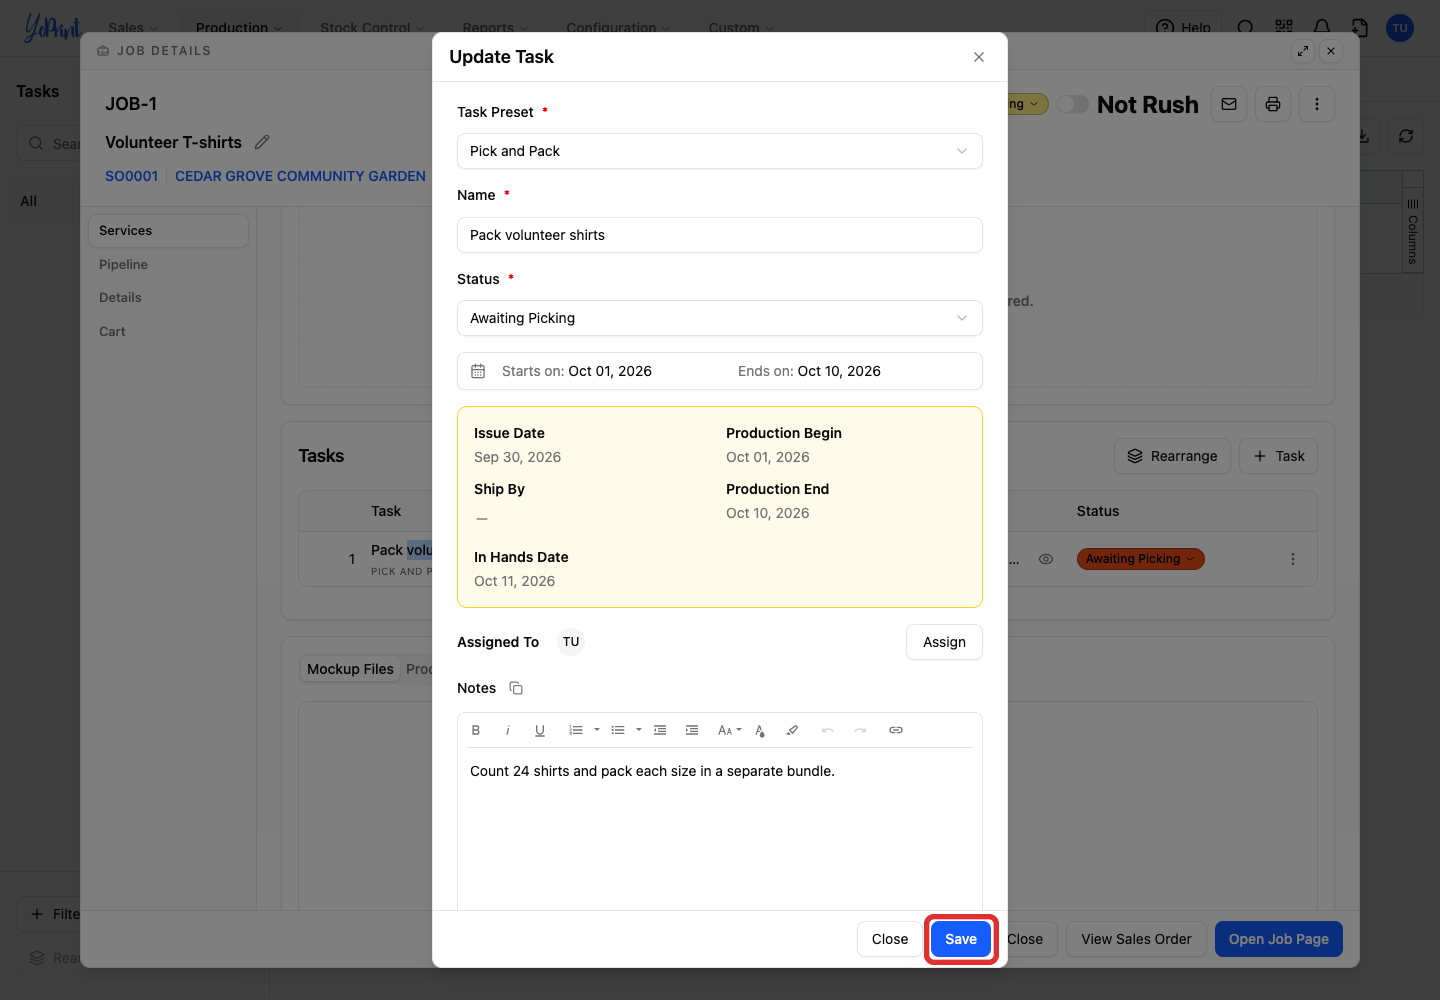
Click Save to save the task.
-
Close the job details to return to the list.
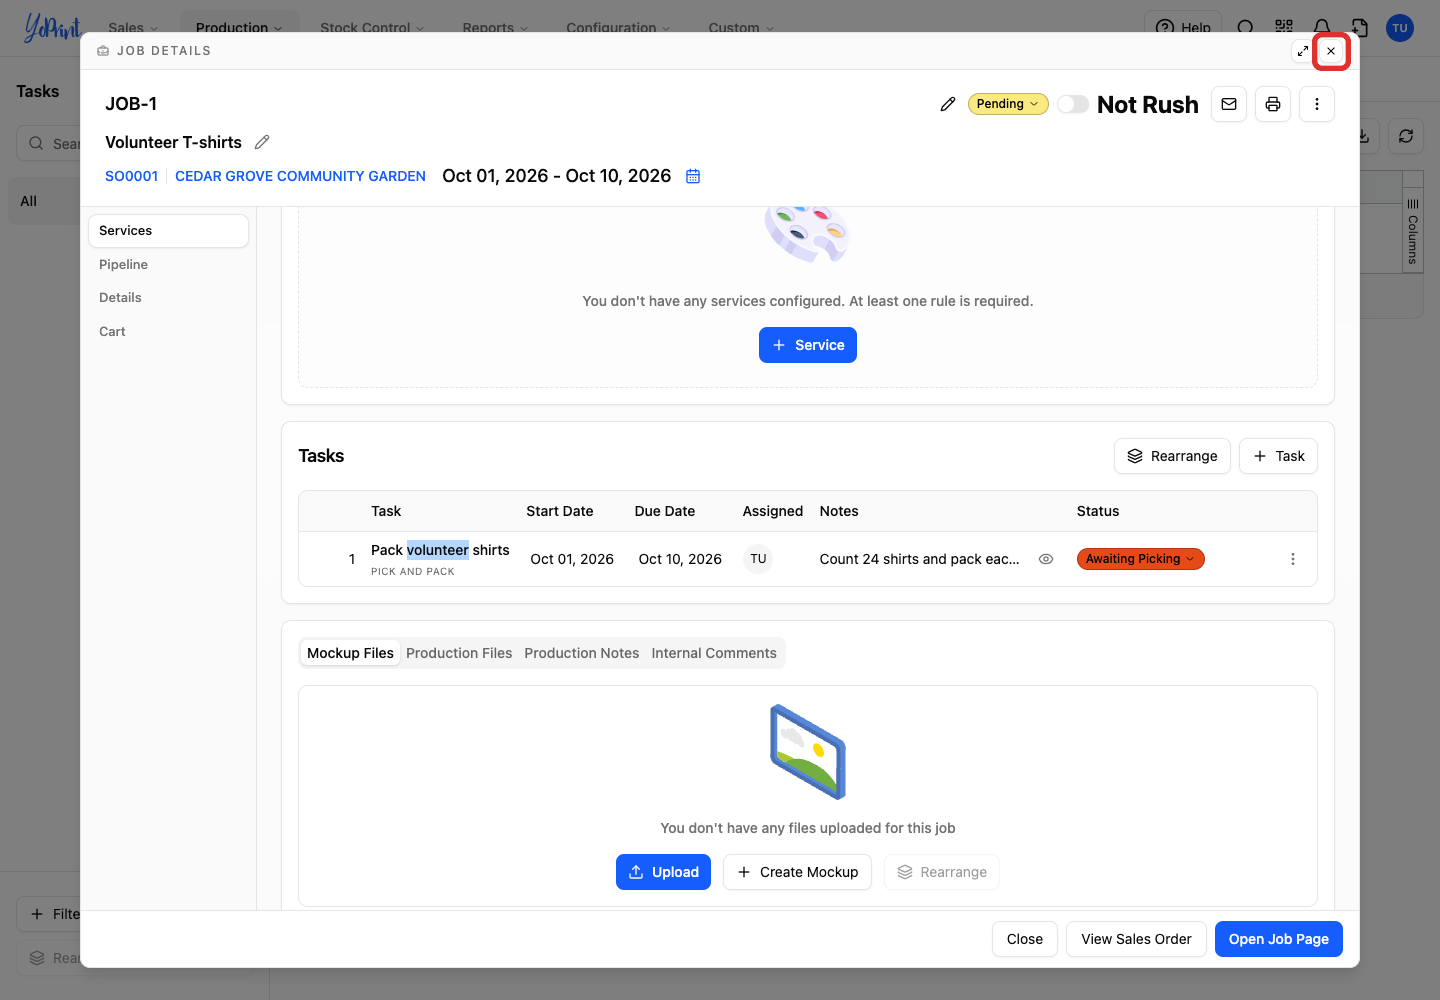
The Assigned column shows the task's assigned team members.
Use bulk actions
-
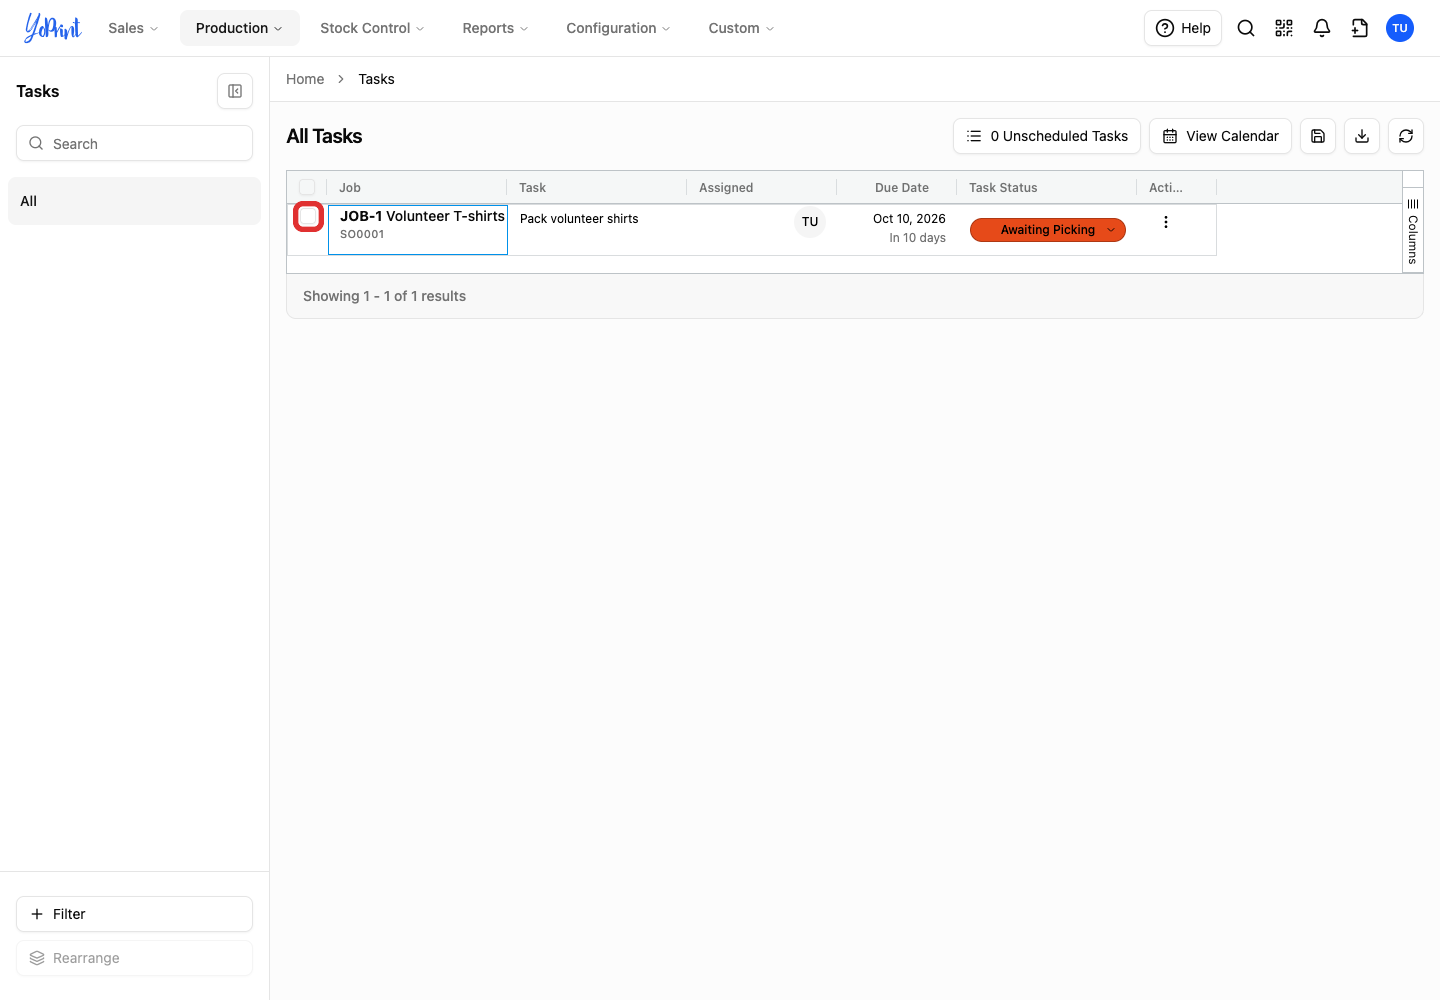
Check the box beside each task you want to include. The bulk actions menu opens.
-
Choose an action. For example, Download Job Details downloads the selected jobs' details as a PDF.
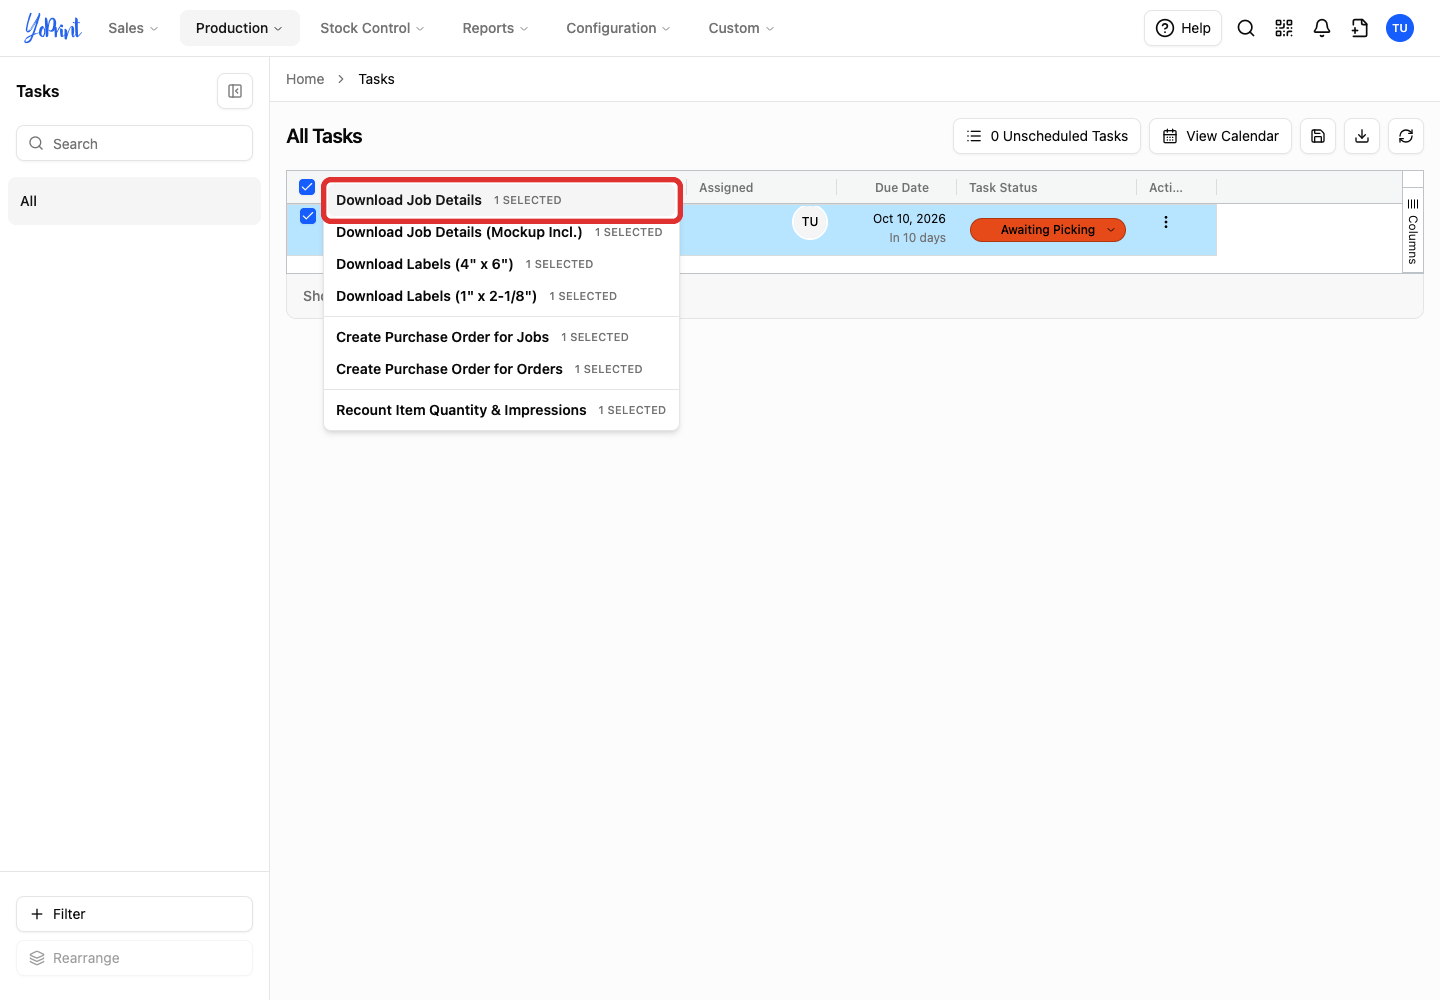
Bulk actions apply to the parent jobs and orders of the selected tasks without duplicating actions for multiple tasks on the same job. The menu also includes job-label downloads, purchase-order creation and an item and impression quantity recount.
Show tasks assigned to you
An Assigned To Me filter shows tasks assigned to the person who is signed in.
-
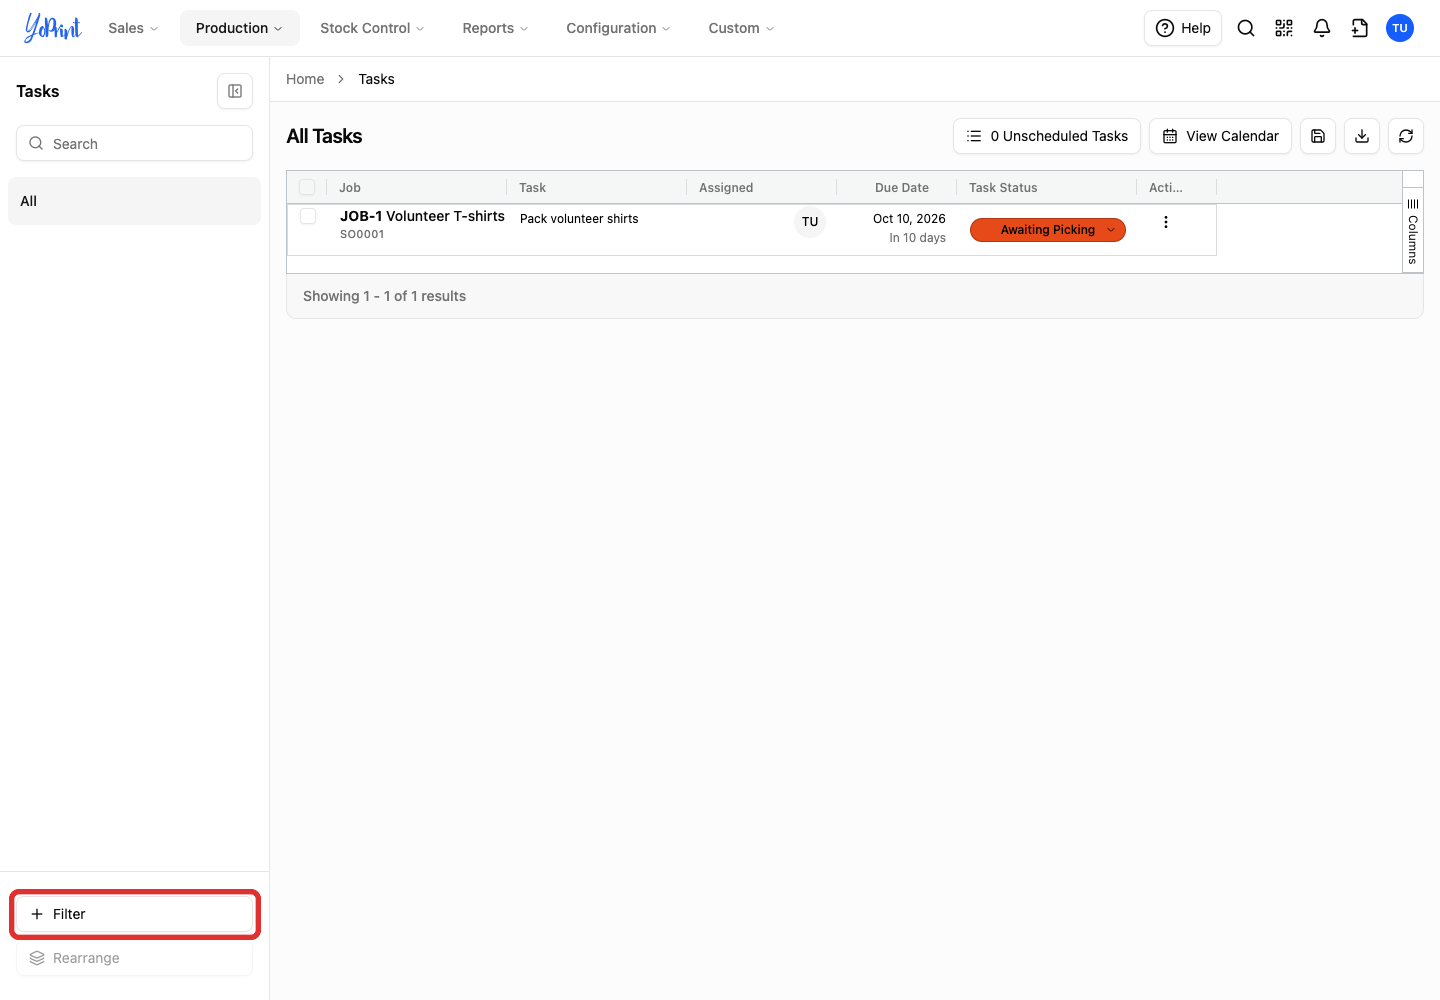
Click + Filter at the bottom of the sidebar. If the sidebar is collapsed, click the sidebar icon to expand it first.
-
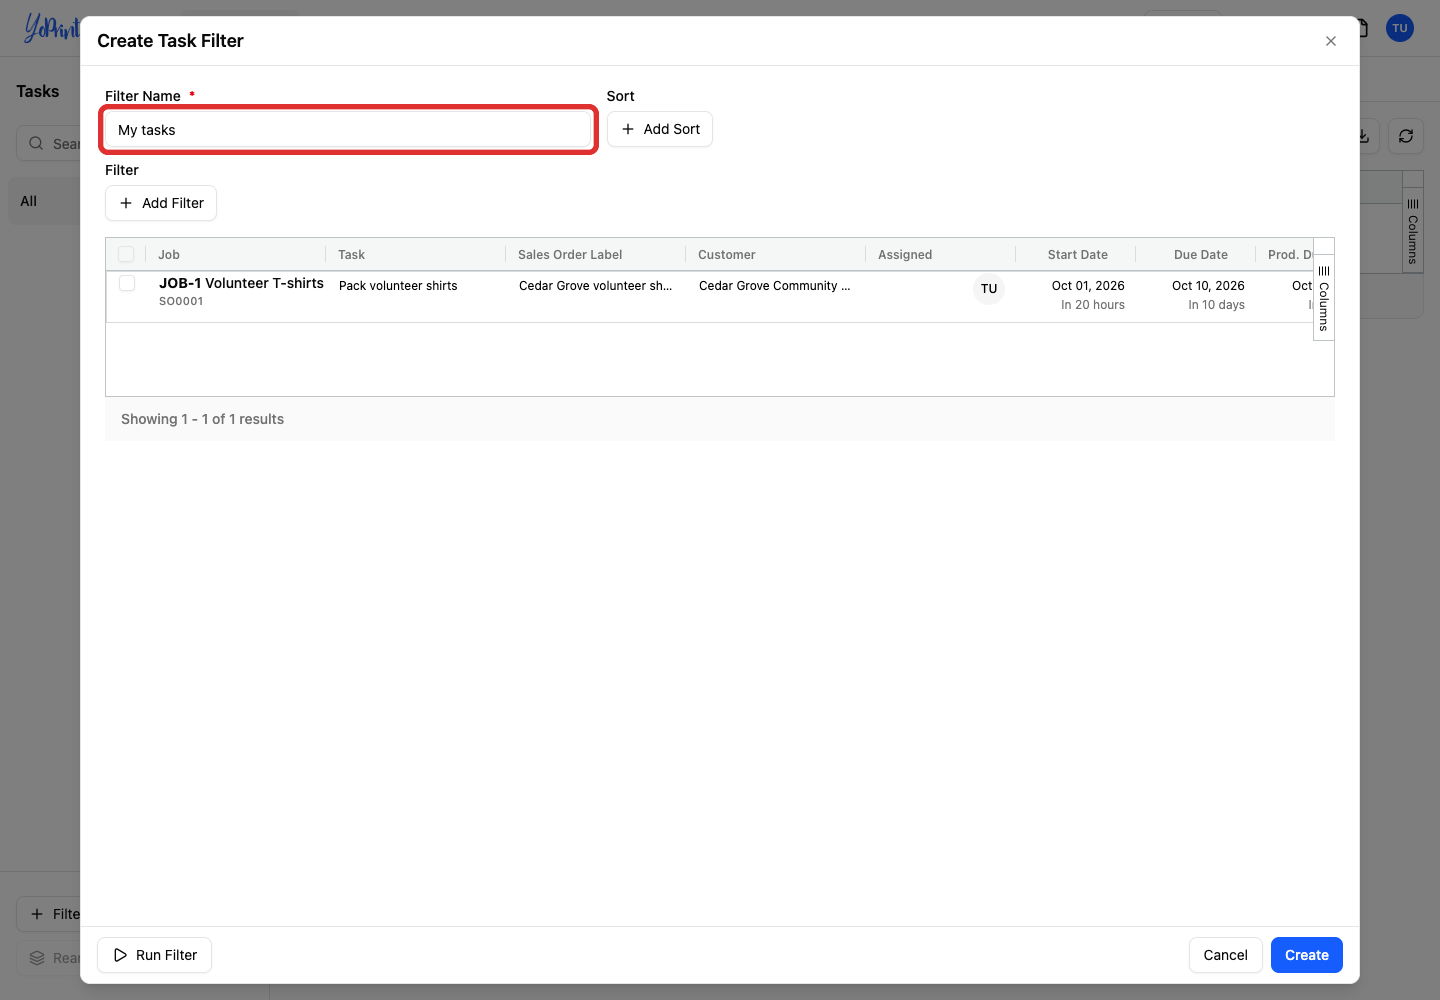
Enter a Filter Name, such as My tasks. YoPrint does not prevent duplicate filter names.
-
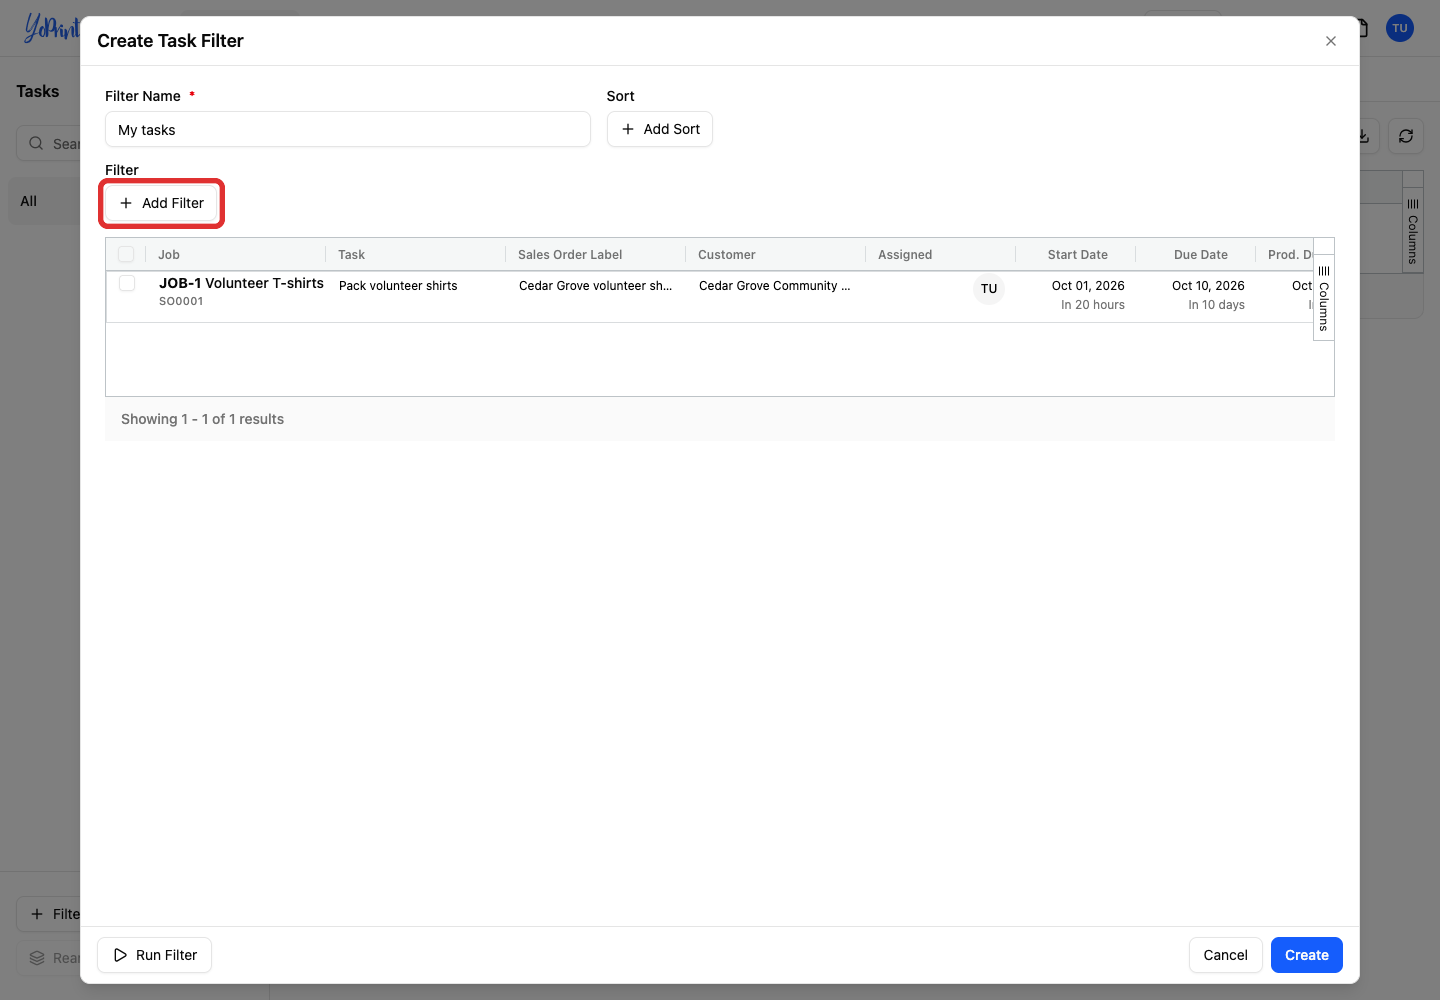
Click Add Filter beneath the Filter heading. You can also use Add Sort above it to order the results by date or priority.
-
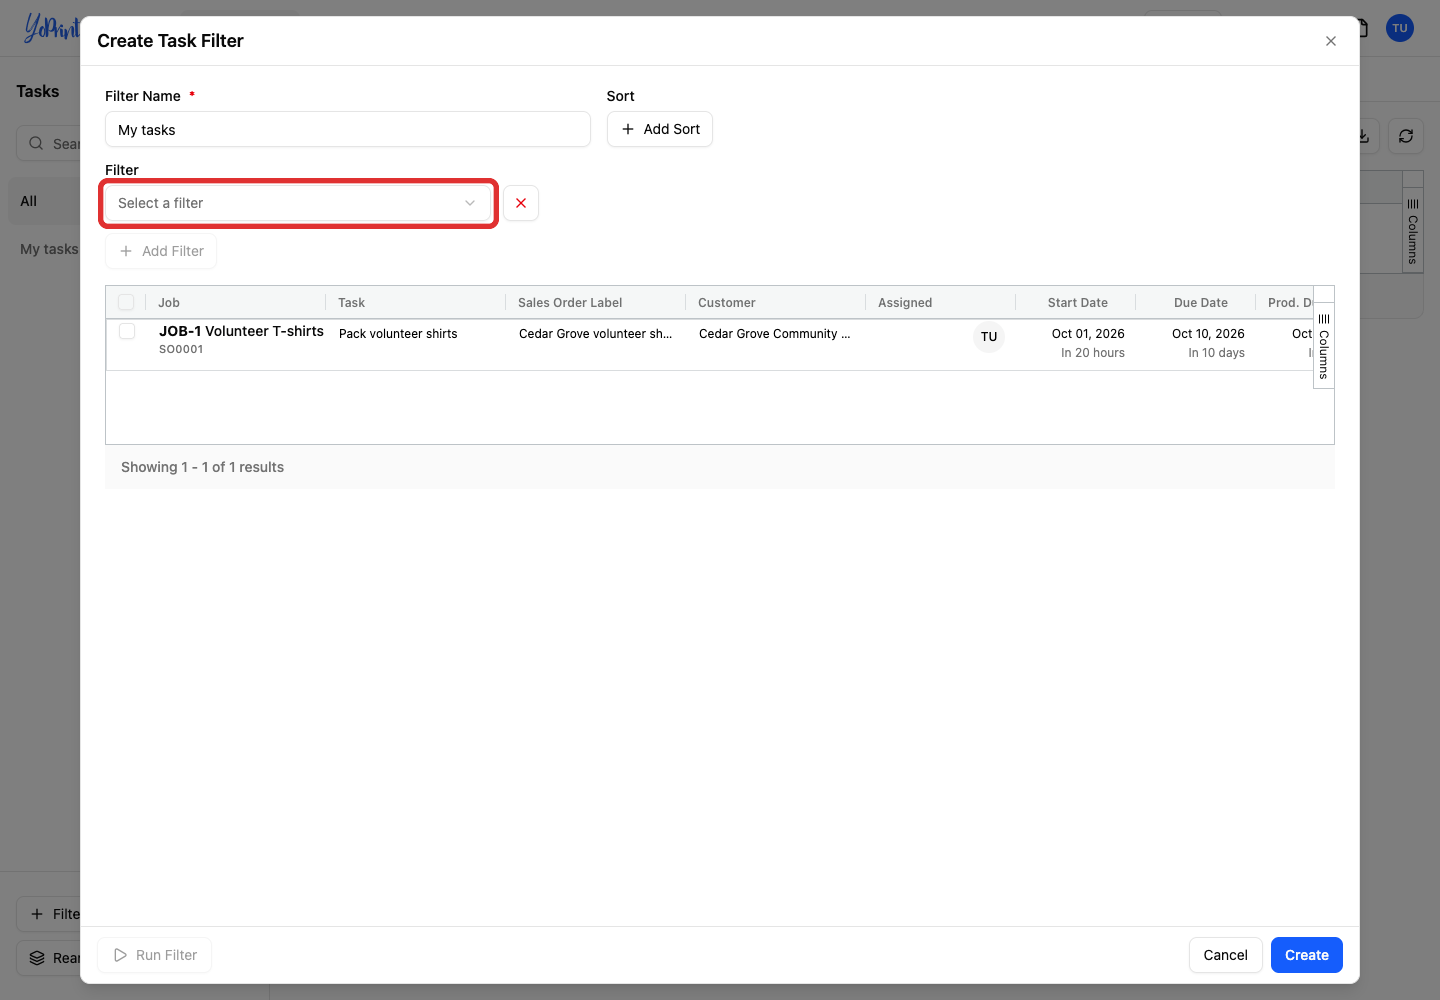
Open Select a filter.
-
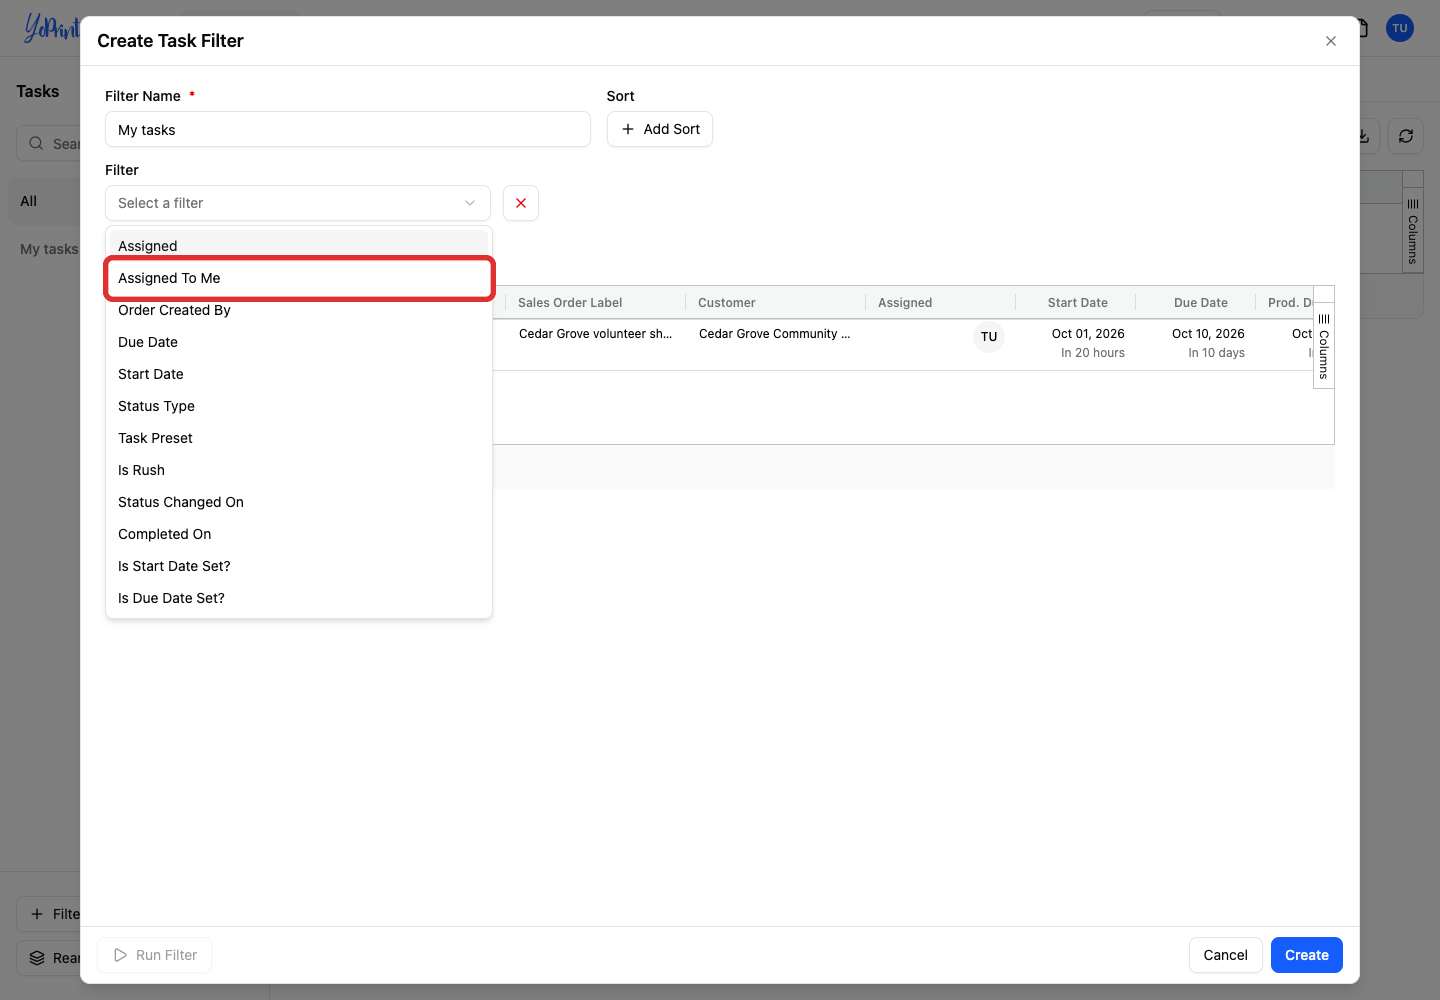
Choose Assigned To Me.
-
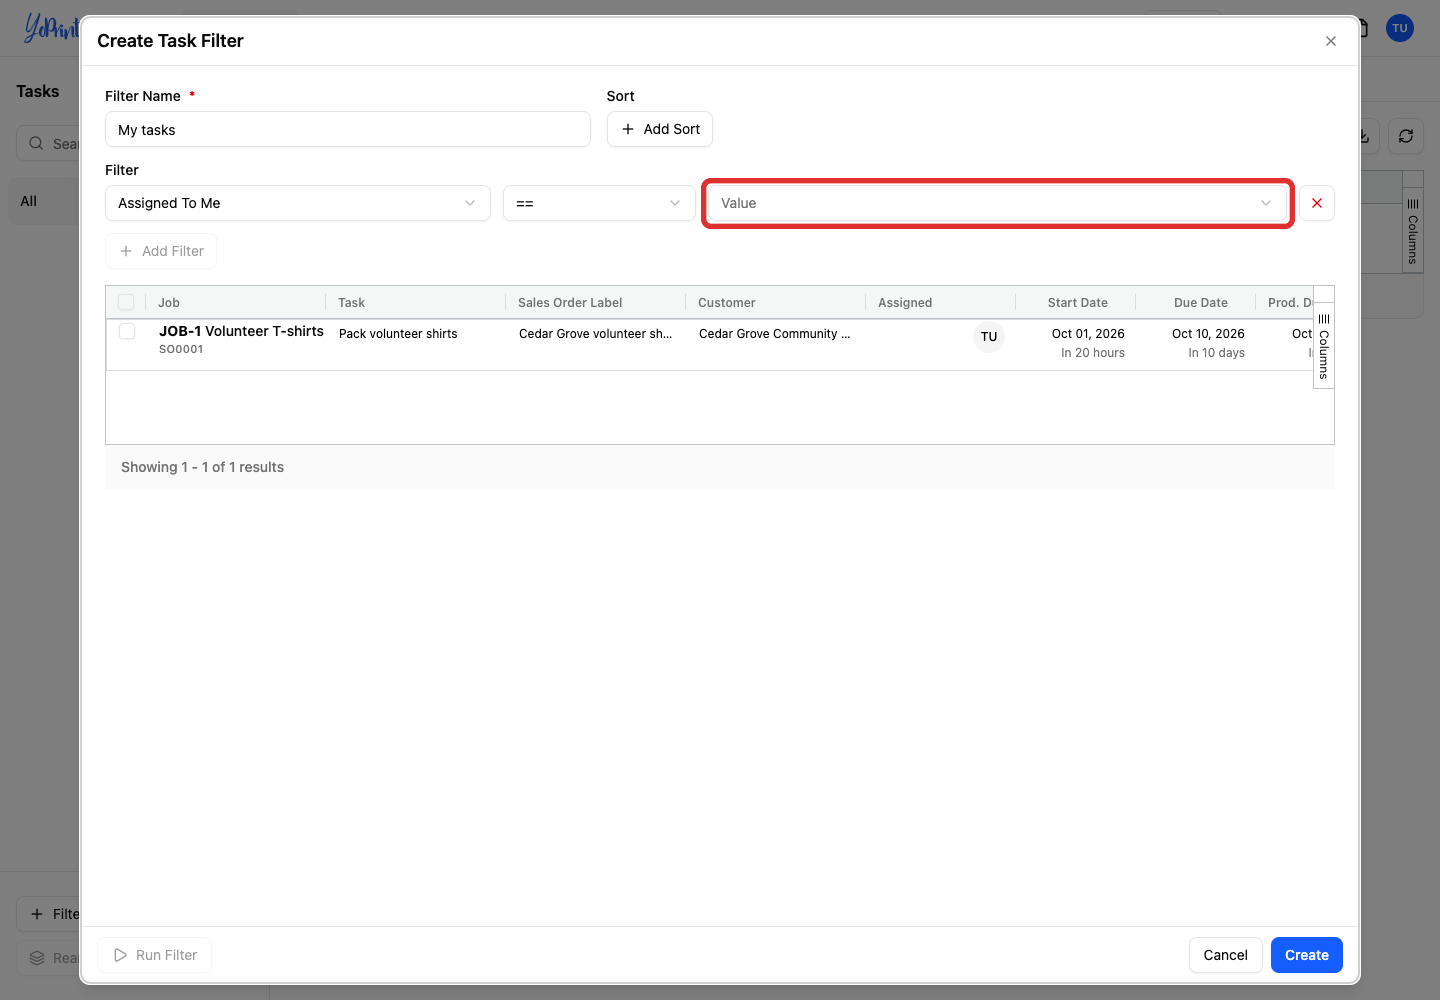
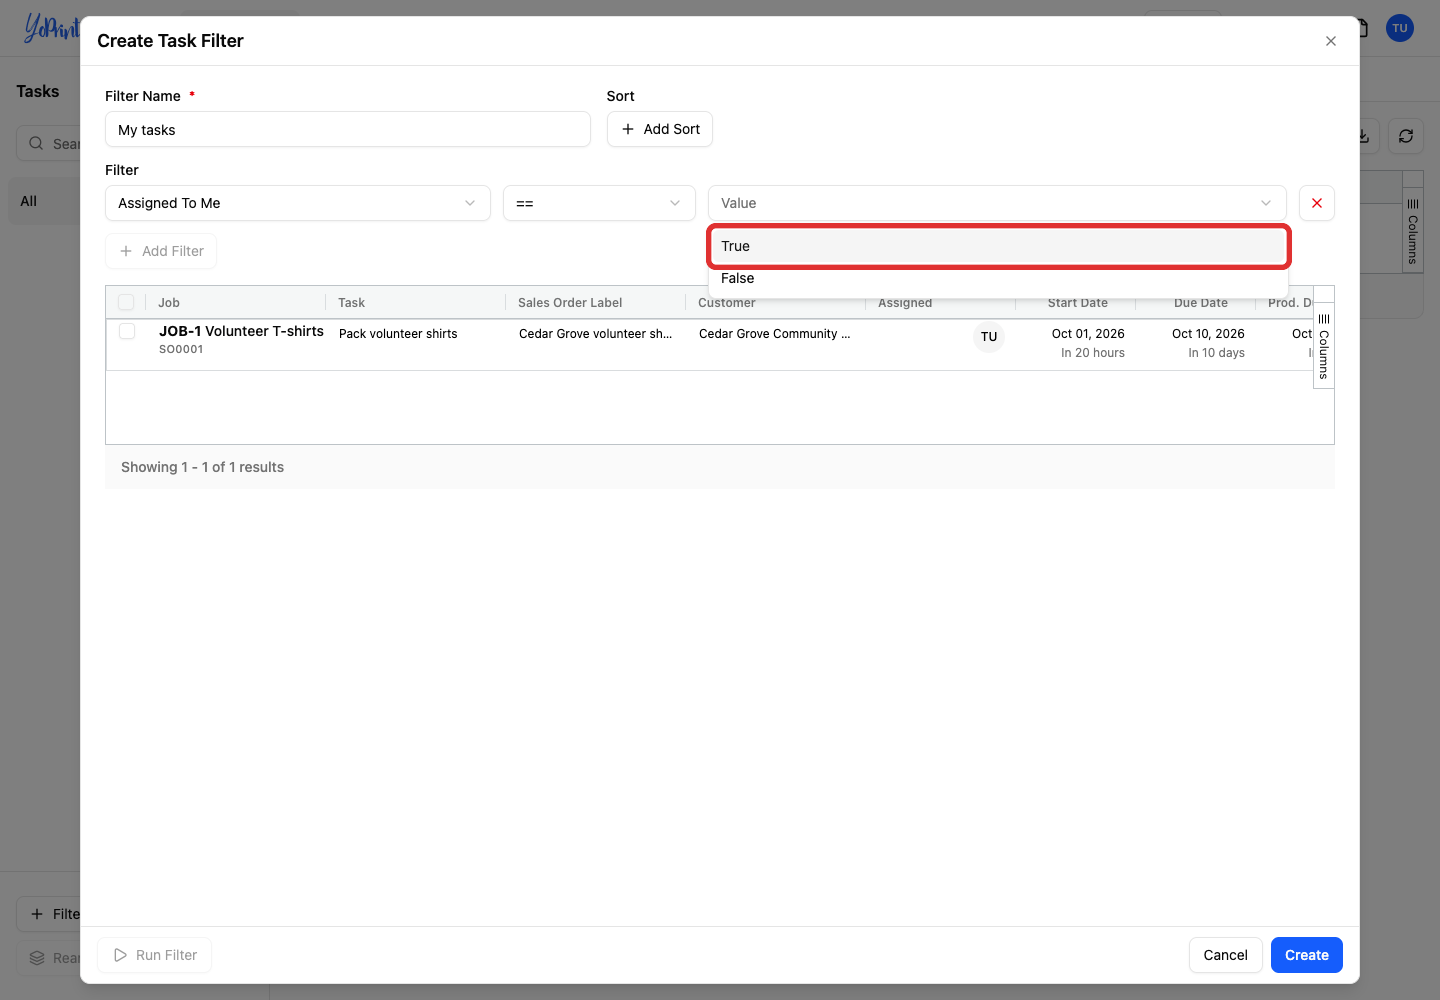
Leave the comparison as == and open Value.
-
Choose True. Setting == and True includes only tasks assigned to your signed-in account.
-
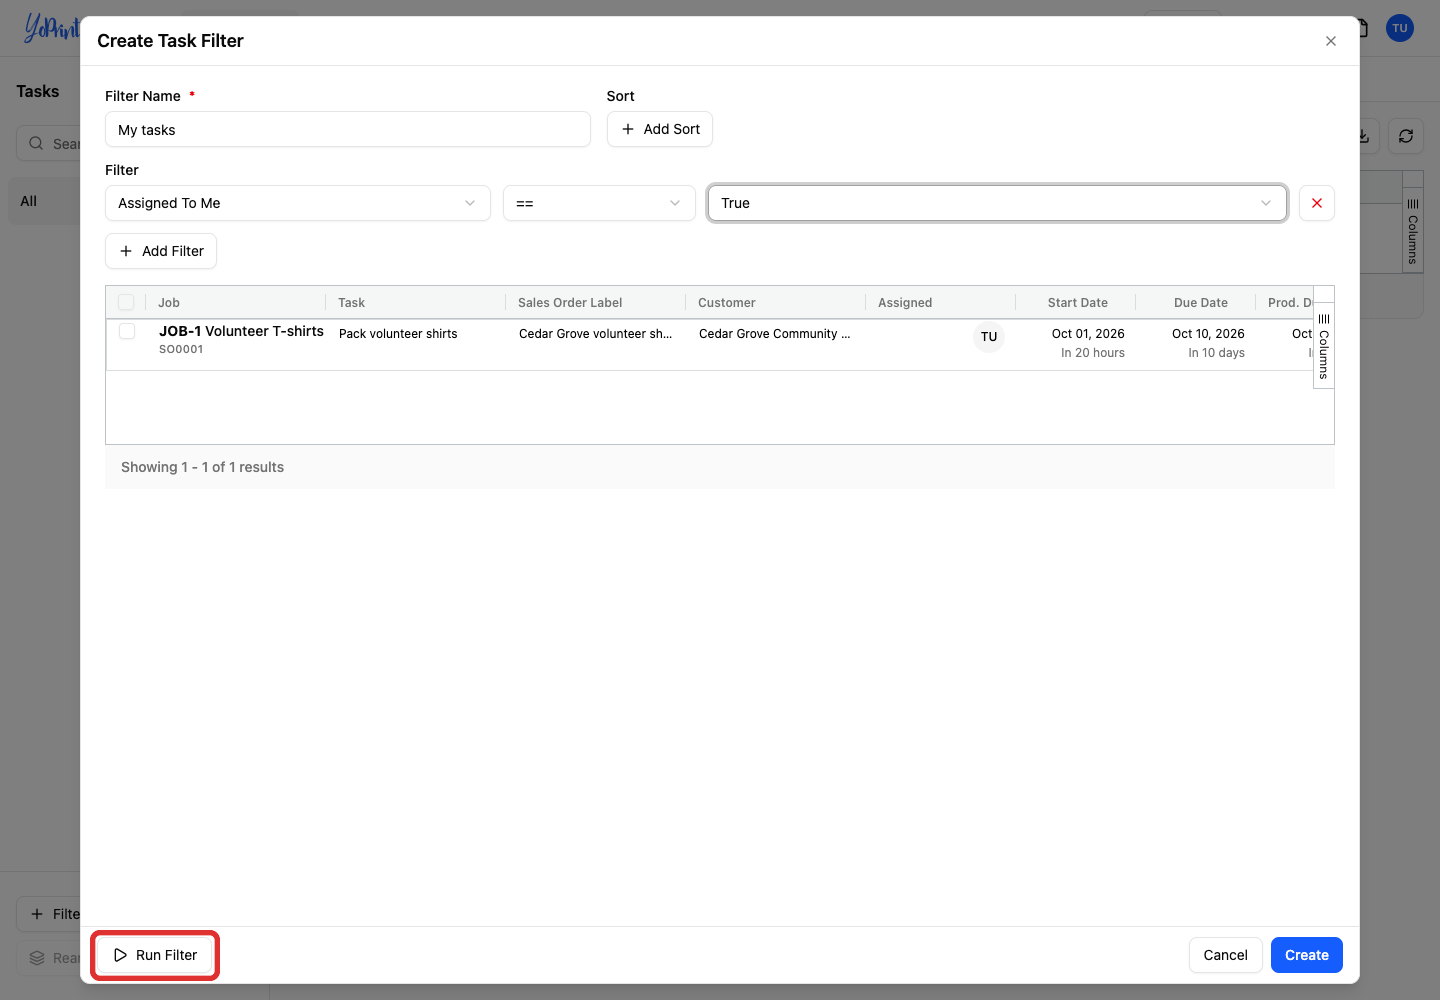
Click Run Filter to check the results.
-
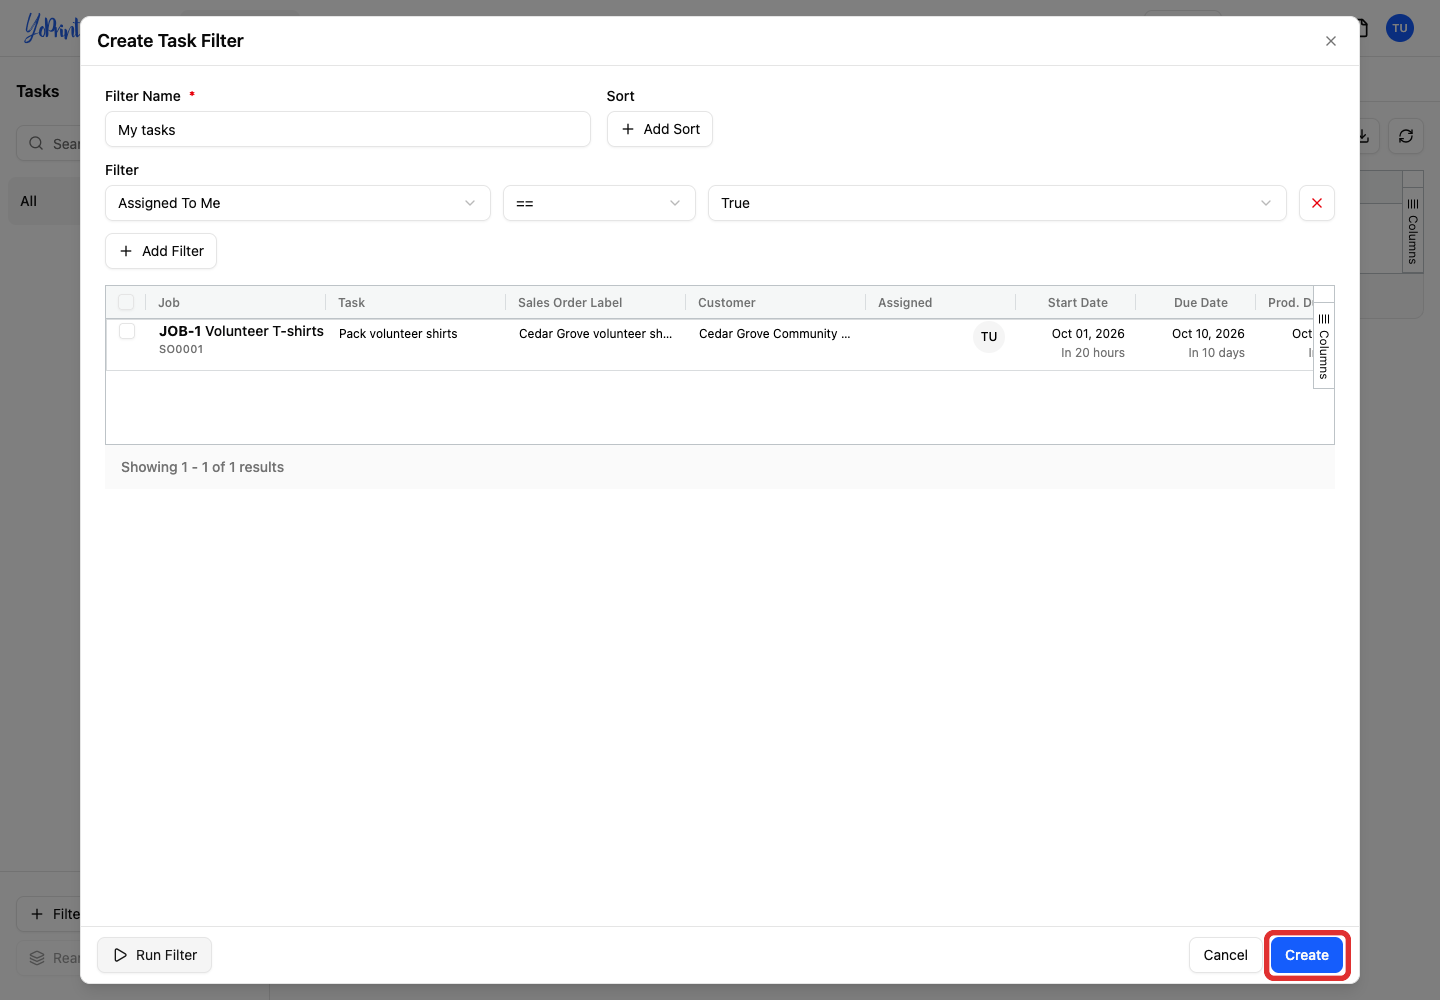
Click Create to save the filter in the sidebar.
-
To see the full list again, select All in the sidebar.
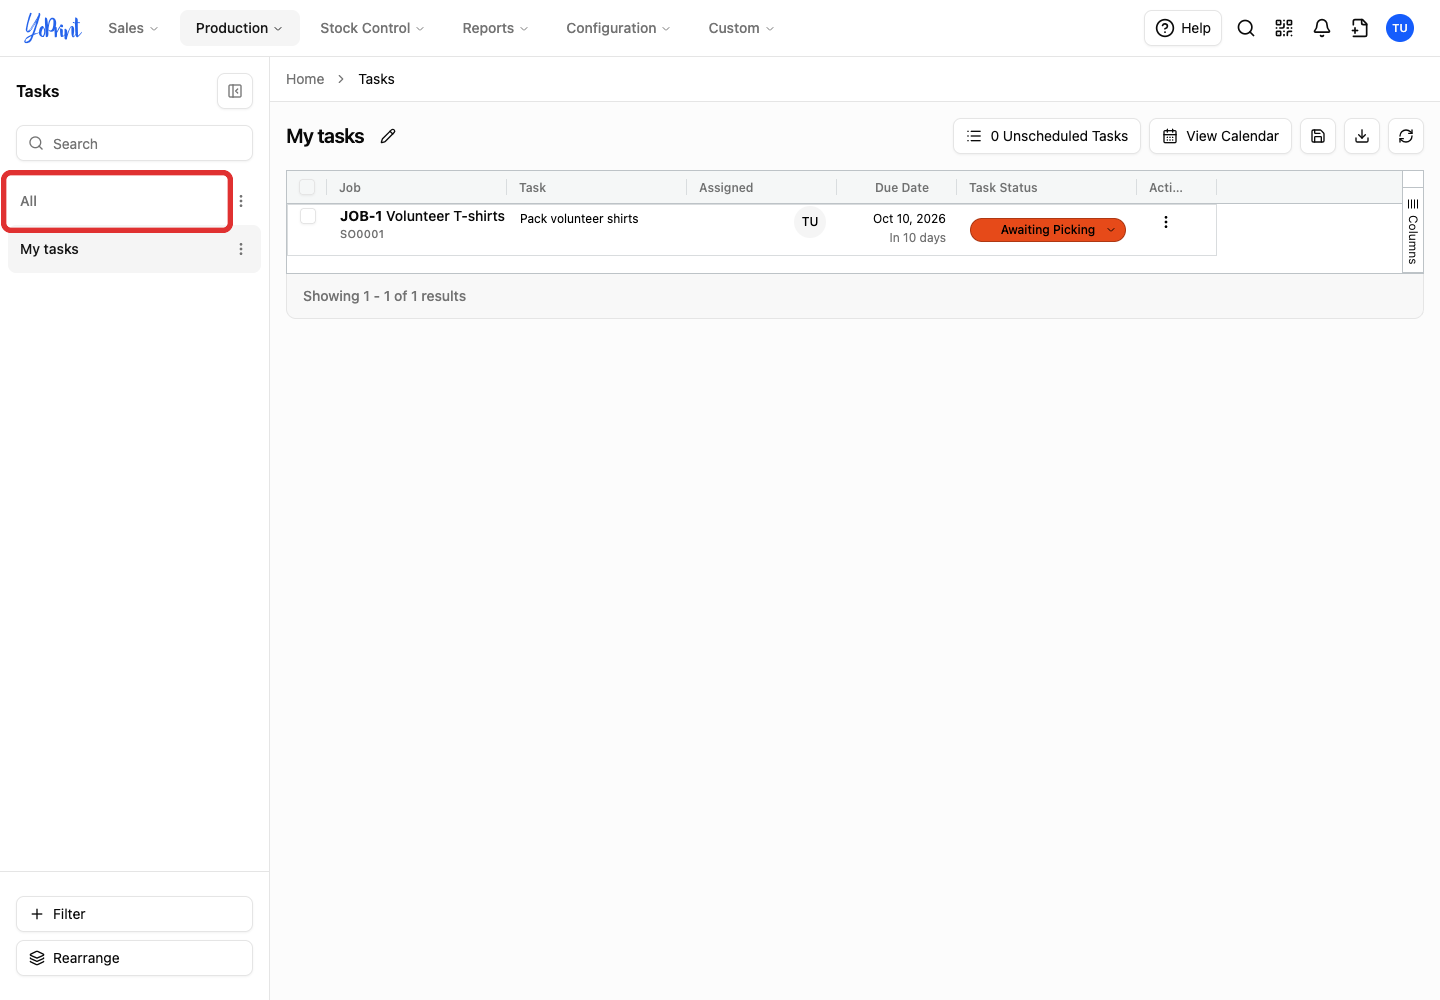
Your My tasks filter stays in the sidebar for next time.
View tasks on a calendar
-
Click View Calendar above the tasks list.
-
Use the arrow buttons in the calendar header to find the dates you need. The right arrow moves to the next month.
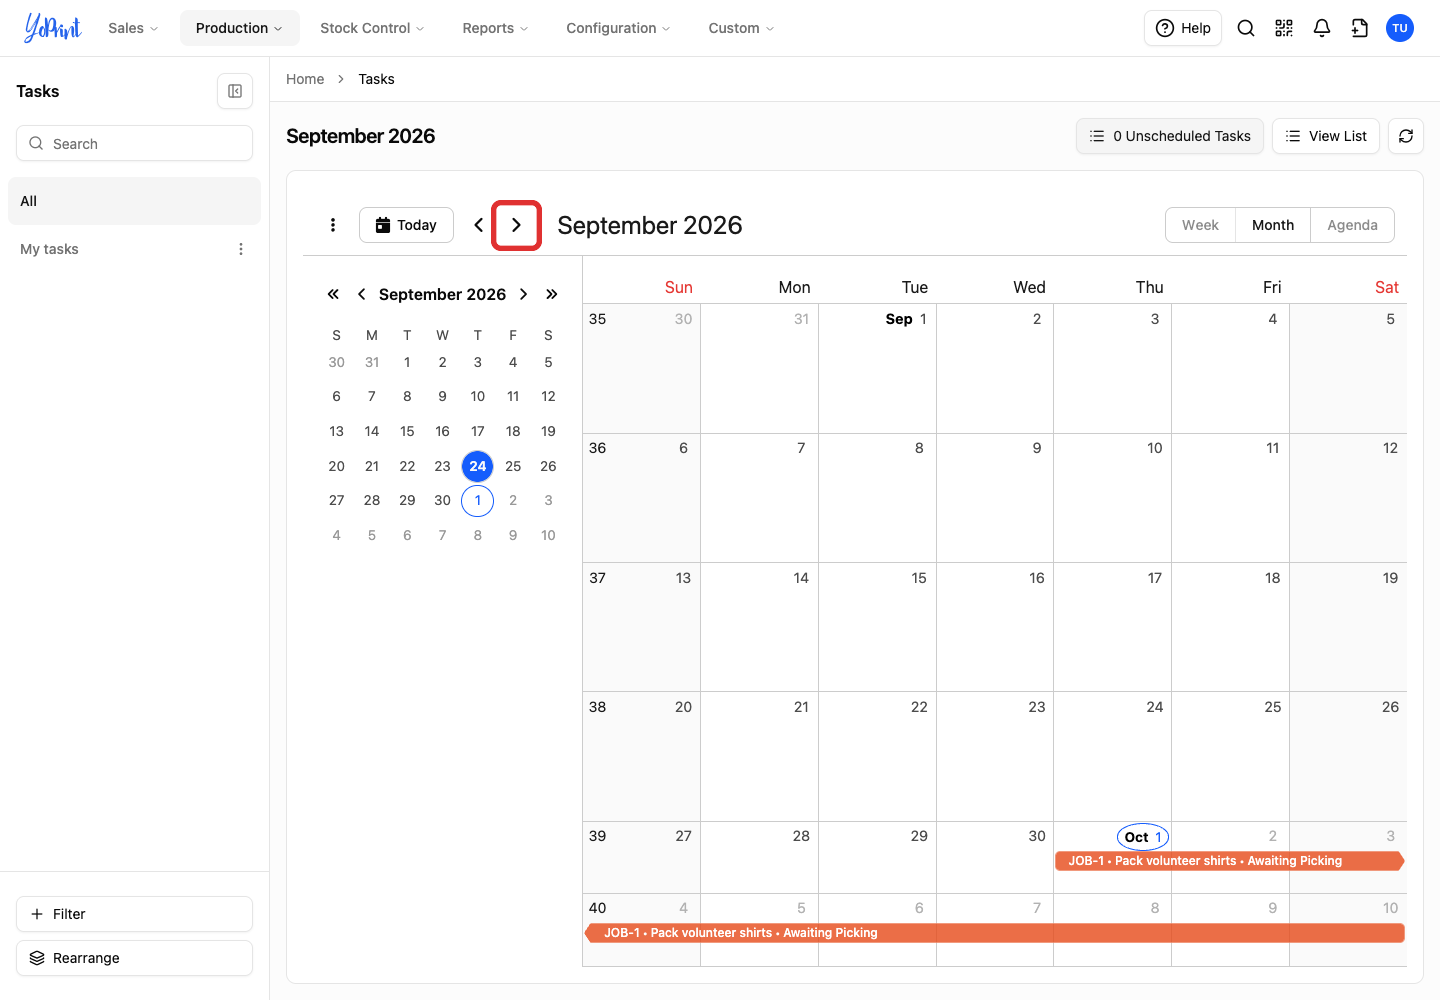
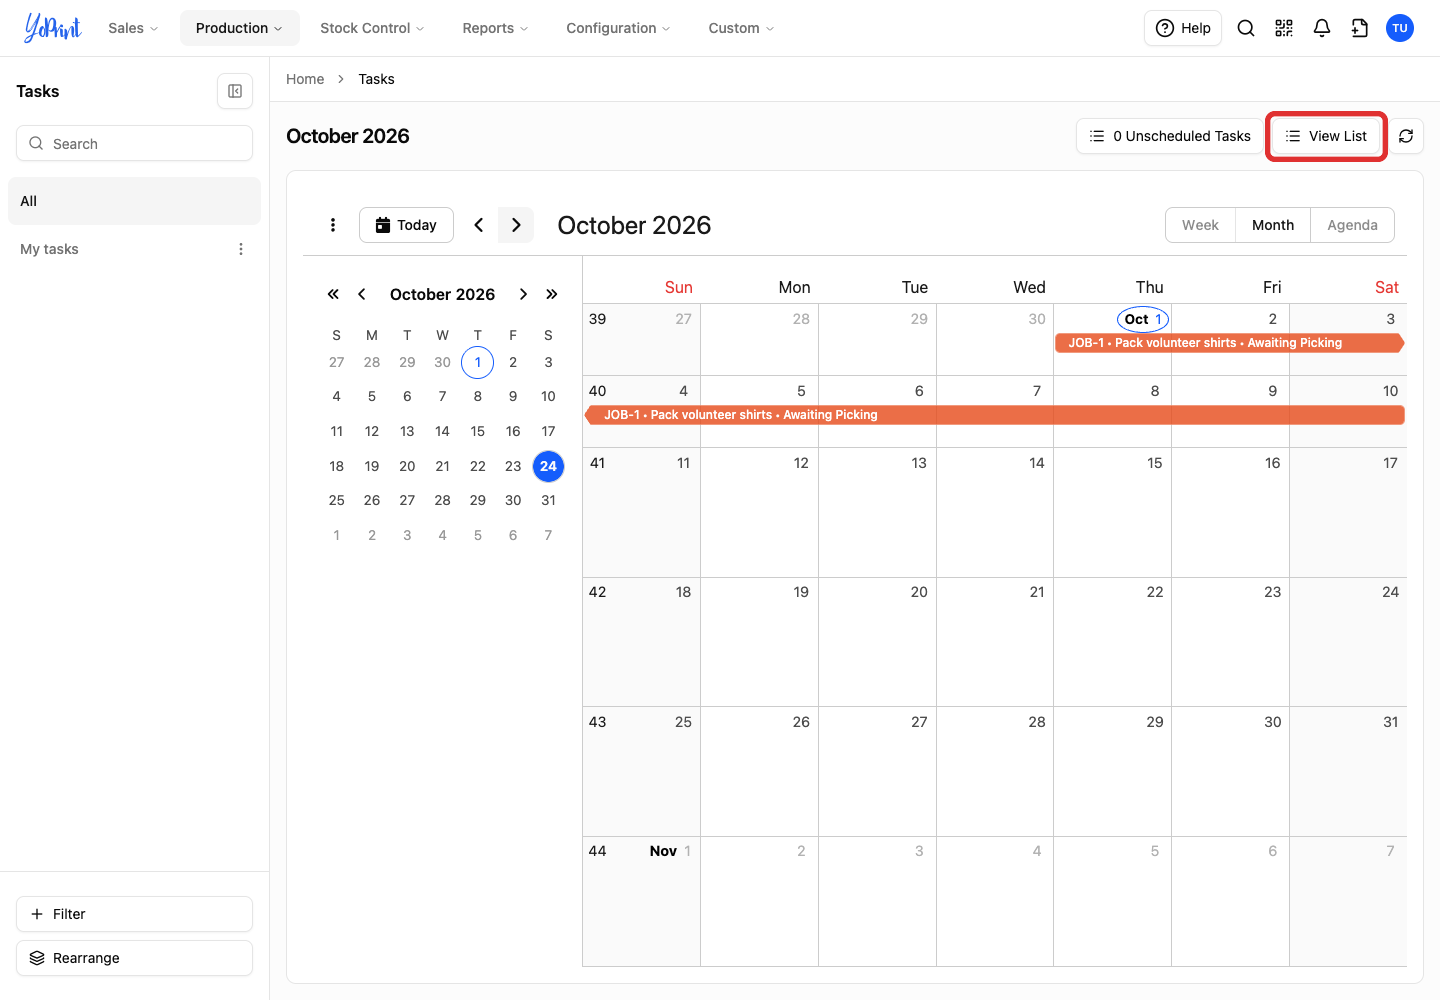
Scheduled tasks appear across their start and due dates. Tasks without dates appear under Unscheduled Tasks above the calendar. Tasks cannot be dragged to reschedule; open the task to change its dates.
-
Click View List to return to the tasks list.