Jobs List
In this article
Track and manage all production work across your shop from the Jobs list. In YoPrint, a sales order can contain multiple jobs, such as separate jobs for screen printing and embroidery. Each job has its own production schedule, status, and tasks. Use the Jobs list to monitor job statuses, schedule unscheduled work, switch between table and calendar views, and export job data for your team.
Open the Jobs list
-
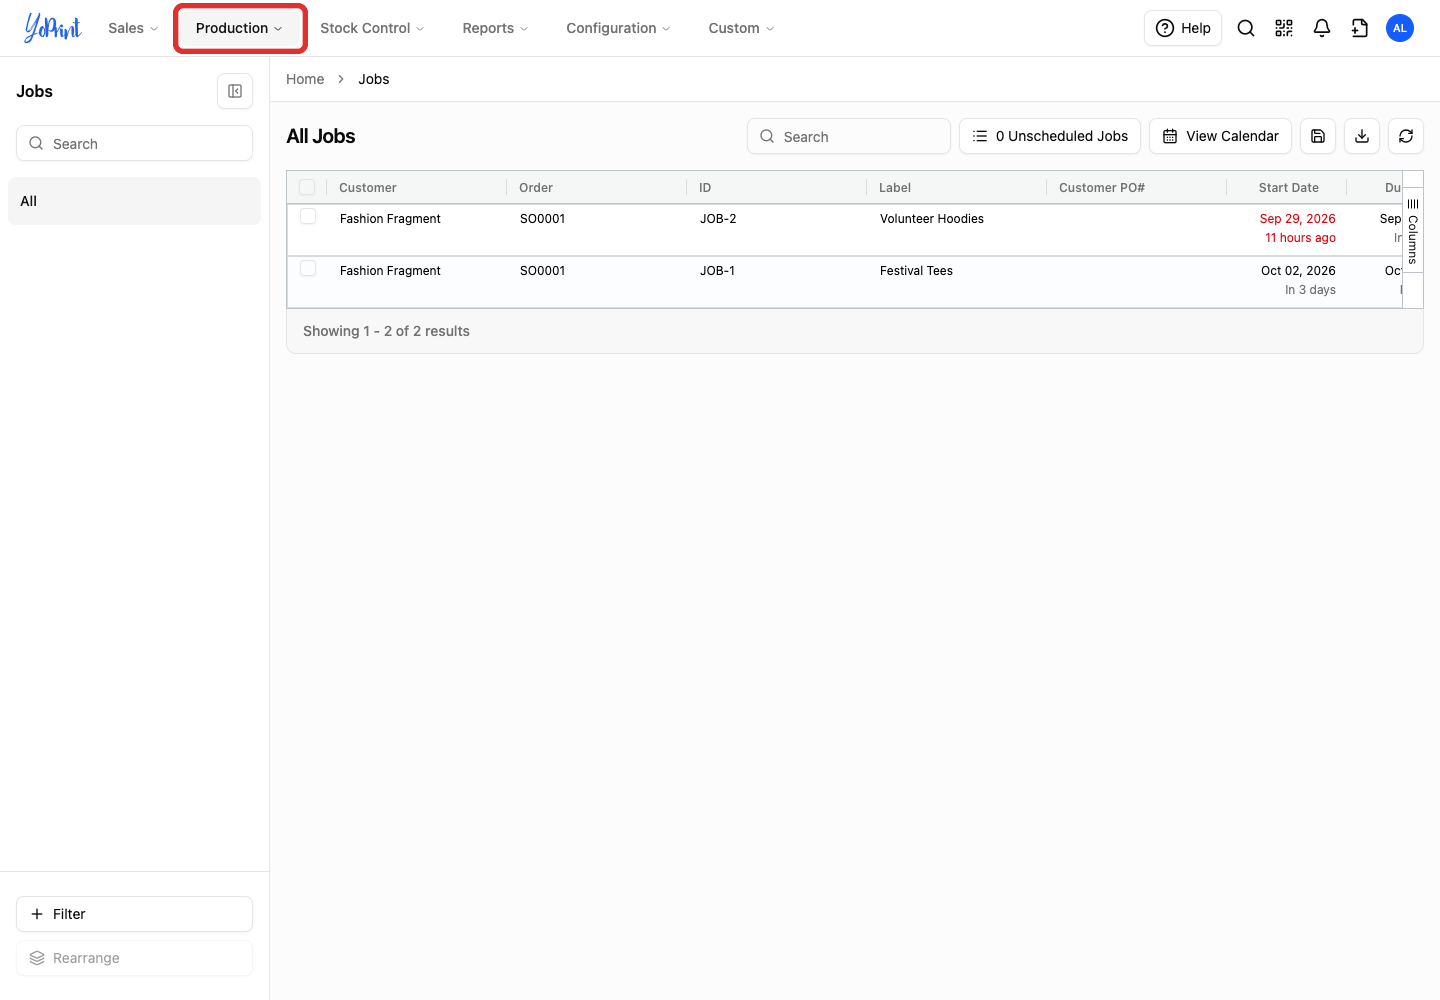
In the primary navigation, click Production.
-
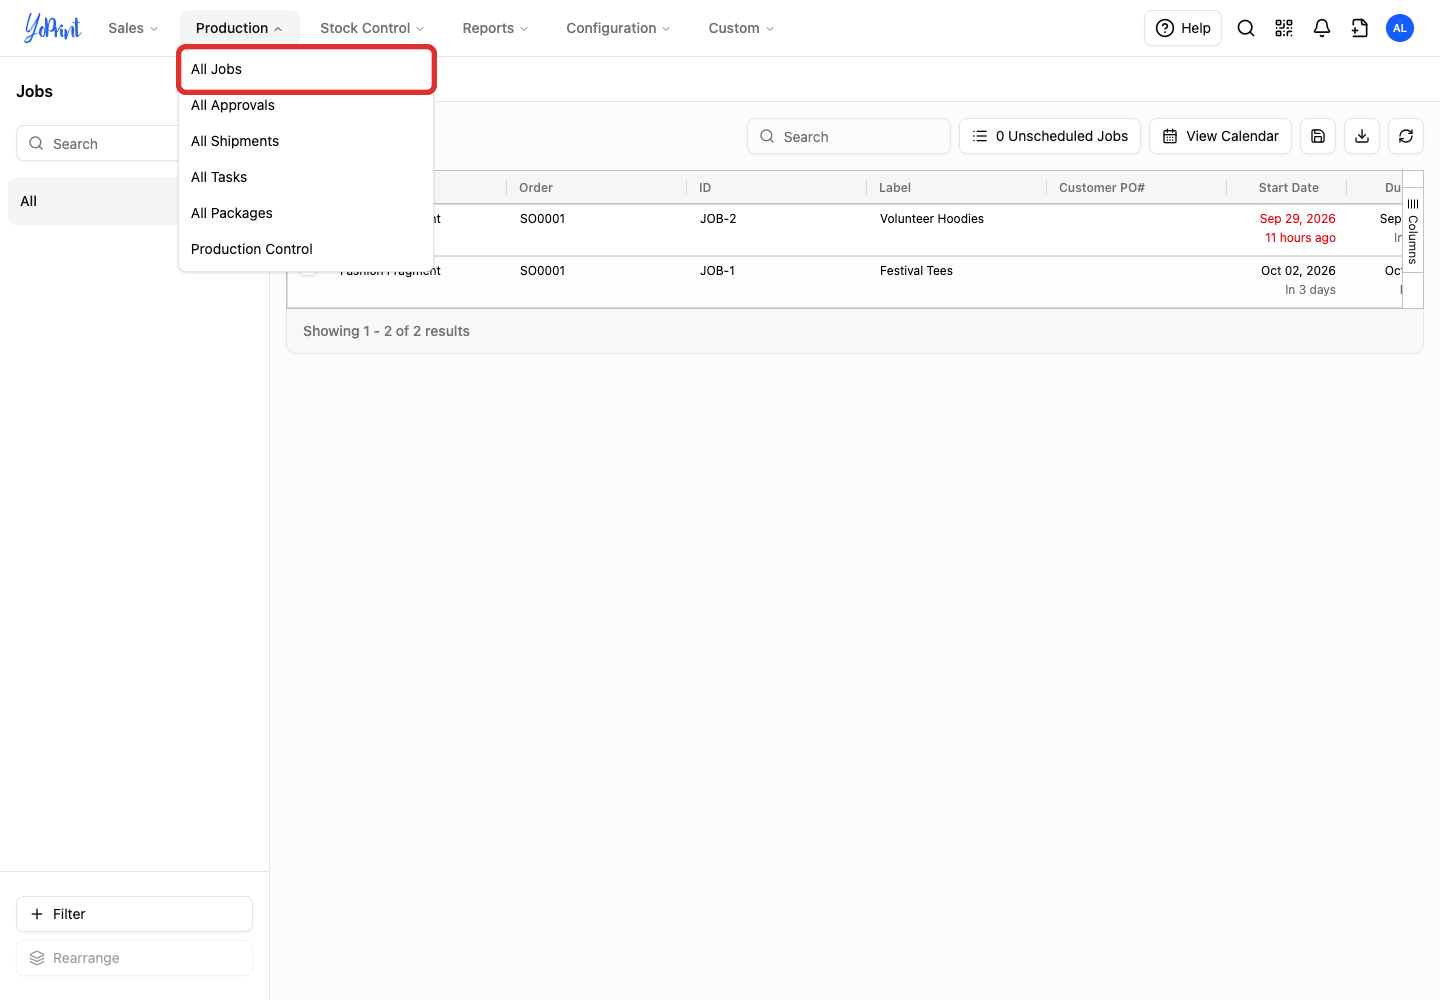
Select All Jobs.
Search and sort jobs
-
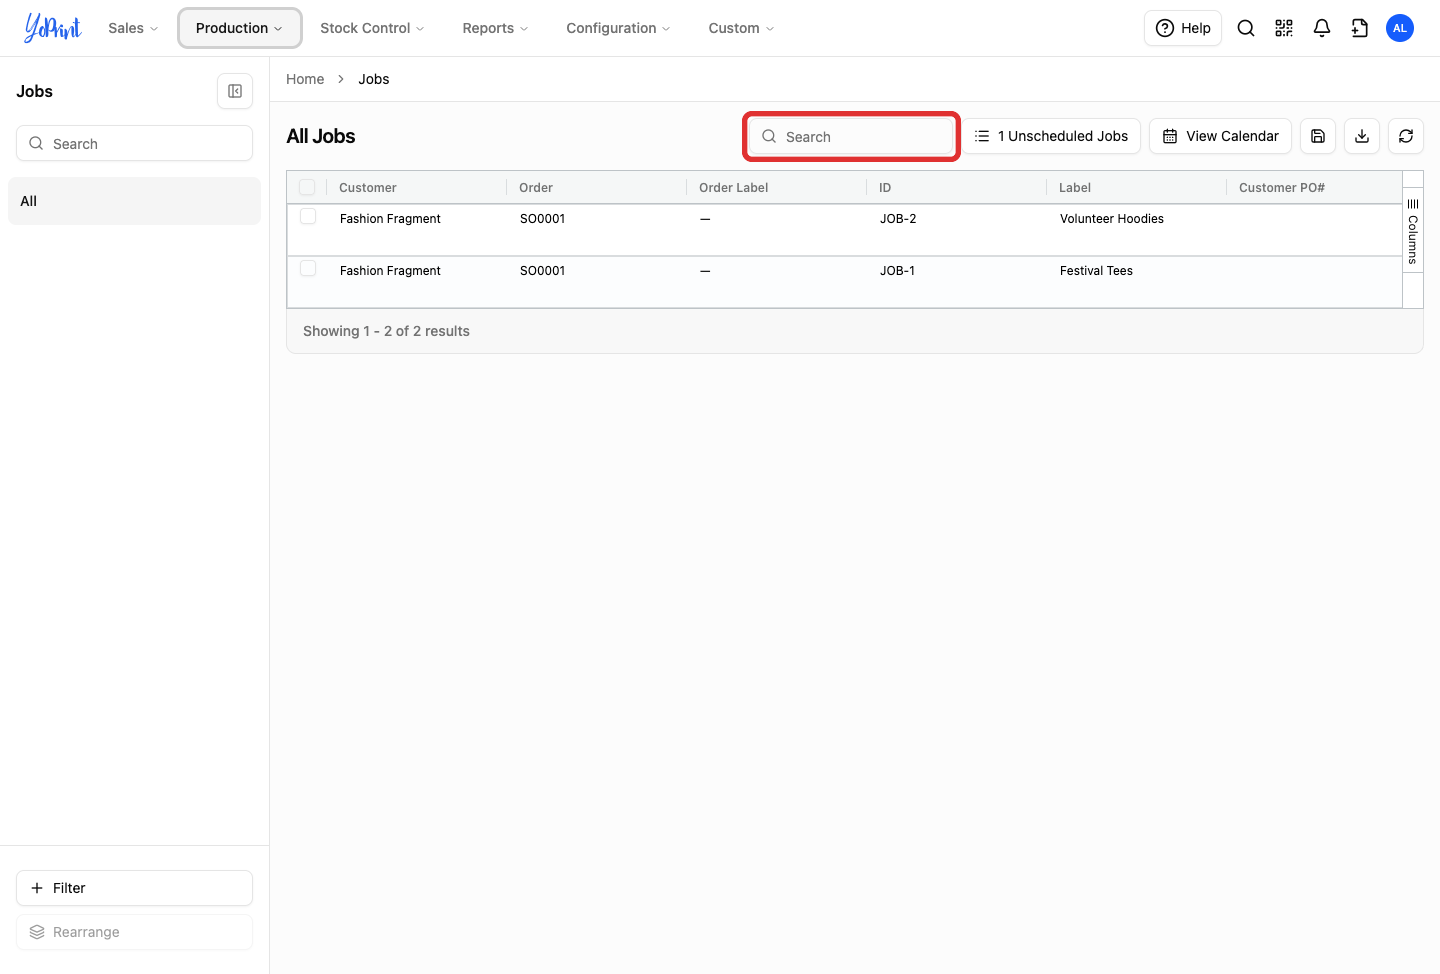
Type a job label, customer name, or sales order number into the Search box in the toolbar.
-
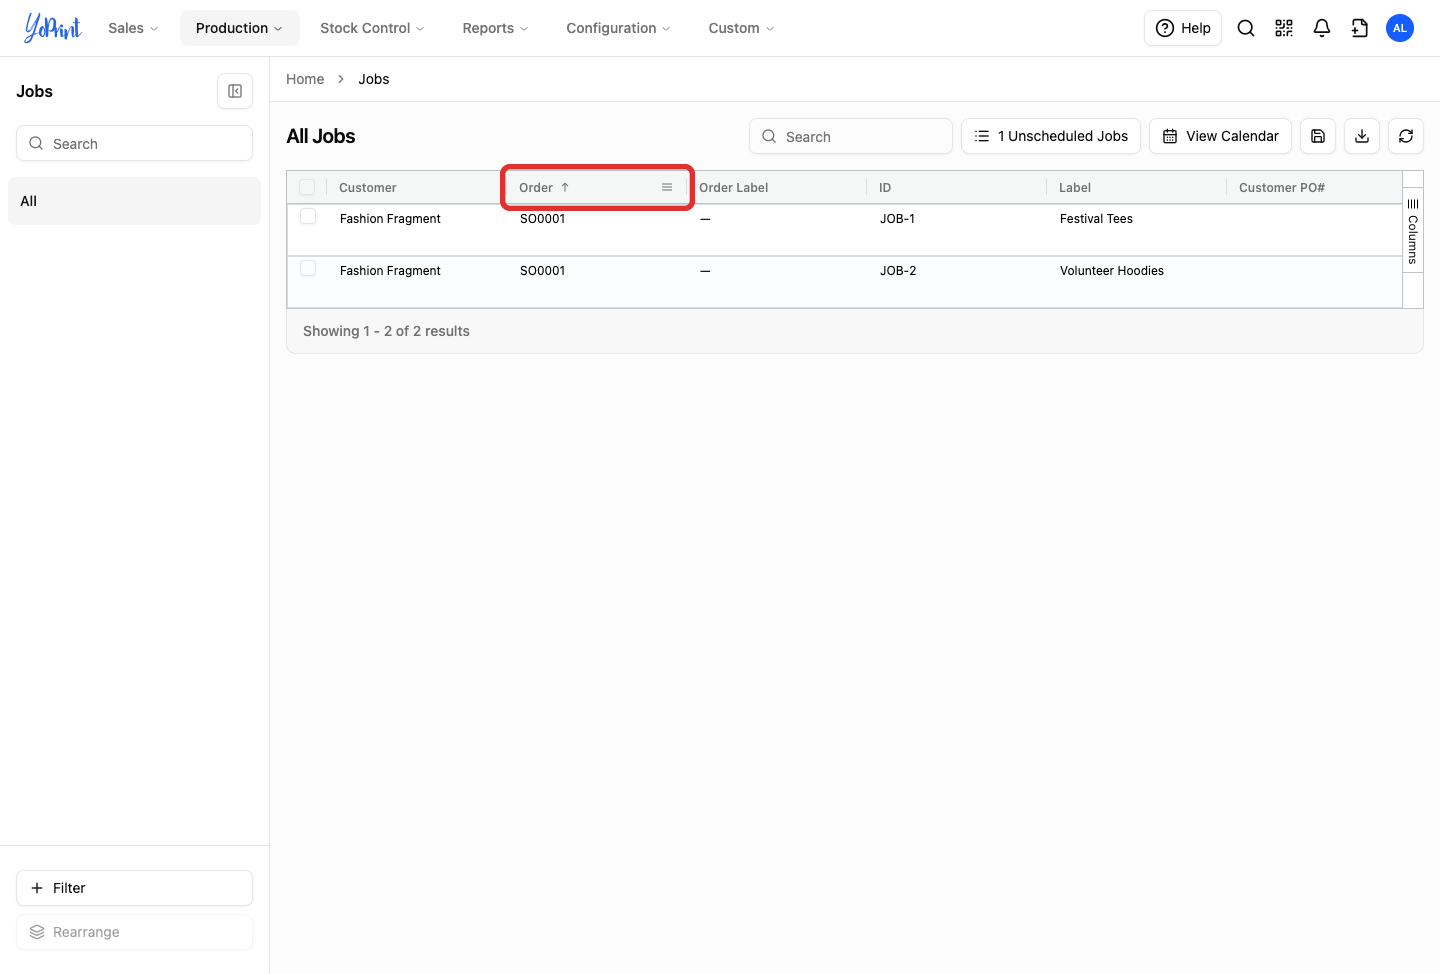
Click any column header, such as Item Quantity, Due Date, or Order, to sort the table.
-
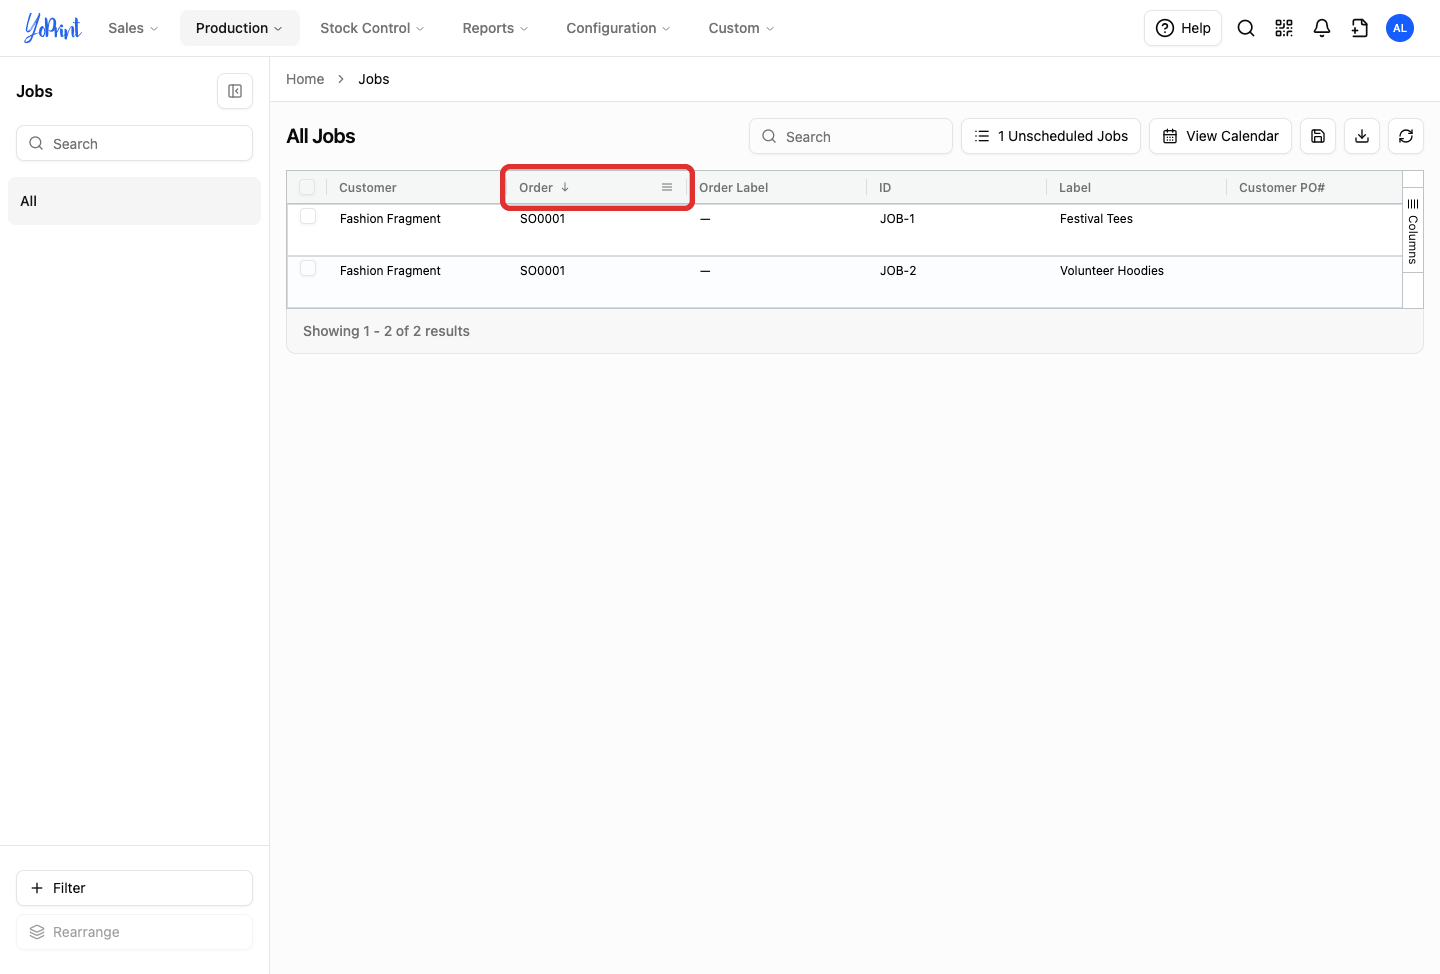
Click the column header again to reverse the sort order.
The saved filter sidebar defaults to All. To save a custom view for quick access, click Filter at the bottom of the sidebar, enter a filter name, and add criteria for job status, assignee, or production dates.
Export table data
Click Download CSV in the toolbar to export the current jobs list table to a spreadsheet.
Apply bulk actions to jobs
-
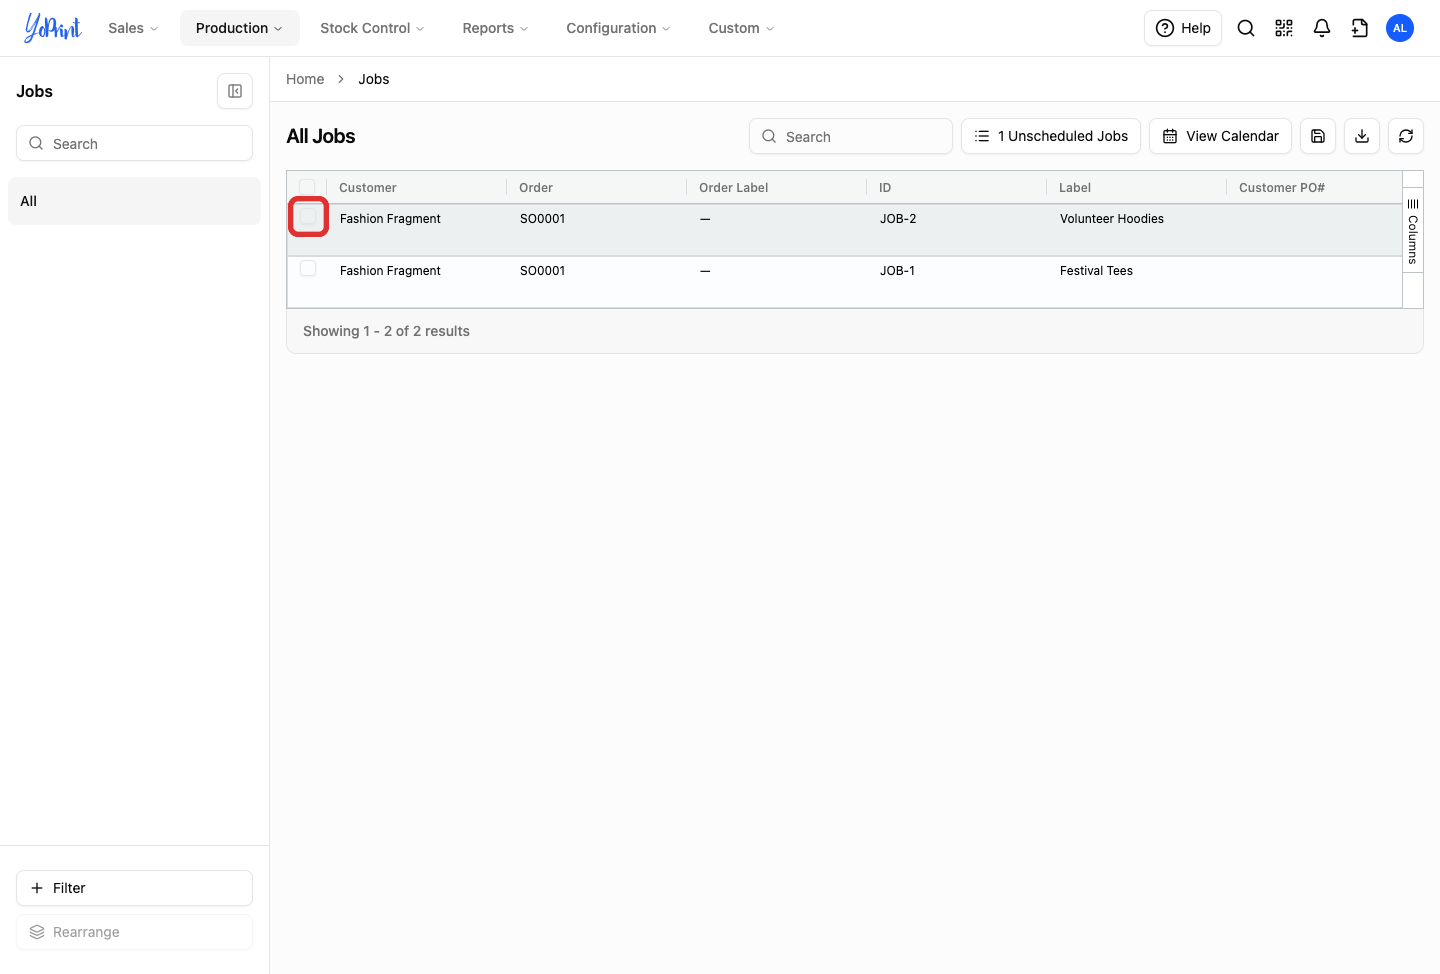
Select the checkbox next to any job in the list to select it.
-
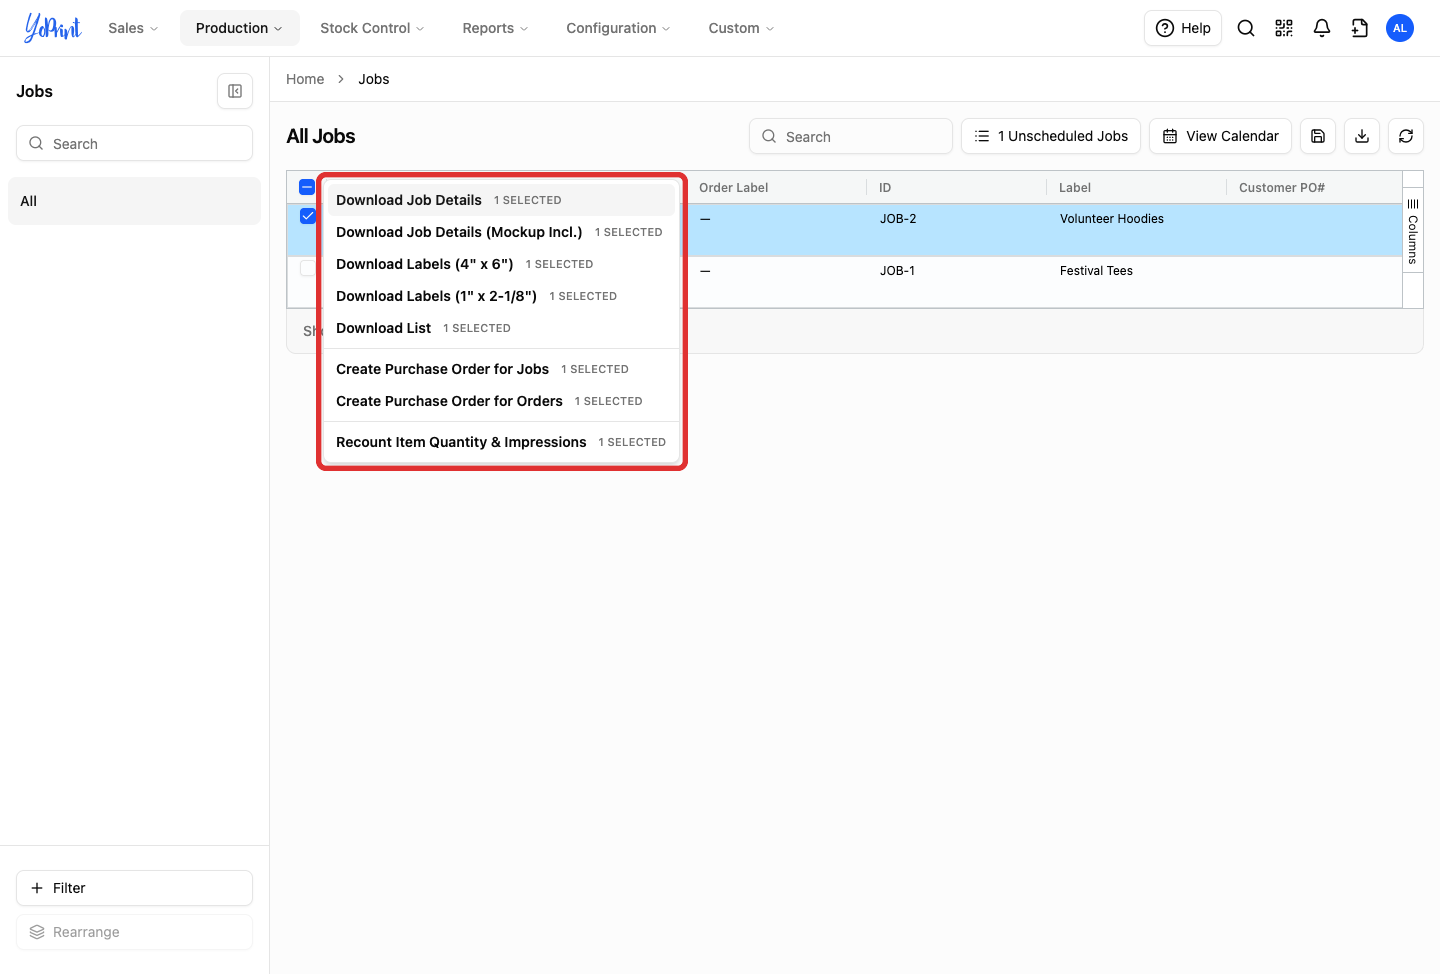
Choose an action from the floating bulk actions bar (each button shows the number of selected jobs, such as 1 SELECTED):
- Download Job Details: Export comprehensive job summaries for shop-floor reporting.
- Download Job Details (Mockup Incl.): Export job summaries with embedded product mockups.
- Download Labels (4" x 6"): Generate 4" x 6" printable barcode labels for production bins and shipping boxes.
- Download Labels (1" x 2-1/8"): Generate compact 1" x 2-1/8" Dymo labels for bins or tags.
- Download List: Export a PDF summary list of the selected jobs.
- Create Purchase Order for Jobs: Open the purchase order creator pre-filled with the products required for only the selected jobs.
- Create Purchase Order for Orders: Open the purchase order creator pre-filled with all products required across the entire parent sales orders of the selected jobs.
- Recount Item Quantity & Impressions: Recalculate physical item quantities and decoration impressions across the selected jobs. In decoration shops, an impression is a single print pass or stitch run per item; recount if order line items, quantities, or services were edited after job creation.
Review unscheduled jobs
Jobs created without production dates remain unscheduled until you assign them a start date:
-
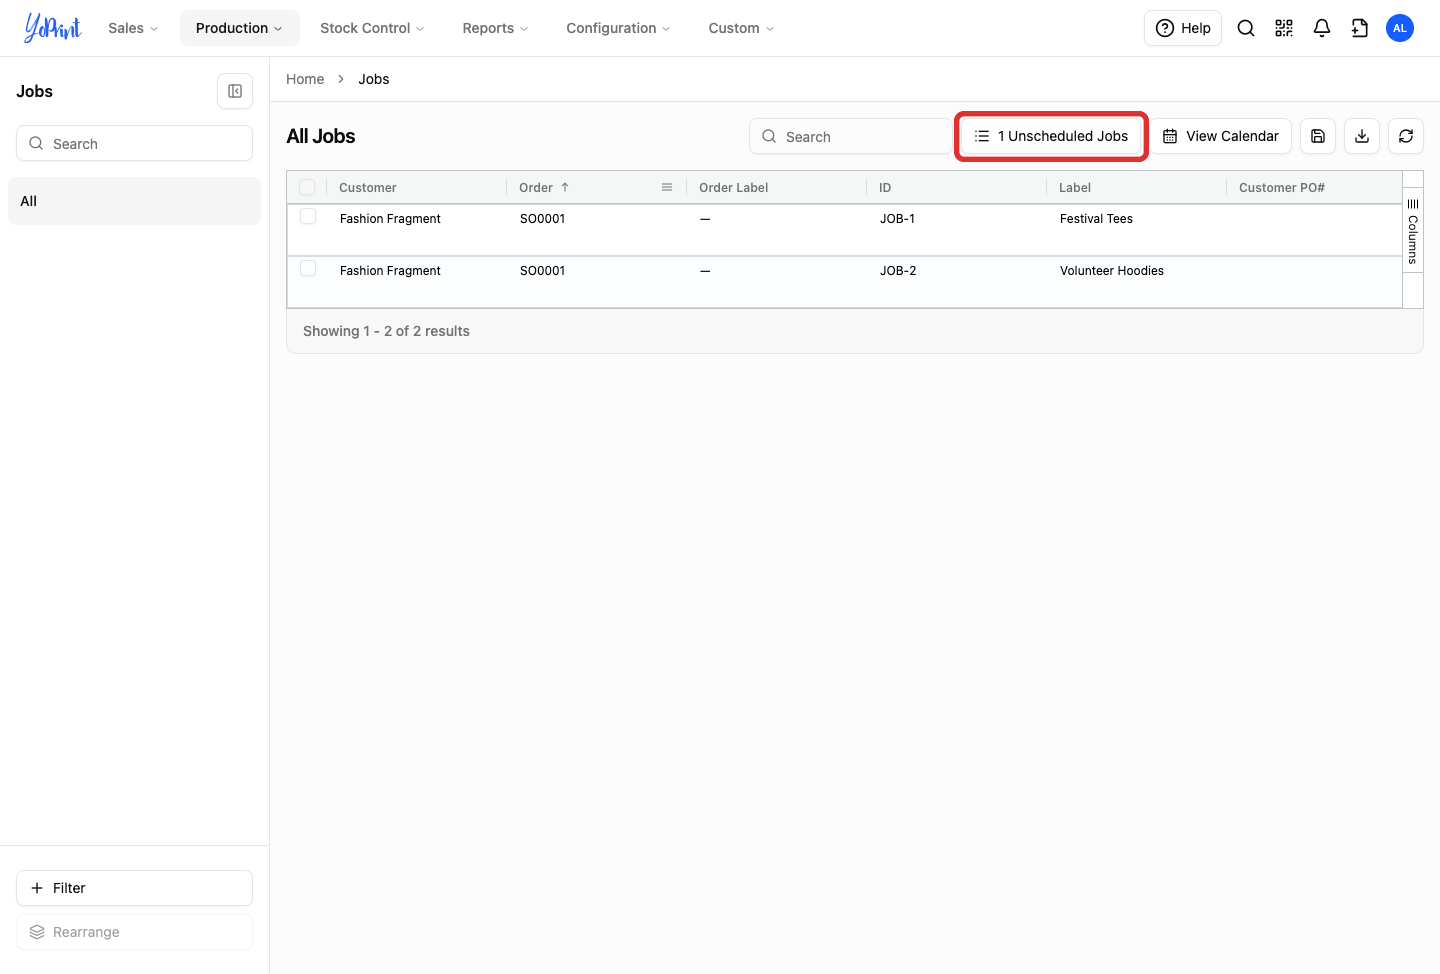
Click the unscheduled jobs button in the top toolbar (labeled with the number of waiting jobs, such as 1 Unscheduled Jobs or 0 Unscheduled Jobs) to view all jobs waiting for dates.
-
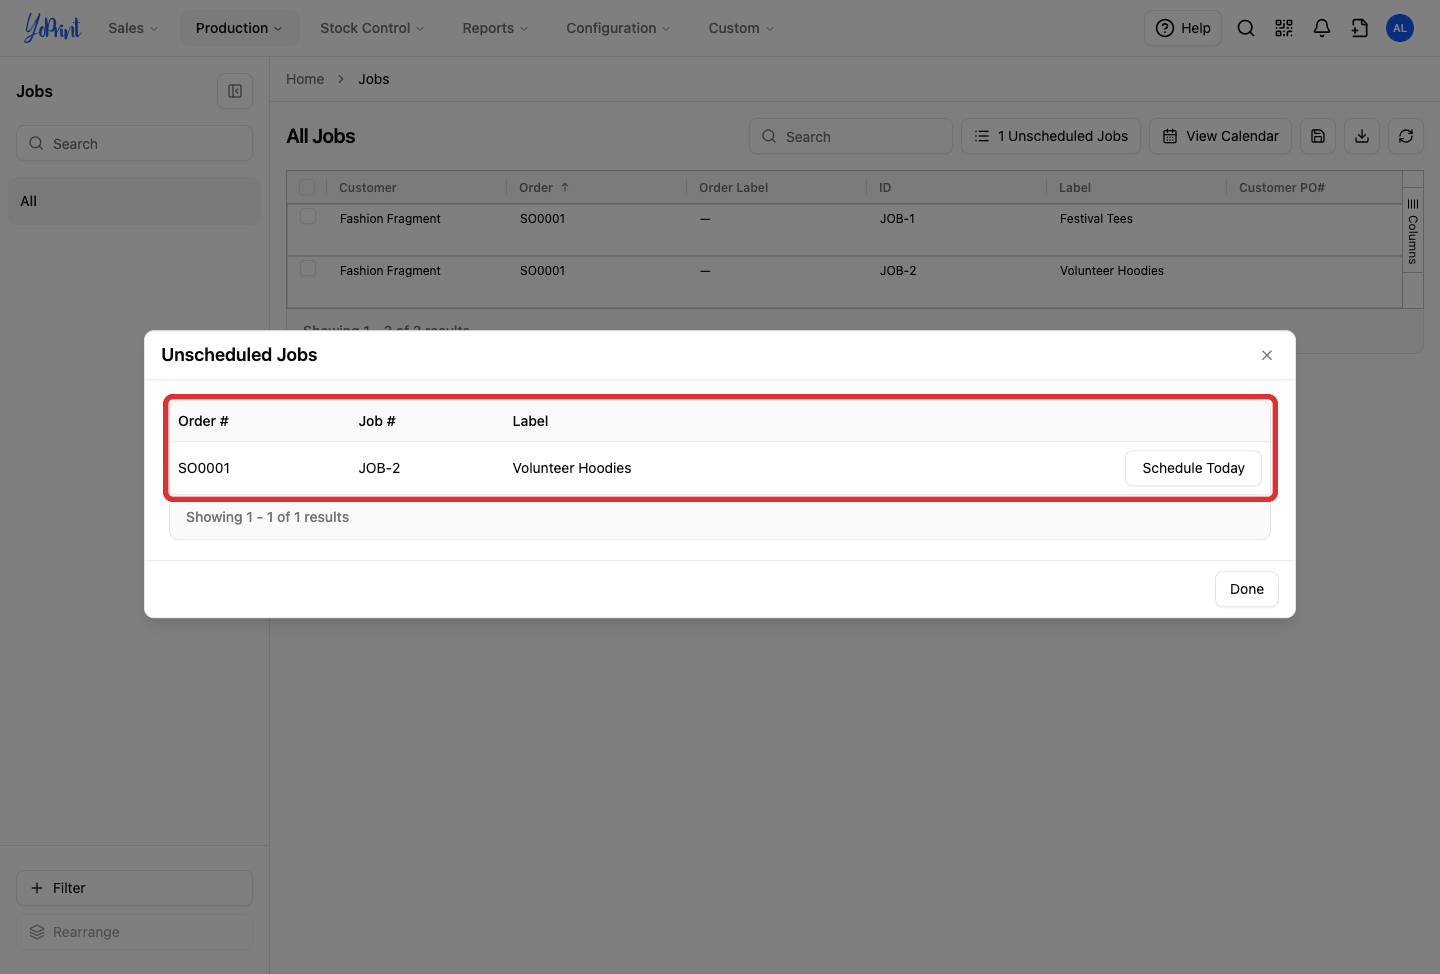
Review the list of unscheduled jobs, their parent orders, and item labels in the modal queue.
-
Click Schedule Today on any job row to assign today's date as both the production start date and due date, adding the job to today's production schedule.
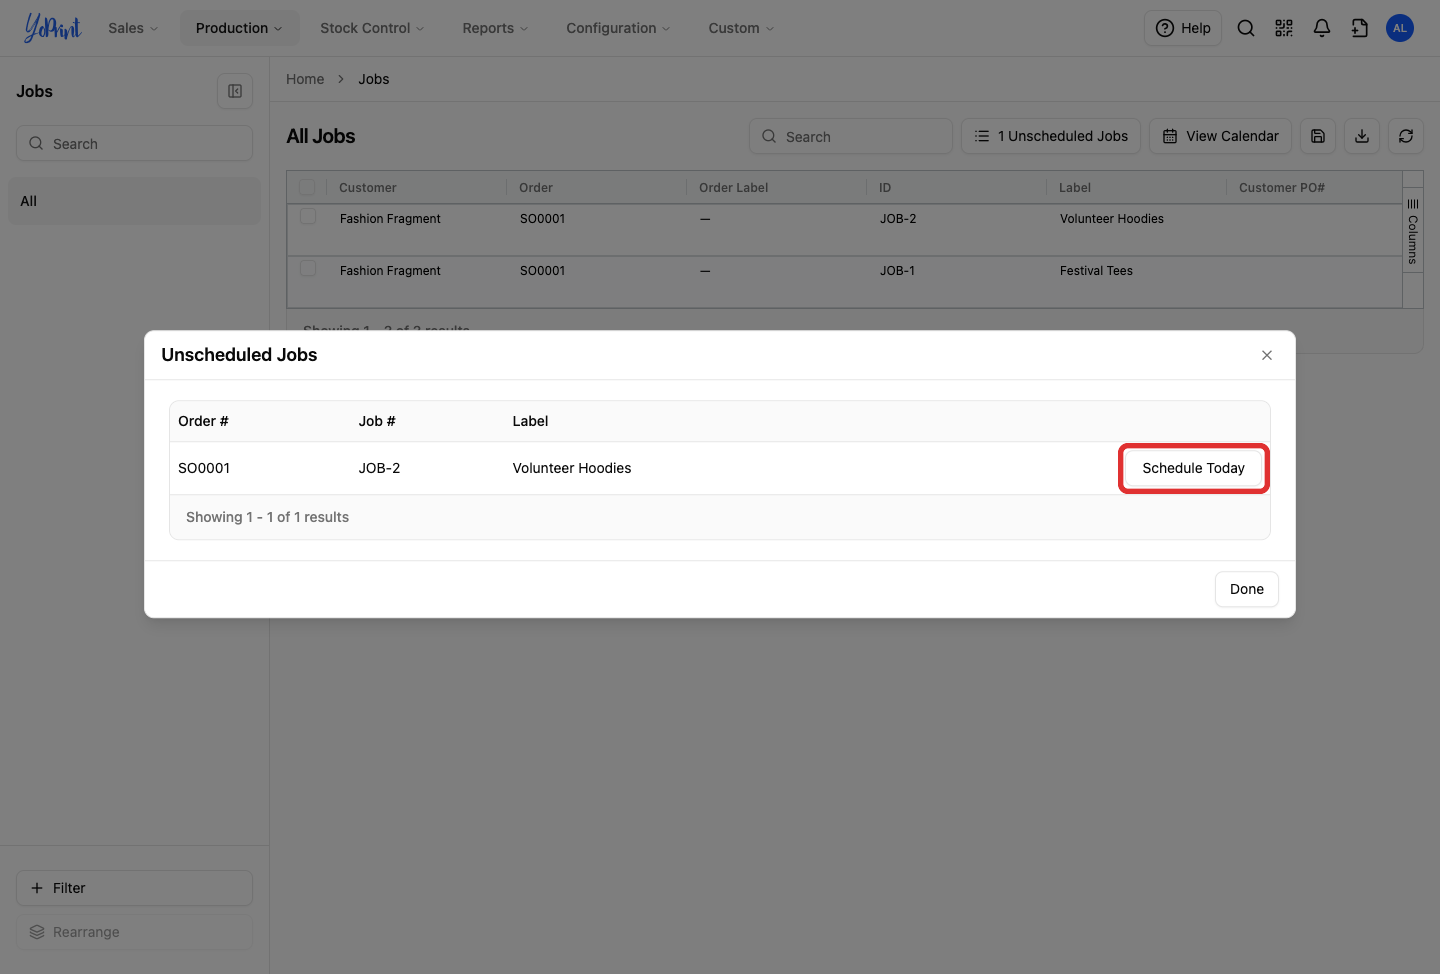
The modal's Schedule Today action sets both the start date and due date to today. To schedule a job for a future or custom date, close the modal, find the job in the Jobs list table, and update its dates directly in the table or open More actions › View Job.
-
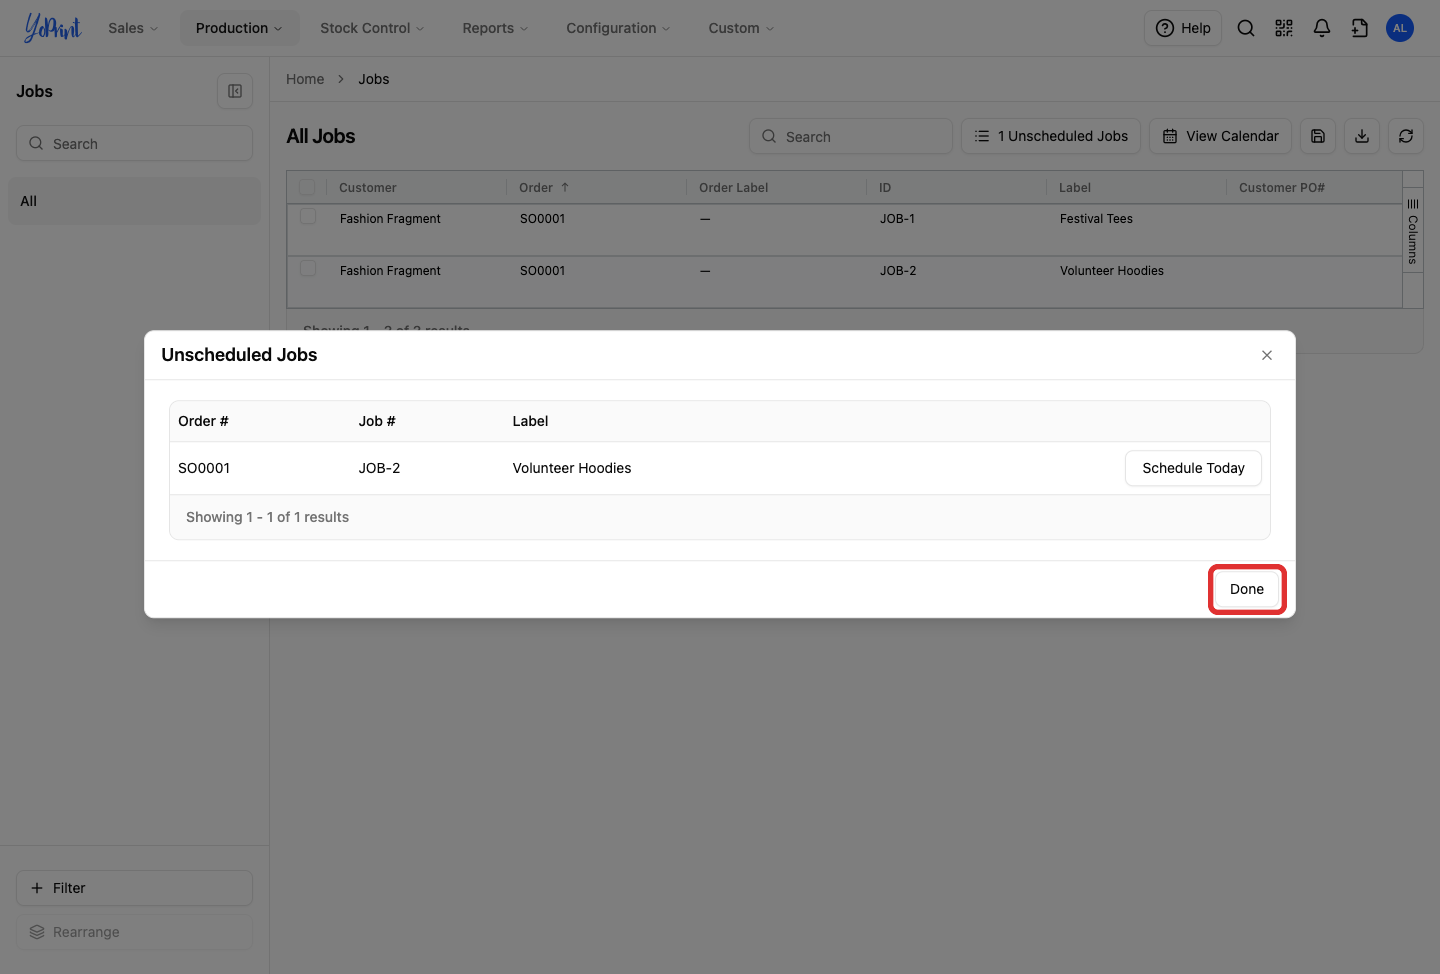
Click Done when finished.
Switch to the calendar view
-
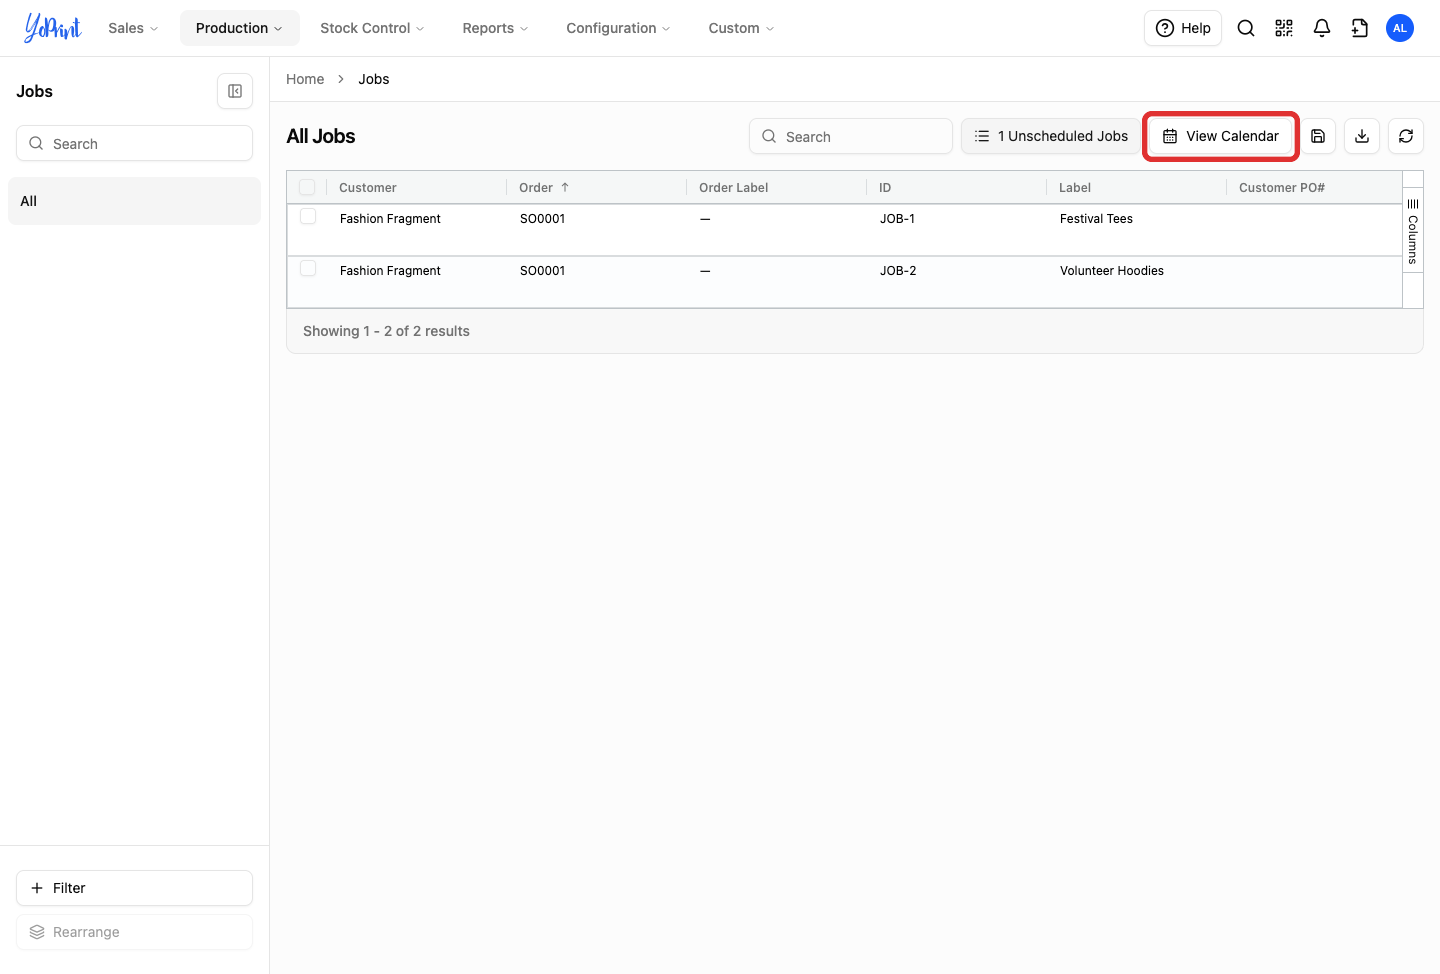
Click View Calendar in the top toolbar.
-
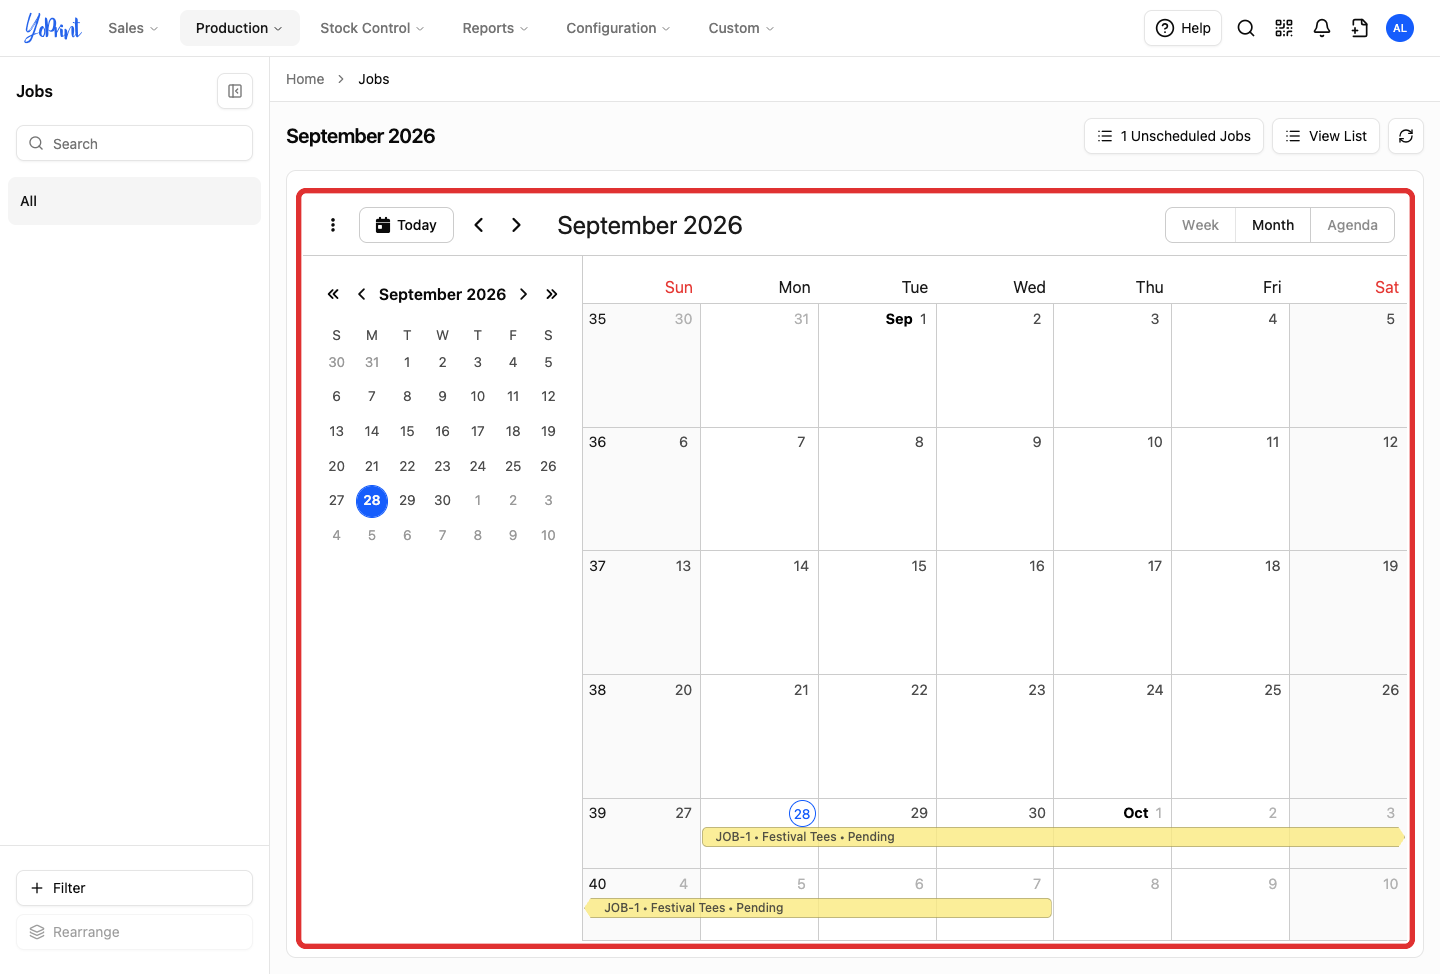
Review your scheduled jobs mapped across calendar days by their start and due dates. Click any job block on the calendar to open a summary popover with links to view full job details or jump to the parent sales order.
-
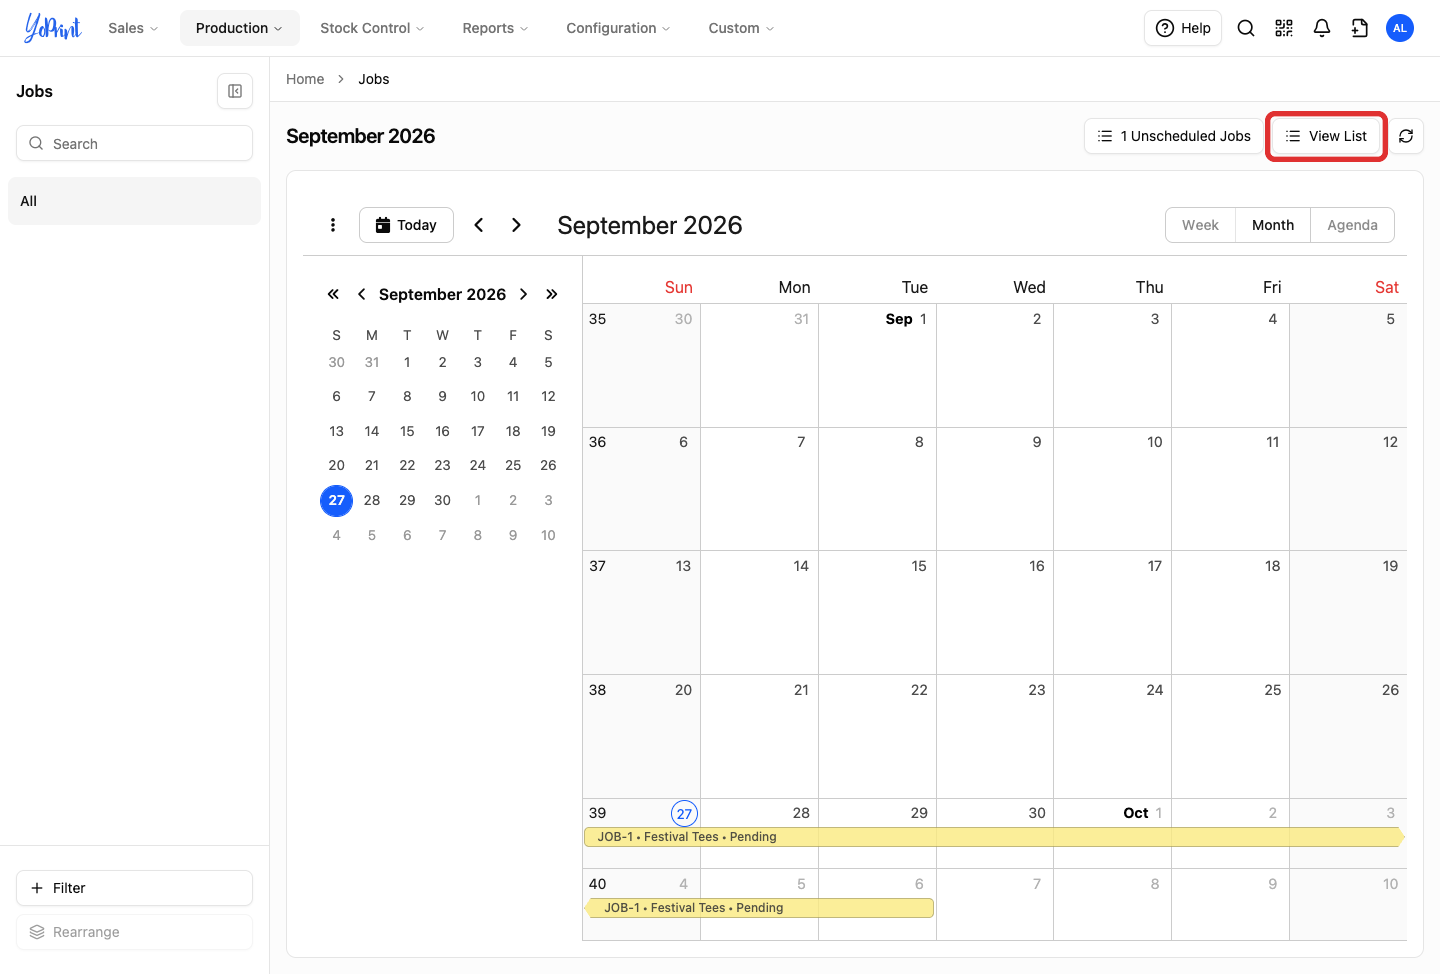
Click View List in the toolbar to return to the tabular jobs table at any time.
Customize table columns
-
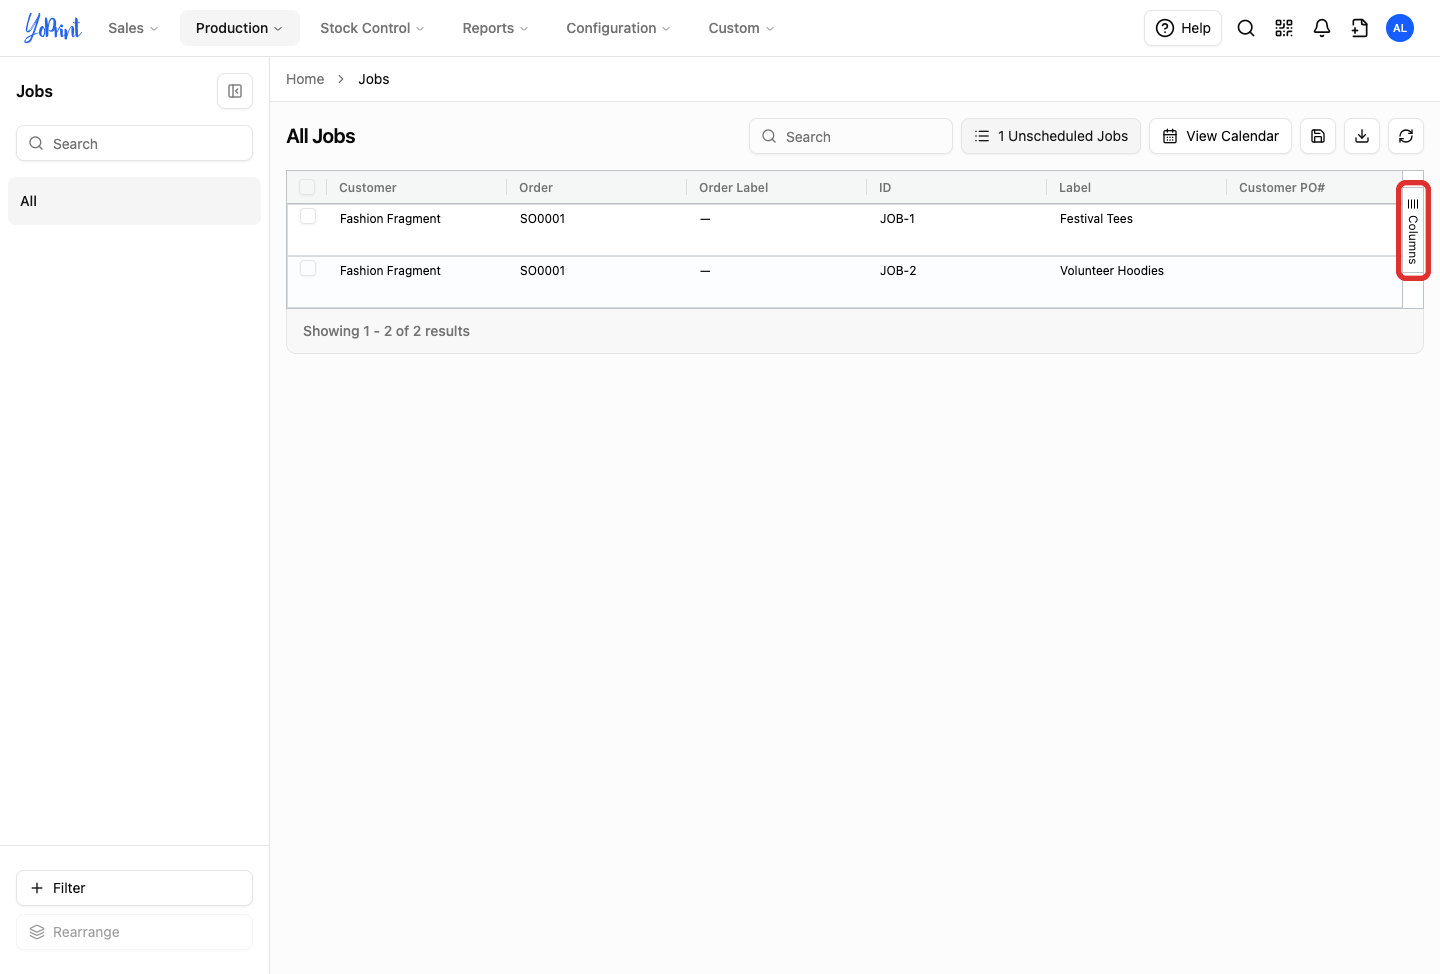
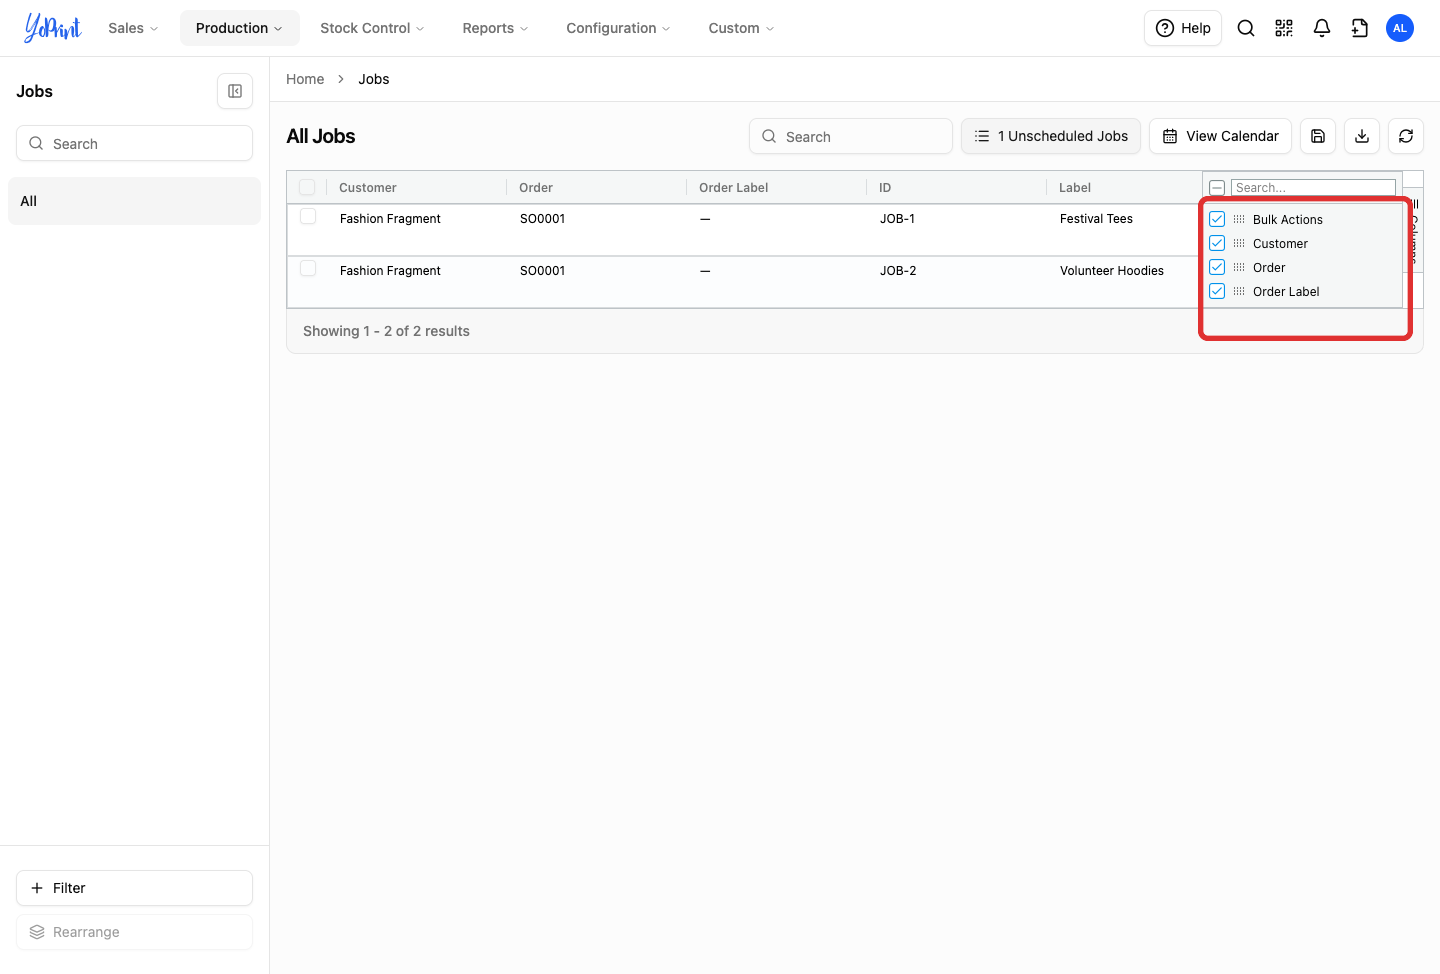
Click Columns on the right side of the table to open the column selection panel.
-
Select or clear column checkboxes to show or hide fields such as Item Quantity, Customer PO#, Start Date, or In Hands Date.
-
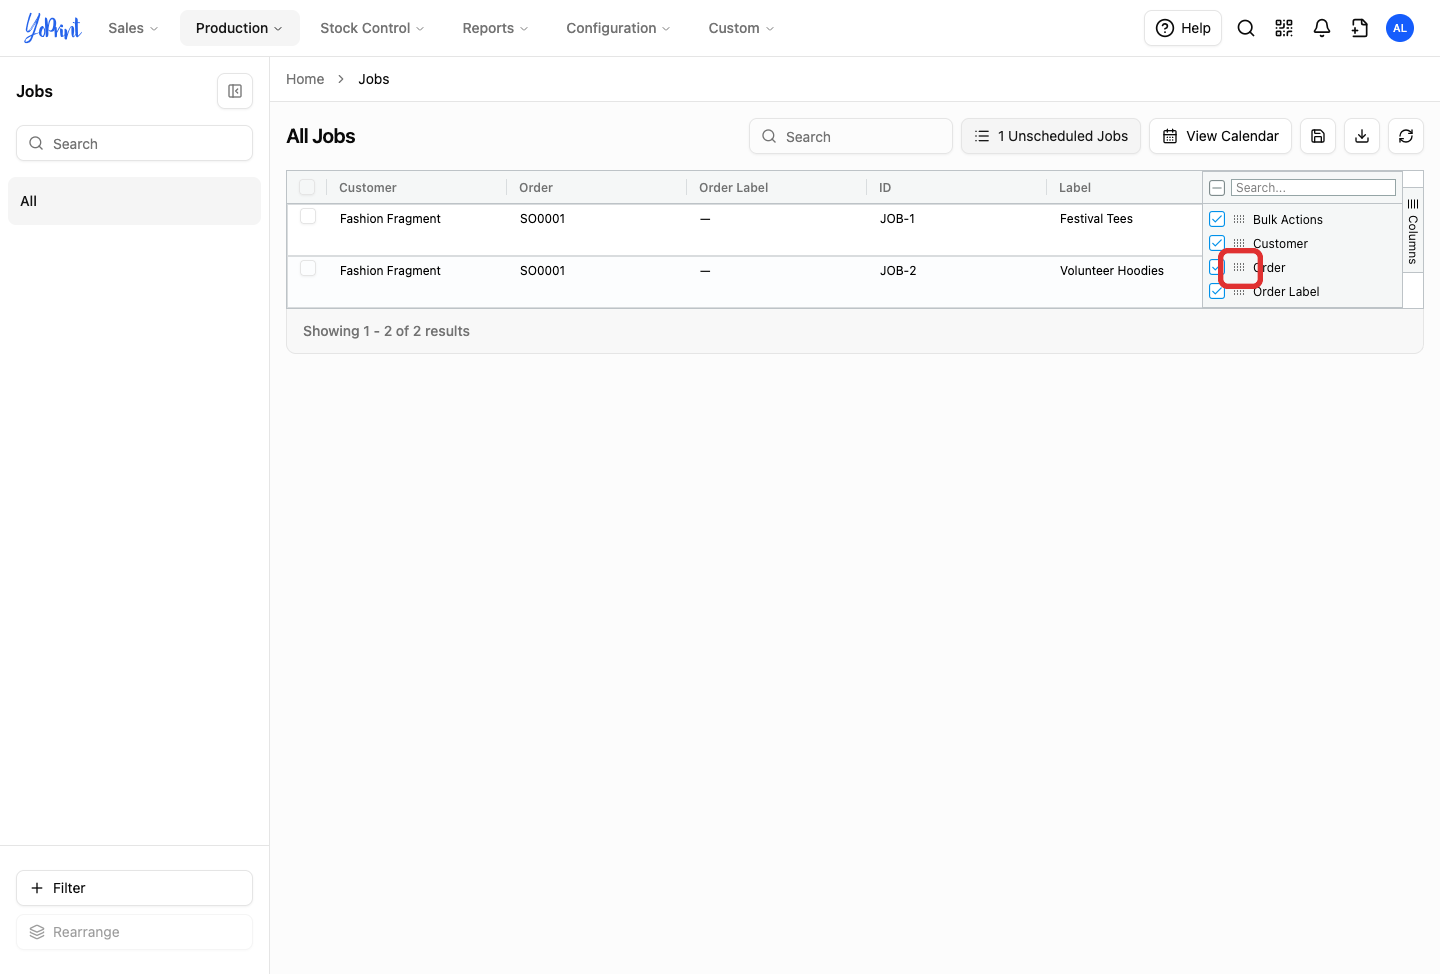
Drag column names up or down in the panel to reorder them in the table.
-
Click the Save Columns icon button (the floppy disk icon) in the toolbar to save your layout preferences.
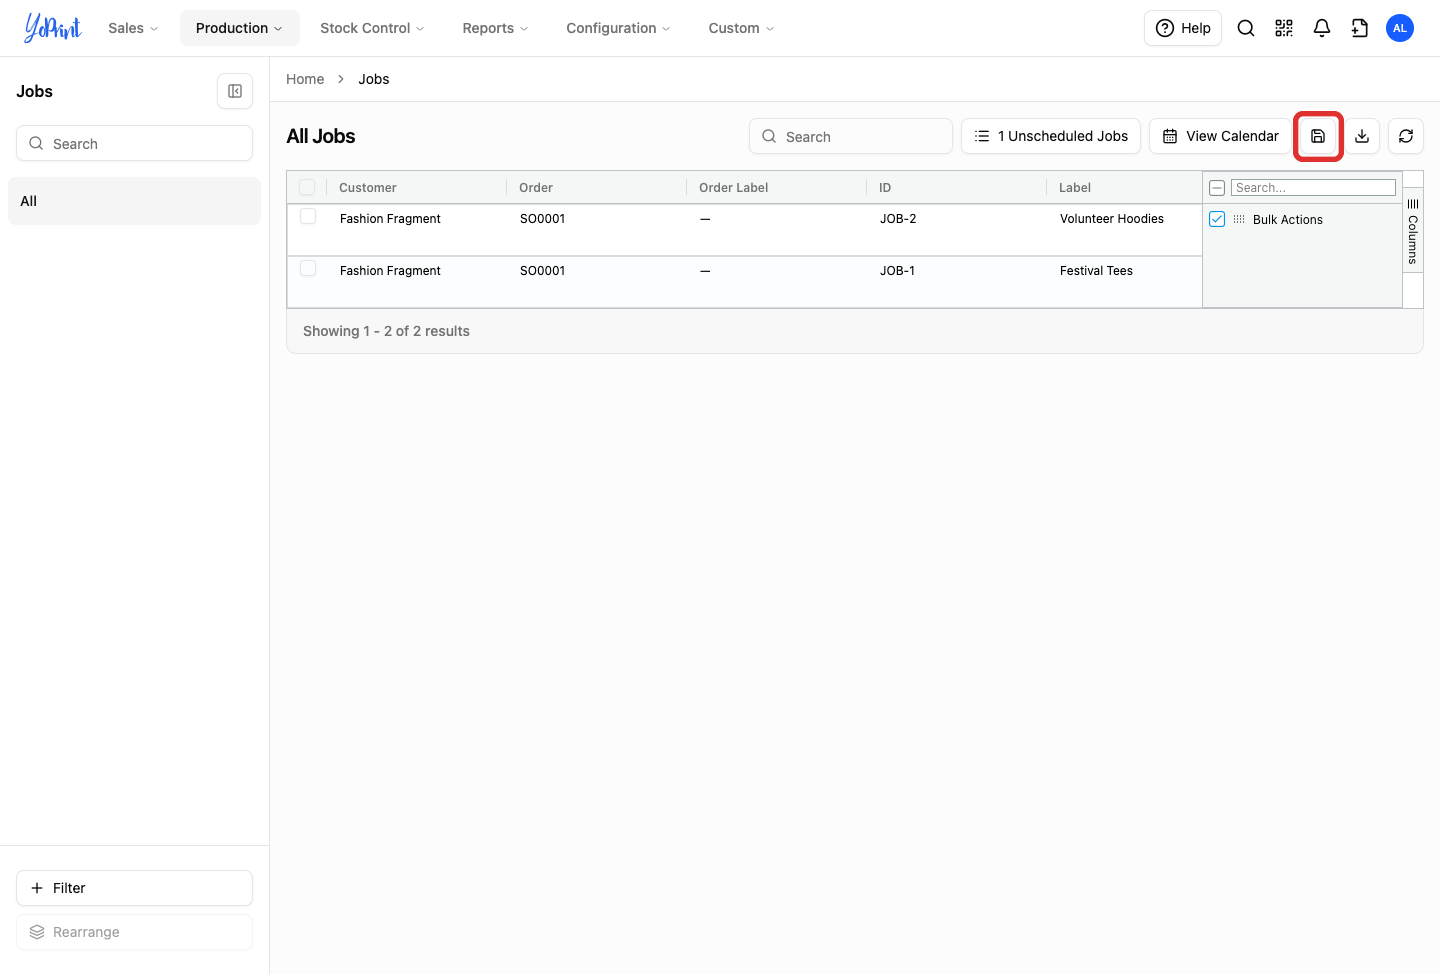
Saved column preferences are tied to your user account, preserving your layout across devices and future sessions.
Manage individual job details
-
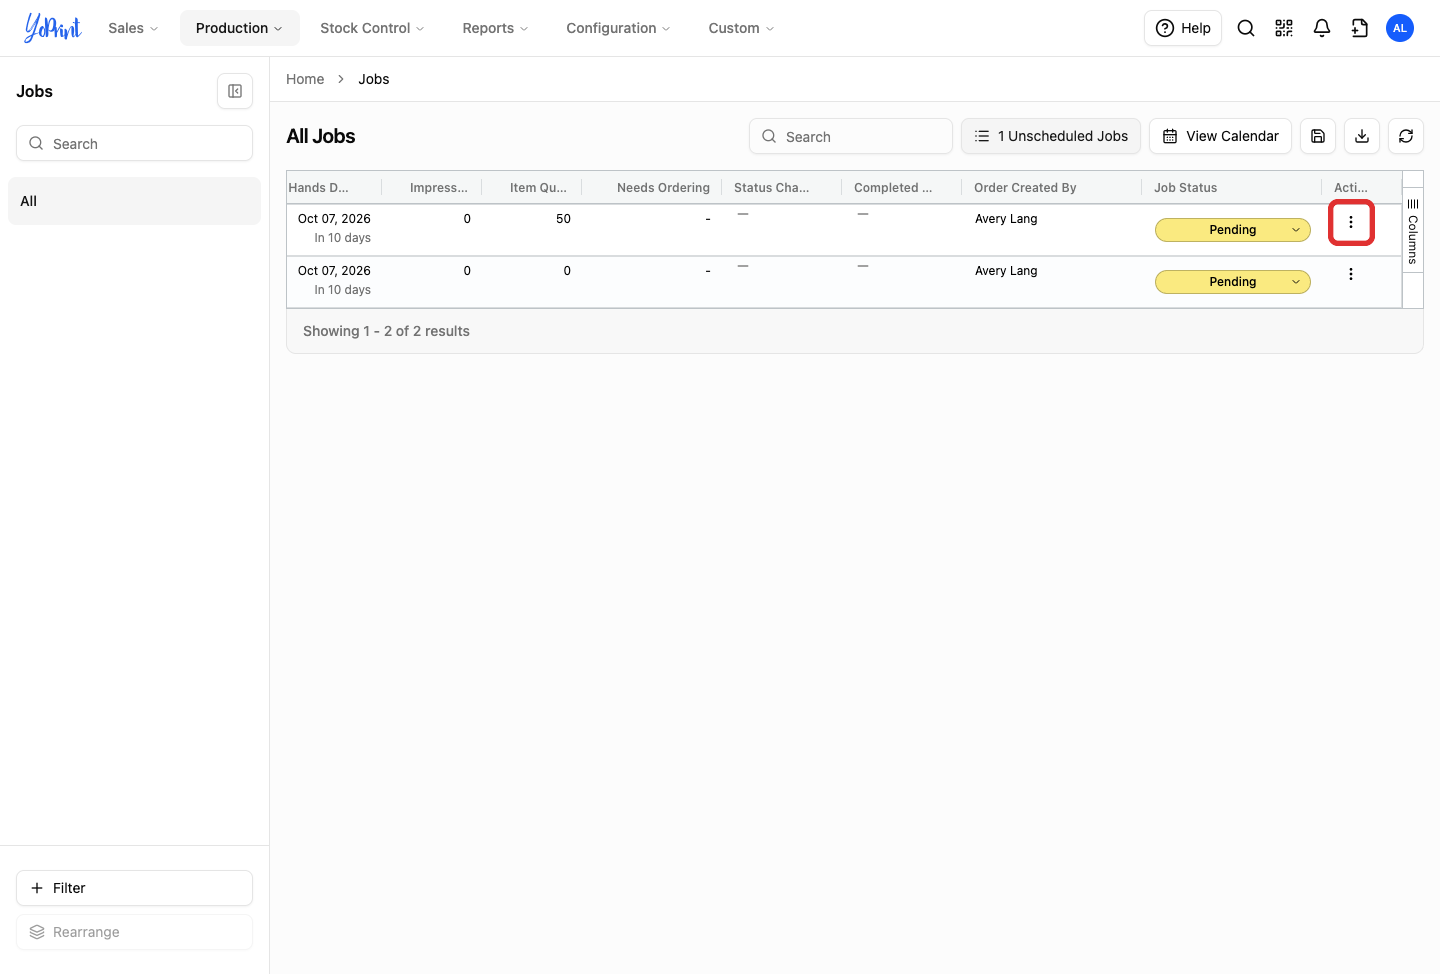
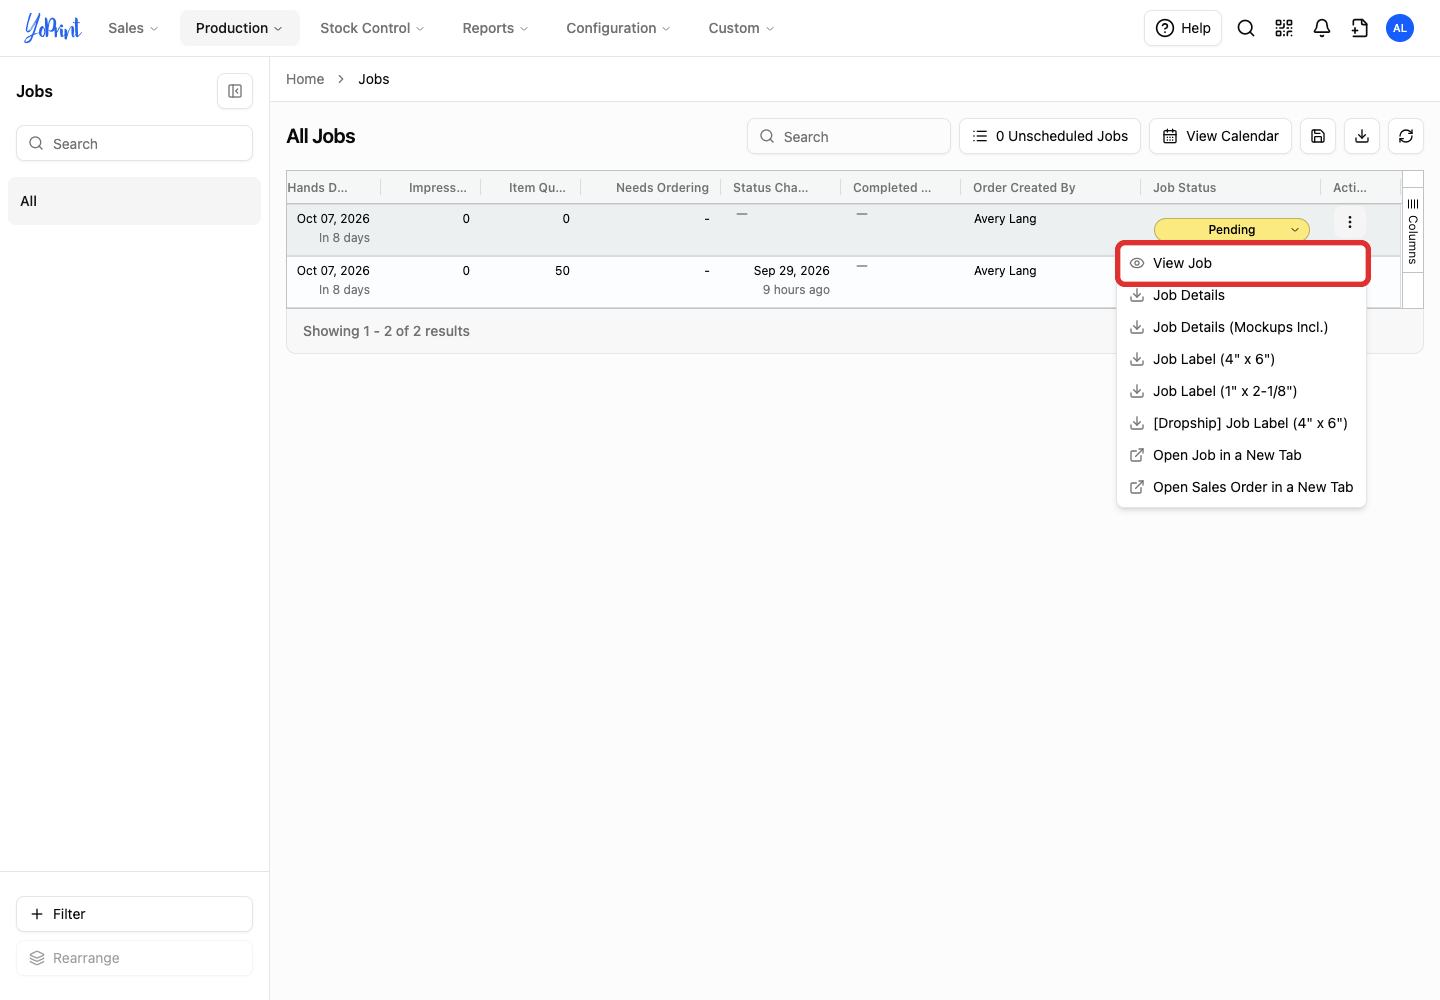
Click the More actions icon (three dots) on any job row.
-
Select View Job from the action menu.
-
Click the status button (such as Pending) and select the new stage (such as In Production) from the dropdown menu.
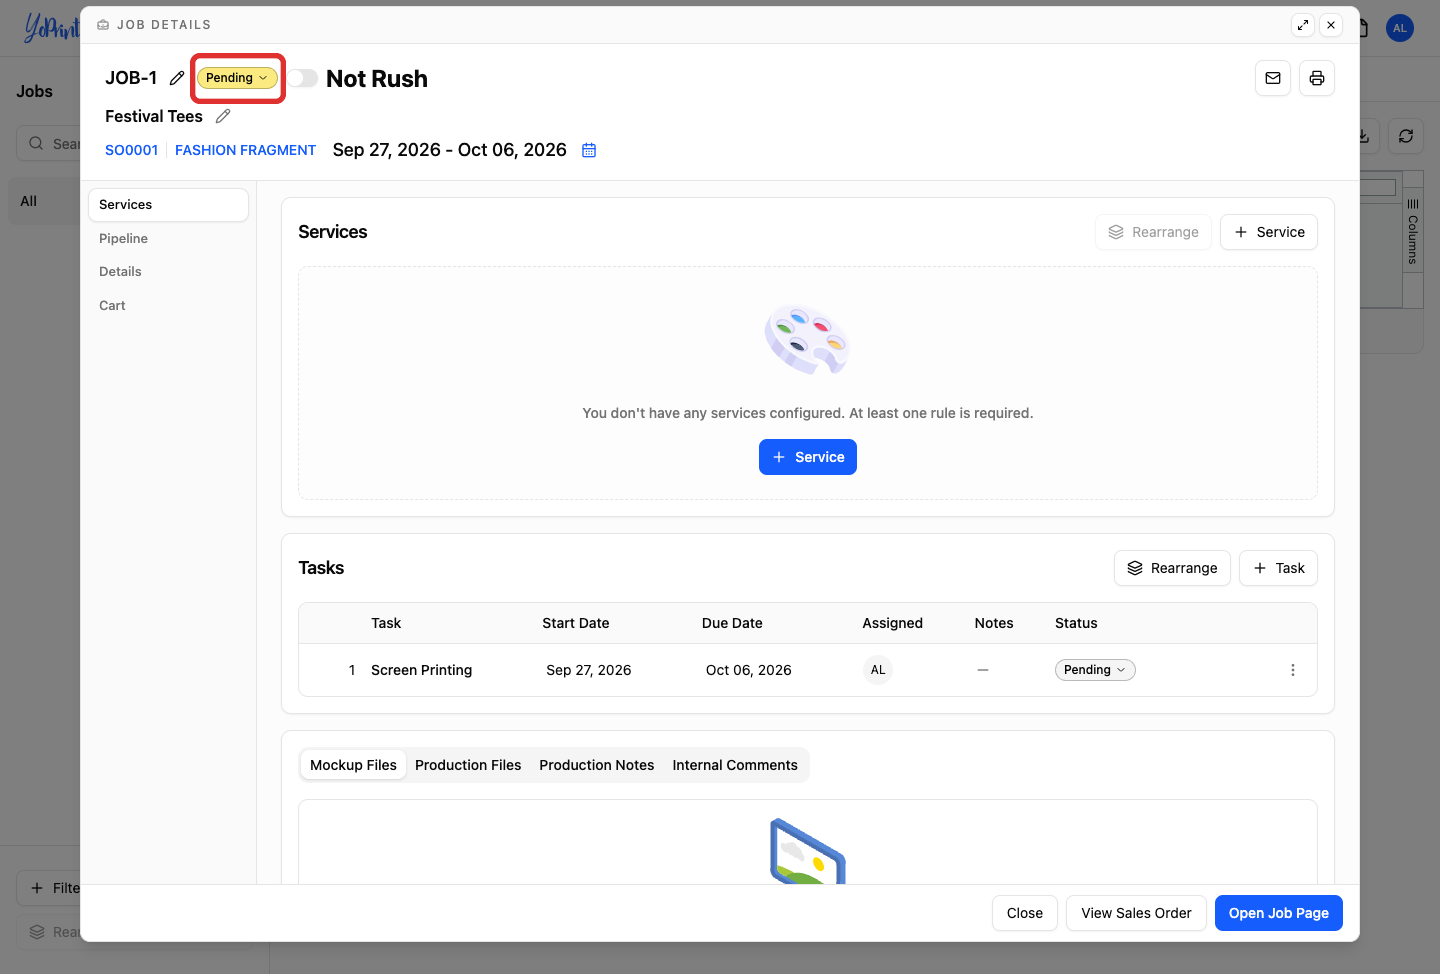
You can also update a job's status directly from the table by clicking its status badge in the Job Status column without opening the modal.
-
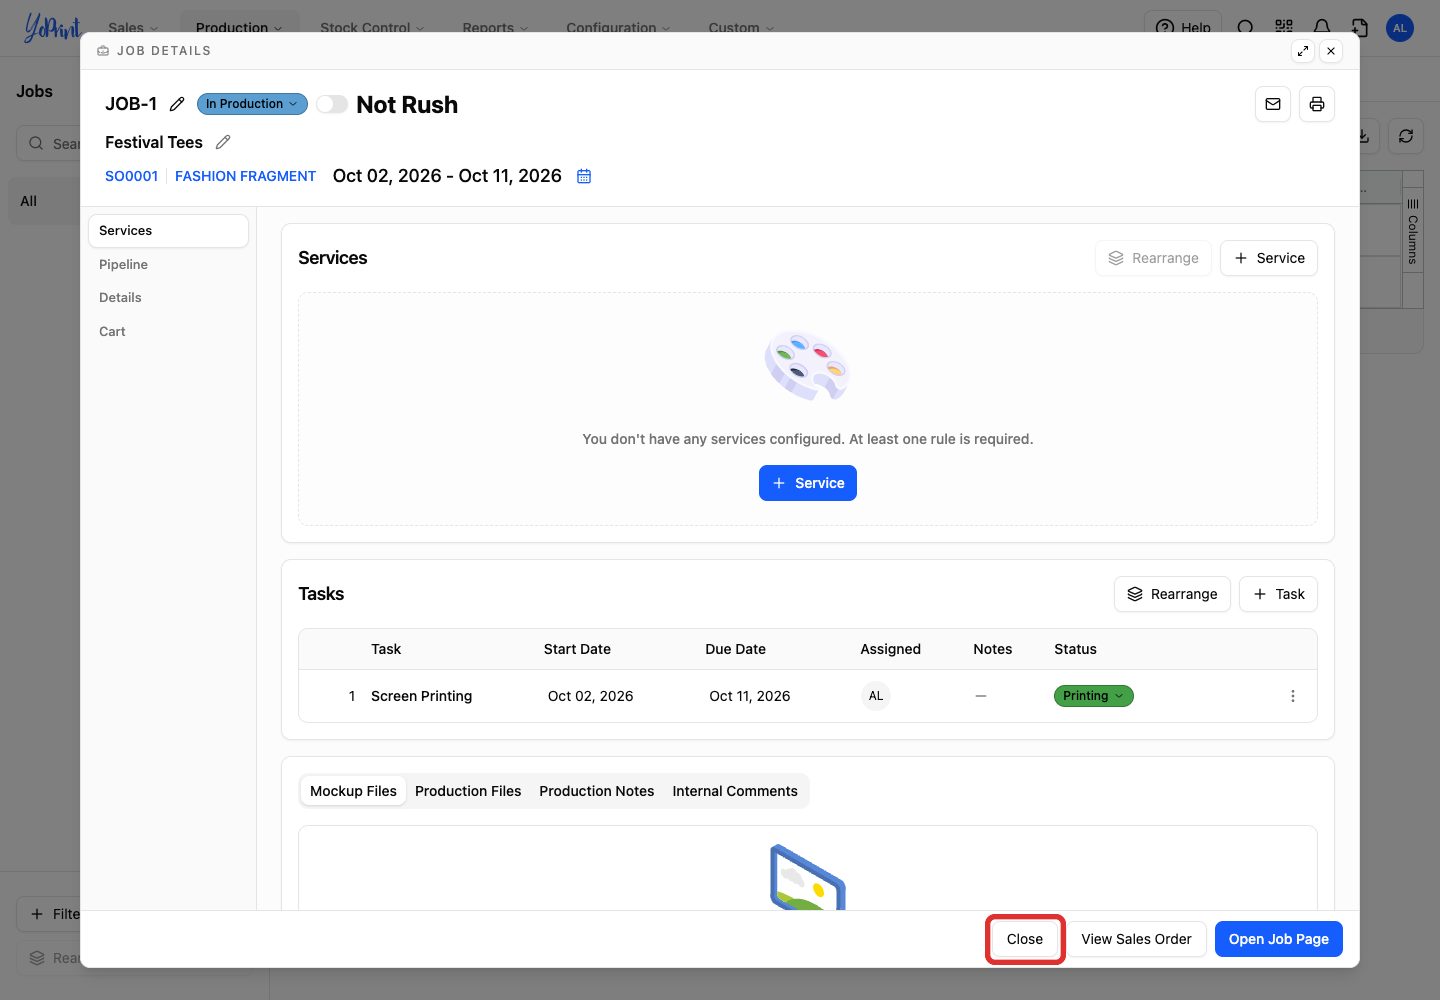
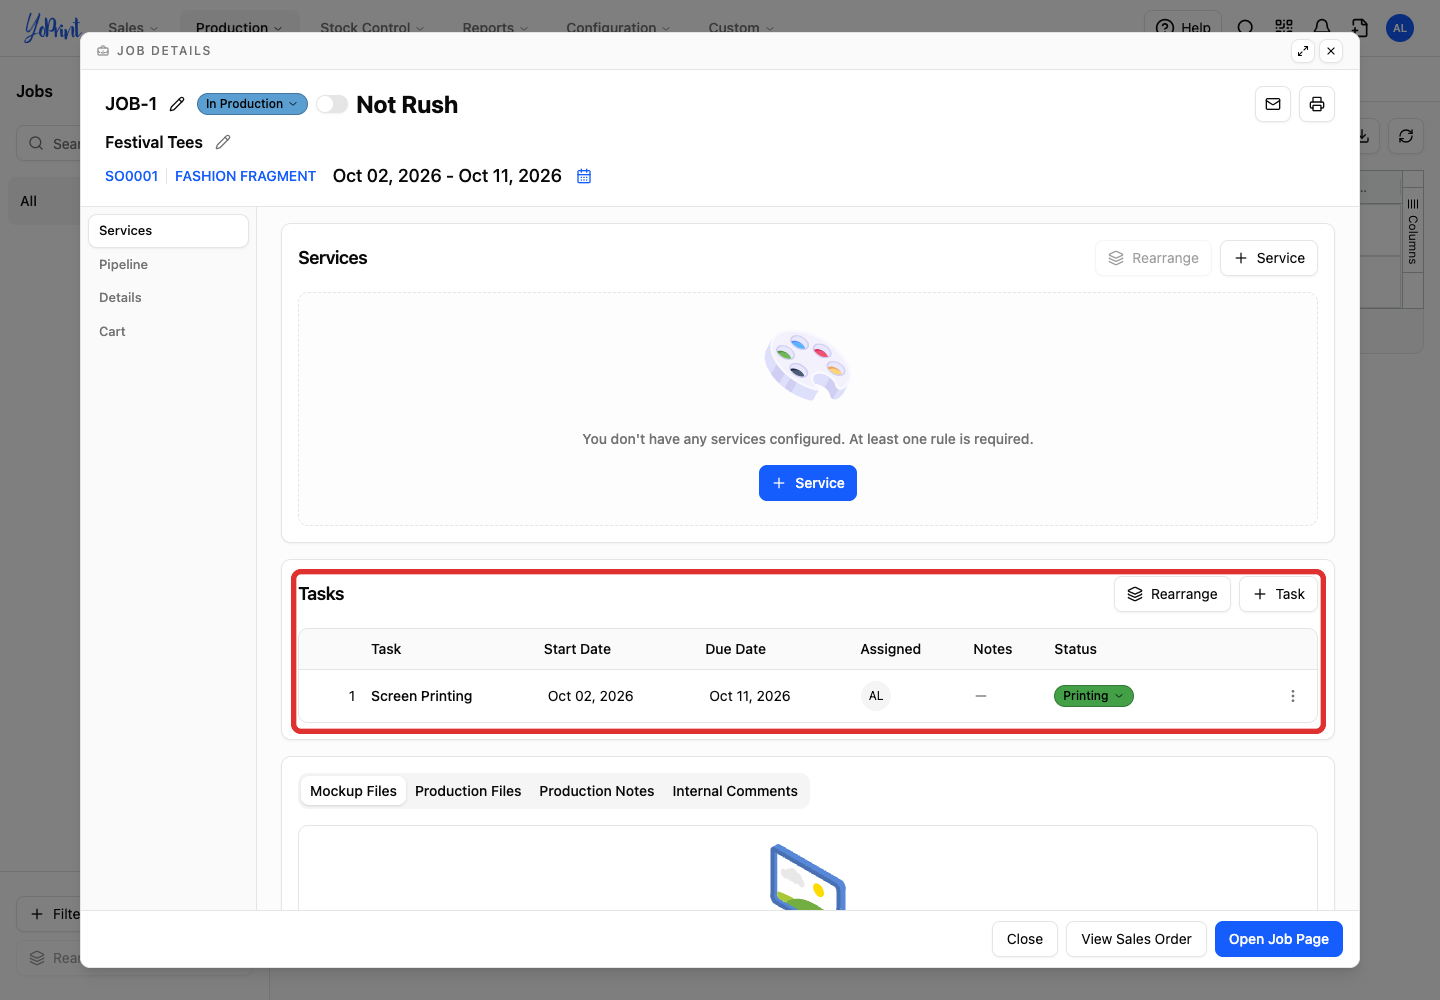
Review associated services, tasks, mockup and production file tabs, and line items within the job details modal. You can assign the job to a teammate so they can see the work they are responsible for.
-
Click Close when finished.