Create Orders for Pickup
In this article
In YoPrint, you set pickup on individual shipments rather than the whole order. Set a shipment's shipping type to Pick Up when your customer will collect their products from your shop. An order can have any number of pickup shipments and any number of delivery shipments, each with the products, quantities and destination you assign to it.
Before you start
Open an existing order from Sales > Sales Orders, or click + Sales Order to create one. Start with a quote or sales order that has a customer, a job and products added. See Create a Quote for the order-entry steps. The order must have at least one job and product before you can add a shipment. Add Shipment stays disabled until a product exists on the order.
YoPrint uses your primary shop address by default. If your shop has multiple locations or warehouses, see Adding Company Locations & Warehouses.
A shipment is optional for a straightforward pickup, but you need one to create a packing slip. If you do not need packing slips or collection tracking, you can complete and invoice the order without creating a shipment.
-
For an order collected entirely in person, leave Default Ship To blank.
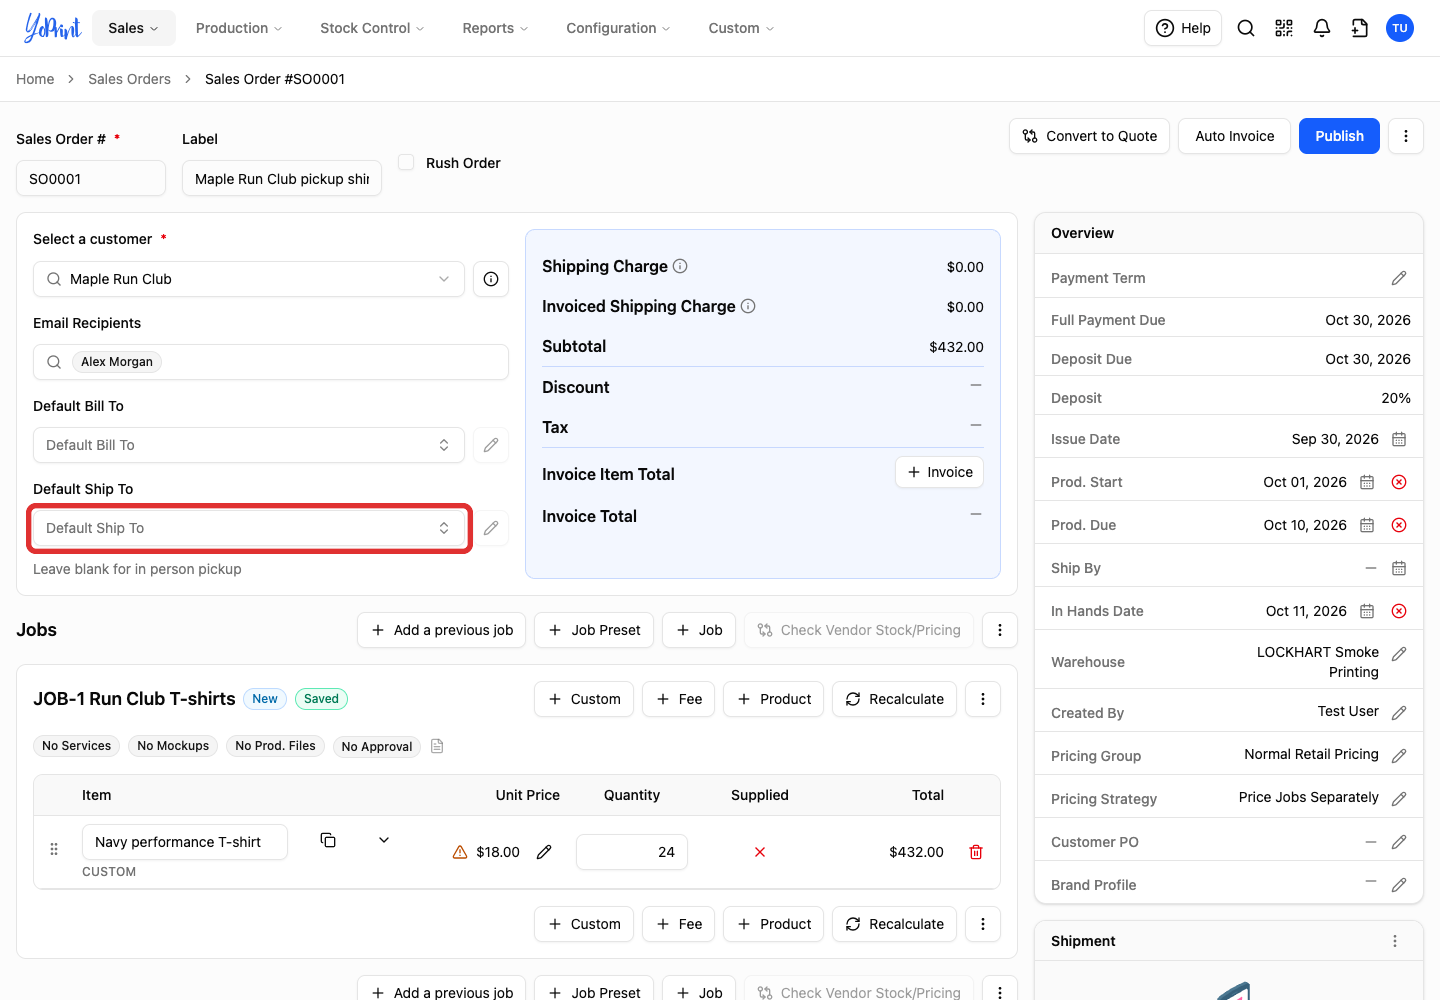
On a published order, this field appears as Ship To. If your customer has a saved shipping address, you do not need to clear it; the pickup shipment location overrides it. Default Bill To is the customer's billing address. It does not choose the pickup location.
Add a pickup shipment
You can add a shipment while creating the order or after publishing it.
-
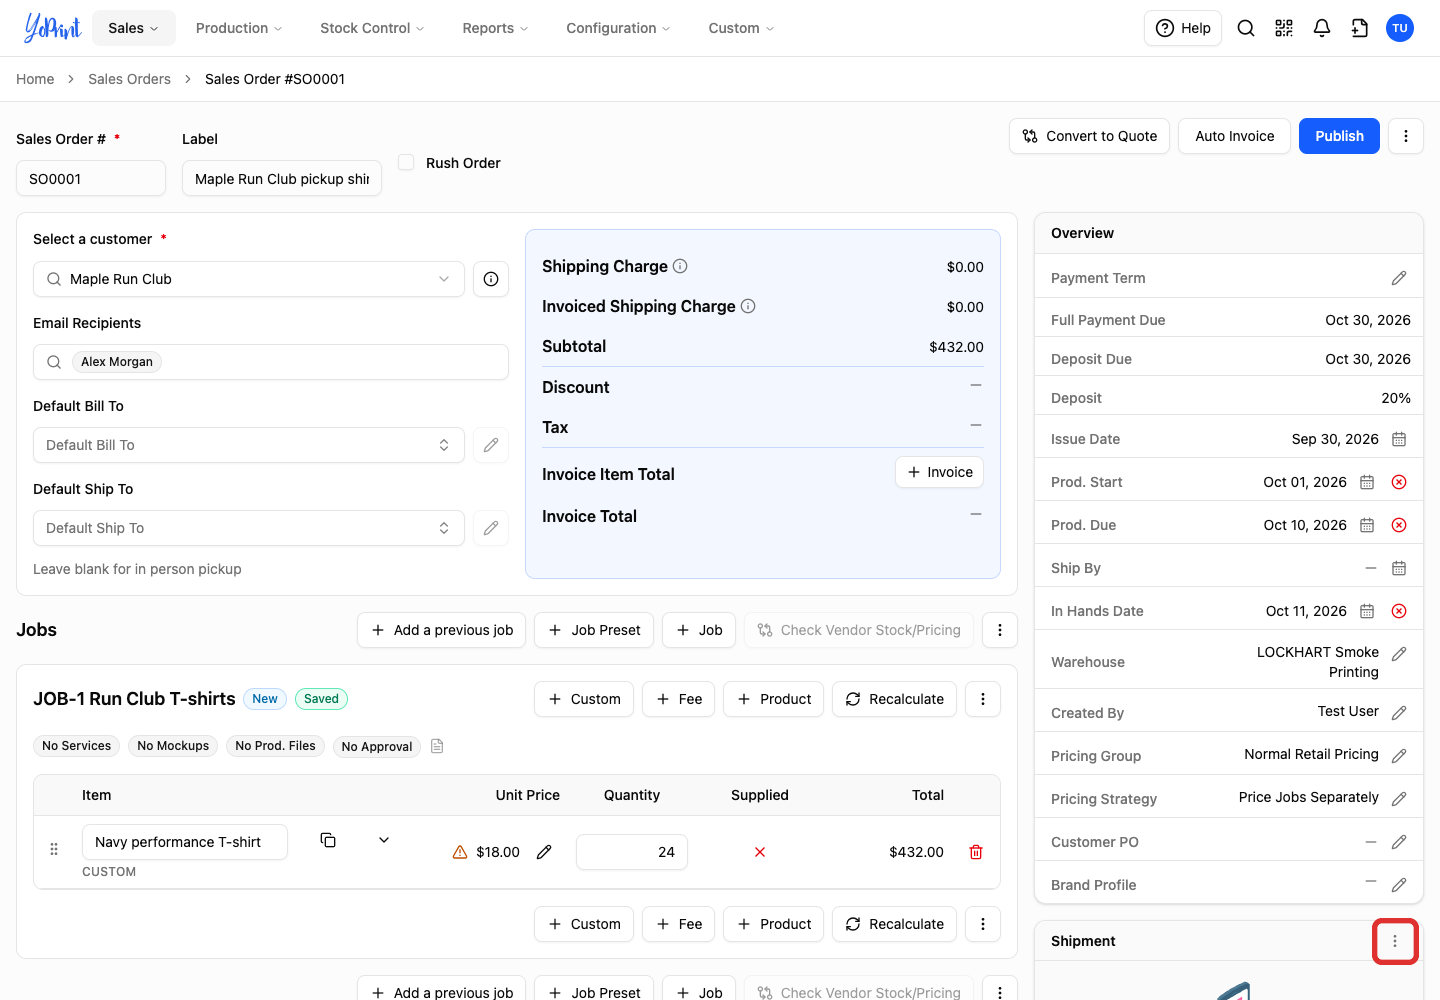
In the Shipment section, click the three-dot Shipment Actions menu in the heading.
-
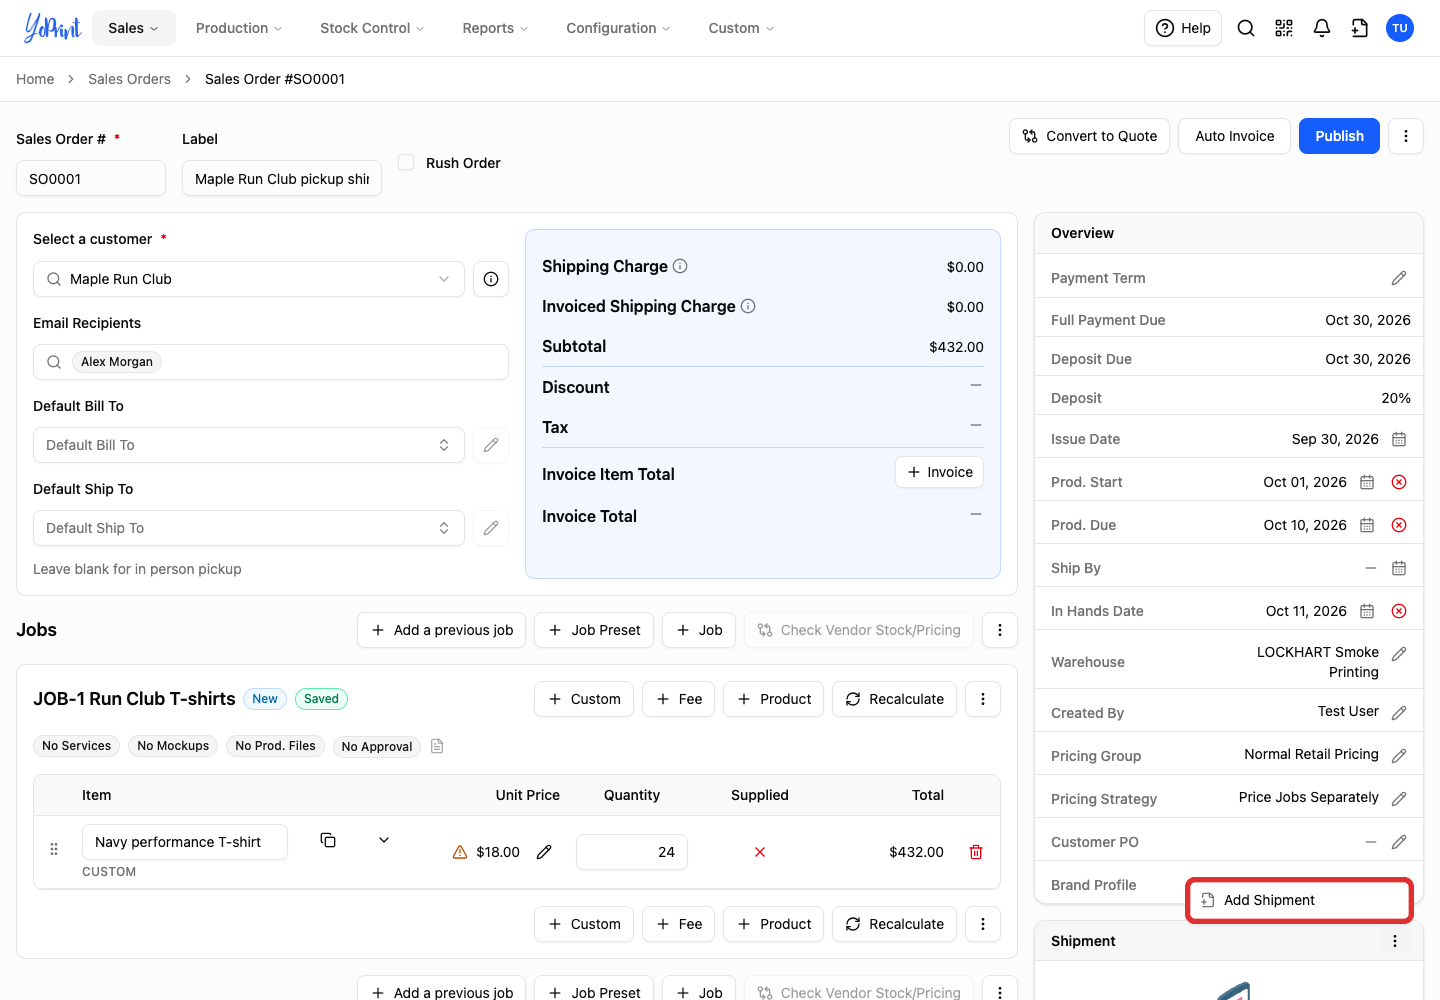
Choose Add Shipment.
-
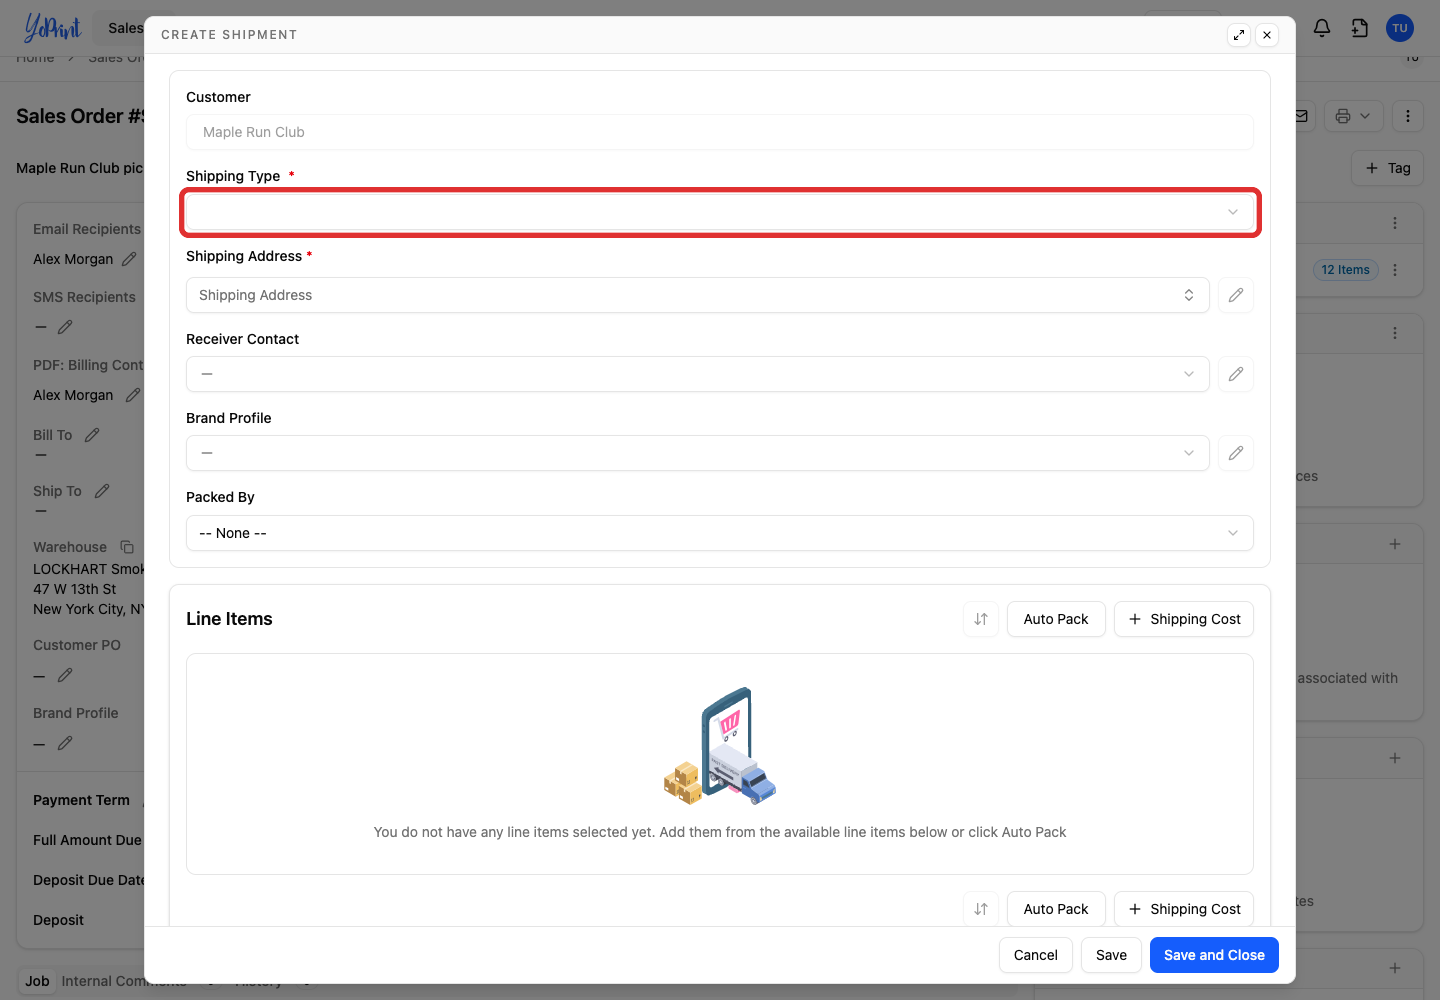
Open Shipping Type.
-
Choose Pick Up.
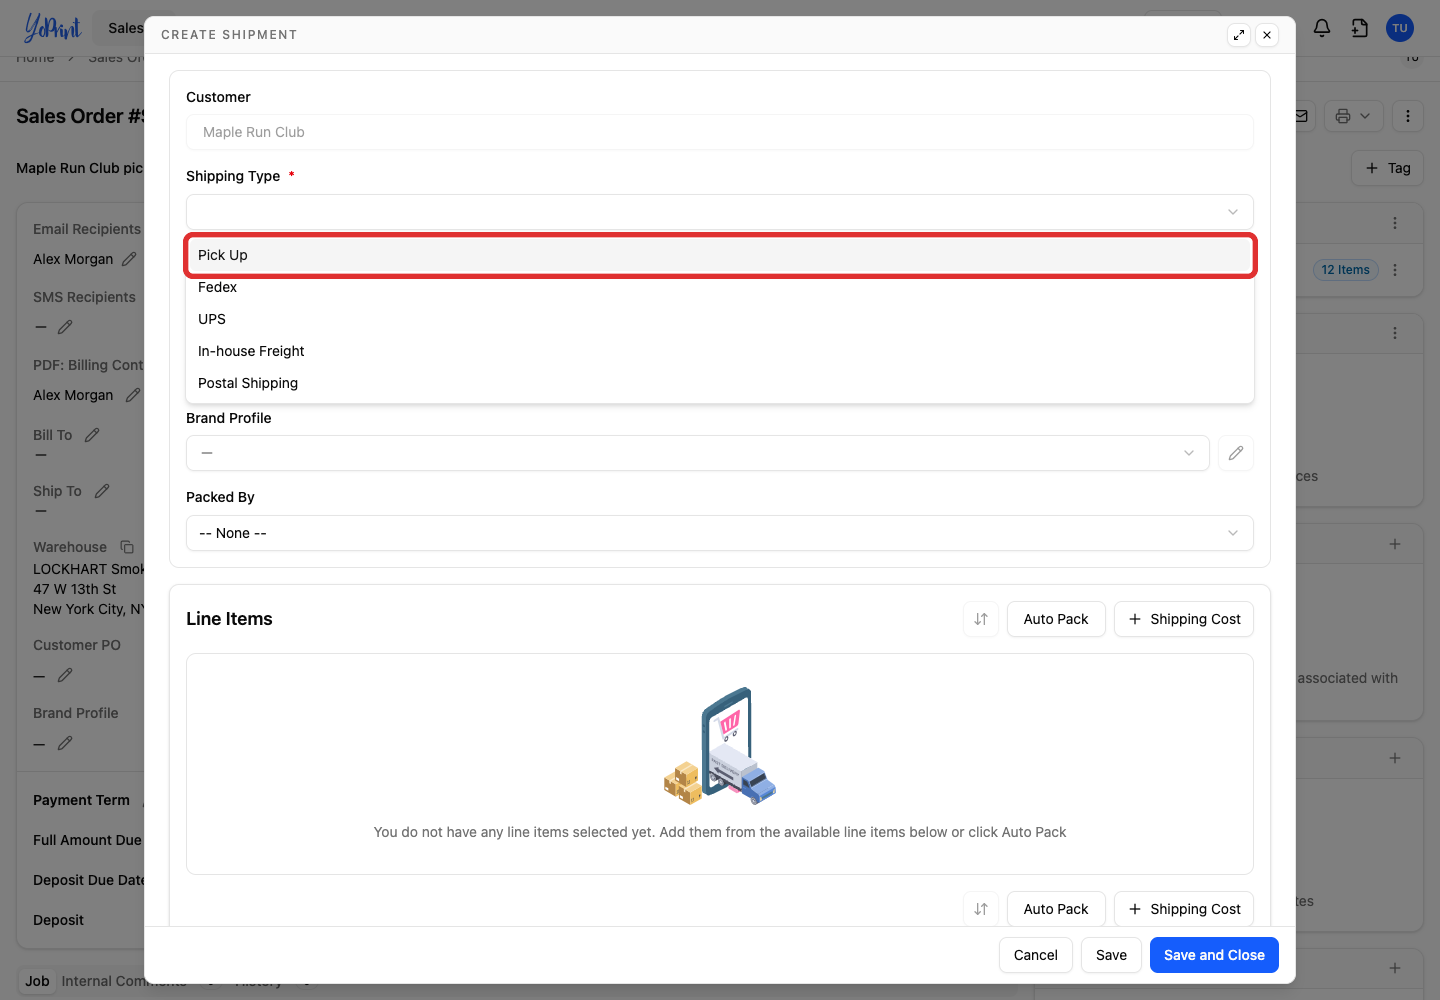
-
Open Shipping Address to check the pickup location.
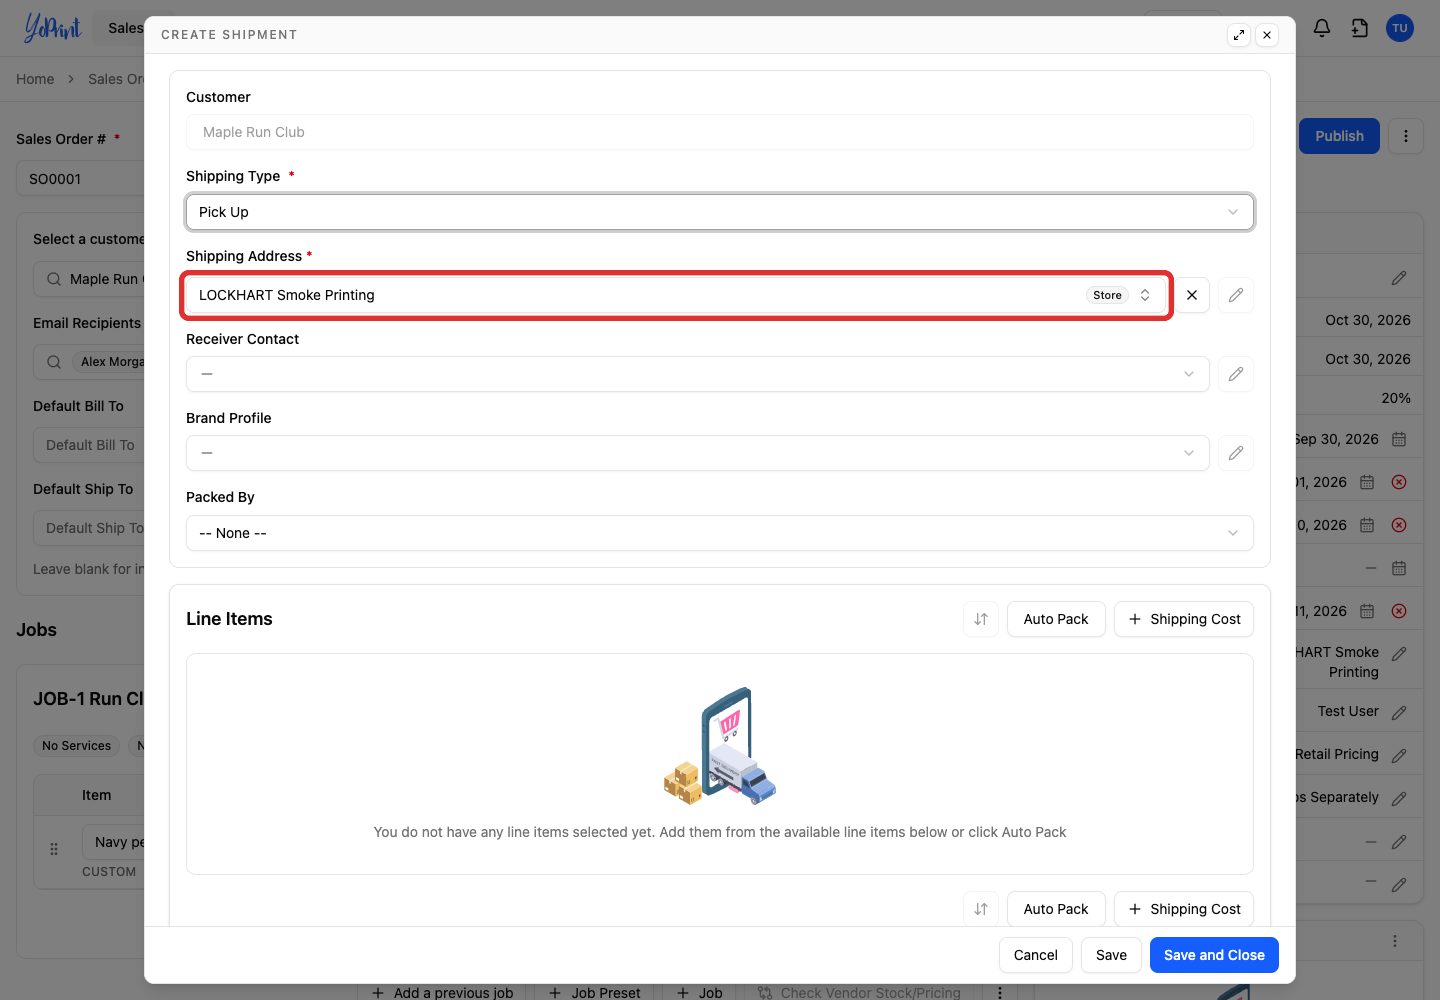
YoPrint automatically fills this field with your primary shop address.
-
Select the location where the customer will collect the products.
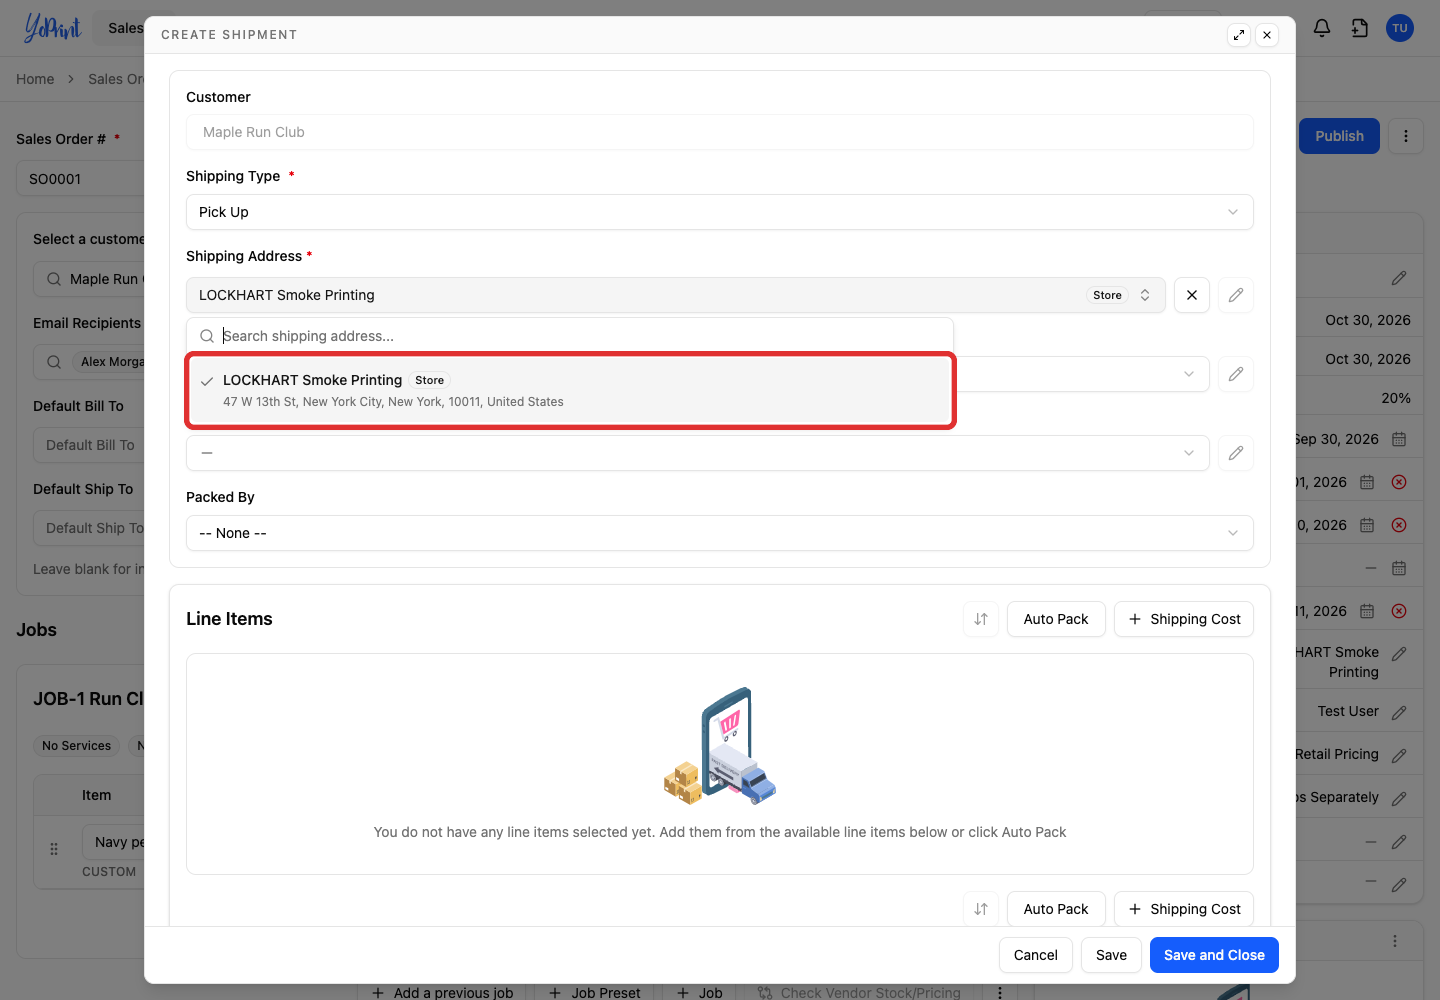
Receiver Contact, Brand Profile and Packed By are optional. These internal records do not notify the customer or restrict who can collect the order.
-
Click Auto Pack to add the order's remaining available products to this shipment.
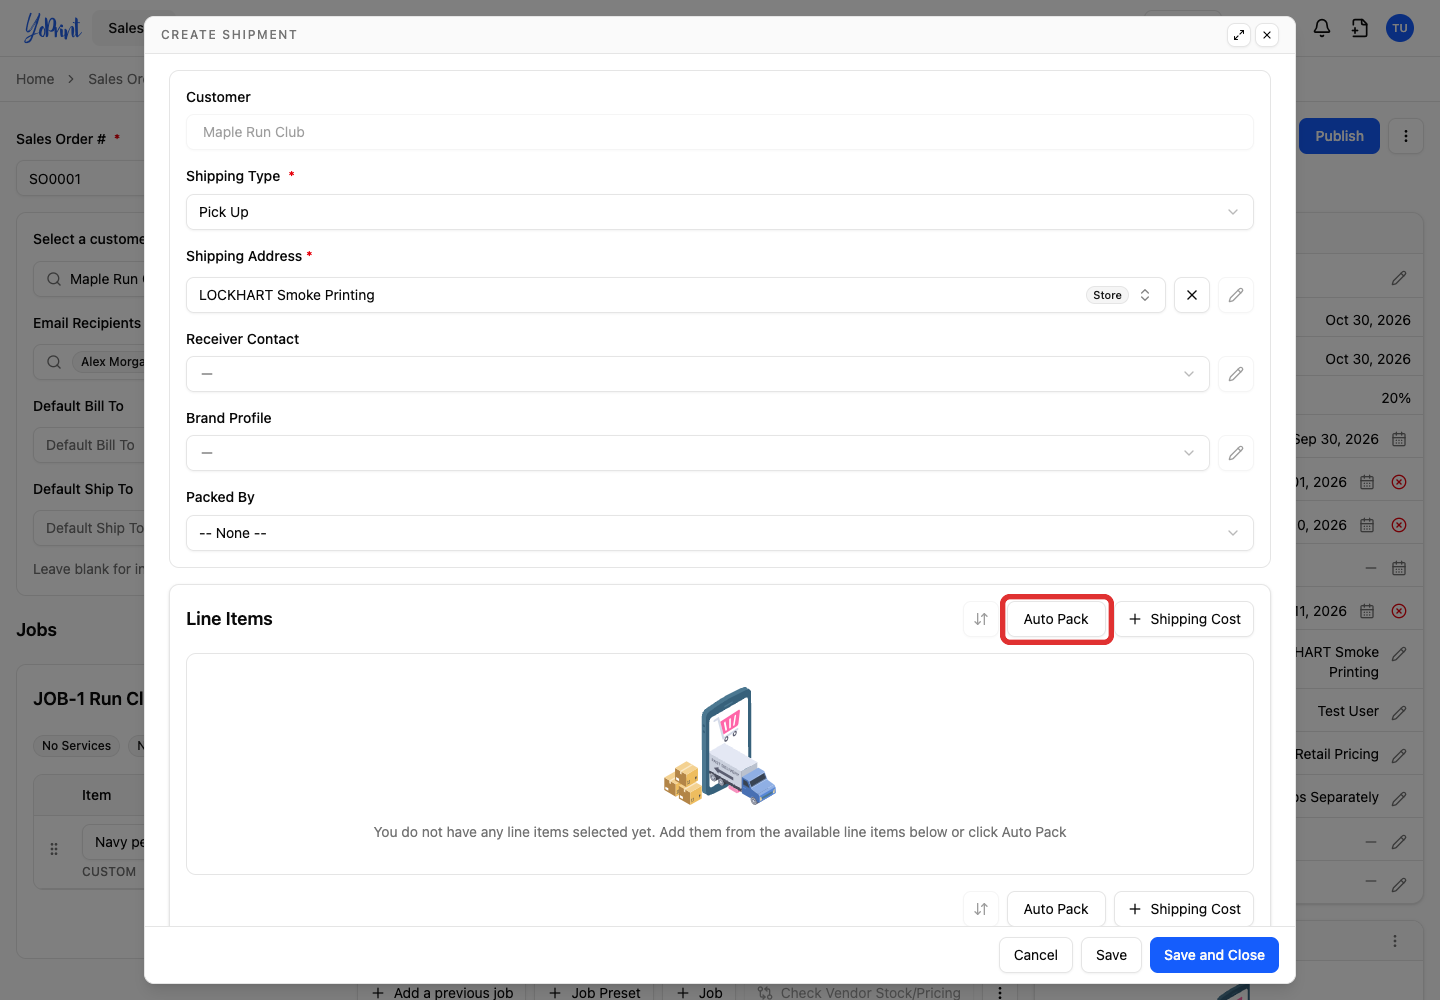
Auto Pack adds all unpacked products from every job on the order into the shipment. To pack only specific items, click Add on each row instead.
If only part of the order is for pickup, enter the collected quantities in the Qty column before saving. You can also adjust quantities later by editing the shipment. The editing steps show a 24-item order split into 12 for pickup and 12 for another shipment.
Add a charge if needed
Pickup does not require a shipping charge. Use this charge if you add a packaging or handling fee. Skip this section if there is no charge.
-
Click Shipping Cost.
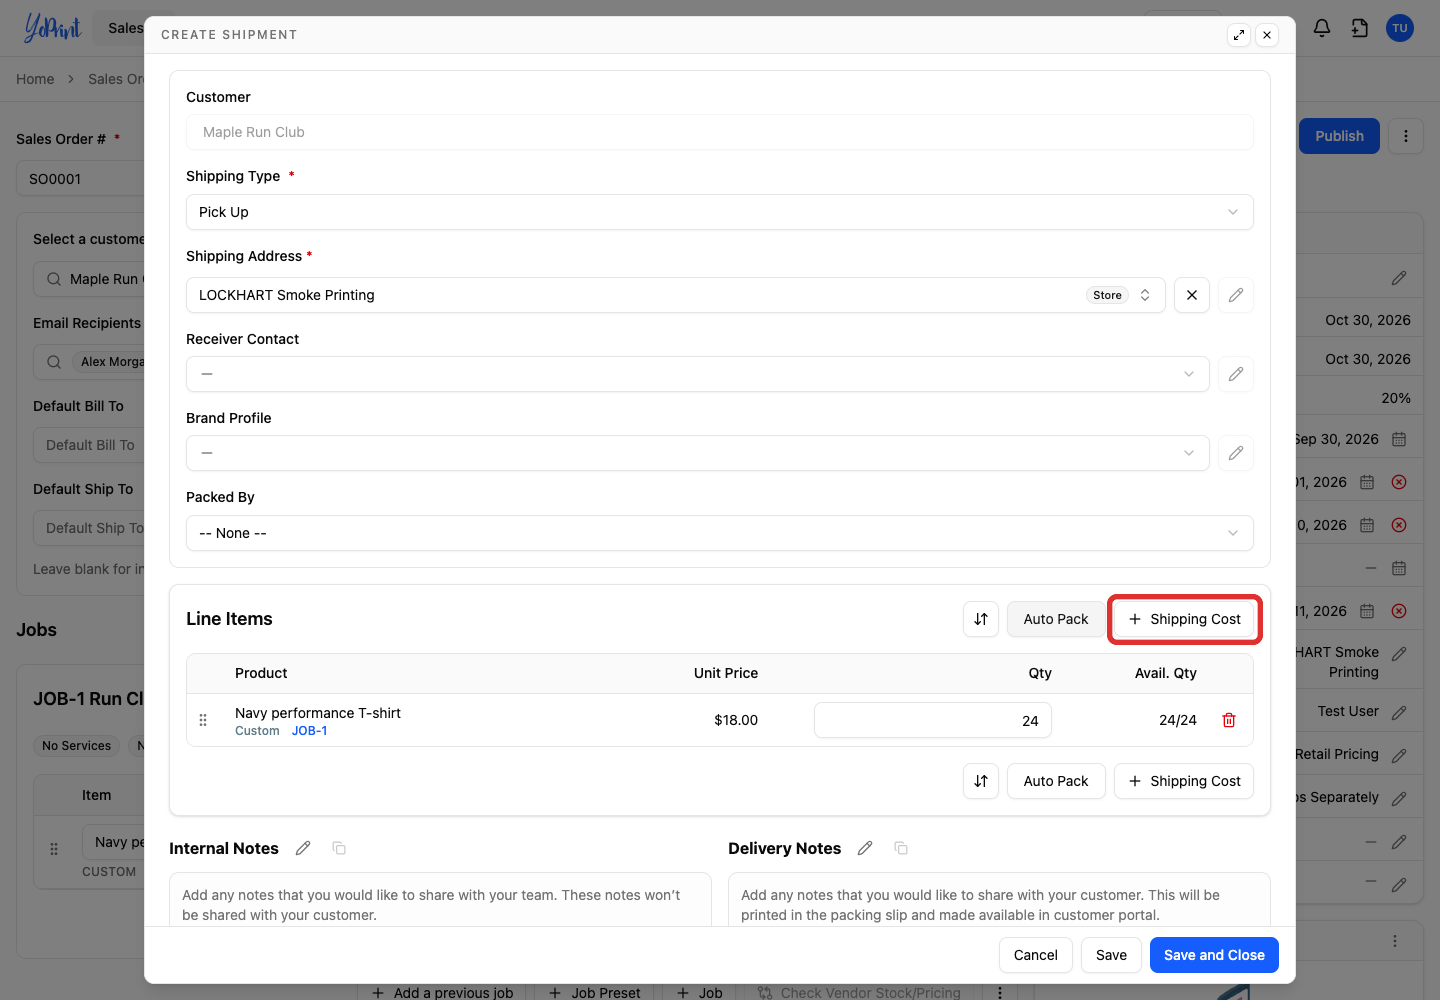
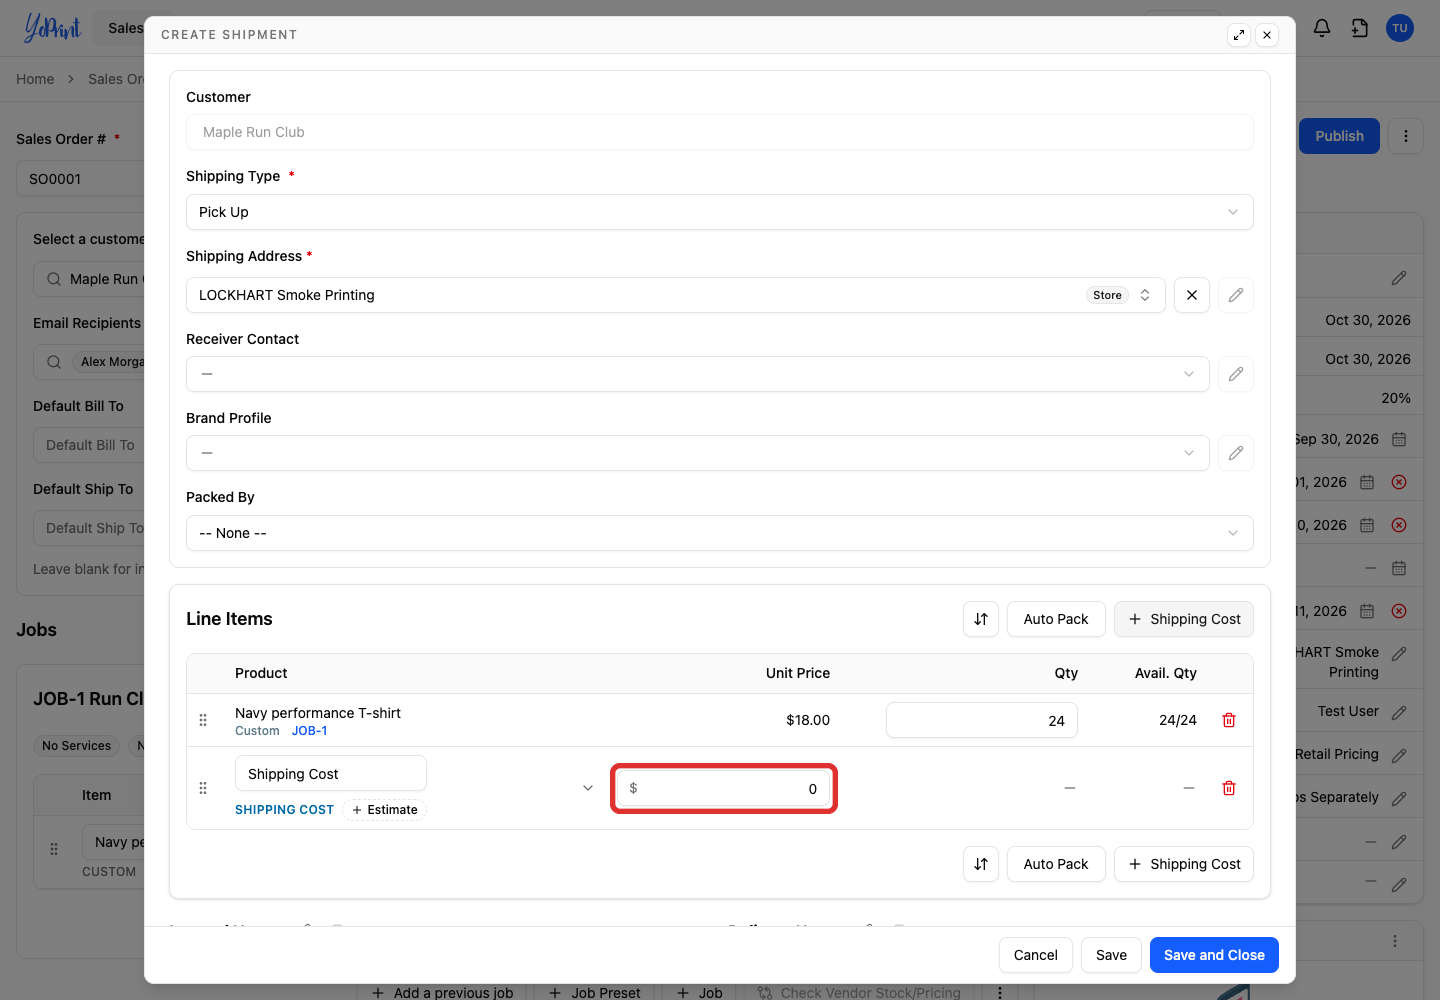
This adds an estimate line item to the shipment. Click Remove on the row if you add it by mistake.
-
Enter the amount in the shipping-cost row.
Save the pickup shipment
-
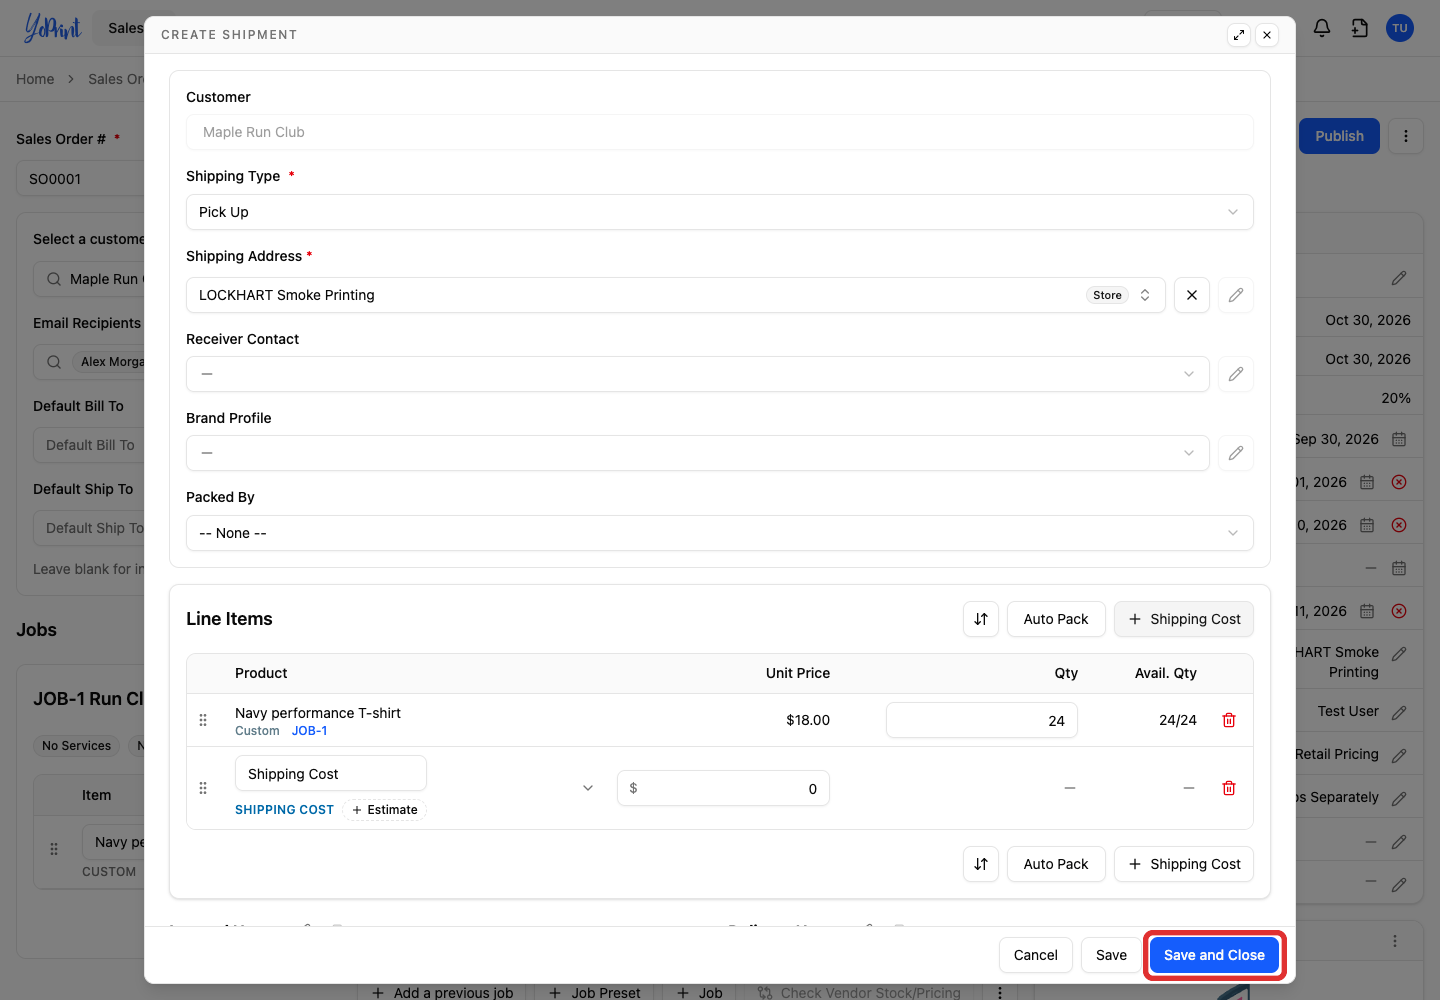
Click Save and Close.
-
If you are creating a draft quote or sales order, click Publish when the order is complete.
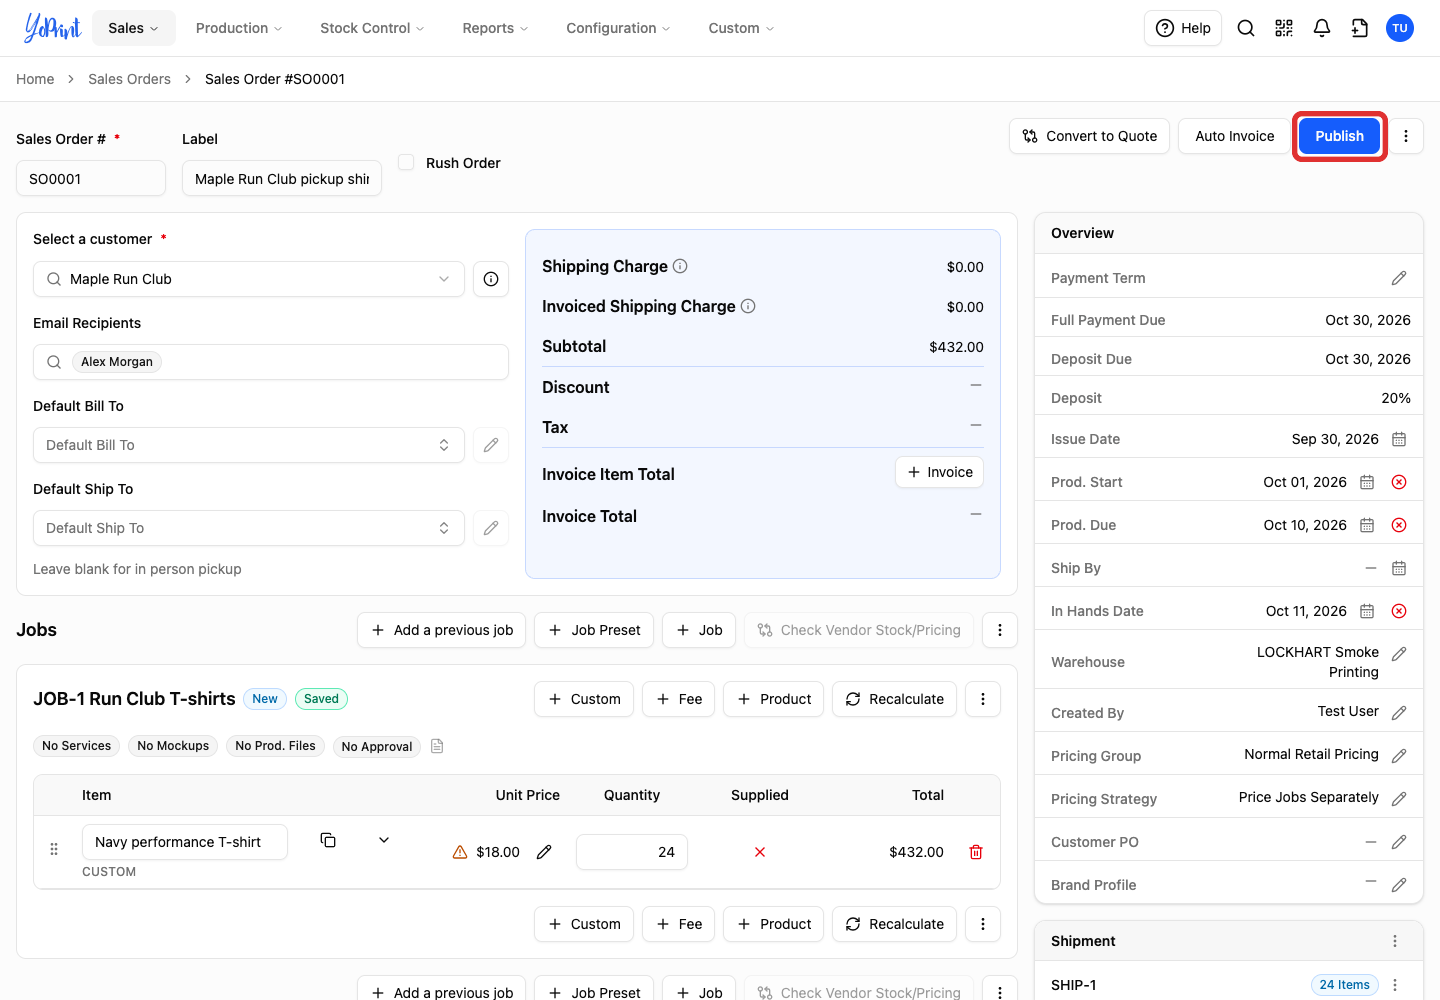
Published orders save changes immediately and do not show a Publish button. The shipment appears in the order's Shipment section with its item count. Publishing saves the order as an active quote or sales order; it does not mean production is finished or the customer has collected it.
To track collection, click the status button on the saved shipment (initially Pending) and select Shipped / Picked Up when the customer collects their order. To print a packing slip, click the shipment's three-dot menu and choose Download > Packing Slip.
Change a pickup shipment
-
Click the three-dot SHIP-1 Actions menu beside the shipment you want to change.
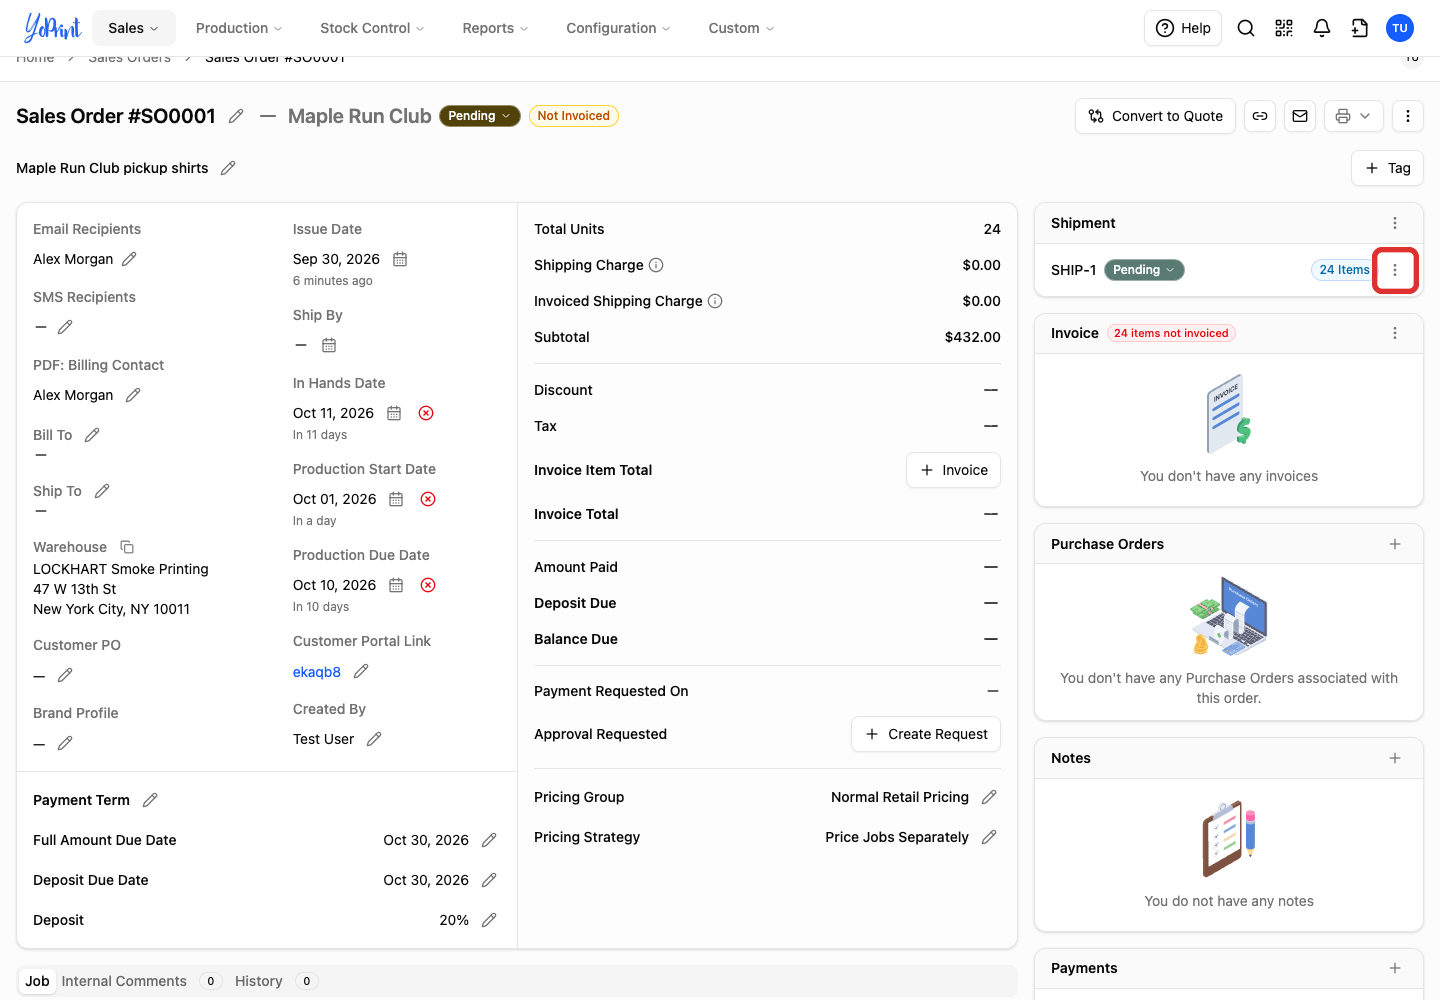
-
Choose Edit.
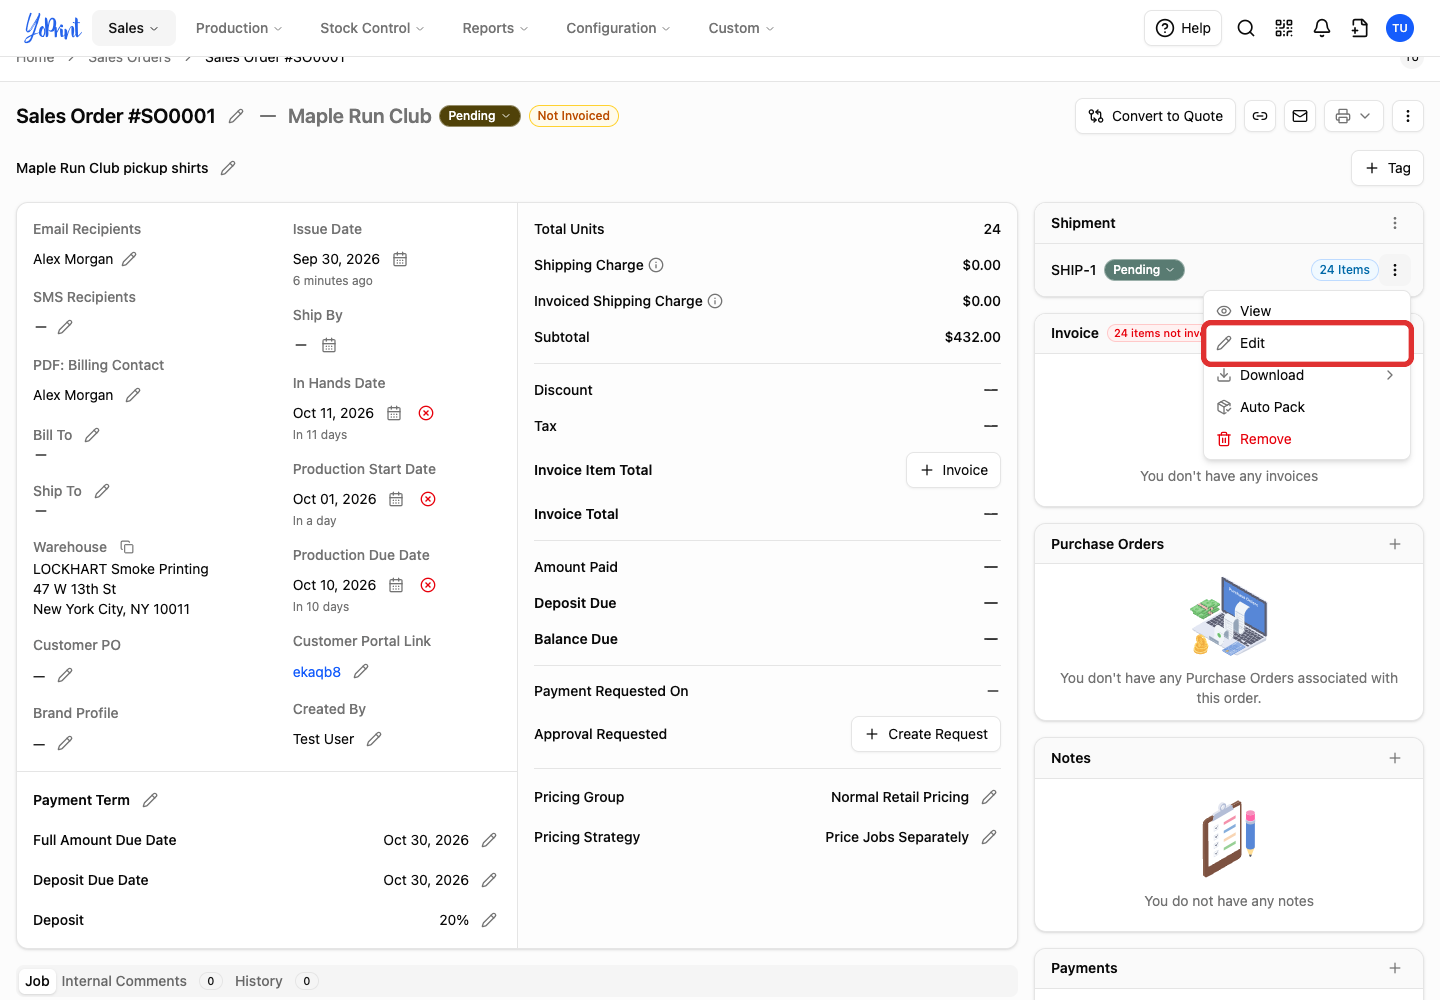
-
Adjust Qty for the products being collected. For example, use 12 when the customer will collect 12 of the 24 products.
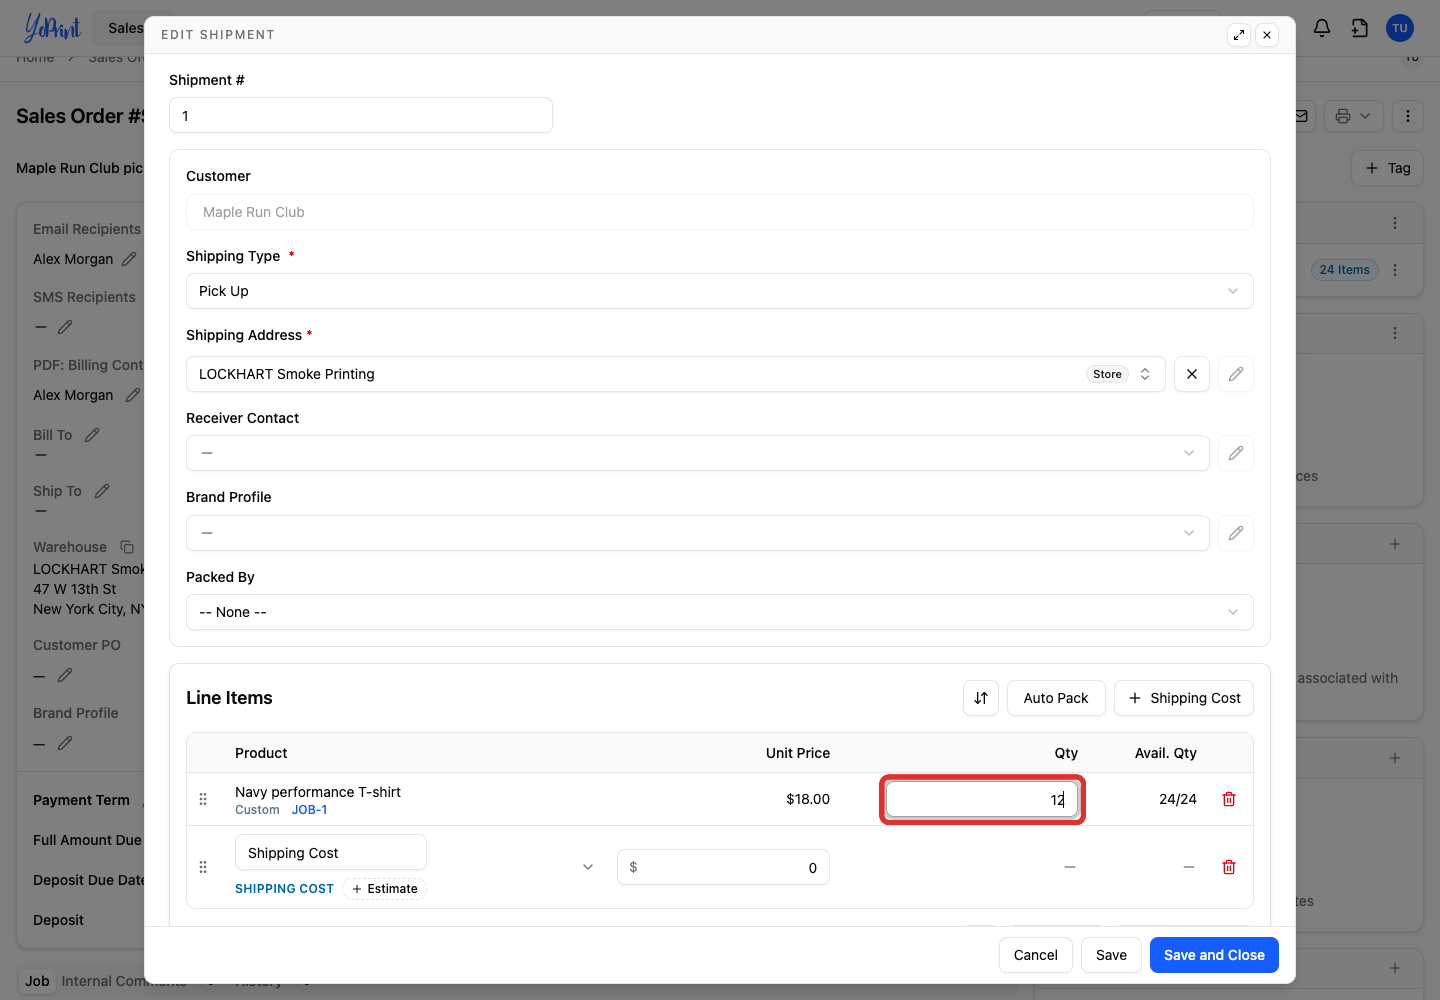
The dialog also contains Shipping Type, Shipping Address and the optional contact, brand and packer fields for other corrections.
-
Click Save and Close.
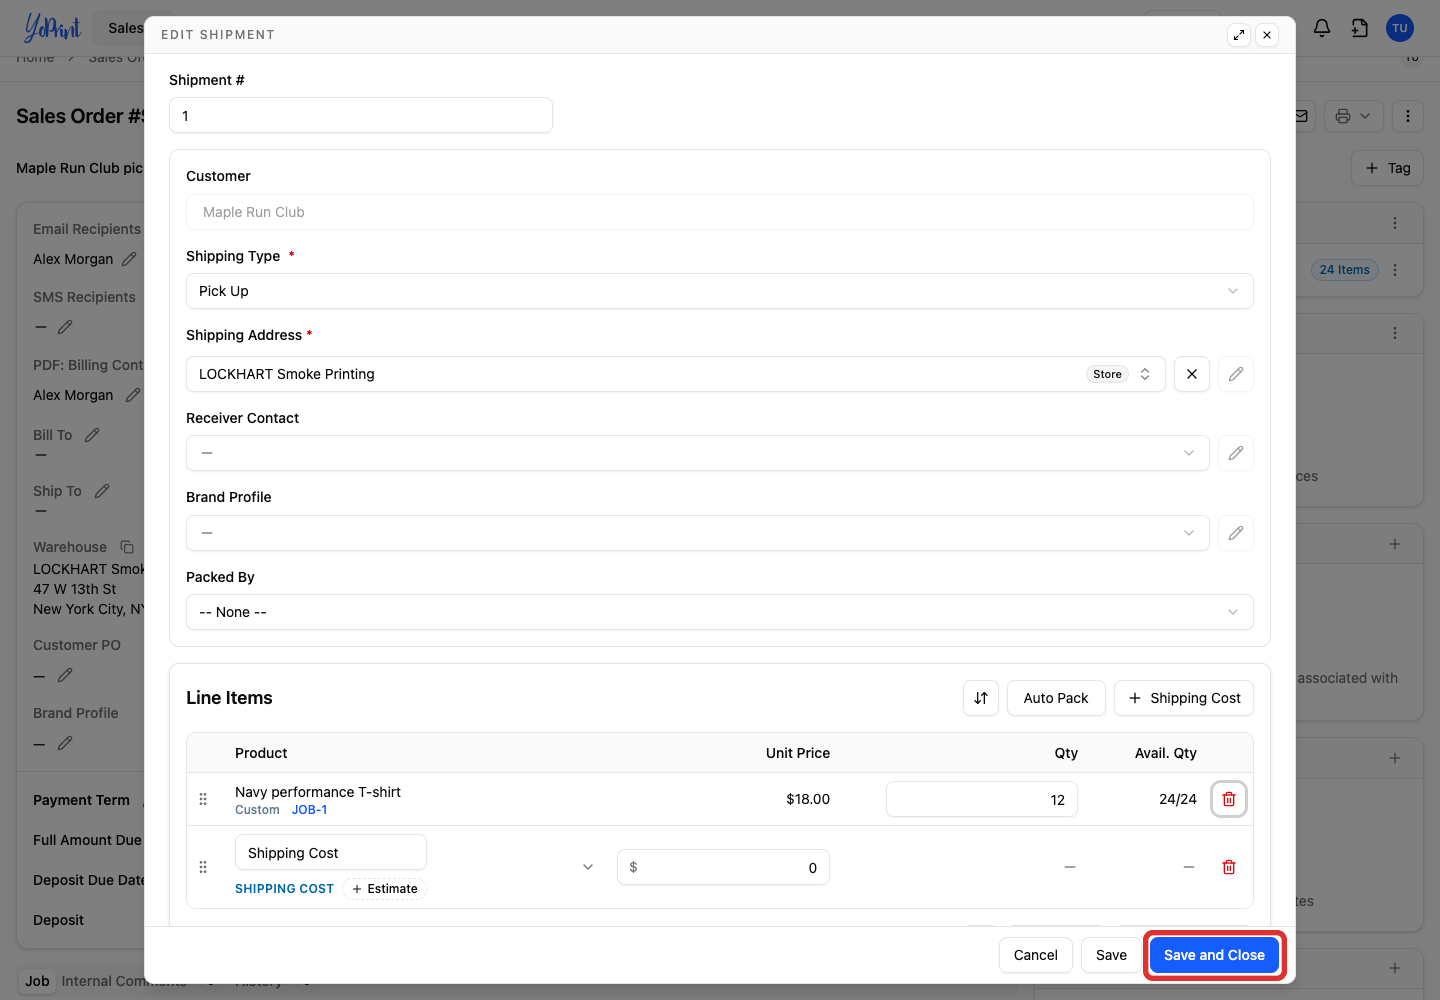
An order can hold as many pickup and delivery shipments as you need:
- Add each shipment from the Shipment heading's menu.
- For a pickup shipment, set its pickup location on the shipment itself. See Add a pickup shipment.
- For a delivery shipment, choose a delivery shipping type and the customer's delivery address. On a mixed order, set the order's Default Ship To to that address.
Each shipment has its own products, quantities and destination. The 12 of 24 in the steps above is only an example.