Update Your Profile Information and Security Settings
In this article
Your profile holds your name, photo, timezone, and sign-in email. You can also connect Google for single sign-on, change your password, manage your API key, and choose how sales orders open.
Open your profile
-
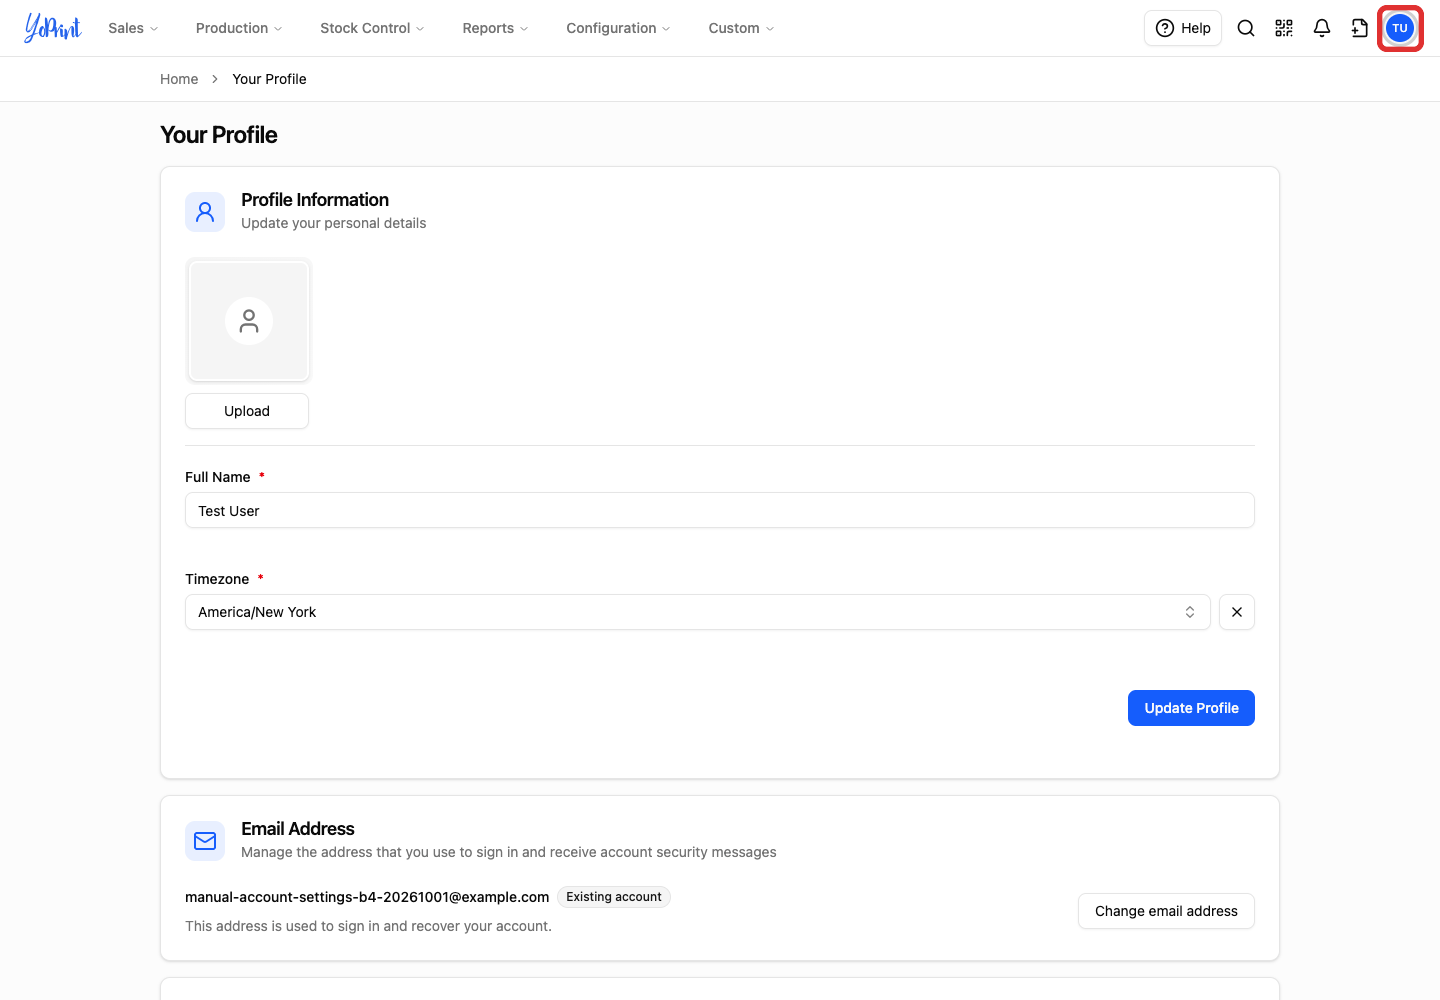
Click your profile icon in the top-right corner.
-
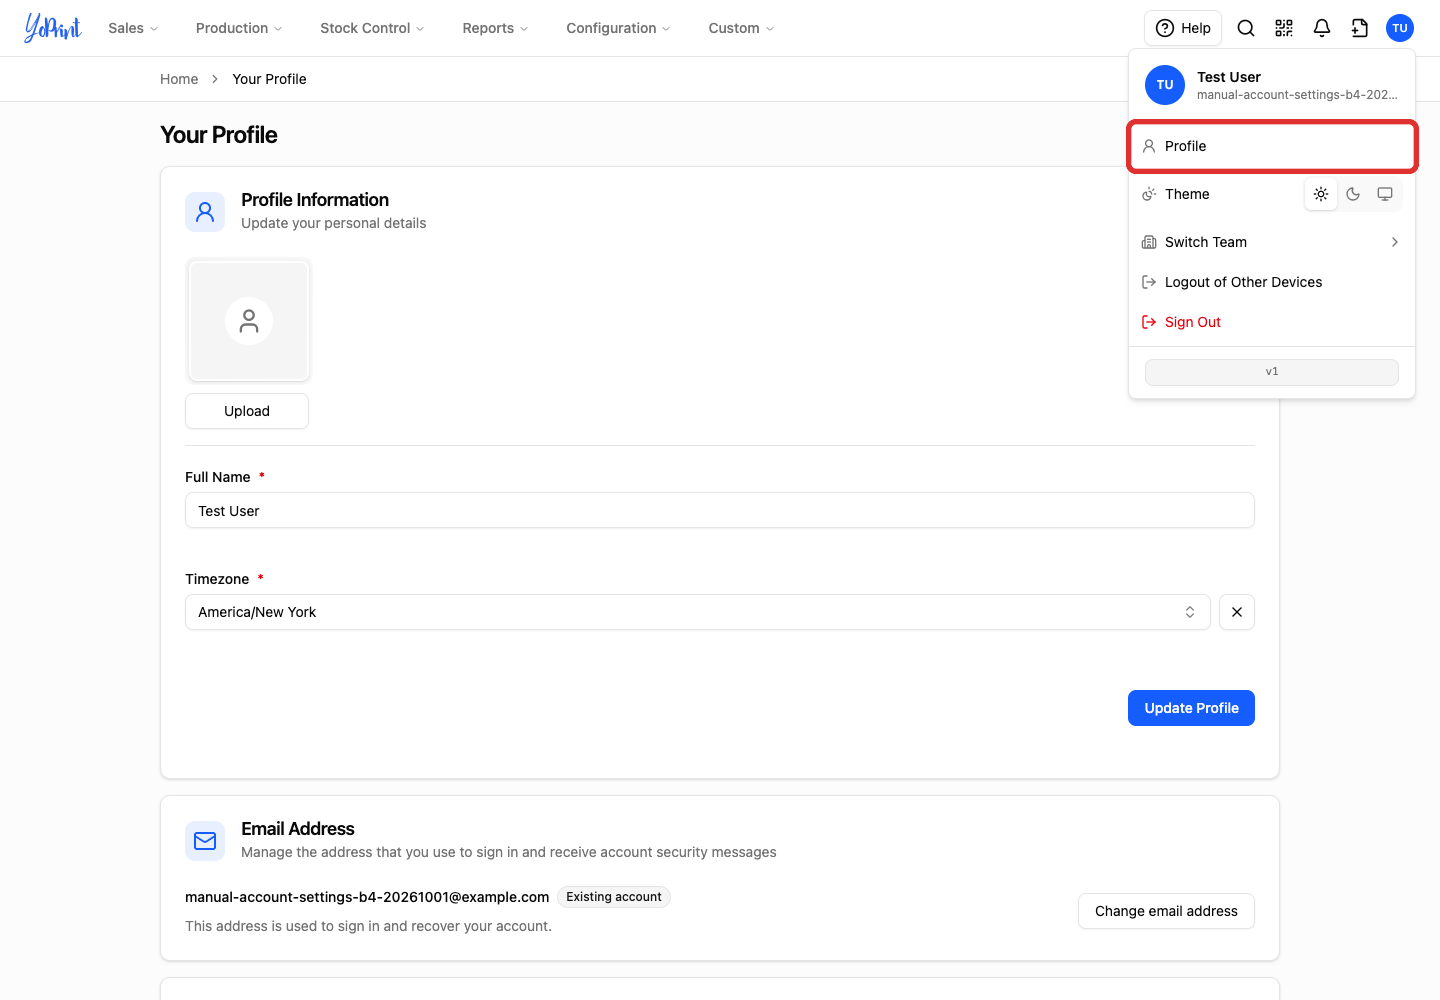
Select Profile.
Update your name and timezone
-
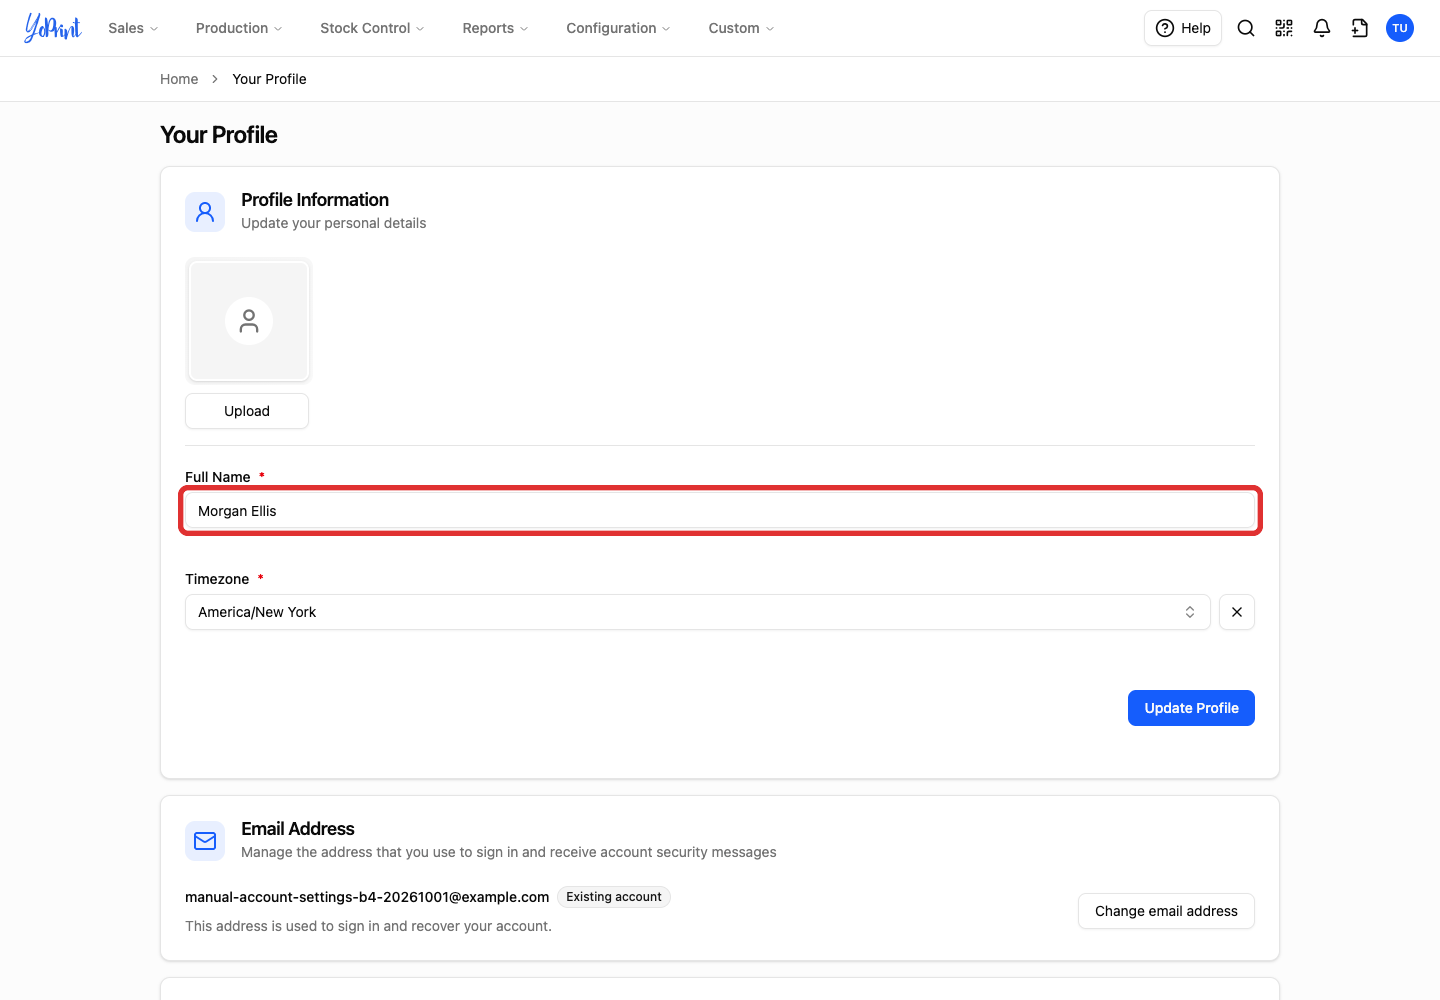
Under Profile Information, edit Full Name.
-
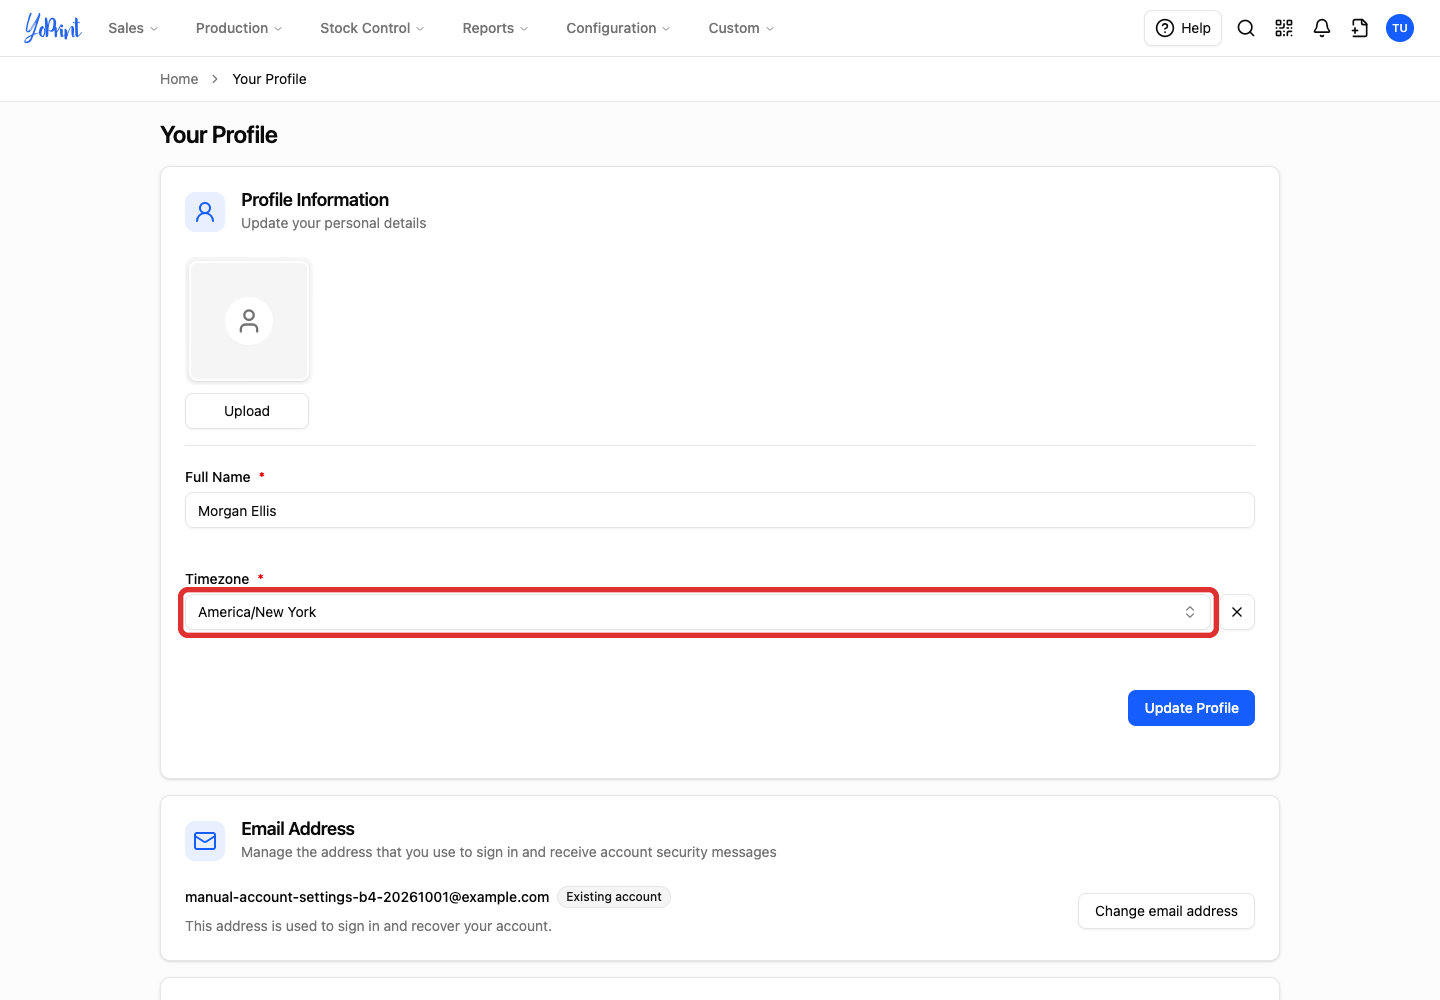
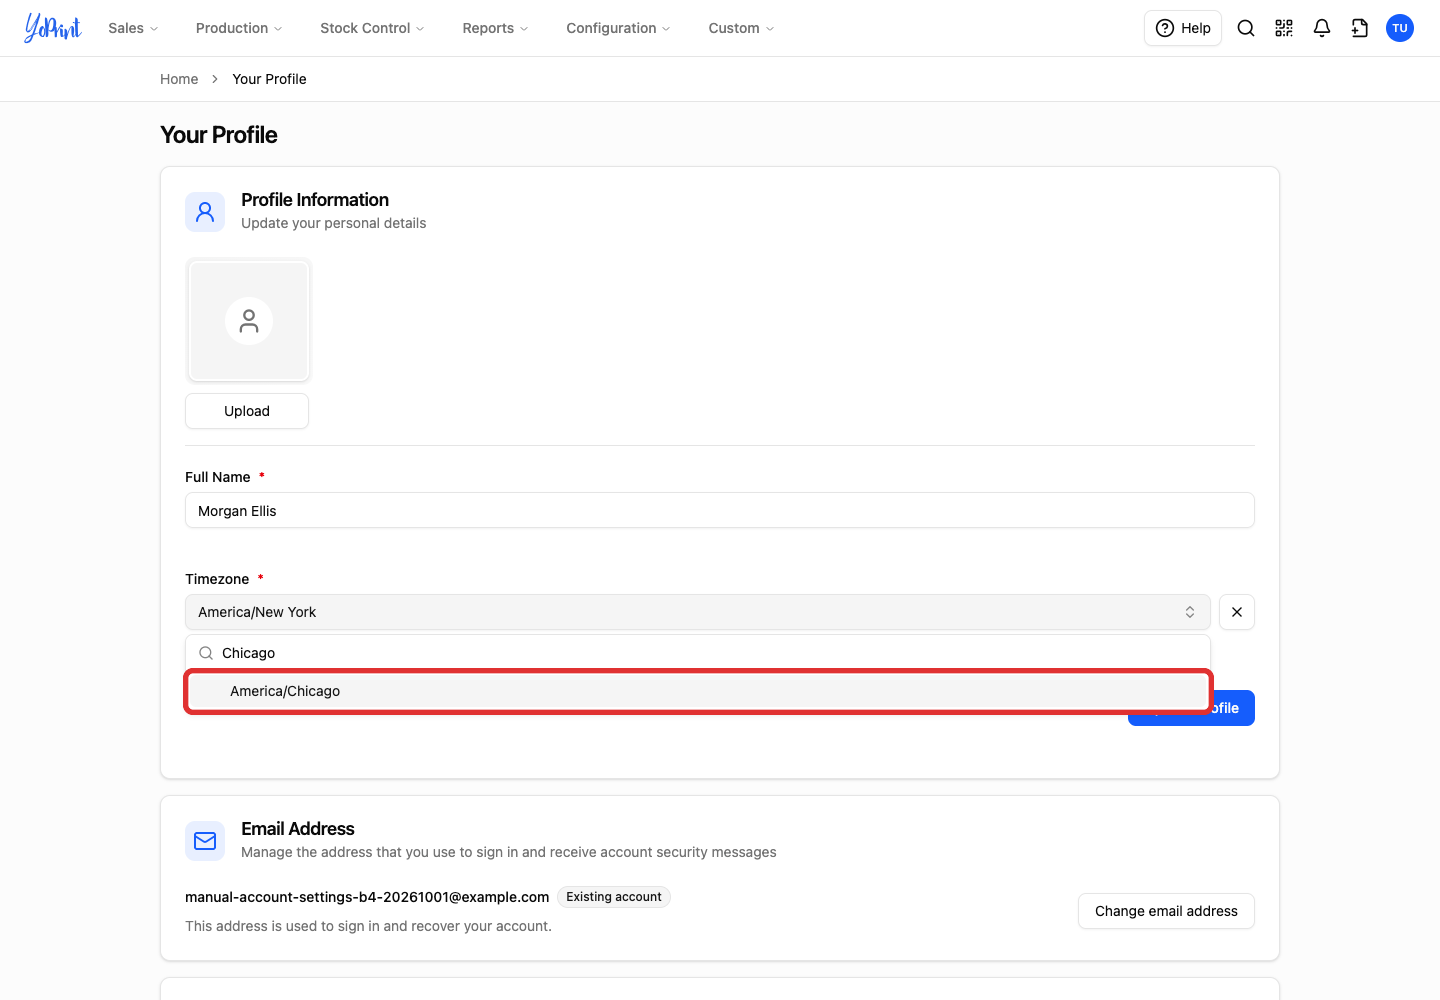
Open the Timezone list. Timezone is required; your selection controls timestamps and schedule dates across YoPrint.
-
Search for and select your timezone.
-
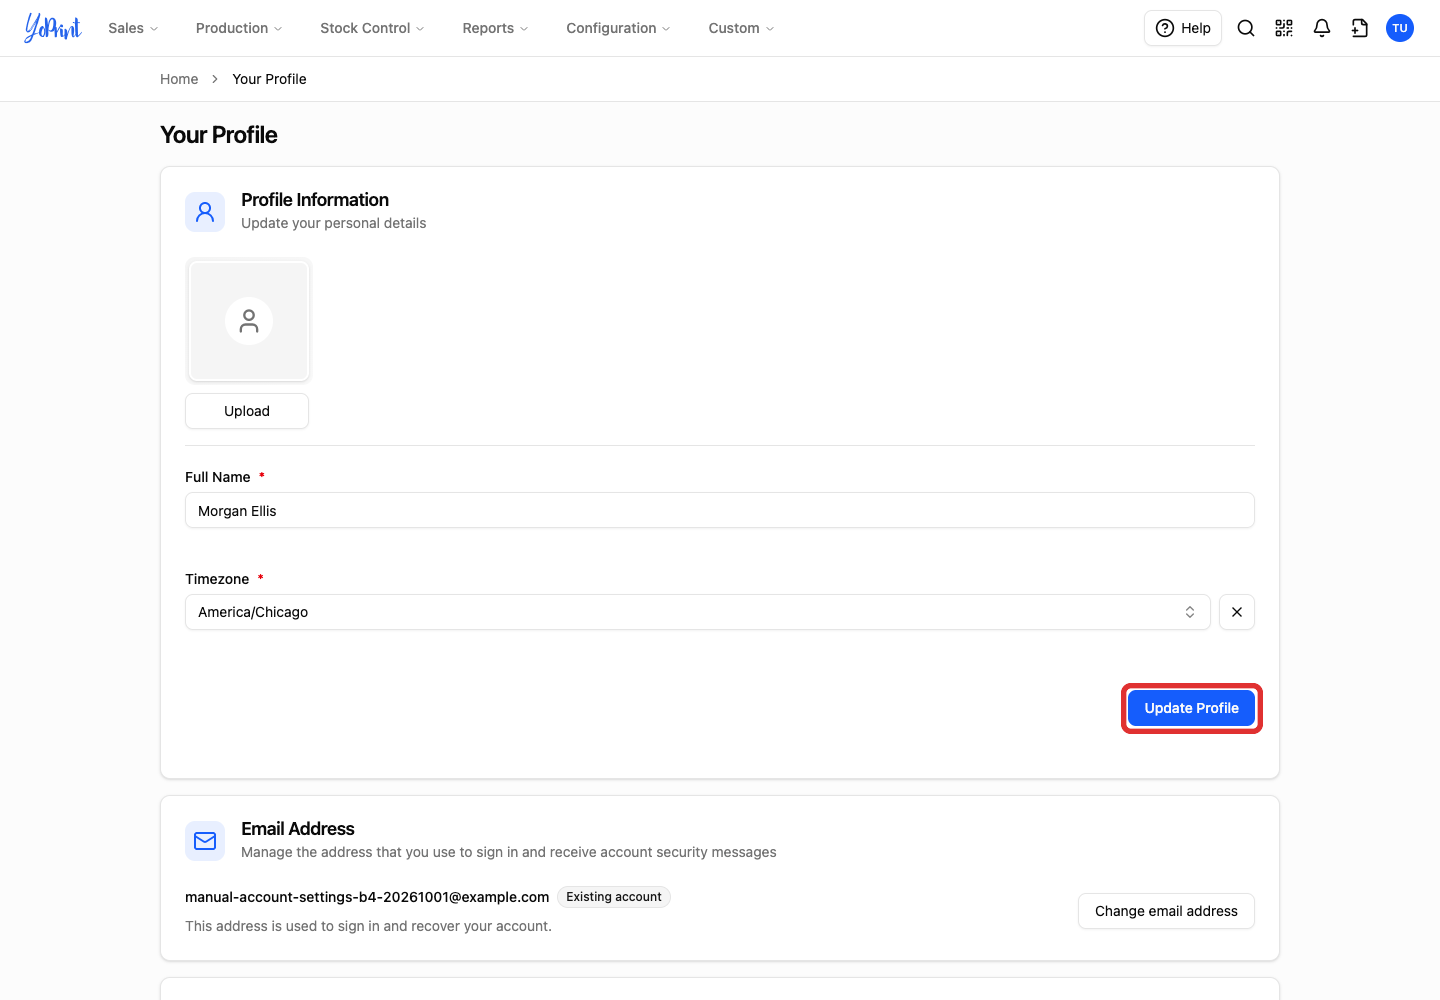
Click Update Profile to save your name and timezone.
Change your profile photo
-
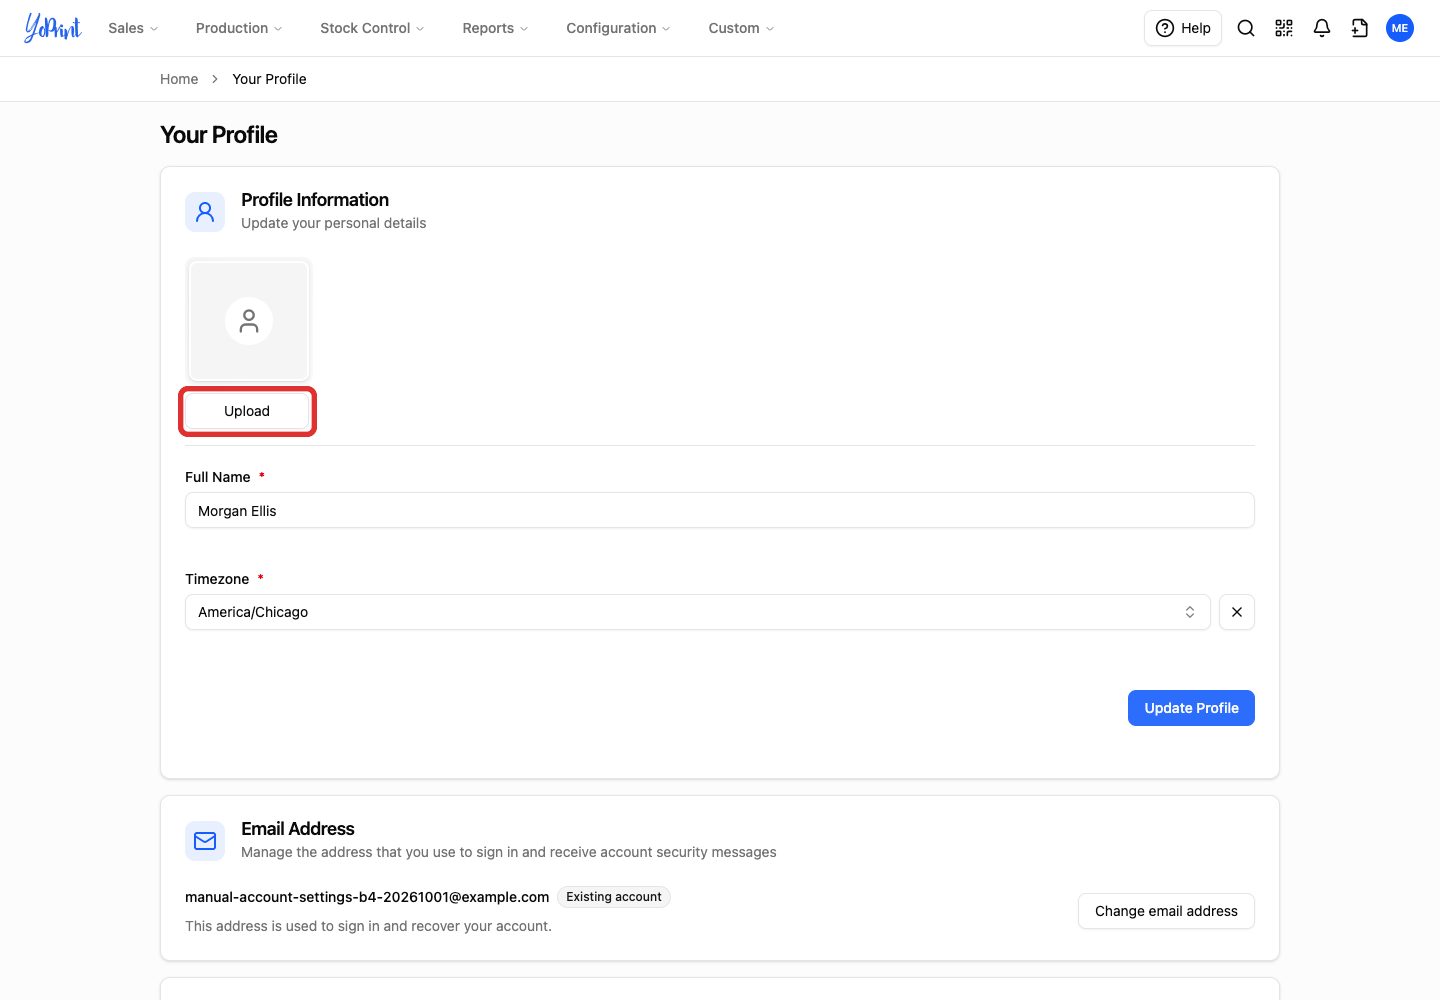
Click Upload under your profile picture and choose a square PNG or JPEG image from your computer. Your photo saves as soon as it uploads. Crop your image to a square before uploading; YoPrint does not crop photos or provide a way to remove an uploaded picture.
Change your sign-in email
You need access to both your current email address and the new one. YoPrint sends a verification code to each address before changing your sign-in email.
-
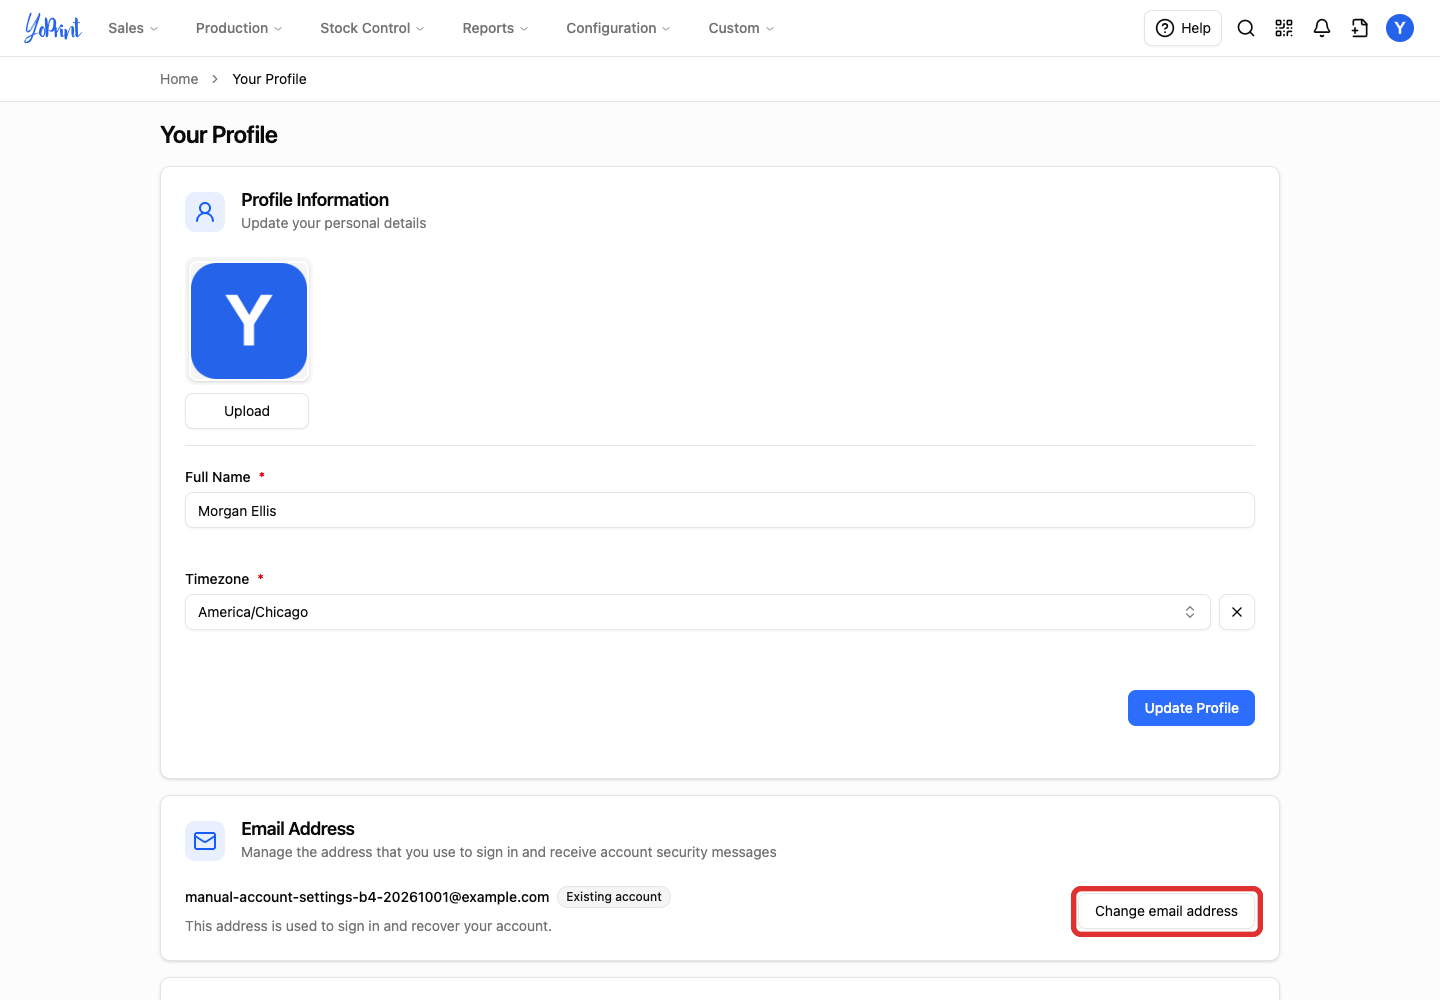
Under Email Address, click Change email address.
-
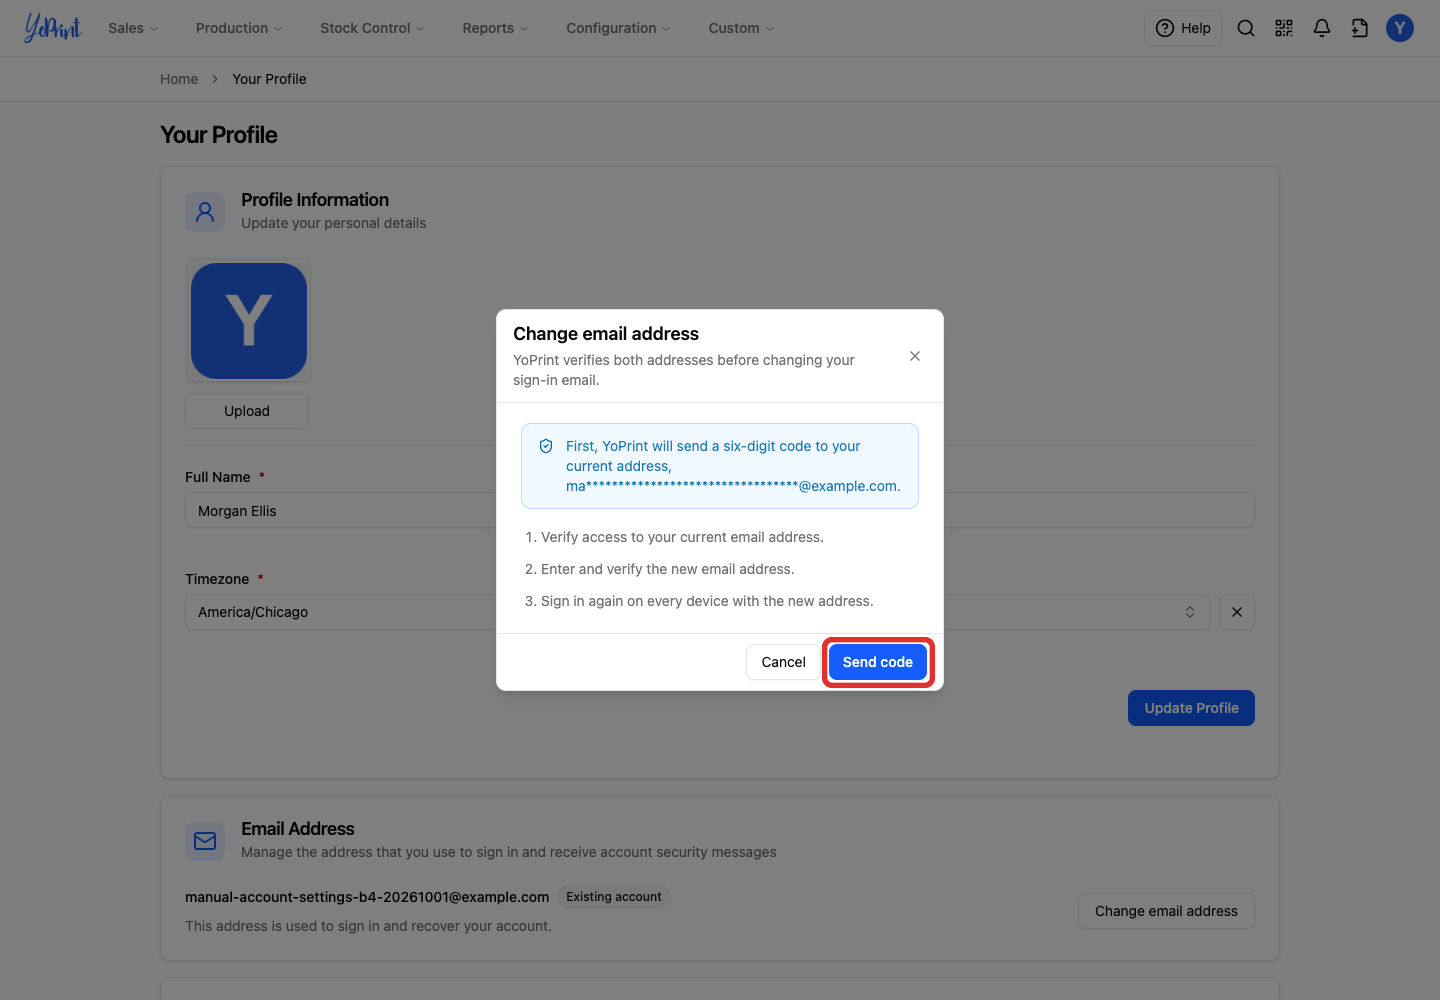
Review the masked current address, then click Send code.
-
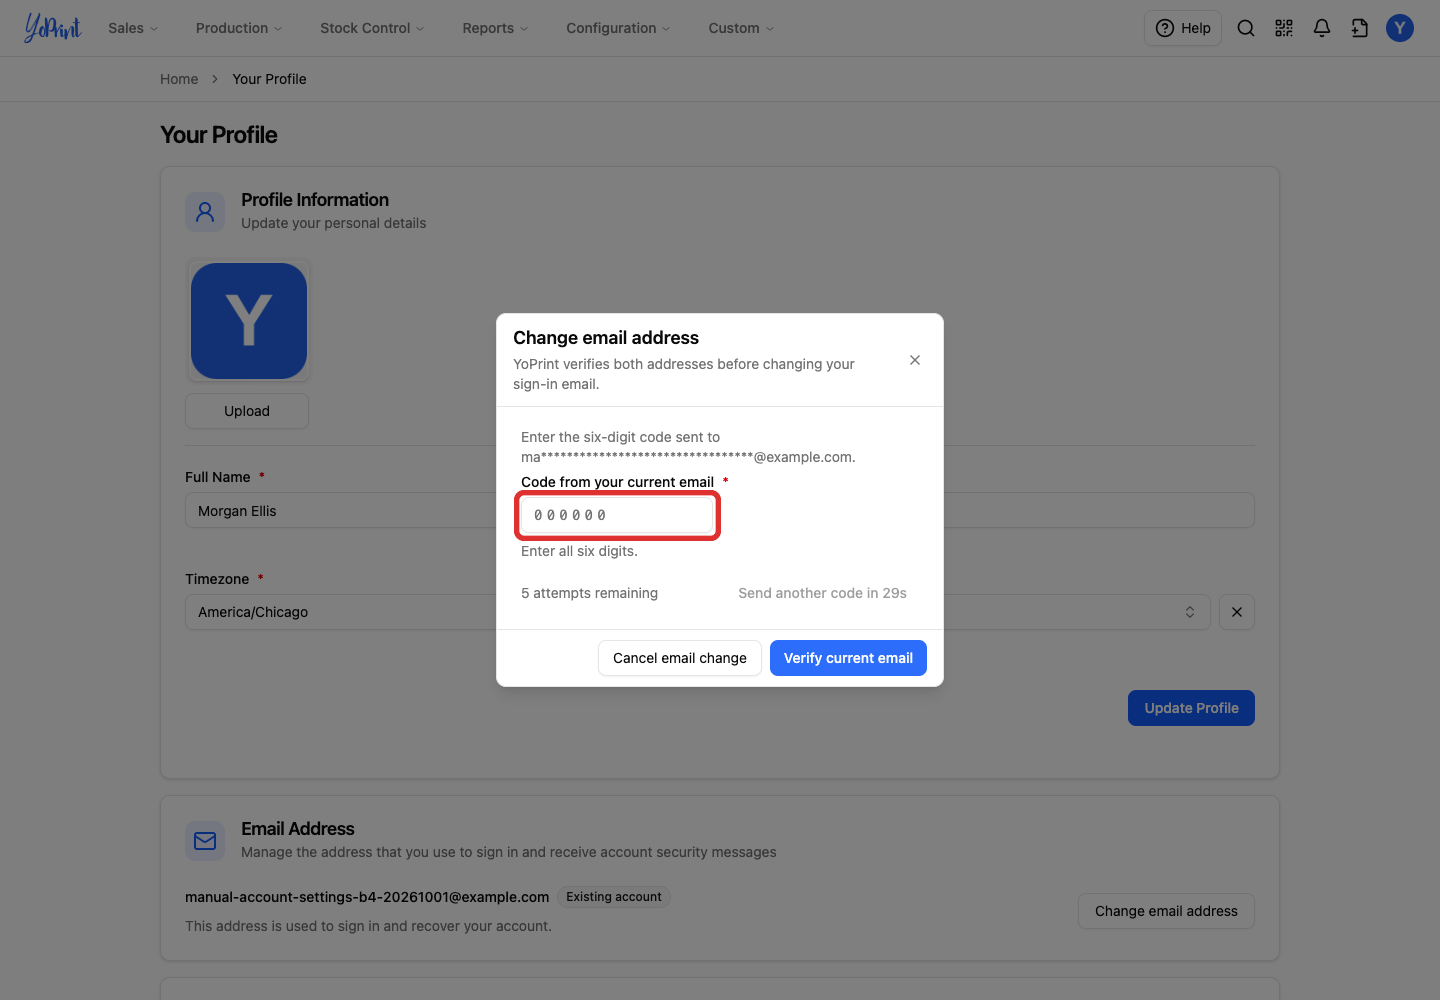
Enter the verification code sent to your current email address.
-
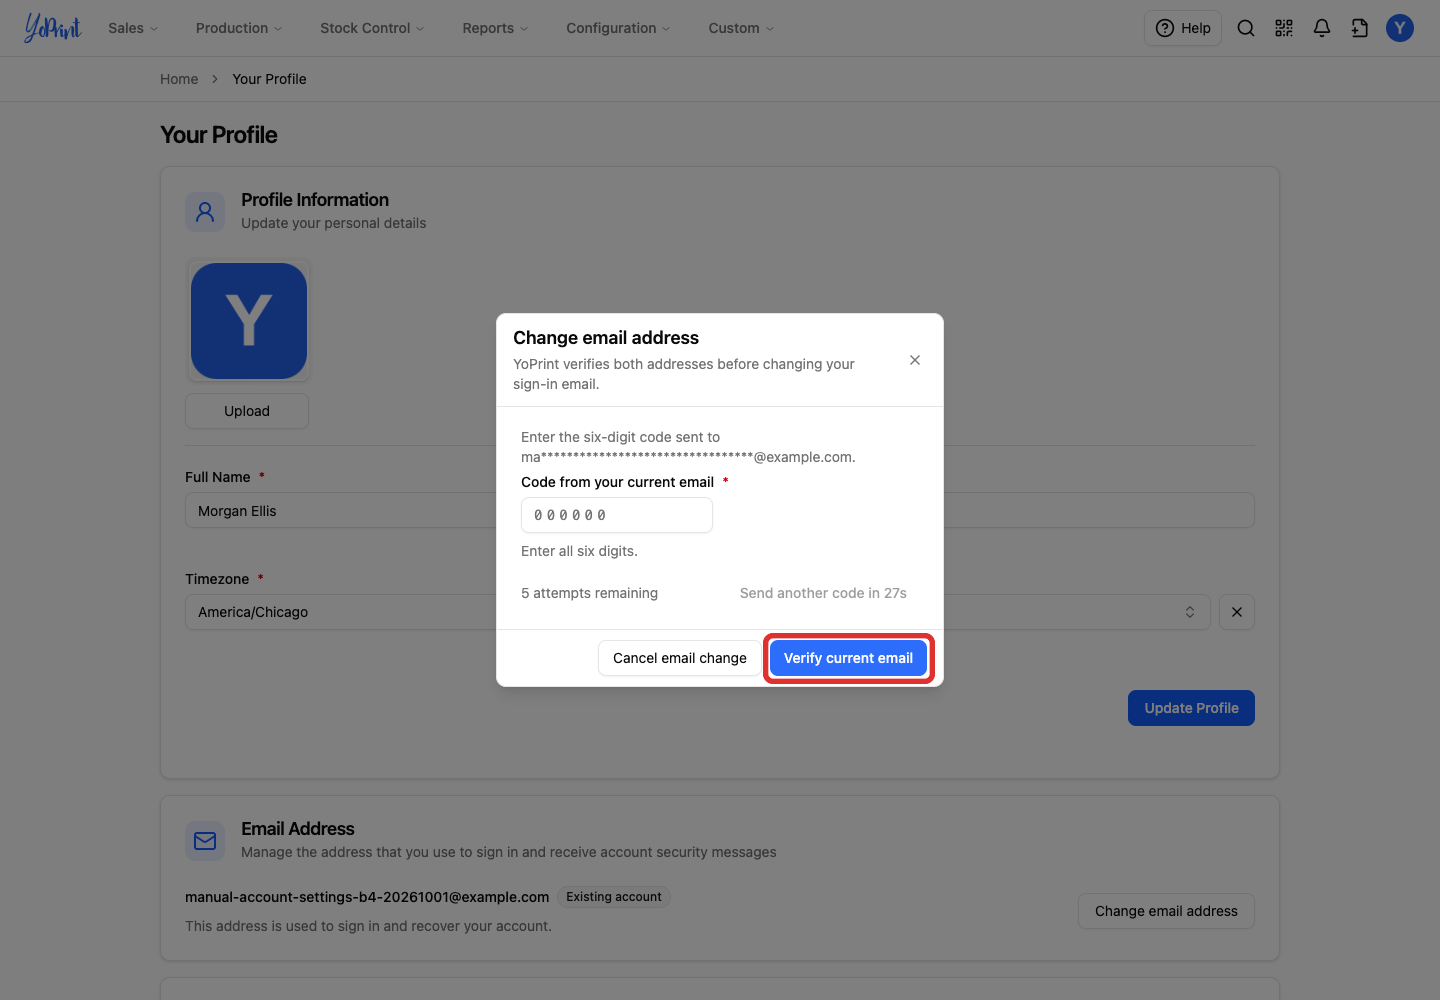
Click Verify current email.
-
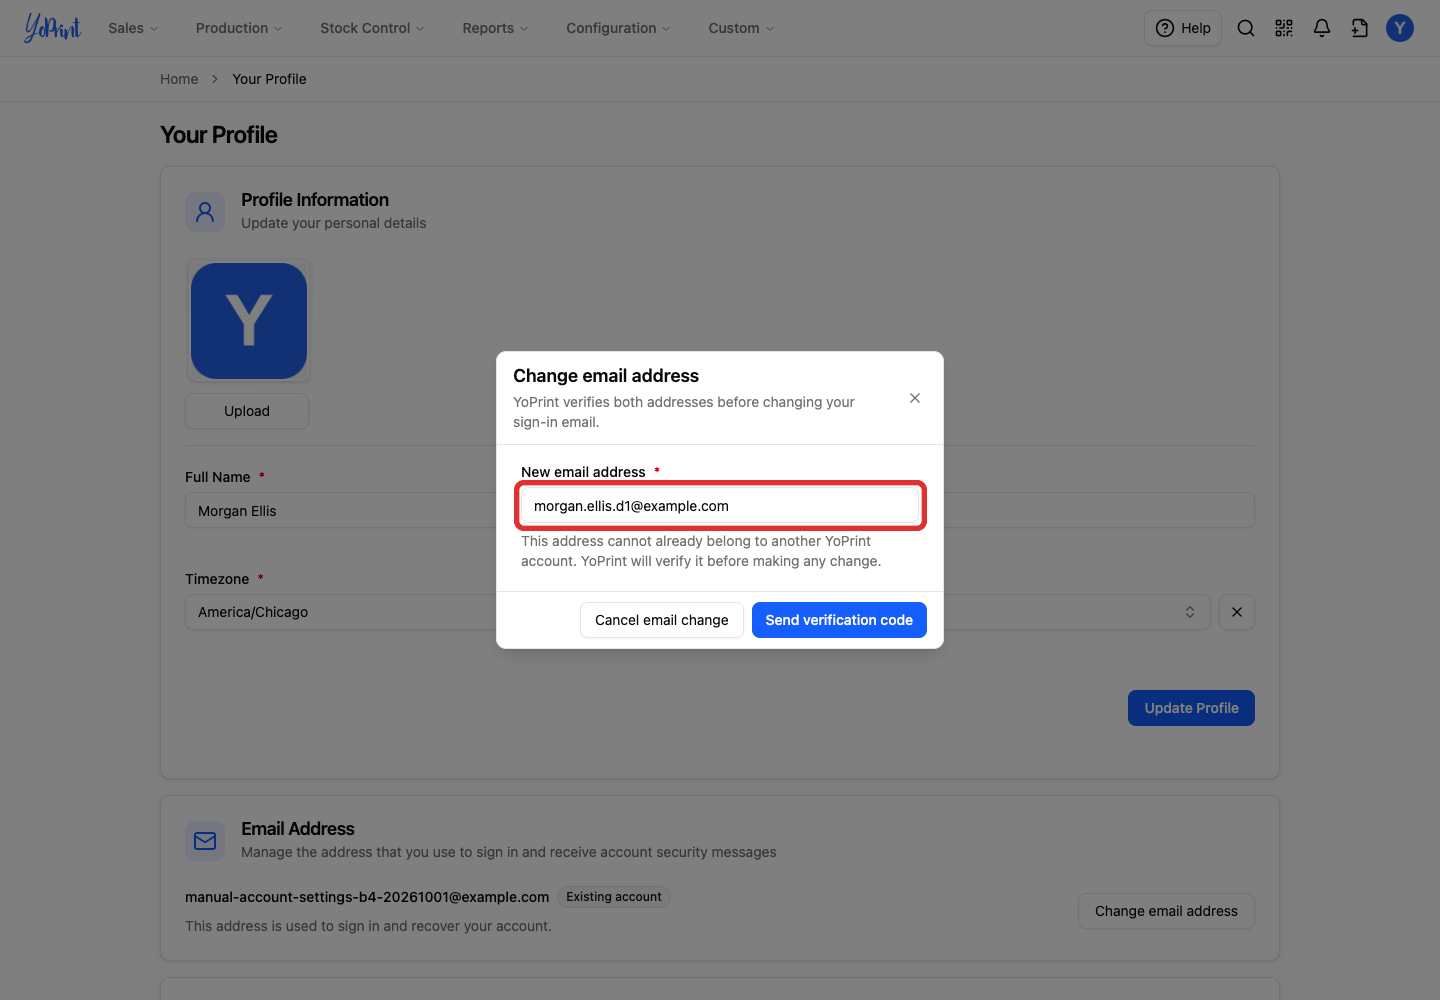
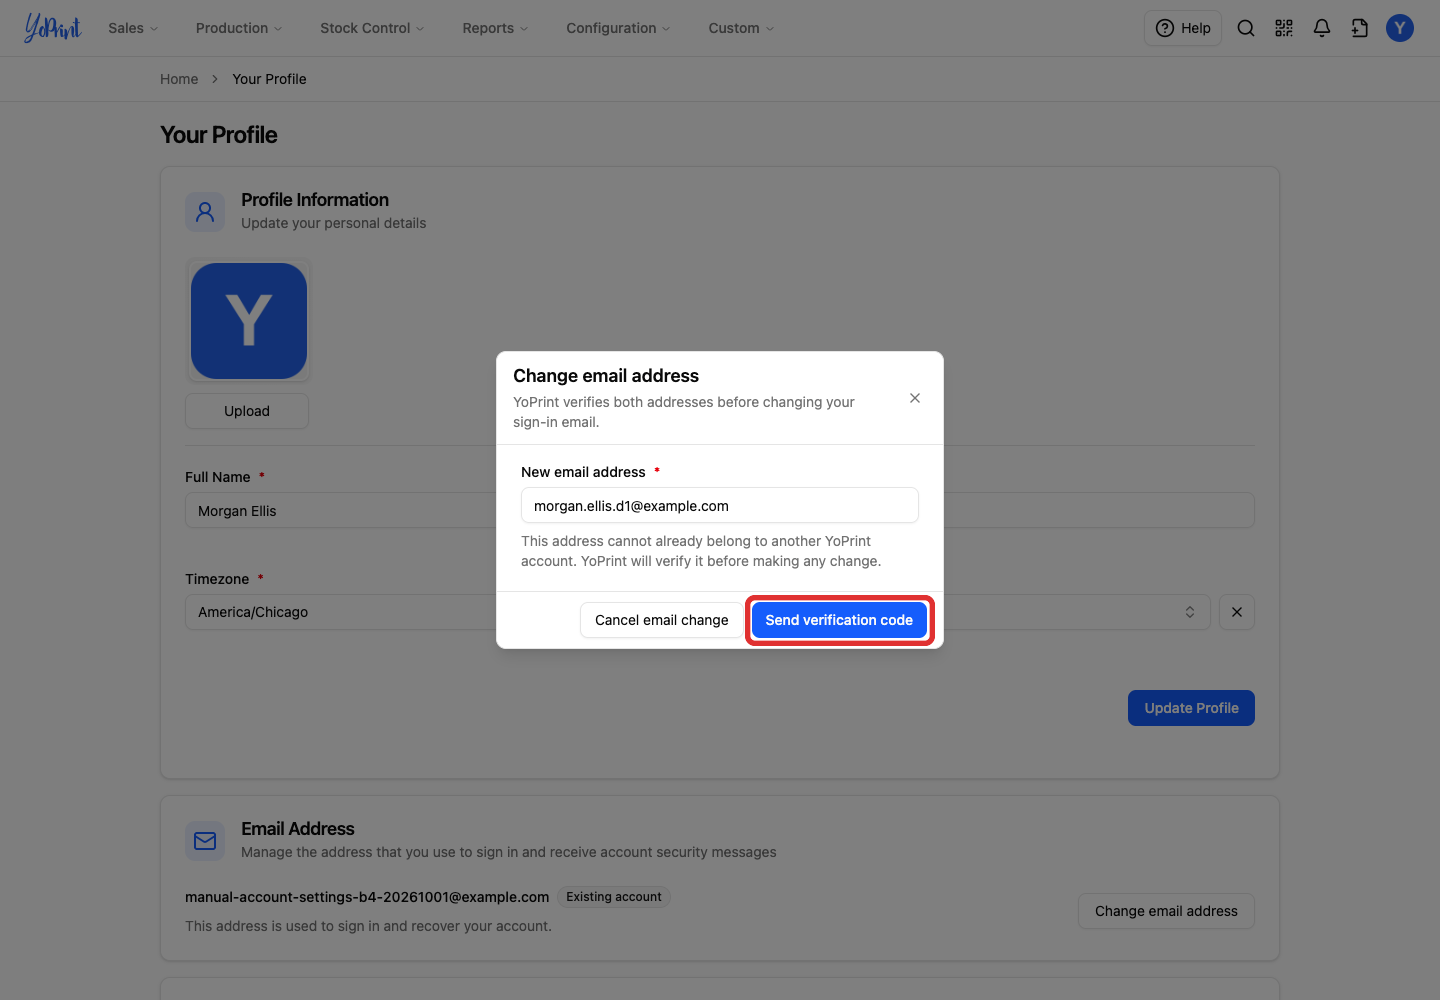
Enter your New email address.
-
Click Send verification code.
-
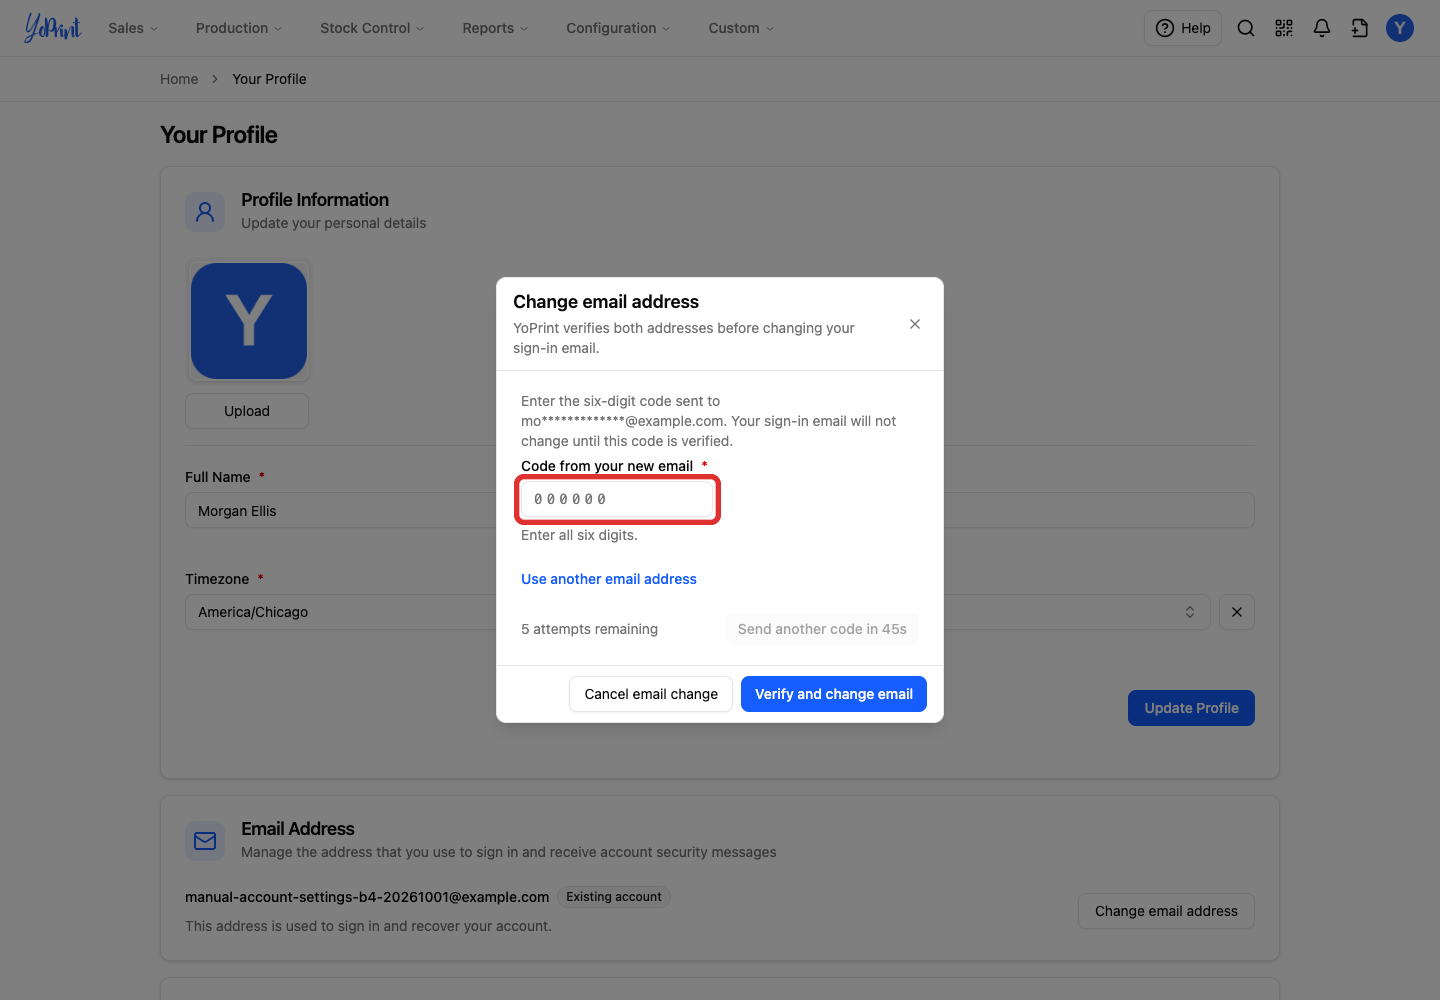
Enter the code sent to your new email address.
-
Click Verify and change email. YoPrint signs you out when the change is complete. Sign in again with your new email address.
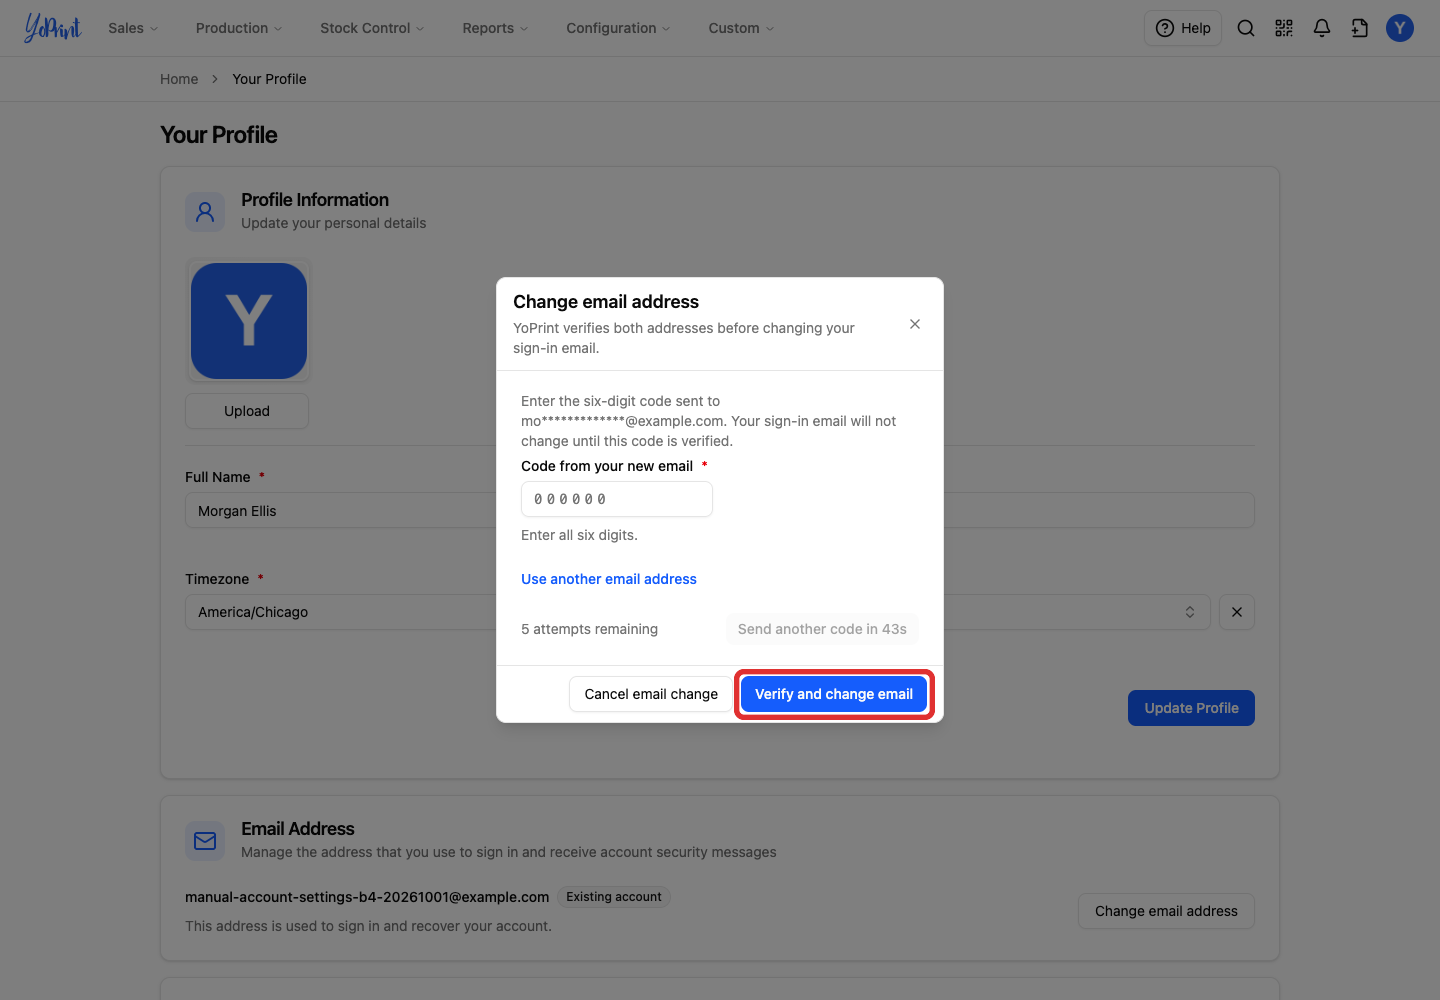
If a code has not arrived, check your spam folder and the address shown in the dialog. Resend code becomes available after the countdown. Use another email address lets you correct the new address; Cancel closes the change without completing it.
Change your password
Changing your password signs out this browser and every other active session. You will need to sign in again with the new password. Changing your password does not rotate your API key; regenerate your key under API Access if you suspect account compromise.
If Security Settings says password management is unavailable for single sign-on, manage your password with your sign-in provider. This applies if you sign in using Google or another single sign-on provider.
-
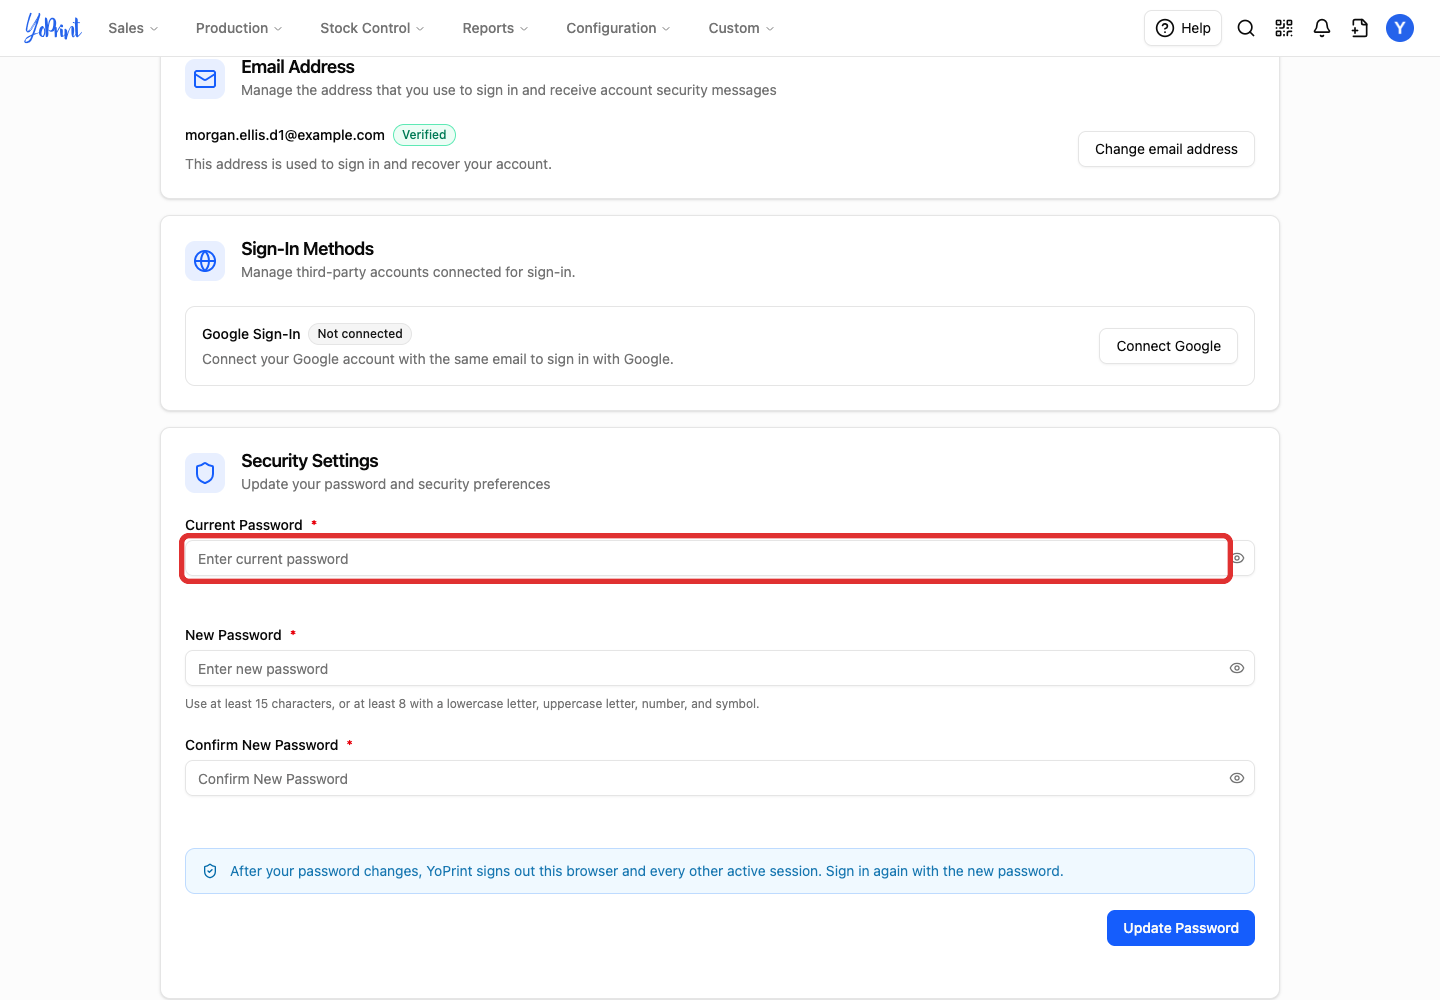
Under Security Settings, enter your Current Password.
-
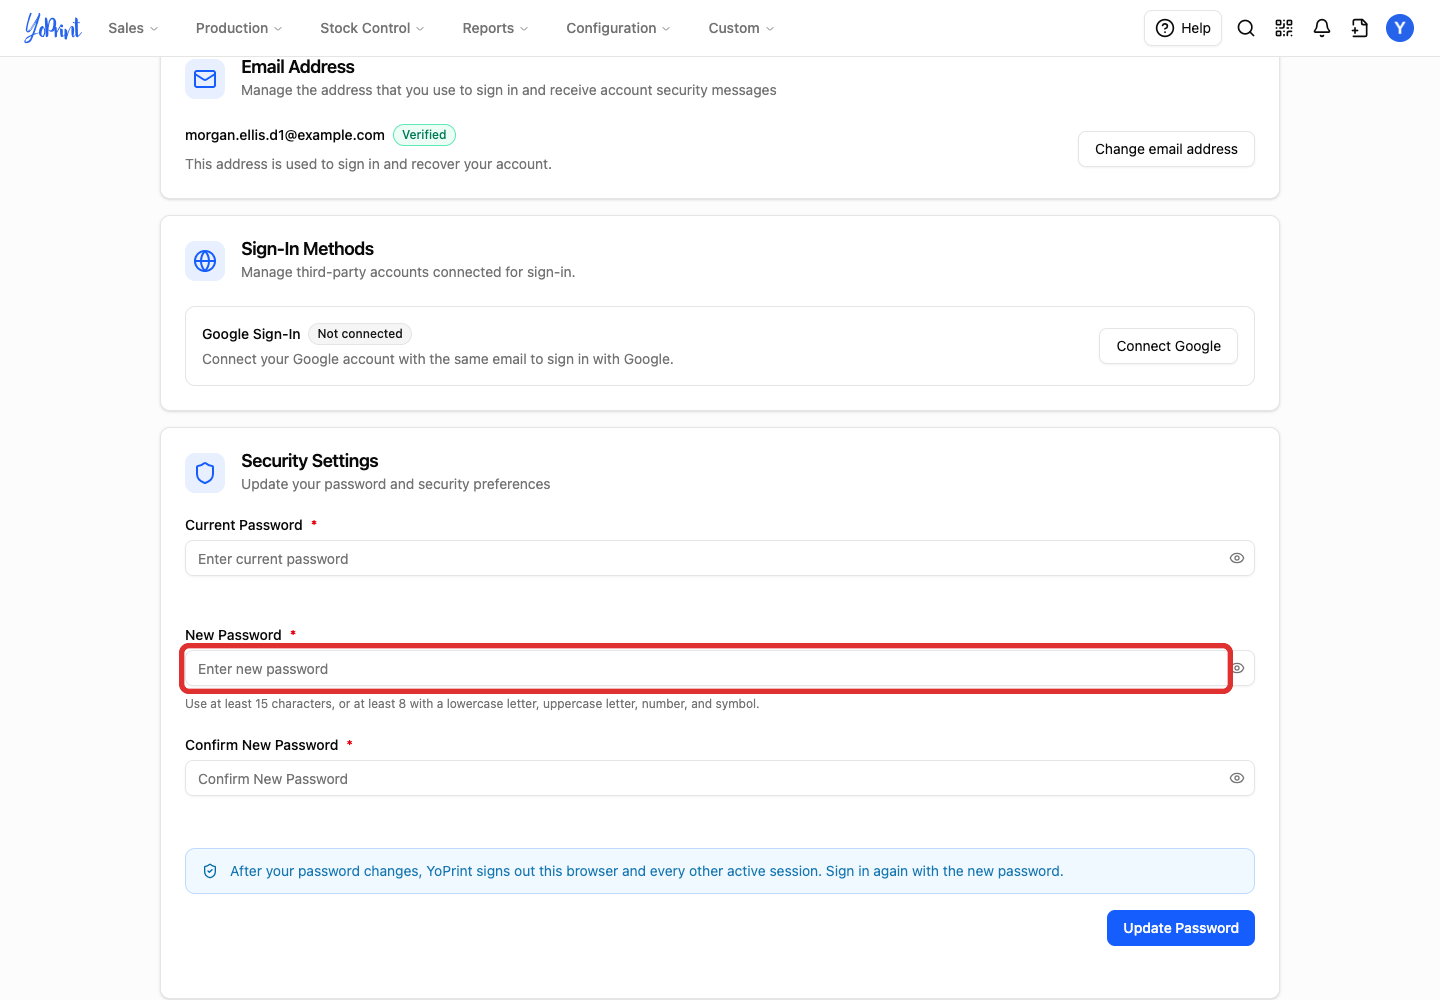
Enter a New Password. Use at least 15 characters, or at least 8 characters with a lowercase letter, uppercase letter, number, and symbol. Either format is accepted; if your password satisfies both, the form displays Both password formats are met.
-
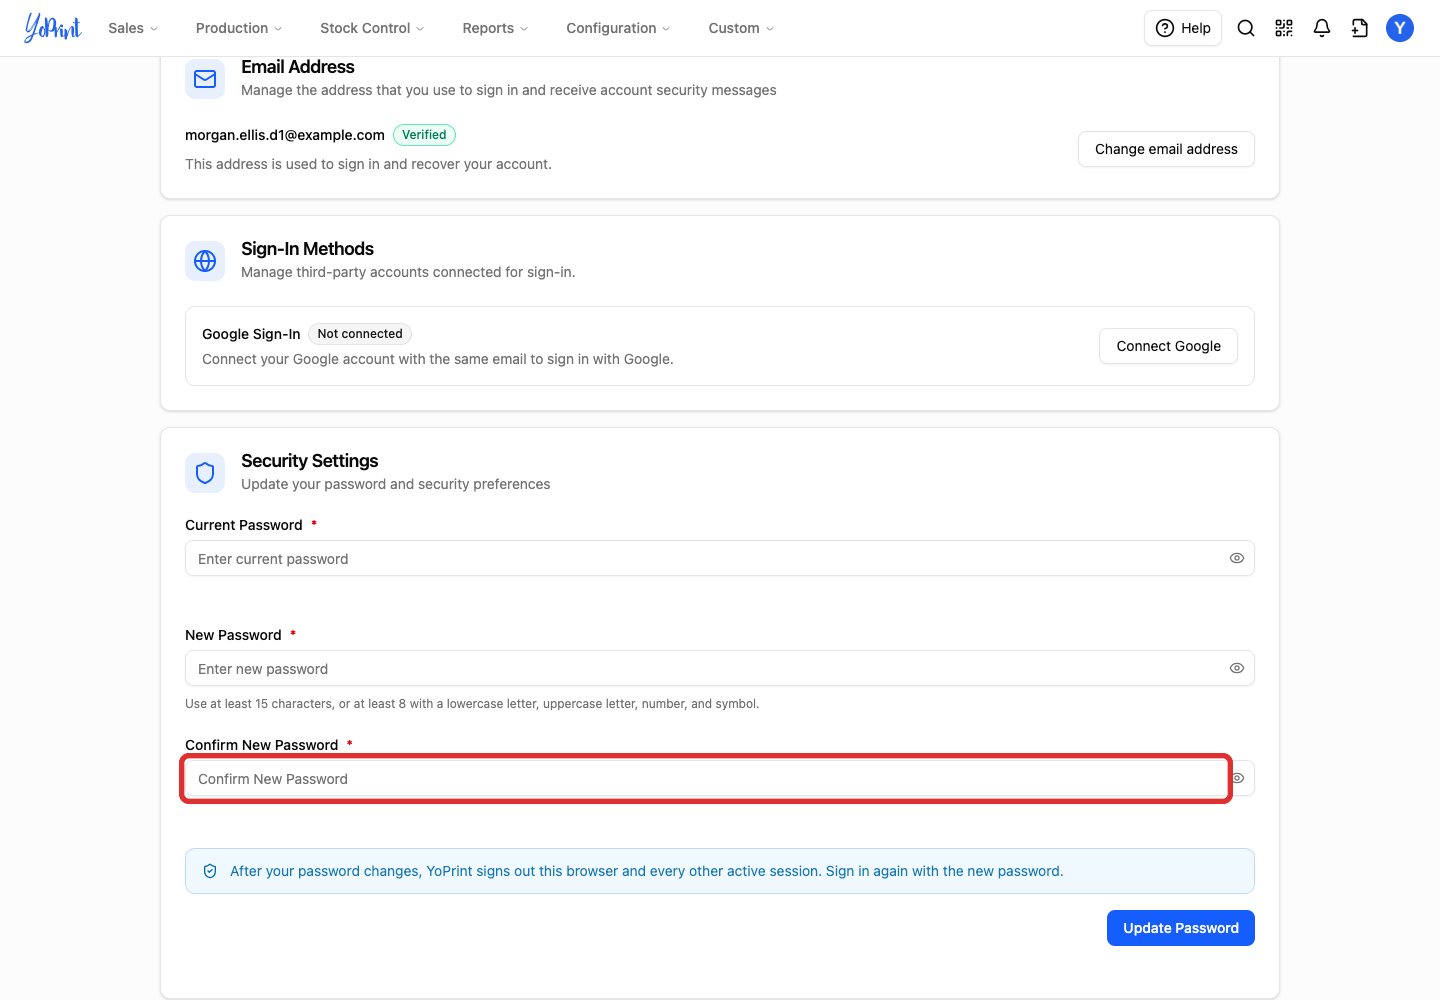
Enter the same password in Confirm New Password. The form shows Passwords match when the entries match.
-
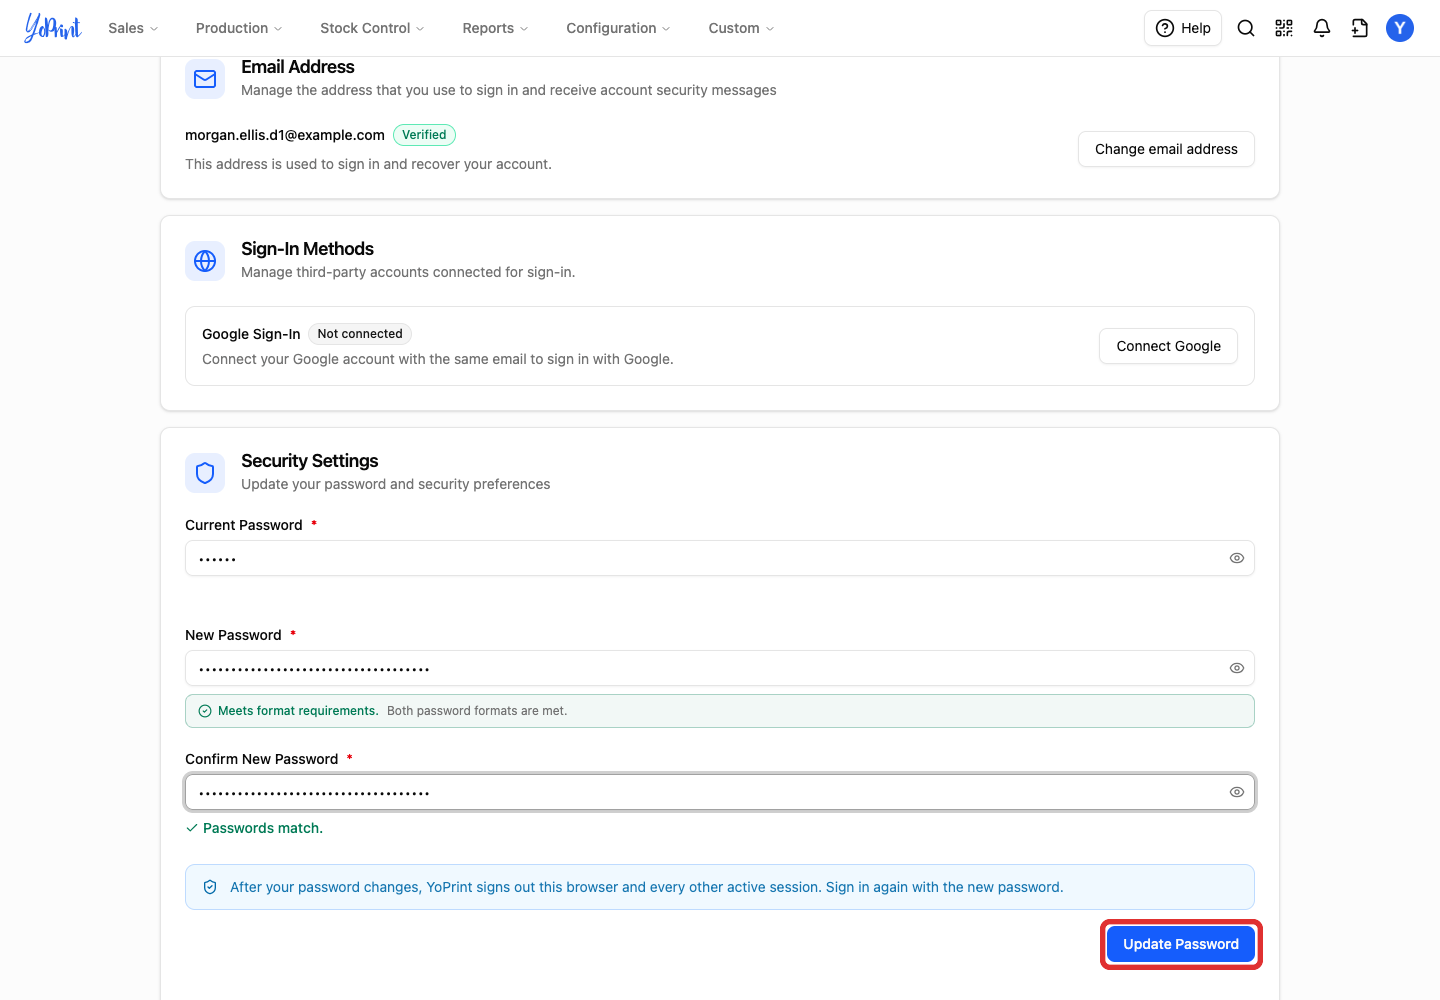
Click Update Password.
Copy your API key for an integration
An API key lets third-party tools such as Zapier connect to YoPrint to automate tasks, sync data, or run custom integrations. API access requires an active subscription on a plan that includes it. The key grants full API access to your team's records using your account permissions. Some integrations also require your Team ID to identify your shop.
Keep your key private
Treat your API key like a password. Never share it publicly.
-
Under API Access, click the copy icon beside API Key. Paste the key into the integration you are setting up. The button copies the key to your clipboard without showing a confirmation message.

-
If the integration also asks for your Team ID, use the copy icon beside that field.


Replace an exposed API key
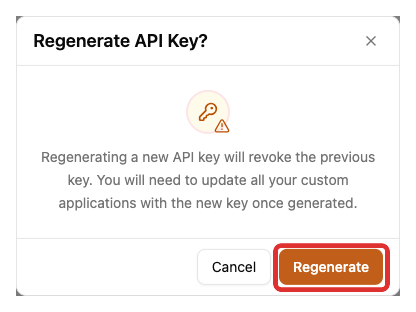
Regenerate your key if it has been exposed or compromised. Regenerating immediately revokes the old key, so connected tools using it may stop working until you update them. YoPrint does not list which external tools currently use your API key, so check your integrations before regenerating.
-
Click Regenerate API Key under API Access.
-
Read the warning, then click Regenerate. Choose Cancel if you want to keep the existing key.
Copy the new key using the steps above and update each connected tool that used the old one. Some tools ask you to reconnect or authenticate again.