Manage Customer Brand Profiles
In this article
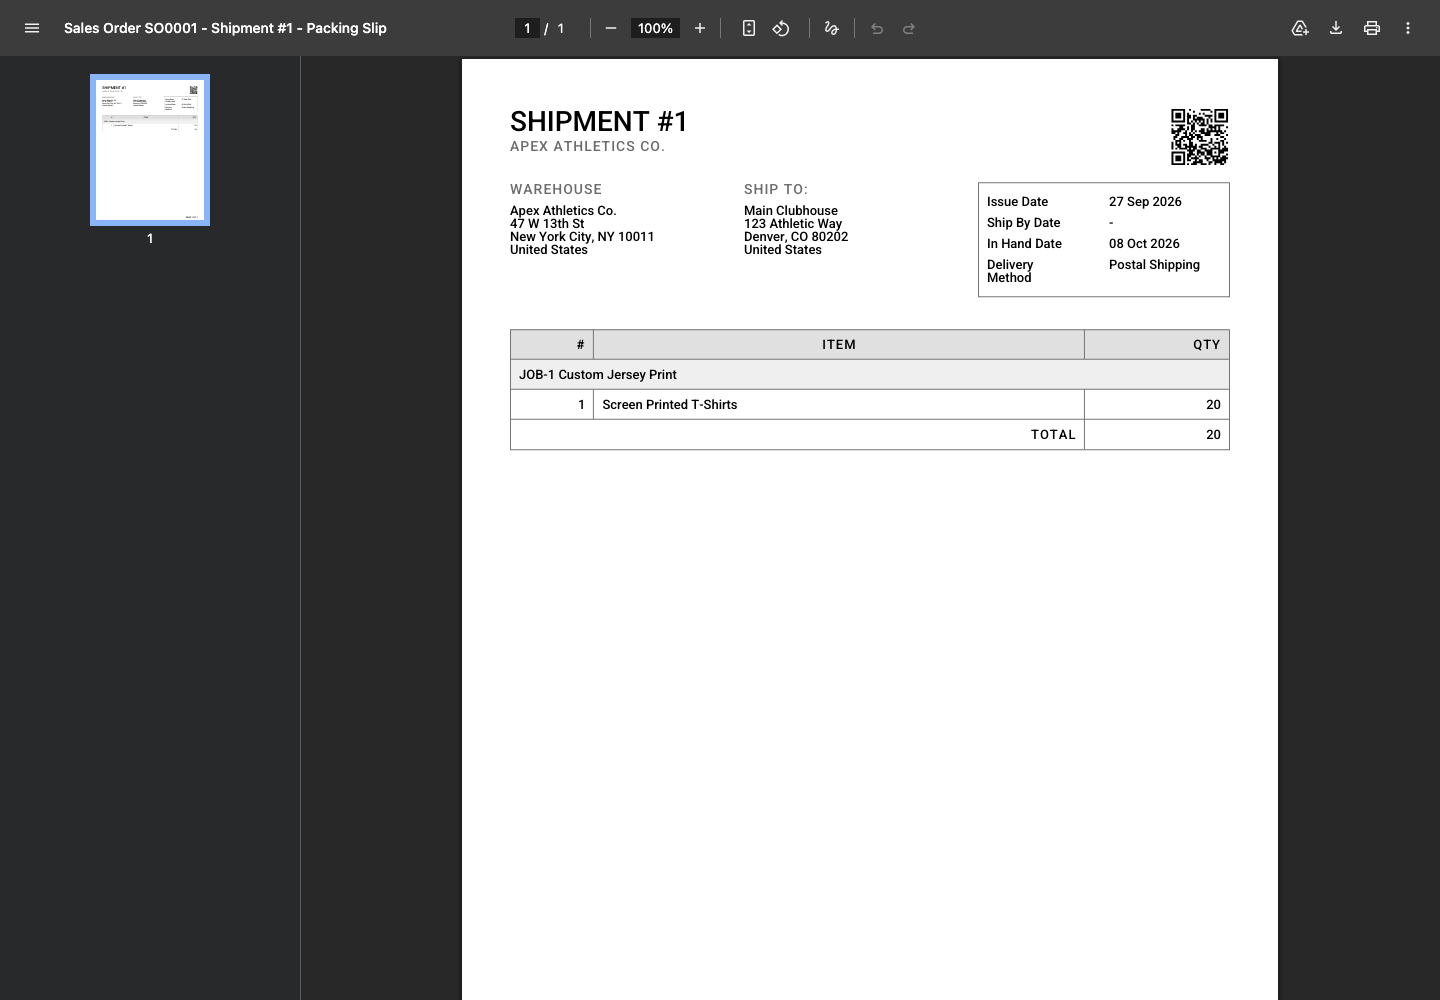
Customer brand profiles simplify contract printing and blind drop shipping in YoPrint. When you fulfill orders for another company or print broker, assigning their brand profile ensures shipping labels and packing slips display your customer's brand name, logo, and return address instead of your shop's information. Brand profiles apply strictly to physical fulfillment documents; commercial communications like quotes, invoices, payment receipts, and customer portal approvals always display your own print shop's branding.
Customers can maintain multiple brand profiles for different product lines or retail divisions. YoPrint sets one profile as the primary default for newly created quotes and sales orders, leaving existing orders unchanged.

Add a brand profile
-
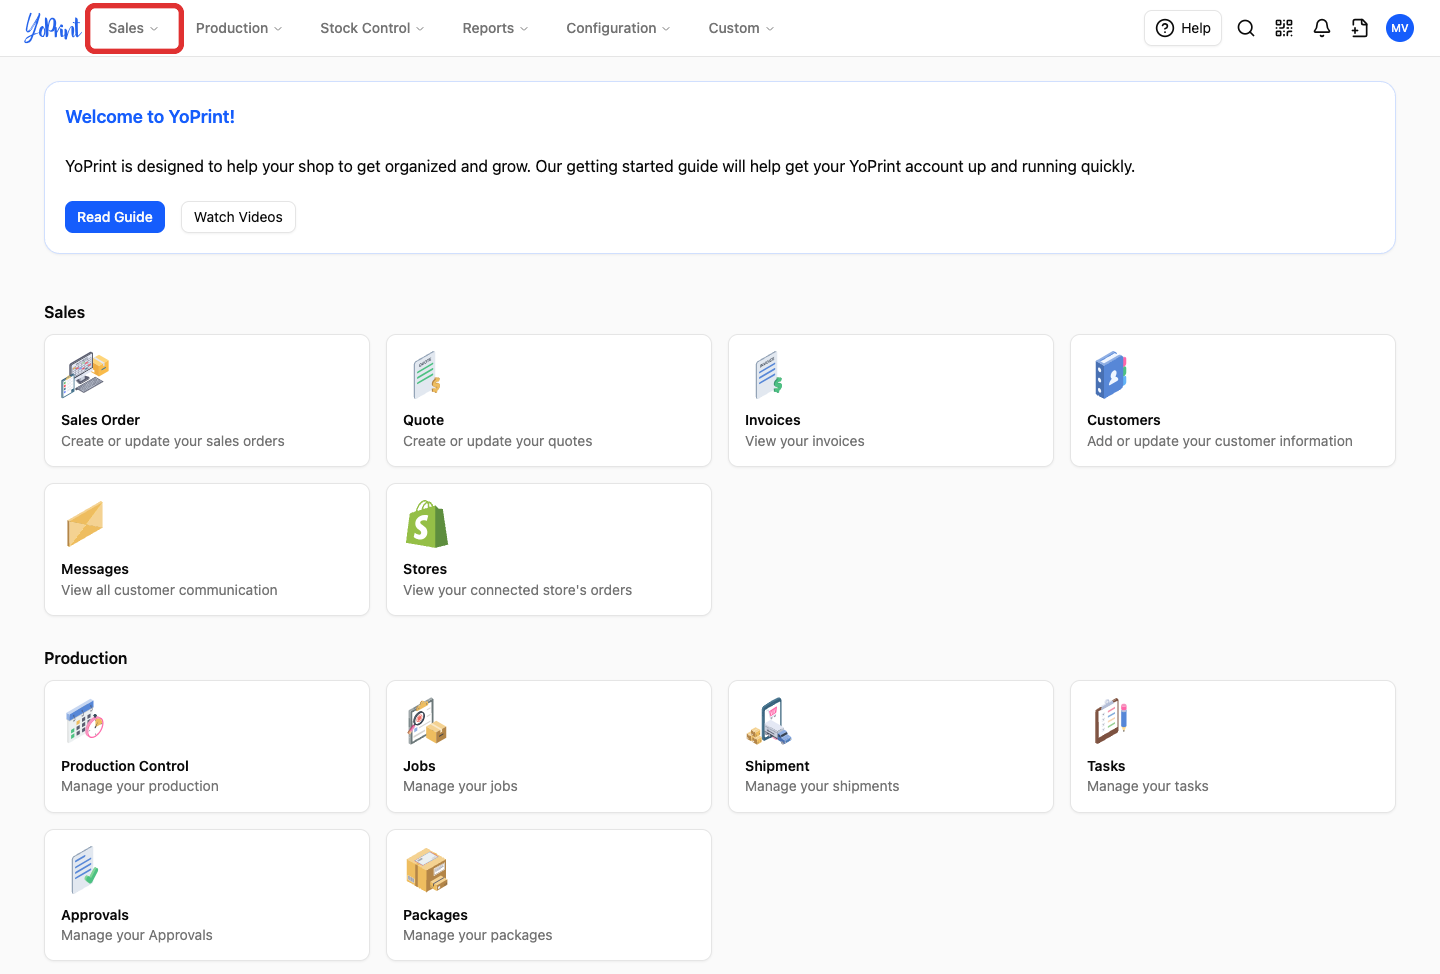
In the main navigation, click Sales.
-
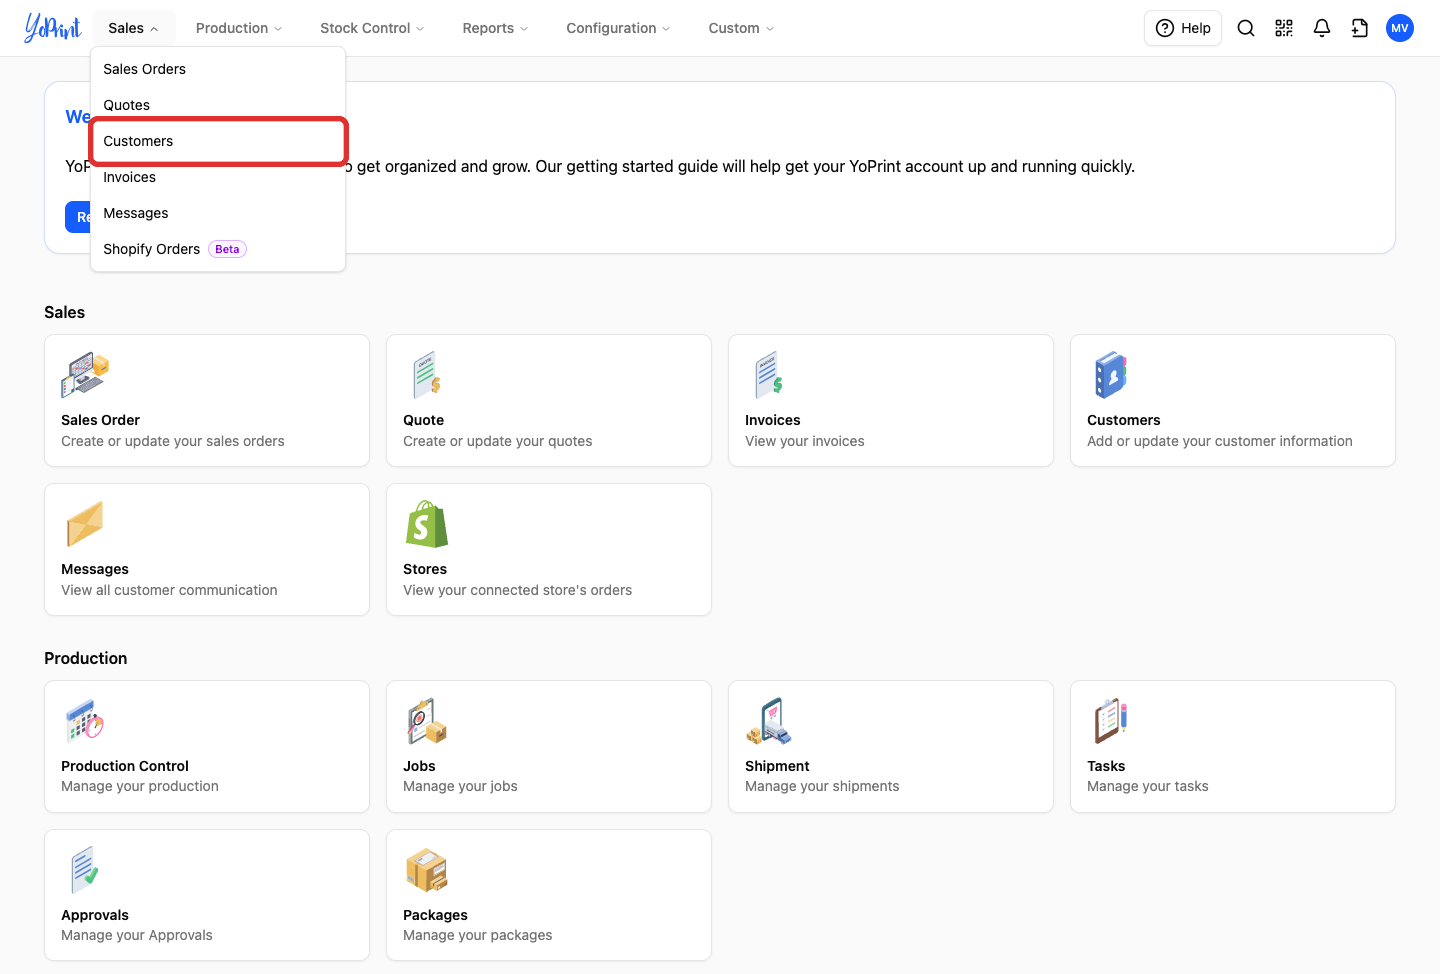
Select Customers.
-
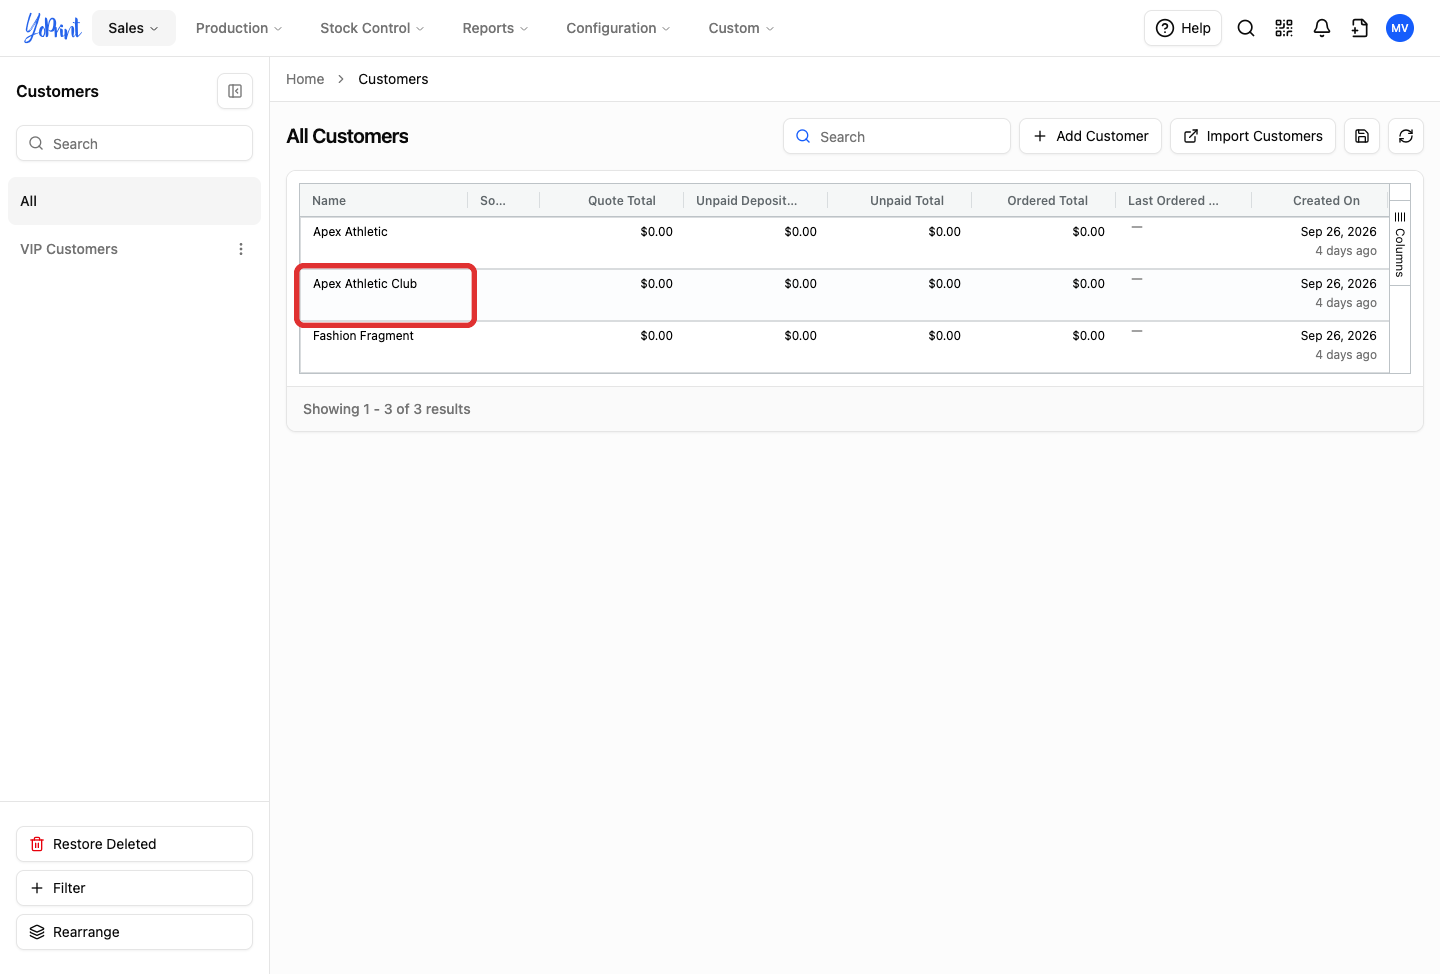
In the customer list, double-click the customer's row to open their detail drawer.
-
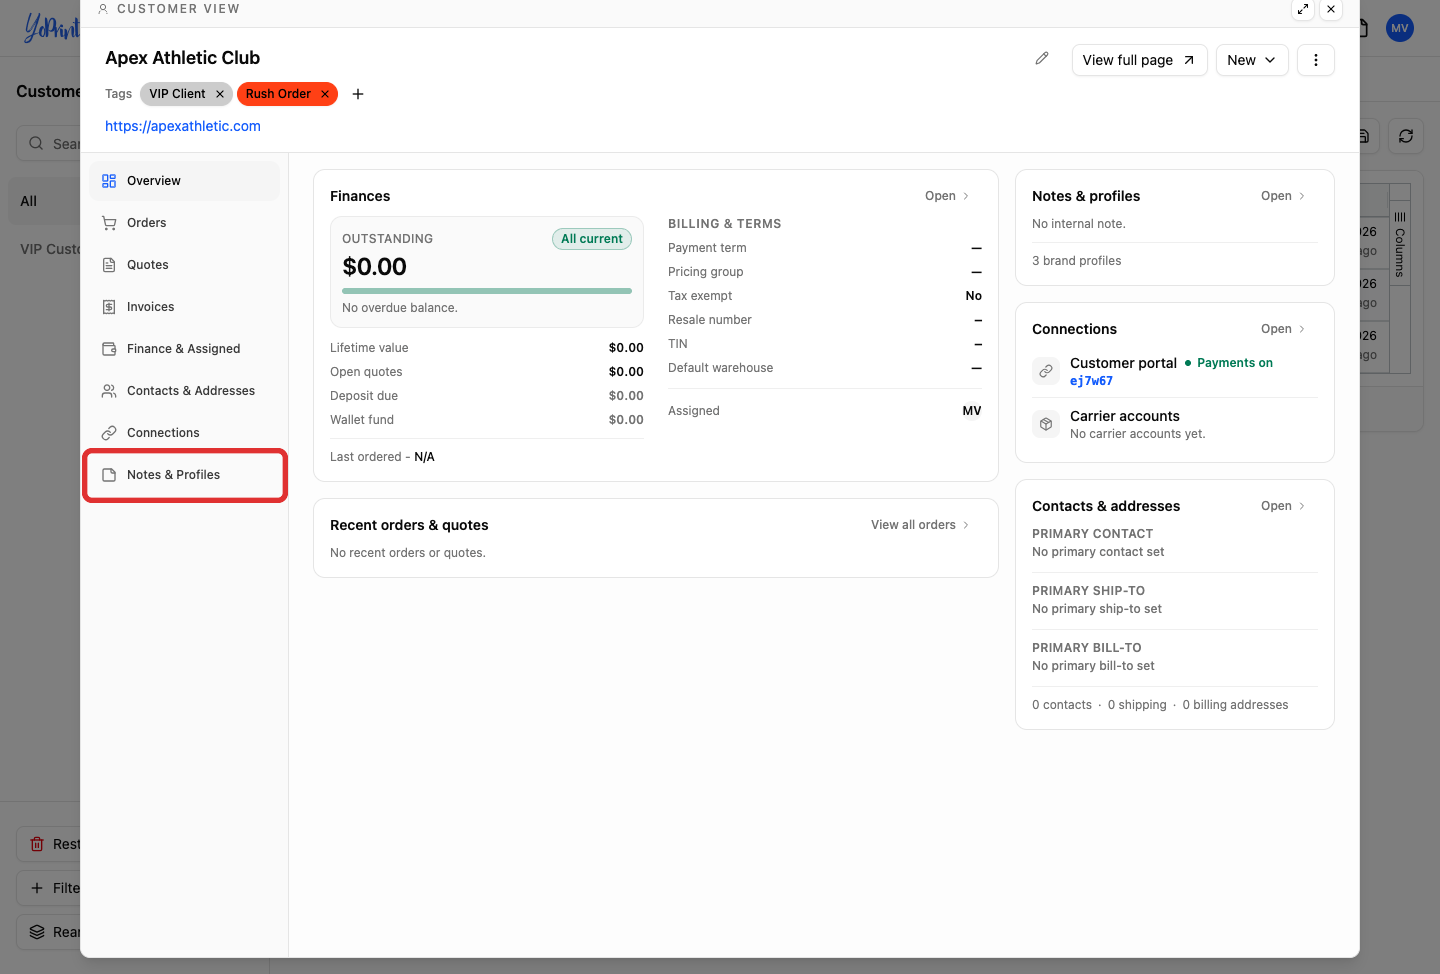
Click the Notes & Profiles tab.
-
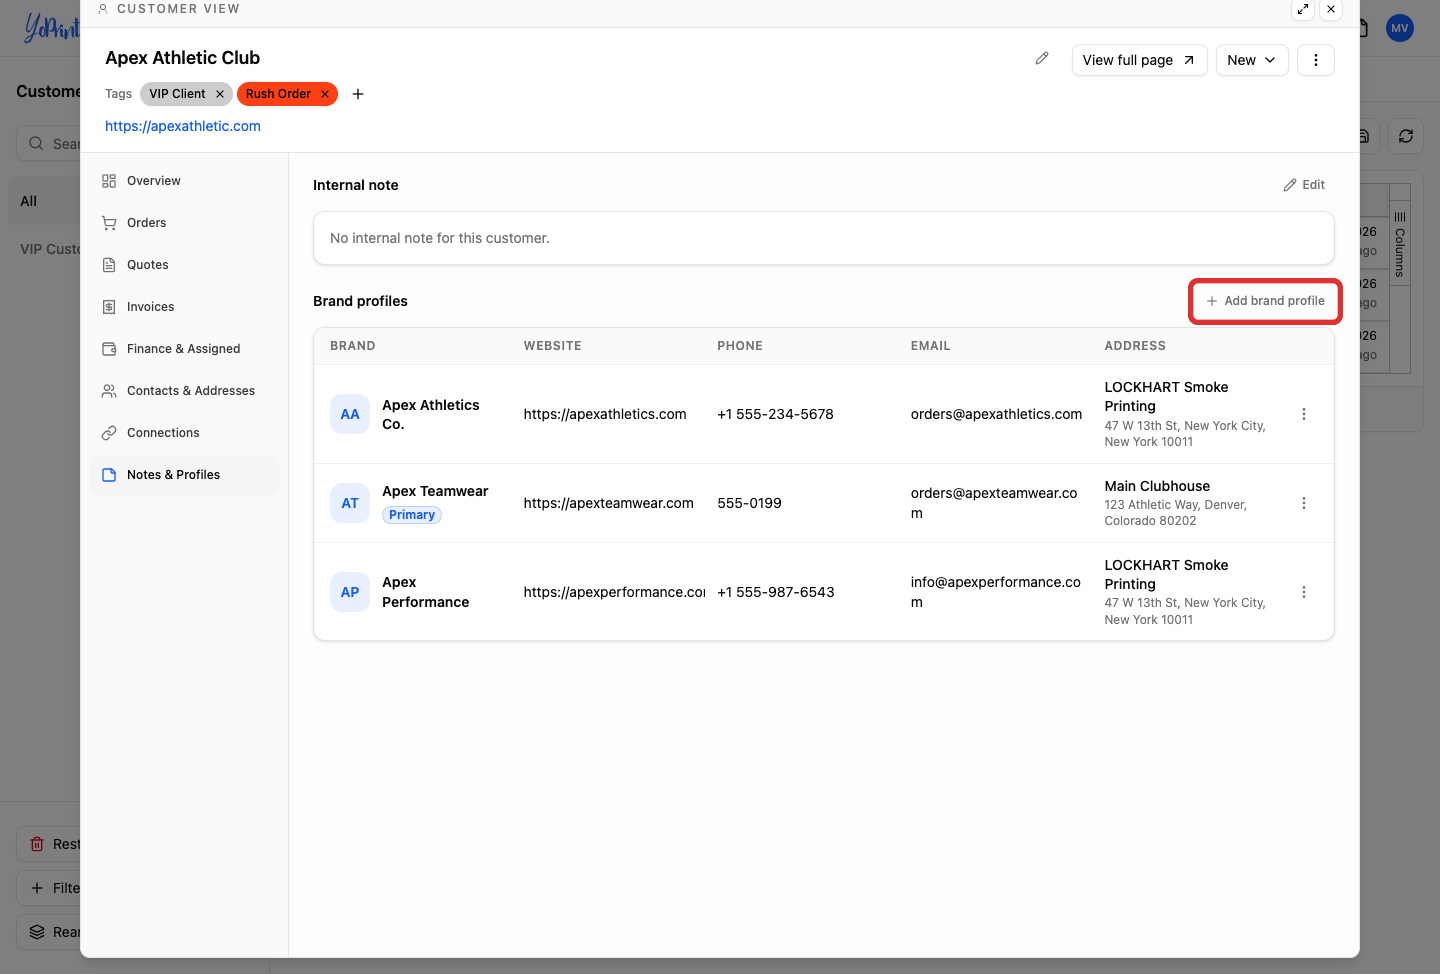
Under Brand profiles, click Add brand profile.
-
Enter the profile details, including Brand Name, optional contact information, and an optional logo.
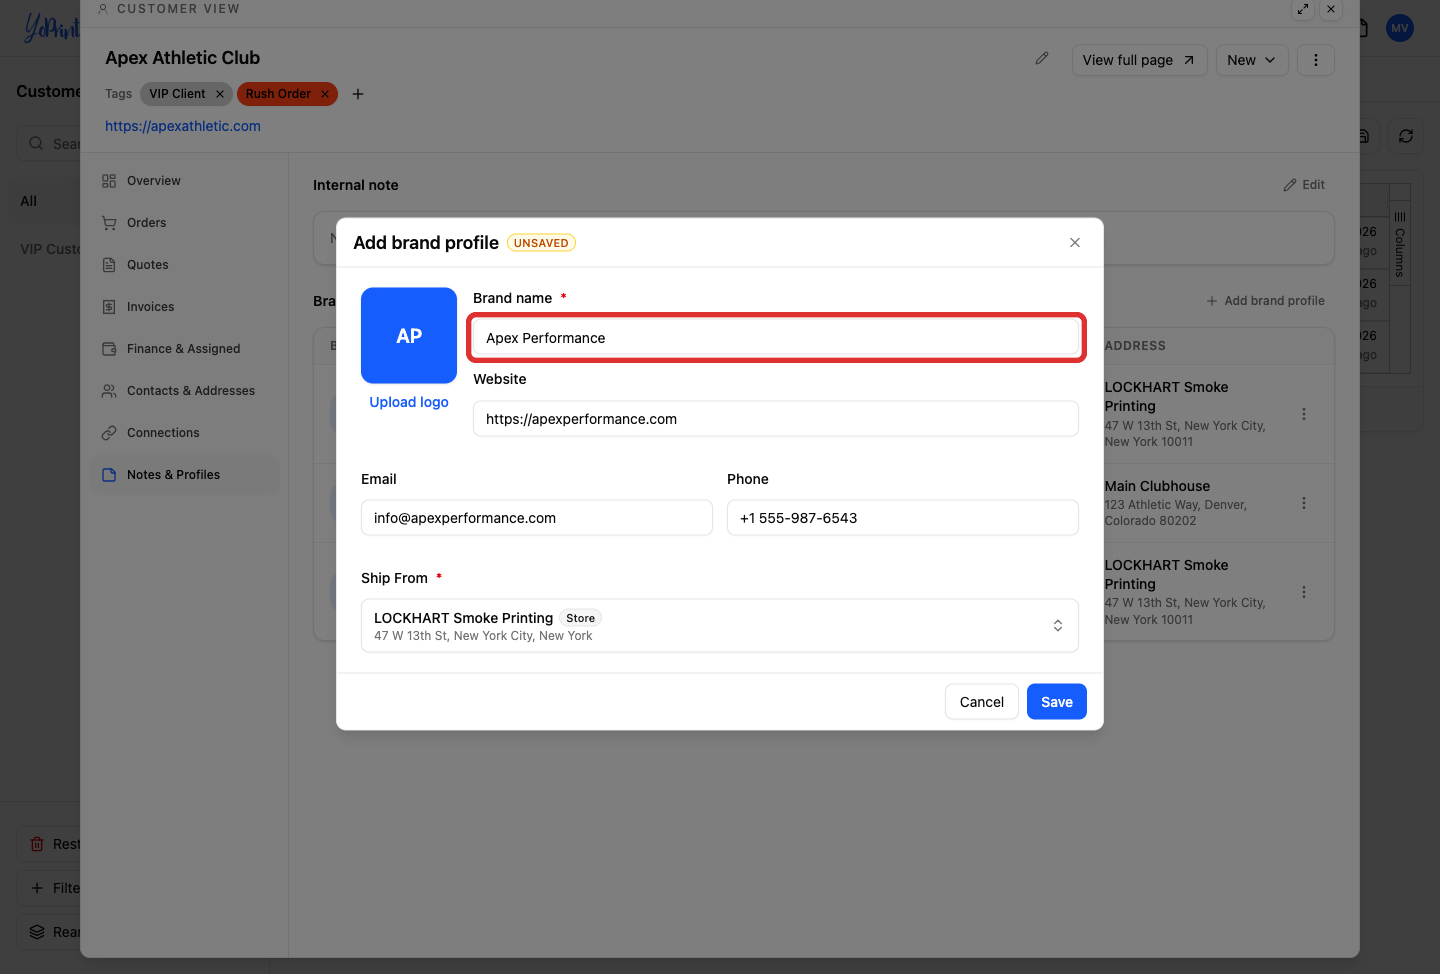
The brand logo is optional; if omitted, YoPrint prints the customer's brand name in plain text and never prints your shop's logo. Stored contact fields such as website, email, and phone serve as internal references and do not print on standard packing slips.
-
Click the Ship From address field and select a return address.
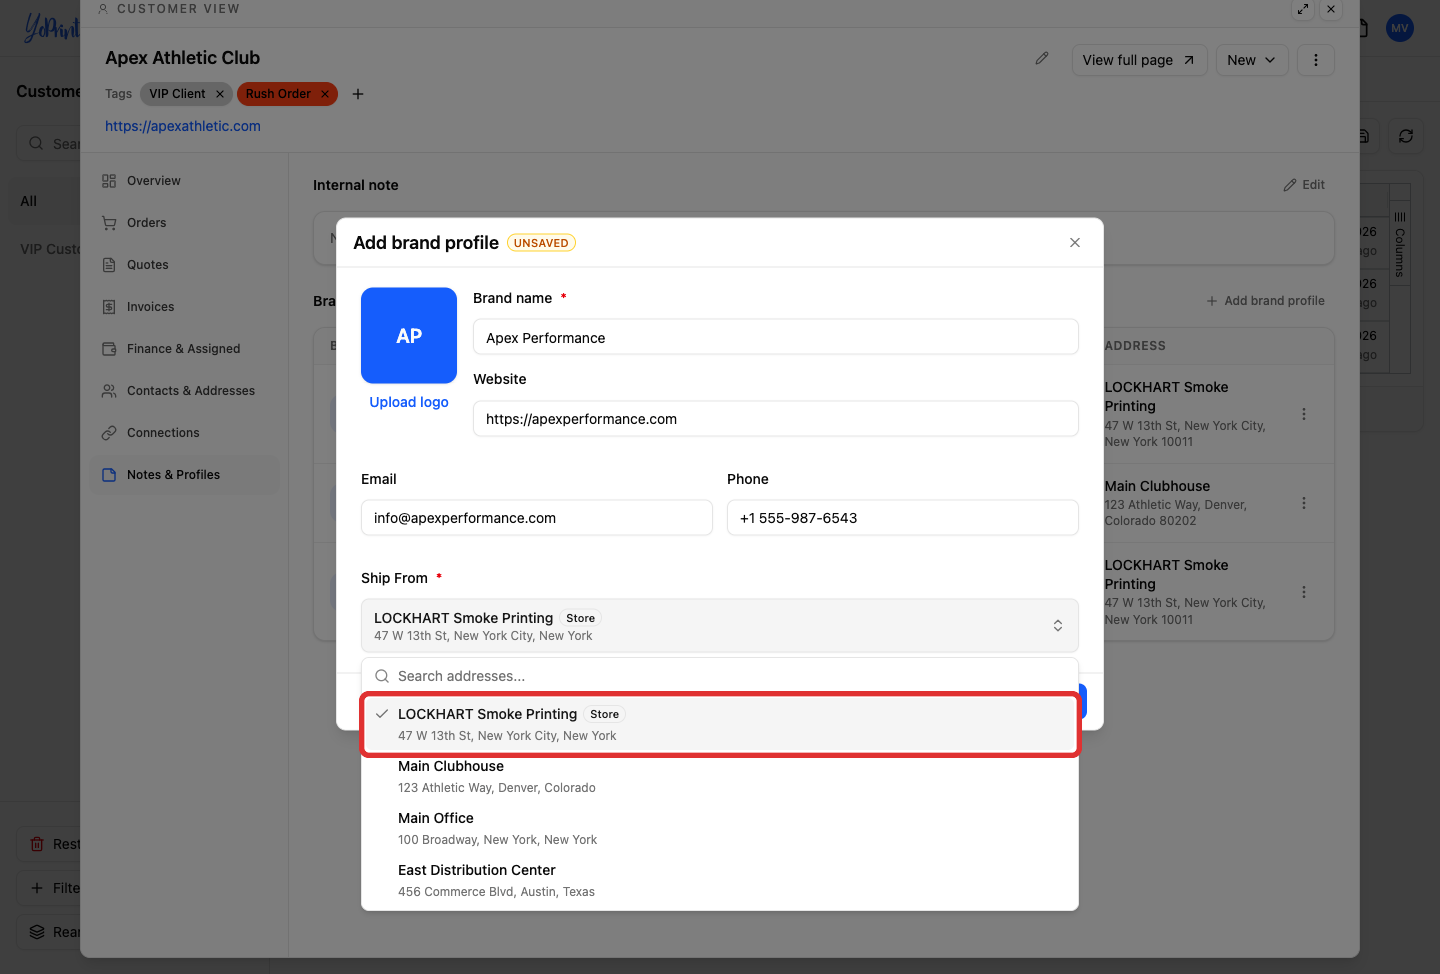
The Ship From address serves as the return address on shipping labels and packing slips. If your shop handles shipping and returns, choose your warehouse as the return address. Return addresses must already exist in your company locations (under Settings > Company) or the customer's address book (under their Contacts & Addresses tab) before creating the brand profile. If your shop handles shipping and returns, choose your warehouse as the return address. If you generate carrier shipping labels, carriers calculate shipping rates and origin routing based on this designated Ship From address.
-
Click Save to create the brand profile.
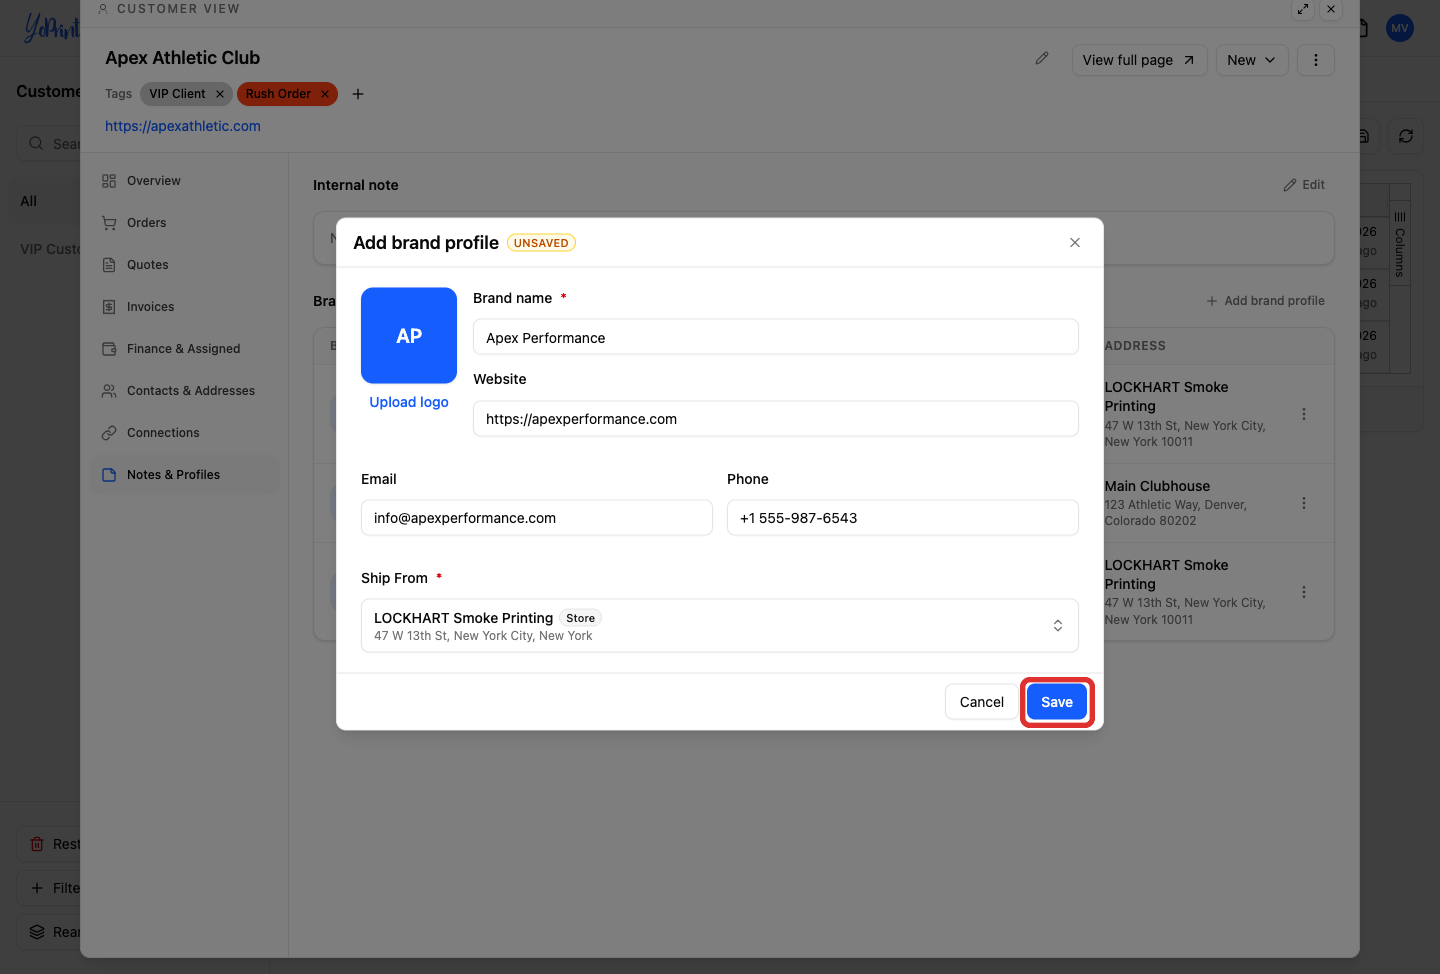
Manage multiple brand profiles and set a default
If your customer operates multiple retail brands or client accounts, add separate profiles for each brand under their customer record.
-
Review the Brand profiles table to see all configured profiles.
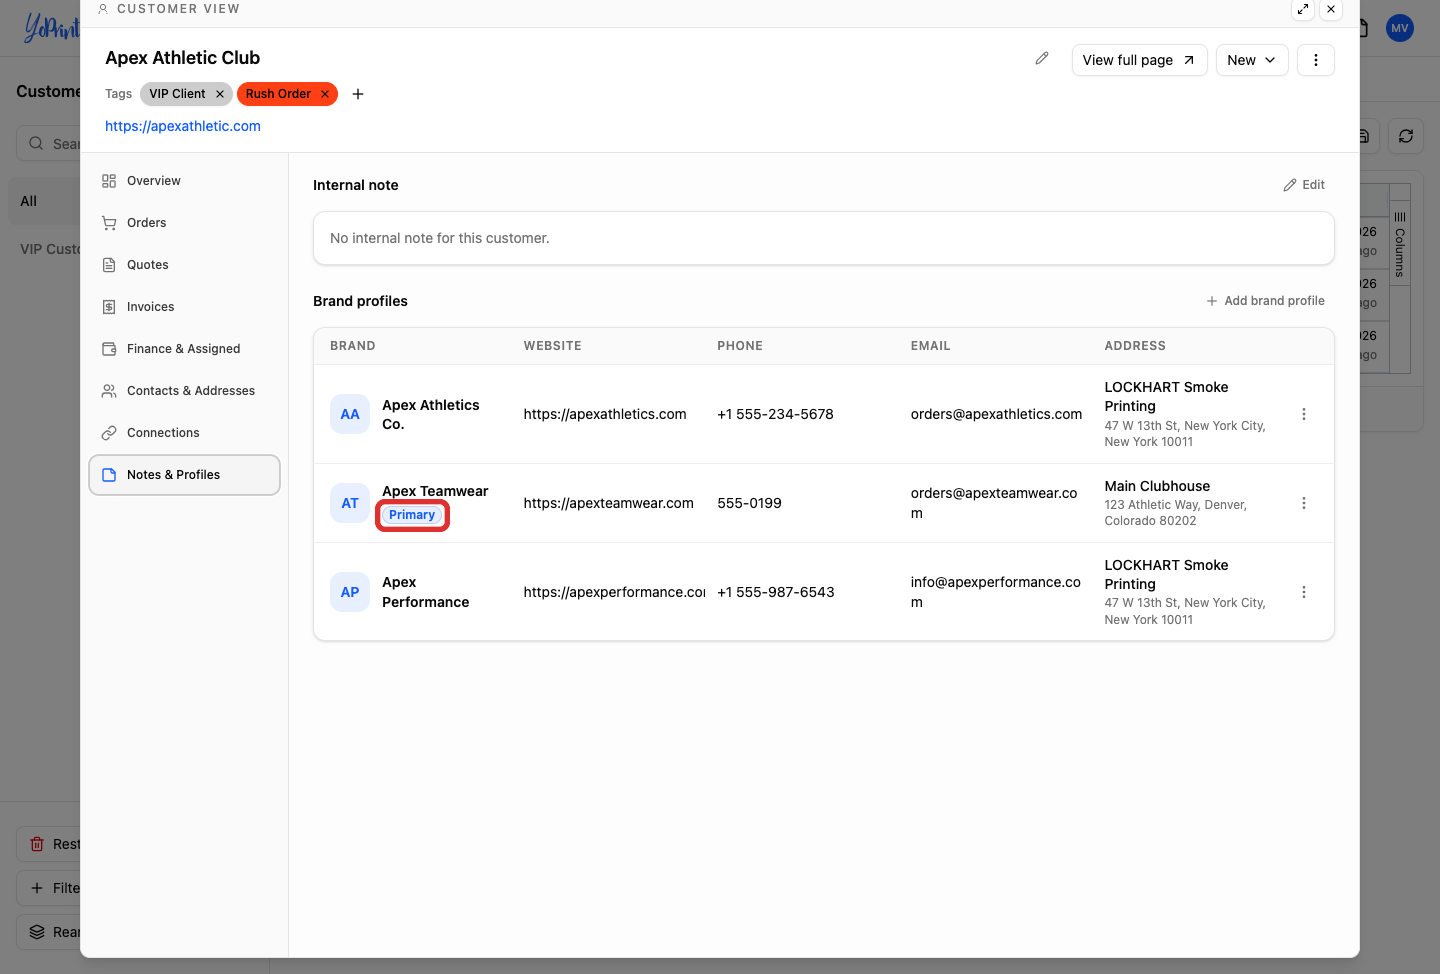
YoPrint marks the active default profile with a Primary badge.
-
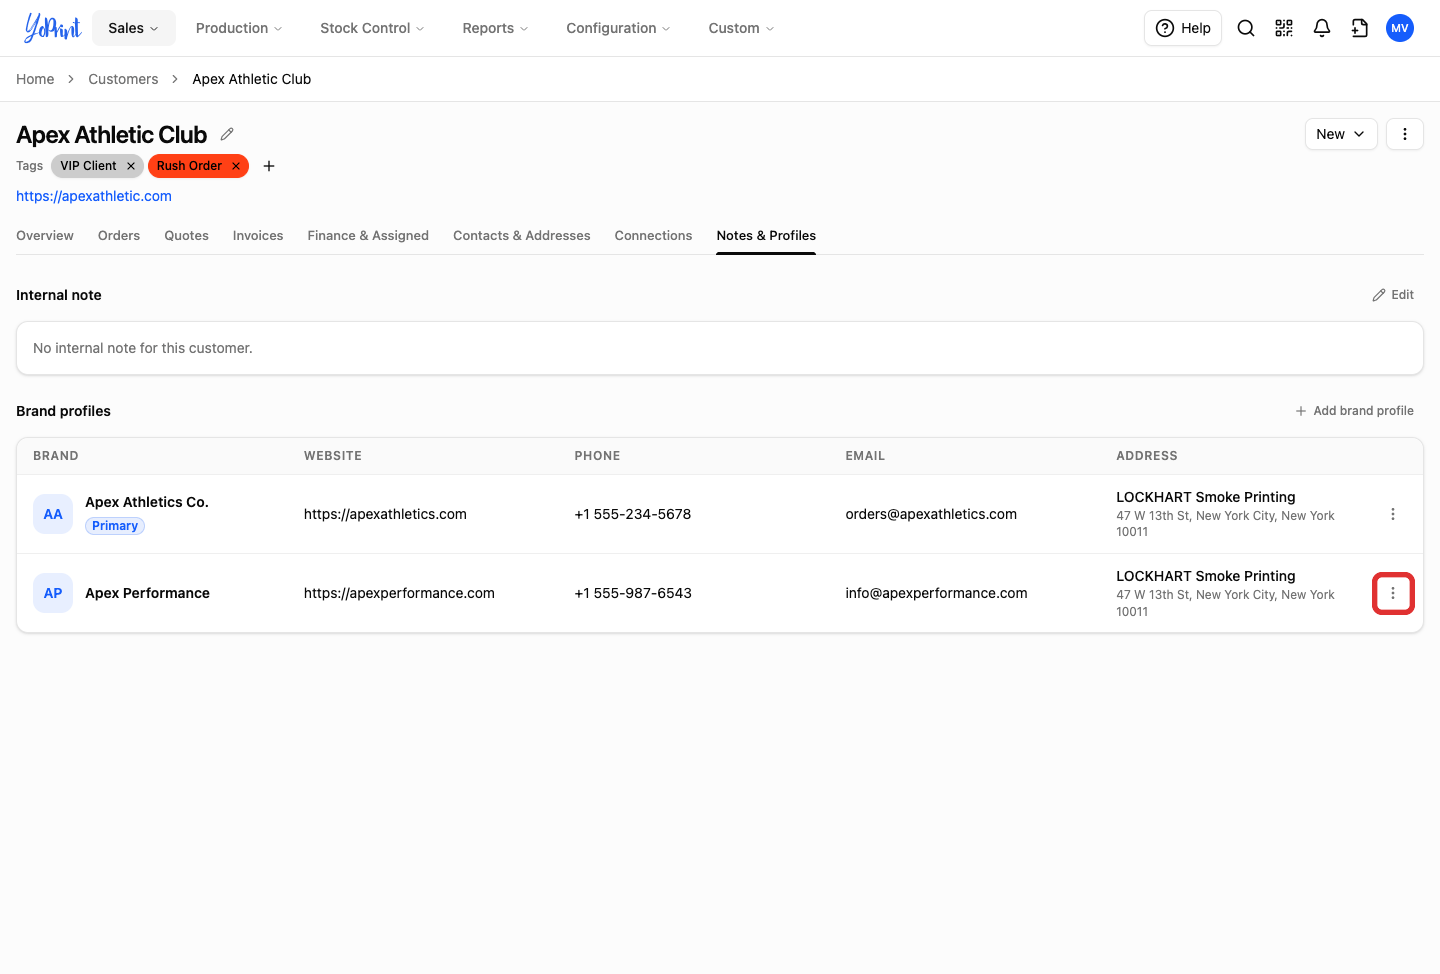
To change the default profile, click the Row actions button (...) on another brand profile.
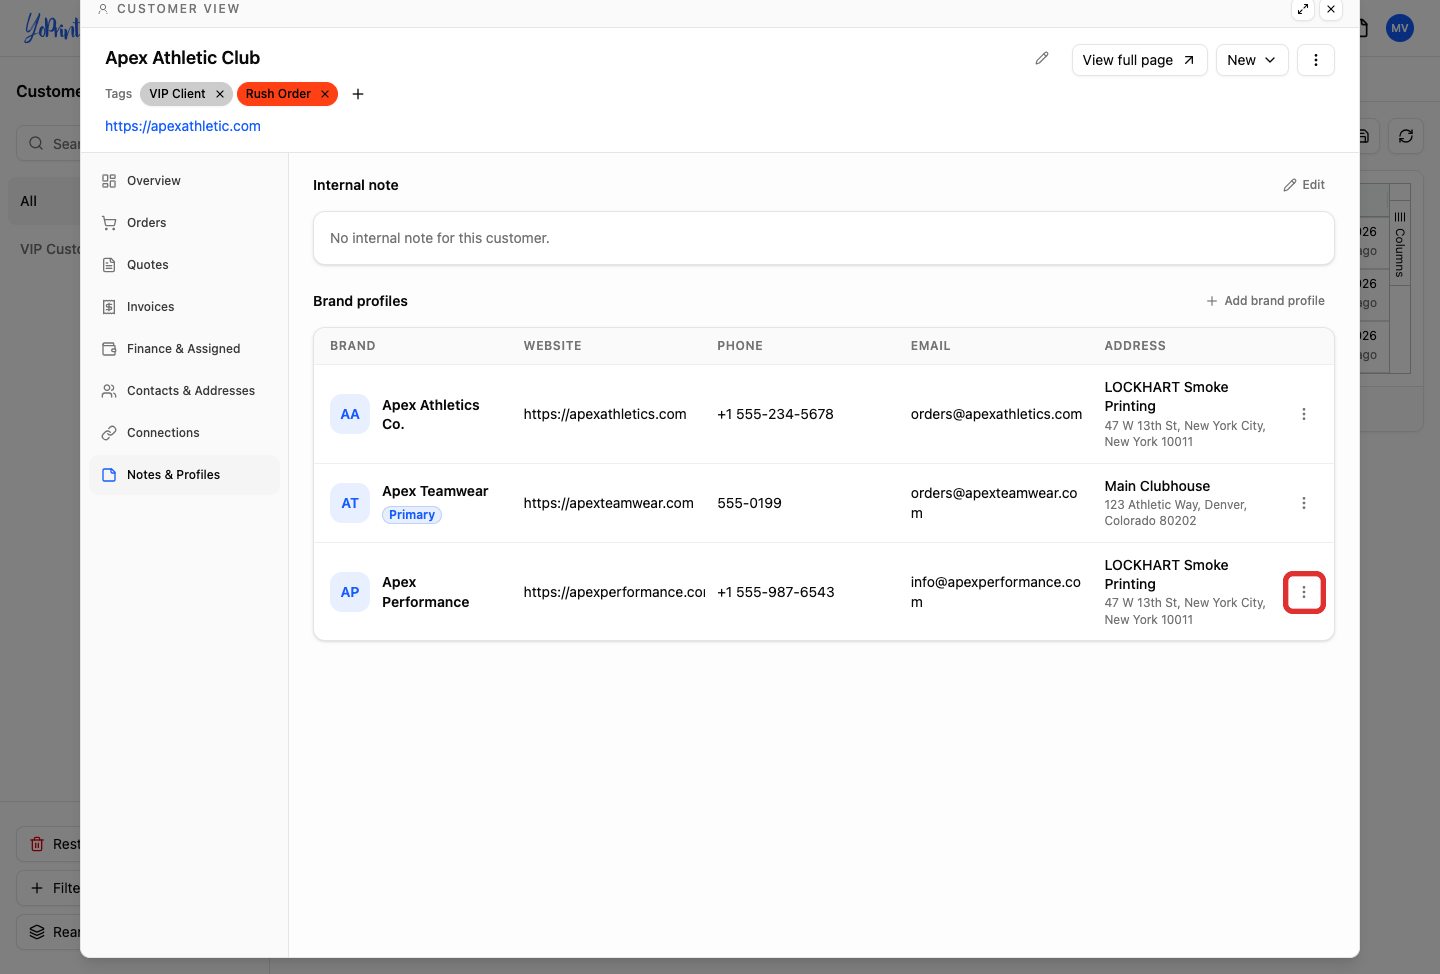
-
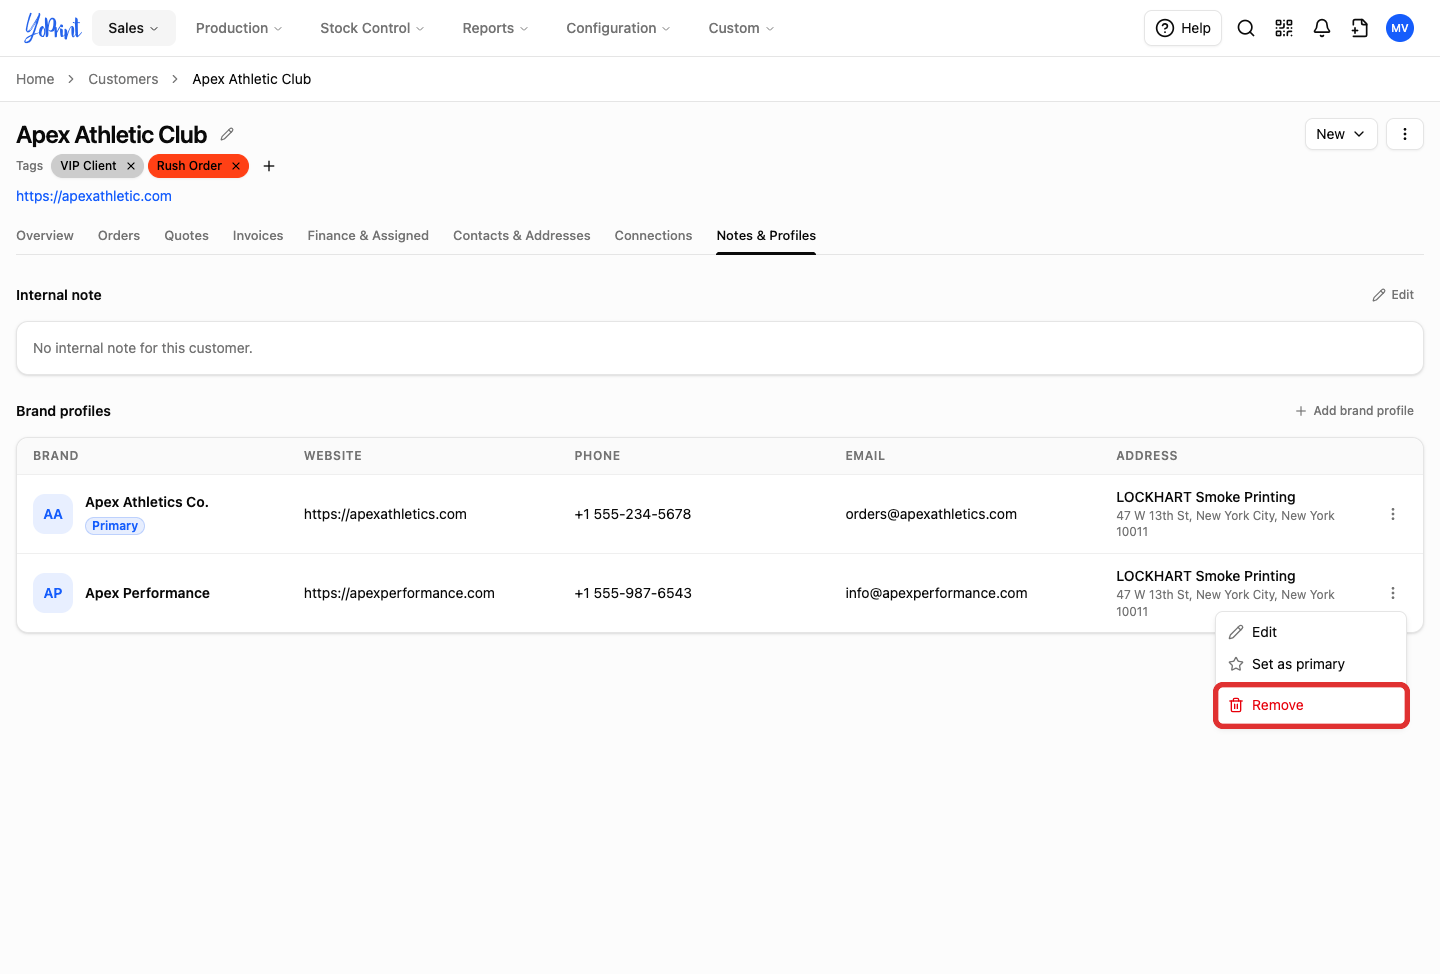
Select Set as primary.
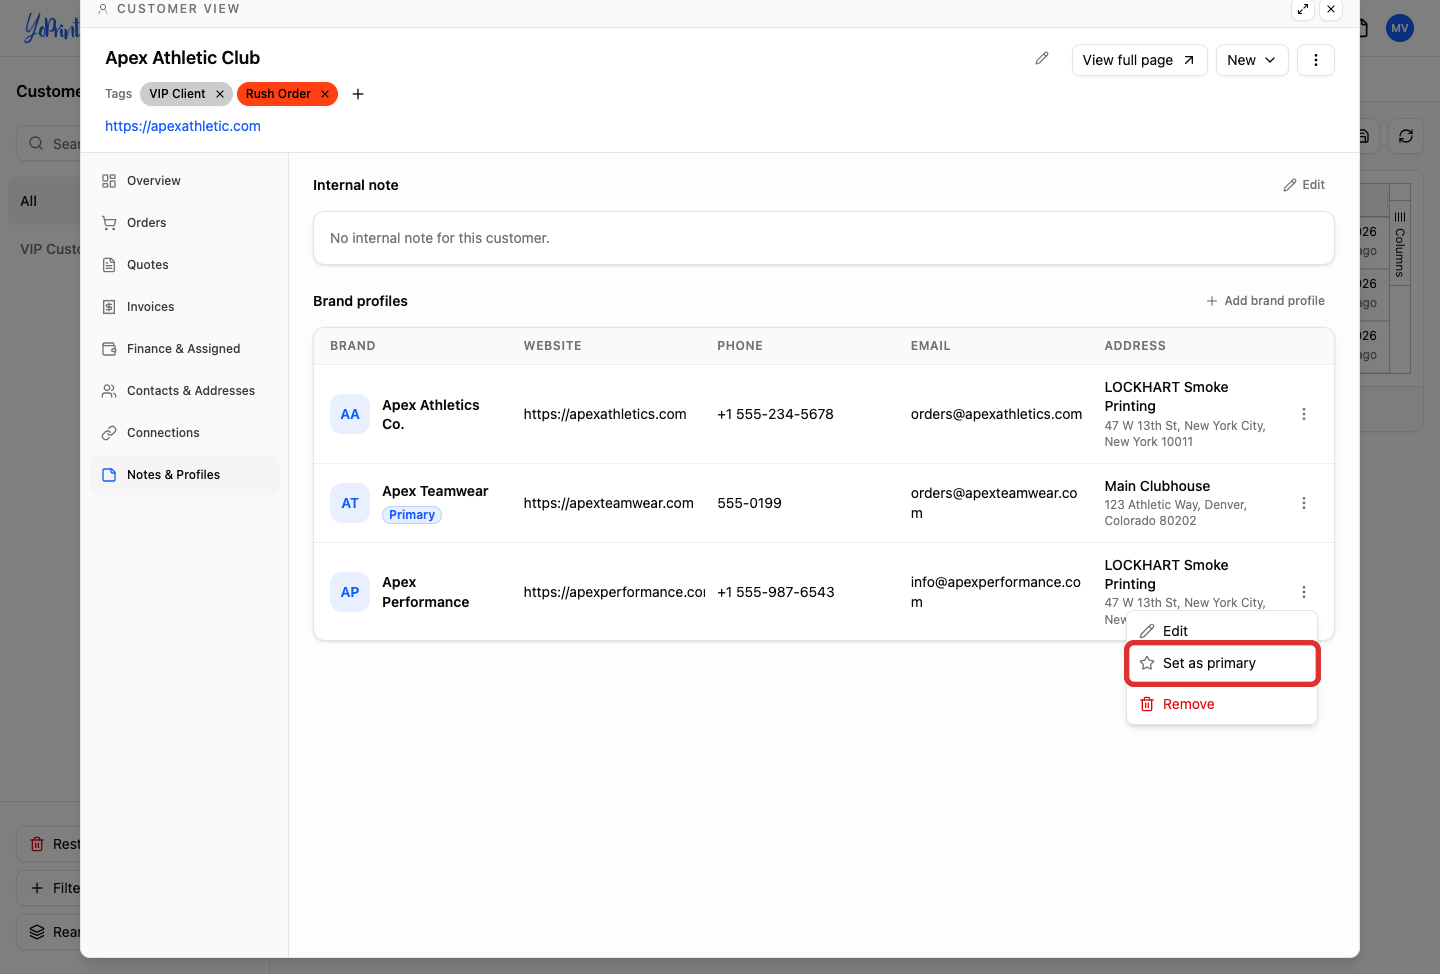
YoPrint automatically selects the primary brand profile on new quotes and sales orders created after the change, leaving existing orders unchanged. When an order is created, its brand profile becomes the default for newly added shipments, while each individual shipment can still be edited separately.
Edit or remove a brand profile
-
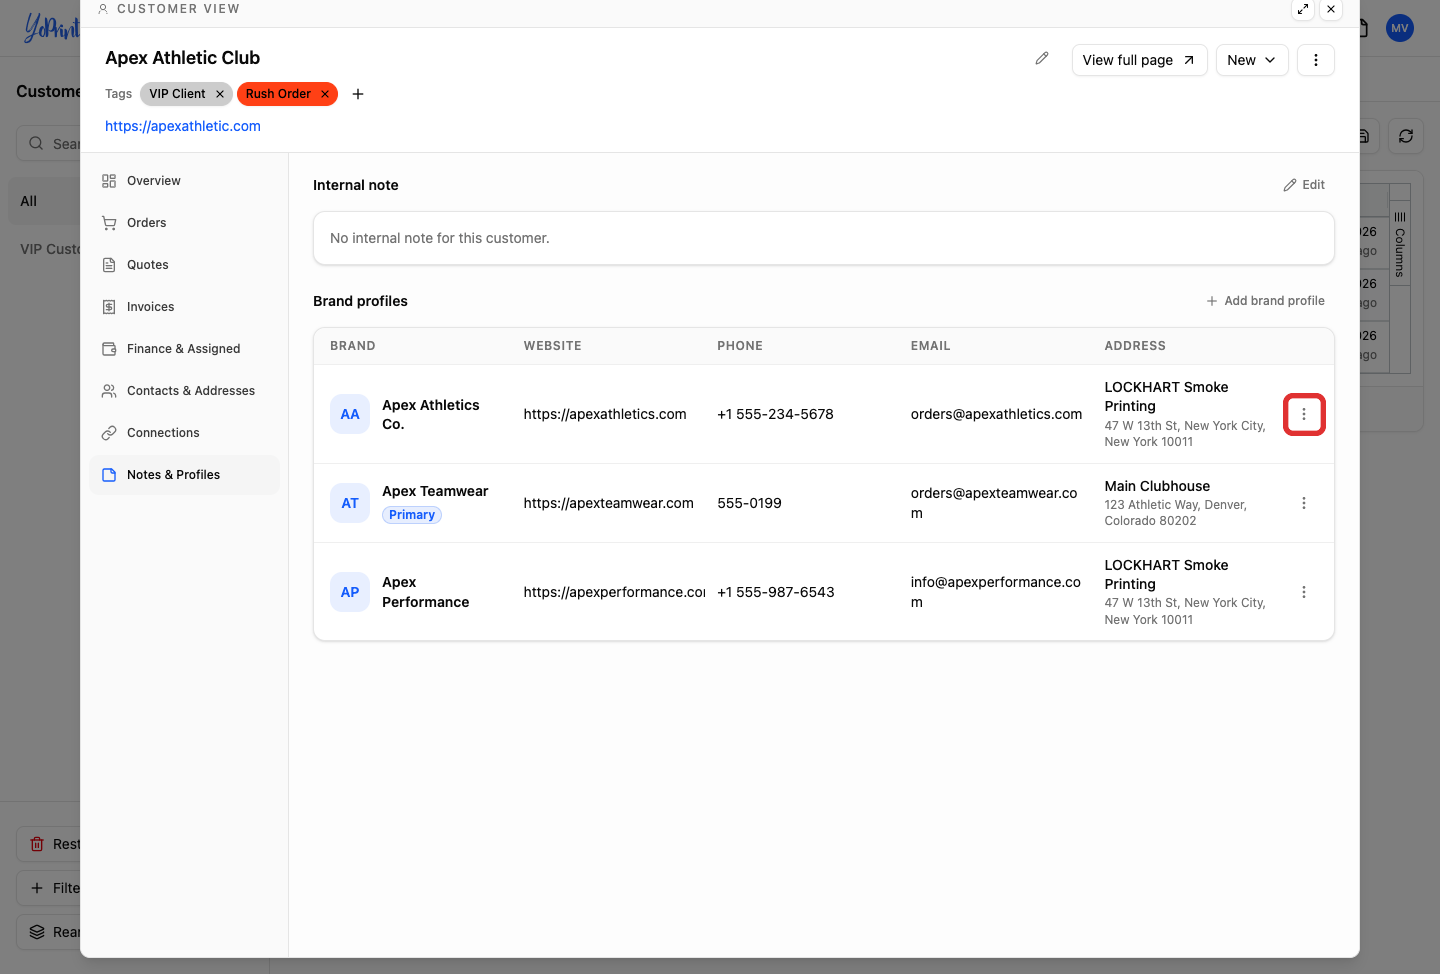
On the brand profile you want to update, click the Row actions button (...).
-
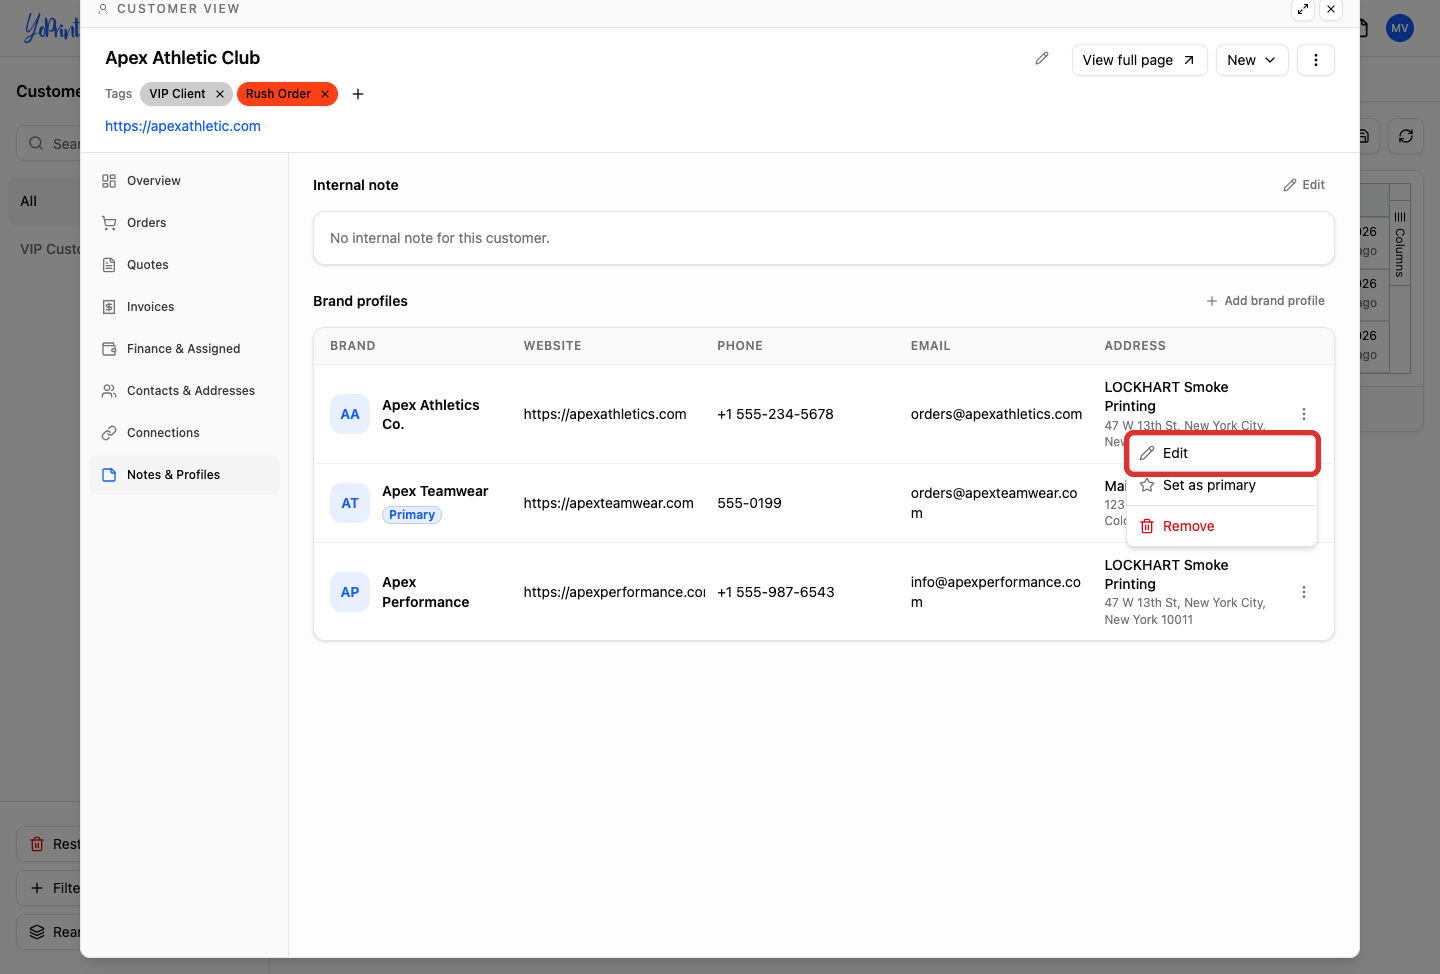
Select Edit from the row actions menu.
-
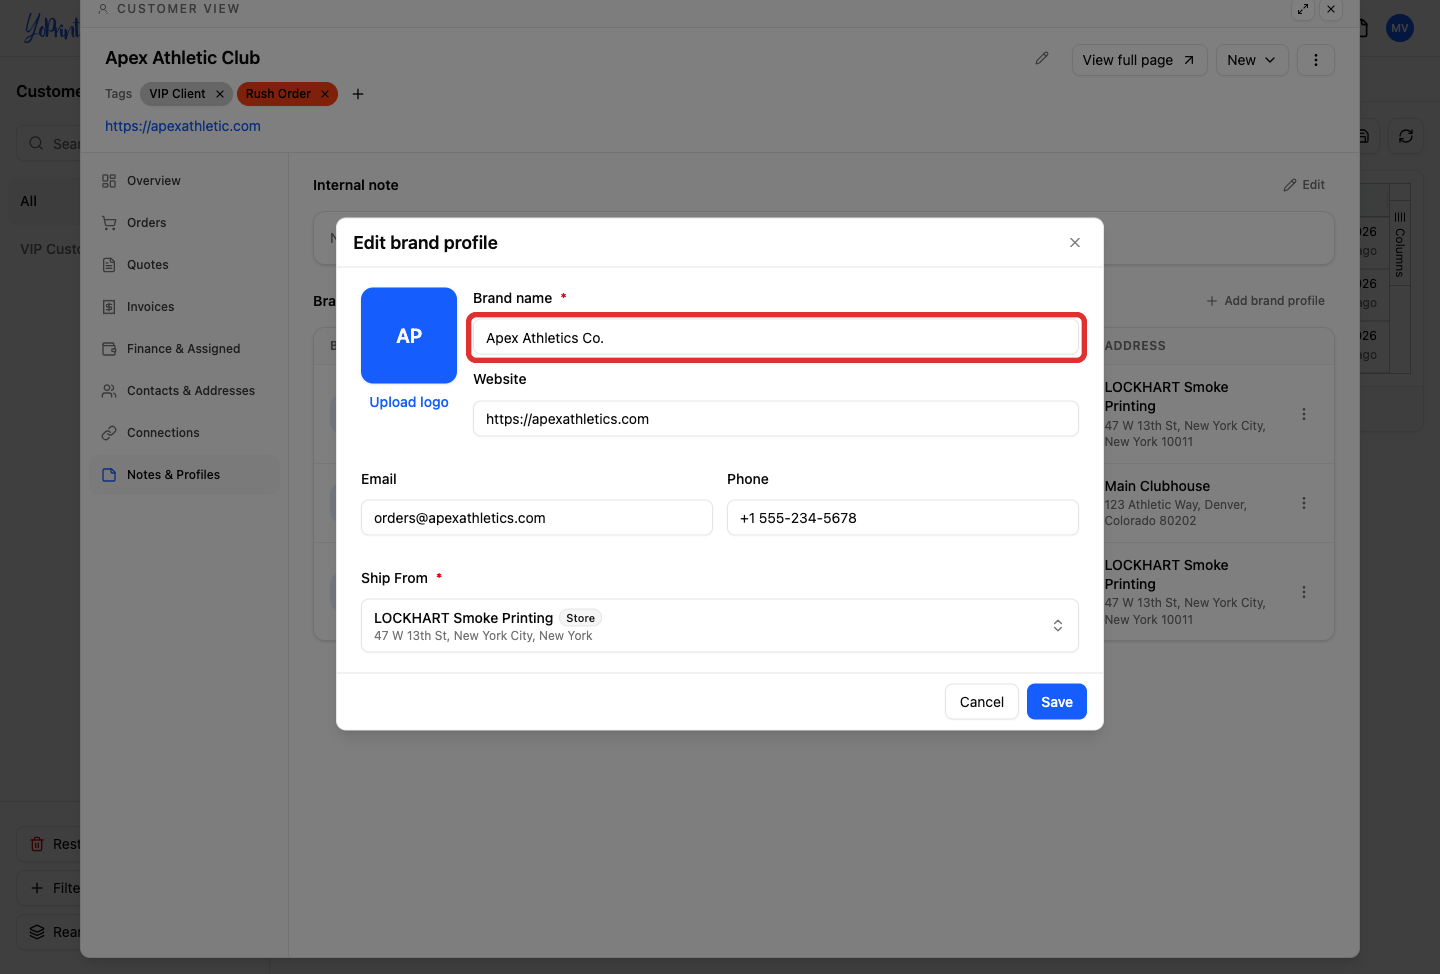
Update the contact fields, company details, logo, or return address.
-
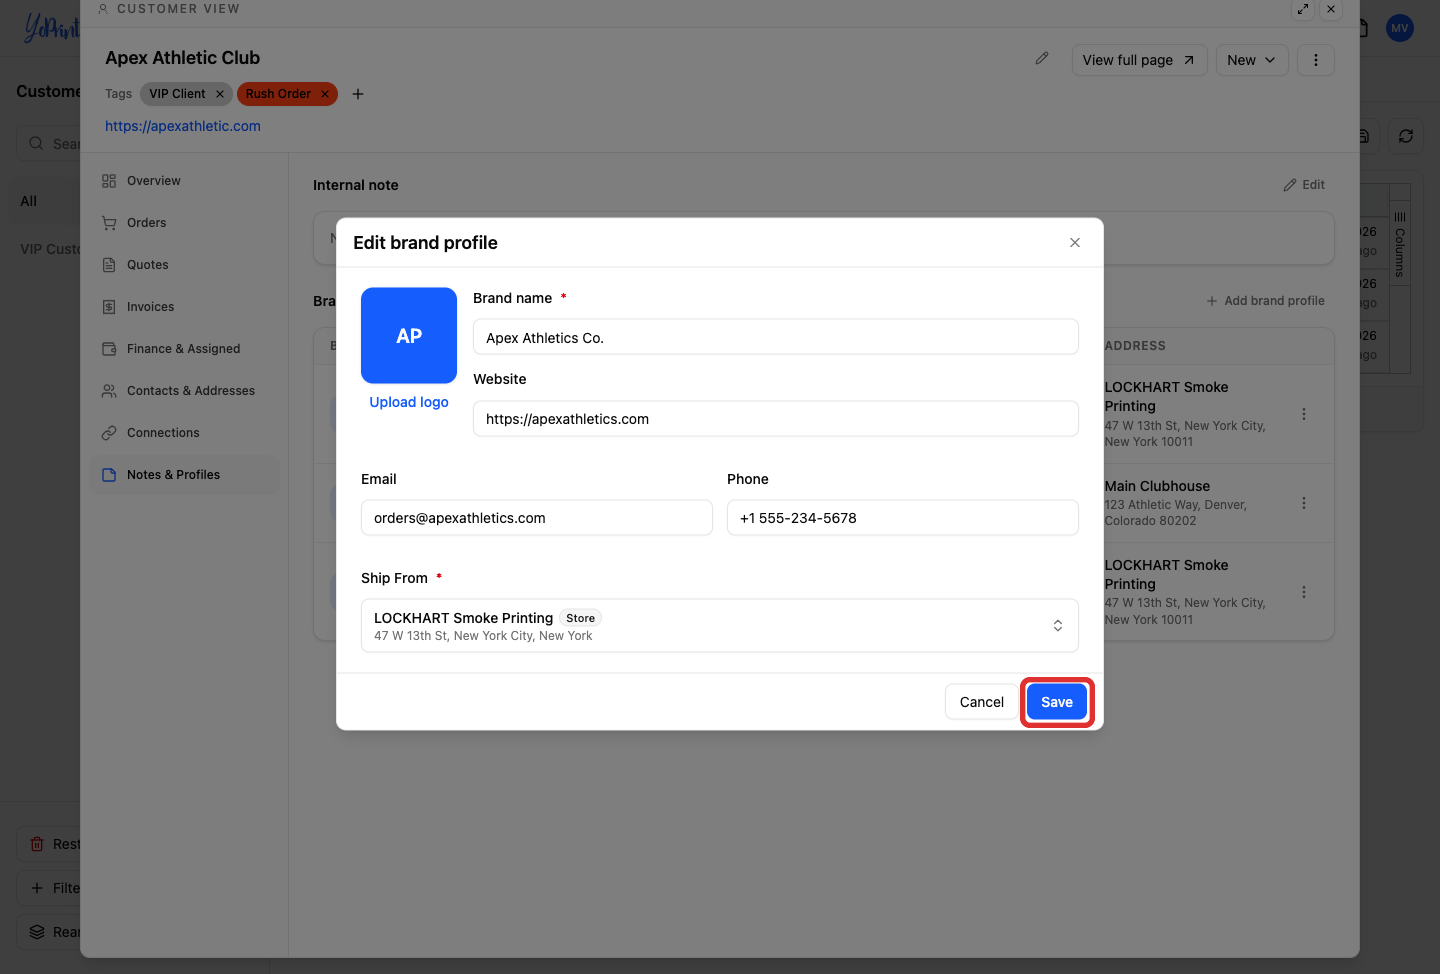
Click Save to apply your changes.
-
To delete an obsolete brand profile, click its Row actions button (...).
-
Select Remove from the row actions menu.
-
In the confirmation dialog, click Remove brand profile to confirm removal.
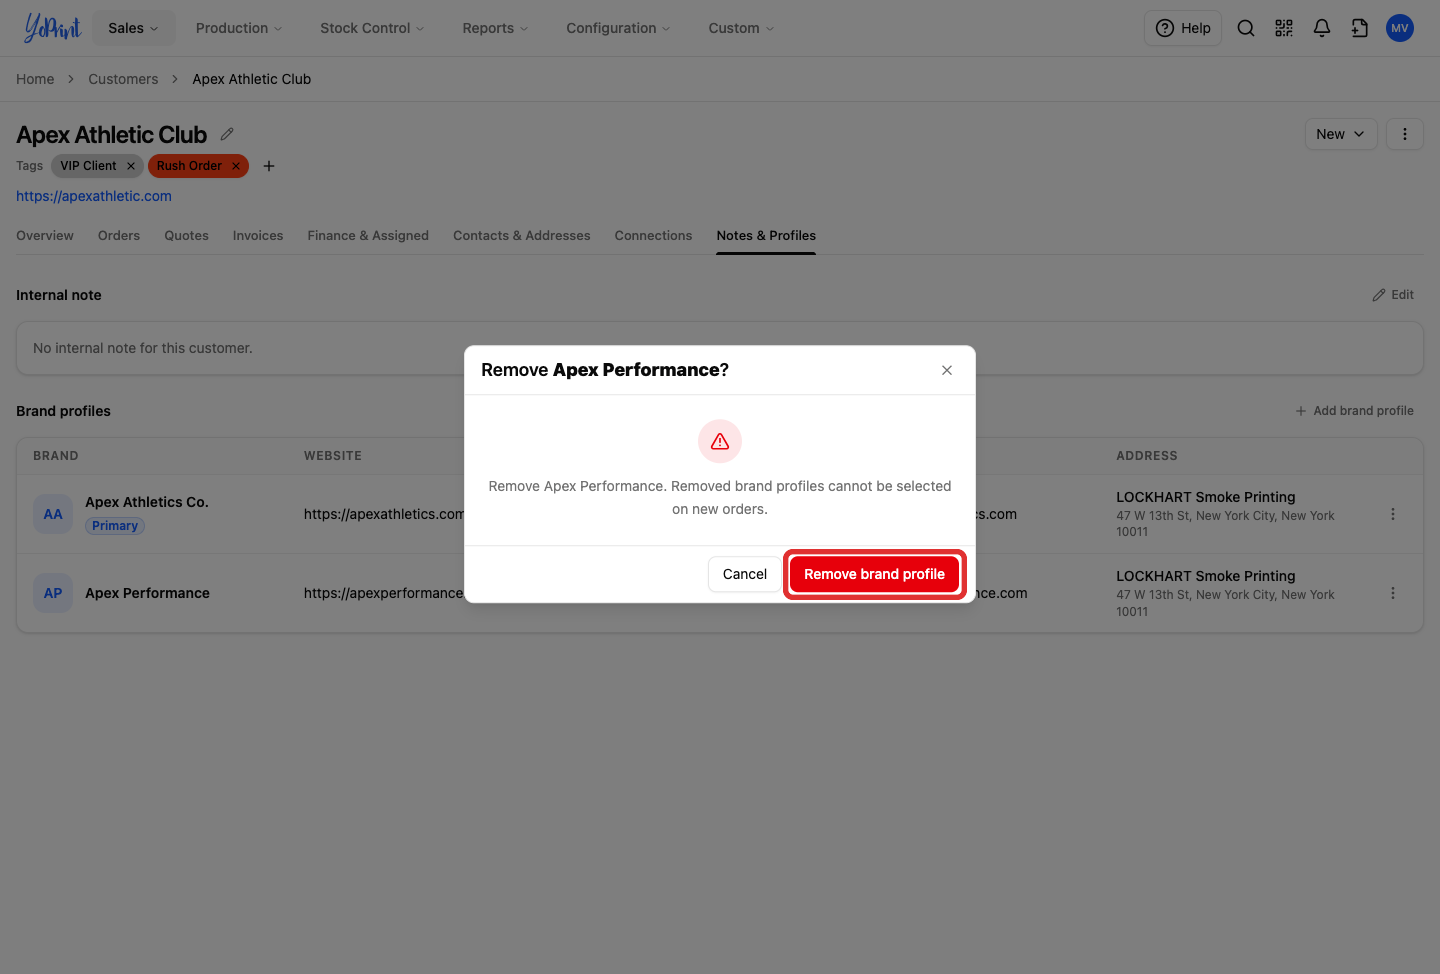
Removing a brand profile prevents it from being selected on new orders. Past sales orders, fulfilled shipments, and historical packing slips retain their original profile data and can still be reprinted.
Use a brand profile on an order
-
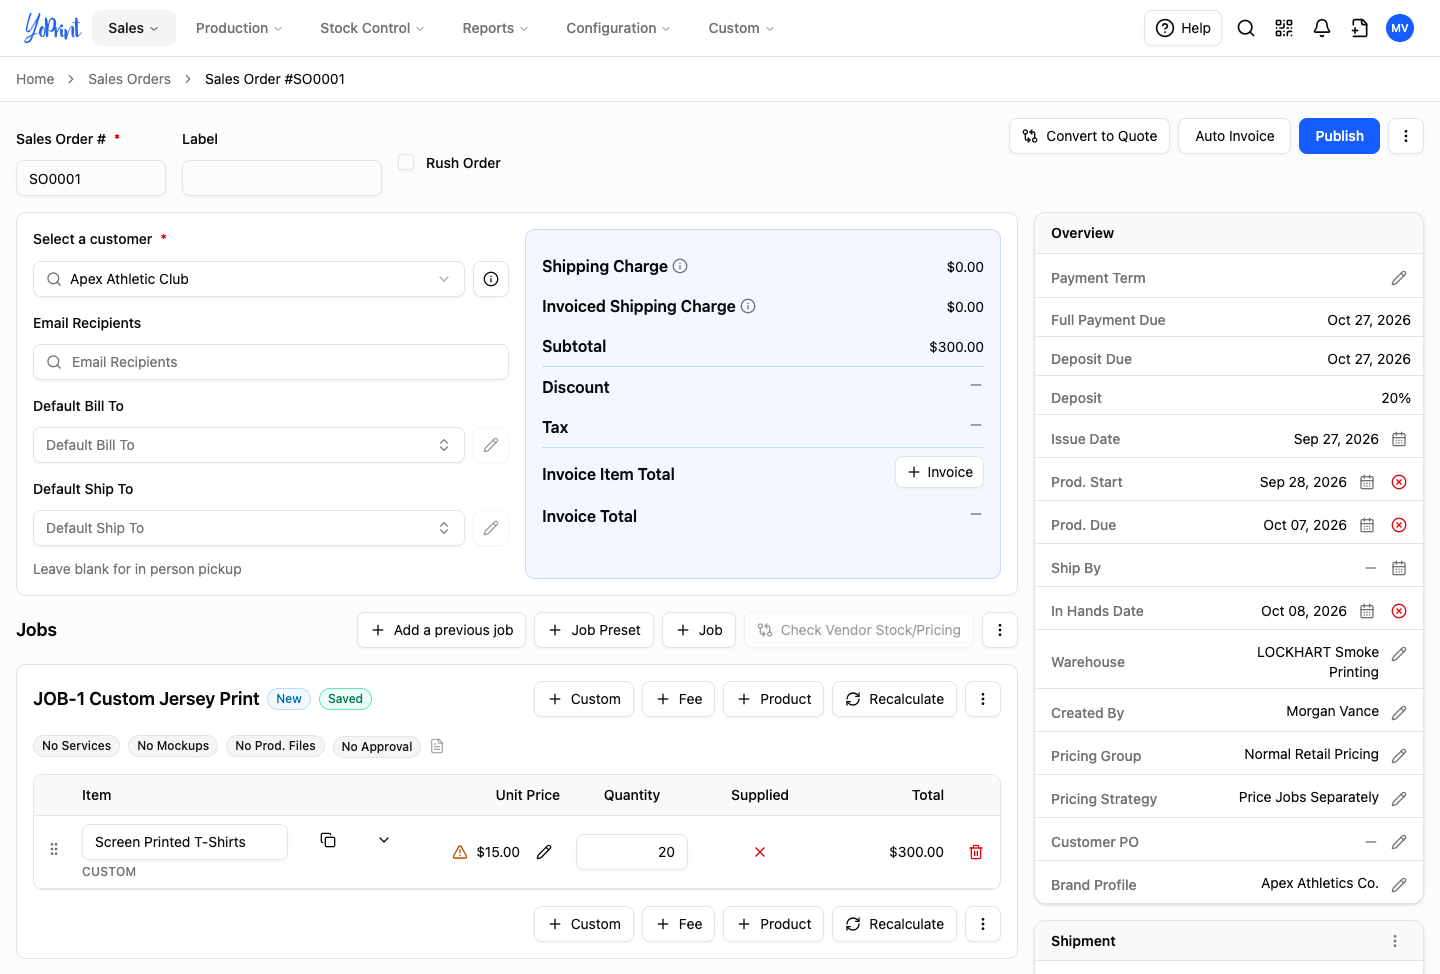
In the customer drawer, click the Orders tab and double-click an existing sales order that has a job and shipment.
-
In the Overview table, click Edit Brand Profile, select a brand profile from the dropdown, and click Save.
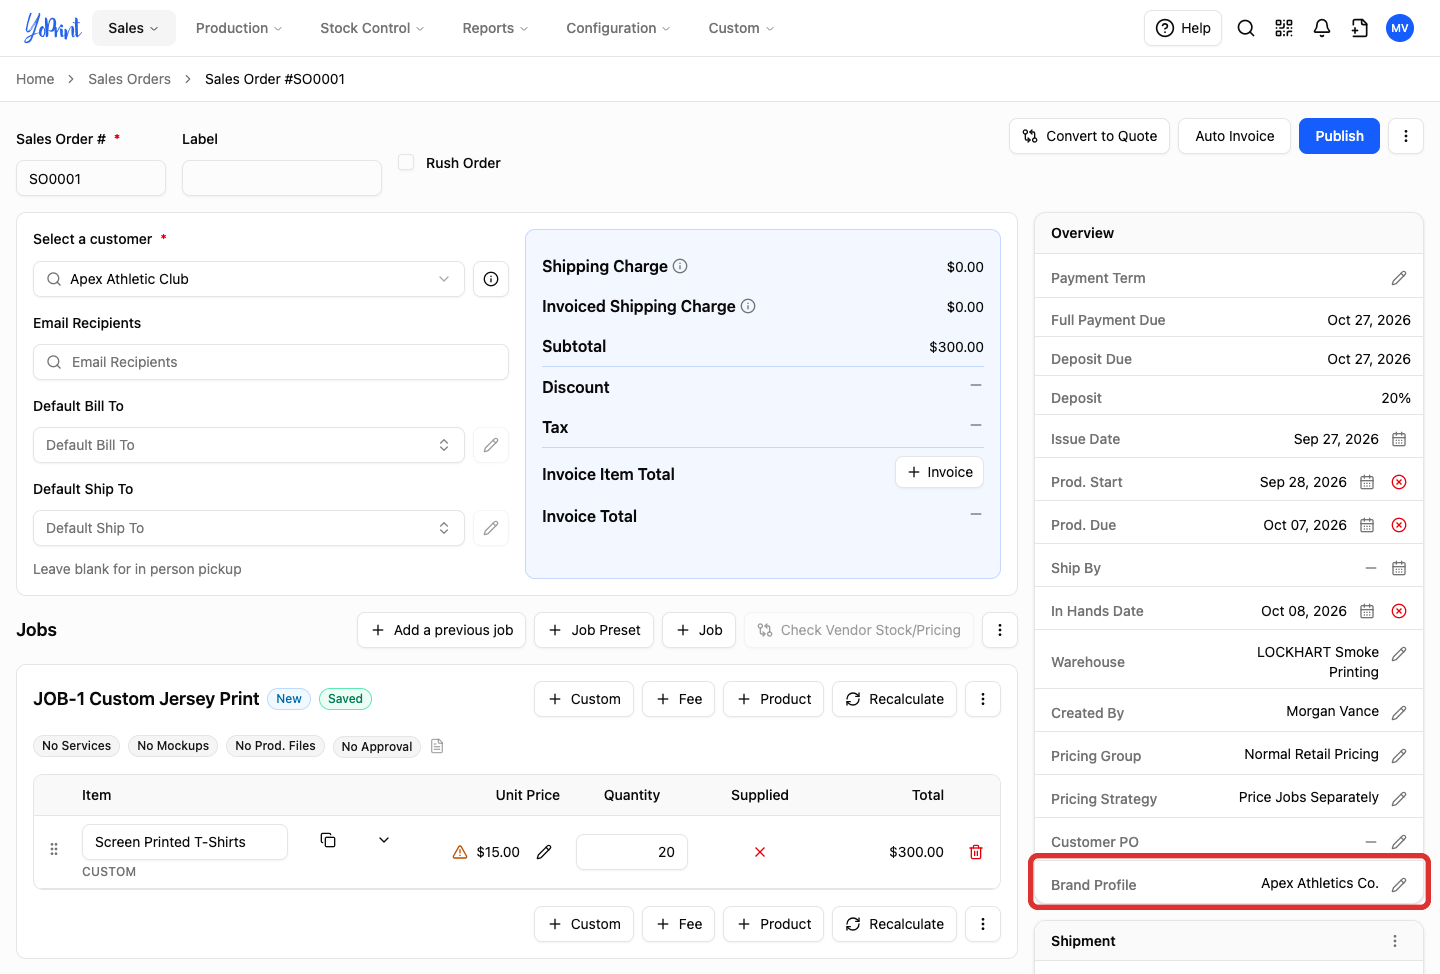
Selecting a brand profile on the sales order sets the default branding for newly added shipments. Existing shipments retain their assigned profile; to update an existing shipment, click its Actions button, select Edit, change the Brand Profile in the shipment drawer, and click Save and Close.
-
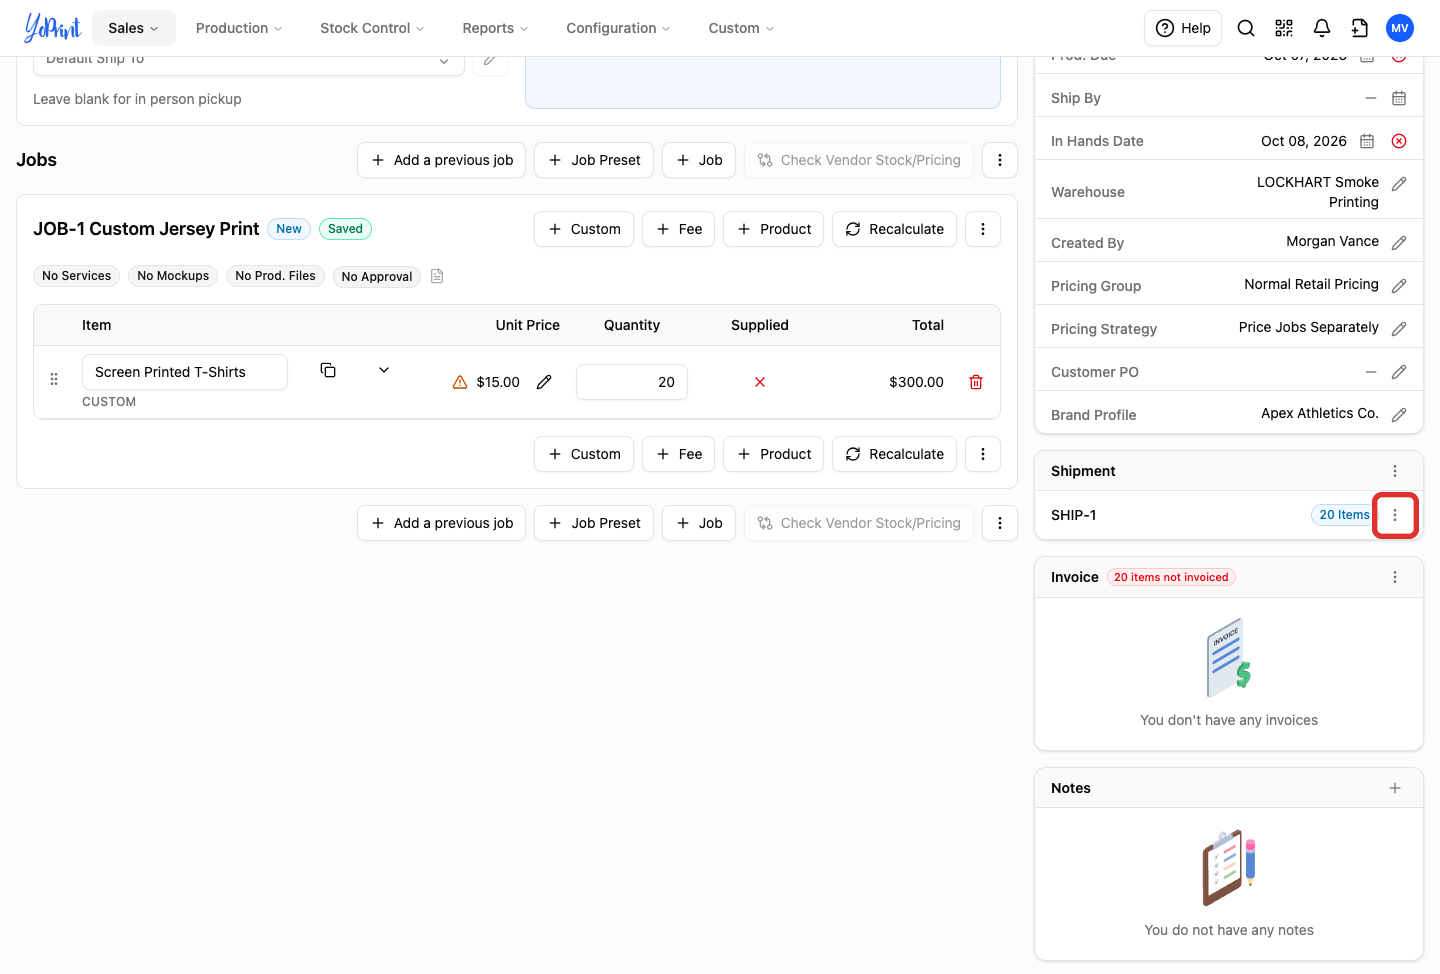
On the shipment row, click the Actions button (SHIP-1 Actions).
-
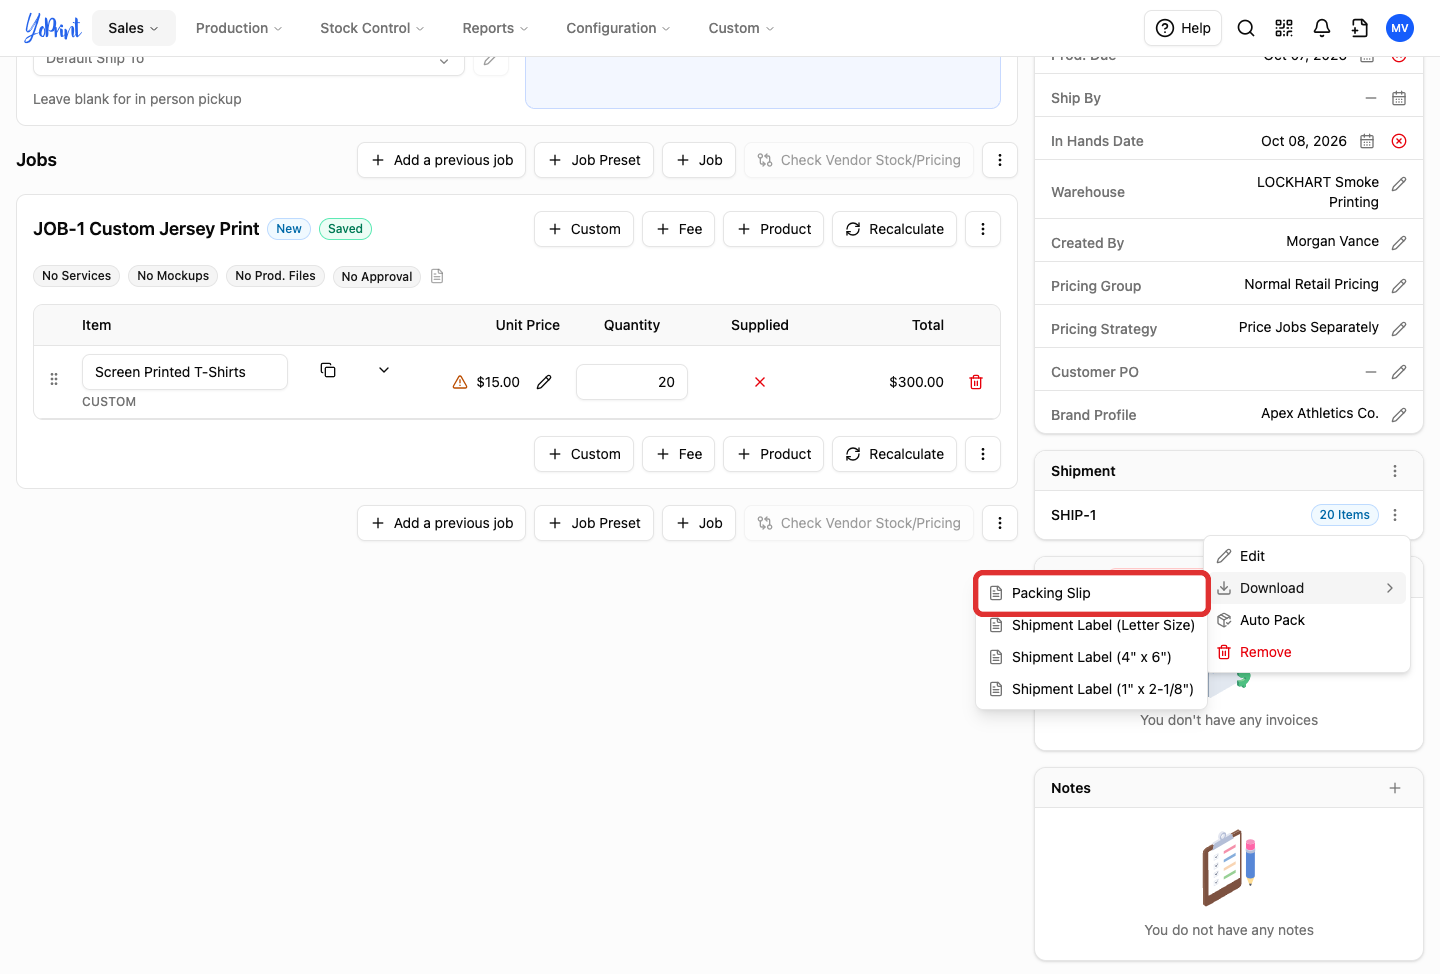
Under Download, select Packing Slip or choose a white-label box label such as Shipment Label (4" x 6").
-
Open the generated packing slip PDF to verify that the header displays the customer's brand name, logo, and return address instead of your shop's information.