Manage Customer Address
In this article
YoPrint lets you maintain complete shipping and billing addresses for every customer. Each customer record supports multiple delivery locations, warehouse docks, and billing offices. You can assign nicknames (such as "Main Office" or "Dock B") to help your team pick the right address on orders, and use address autocomplete to fill street, city, state, and postcode details quickly.
When you edit a saved customer address, YoPrint protects your accounting and shipping records. Address changes apply to future quotes, sales orders, and invoices, leaving documents you have already created or sent untouched.

Add a customer address
-
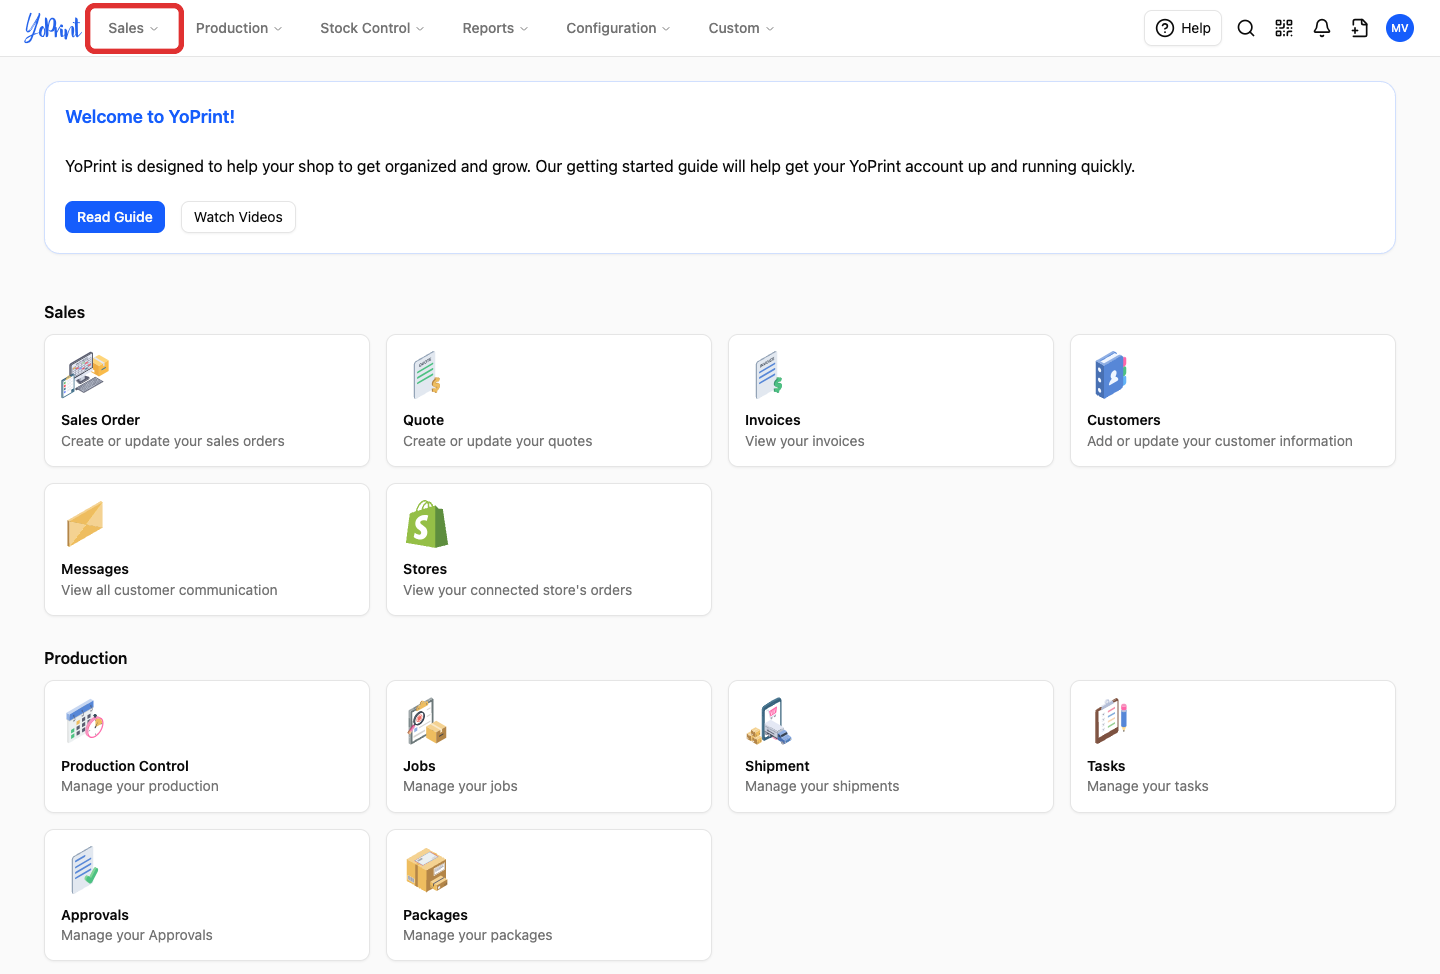
In the main navigation, click Sales.
-
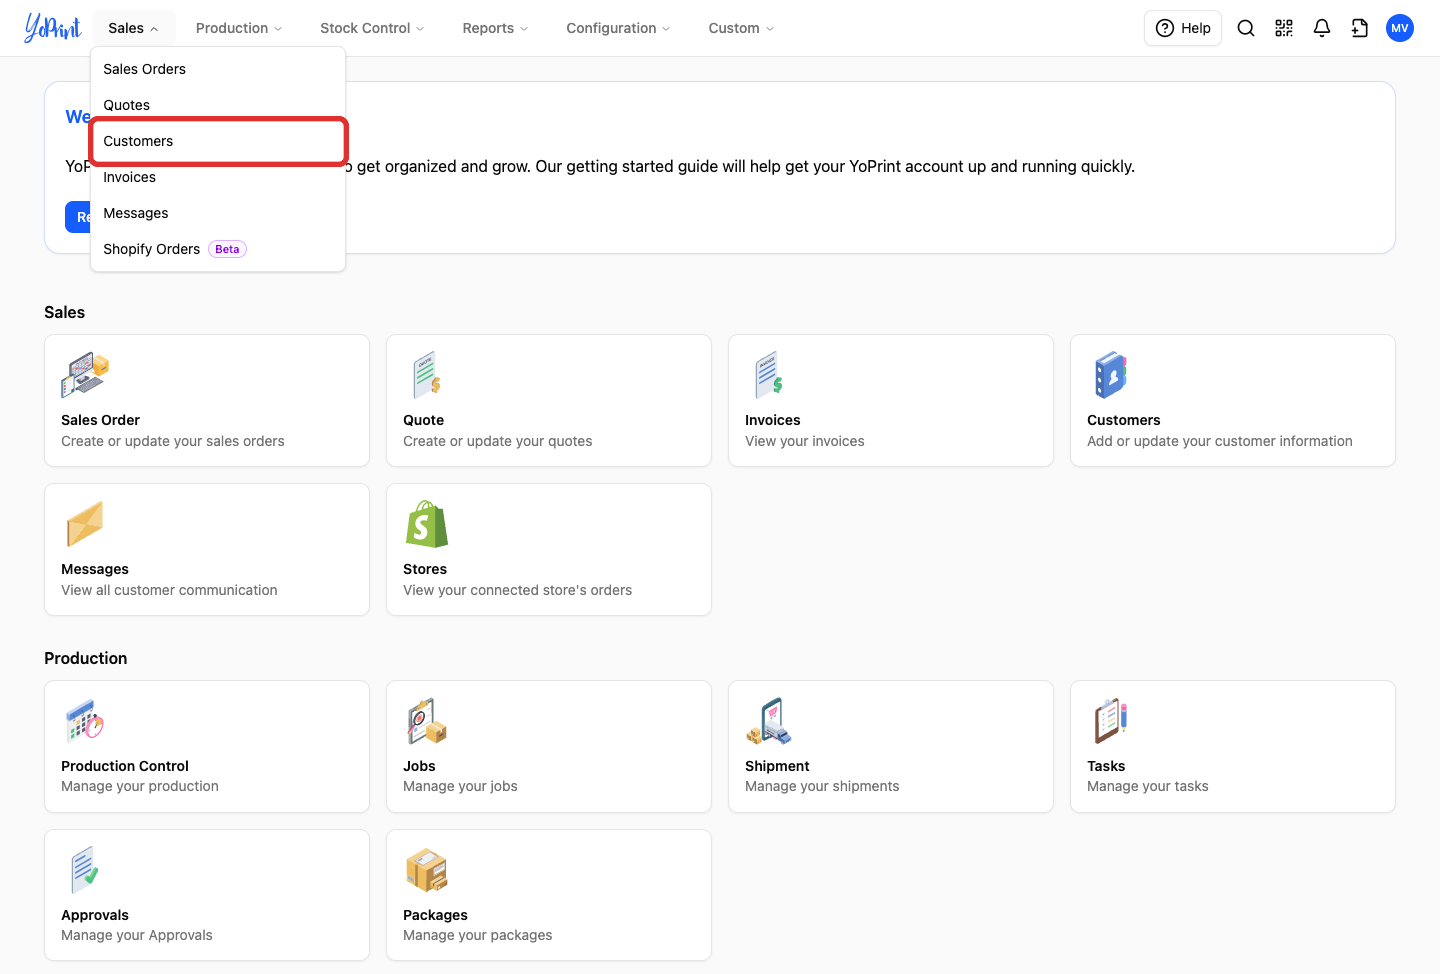
Select Customers.
-
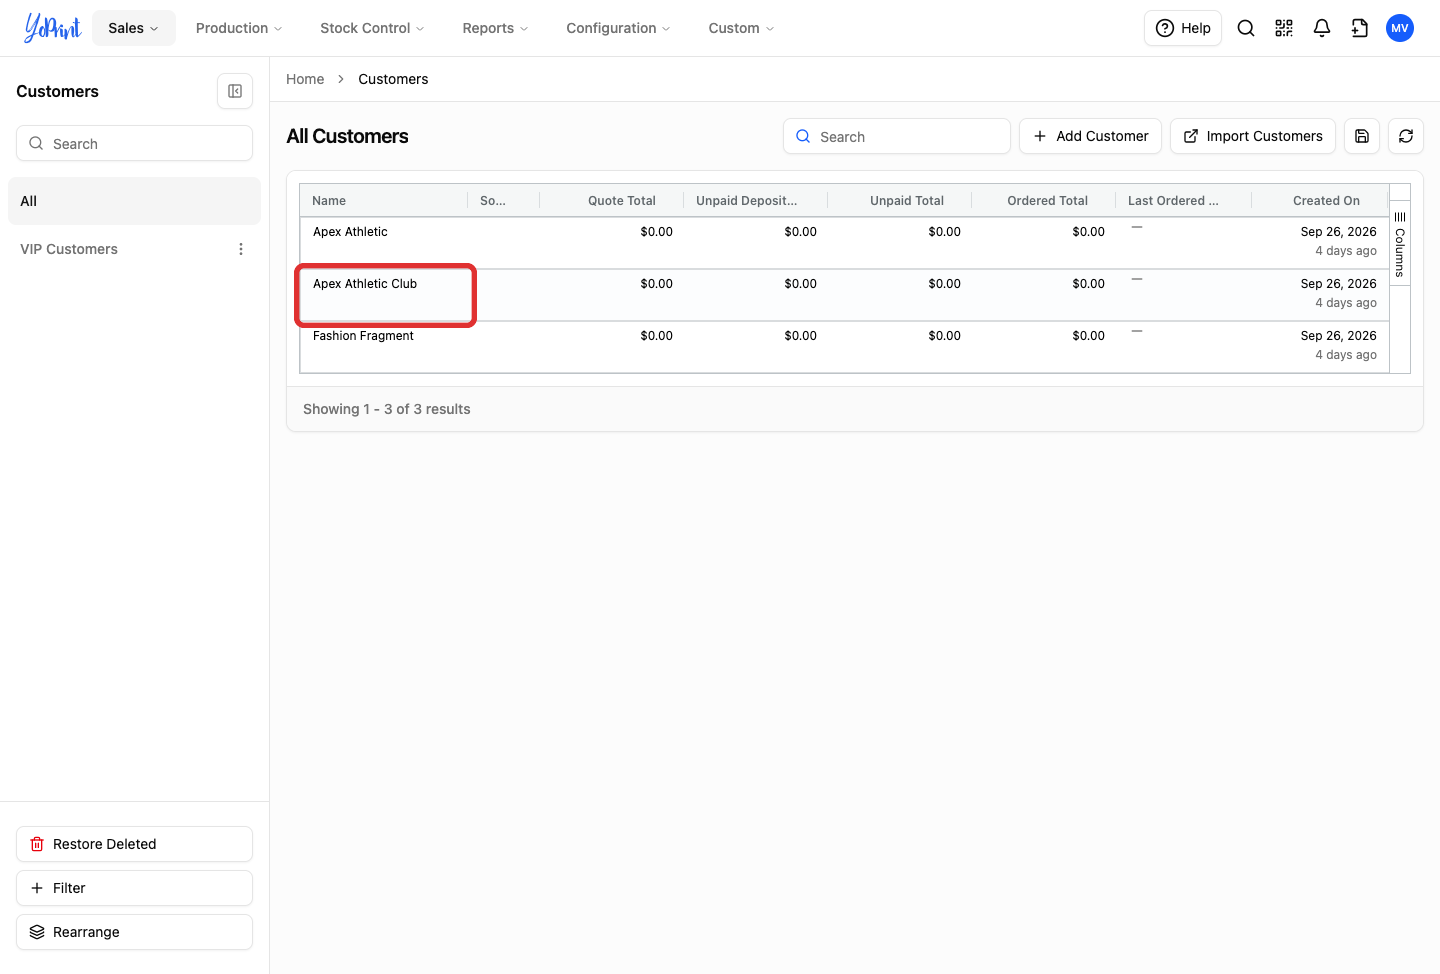
In the customer list, double-click the customer's name to open their detail drawer.
-
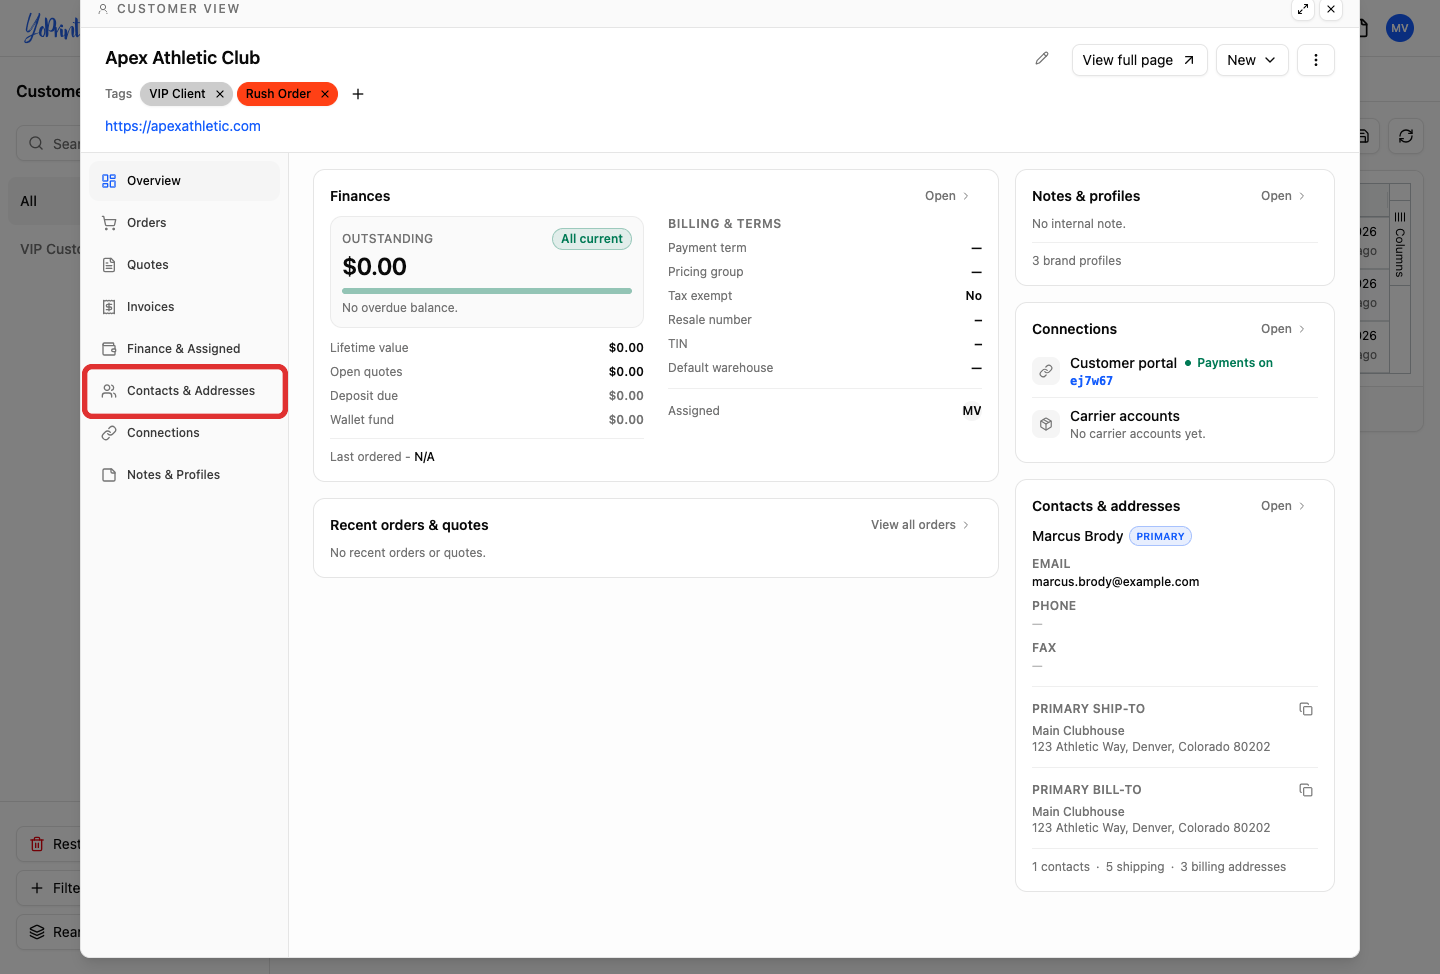
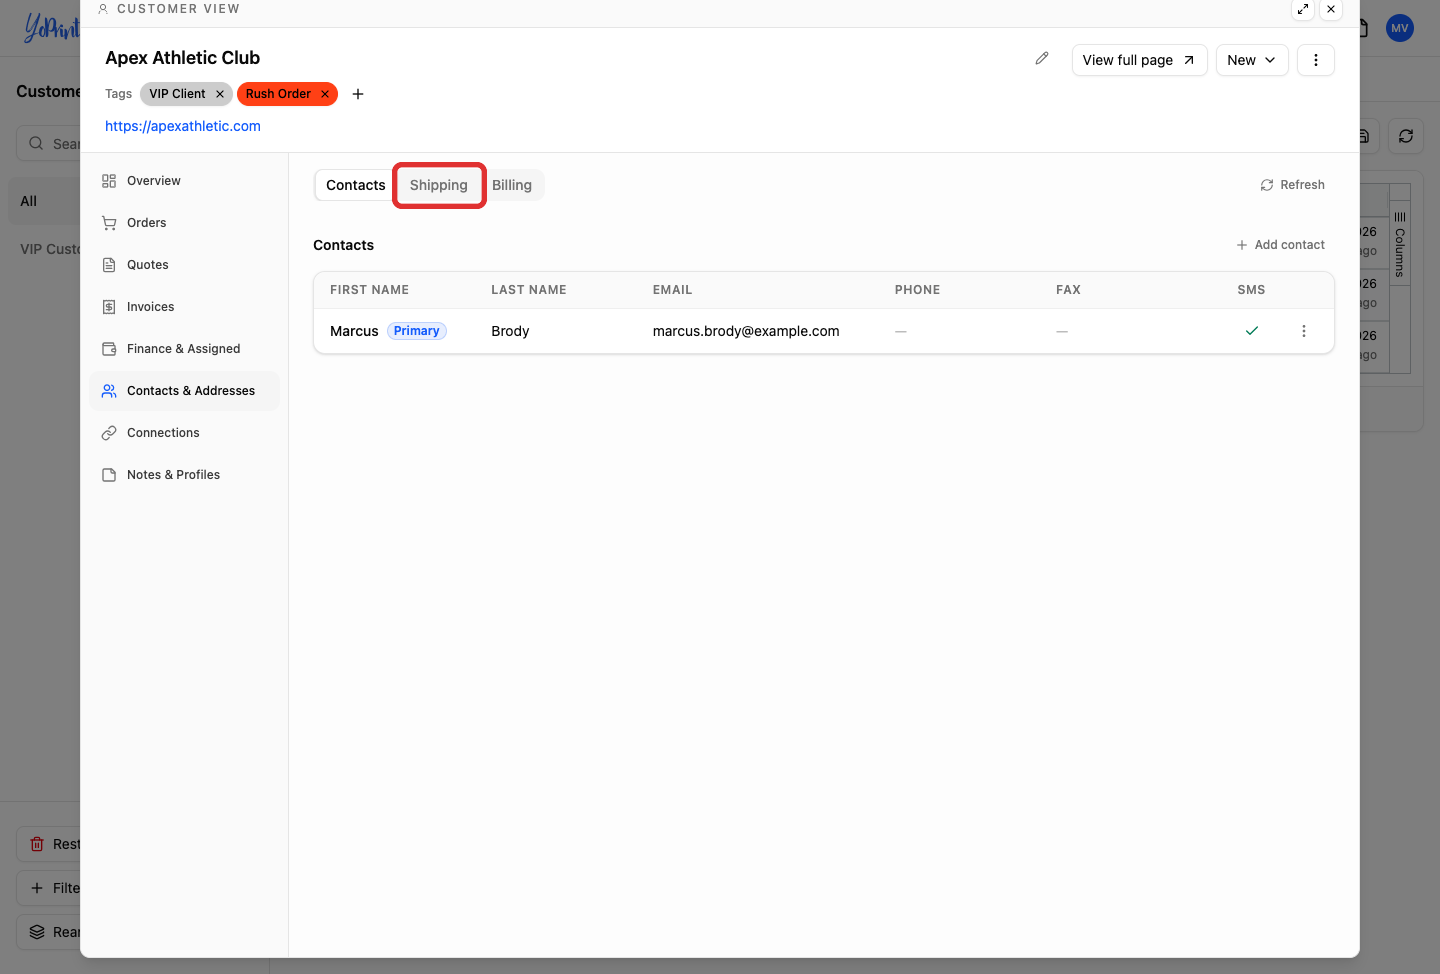
Click the Contacts & Addresses tab.
-
Select either the Shipping or Billing sub-tab.
-
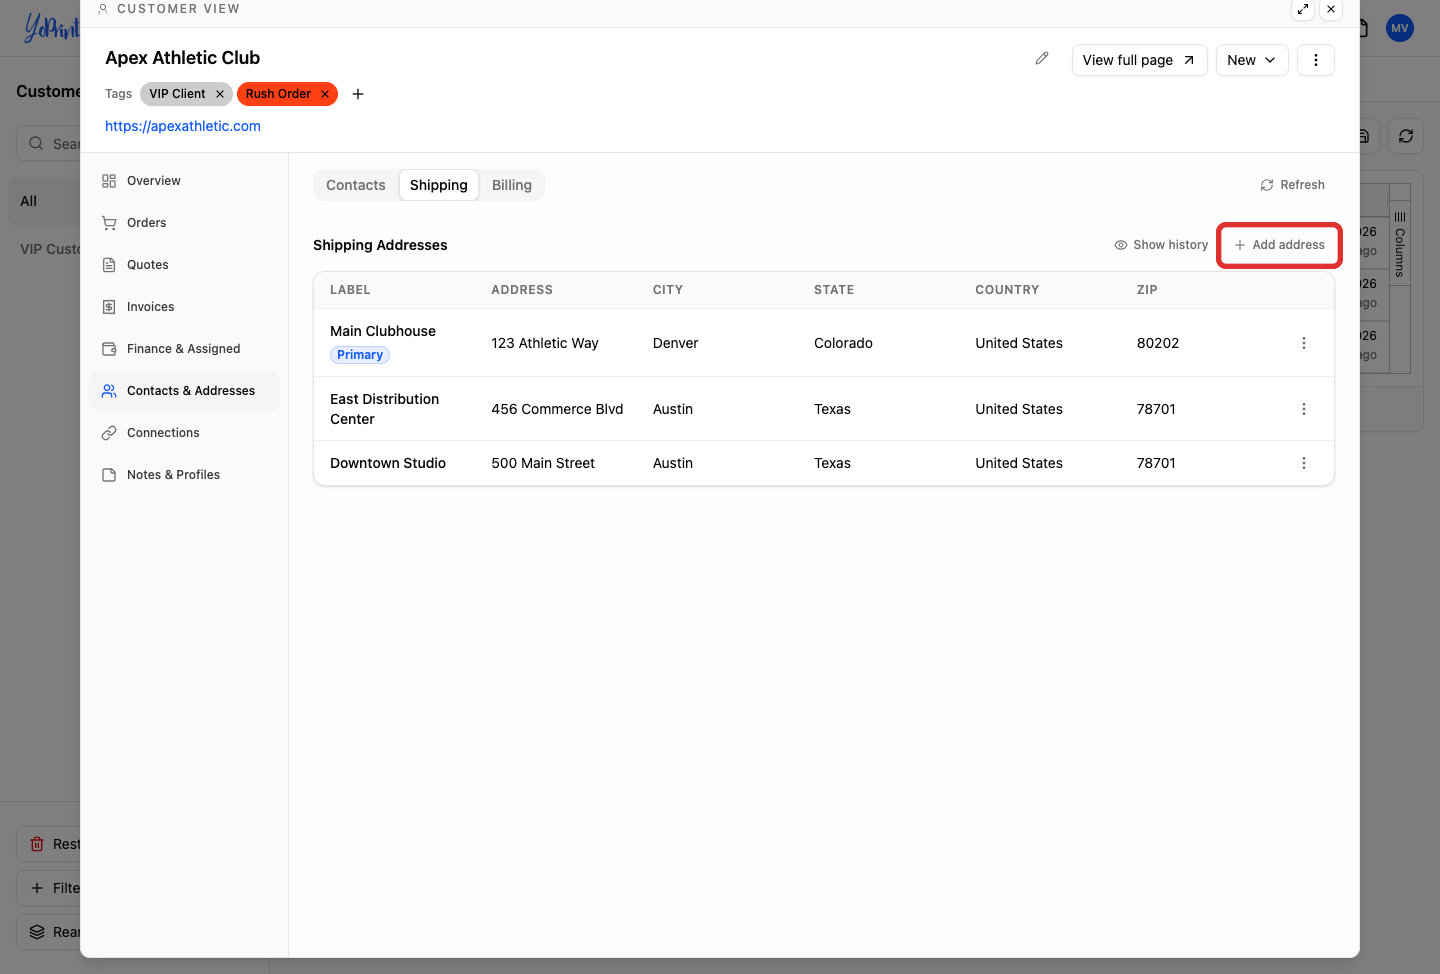
Click Add address.
-
Enter the address details, including Label, Address line 1, Address line 2, City, Postcode, and Country.
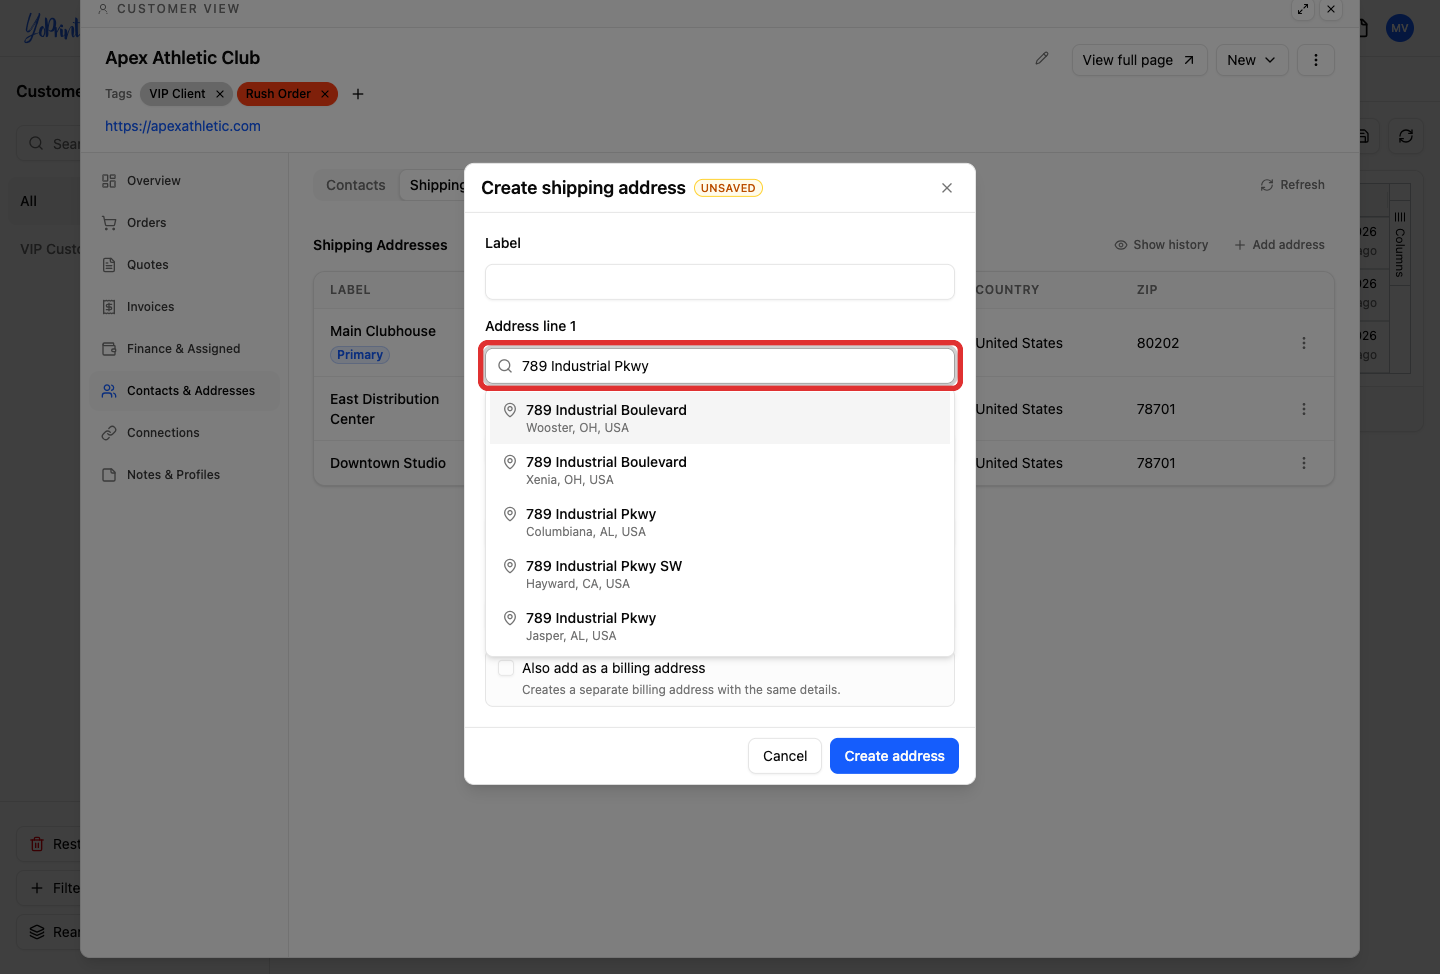
Use a clear, recognizable Label (such as "Main Office" or "Dock B") so your team can identify the location in order dropdowns and see it printed above the delivery address on invoices, packing slips, and shipping labels.
-
For US and Canadian destinations, select a valid state or province from the State / region dropdown.
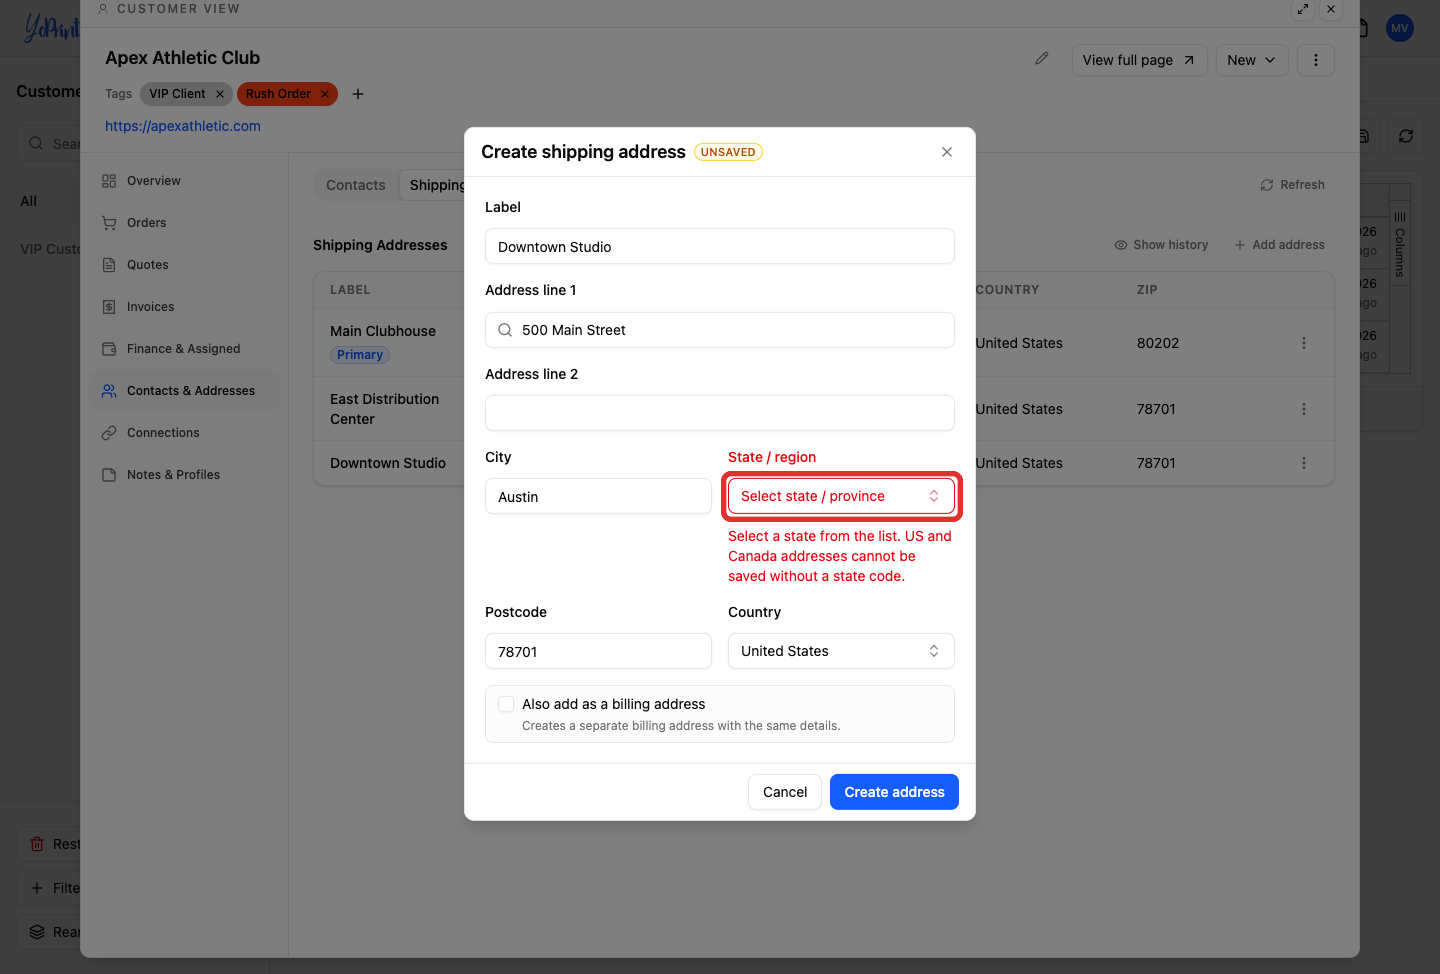
US and Canadian addresses require a state or province code. If you attempt to save without selecting one, YoPrint prompts you to choose from the list before saving.
-
If this address also serves as the billing location, check Also add as a billing address.
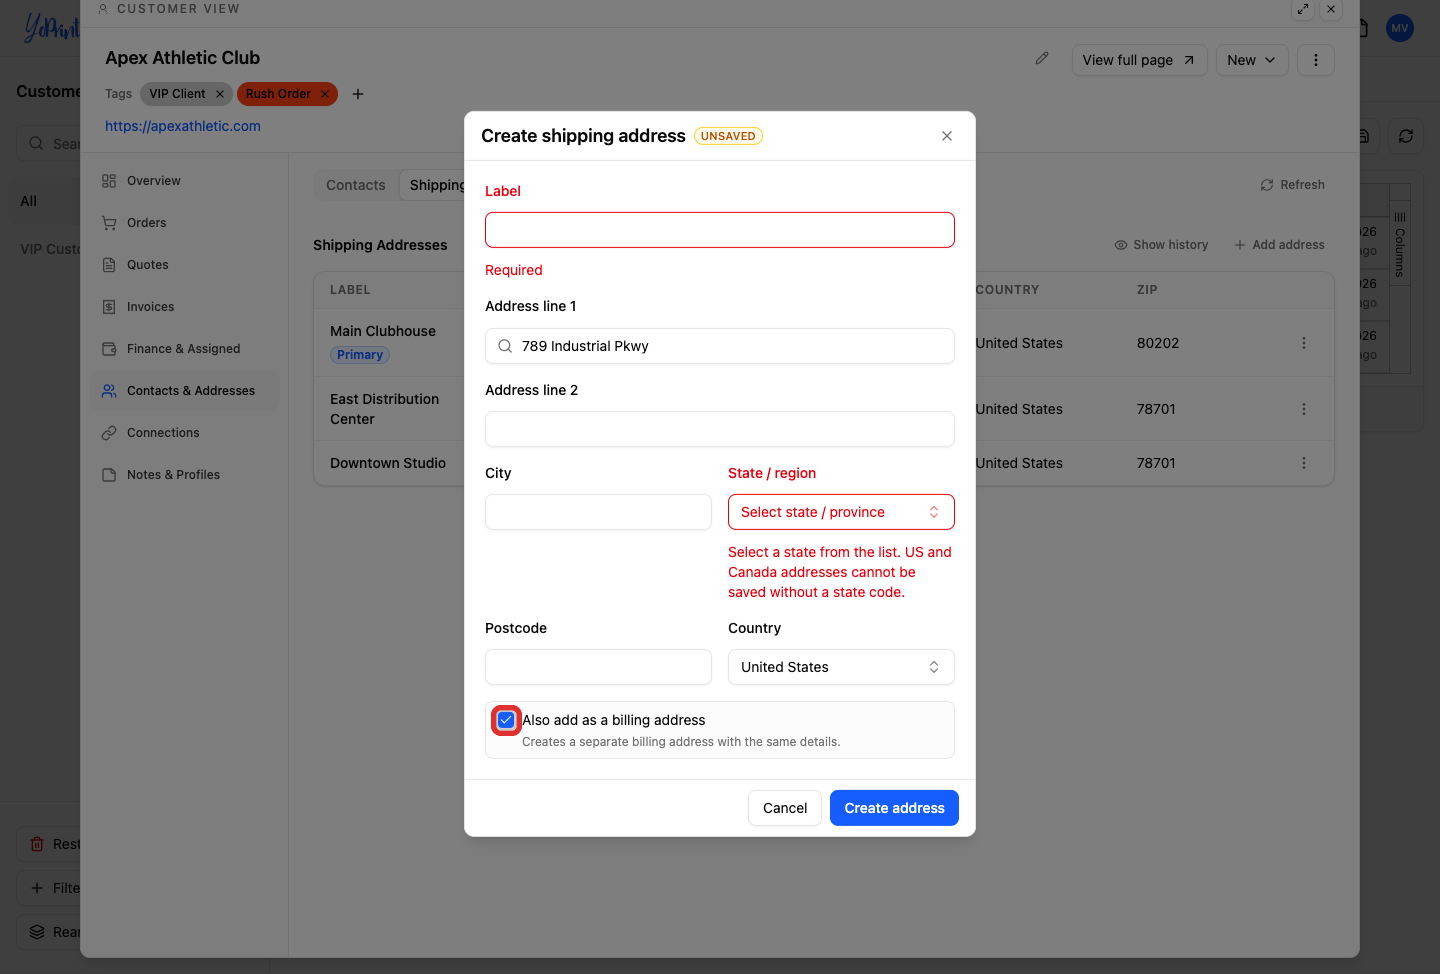
Checking this box creates a separate billing address with the same details so you do not have to retype it. Because shipping and billing entries are independent records, editing one later will not change the other.
-
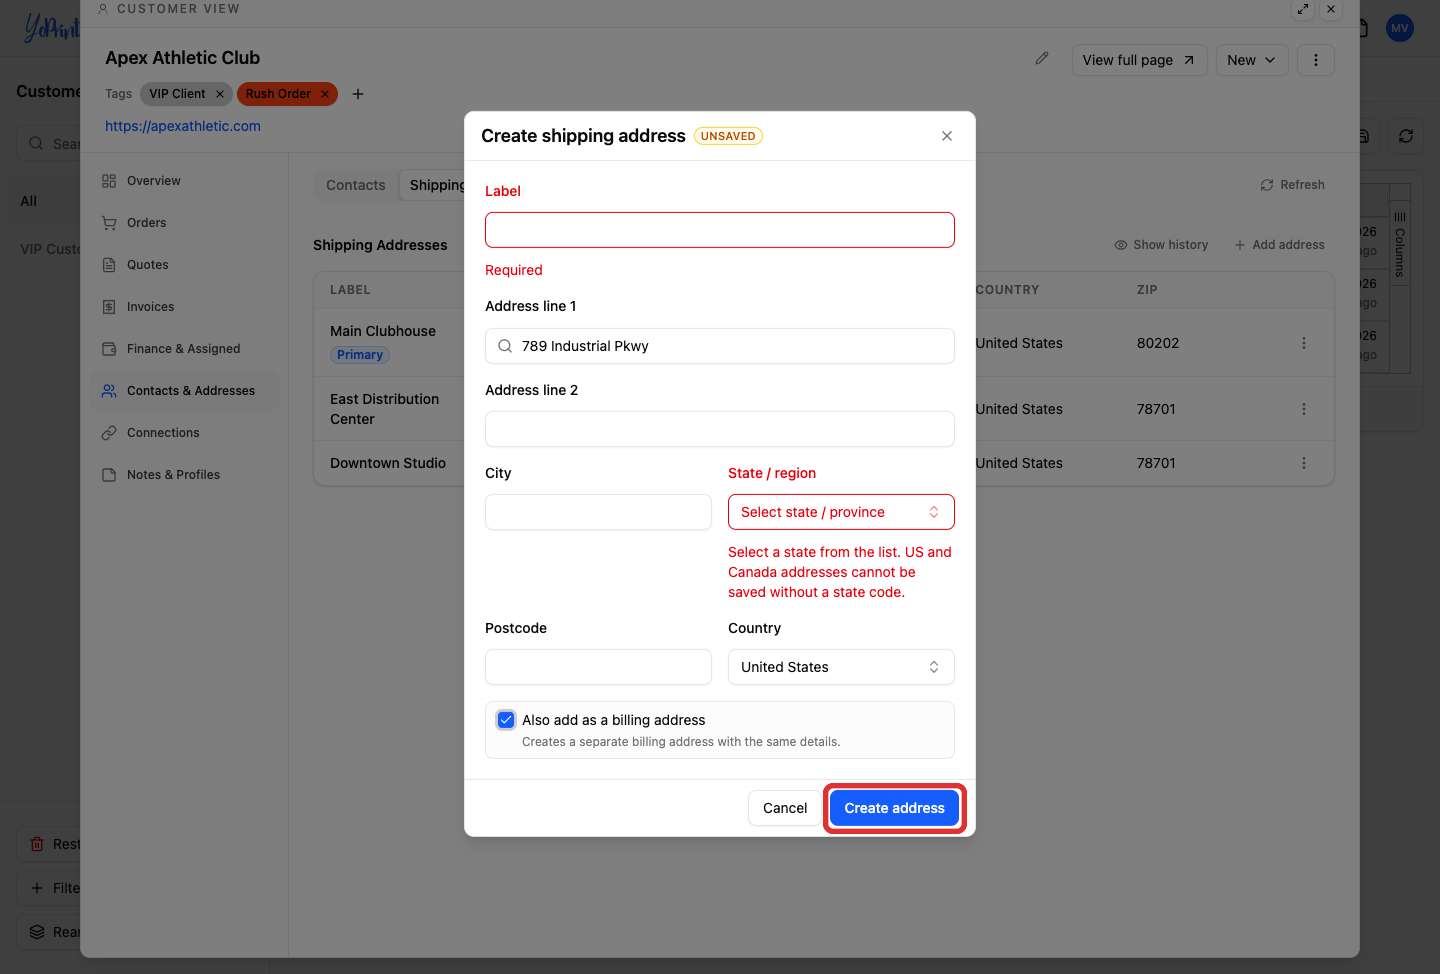
Click Create address to save the new address.
Manage primary addresses, billing copies, and removals
YoPrint designates one shipping address and one billing address as the Primary default for each customer. When you create a new quote or sales order, YoPrint populates these primary addresses automatically.
-
Review your saved addresses in the Contacts & Addresses view.
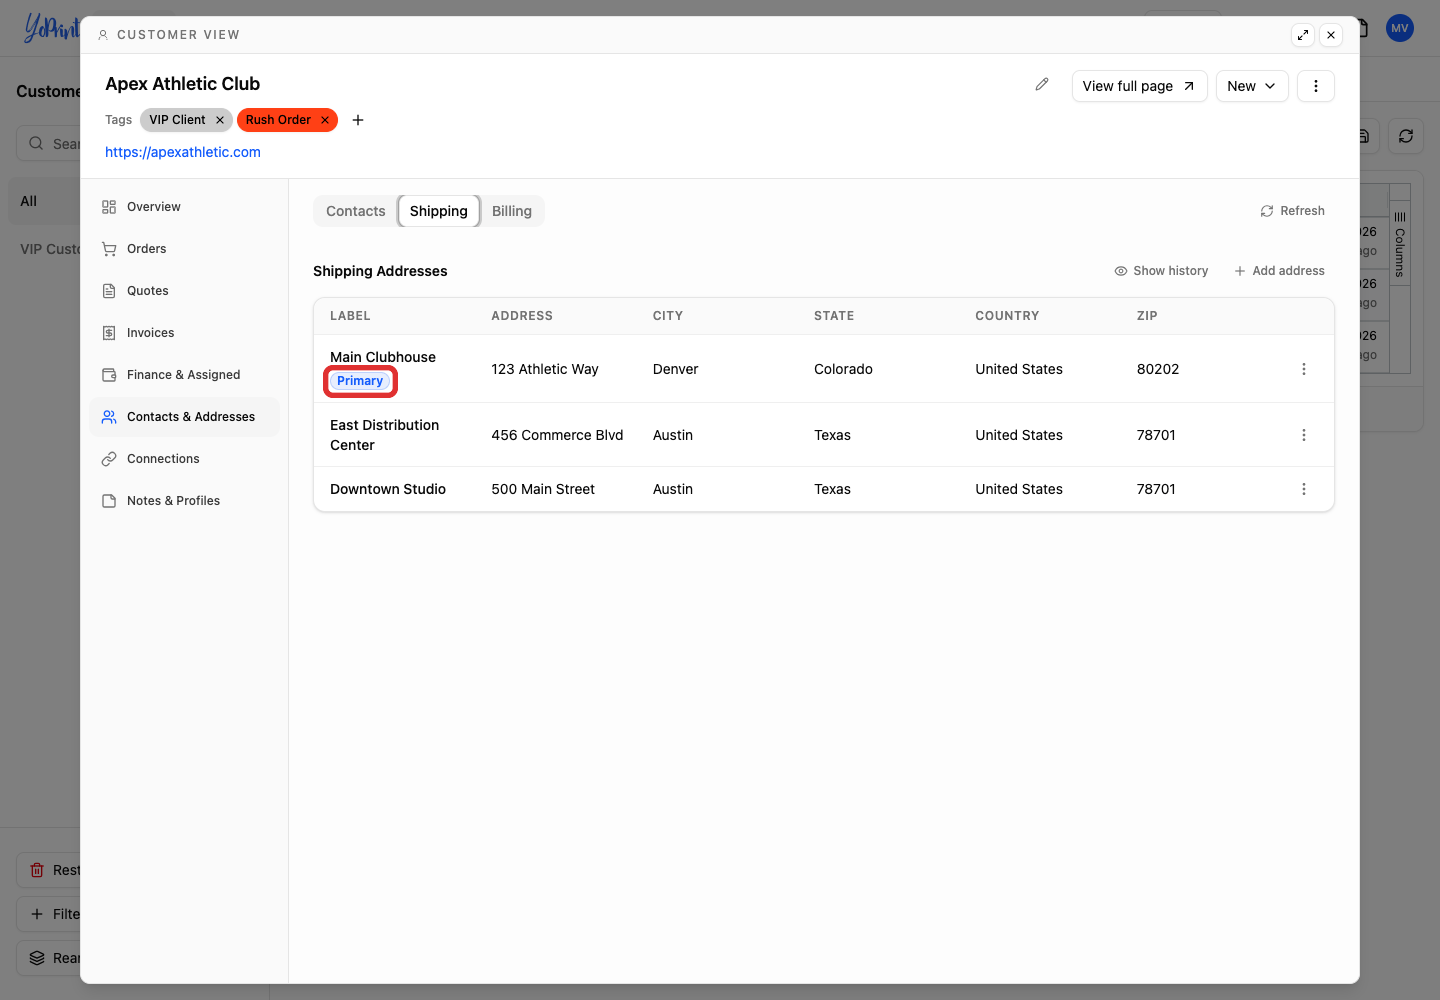
YoPrint marks the customer's default address with a Primary badge.
-
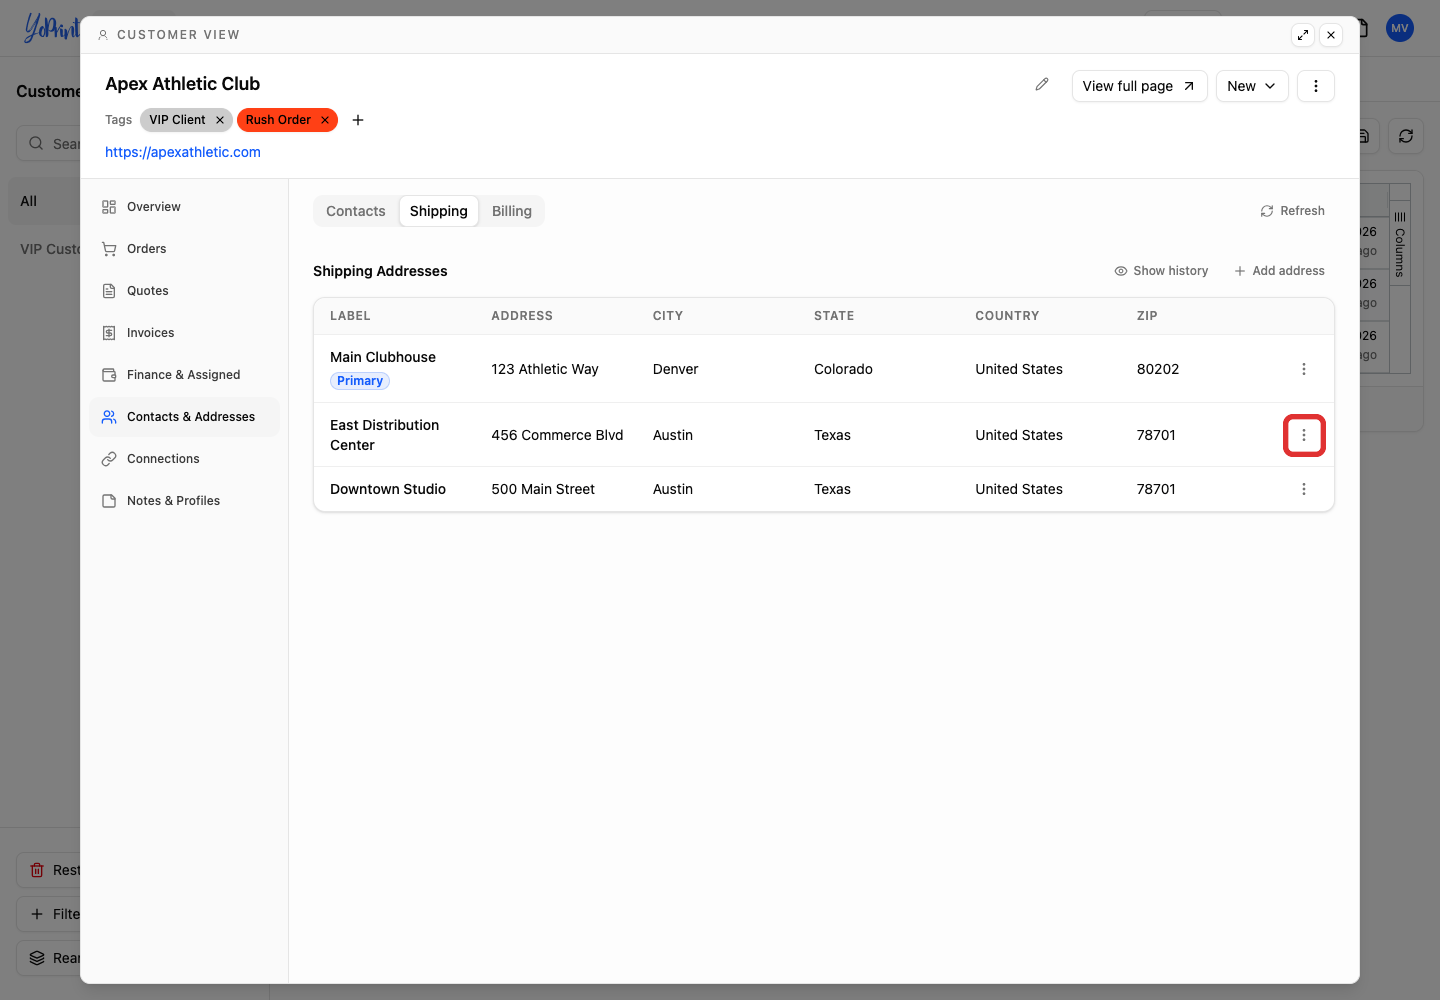
To change the default address, click the Row actions button (...) on another address.
-
Select Set as primary.
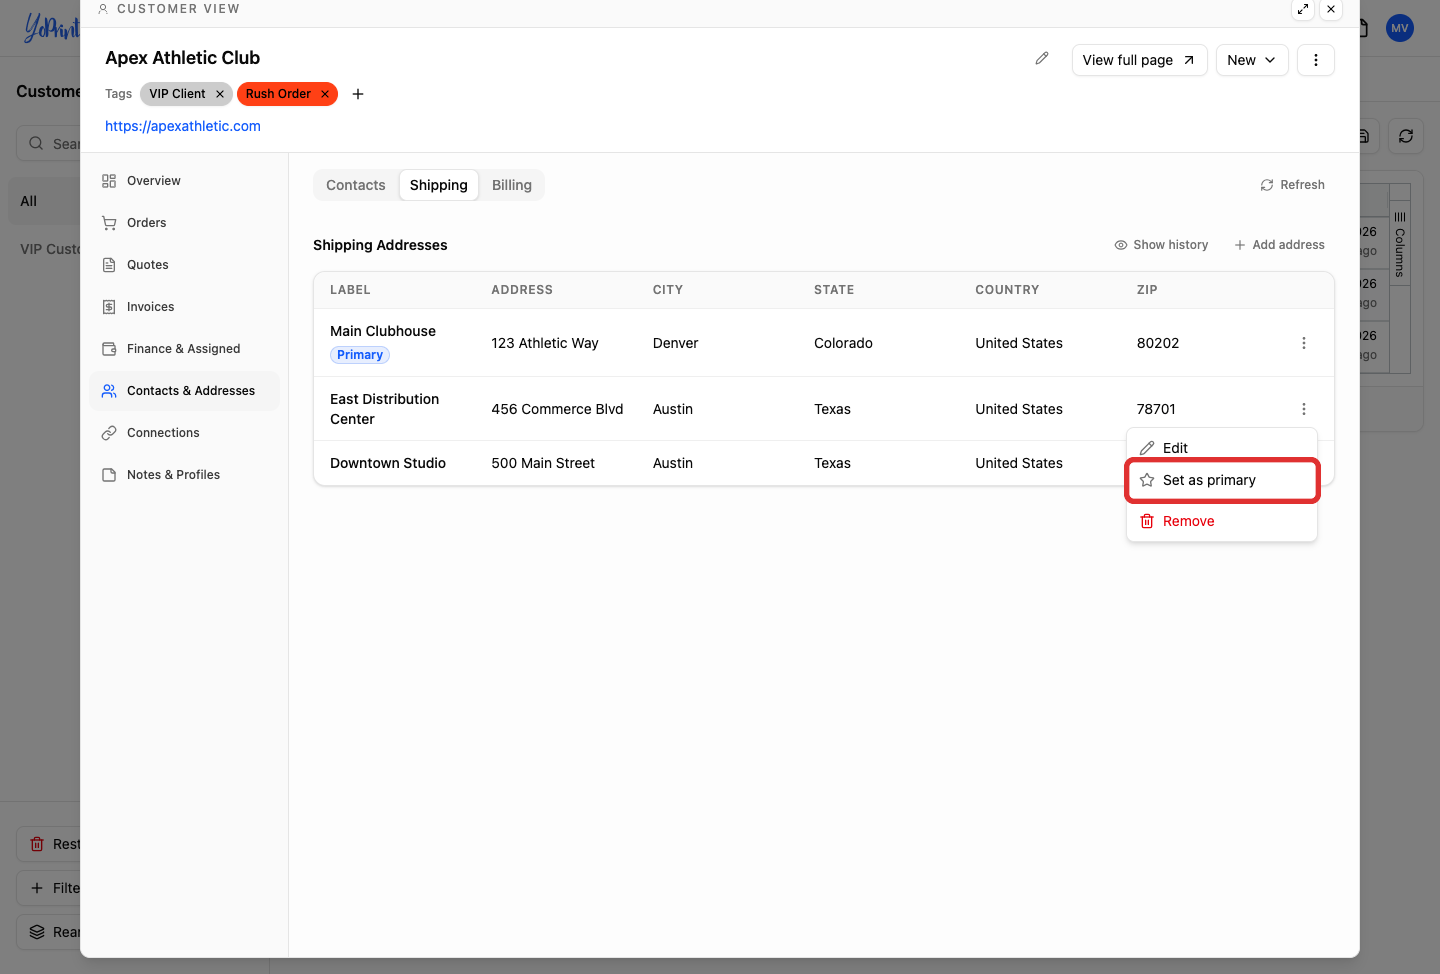
If you remove the primary address, YoPrint leaves the customer without a default until you designate another address as primary.
-
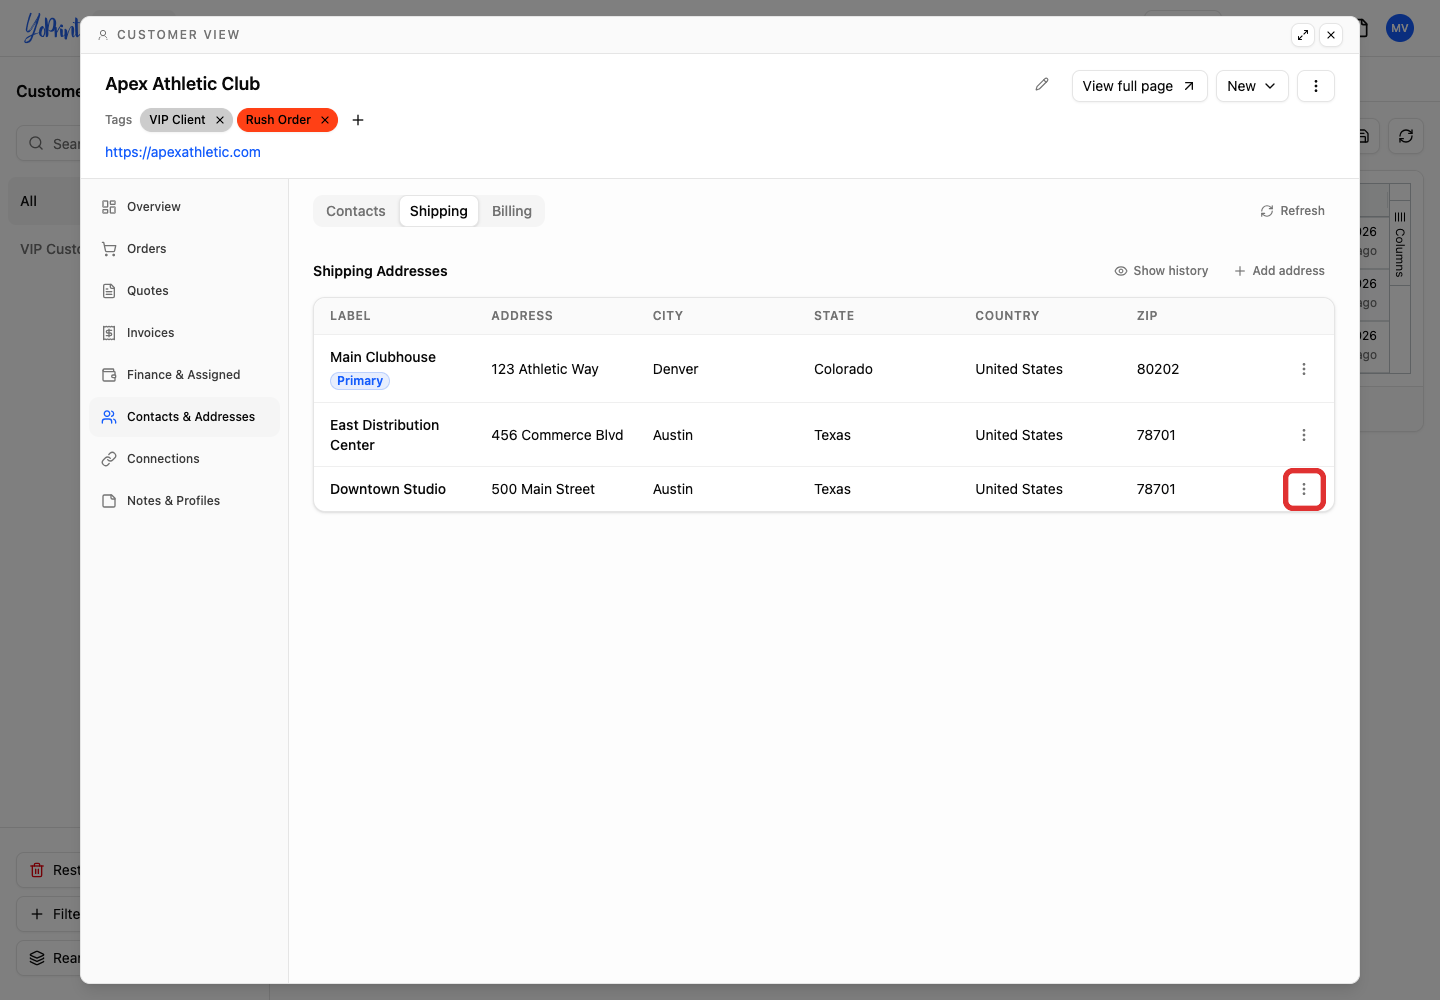
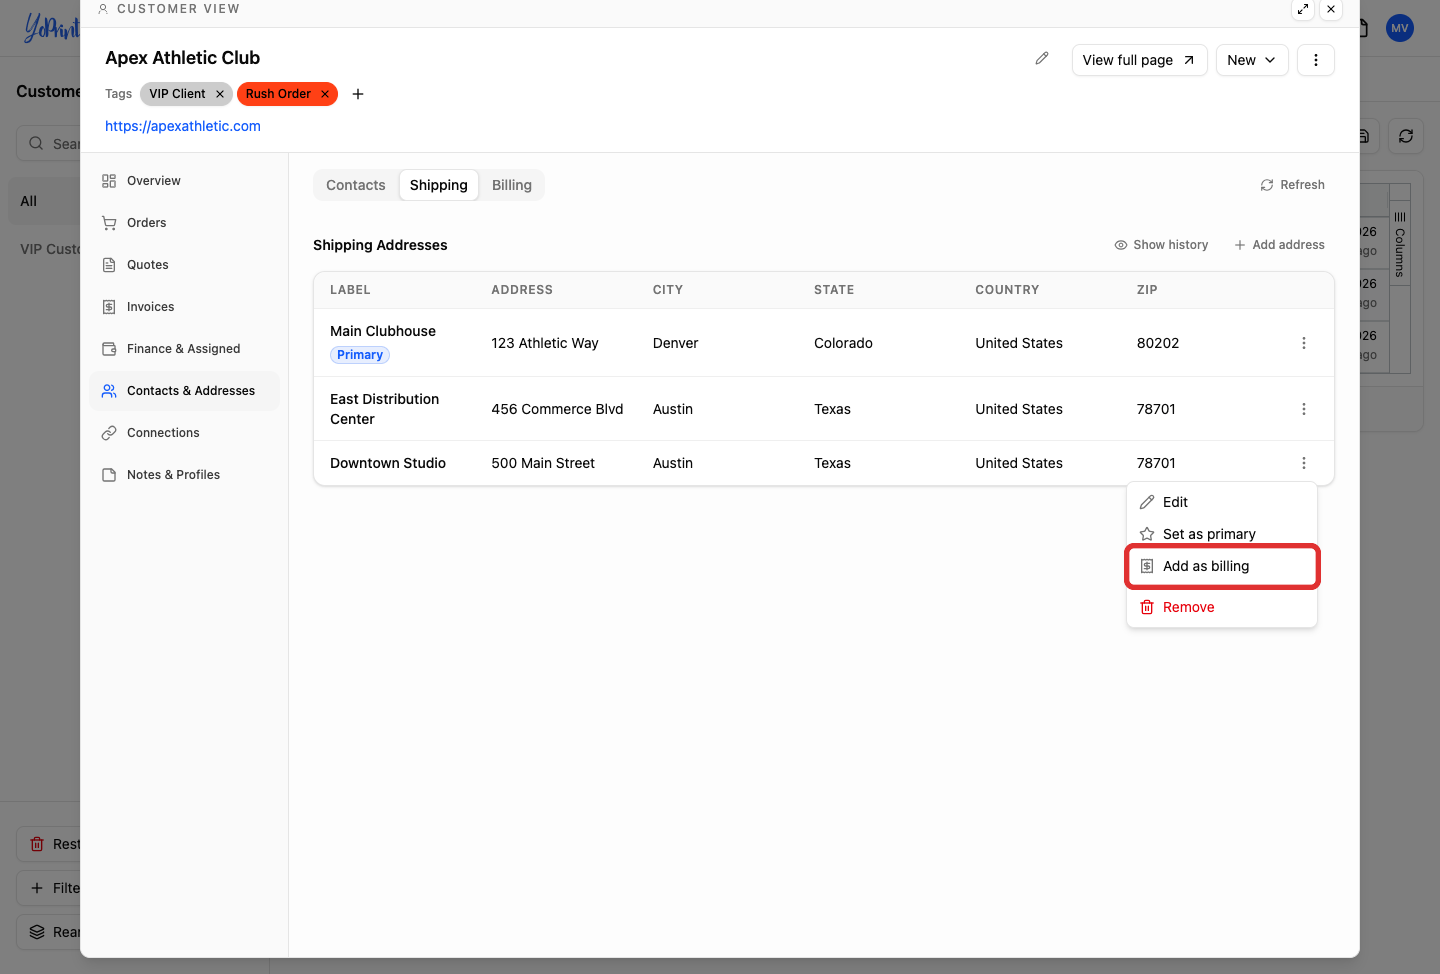
If an address has not yet been copied to billing, click its Row actions button (...).
-
Select Add as billing to create a matching billing address without retyping.
-
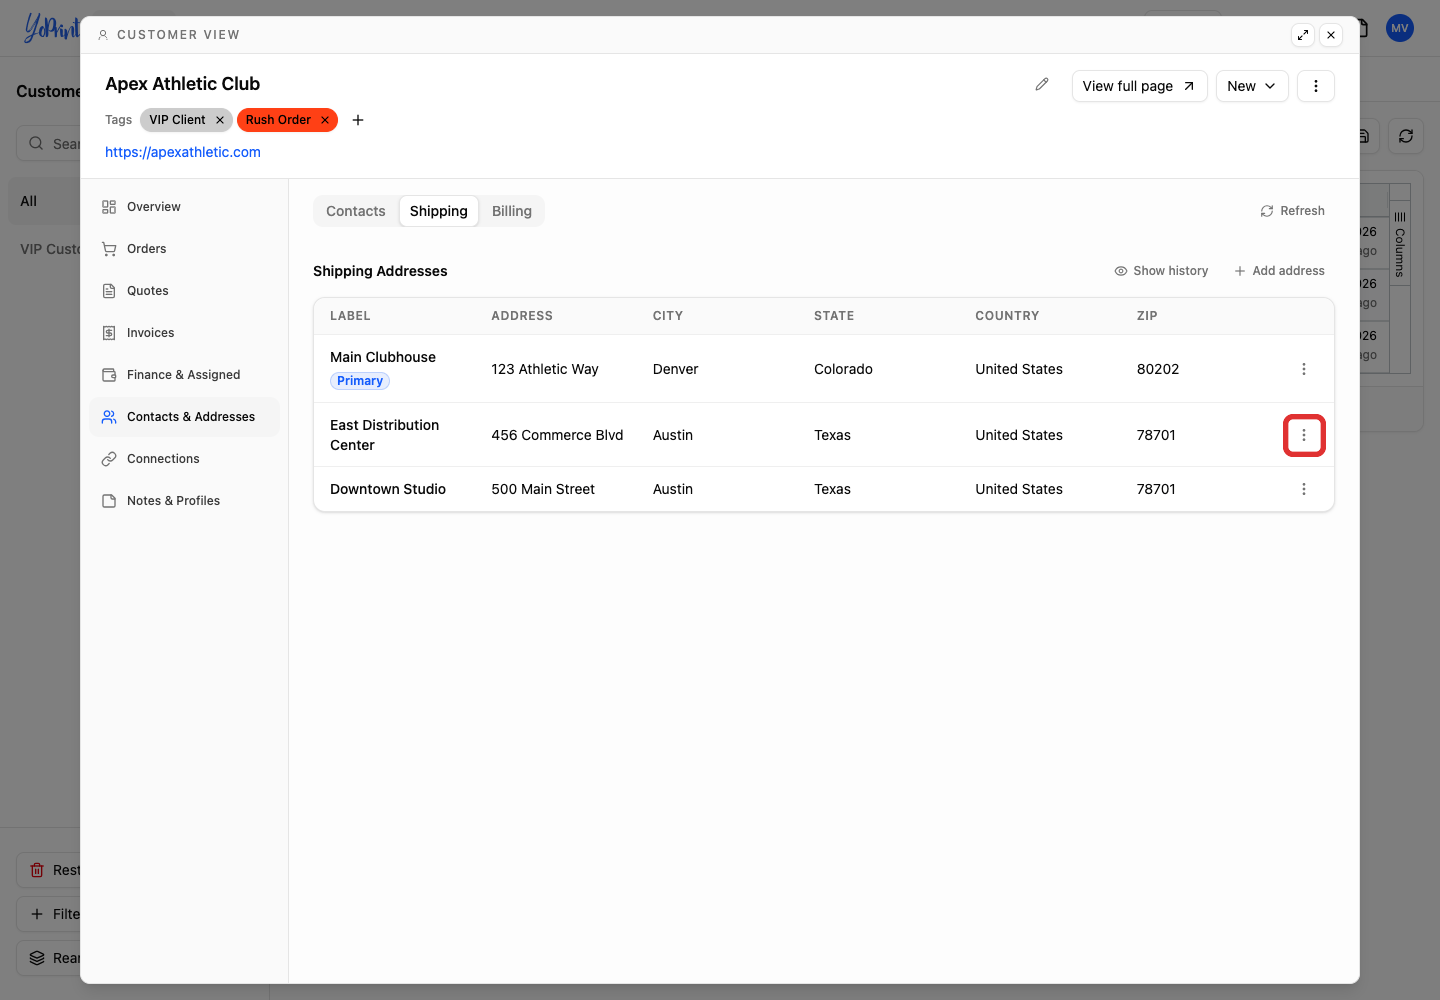
To delete an obsolete address, click its Row actions button (...).
-
Select Remove.
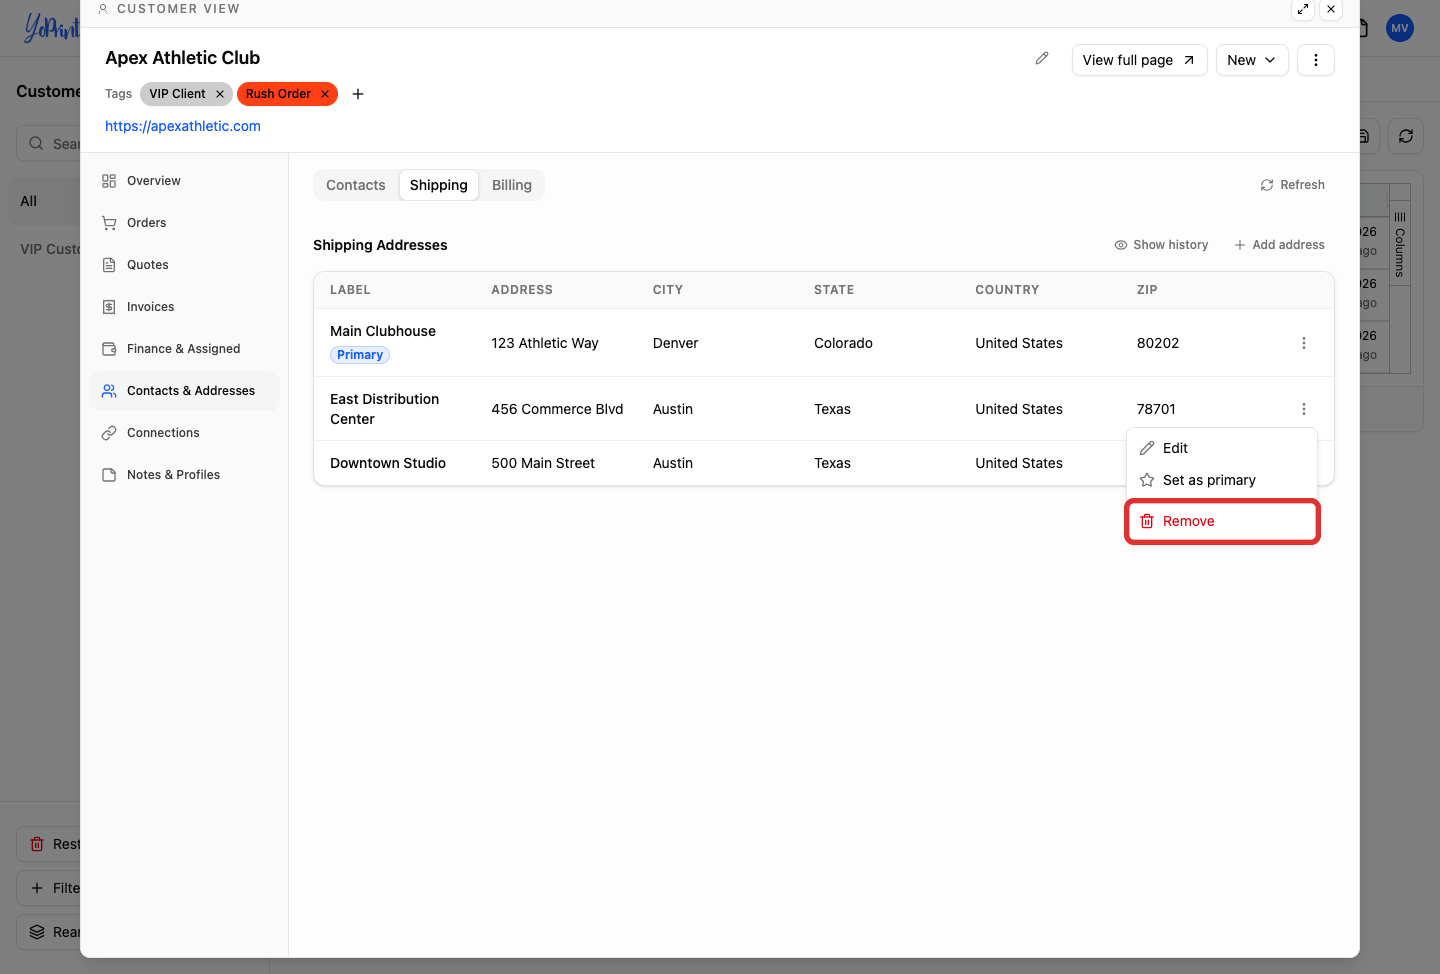
-
In the confirmation dialog, click Remove address to permanently delete the entry.
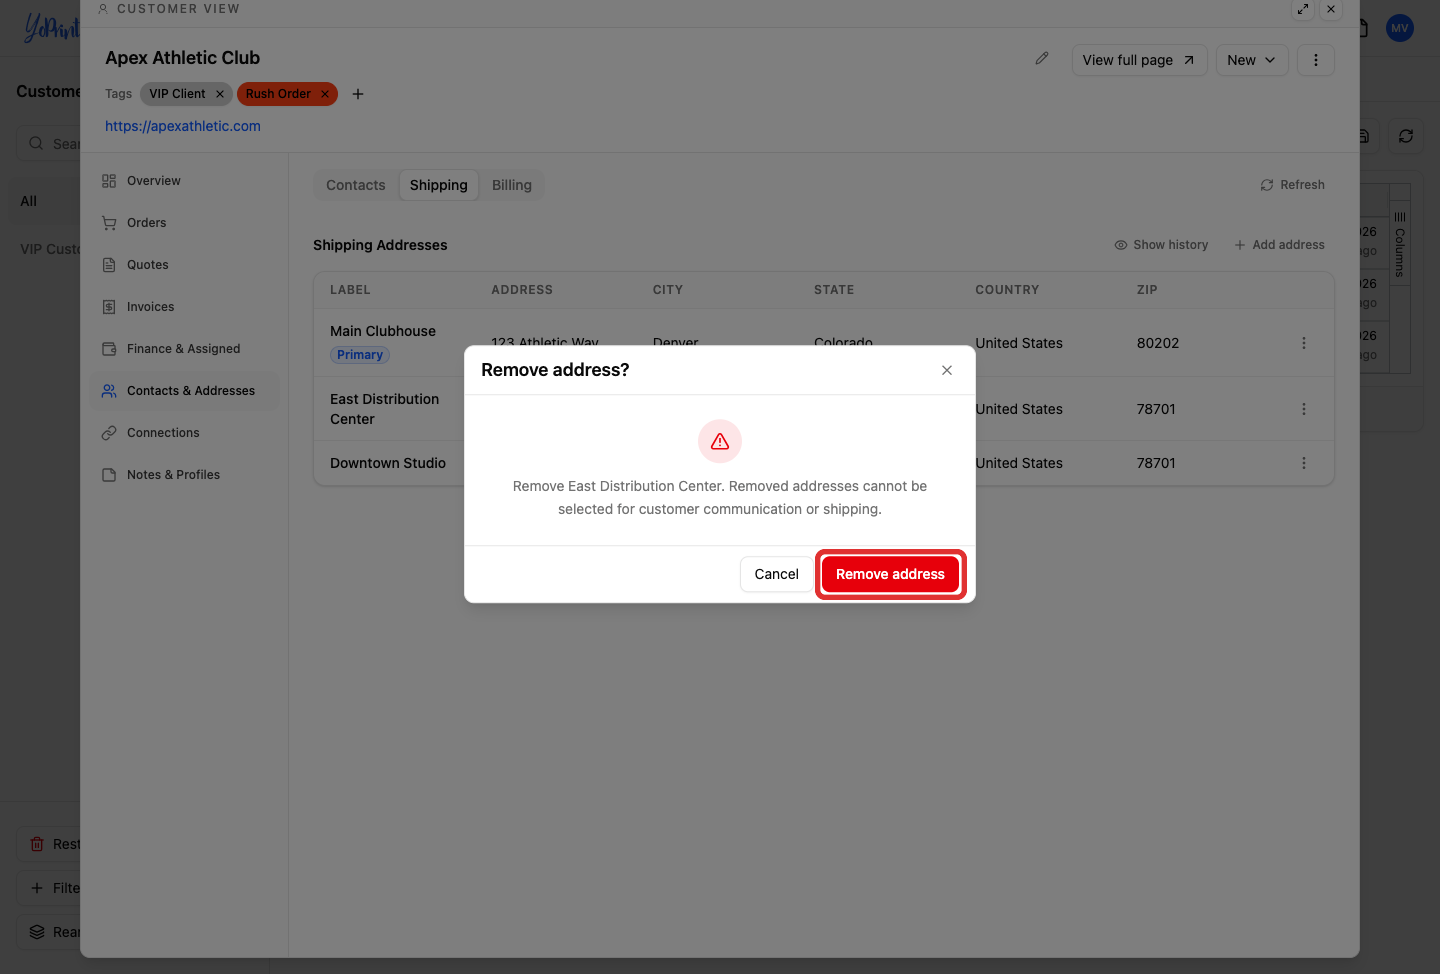
You do not need to delete a saved address to handle a walk-in or pickup: when creating a quote or sales order, you can simply leave the shipping address blank.
Edit an address and understand document updates
-
On the address you want to update, click the Row actions button (...).
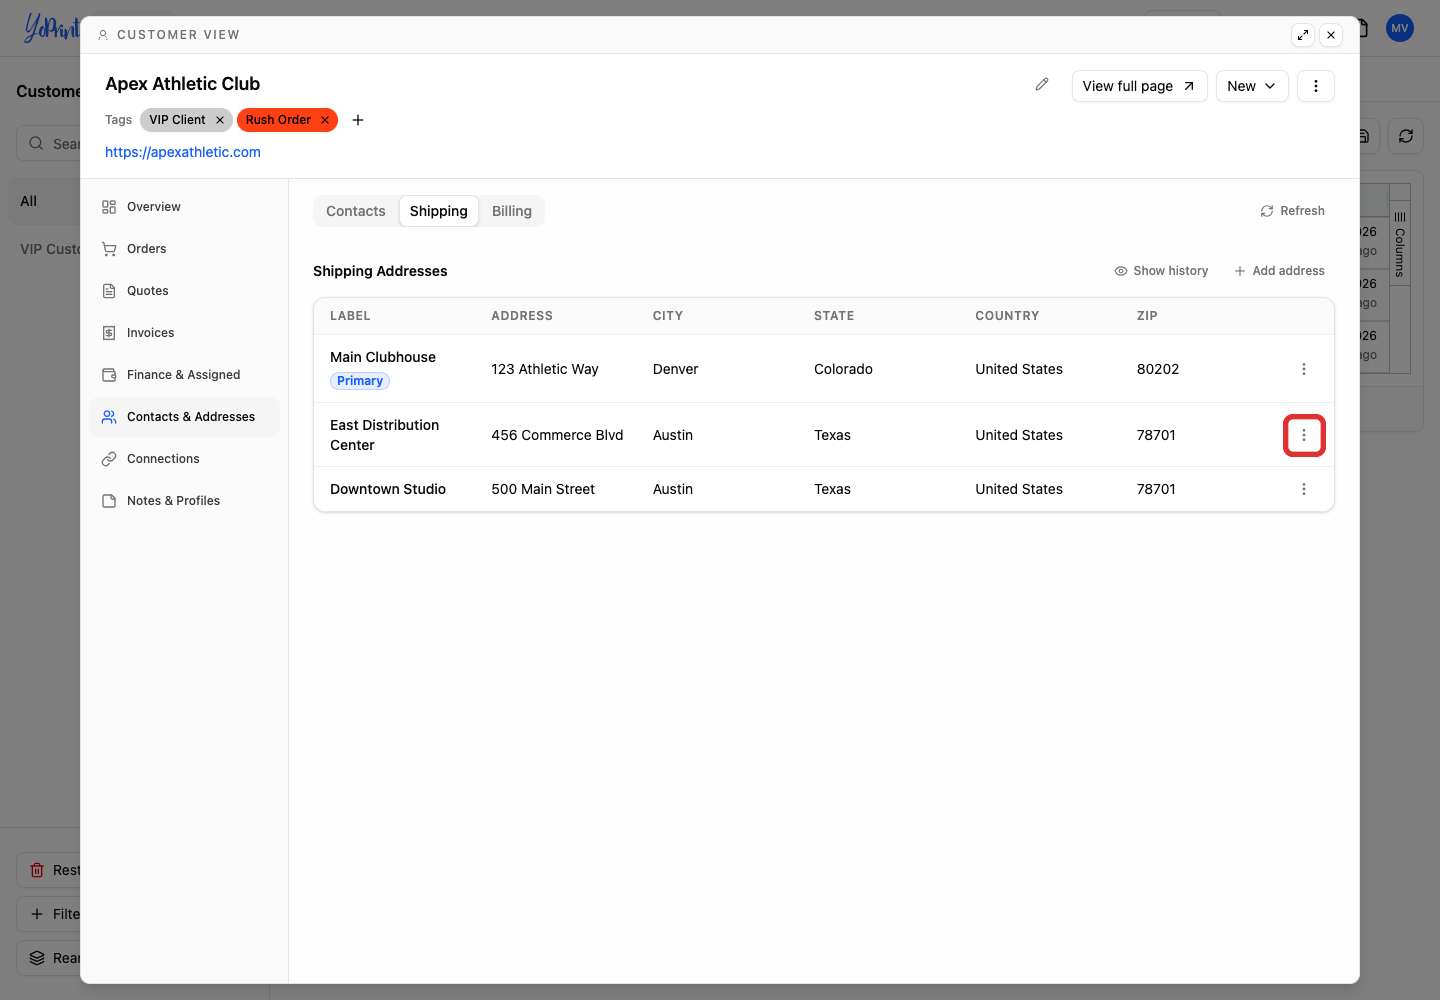
-
Select Edit from the row actions menu.
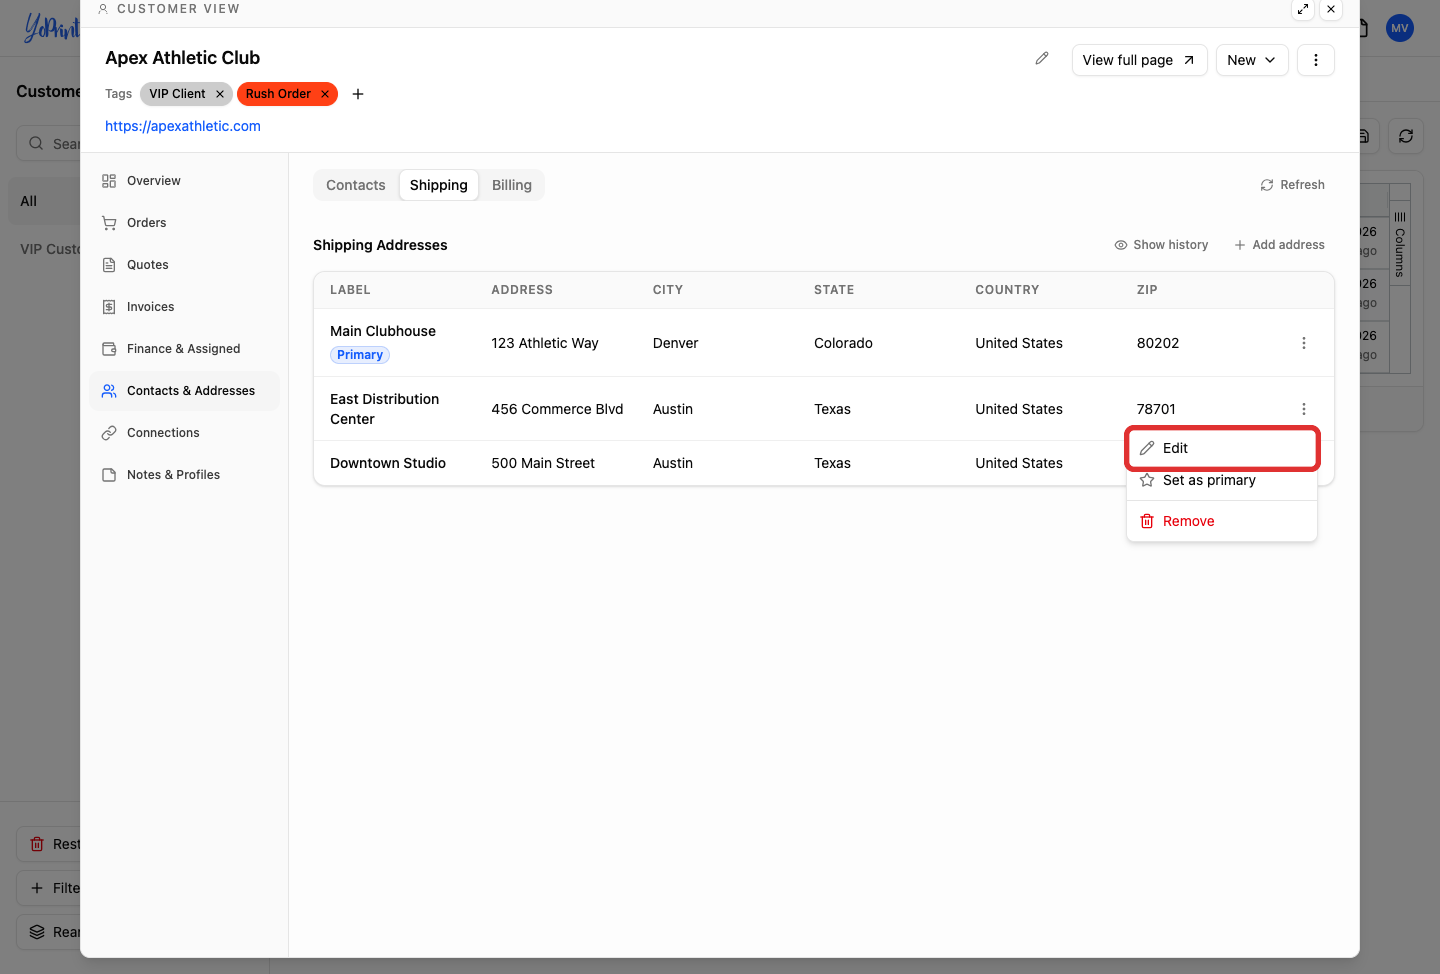
-
Review the Smart Save is on notice.
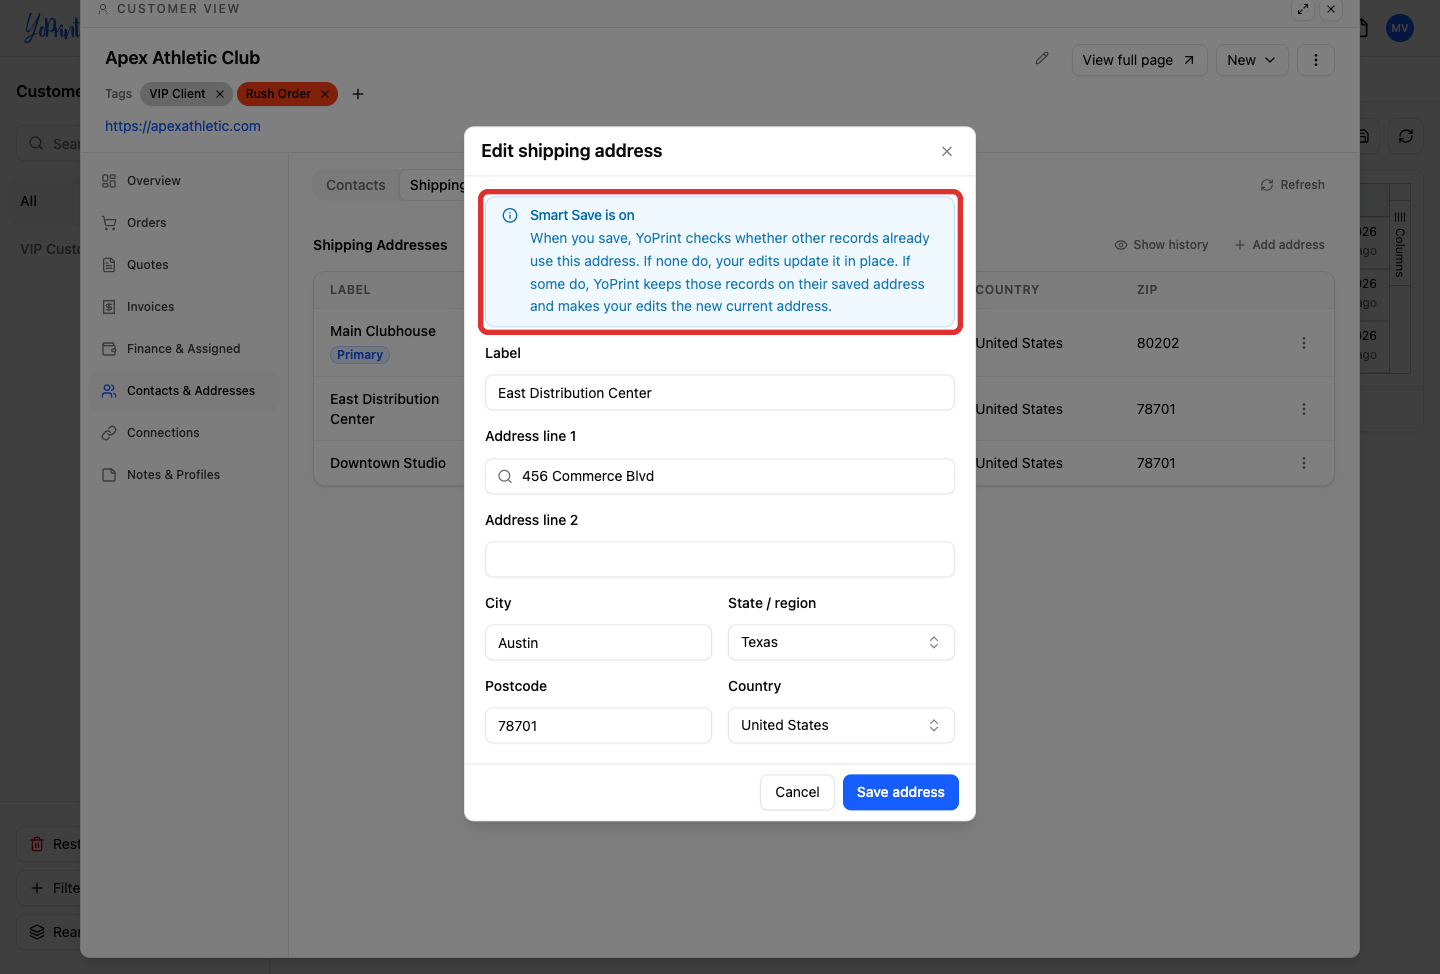
This notice explains that if no existing records use this address, your edits update it in place. If existing documents already reference it, YoPrint preserves their saved address and applies your edits as the new current address for future documents.
-
Update any address fields, then click Save address.
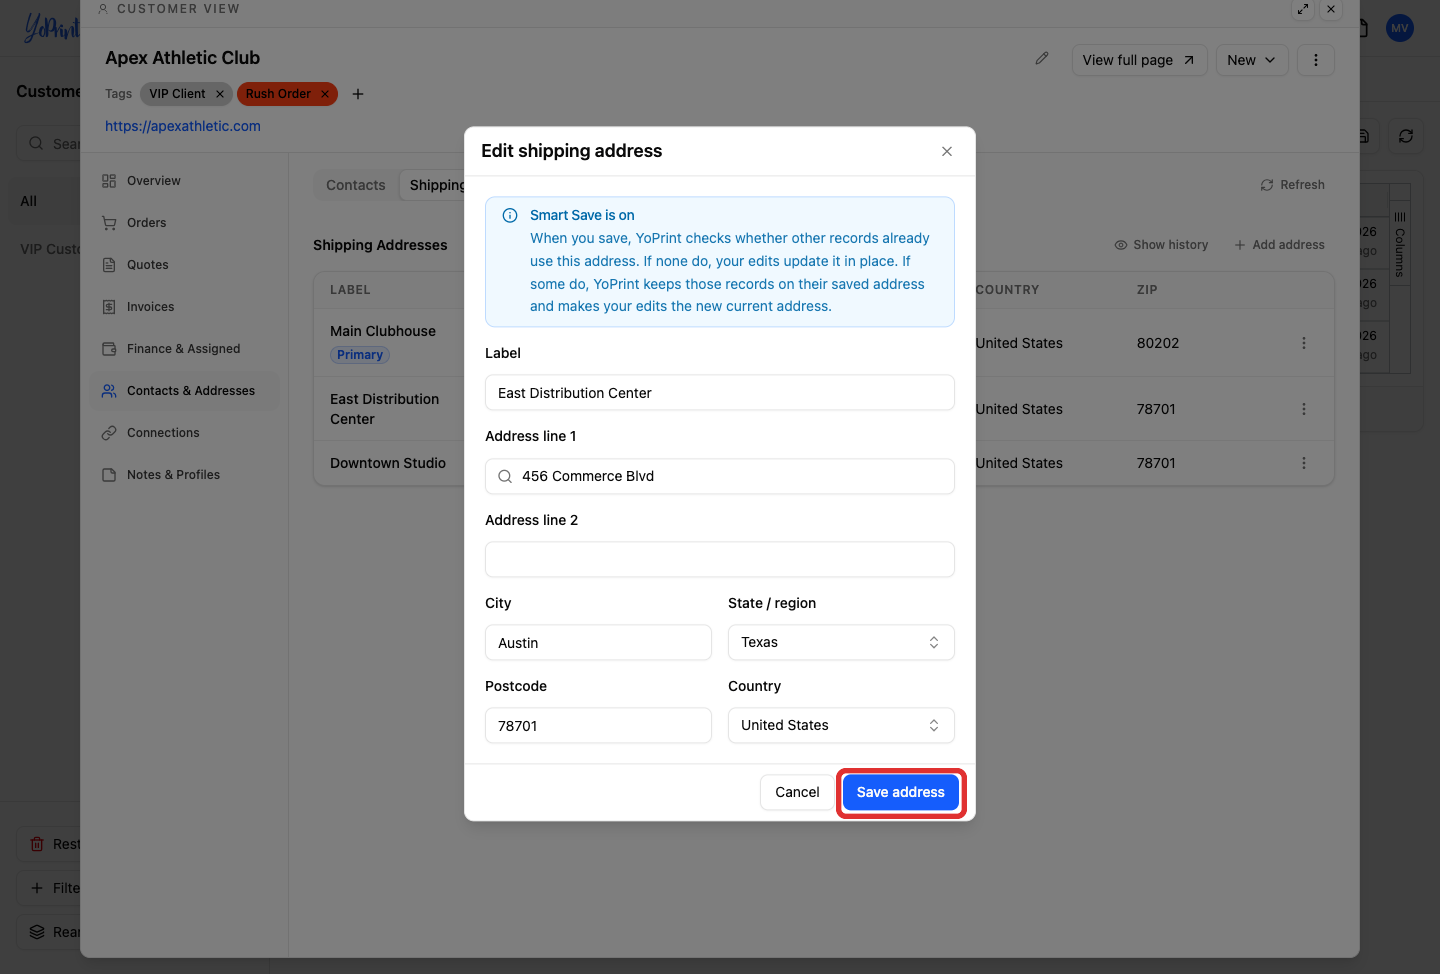
How address updates work
YoPrint uses intelligent address versioning to ensure accounting integrity:
- Future documents: Any new quote, sales order, or invoice created after saving uses the updated address.
- Existing and sent documents: Existing orders and sent invoices keep their original address snapshot. Updating a customer address will never alter past orders or issued invoices.
- Use current address: If an existing order uses an older address version, YoPrint displays an Older badge beside the address in the dropdown field (such as Default Ship To). Click the dropdown and select Use current address to update that document with the latest address details.
- Operational shop locations: Unlike customer addresses, changes to your shop's operational addresses (Company Location, Store Location, Warehouse Location, or your Tax Nexus) under Settings update immediately across the entire platform rather than creating new versions. Your Tax Nexus covers the jurisdictions where your shop is registered to collect sales tax.
- Address history: To inspect previous versions of a customer's address, click Show history in the Shipping or Billing address view. Click Show current to return to active addresses.