Mark and Manage Rush Sales Orders and Jobs
In this article
Use Rush to flag urgent work for your team. Rush is an internal visual tag identified by a flame icon. It does not send customer notifications, adjust schedule dates, or add fees automatically. You can mark a whole sales order or an individual job.
Mark a new sales order as Rush
Go to Sales > Sales Orders and click + Sales Order to start a new order. The order-entry guide explains how to add the customer, jobs and products, which work the same way for sales orders.
-
Select Rush Order near the order number.
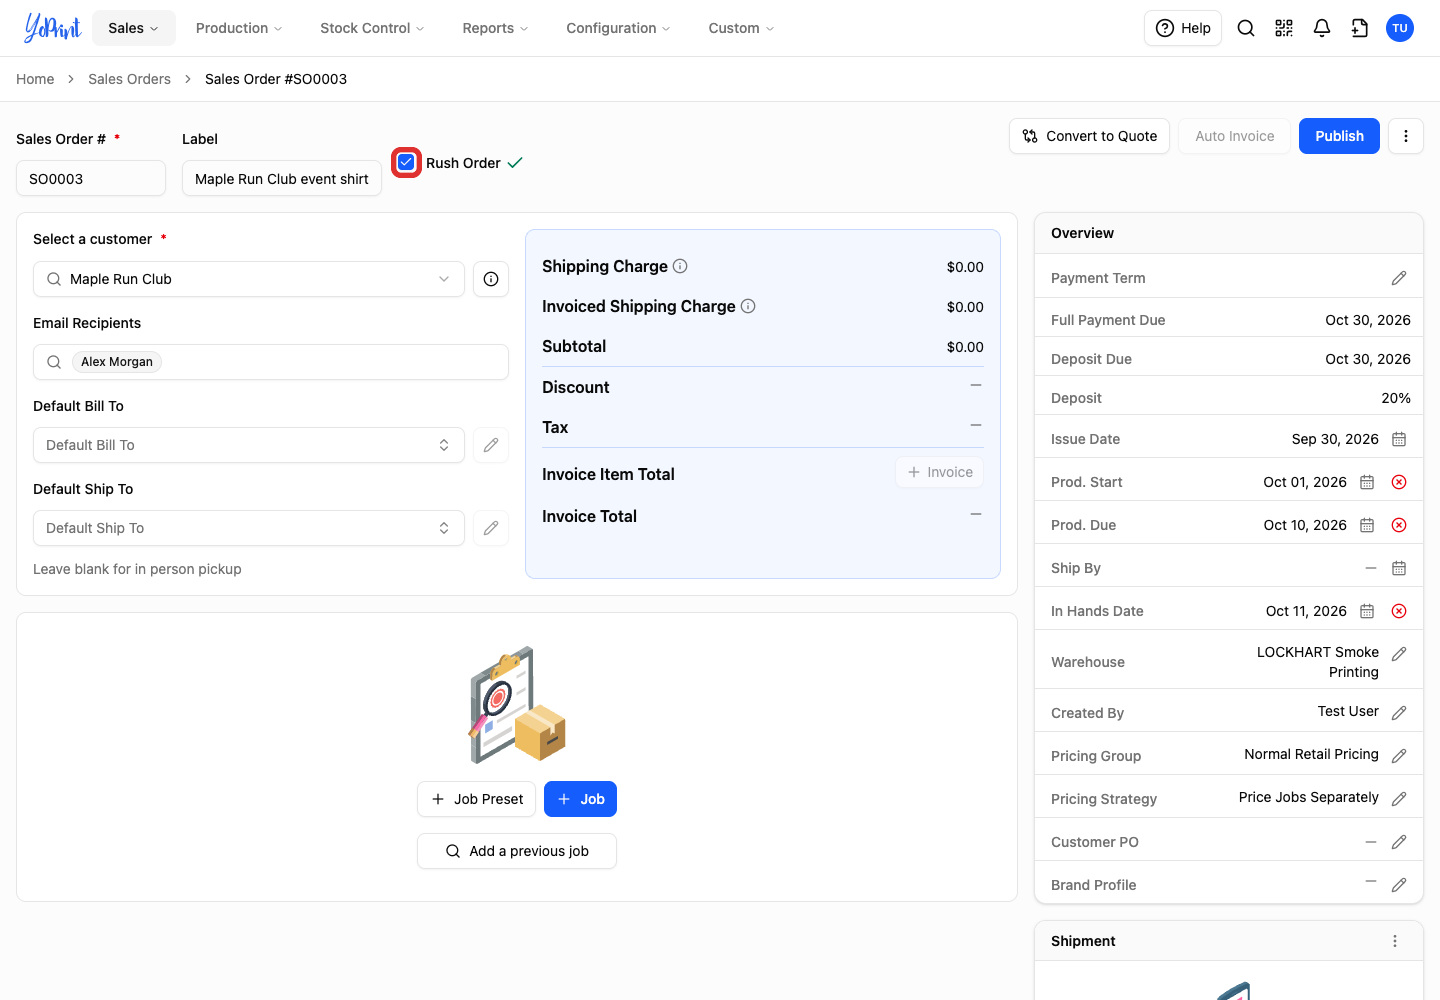
This checkbox sits beside the Label field. Finish the order as usual. Newly added jobs do not inherit the order's rush setting, so check Rush Job on each job you add afterward; do not assume a new job has inherited the order’s rush flag.
Mark an existing sales order as Rush
From Sales > Sales Orders, open the sales order you want to prioritize. The quick actions menu is available in the order drawer or on the full order page. Changing the order’s rush setting also changes the rush setting on its current jobs.
-
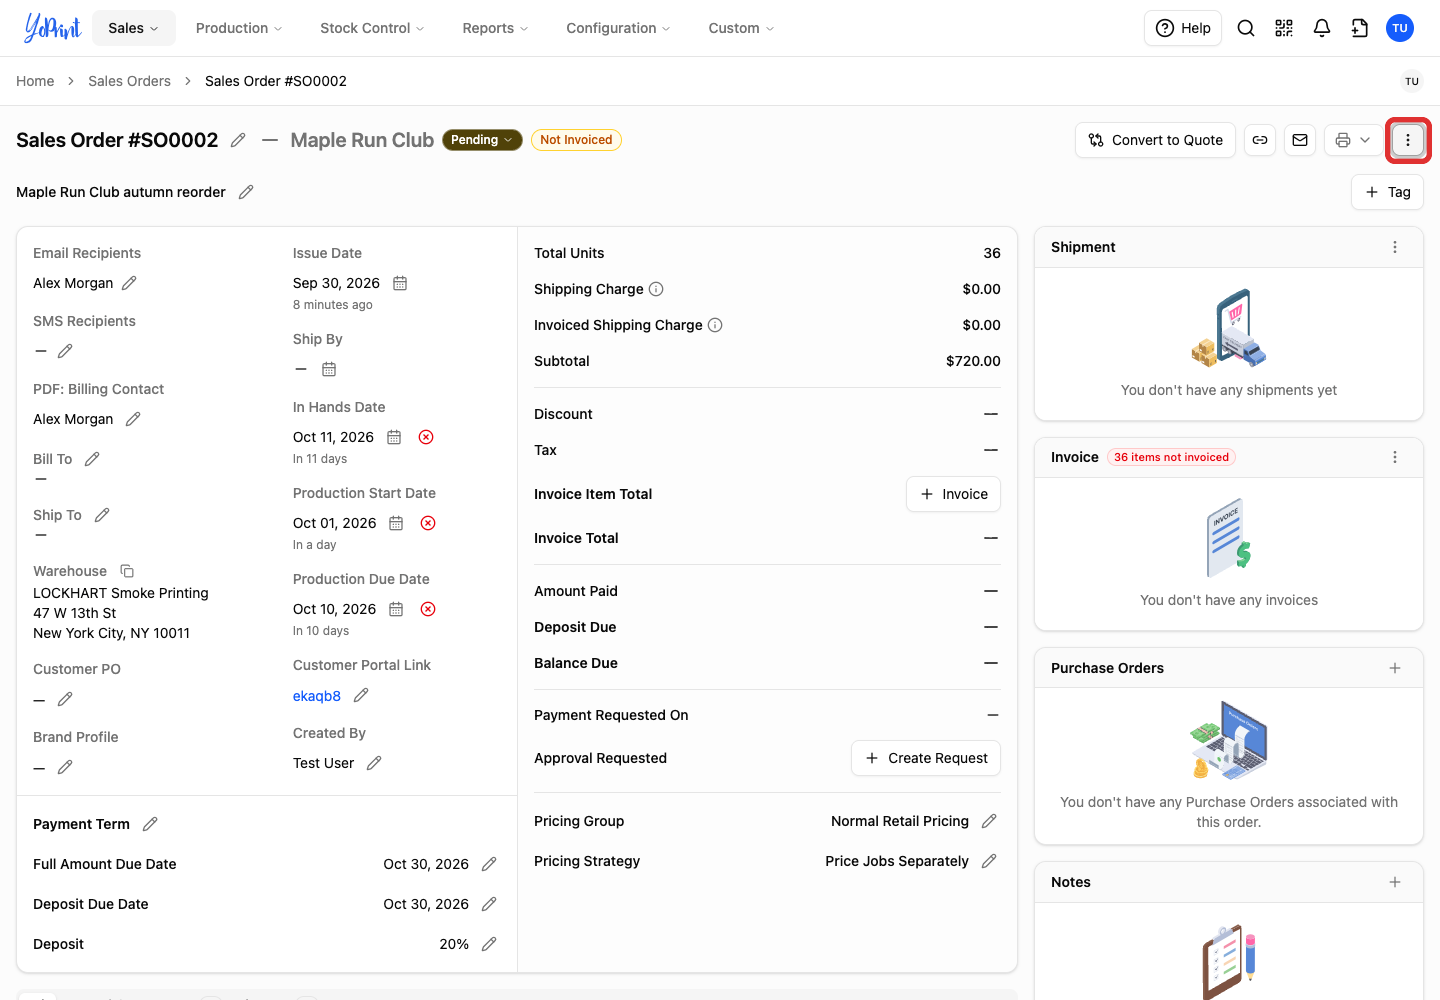
Open the three-dot Quick Actions menu at the top right.
-
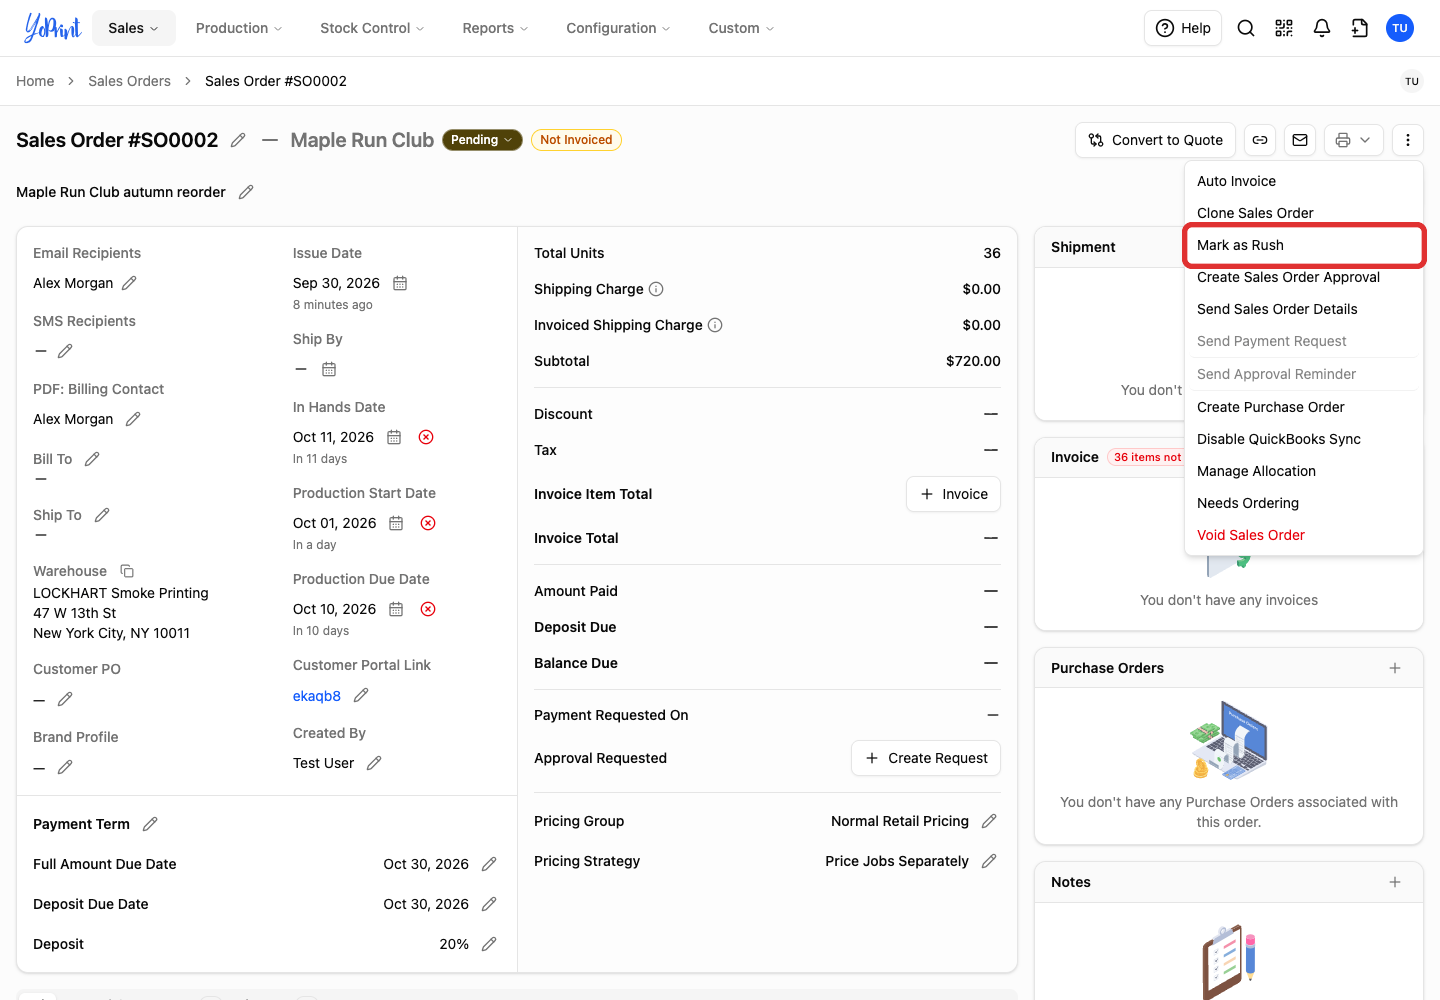
Choose Mark as Rush. The change saves immediately.
-
Look for the flame icon beside the job number.
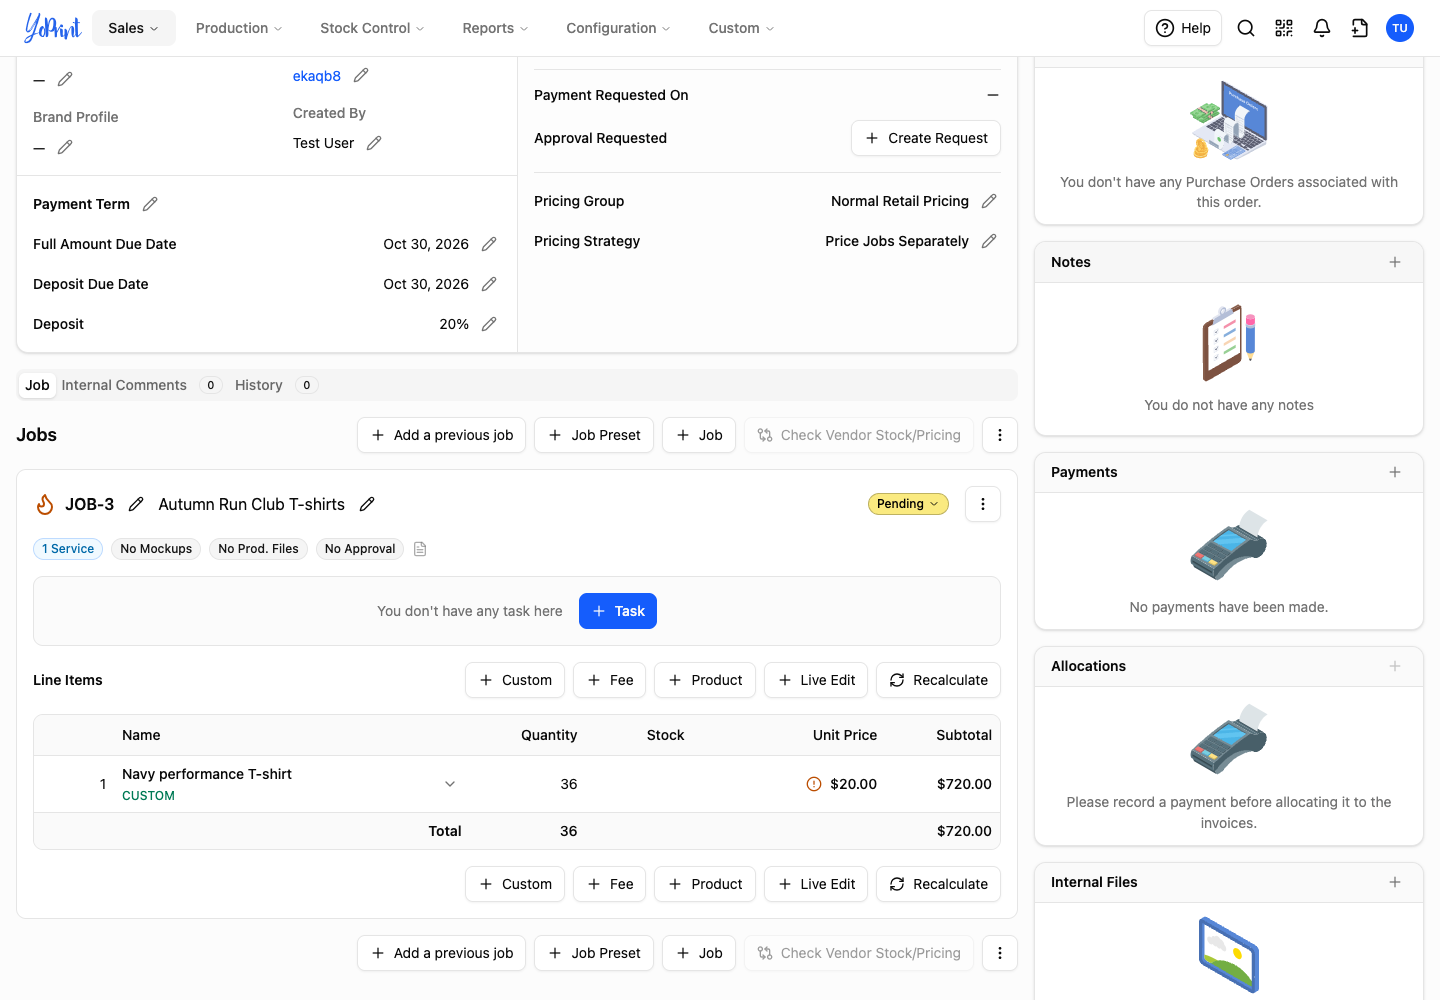
The flame icon appears in the order header and beside each current job. To remove the flag from the order and its current jobs, use Mark as Not Rush in the same menu.
Mark an individual job as Rush
Use the job’s own menu when only that job needs to be urgent.
-
Open the job’s three-dot menu.
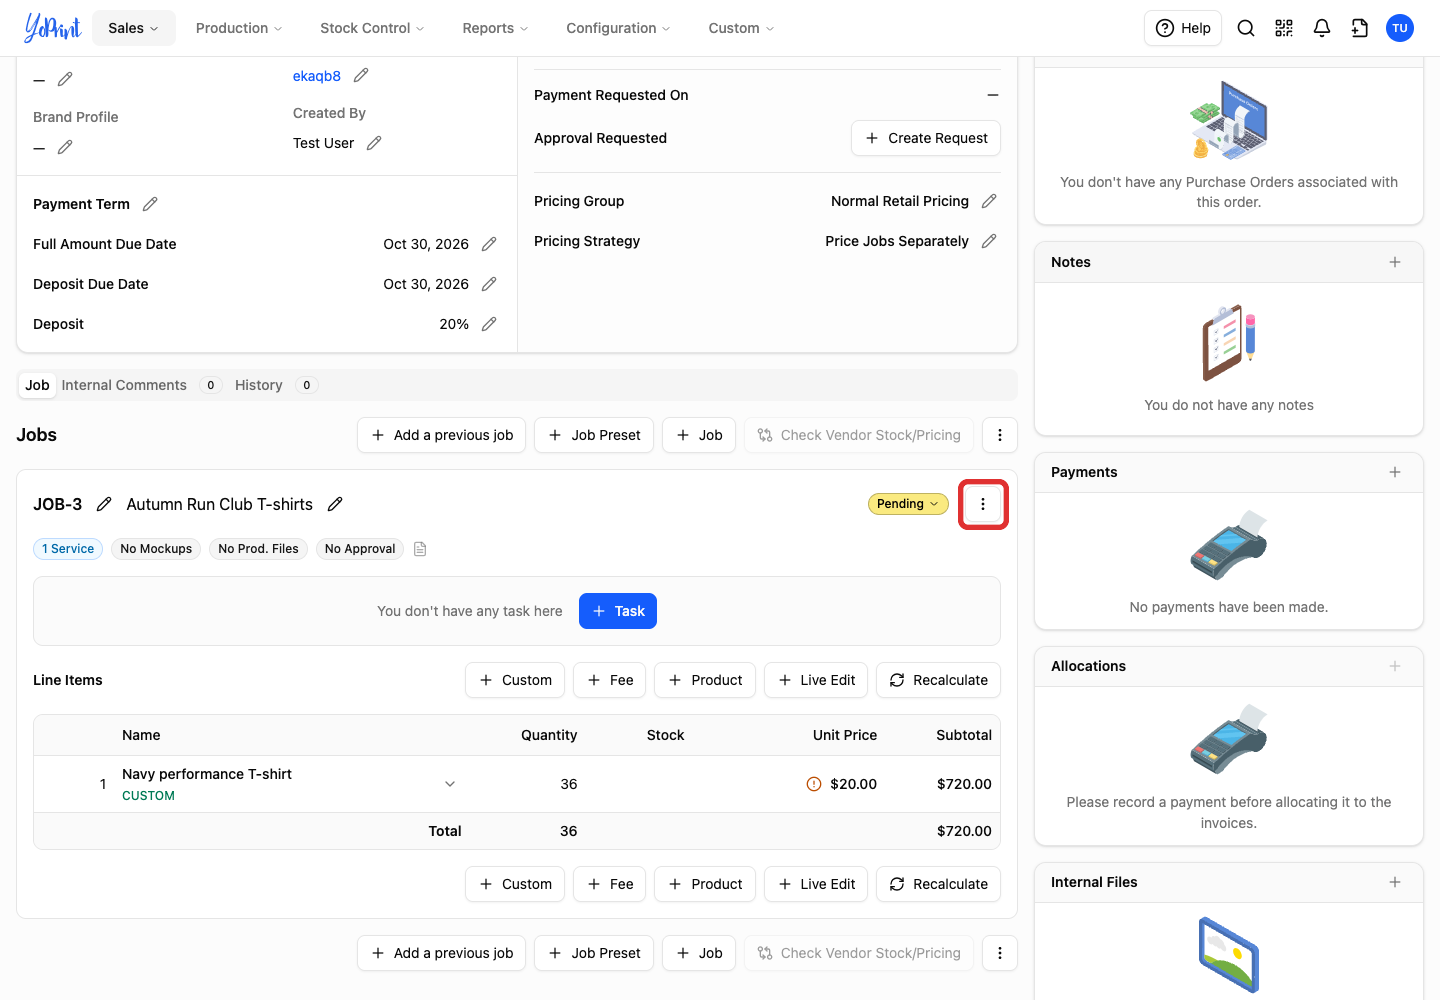
This is the three-dot More actions button on the job's header row.
-
Choose Mark as Rush. The change saves immediately.
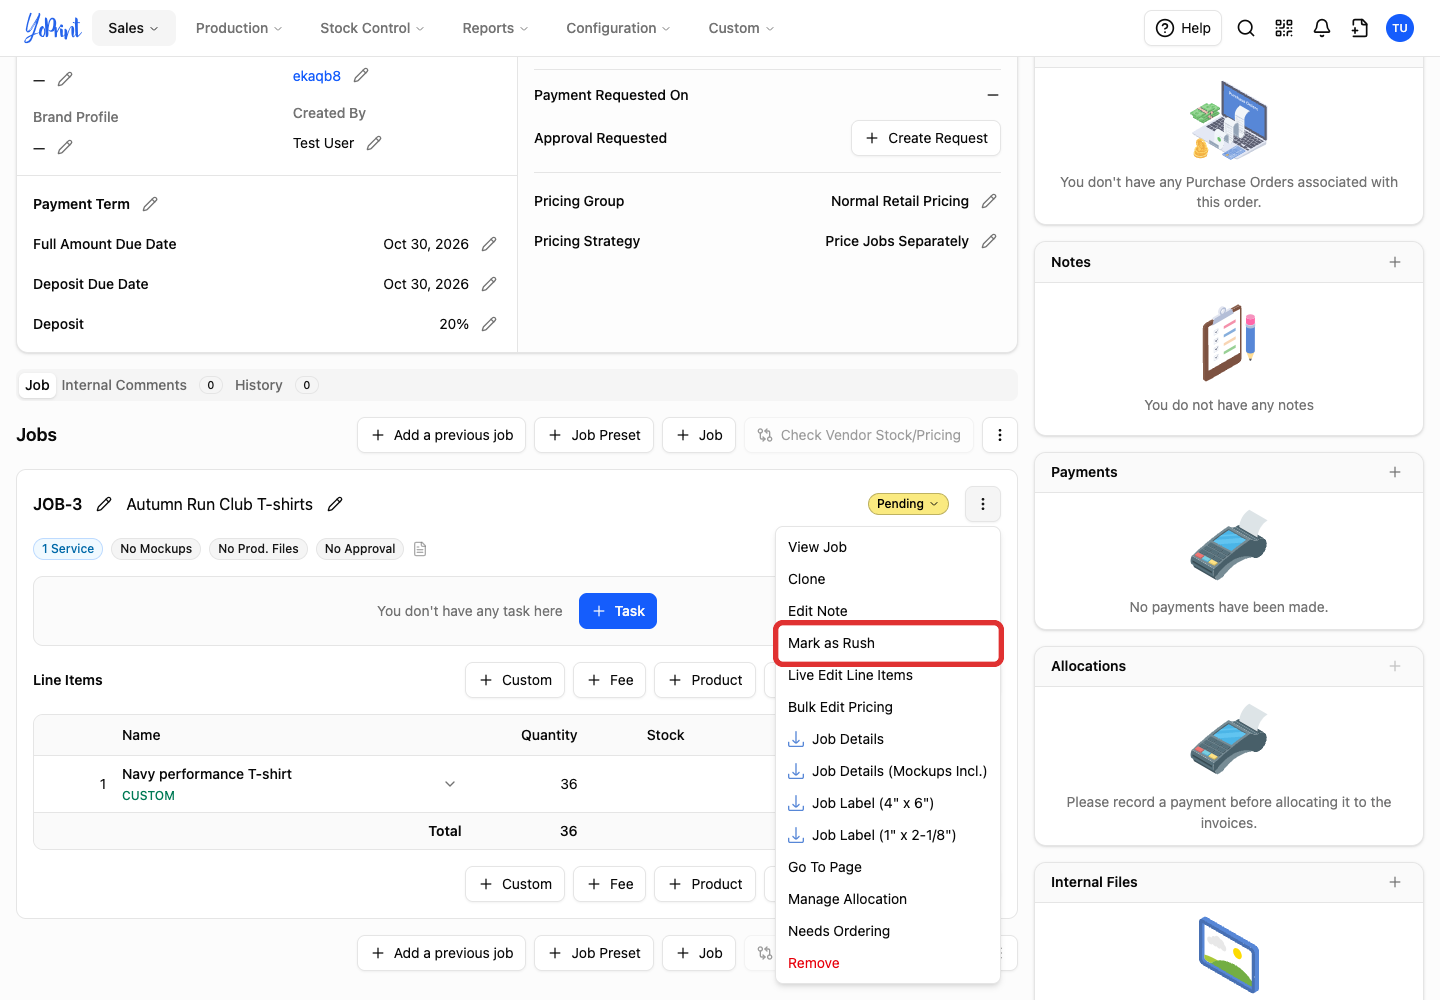
If the job is already urgent, the menu displays Mark as Not Rush instead. Choose Mark as Not Rush from this menu to clear the job’s flag. You can change a job’s flag even when its order is marked Rush. If an order contains both rush and standard jobs, production lists show the flame icon only on the specific jobs marked as rush. If you later change the order-level rush setting, check the jobs again because that action updates them together.
Set Rush in the job editor
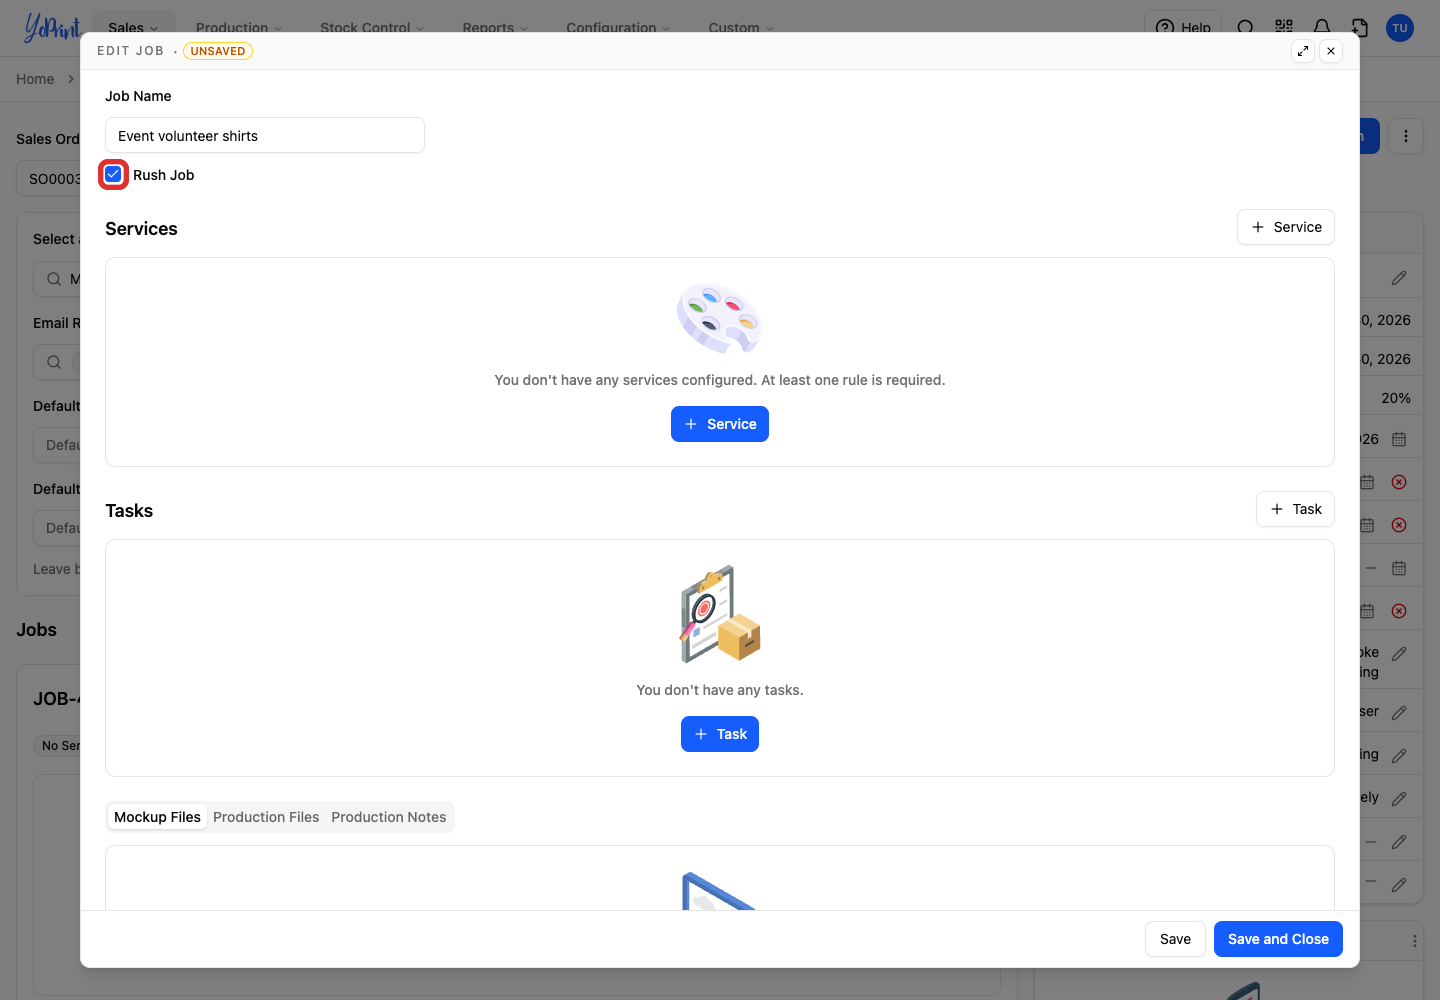
When adding or editing a job in a draft order, the Edit Job dialog contains a Rush Job checkbox. In Create Job or Edit Job, the checkbox controls that job’s urgency. On a published order's Job Details drawer, this setting is a Rush toggle switch.
-
Select Rush Job.
-
Click Save and Close.
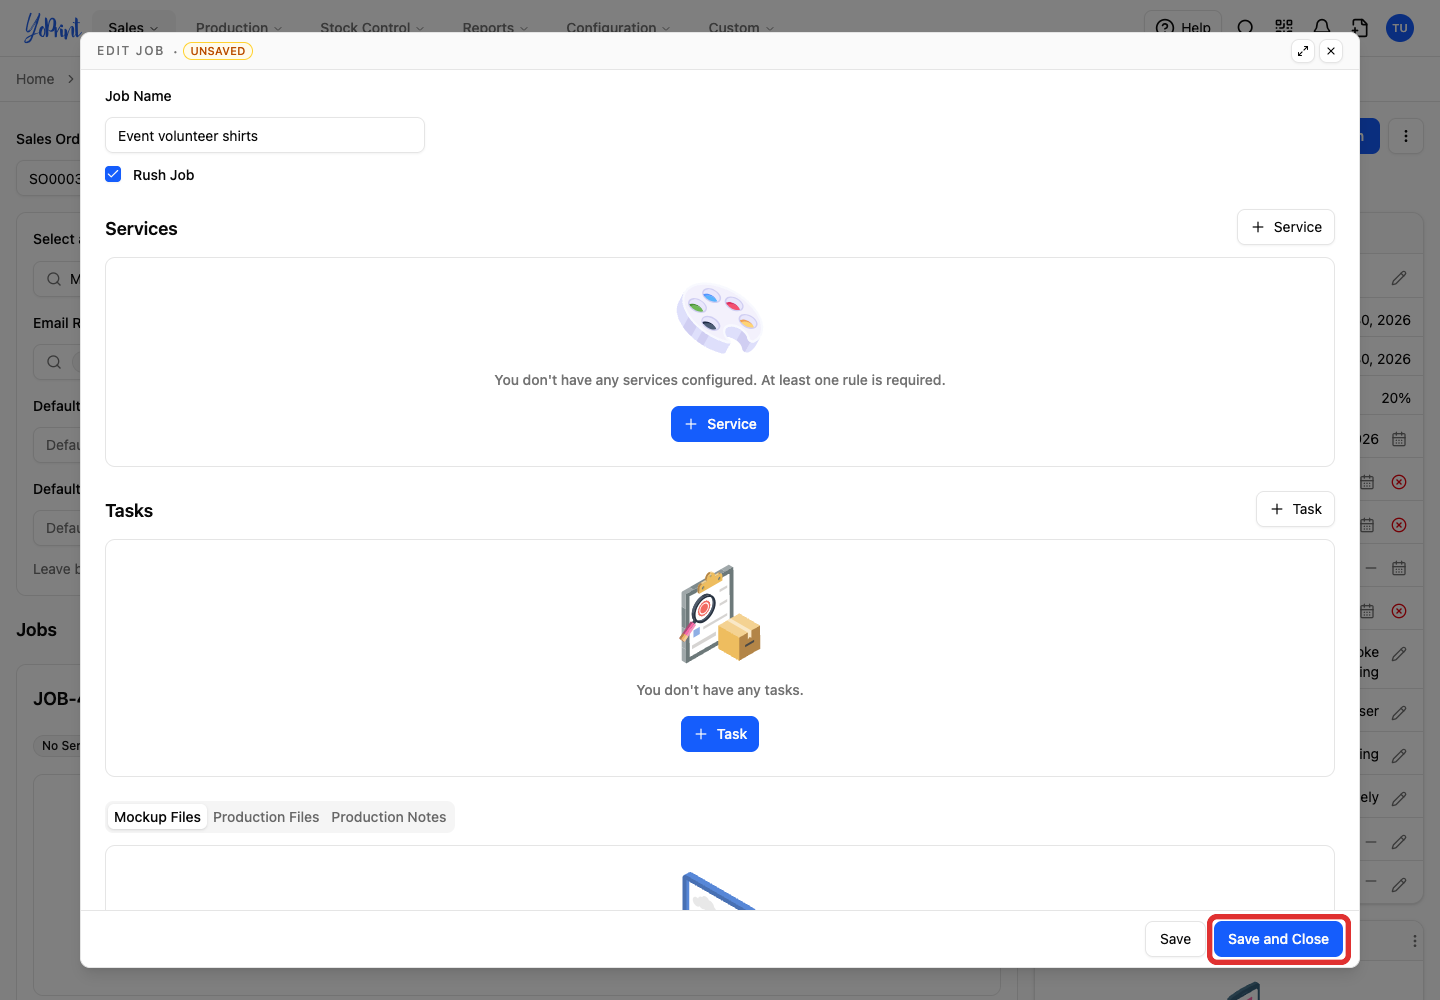
Clear the checkbox to remove the flag when editing the job.
Find Rush orders or jobs
For orders, start at Sales > Sales Orders. For jobs, start at Production > All Jobs. Both lists support the same Is Rush filter. Monitor Production > All Jobs with this filter to track every urgent job, even when its parent order is not marked rush. The screenshots show the sales-order version.
-
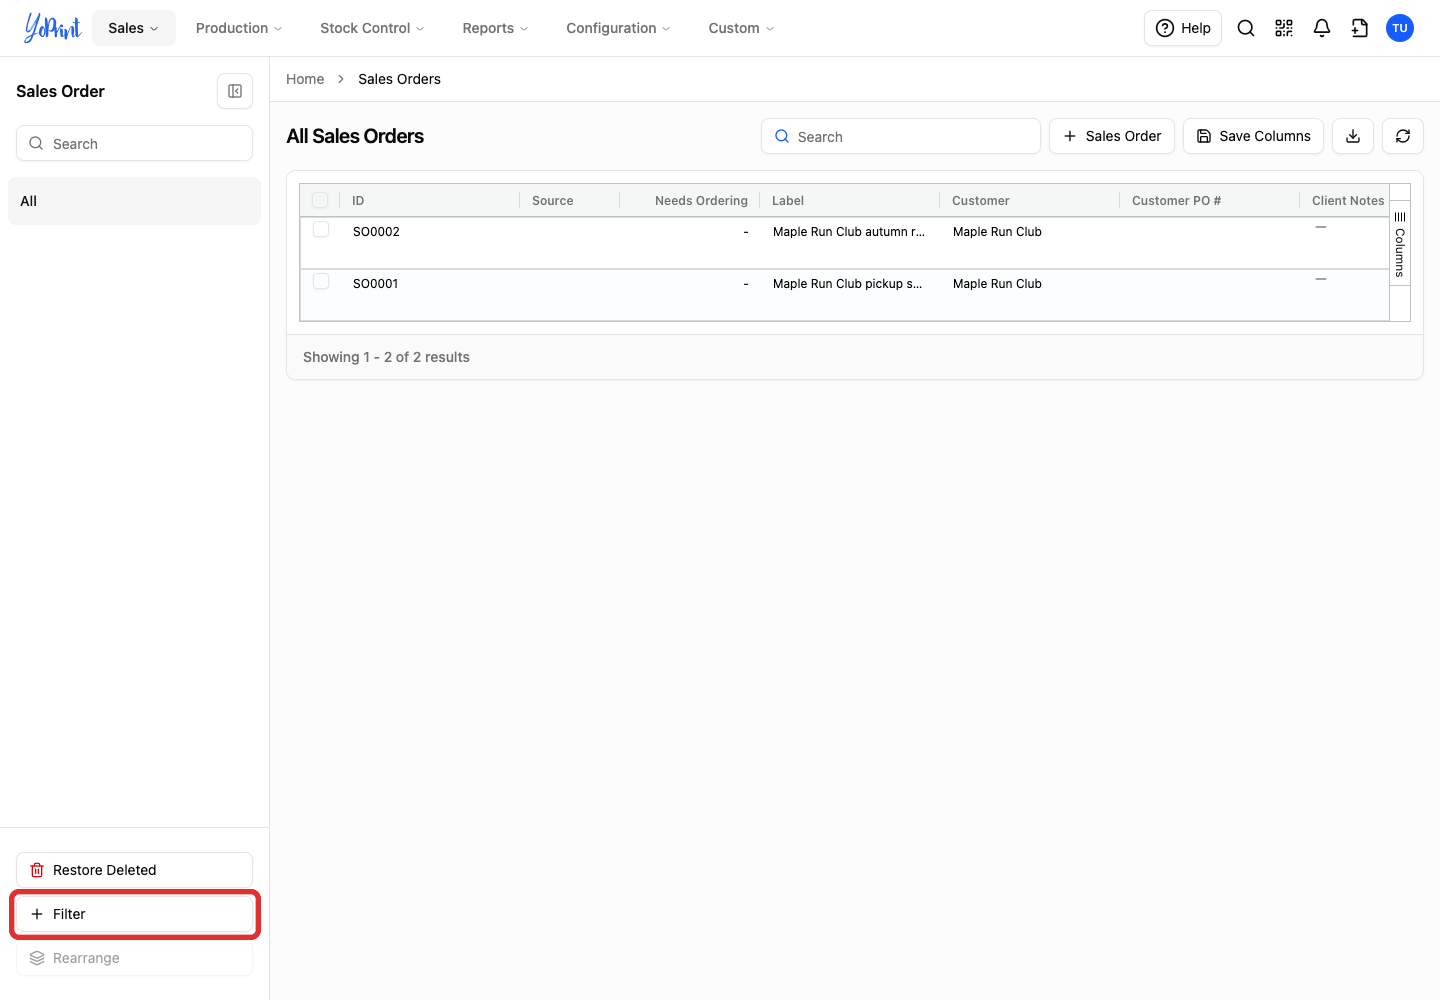
Click Filter in the left sidebar.
-
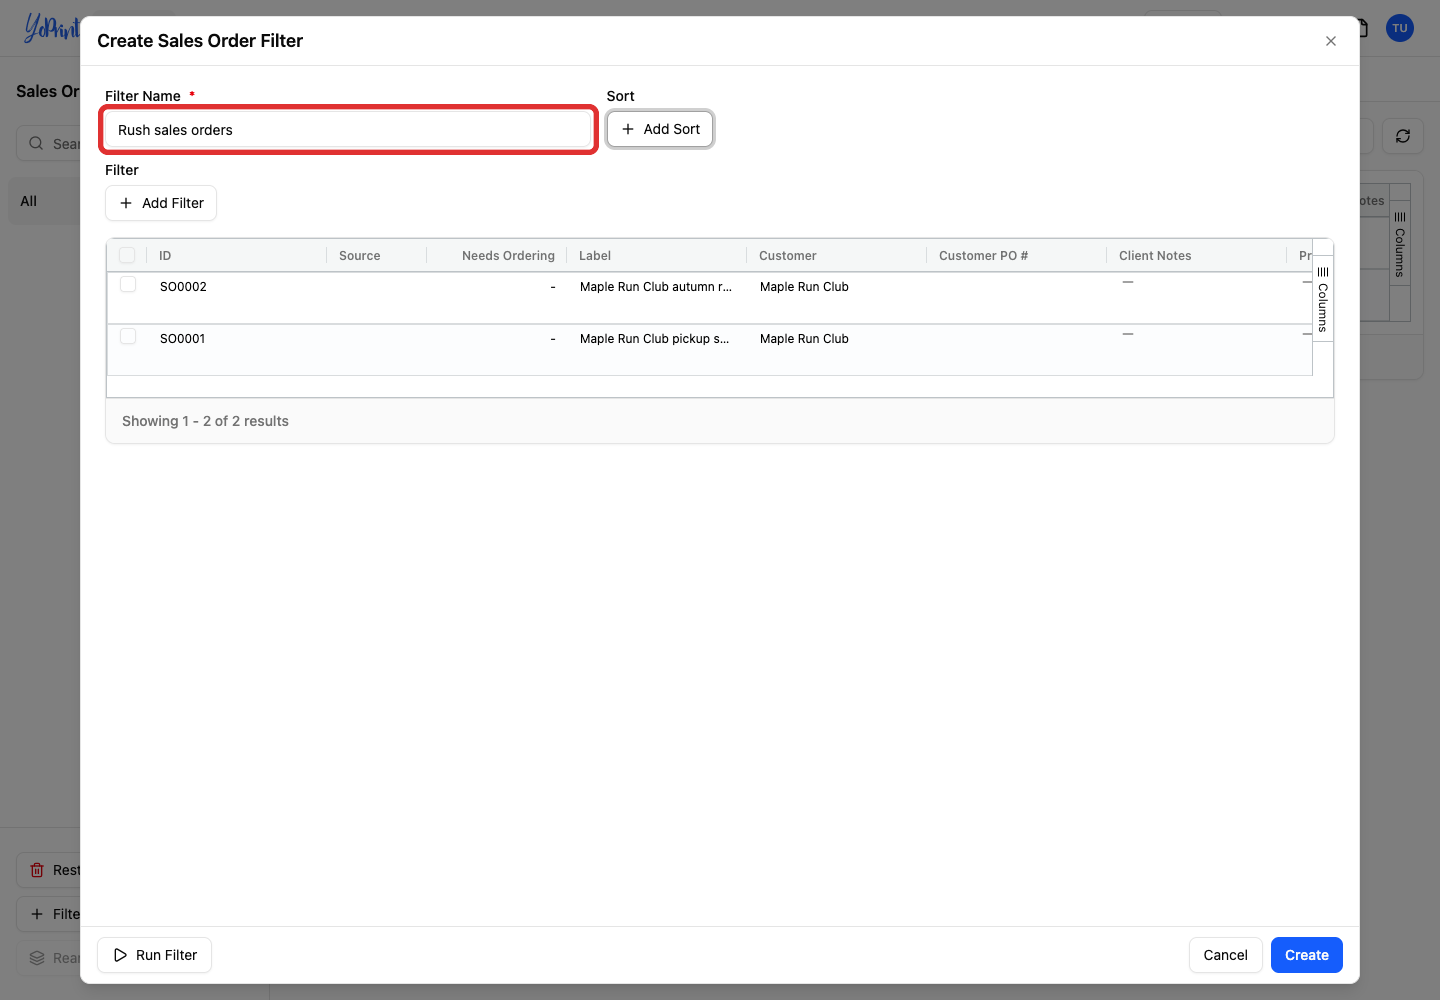
Enter a Filter Name, such as Rush sales orders or Rush jobs.
-
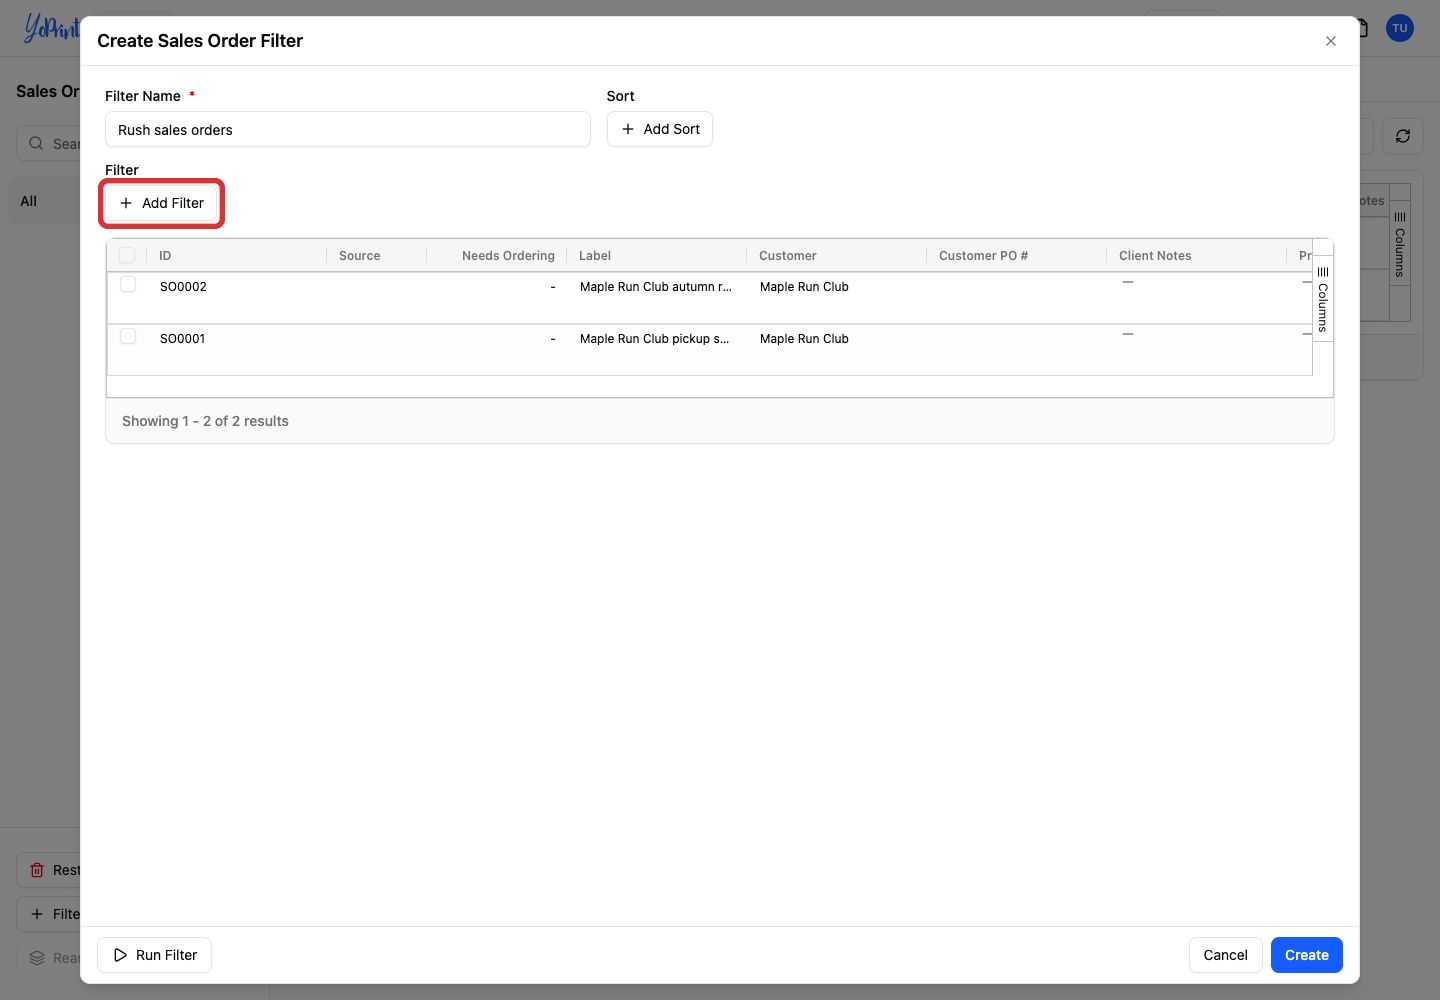
Click Add Filter.
-
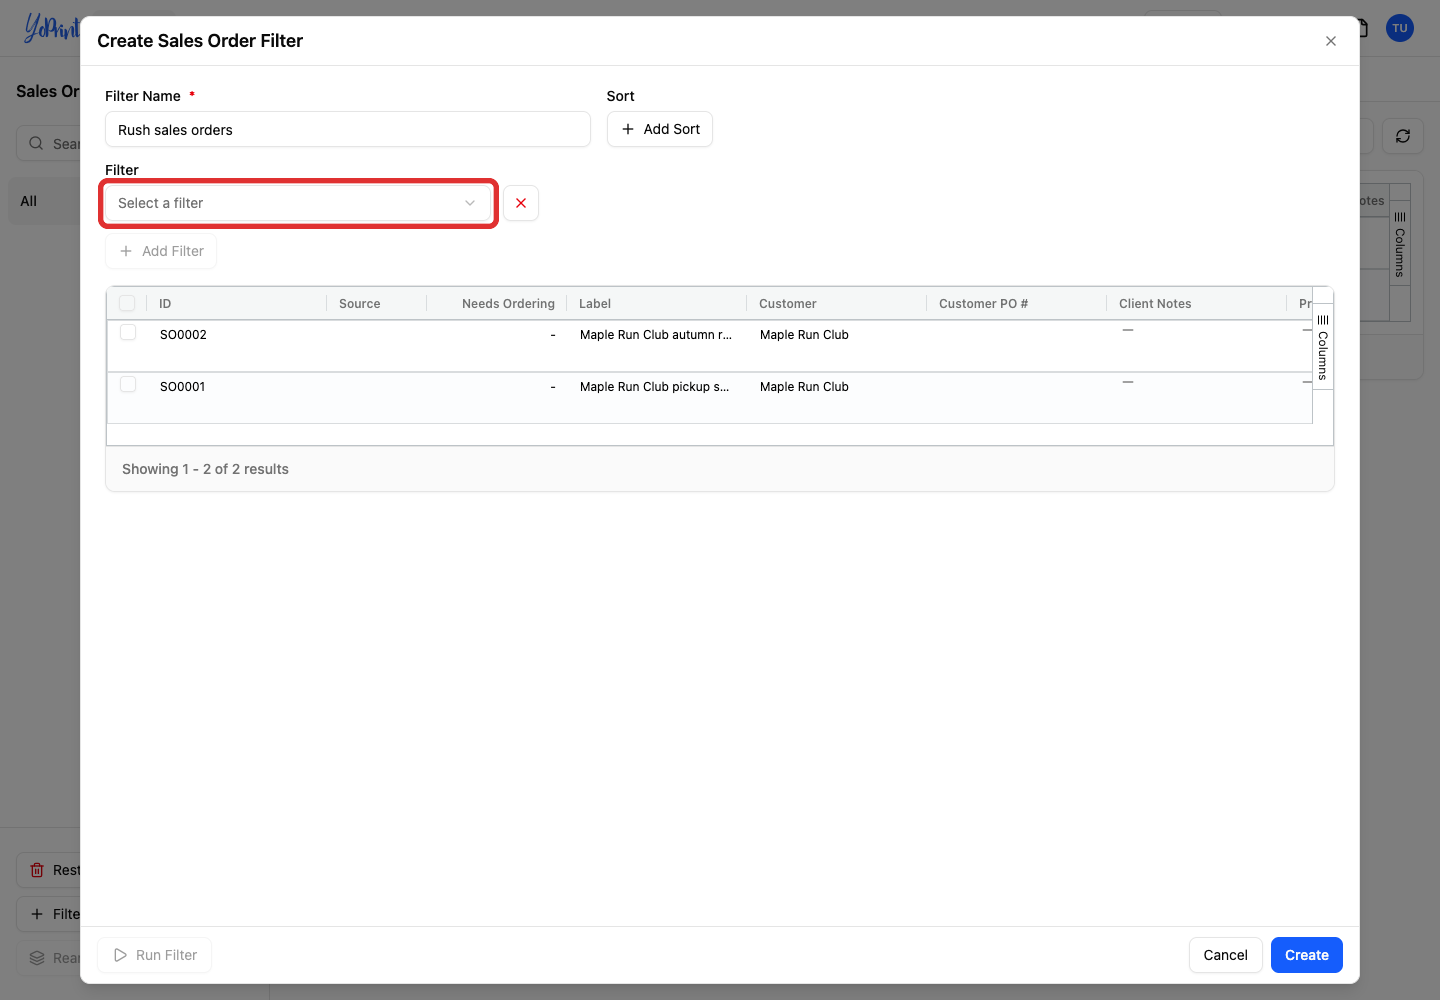
Open Select a filter.
-
Choose Is Rush.
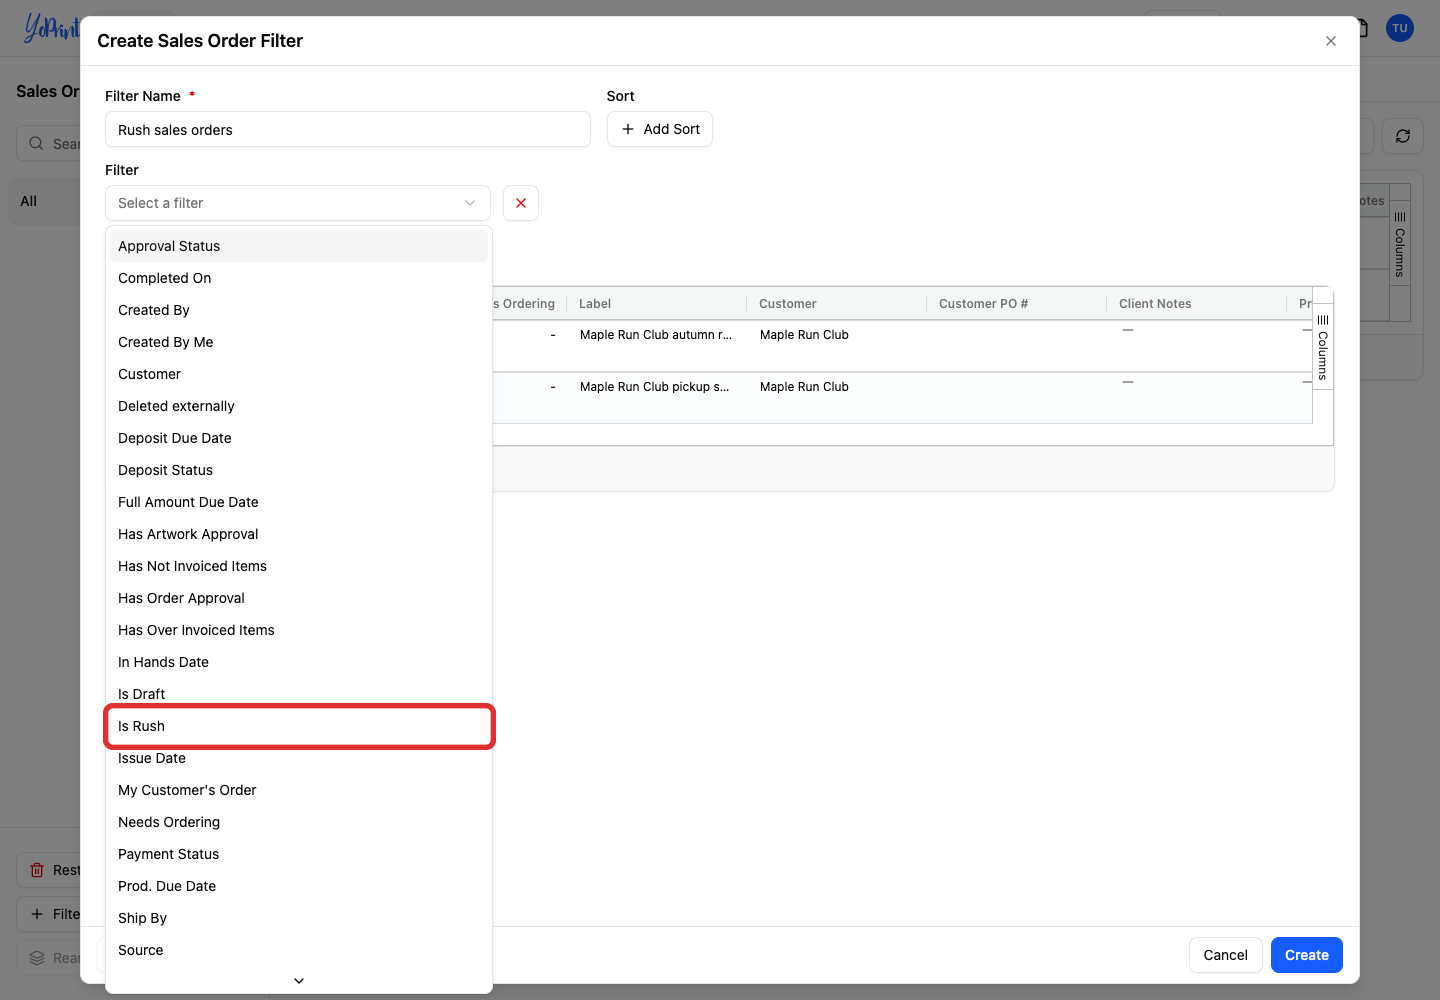
-
Open Value. Leave Operator set to ==.
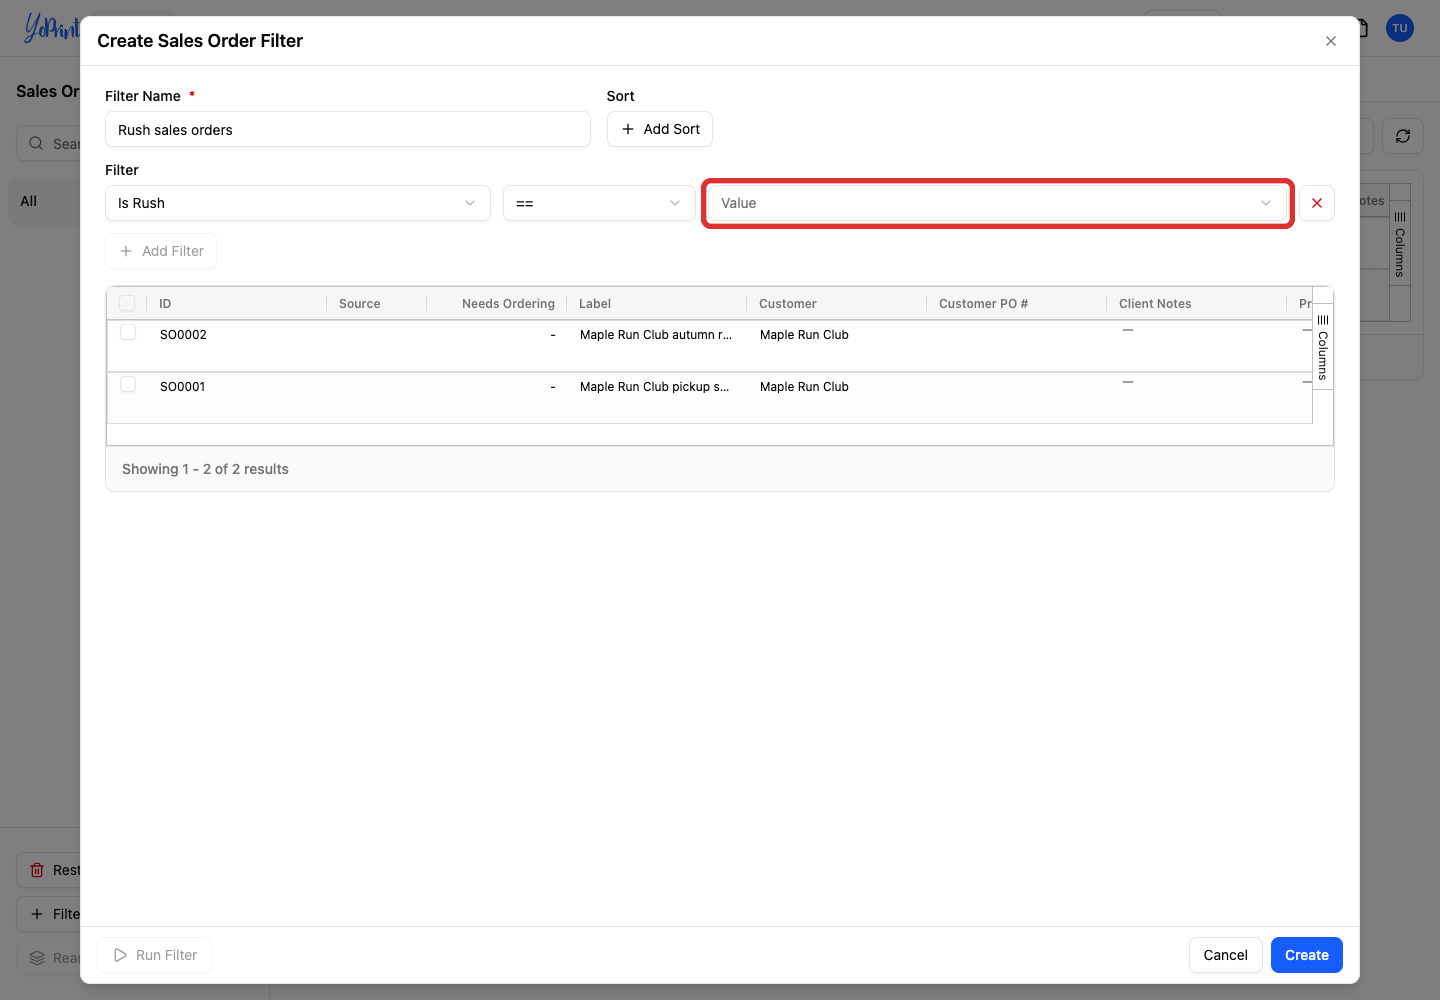
-
Choose True.
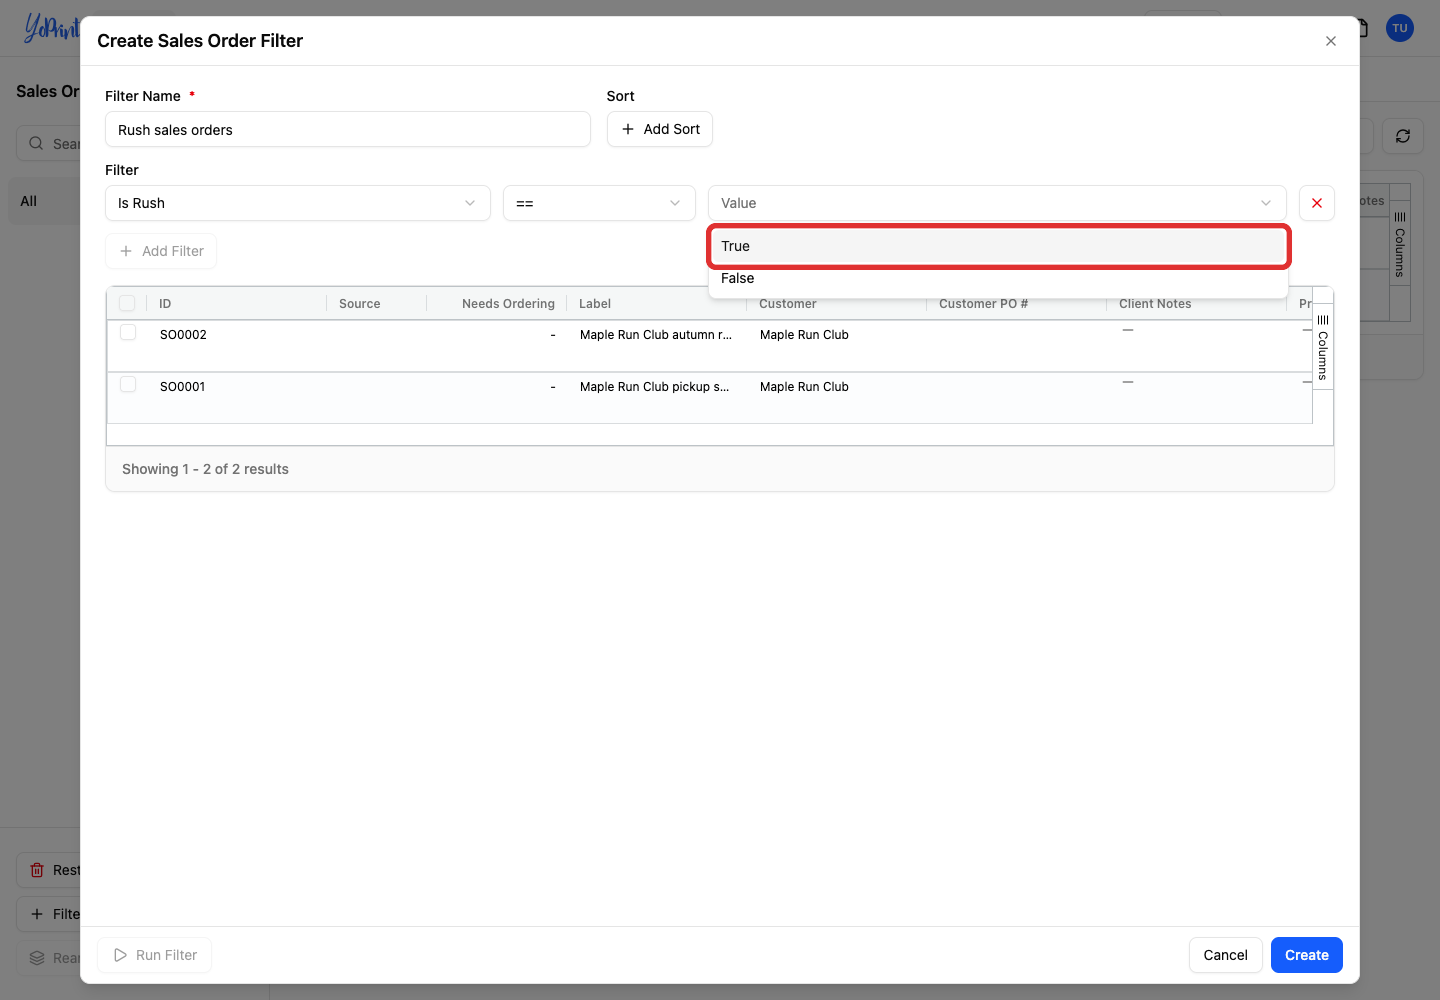
-
Click Create to save the filter.
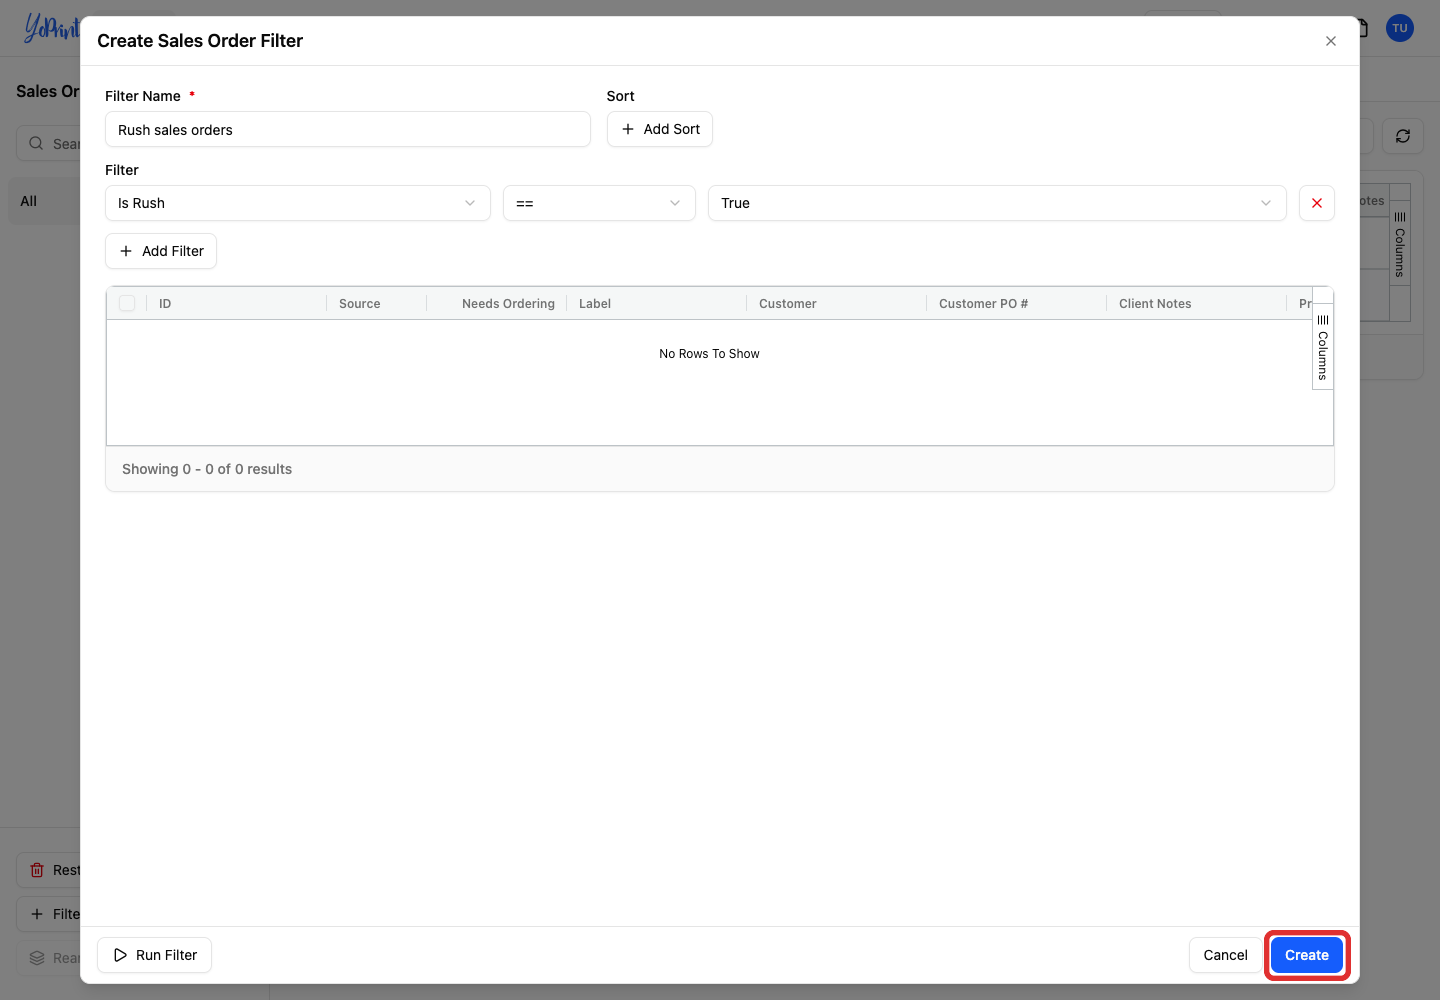
The saved filter appears in the sidebar for later use. An order filter checks the order’s flag; a job filter checks each job’s flag. See Managing Filters for more ways to organize saved views, including how to edit or delete filters.