Add and Manage Customer Records
You can add new customers to YoPrint manually or by importing them in bulk using a CSV file. This article walks you through how to create, edit, and remove customer records at the account level.
To manage individual contacts within a customer, see Manage Customer Contacts in YoPrint.
Add Customers using CSV import
If you want to bulk import a list of customers, you can use YoPrint’s CSV import tool.
1. Go to Sales > Customers.
2. Click ⬇️ CSV Template to download the required format.
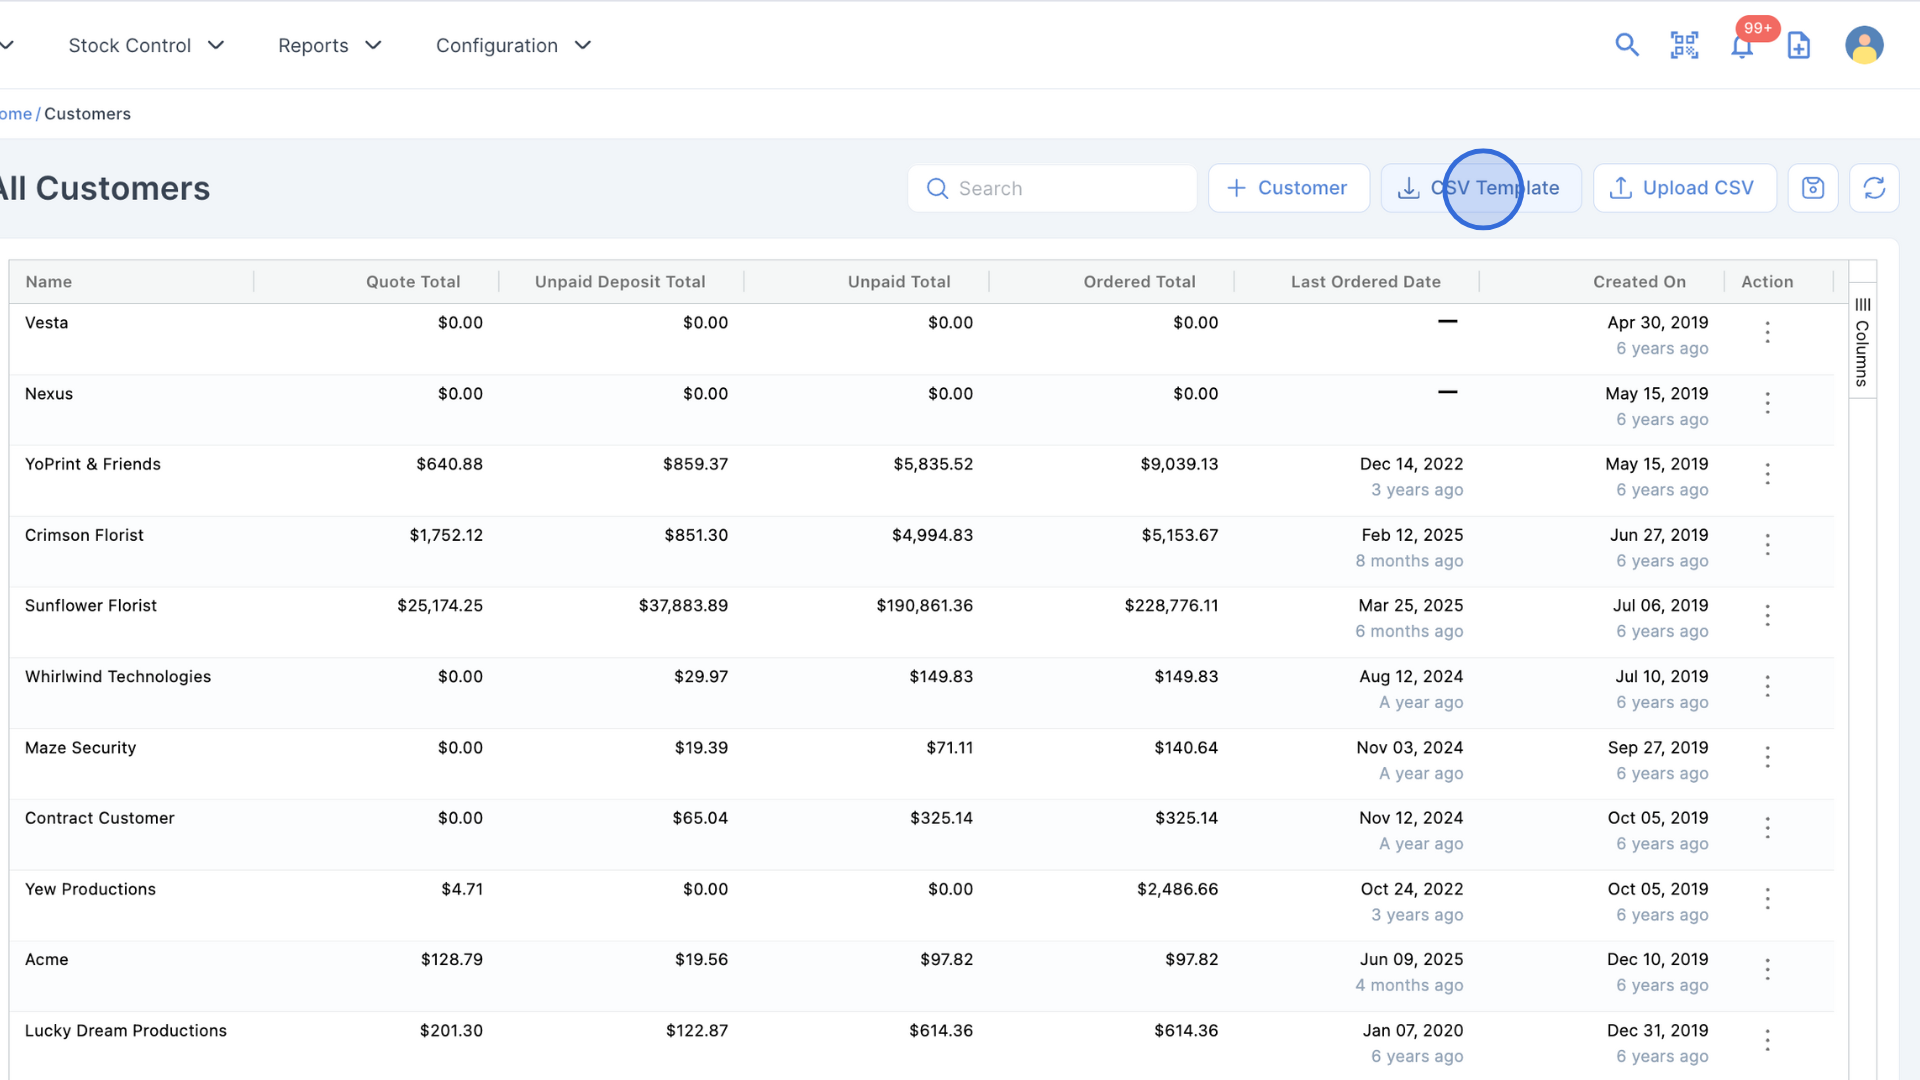
3. Fill out the file with your customer data.
Here are the key fields you can include:
|
Header |
Description |
Required |
| customer_name | Business or individual name. | Yes |
| customer_website | Must start with http:// or https://. | No |
| customer_internal_notes | Internal notes not visible to the customer. | No |
| customer_tax_exempt | TRUE if tax-exempt, FALSE otherwise. | Yes |
| customer_resale_number | Optional resale number. | No |
Contact Information (Optional)
|
Header |
Description |
Required |
| contact_first_name | First name of the main contact. | No |
| contact_last_name | Last name of the main contact. | Yes |
| contact_email | Email address of the main contact. | Conditional |
| contact_phone | Phone number (recommended format: +1 777-555-4444). | Conditional |
| contact_phone_country | Two-letter country code (e.g., us). | Conditional |
Shipping Address (Optional)
|
Header |
Description |
Required |
| shipping_label | Address label (e.g., “Shopfront”). | Yes |
| shipping_address_1 | Street address. | Yes |
| shipping_city | City. | Yes |
| shipping_state | State or region. | Yes |
| shipping_postcode | Postal code. | Yes |
| shipping_country_code | Two-letter country code (e.g., us). | Optional |
Billing Address (Optional)
|
Header |
Description |
Required |
| billing_label | Address label (e.g., “Billing”). | Yes |
| billing_address_1 | Street address. | Yes |
| billing_city | City. | Yes |
| billing_state | State or region. | Yes |
| billing_postcode | Postal code. | Yes |
| billing_country_code | Two-letter country code (e.g., us). | Optional |
After preparing your file:
1. Upload the completed CSV file back into YoPrint by clicking ⬆️ Upload CSV.
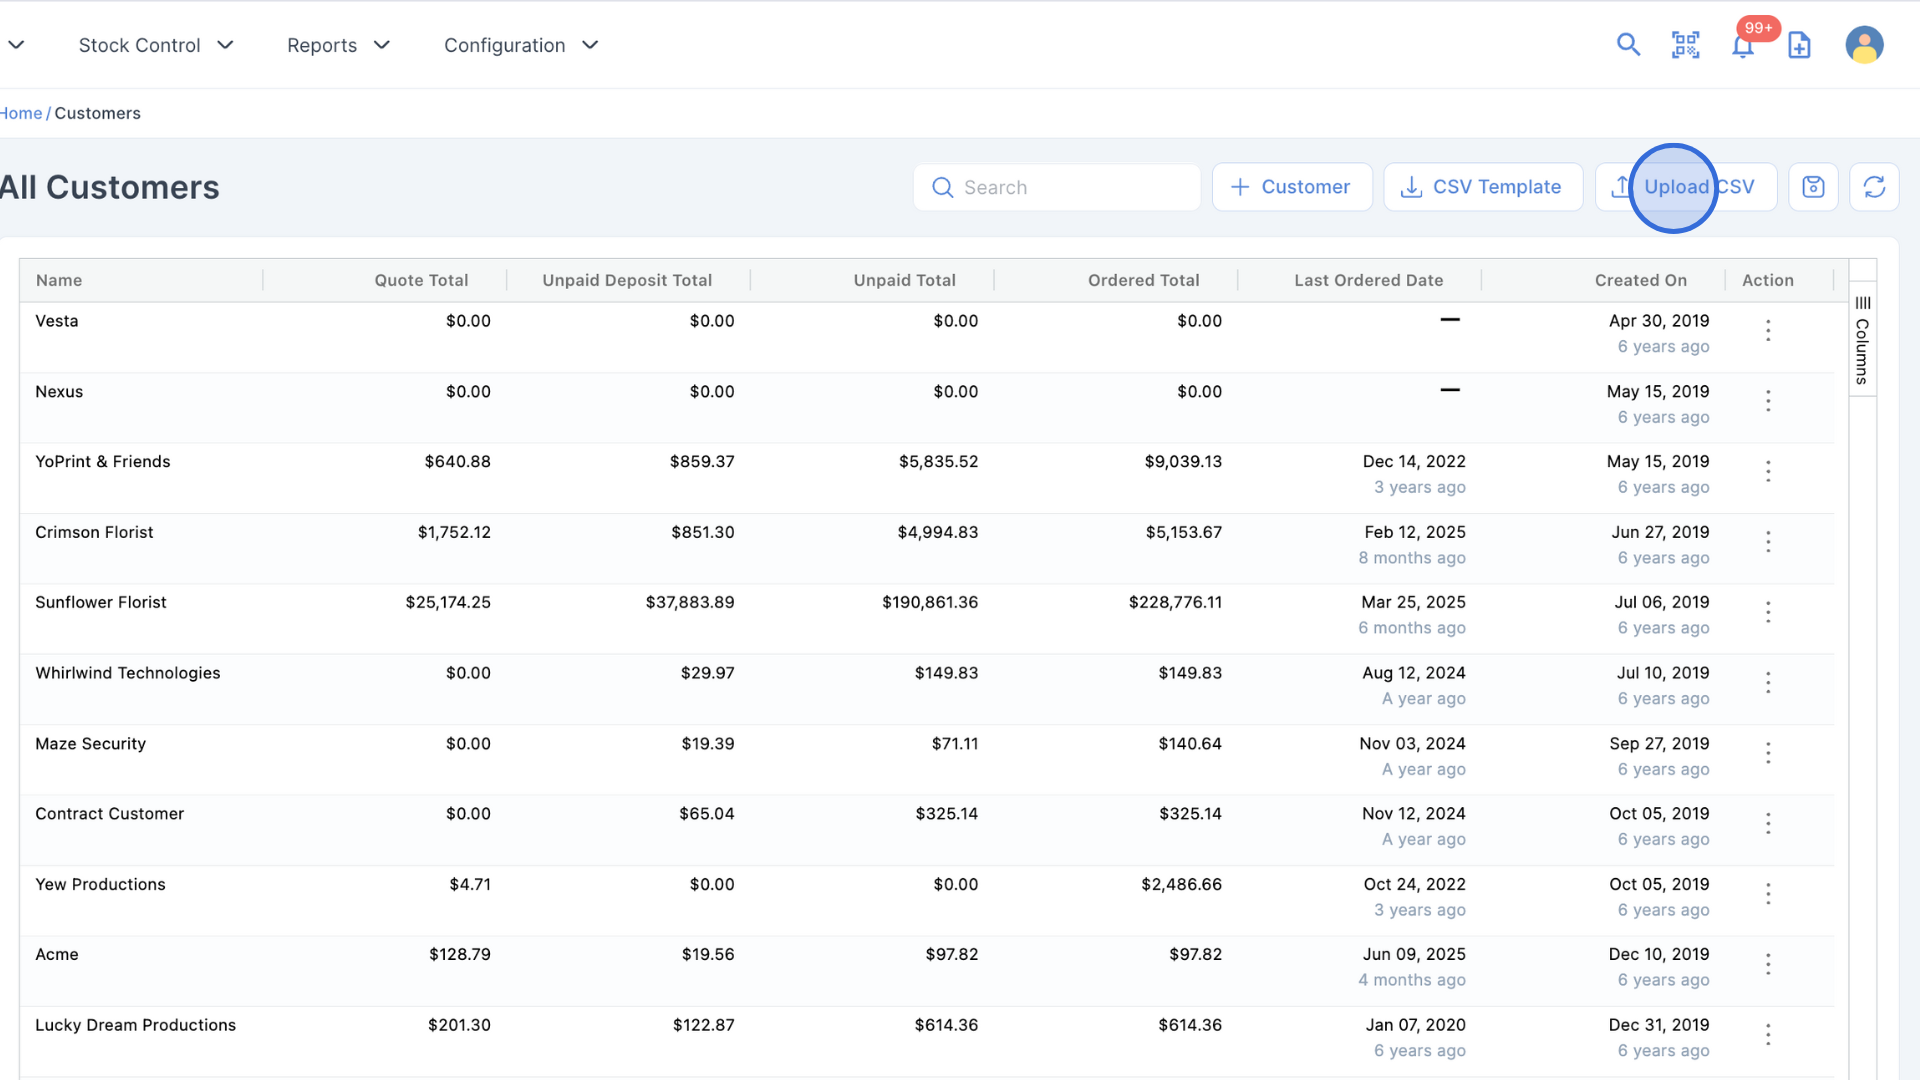
2. Review your entries before finalizing the import. You can check the status by hovering your mouse over the Upload CSV button.
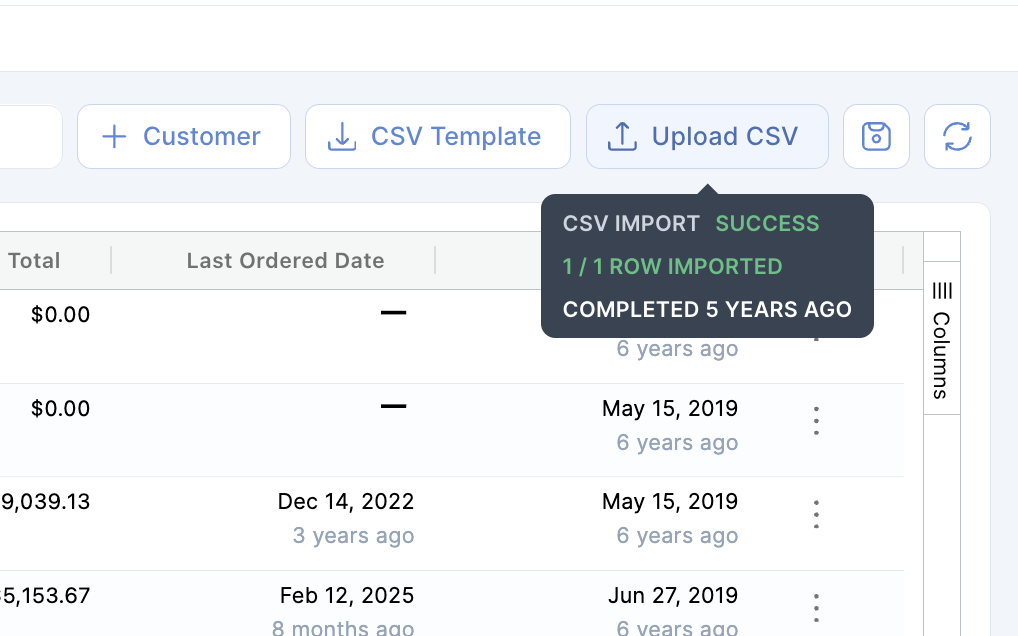
Note: If there are errors in your CSV file, you will receive a file listing the fields that need correction.
Add Customers manually
1. Navigate to Customers.
2. Click + Customer.
3. Fill out the customer details. If applicable, tick Tax Exempt and/or Can Receive SMS.
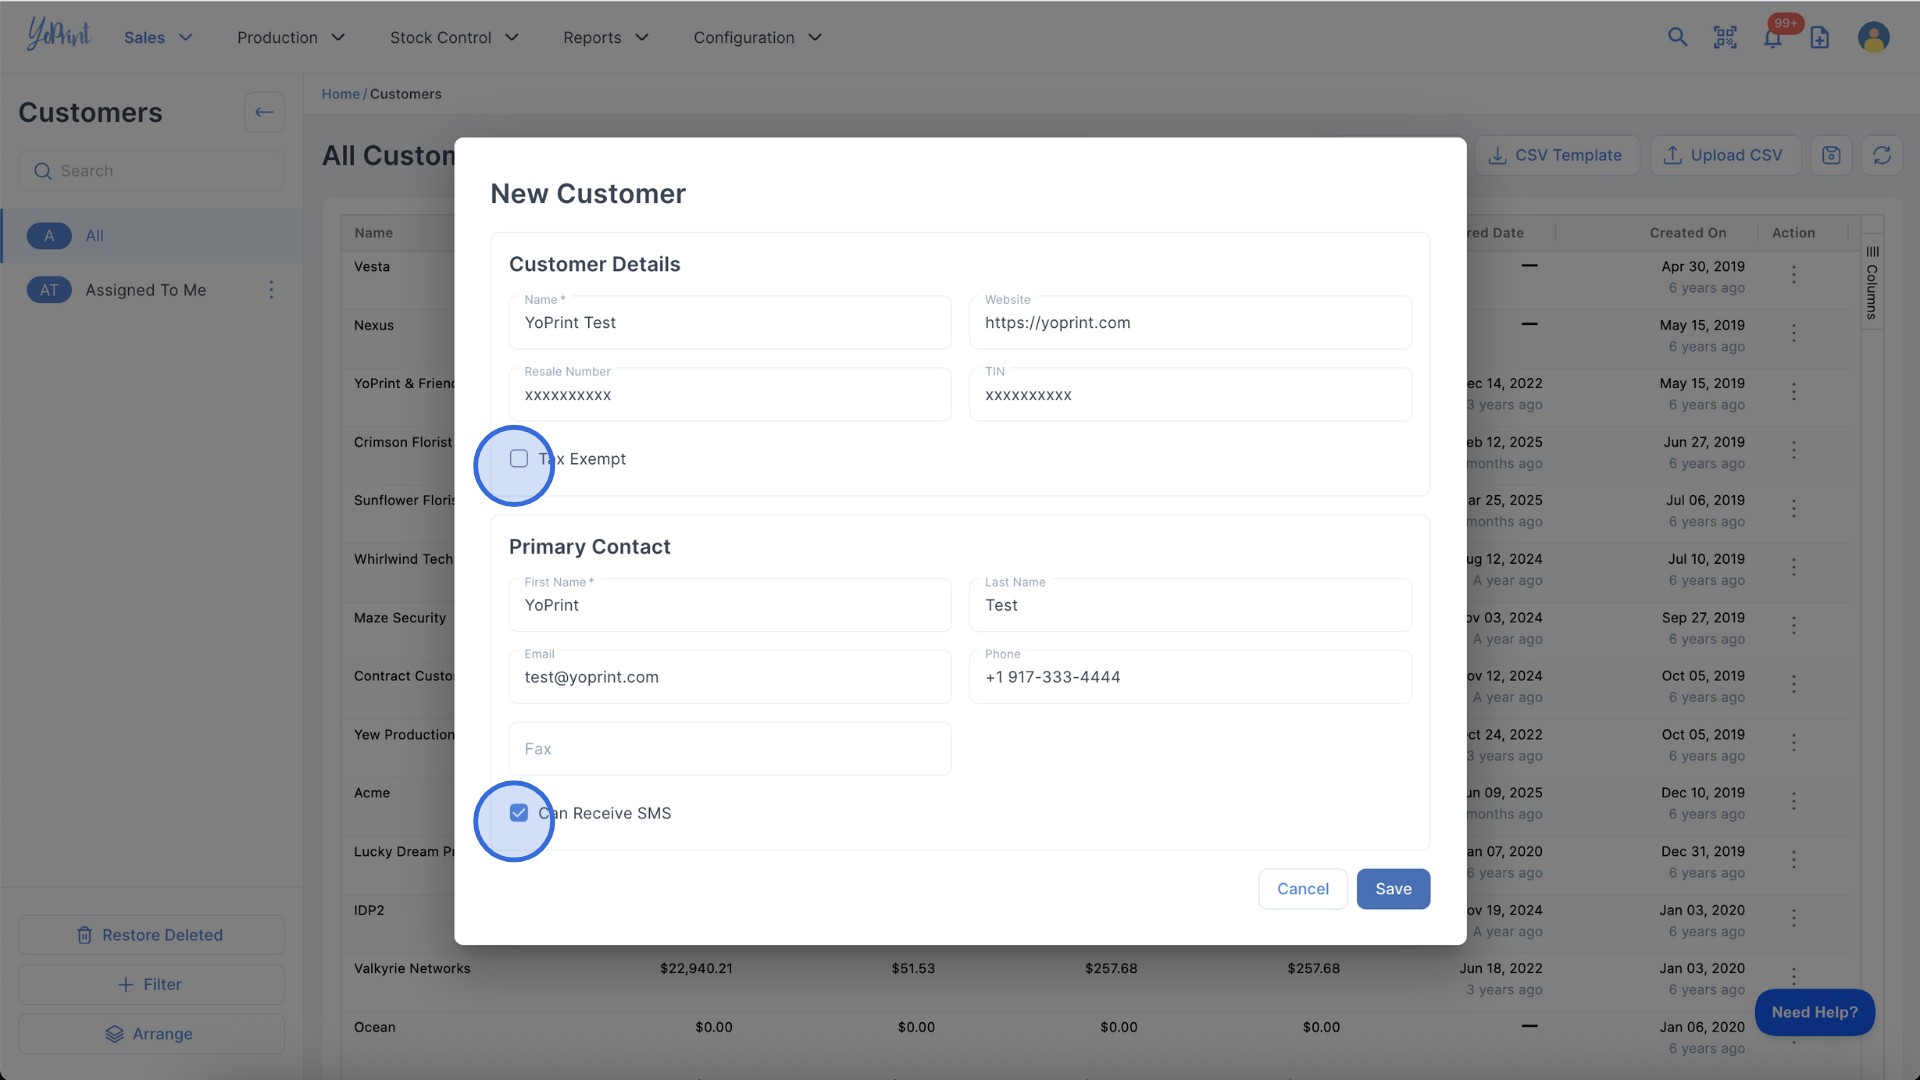
4. Click Save when done.
Add a new Customer from a Sales Order
You can also create a new customer while creating a Sales Order:
1. Go to Sales Orders > + Sales Order.
2. In the "Select a customer" field, click + Add Customer.
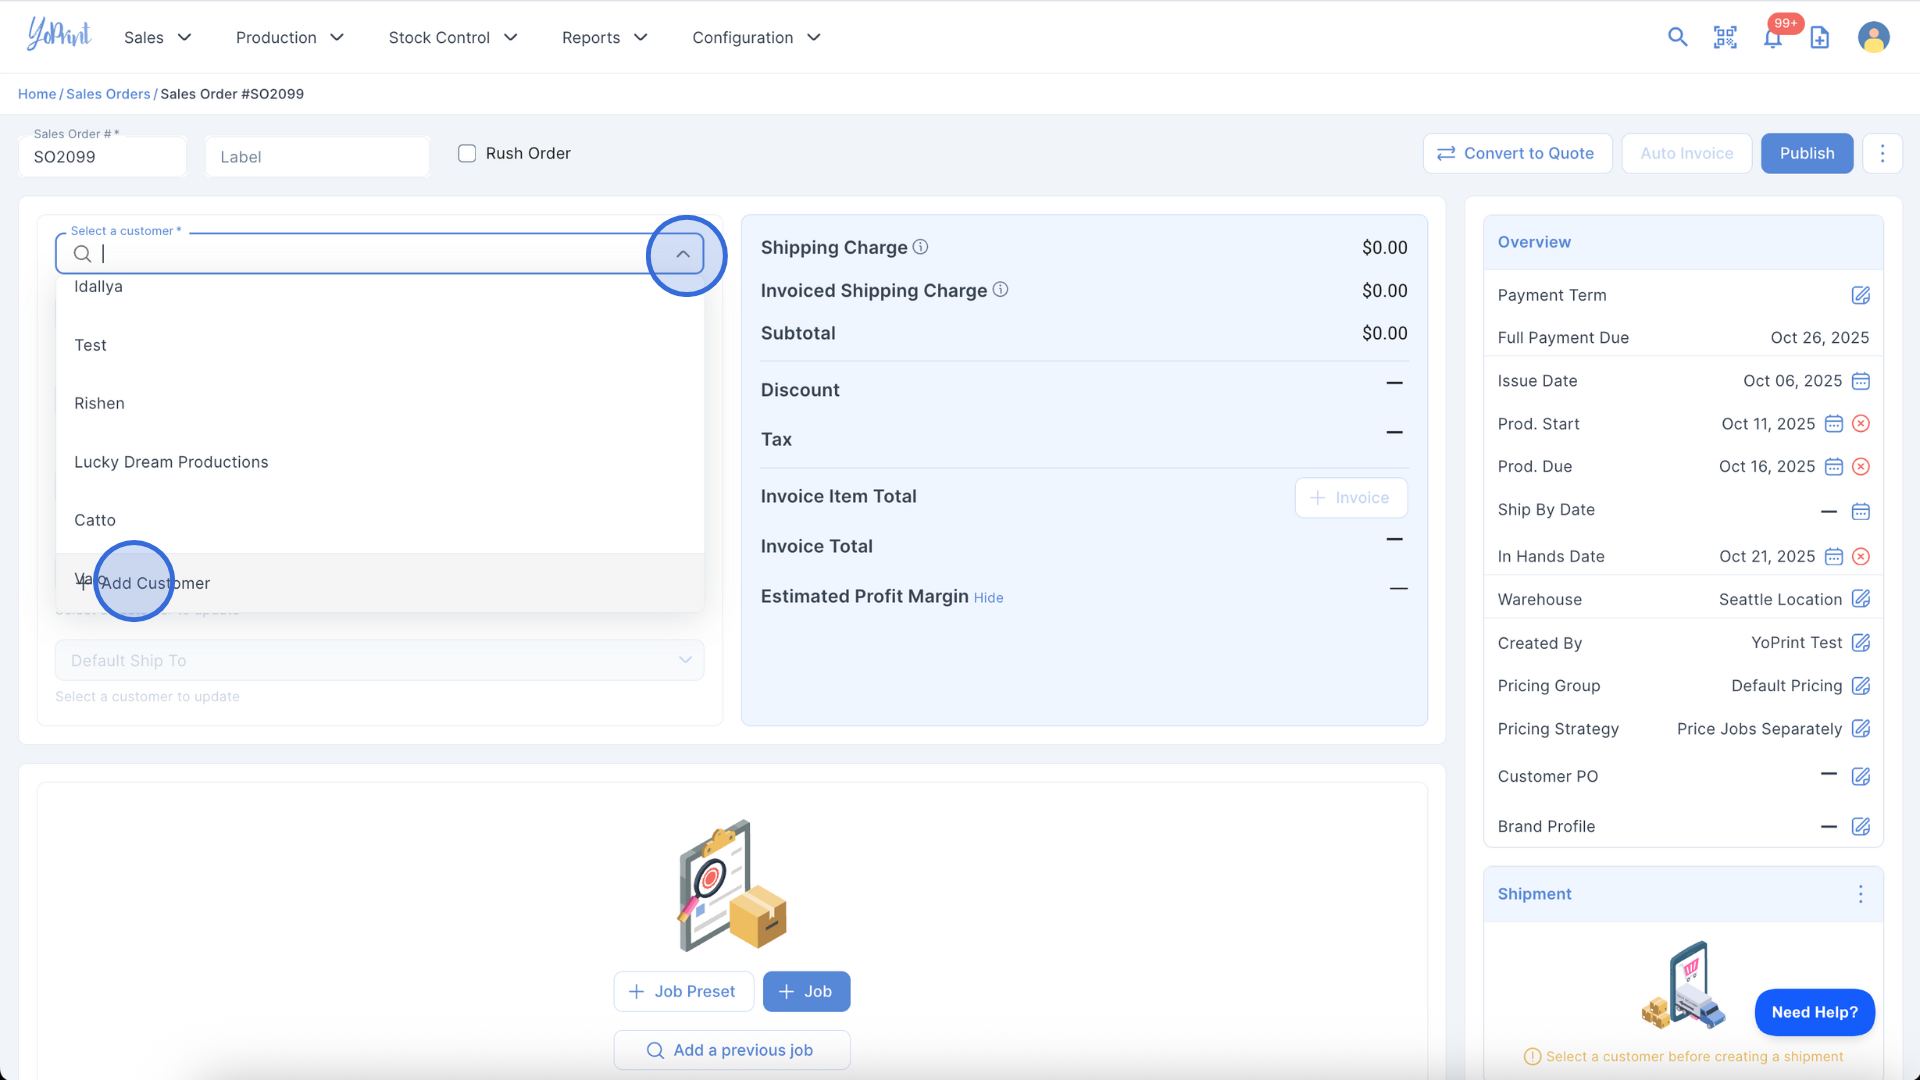
4. Enter the details and click Save.
Edit or remove a Customer
To edit a customer:
1. Go to the Customer list.
2. Double-click on the customer to view the details.
3. Make your changes to the customer details marked by the pencil icon.
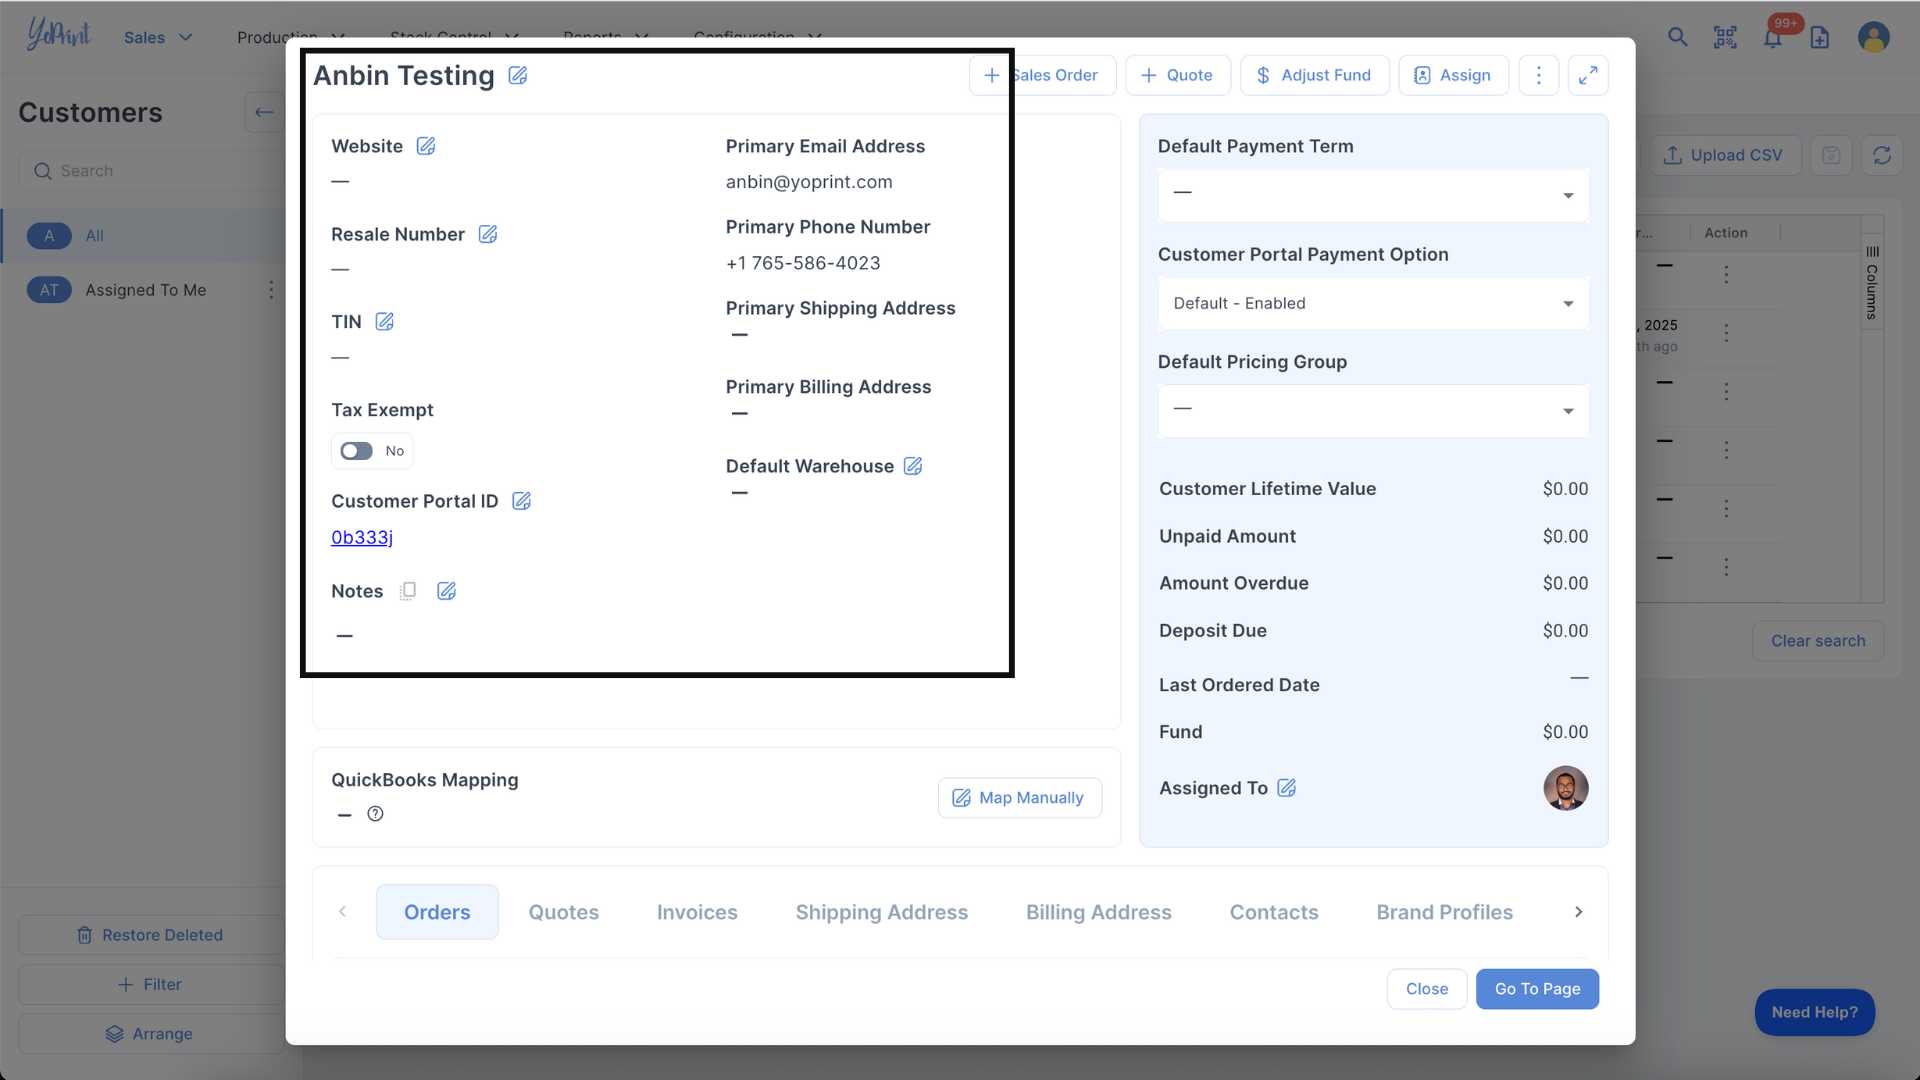
4. Click the ✔️ check mark to apply changes.
To remove a customer:
1. Click the three-dot icon > Remove.
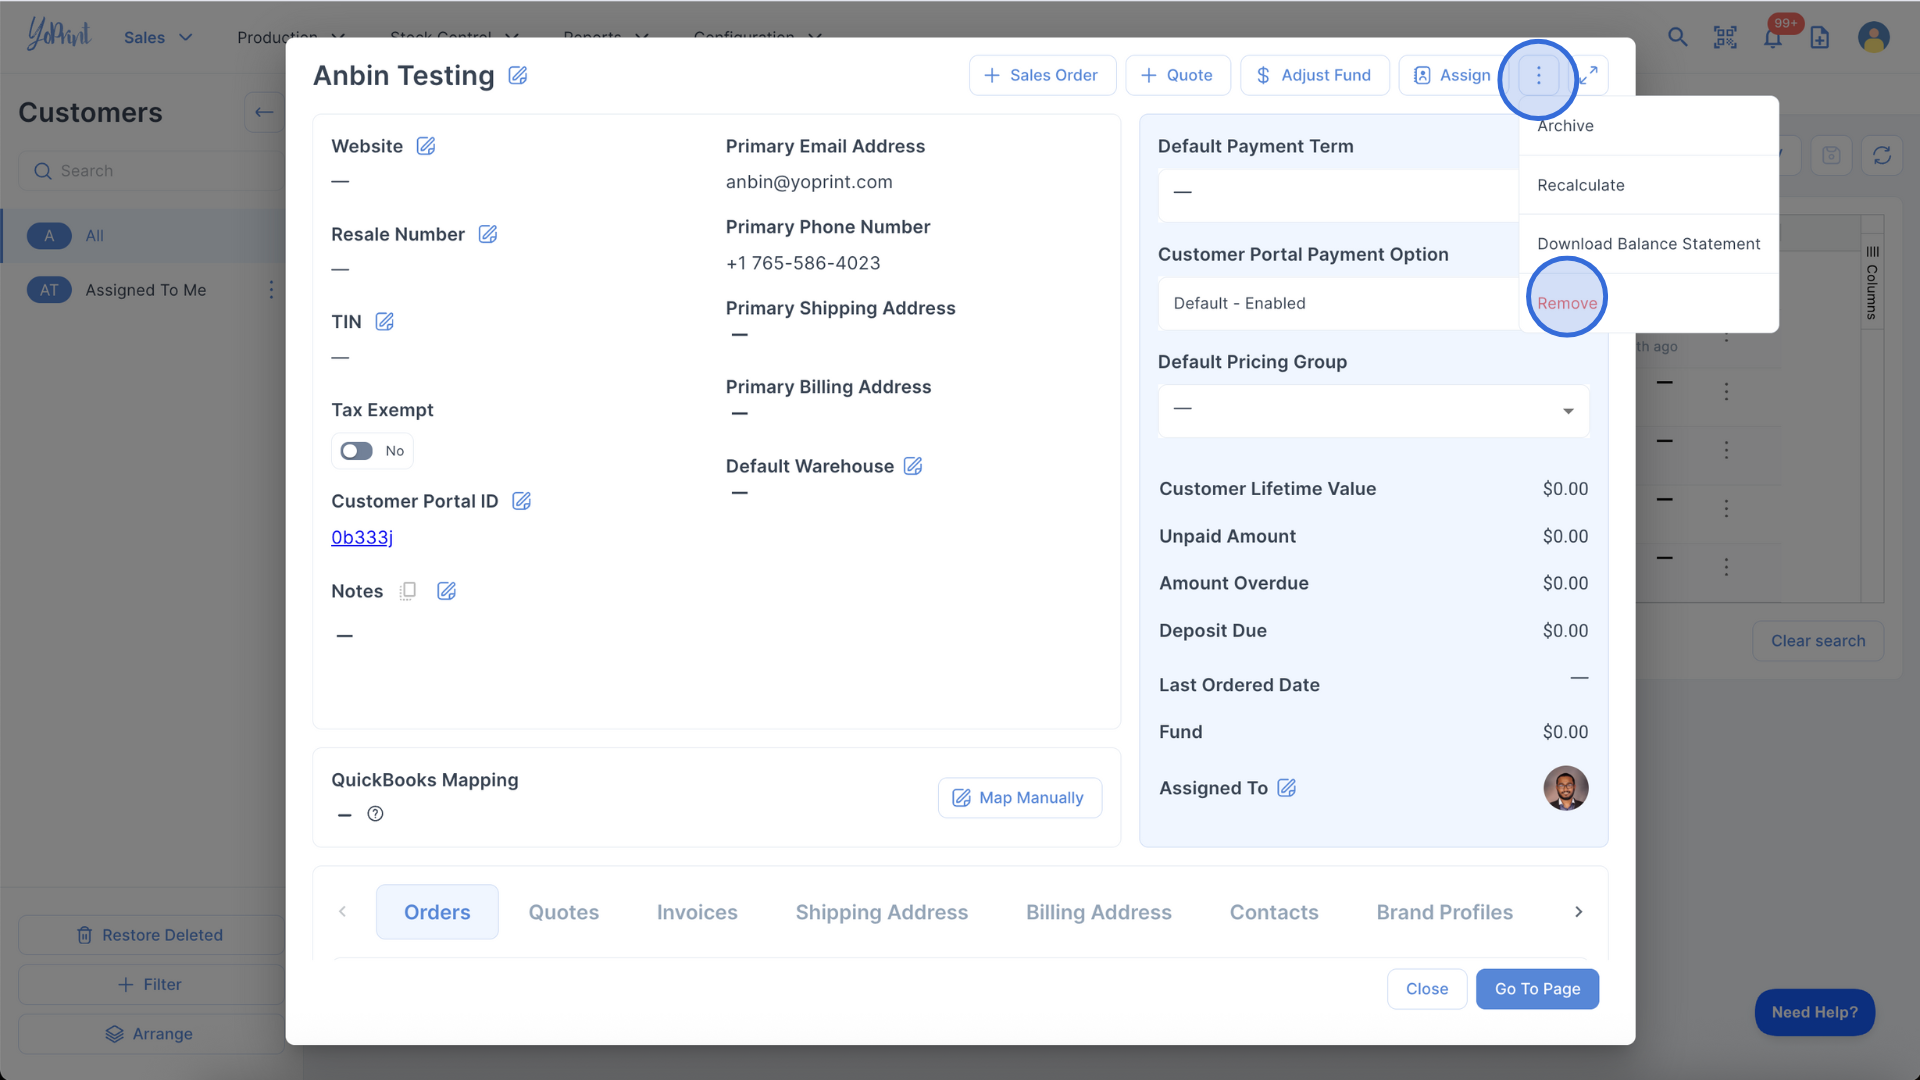
2. Confirm the deletion by clicking Remove.