How to Send a Quote
In this article
Send your customer an email with the quote details, a PDF copy and a link to the Customer Portal. The portal link allows your customer to view their quotations directly without creating an account first.
In Sales > Quotes, open the quote you want to send. If the preview drawer opens, click View Quote to view the full details. If the quote shows a draft status, click Publish at the top right before sending; quotes in Pending status are already published.

Send Quote Details sends an informational copy. To collect a formal customer signature and deposit, use the Quote Approval Workflow.
Check the email recipients
The email goes to the contacts selected under Email Recipients, which are drawn from the customer's record. The primary contact is selected by default. If they are already correct, continue to Send the quote details.
-
Click the pencil beside Email Recipients.
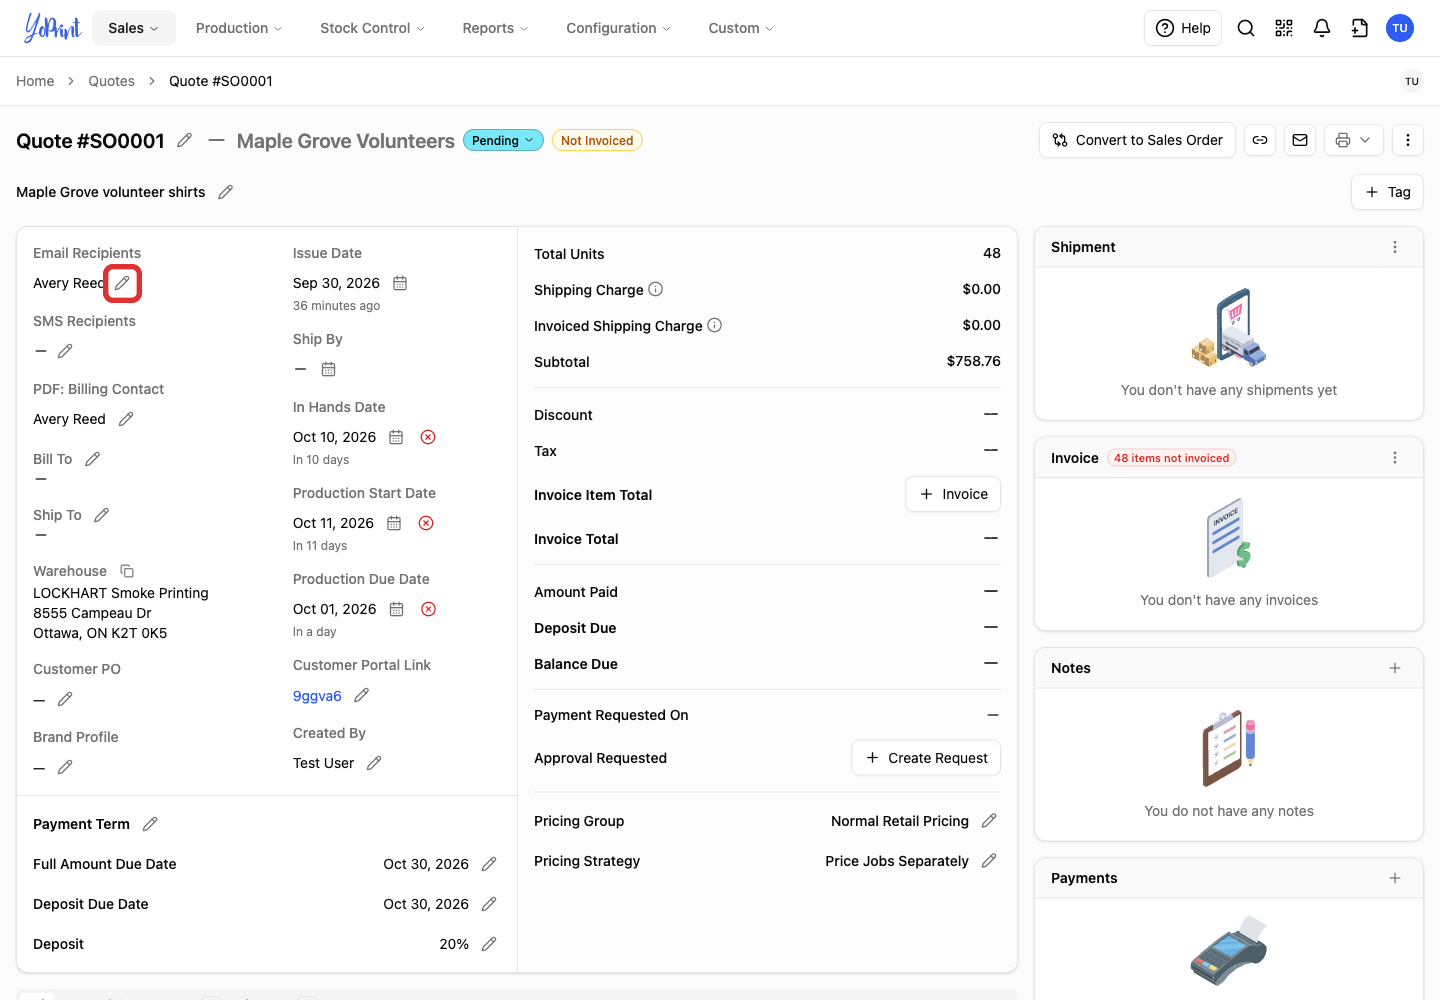
-
Select the contacts who should receive the quote. Clear a checkbox to leave that contact out. At least one selected contact needs a valid email address.
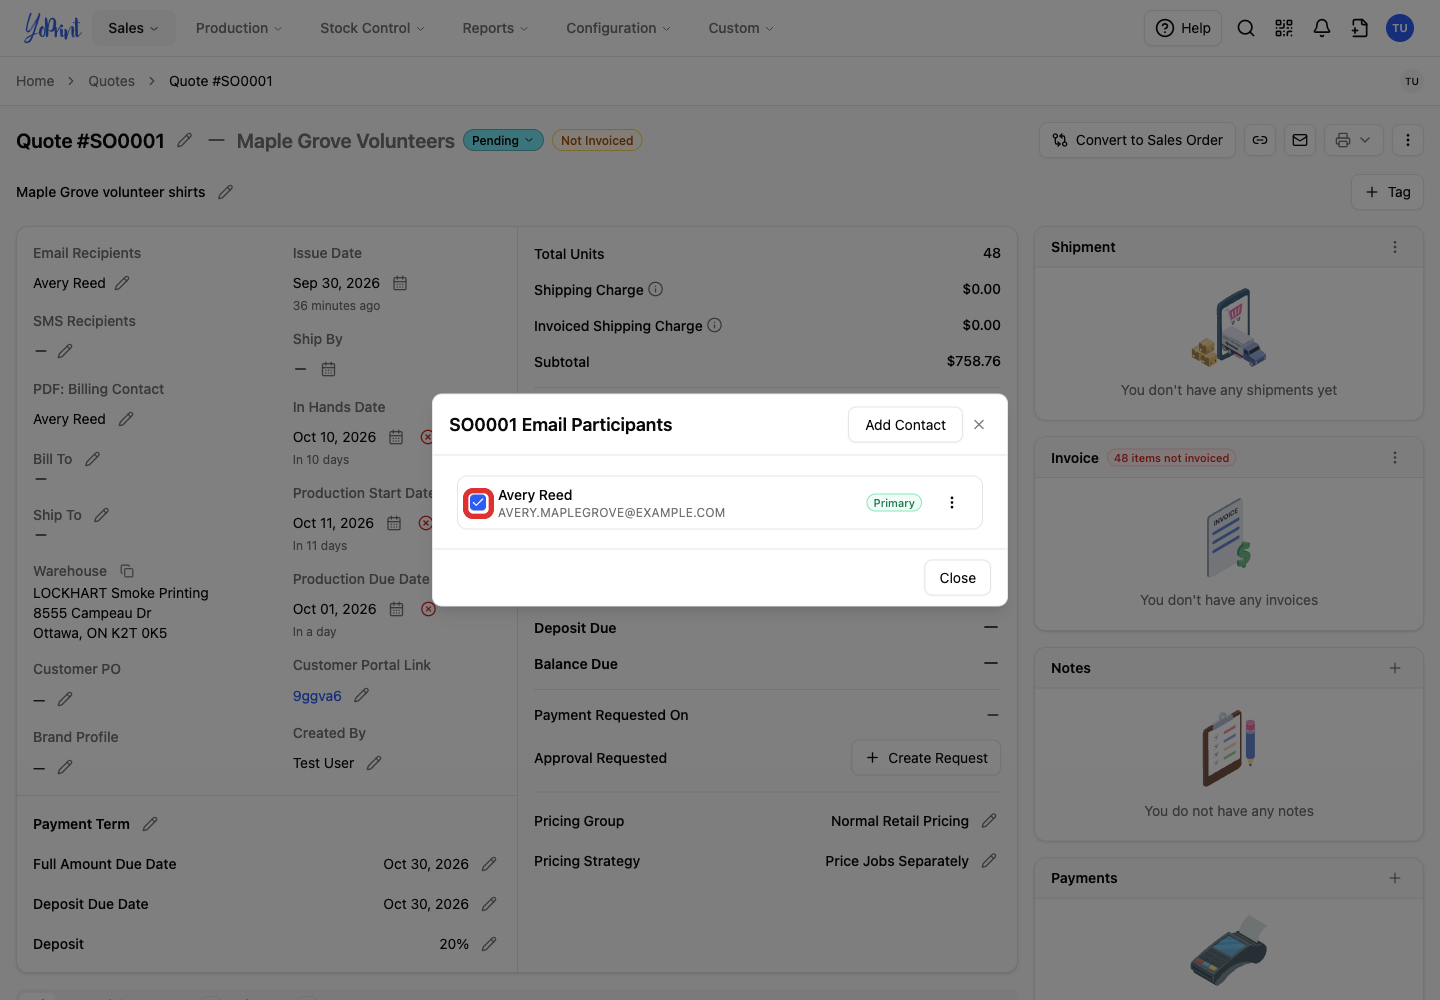
-
Click Close to return to the quote. Your recipient selection is saved automatically without a separate save button.
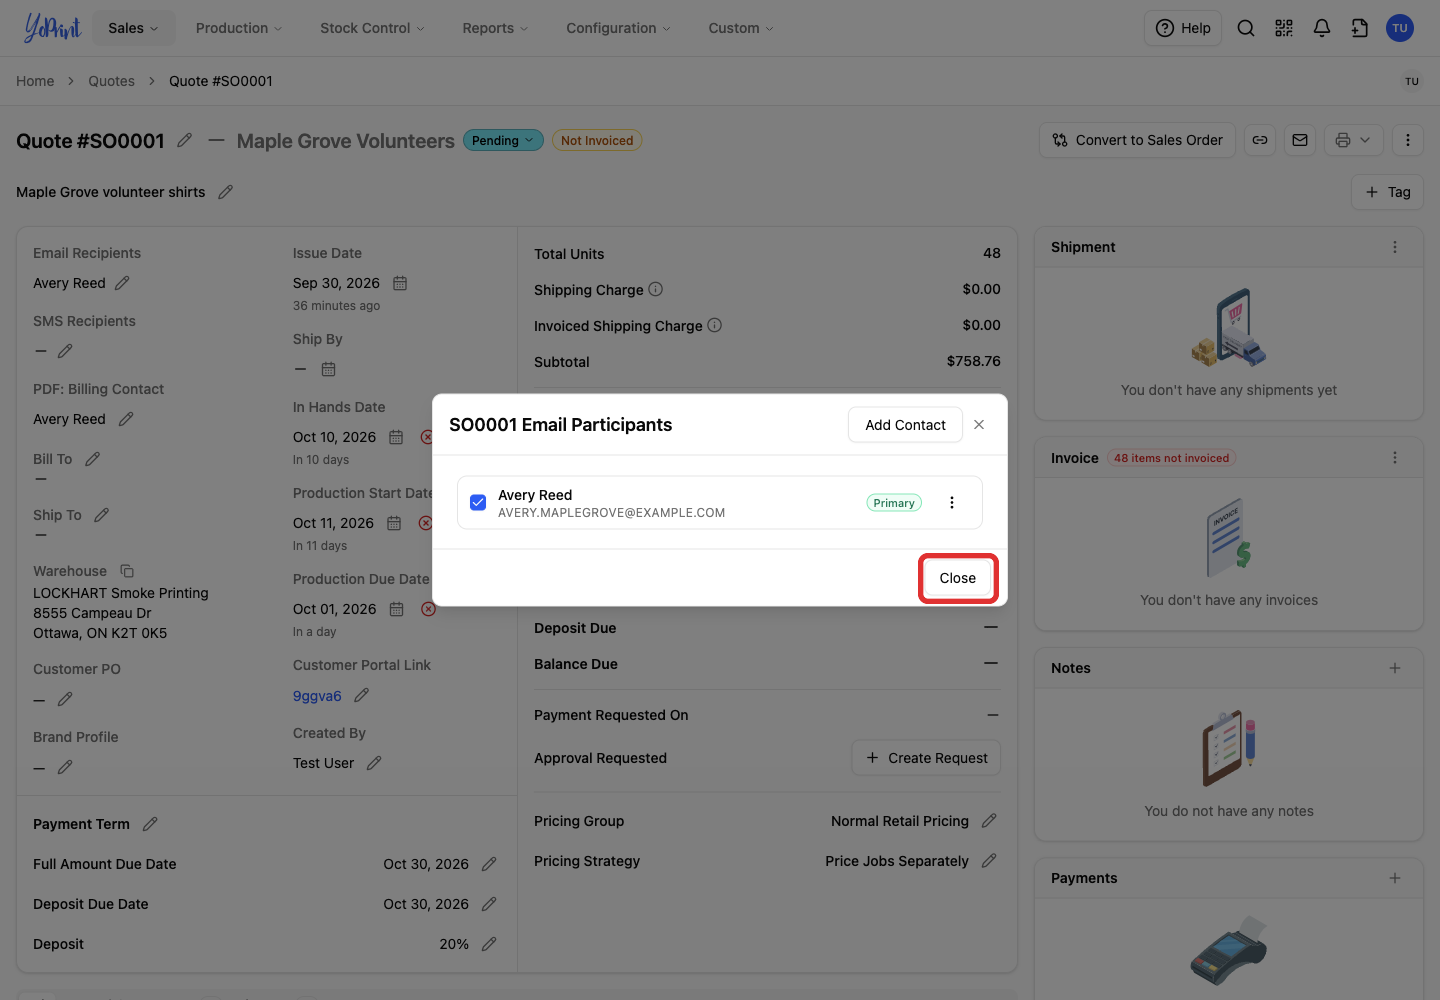
Send the quote details
-
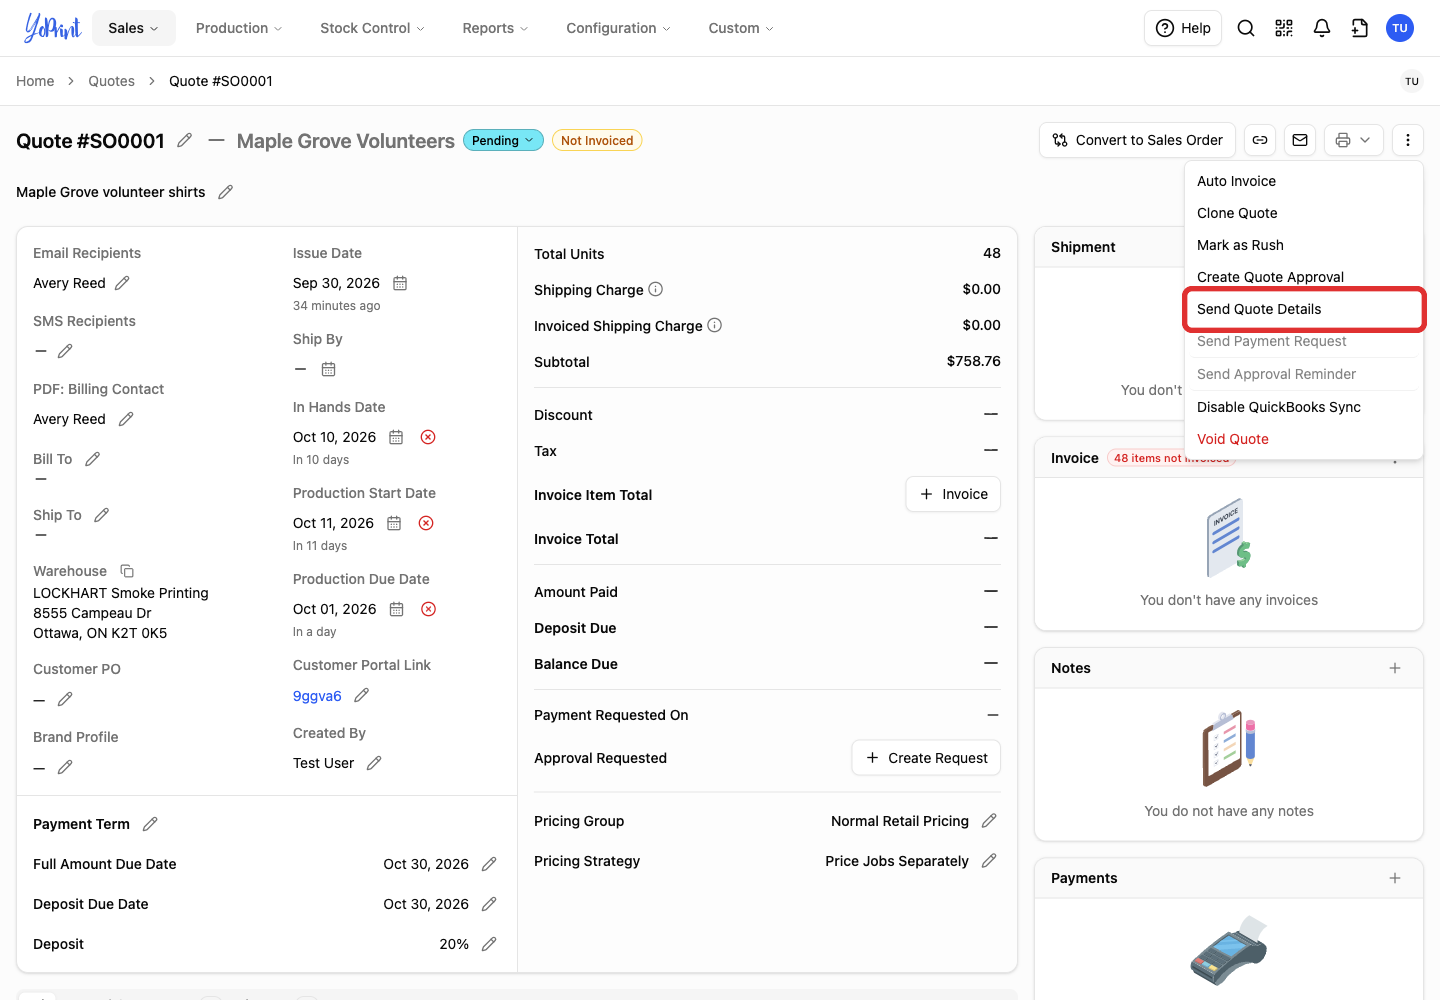
Open Quick Actions, the three-dot menu at the top right of the quote.
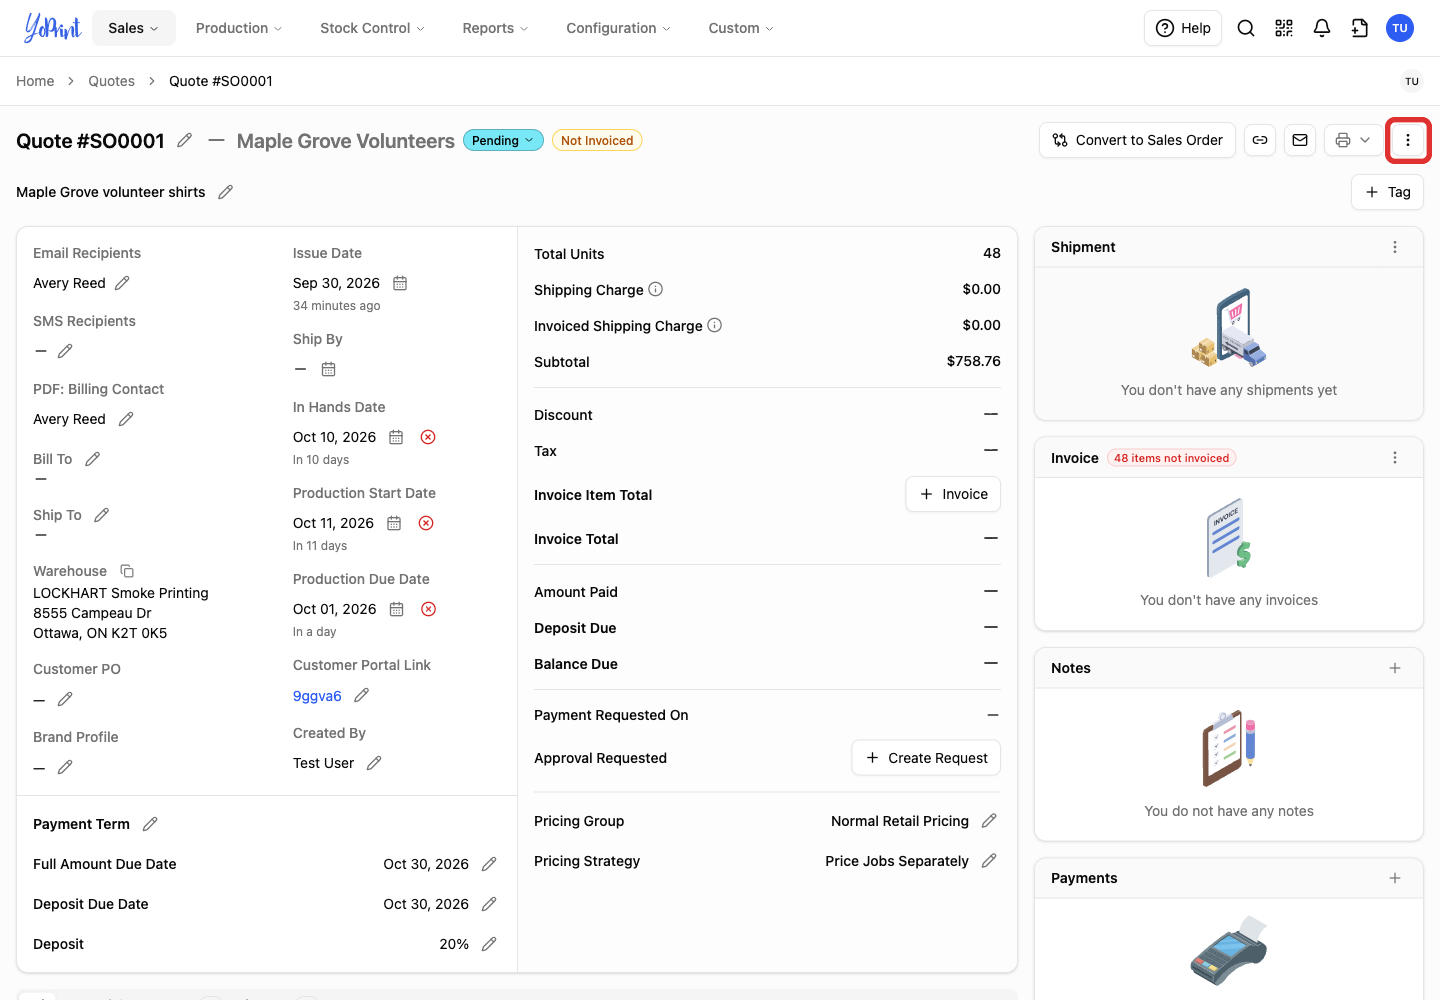
-
Choose Send Quote Details. This immediately sends the email to the selected contacts without opening a message composer.
YoPrint shows a confirmation when the quote details have been sent.
What your customer receives
-
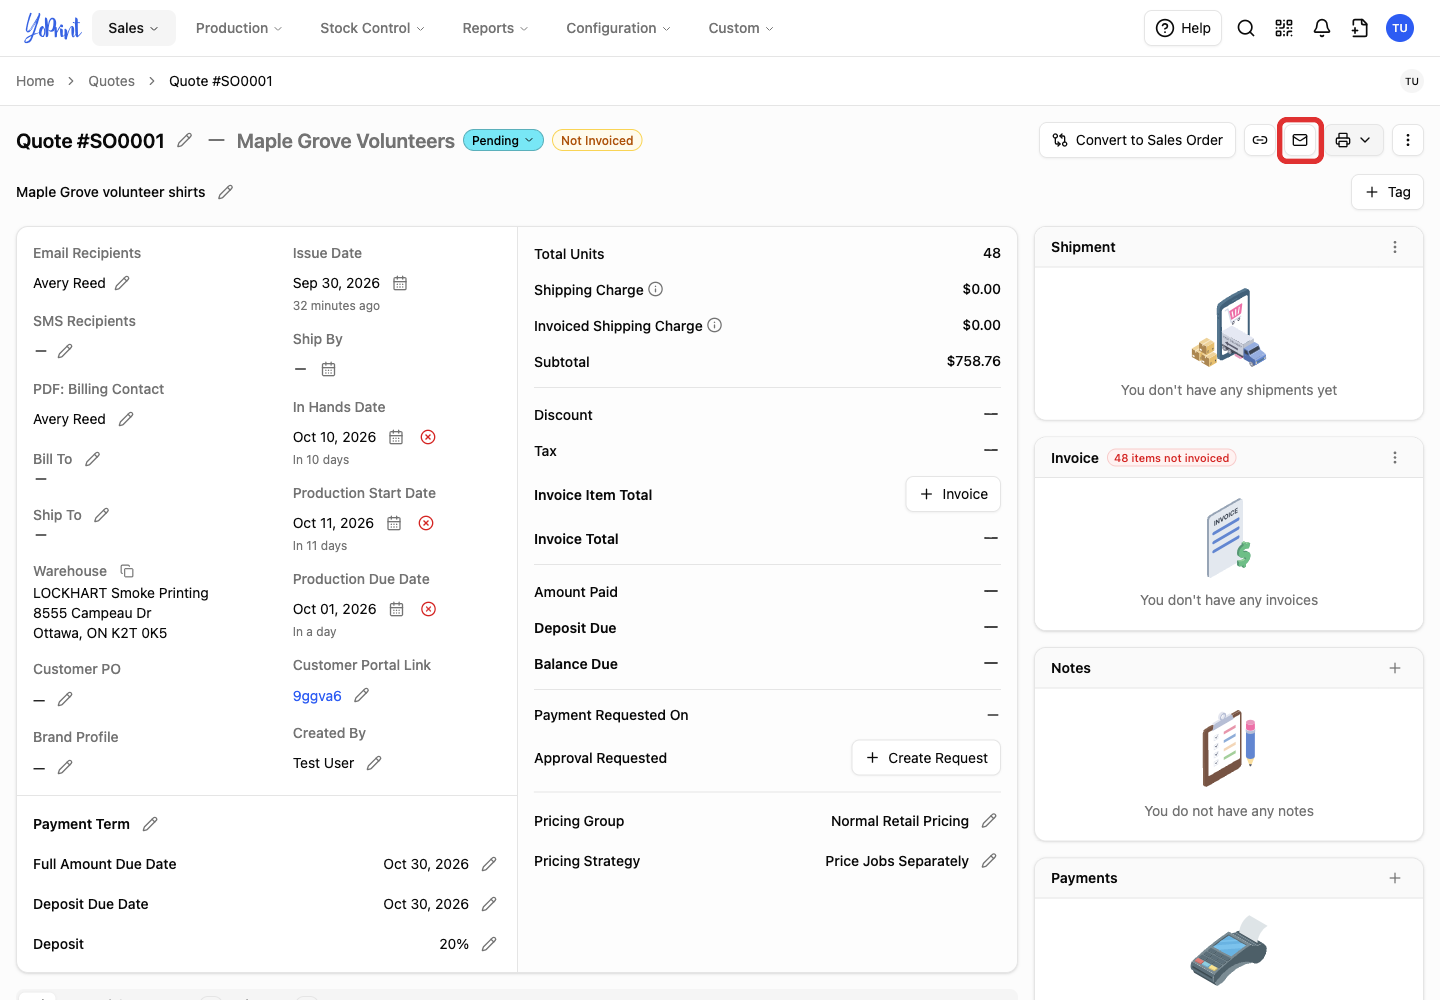
Click Customer Message, the envelope at the top of the quote, then scroll past the composer to view message history.
-
Click See full message on the quote-details message. The message summary card may show No attachment, but opening the full message confirms the attached PDF.
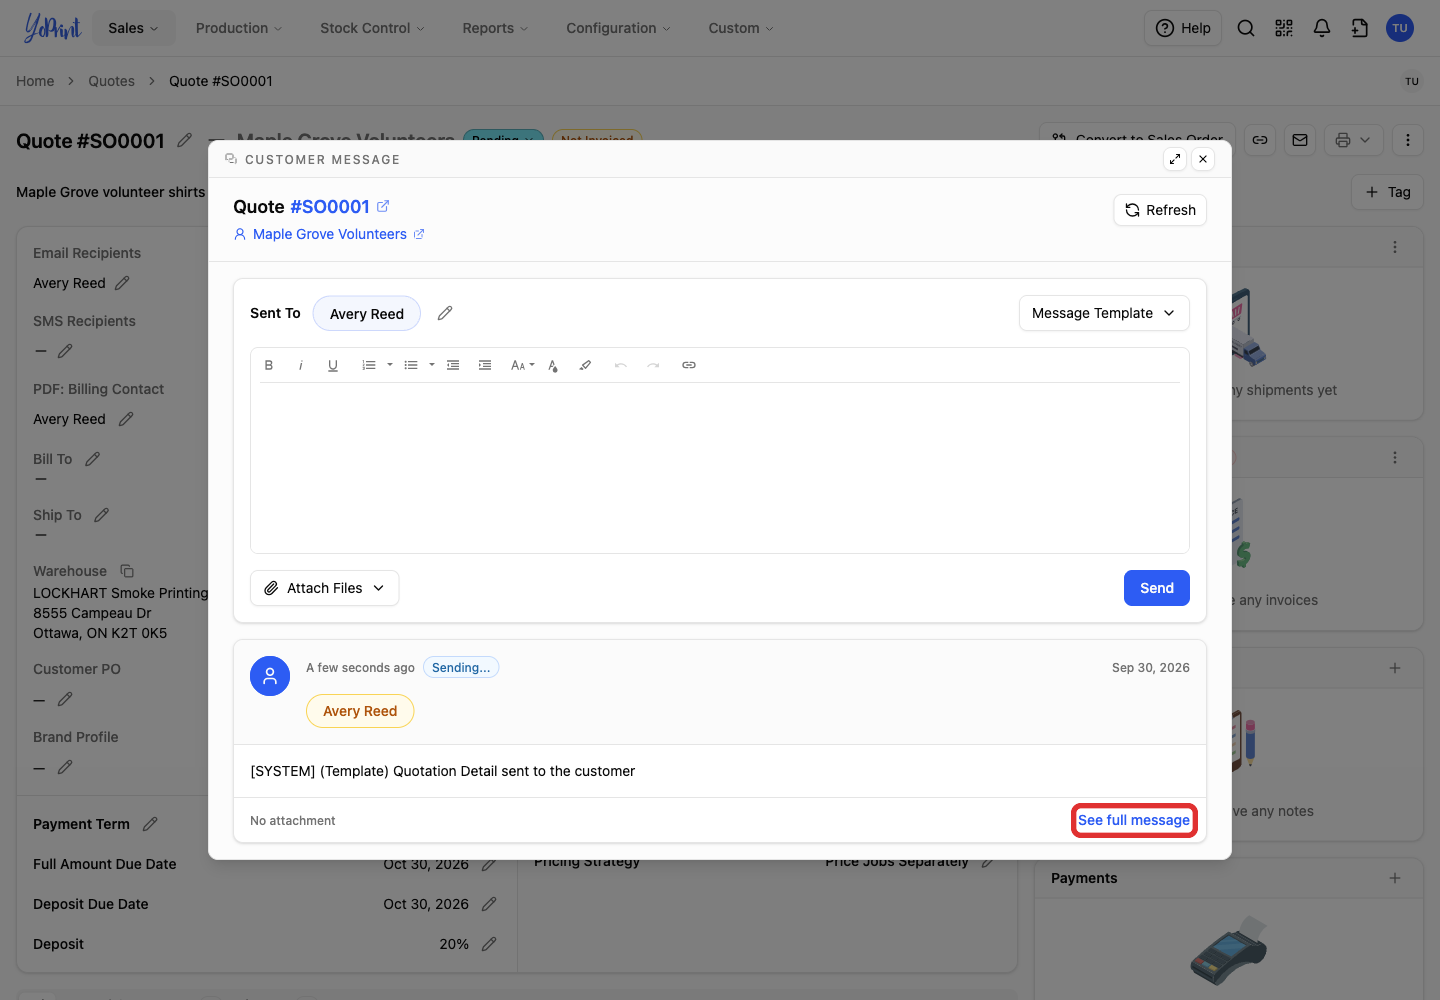
Your customer receives an email with the quote reference, an attached PDF copy and a link to view the quote in the Customer Portal. From the portal, they can open the quote, approve it and make a payment if online payments are enabled. The email wording comes from your message template, which you can customize in How to Create and Use a Message Template.
