Add Non-Garment Products and Set Up Pricing
In this article
You can add banners, mugs, cards and other non-garment products to YoPrint. Save a reusable product when you sell it regularly, import a CSV when you have many products, or add a custom line item for a one-off request.
Create a reusable product
A saved product can be selected again on quotes and sales orders. This example uses a printed banner in two sizes.
Open Products.
-
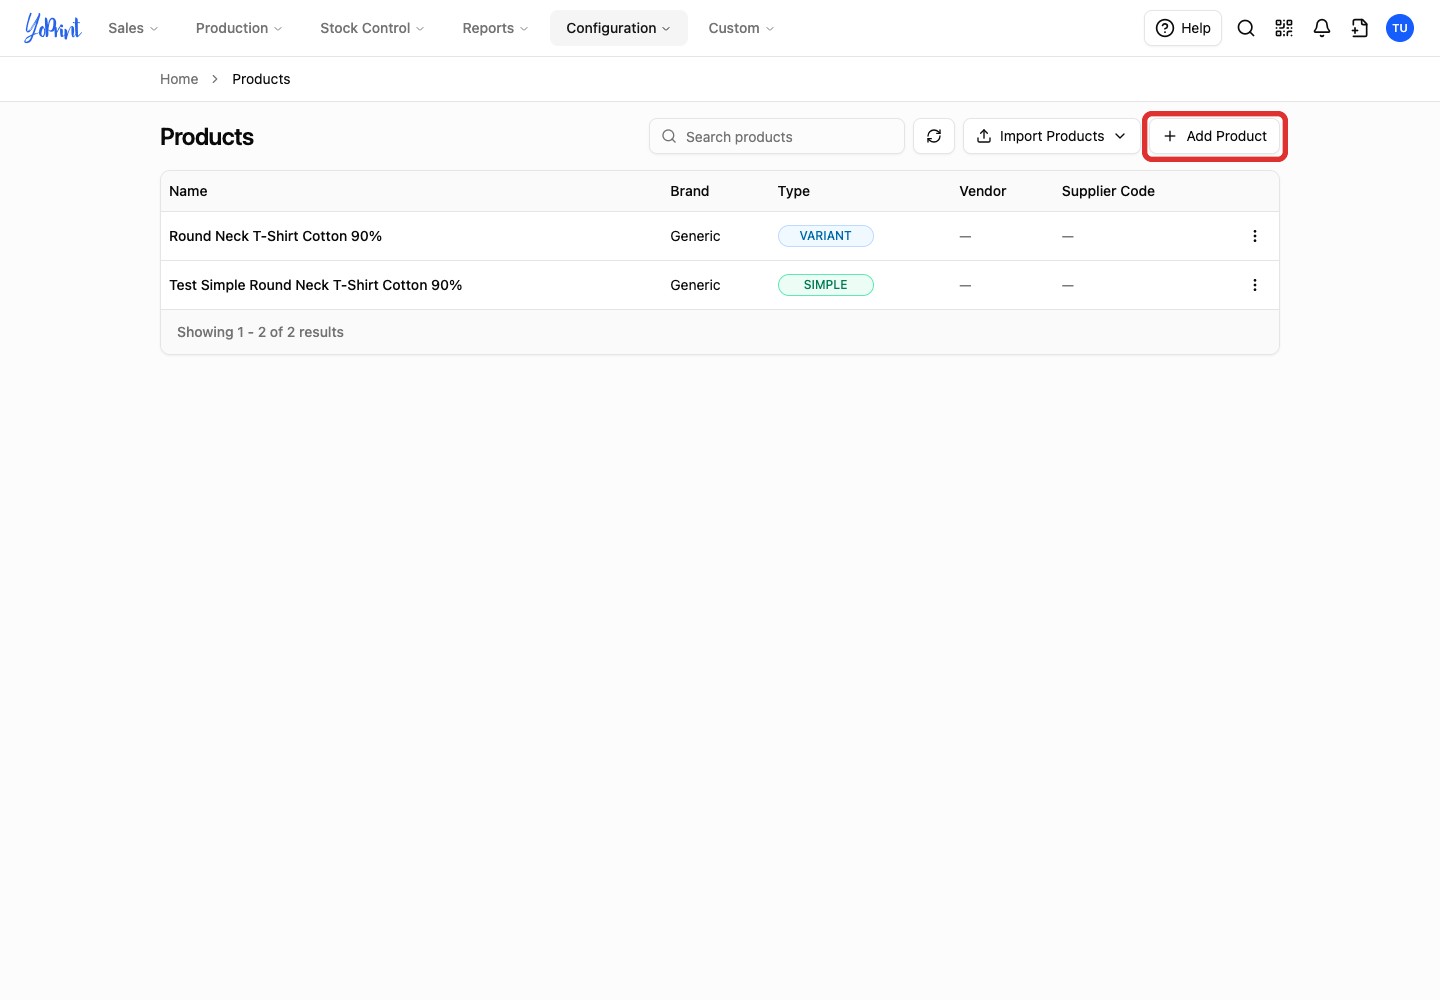
Click Add Product.
-
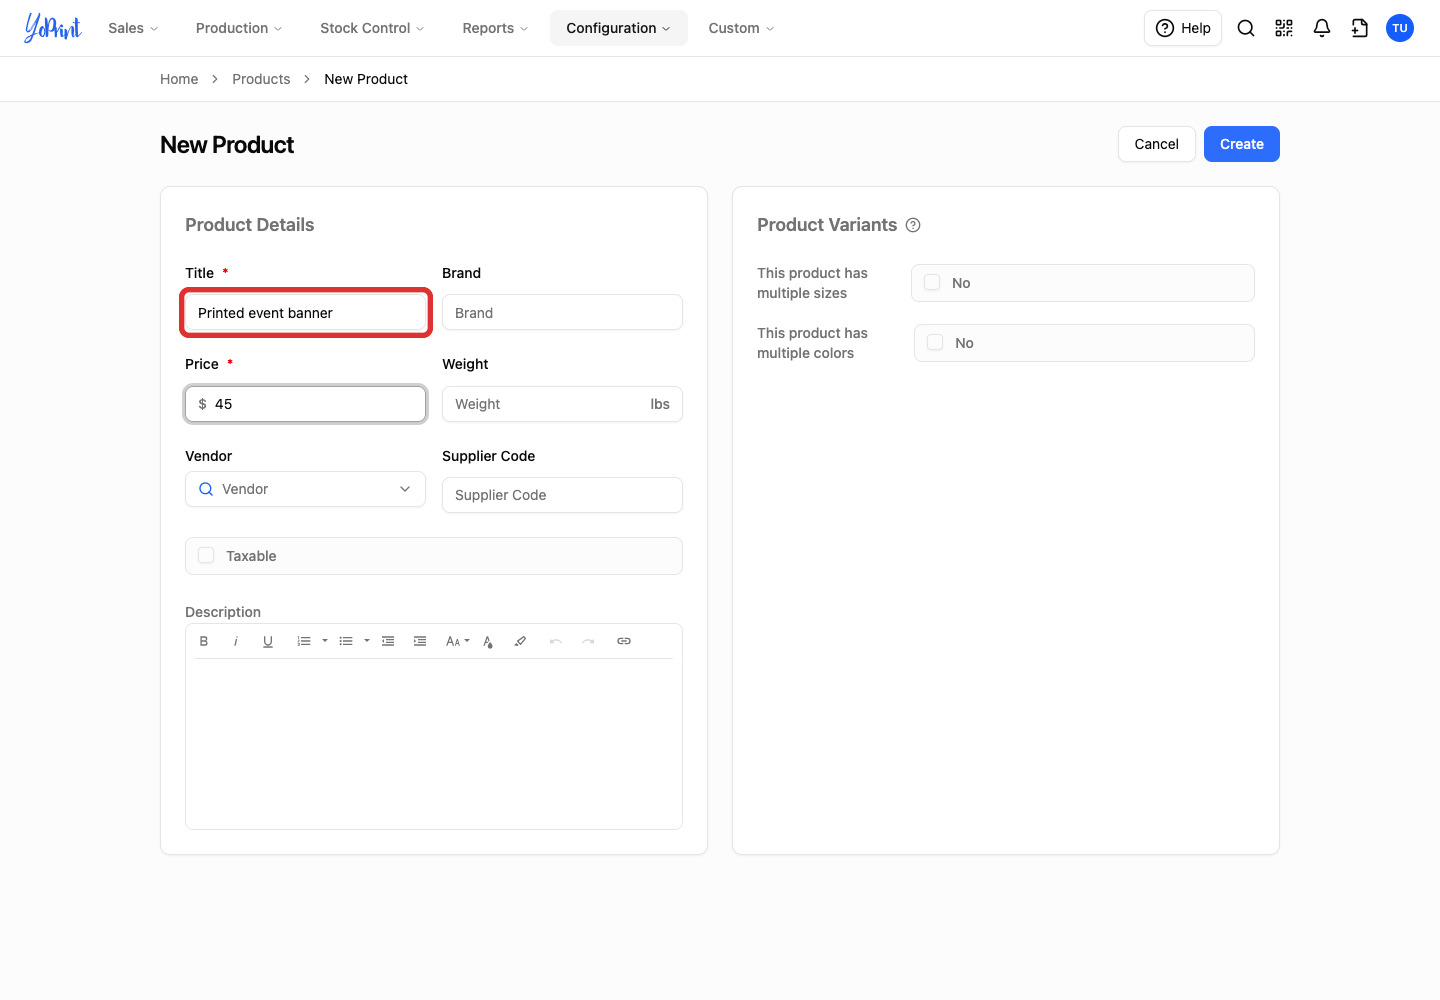
Enter a Title, such as Printed event banner.
-
Enter the product’s base Price, such as 45 for the smaller banner.
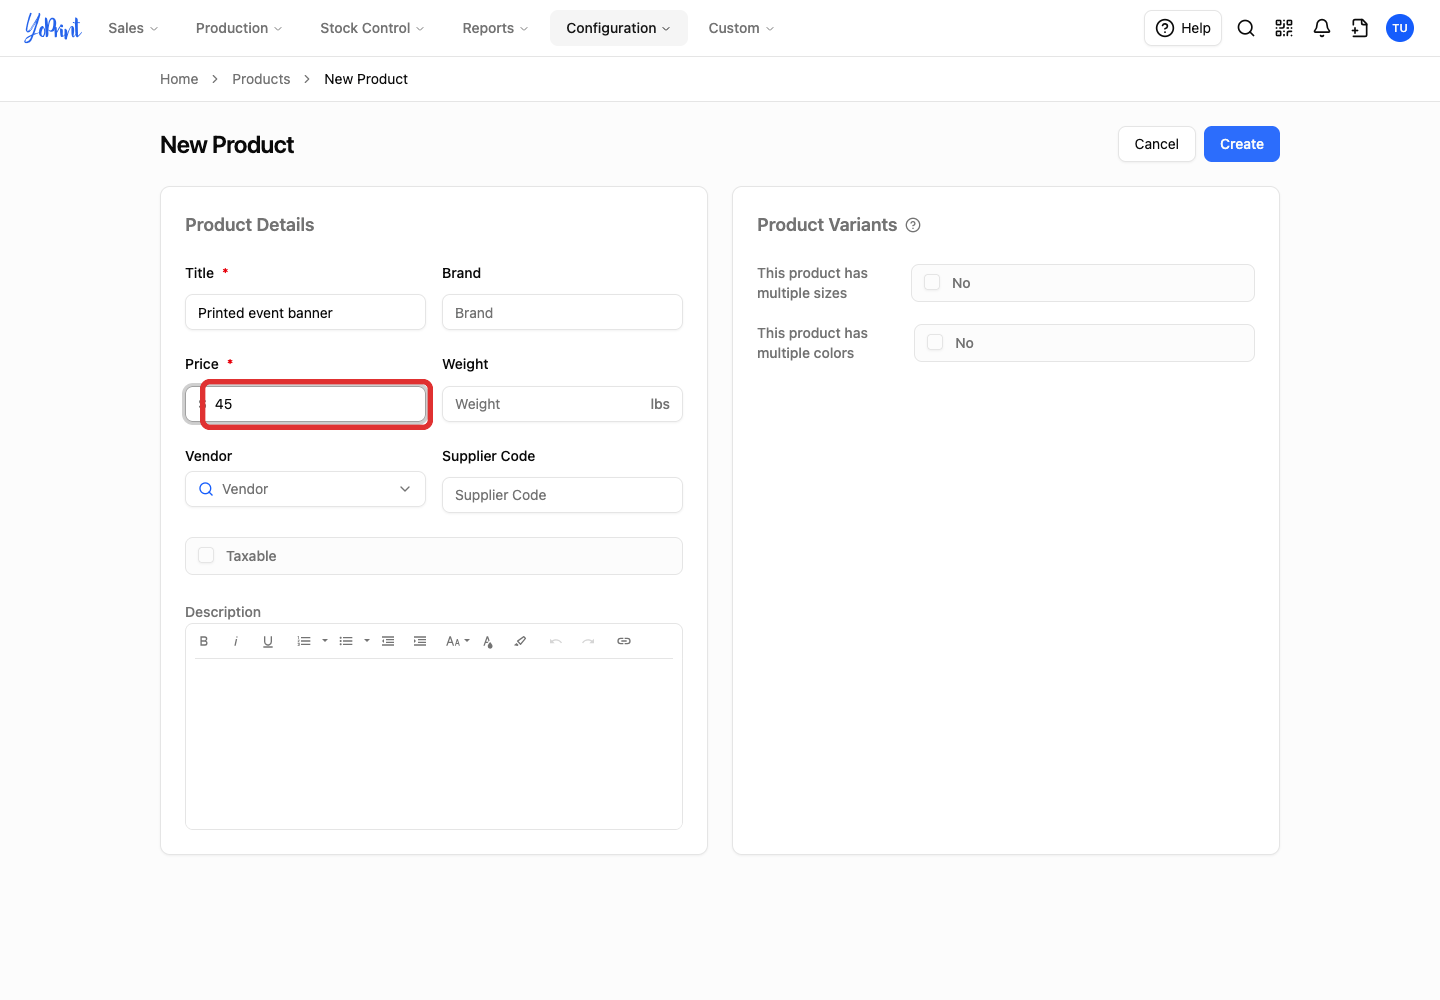
You can also enter a brand, weight, vendor, supplier code and description. Choose whether the product is Taxable to apply shop sales tax.
Product without sizes or colors
If your product has no sizes or colors, leave both Product Variants options off and click Create, as shown for the $25 banner stand below.

For a product with different sizes, continue below.
-
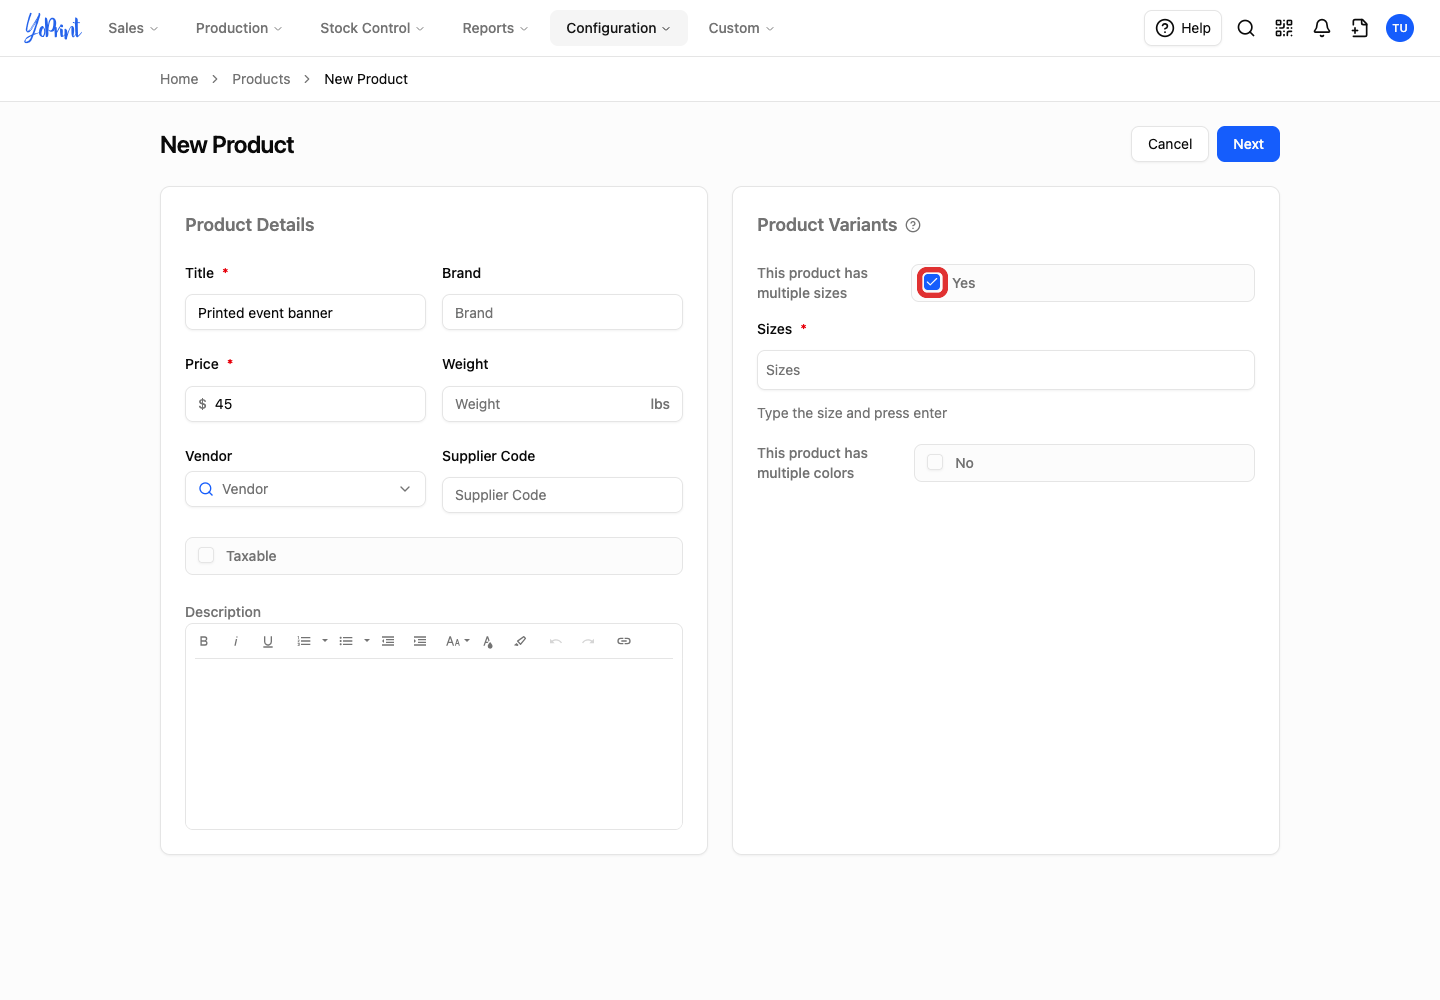
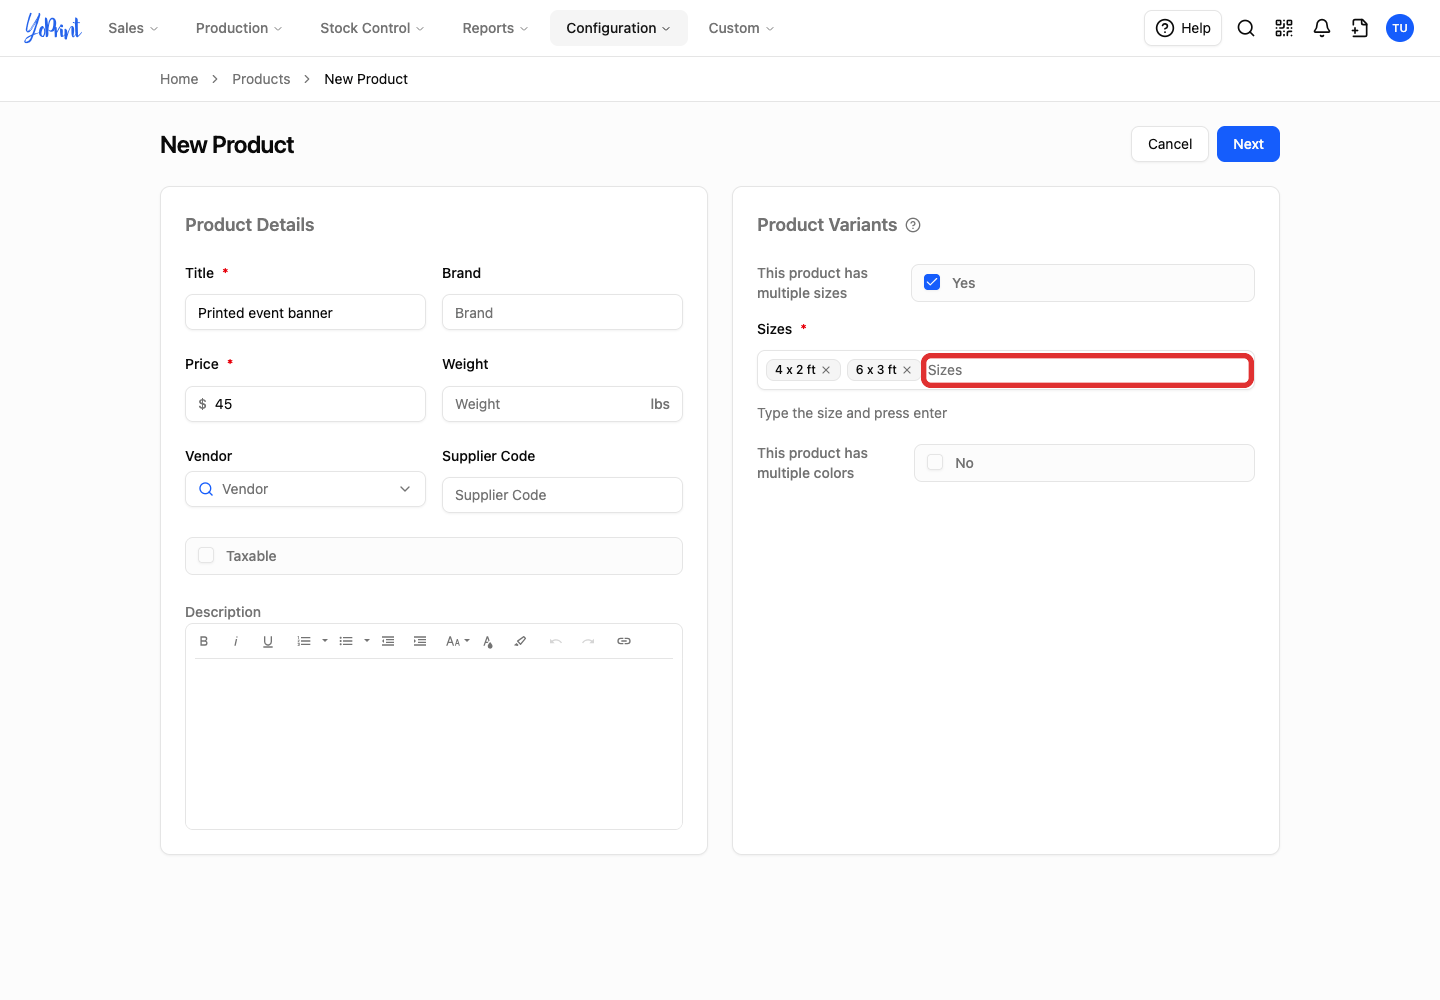
Turn on This product has multiple sizes.
-
Type each size under Sizes, pressing Enter after each one. The example uses 4 x 2 ft and 6 x 3 ft.
-
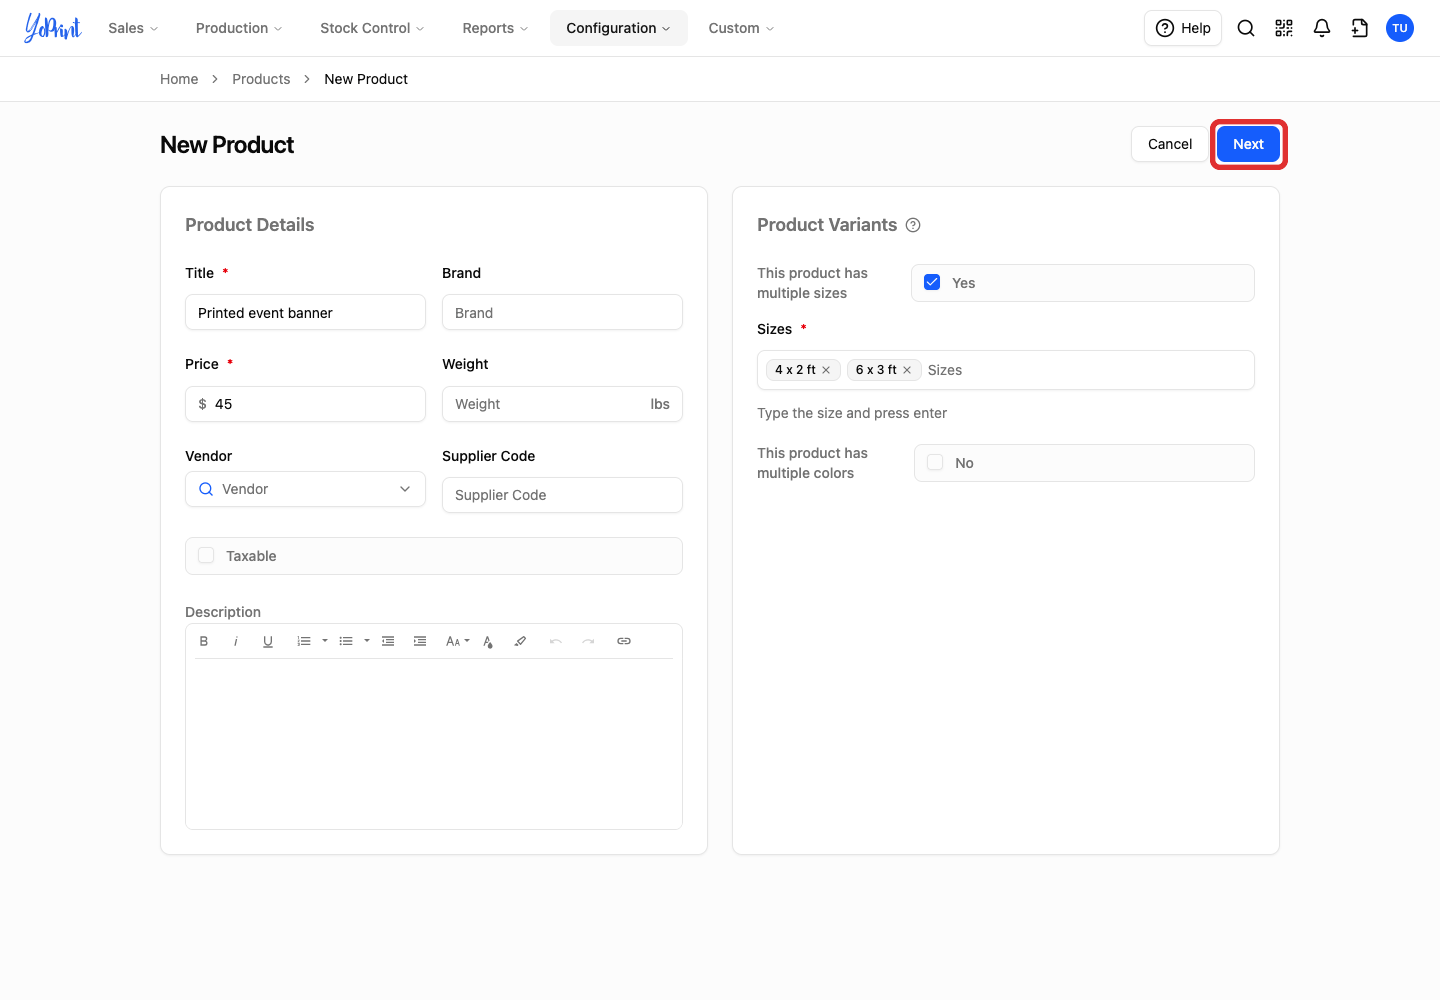
Click Next.
-
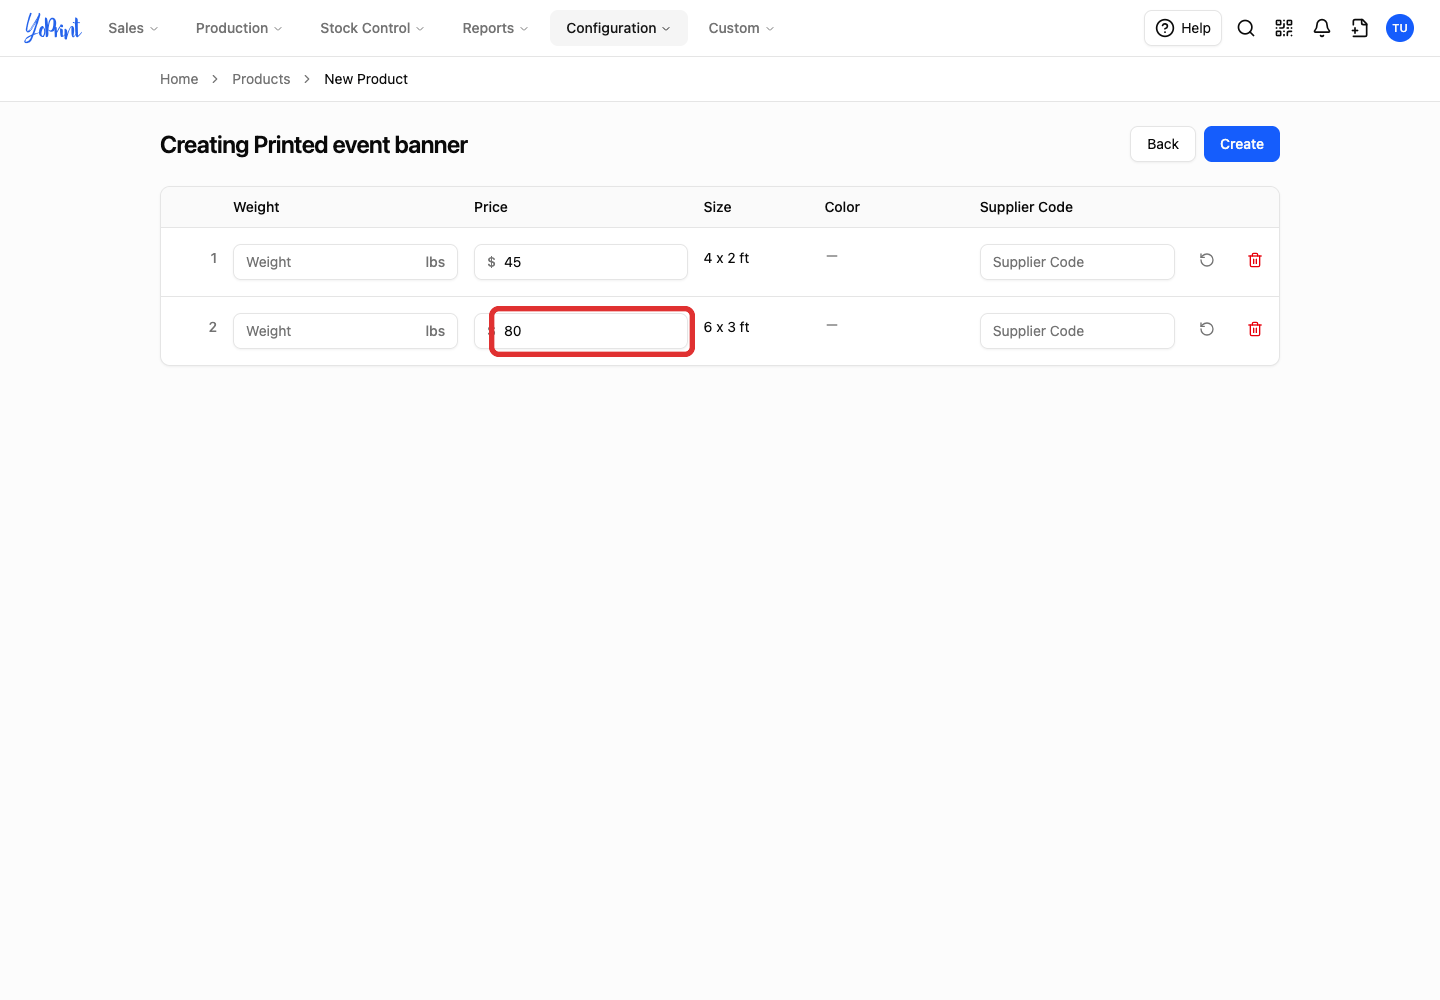
Set Price for each size. Here, the larger banner is $80 and the smaller banner stays at $45. Use Reset to defaults if you want to restore a variant's price to the base price.
-
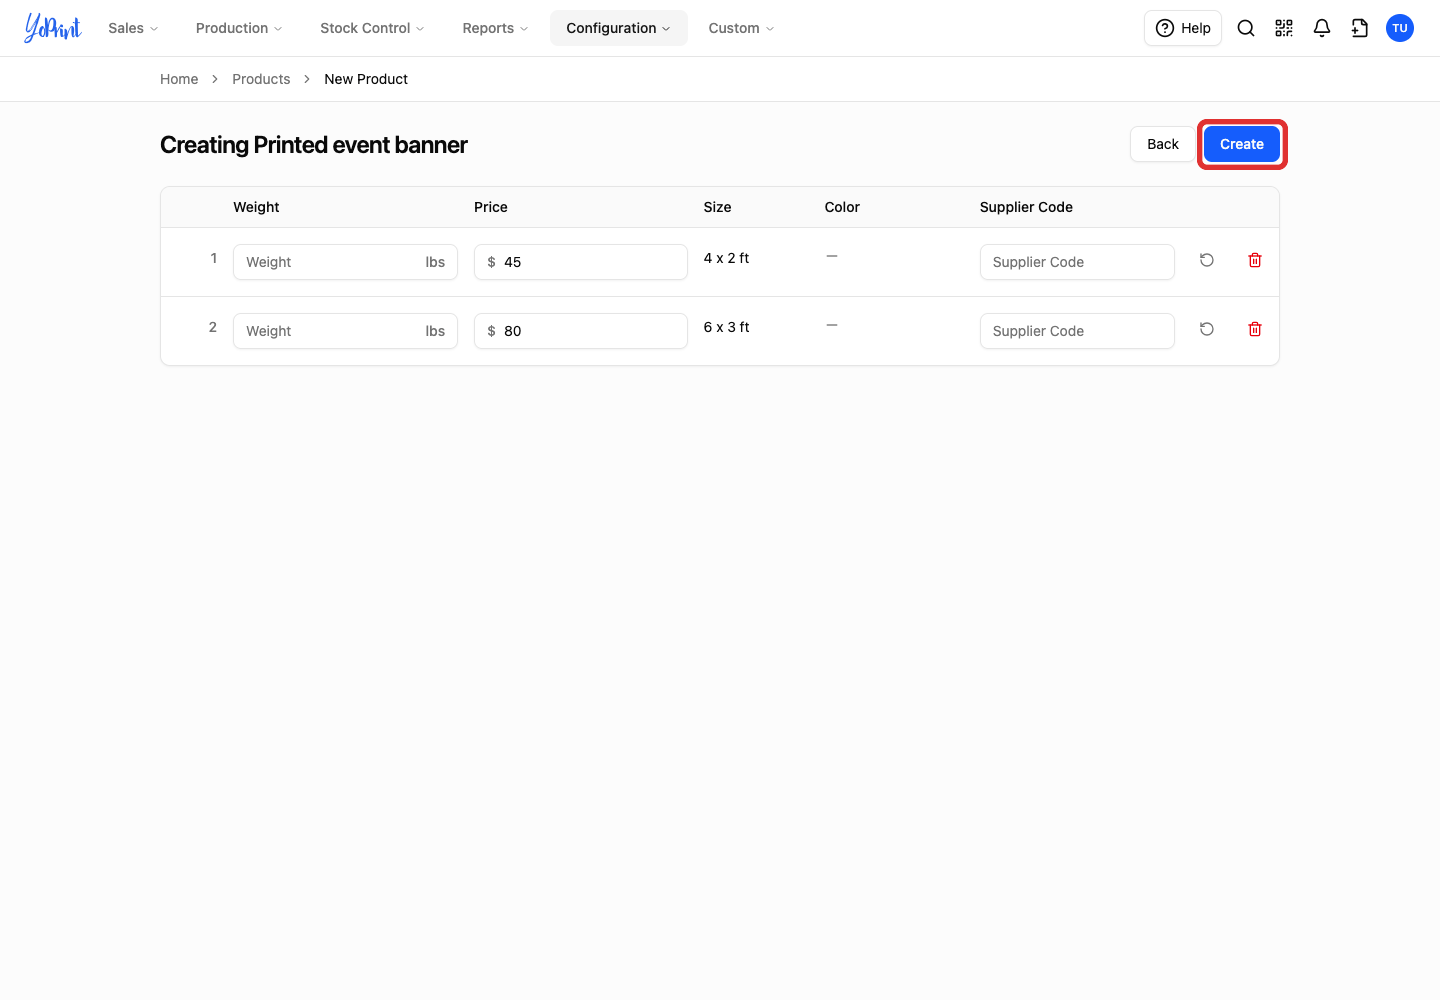
Click Create.
Change a size’s price
Open Products when you need to change an existing size’s price. The product’s Default Price applies to new variants; it does not change the variants already listed.
-
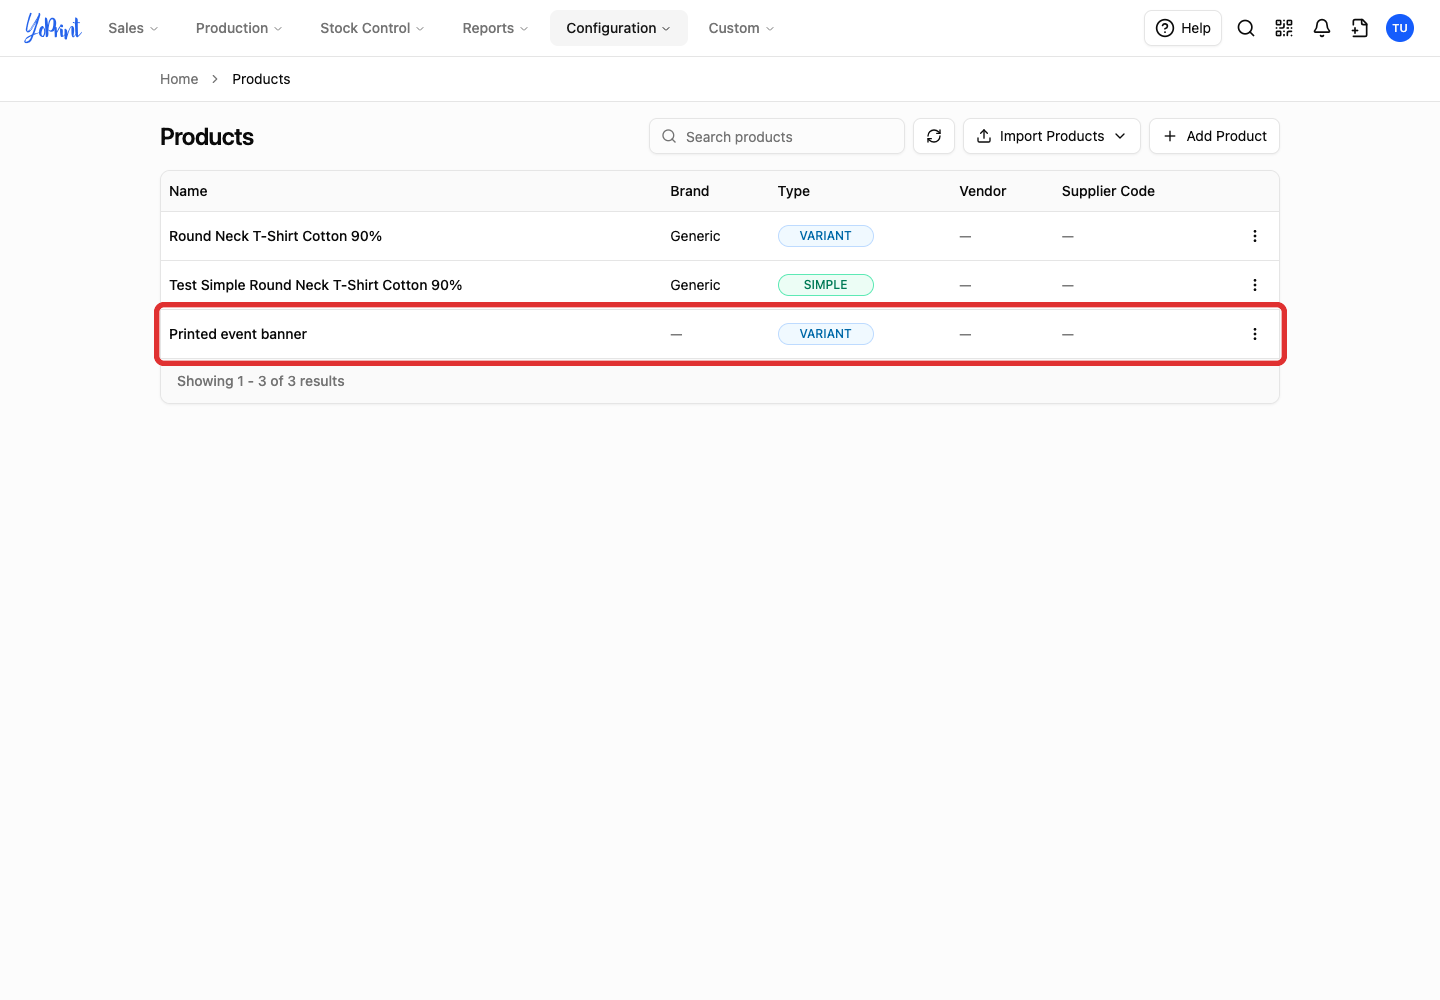
Double-click the product row to open it.
-
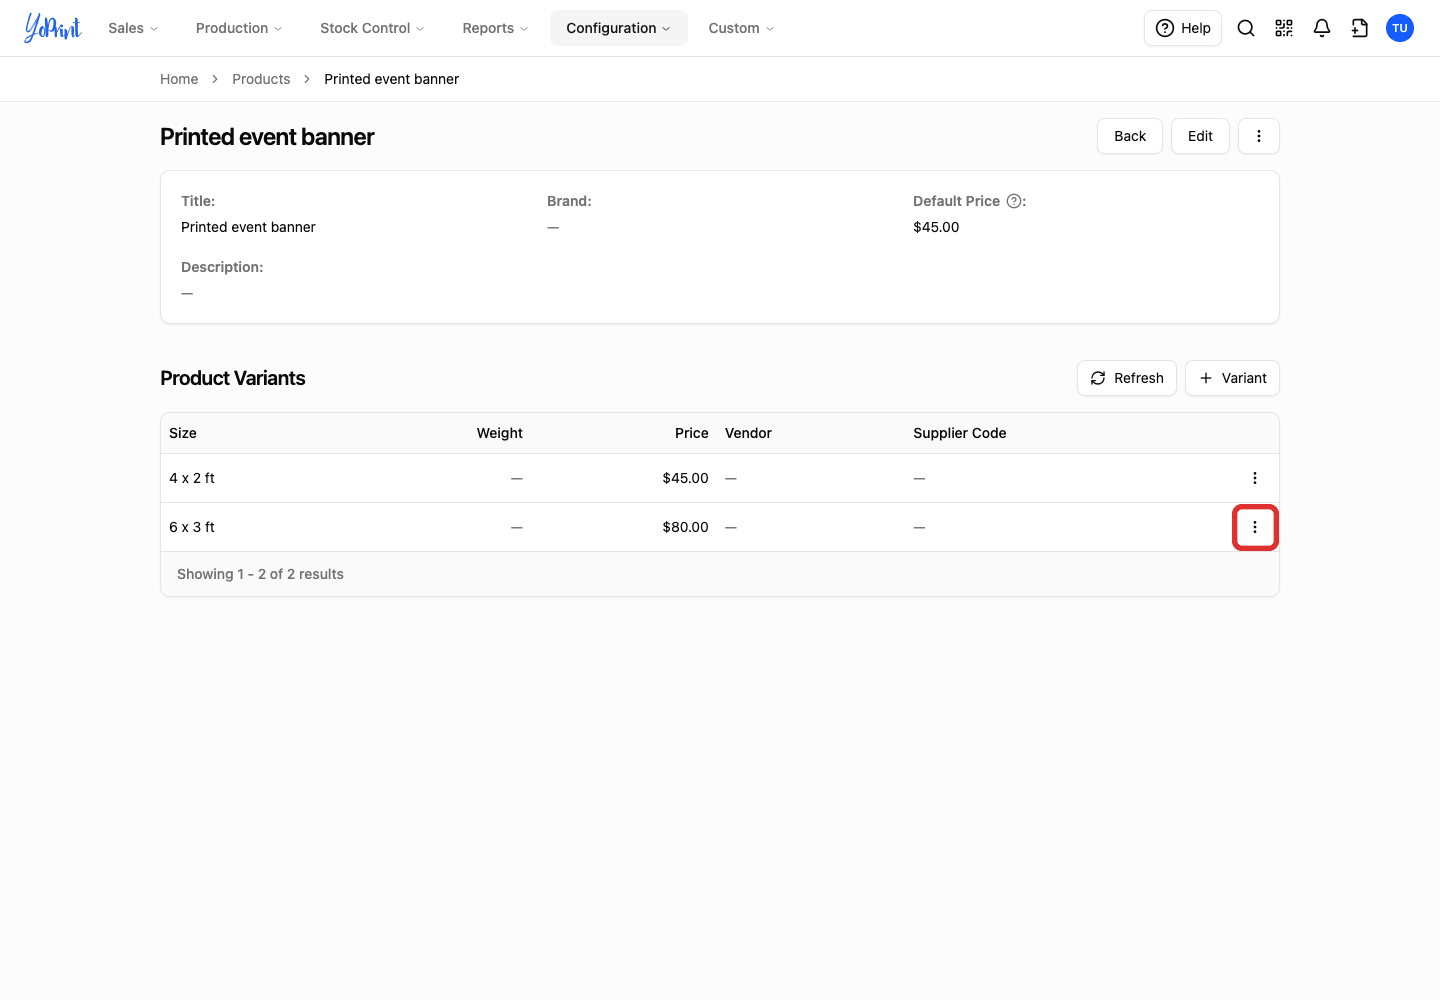
Click More actions beside the size you want to change.
-
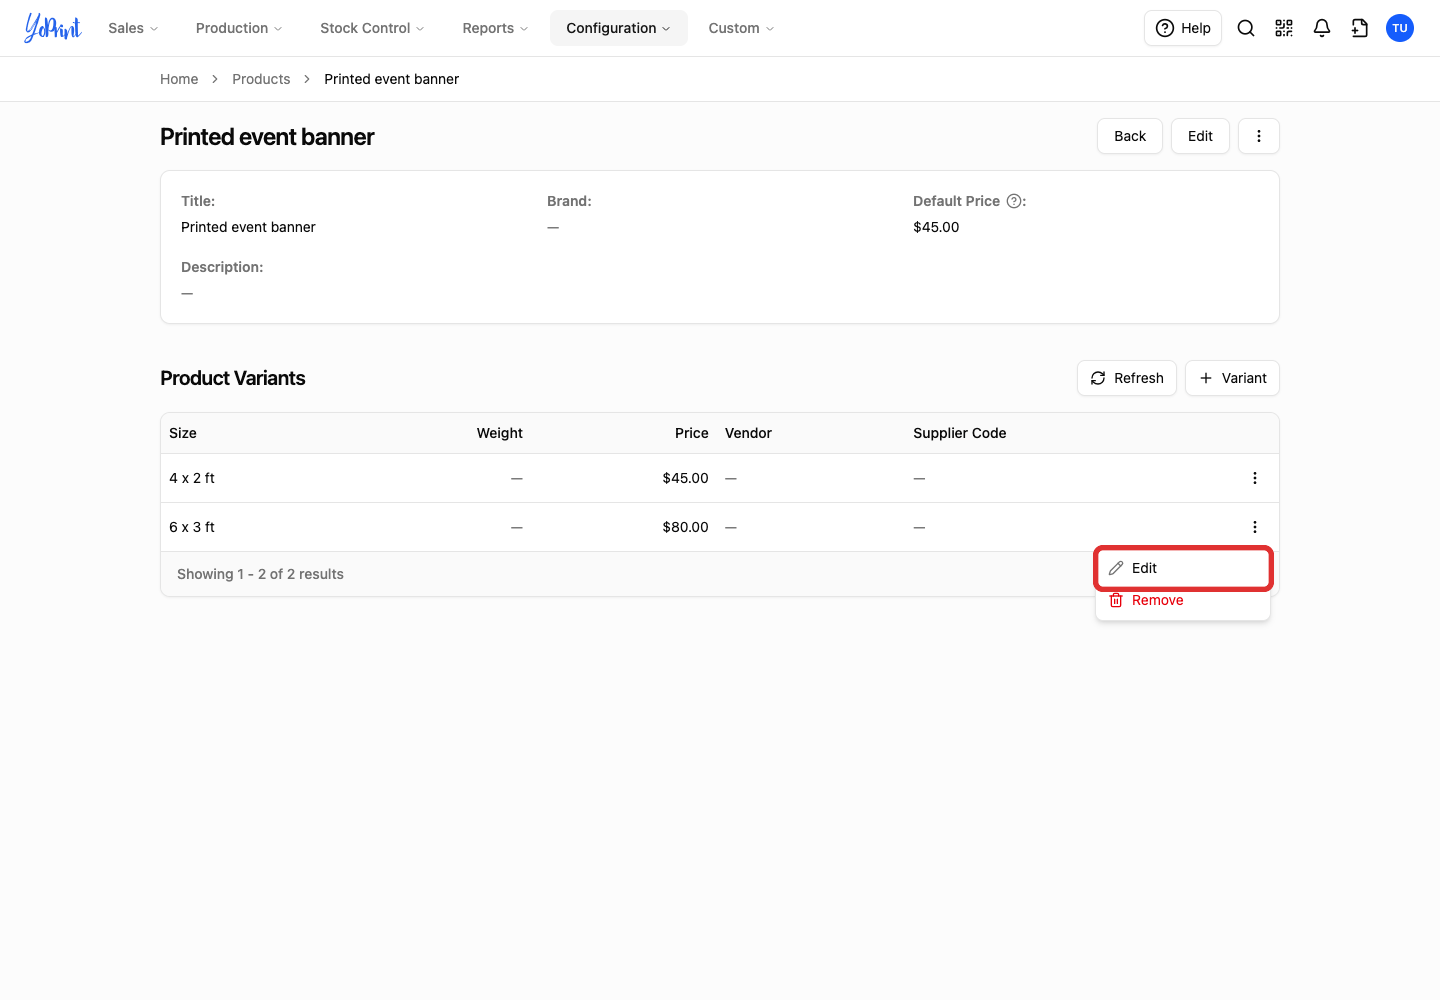
Choose Edit.
-
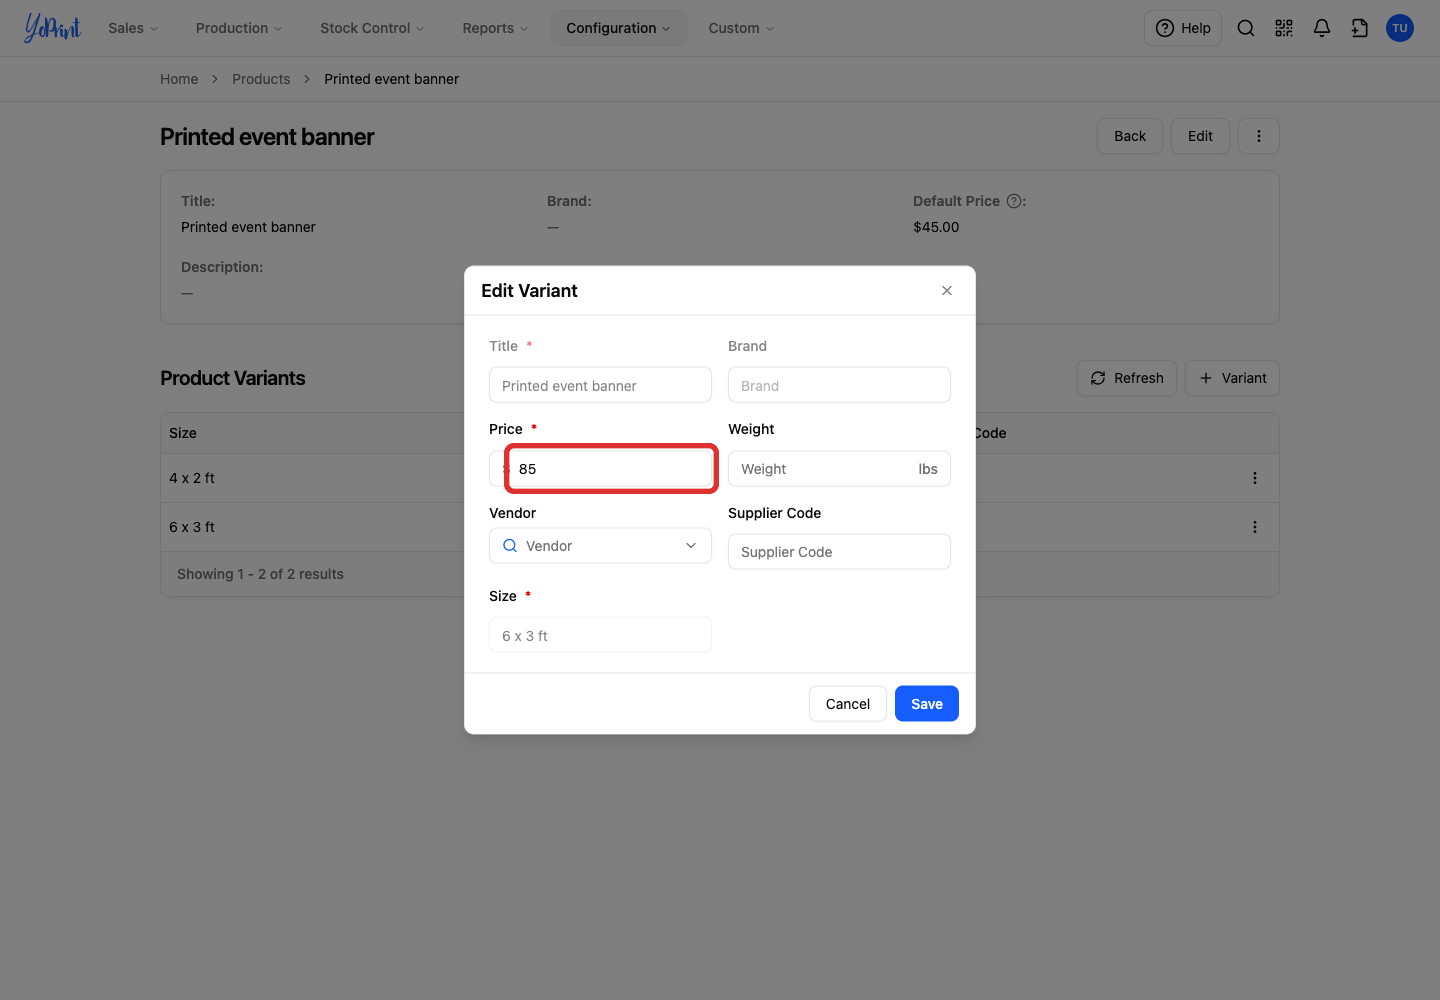
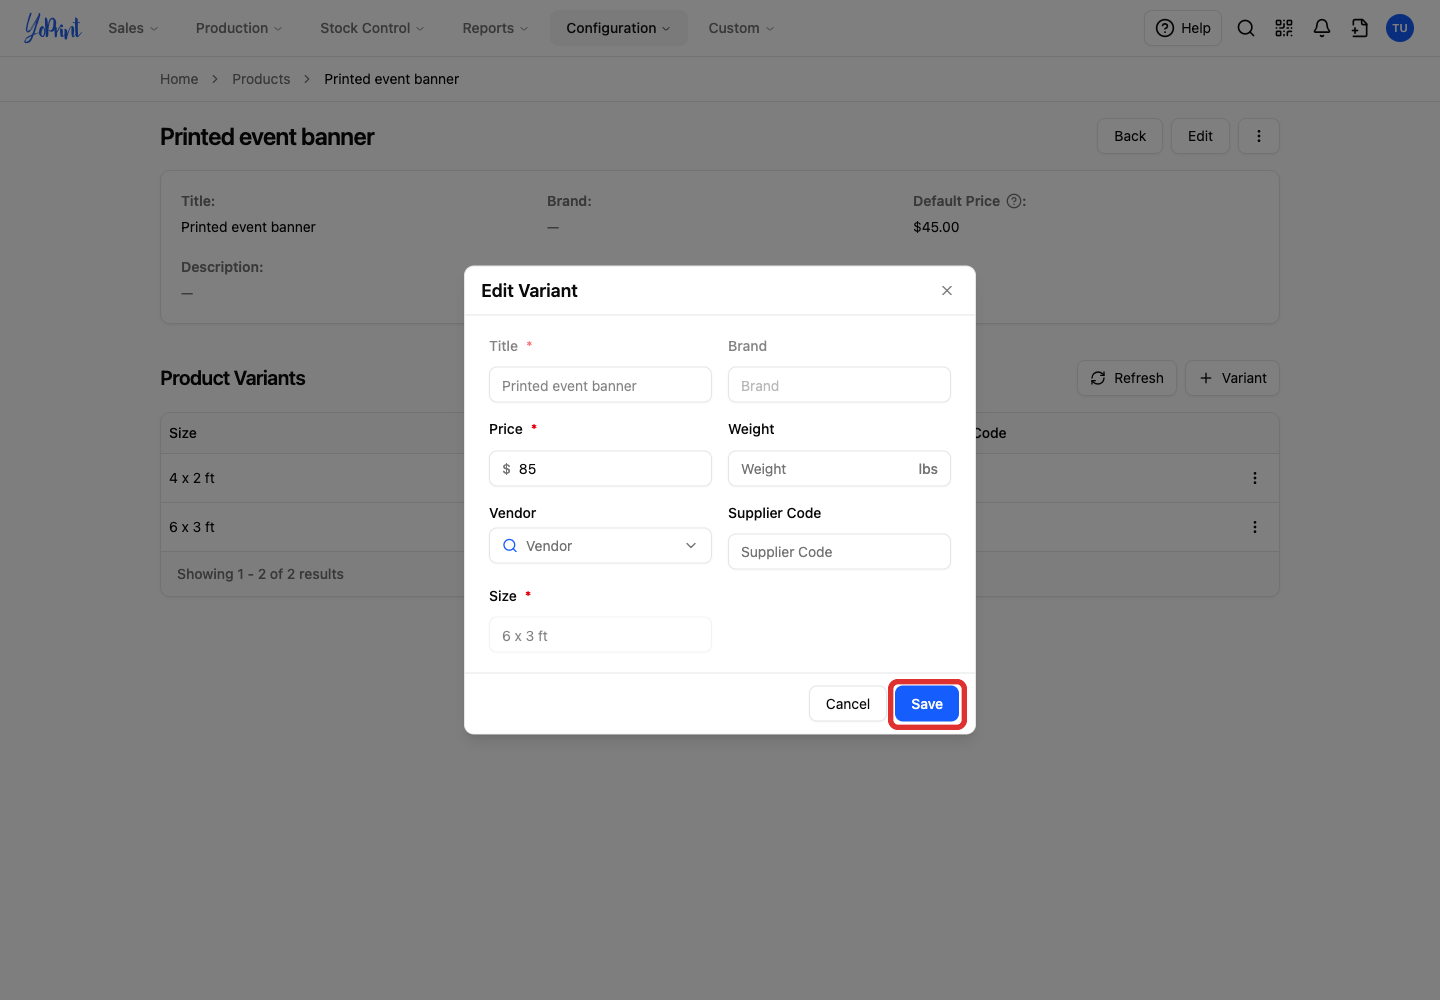
Enter the new Price. This example changes the larger banner to $85.
-
Click Save.
Upload Products via CSV
From Products, use Import Products and follow Import Products Using a CSV Template.
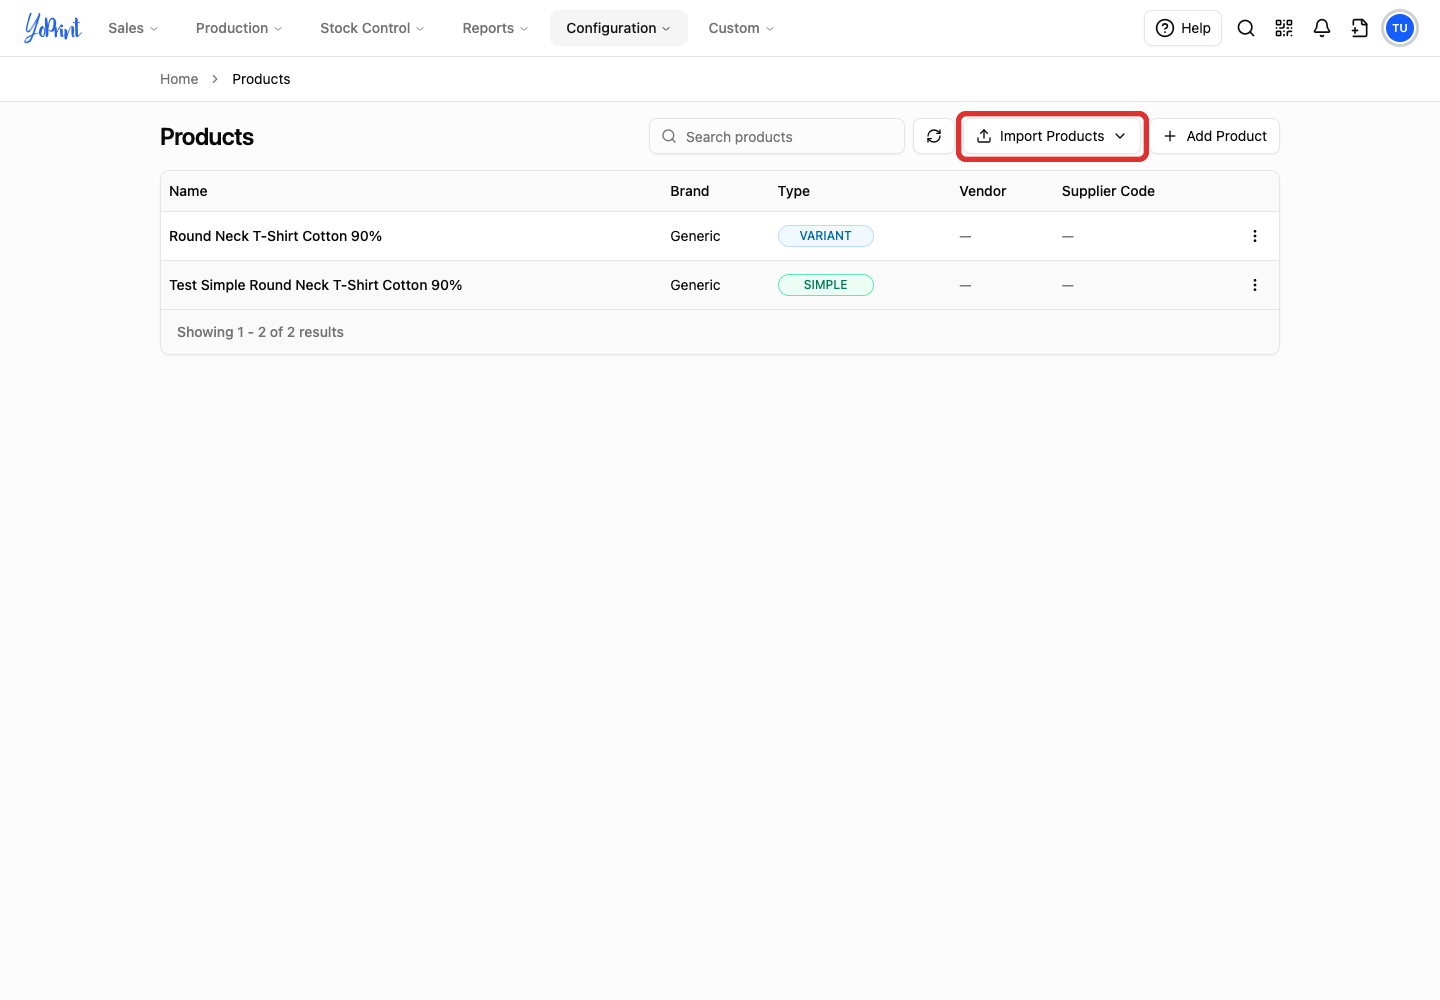
Clicking Import Products opens a dropdown menu in the admin tab, and choosing either option opens that import flow in a new browser tab:
- Import Simple Products: choose this for items without sizes or colors, such as mugs, tote bags, or banner stands.
- Import Variant Products: choose this for items with multiple sizes or dimensions, such as banners in 4 x 2 ft and 6 x 3 ft.
The import workflow runs in the YoPrint Import Portal. After completing your import, close the portal tab and return to YoPrint. Click Refresh above the products list to display your newly imported products.
Non-garment template tips
- Dimensions: In the variant template, enter dimensions in
size_id(such as4x2) andsize_label(such as4 x 2 ft). If your product varies only by size, leave the color columns blank. - Pricing and costs: The CSV template sets base retail prices. Configure pricing groups in YoPrint after import. To update existing product prices in bulk, you can reimport an edited CSV with matching product details and Skip existing products turned off.
- Vendor and taxes: The template does not include vendor fields; newly imported products have no vendor and are taxable until edited. You can assign vendors and adjust tax settings in YoPrint after import.
Use a saved product on a quote or sales order
Open the quote or sales order you are building. If your order does not have a job yet, click + Job to add one first, or follow Create a Quote.
-
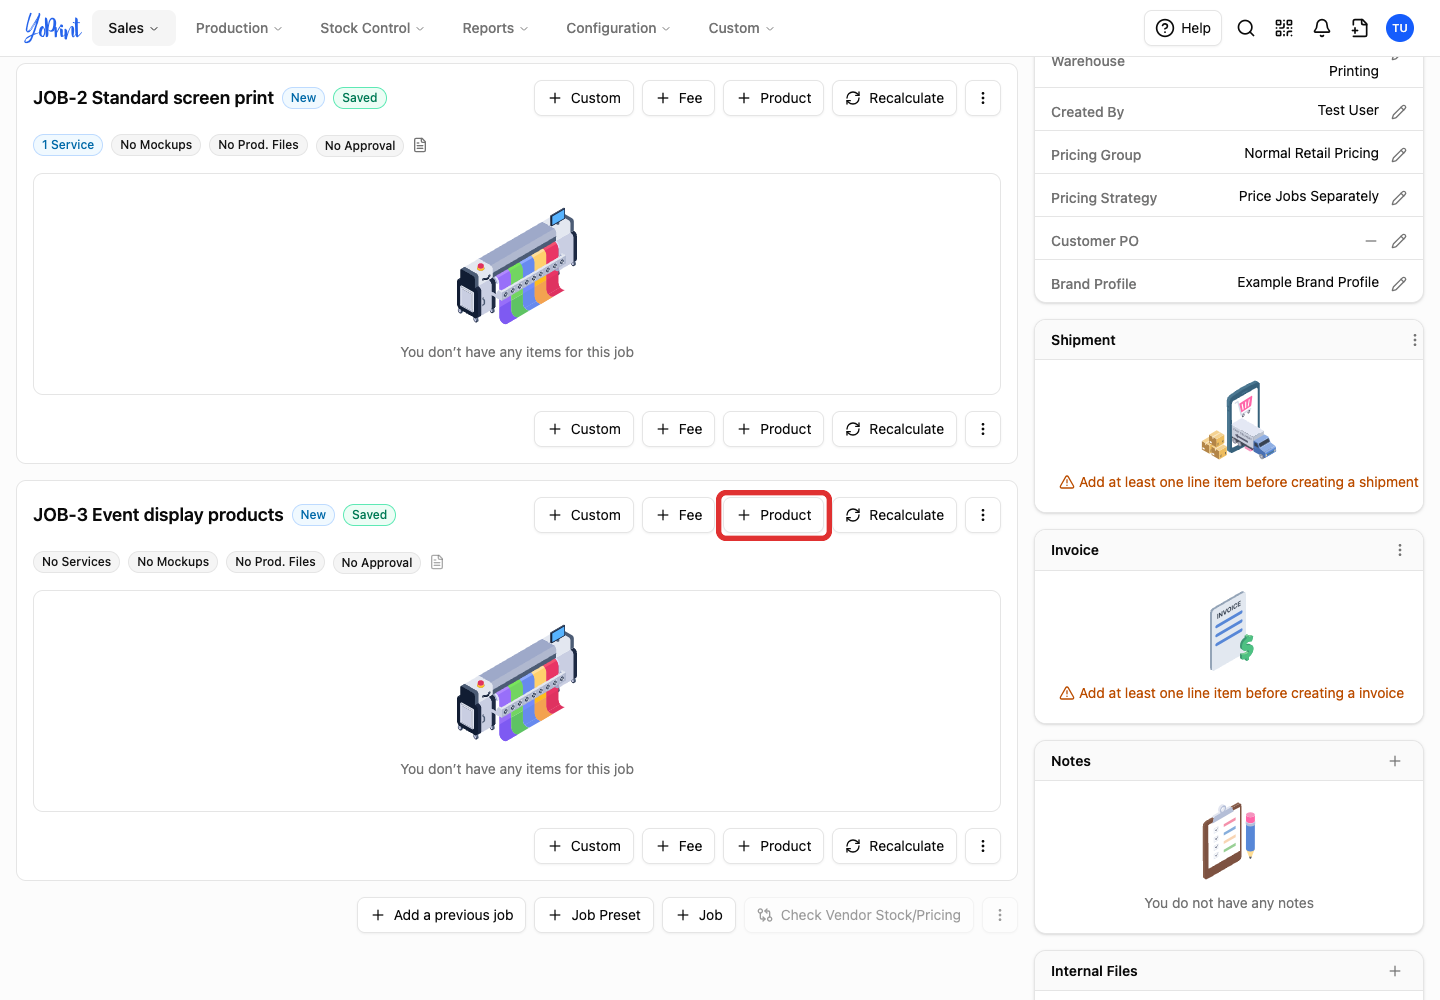
Click Product on the job that should contain the item.
-
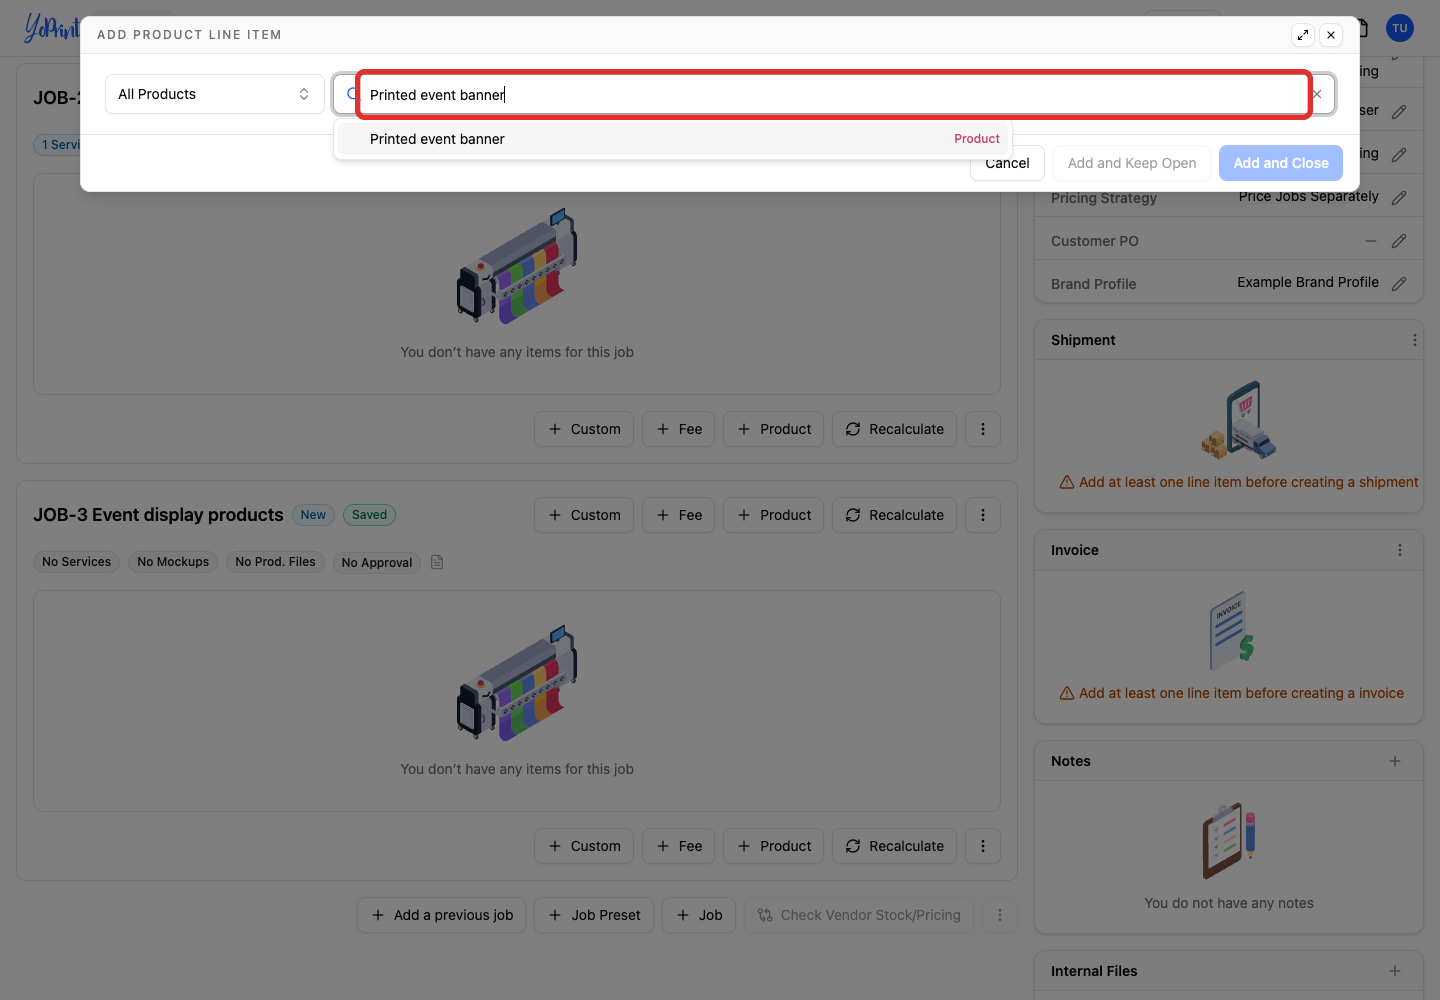
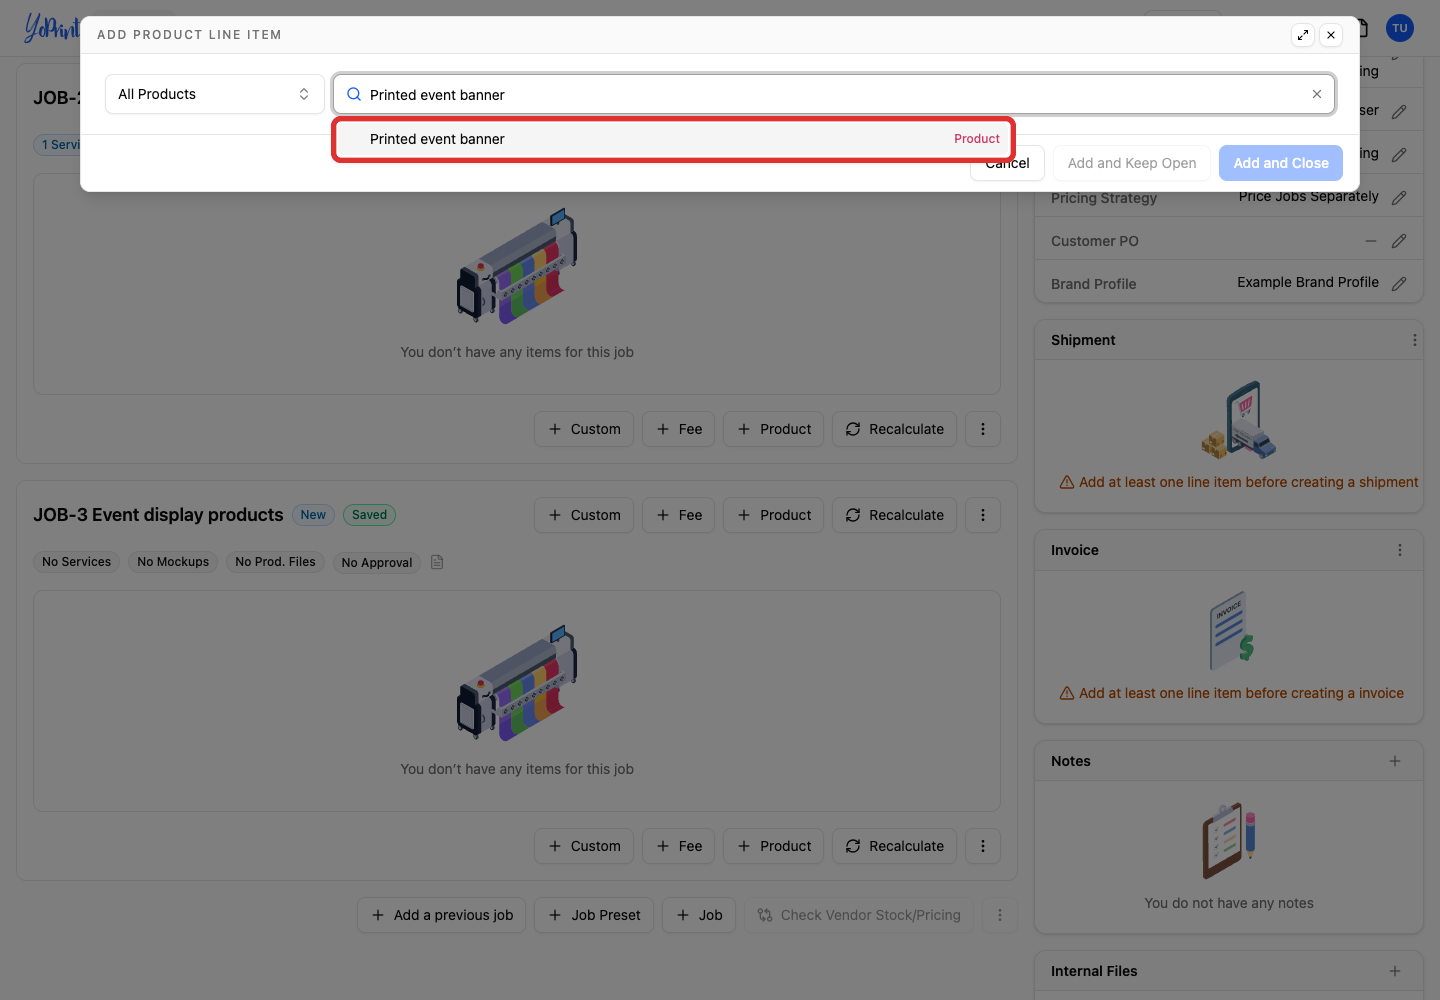
Search for the product name.
-
Choose the product from the results.
-
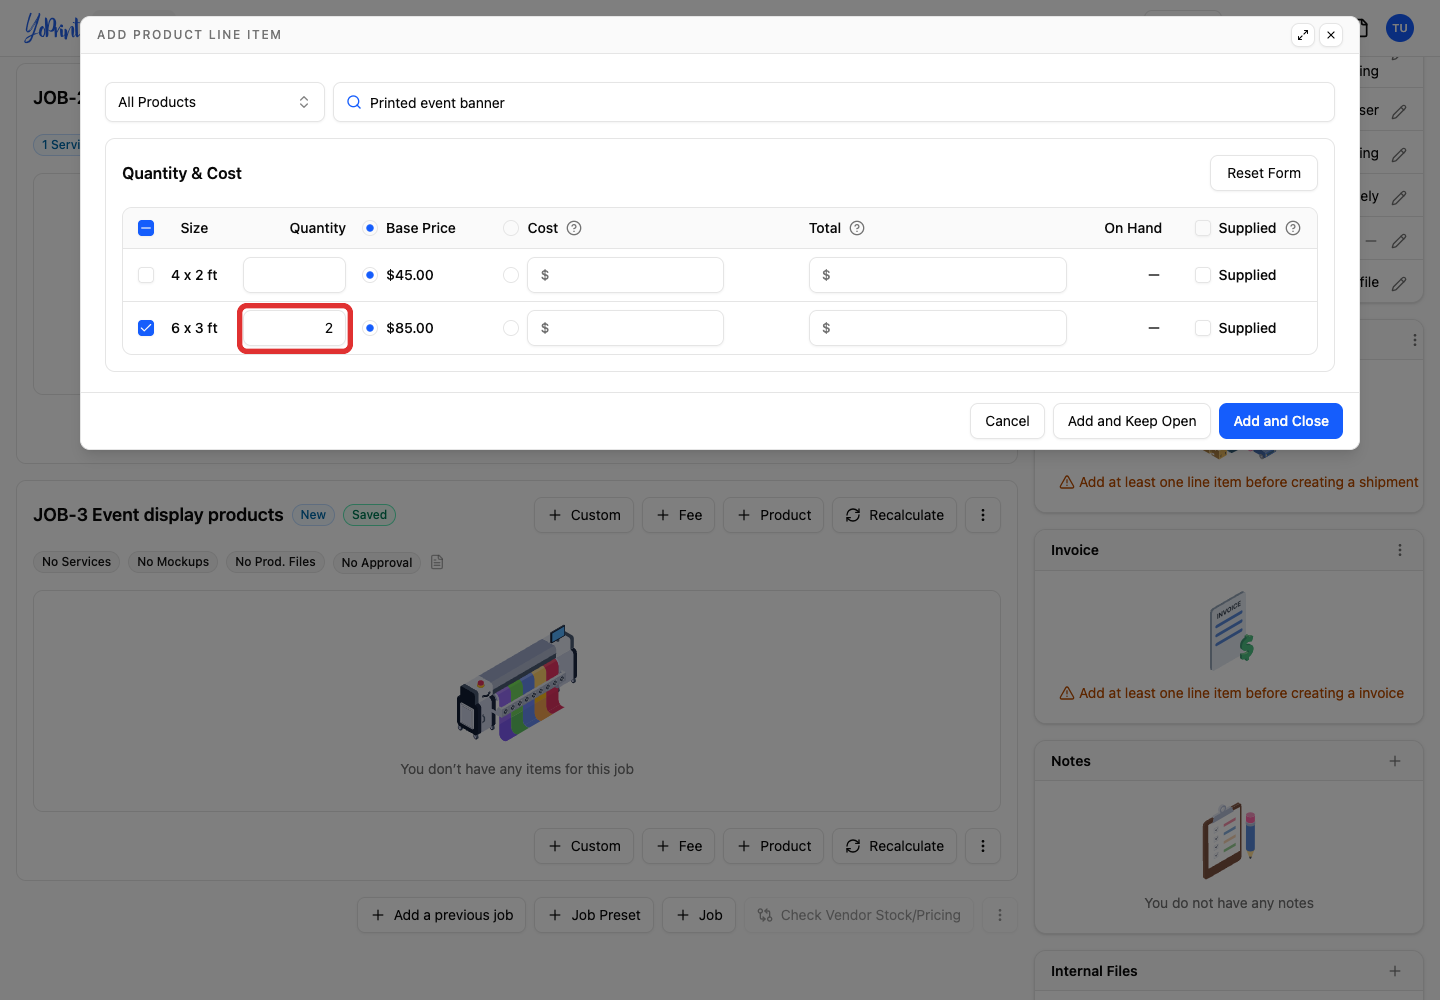
Enter Quantity beside each size you need. Check its Base Price before continuing. Keep Base Price selected to use the catalog price, or select Cost to price from supplier cost.
-
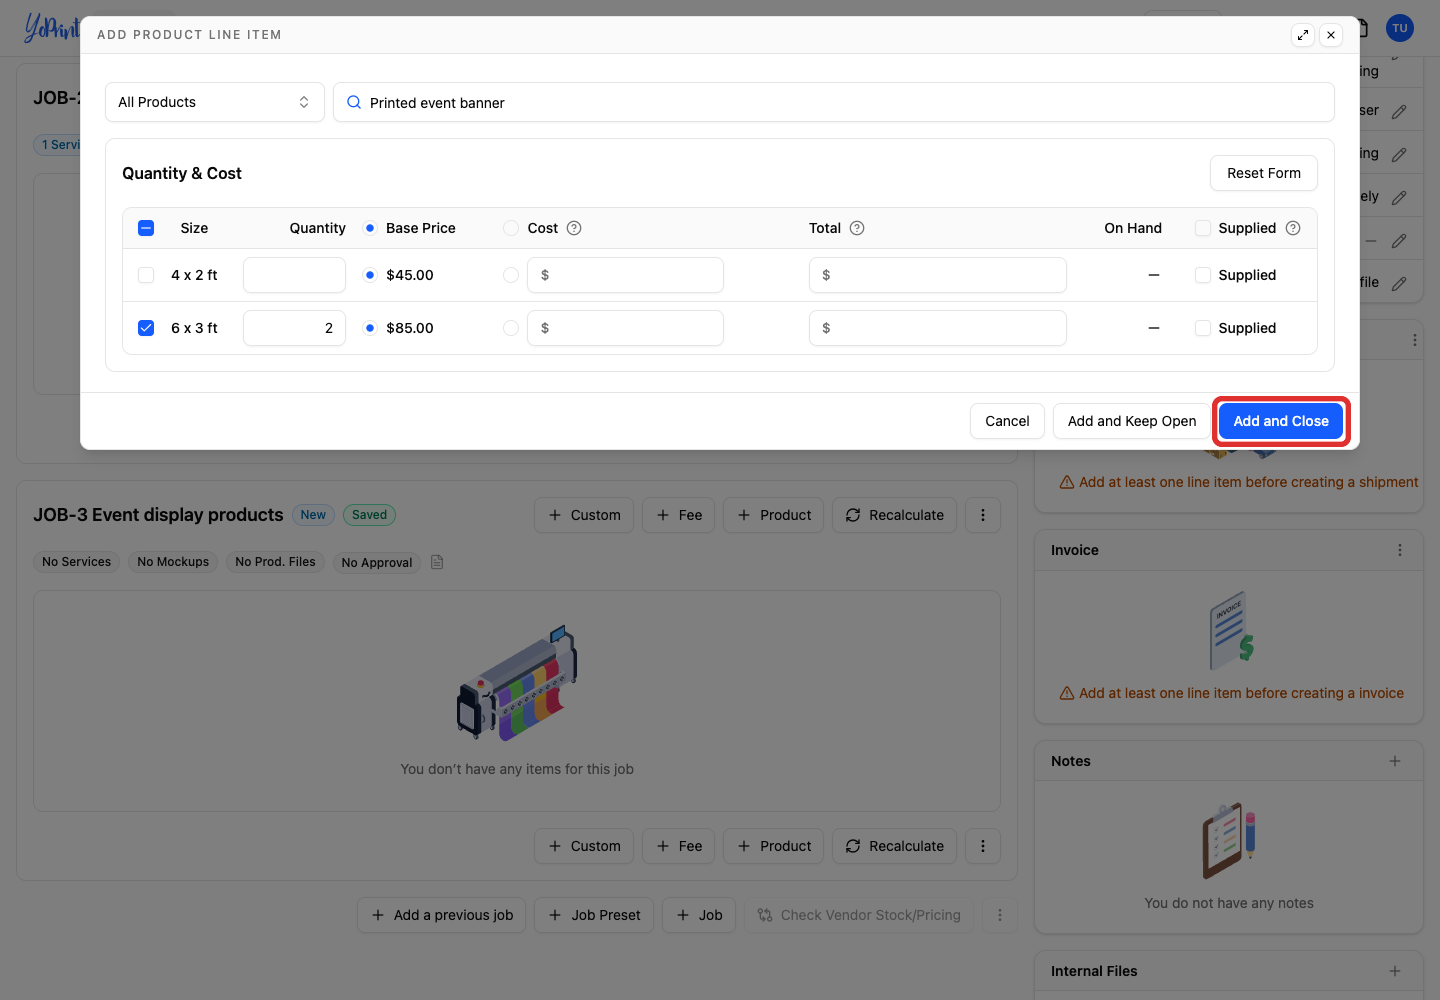
Click Add and Close.
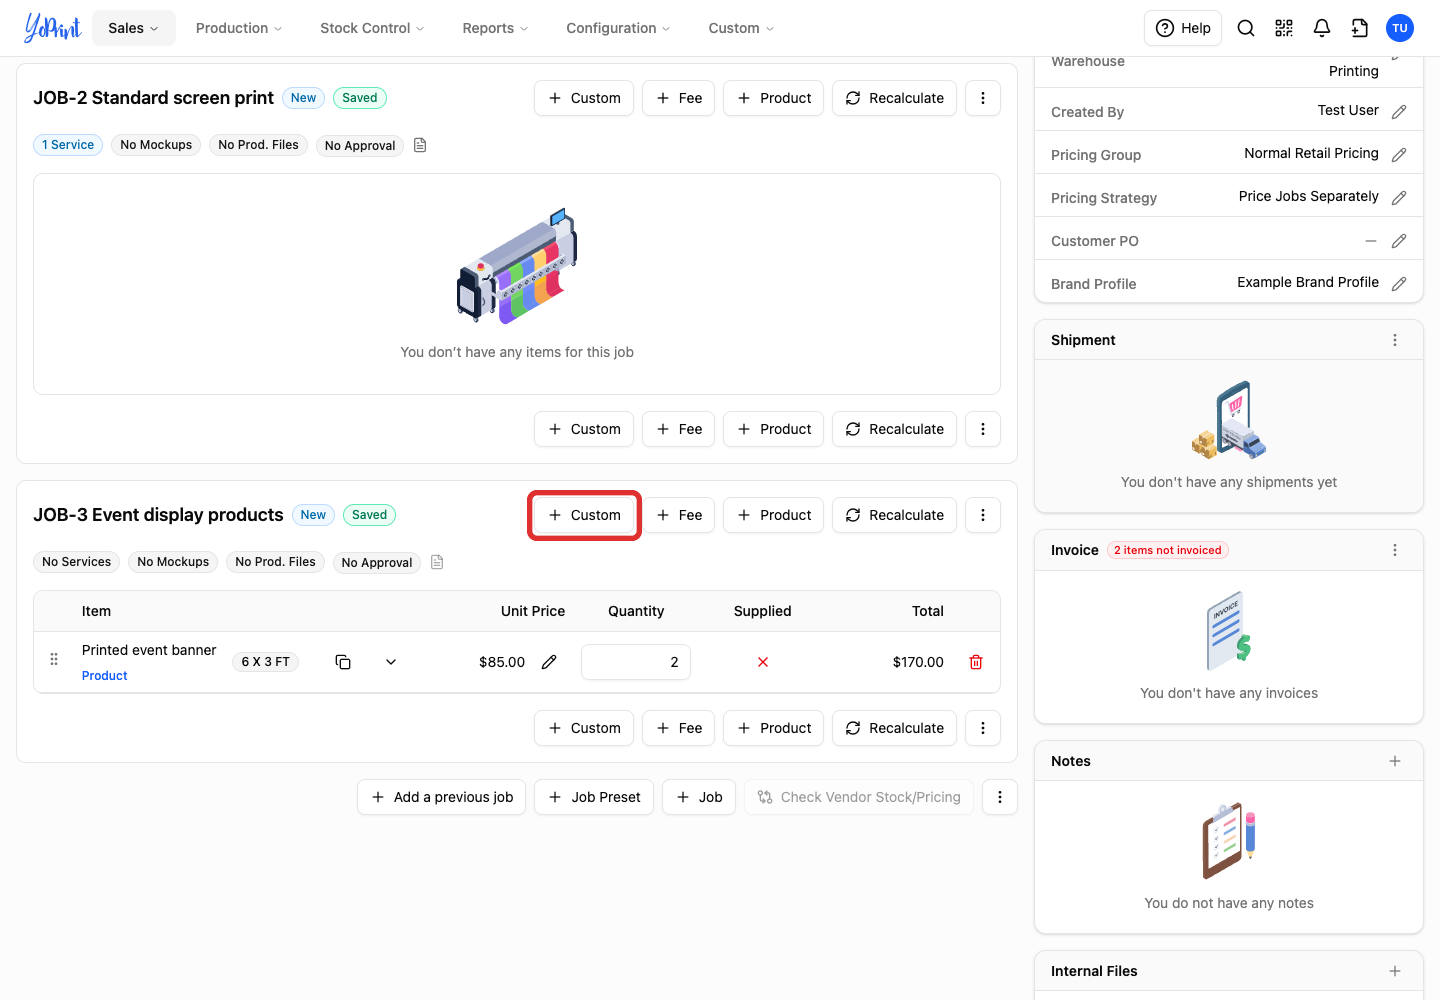
The product appears on the job. In this example, two banners at $85 each total $170. Pricing group rules and job services adjust the line item's unit price automatically.
Add a one-off product as a line item
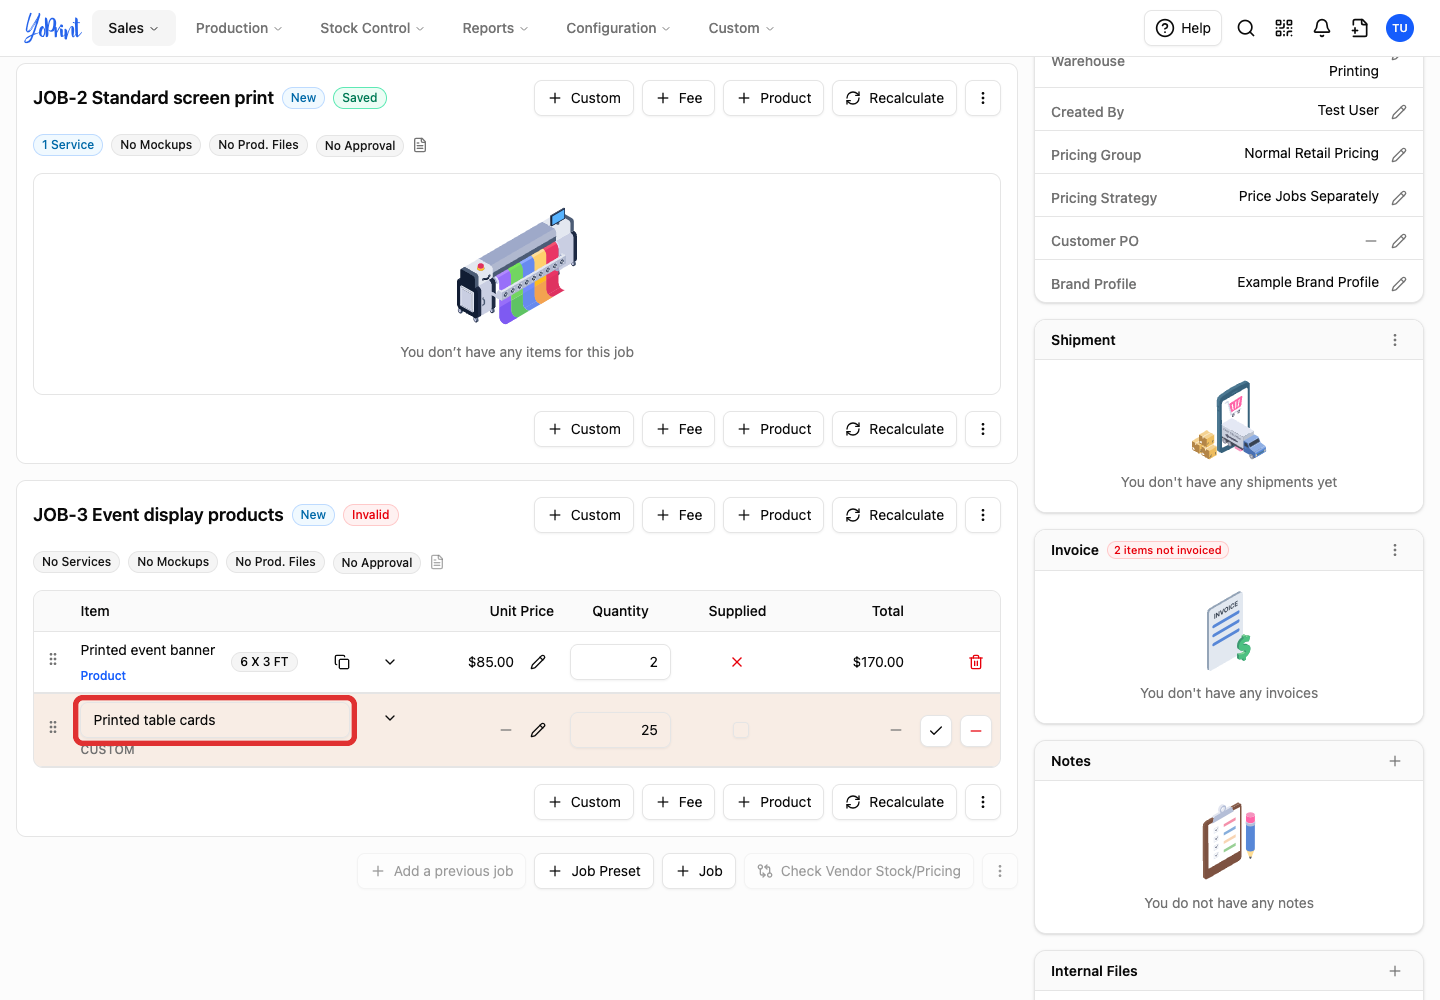
Use Custom for an item you only need on this quote or sales order, such as a set of table cards for one event.
-
Click Custom on the job.
-
Enter the item’s Name.
-
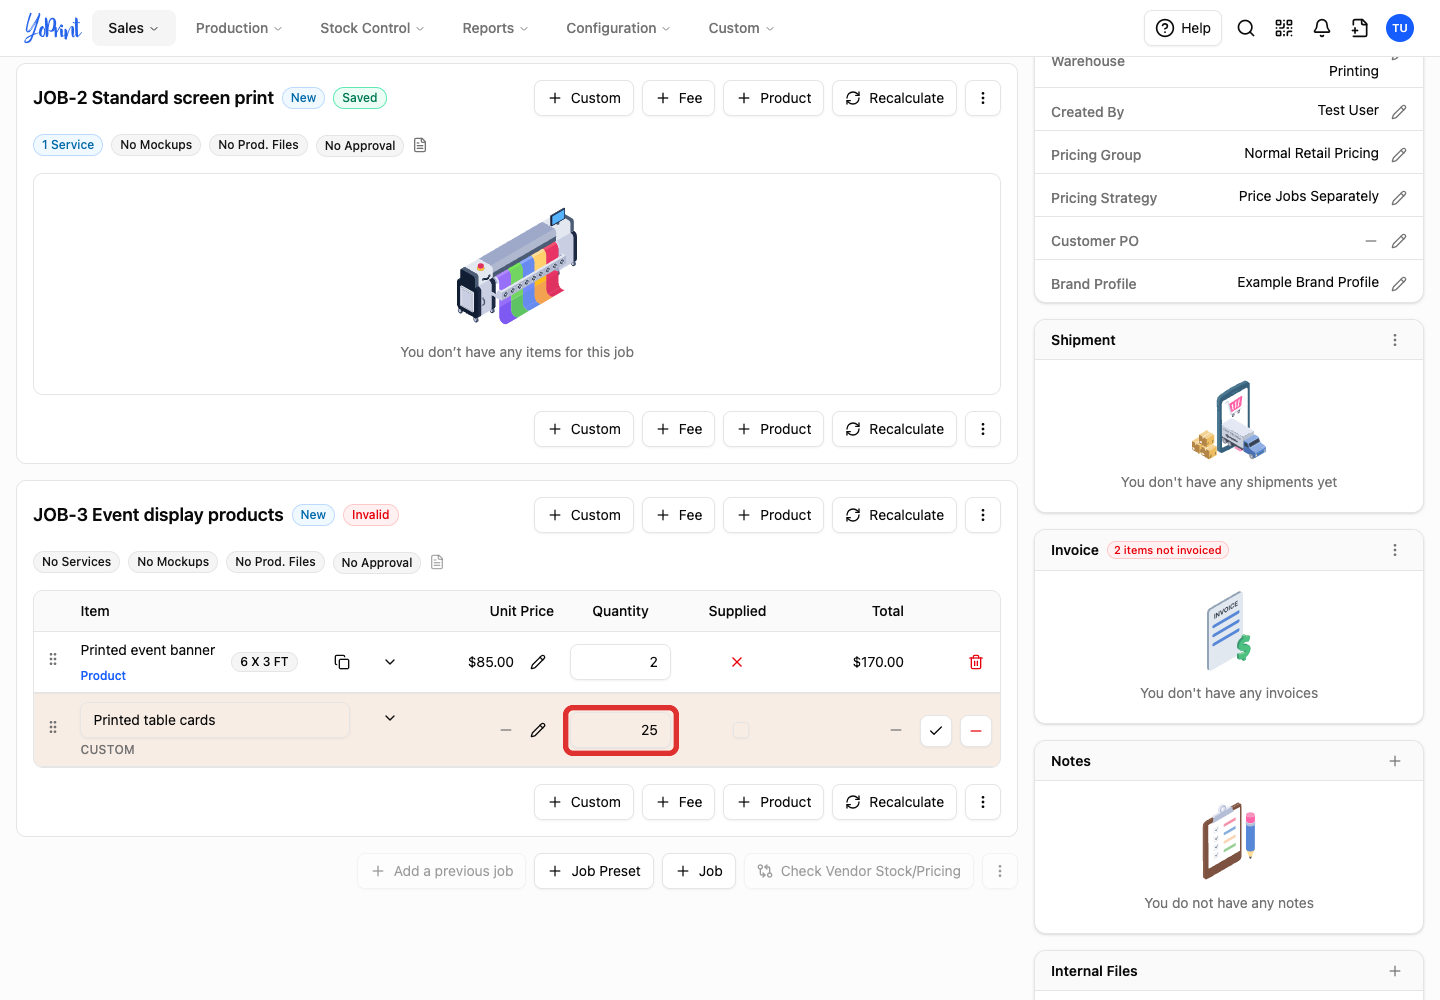
Enter the Quantity.
-
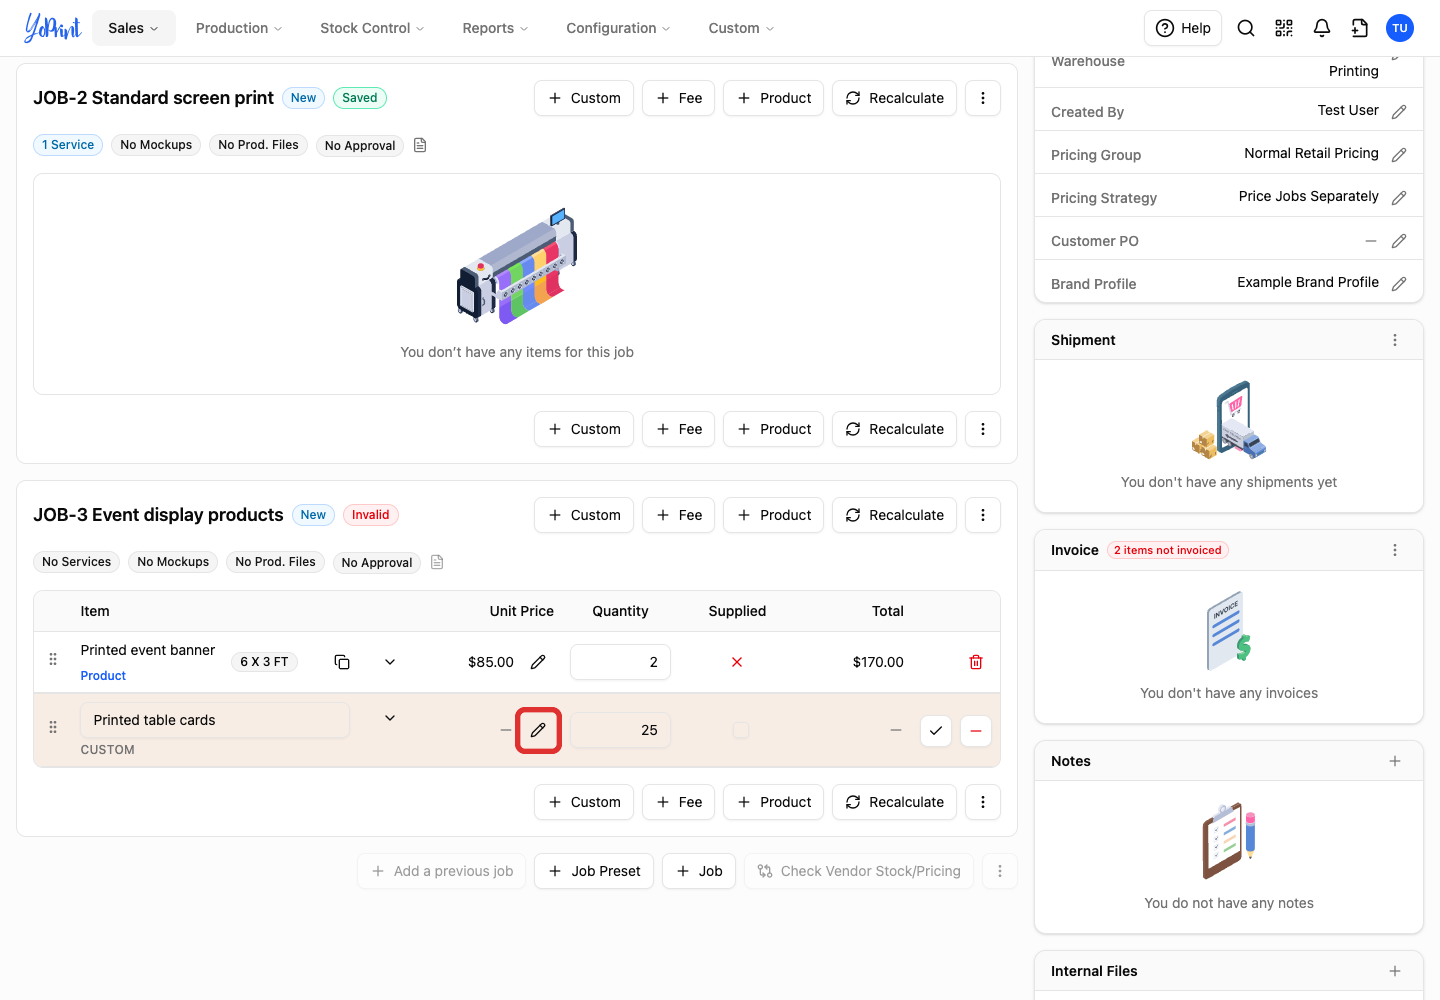
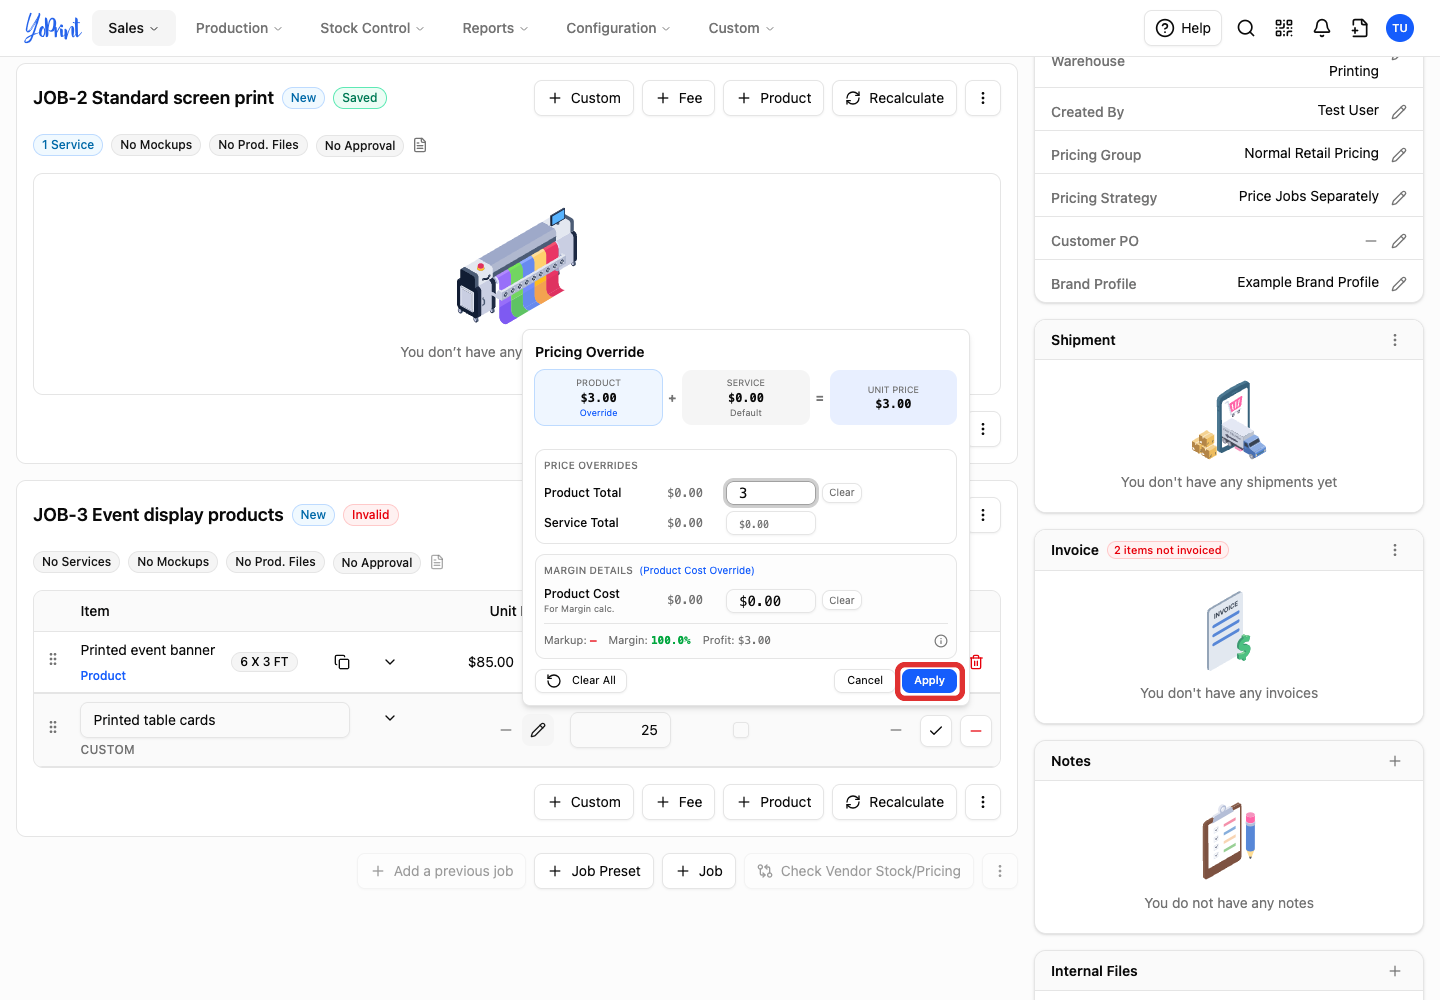
Click the pencil Edit icon beside Unit Price.
-
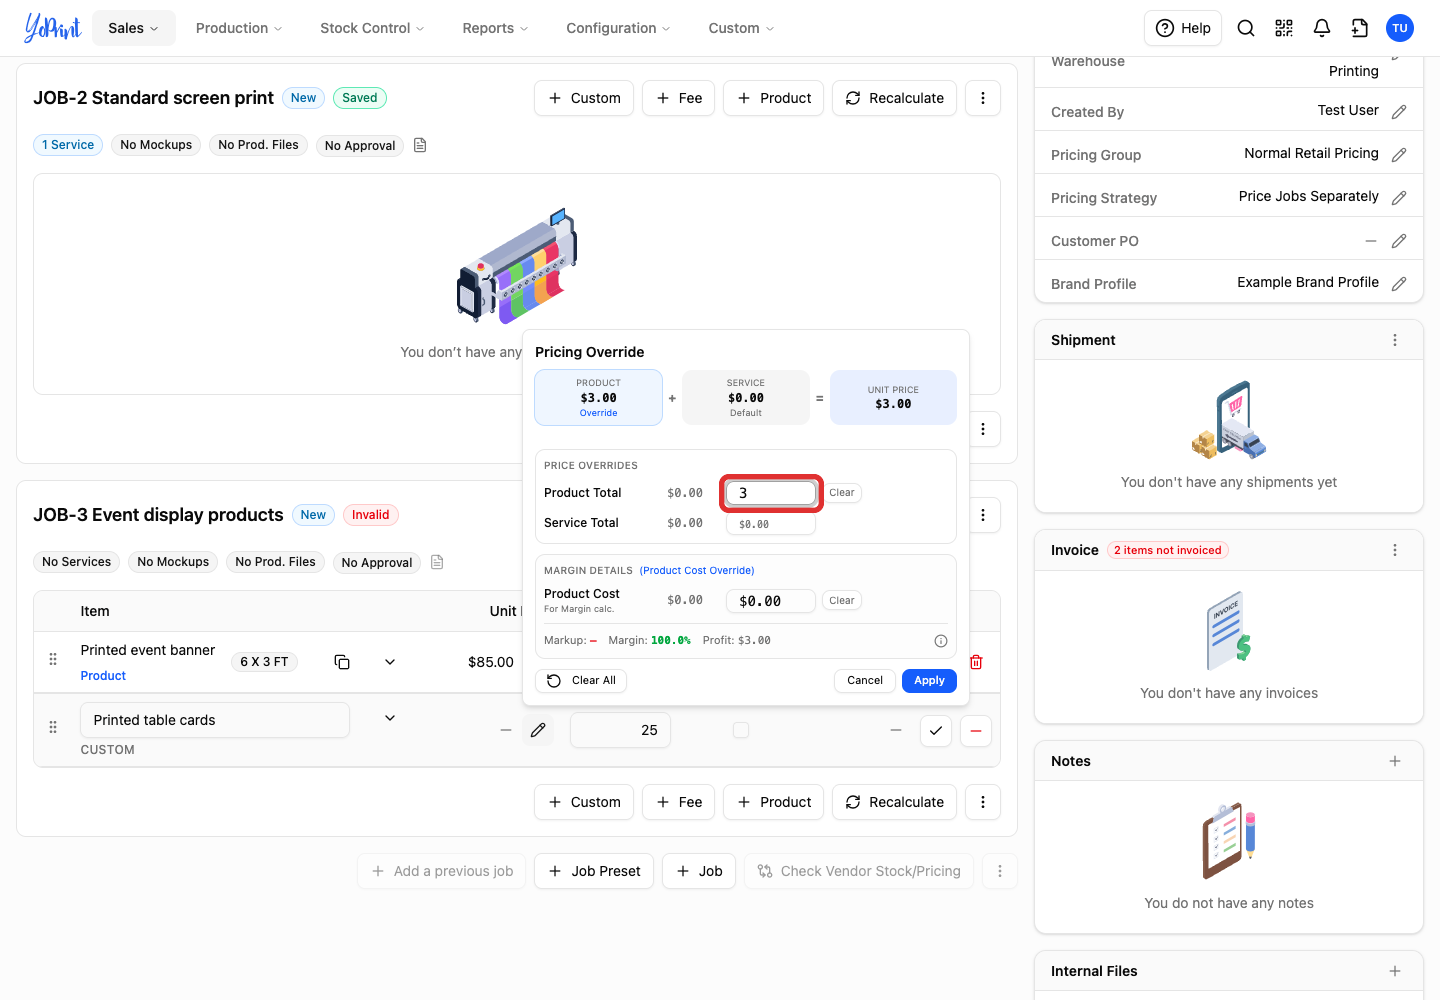
Enter the per-item price in Product Total, which sets the unit price before services and markups. This example uses $3 per table card.
-
Click Apply.
-
Click the checkmark Confirm button at the end of the row.
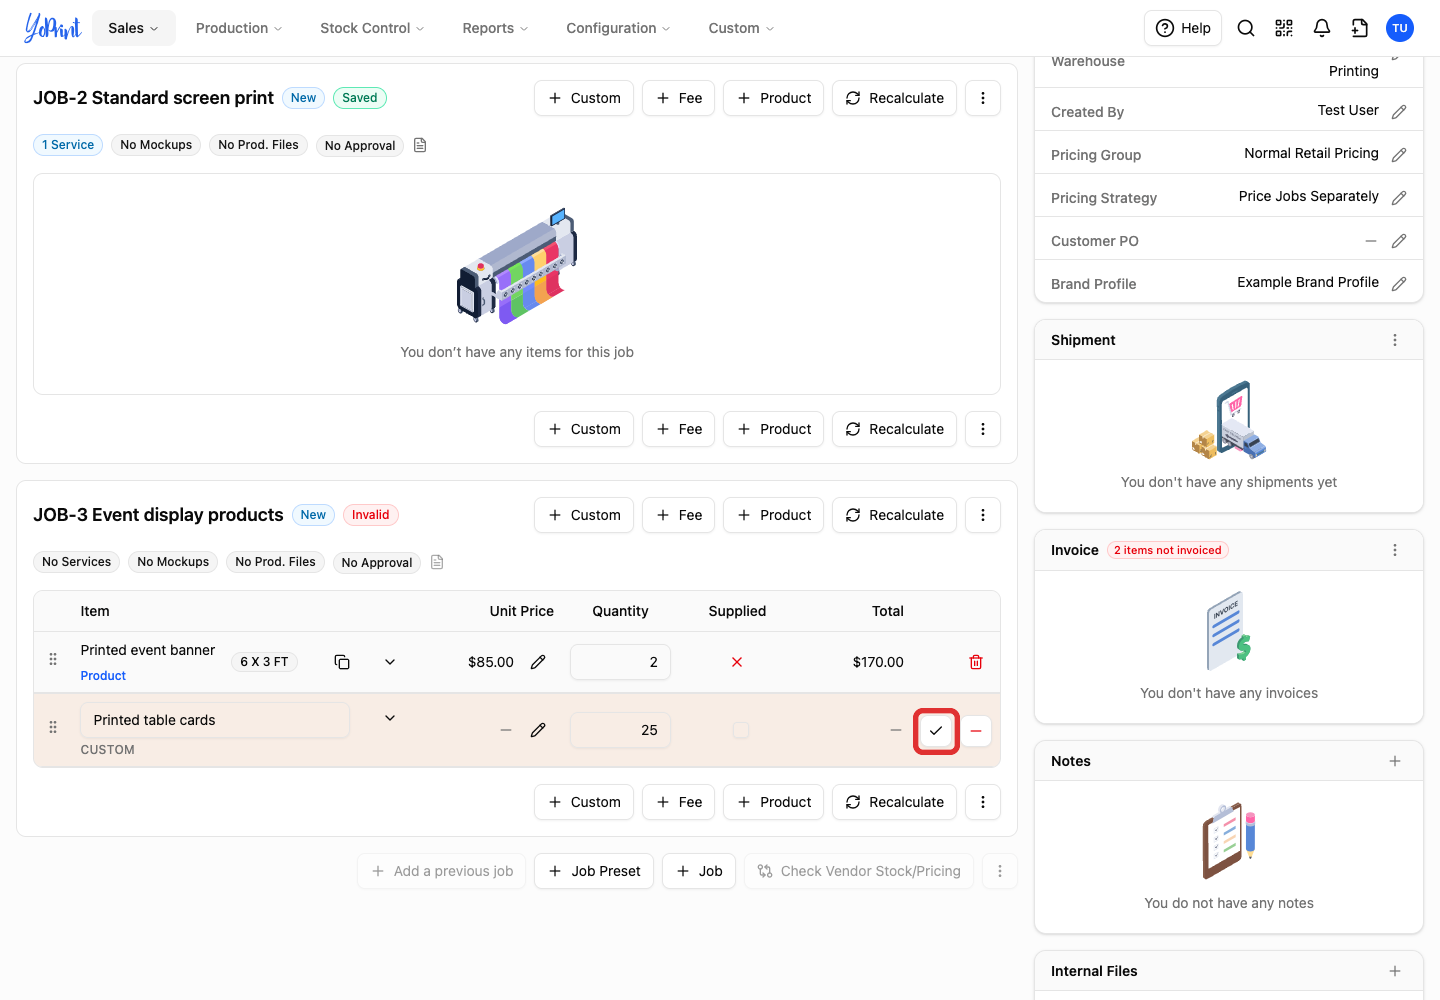
The saved line shows its unit price, quantity and total. The example’s 25 cards at $3 each total $75. This item stays on the order without becoming a reusable product in your Products list.
Set Up Pricing
The Price you enter when creating a product is its base price. Set separate prices for sizes when they differ, as in the banner example above. Configure volume discounts and percentage markups in your pricing groups rather than on the individual product.
For pricing rules and markups on saved or CSV-uploaded products, see Setting Up Pricing Groups: Configuring Product and Service Markups.