Shipping Box
In this article
Save the package dimensions your shop uses so you can reuse them when preparing a shipment. Each shipping box stores a name, height, width, length, unit, and insurance setting.
Add a shipping box
-
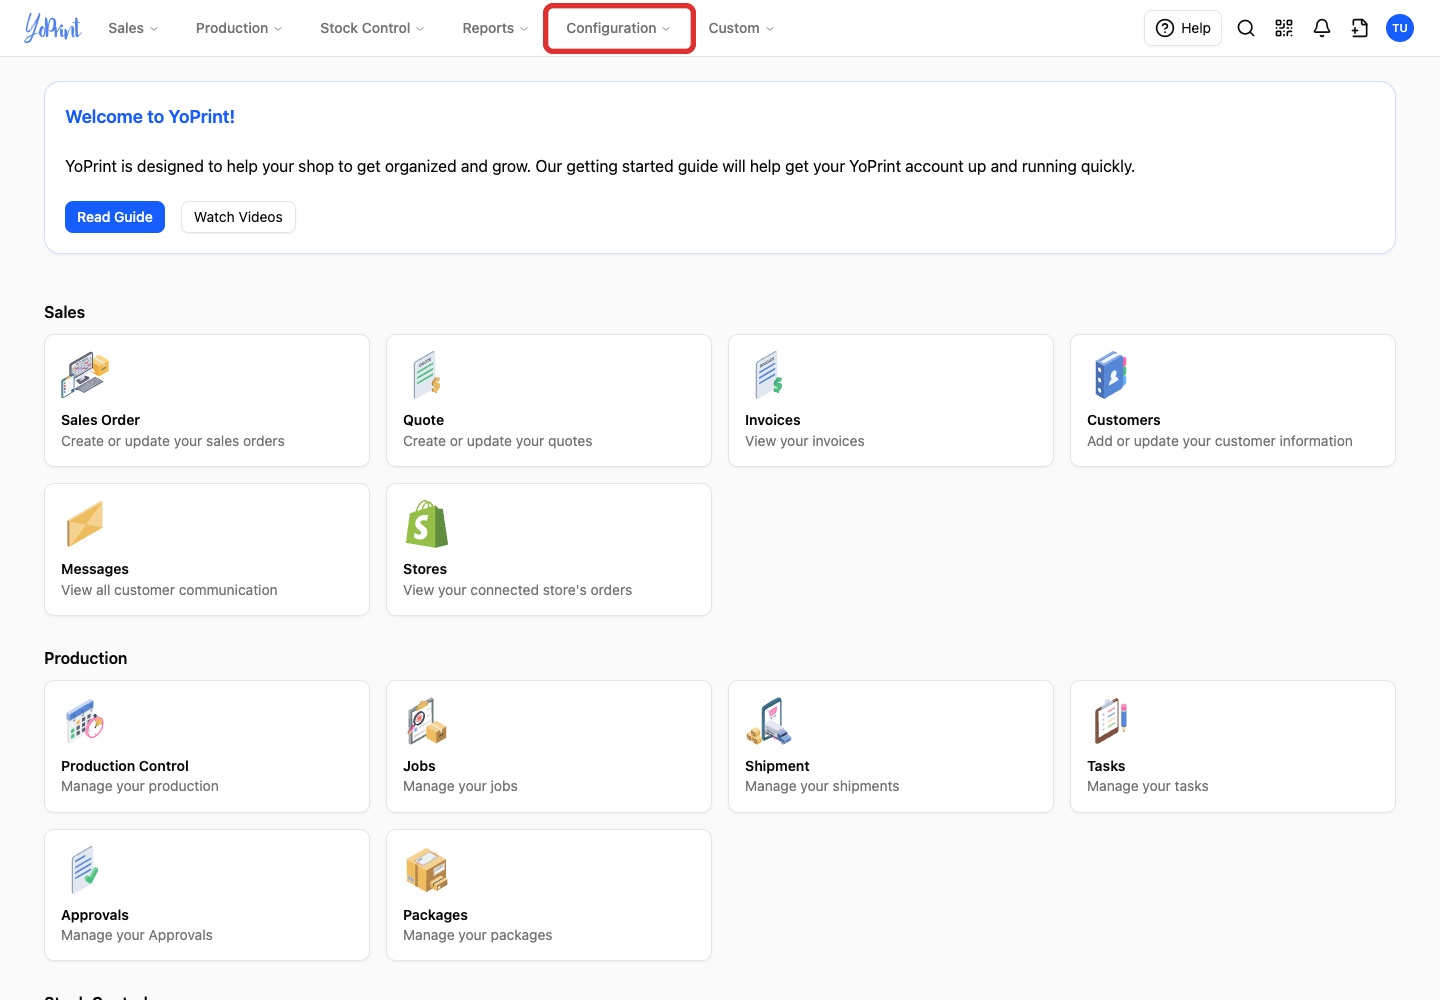
Open Configuration in the top navigation.
-
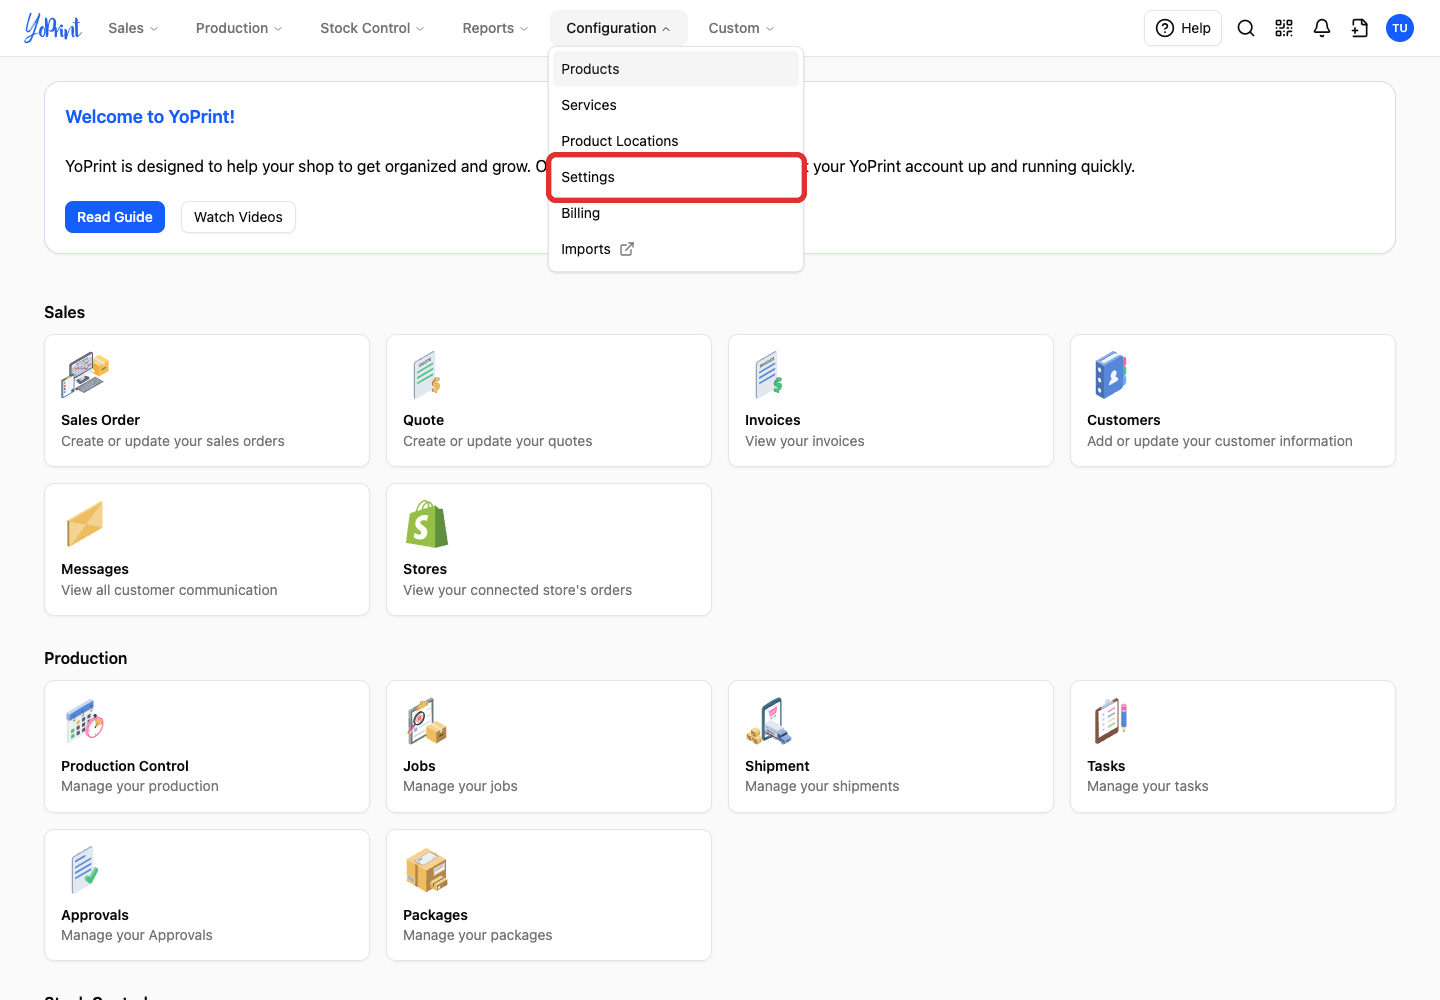
Choose Settings.
-
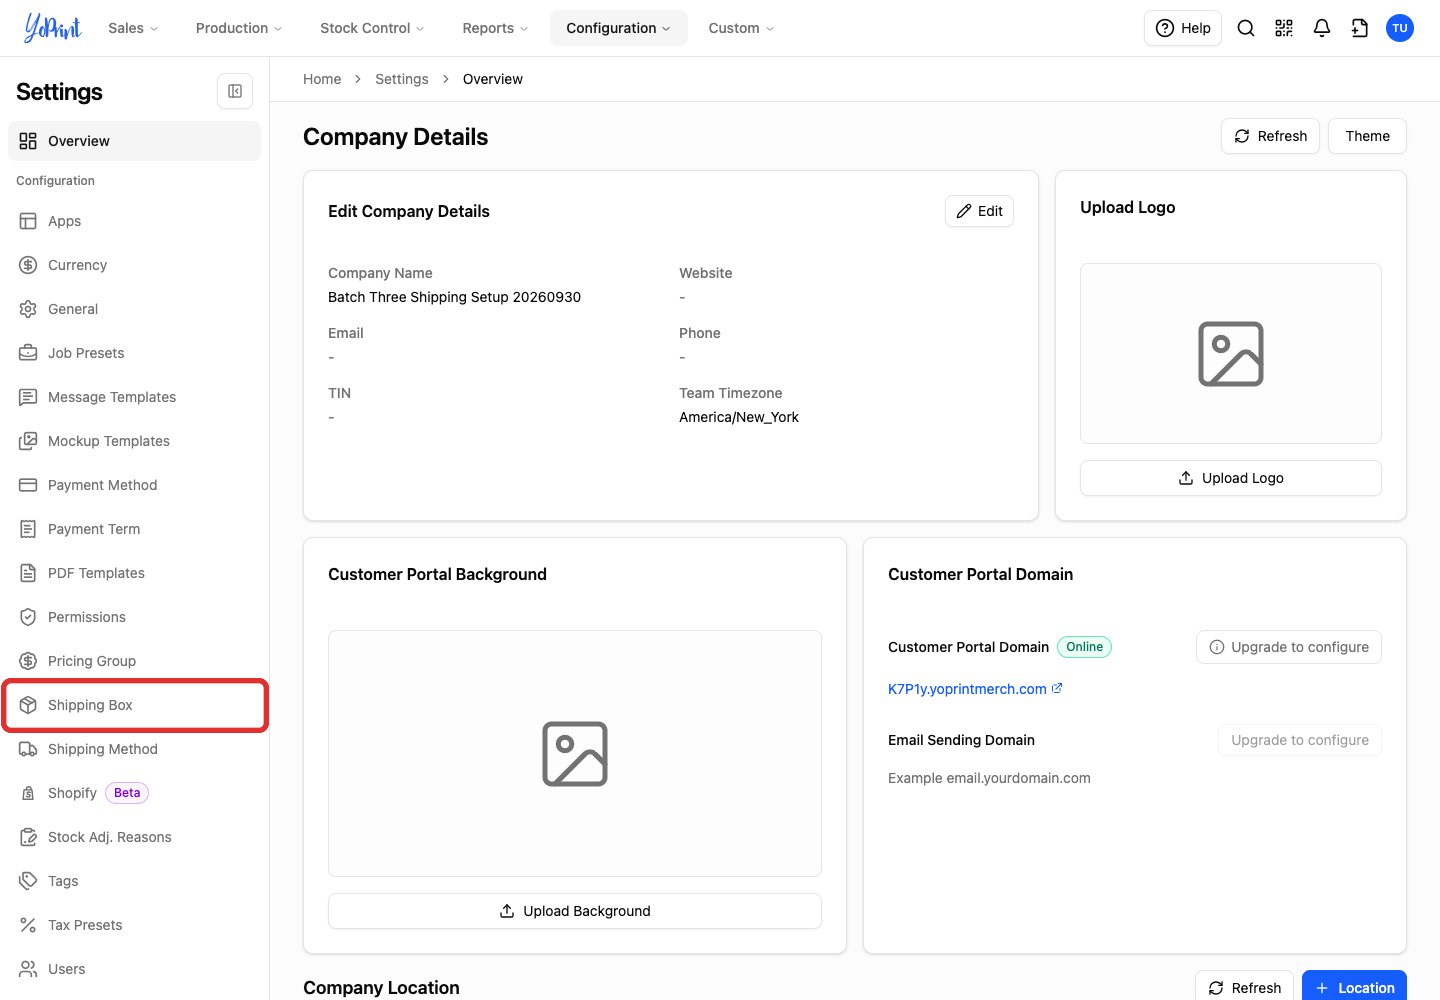
In the settings sidebar, click Shipping Box.
-
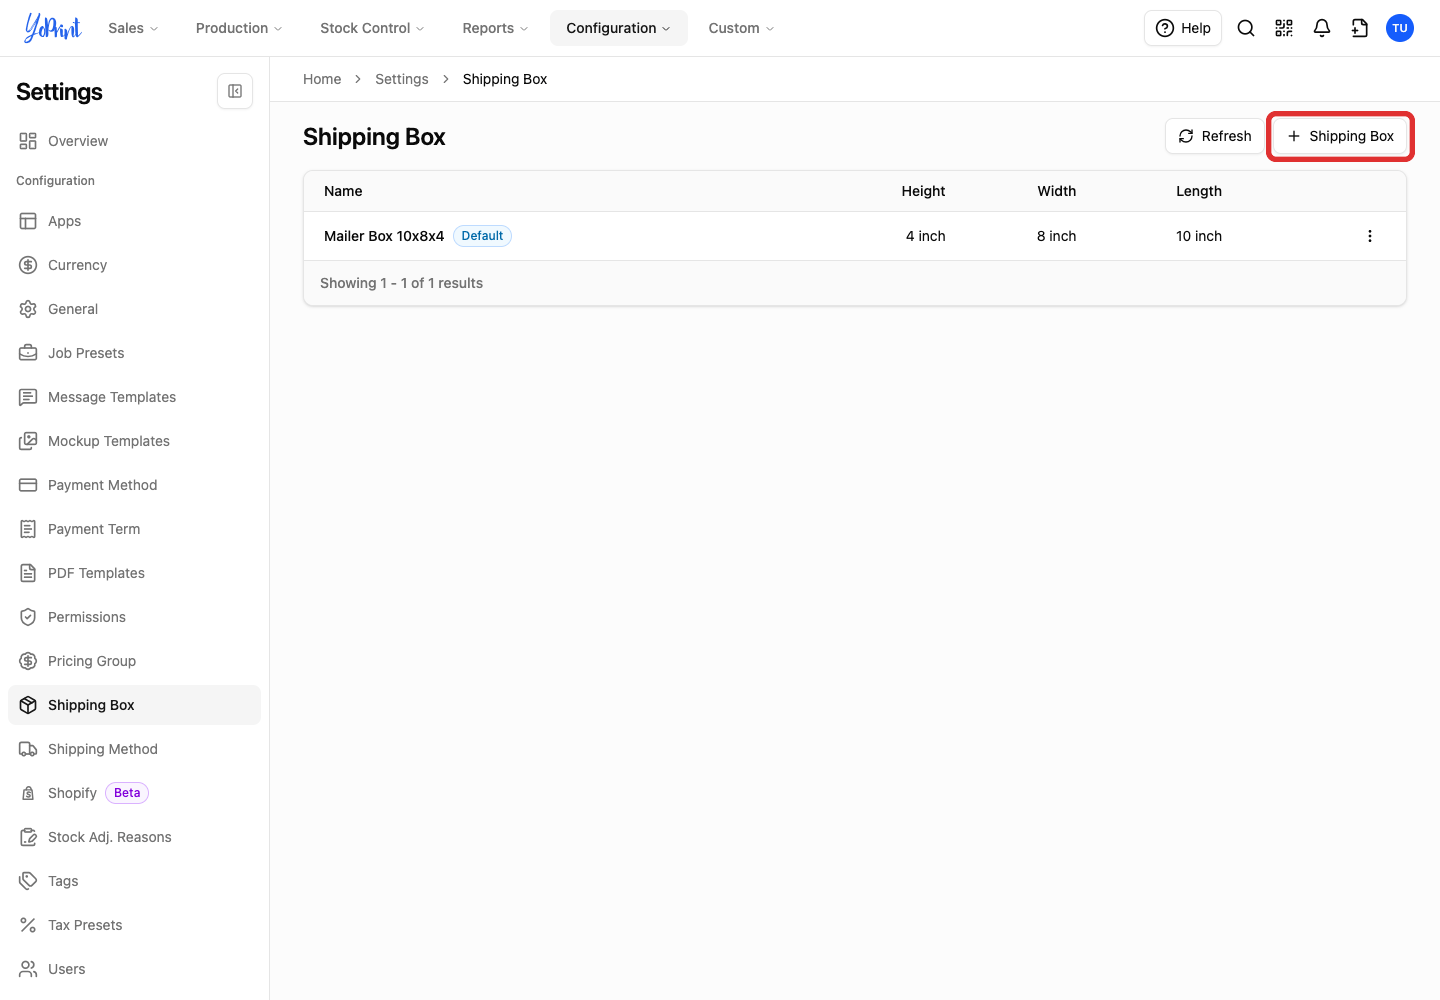
Click the Shipping Box button with the plus icon at the top right.
-
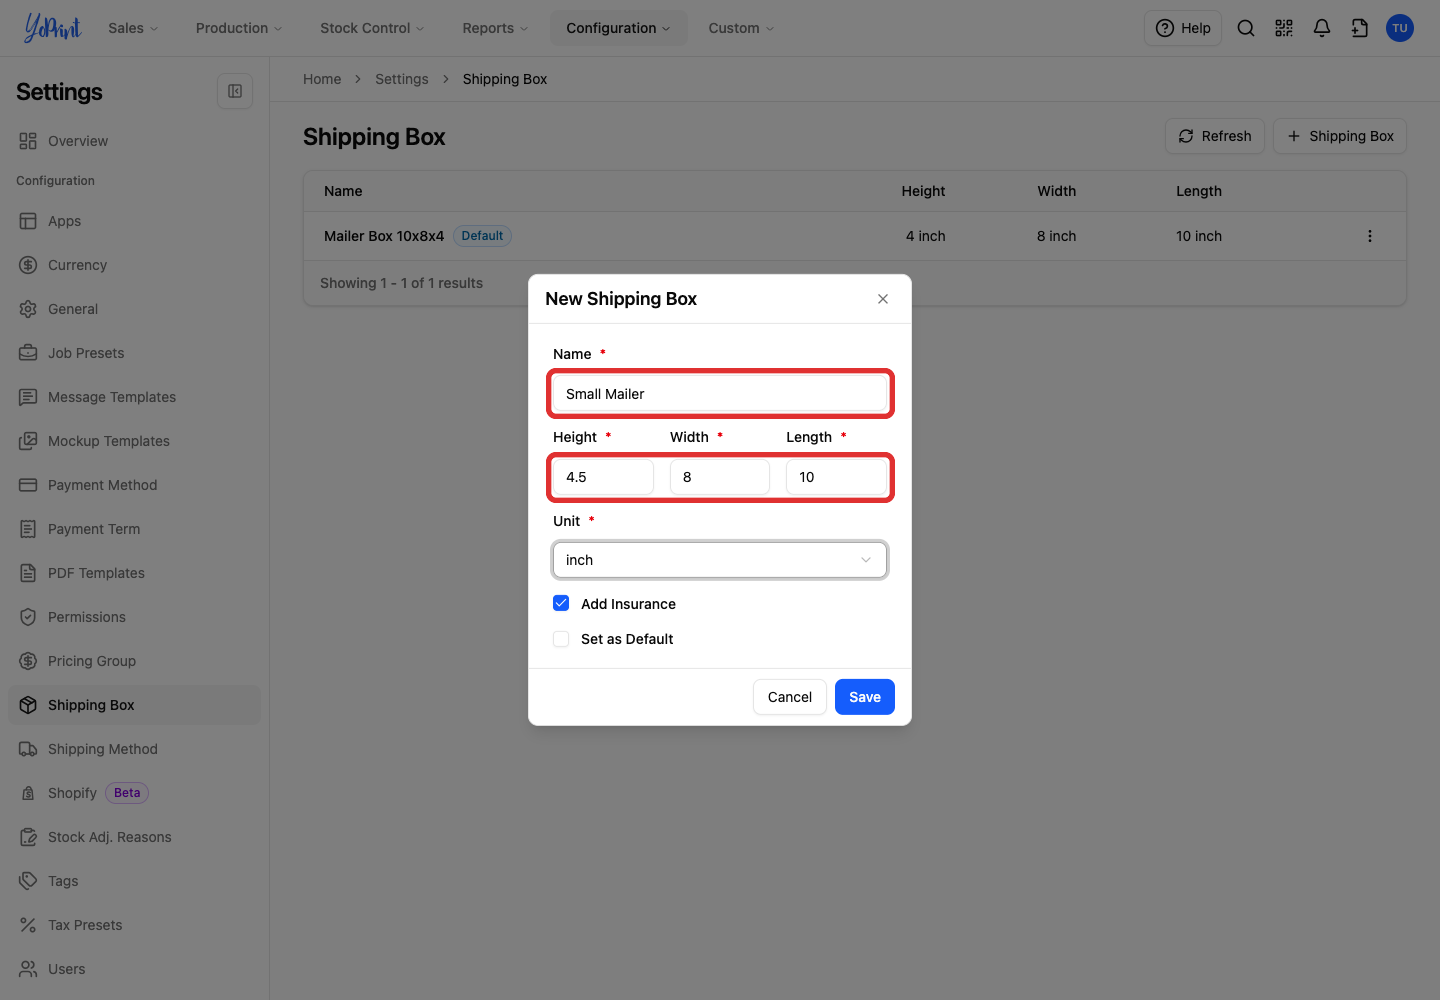
Enter a unique Name and positive Height, Width, and Length values. Decimals are allowed, such as 4.5.
-
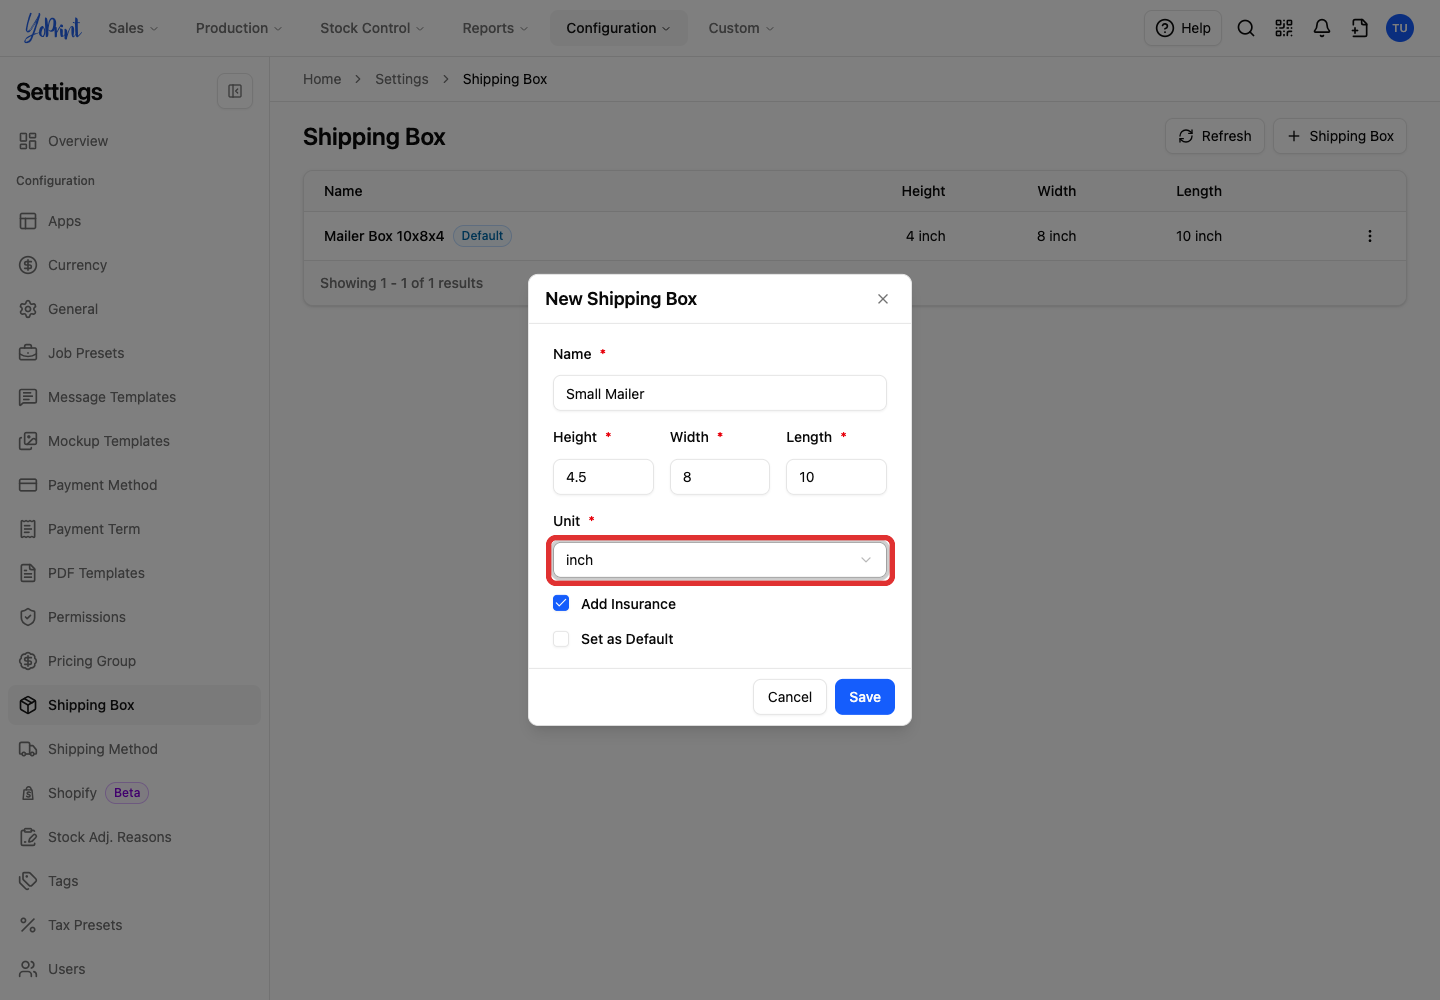
Open Unit.
-
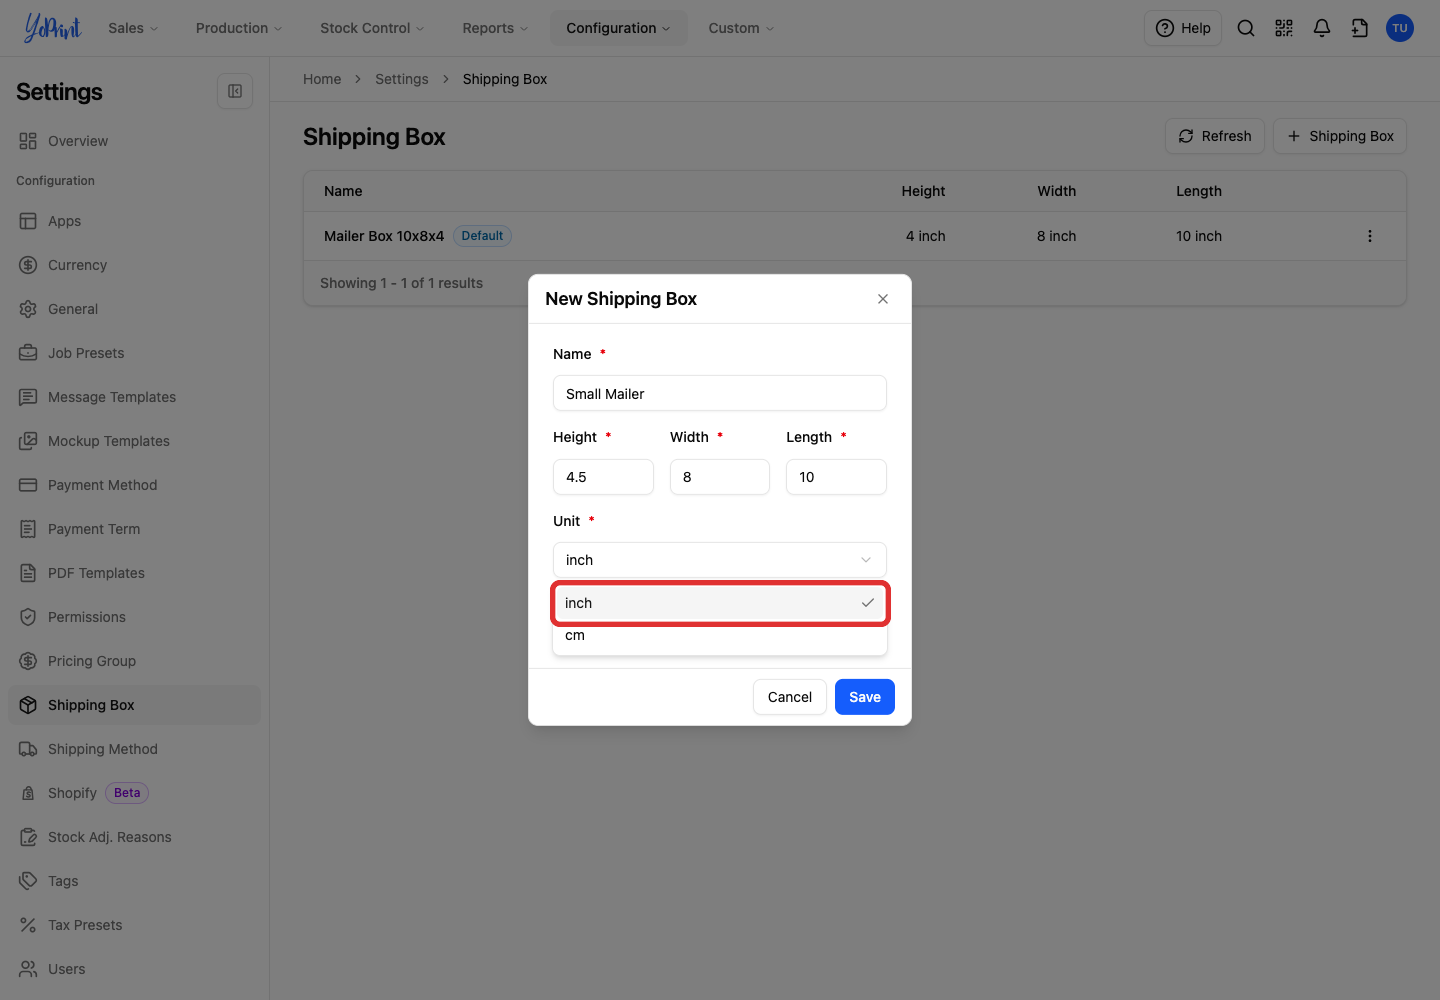
Choose inch or cm to match your measurements.
-
Choose whether to keep Add Insurance selected.
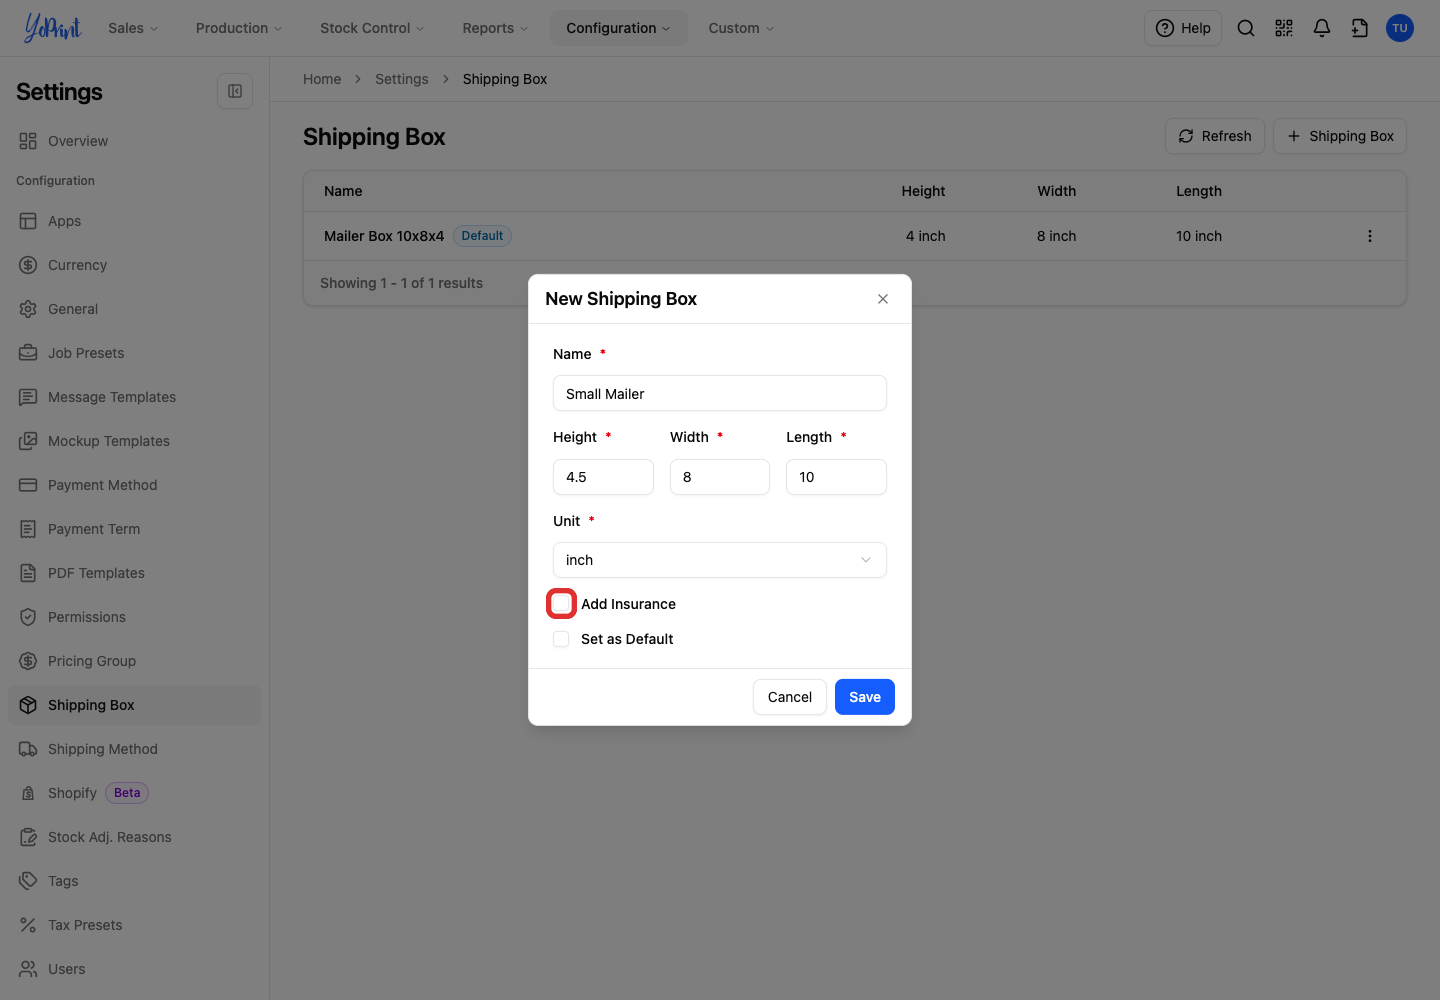
Add Insurance starts selected. Clear it if you do not want this box marked as insured. Saving a box does not purchase a label. Review the parcel’s insurance amount when you prepare the label.
-
Choose whether to select Set as Default.
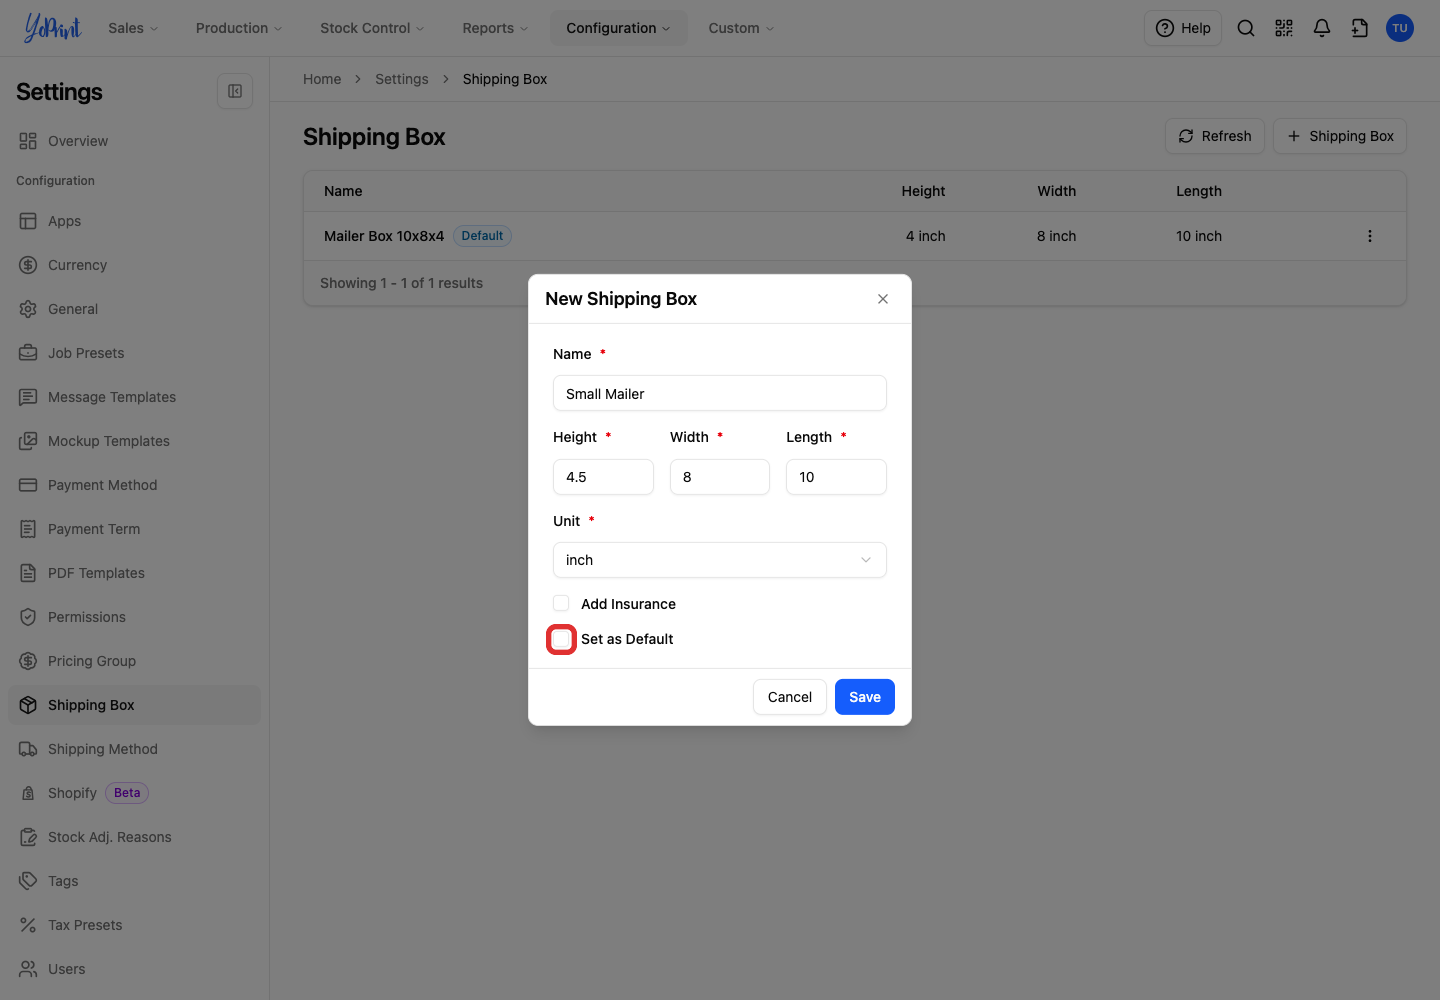
Set the box you use most often as the default so it is ready when you prepare a shipment. Select it to replace your current default with this box. Leave it clear to keep your existing default.
-
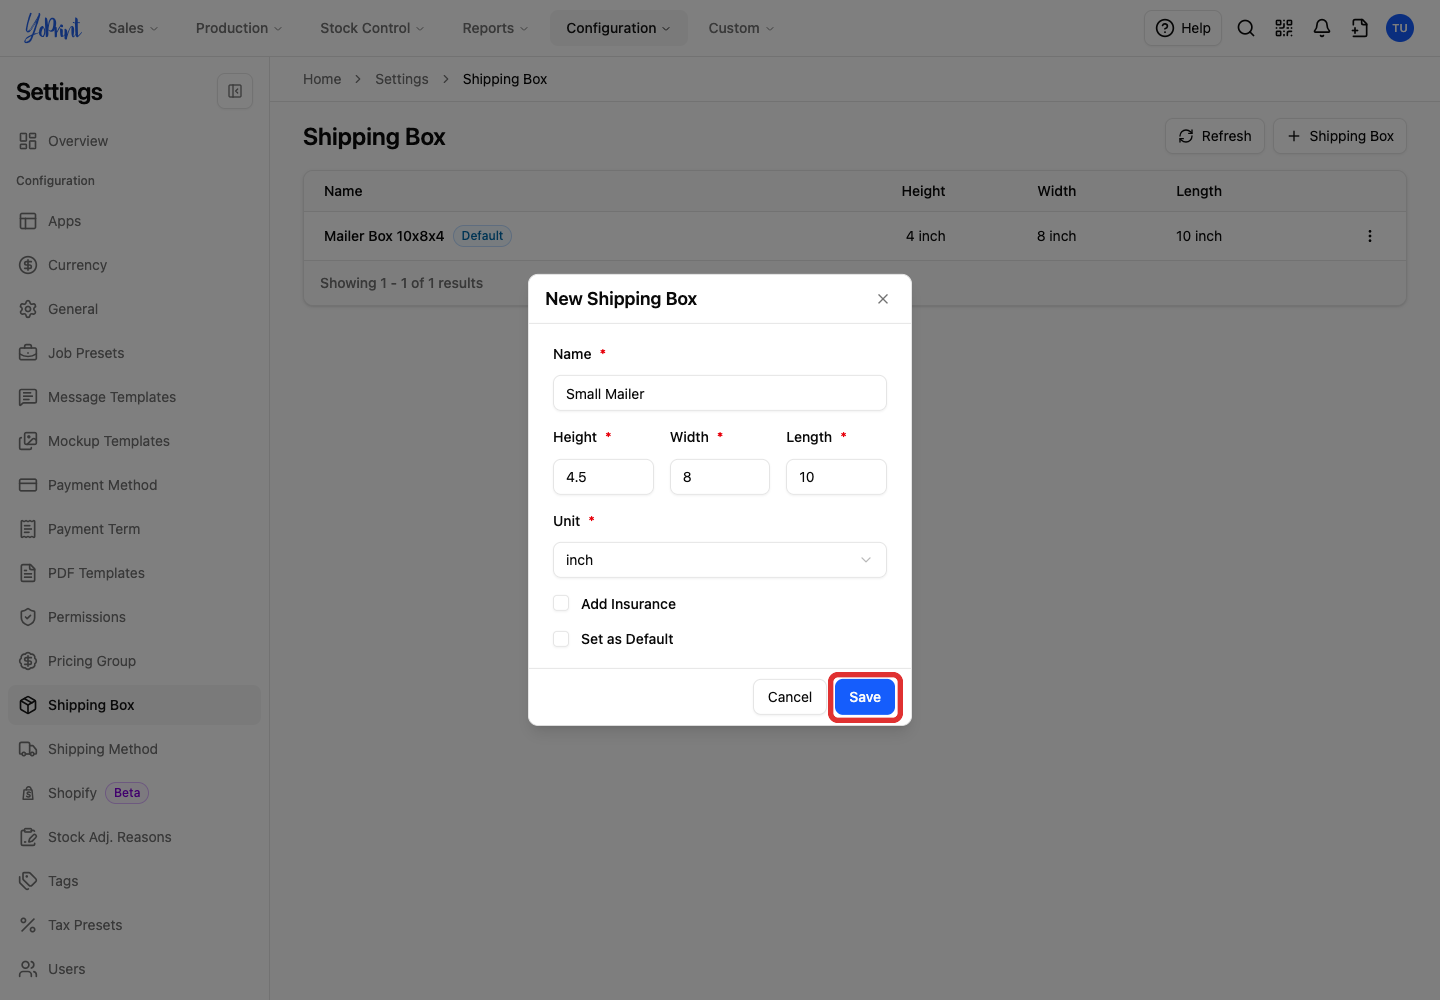
Click Save.
-
Check the saved name and dimensions in the list.
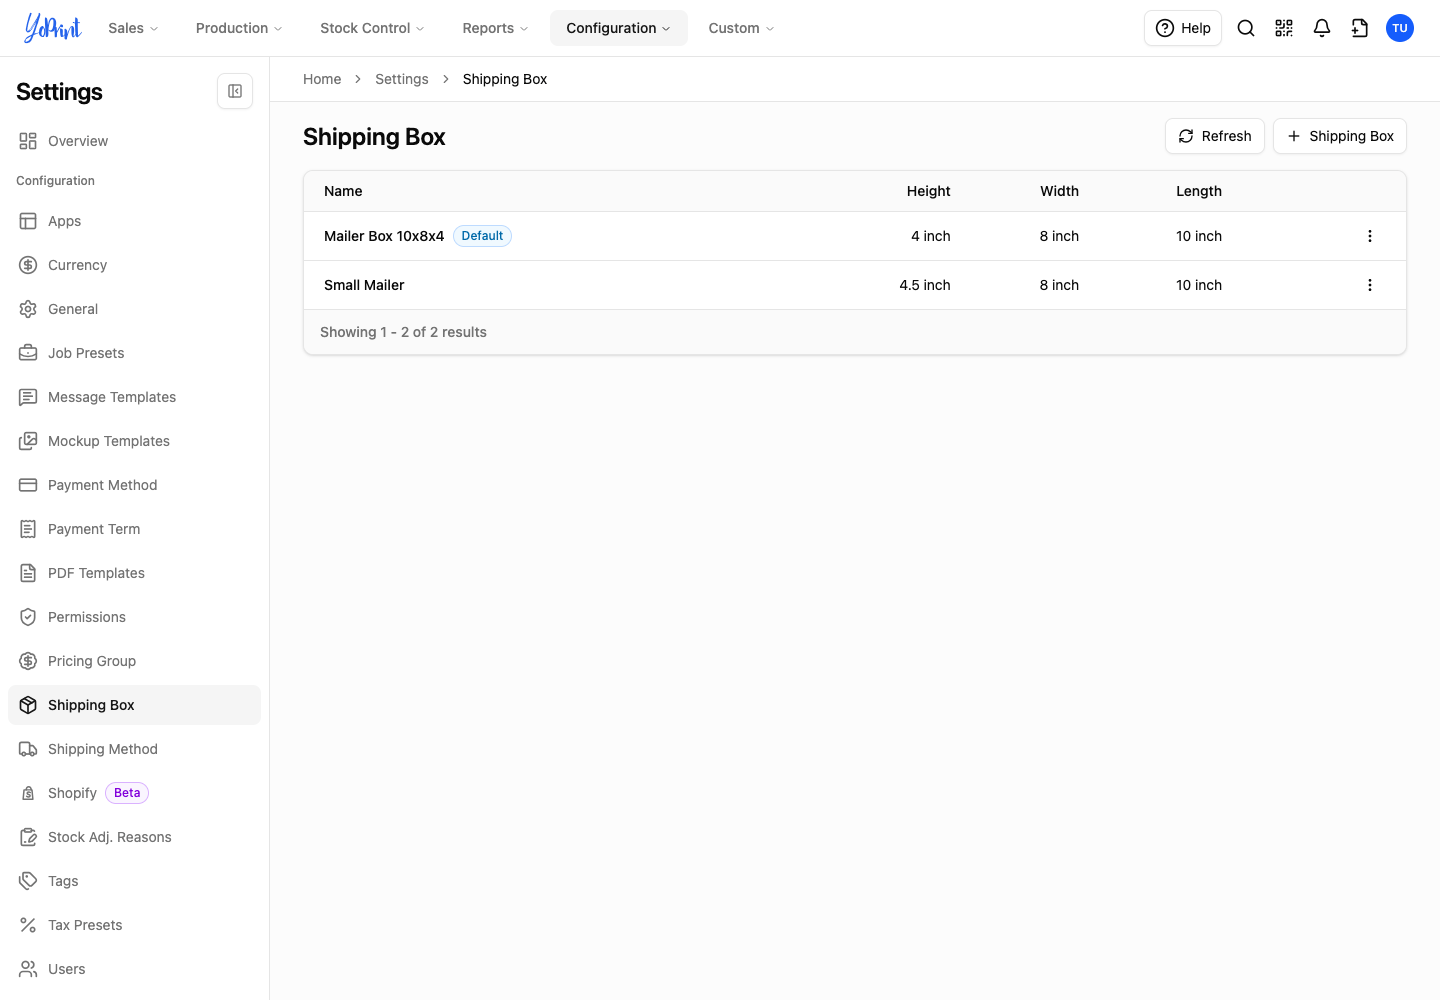
The unit appears beside each dimension. Default appears beside the default box’s name. Insured appears to the right of the dimensions when Add Insurance is selected.
Edit a shipping box
-
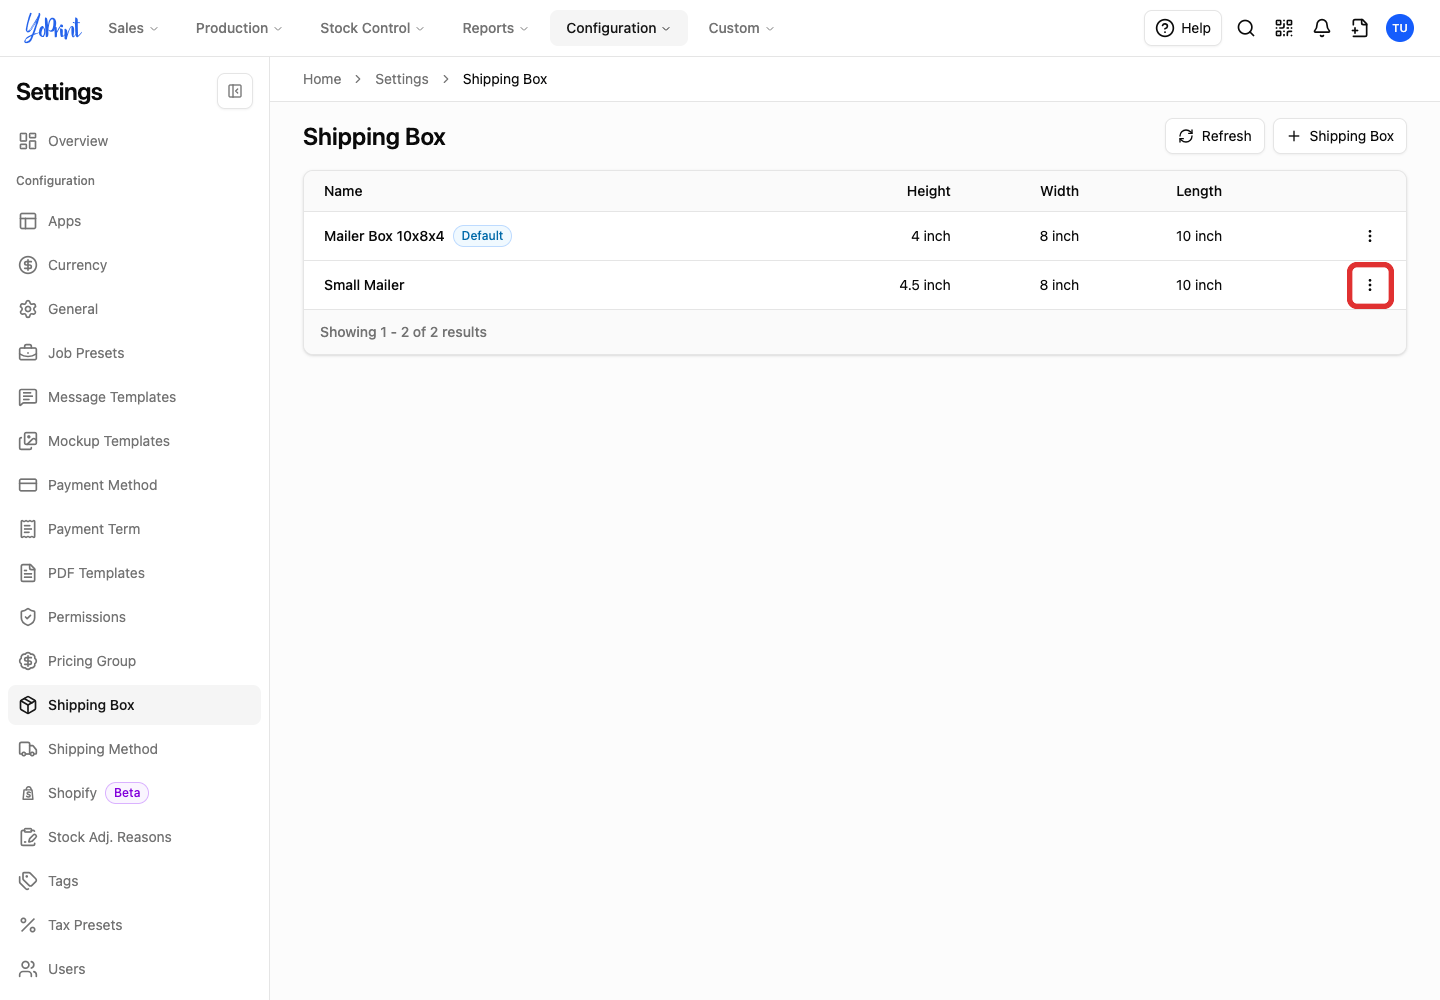
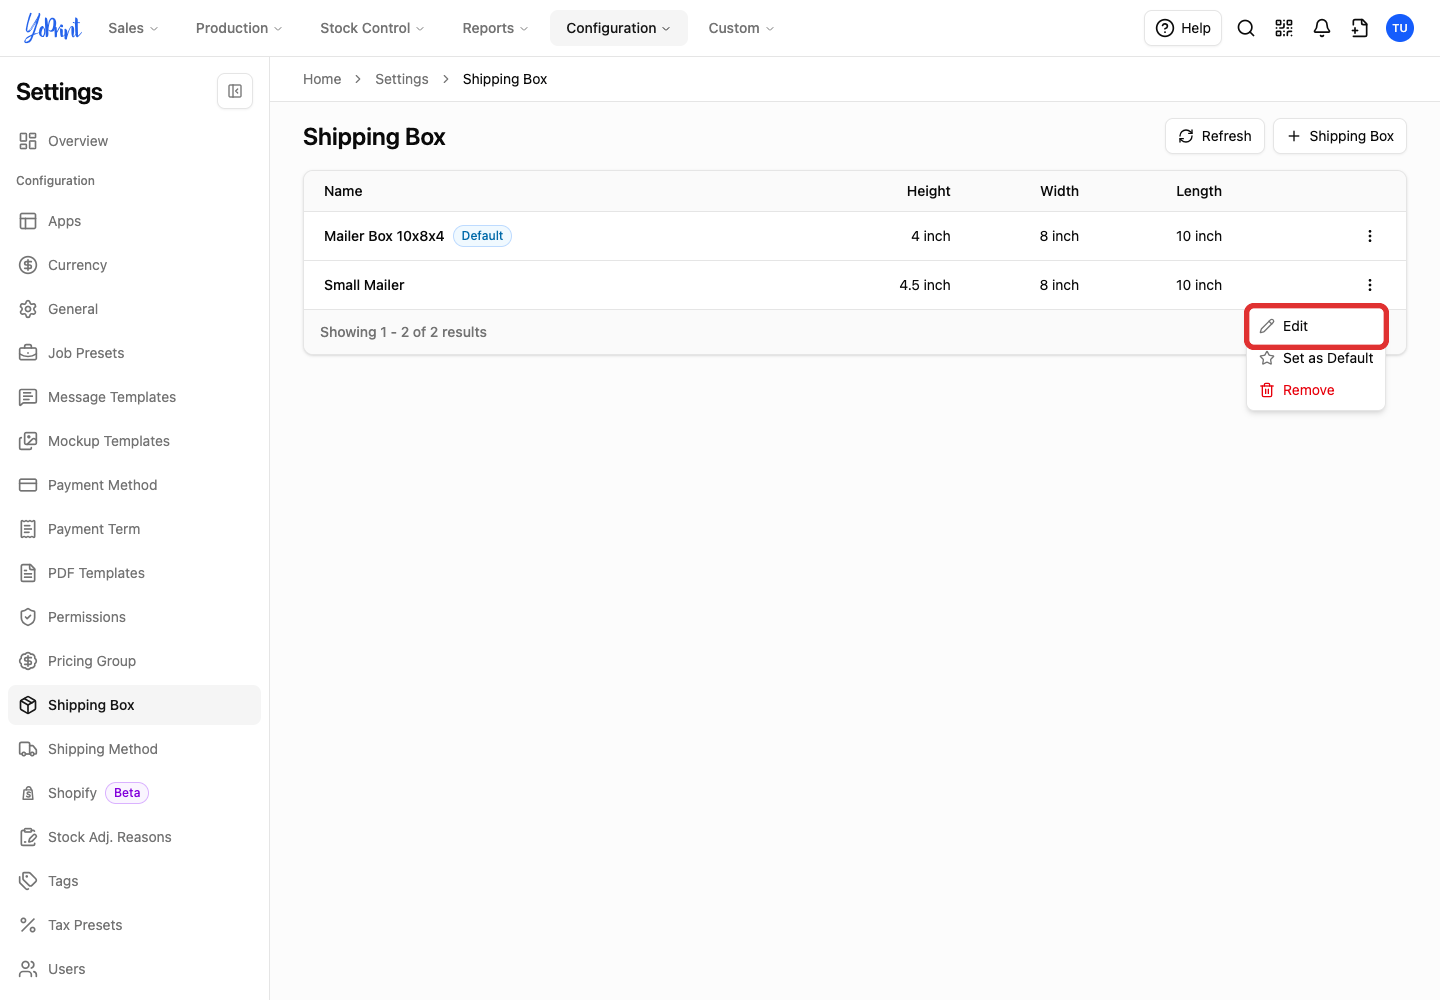
Open More actions at the right of the box’s row.
-
Choose Edit.
-
Update the fields you need to change.
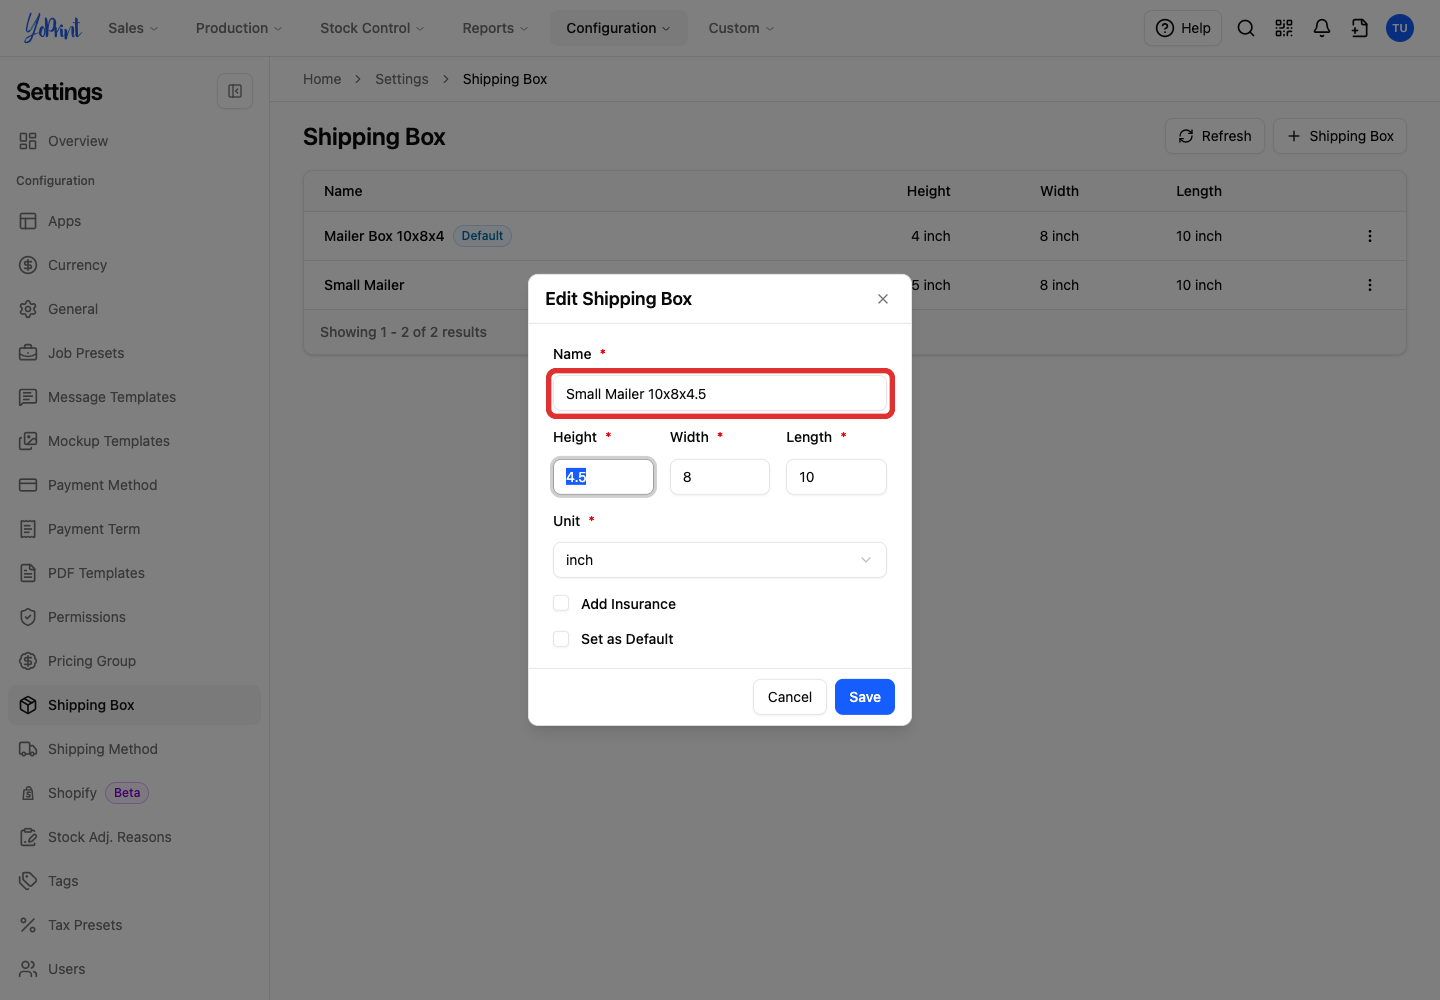
You can change the name, dimensions, unit, or checkbox options.
-
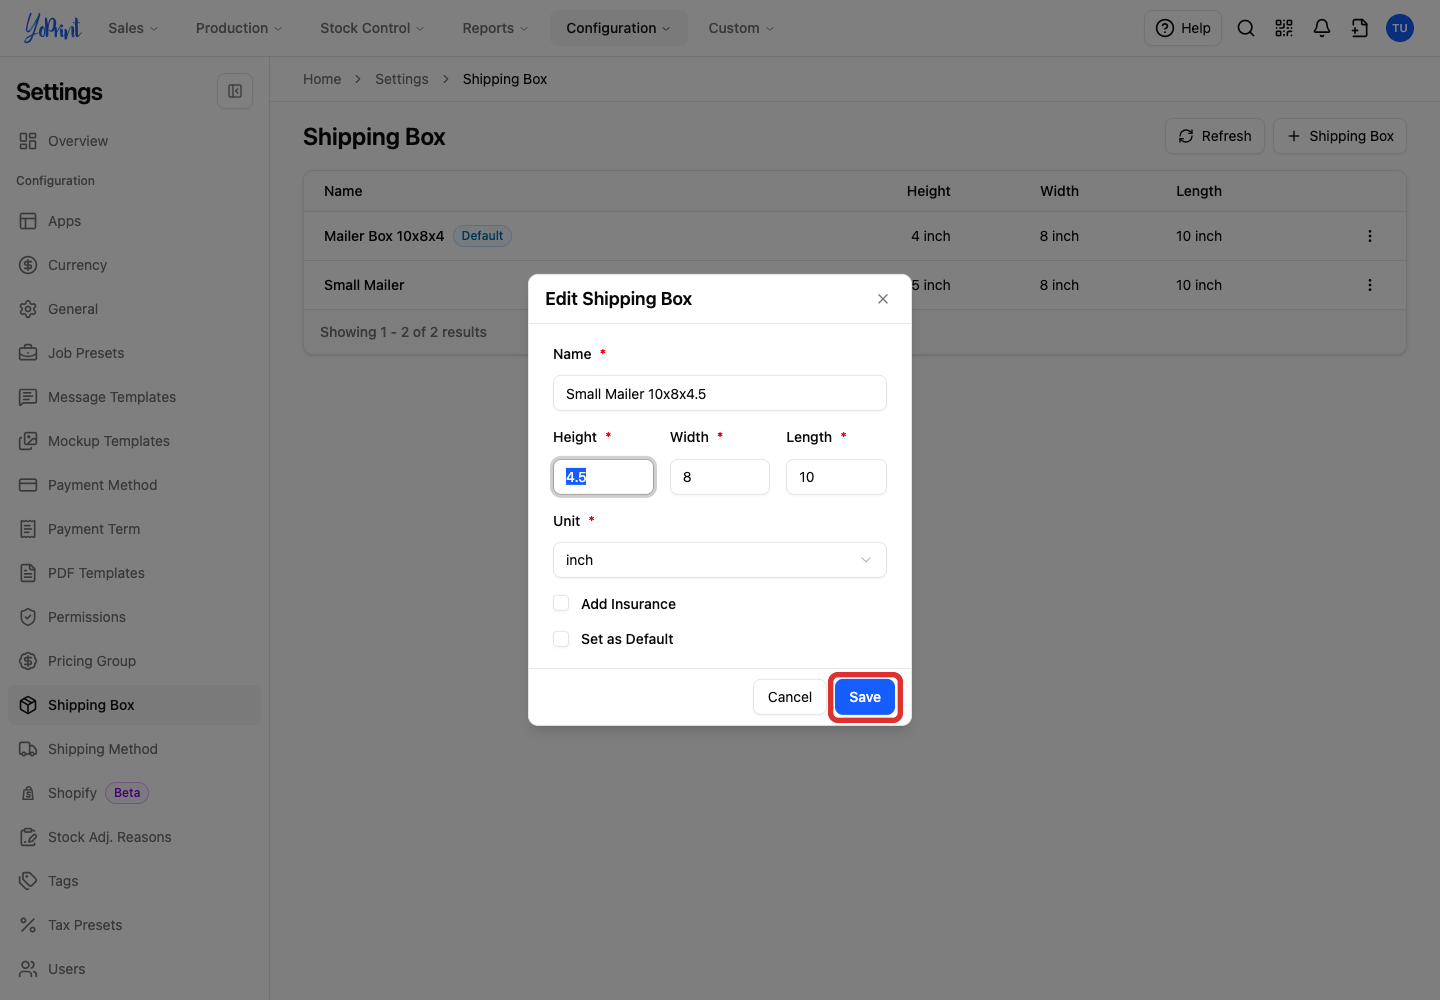
Click Save.
Change the default box
-
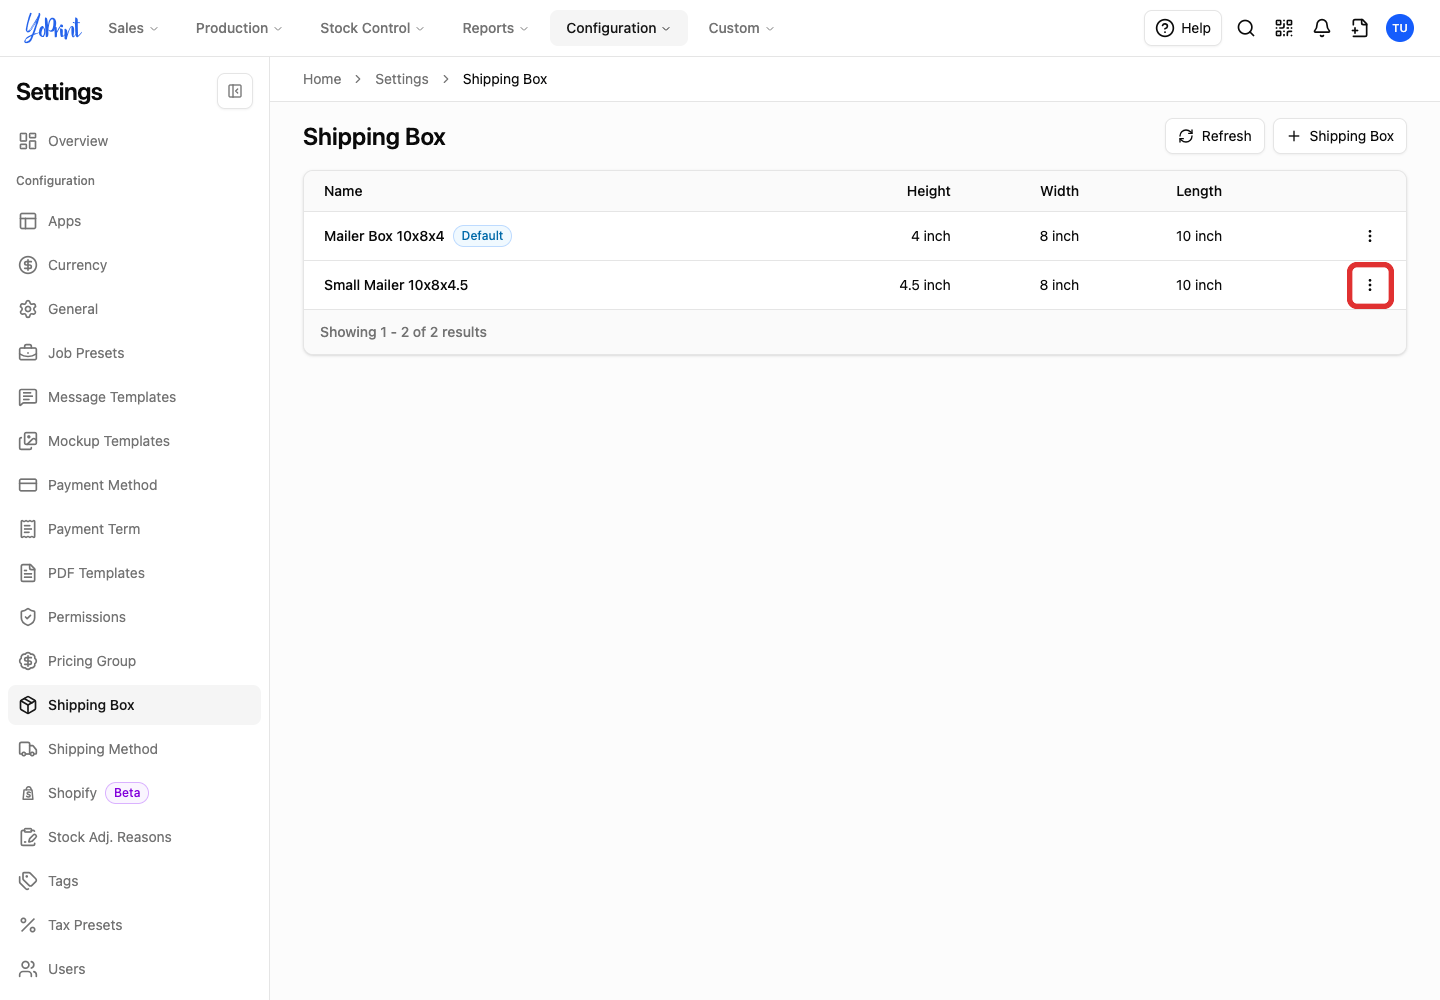
Open More actions for the box you want to use as the default.
-
Choose Set as Default.
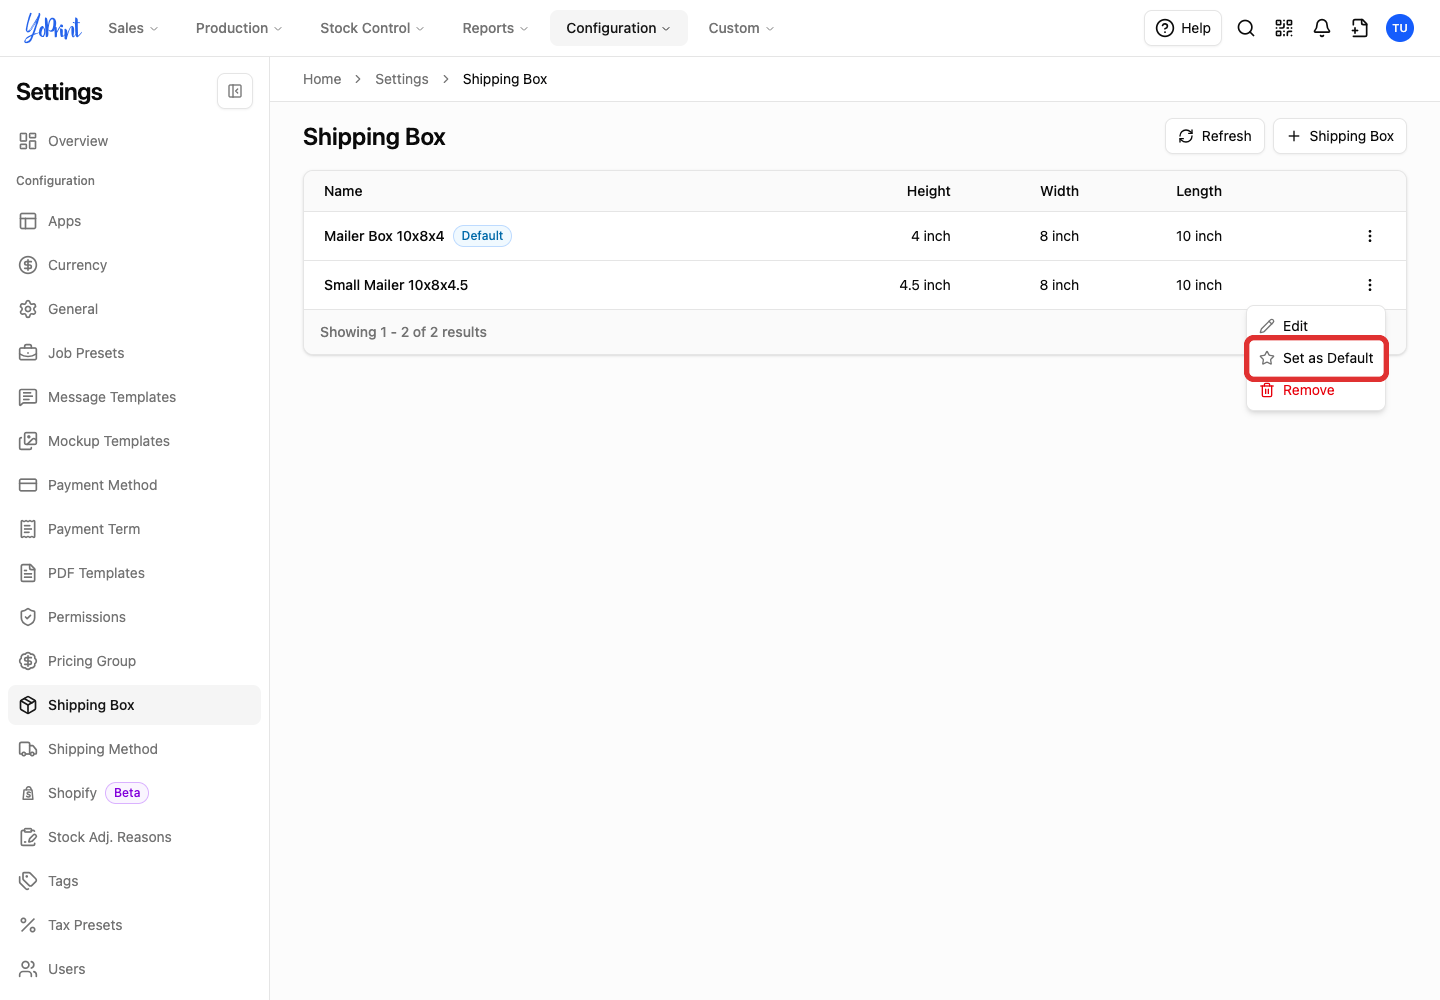
-
Check that Default appears beside that box’s name.
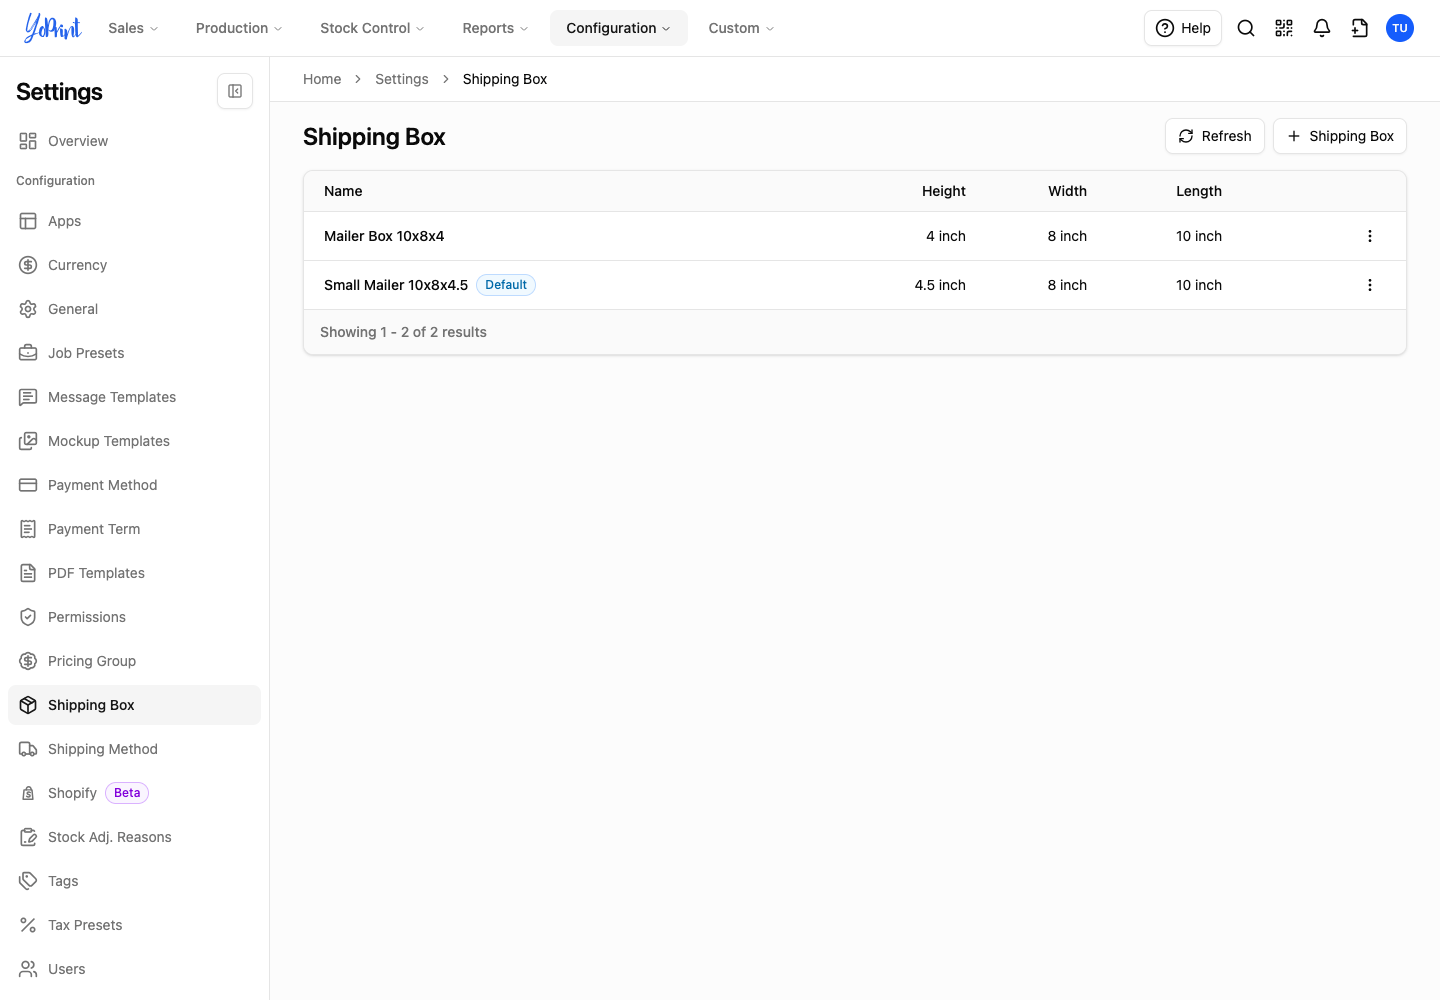
The previous box loses its Default badge. YoPrint changes the default without a confirmation dialog.
Remove a shipping box
You cannot remove the default box. Make another box the default first. If you have only the default box, add another box before changing the default.
-
Open More actions for the box you want to remove.
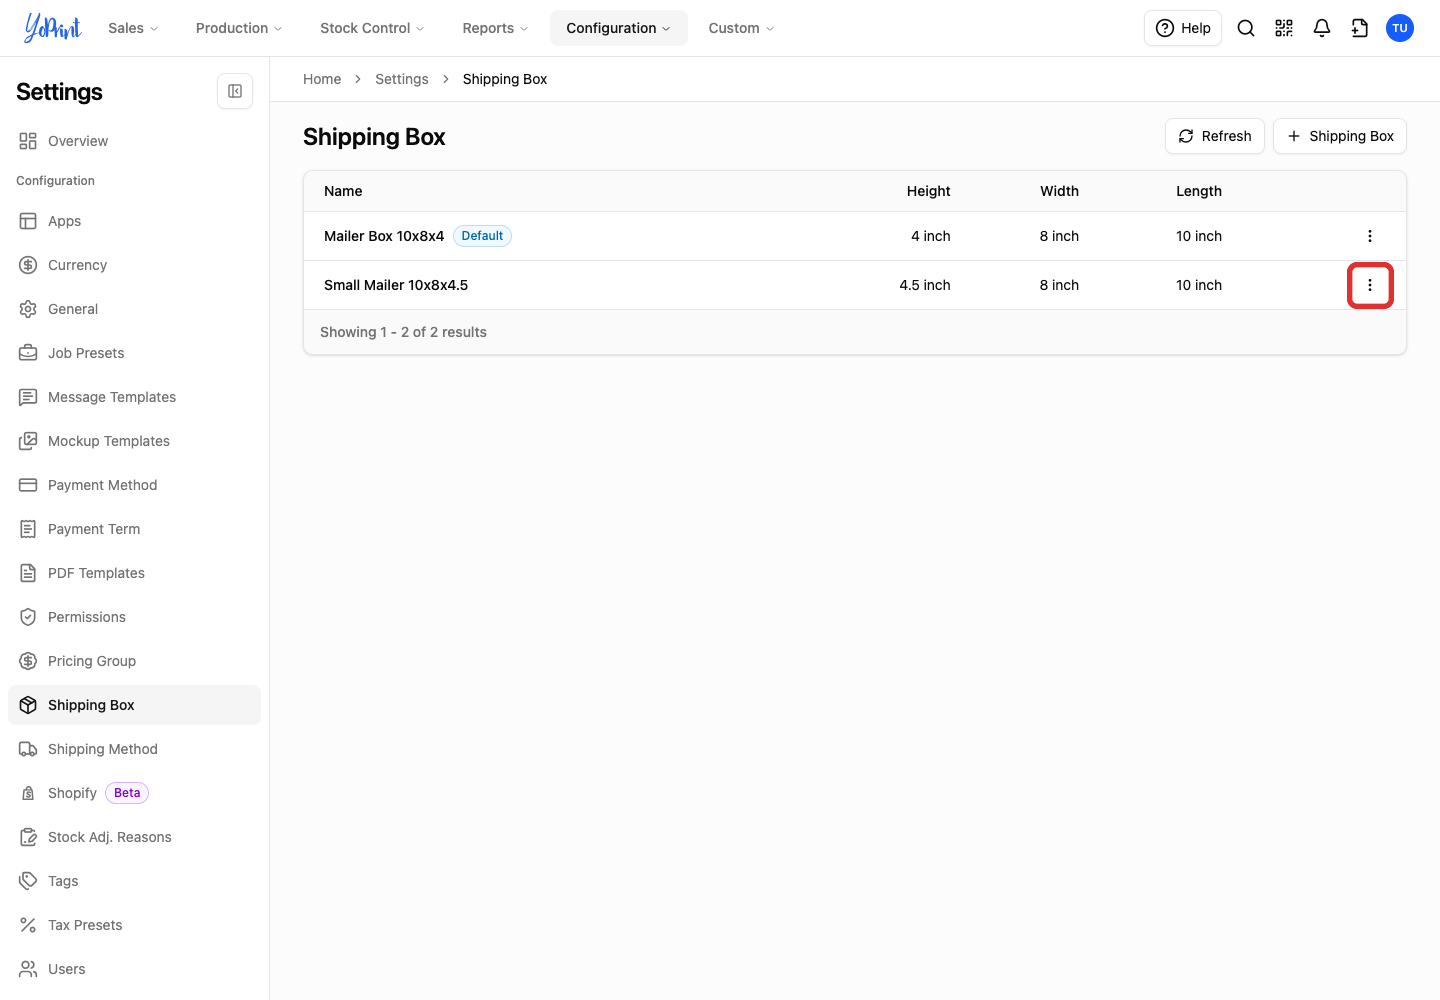
-
Choose Remove.
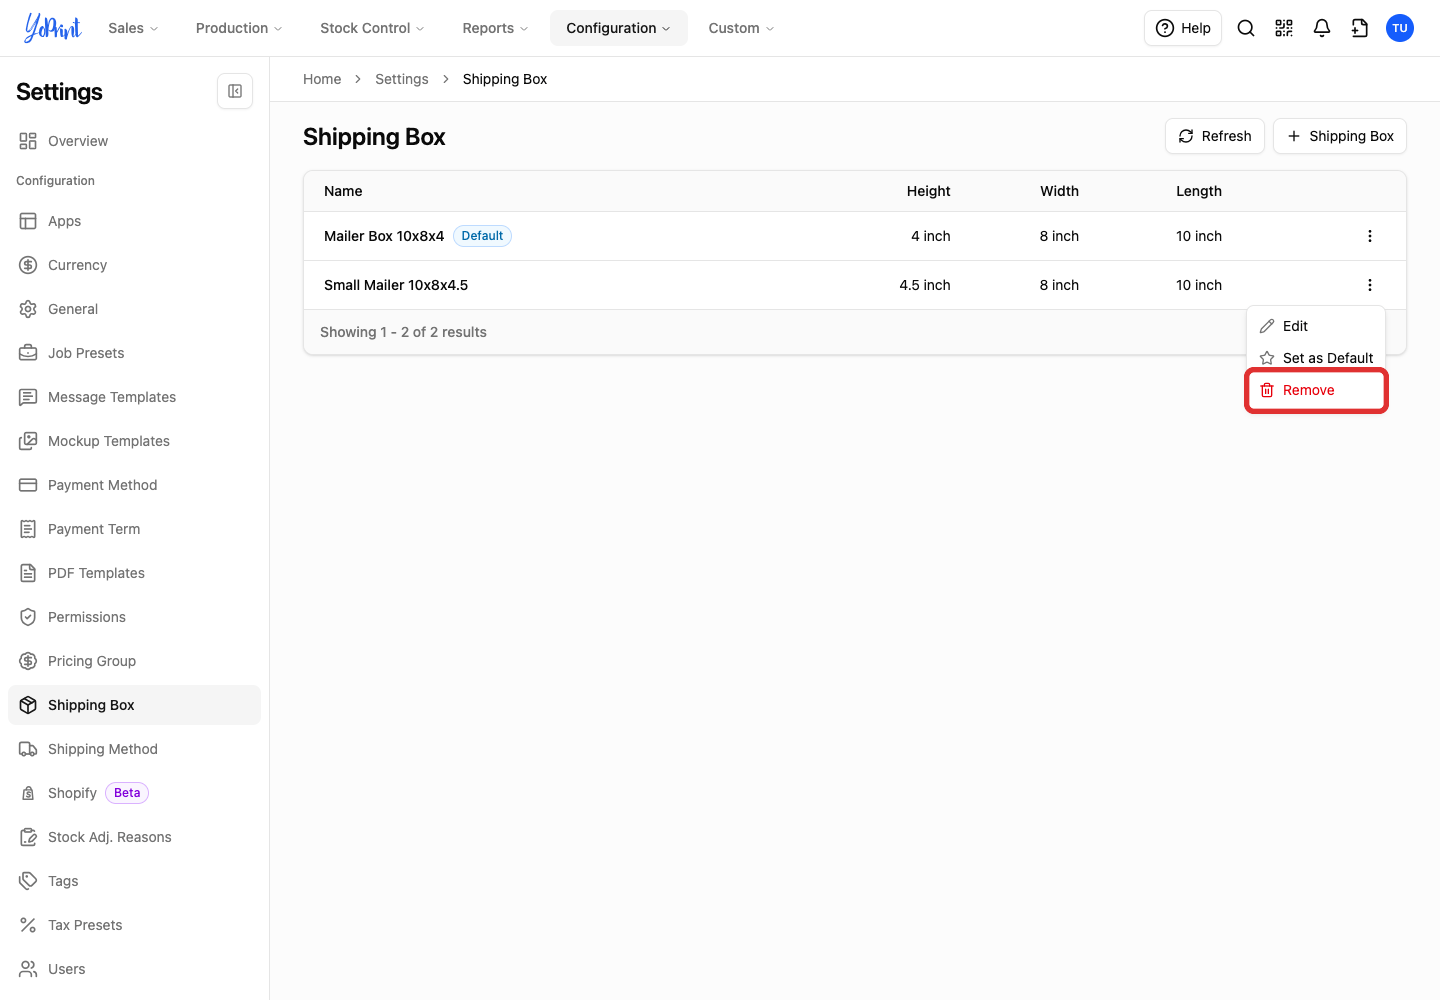
-
Check the box name in the confirmation dialog, then click Remove.
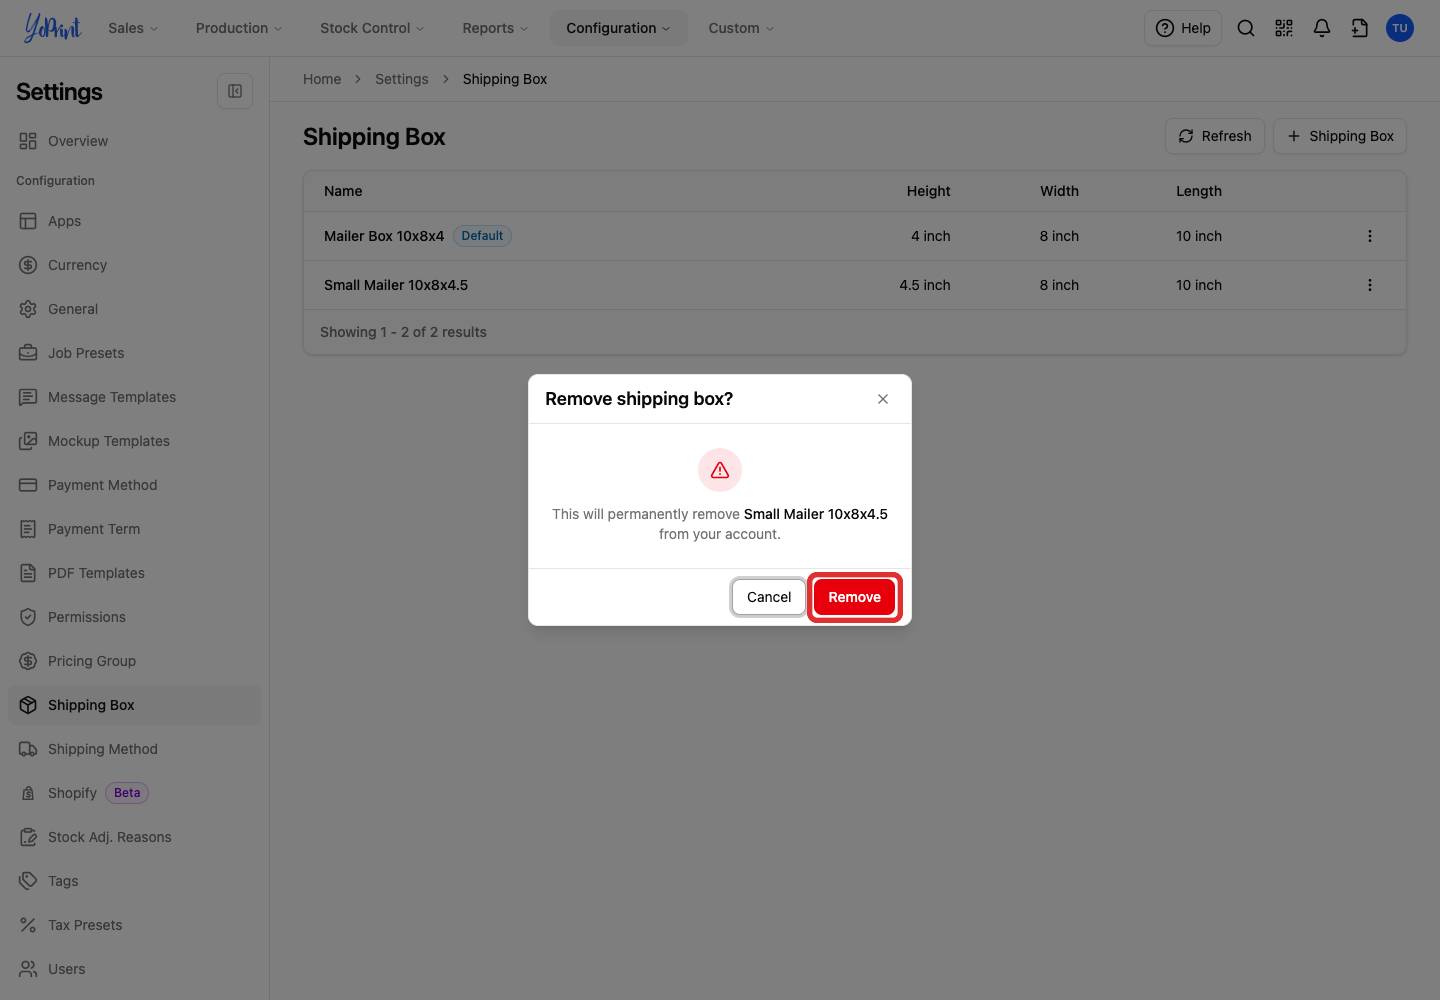
Click Cancel to keep the box. Removing a box is permanent. You can add its measurements again later if you need it.
For package selection, actual parcel weight, insurance amounts, rates, and labels, follow How to get shipping rates and create labels.