Creating a Sales Order
In this article
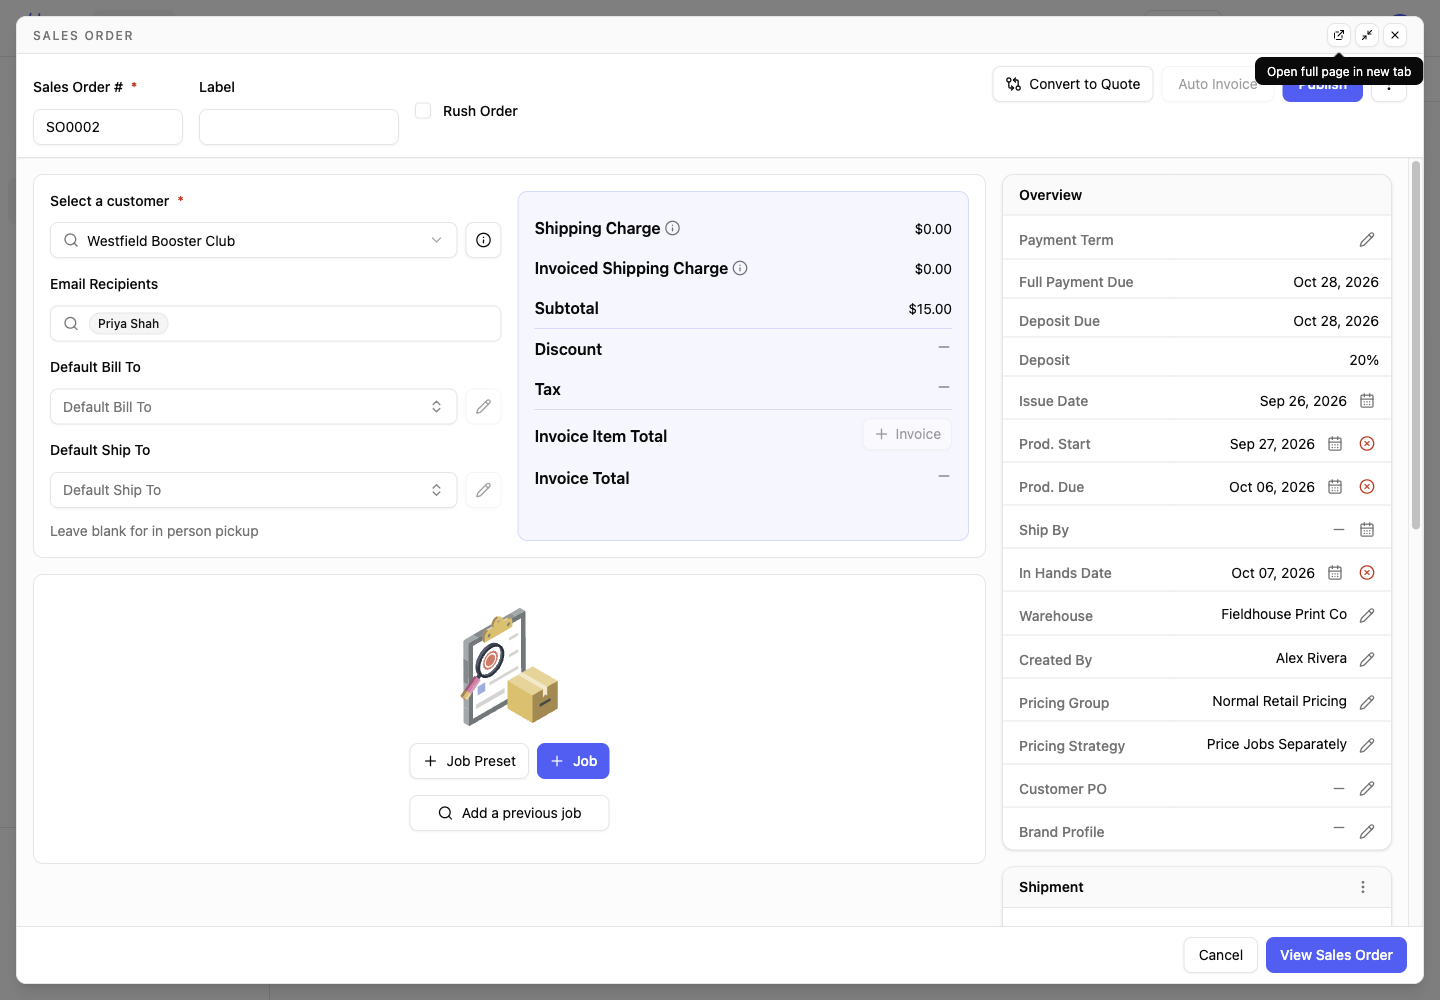
Start a sales order
Navigate to Sales > Sales Orders to open your sales orders list.
-
Click + Sales Order.
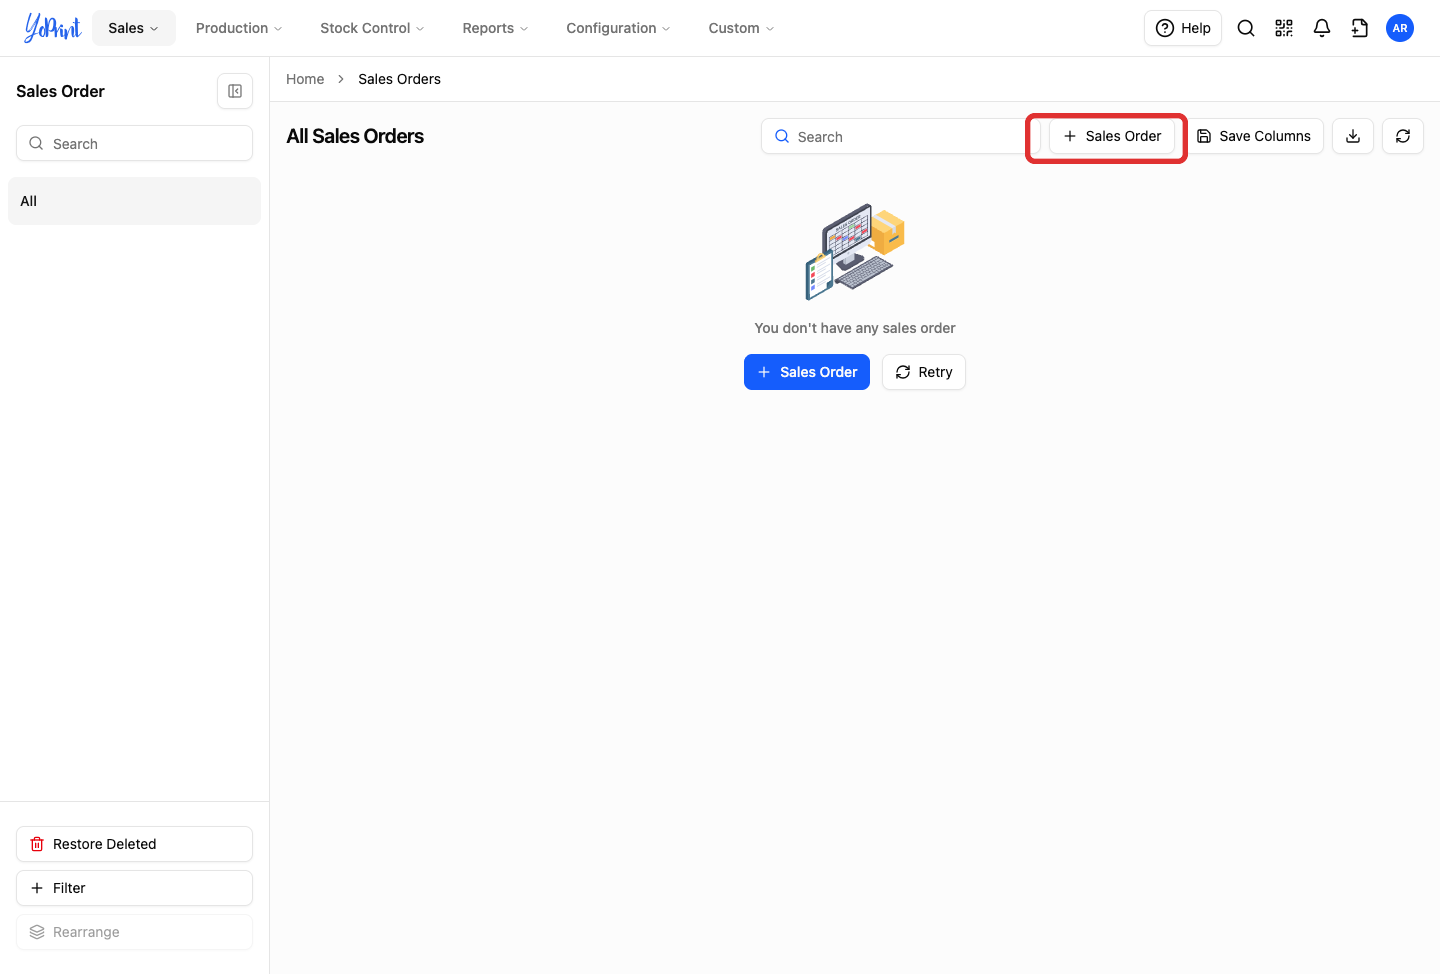
YoPrint creates the draft order immediately and assigns the order number.
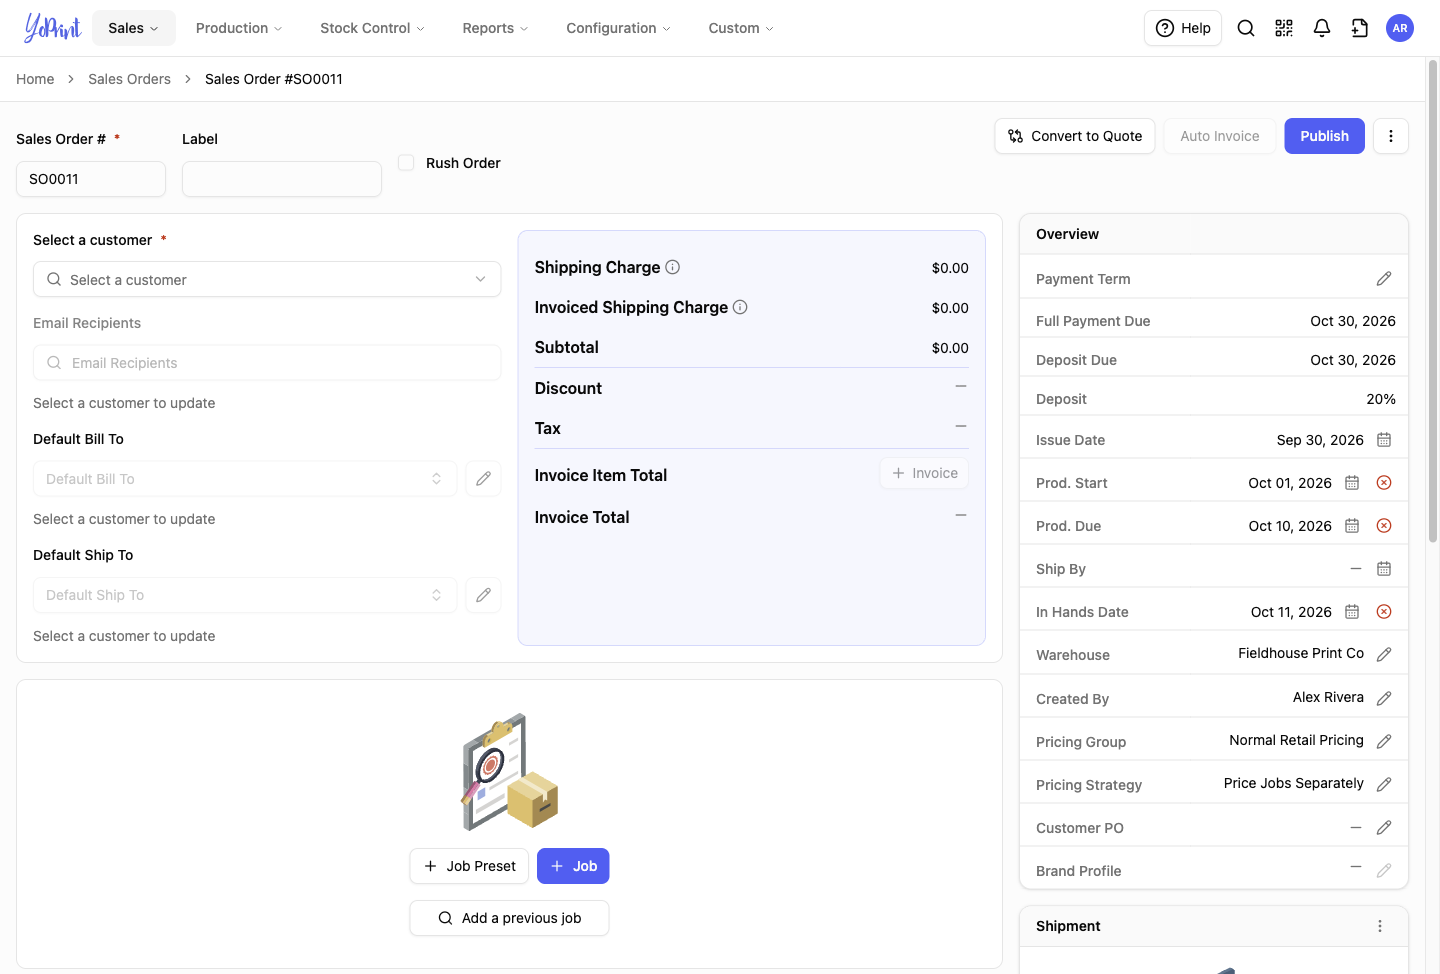
Enter an optional Label if your team uses custom order labels to identify the order across your lists.
Choose the customer
-
Select the customer in the Customer search box.
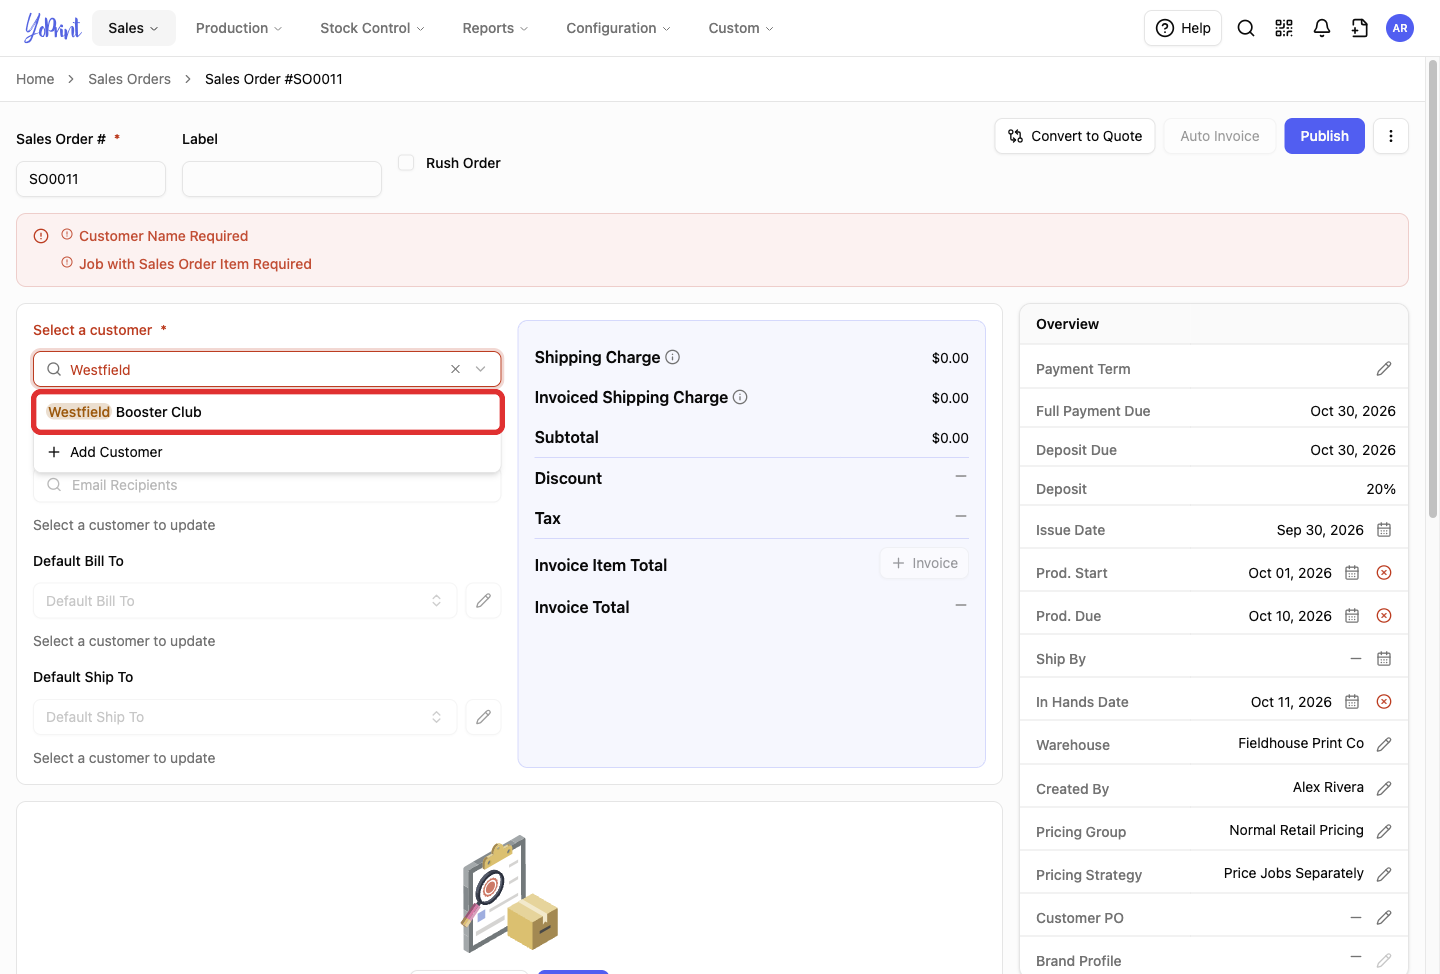
YoPrint adds the customer's primary contact under Email Recipients. That contact receives the order when you send it. Click the contact chip to open the Email Participants window if you need to add or change recipients.
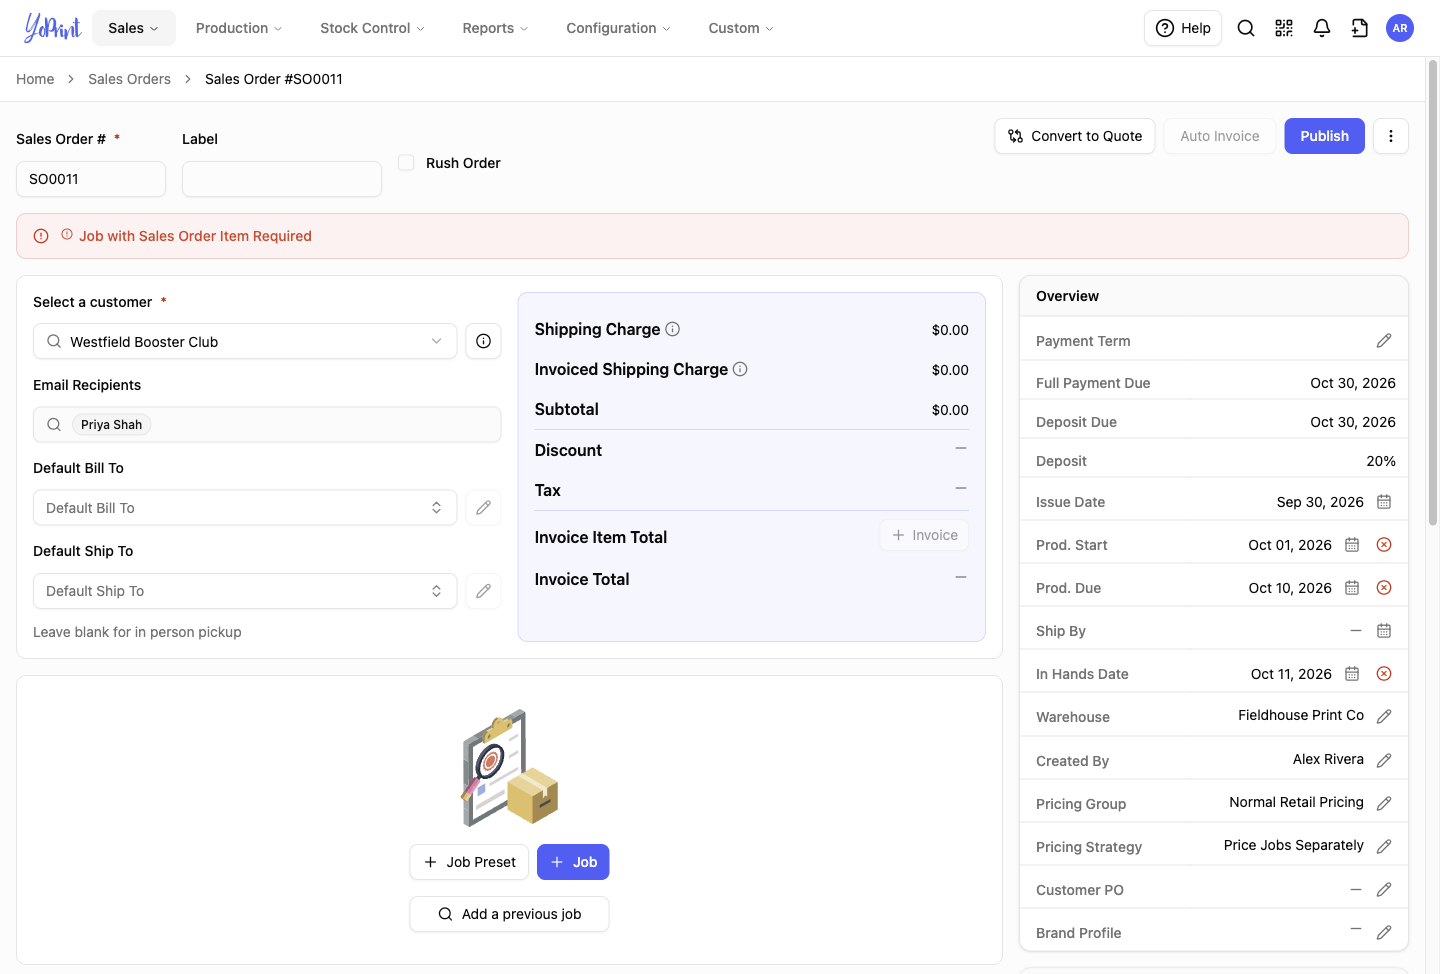
If the customer has an address on file, select it under Default Bill To and Default Ship To. If no address exists, click Add Address in the dropdown to add one directly. Leave Default Ship To blank if the customer will pick up the order in person. You can publish without either address.
Starting from a quote
Click Convert to Quote if this draft should be a quote instead. To create a quote from scratch, see Create a Quote. To compare both document types, see Key Differences Between Quotes and Sales Orders.
Add a job
A job groups related products, decorations, and services for one part of the order. For example, print front and back graphics on T-shirts under one job. If the order also includes embroidered caps, add a second job for the caps so your shop can schedule and track them separately.
Publishing requires a customer and a job with at least one line item. If you click Publish before adding them, YoPrint displays a warning banner stating what is missing (such as Job with Sales Order Item Required).

-
Click + Job.
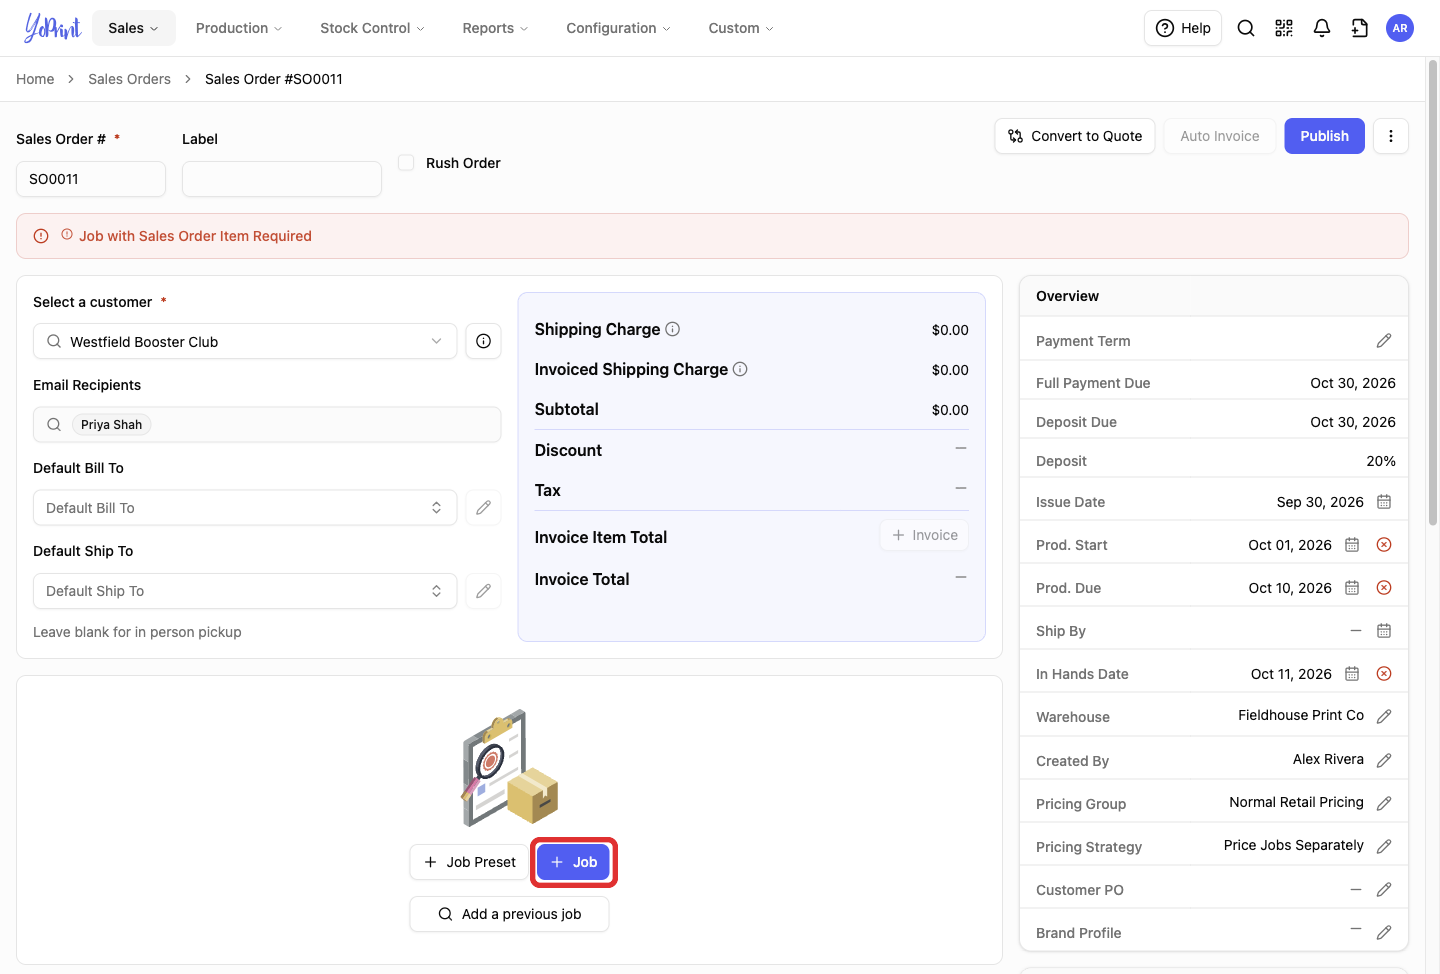
Click + Job Preset if you want to create the job from an existing preset. Job presets are saved templates configured under Settings that pre-fill reusable job details, services, and tasks.
-
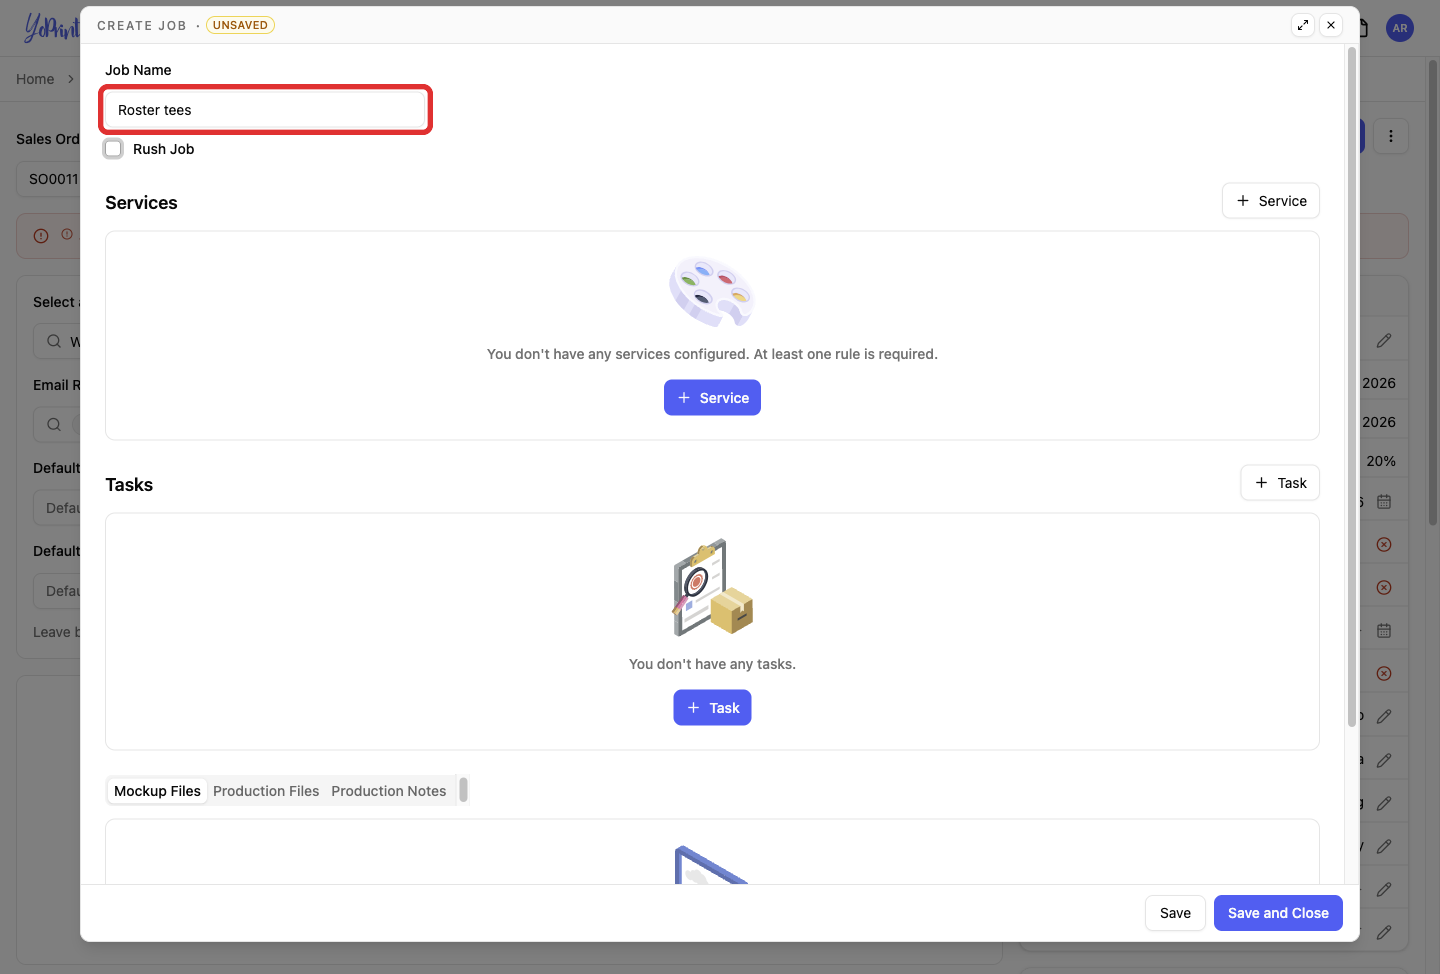
Enter a descriptive name in Job Name. Customers see this name on the order and customer portal.
-
Click Save and Close.
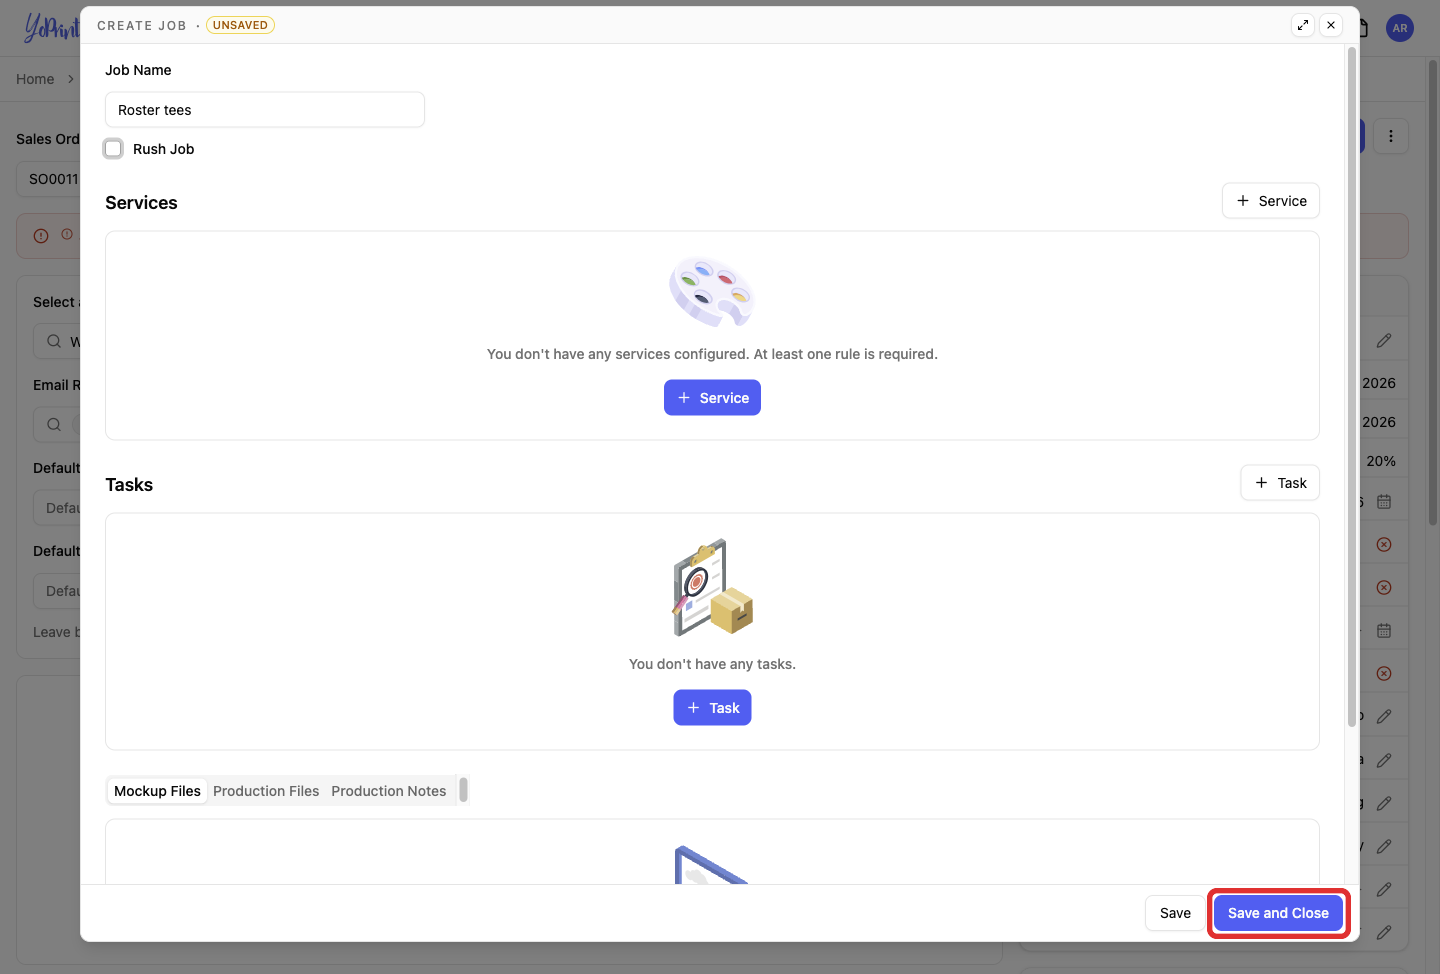
Print decorations (such as screen printing, direct-to-film, or embroidery) are added as services to the job to calculate pricing and track production. Services, tasks, mockup files, and production files belong to the job. You can add them now or later during production; they are not required to publish. To learn more about files, see Mockup vs Production Files and How to access the Mockup Creator.
Add a product
-
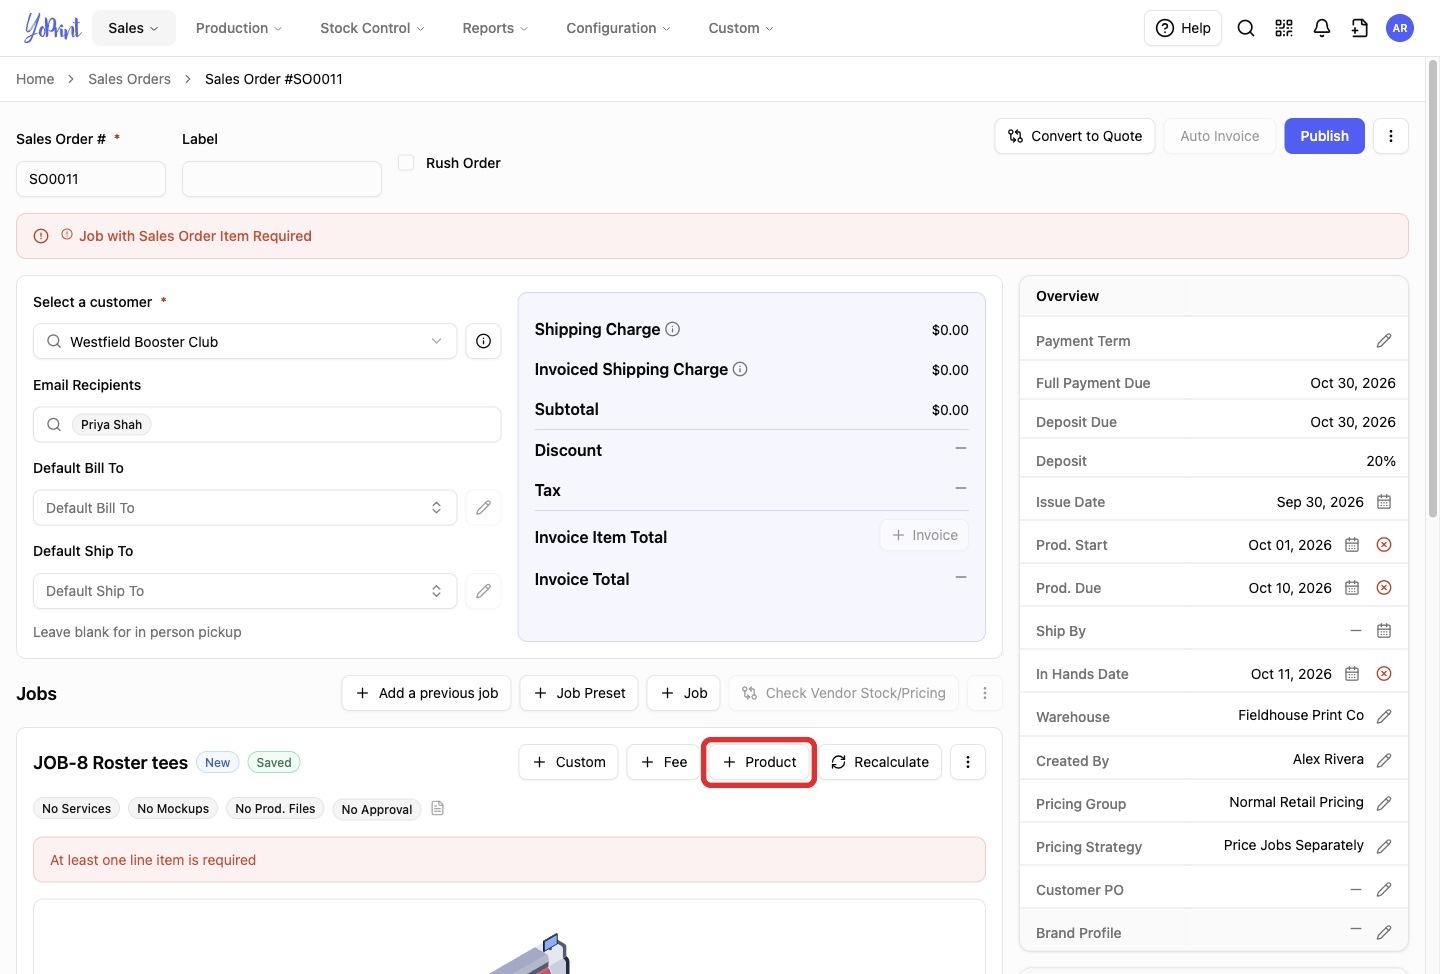
Click + Product on the job toolbar.
-
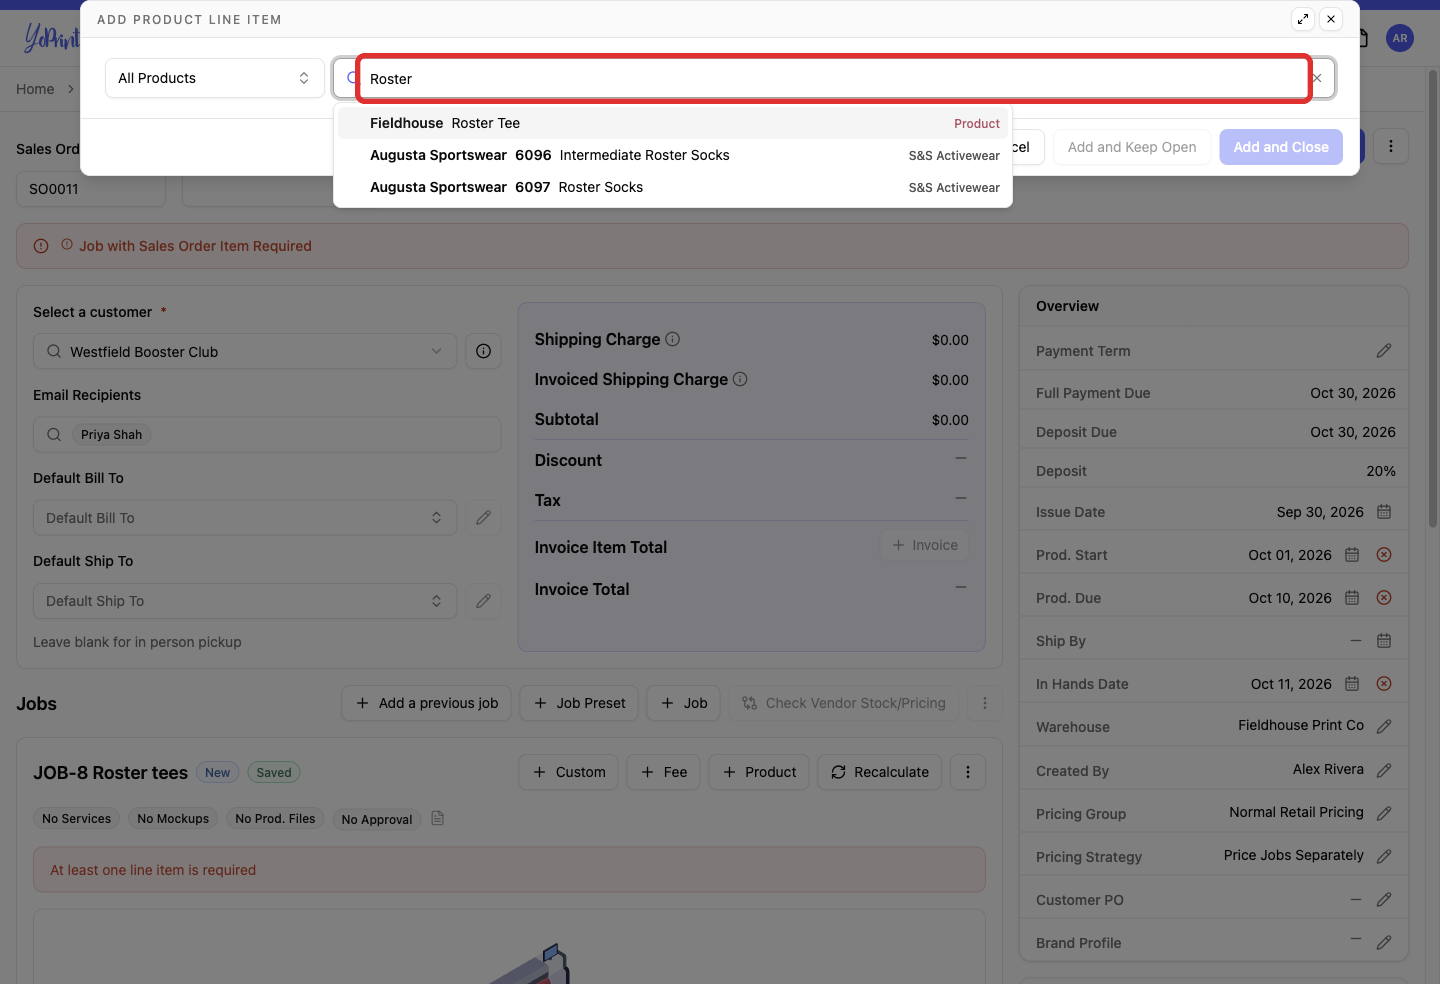
Search for the product by typing its name or SKU in the search bar.
-
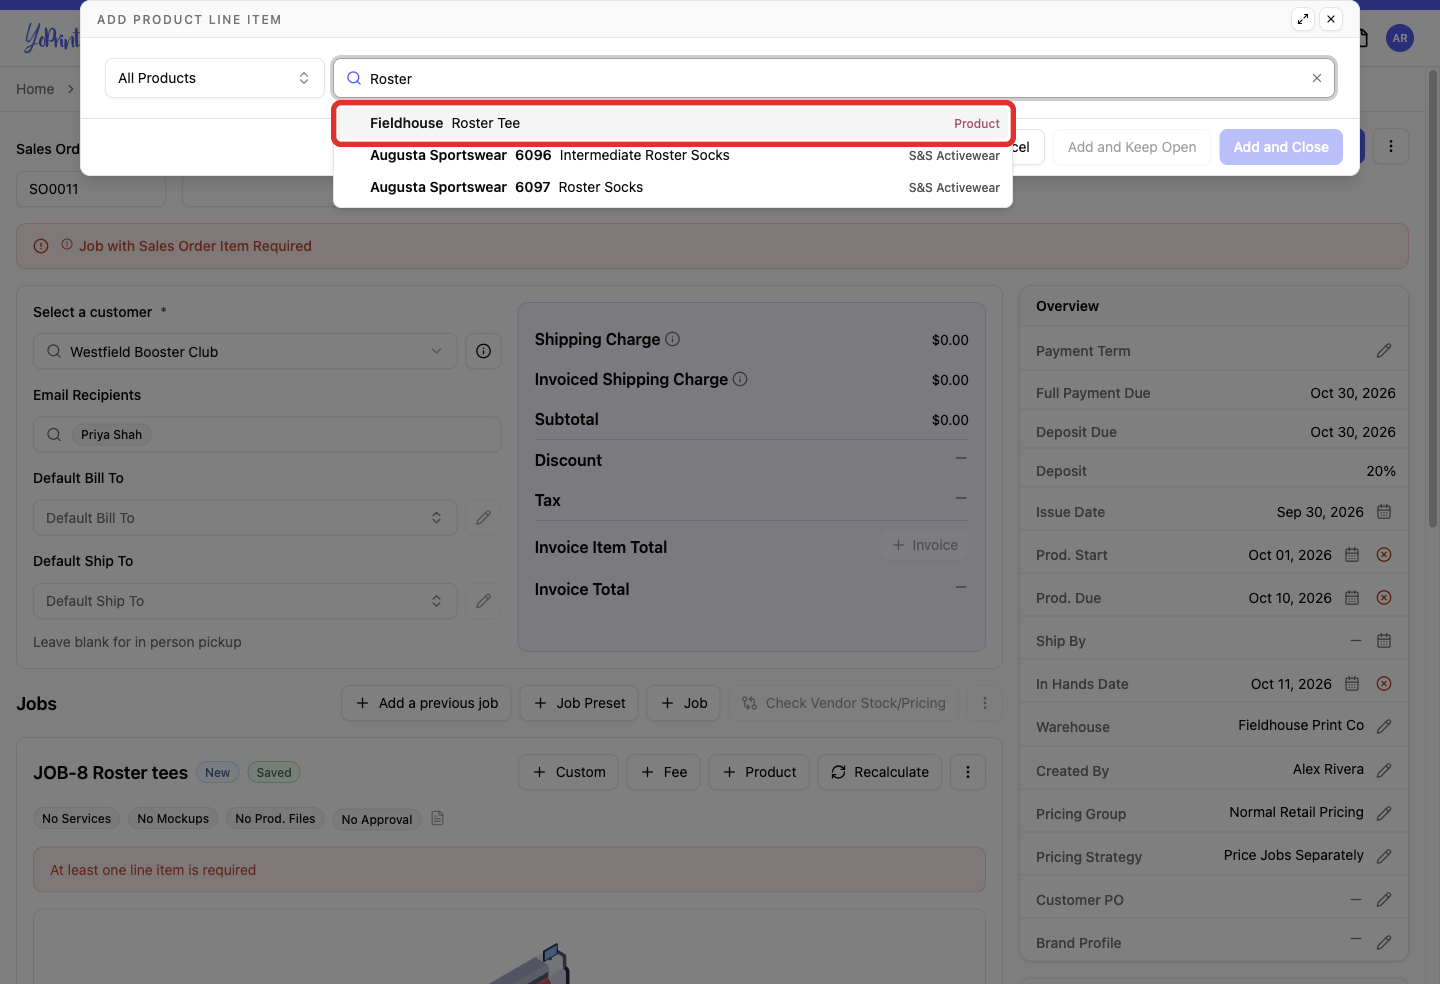
Select the product from the search results.
-
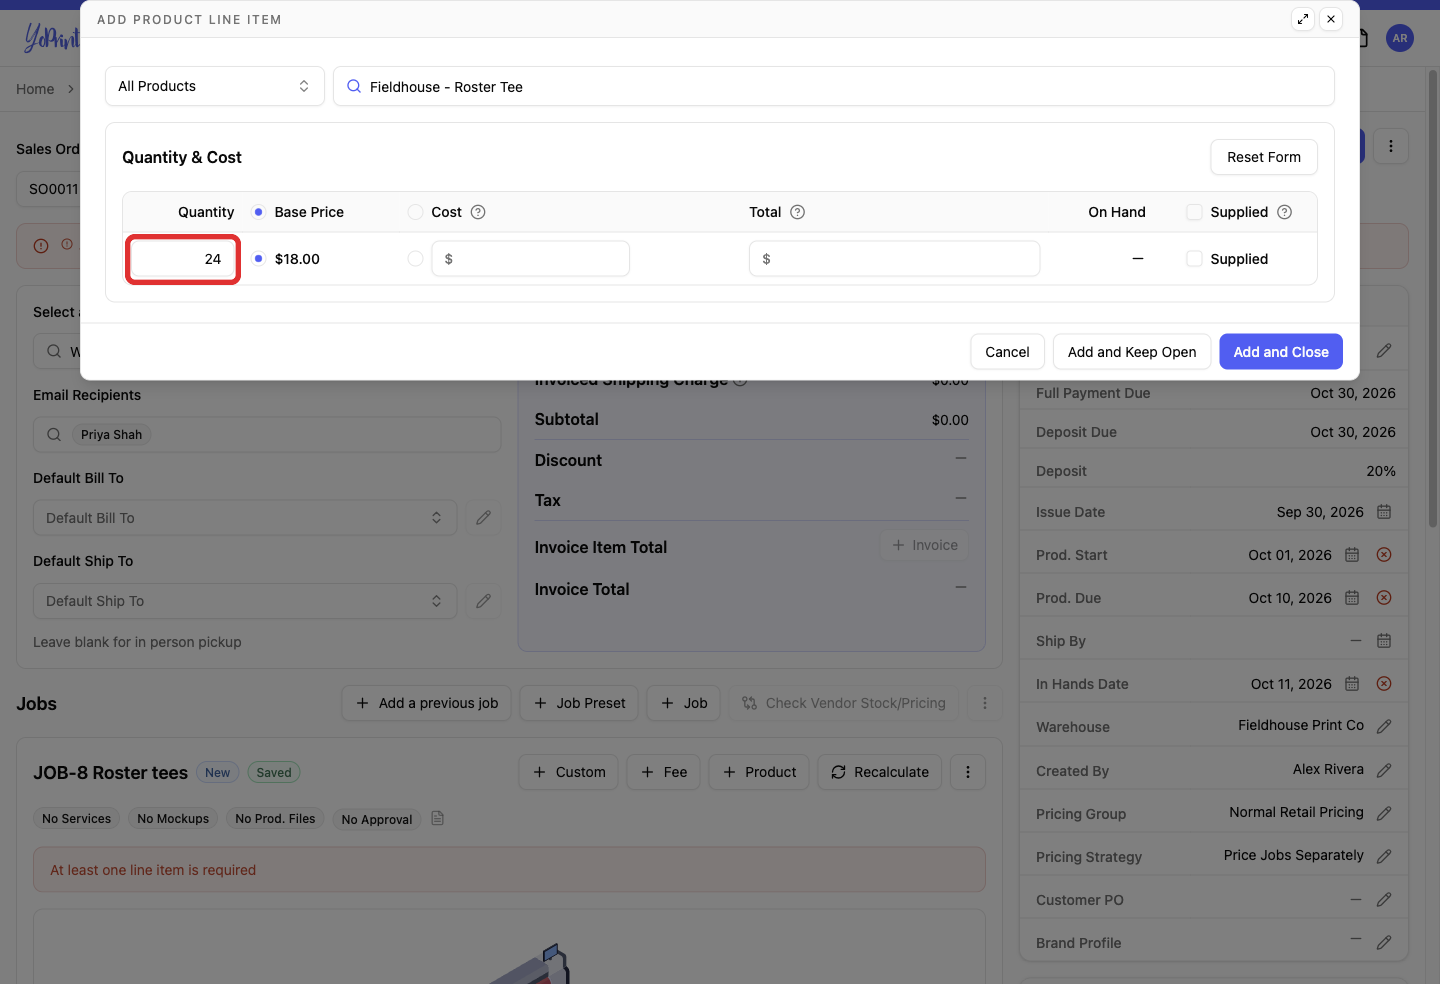
Enter the quantity in Quantity.
-
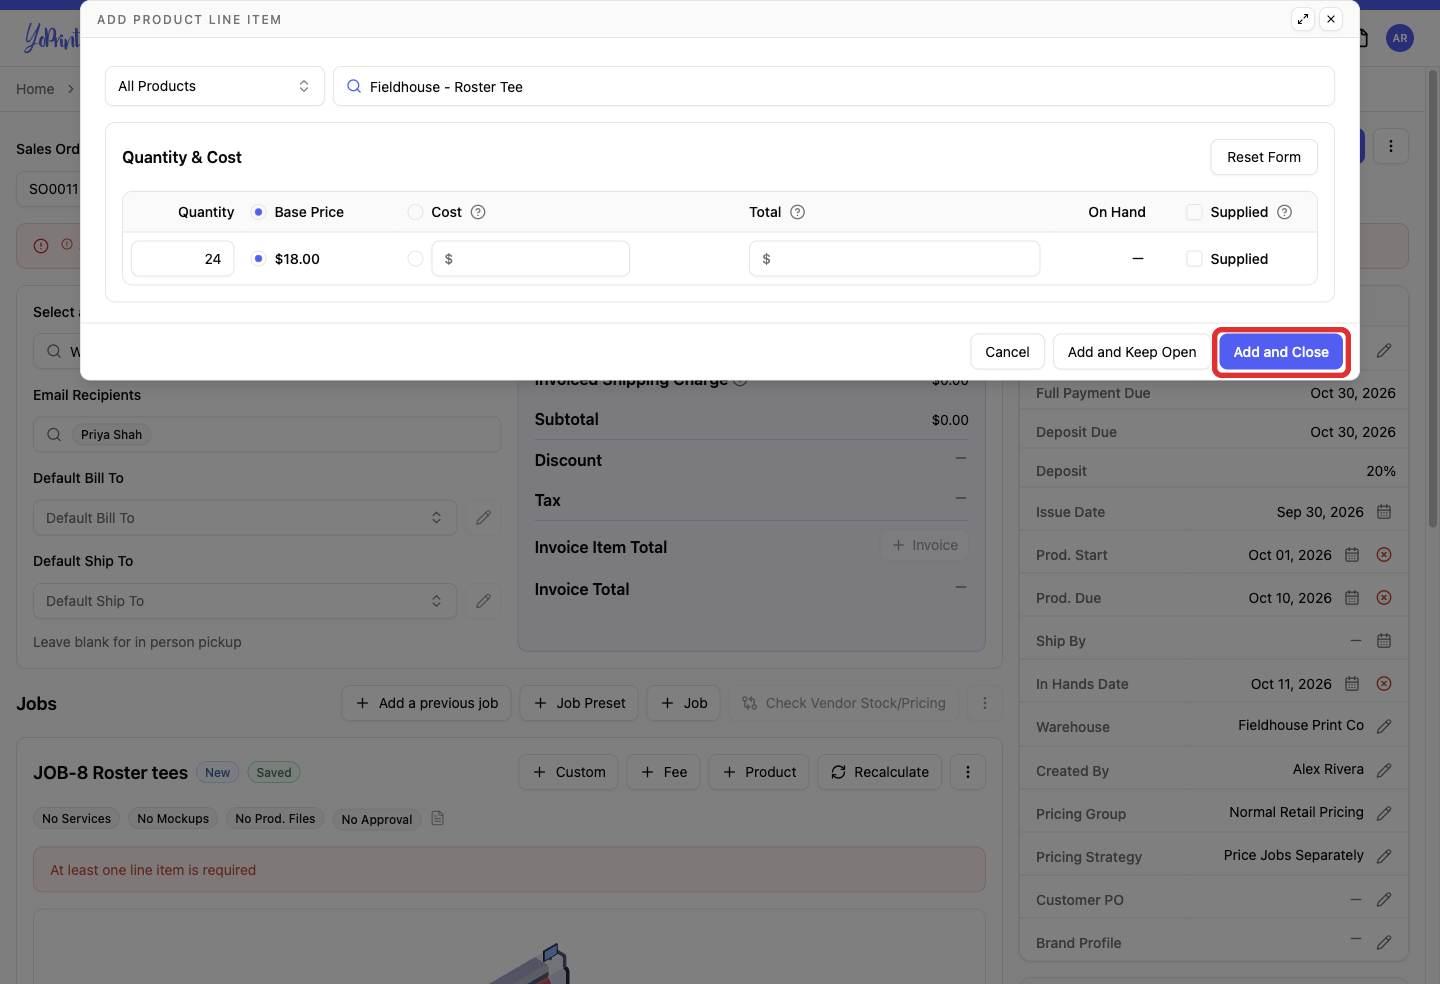
Click Add and Close.
-
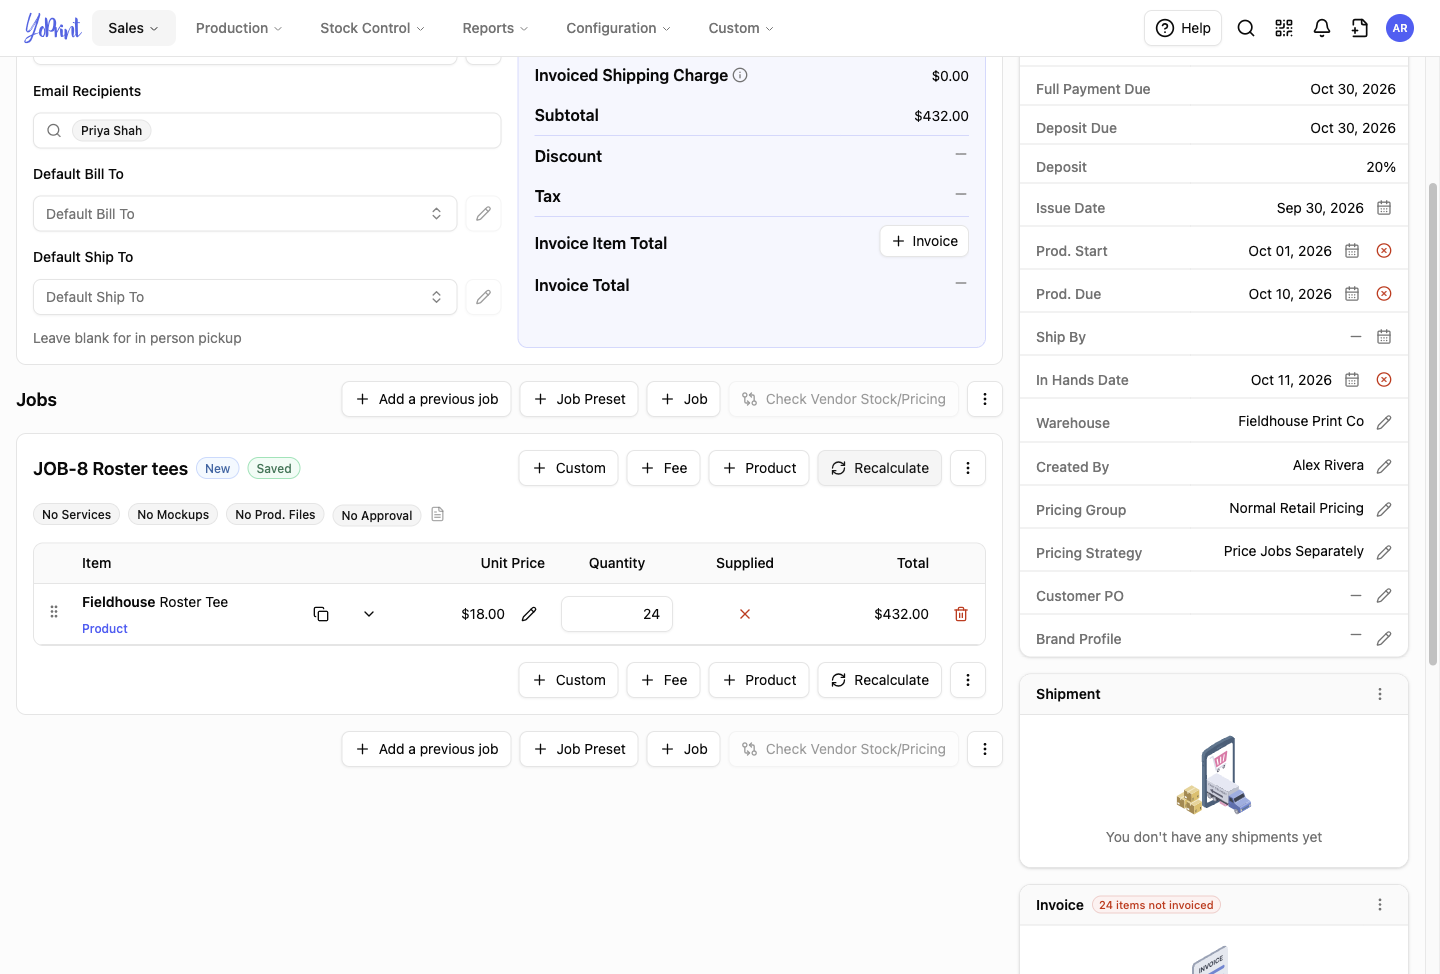
Click Recalculate to calculate pricing and update the order total.
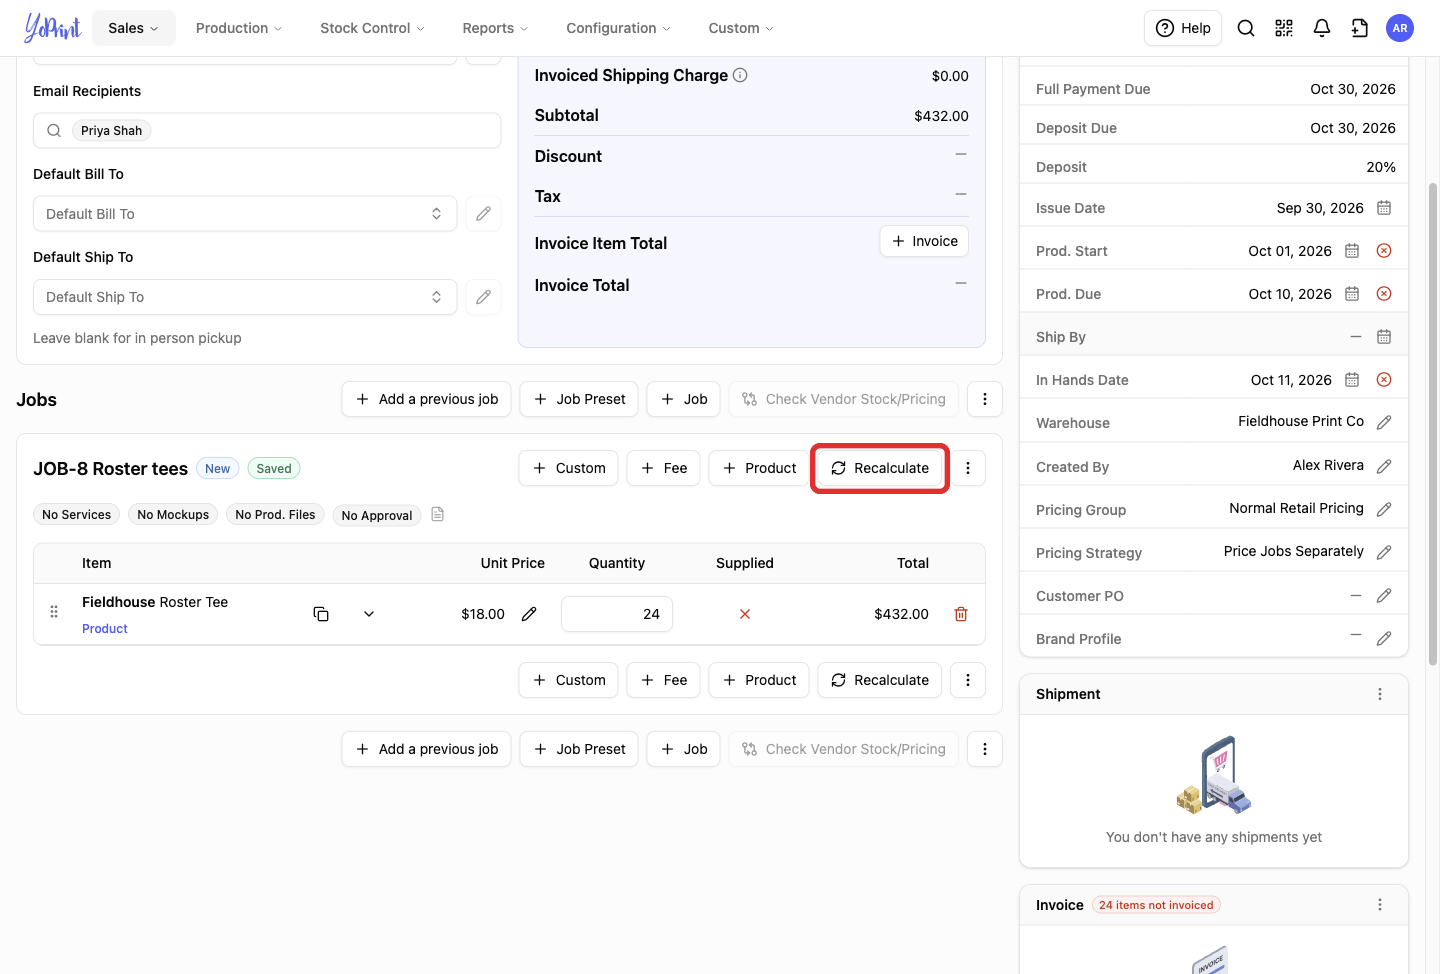
The job shows Saved. The line item displays its unit price and total, and the order subtotal updates.
To check live supplier inventory and pricing for catalog items, click Check Vendor Stock/Pricing on the job. This button activates when your order includes items from integrated supplier catalogs (such as SanMar or S&S Activewear); it remains disabled for custom or shop-created products. See Using Catalog Integrations and Getting Real-Time Stock and Pricing from Vendor Catalog.
Add a file or other one-off line
Use custom lines to bill for non-catalog items or one-off charges, such as design fees or digital files. (To attach actual file uploads for your production team, use the Mockup Files or Production Files tabs on the job instead.)
-
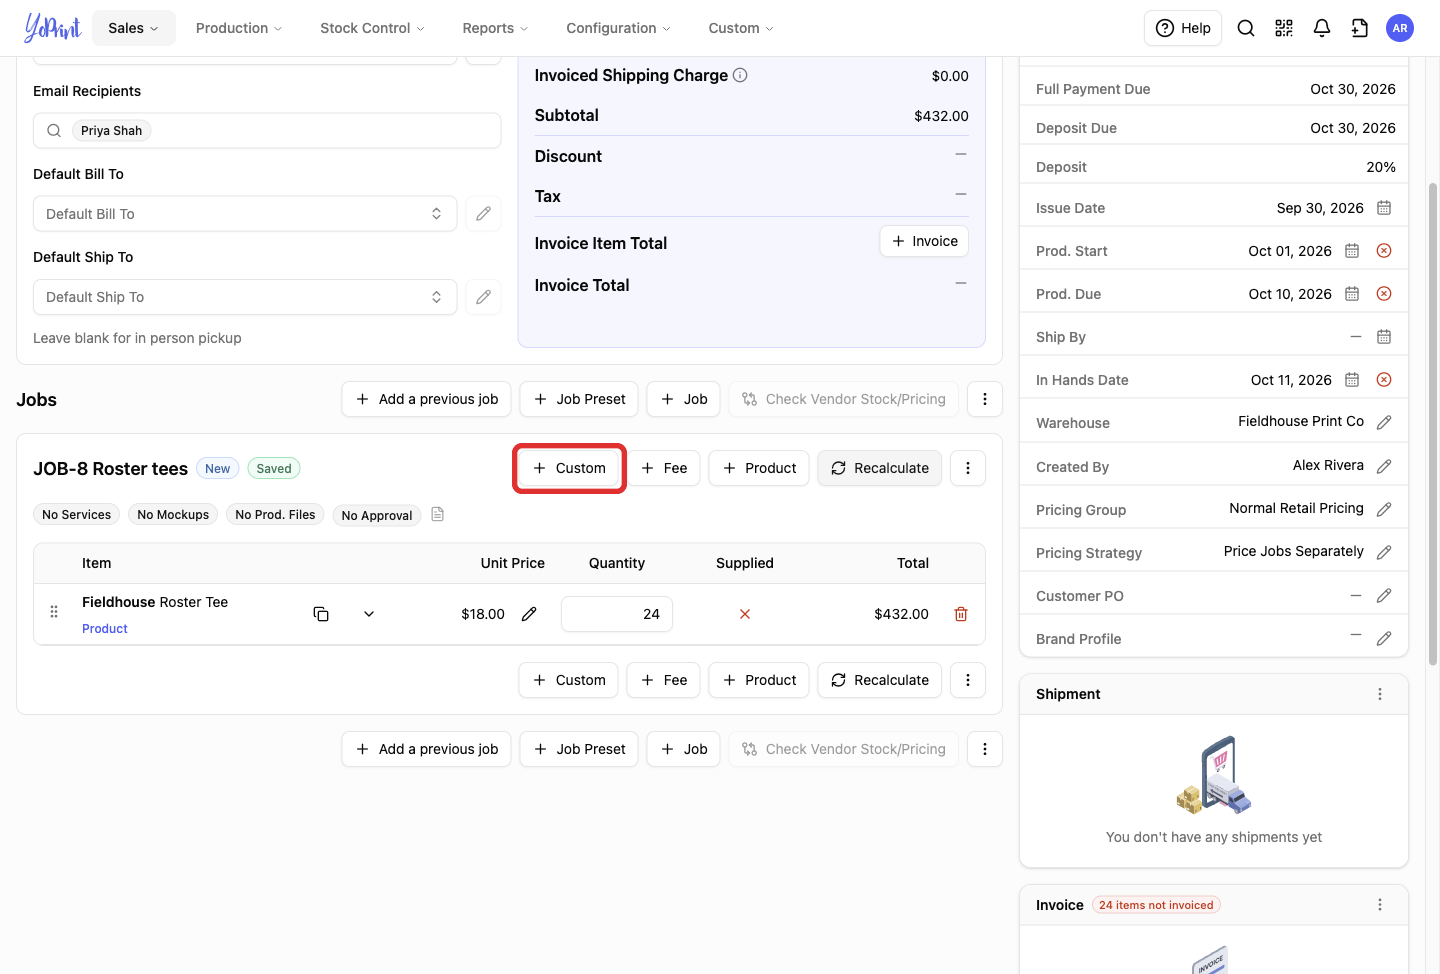
Click + Custom on the job toolbar.
-
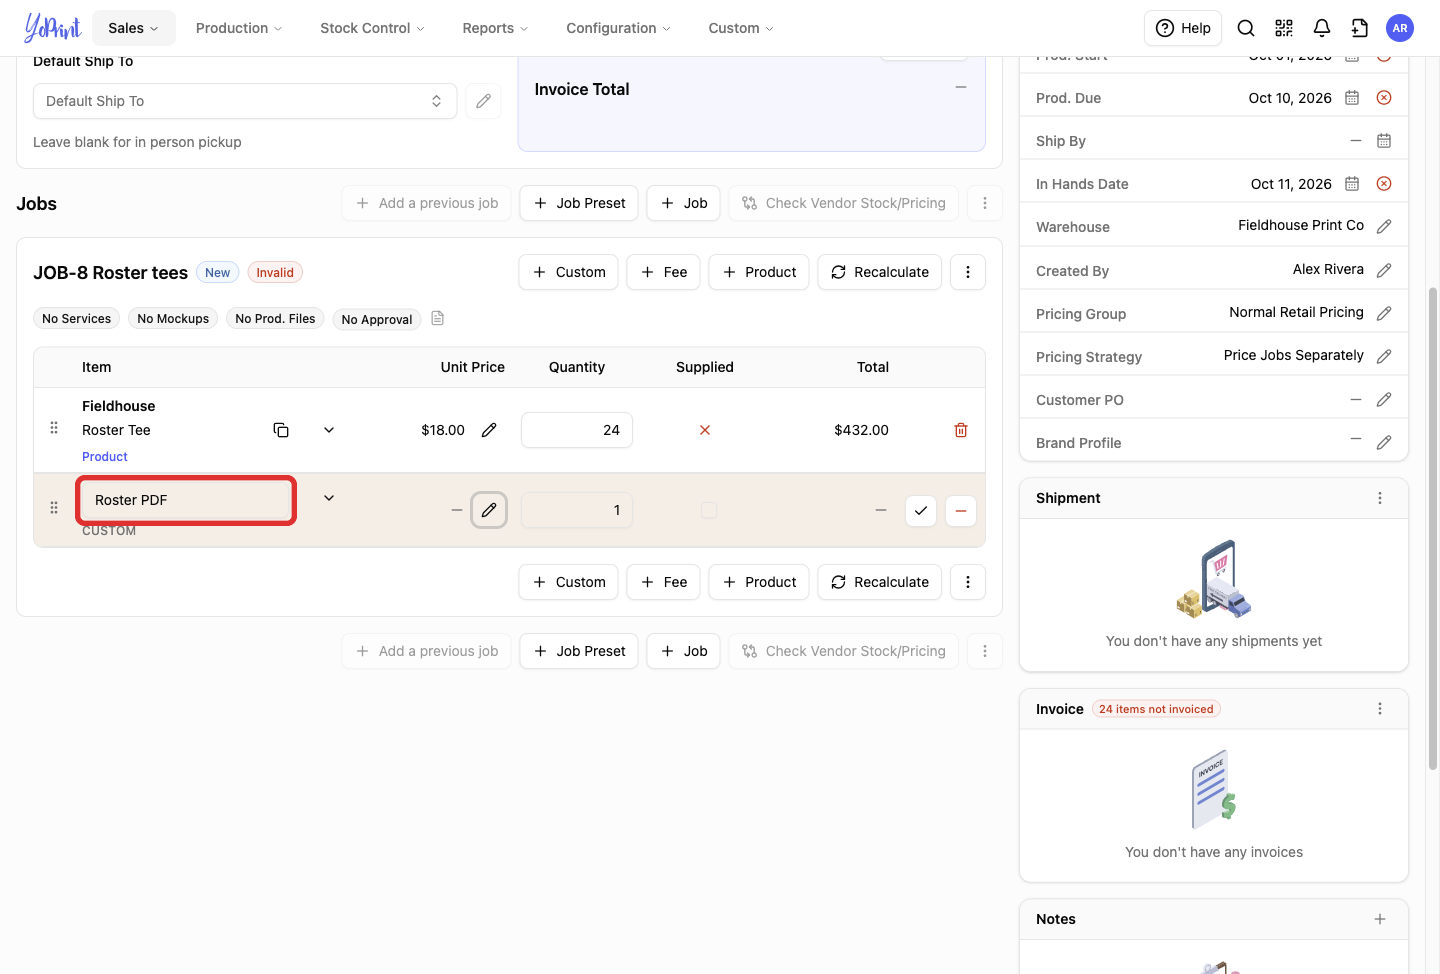
Enter the item name in the Name field under Item.
-
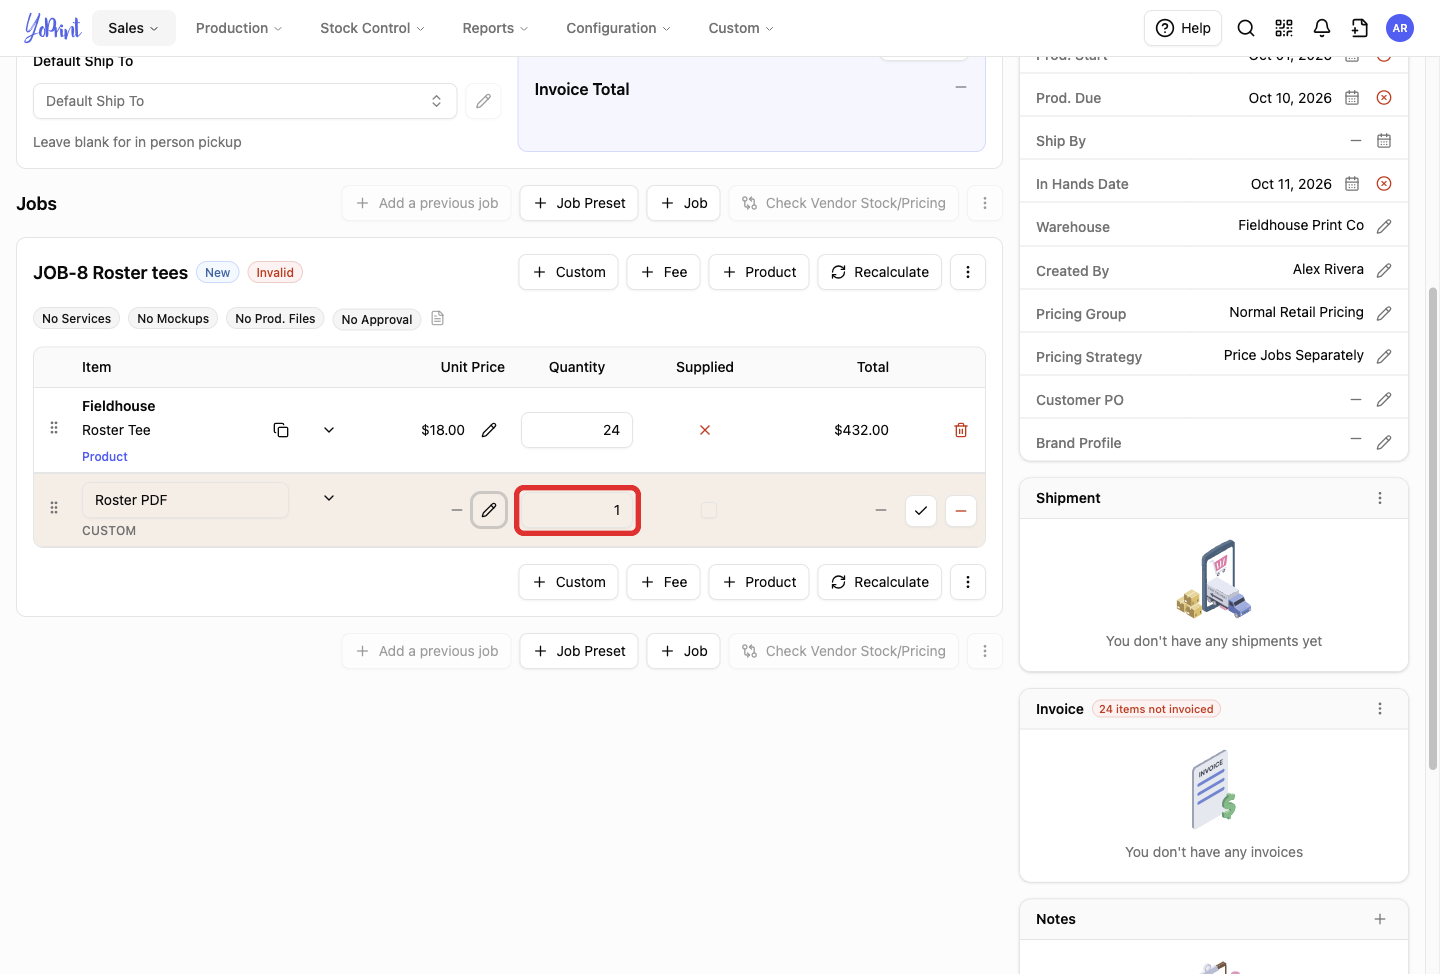
Enter the quantity in Quantity.
-
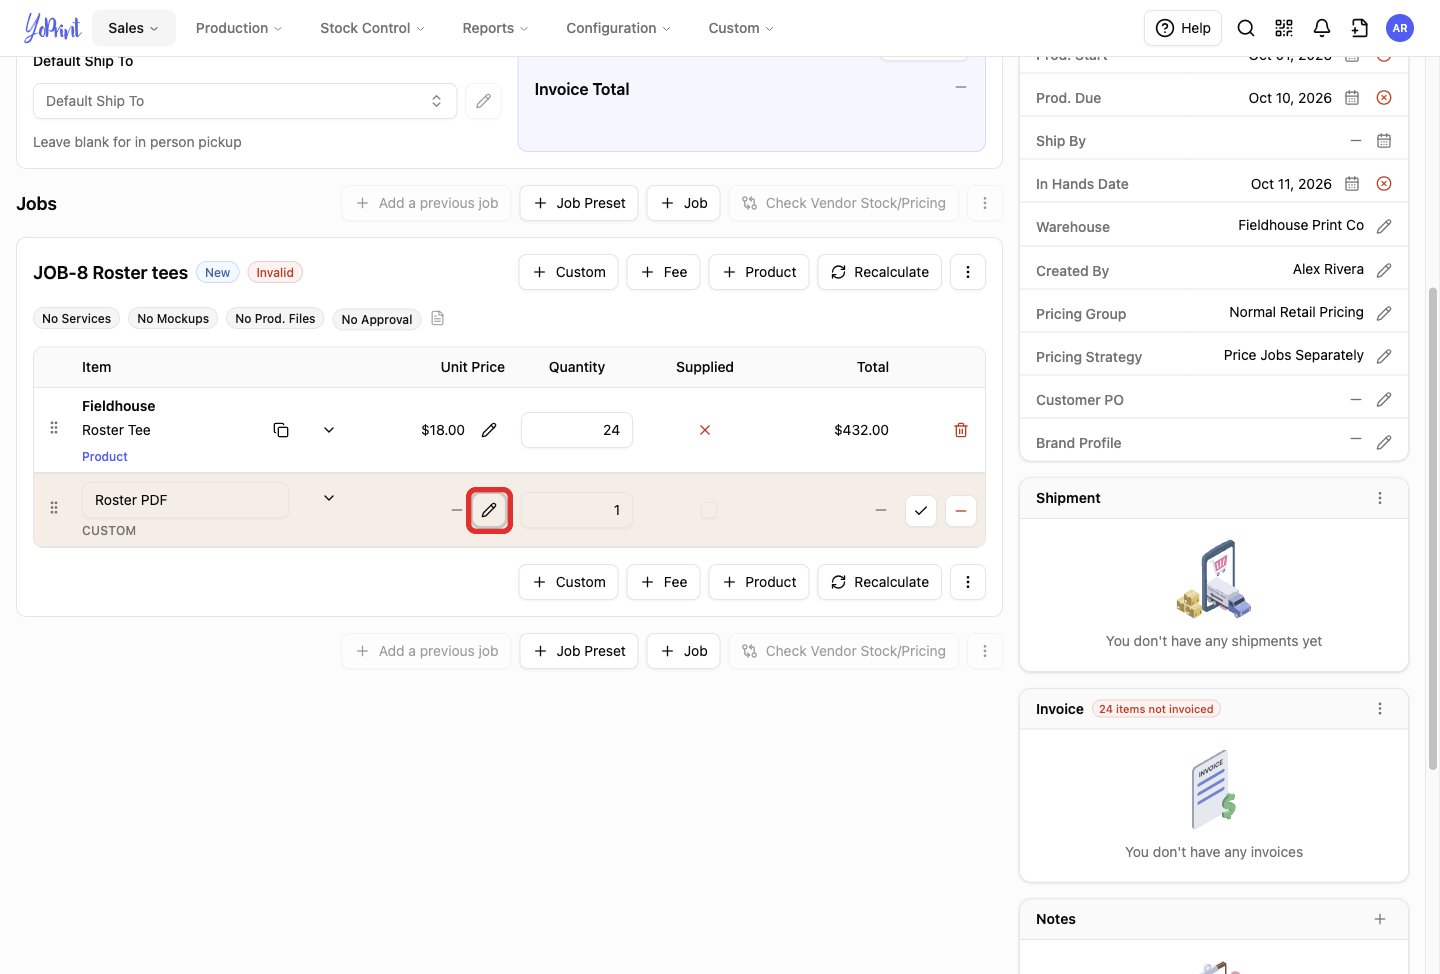
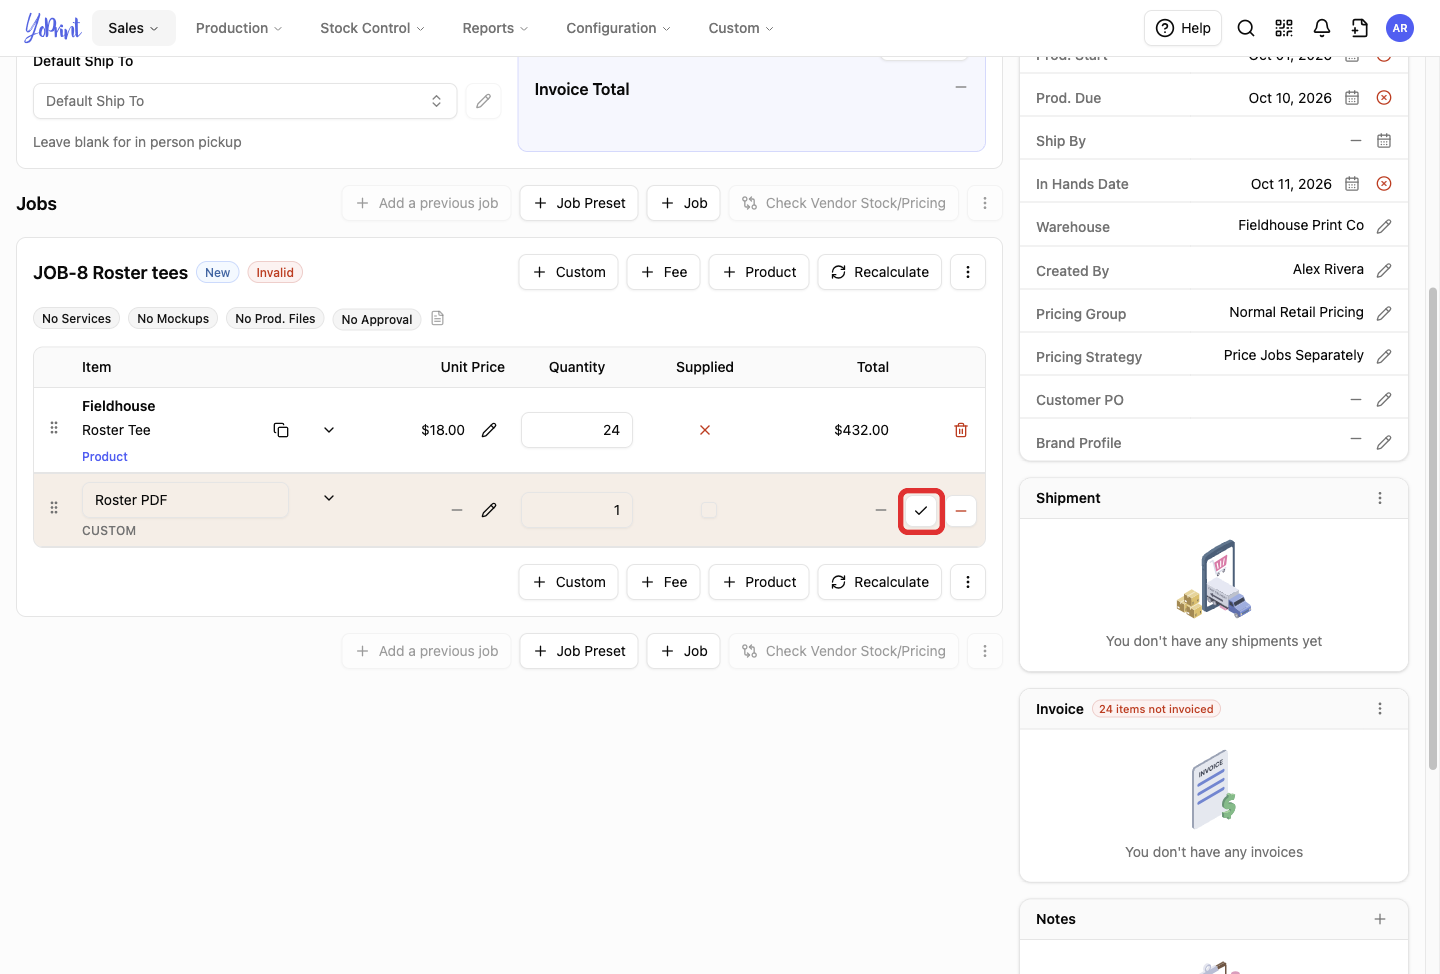
Click the pencil icon next to Unit Price to open the Pricing Override popover.
-
Enter the amount in Product Total.
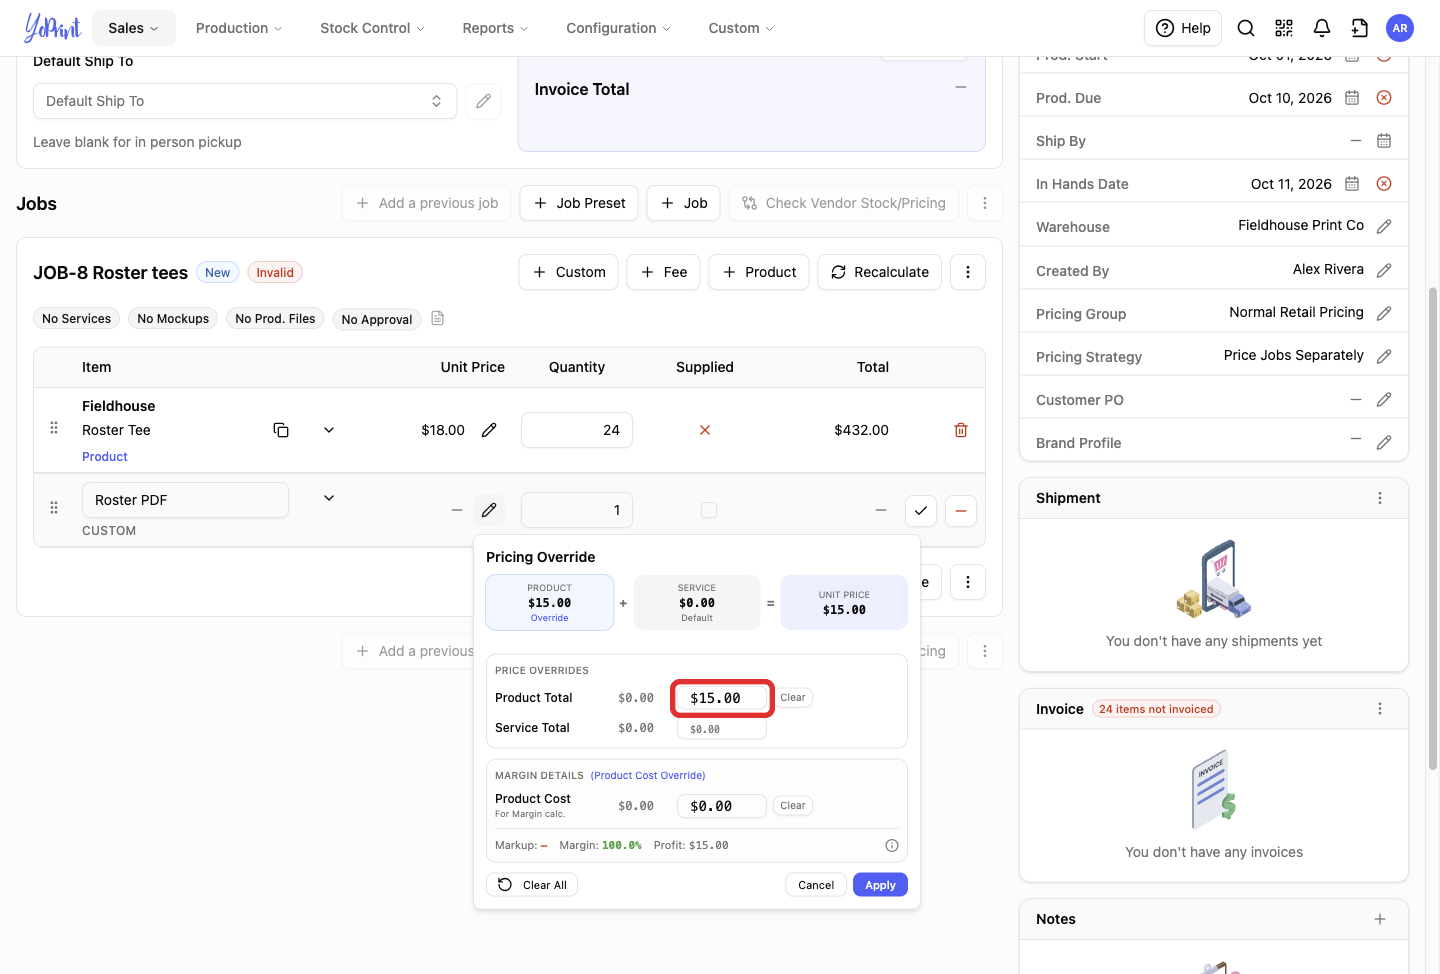
In this popover, Product Total sets the base unit price for the line. YoPrint multiplies this unit price by the quantity to calculate the line total.
-
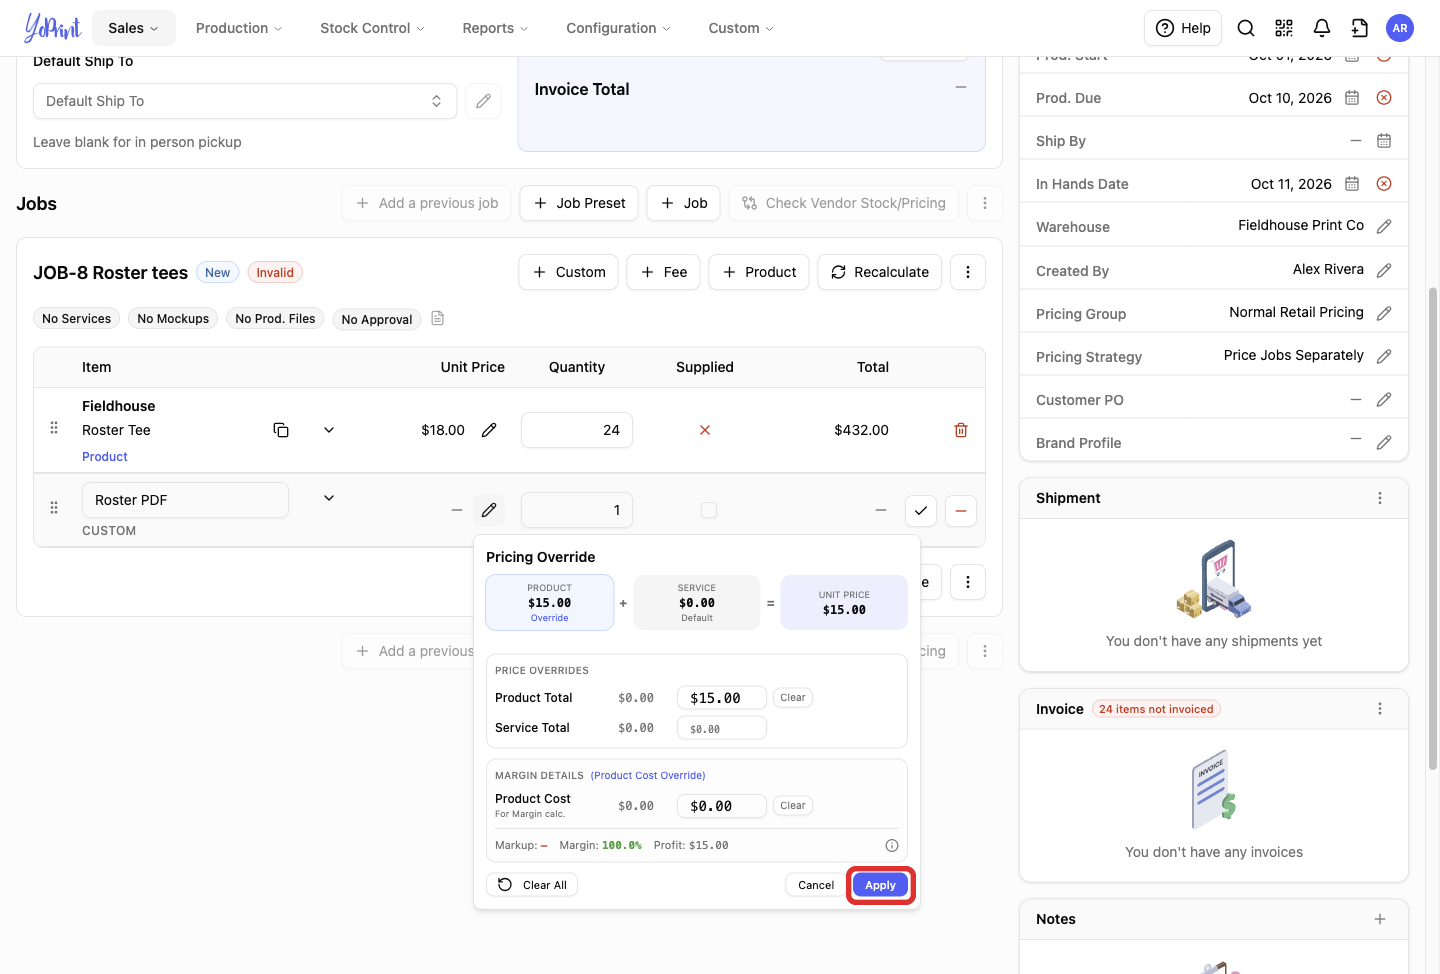
Click Apply to close the popover.
-
Click the check mark (Confirm) to save the custom line.
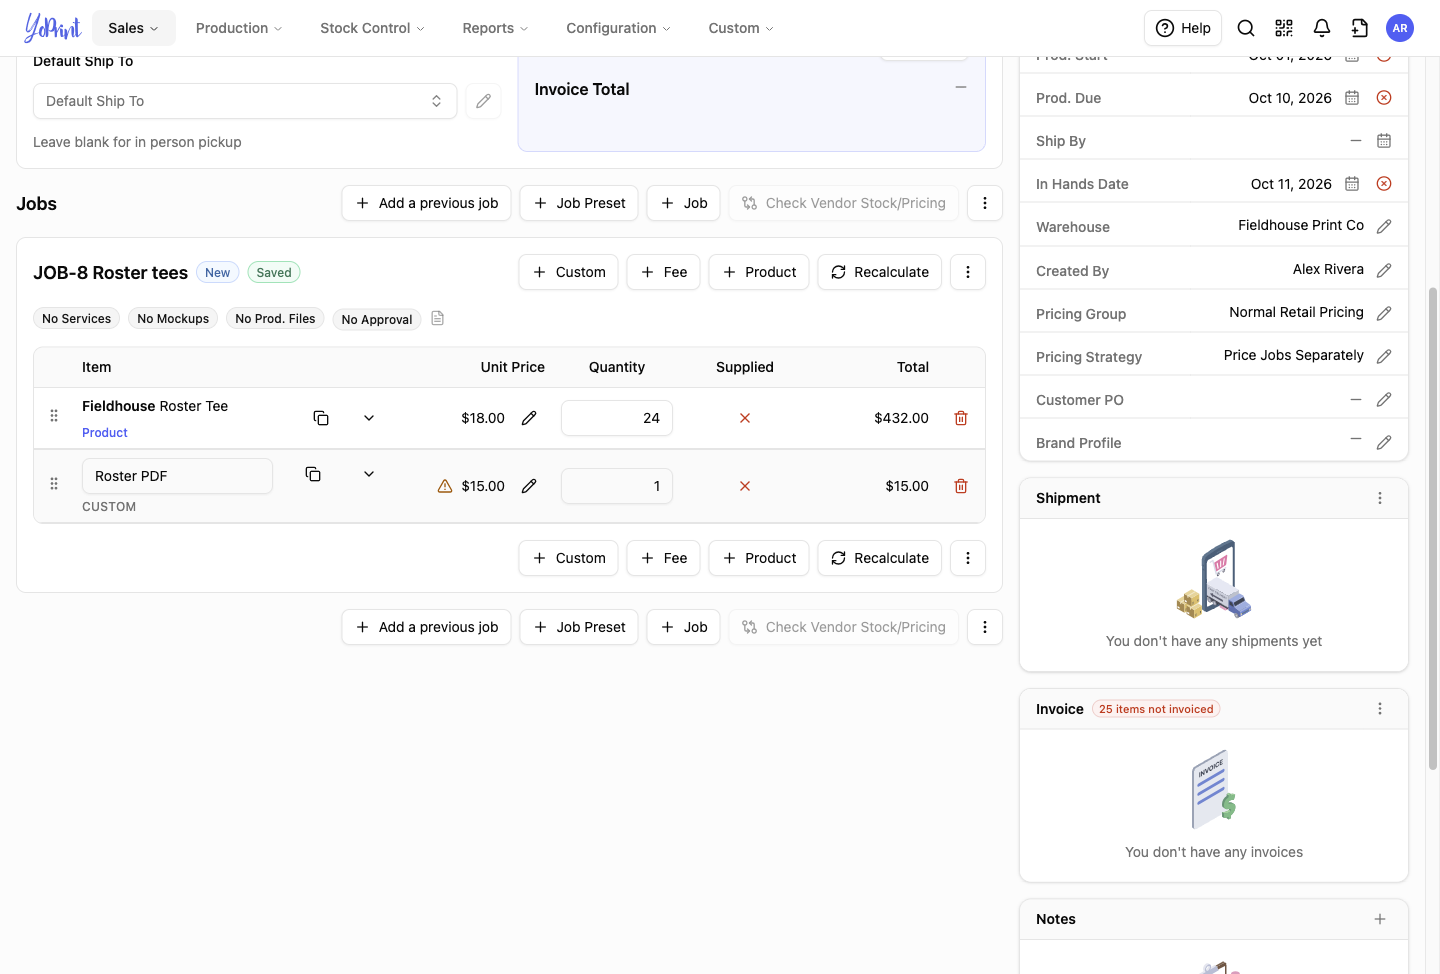
The custom line saves to the job with its price. A job can hold products and custom lines together, or custom lines alone.
Publish the order
-
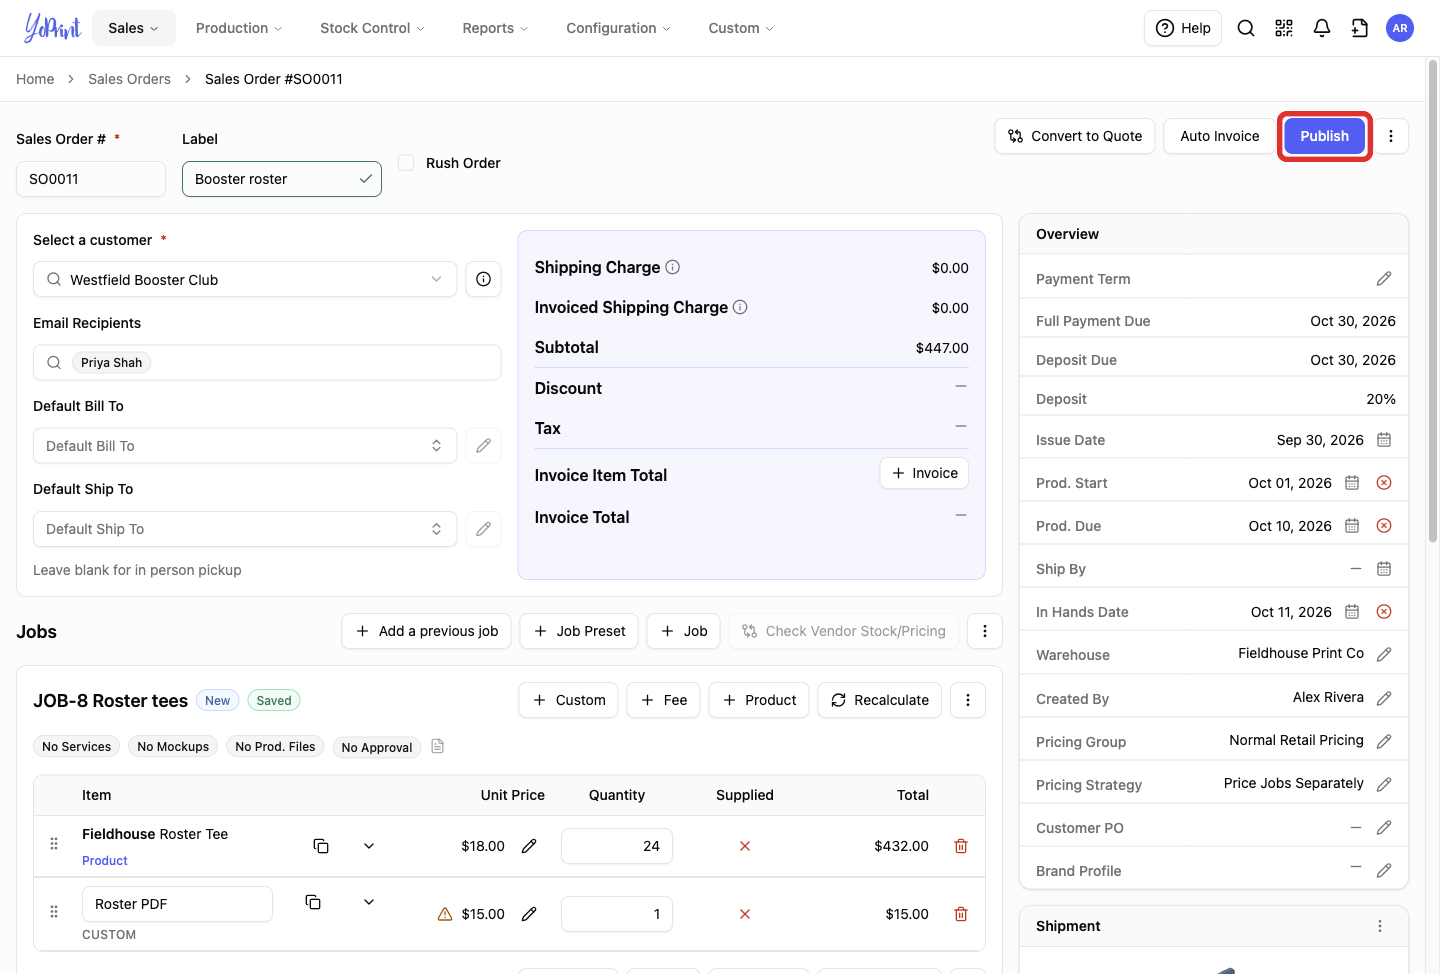
Click Publish in the top right corner.
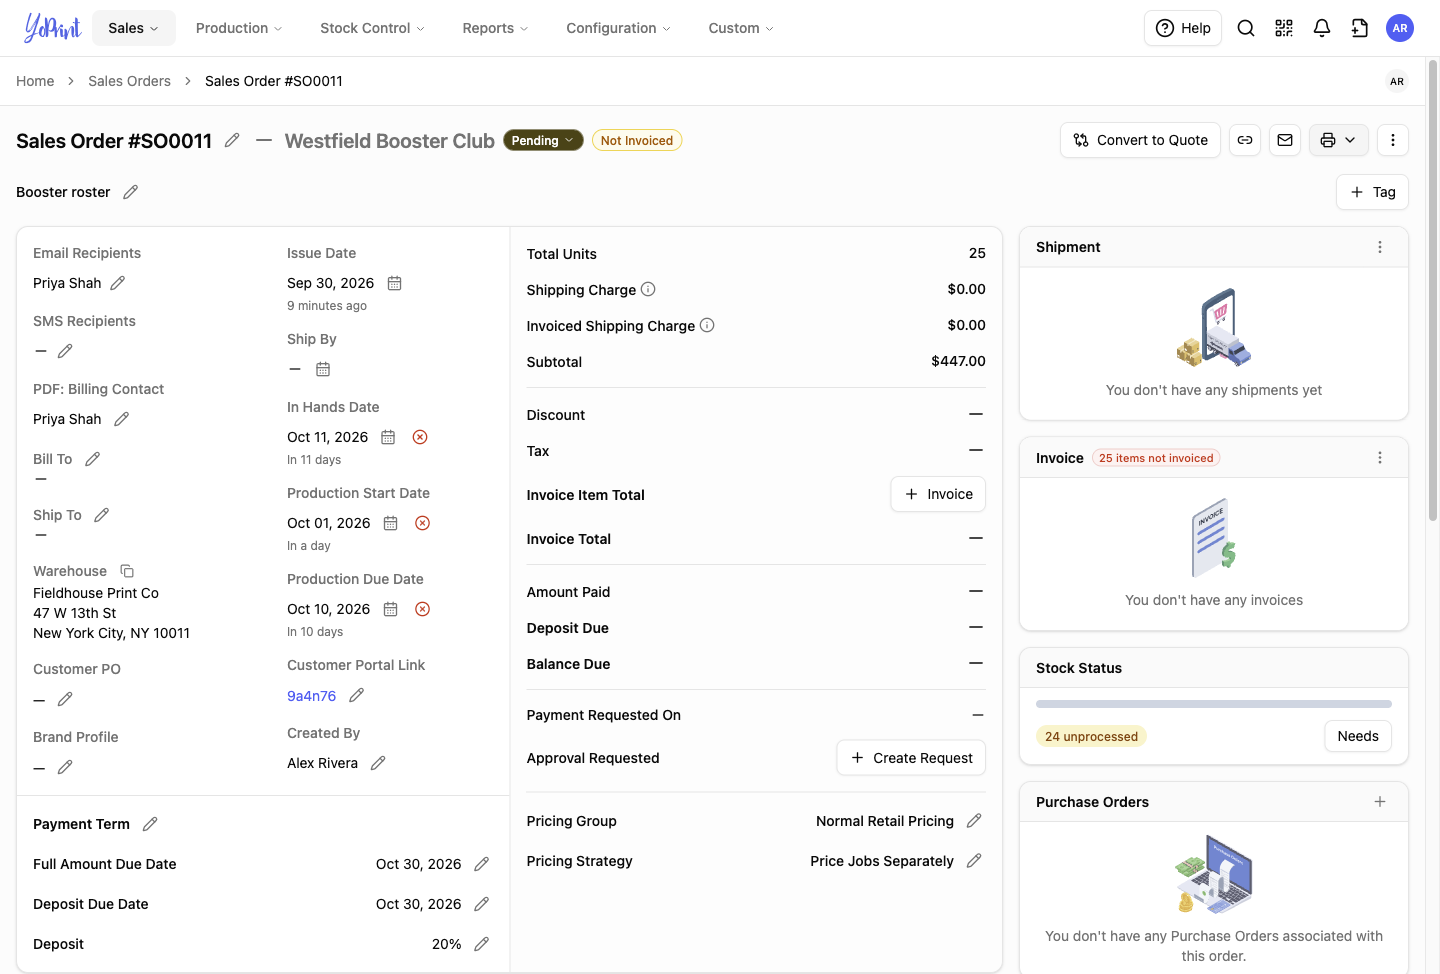
The order opens on its detail page with its status set to Pending.
The All view on the sales orders list displays the published order. Unpublished drafts do not appear in this list.
Shipments are optional when publishing an order. To get shipping rates and generate labels, see How to Get Shipping Rates and Create Labels. To calculate location-based sales tax, see Automatic Sales Tax. To record customer deposits or payments, see Collect and Record Payments.
Send the order
-
Click ⋮ (Quick Actions) and select Send Sales Order Details.
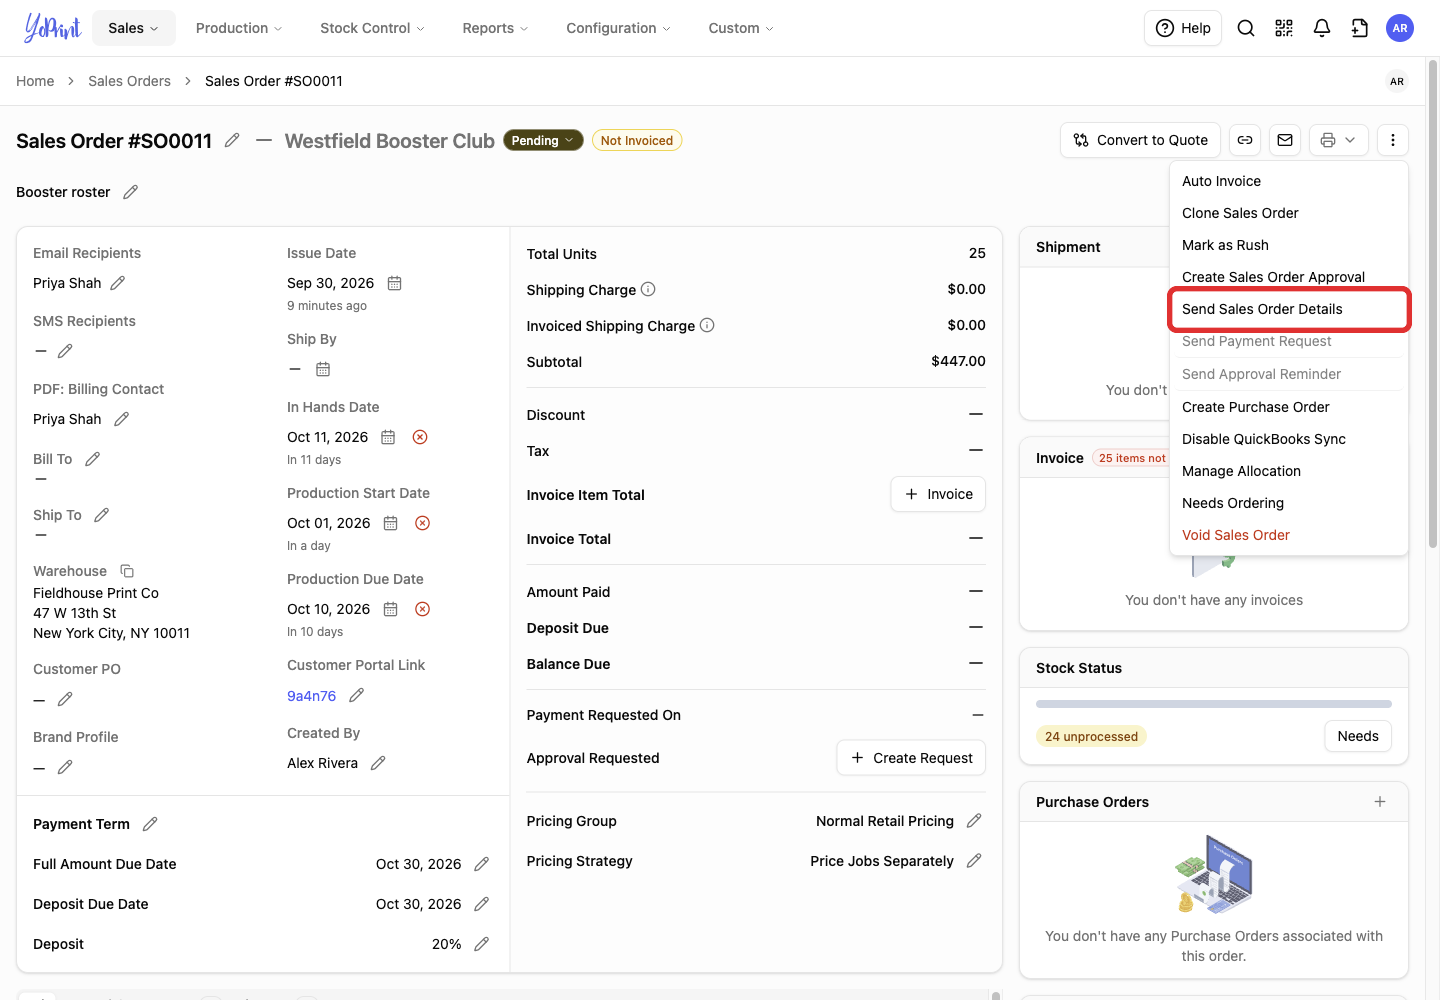
YoPrint sends the email notification immediately to the contacts listed under Email Recipients. The email is dispatched immediately without an intermediate composition screen, so ensure your recipients are correct beforehand. The email is sent from your shop name via YoPrint, contains the order number and due date, and includes a link to the customer portal.
To request formal customer sign-off, see Sales Order Approval Workflow. For quote approvals, see How To Get Quote Approval From Your Customer.
Come back to a draft
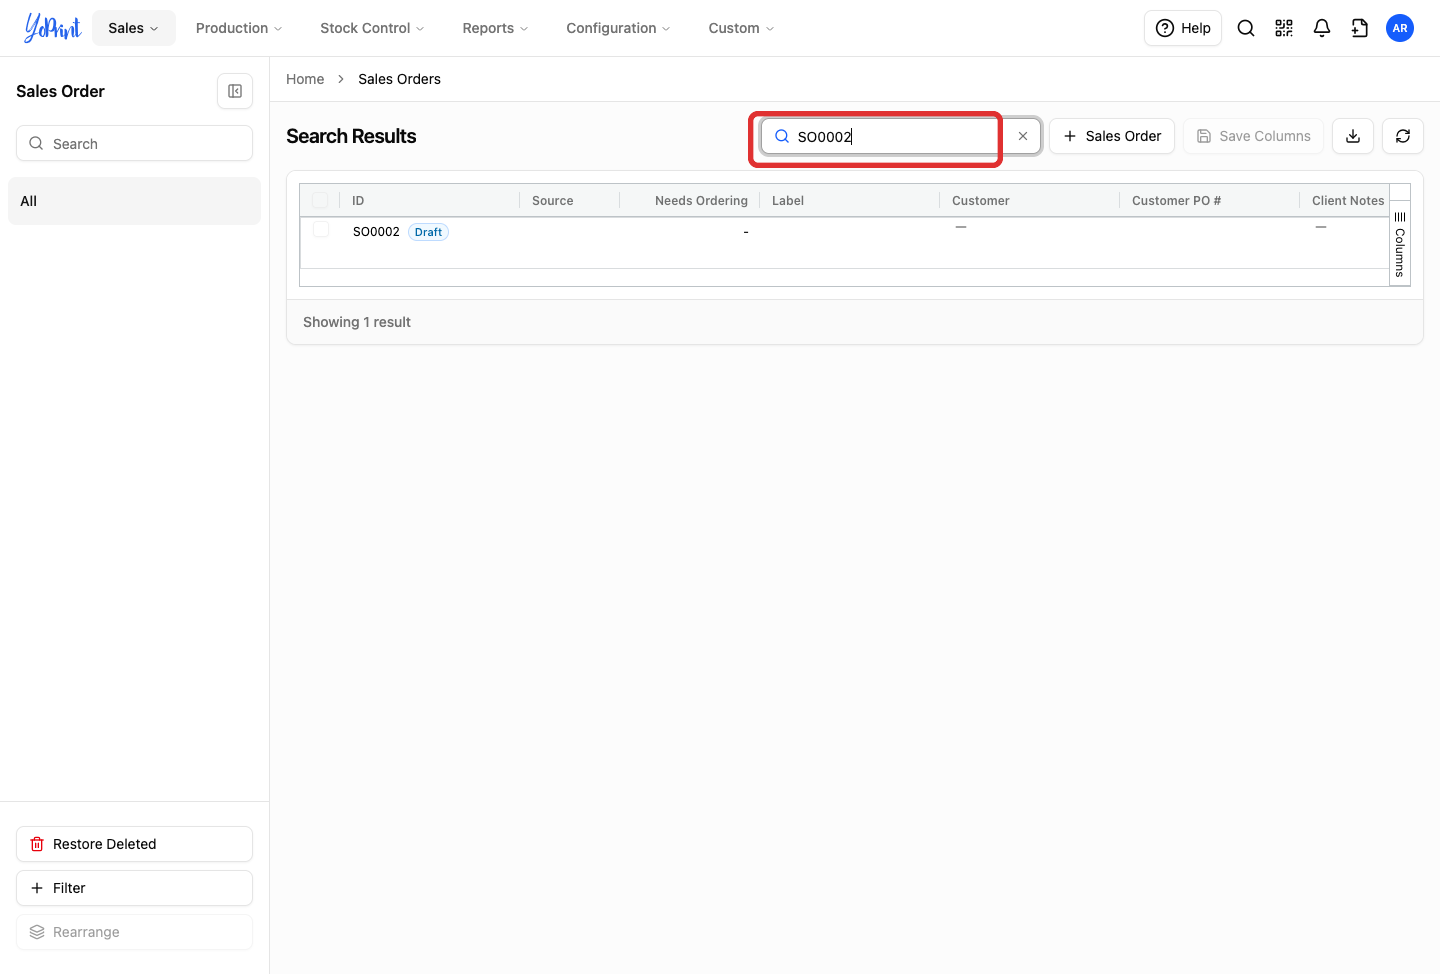
The All view on the sales orders list displays only published orders; open drafts are located by searching for their order number or customer name.
-
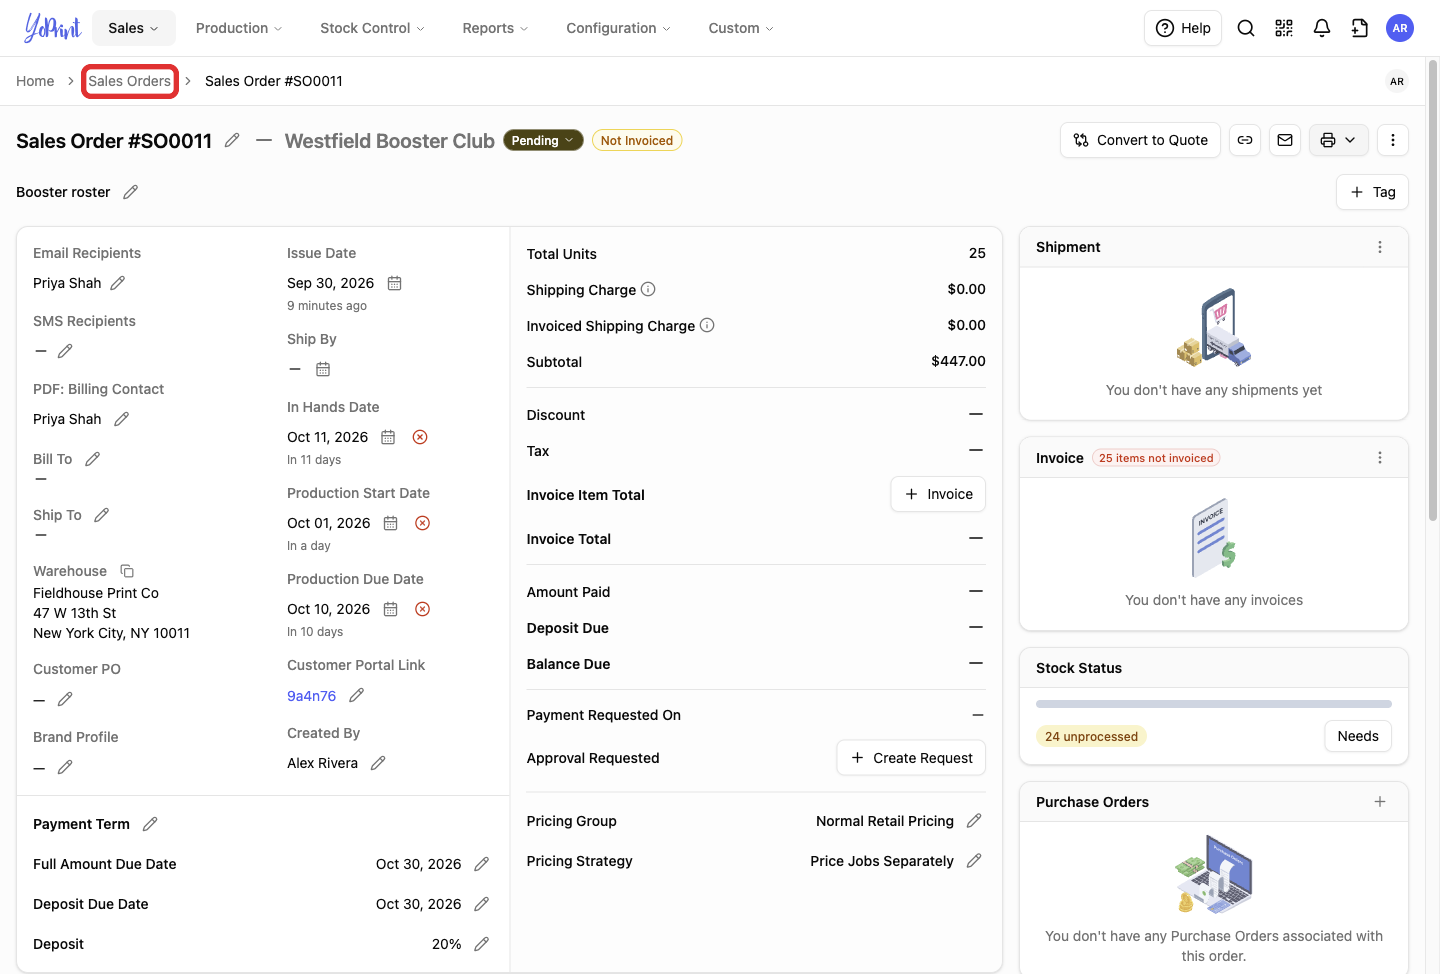
Click Sales Orders in the breadcrumb trail (or go to Sales > Sales Orders) to return to the sales orders list.
-
Type the order number or customer name in the table search box.
-
Double-click the row marked Draft.
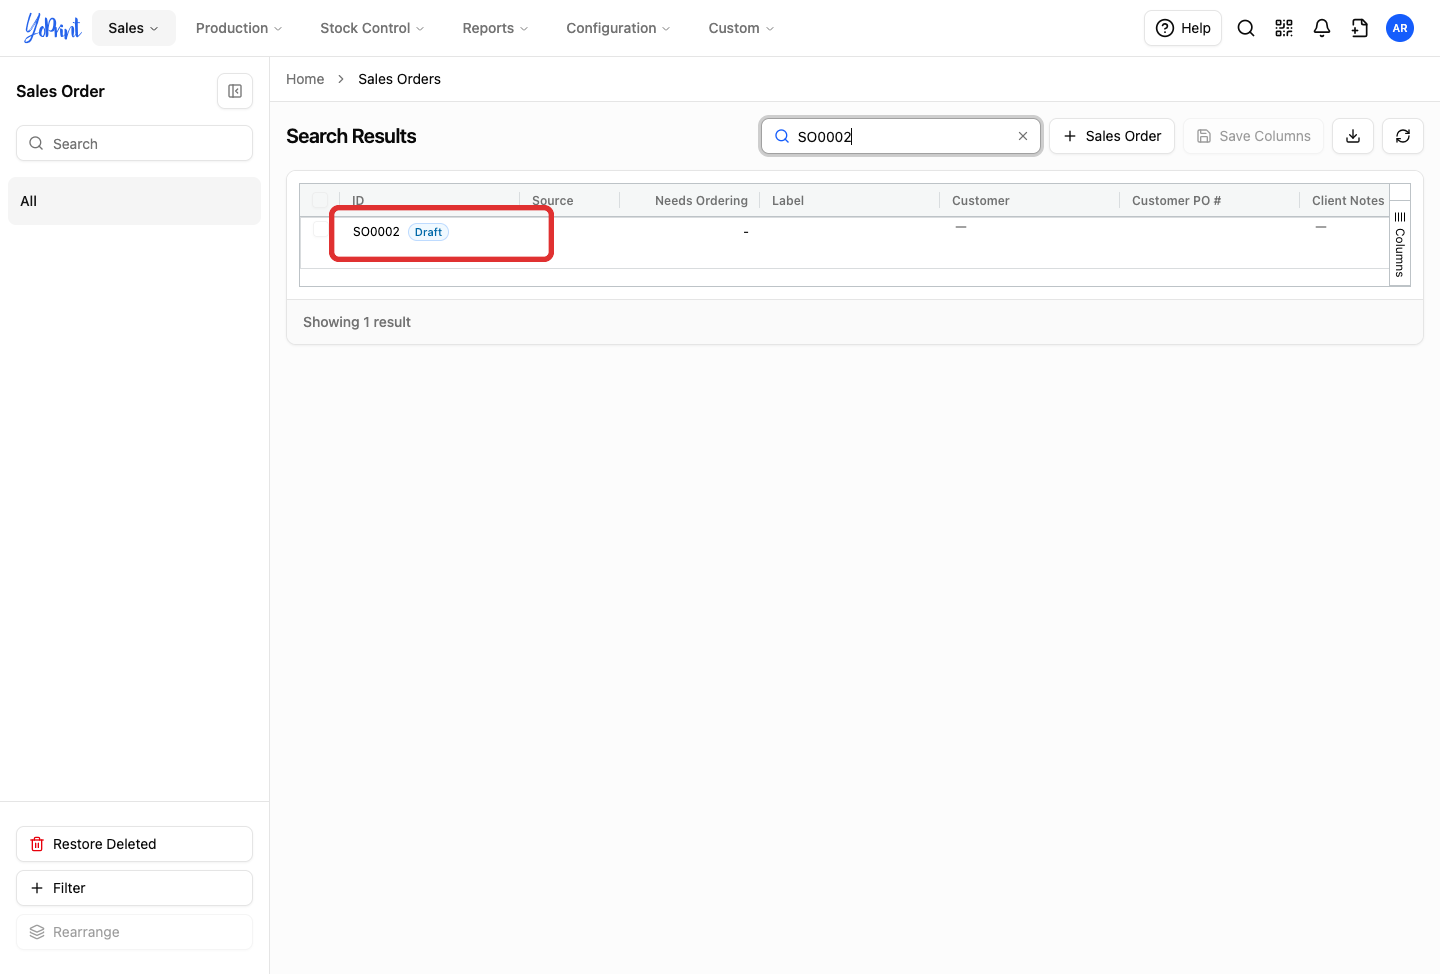
The draft opens in the slide-out preview drawer over the list so you can continue editing.
To choose whether orders open in a preview drawer, full page, or new tab, see Sales Order Page Overview.