View the Customer Portal as Your Customer
In this article
Open a support session from a customer's record or a sales order in Admin to see their portal as one of their contacts. Use it to help them find an order, invoice or approval request.
Open a support session
-
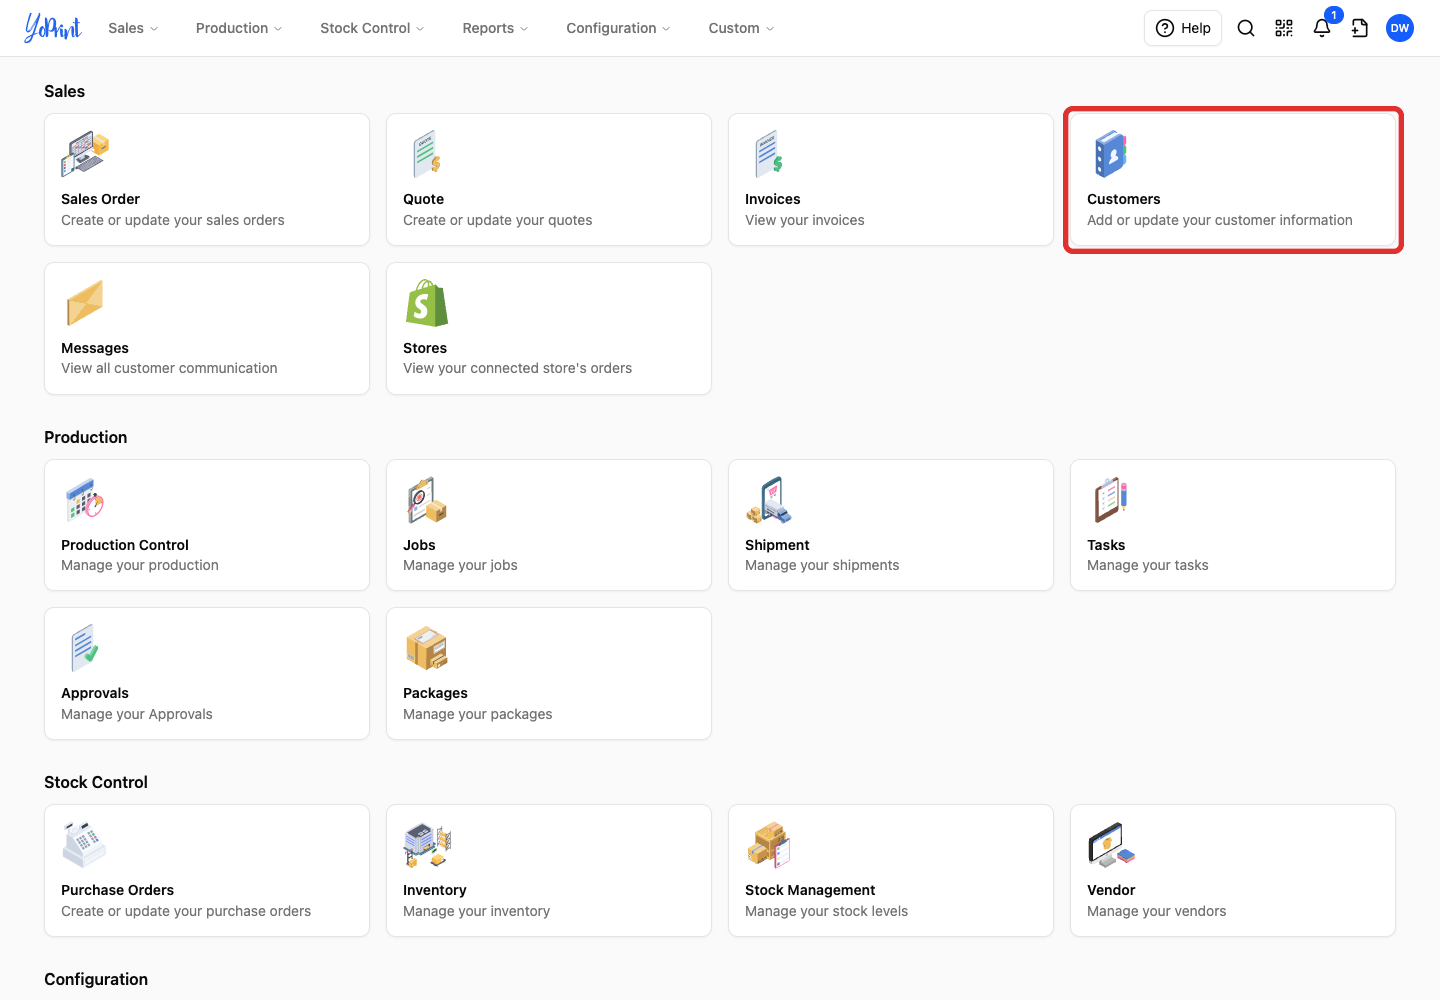
On the Admin home screen, click Customers under Sales.
-
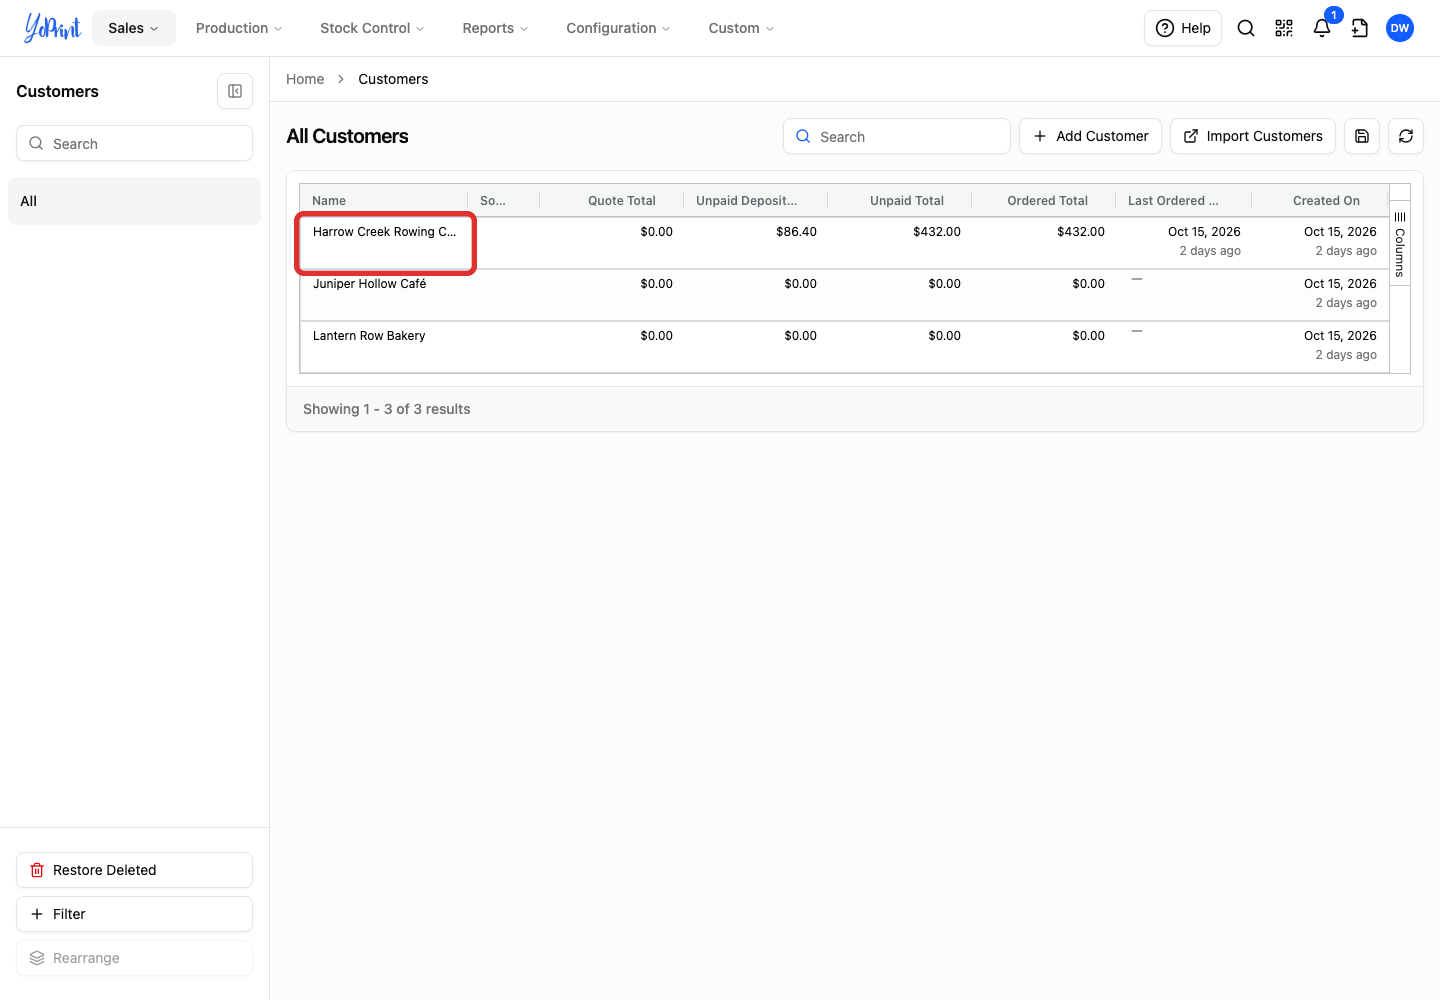
Double-click the customer to open Customer View.
-
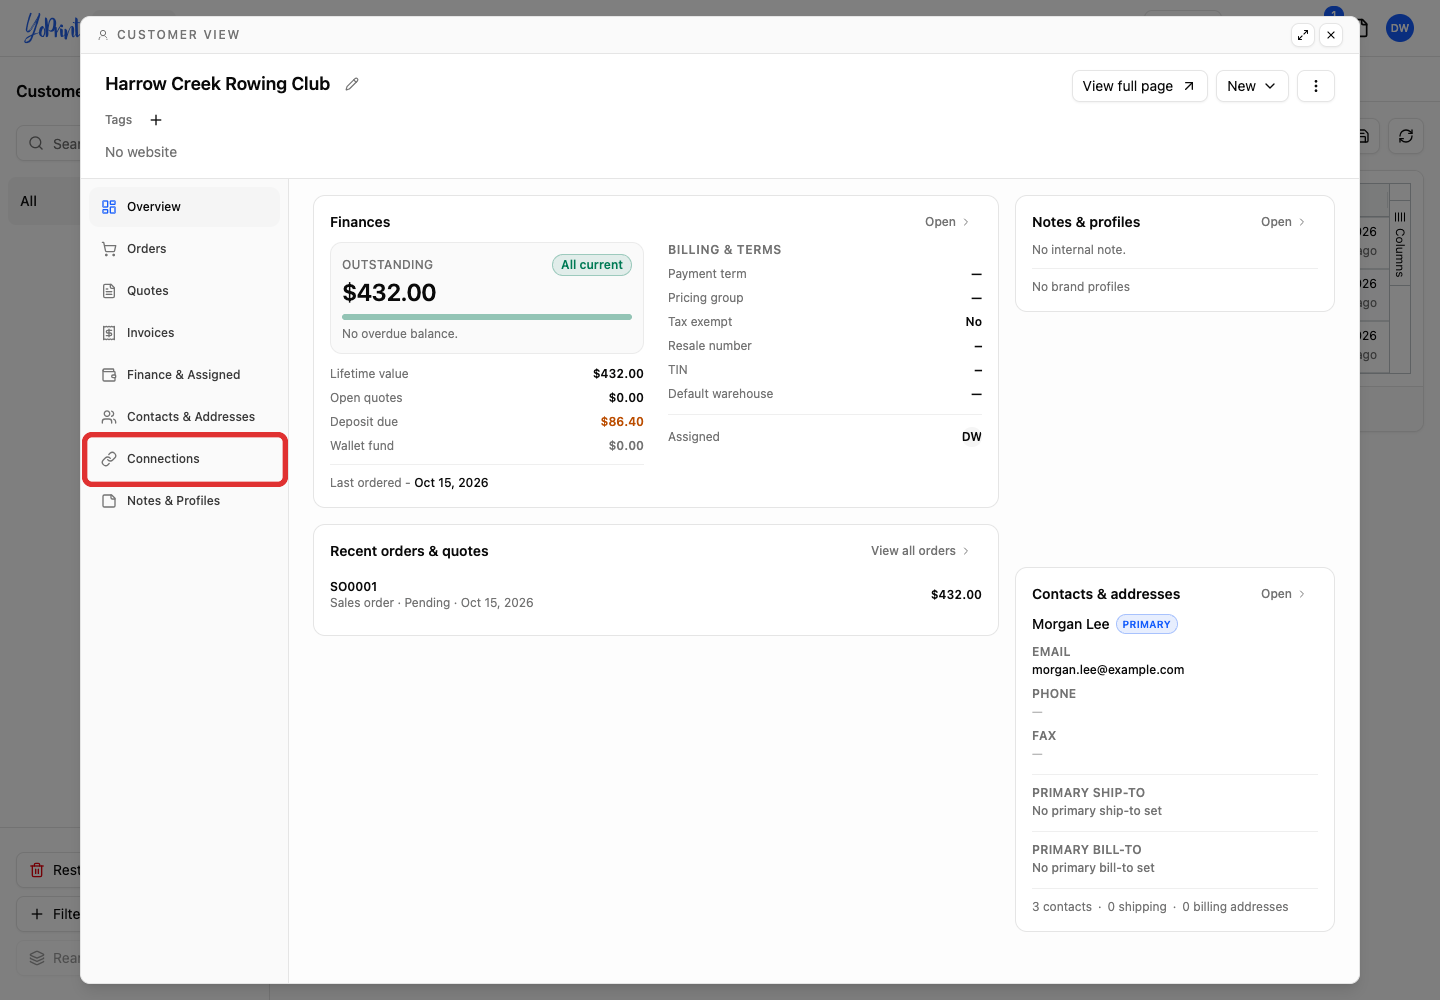
Click the Connections tab in Customer View.
-
Click Open customer portal… in Customer portal.
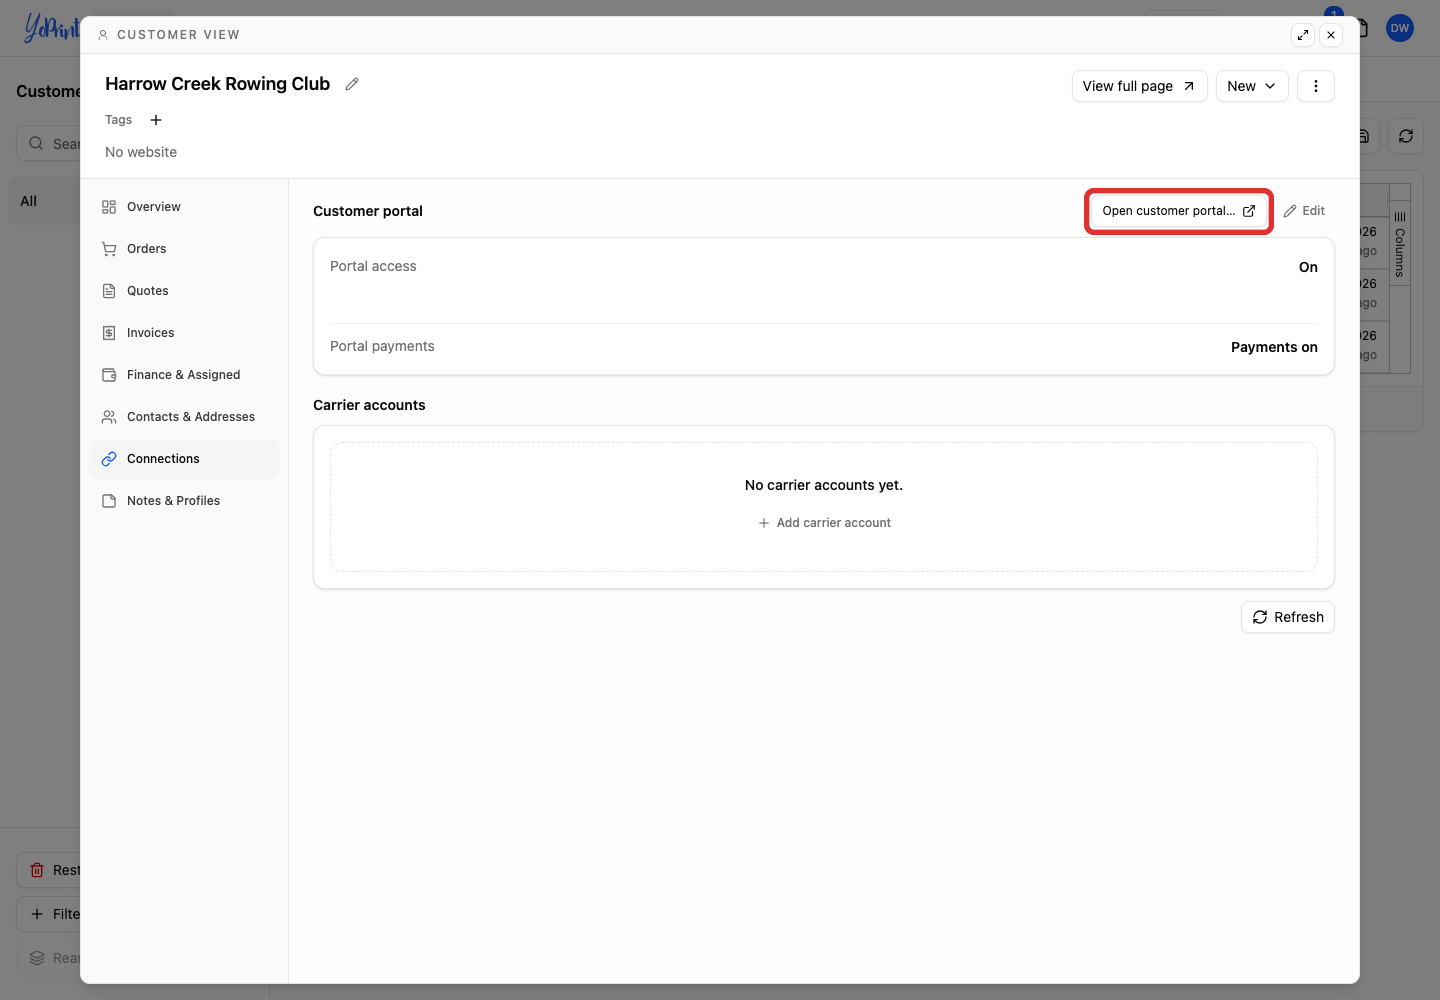
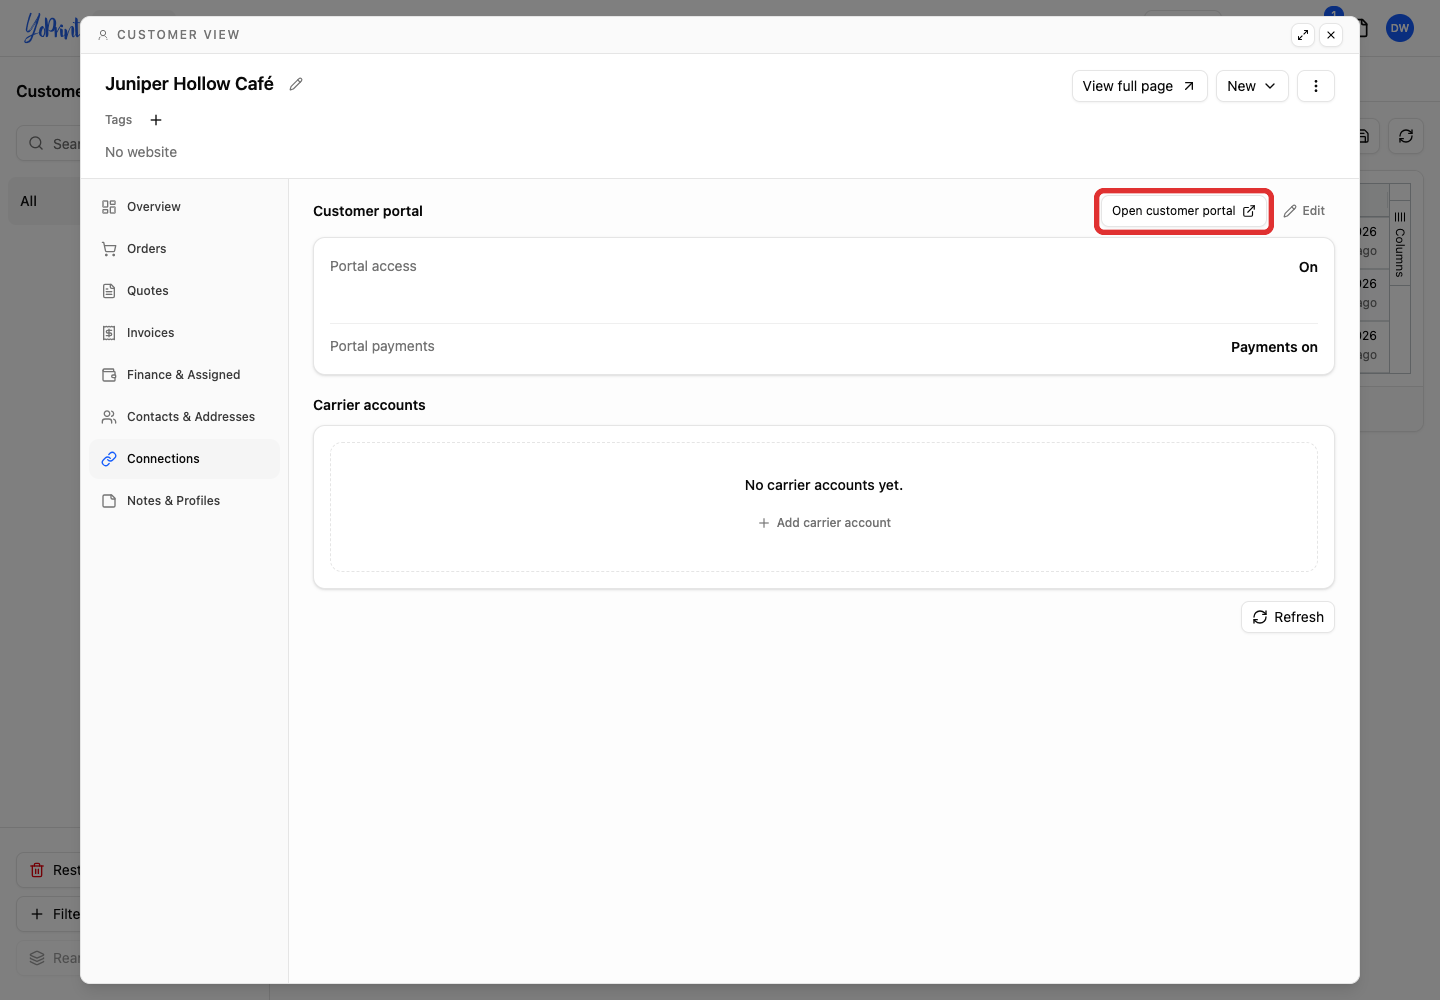
If the customer has only one available contact, click Open customer portal to open the portal directly as that contact.
-
Choose the contact you want to view as.
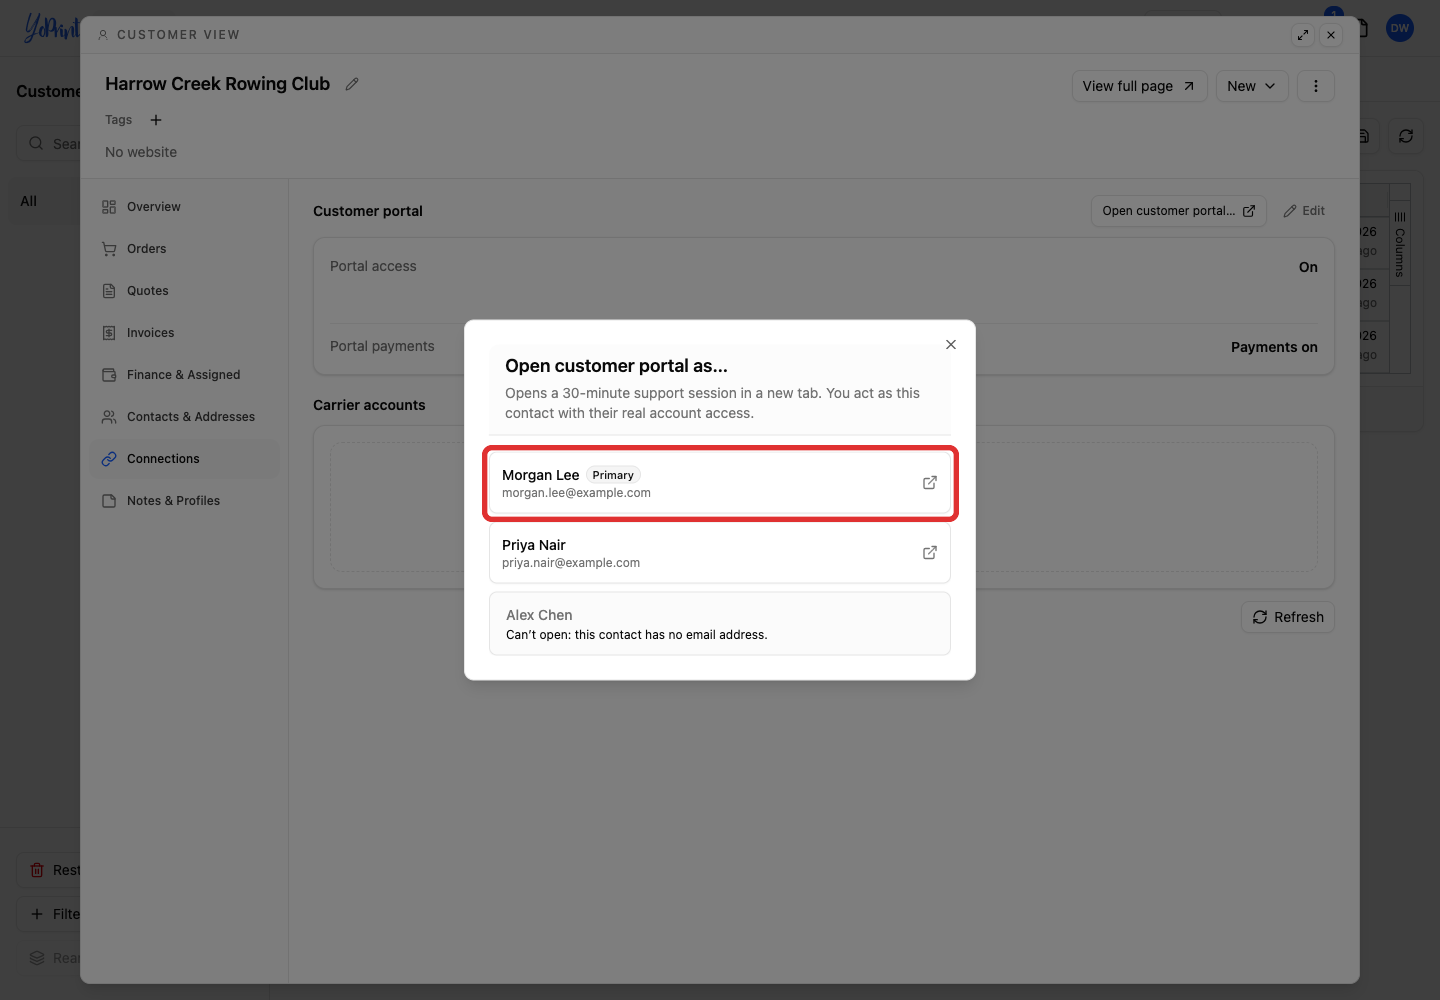
Contacts for the same customer see the same orders, jobs, invoices and approval requests. The Primary badge identifies the customer's main contact. It does not give them extra access.
If you cannot select a contact, the picker shows why. A contact needs an email address to use the portal. If the contact has no email address, add it in Admin, then return to the contact picker.
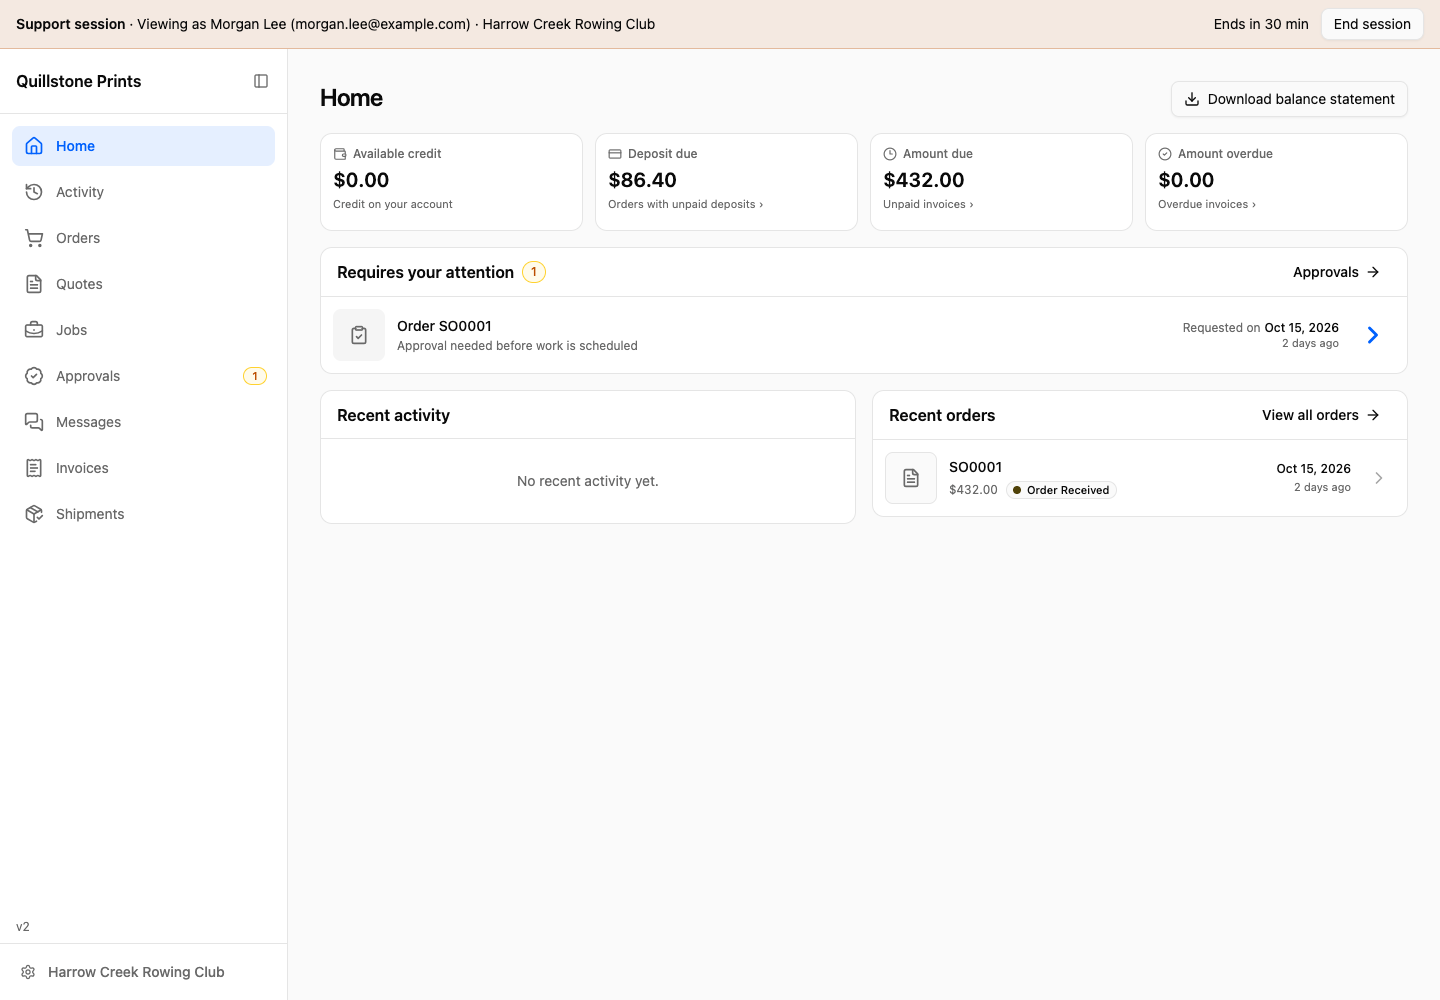
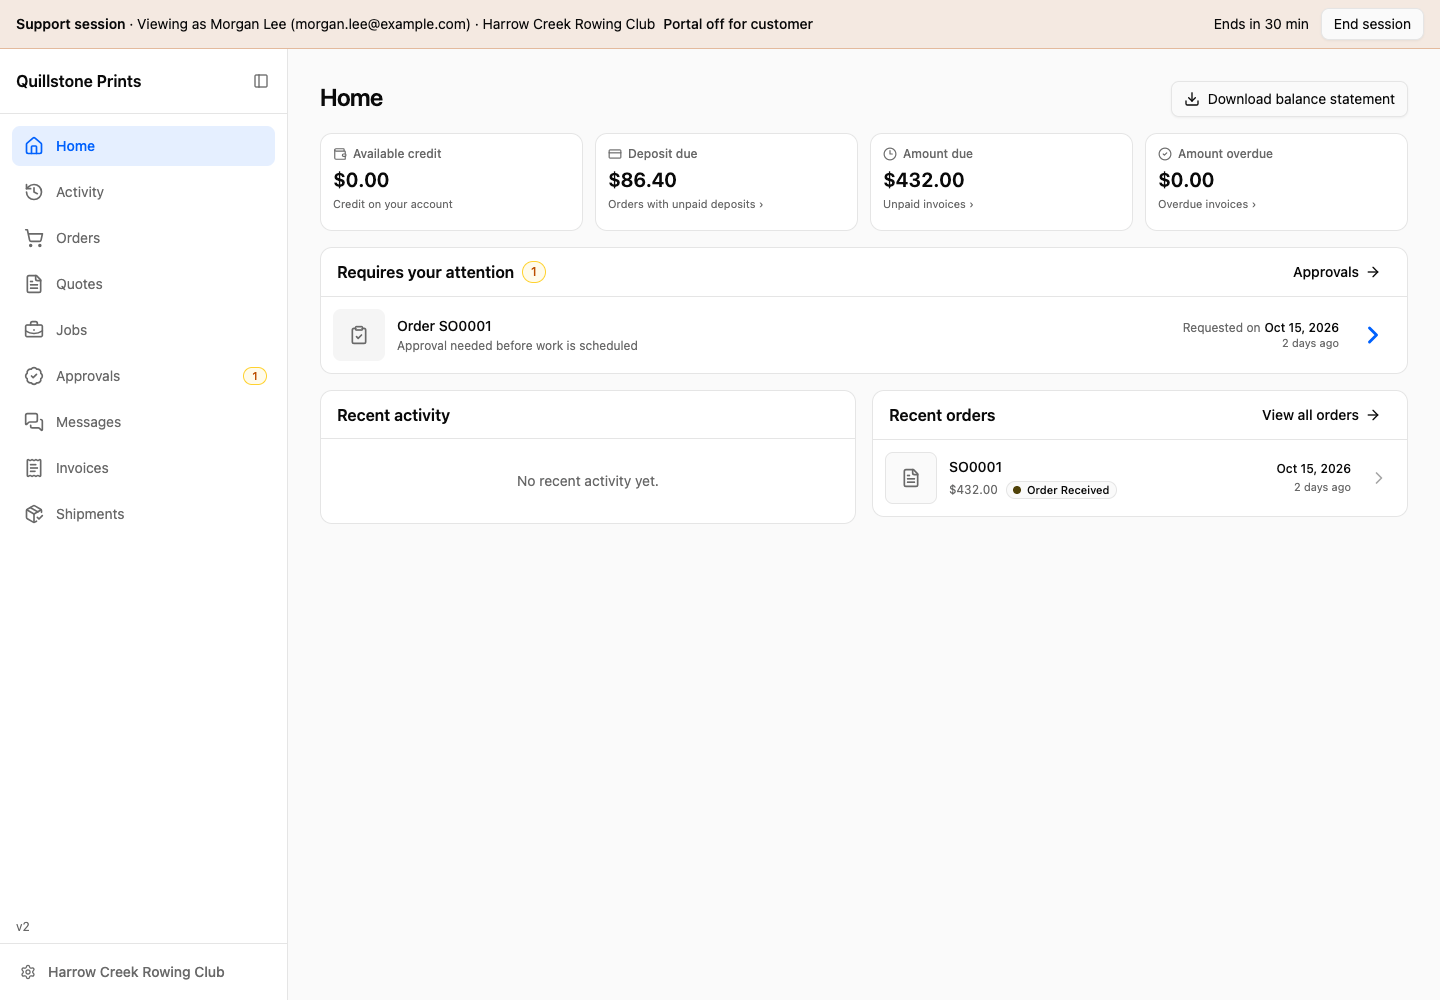
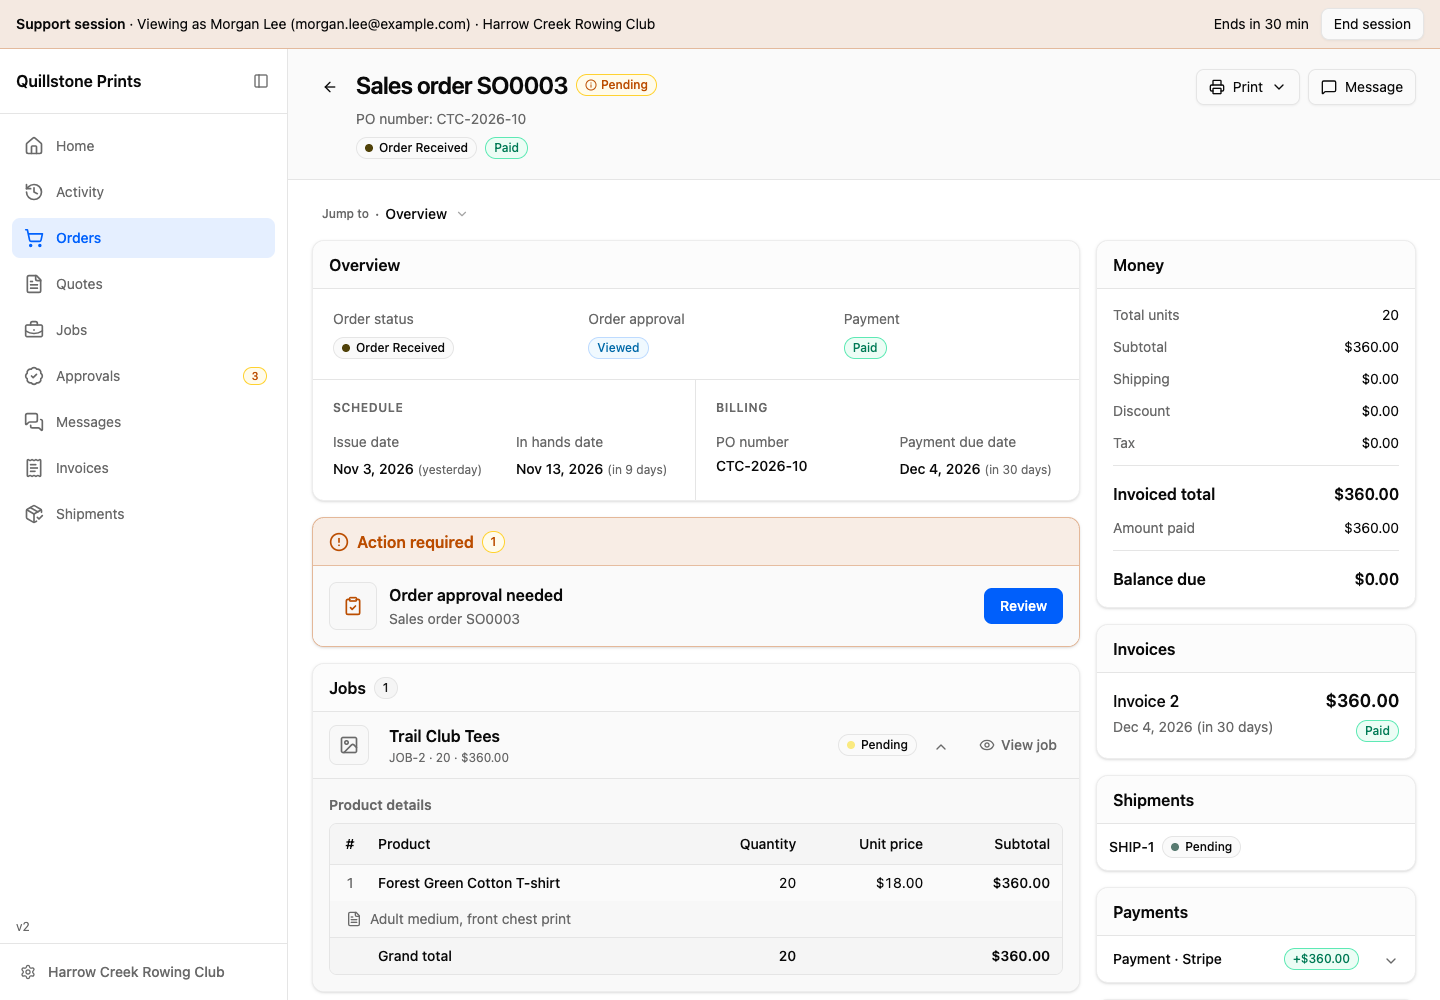
The portal opens in a new tab. The Support session banner shows the contact, customer and time remaining.
Portal access is off
You can still open a support session when Portal access is Off. The banner says Portal off for customer. Your customer cannot open their portal while access is off.
Open a support session from a sales order
-
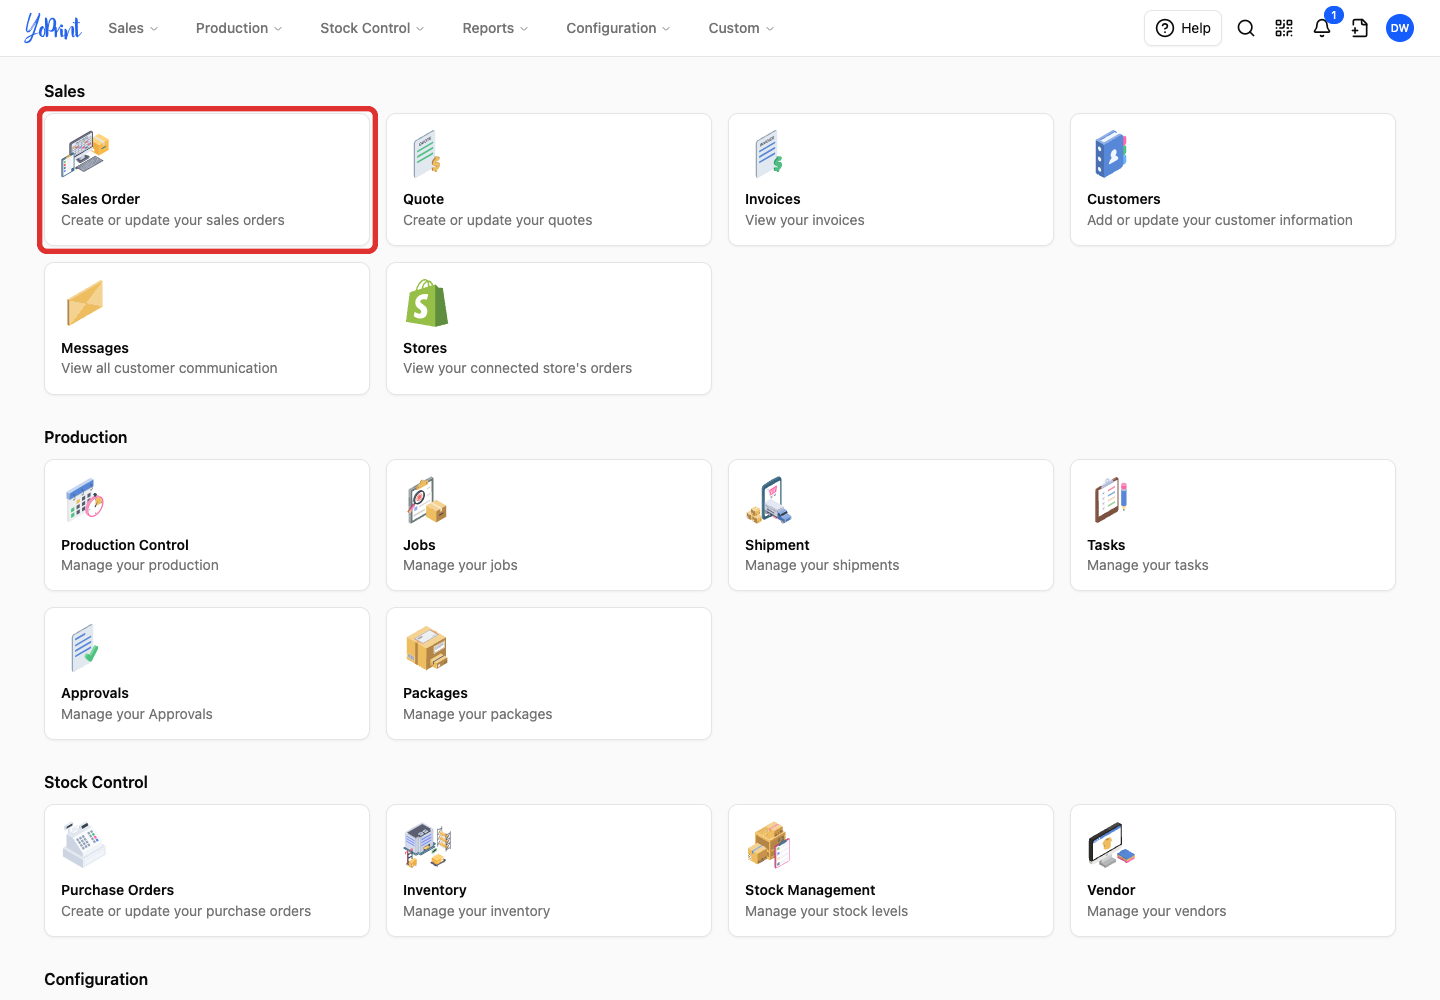
On the Admin home screen, click Sales Order under Sales.
-
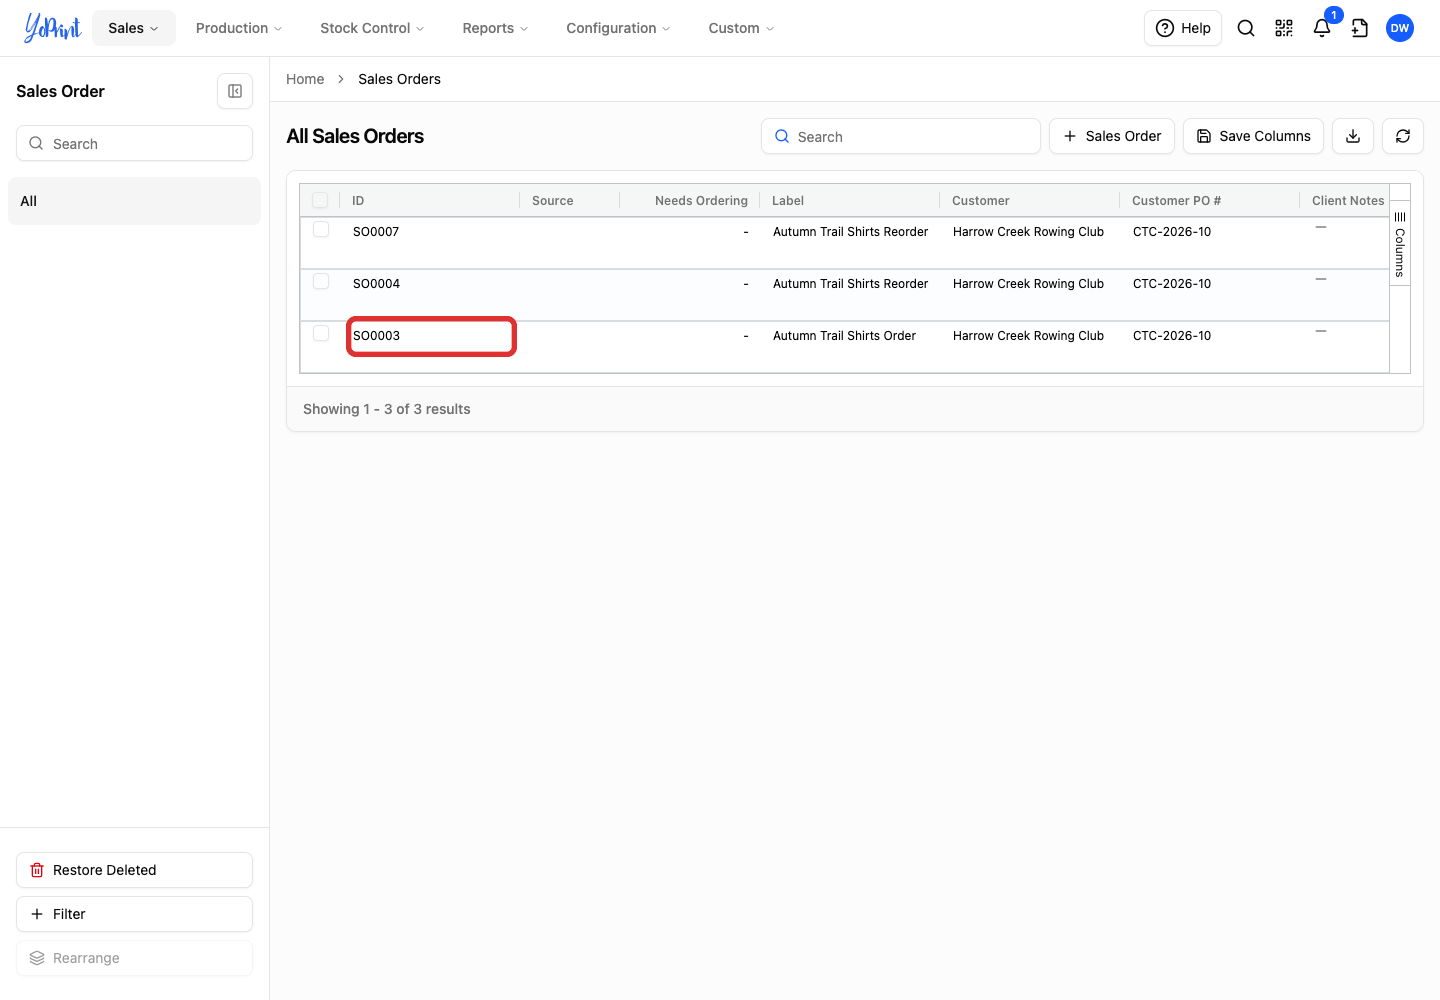
Double-click the sales order.
-
Under Customer Portal Link, click Open in Customer Portal.
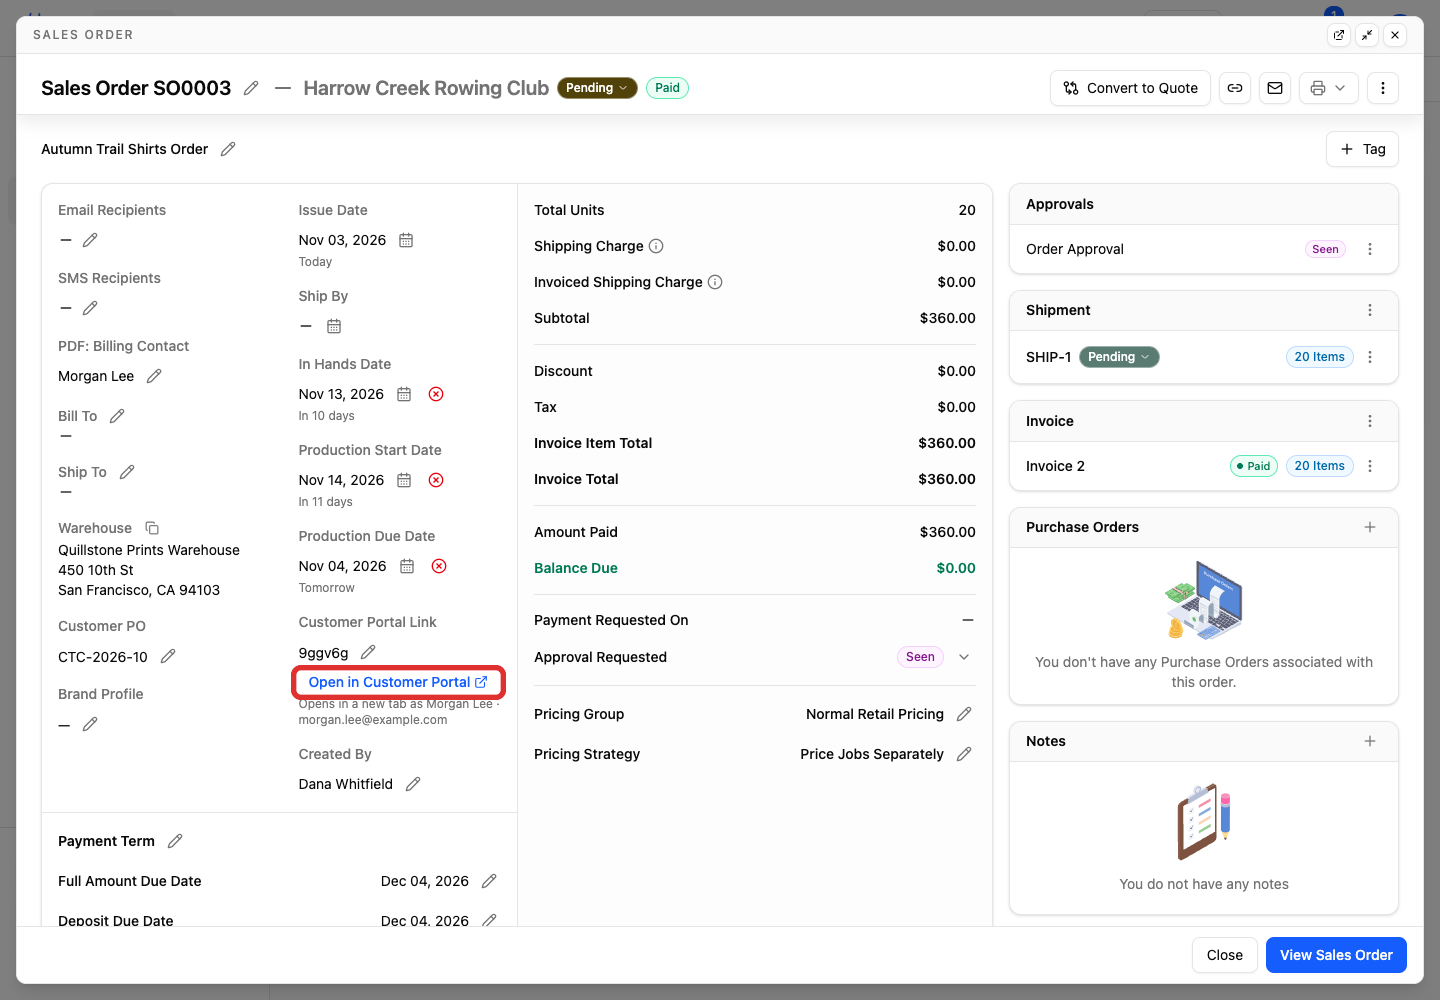
The text below the button names the contact you will view as, both here and on the full sales order page. YoPrint uses the order's contact (PDF: Billing Contact) when that contact can open the portal, or the customer's primary contact otherwise. If neither contact can open the portal, Open in Customer Portal is disabled and tells you to check access and email addresses in Contacts & Addresses. The new tab opens a support session at that order.
Add a missing contact email
If the picker says Can’t open: this contact has no email address, open the customer's Contacts & Addresses tab, open the contact's Row actions › Edit, and enter their address in the Email field. For the full steps, see Manage a Customer's Portal Access, then return to the contact picker.
How the support session works
The support session uses the contact's real account access. You can browse the customer's activity, orders, quotes, jobs, invoices, approval requests, messages and shipments. For a tour of those pages, see Customer Portal Overview.
Actions count as the customer
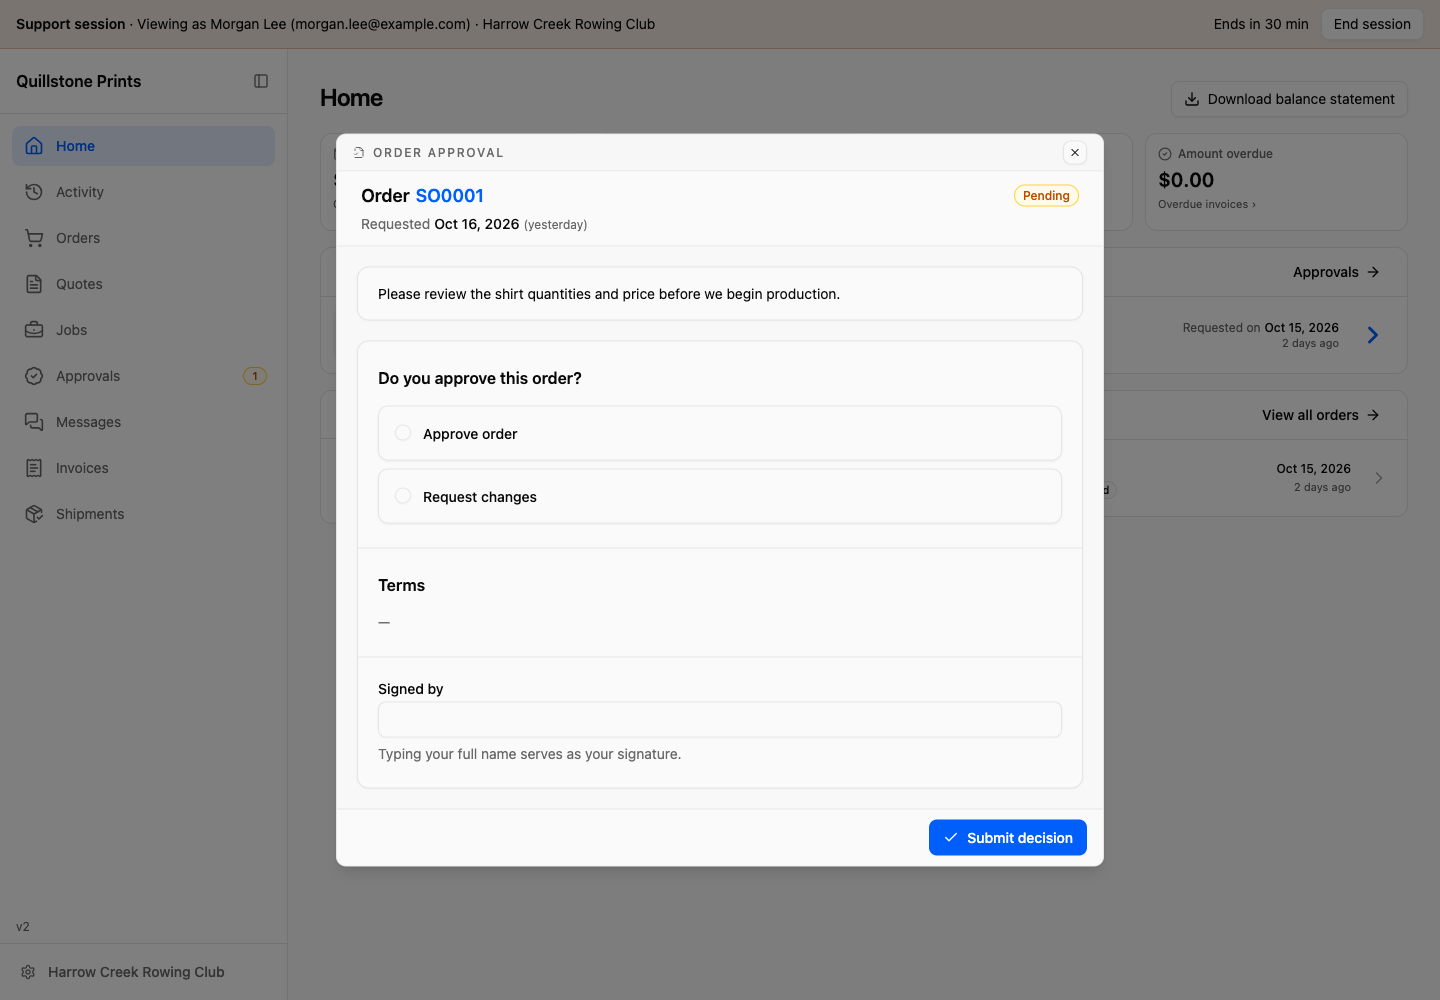
This is not a read-only preview. Messages you send and approval responses you submit count as the selected contact. Any profile changes you save or payments you complete are real. Clicking Sign out everywhere signs the contact out on all their devices.
Opening an approval marks it as viewed. To leave the decision pending, close the approval without clicking Submit decision.
You do not need the customer's password or email code to open a support session. Opening a session does not sign the customer in or verify their email for them. Email and password changes in the portal still require the customer's usual security checks.
Customers sign in separately using the email address your shop has on file and either an email code or a password they have set. For their first email-code sign-in, the contact still needs to receive and enter the code themselves. If they cannot receive it, your shop can give them a recovery code to set a password.
The session lasts up to 30 minutes. Keep using the tab where it opened: a new tab does not continue the support session. Customers who open a shared order or invoice link sign in for themselves.
End the support session
-
Click End session in the banner.
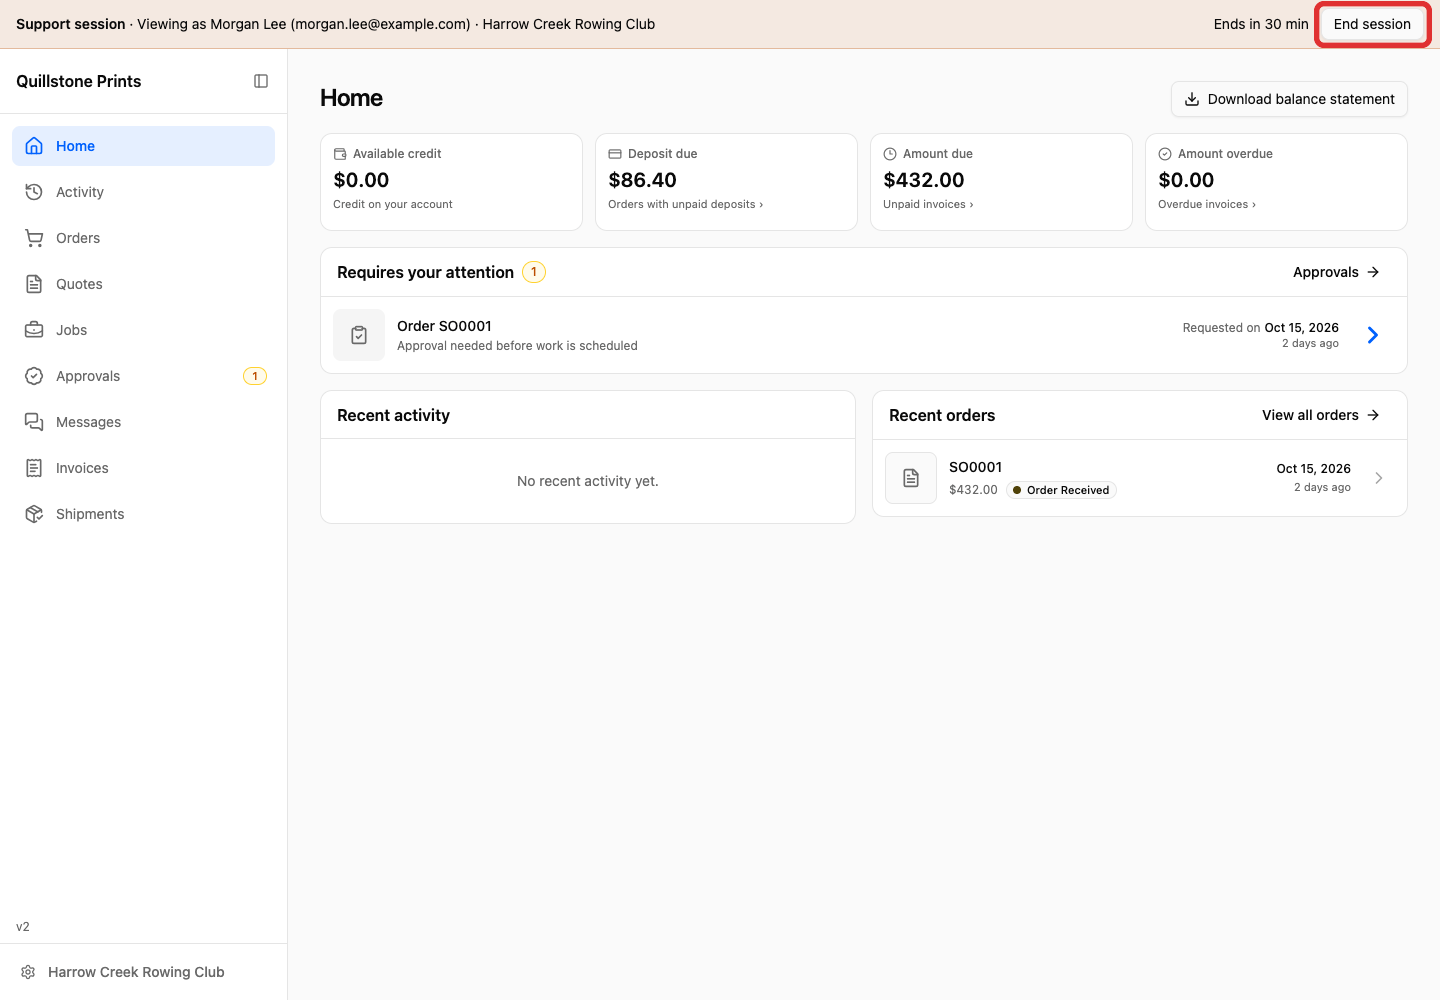
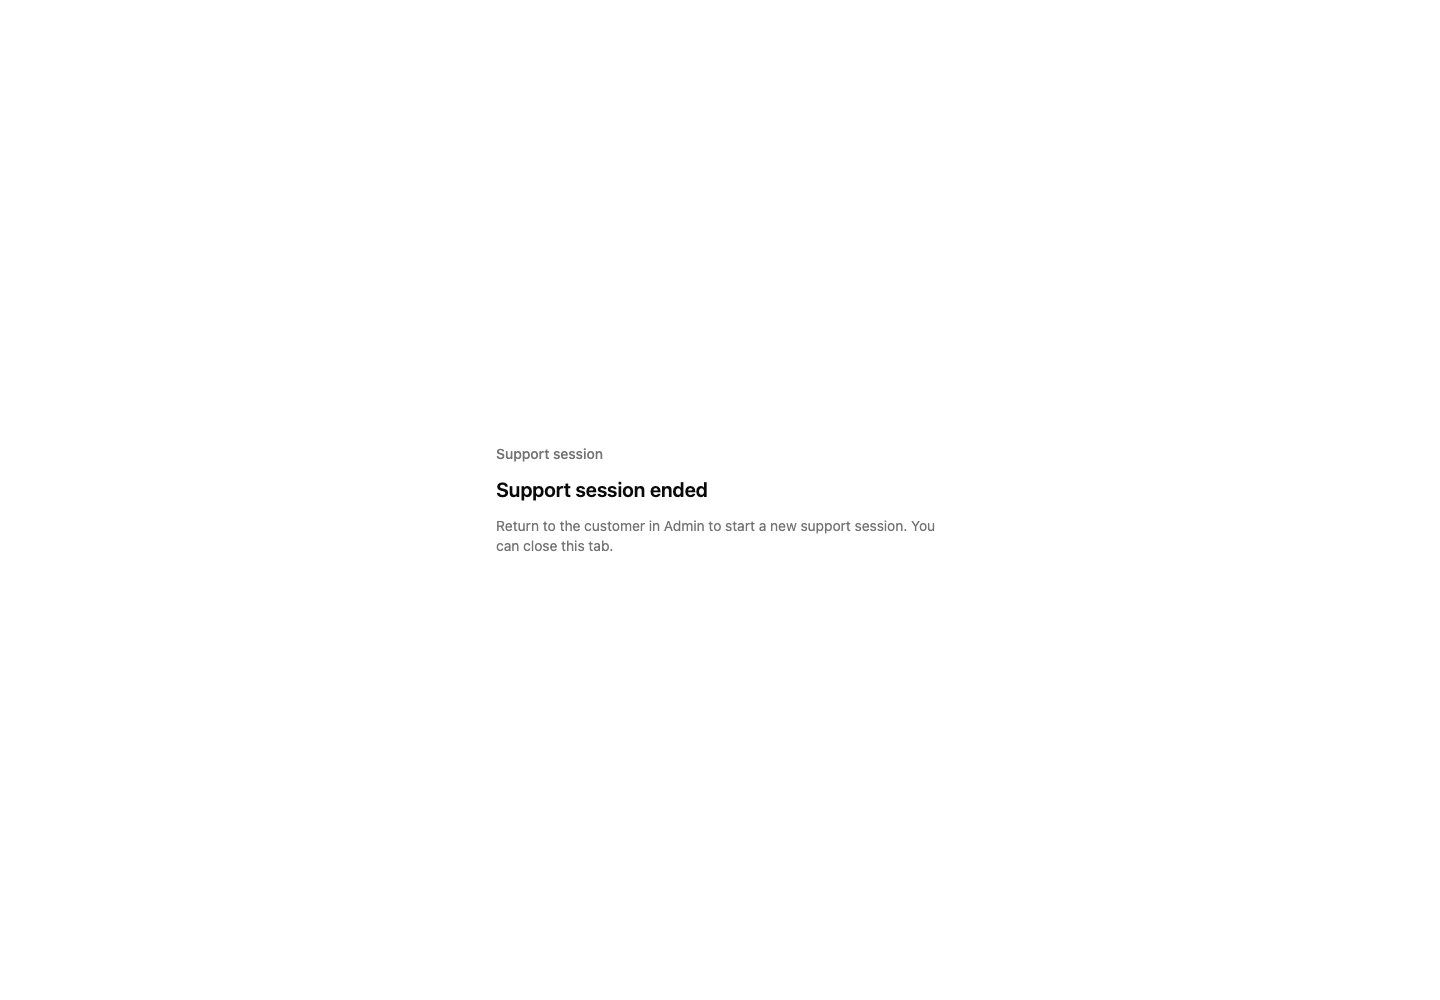
Support session ended confirms that the session is closed. Ending your support session does not sign the customer out. Close the tab. To start another session, return to the customer's record or sales order in Admin and open a new support session.