Make a 3D mockup for a job
In this article
Create a 3D mockup in the Mockup Creator when a customer needs to see a product from more than one angle. You can start from a blank 3D model or from a 2D catalog product already on your mockup page.
Choose a 3D model
Open the Mockup Creator on your job (see Get started with the Mockup Creator), then pick a blank 3D shape from the model library.
Starting from a catalog product on the page
If you already added a 2D catalog product to the mockup page, follow Start from a product already on the page instead.
-
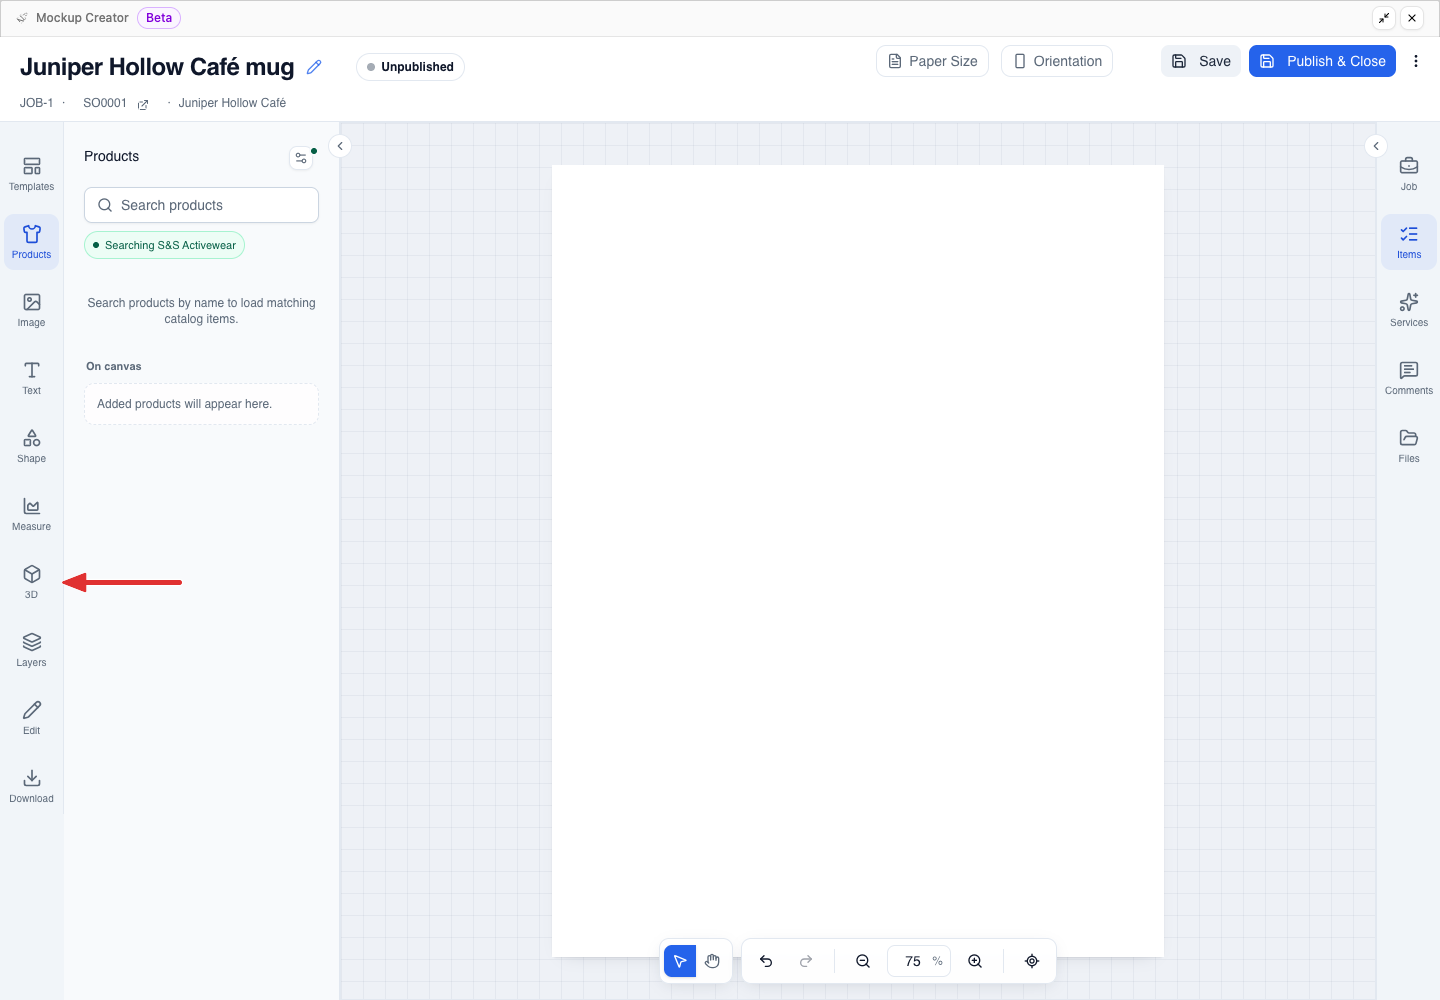
Click 3D on the left toolbar.
-
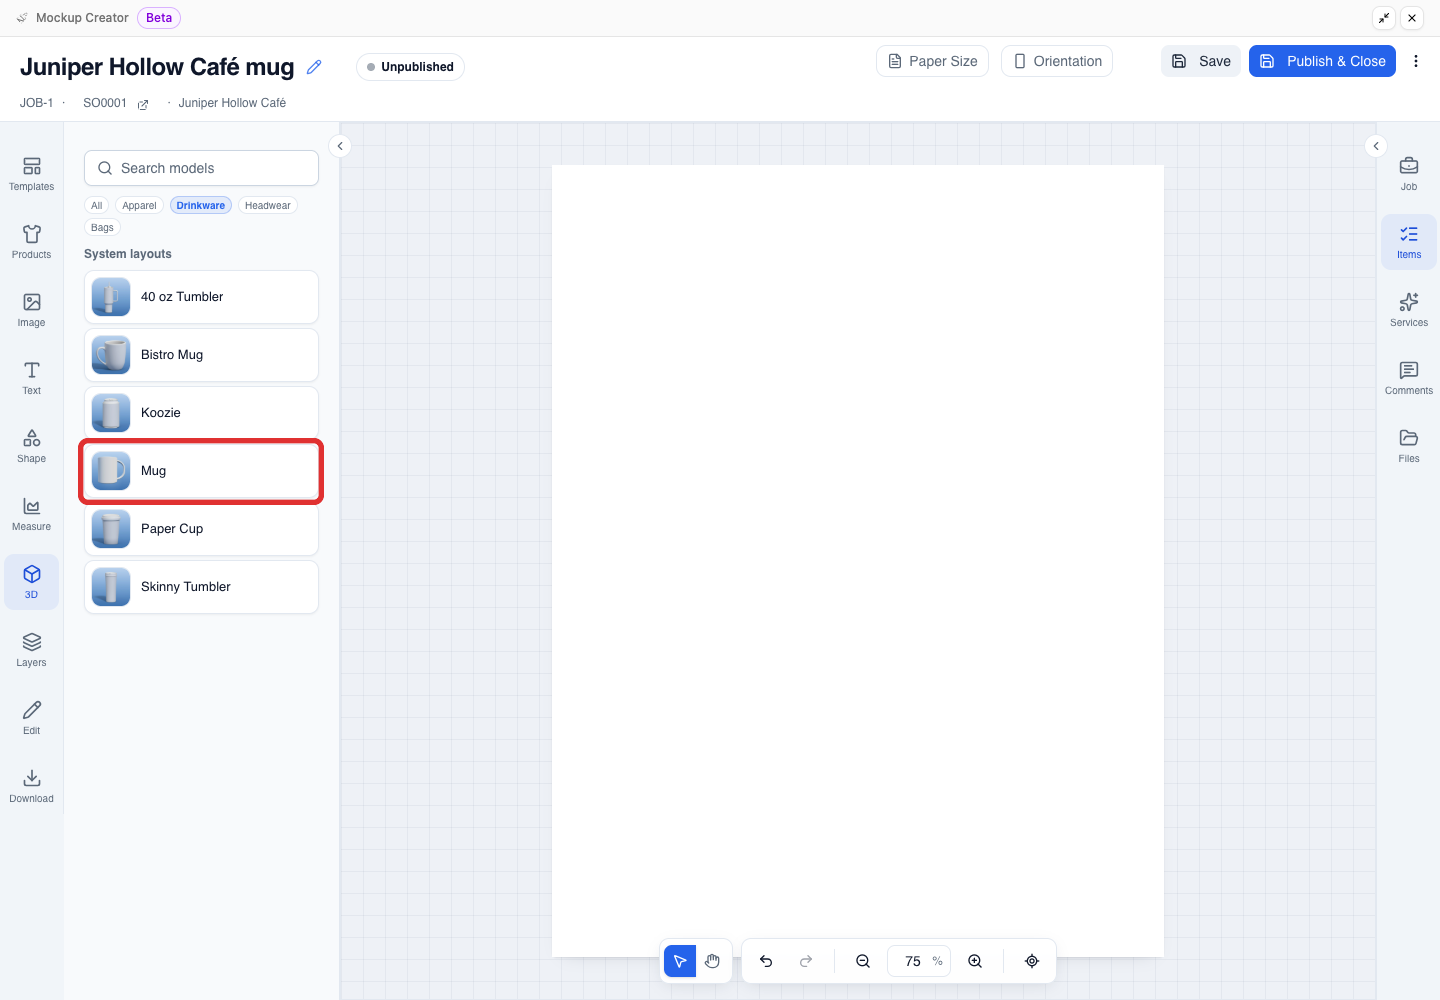
Select a category filter or scroll System layouts, then click a model.
The panel groups the 18 available models under four filters:
- Apparel: T-Shirt, Tank Top, Polo Shirt, Crewneck Sweatshirt, Bomber Jacket, Pullover Hoodie, Apron
- Drinkware: Mug, Bistro Mug, Skinny Tumbler, 40 oz Tumbler, Paper Cup, Koozie
- Headwear: Baseball Cap, Bucket Hat, Visor, Beanie
- Bags: Tote Bag
The 3D Editor opens.
To switch shapes inside the 3D Editor, click Layouts (system and team layout arrangements) or Models (catalog models with their default material) on the left toolbar.
Start from a product already on the page
Use this route when you already placed a 2D catalog product on the mockup page.
-
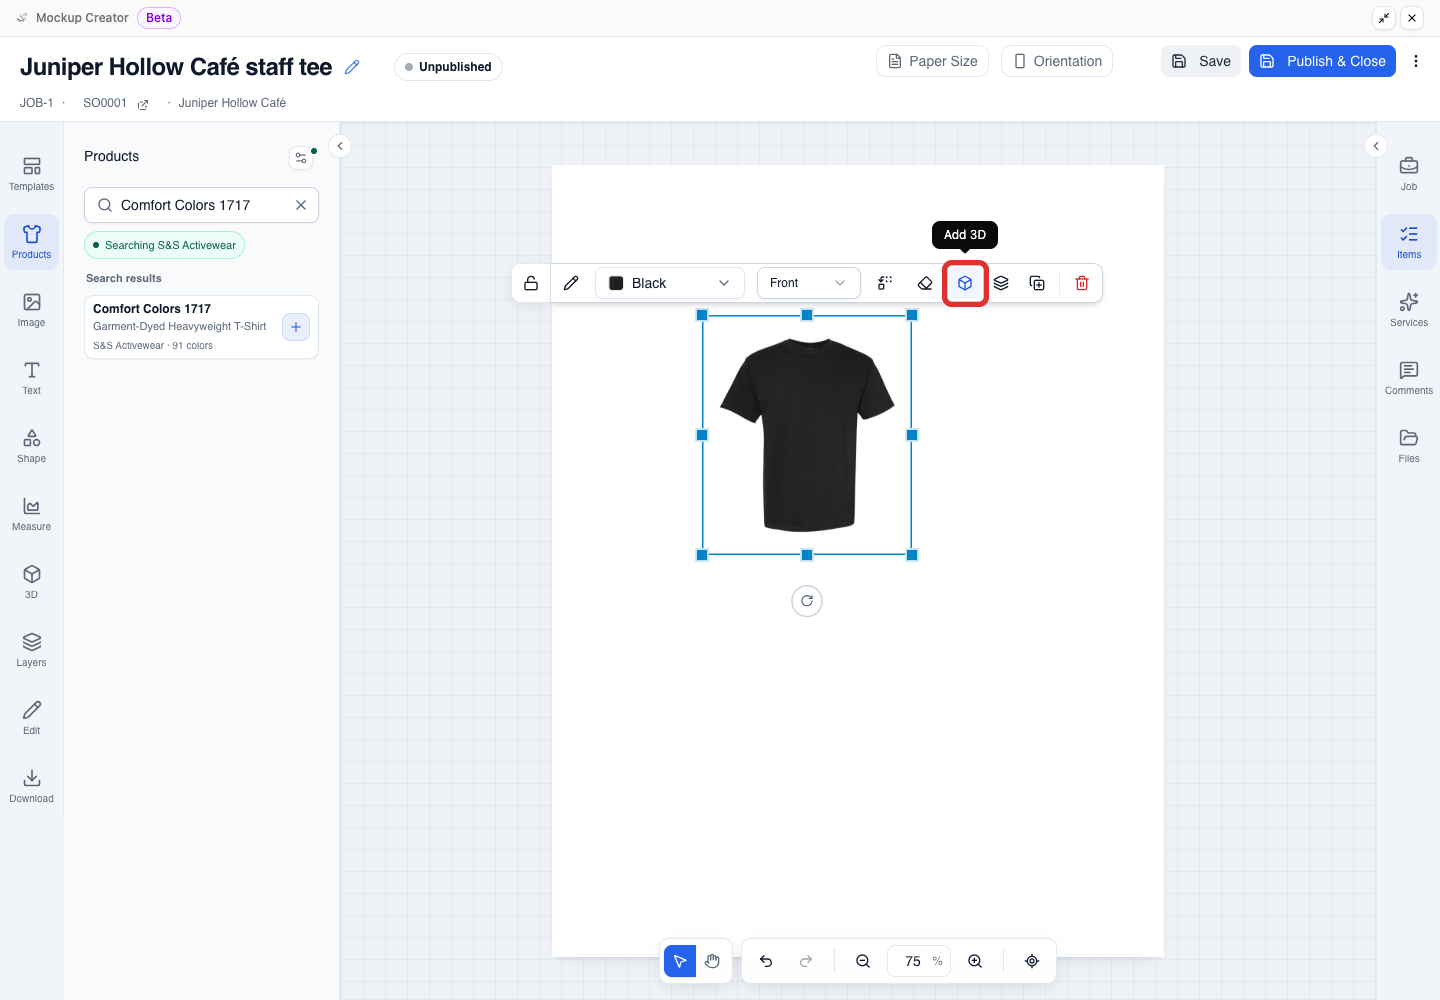
Select the catalog product on the canvas and click the Add 3D cube icon in its floating toolbar.
Open from the 3D panel instead
You can also click 3D on the left toolbar and select the product under From this page.
-
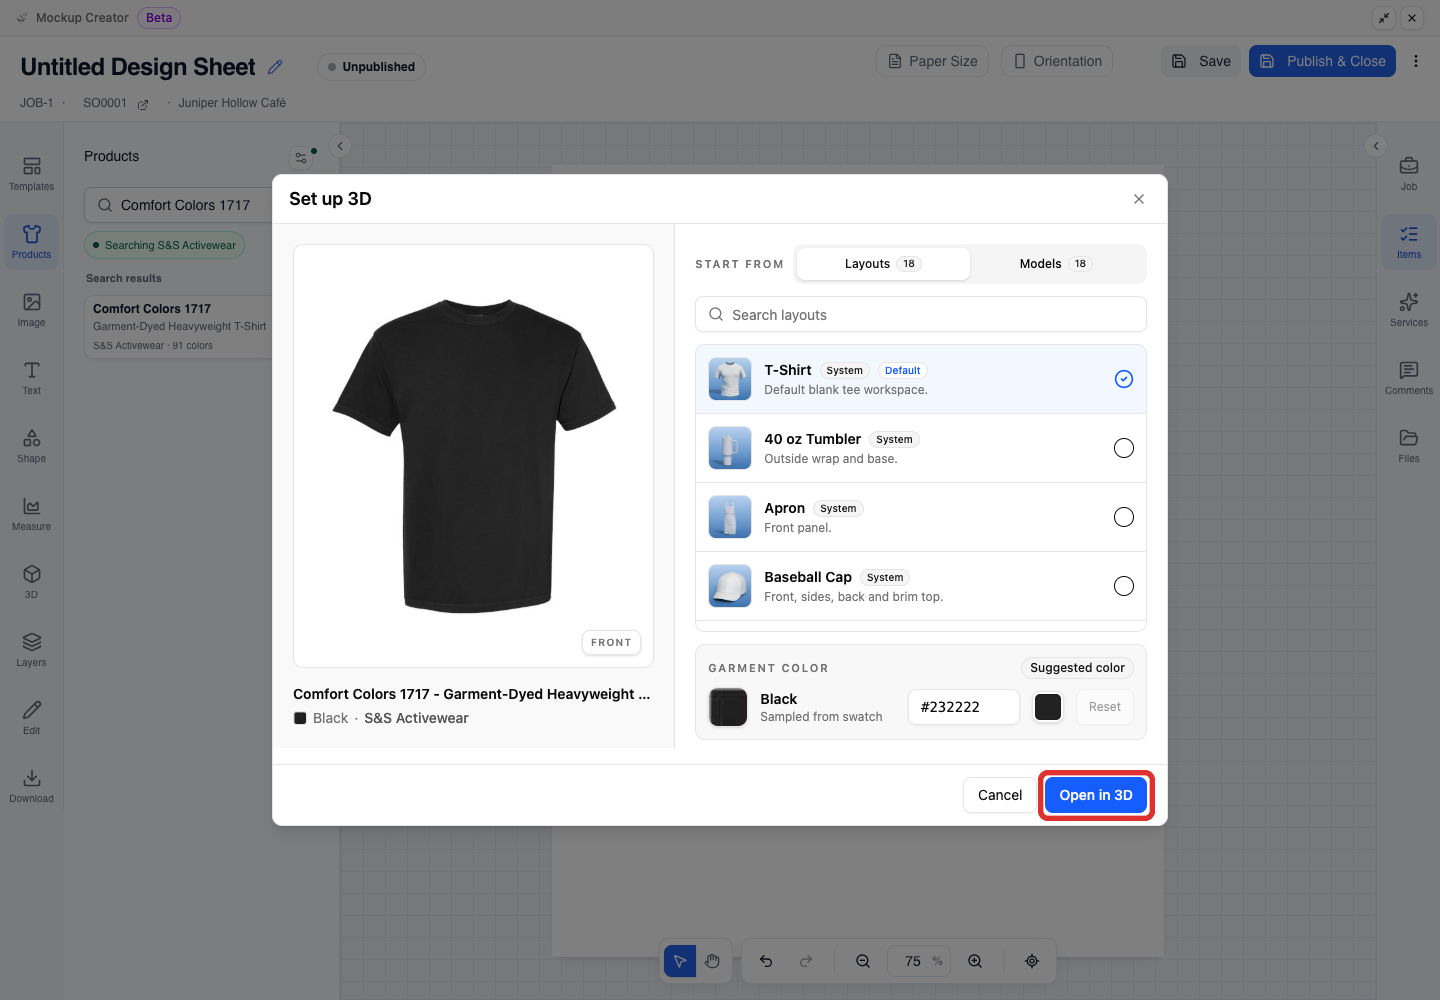
In Set up 3D, choose your starting options and click Open in 3D.
- Start from: Choose Layouts or Models, then select the matching 3D shape.
- Garment color: Keep the sampled product color or choose a new swatch.
The 3D Editor opens. Continue to Place artwork on the model.
Place artwork on the model
Add your customer's artwork in the 3D Editor and position it on the model's flat design sheet.
-
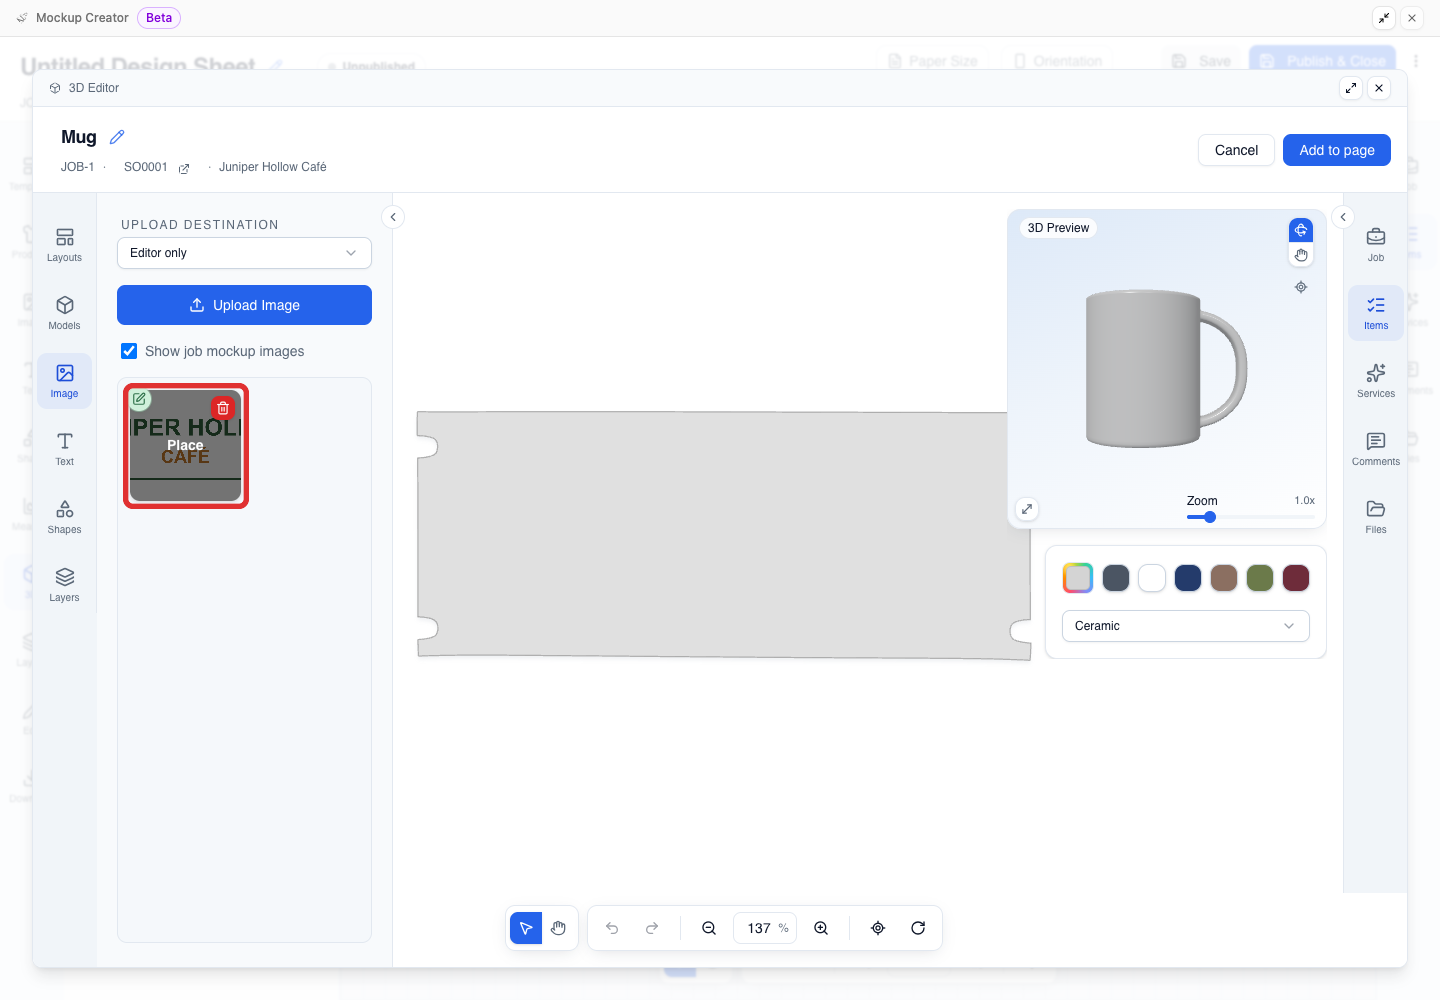
In the Image panel (open by default), click Upload Image to upload a file, or keep Show job mockup images selected to use artwork already on the job.
-
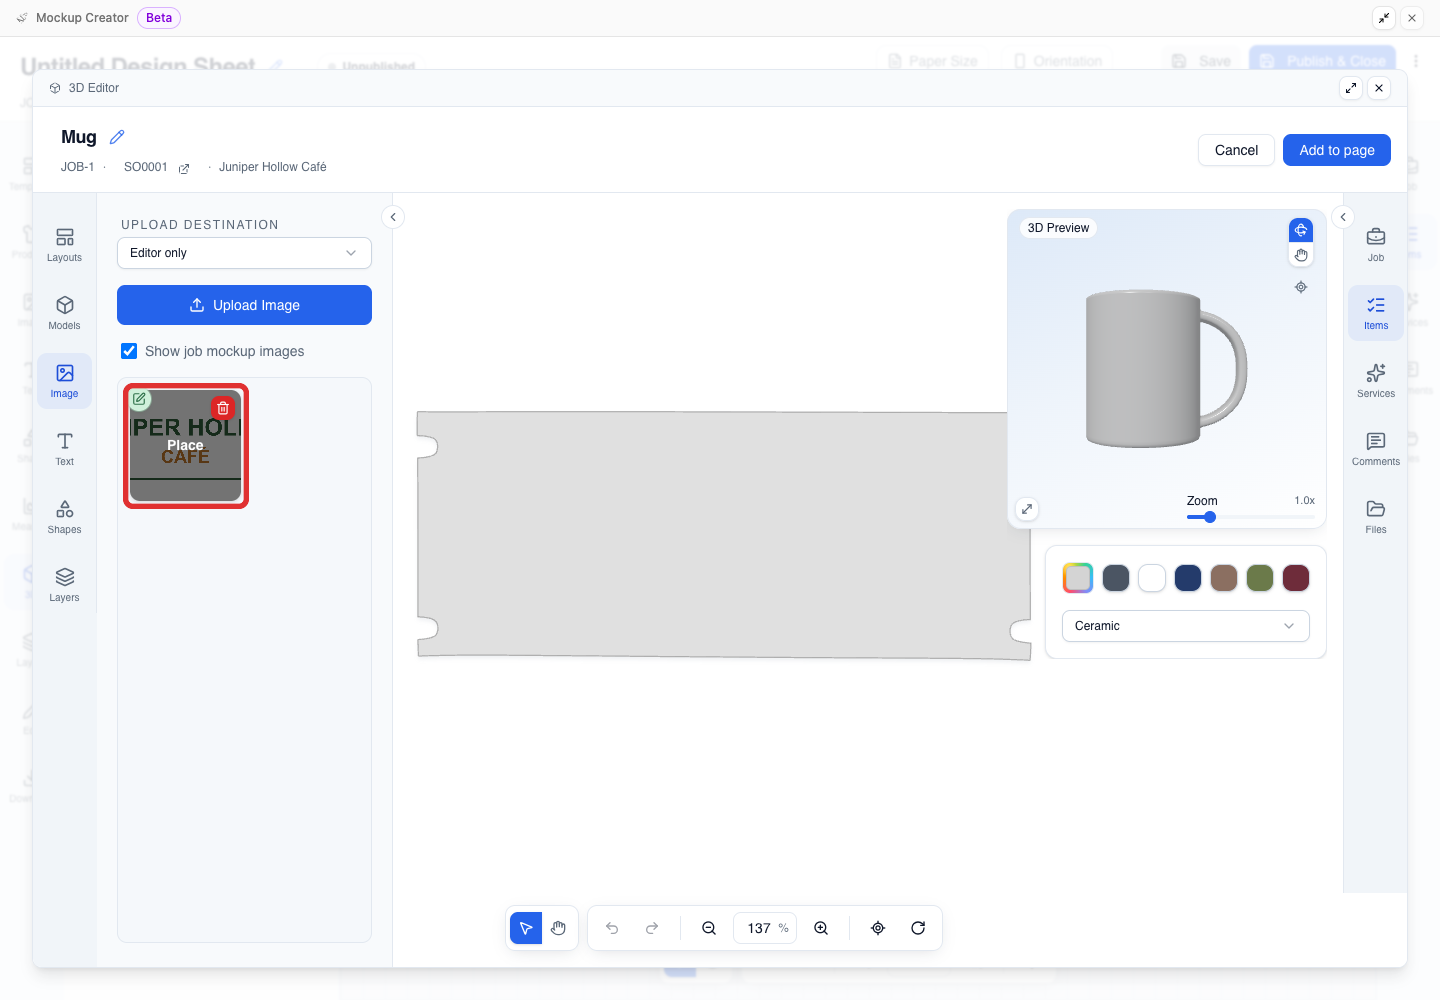
Hover over the artwork thumbnail and click Place.
-
Drag the artwork or its handles on the flat design sheet to move, resize, or rotate it.
On the mug sheet, the cutouts at the left and right edges mark the handle. Place the artwork on the wrap section opposite the handle so it faces forward in 3D Preview.
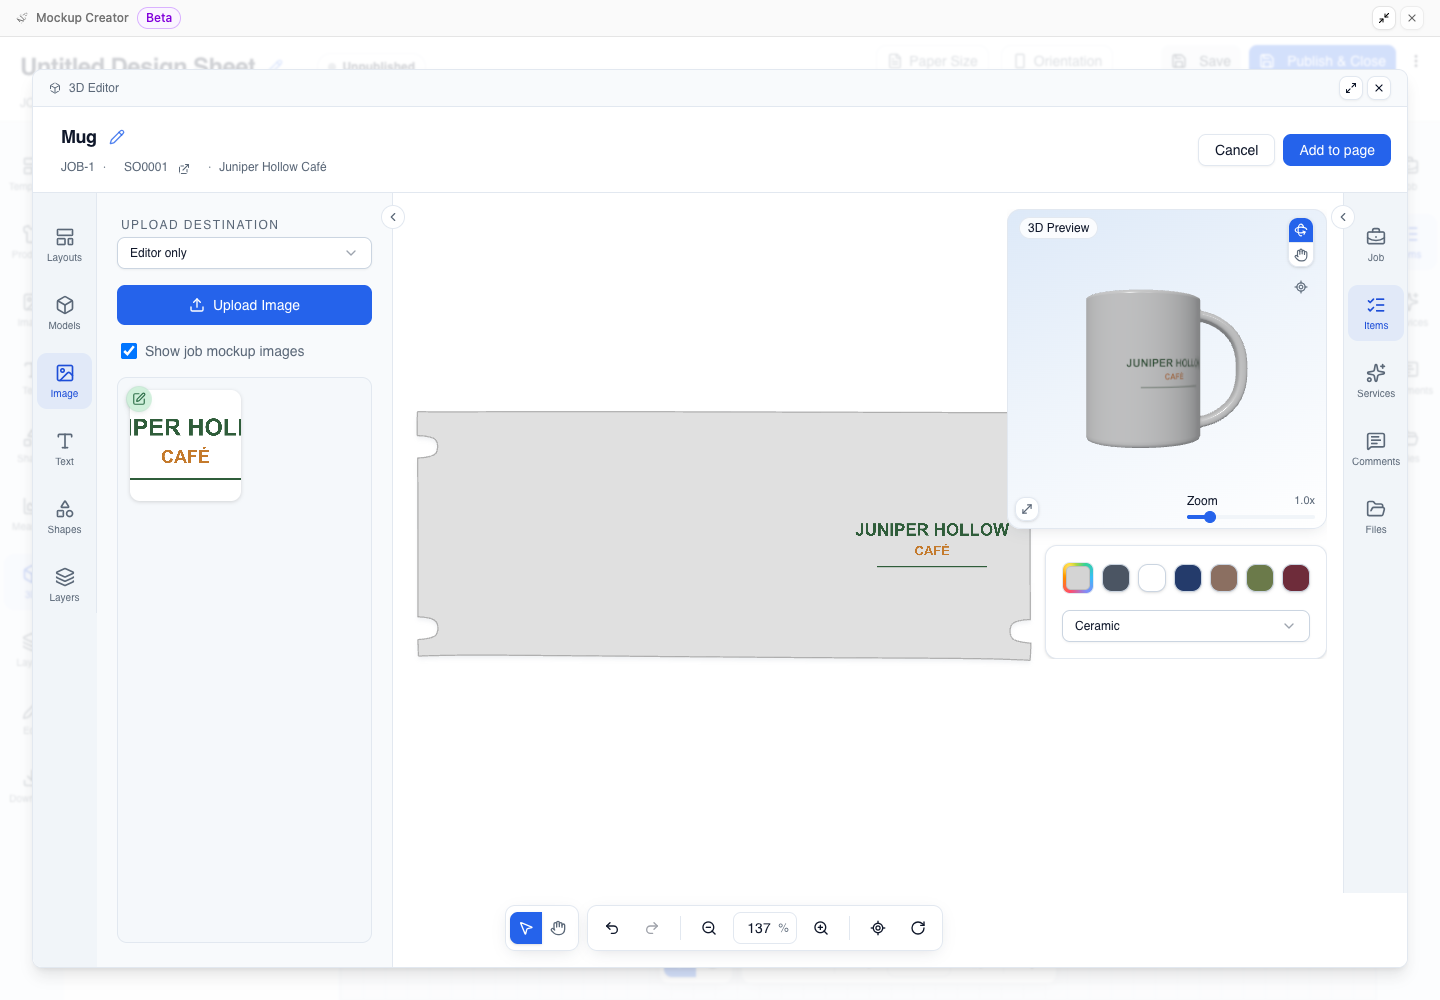
Rotate canvas +90 degrees on the bottom toolbar turns only the flat design sheet, not the 3D model.
Set the appearance and inspect the preview
Choose the model's base color and material finish, then check the artwork in 3D Preview.
-
Under 3D Preview, select a preset color swatch (or the rainbow square for a custom color) and choose a finish from the material menu, such as Ceramic.
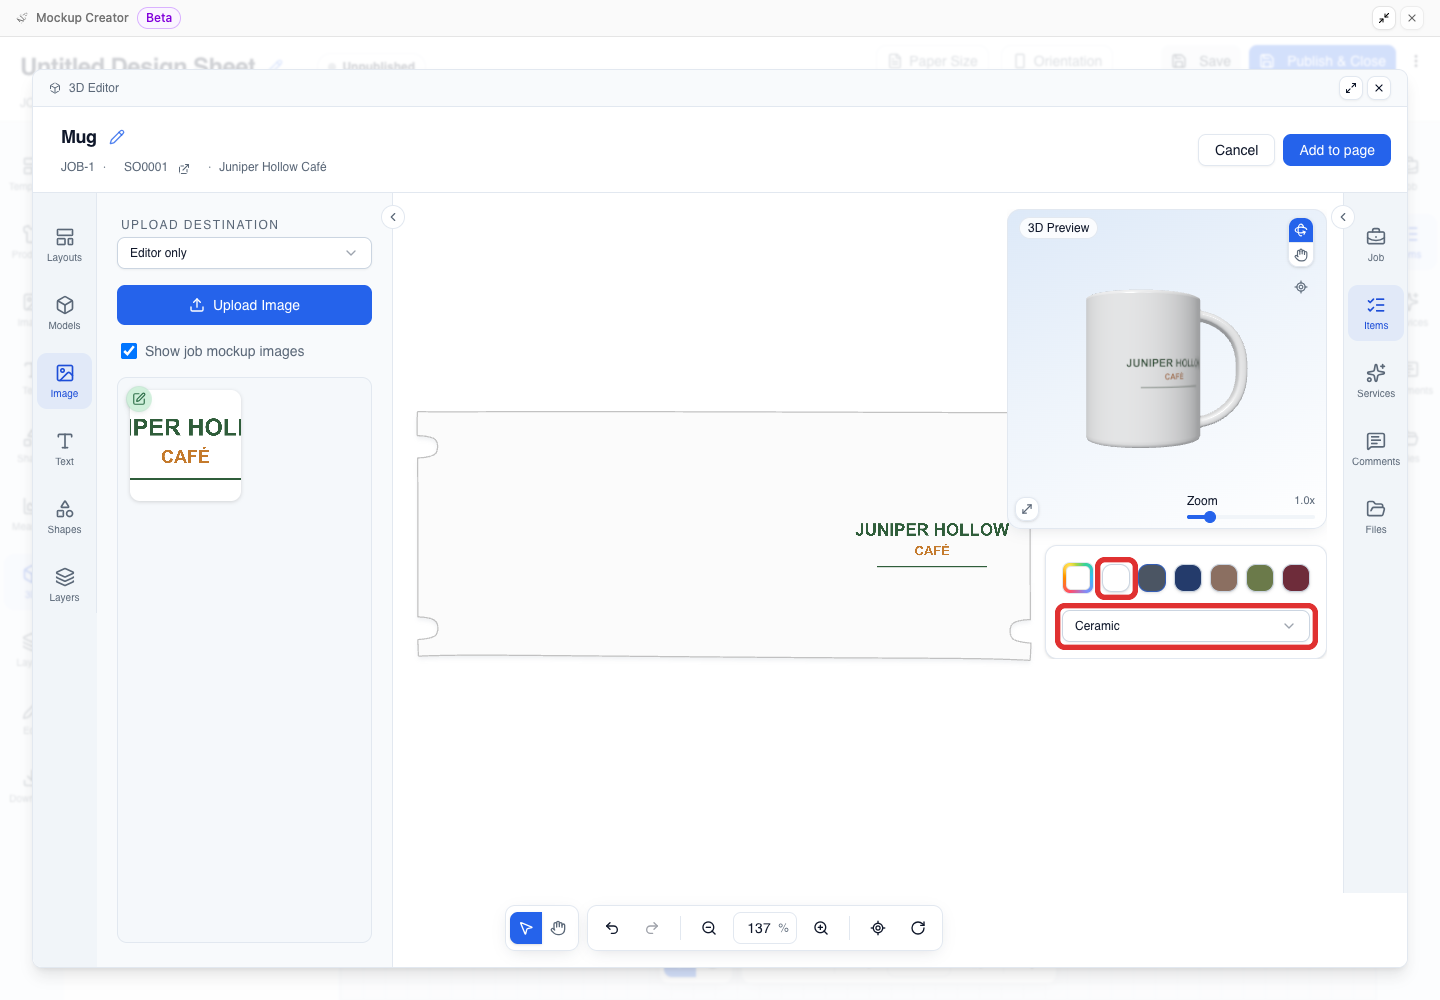
If the controls under 3D Preview are cut off on a smaller screen, click the expand icon in the top-right corner of the 3D Editor or drag the bottom-left corner of 3D Preview upward.
-
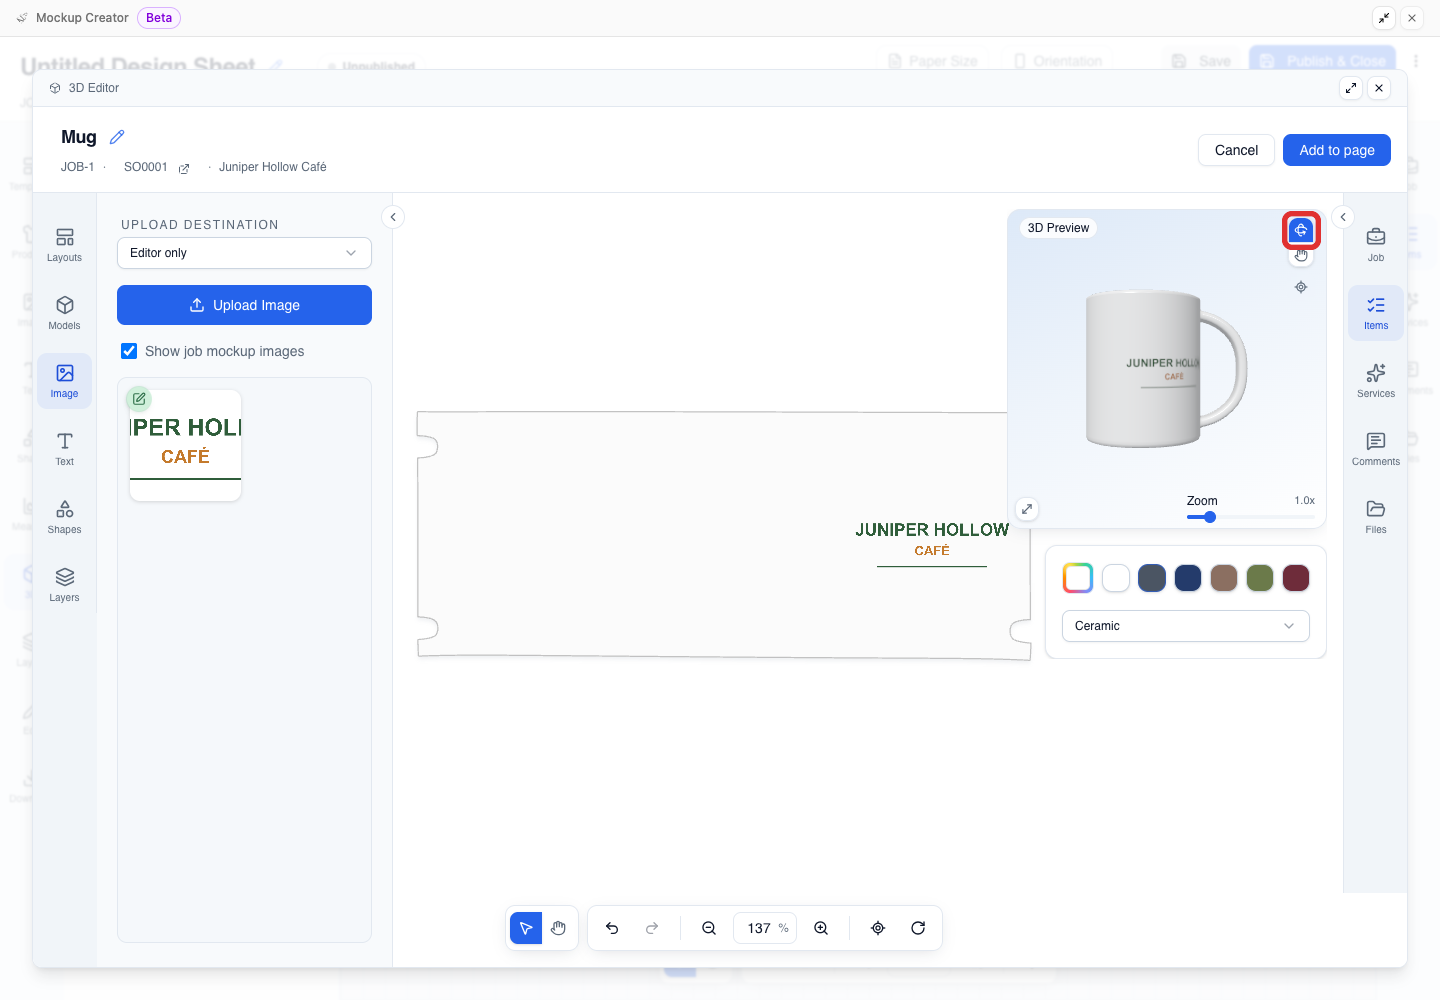
Select a preview tool in the top-right corner of 3D Preview.
- Rotate mode: Turn the model to check the artwork from different angles.
- Pan mode: Move the model across the preview frame.
- Reset 3D Preview view: Return the model to its default preview angle.
-
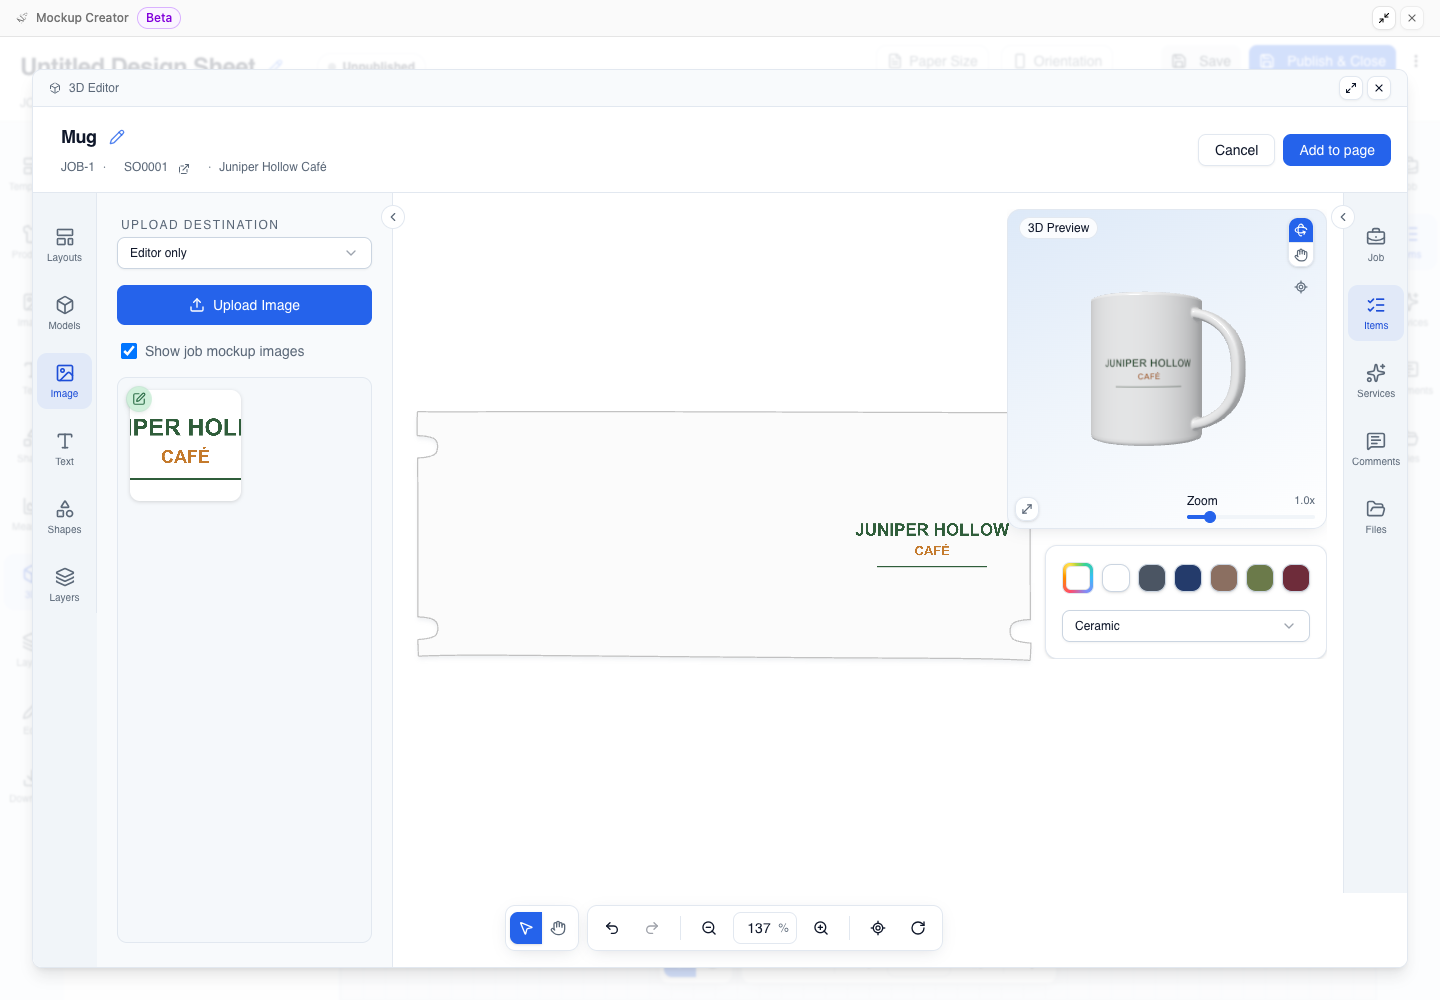
Drag inside 3D Preview to turn or pan the model, or use the Zoom slider at the bottom.
Turning or zooming in 3D Preview only changes your view in the editor. You choose the saved proof angles after adding the model to the page.
Add the 3D views to the job page
Add the finished 3D model to your mockup page and save each angle you want to show on the proof.
-
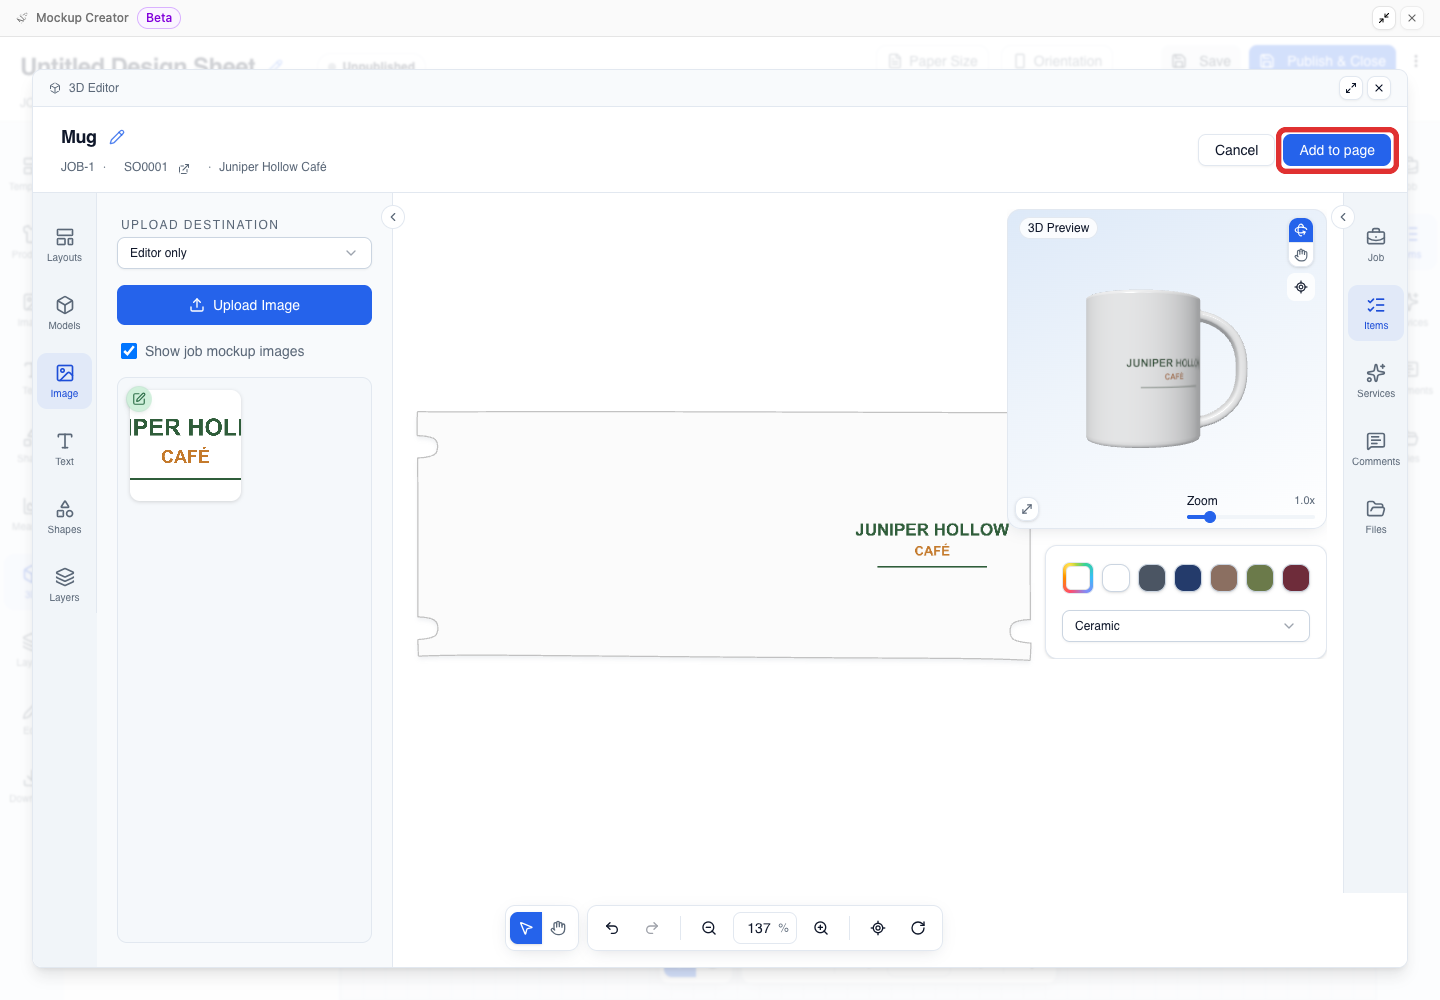
Click Add to page in the top-right corner of the 3D Editor.
-
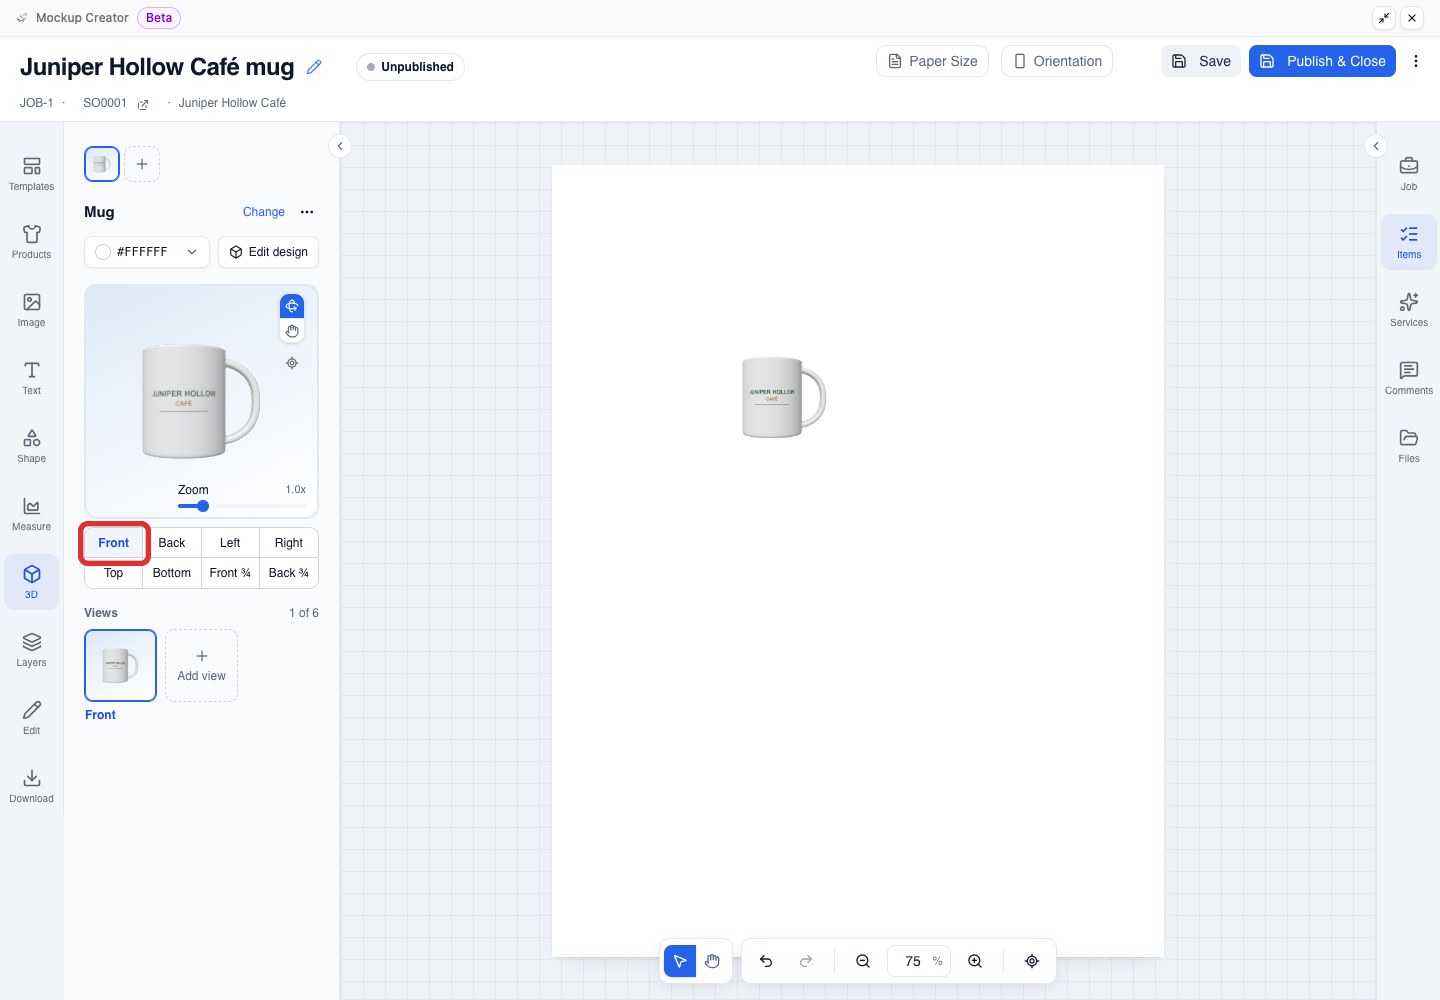
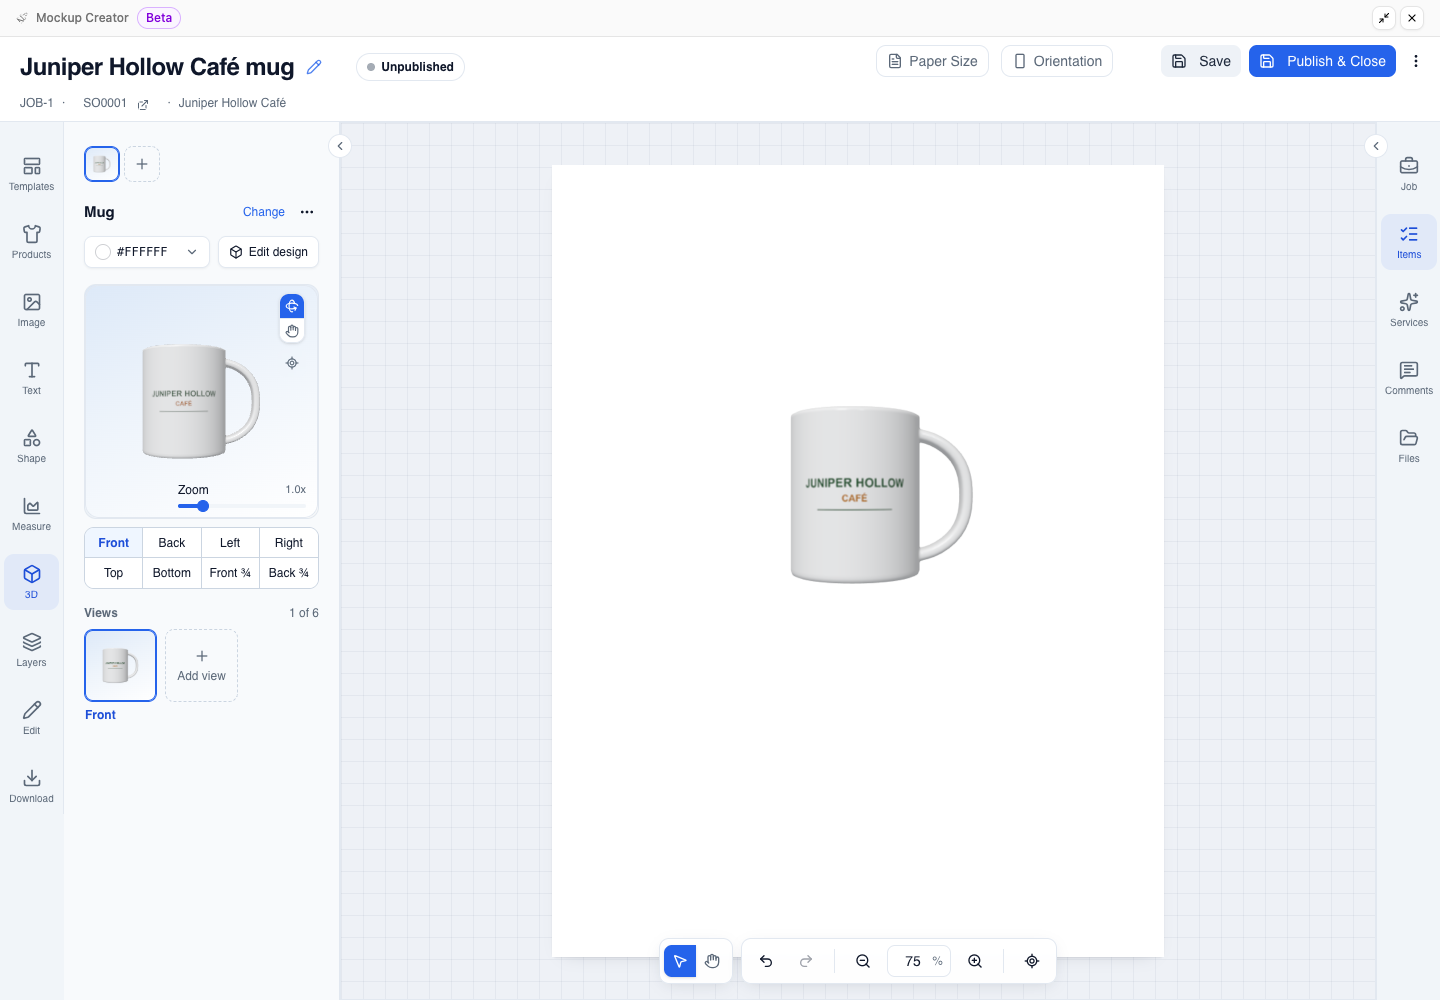
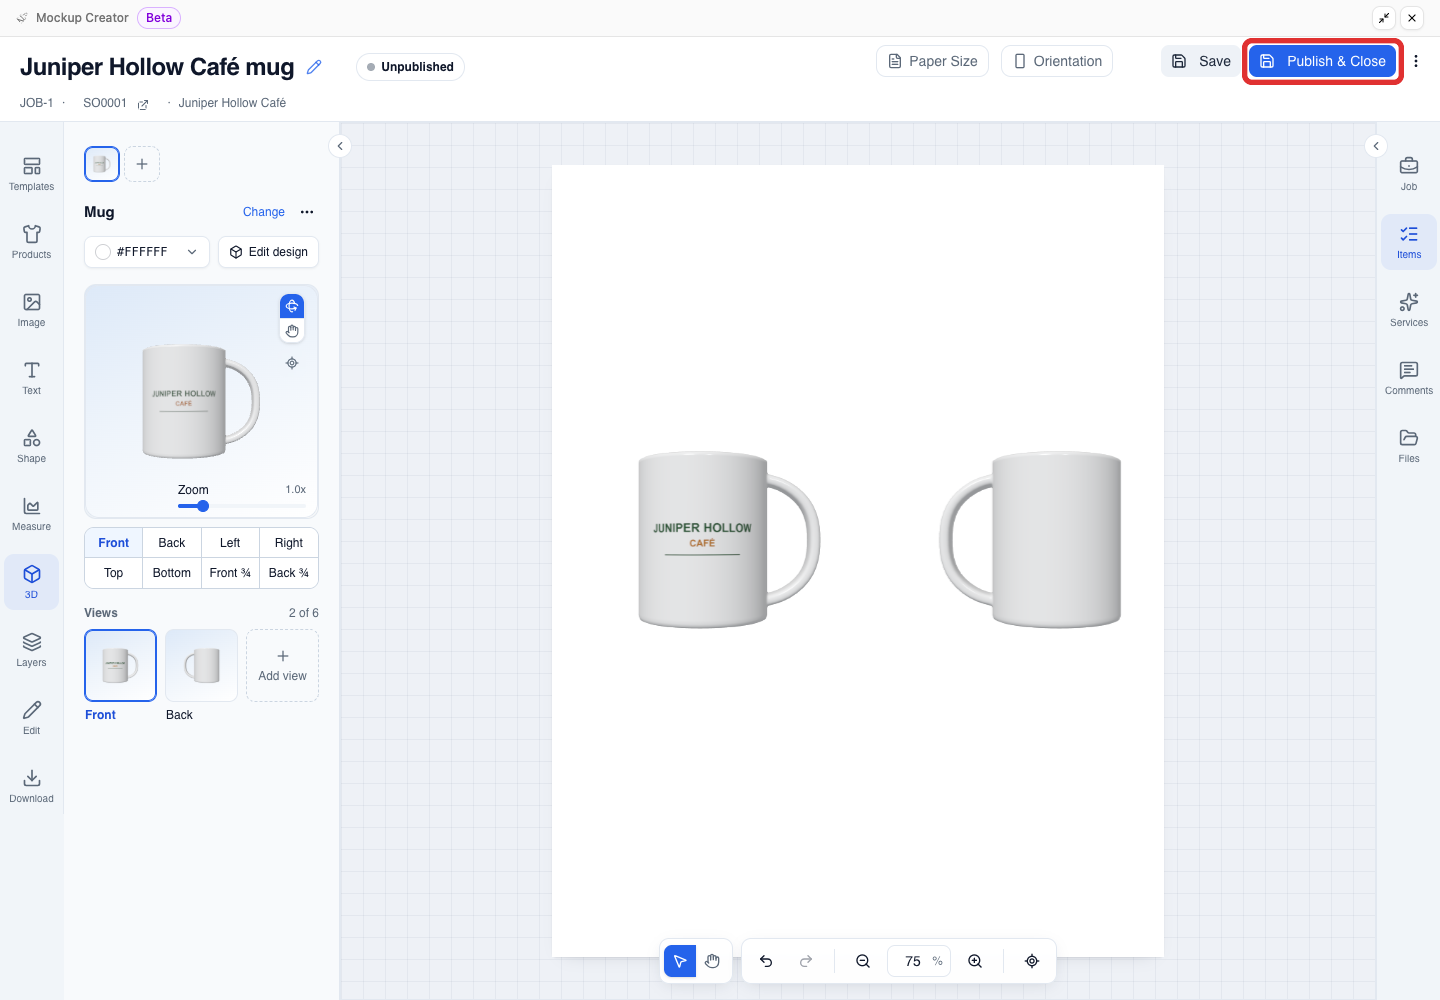
In the 3D panel on the left, review the angle buttons under the preview.
The model opens on Front by default. Available angles depend on the model and can include Front, Back, Left, Right, Top, Bottom, Front ¾, and Back ¾.
-
Click an angle button to set that view on the canvas, then drag the mockup on the page to position or resize it.
The active angle updates on the canvas and in the Views strip.
-
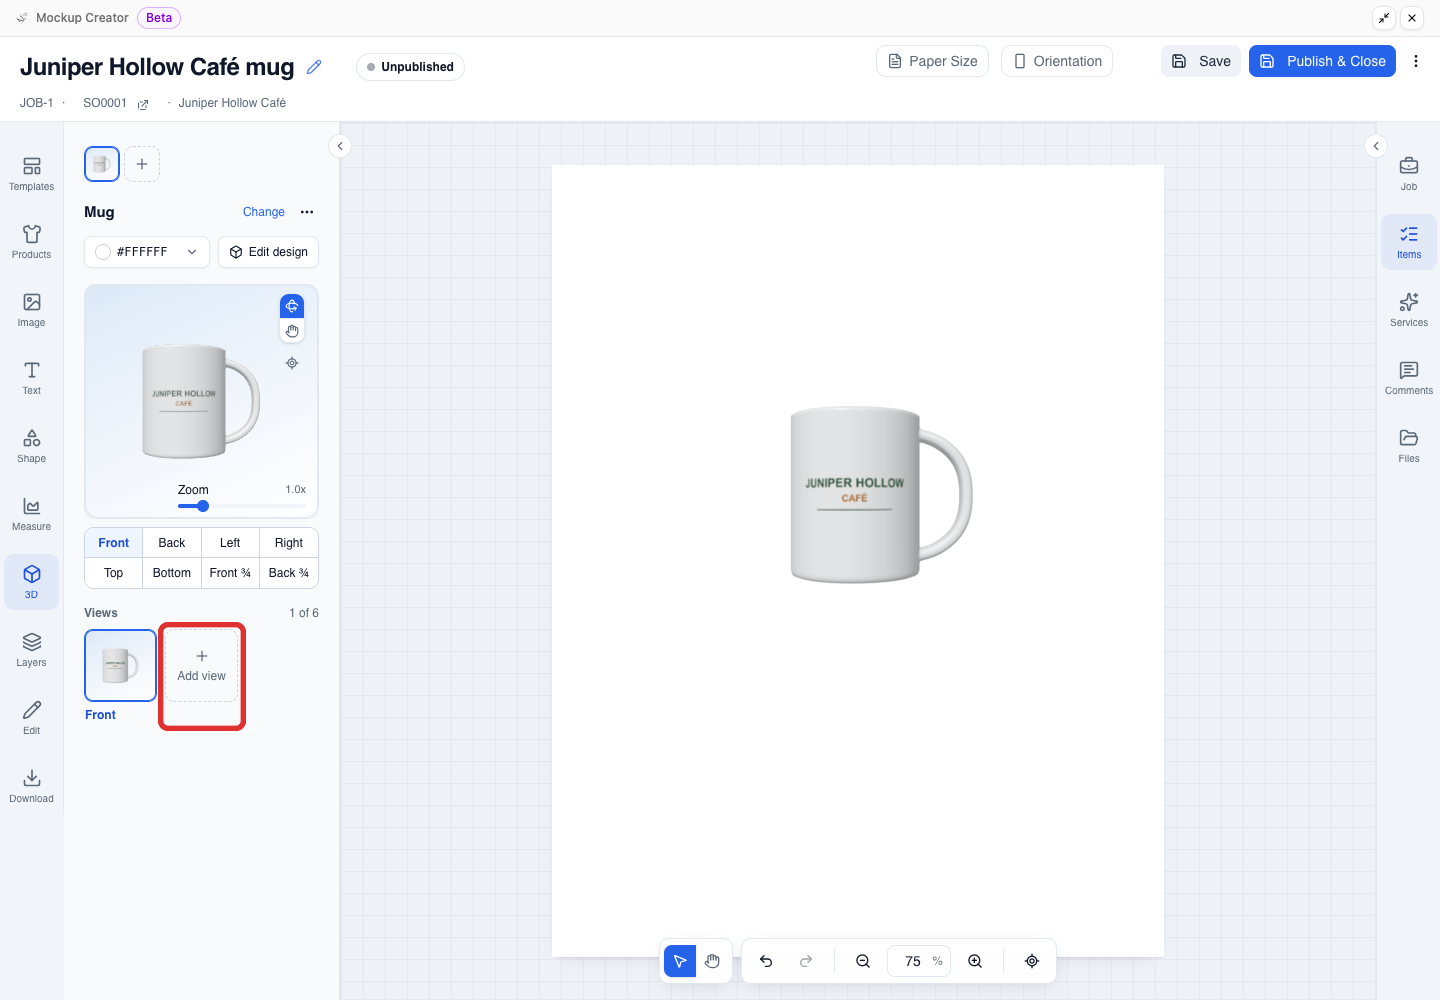
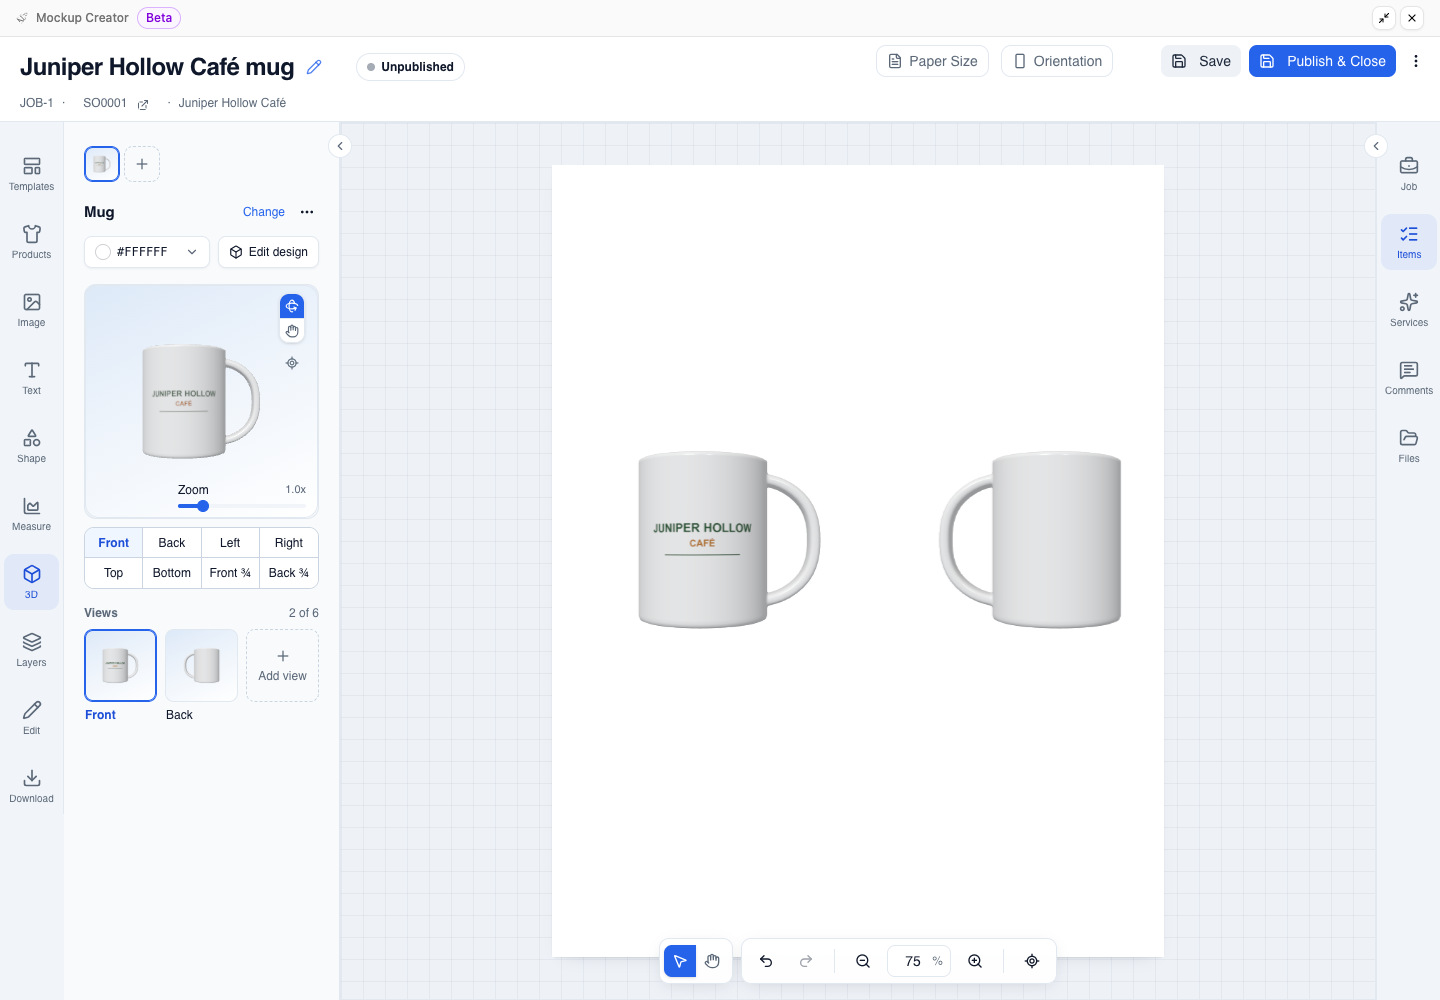
To show another angle on the same proof, scroll to Views at the bottom of the 3D panel and click + Add view.
Turning the preview in the 3D panel does not add a view by itself.
-
Click an angle button for the new view, such as Back, and arrange the views on the canvas.
Update the 3D model from the page
Use the controls at the top of the 3D panel when you need to adjust a model that is already on the page:
- Edit design: Reopen the 3D Editor to edit the artwork on the model.
- Change: Pick a different 3D model shape.
- Color field (for example,
#FFFFFF): Set the model's base color.
Save and publish the 3D proof
Publish the finished proof to the job and send it to your customer for approval.
-
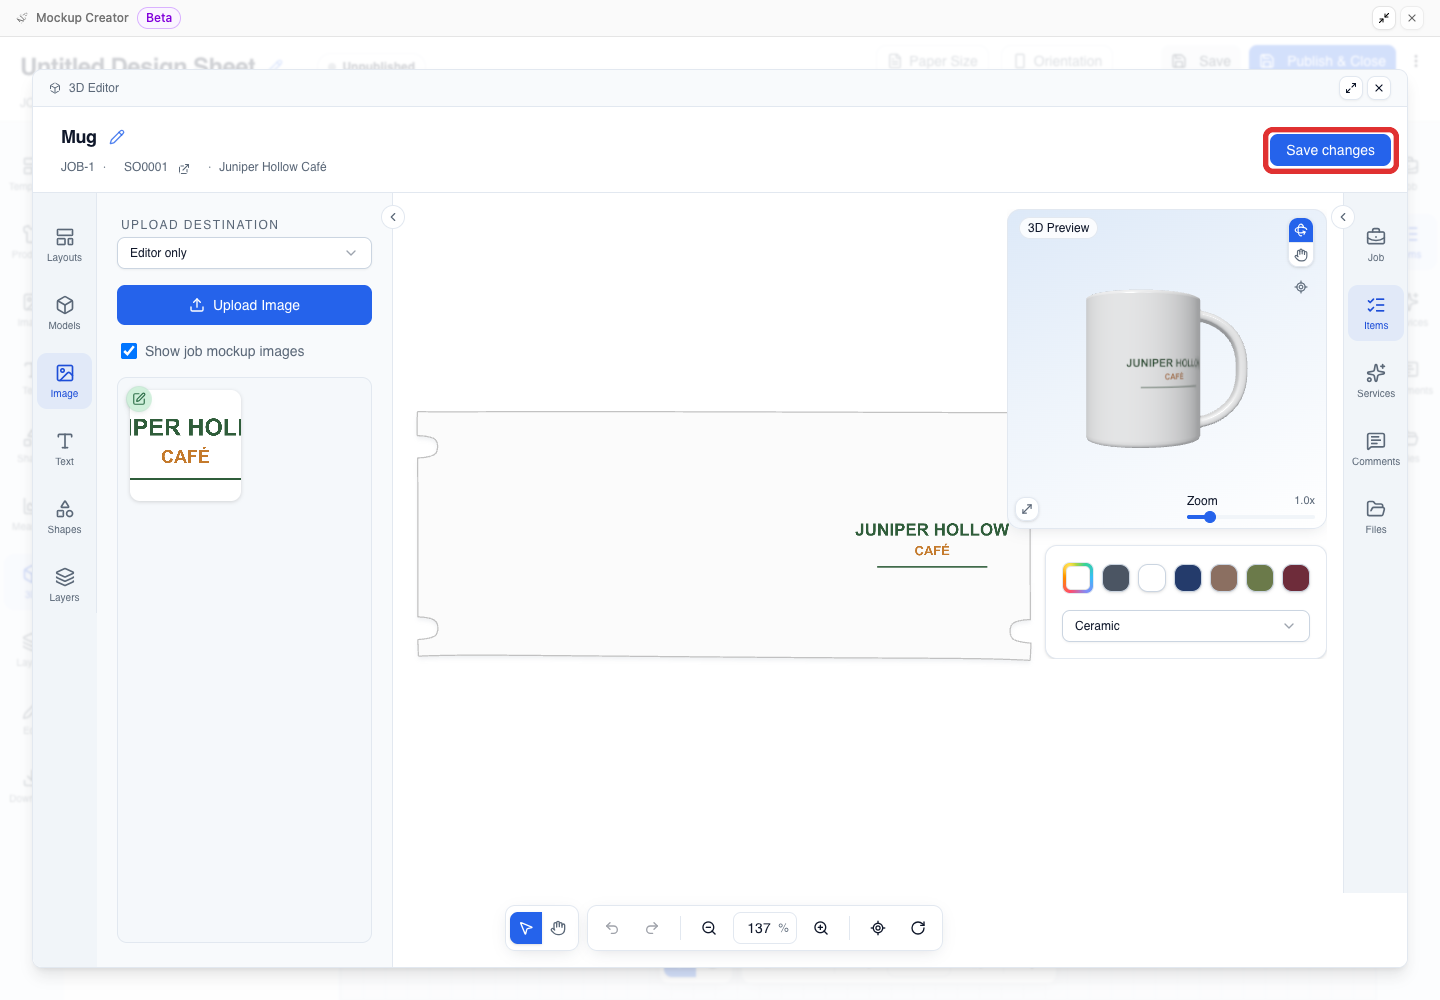
When you reopen a model in the 3D Editor, click Save changes in the top-right corner to update it on the page.
-
Click Publish & Close in the top-right corner of the Mockup Creator.
-
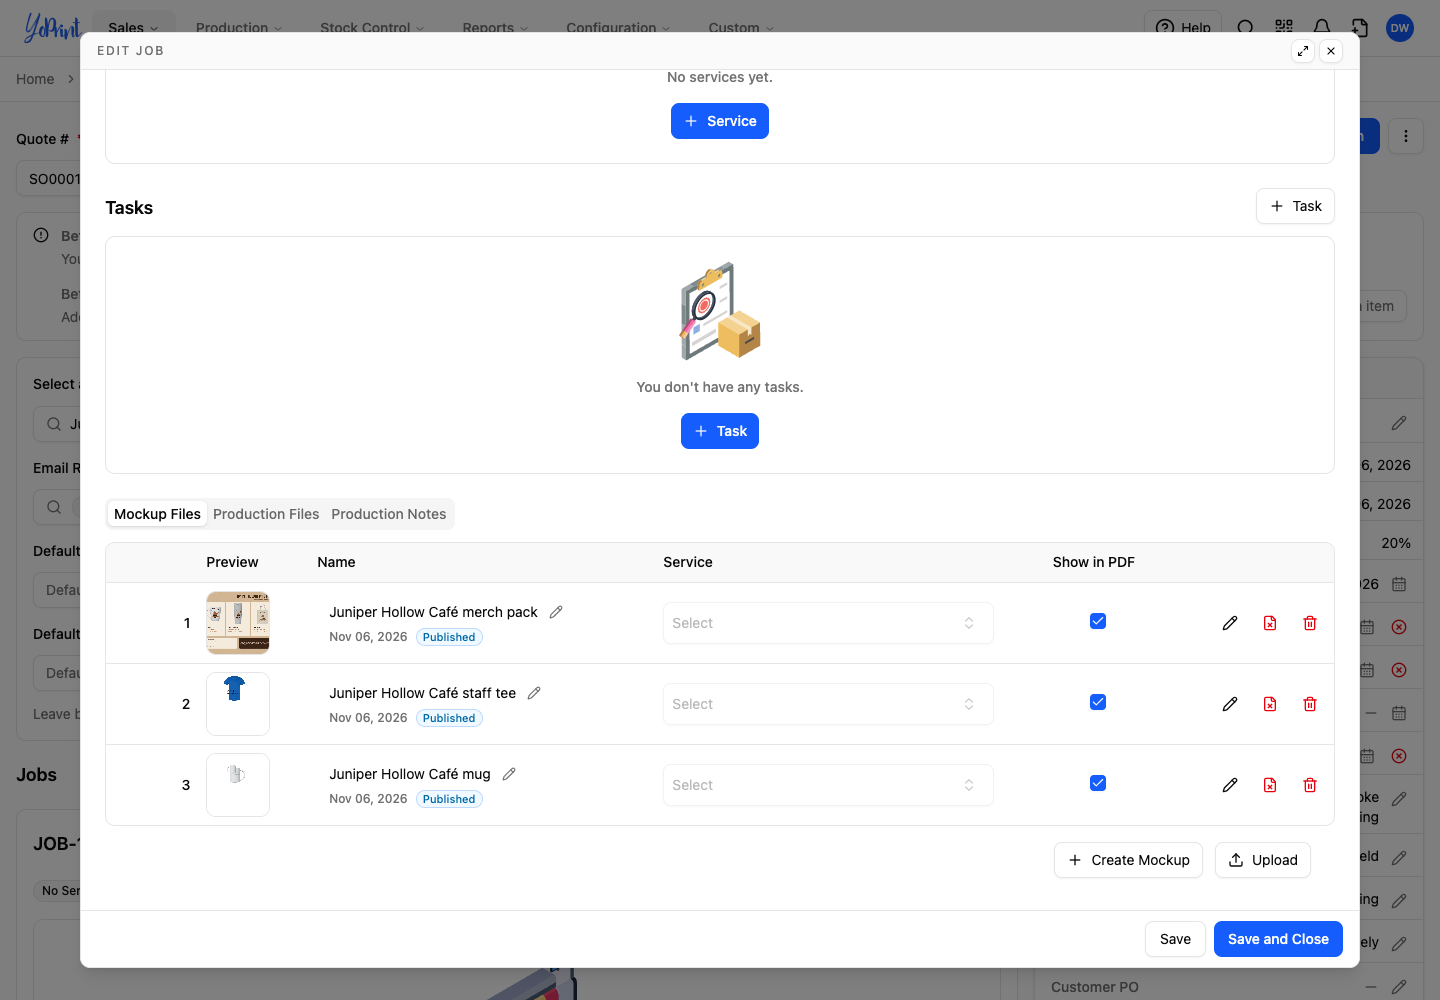
In the job's Mockup Files tab, confirm that the mockup status is Published.
-
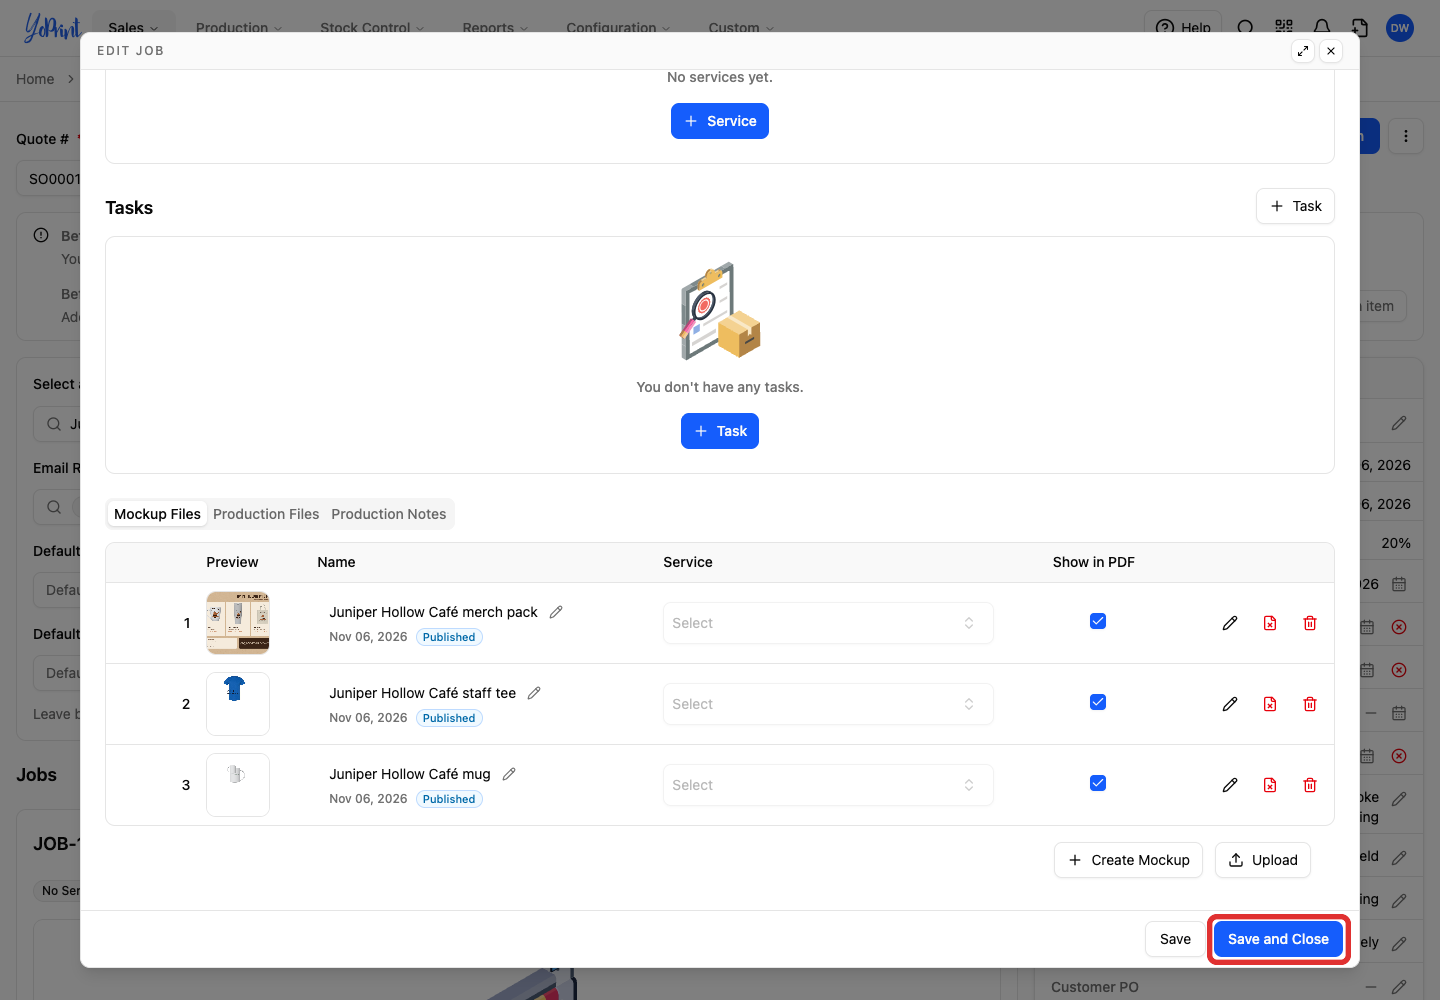
Click Save and Close in the bottom-right corner of the Edit Job window to save the job.
-
Send the proof to your customer through the artwork approval workflow. Your customer can turn the 3D model in the Customer Portal while reviewing the artwork approval.
For draft, Show in PDF, and post-approval editing options, see Get started with the Mockup Creator and Mockup vs Production Files.
