Customizing The Customer Portal Theme Colors
In this article
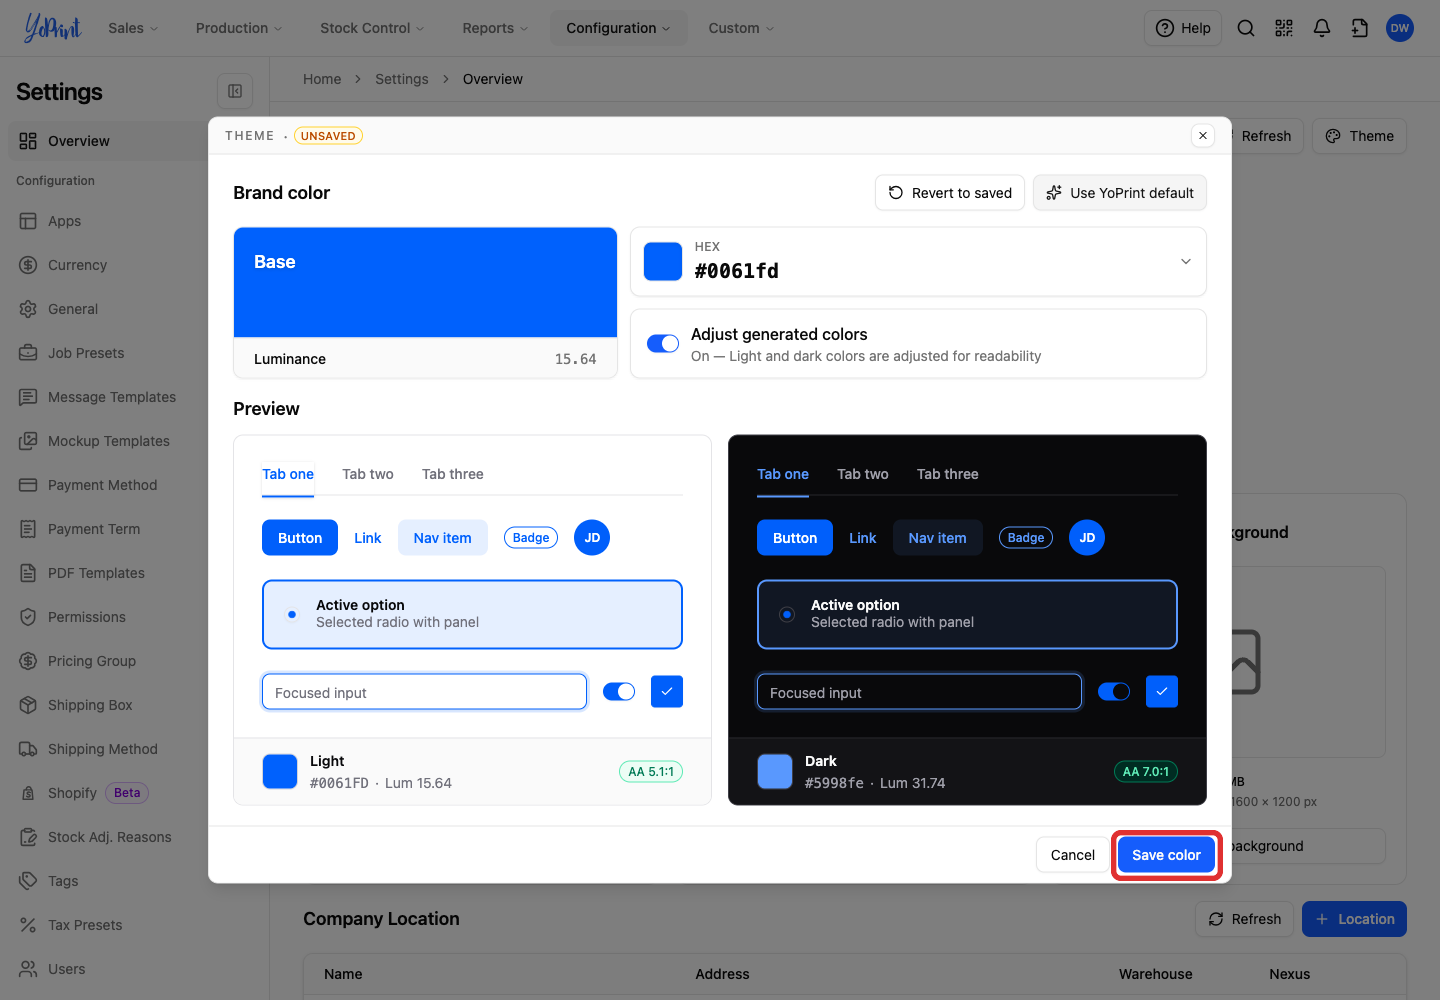
Match the customer portal to your brand with one base color. YoPrint generates colors for light and dark mode. You can adjust either mode separately.
Choose your portal brand color
You need permission to manage Settings to change the portal colors. If you cannot open Settings, ask your team owner to check Manage Settings for your permission group under Settings > Permissions.
-
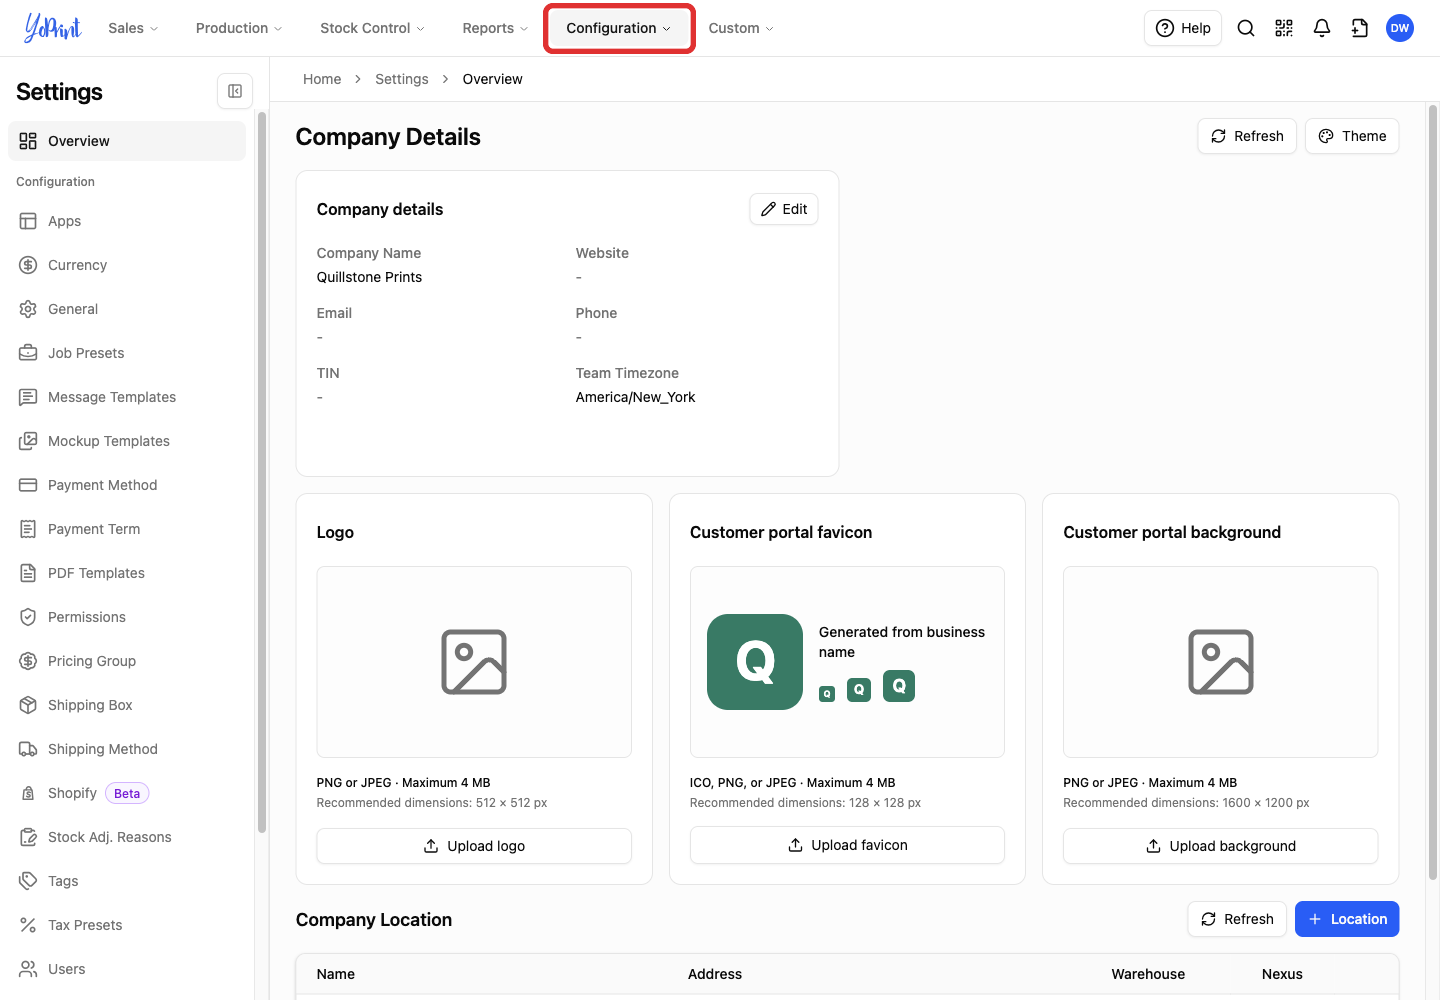
Open Configuration in the top navigation bar.
-
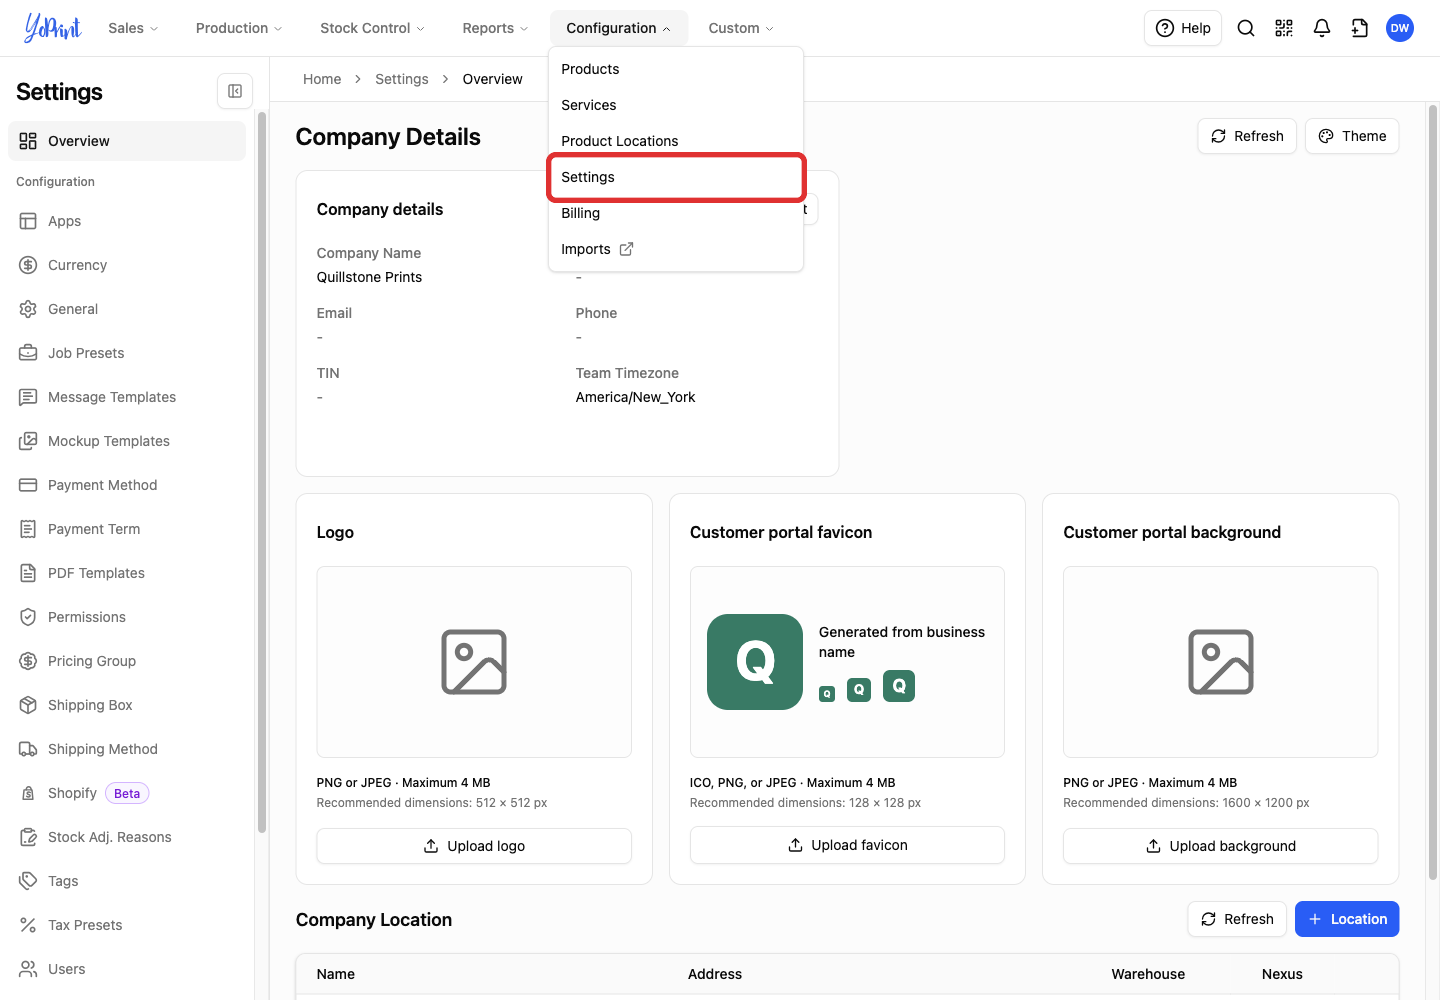
Choose Settings. The Overview page opens.
-
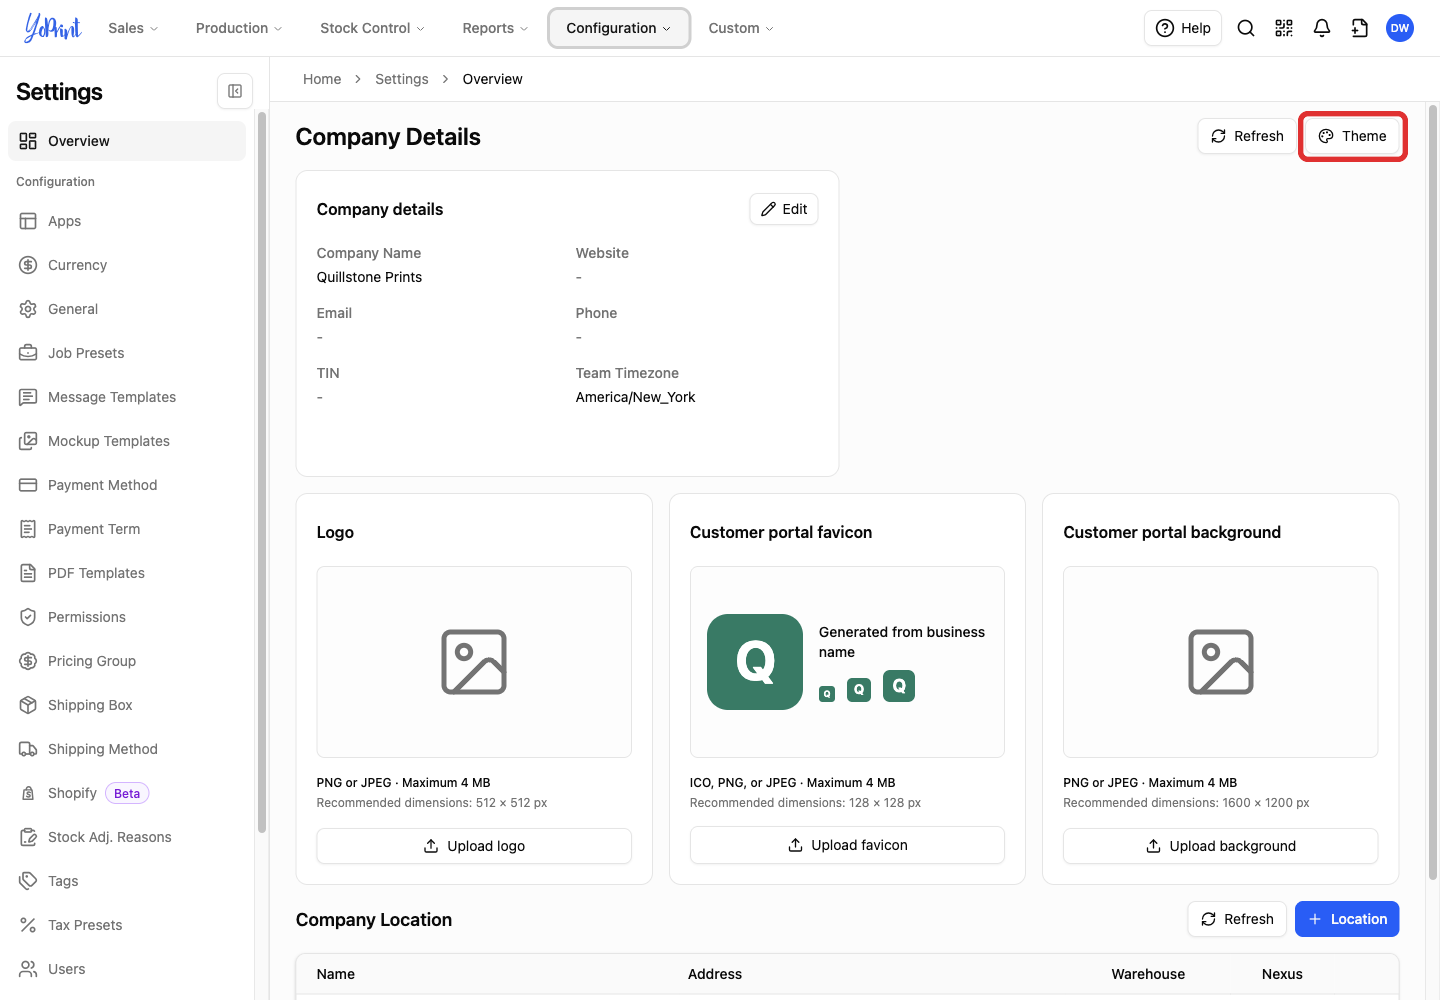
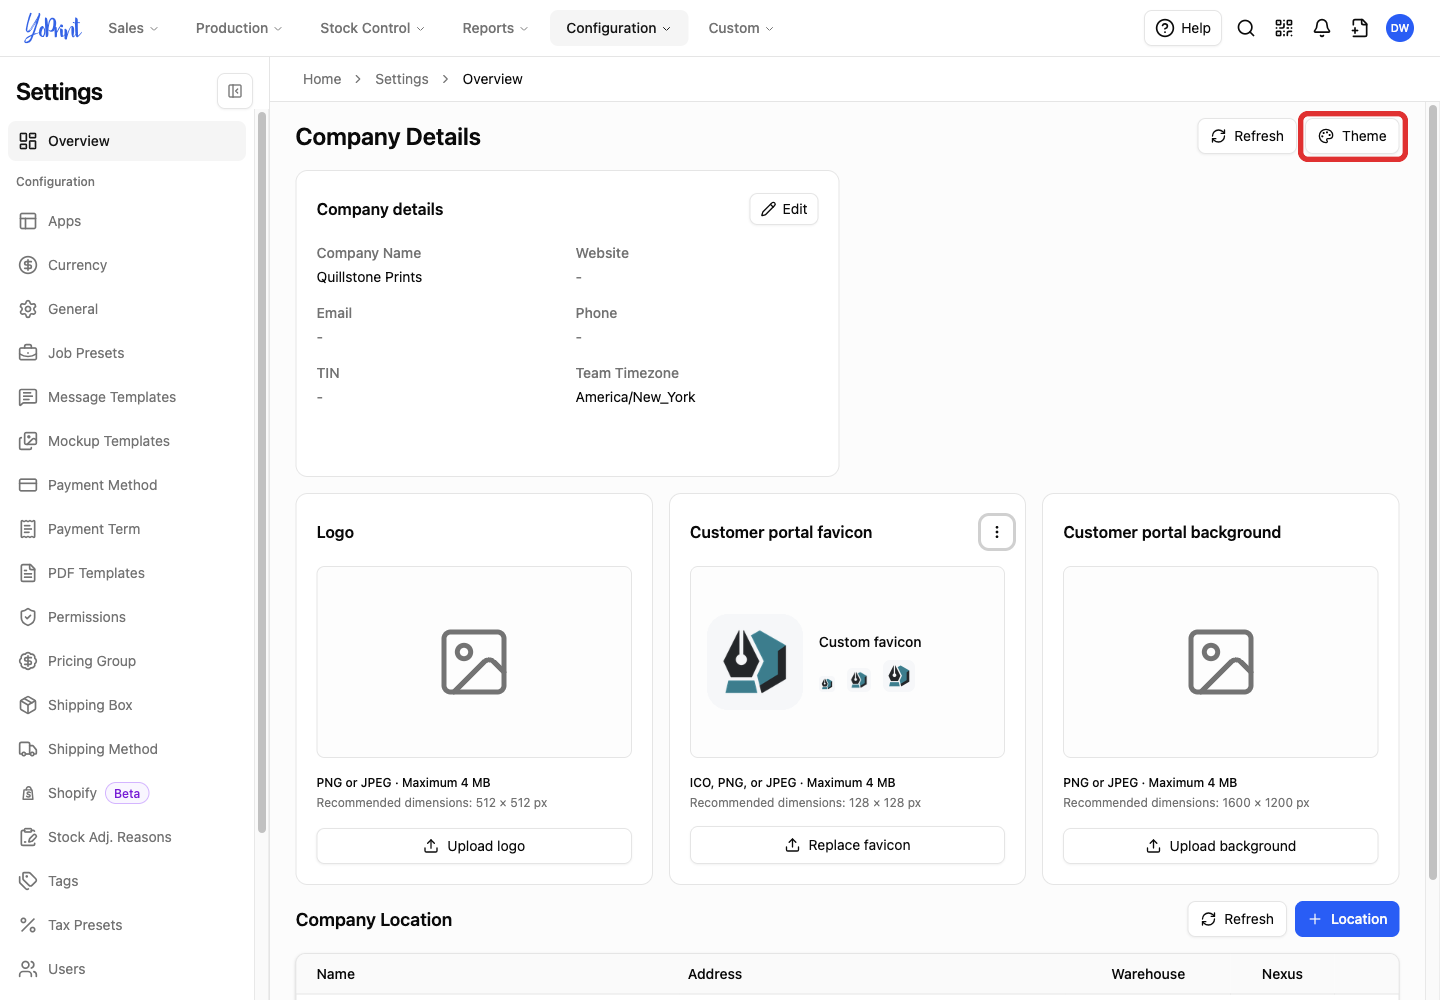
Click Theme beside Company Details to open the Brand color dialog.
-
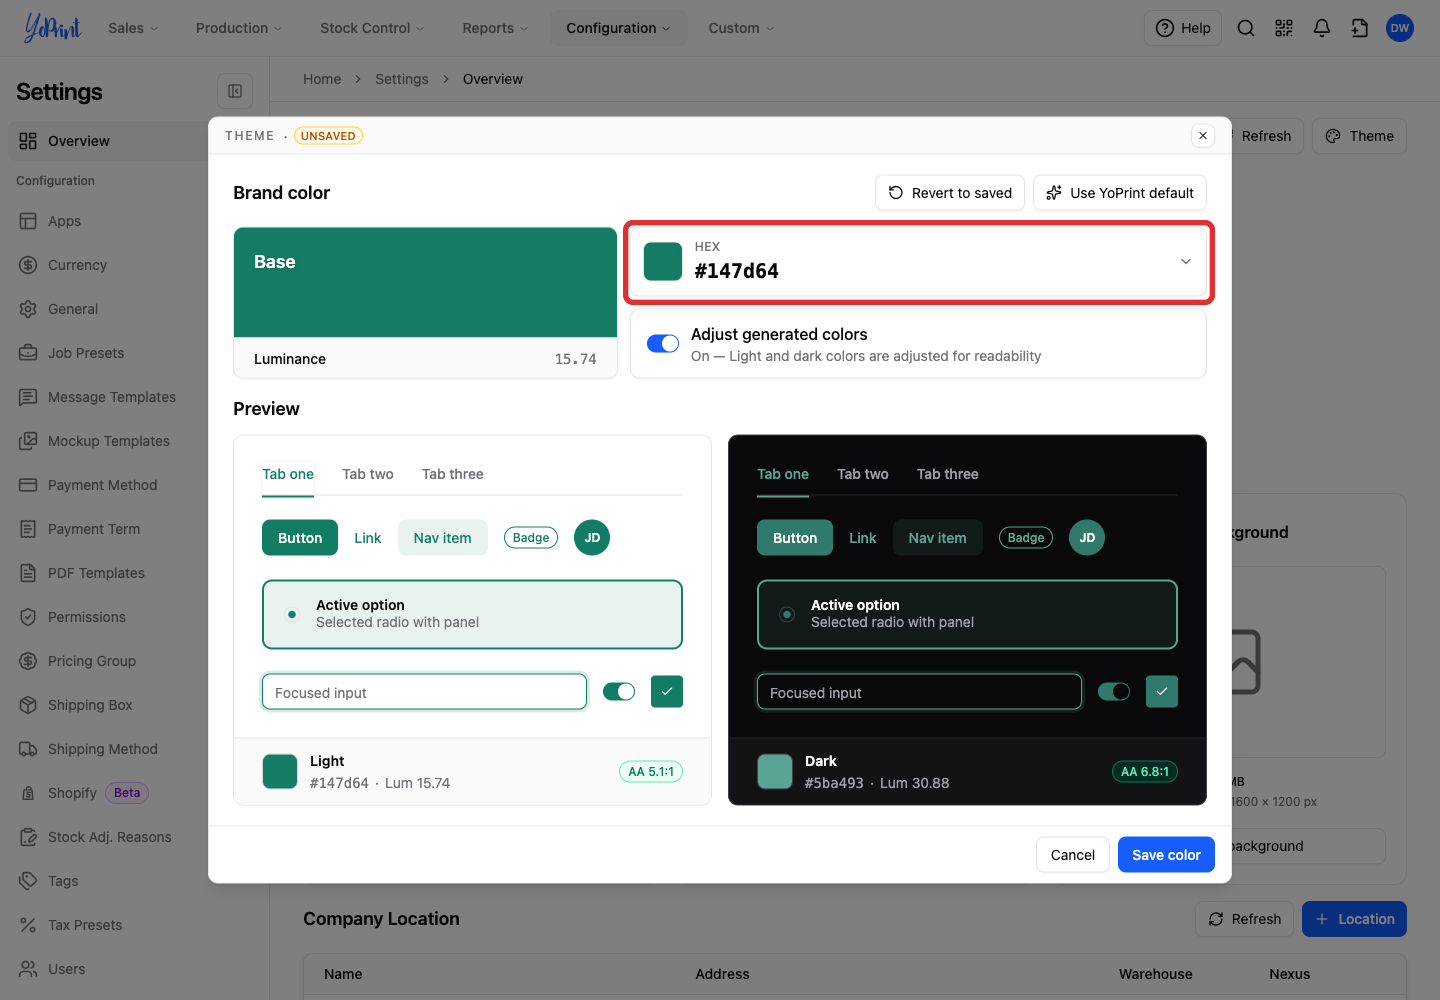
Click the HEX button beside the Base color preview to open the color picker.
-
Choose a color from the swatches in the picker.
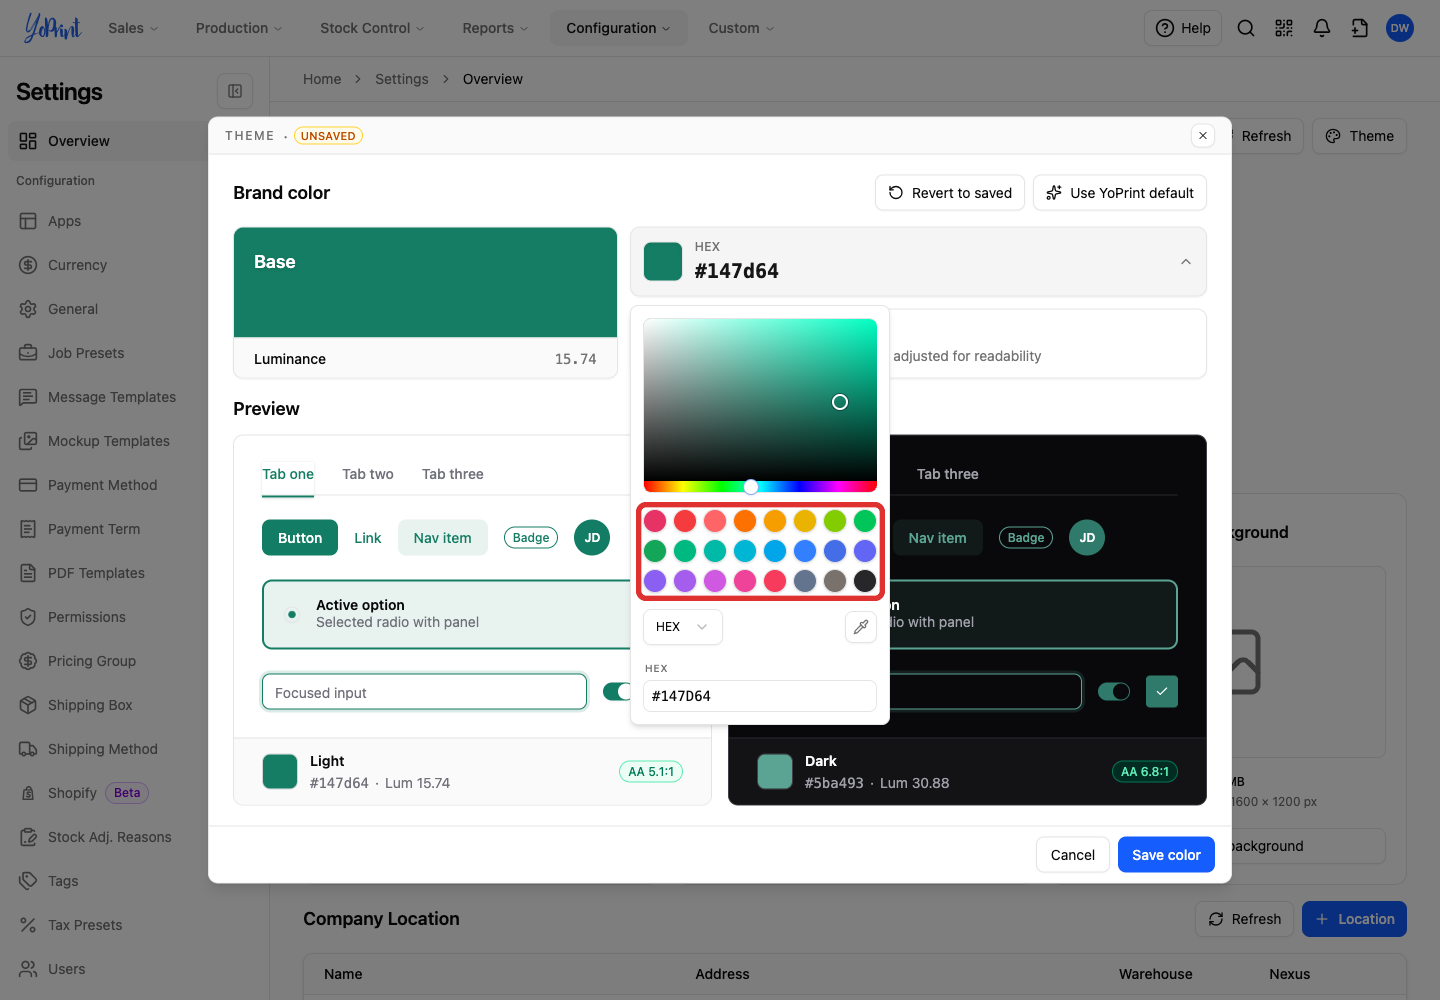
You can also enter a hex value in the text field at the bottom right of the open picker and press Enter.
Fine-tune a color
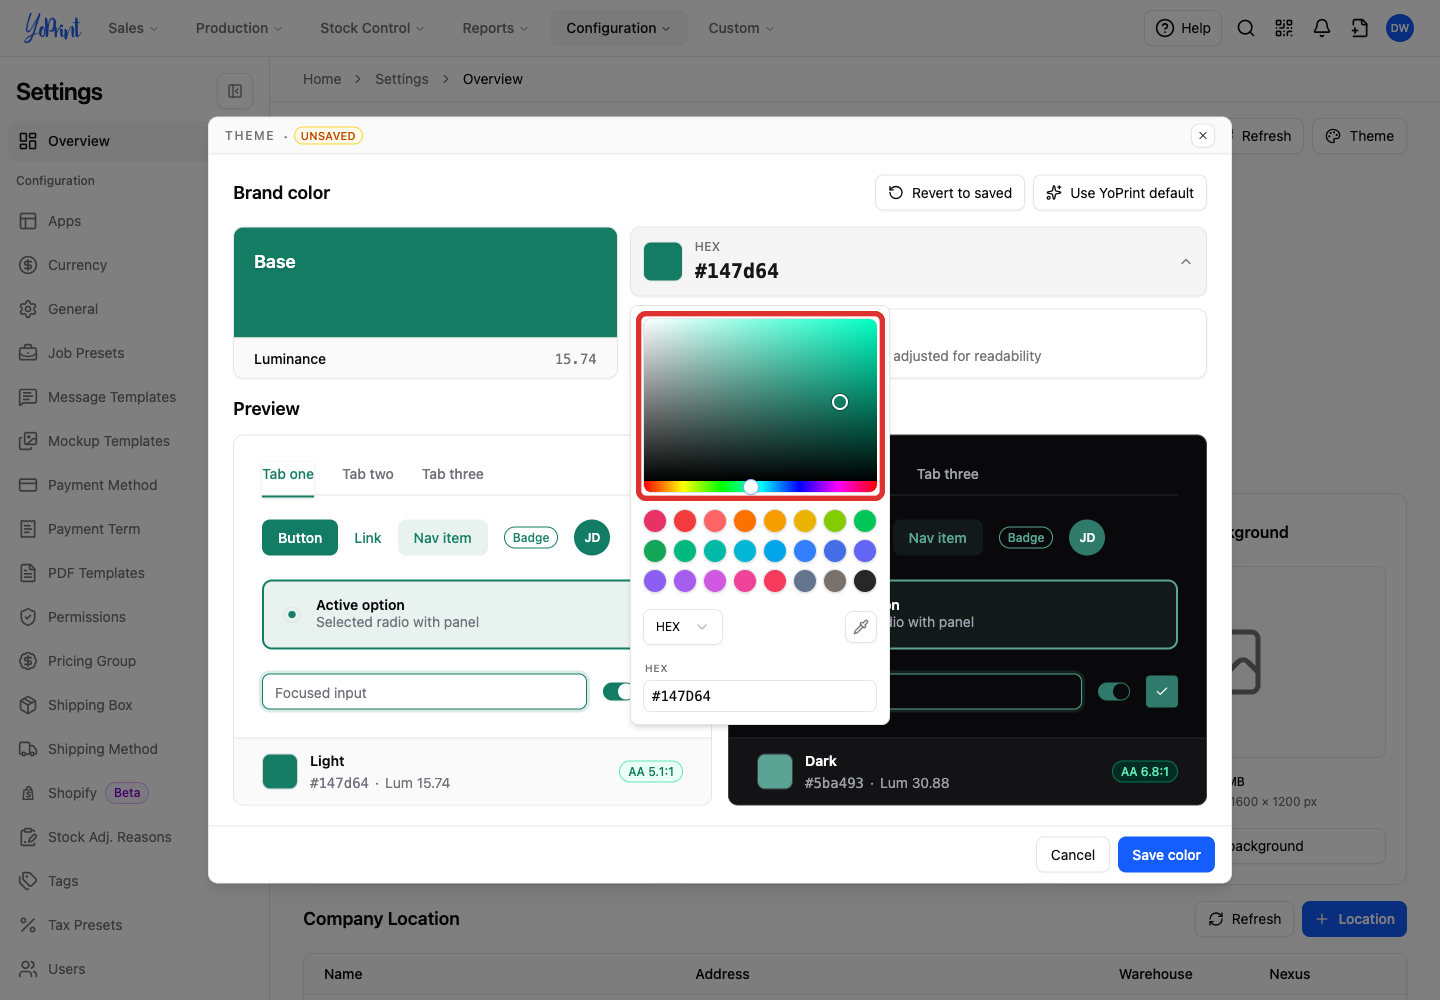
Drag inside the color square or along the hue slider below it to adjust the color.
-
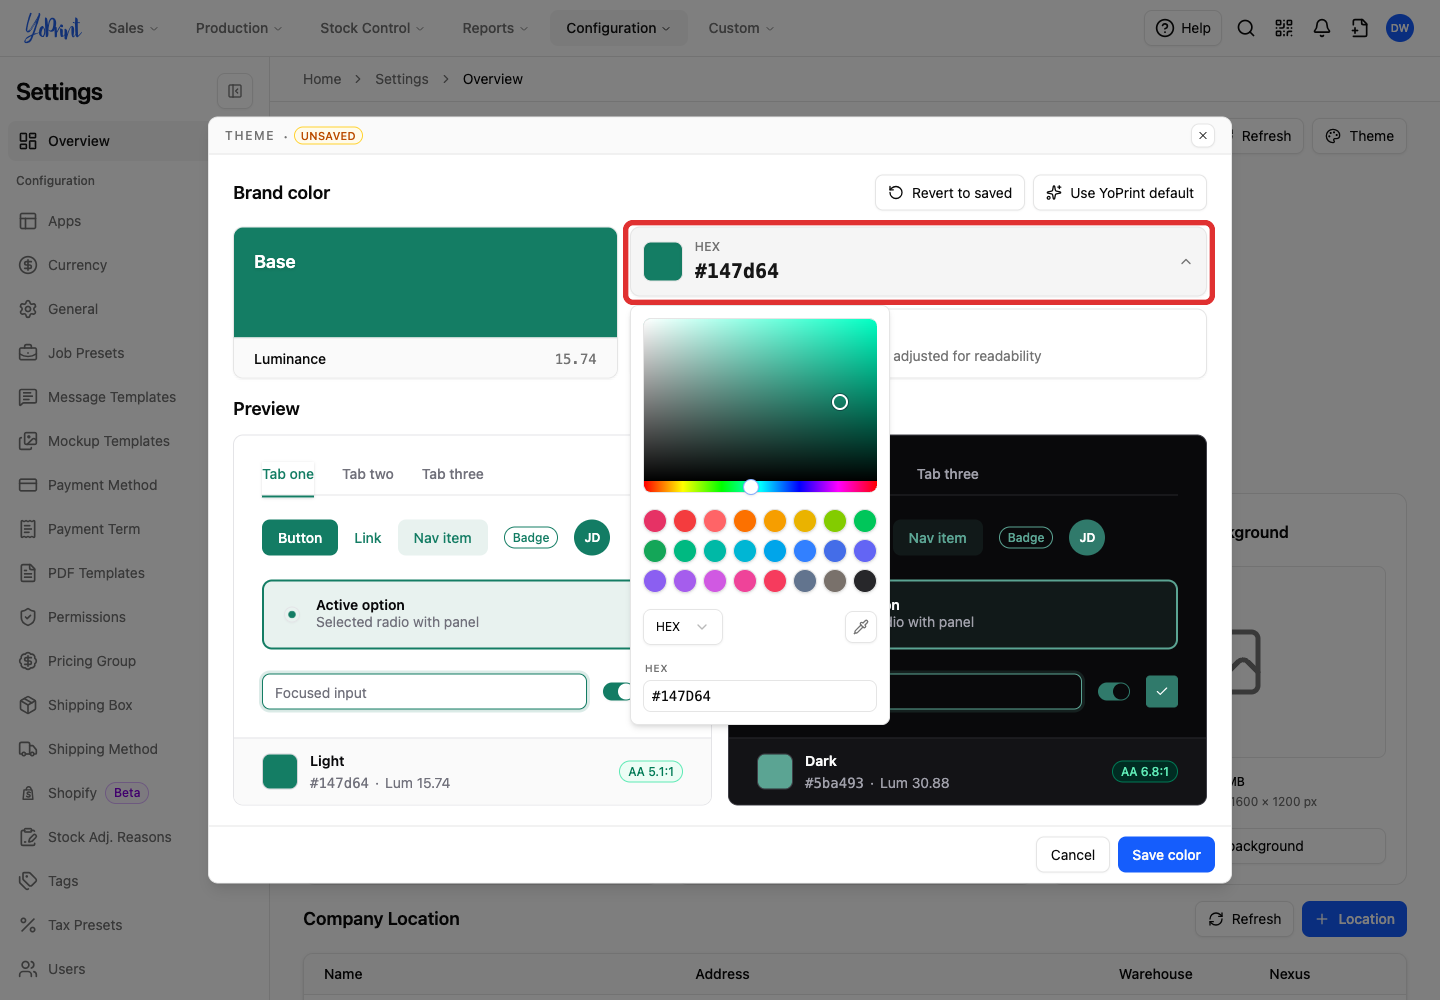
If the picker is still open, click the HEX button again to close it.
Check light and dark colors
Already have a custom color?
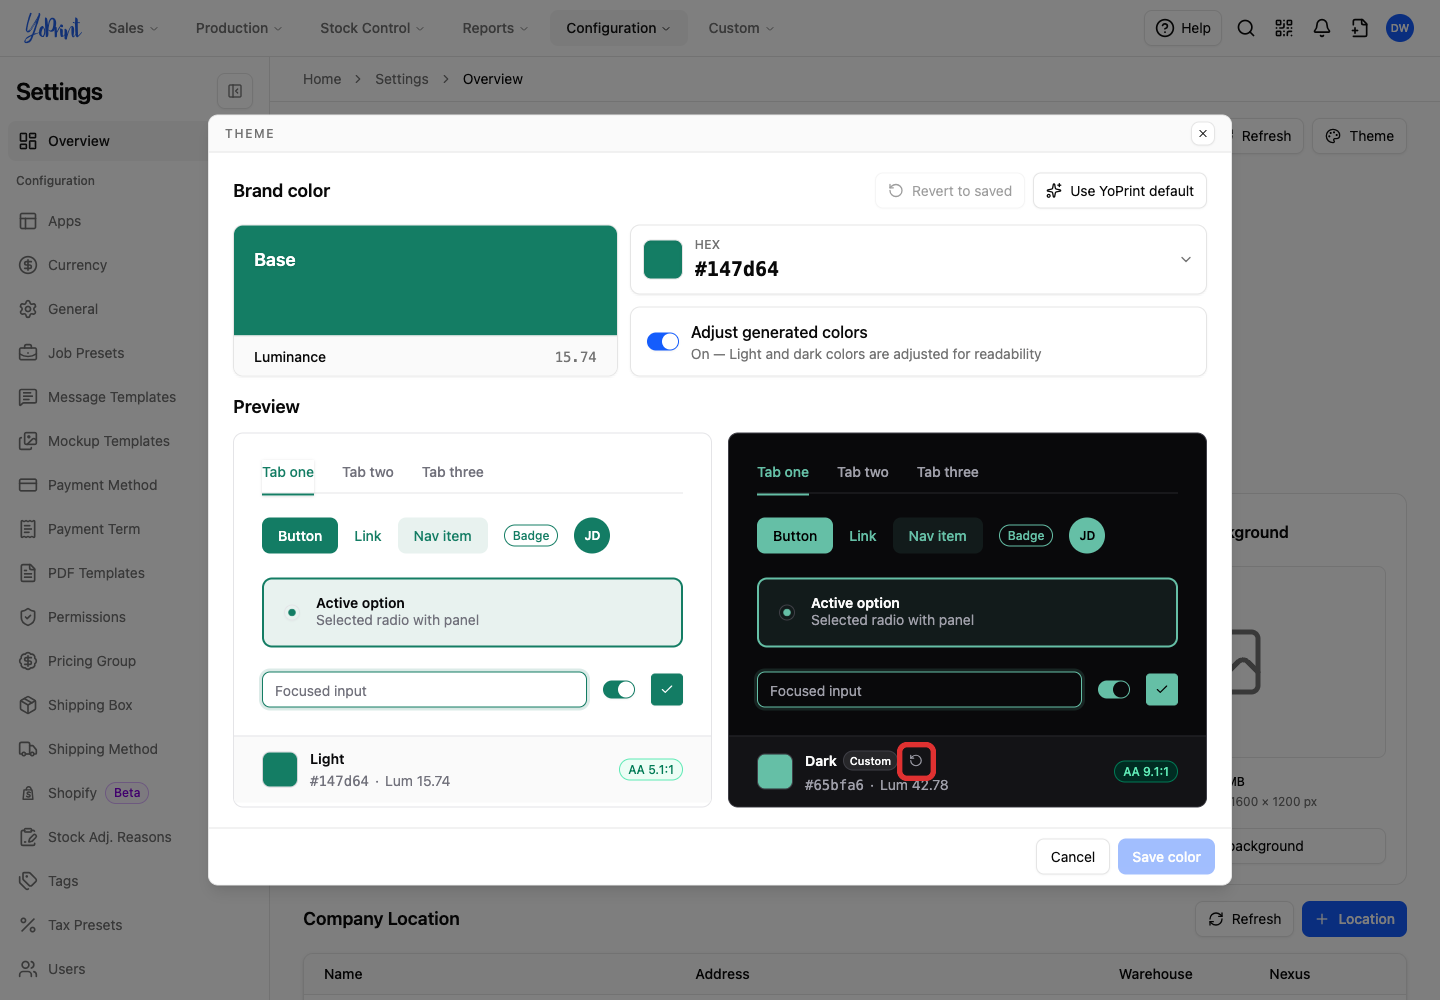
If Light or Dark is labeled Custom, that mode keeps its custom color when you change the base color or Adjust generated colors. To make it follow your base color again, click the reset icon beside Custom.
-
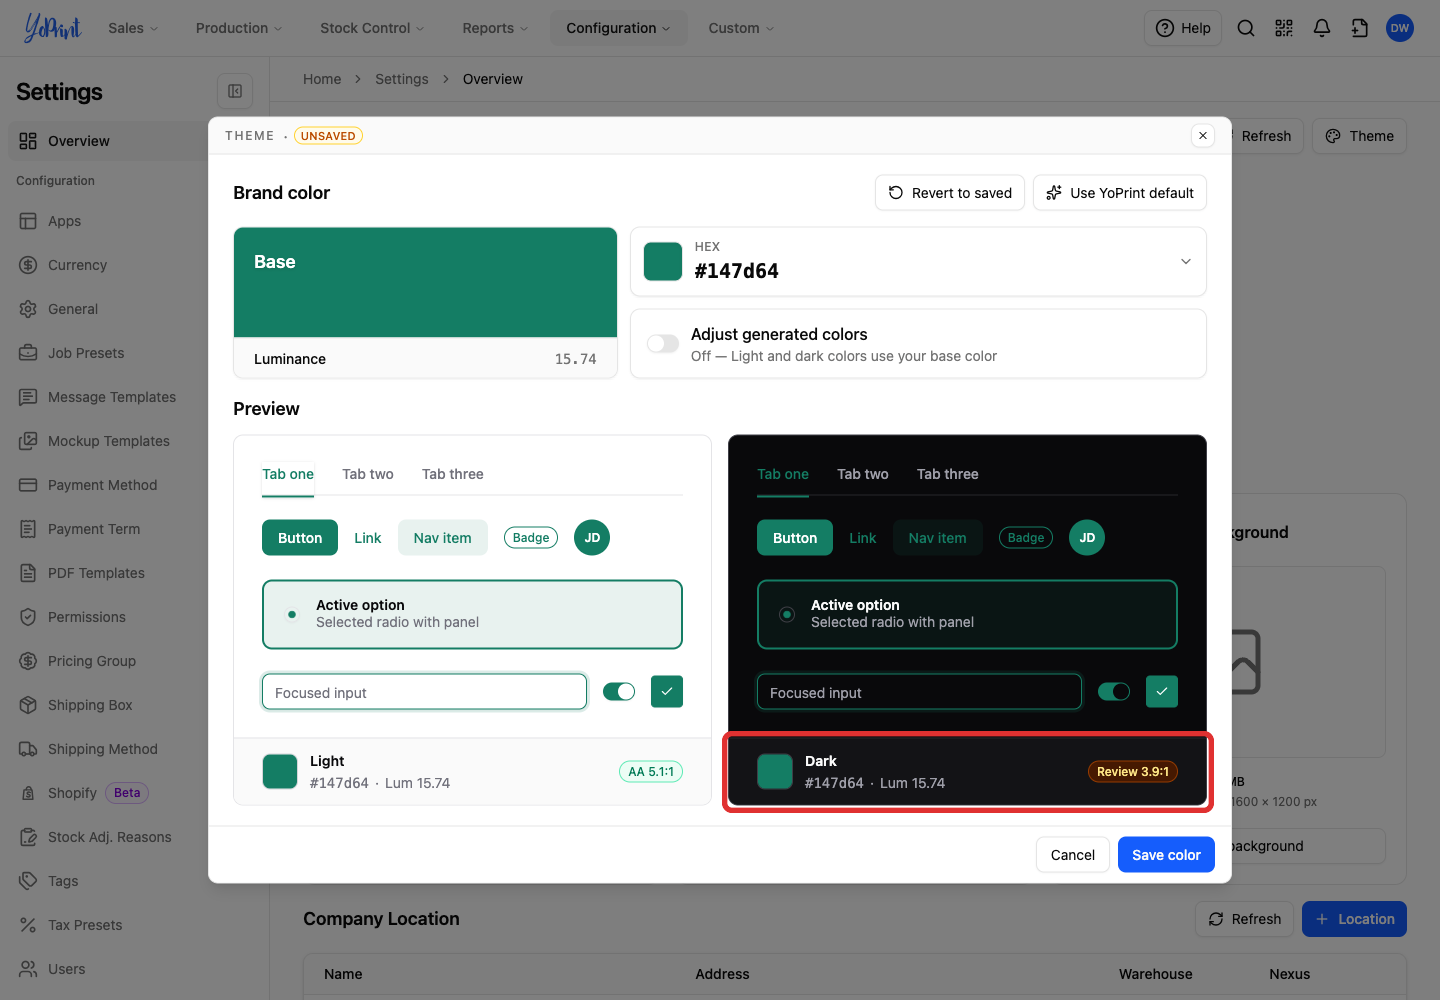
Leave Adjust generated colors on to adjust the light and dark colors for readability. Turn it off to use your base color in modes without a Custom override.
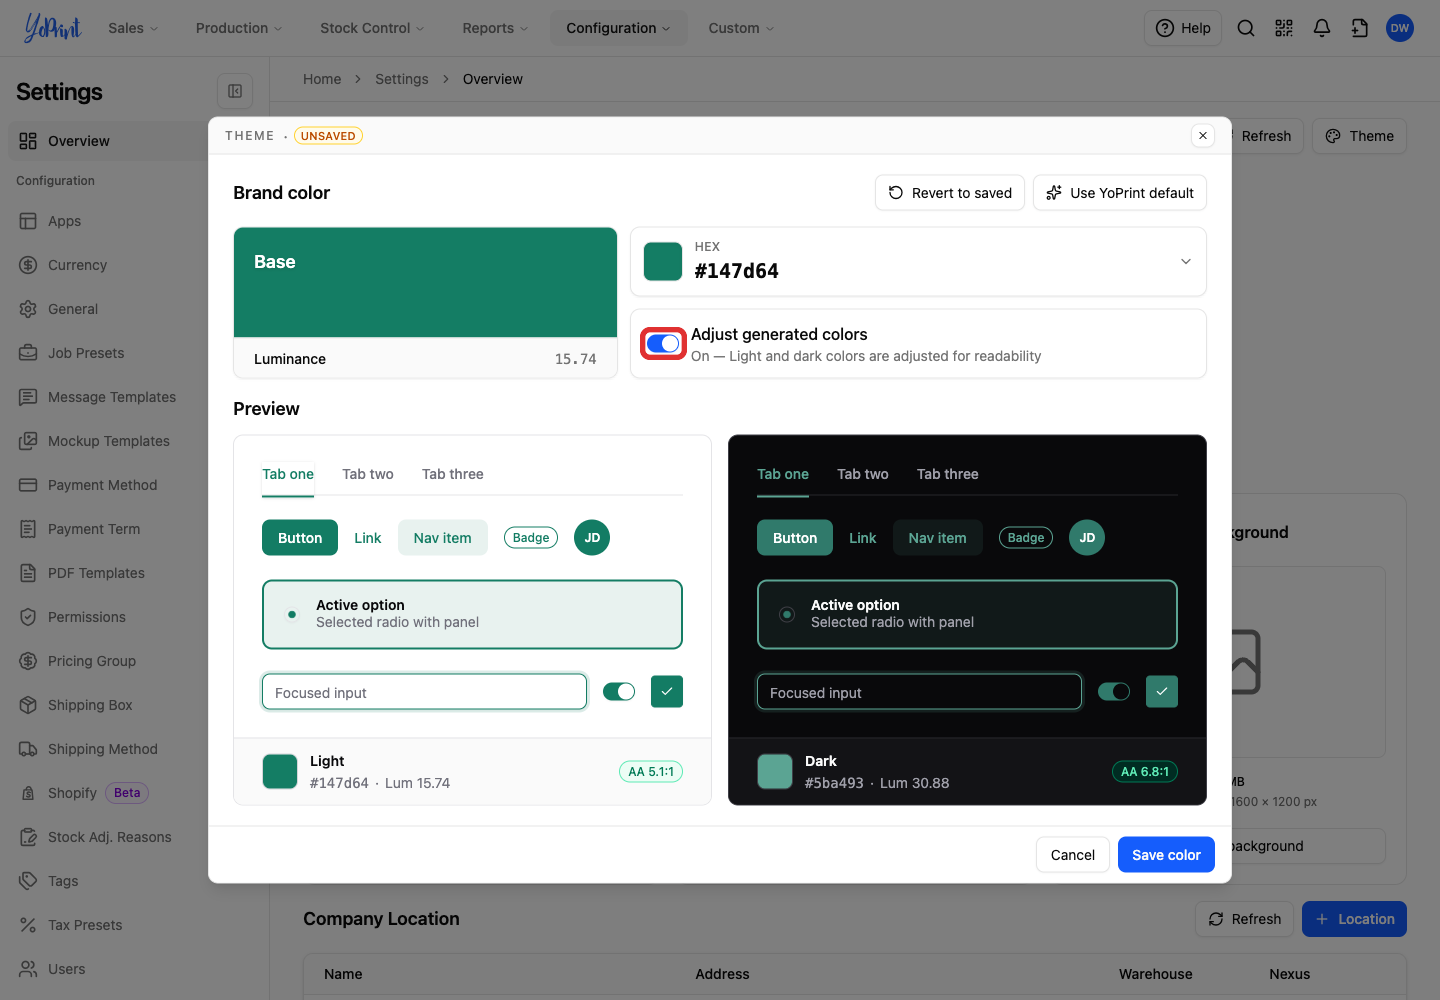
Luminance describes how light or dark a color is. It affects the contrast and legibility of text against that color.
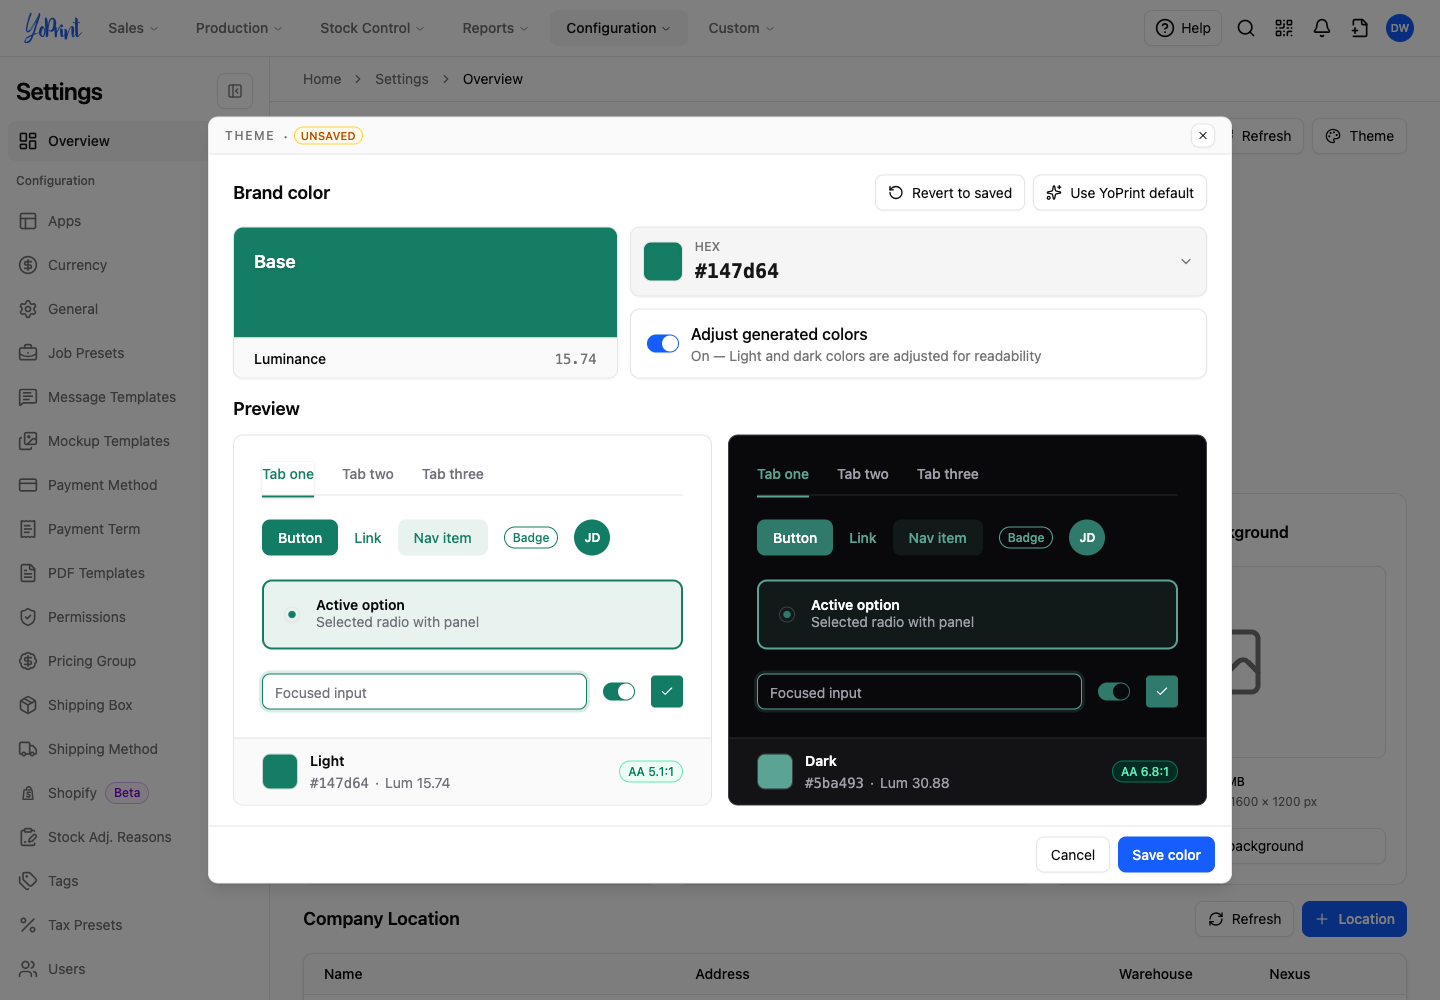
Luminance and Lum show brightness on a scale from 0 (black) to 100 (white). There is no single best luminance value. Check the contrast in both previews.
Each preview shows a contrast ratio, such as 5.1:1, between the brand color and the preview background. AA means both this ratio and the button text contrast meet the dialog's 4.5:1 target. Review means at least one is below 4.5:1. If a preview shows Review, adjust the color or turn on Adjust generated colors, then check again.
The Light and Dark previews show buttons, links, selected items and other controls against each background. Check that the text and controls are easy to read before saving.
Override one mode (optional)
Use an override to set a different color for one mode. The other mode keeps its current color. If both previews look right, skip to Save your colors.
-
Click the color swatch beside Light or Dark. This example changes Dark.
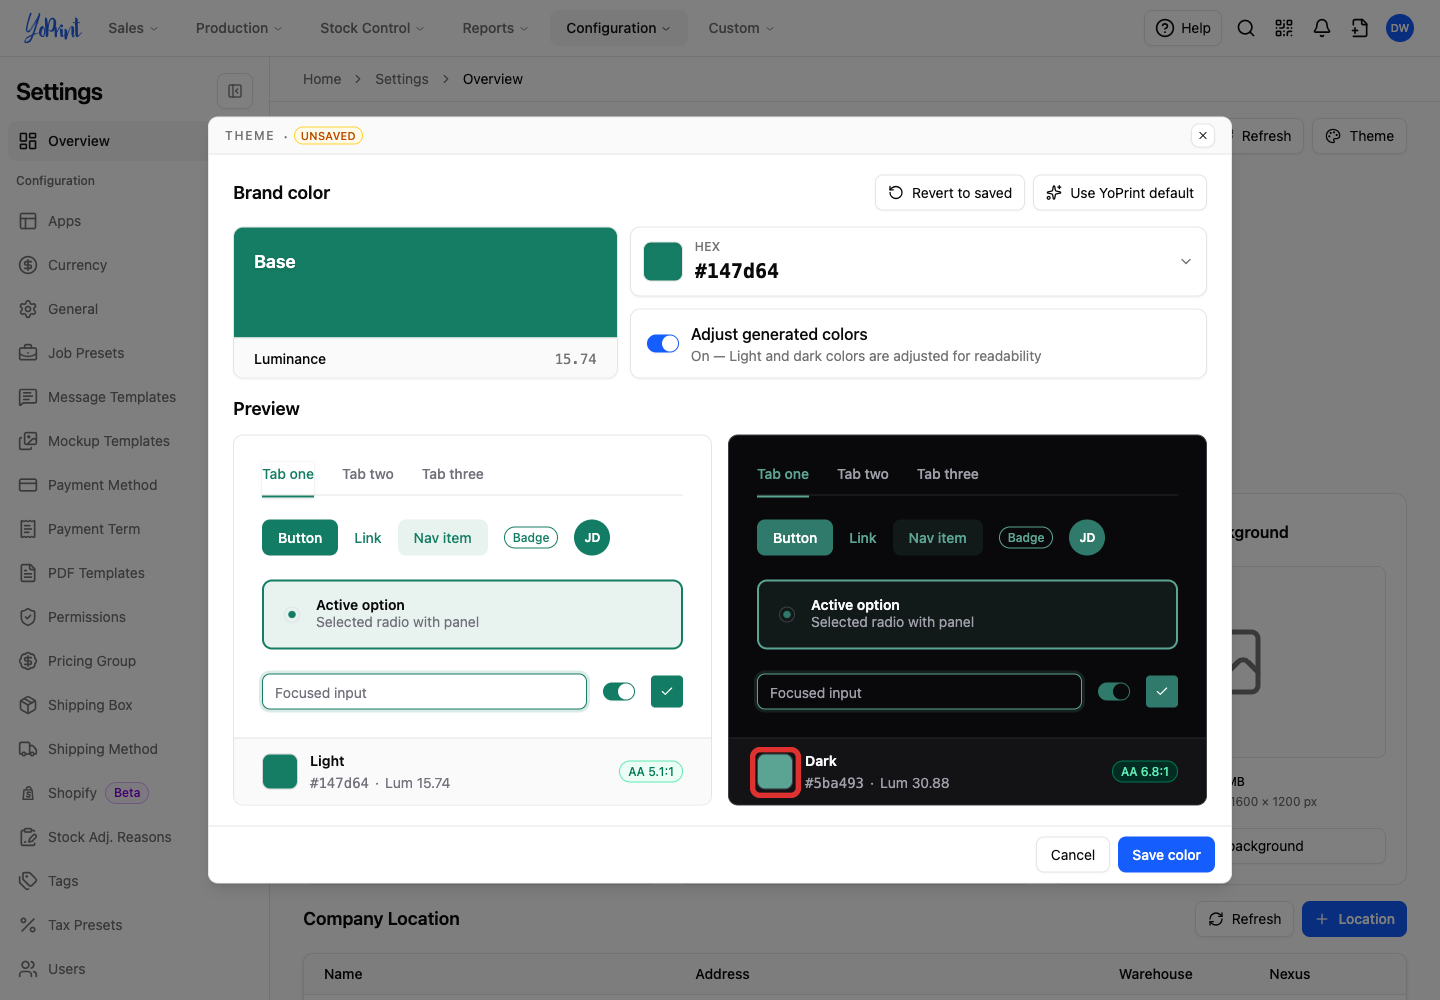
-
Choose a color from the swatches in the picker.
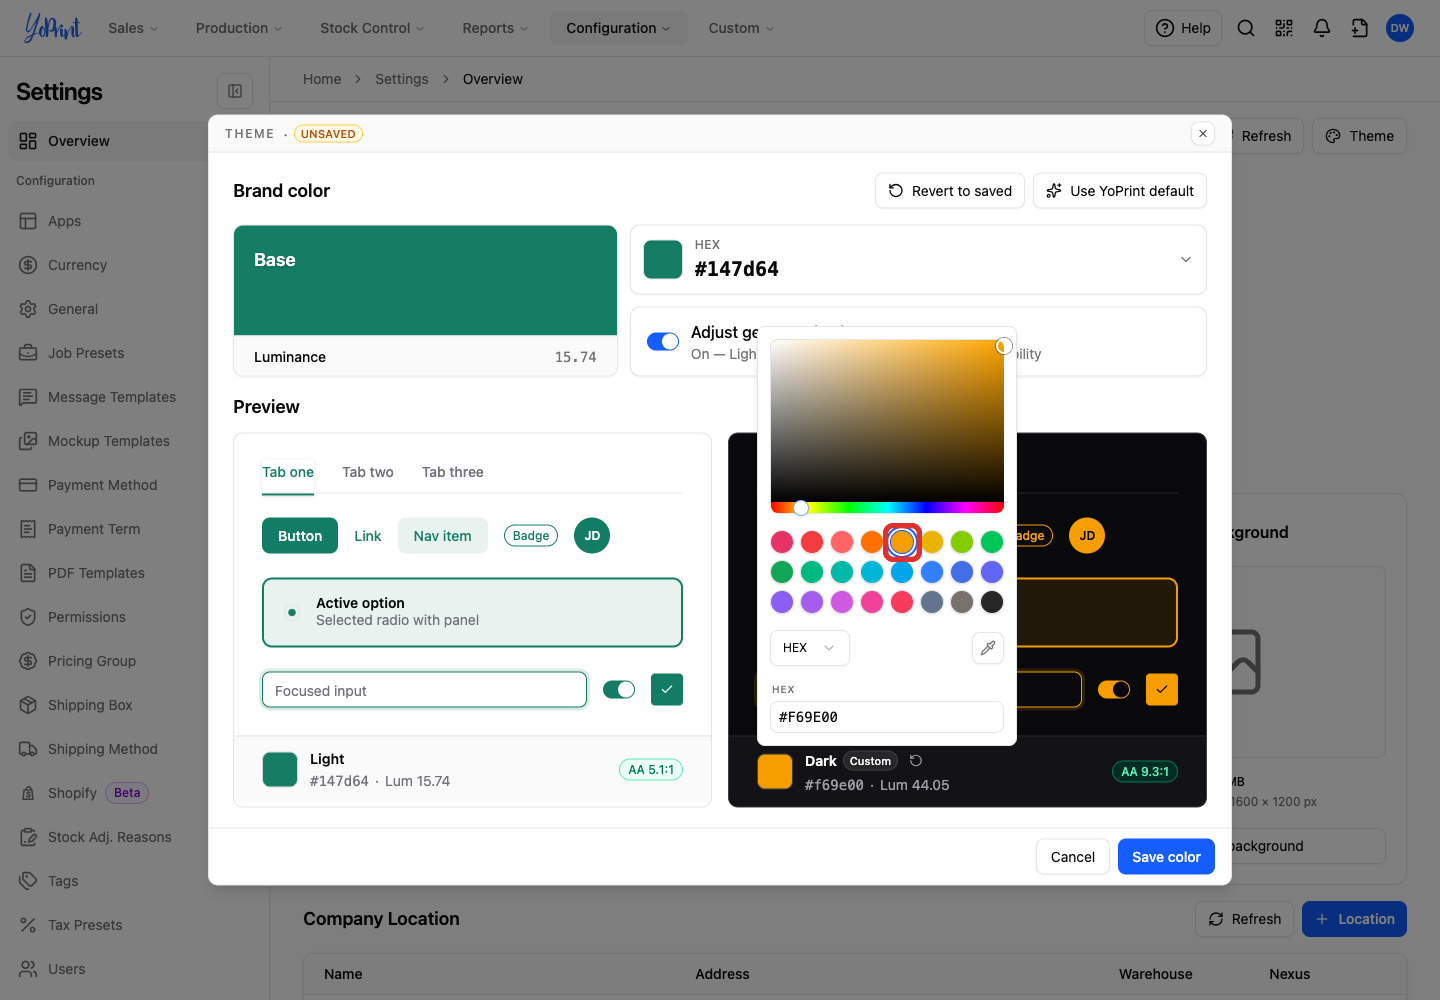
You can also enter a hex value in the text field at the bottom right of the open picker and press Enter.
-
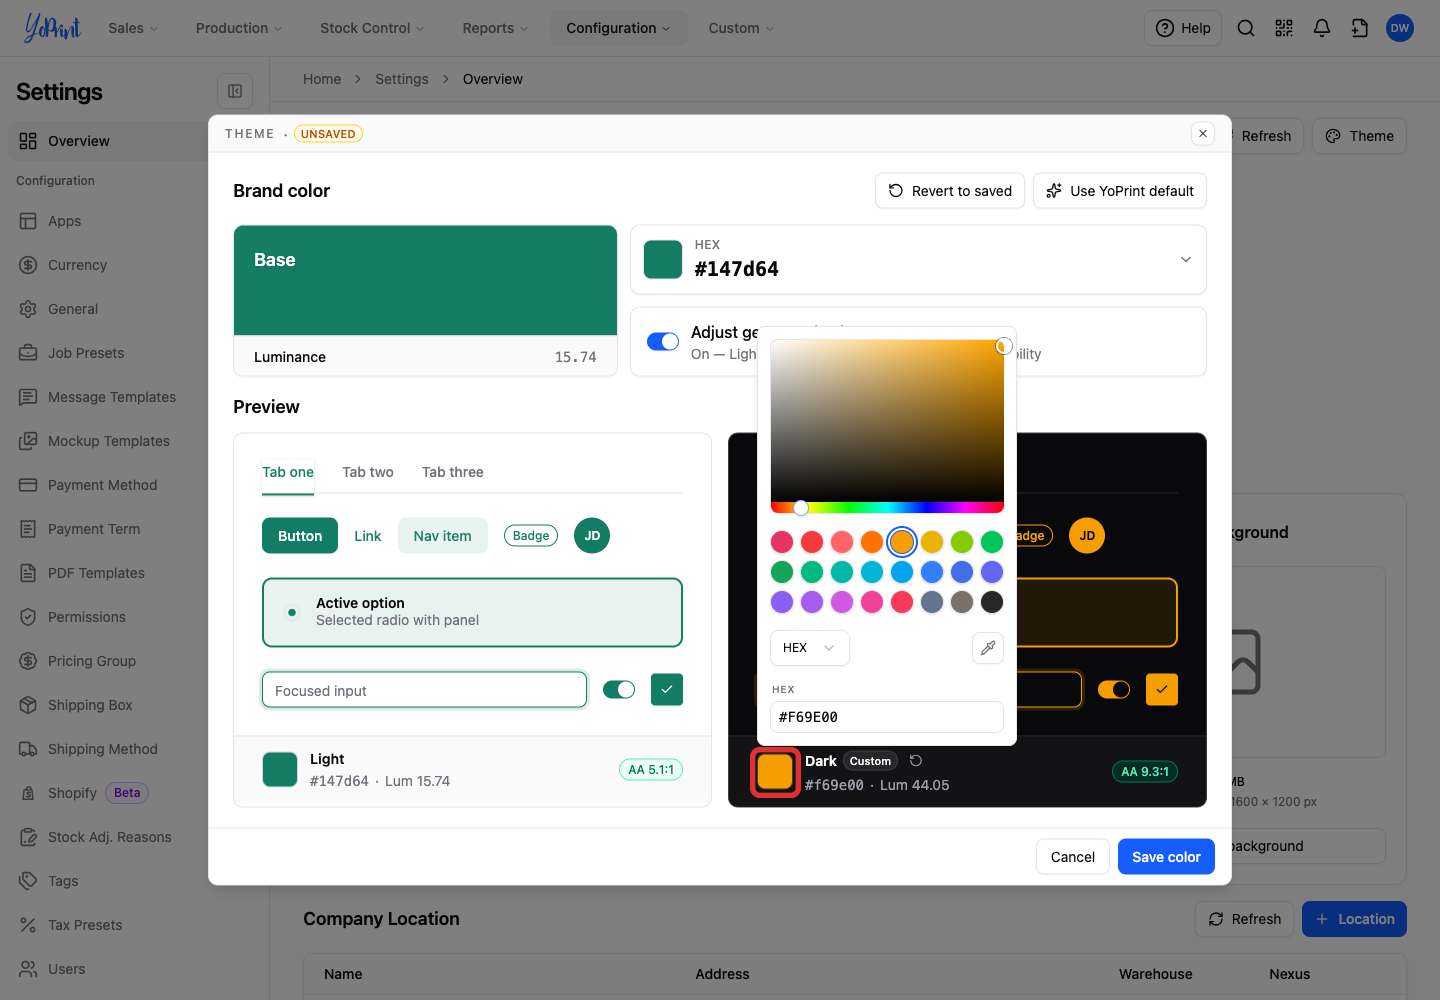
If the picker is still open, click that mode's color swatch again to close it.
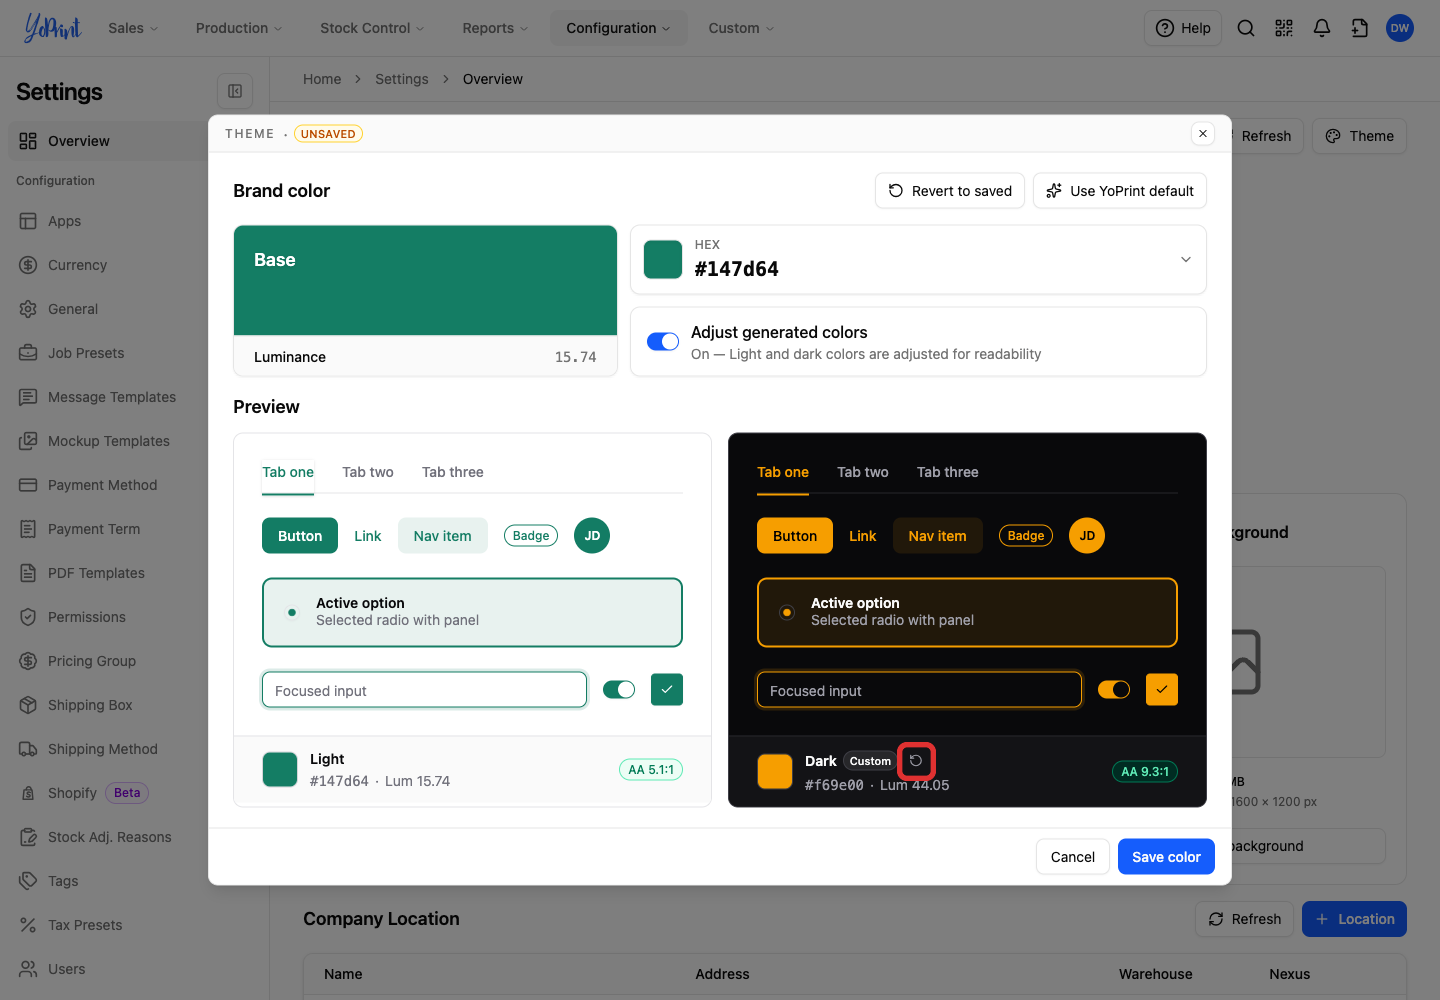
The mode now shows Custom. To return to the generated color, click the reset icon beside Custom.
Save your colors
-
Click Save color to apply your changes to the customer portal.
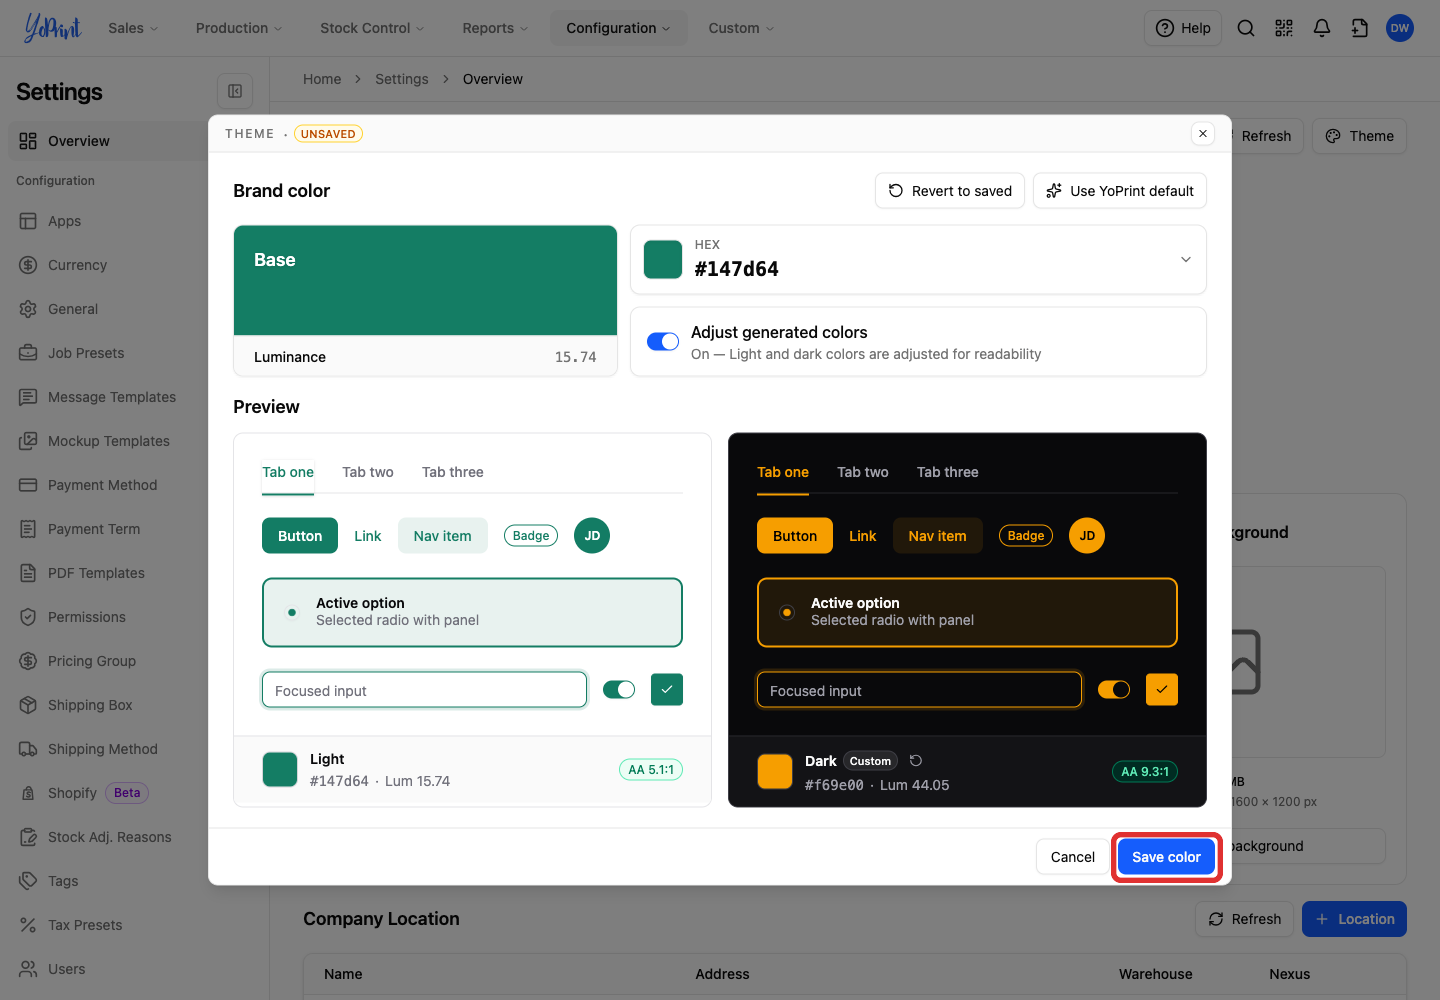
The dialog closes after the colors are saved.
Add a customer portal favicon
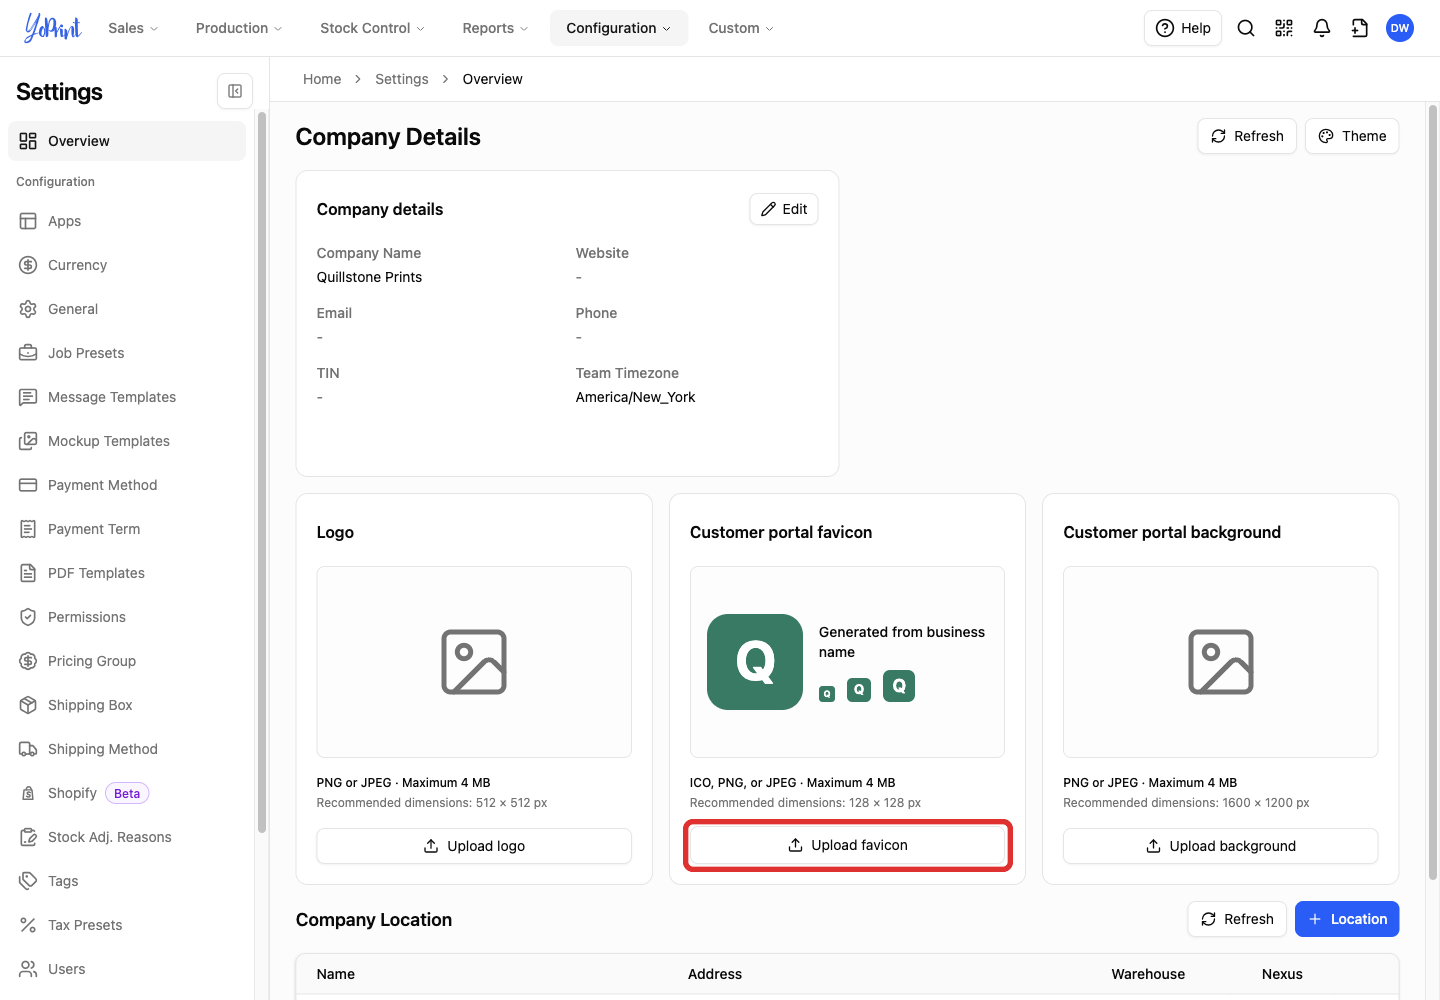
A favicon is the small icon on a browser tab. The Customer portal favicon card is on Settings > Overview, beside the logo and background cards.
Use an ICO, PNG or JPEG file up to 4 MB. The recommended size is 128 × 128 pixels.
If the card already shows Replace favicon, go to Change your favicon below.
-
Click Upload favicon.
-
Choose your image file.
The card shows the uploaded icon at several sizes. Your favicon saves automatically, separate from your theme color.

Change your favicon
-
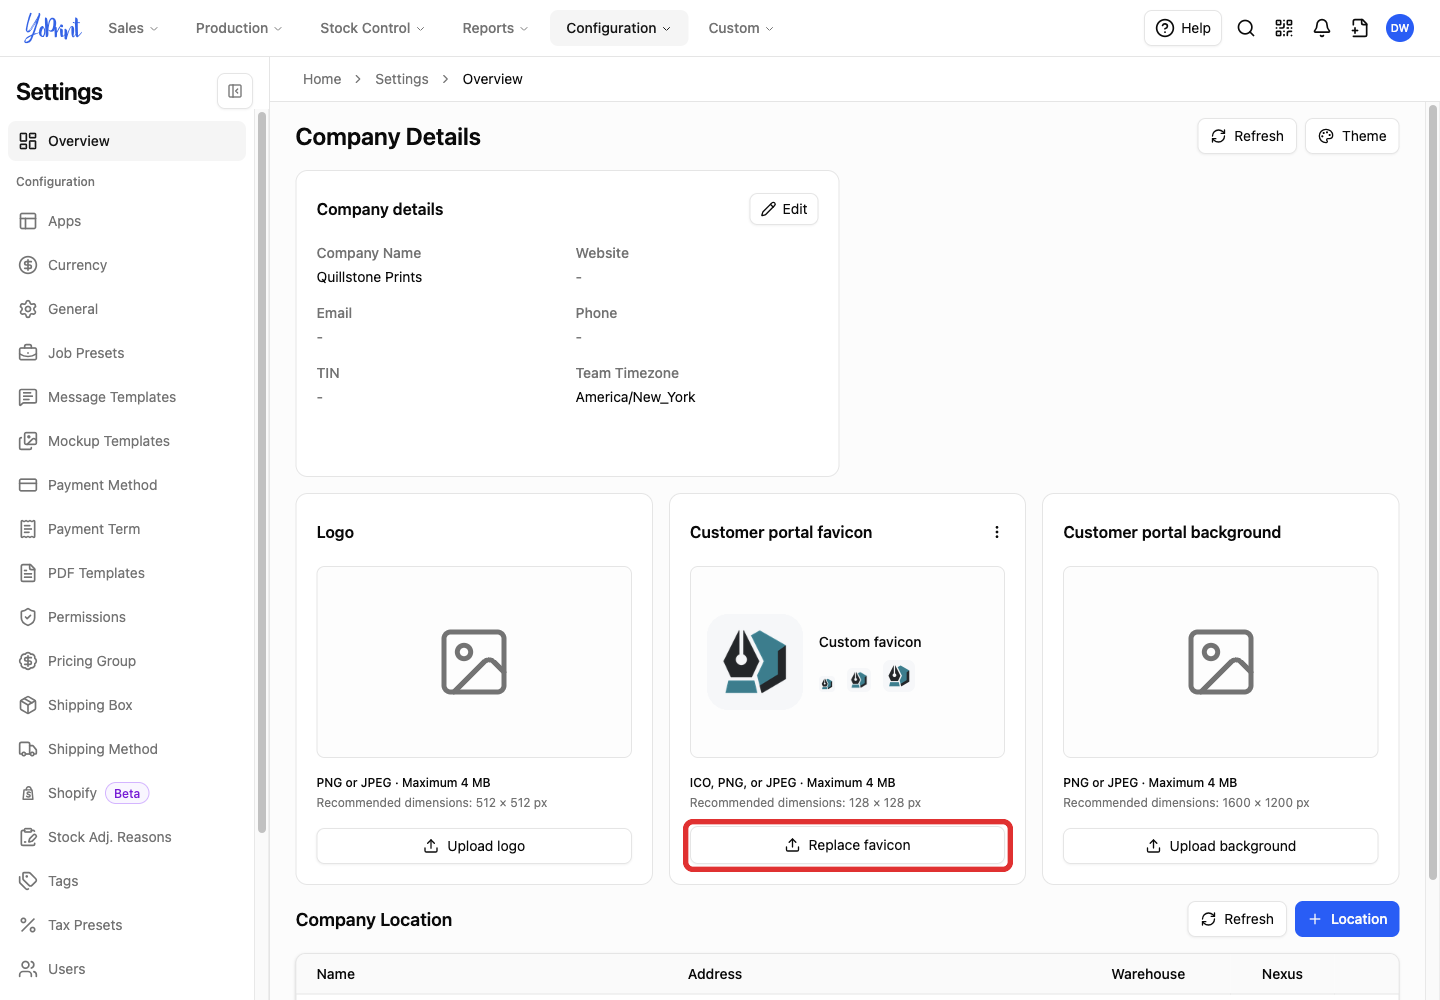
Click Replace favicon.
Remove your favicon
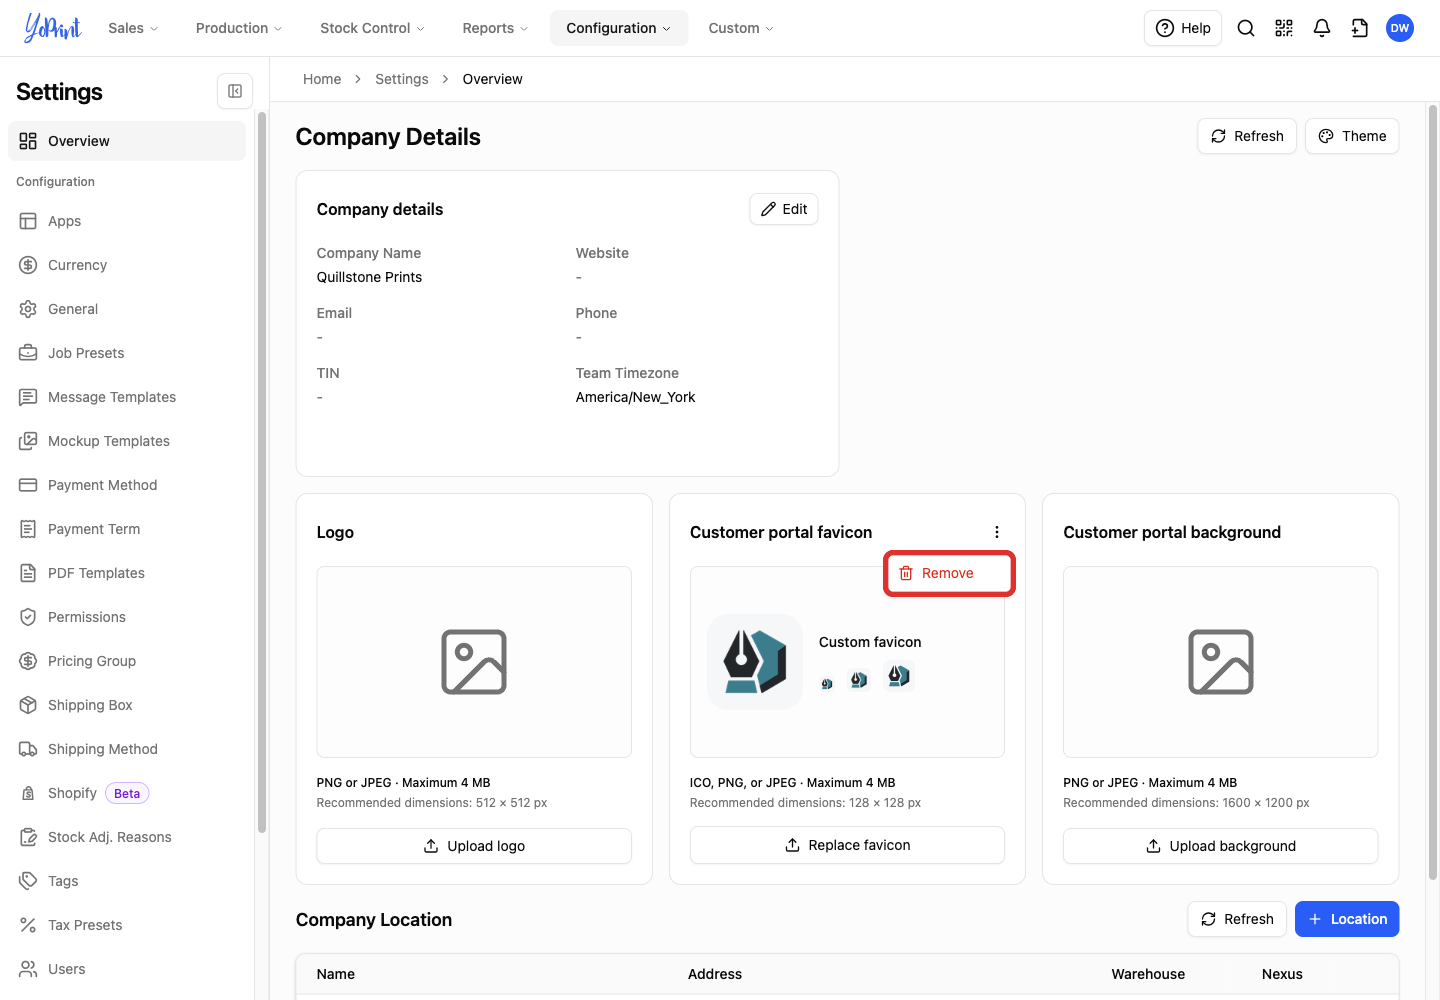
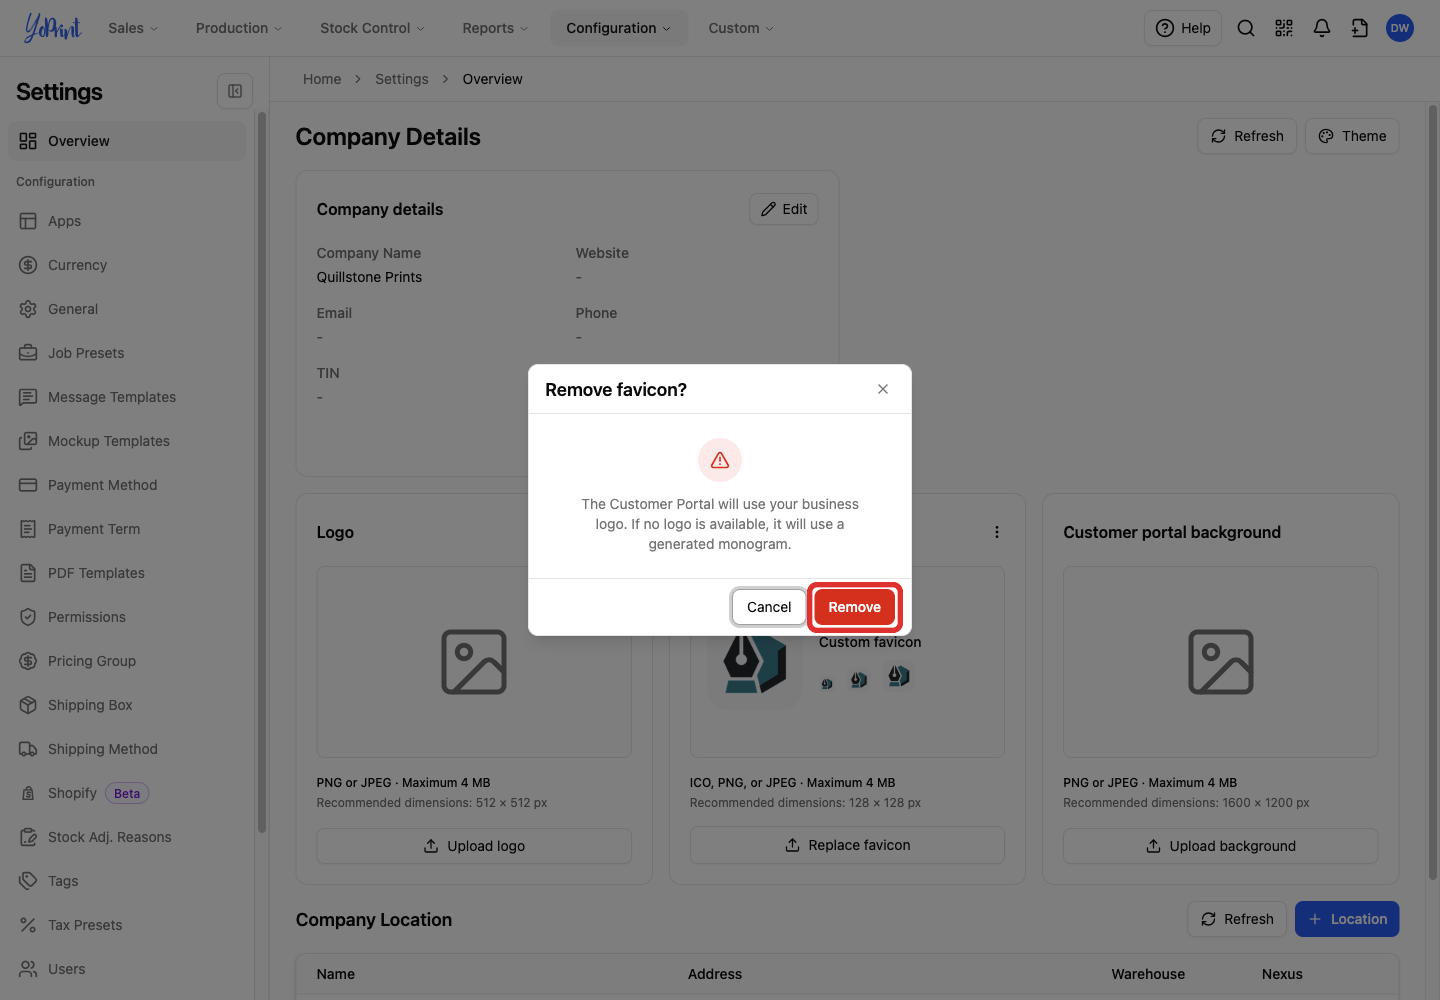
Without a custom favicon, the portal uses your business logo. If no logo is available, it uses a generated monogram.
-
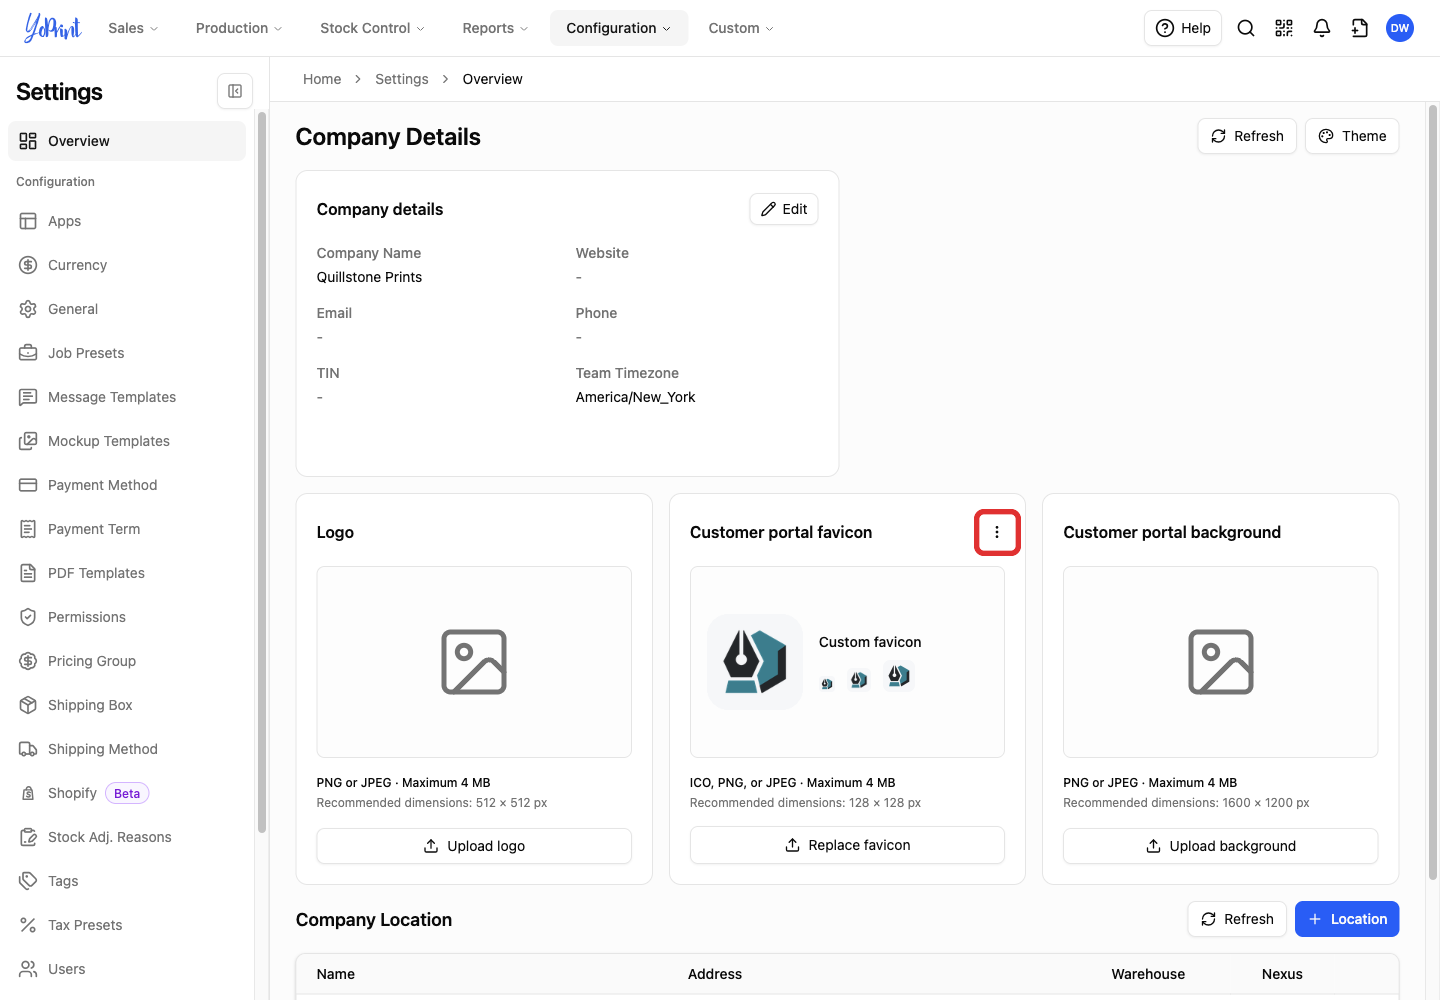
Click the three-dot menu icon on the Customer portal favicon card.
-
Choose Remove.
-
Click Remove in the confirmation dialog.
What your customer sees
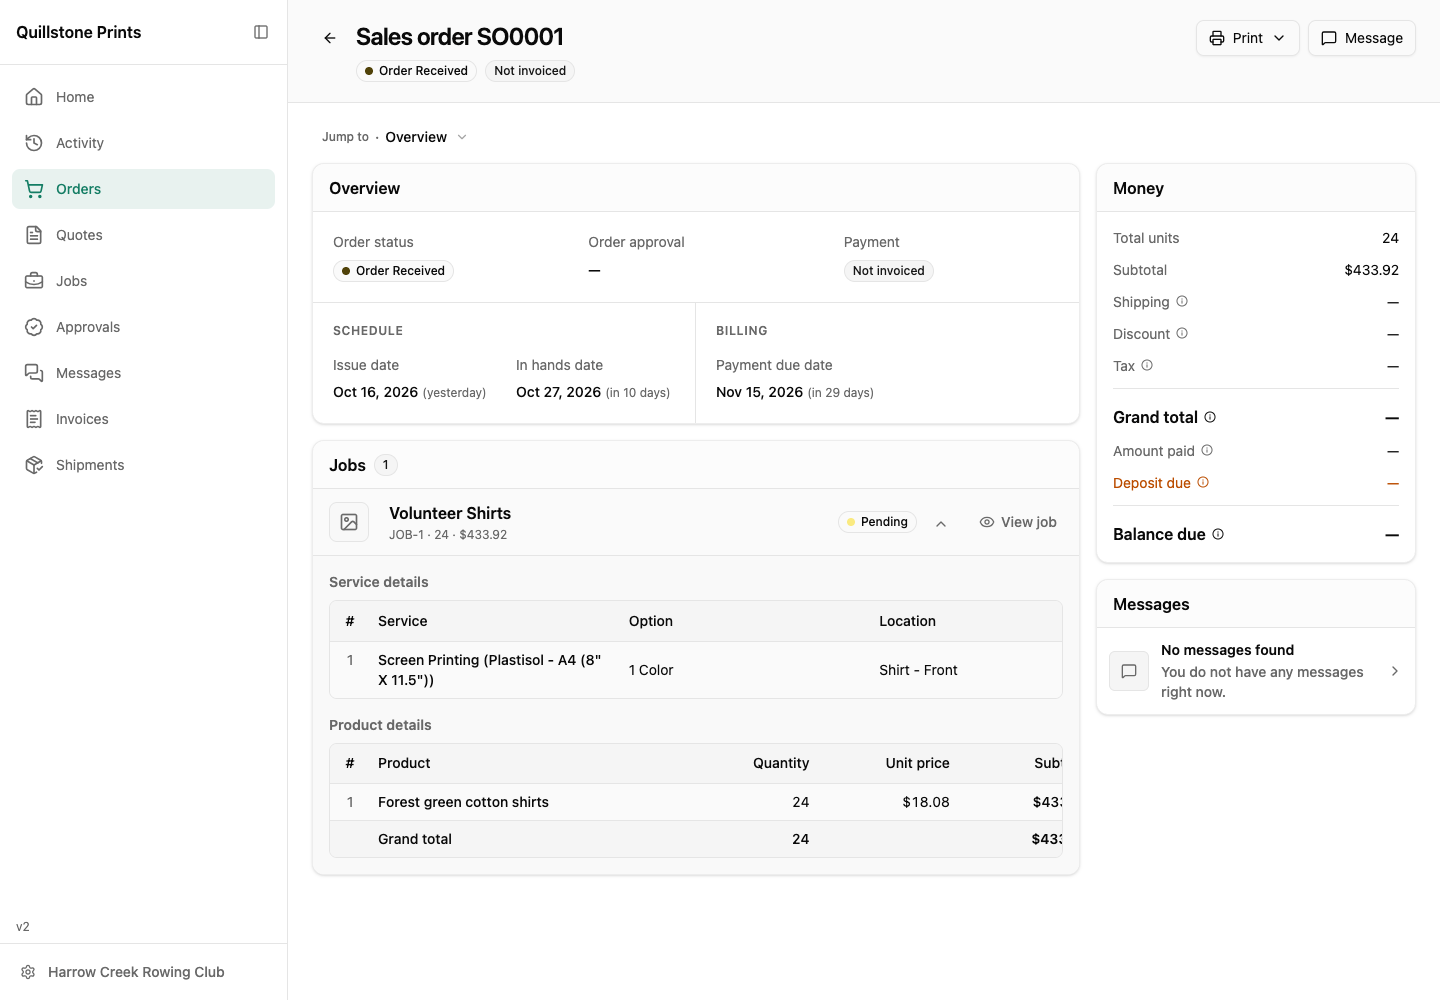
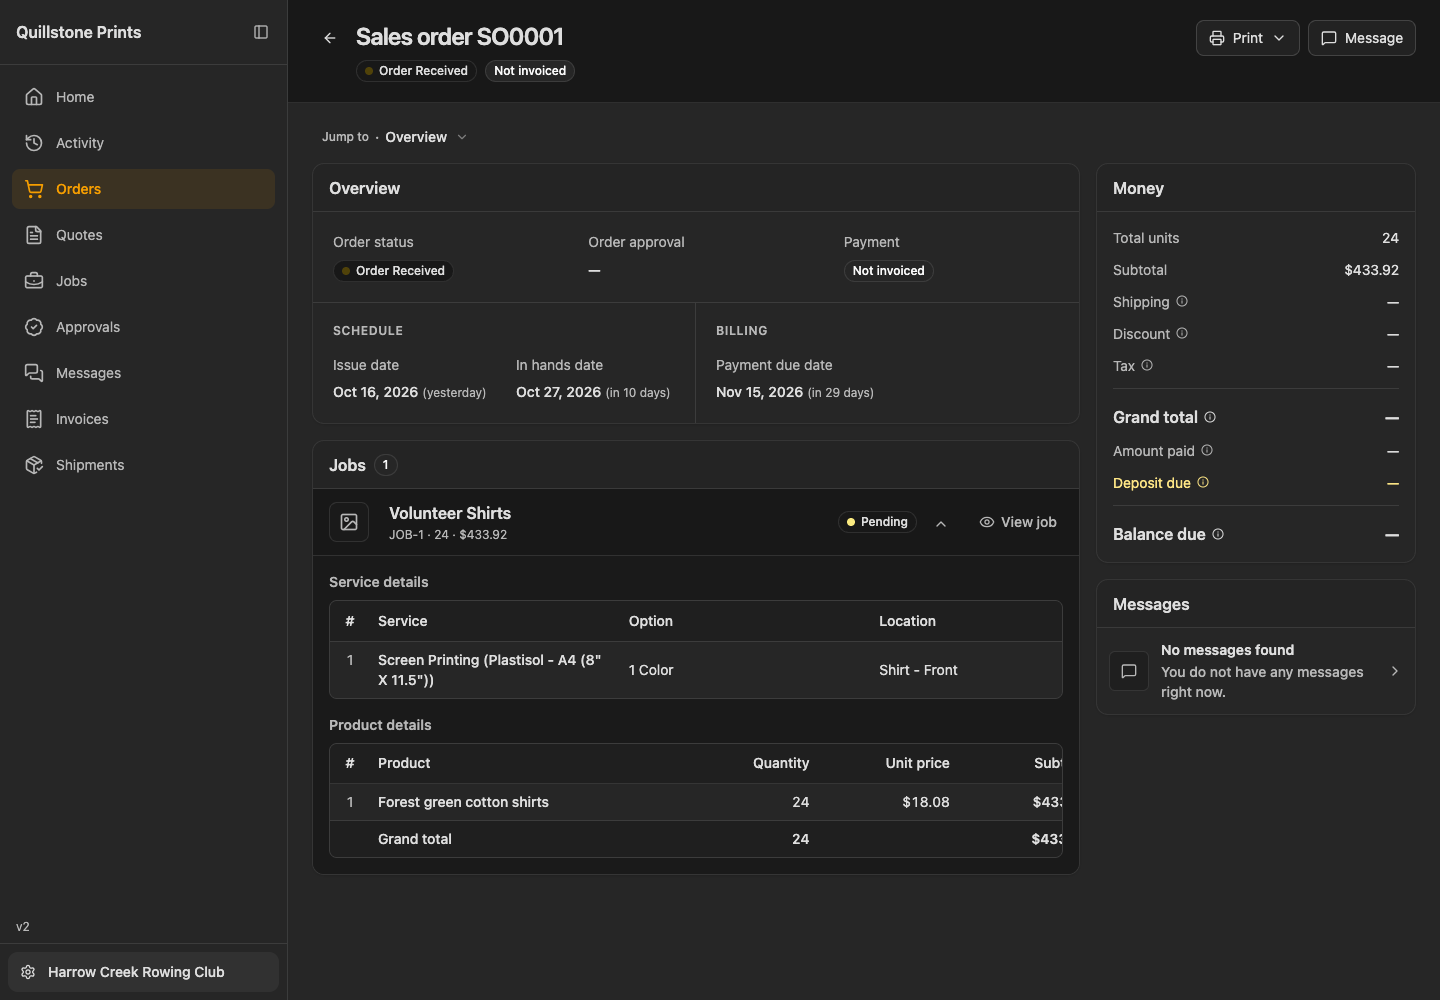
Customers see your saved colors on selected navigation and primary actions. Here is the same order in light and dark mode.
How customers switch between light and dark mode
Customers choose their appearance from the account menu in the portal.
If an order is open in a dialog
Close the dialog with the × in its top-right corner to reach the sidebar.
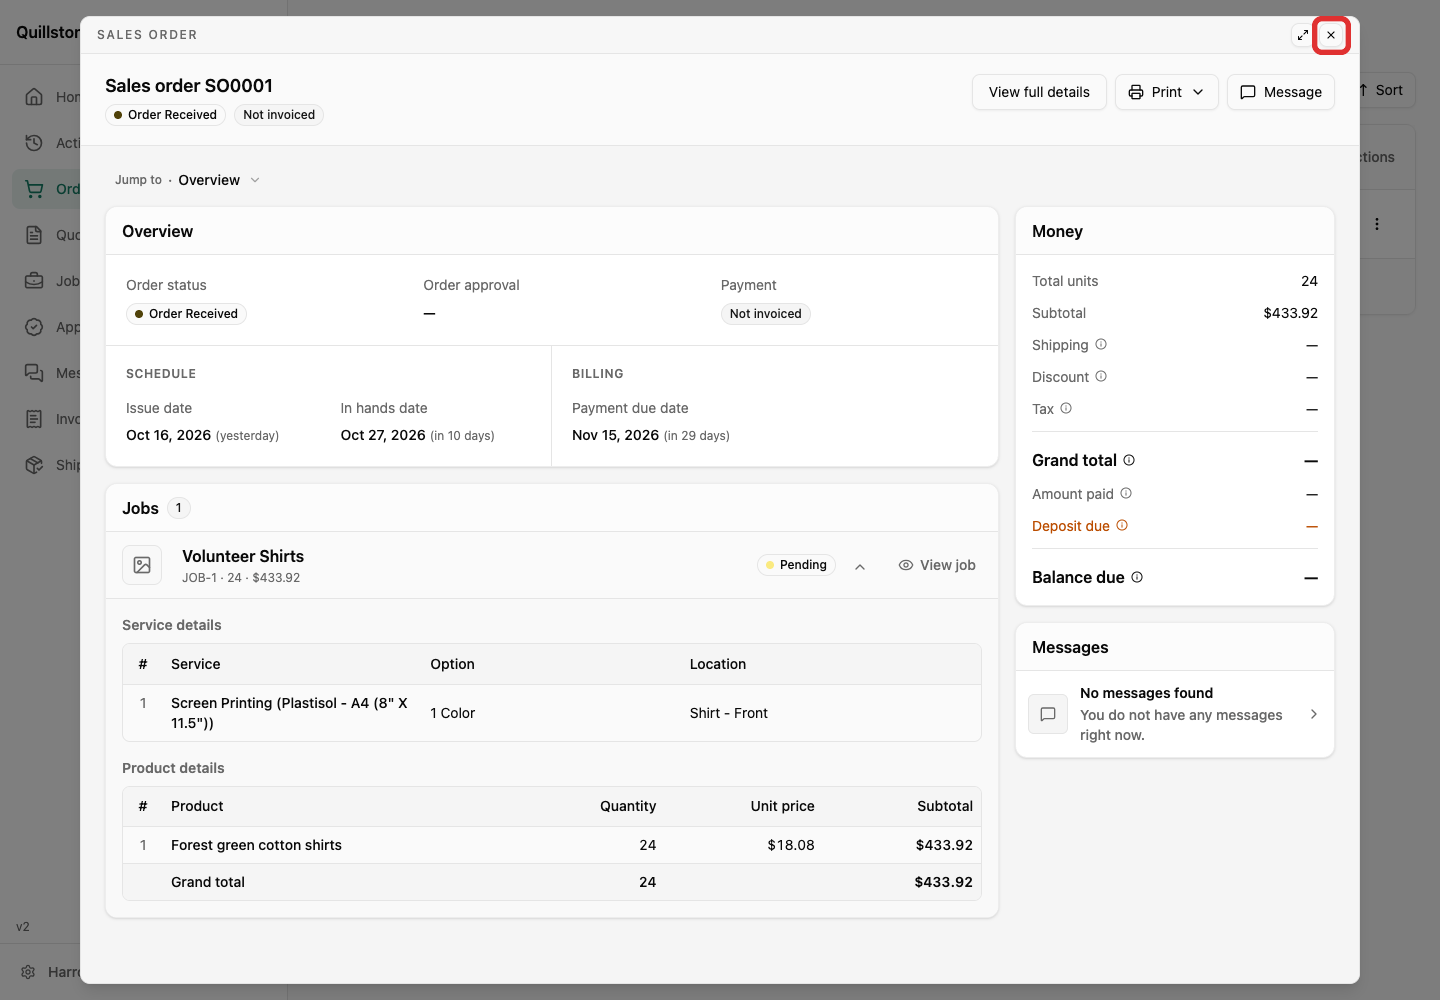
-
Click the gear icon beside the customer name at the bottom of the sidebar to open the account menu.
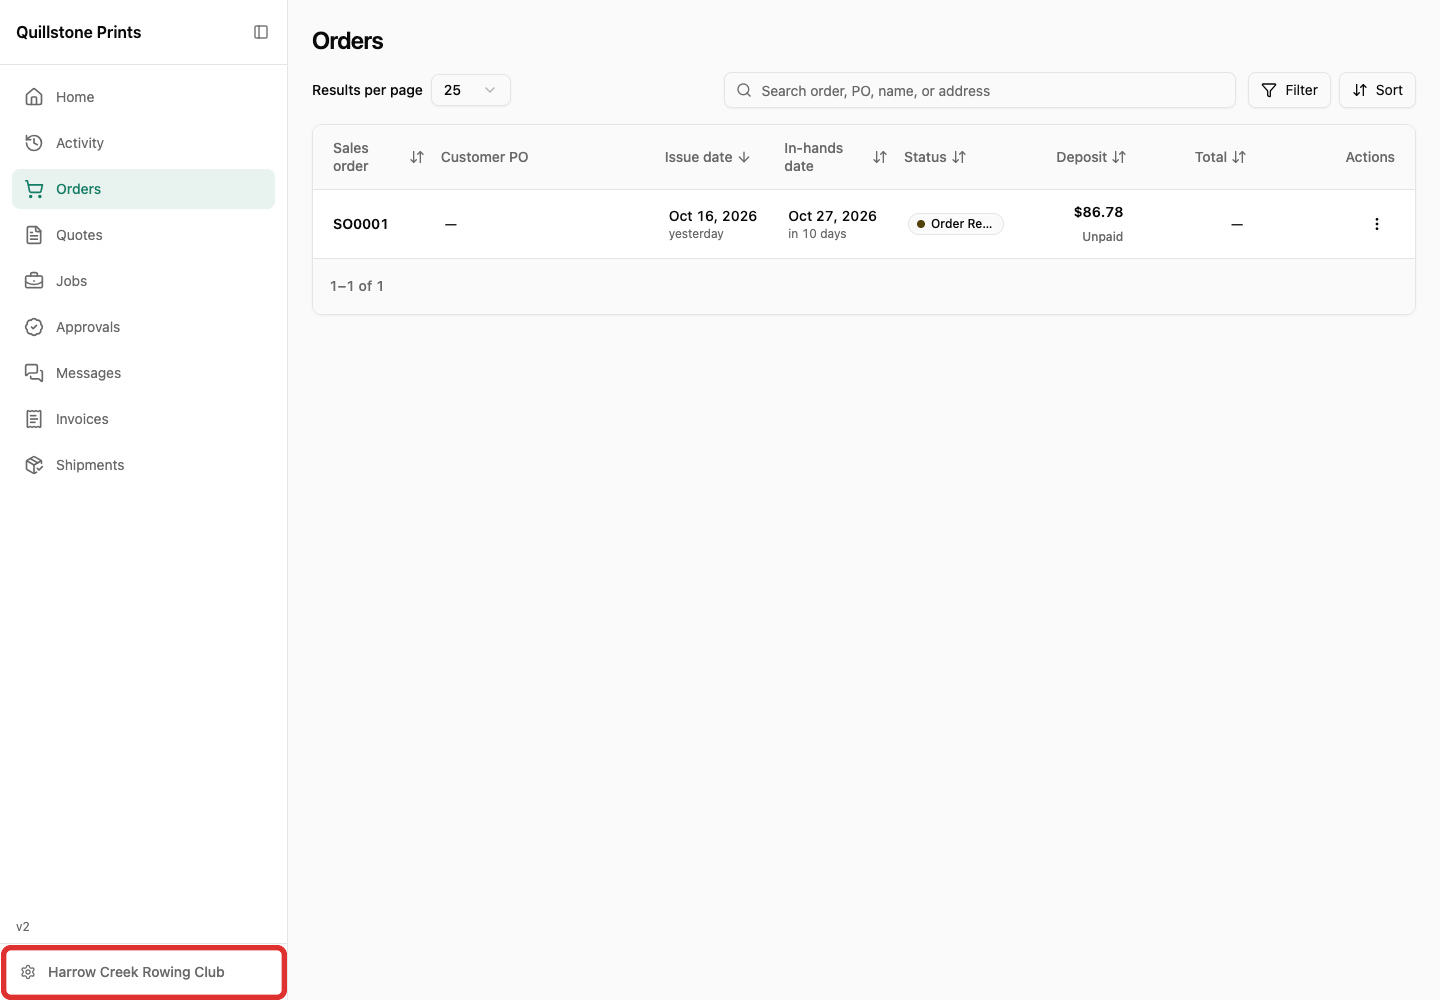
-
Under Theme, choose the sun for Light, the monitor for System or the moon for Dark. System follows the device's appearance setting.
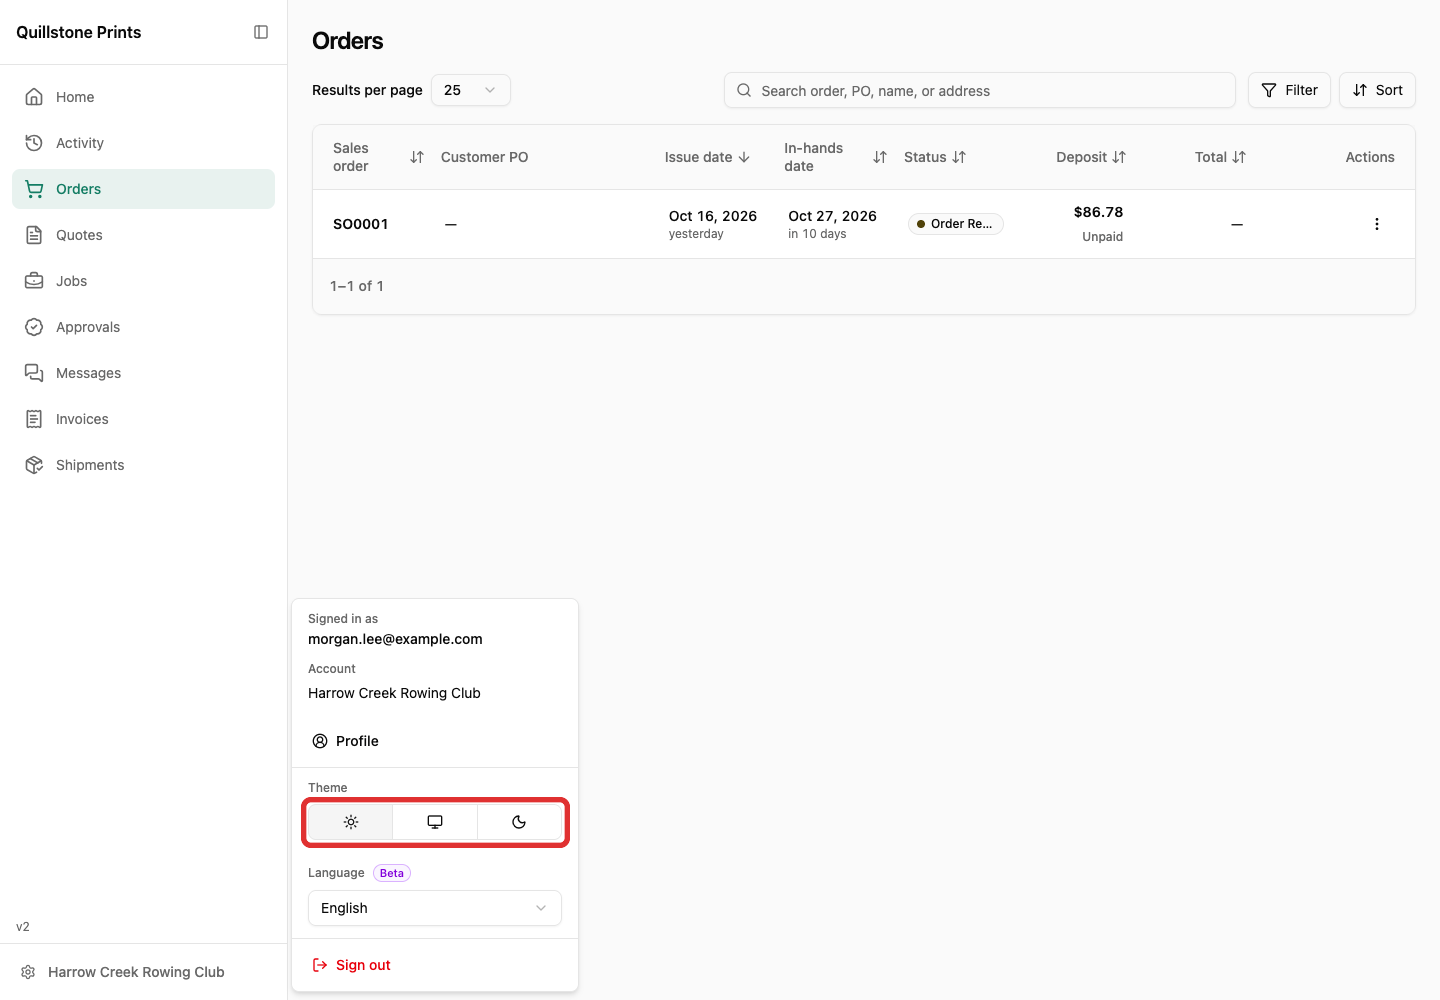
The appearance changes immediately.
-
Click the gear icon again to close the account menu.
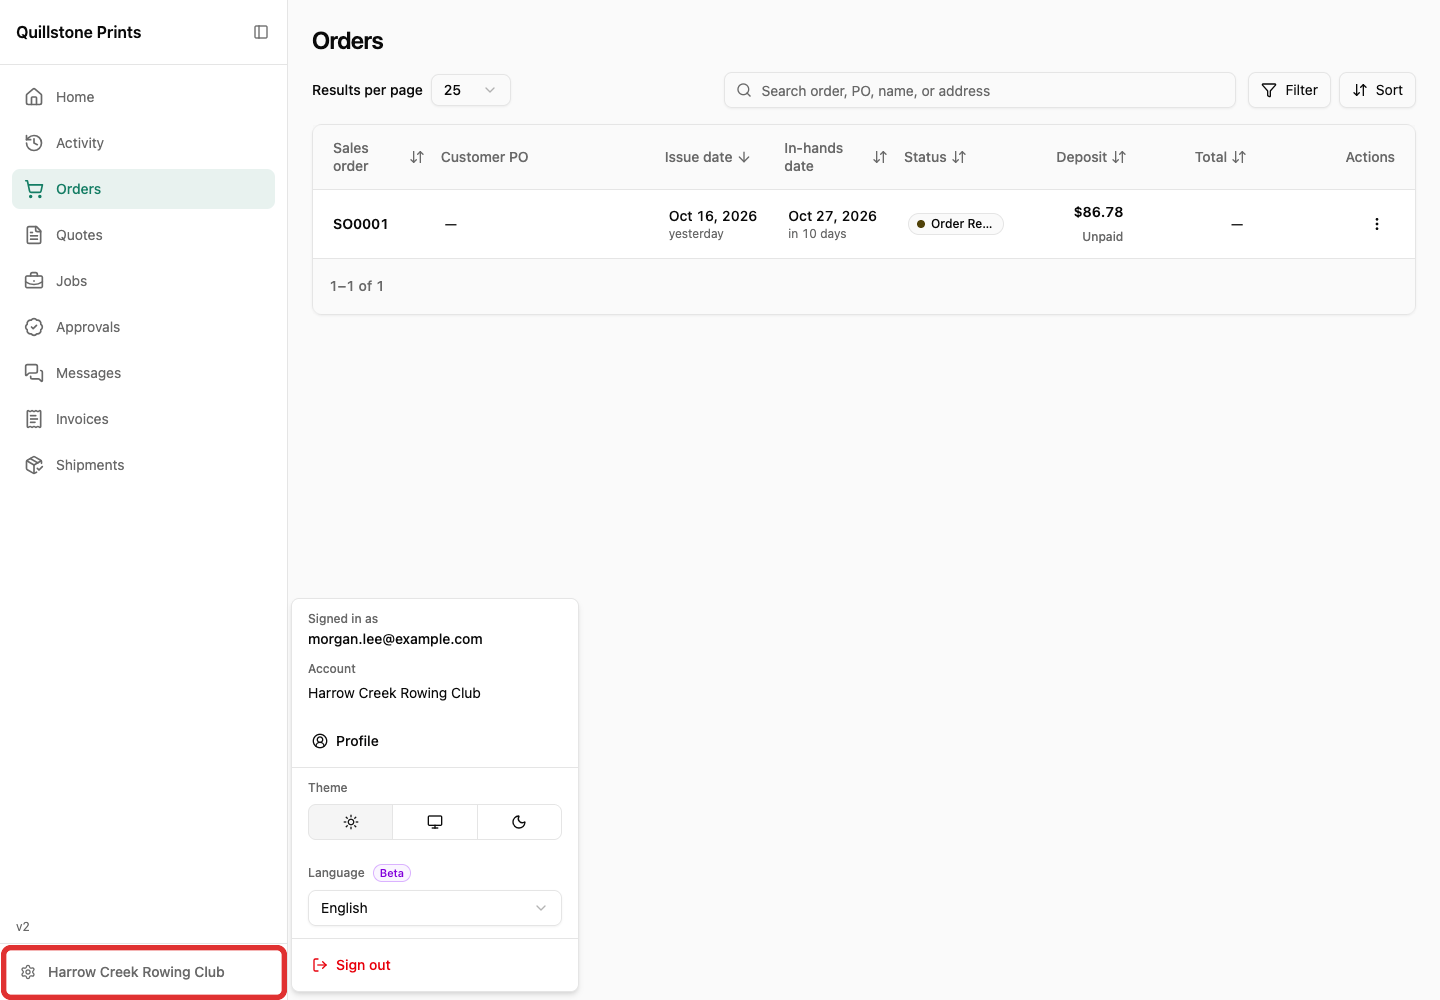
For the sign-in and sharing steps, see Customer Portal Overview.
Return to saved or default colors
If the Brand color dialog is closed, start on Settings > Overview.
-
Click Theme beside Company Details to open the Brand color dialog.
Undo unsaved changes
Revert to saved is available when you have unsaved changes.
-
Click Revert to saved in the Brand color dialog to discard your unsaved changes.
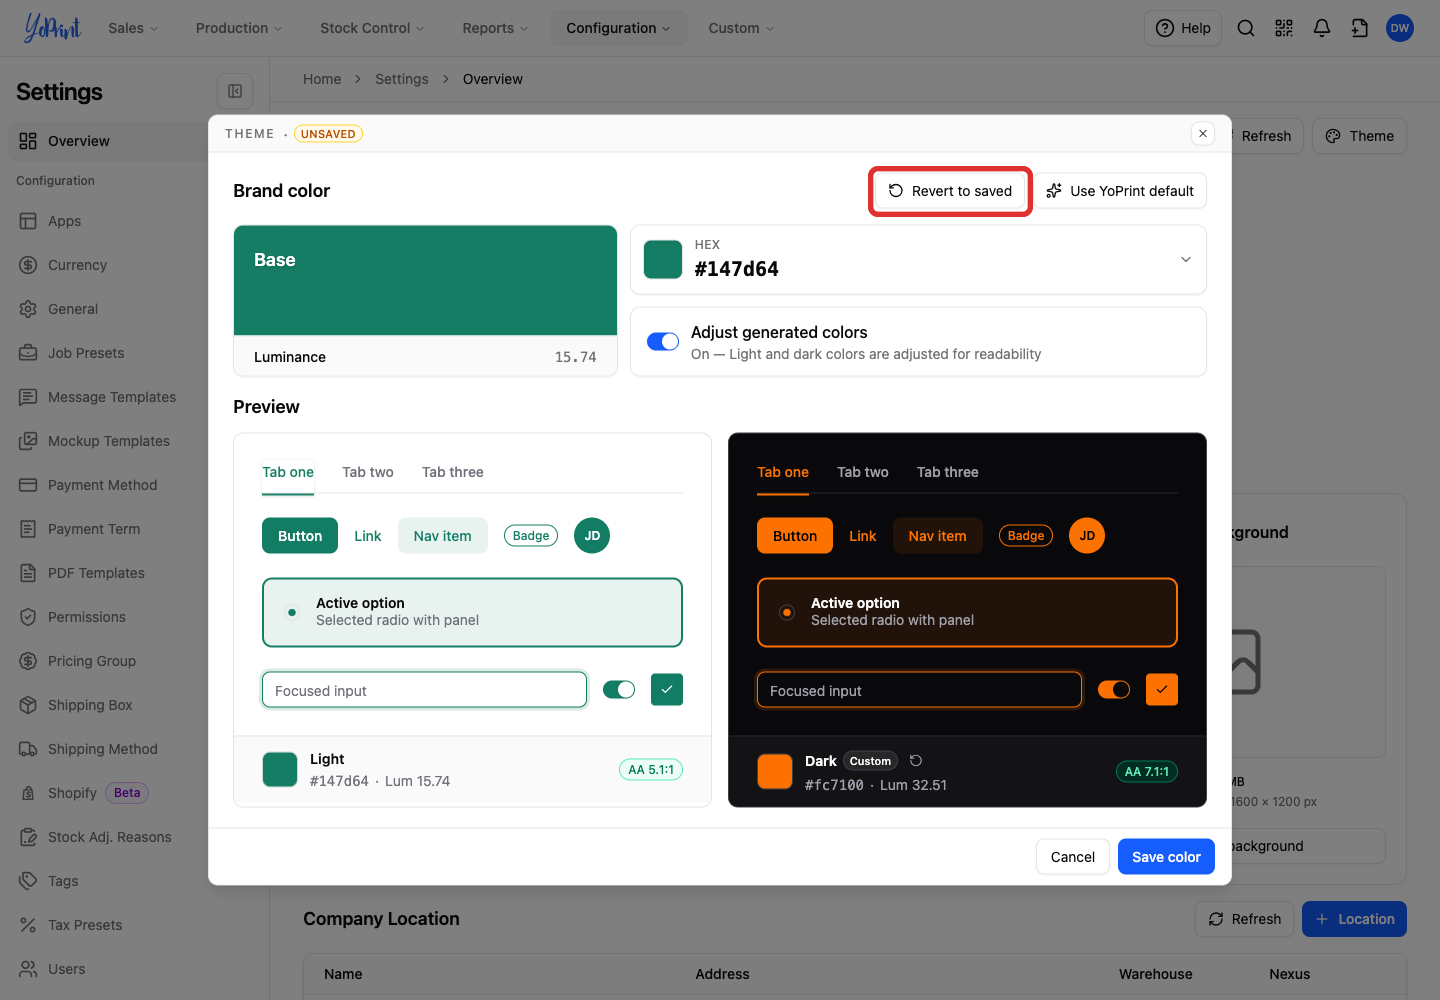
Your saved portal colors stay in place.
Restore YoPrint colors
-
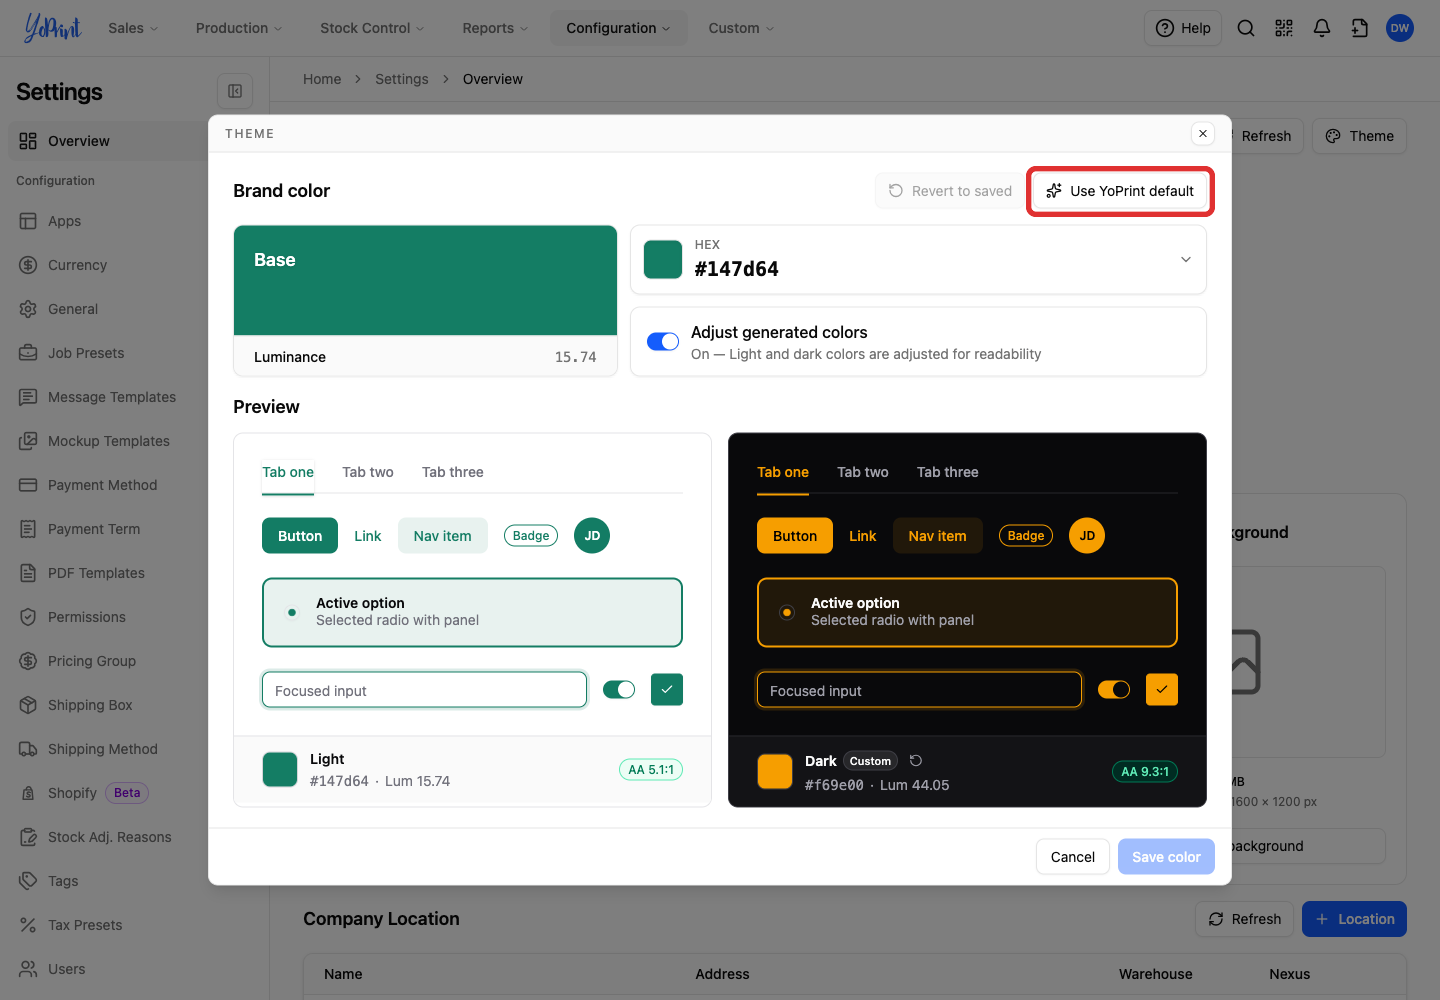
Click Use YoPrint default in the Brand color dialog.
-
Click Save color to apply the default colors to the portal.