Customer Portal Settings
In this article
- Find your customer portal settings
- Customer portal payment option
- Allow direct payment links when payment settings are off
- Customer balance statements
- Links in message templates
- Customer portal product descriptions
- Customer portal split payments
- Artwork approval terms
- Show terms on sales order and quote approvals
- Show terms on sales orders and quotes
- Show ship-by dates
- Related portal settings
Choose which features your customers can use in the Customer Portal and which terms they see. These settings apply across your shop’s portal. Individual customer access is managed on the customer record.
Find your customer portal settings
-
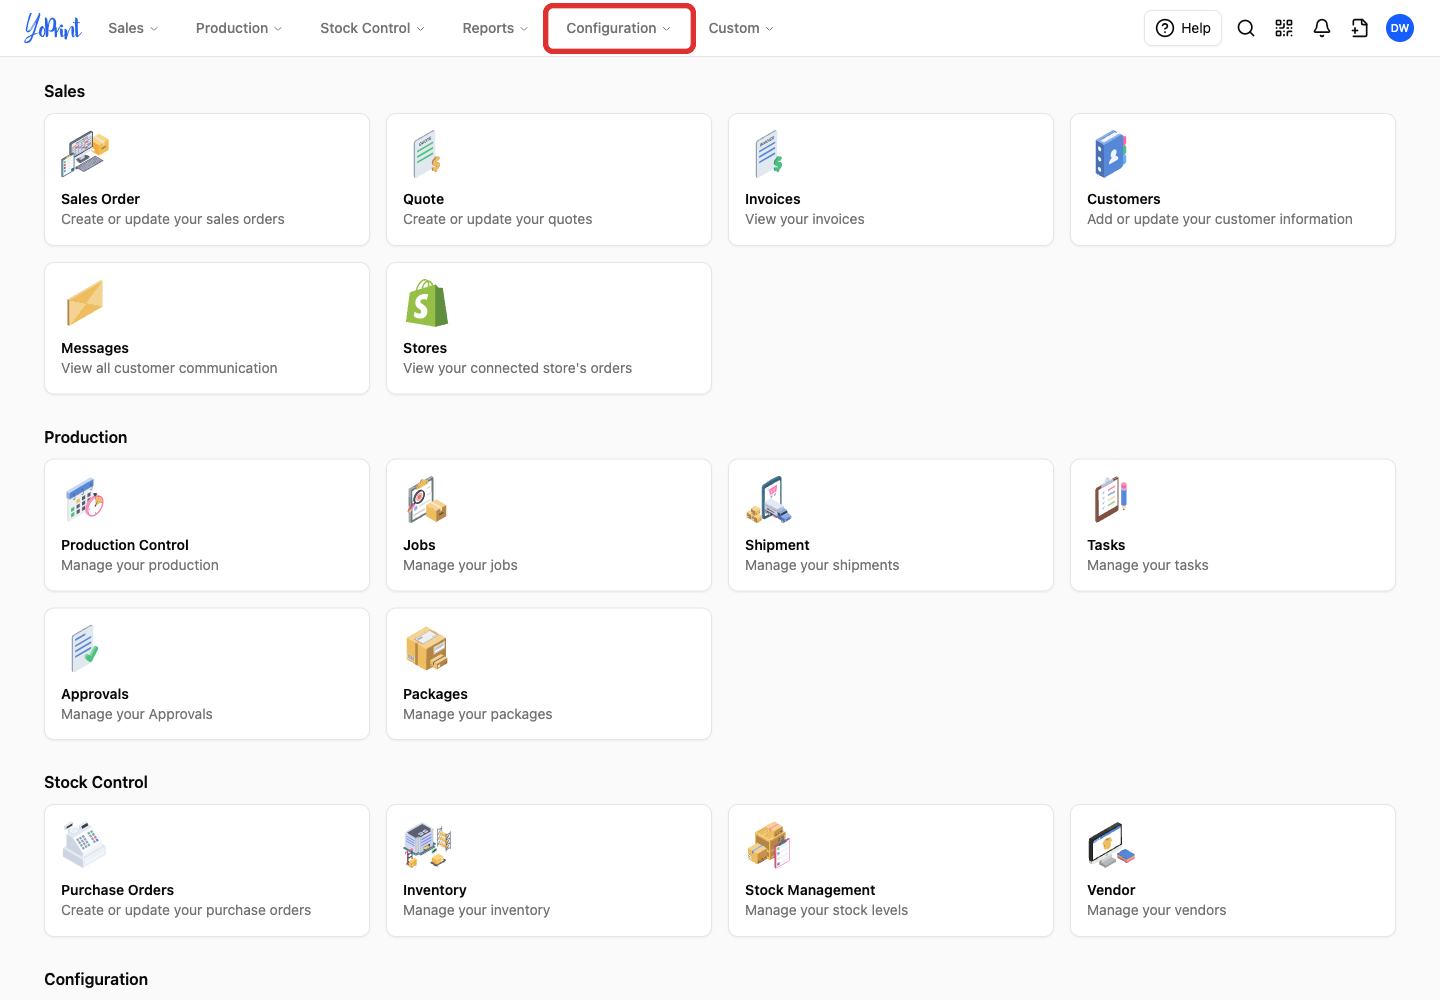
From the main navigation, open Configuration.
-
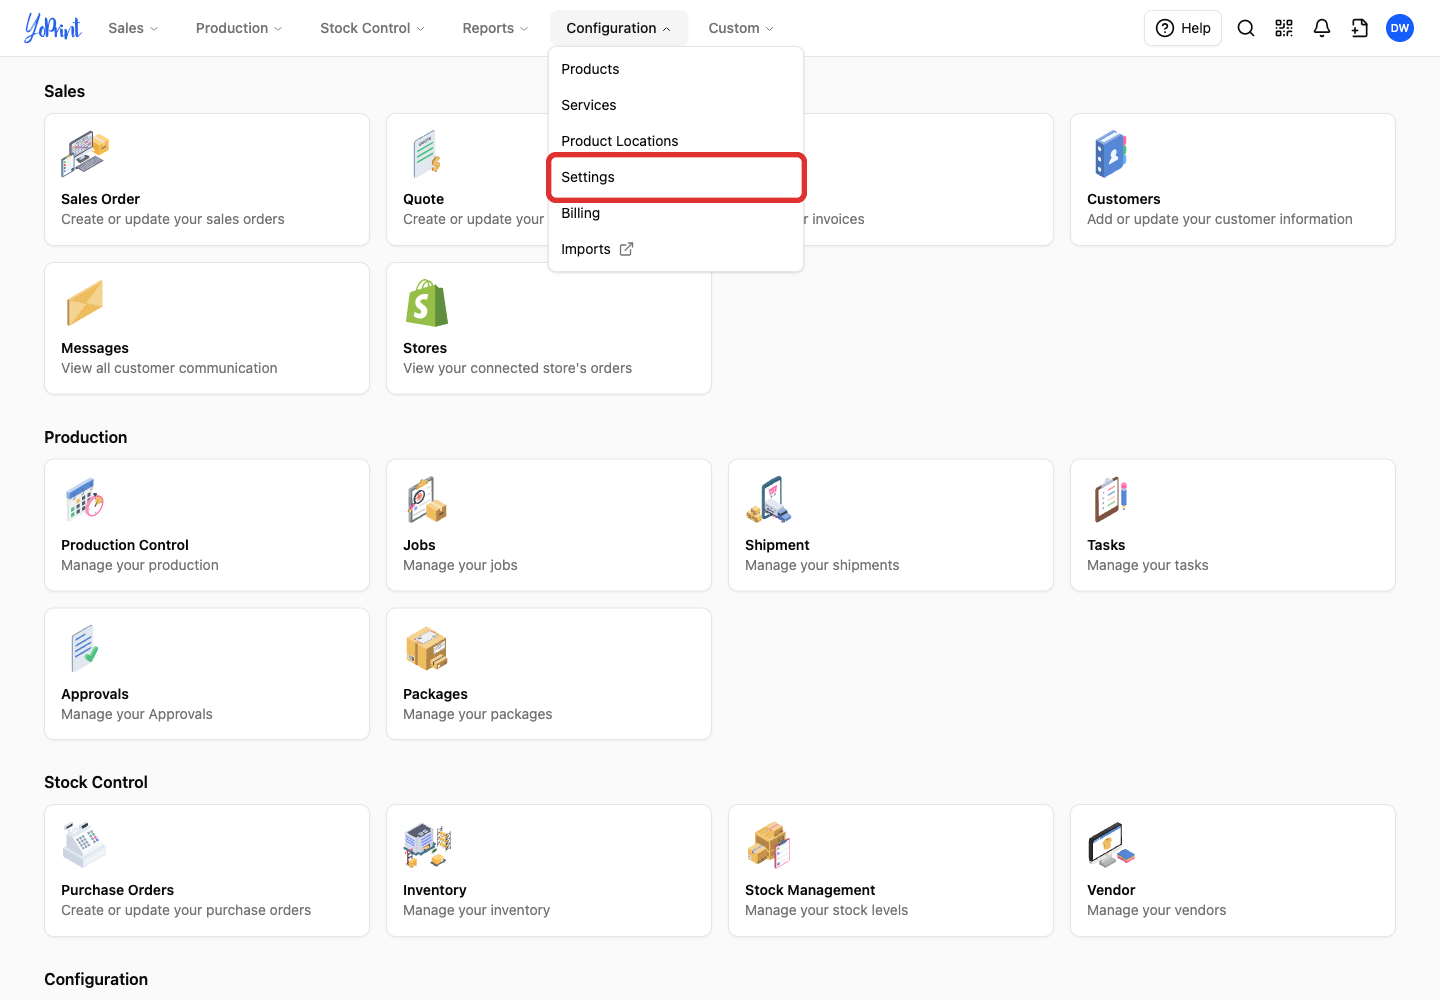
Select Settings.
-
In General, select Customer Portal.
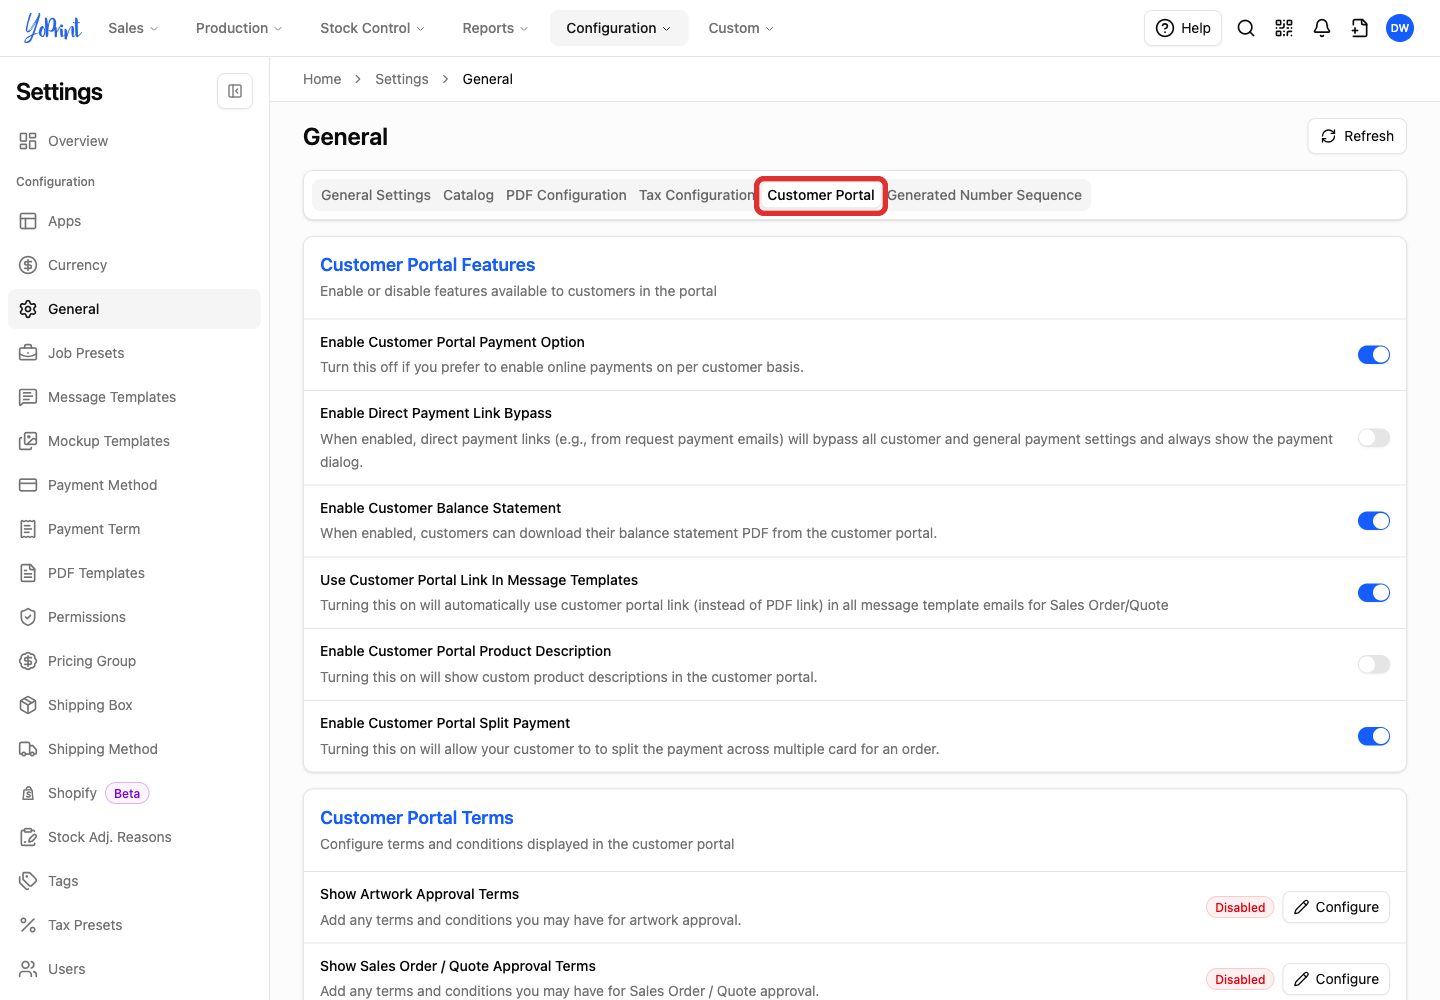
The switches save when you change them. The three terms editors have Save and Cancel buttons. The Customer Portal settings below follow the order on this tab. The last section covers ship-by dates on the General Settings tab.
Customer portal payment option
-
Set Enable Customer Portal Payment Option on or off.
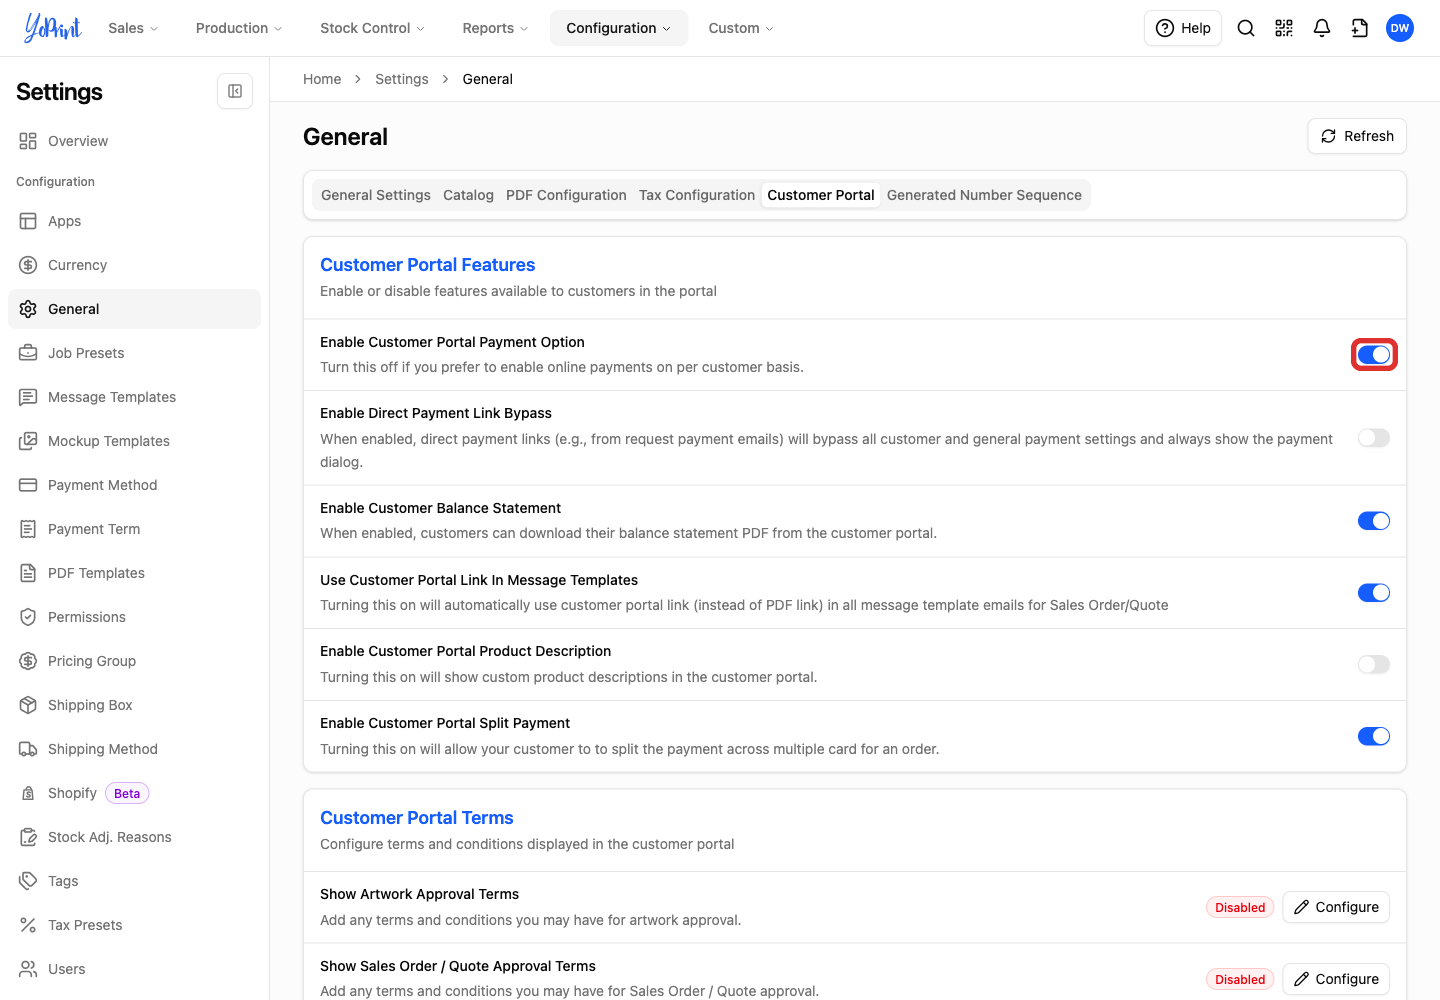
- On: Customers who use your shop’s default payment setting can pay online through the portal.
- Off: Online payment is off by default. You can still turn it on for an individual customer.
An individual customer’s Online payments setting can override this default. Your shop also needs a connected payment gateway, and the order must have an unpaid balance. See Collect and Record Payments for payment setup and the customer’s payment steps.
Allow direct payment links when payment settings are off
-
Set Enable Direct Payment Link Bypass on or off.
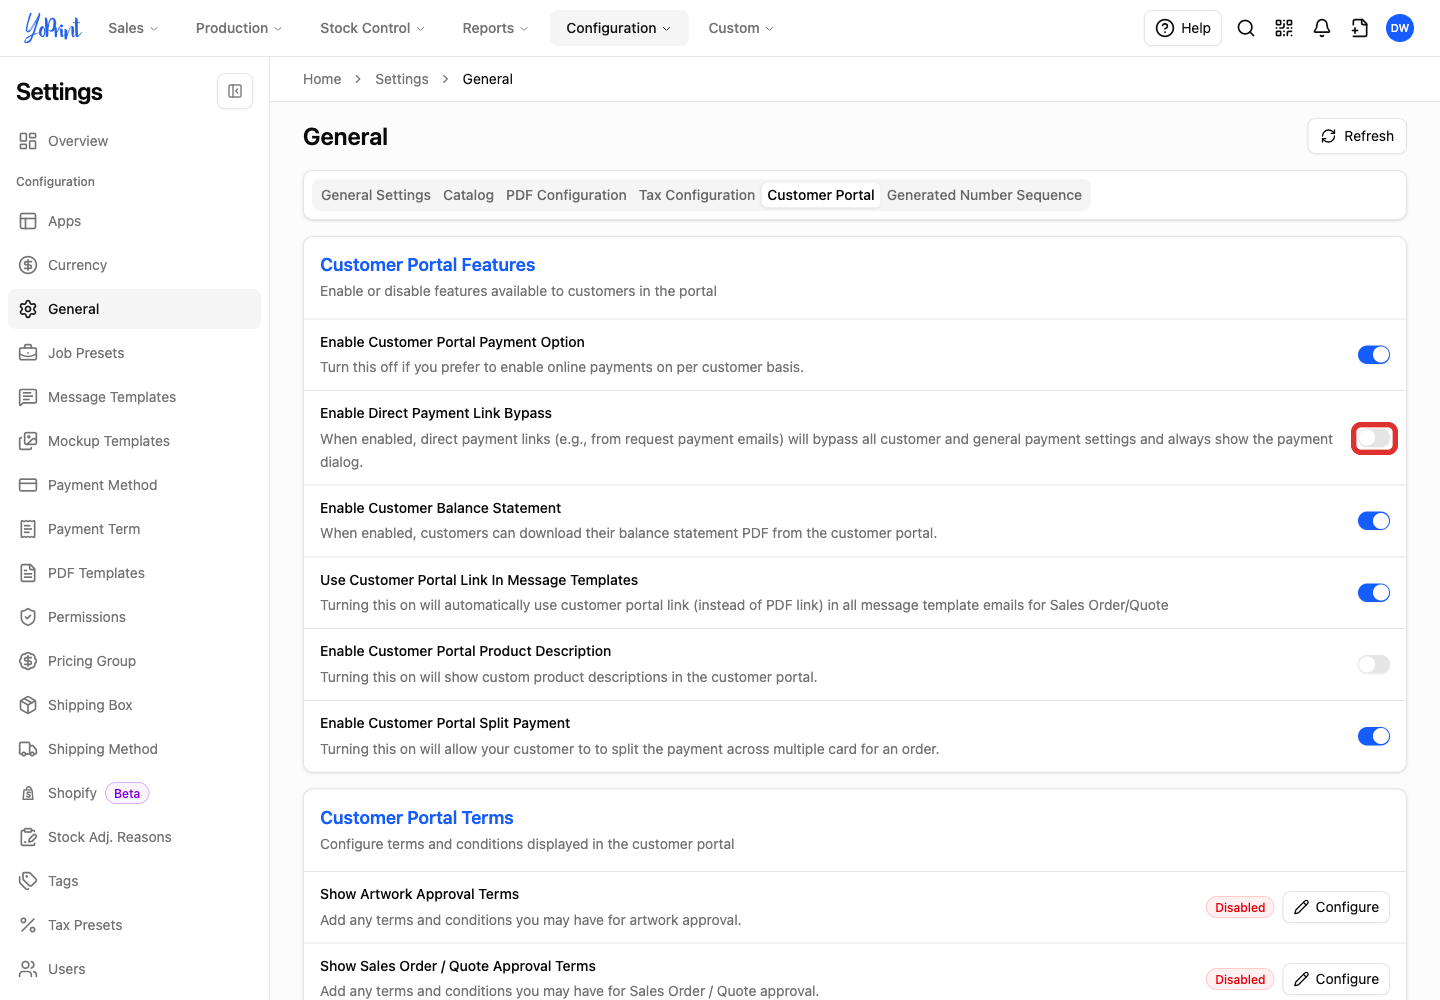
- On: A direct payment link, such as the link in a payment-request email, can open the payment dialog even when the shop or customer payment setting is off.
- Off: The direct link does not bypass those settings. Customers can still use the ordinary payment option when it is available.
This setting does not remove sign-in. Customers open the link and sign in with a code sent to the email your shop has on file. Their order then opens. A connected payment gateway and an unpaid balance are still required.
Customer balance statements
-
Set Enable Customer Balance Statement on or off.
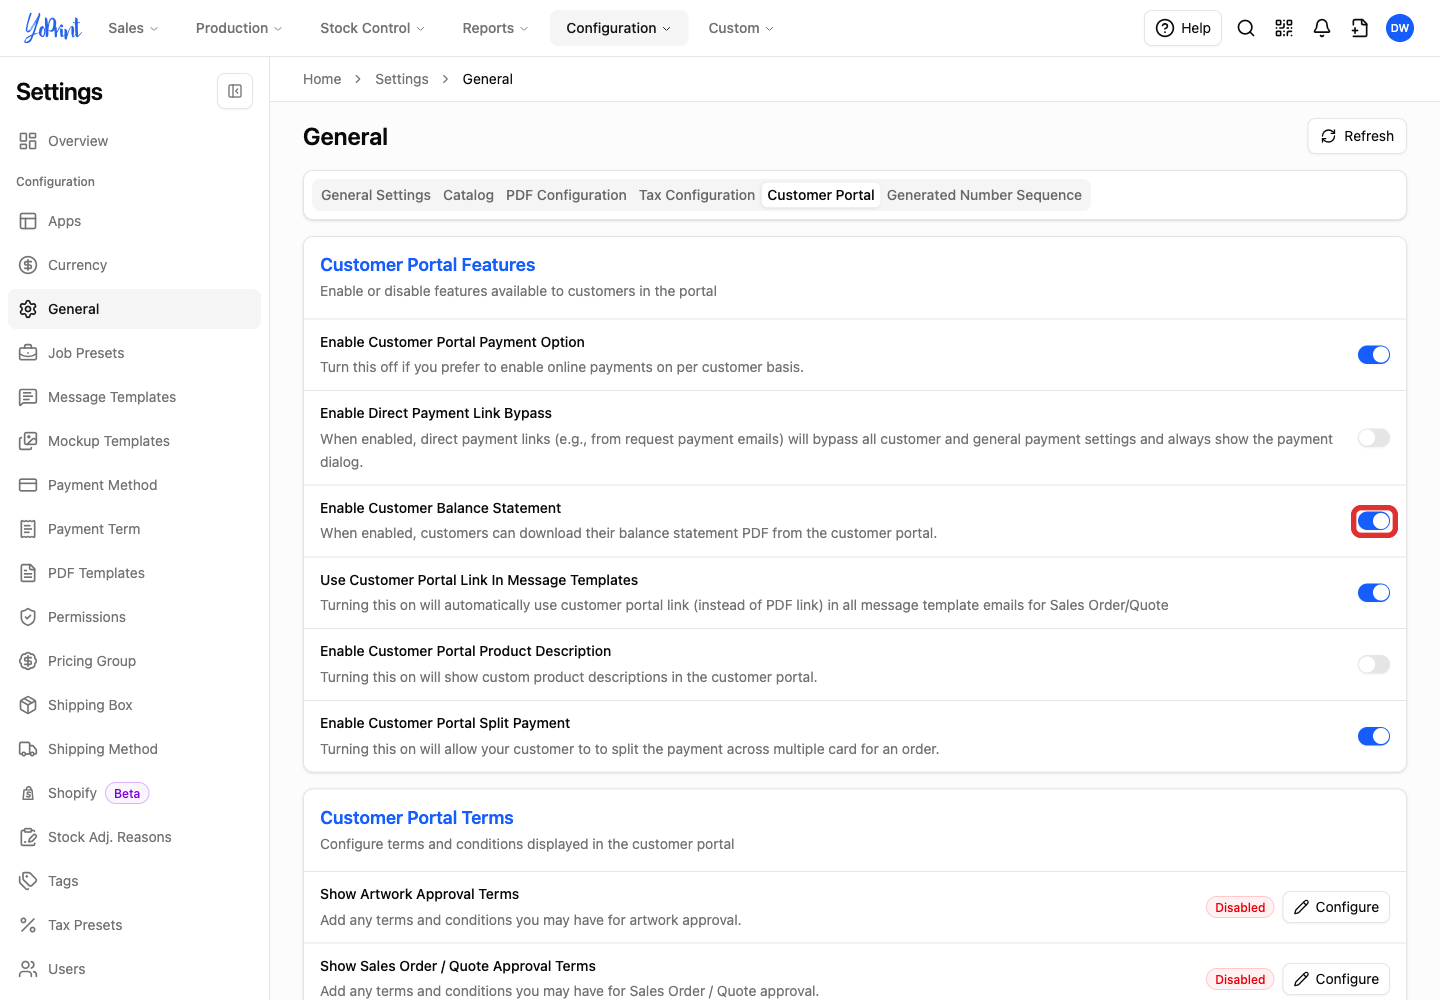
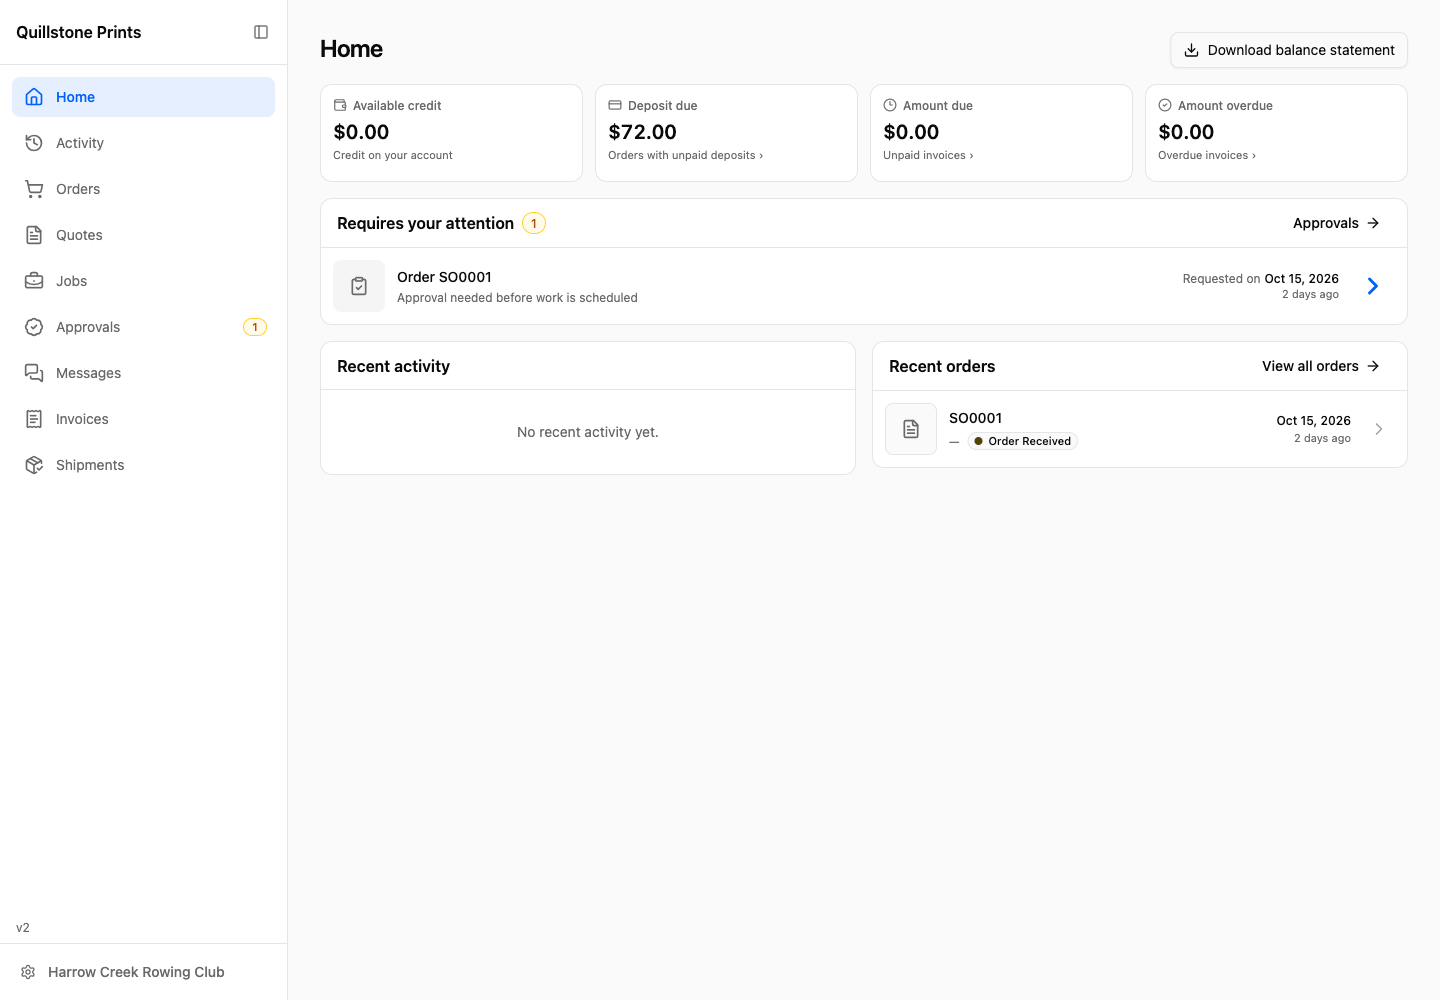
- On: Customers see Download balance statement on Home and can download a PDF statement.
- Off: YoPrint hides Download balance statement on Home.
Links in message templates
-
Set Use Customer Portal Link In Message Templates on or off.
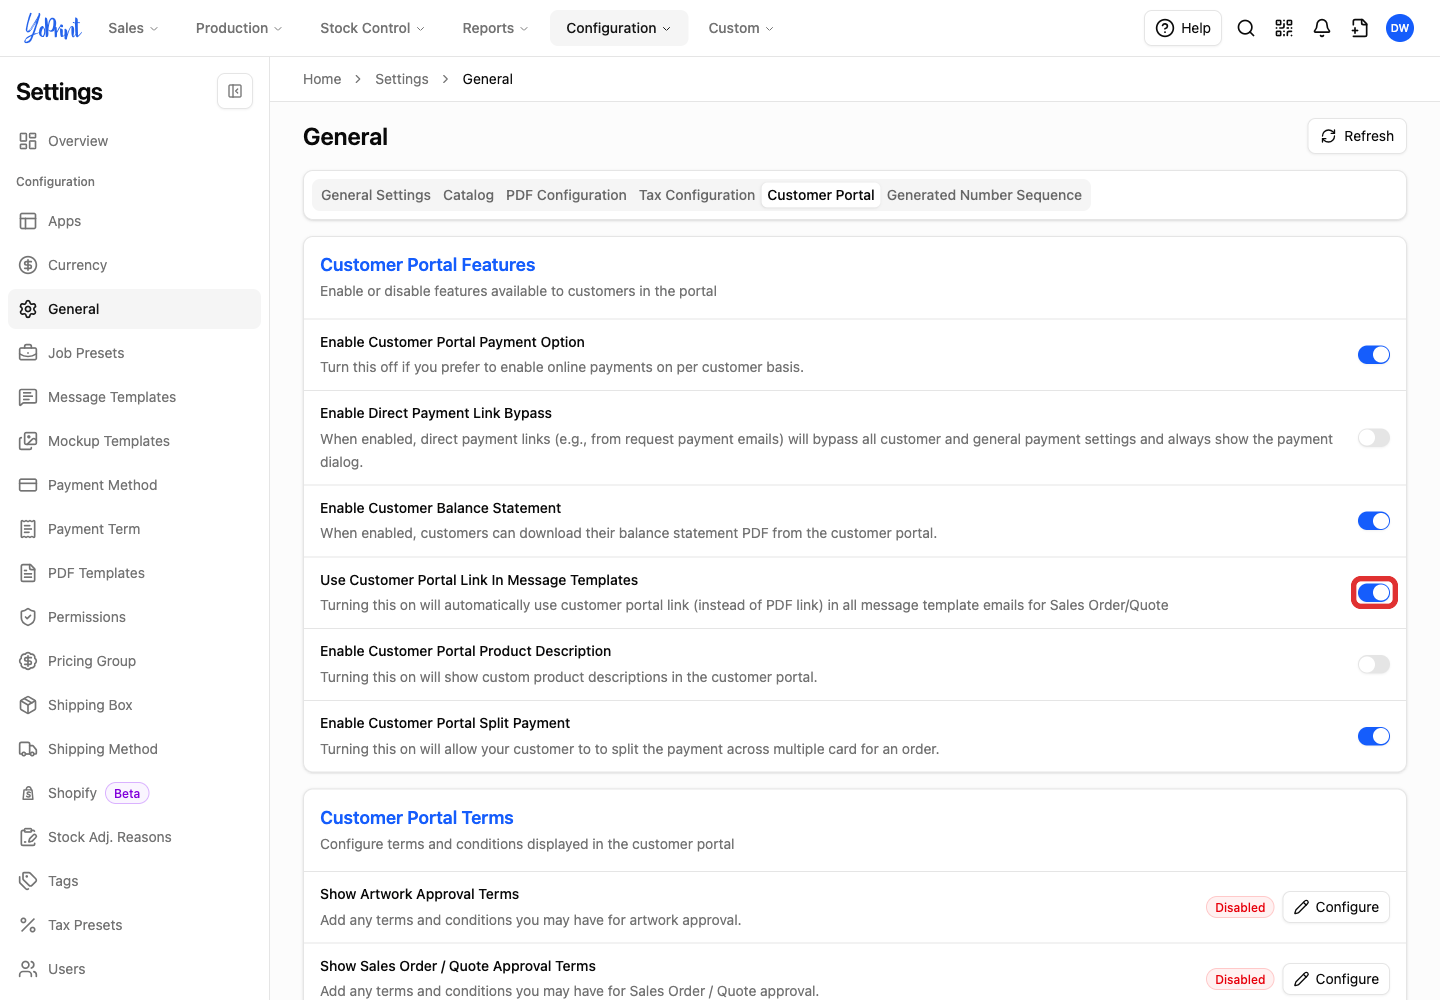
- On: Sales order and quote message-template buttons link to the customer portal. Customers sign in with a code sent to their saved contact email, then the order or quote opens.
- Off: Those buttons link to the sales order or quote PDF instead.
See Customer Portal Overview for sharing an order and what customers can do after signing in.
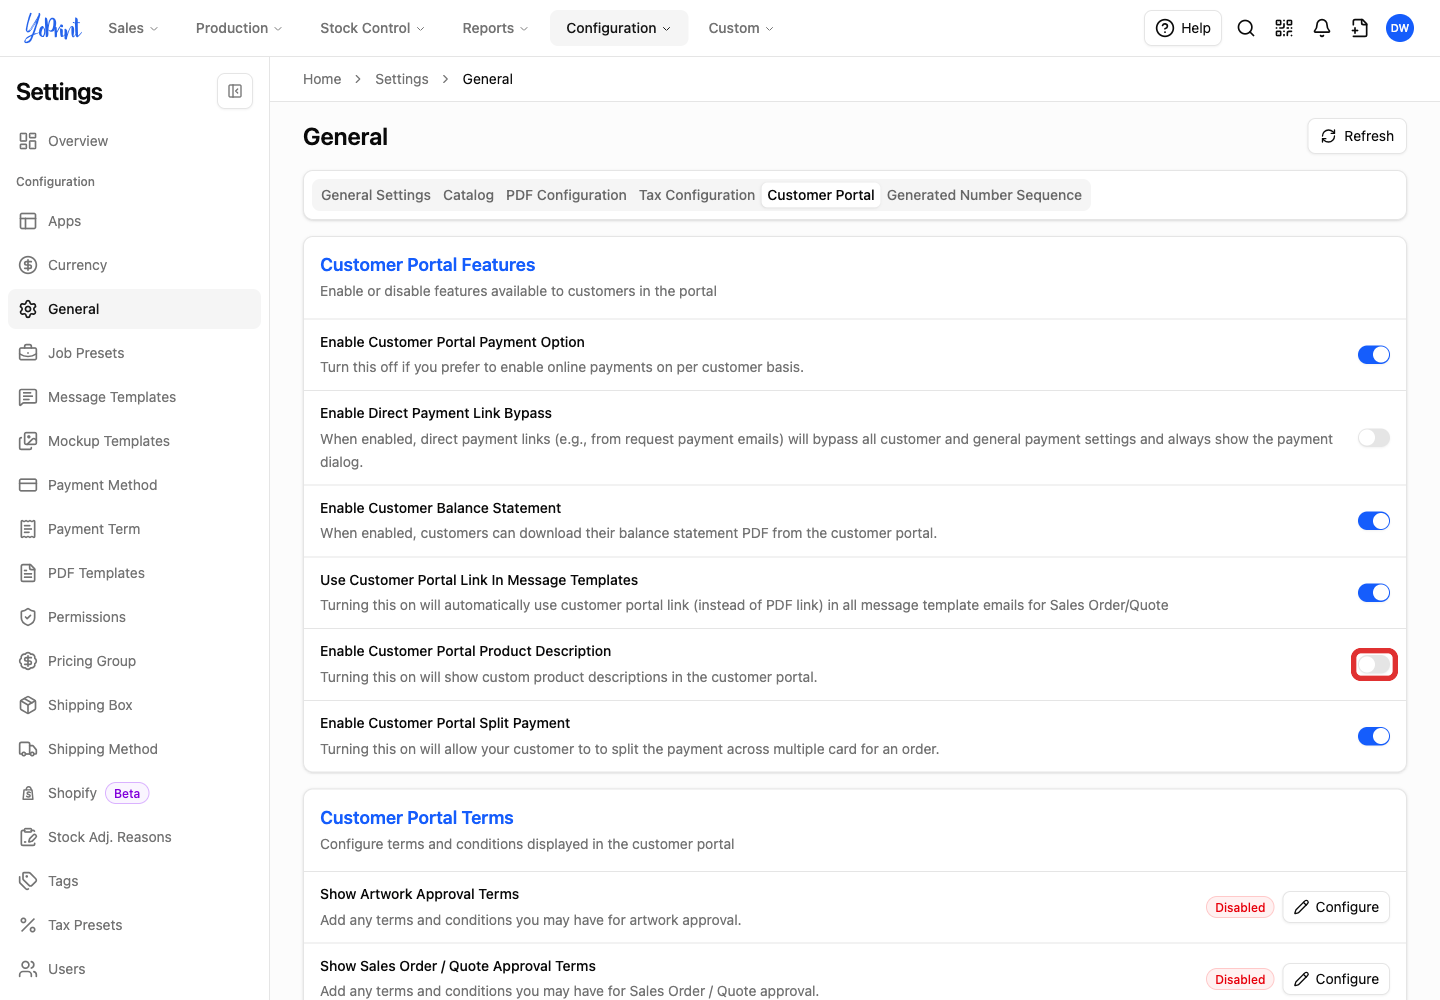
Customer portal product descriptions
A custom product description gives details about a product line, such as fabric or print placement.
-
Set Enable Customer Portal Product Description on or off.
Customer portal split payments
-
Set Enable Customer Portal Split Payment on or off.
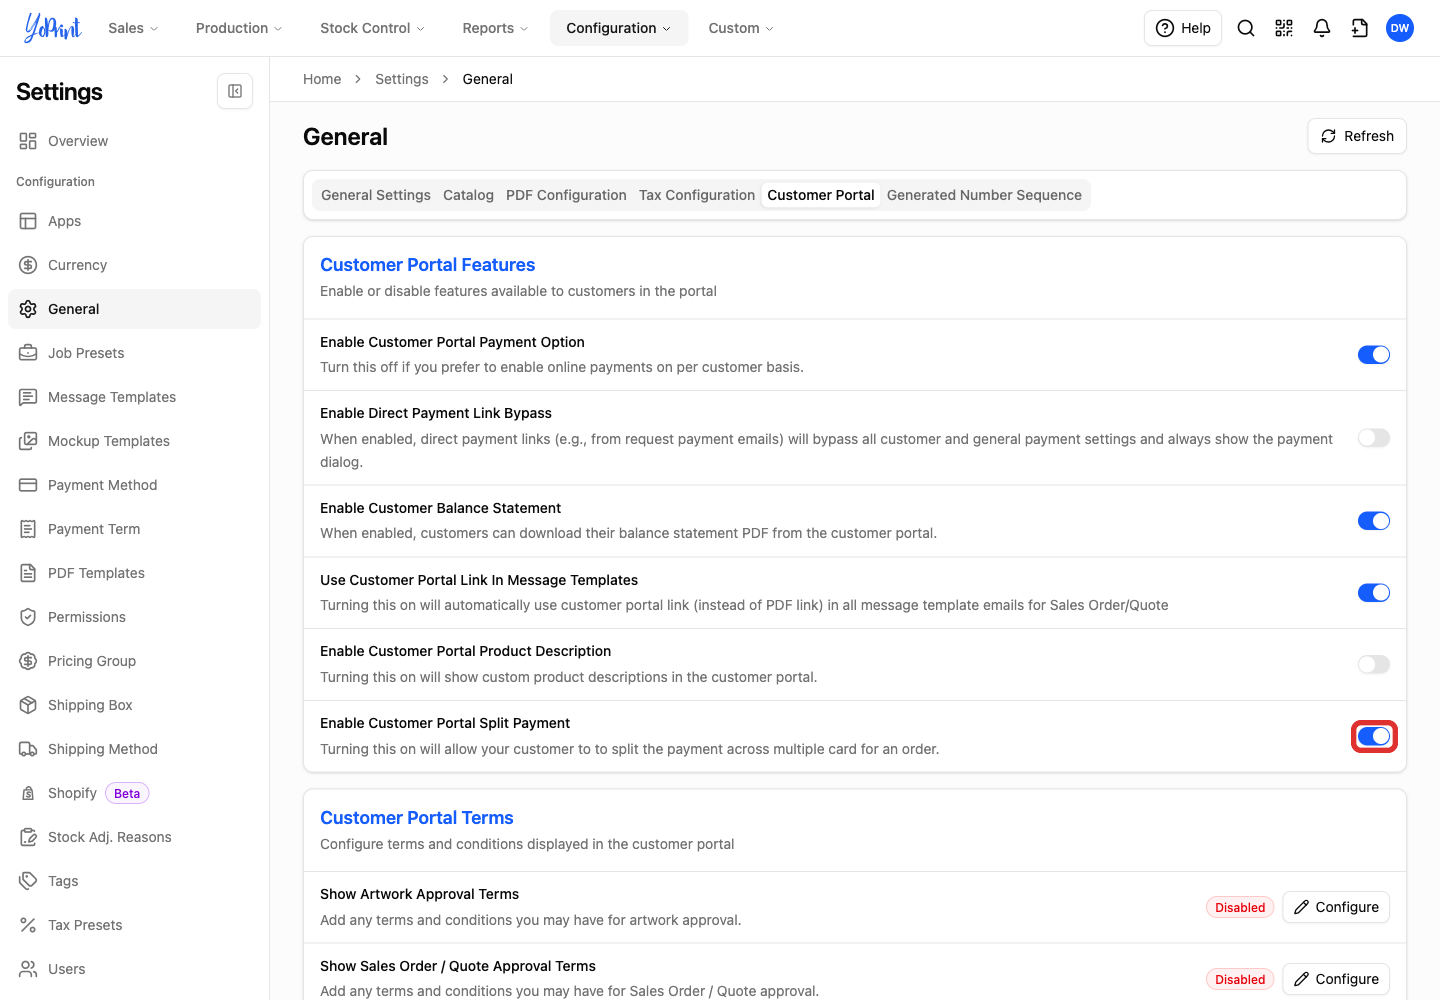
- On: Customers can choose a partial payment amount and pay invoices individually or together. They can make separate payments with different cards.
- Off: Customers pay from the sales order using its available balance or deposit amount. Custom payment amounts and invoice-payment options are unavailable.
Online payment must also be available for the customer. The payment guide explains the amount choices and payment process.
Artwork approval terms
Use Show Artwork Approval Terms for the terms customers review when responding to an artwork approval. See How to Set Artwork Approval Terms.
Show terms on sales order and quote approvals
Use Show Sales Order / Quote Approval Terms for the wording customers review and sign when responding to quotes and sales orders.
Show terms on sales orders and quotes
Use Show Sales Order / Quote Terms for quote and sales order wording separate from the terms signed with an approval response.
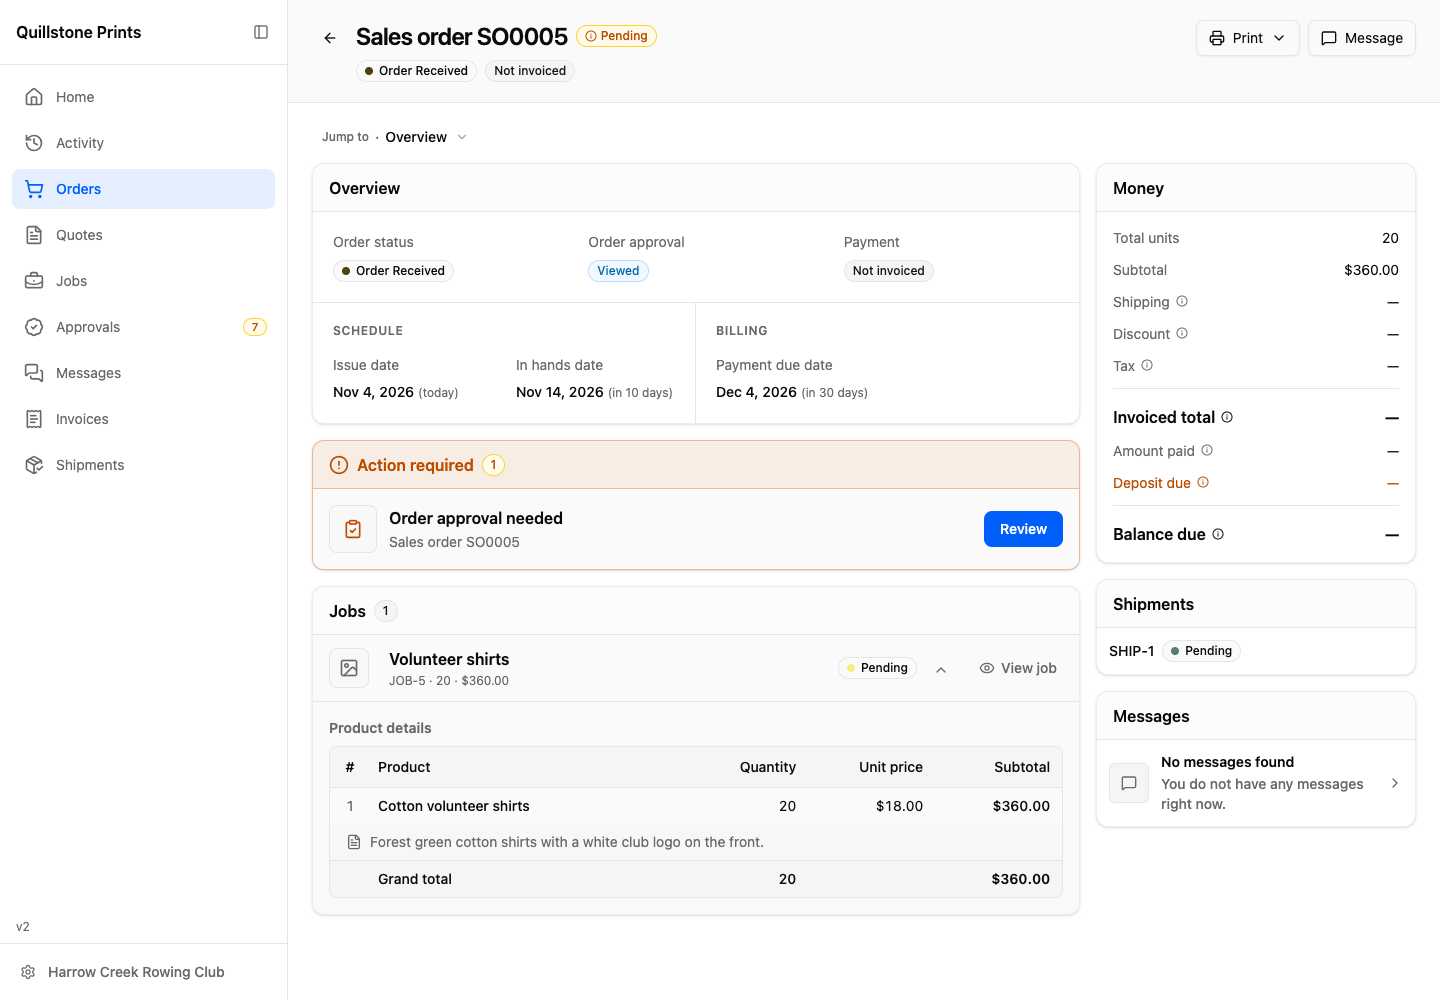
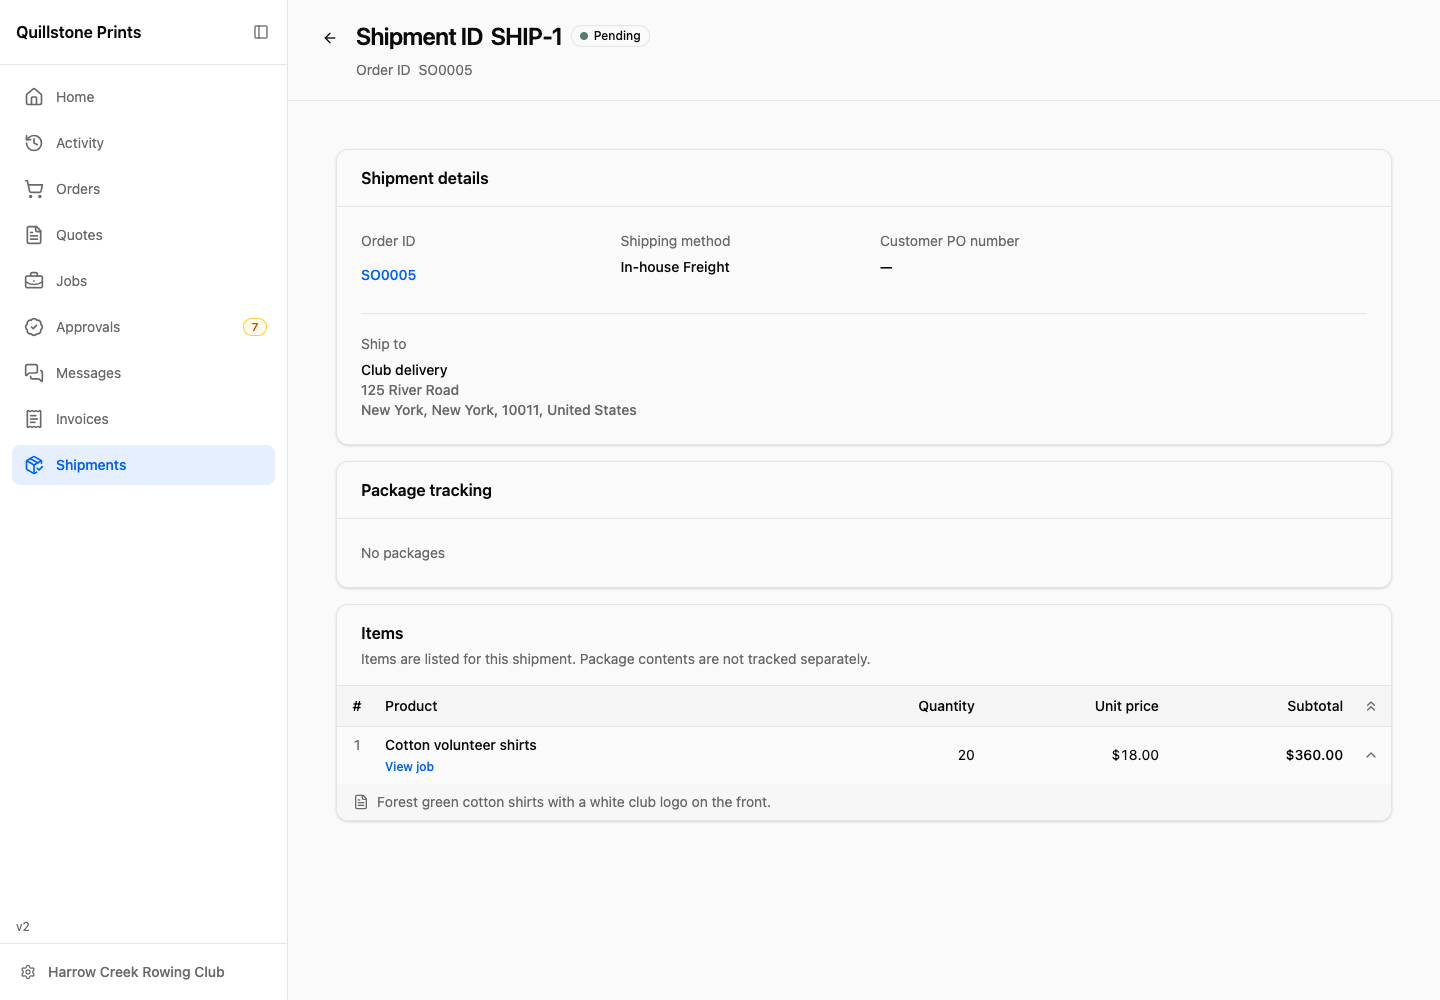
Show ship-by dates
In General settings, switch from the Customer Portal tab to the General Settings tab and find Feature Toggles.
-
Set Enable Ship By Date on or off.
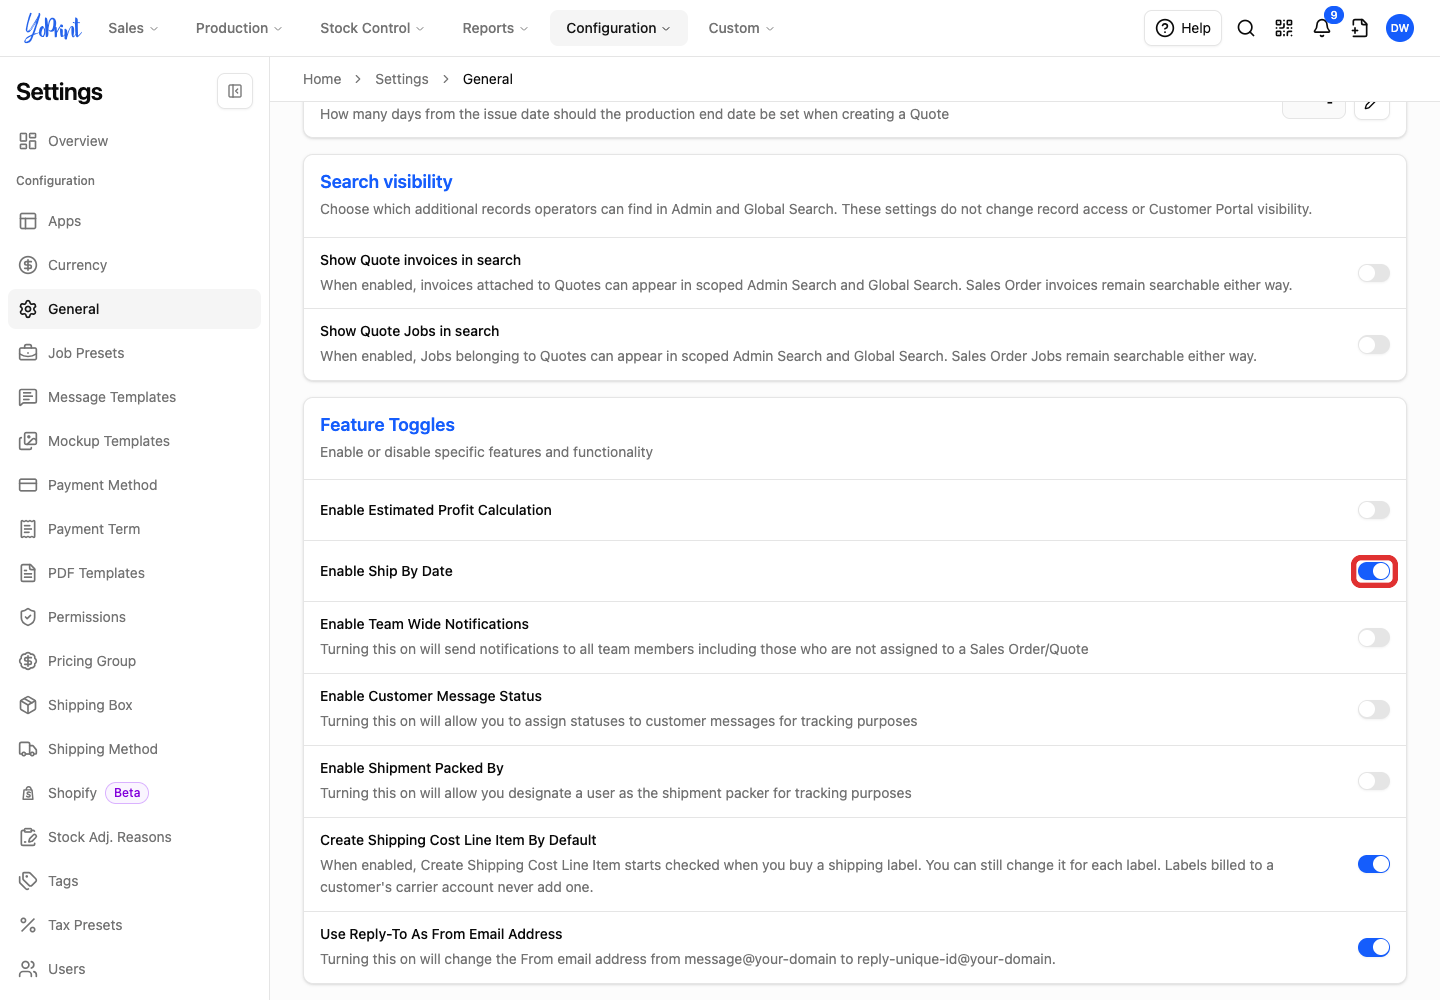
- On: Customers see Est. ship date on an order and Ship by date on a shipment when a date is set.
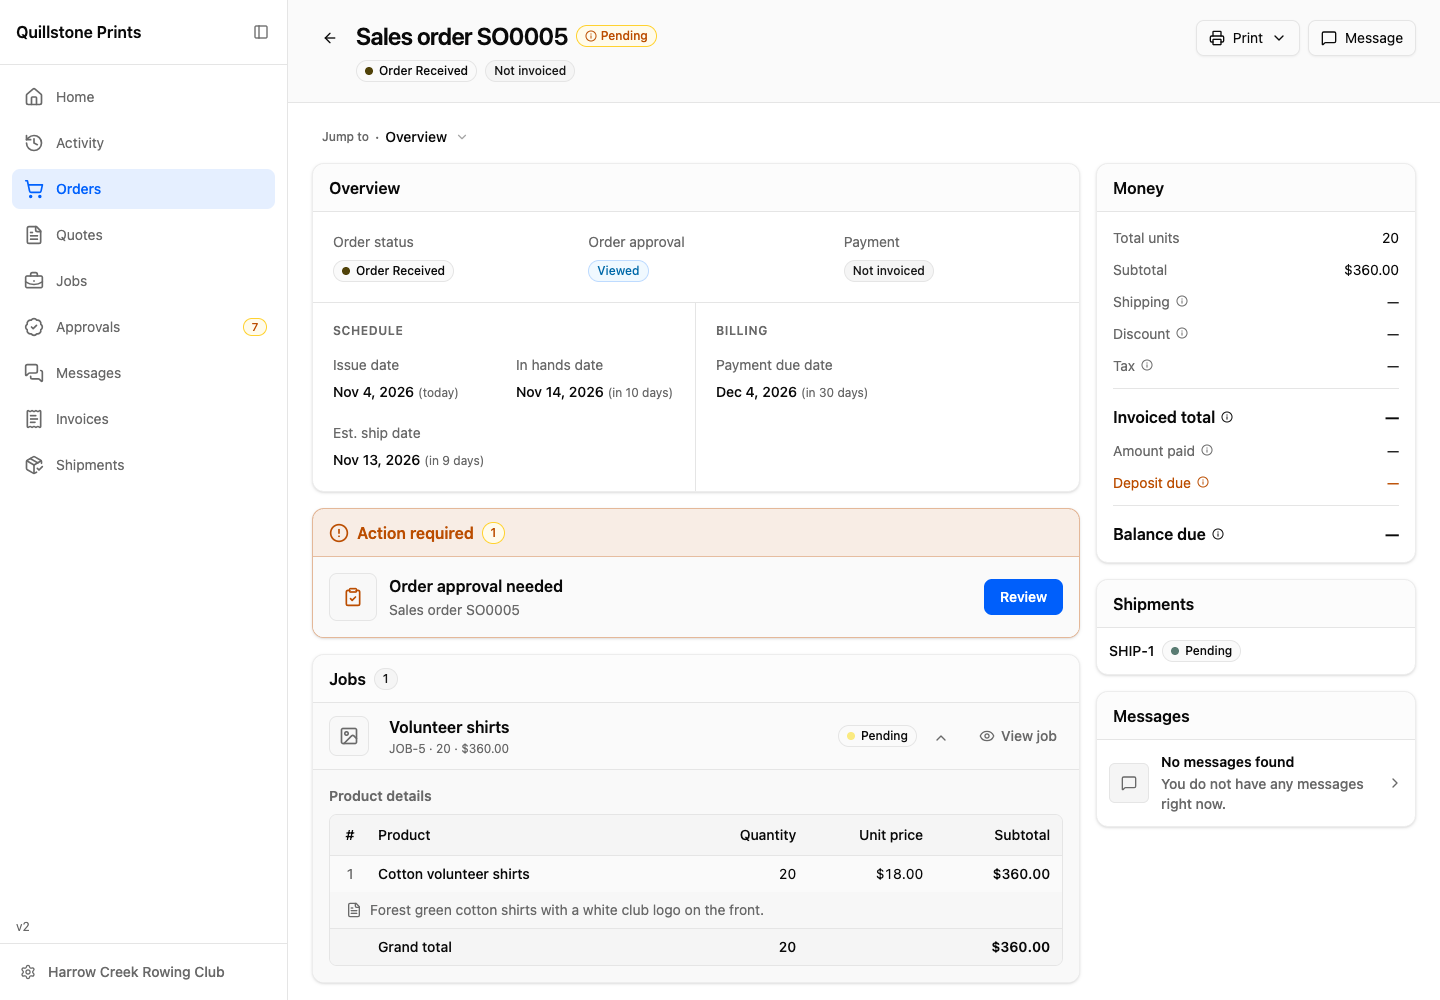
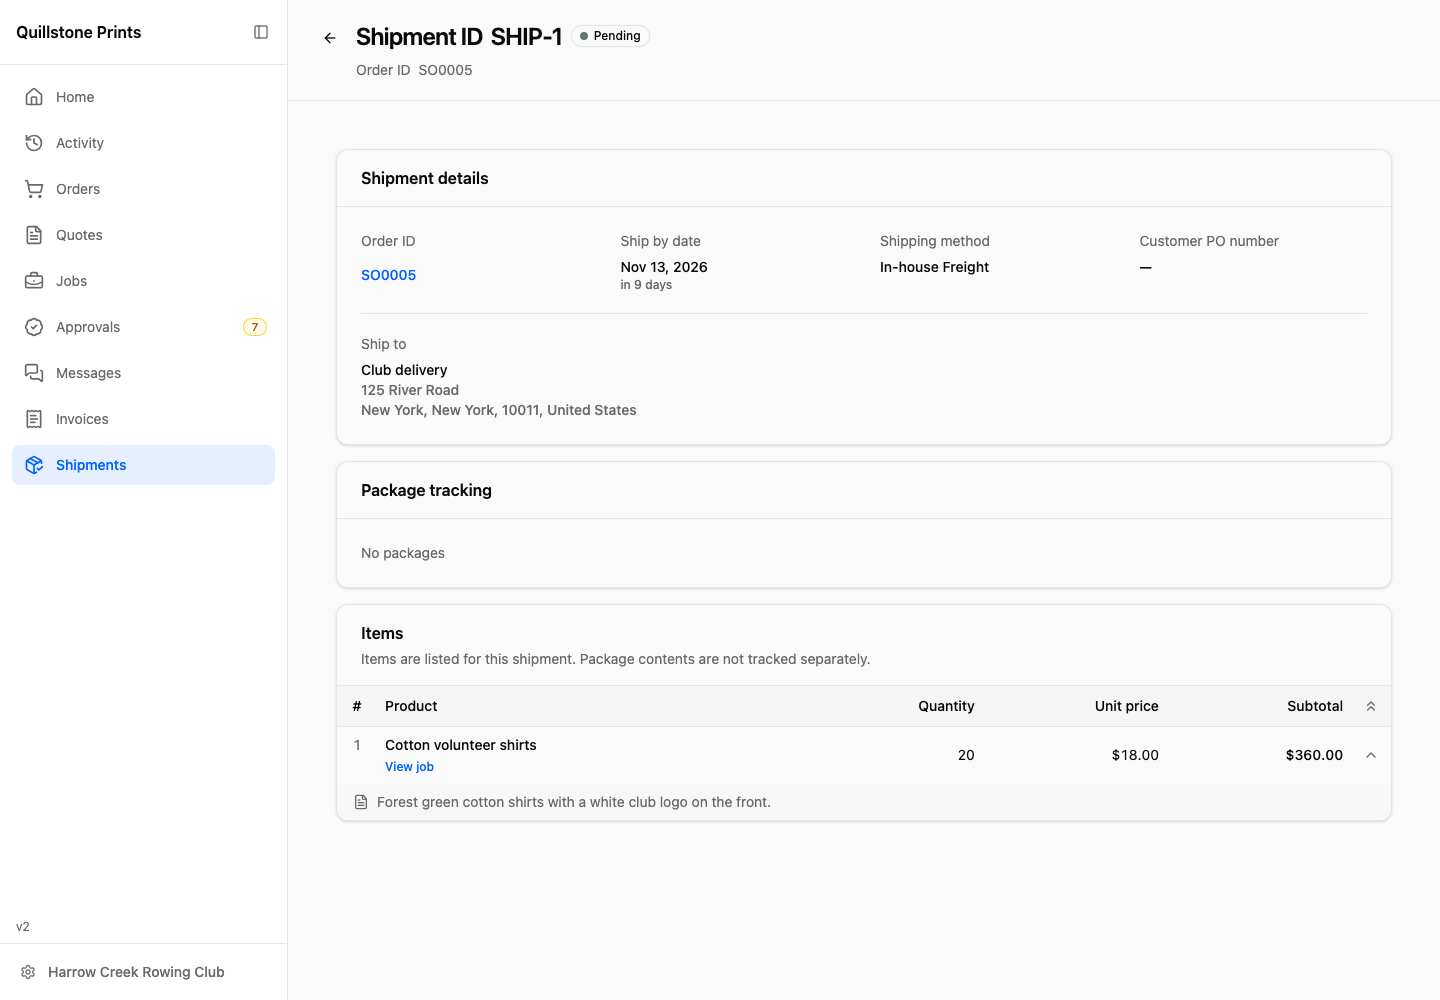
- Off: YoPrint hides Est. ship date on orders and Ship by date on shipments.
Related portal settings
Use these guides for other customer portal settings:
- Customizing The Customer Portal Theme Colors for your brand color.
- Customer Portal Custom Domain for your portal address.
- Setting Up Customer Portal and Email Sending Domain for the two separate domain setups.
- Turn the portal off for one customer.
- Manage a Customer's Portal Access.