Replace an image in a mockup
In this article
When a customer sends revised artwork, replace the image in place in the Mockup Creator instead of rebuilding the mockup. The new file takes the old image's spot on the page. This guide swaps a navy Harrow Creek crest for a revised gold logo.
Select the image you want to replace
Open the mockup in the Mockup Creator and select the artwork you want to update. For ways to open an existing mockup from a job, see Get started with the Mockup Creator.
-
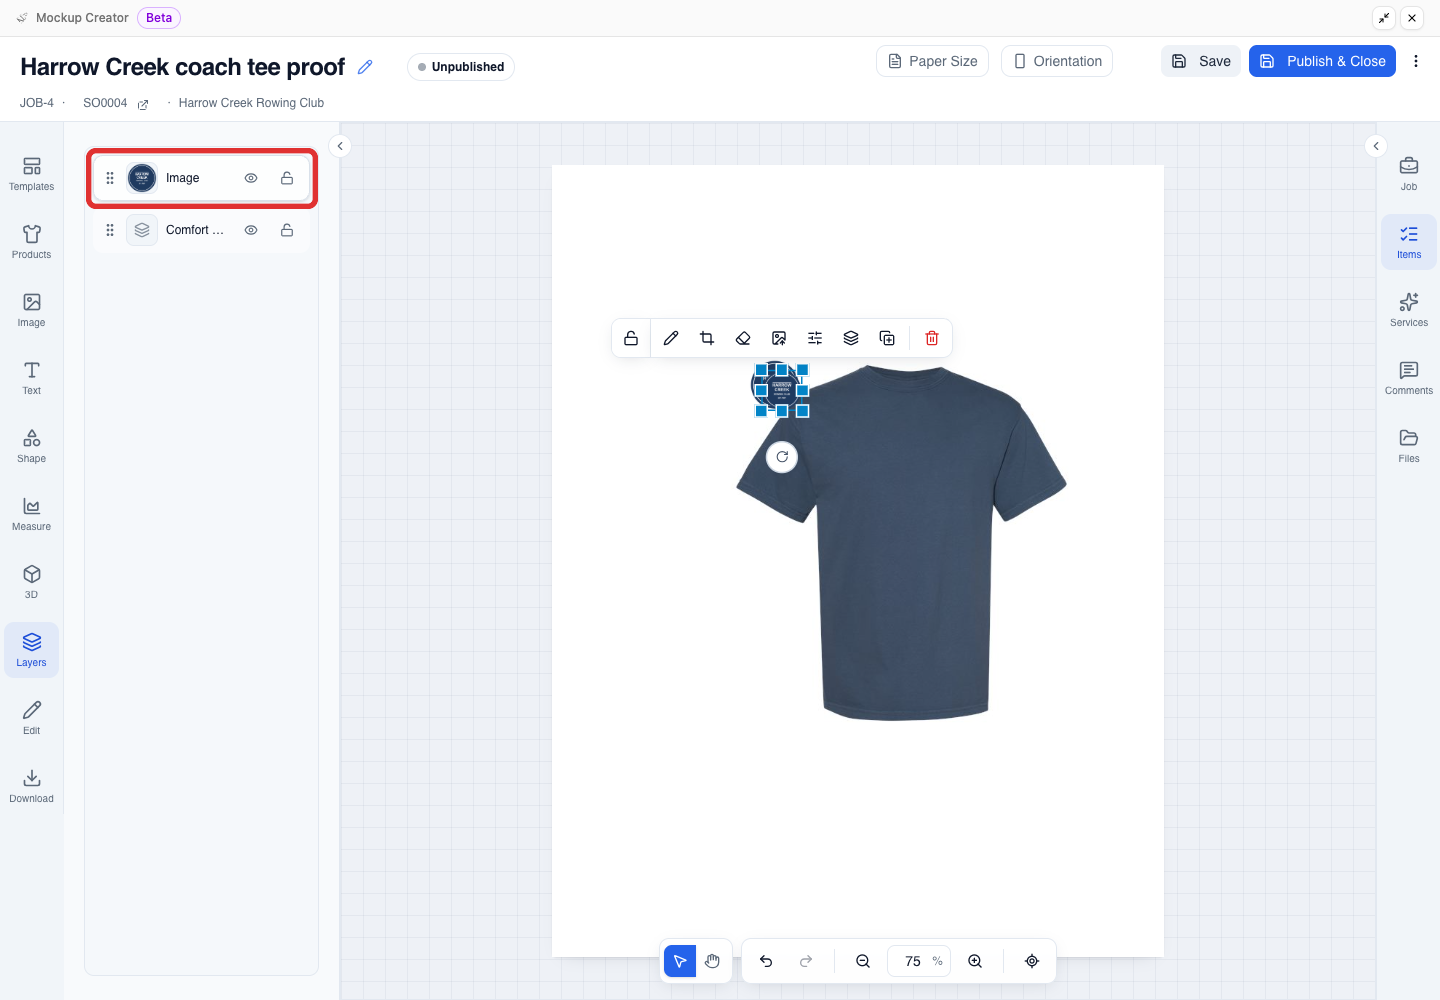
Select the image on the canvas, or click Layers on the left rail and select its Image row.
If the artwork is on a 3D model, follow Replace an image on a 3D design sheet instead. To swap the garment instead of the artwork, see Change the product in a mockup.
Choose the revised image
Swap the selected image for a revised file from the library in the Replace image picker.
-
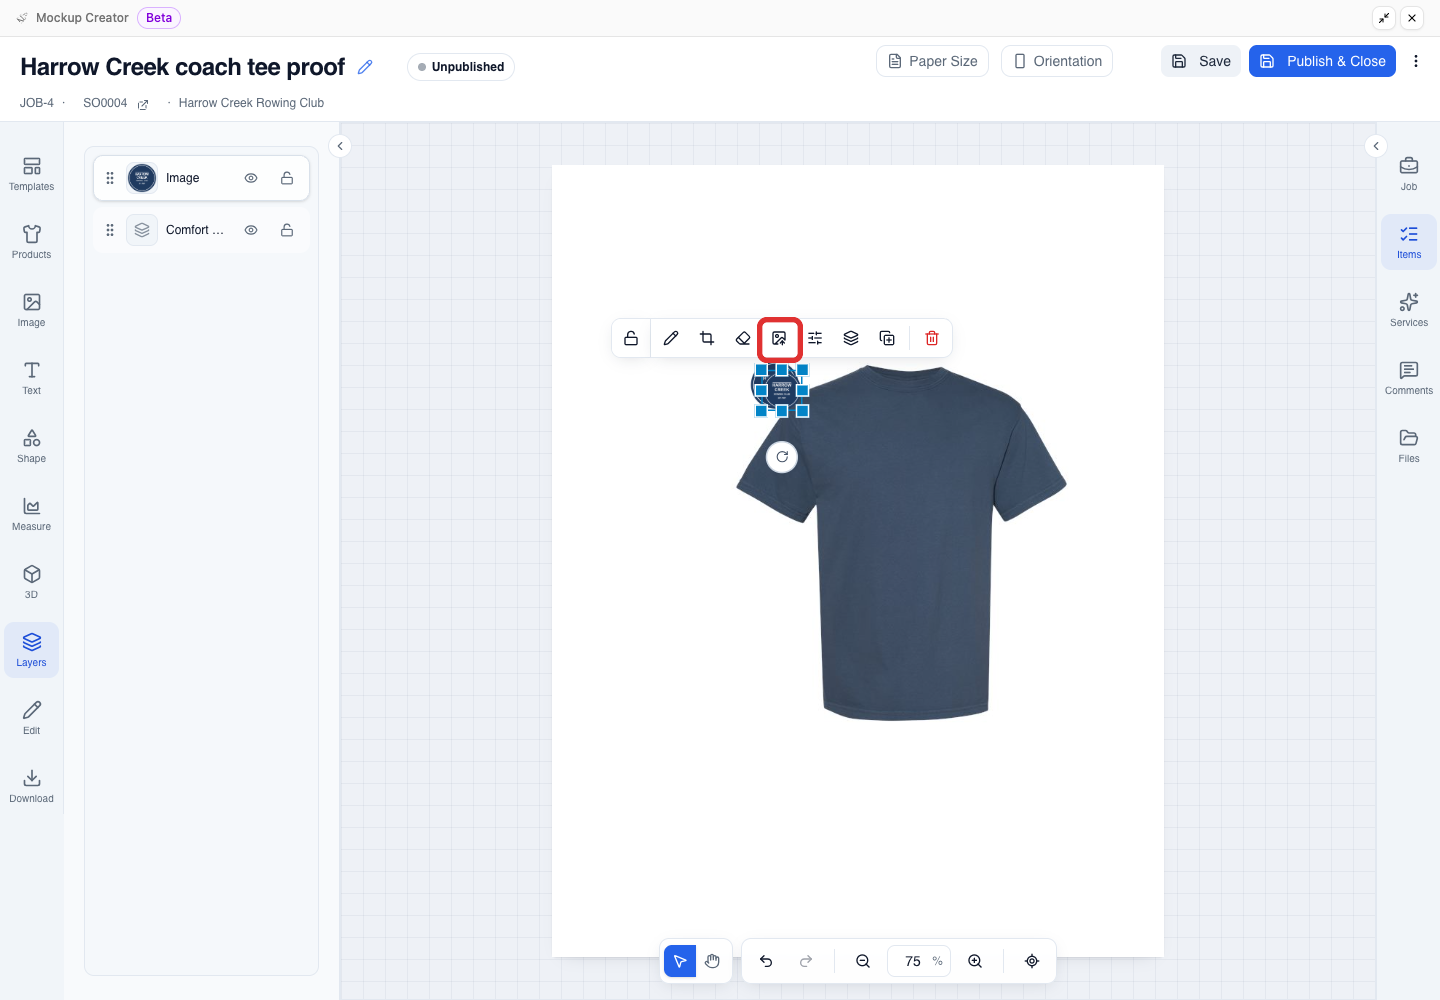
Select Replace image on the image toolbar above the selected artwork.
-
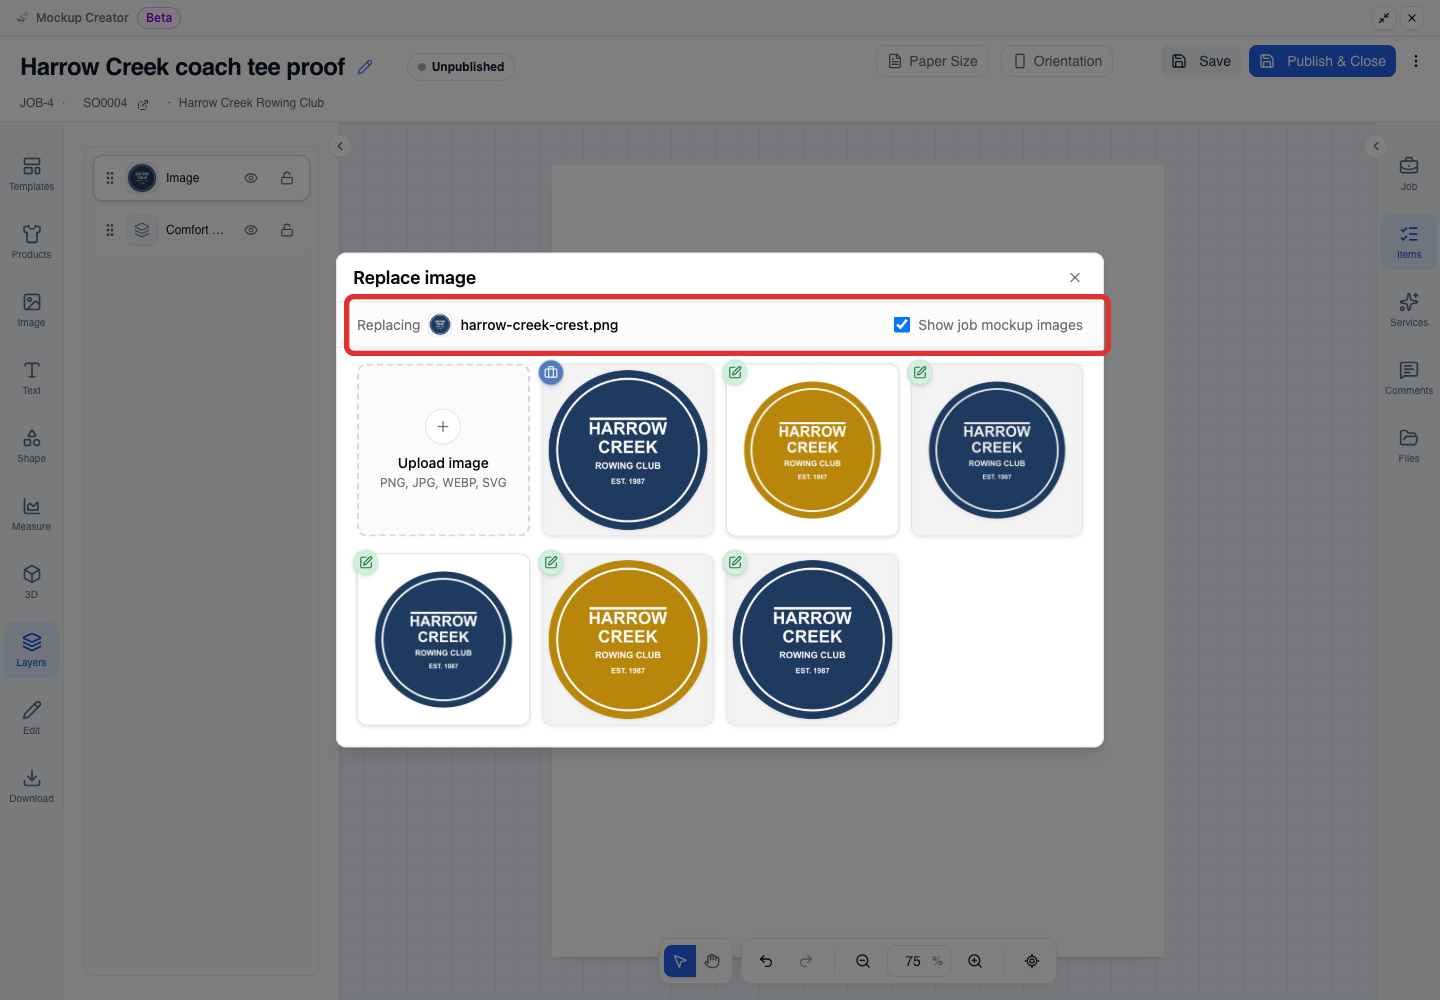
In the Replace image window, check the Replacing bar to confirm the file name being replaced.
-
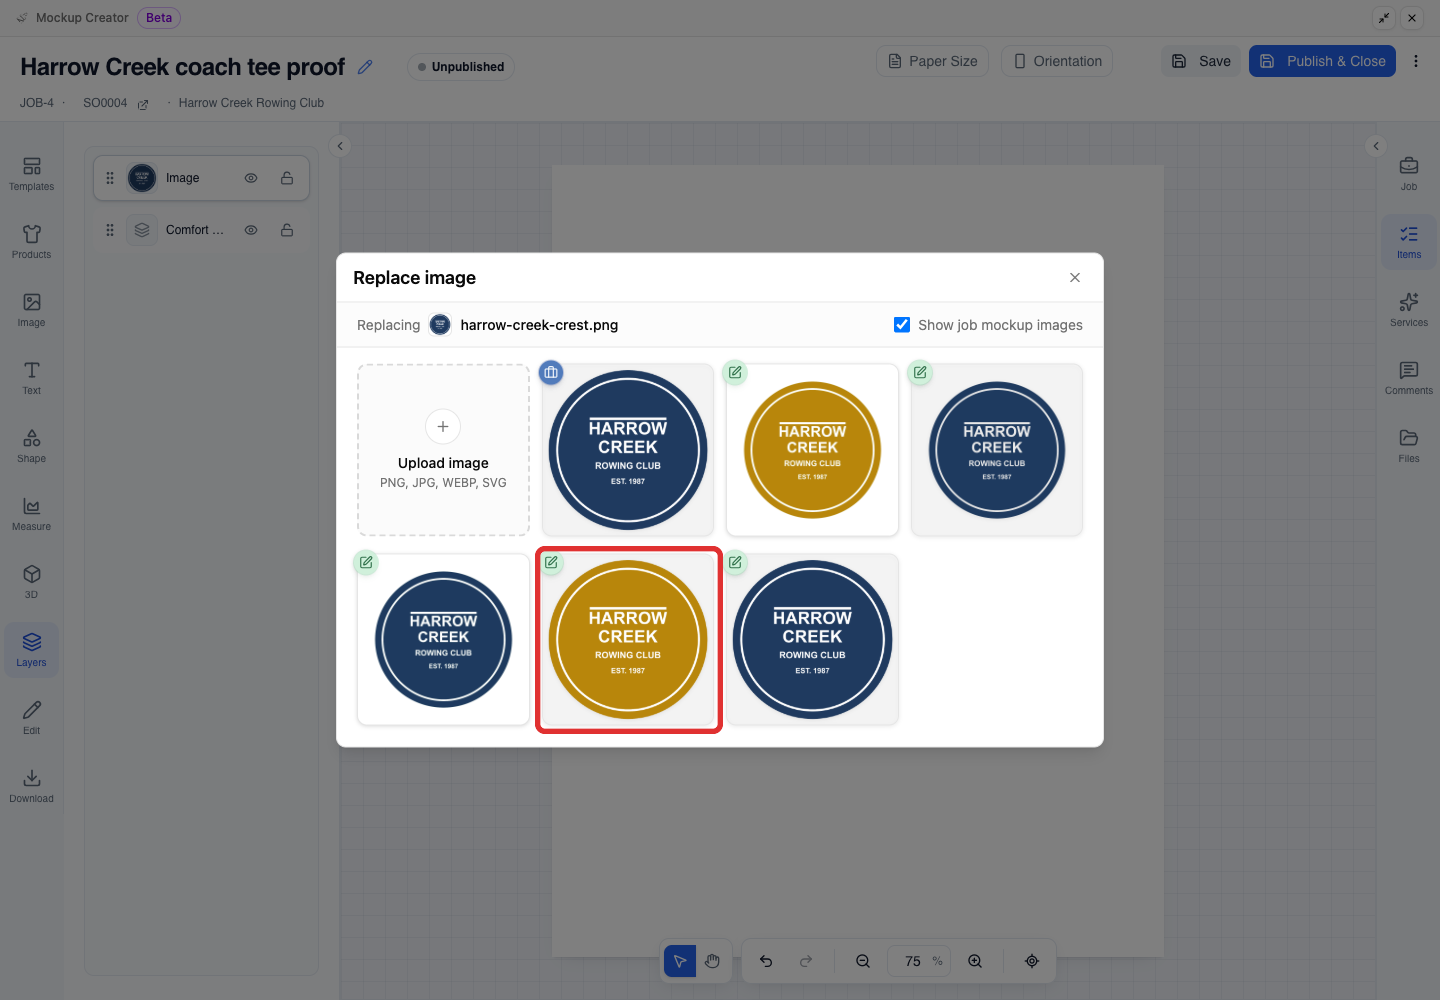
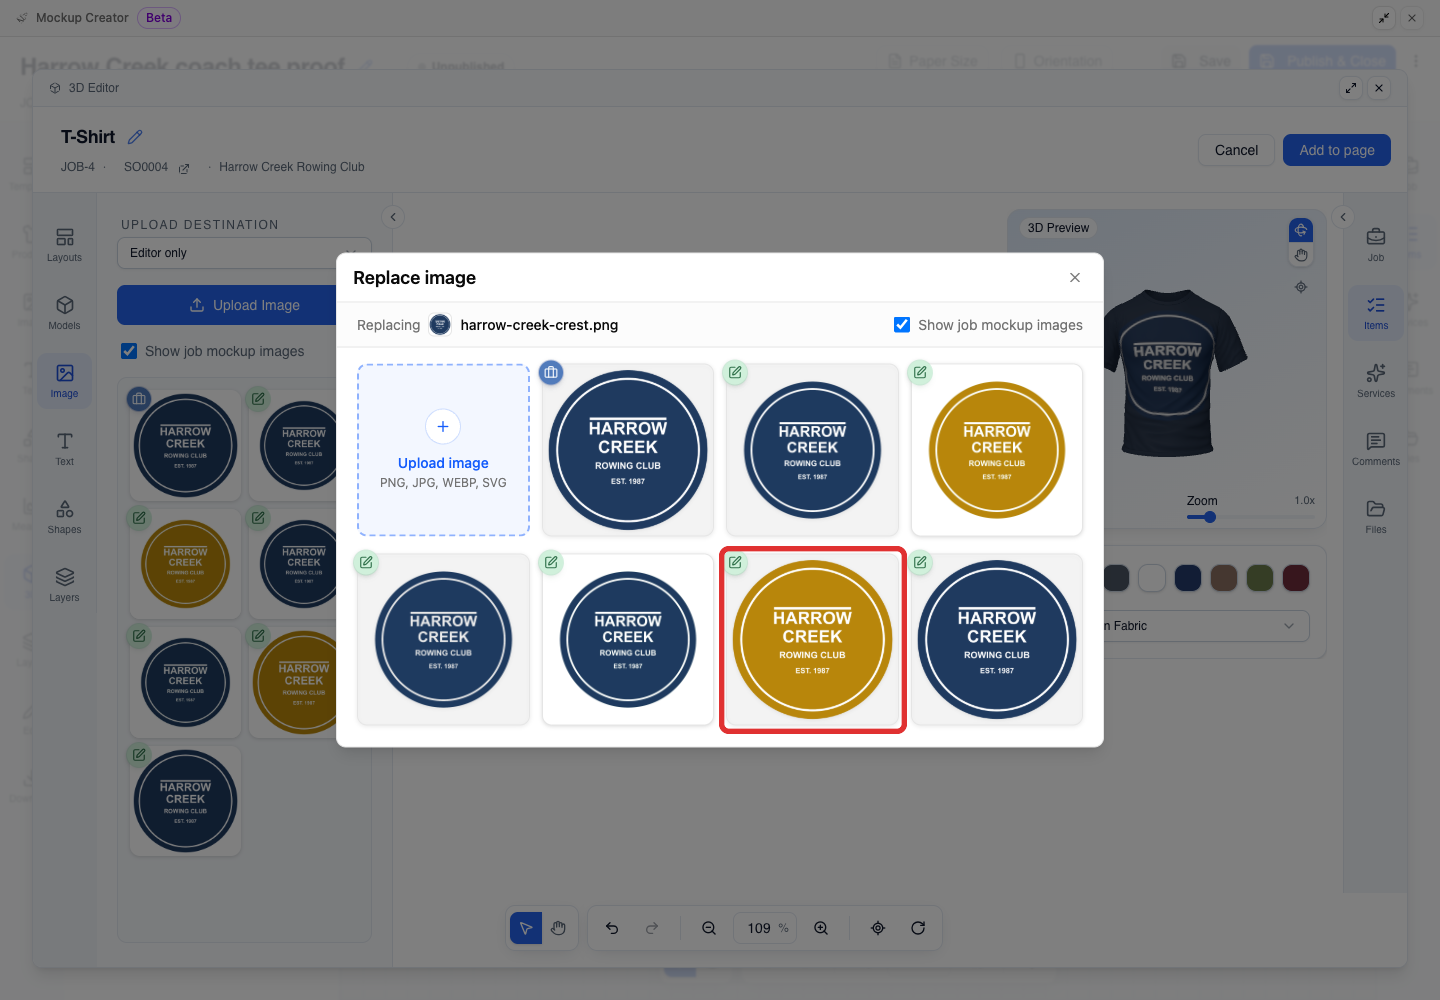
Select the revised file's tile from the library. Keep Show job mockup images checked to include files attached to the job.
If the revised file is not in the library yet, upload it in the Image panel on the left first. That upload also places a copy on the page. Delete the extra copy, then select the file in Replace image.
-
Check the replacement image on the canvas. The new file appears in the selected image's place.
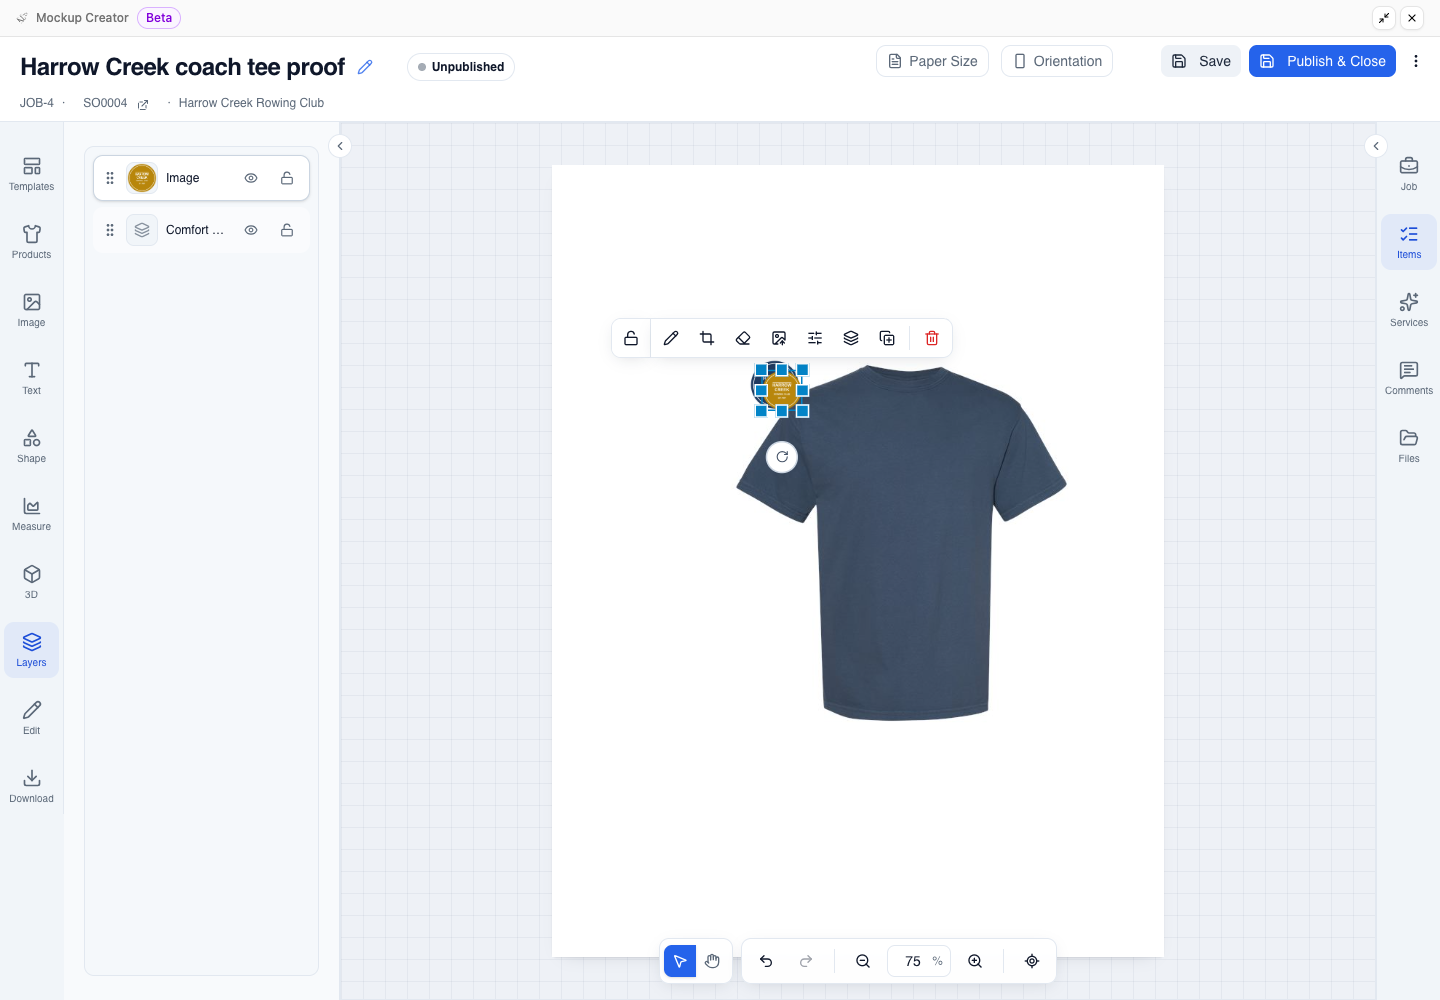
Next steps after replacing an image
- Picked the wrong file: Follow Undo one replacement.
- Solid background on the new file: Follow Repeat Remove background for a new background.
When you finish, click Publish & Close (or Save for a draft). For saving, publishing, and Show in PDF, see Get started with the Mockup Creator. To request customer sign-off, see How to Request Artwork Approval from Your Customer.
Undo one replacement
If you pick the wrong file, one click of Undo brings the previous image back.
-
Select Undo on the bottom toolbar.
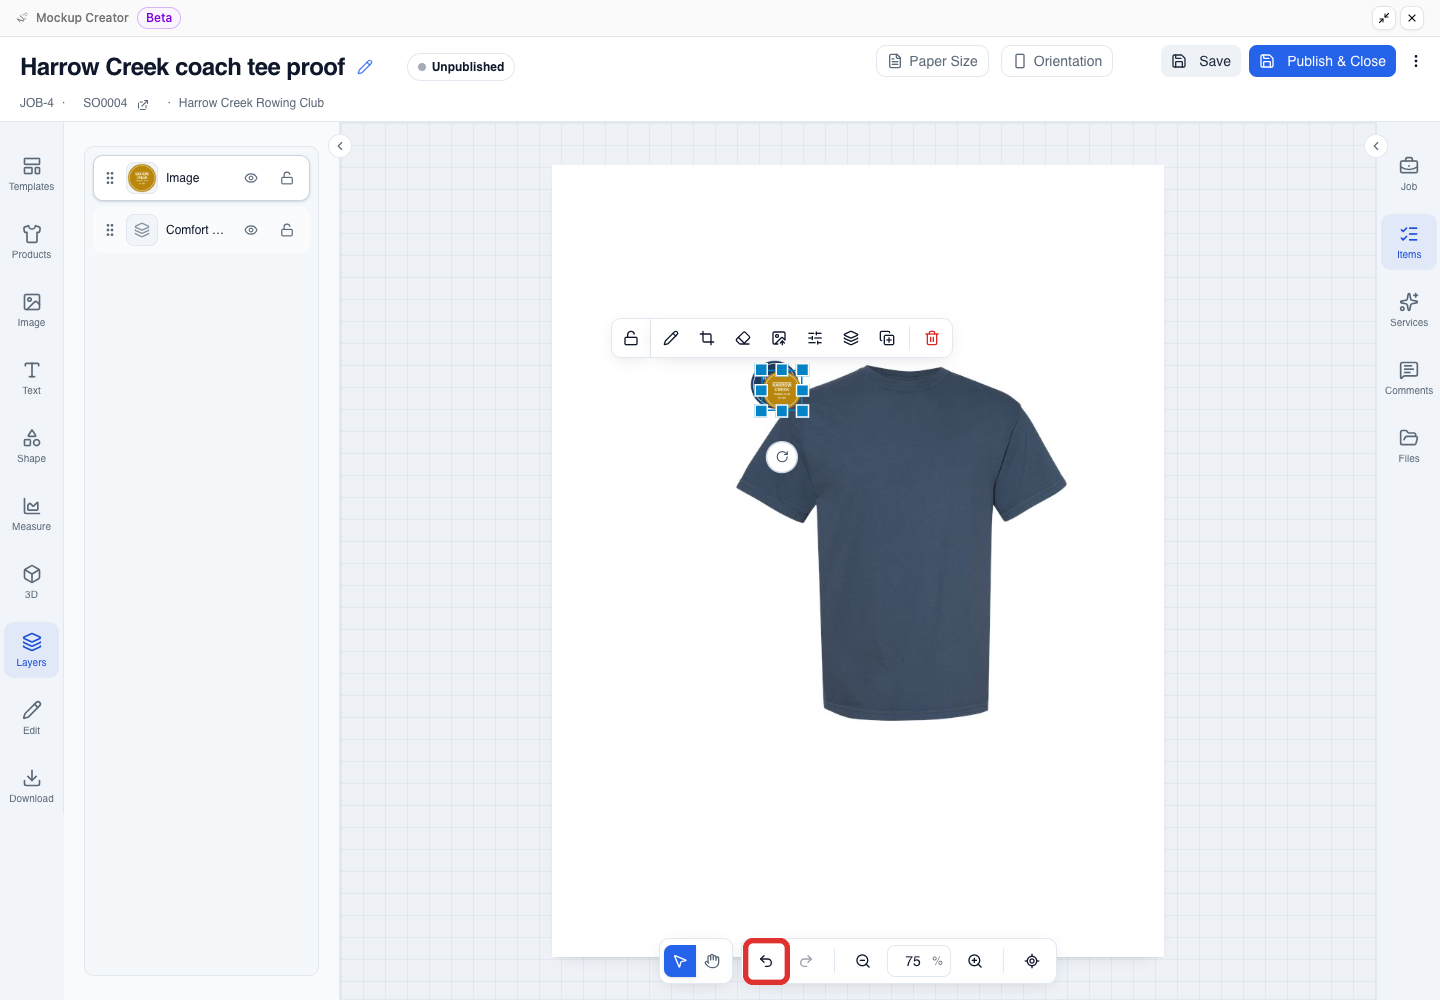
-
Check the canvas to confirm the previous image is back.
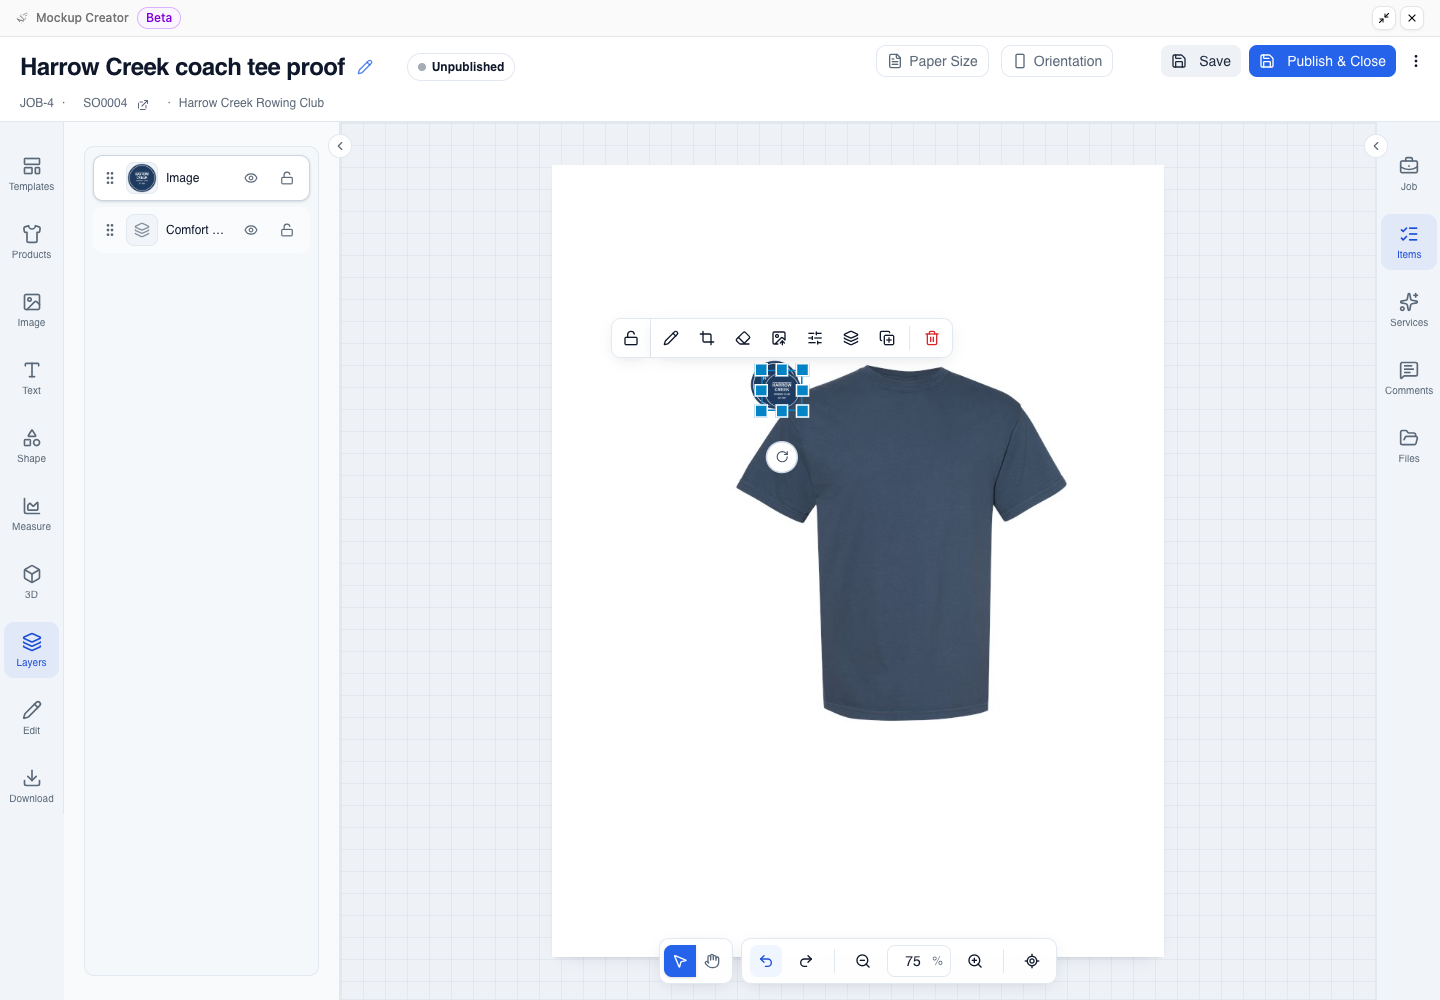
Repeat Remove background for a new background
Background removal does not carry over when you replace an image. Skip this section if your files already have a transparent background.
-
On an image with a solid background, select Remove background on the image toolbar. Check the detected color, turn on Contiguous (off by default) to keep enclosed areas of the same color, and select Apply.
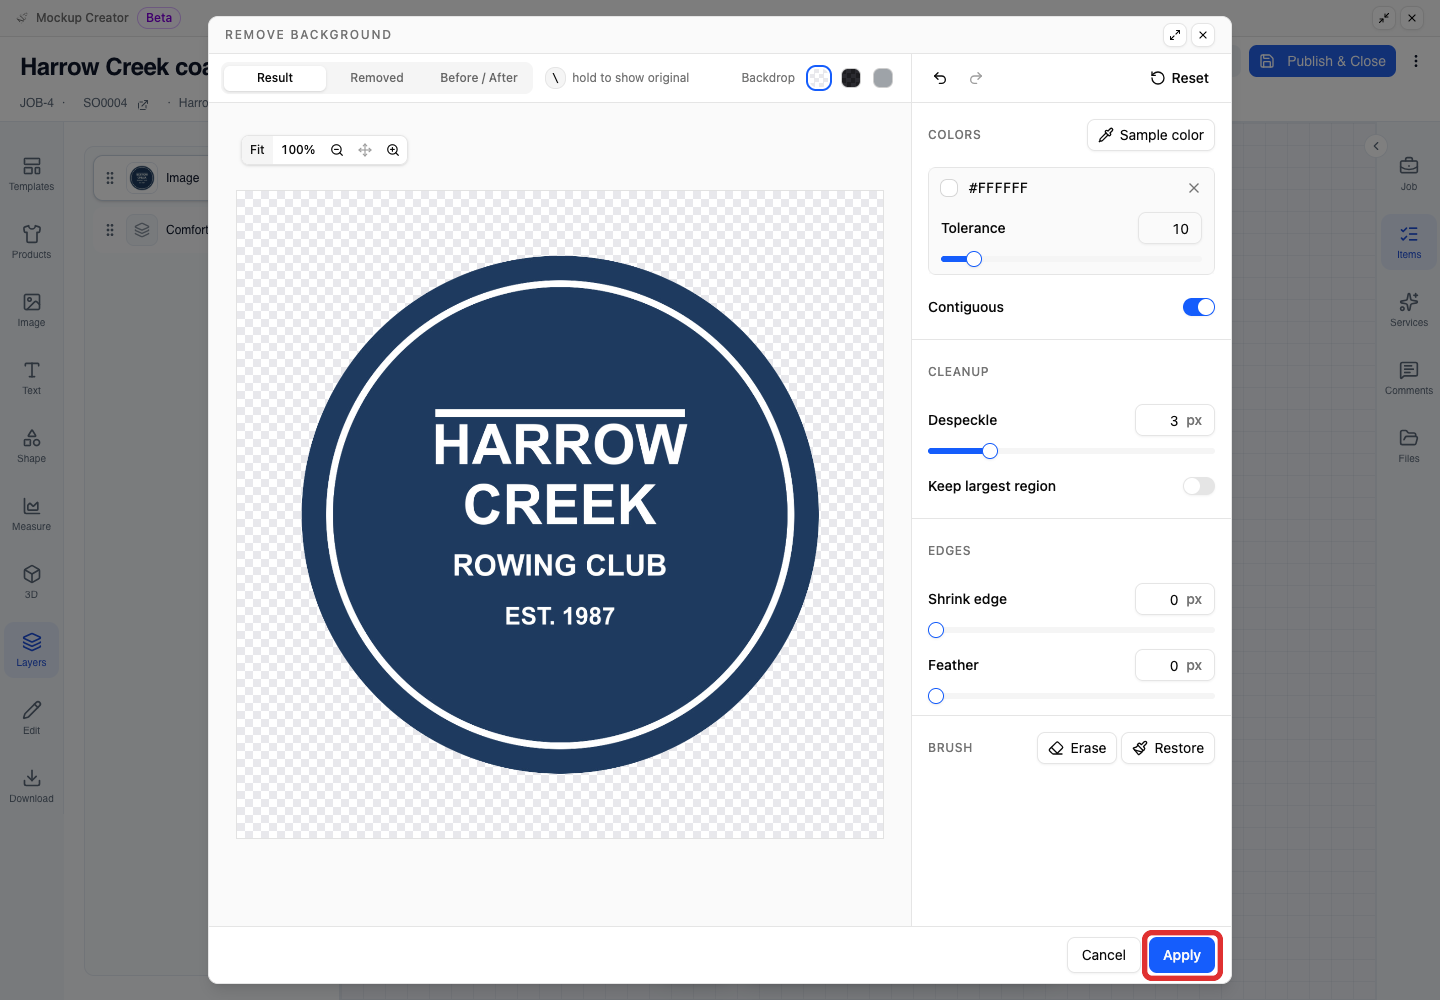
-
Select Replace image on the image toolbar and choose a revised library tile that also has a solid background. The new file arrives with its background visible.
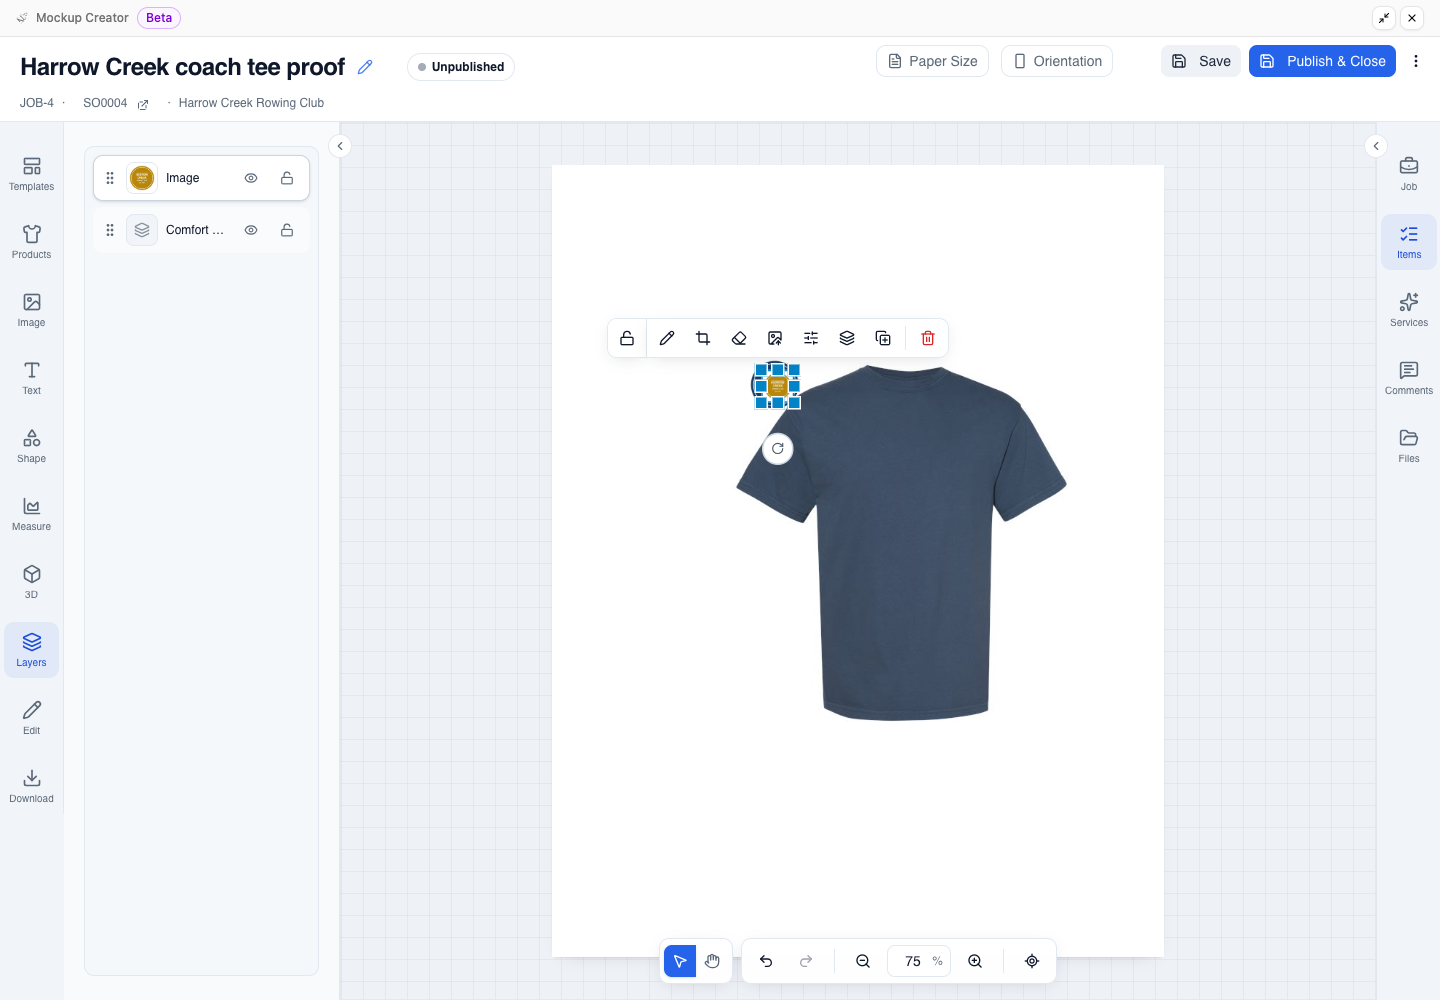
-
Select Remove background on the new image, turn on Contiguous, and select Apply.
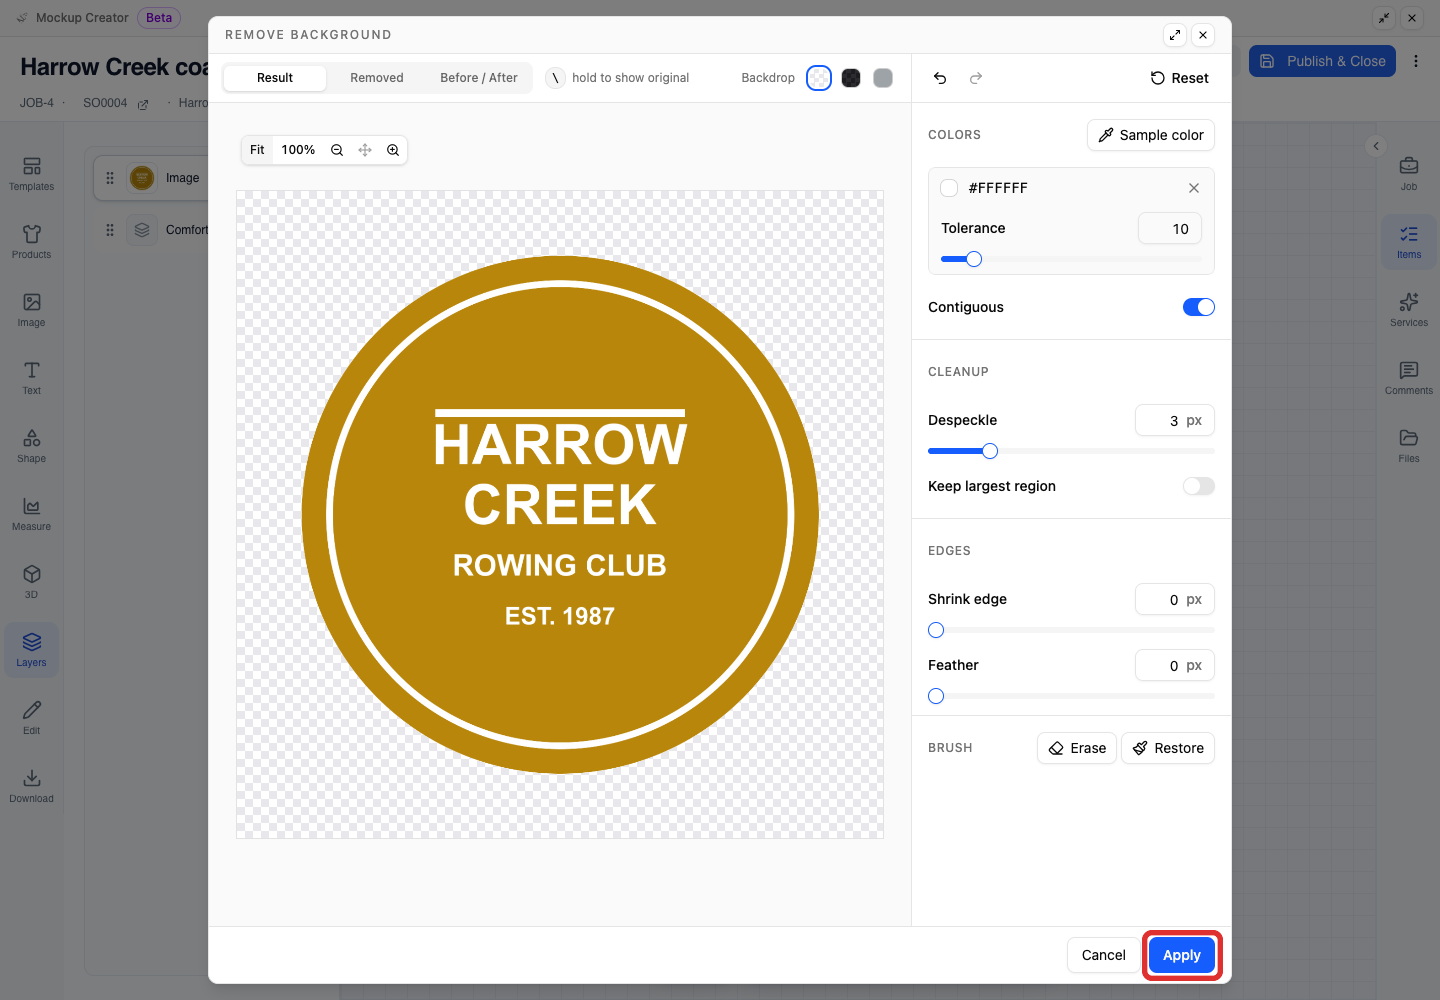
Replace an image on a 3D design sheet
To update artwork on a 3D model, select the model on the page and click Edit design in the 3D panel. To build a 3D model first, see 3D mockup designs.
-
In the 3D Editor, select the image on the design sheet.
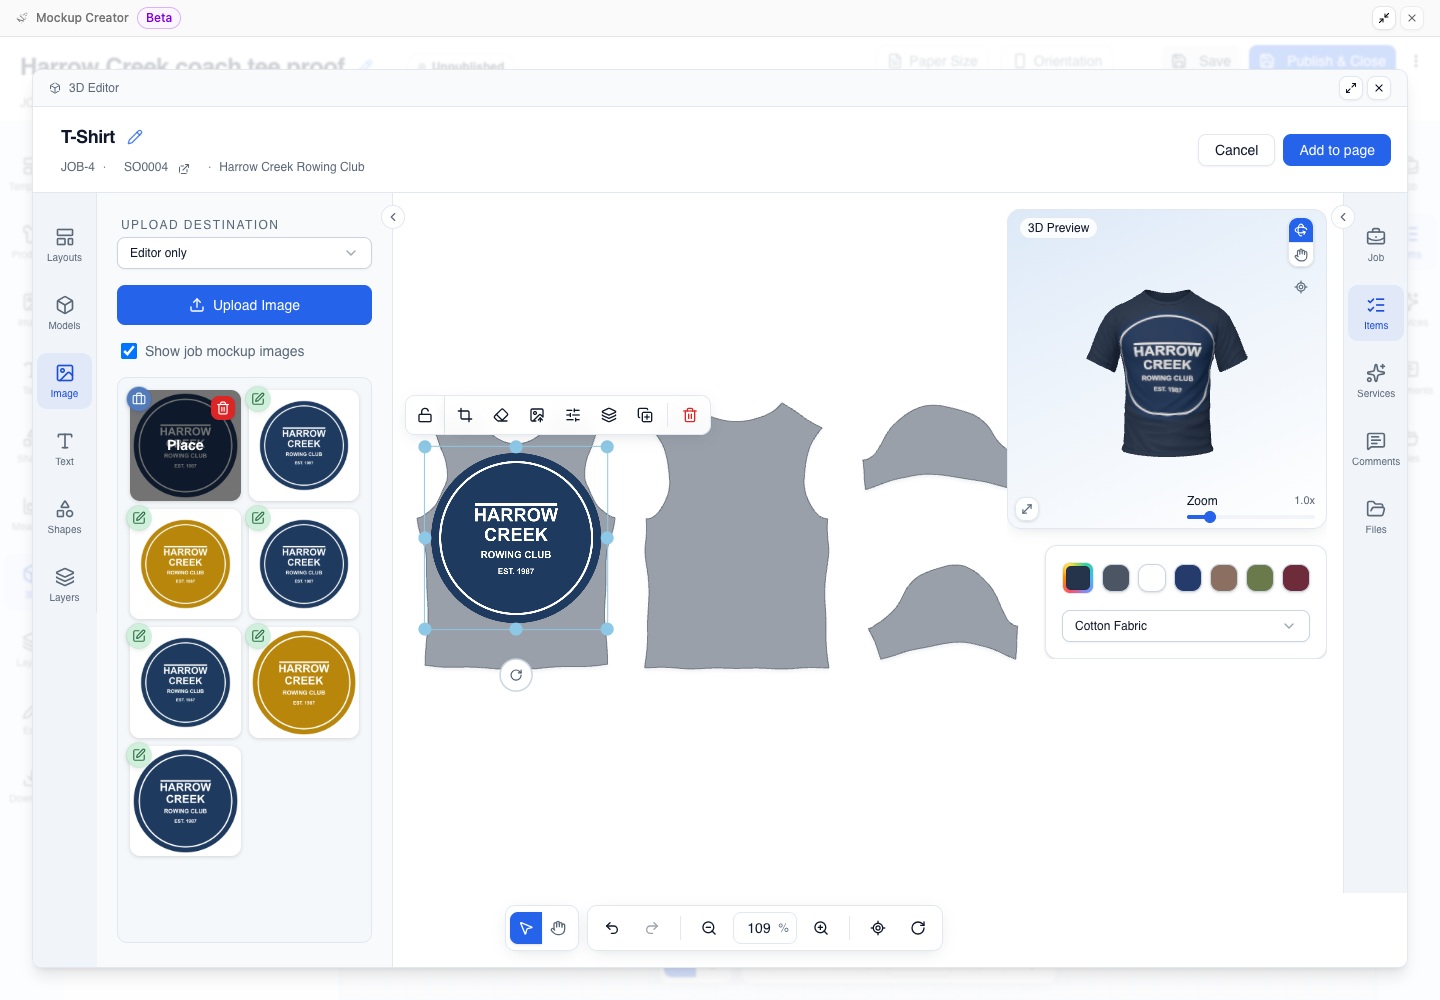
-
Select Replace image on the image toolbar above the selected artwork.
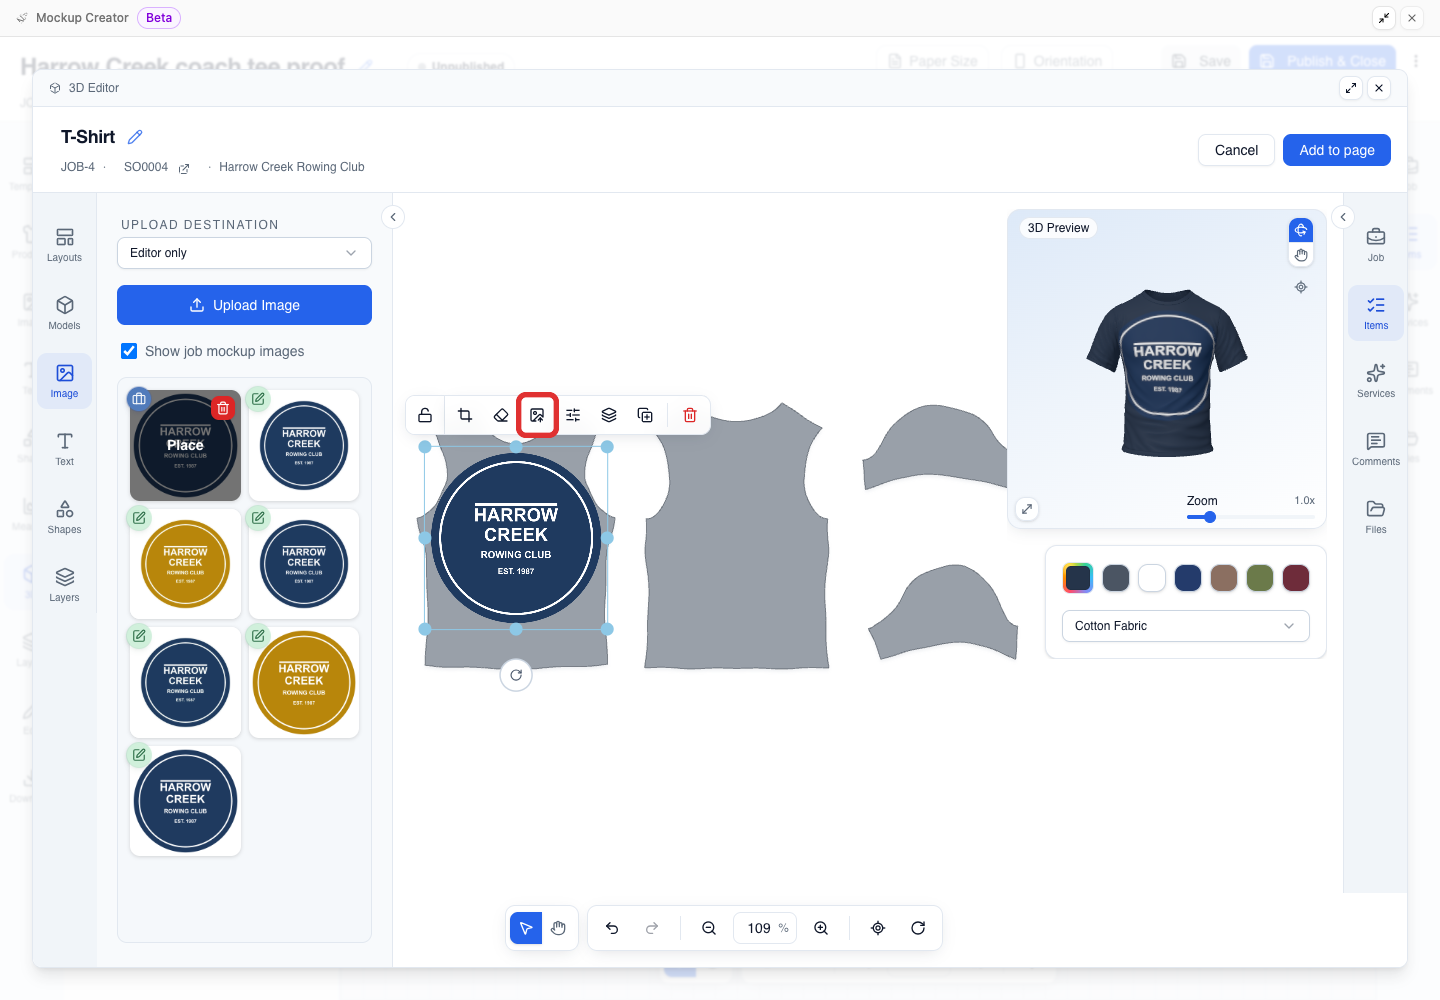
-
In the Replace image window, select the revised file's tile from the library.
-
Check the updated artwork on the design sheet and in the 3D Preview pane.
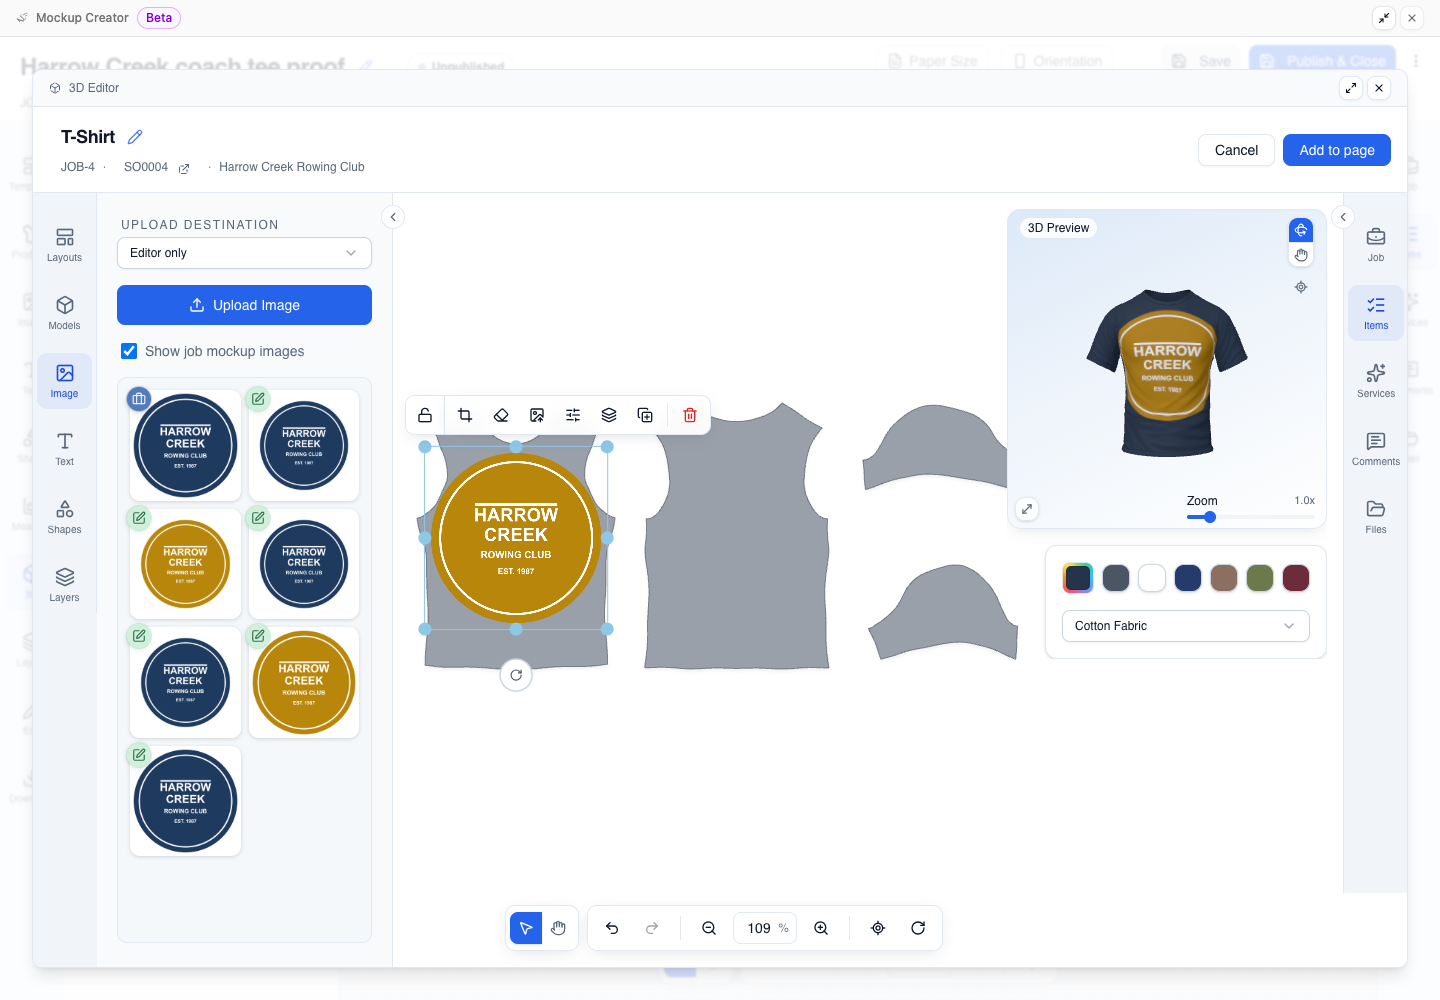
Click Save changes in the top-right corner (or Add to page on a new 3D model) to return to the mockup page.
Mockups are separate from your print files: see Mockup vs Production Files. For reorders, see Reuse a Job Order by Cloning.