Change the product in a mockup
In this article
Use Change product in the Mockup Creator when a customer wants a different garment, bag, or colour in a finished mockup. Your artwork and any print areas stay on the canvas, so you do not have to rebuild the layout. For the same style in another colour, use the colour dropdown on the product's floating toolbar instead of Change product.
Changing the product updates the mockup picture only. The Items panel in the Mockup Creator is read-only. To change the product on the quote or sales order itself, see Edit a Job After Creating a Quote or Sales Order. To swap an uploaded logo or artwork file instead, see Replace an image in a mockup.
Select the product picture
Open the mockup in the Mockup Creator from the job's Mockup Files tab: see Get started with the Mockup Creator.
-
Click the product picture on the canvas to display its floating toolbar.
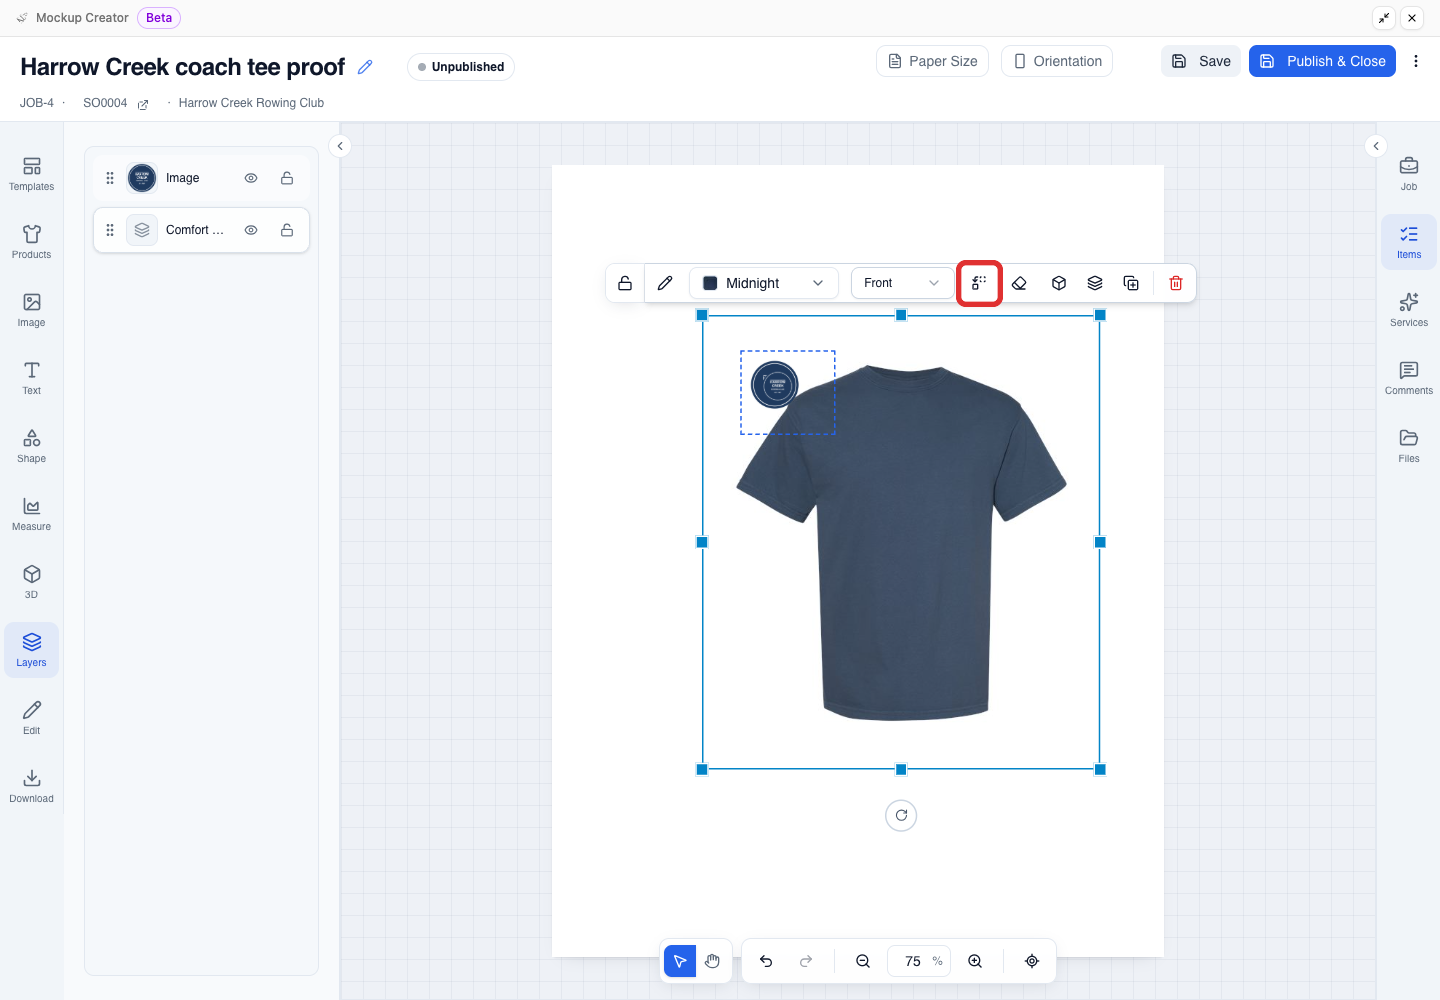
Do not pick a product from the Products panel on the left. Choosing a product there adds a second product to the canvas instead of replacing the current one.
For overlapping items, use the Layers panel on the left rail to select the product layer rather than your artwork. If your mockup has more than one product picture, such as front and back views, change each one separately. To add another view, see Make a 2D mockup on a real product.
Open Change product
Open the Change product panel from the selected product's floating toolbar to search the catalog.
-
Click the Change product icon on the product's floating toolbar (the two-squares swap icon next to the view dropdown, such as Front). Hover over the icon to see its Change product label.
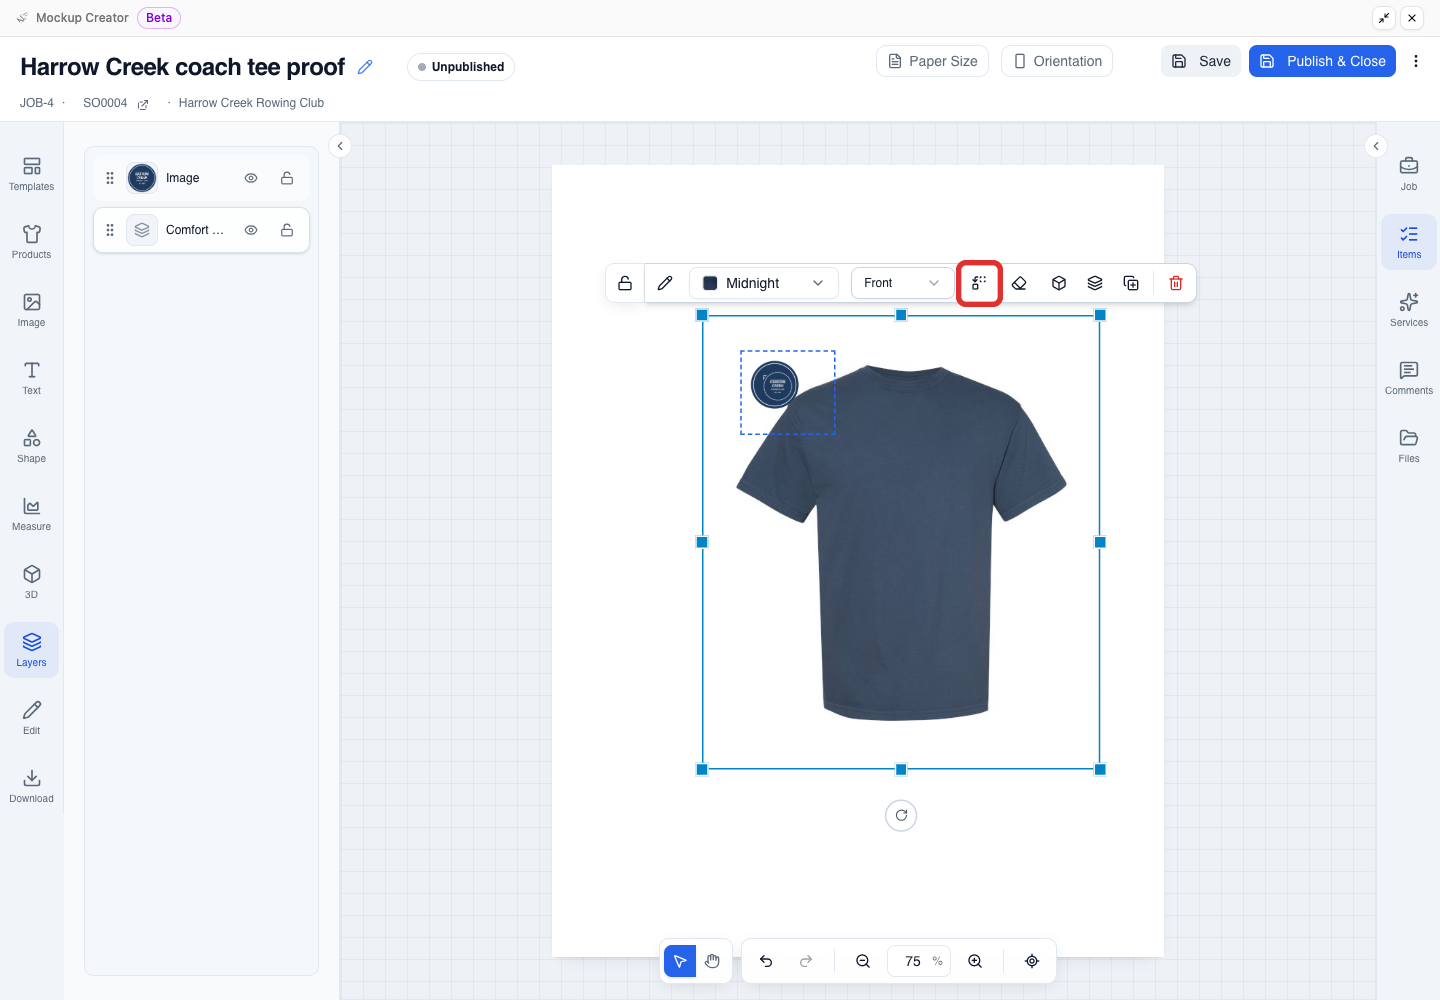
If the Edit sidebar is open on the left, you can also click Change next to the product name. To open the Edit sidebar, click Edit on the far-left rail or the pencil icon on the product's floating toolbar.
-
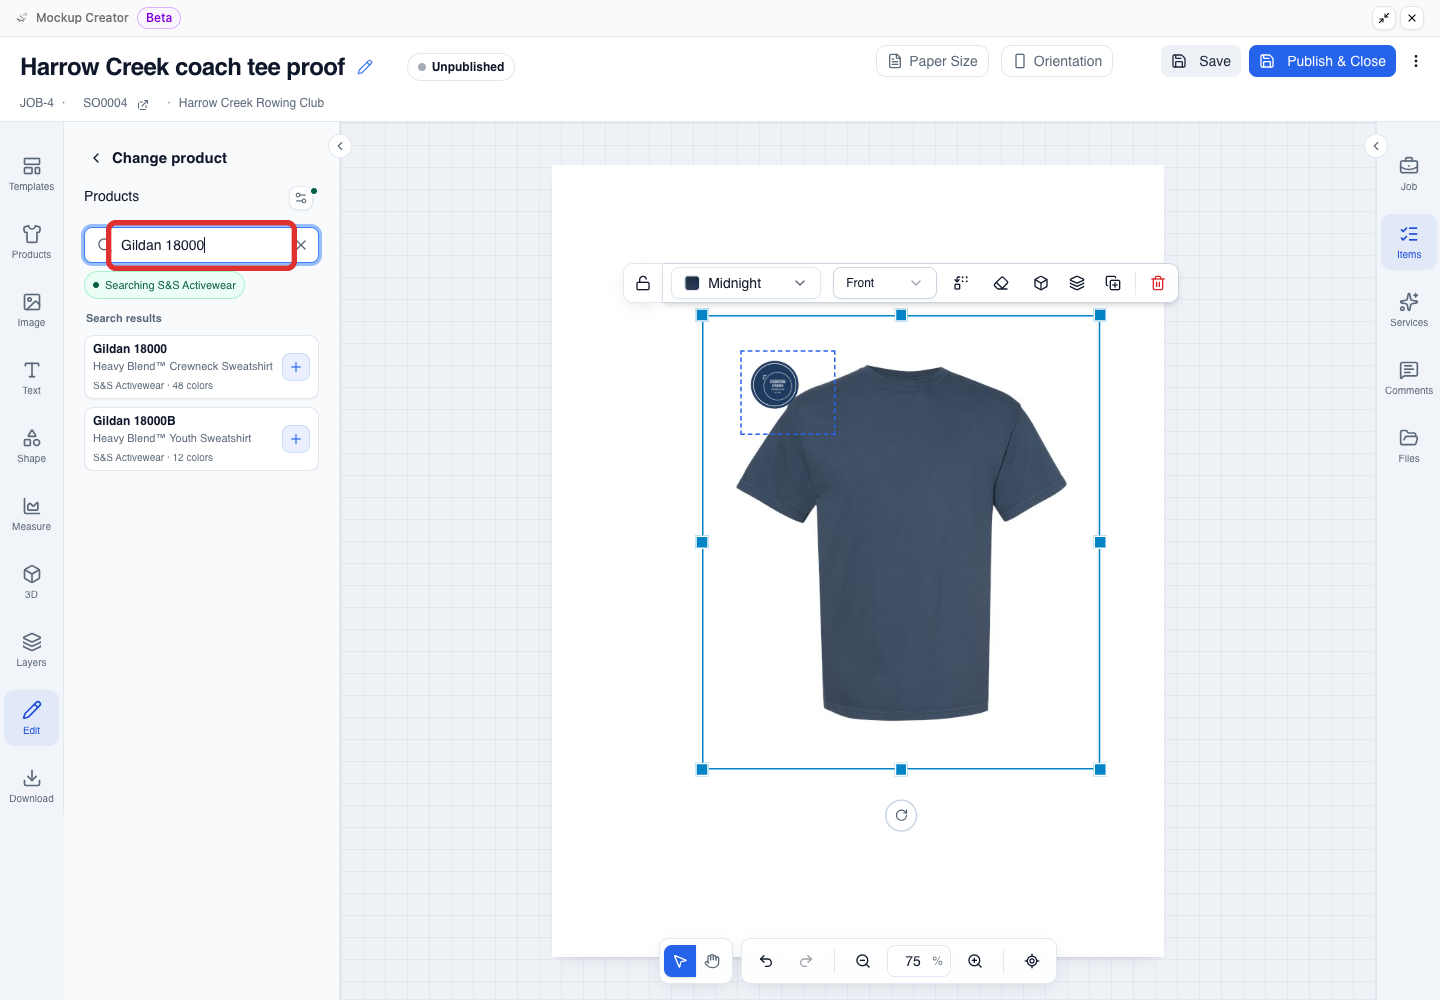
Type the style name or style number in the Search products box.
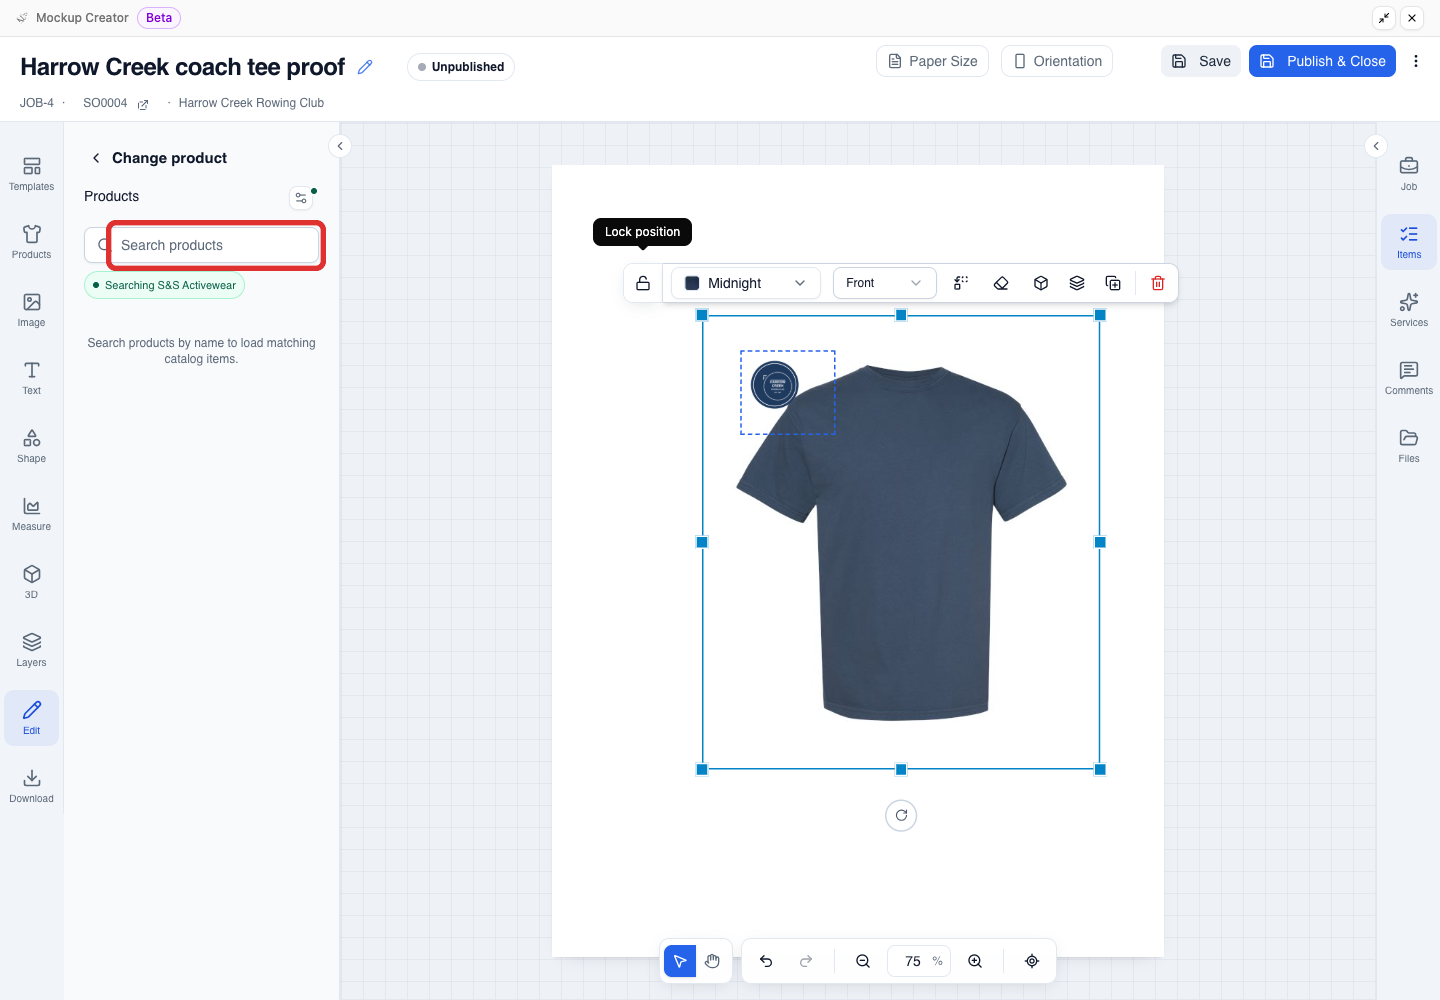
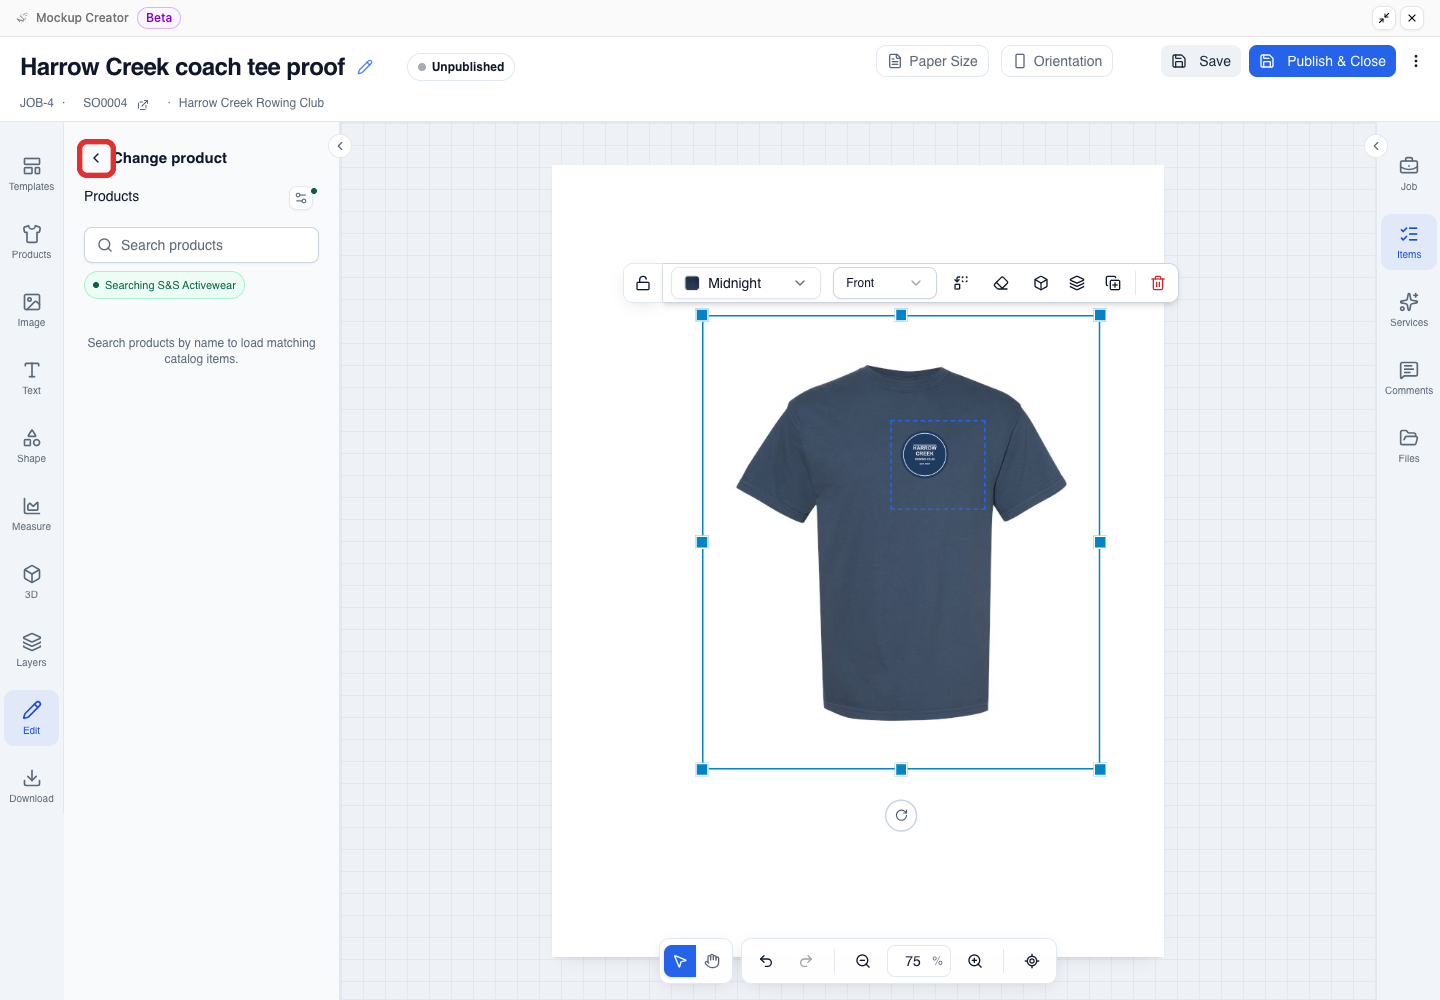
Click the < arrow beside the Change product heading to return to the Edit sidebar without replacing the product.
Choose a style and colour
Find the replacement style in the catalog results and pick a colour to apply the swap. You must select a colour to finish changing the product. For which supplier catalogs are included on Basic and Pro plans, see Choose a product, colour, and photo view.
-
Enter the style number or product name in Search products to load matching catalog styles under Search results. This example searches for Gildan 18000.
-
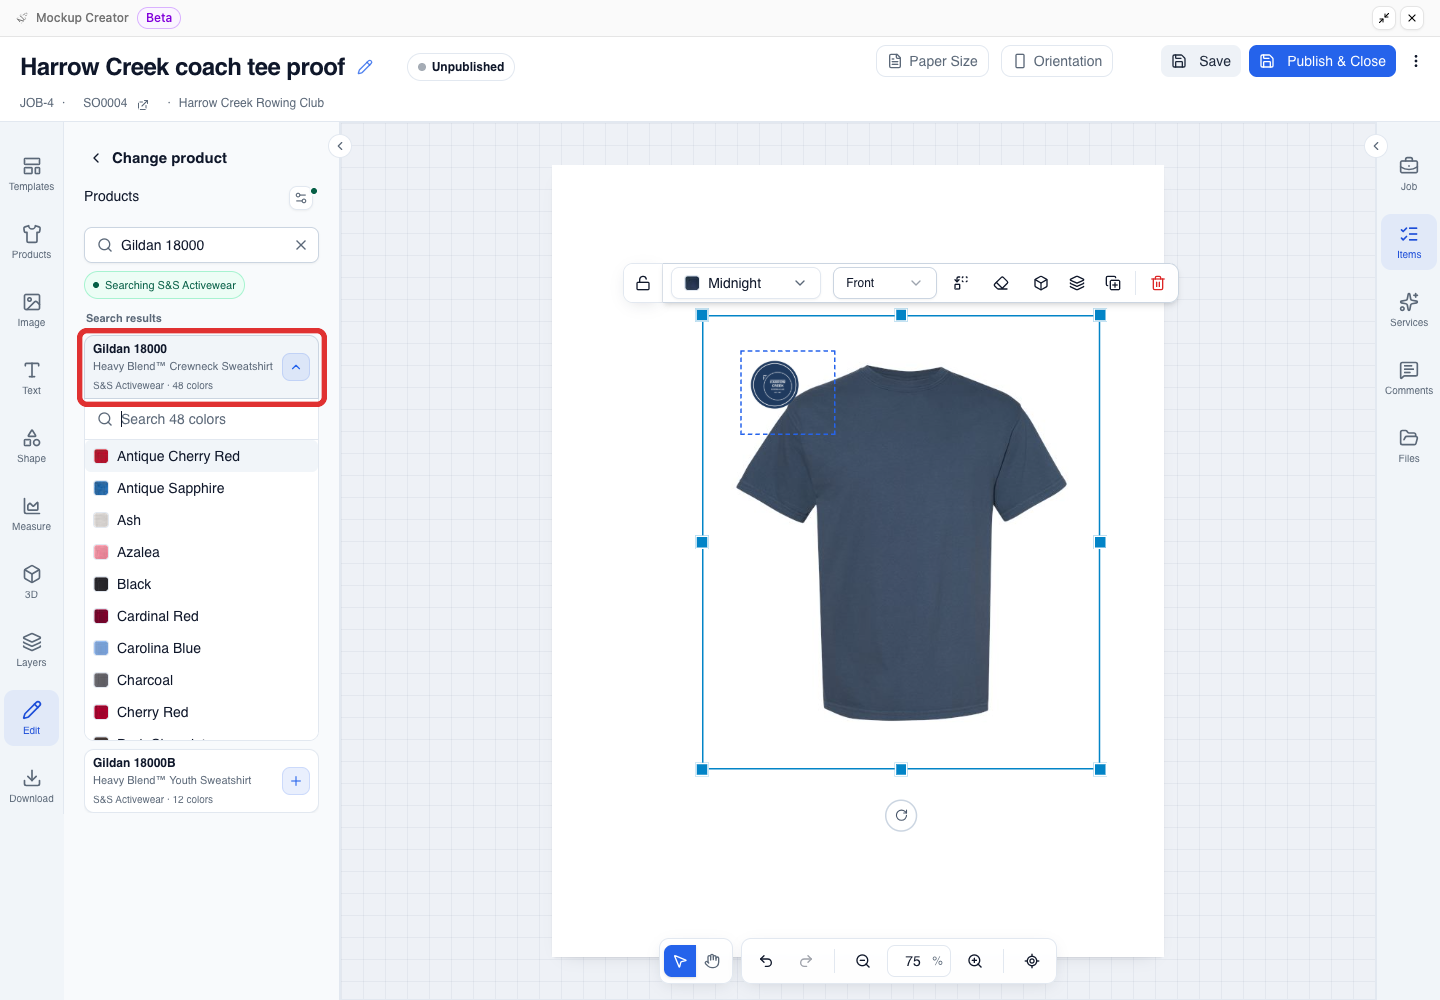
Click the matching style card or its + icon in the results to expand its colour list.
-
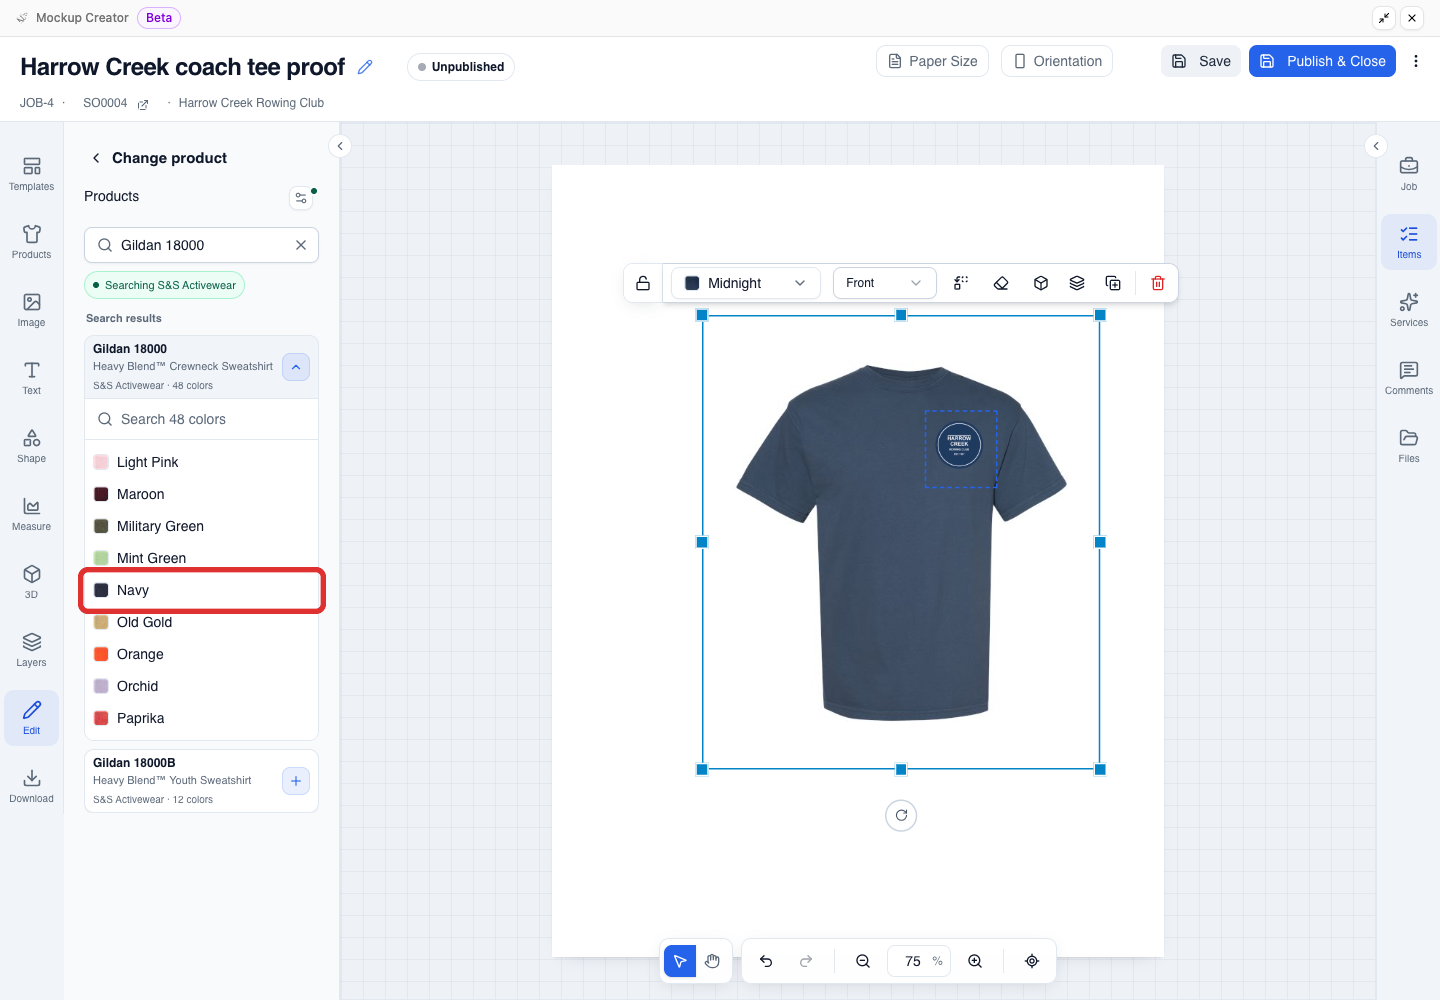
Type the colour name in the style's colour search box (shown as Search 48 colors for this style), or scroll through the colour list. Click a colour to replace the product on the canvas (here, Navy).
When the editor shows a view or photo message
- If your current angle is unavailable on the new style or the colour photo fails to load, see Check view and color messages, then continue to Check what stayed with the mockup.
- If your product has a print area or a different photo shape, see Check print-area changes.
- If you selected the wrong product, see Undo one product change.
Check what stayed with the mockup
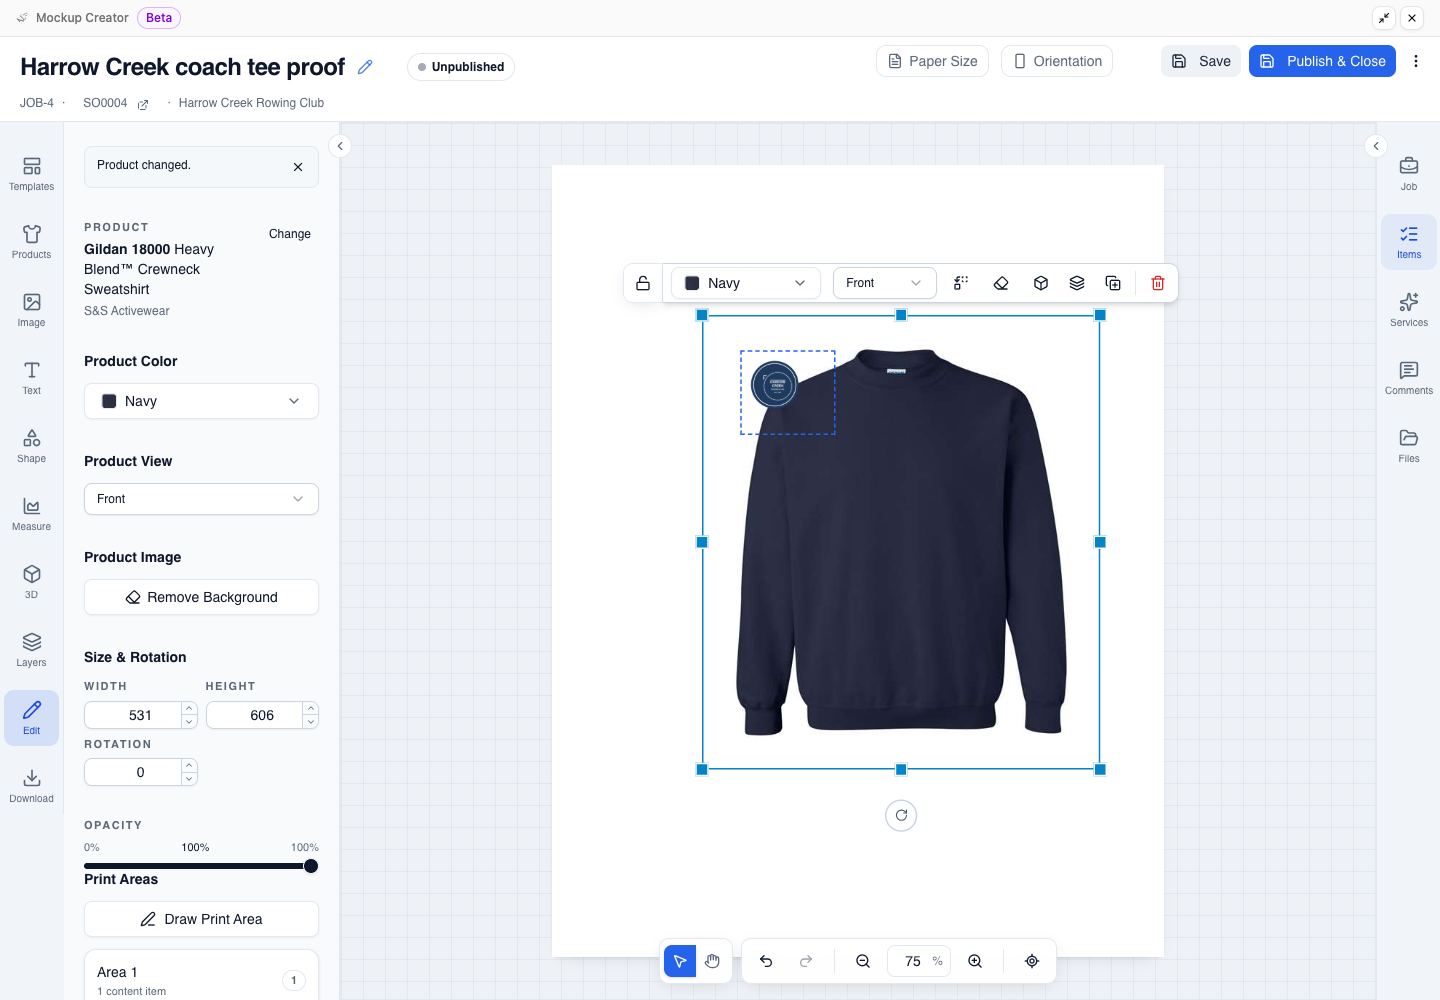
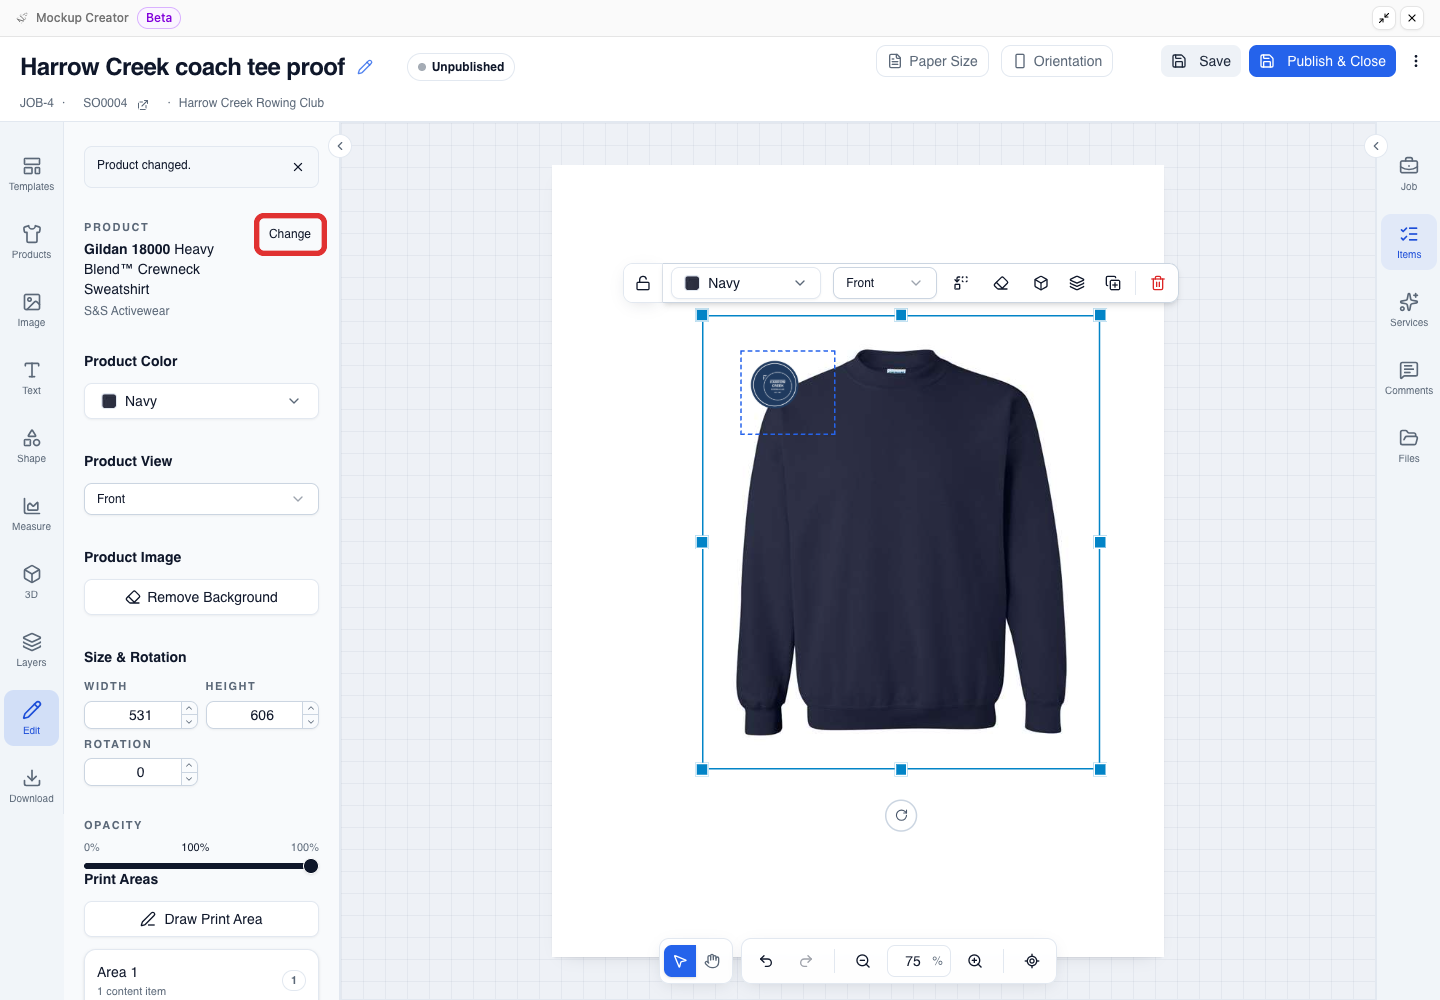
After you select a colour, the Mockup Creator swaps the product picture on the canvas and opens the Edit sidebar on the left:
- Change: Opens the Change product panel again.
- Product Color: Switches to another colour of the current style.
- Product View: Switches between available angles, such as Front or Side.
- Print Areas: Lists any print areas on the product, or reads No print areas yet. when artwork sits directly on the product.
-
Check the notice at the top of the Edit sidebar and confirm the Product Color setting. The sidebar shows "Product changed." and notes if any print areas were moved and resized to fit the new photo.
-
Confirm that your artwork is in position on the canvas, or click Change in the Edit sidebar to pick a different product.
-
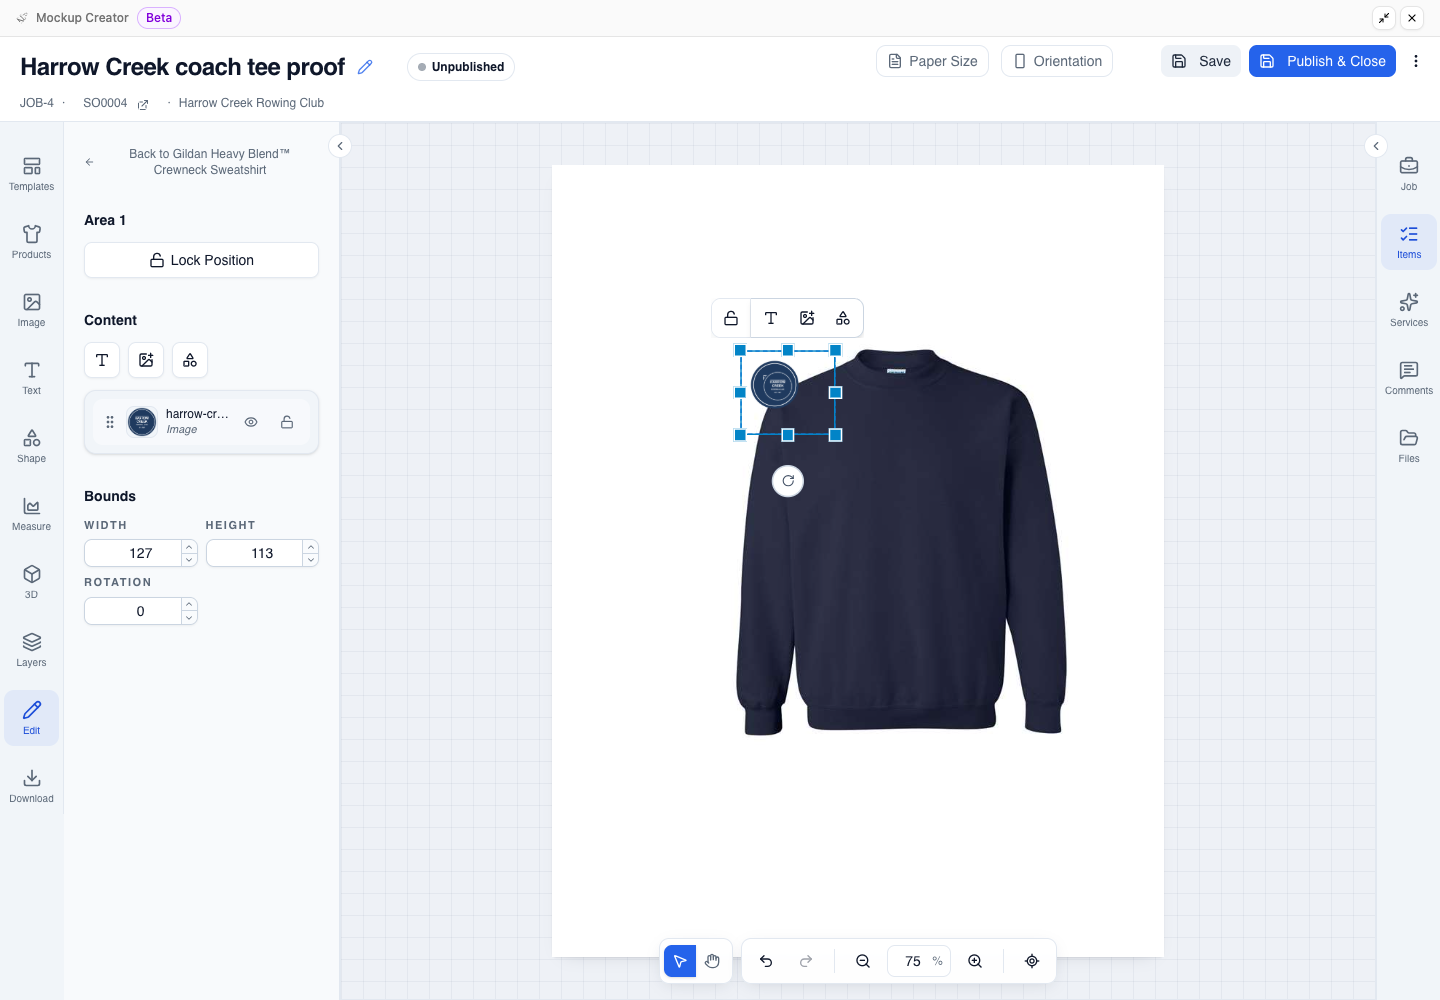
If your product has a print area under Print Areas, click it to check its Content list and Bounds after the swap.
When your updated mockup is ready, click Save or Publish & Close: see Get started with the Mockup Creator. To request customer sign-off on the revised proof, see the Artwork approval workflow.
Check view and color messages
Some catalog styles do not include every angle, and some colour photos may fail to load.
-
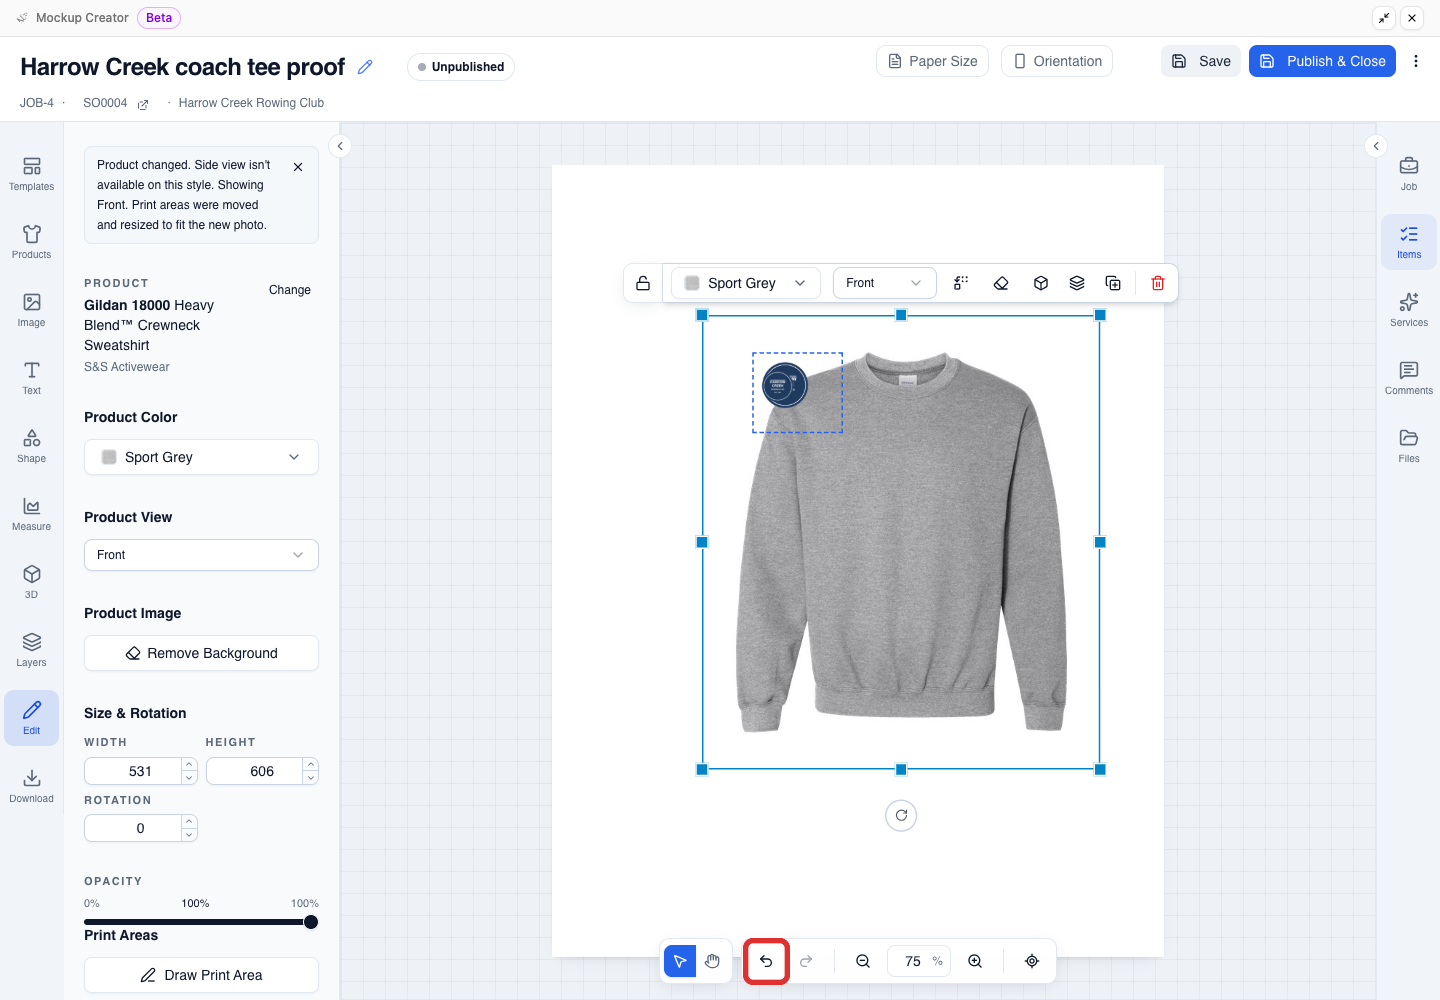
When the new style does not have your previous angle, read the fallback notice at the top of the Edit sidebar. When Side view is unavailable, the editor switches to Front and displays: "Product changed. Side view isn't available on this style. Showing Front. Print areas were moved and resized to fit the new photo." Check where your artwork and print areas sit on the fallback view.
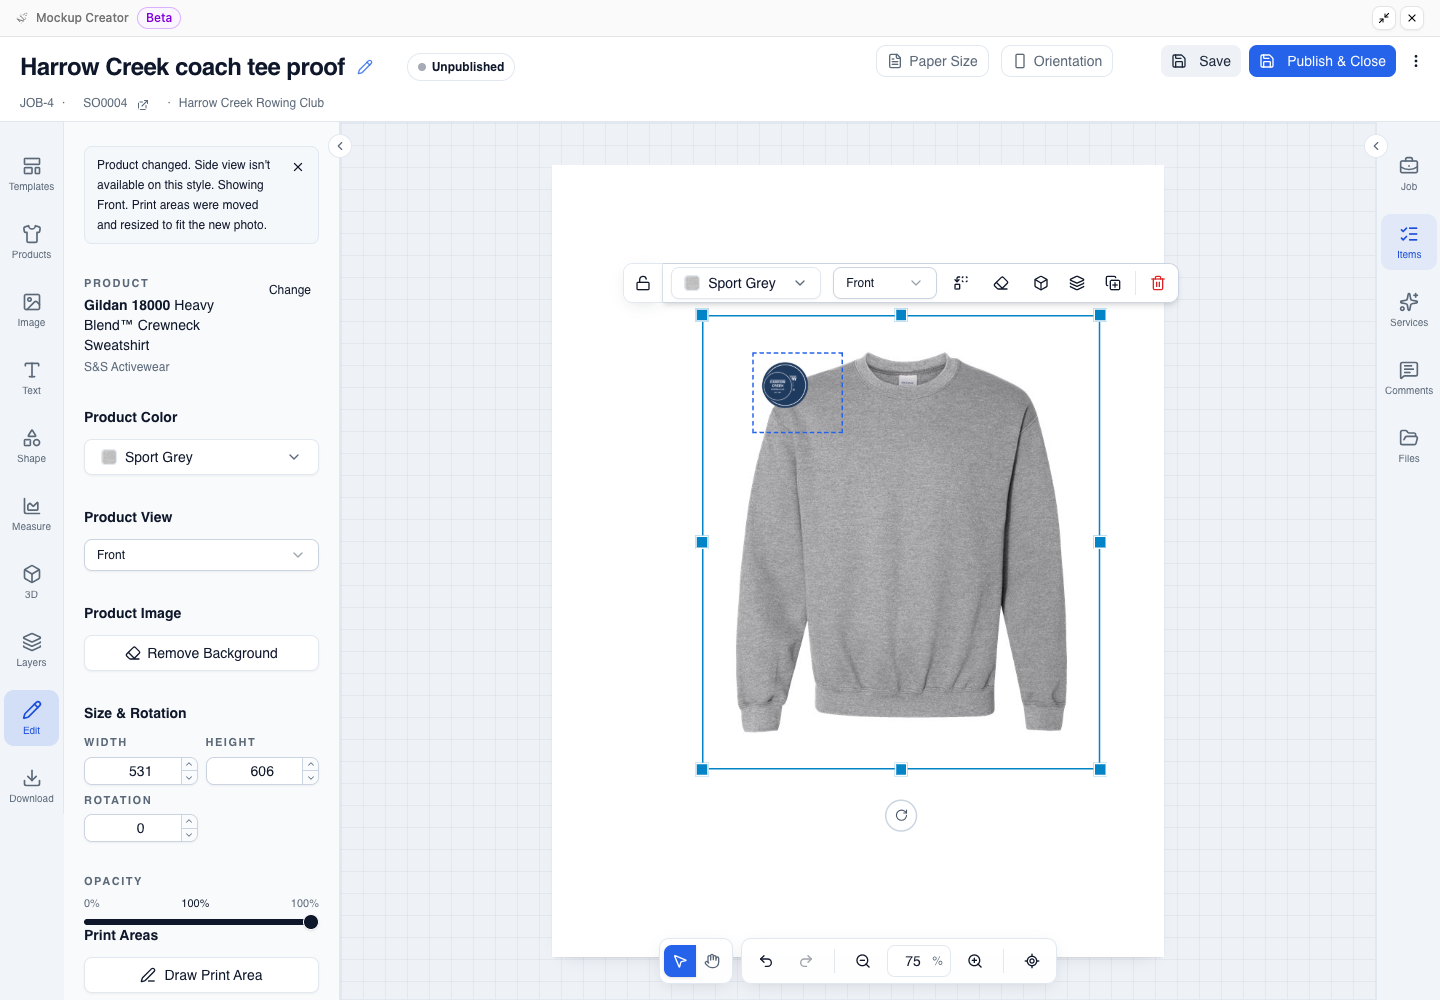
Keep the fallback view or select another angle in Product View, then return to Check what stayed with the mockup.
If a product photo fails to load, the canvas shows "IMAGE FAILED TO LOAD" with Retry while your artwork and product stay in the mockup. If Retry does not load the photo, choose another view or colour.
Check print-area changes
If your product has a print area, its dashed box and artwork stay on the canvas when you change products. When the new photo has a different shape, the Edit sidebar says: "Print areas were moved and resized to fit the new photo." Even when the photo shape stays the same, a different garment cut can leave your artwork or print area near a shoulder or seam.
-
If your product has a print area under Print Areas, check the dashed box on the canvas after the swap and adjust the artwork placement or print-area bounds if needed.
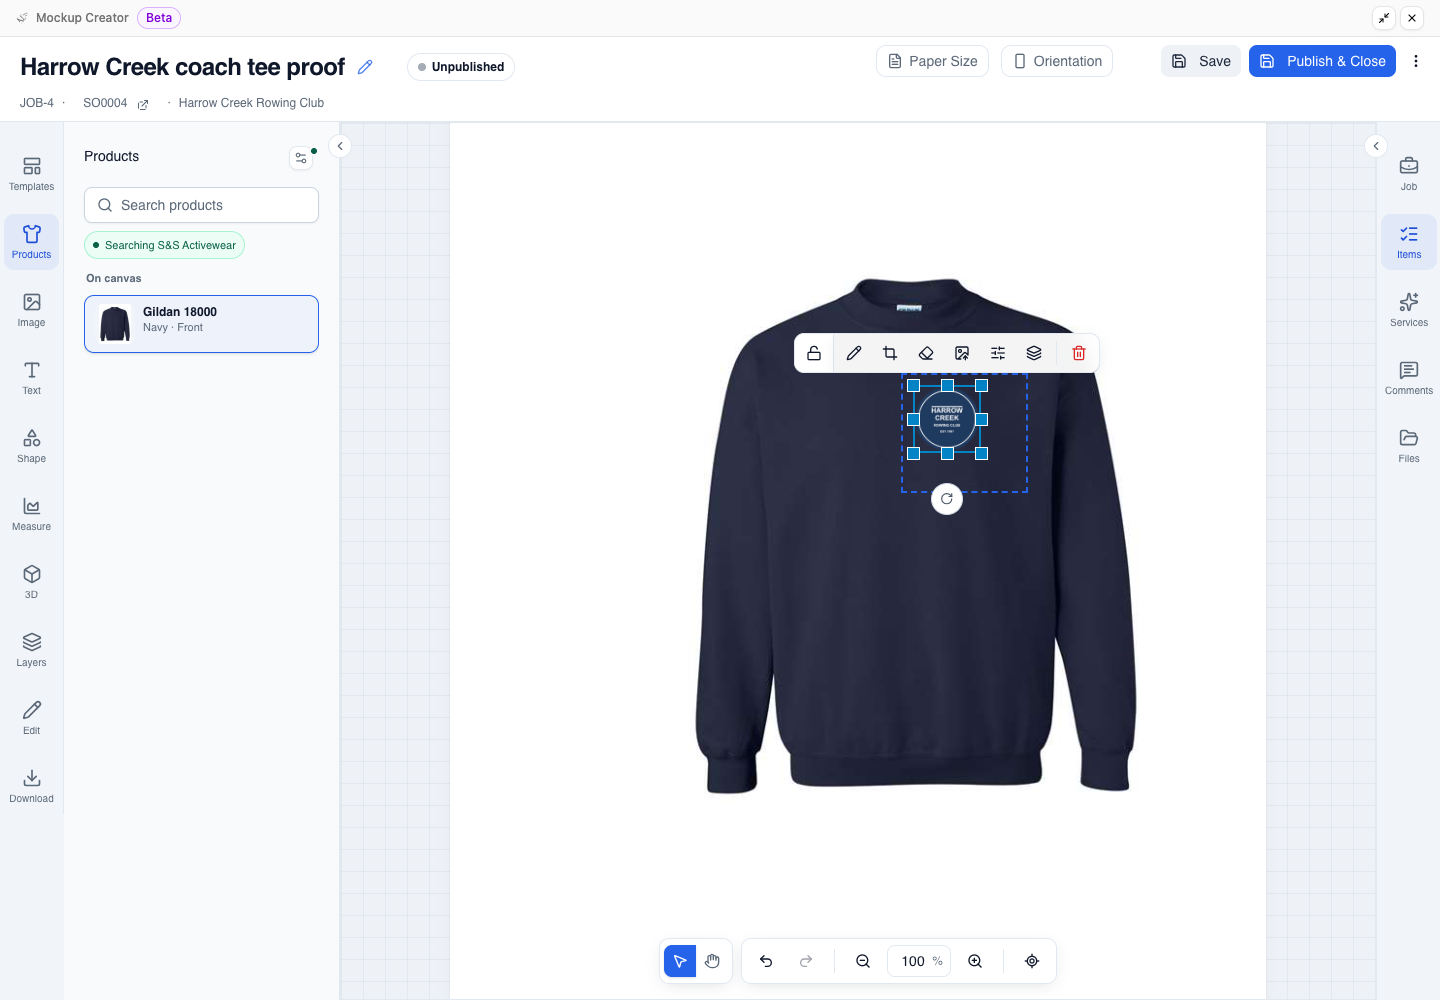
After you check the placement, continue to Check what stayed with the mockup to save your changes, or undo the product change if you want the previous product back.
Undo one product change
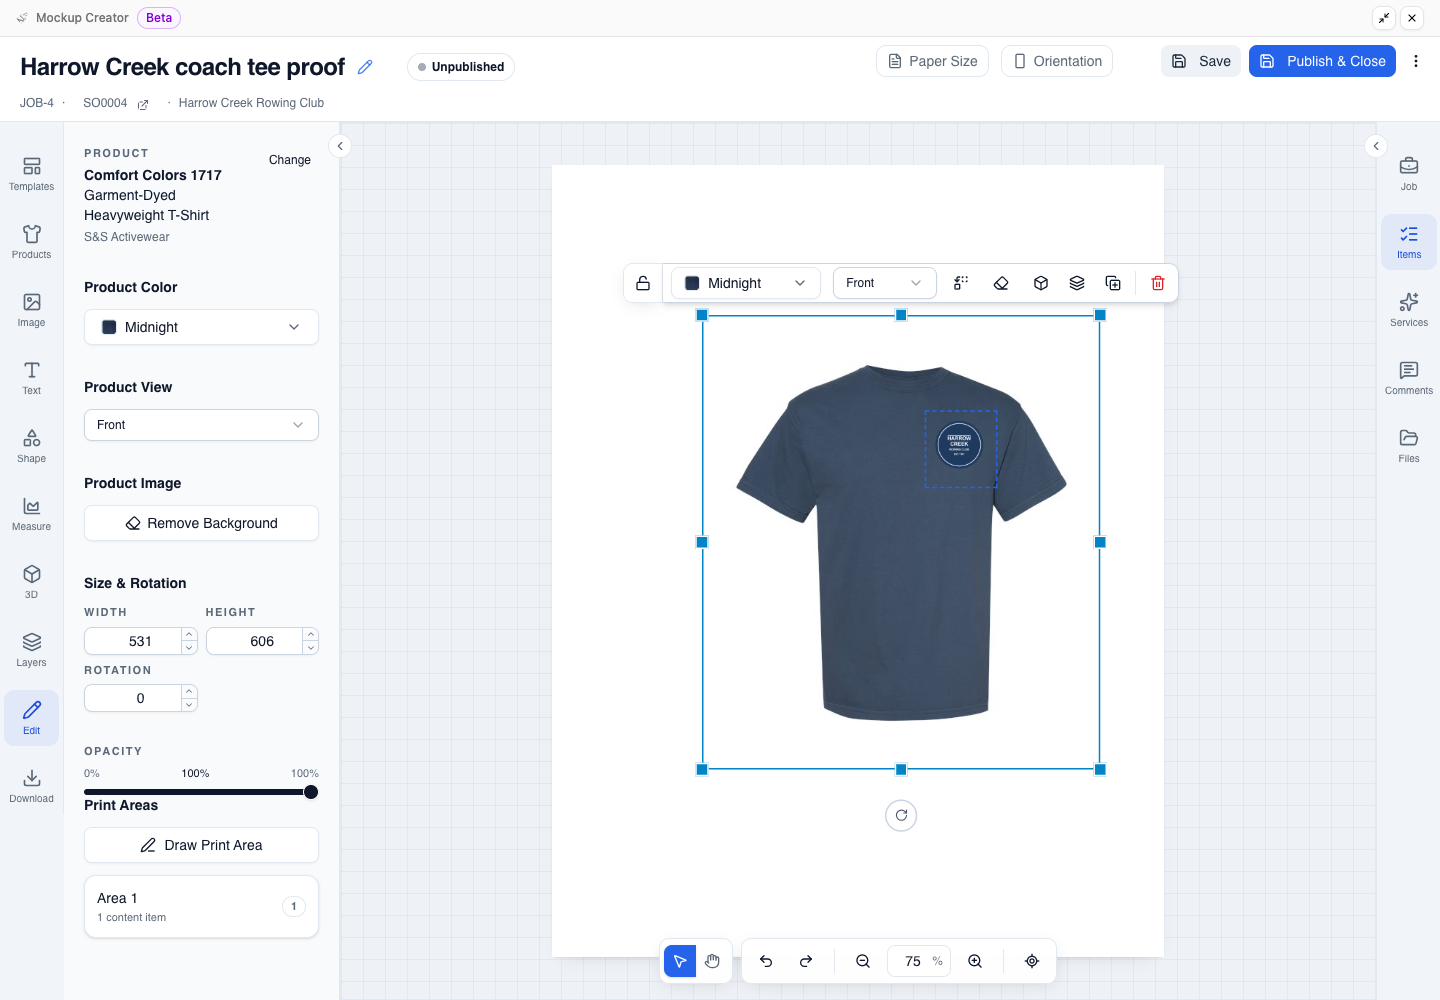
Undo restores the previous product when the swap was your last action. If you moved artwork or resized a print area after the swap, click Undo to reverse those edits first.
-
Click Undo (the curved left-arrow icon) on the bottom toolbar.
-
Check the canvas and the Edit sidebar to confirm that the previous product, colour, and any print area are back.
Related mockup guides
To edit a published or approved mockup, see Get started with the Mockup Creator. See also Flat mockups, 3D mockup designs, and Replace an image in a mockup.
