Creating a Purchase Order
In this article
A purchase order records what your shop plans to get from a vendor. Creating the record saves the order in YoPrint and gives your team a place to review the vendor, items, dates, notes, files, and totals. It does not send an order to a supplier automatically. Once saved, you can email the order to your vendor using Message or click Print to download a PDF.
Open a new purchase order
-
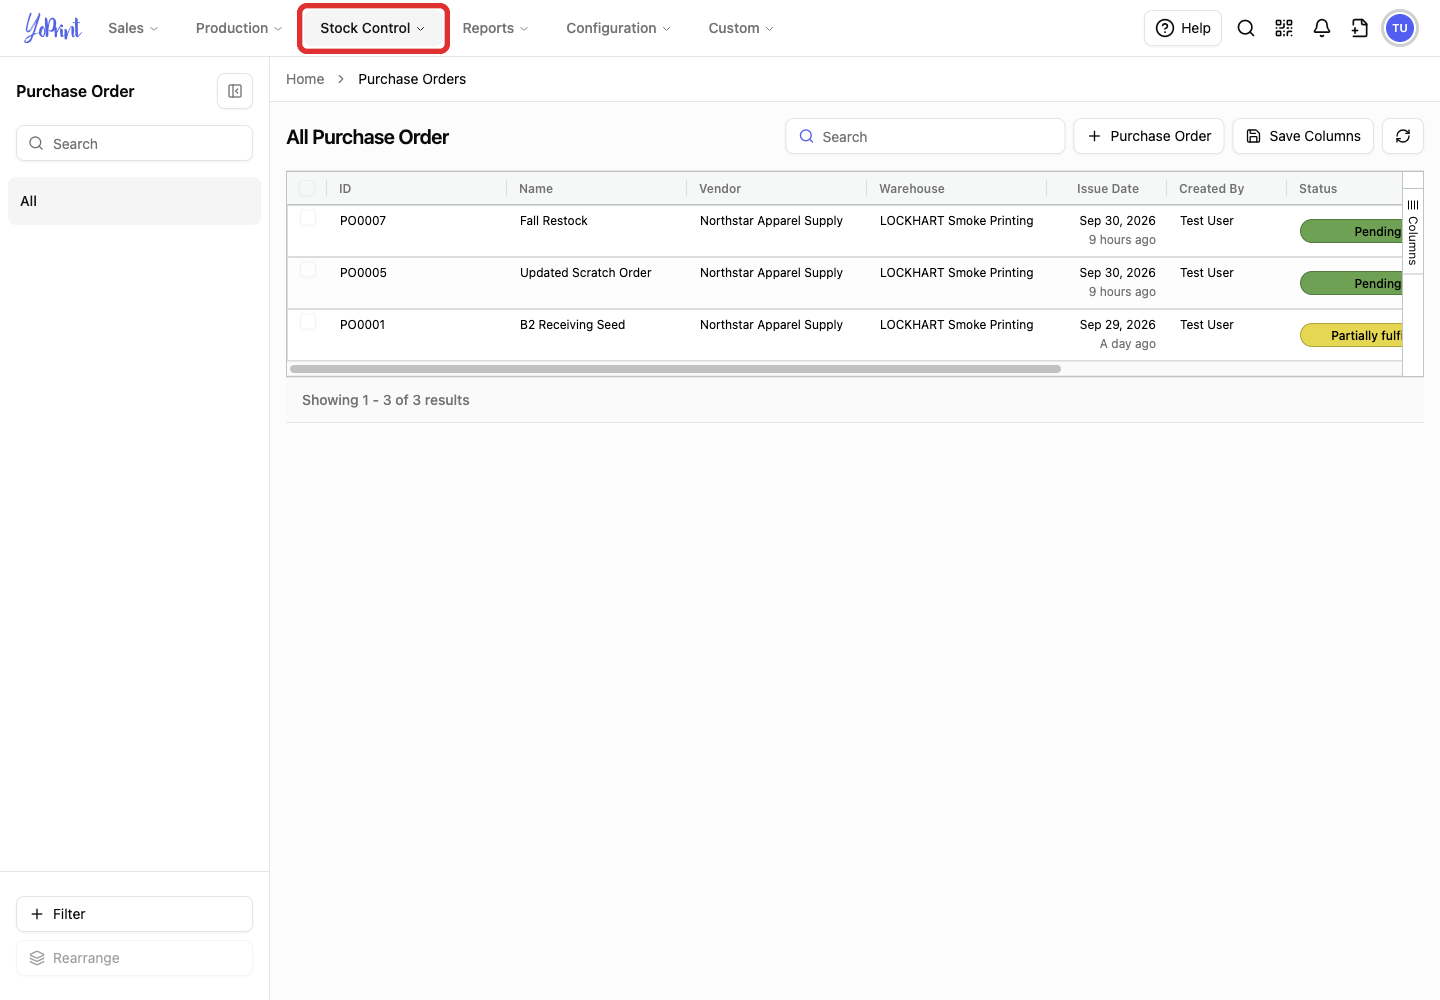
In the top navigation, click Stock Control.
-
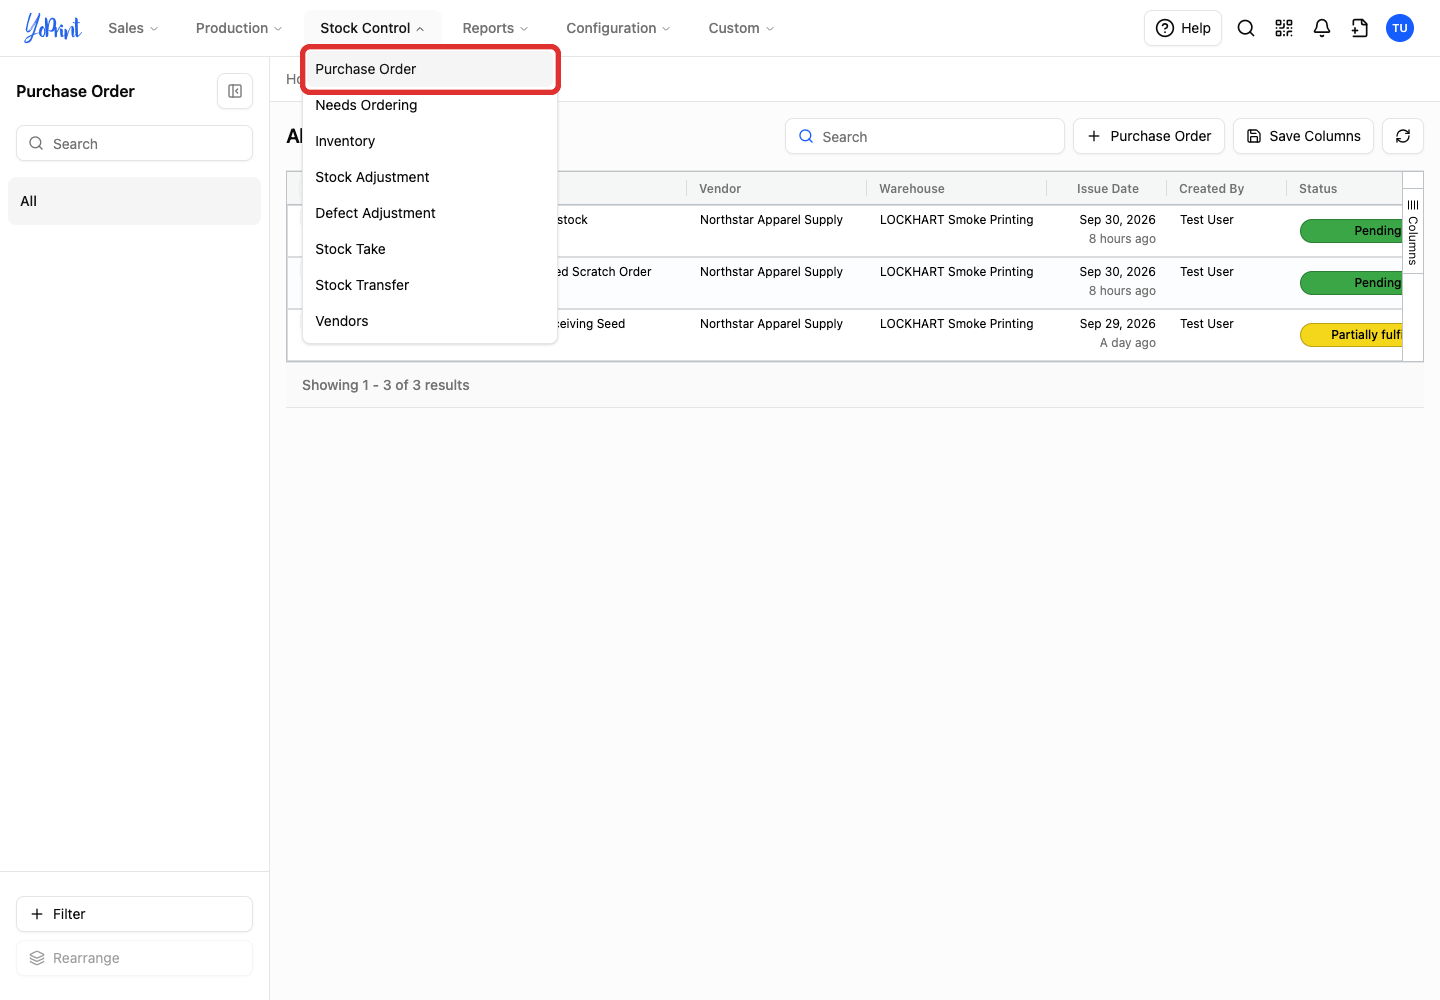
In the menu, click Purchase Order.
-
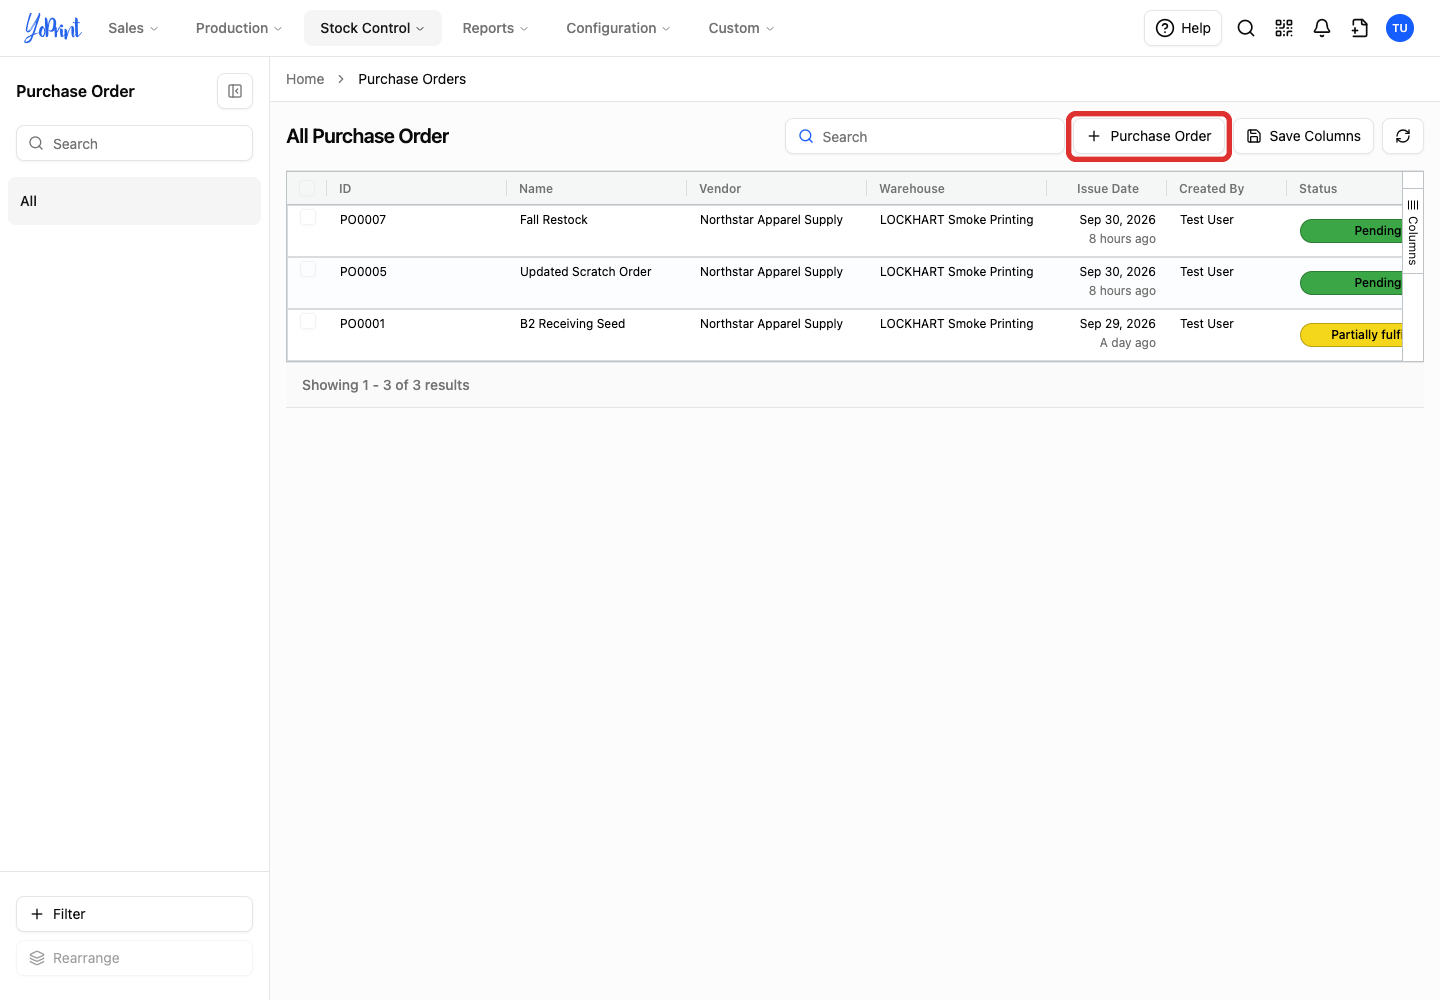
Above the list, click the Purchase Order button (with the plus icon, next to the Search box).
Complete the order details
The form starts with an assigned Purchase Order #. Review it and change it only if your numbering process requires it. Add a Label to identify the order (this appears as the Name in your purchase order list and detail view). Review the Issue Date, Due Date, Billing Address, Created By (the team member placing the order), and Destination Address (where the vendor should deliver the goods).
In the order header, review the Tax dropdown. Choose Order Level to apply a single tax rate to the entire order, or Line Level to enter tax rates per item row. Enter the tax rate percentage, or leave it at 0% for tax-exempt purchases.
-
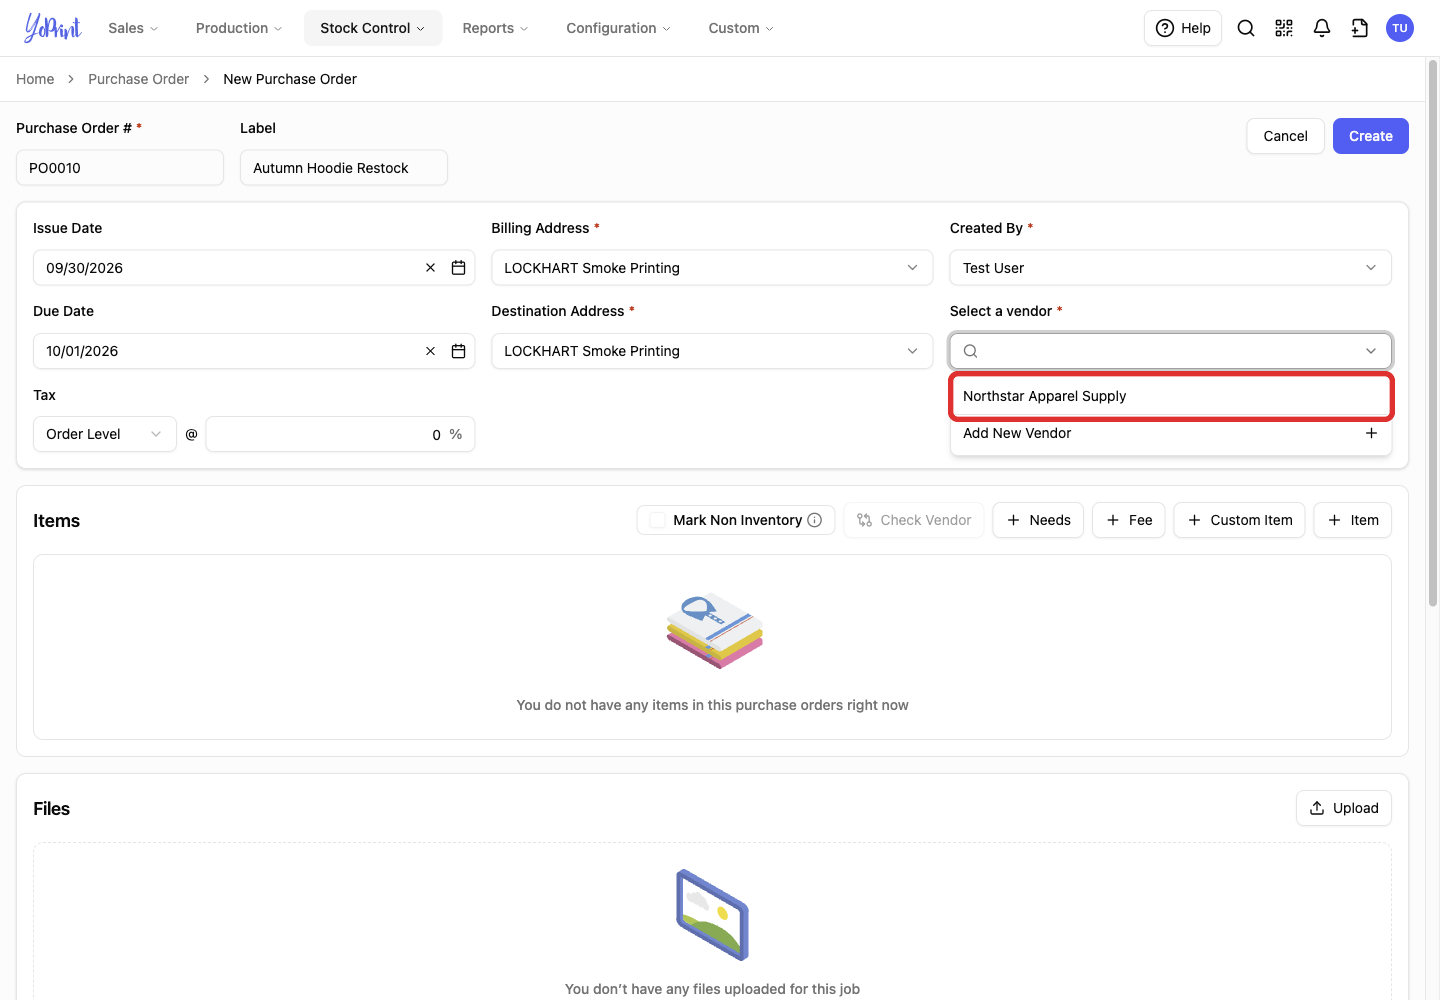
Open Select a vendor, then choose the vendor for this order. If the vendor is not listed yet, choose + Add New Vendor to create them on the spot, or manage vendors in Vendor Management.
-
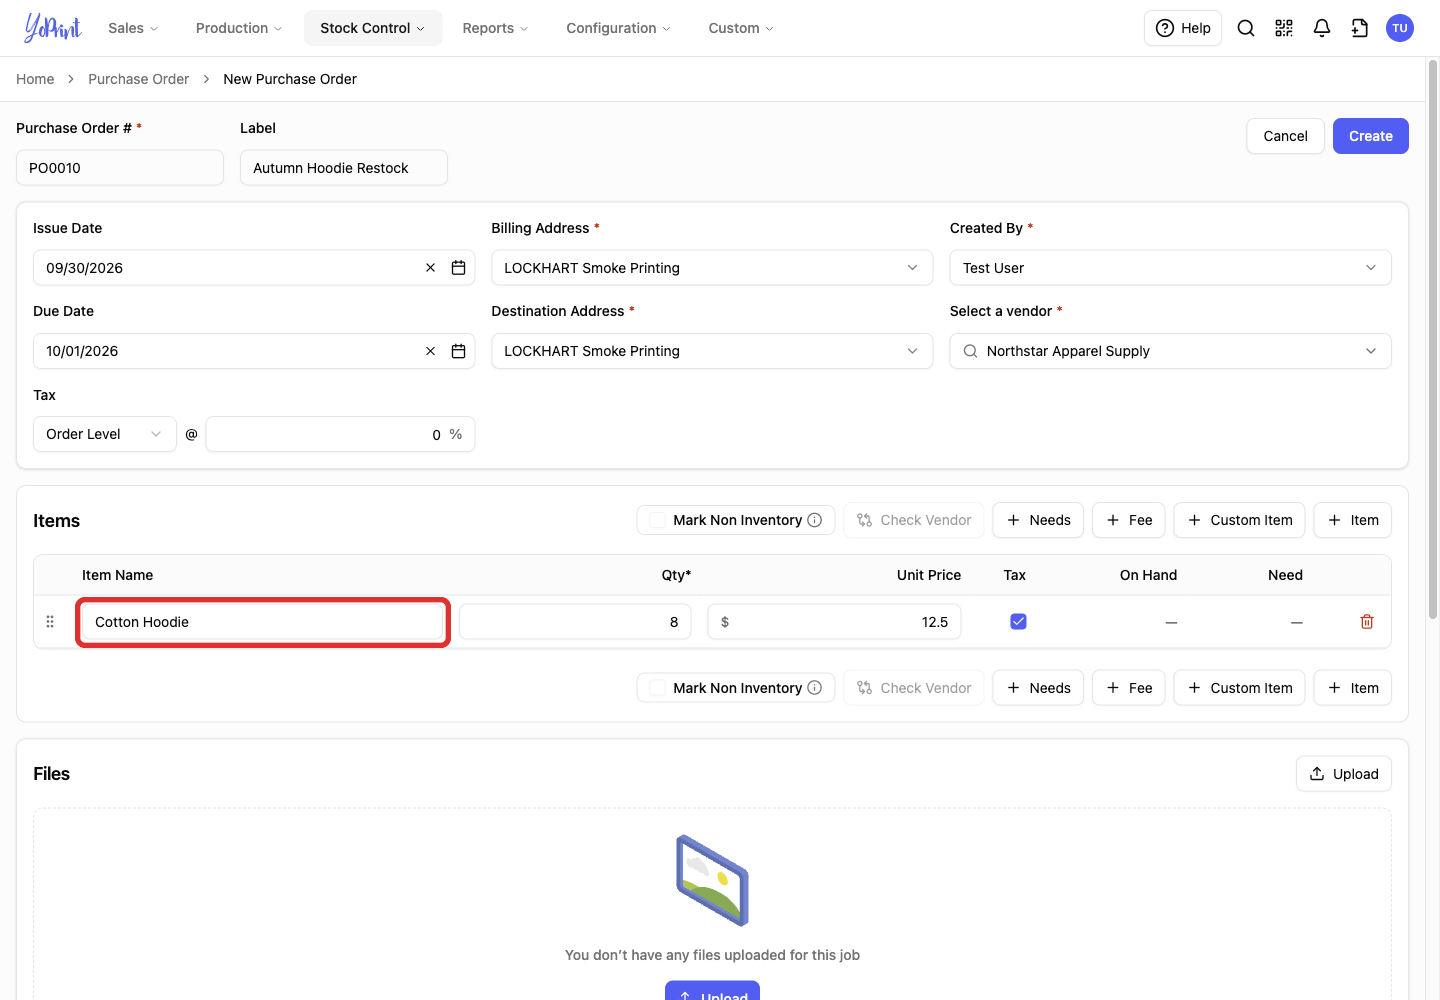
Add products or charges under Items. Click Custom Item to type an item description, quantity, and unit price for items outside your catalog. Click Item to choose an existing product from your catalog, Needs to add products from pending customer orders, or Fee to add shipping, freight, or other vendor charges.
-
Add vendor notes, internal notes, or files when your team needs that context.
The order form includes separate Vendor Notes and Internal Notes editors. Vendor Notes appear on the purchase order document sent or printed for the vendor. Internal Notes remain private to your team. Use Reset to Default to restore standard purchasing notes from your shop settings. While editing, the Order Summary shows dashes for tax and total with "Will be calculated on save". YoPrint calculates final taxes and totals when you save the order.
Save the purchase order
-
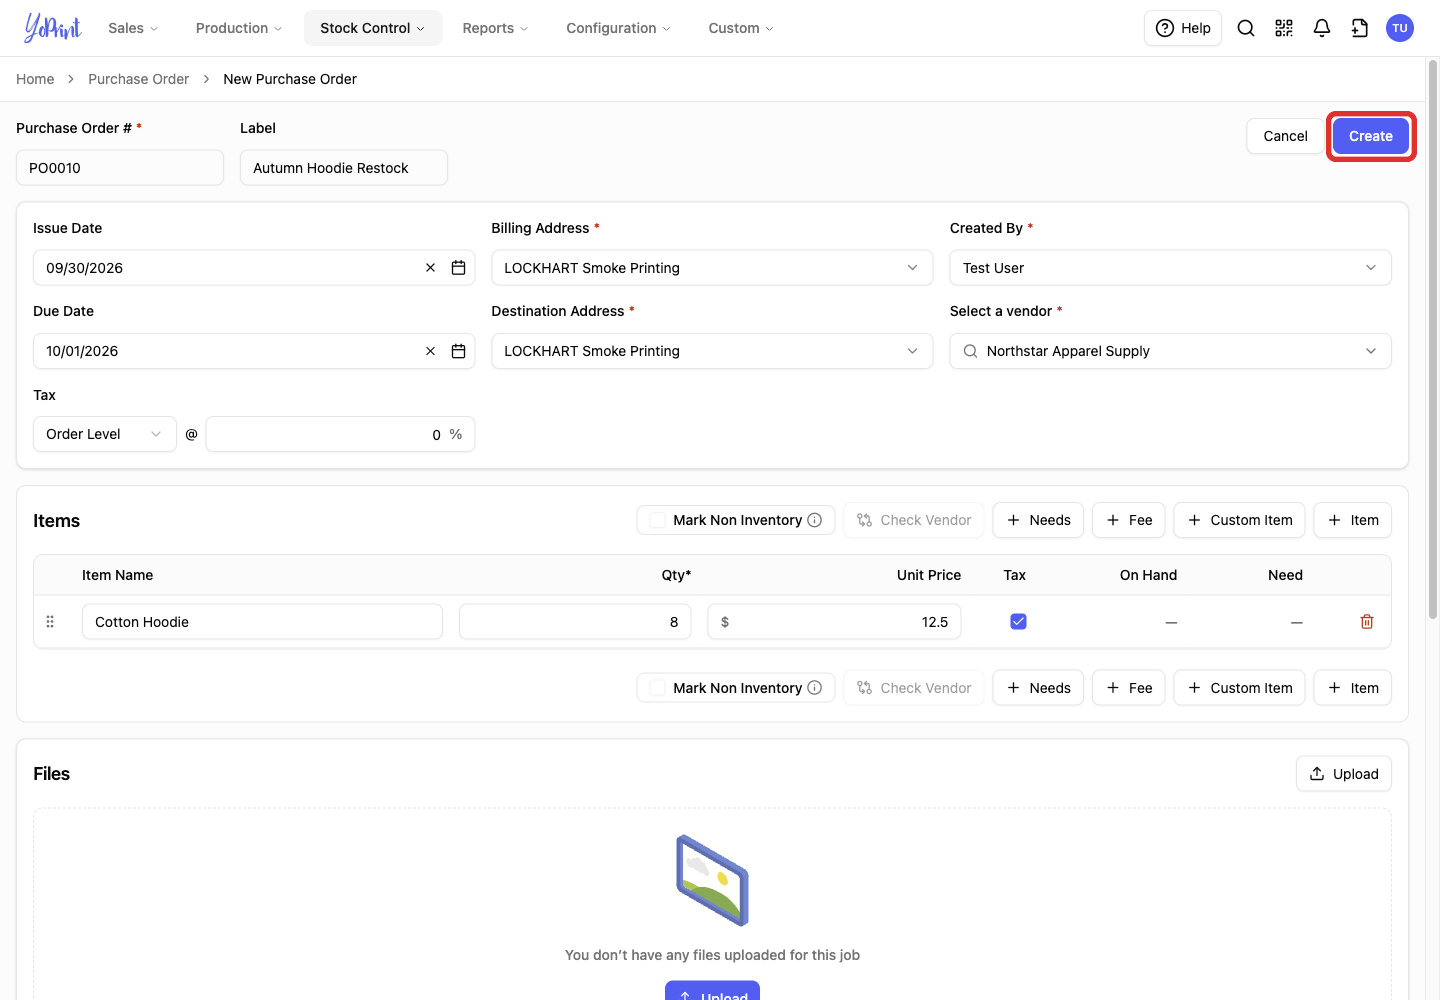
Scroll to the top of the form and click Create in the upper right header.
-
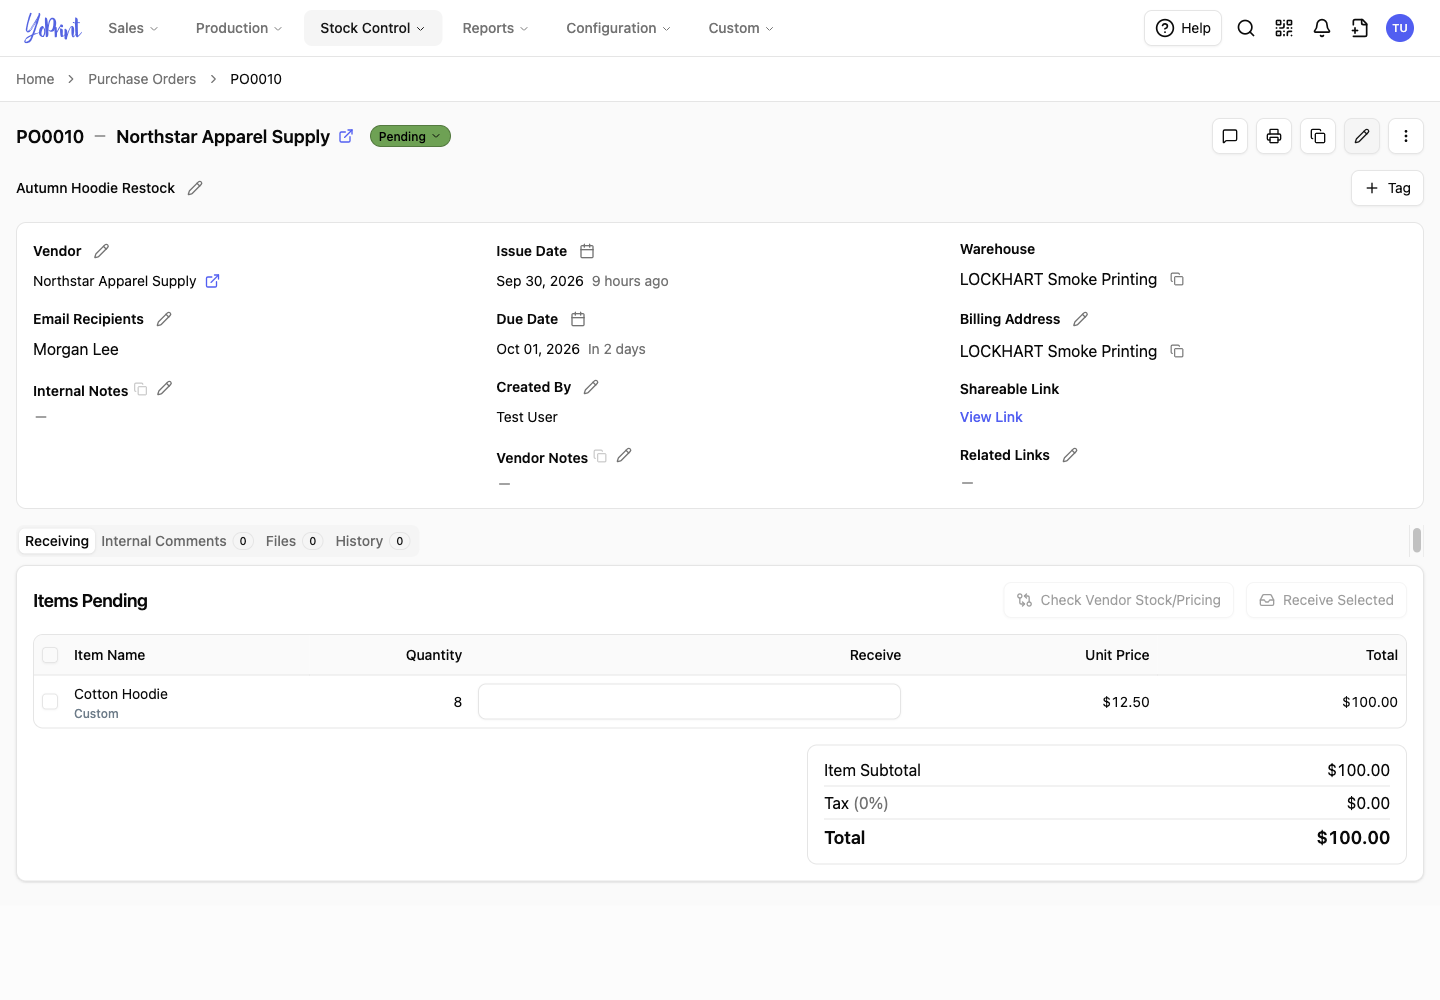
Review the saved purchase order detail page. Confirm the vendor, status, item quantity, unit price, and total. Newly created purchase orders start with the status Pending. The detail view opens to the Receiving tab so your team can see all ordered items and receive them when the shipment arrives.
Continue with the saved order
- To change the order, follow Editing a Purchase Order.
- To remove an order, follow Voiding/Removing a Purchase Order.
- To receive items, follow Purchase Order Receiving.
- To review status choices, history, or internal comments, follow Customizing and Using Purchase Order Statuses, Purchase Order History, and Purchase Order Internal Comments.