Make a 2D mockup on a real product
In this article
Use the Mockup Creator to place a customer's artwork on a real supplier product photo. Your team and customer can review placement, colour, and scale on a single proof.
This walkthrough builds a two-sided proof using a Comfort Colors 1717 tee in Midnight and the Harrow Creek Rowing Club crest. Follow the same steps for any catalog product.
For a 3D model instead of a flat photo, see 3D mockups.
Open the Mockup Creator from the job
Start from the job so your mockup stays attached to the order. For other ways to open the editor, see Get started with the Mockup Creator.
-
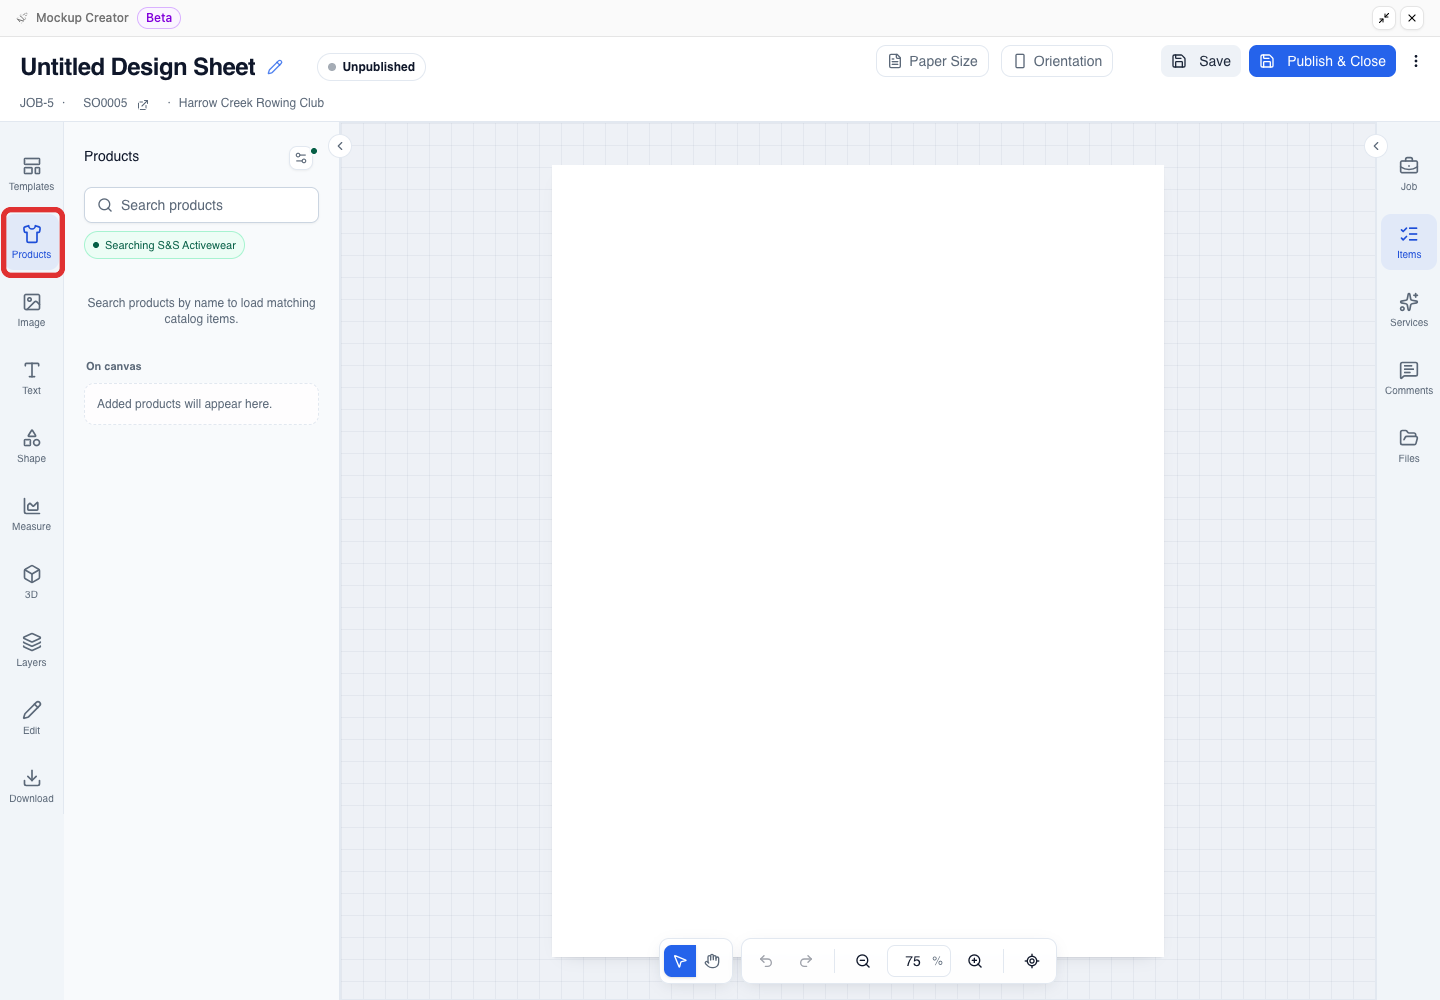
Open the job, scroll to the Mockup Files tab, and choose Create Mockup. The editor opens on the Products panel.
Name the design
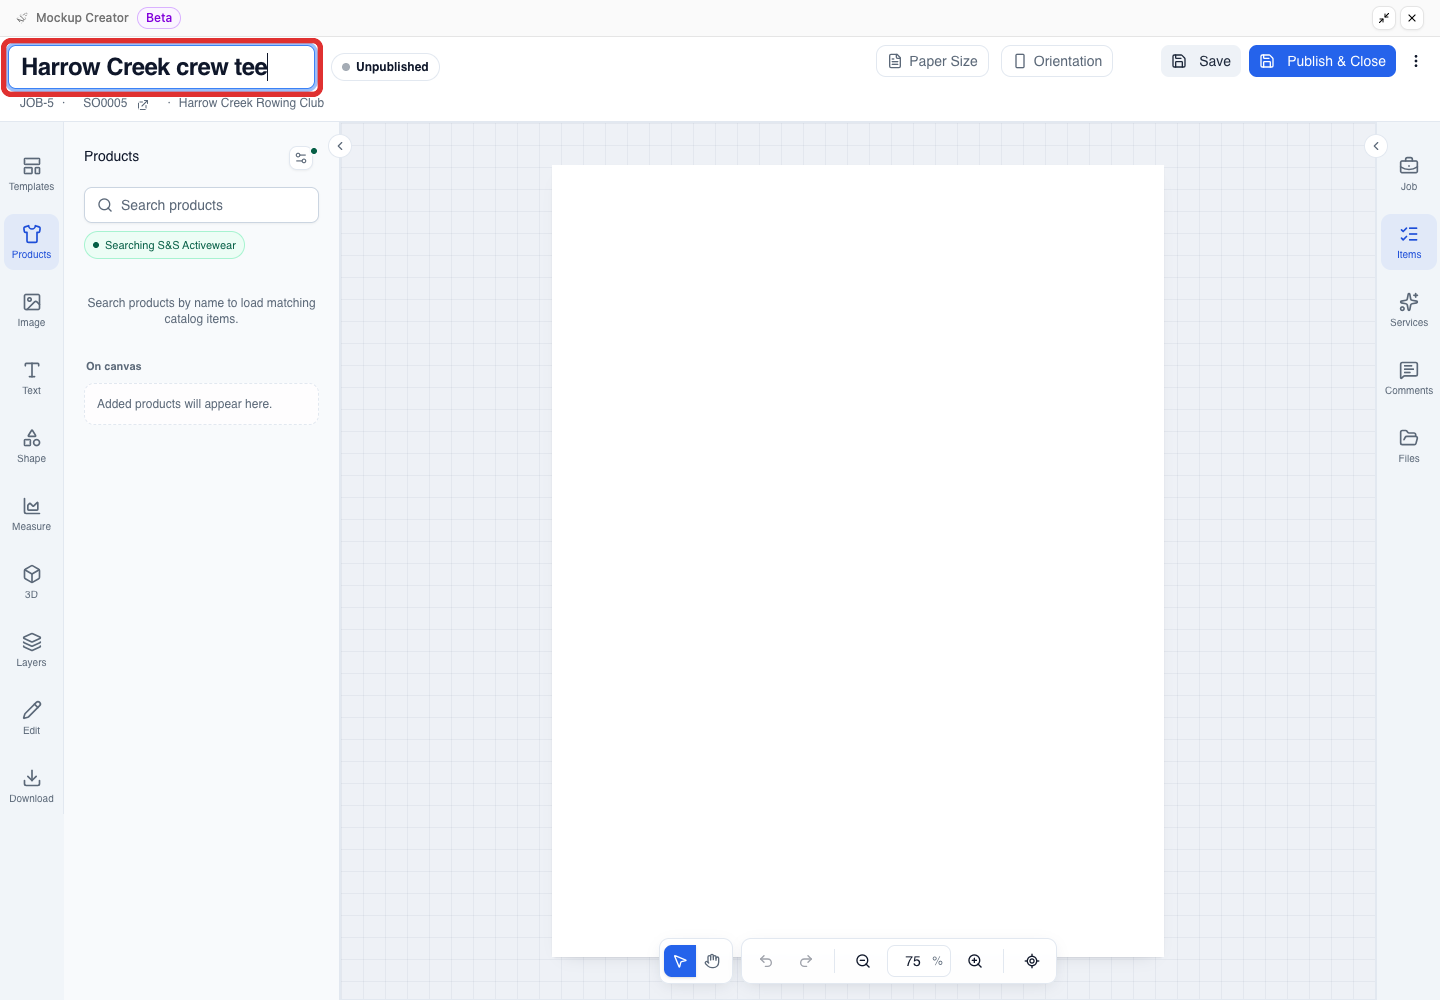
Name the mockup so your team can find it in the job's file list.
-
Click the document name at the top left, enter a name (such as Harrow Creek crew tee), and press Enter.
Choose a product, colour, and photo view
Search the supplier catalog in the sidebar to place a product on the page. S&S Activewear works on every plan. SanMar, AS Colour, and Momentec need your shop's supplier login: use Connect in Catalog sources on the Pro plan (Basic shows Upgrade).
Products lists products already on your job under In JOB-1. Clicking + beside one places its photo on the page without adding or changing a quote line item.
-
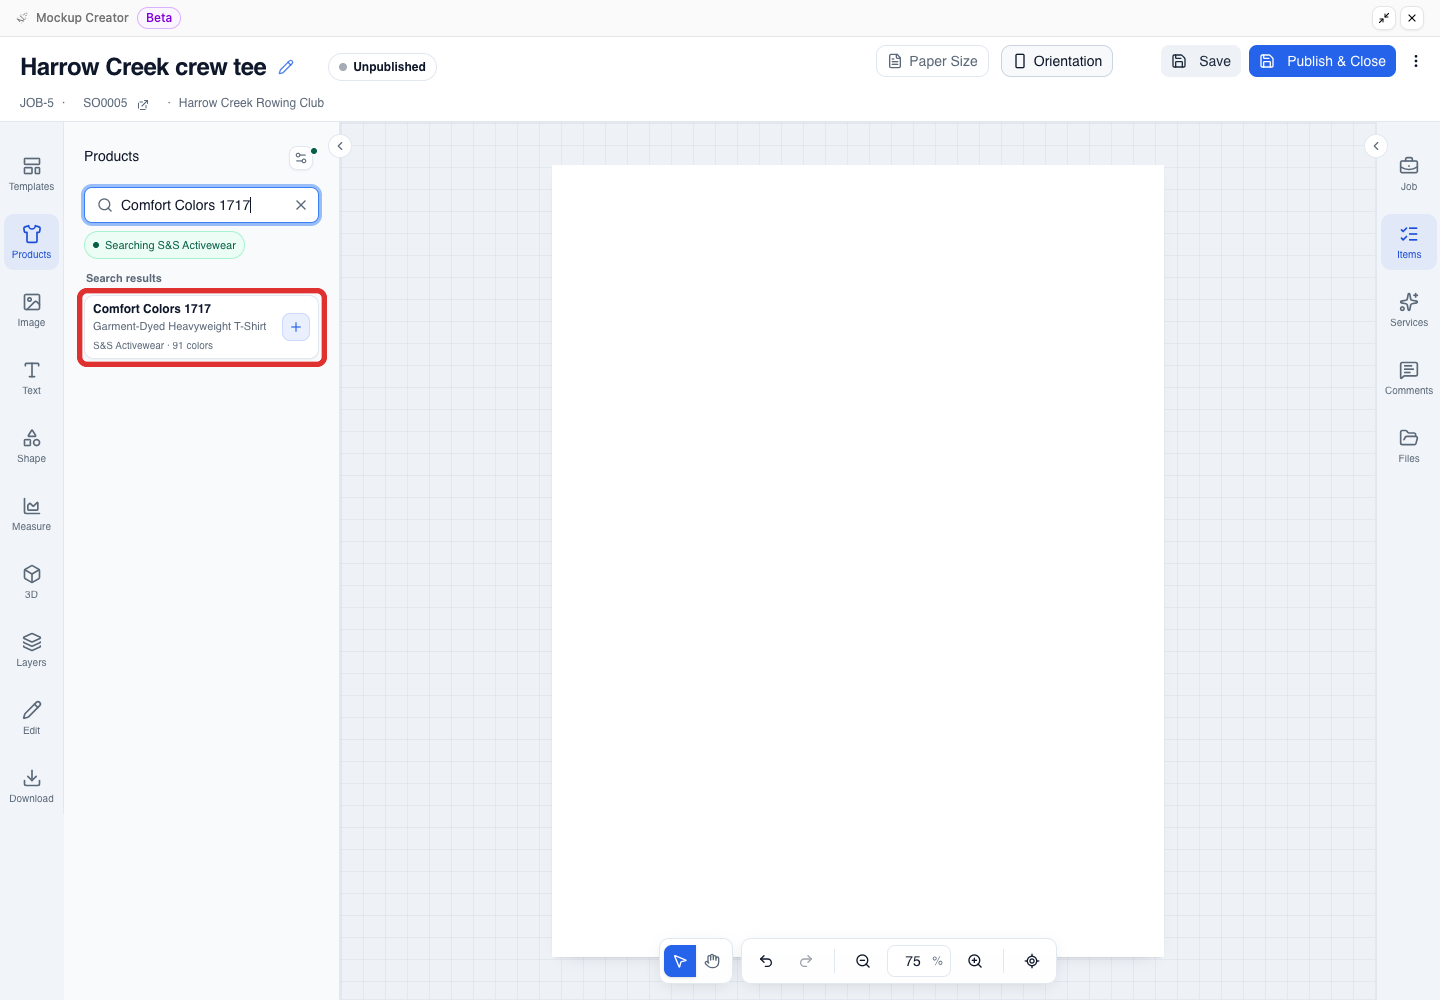
In the Products panel, search by product name or style number (such as Comfort Colors 1717). Click the matching product in the results to open its colour list.
-
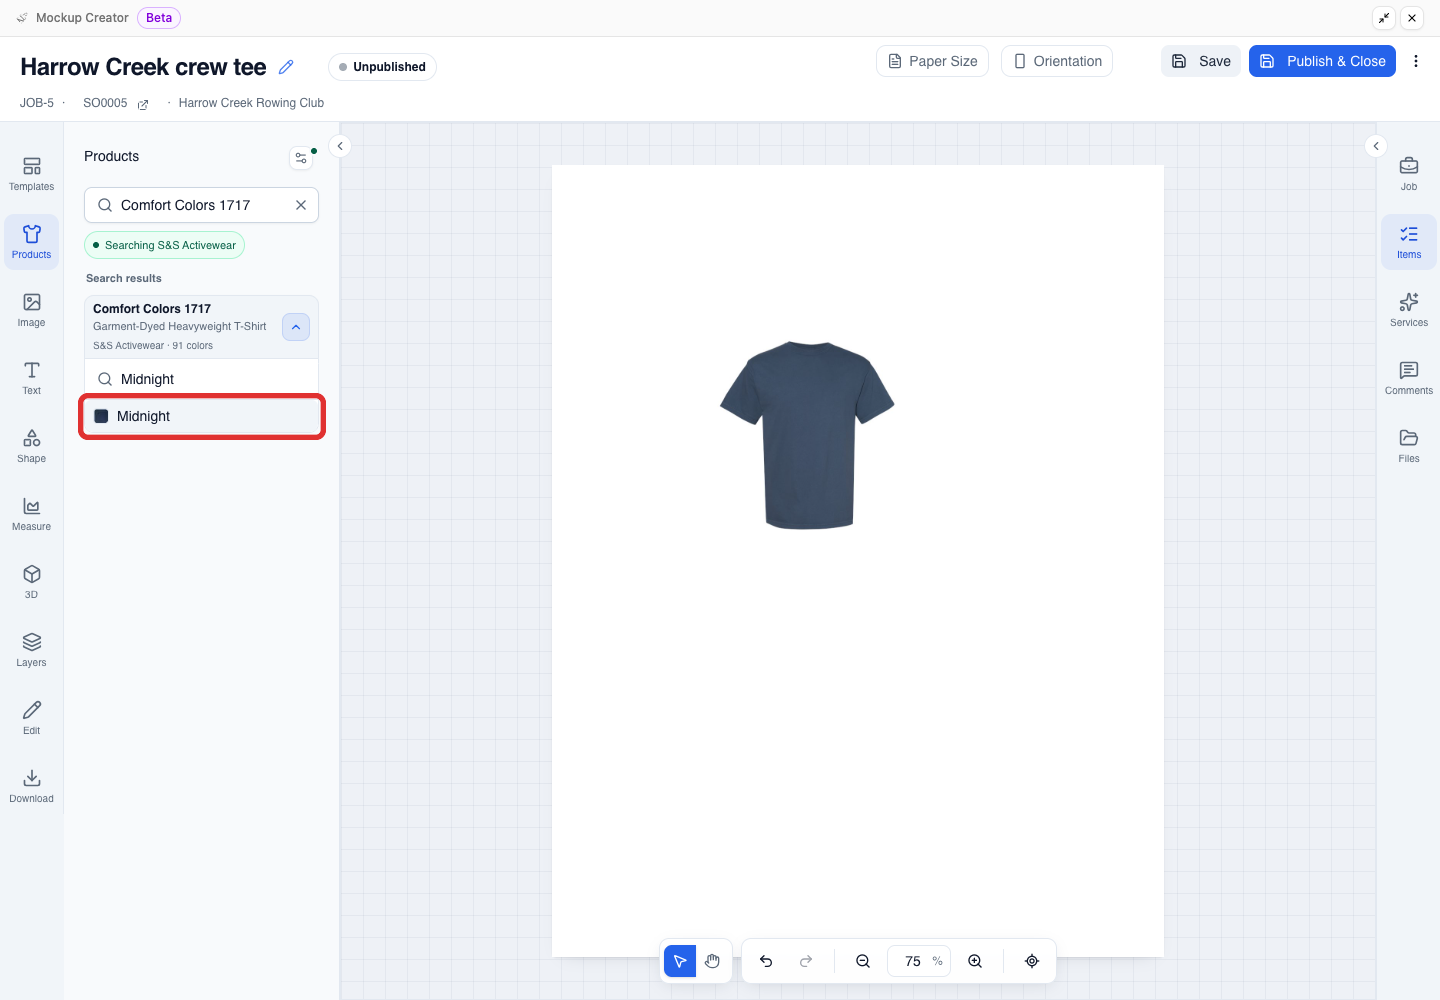
Search the colour list for a colour (such as Midnight) and select it. YoPrint places the product on the page in that colour.
-
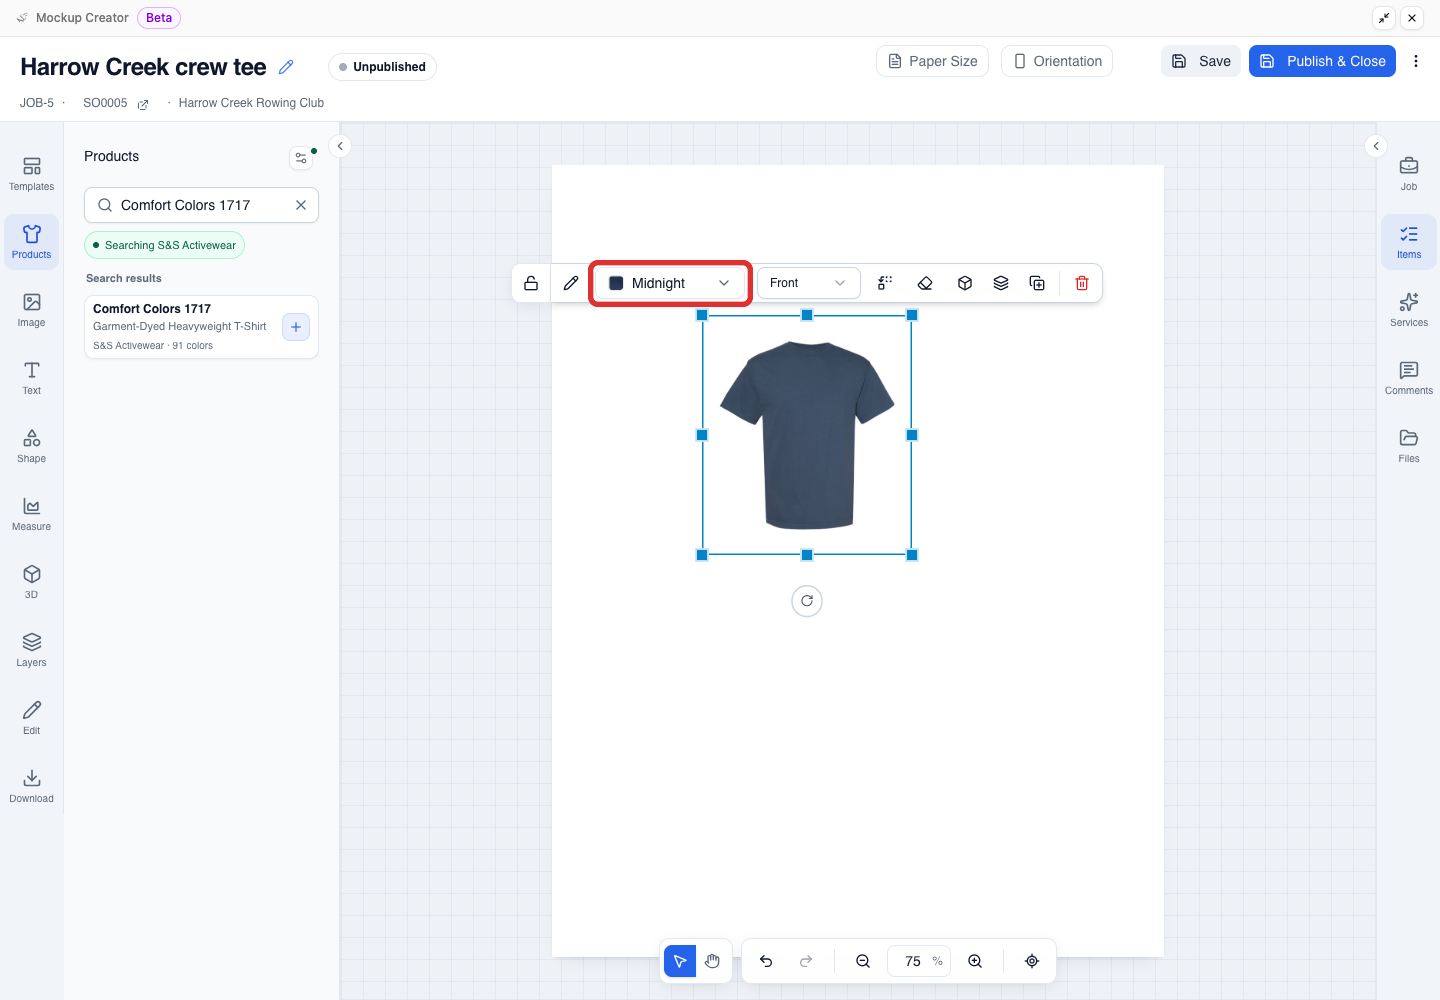
Check the colour on the floating toolbar above the product, or open Product color (showing Midnight) to switch colours later.
-
Open Product view (showing Front) and choose Front, Back, or Side.
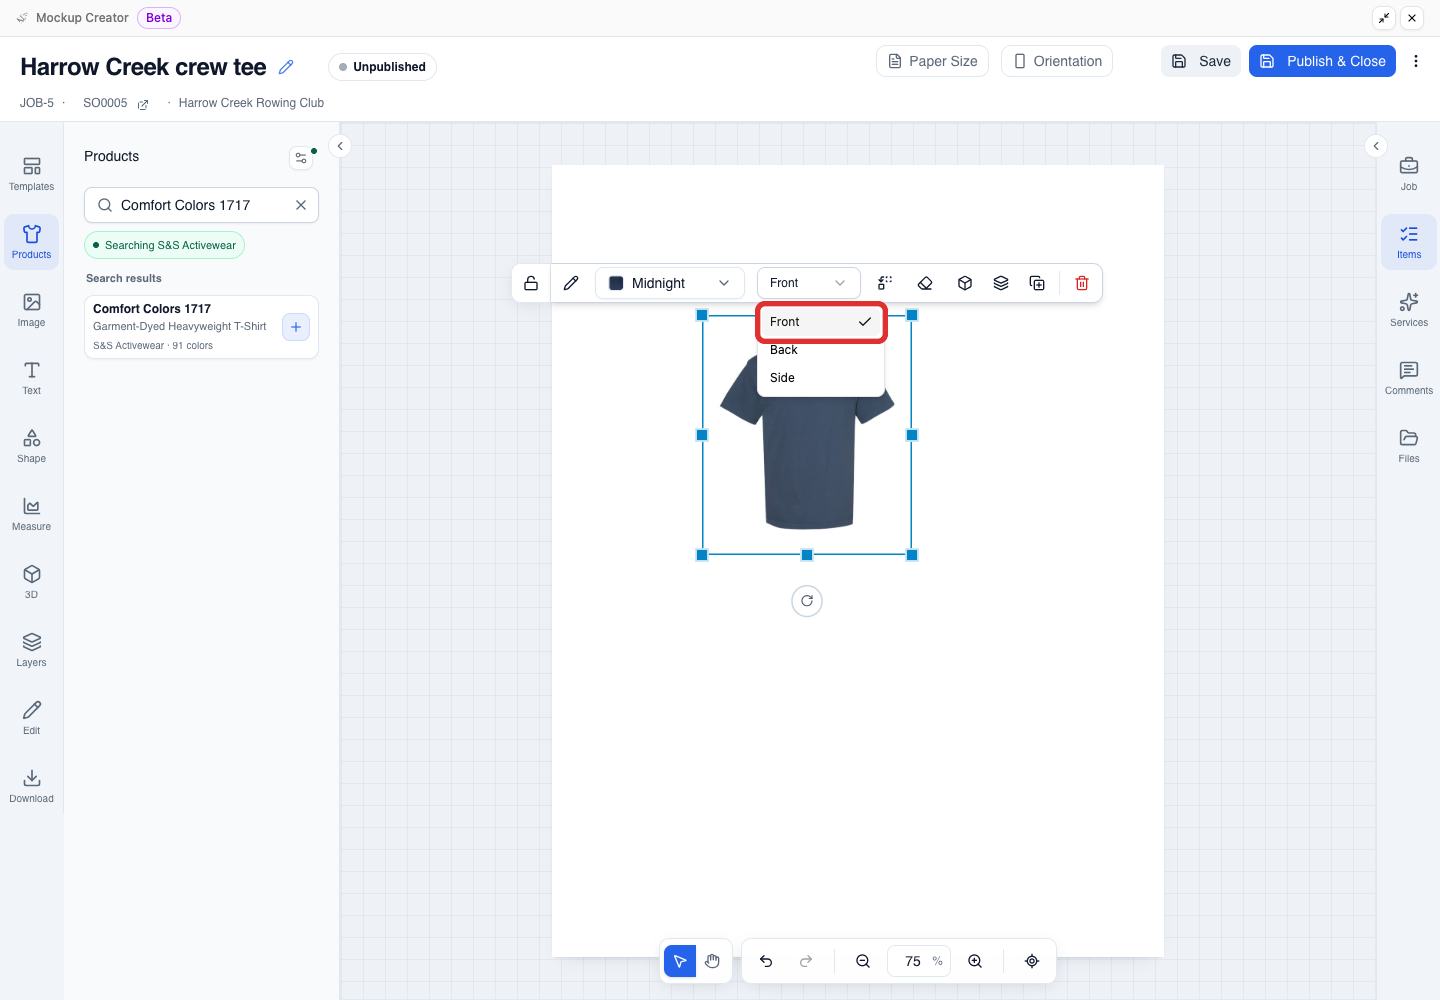
Available photo views depend on the product and colour you select. To swap the product on an existing mockup later, see changing the product.
Put the front and back on one proof
Duplicate the product and switch to a landscape layout so your customer can review the front and back side by side.
If your proof only needs a single view, skip to Upload, clean, and place the artwork.
-
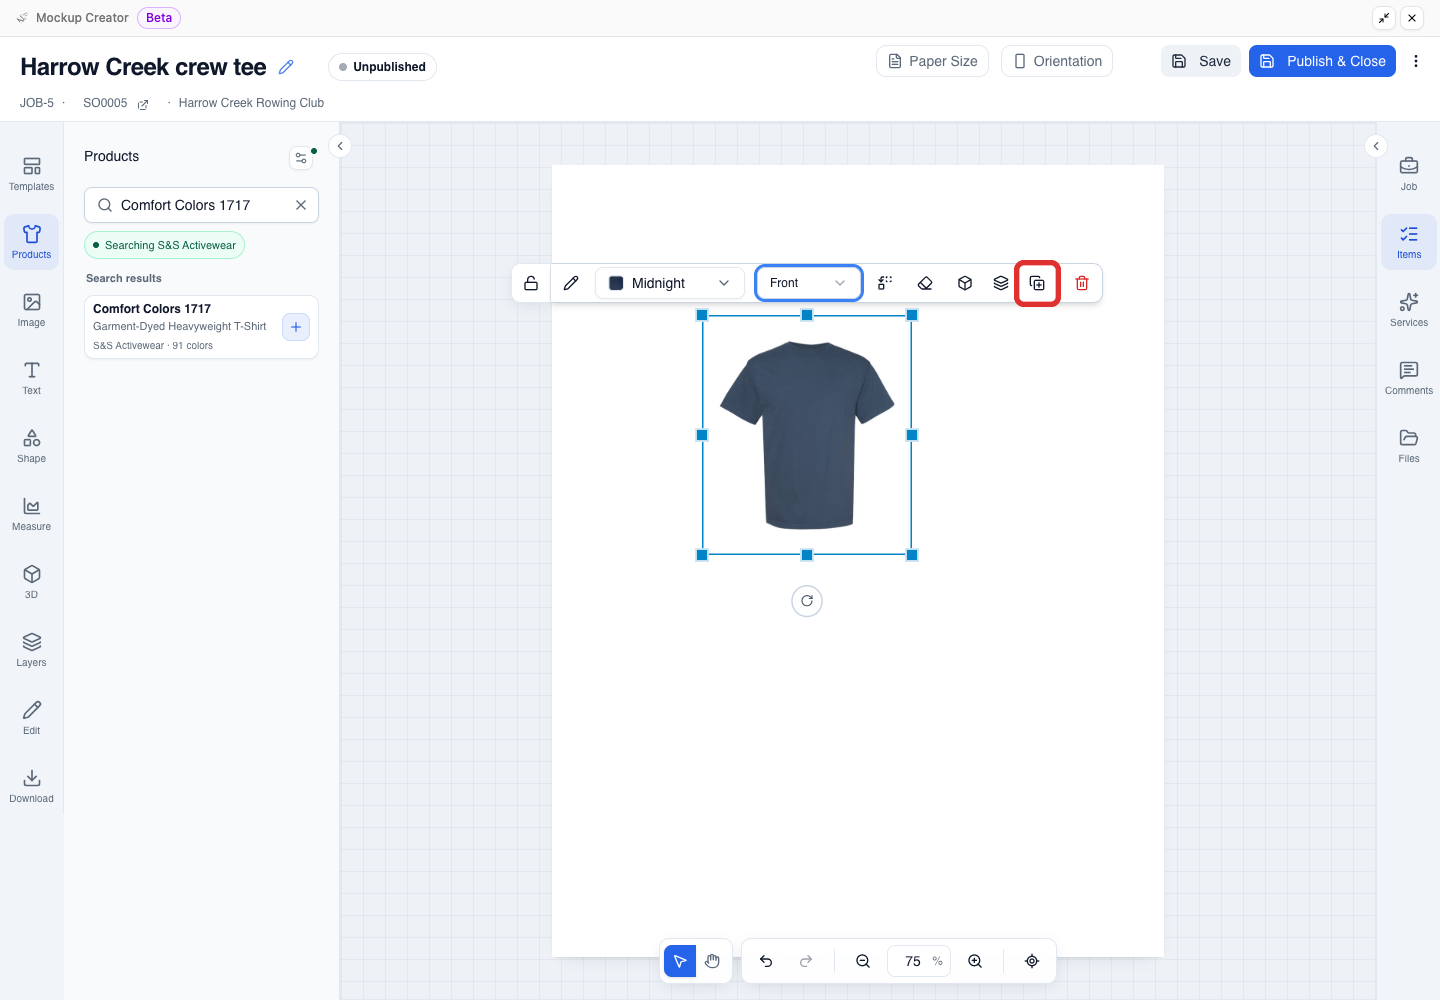
Select the front product and click Duplicate selection on the floating toolbar. YoPrint places the selected copy directly on top of the original.
-
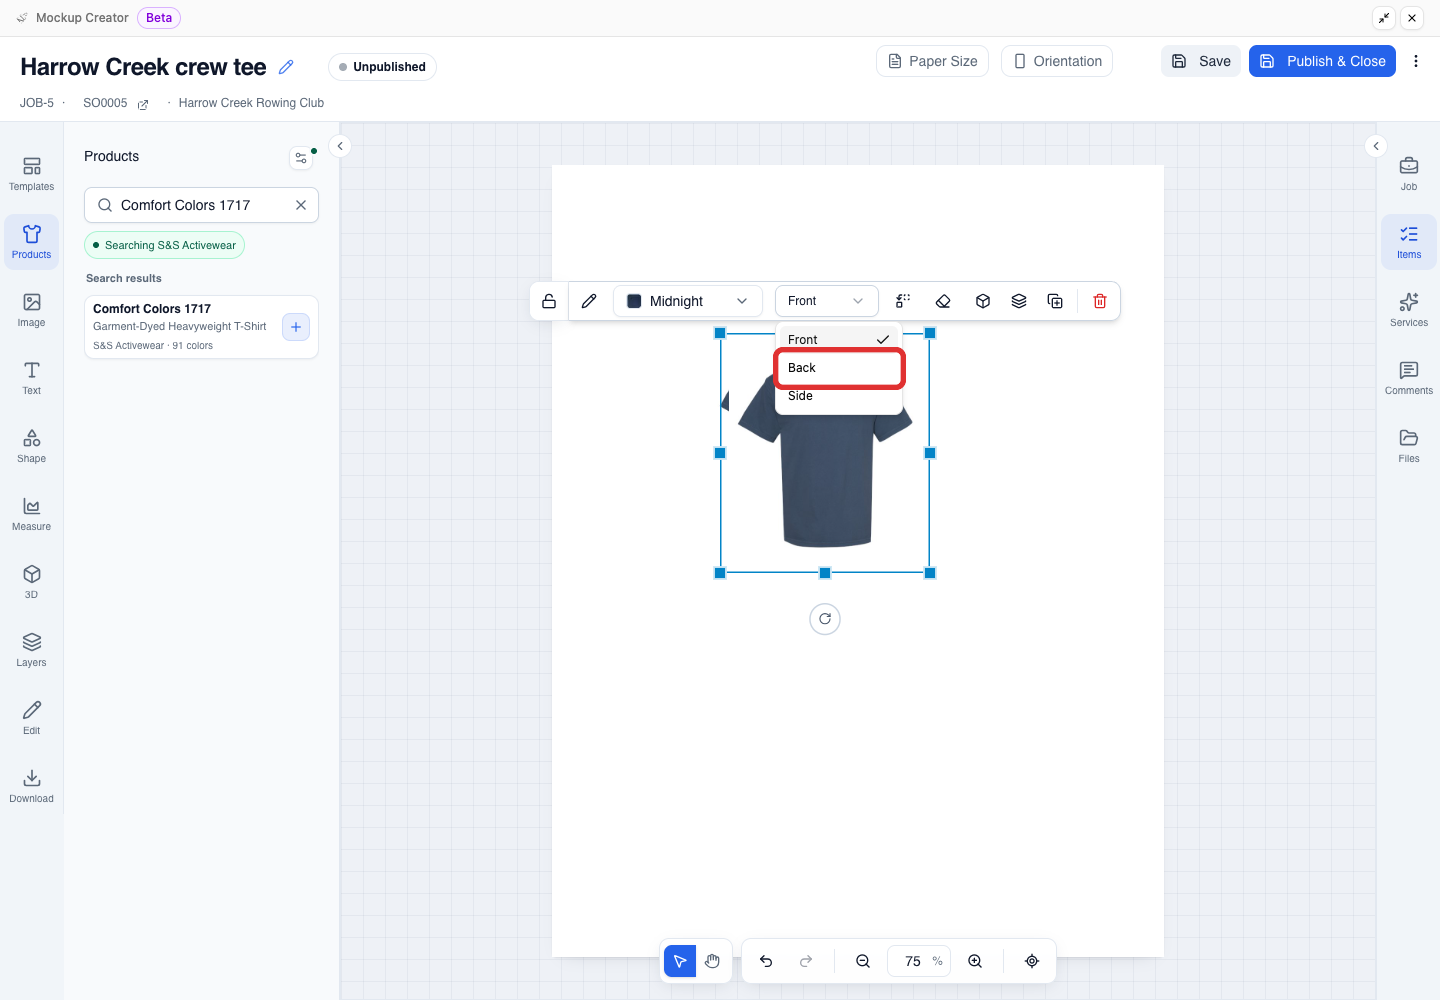
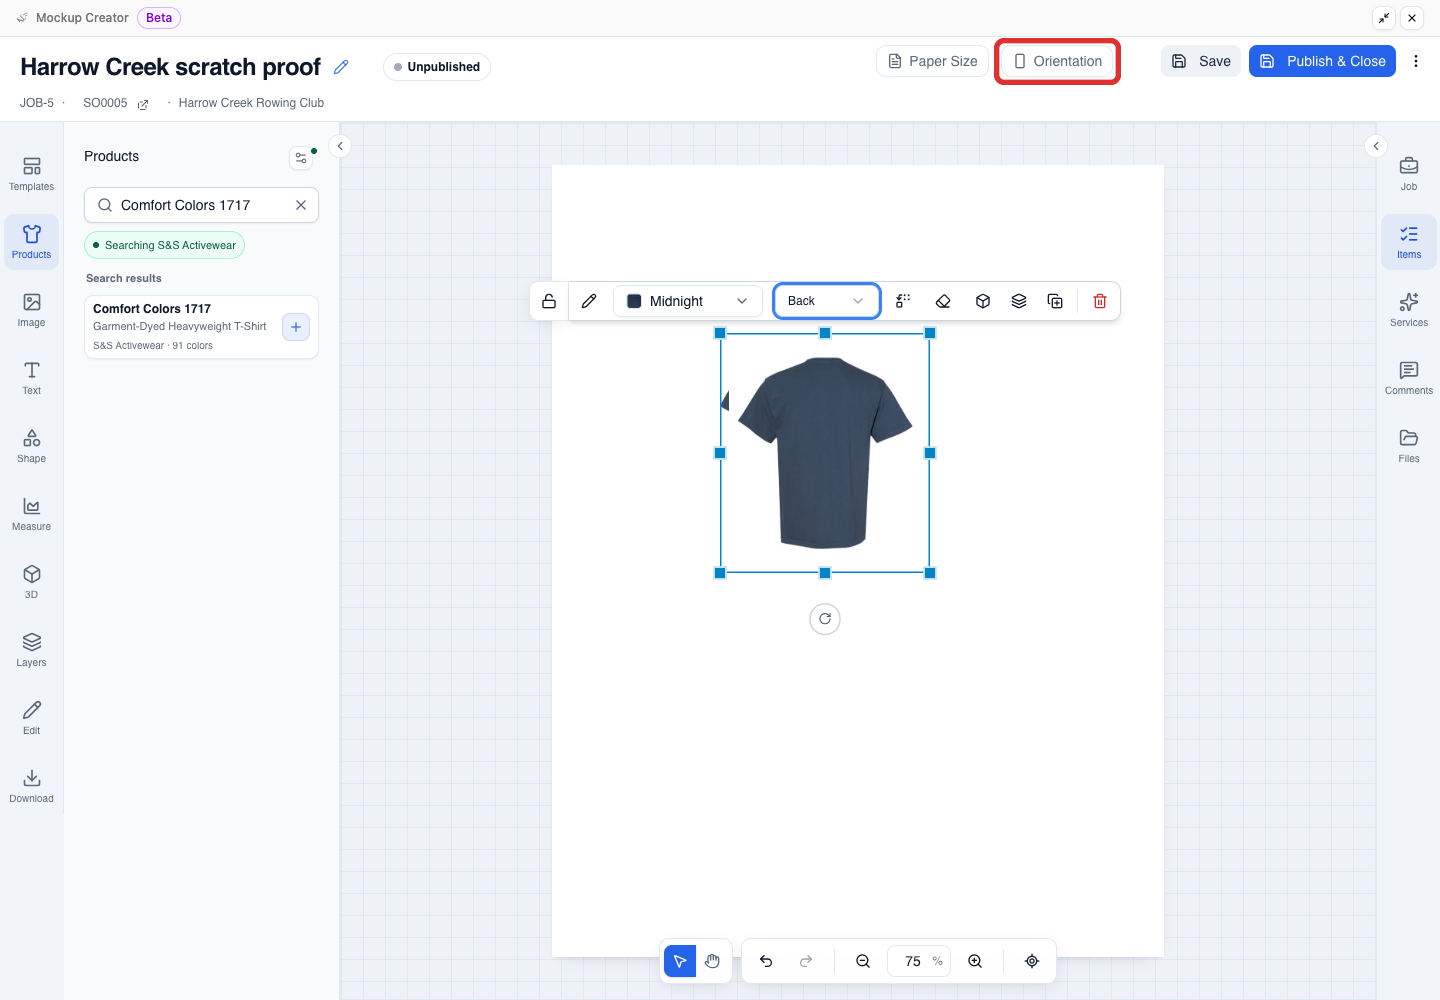
With the duplicate still selected, open Product view and choose Back.
-
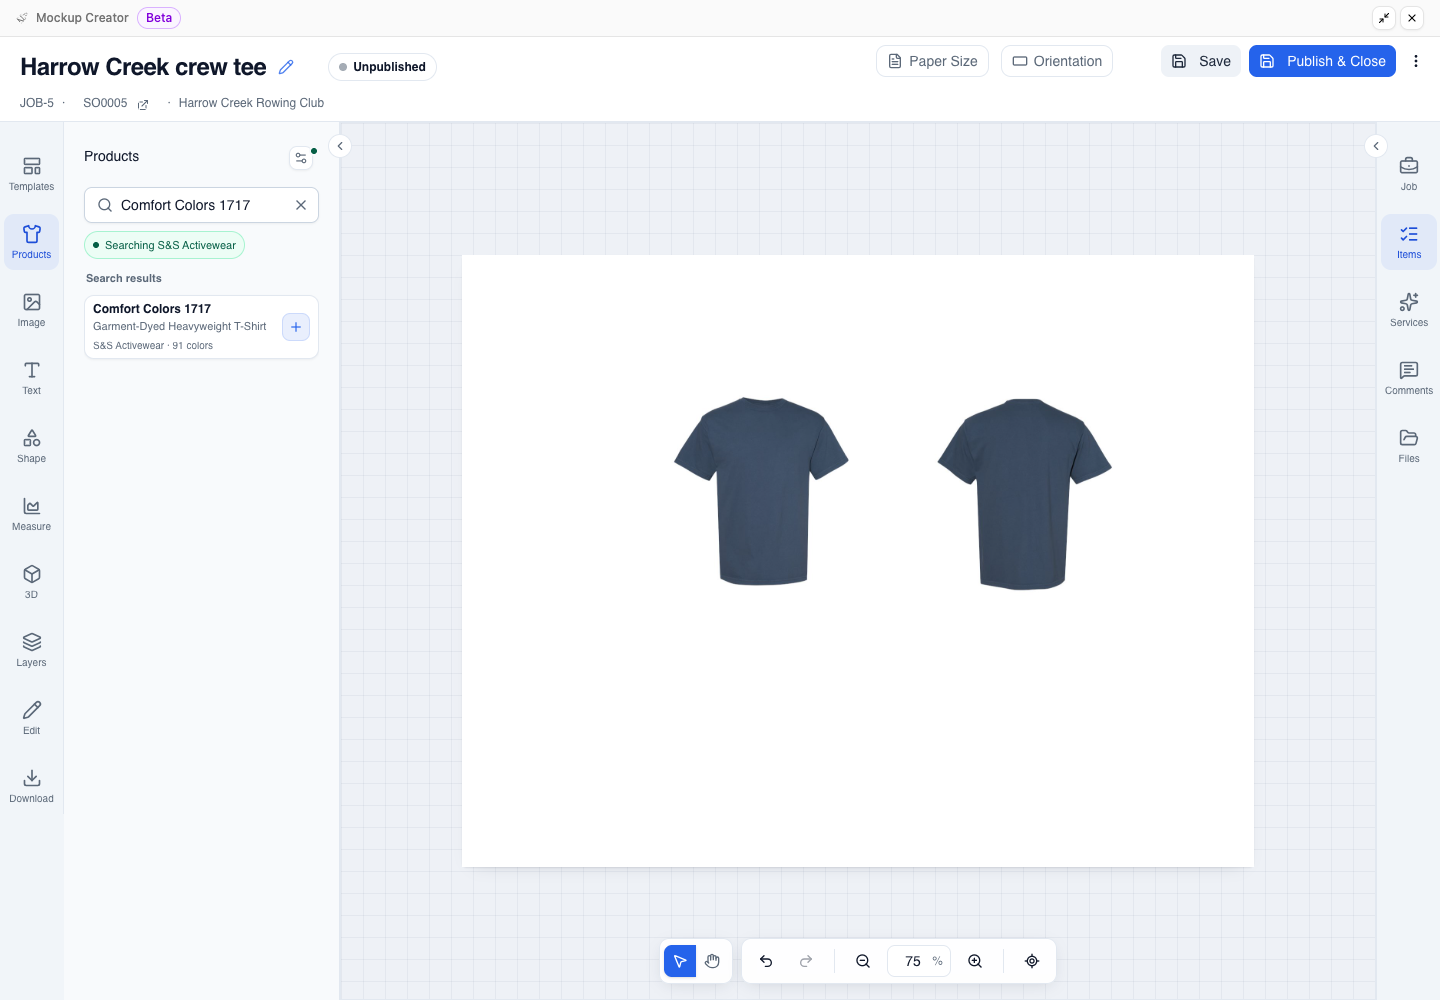
Click Orientation in the top toolbar to switch the page from portrait to landscape so both views fit side by side.
-
Drag the selected back view to the right to uncover the front view, then drag the front view to the left. Keep both products large, level, and clearly separated.
Upload, clean, and place the artwork
Upload the customer's artwork, clean the background if needed, and position the design on each product view.
-
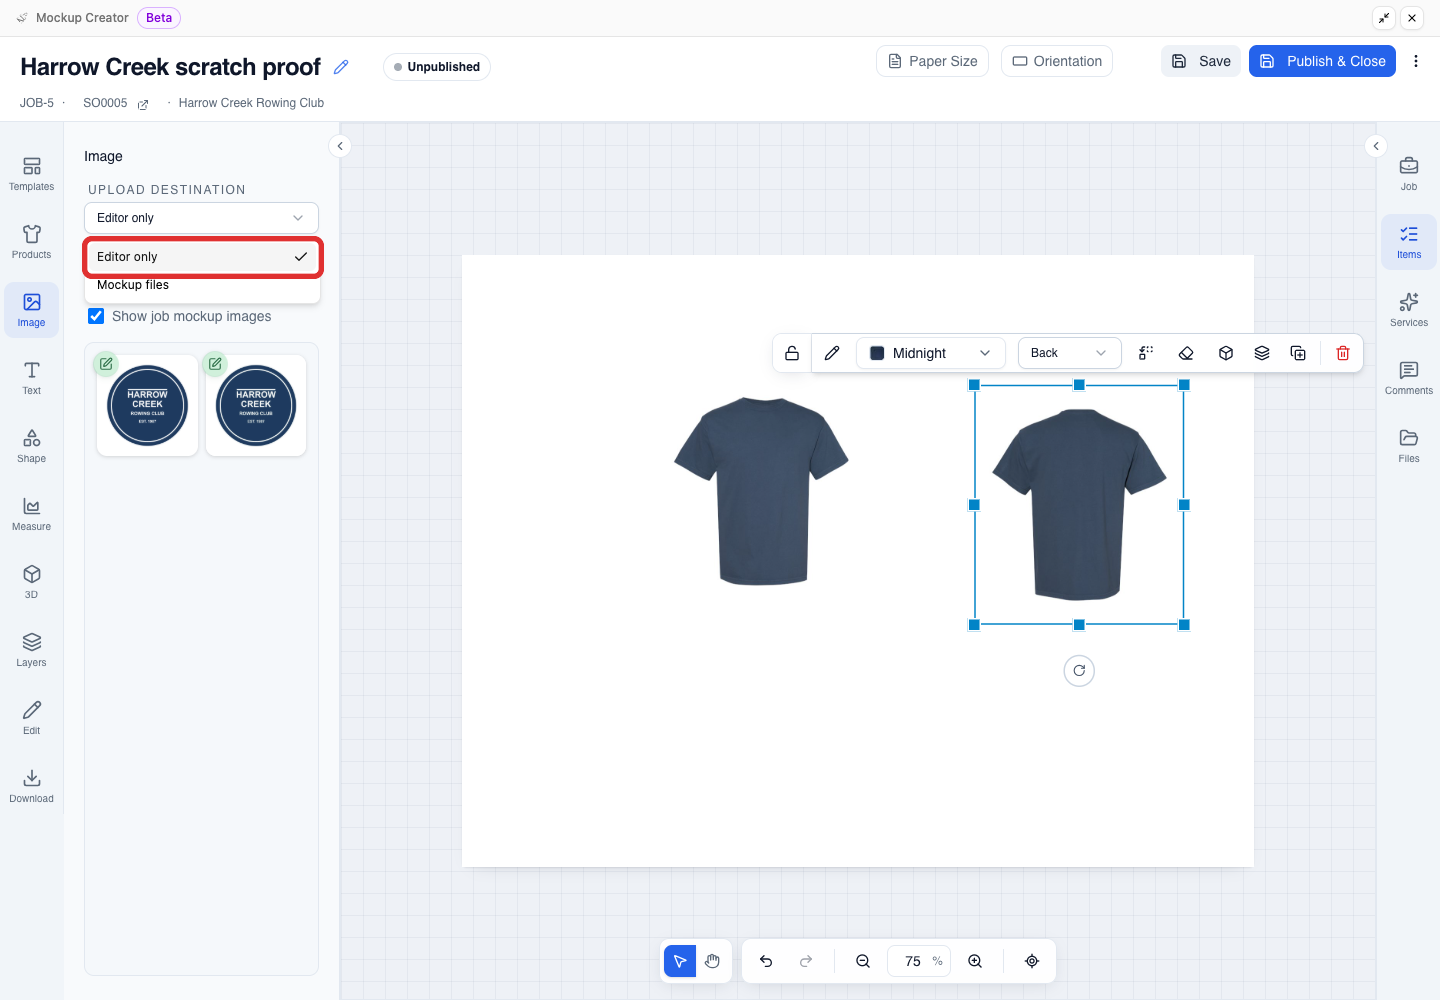
Open Image on the left sidebar and choose an Upload destination:
- Editor only: keeps the image in this editor library only.
- Mockup files: uploads the image to the job's shared mockup-image library.
-
Upload the artwork file (such as a JPG). YoPrint places a selected copy on the page and adds its tile to the library.
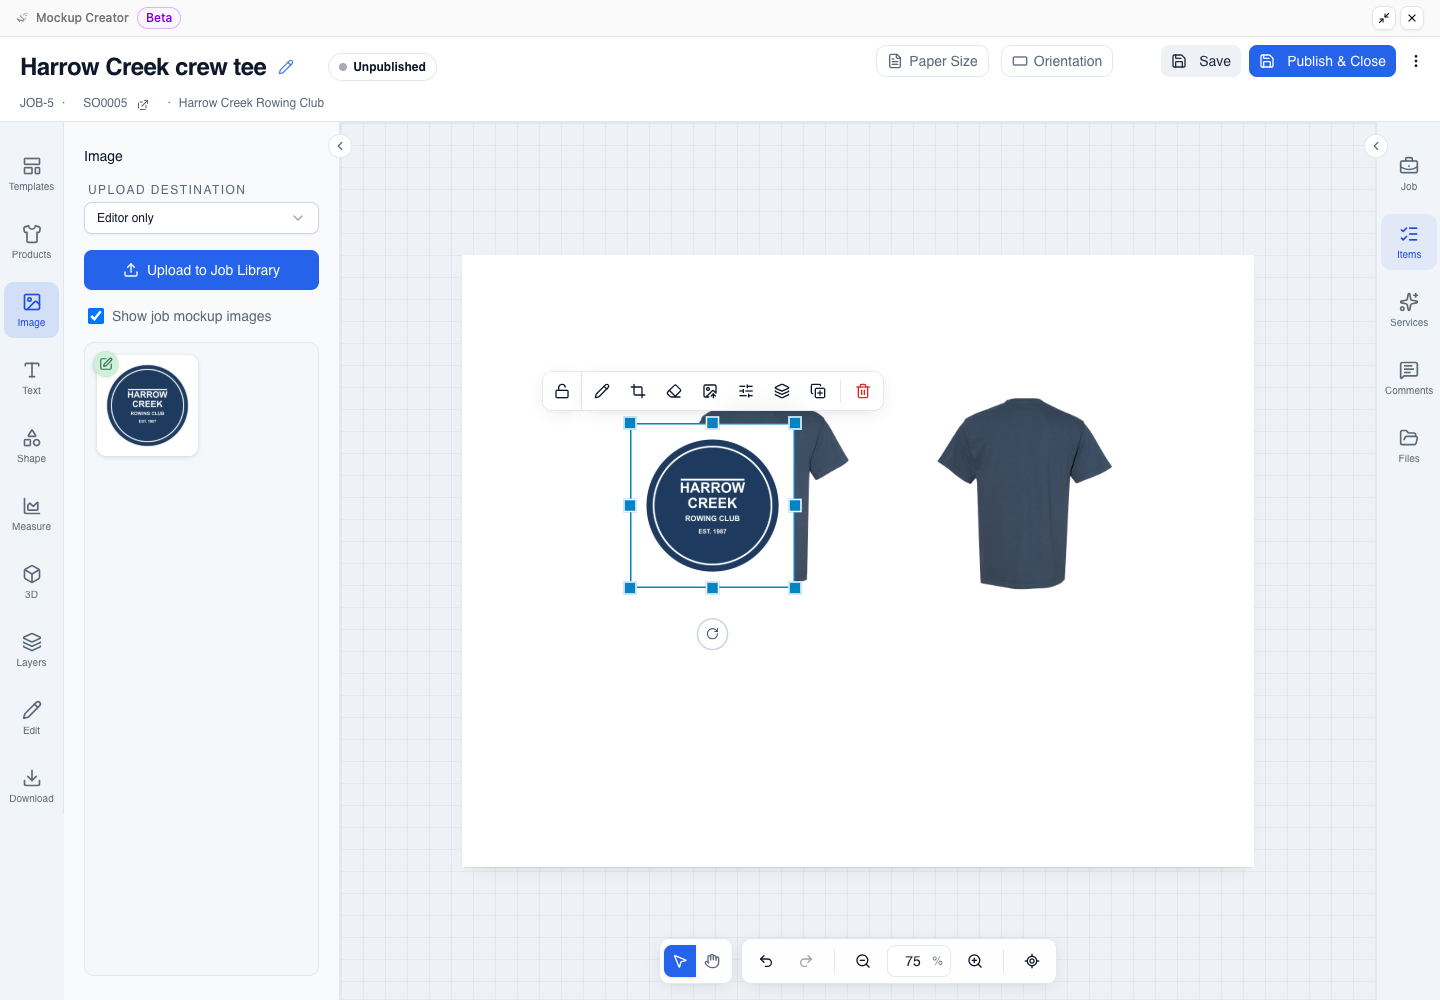
Click Place on a library tile to add another copy to the page. If your artwork already has a transparent background and needs no cropping, skip to step 8. To swap an uploaded file later, see replacing an image.
-
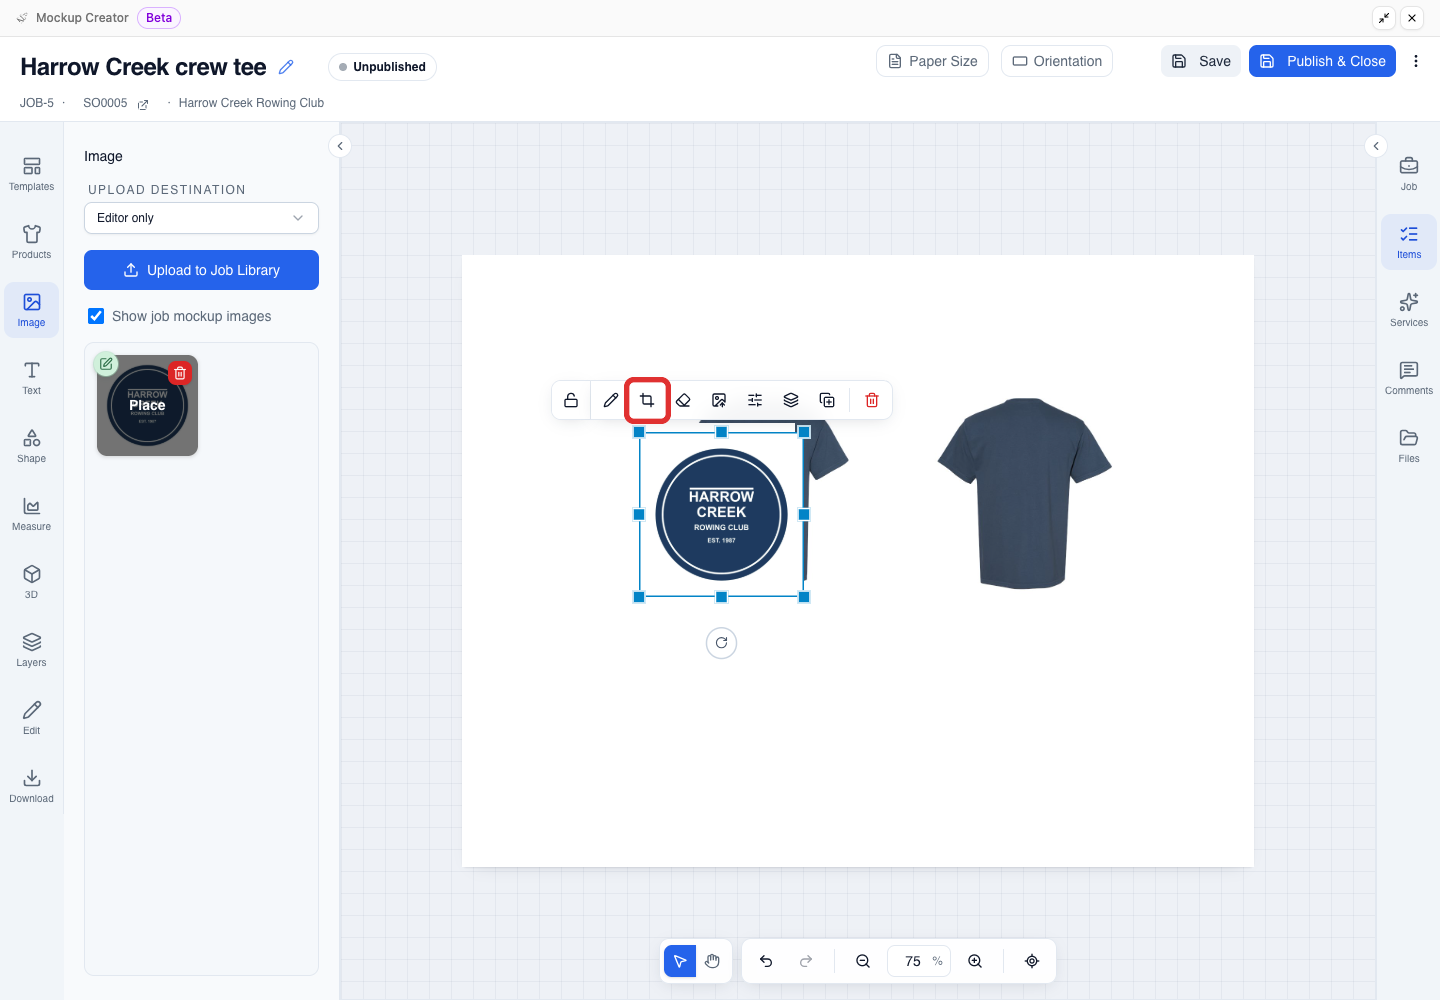
Select the placed image on the page and click Crop image on its floating toolbar.
-
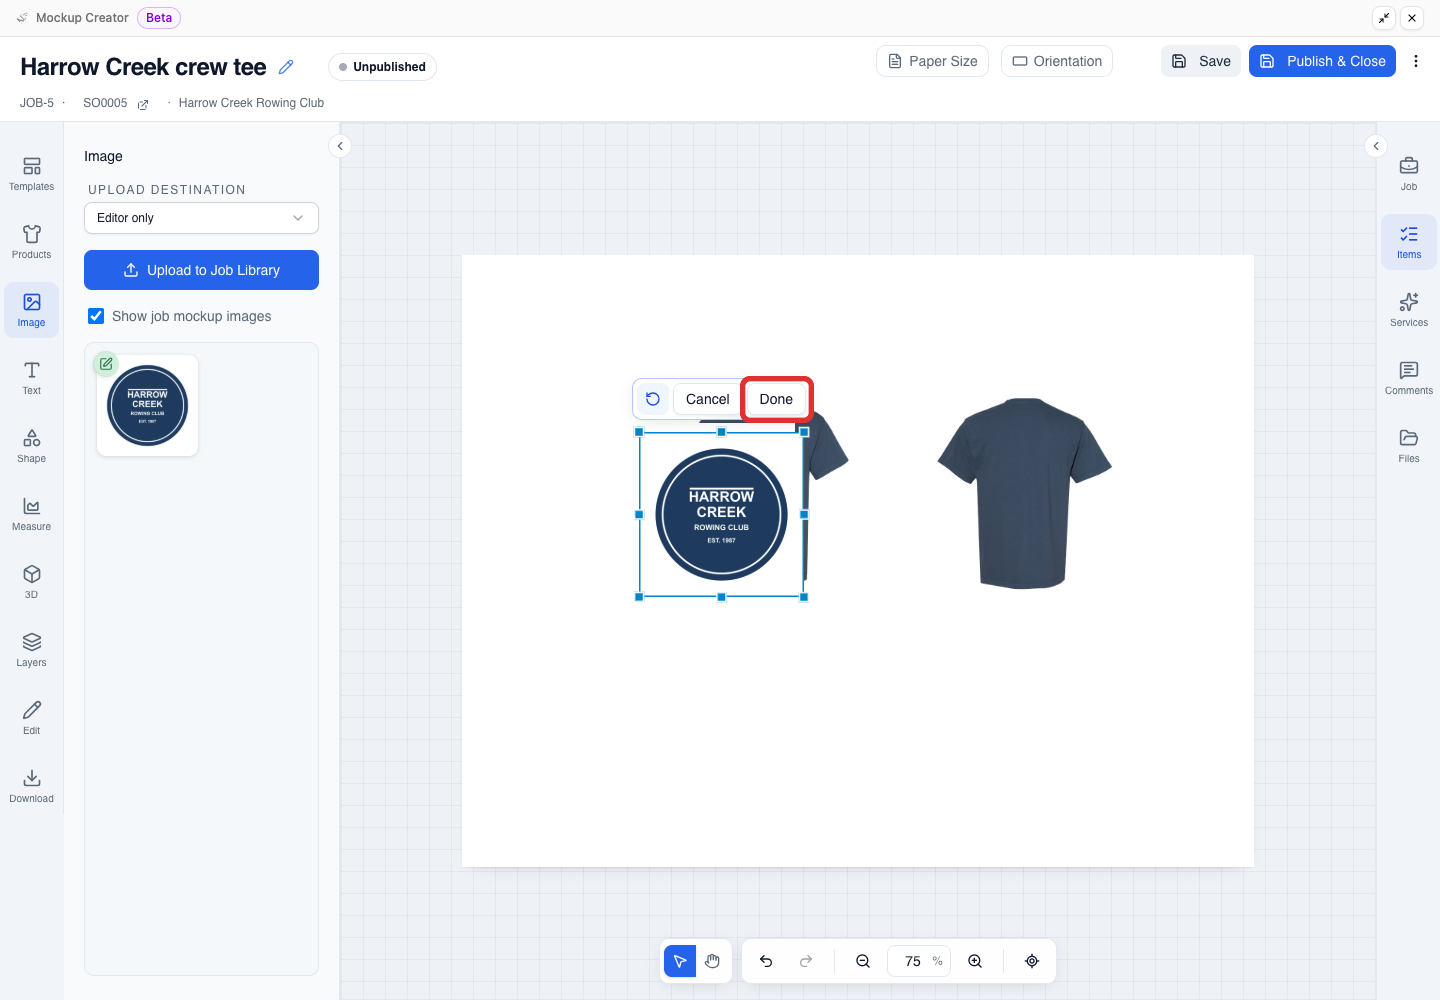
Drag the handles to trim any extra margins around the artwork, then click Done.
-
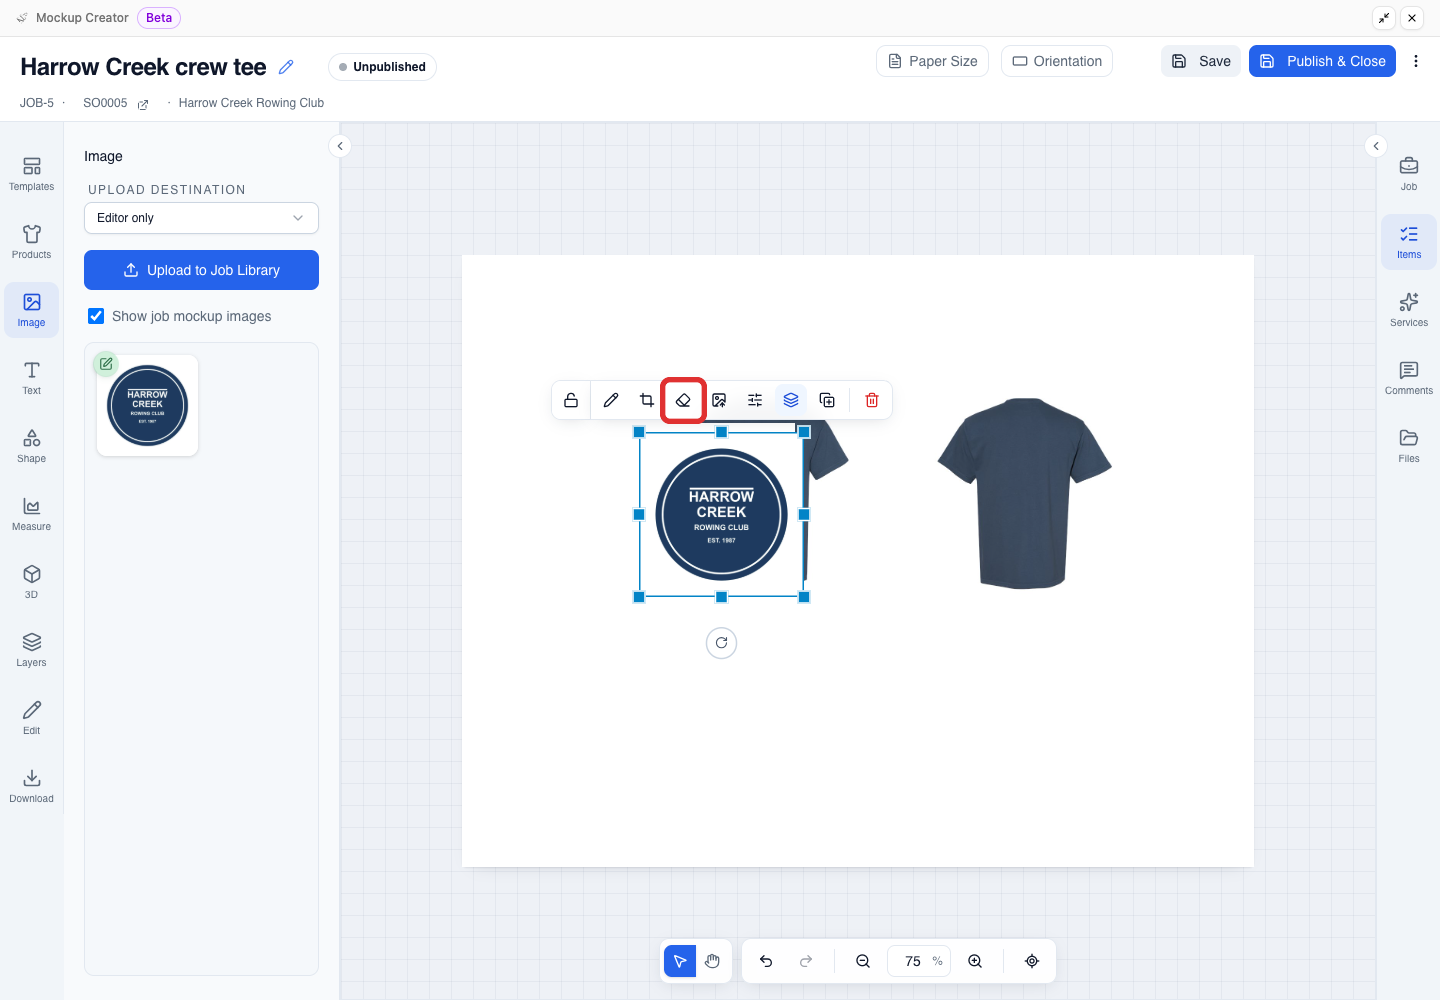
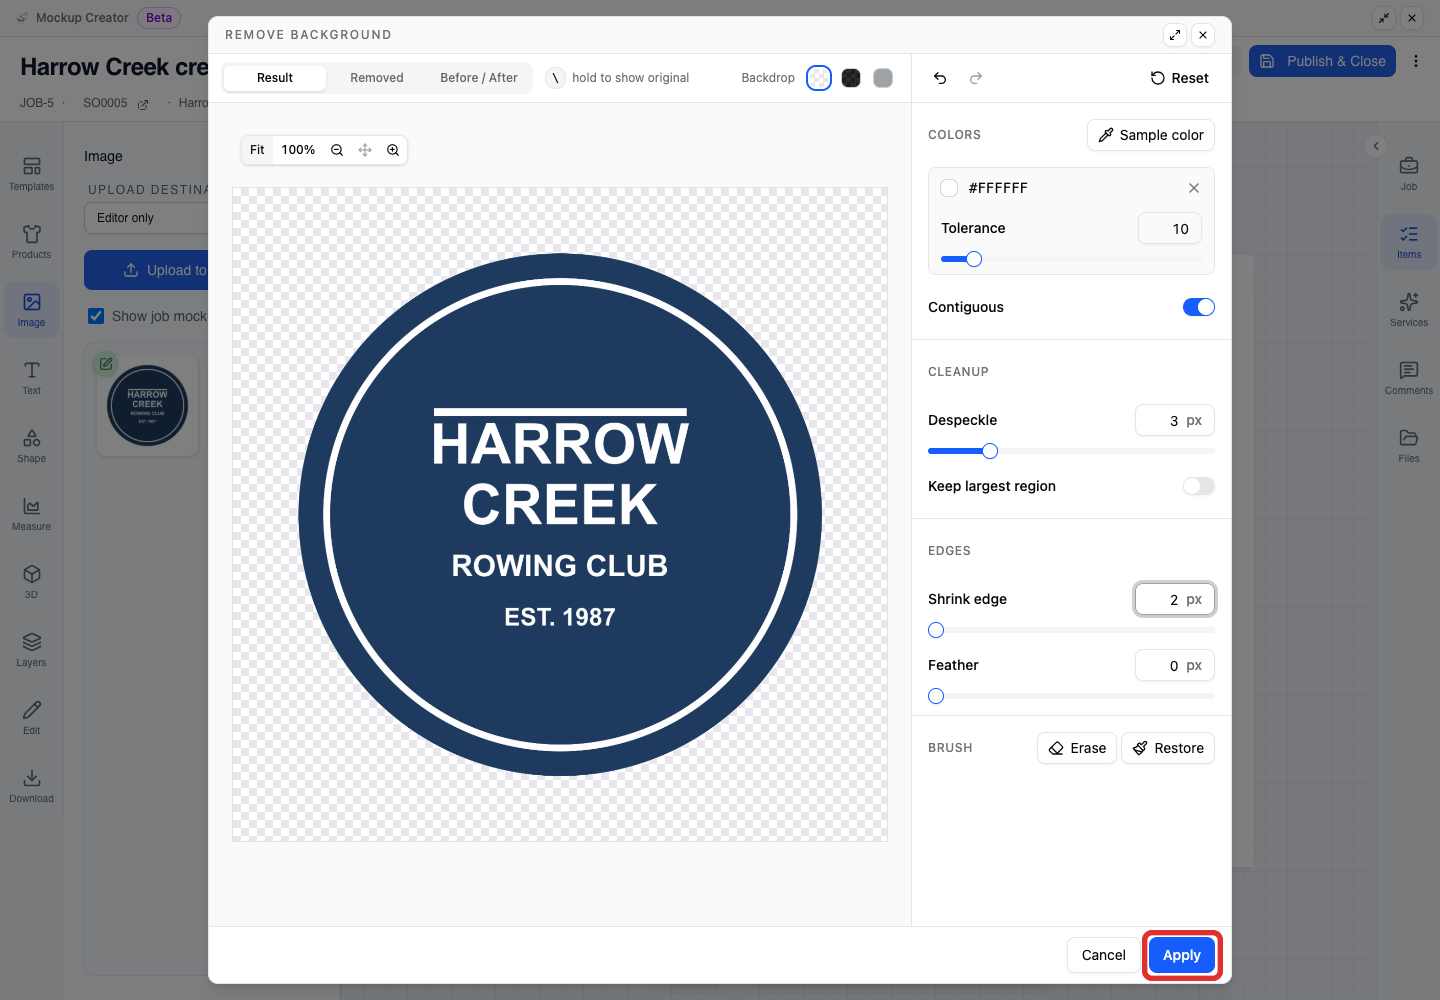
On the floating toolbar, click Remove background.
-
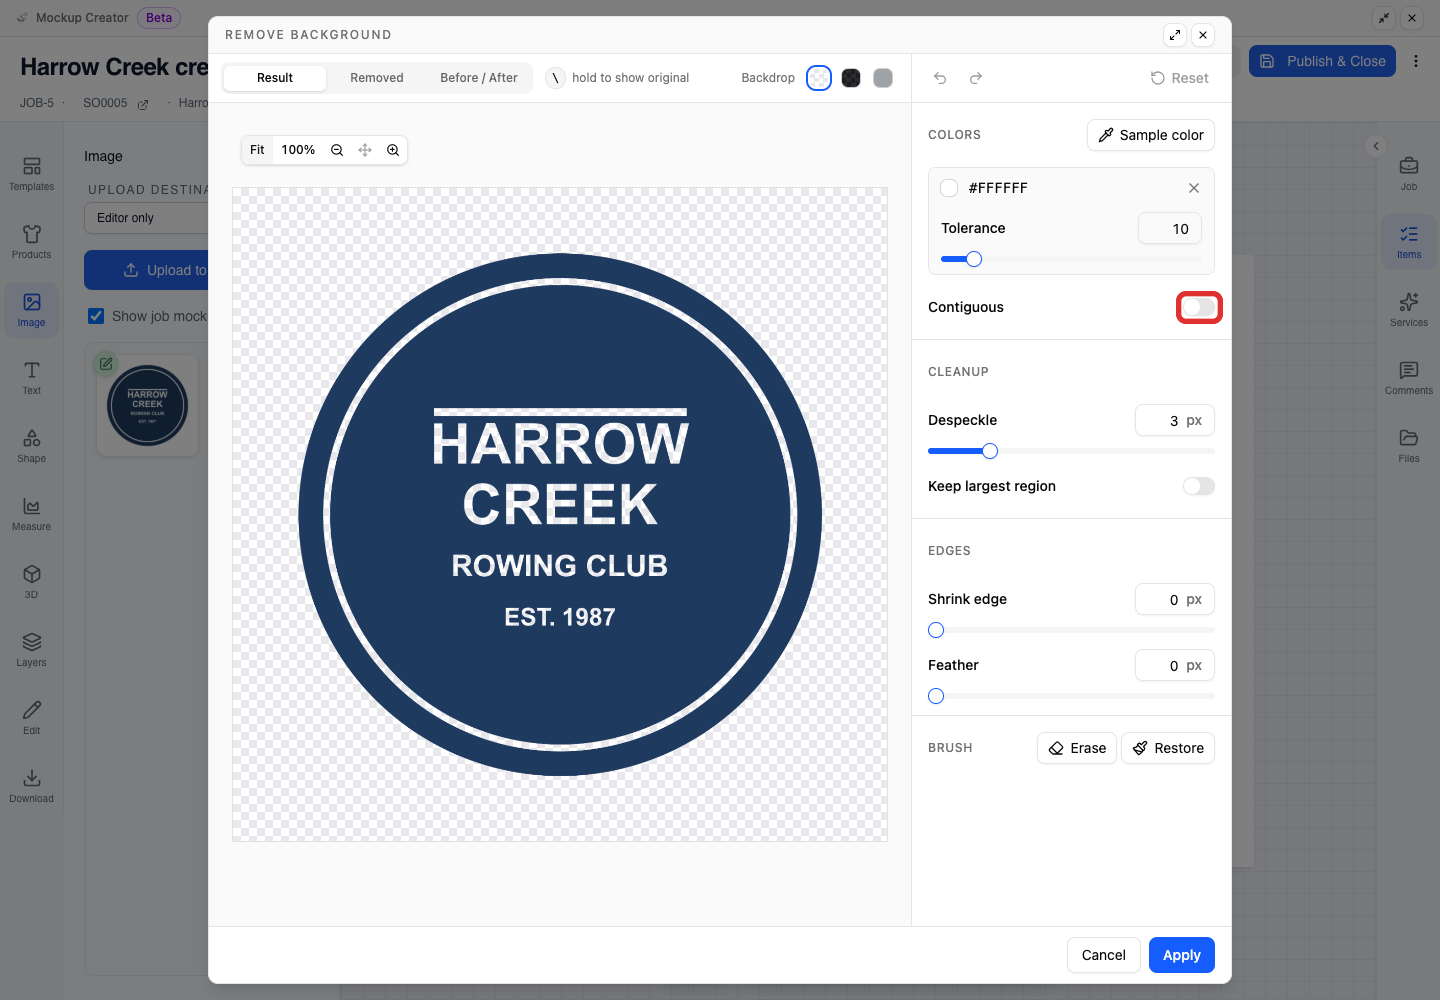
In the Remove background dialog, turn on Contiguous for the sampled background colour (here, white #FFFFFF). This removes only the outer background and keeps matching inner details, such as white lettering.
-
Set Shrink edge to a small value such as 2 to clean the outer edge. Check the preview, then click Apply.
-
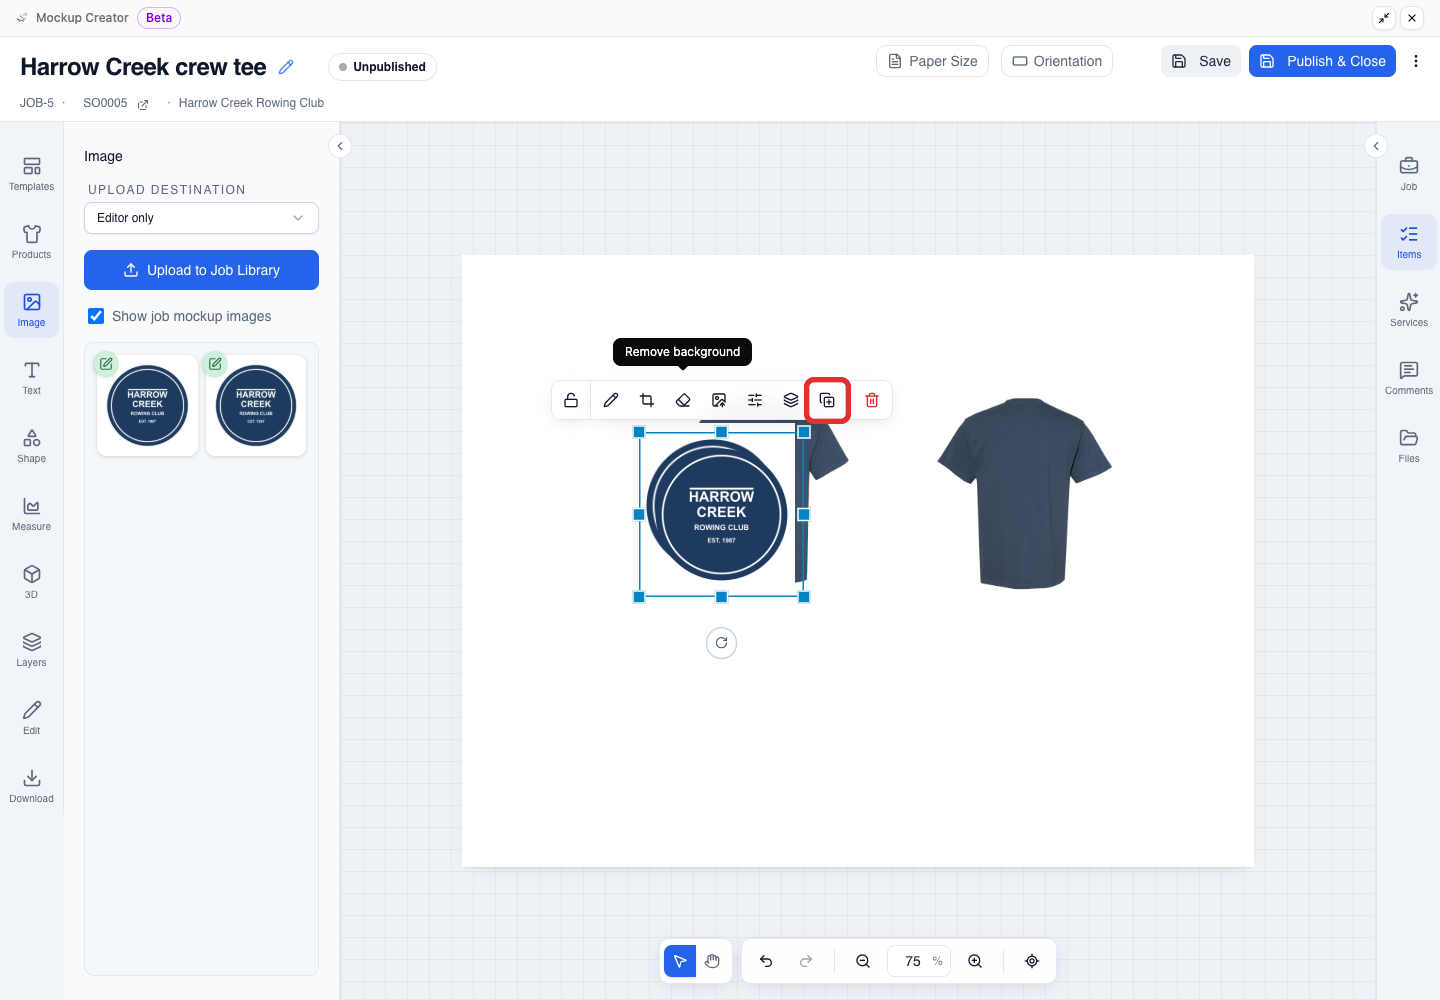
With the cleaned artwork selected, click Duplicate selection on the floating toolbar to make a copy for the back view.
-
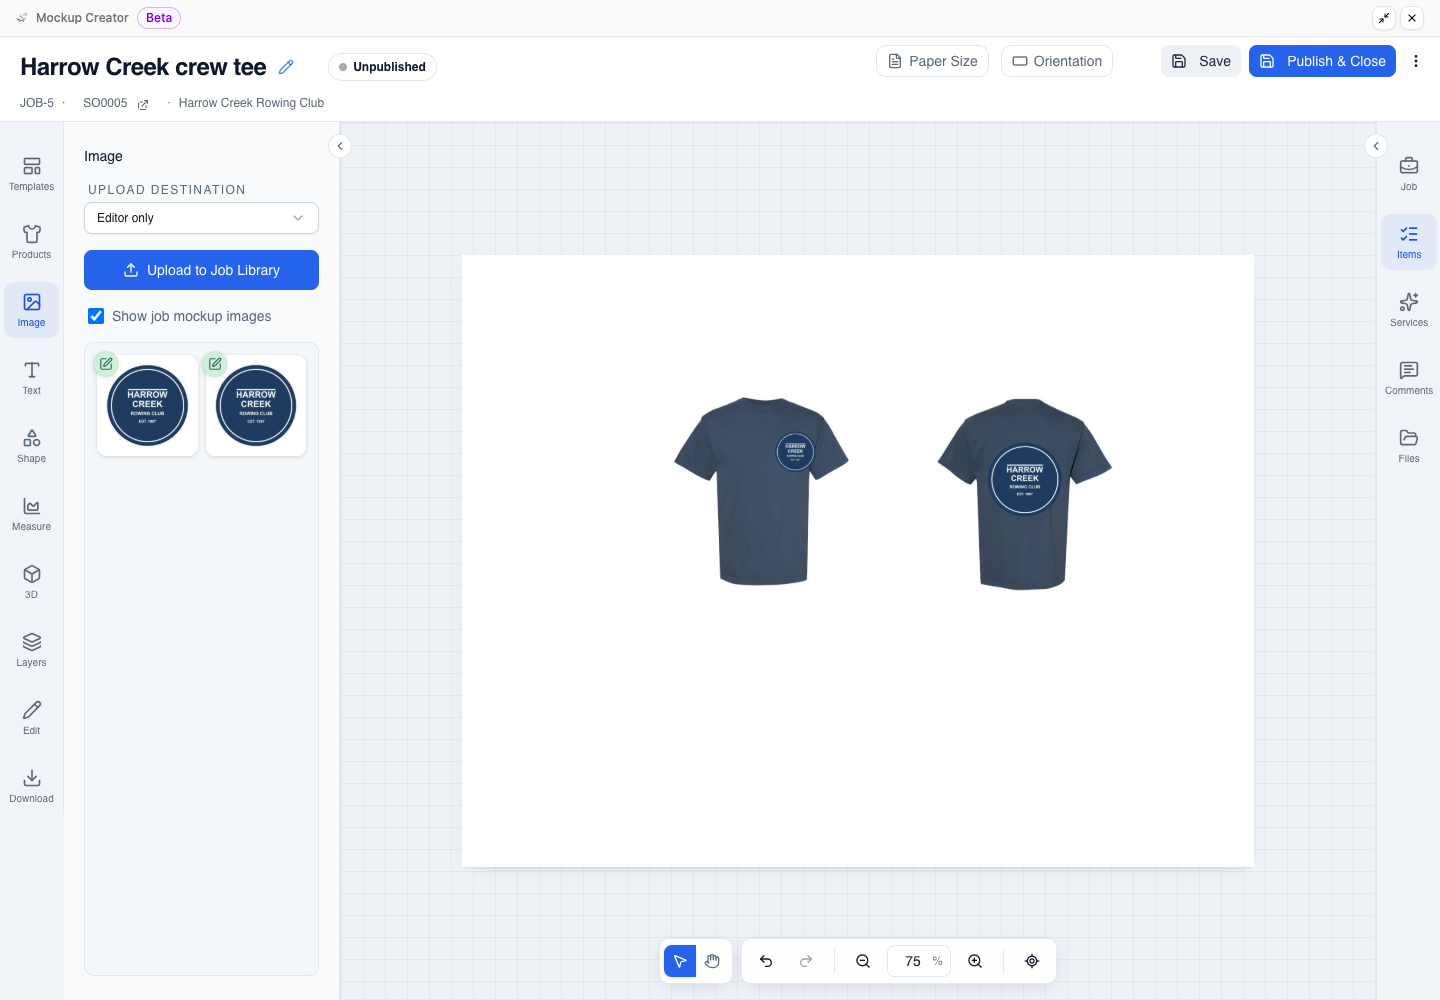
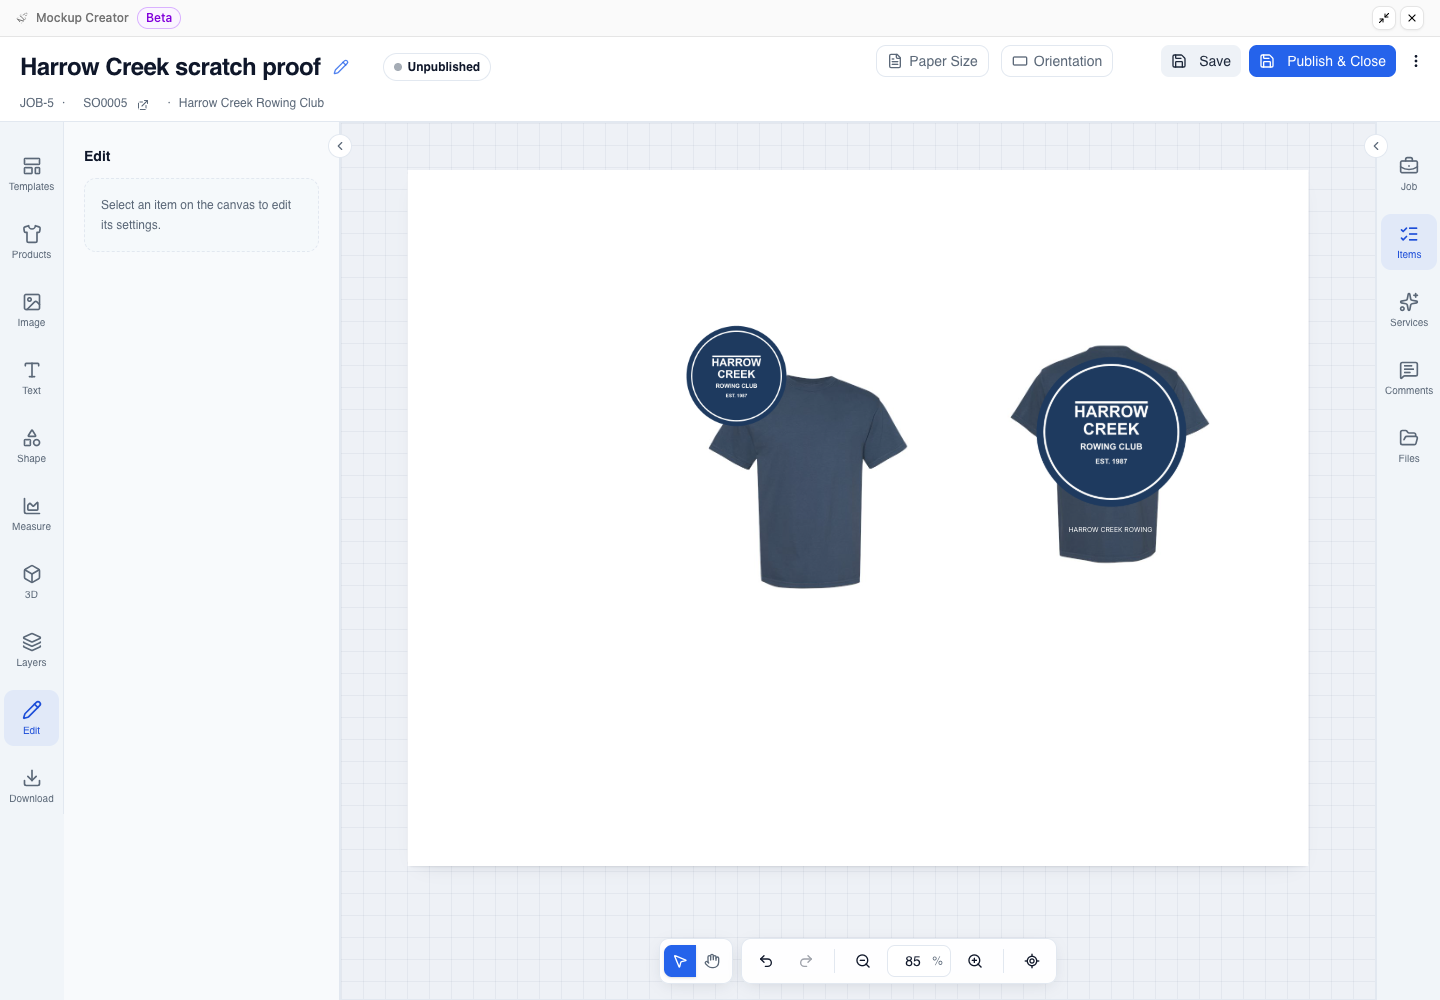
Drag the copy to the back view and position the original on the front view. Here, the front crest sits on the left chest at about one fifth of the tee width, and the back crest is centred below the collar at about half the tee width.
-
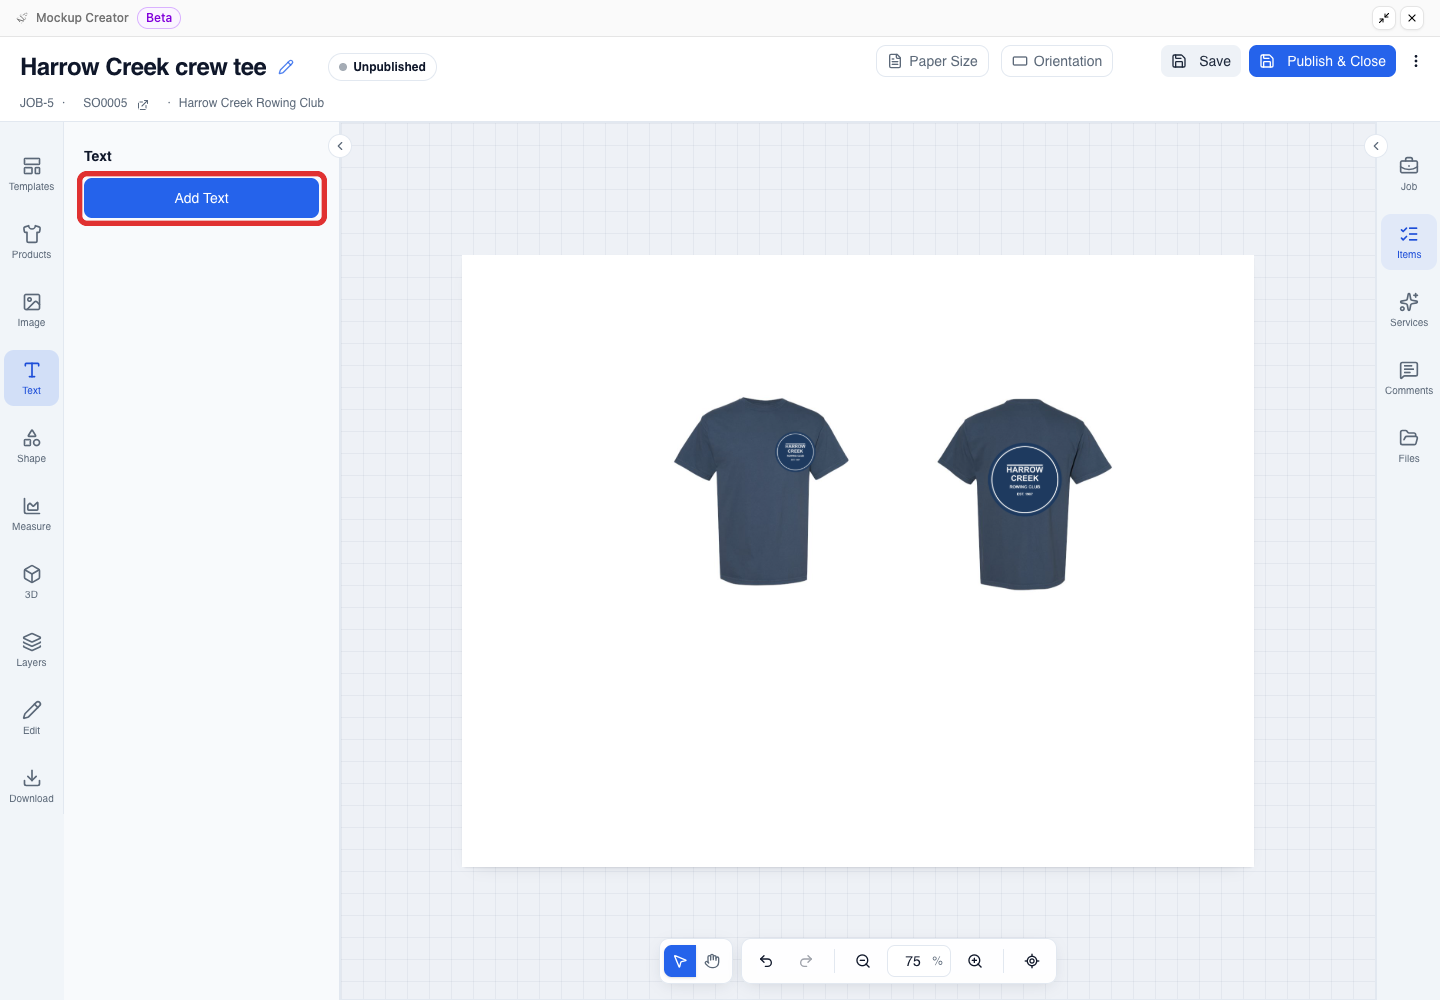
To add lettering, open Text on the left sidebar and click Add Text. YoPrint places a Double-click to edit box on the page.
-
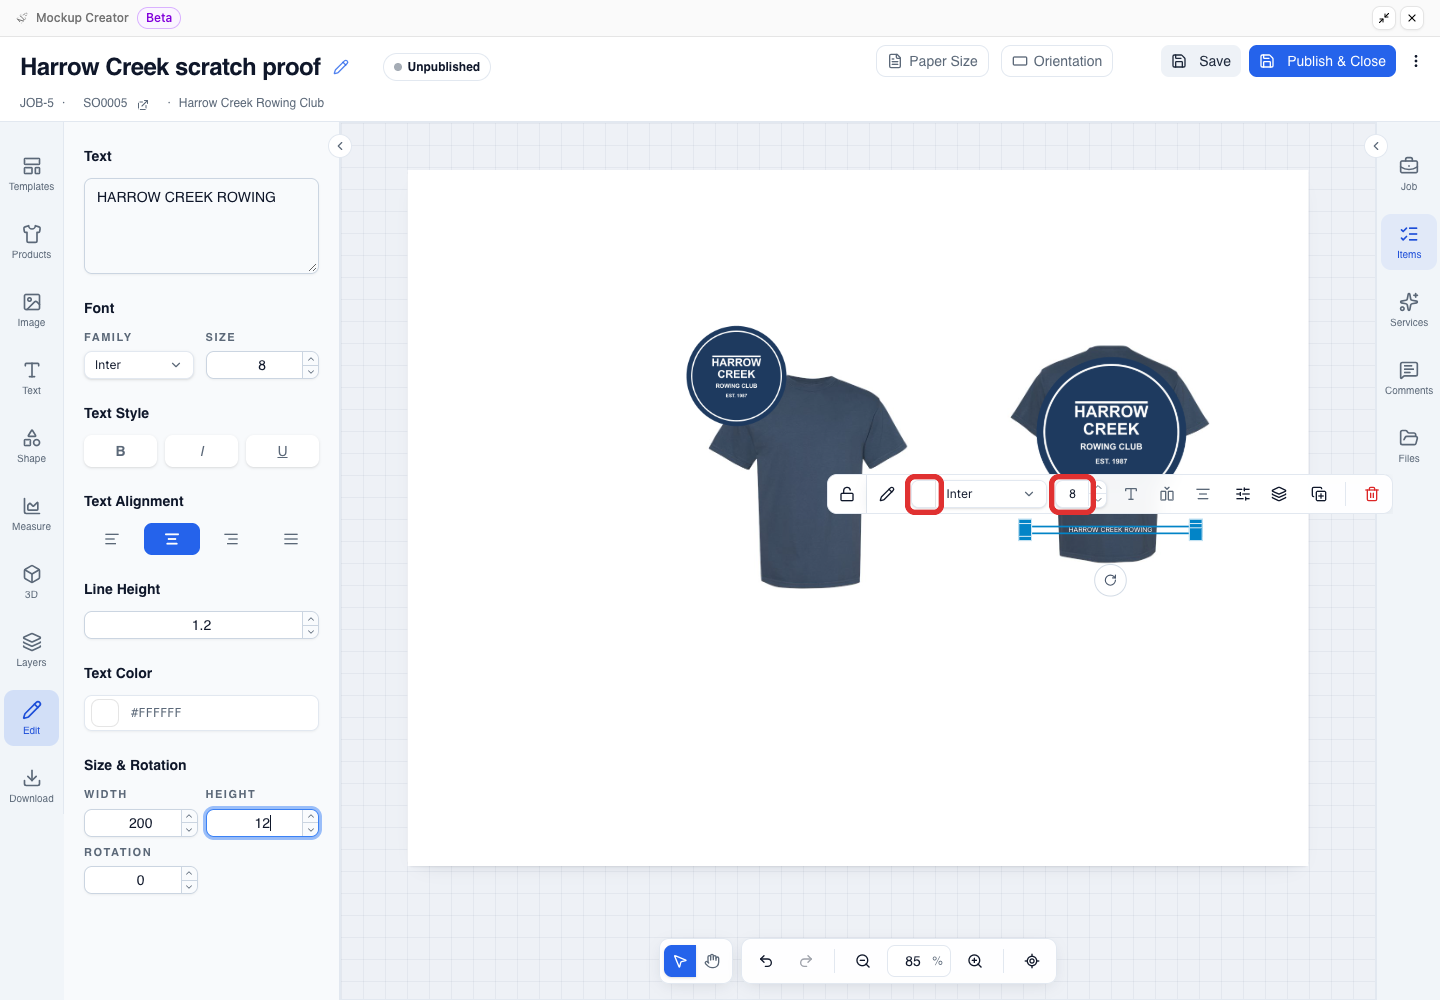
Double-click the Double-click to edit box (or use the Edit panel on the left) and type your text, such as HARROW CREEK ROWING. On the text toolbar, set Text color and Font size (here, white #FFFFFF and size 8).
-
Drag the text layer into position. Here, the white text is centred on one line below the back crest and kept narrower than the crest.
Zoom in and inspect detail
Zoom in to inspect your edges and lettering before publishing.
-
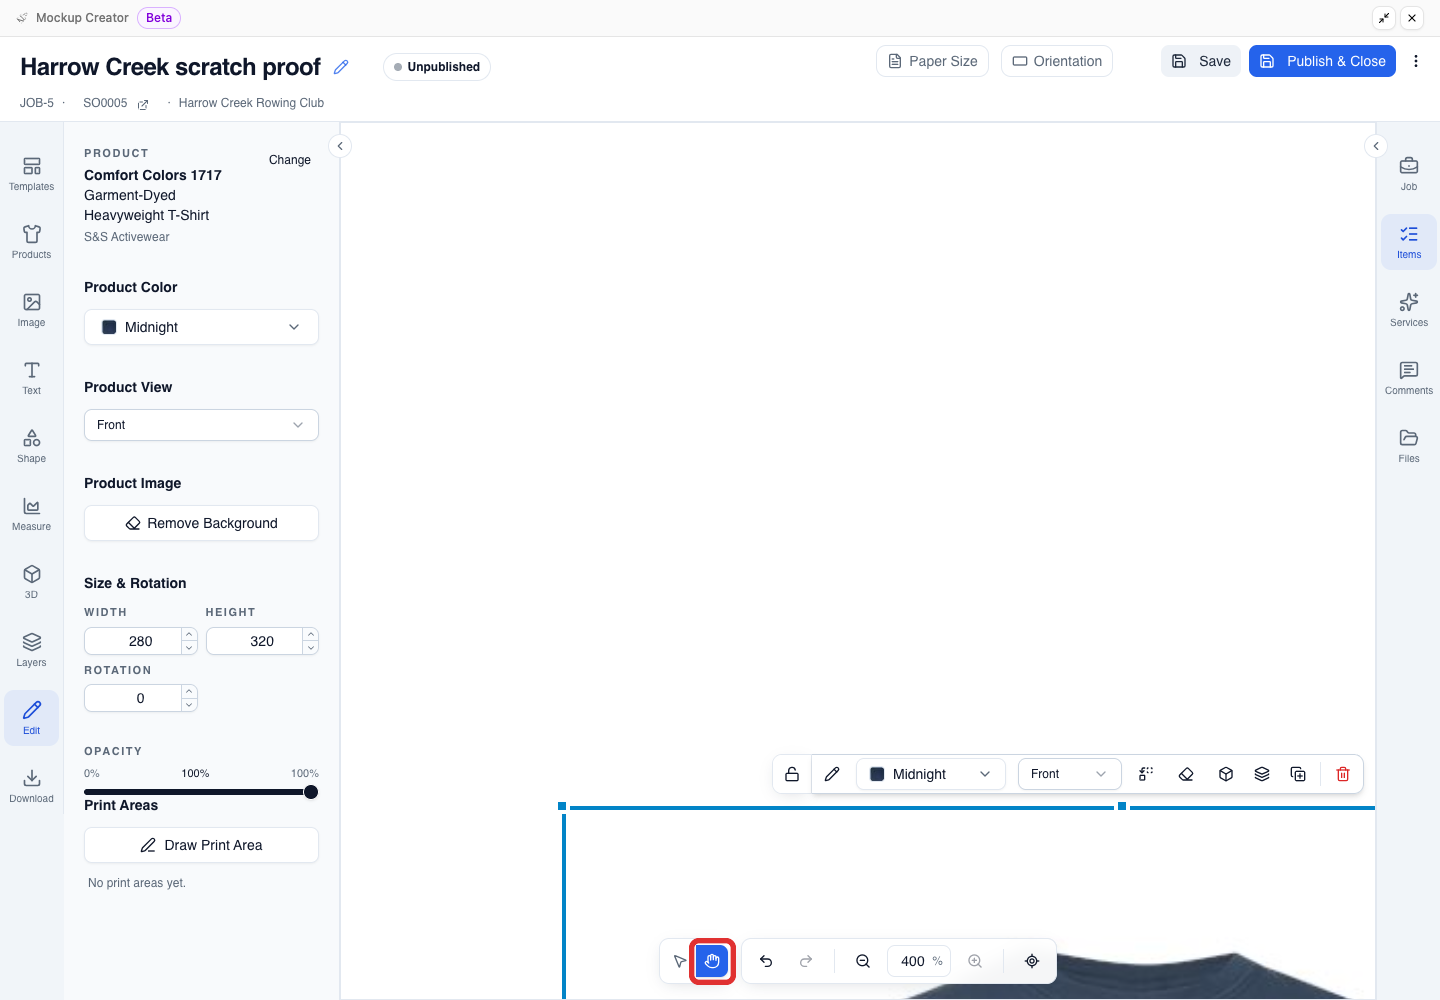
Enter 400 in the zoom field on the bottom bar to inspect close detail. Click the Hand tool and drag on the canvas to pan across the page.
-
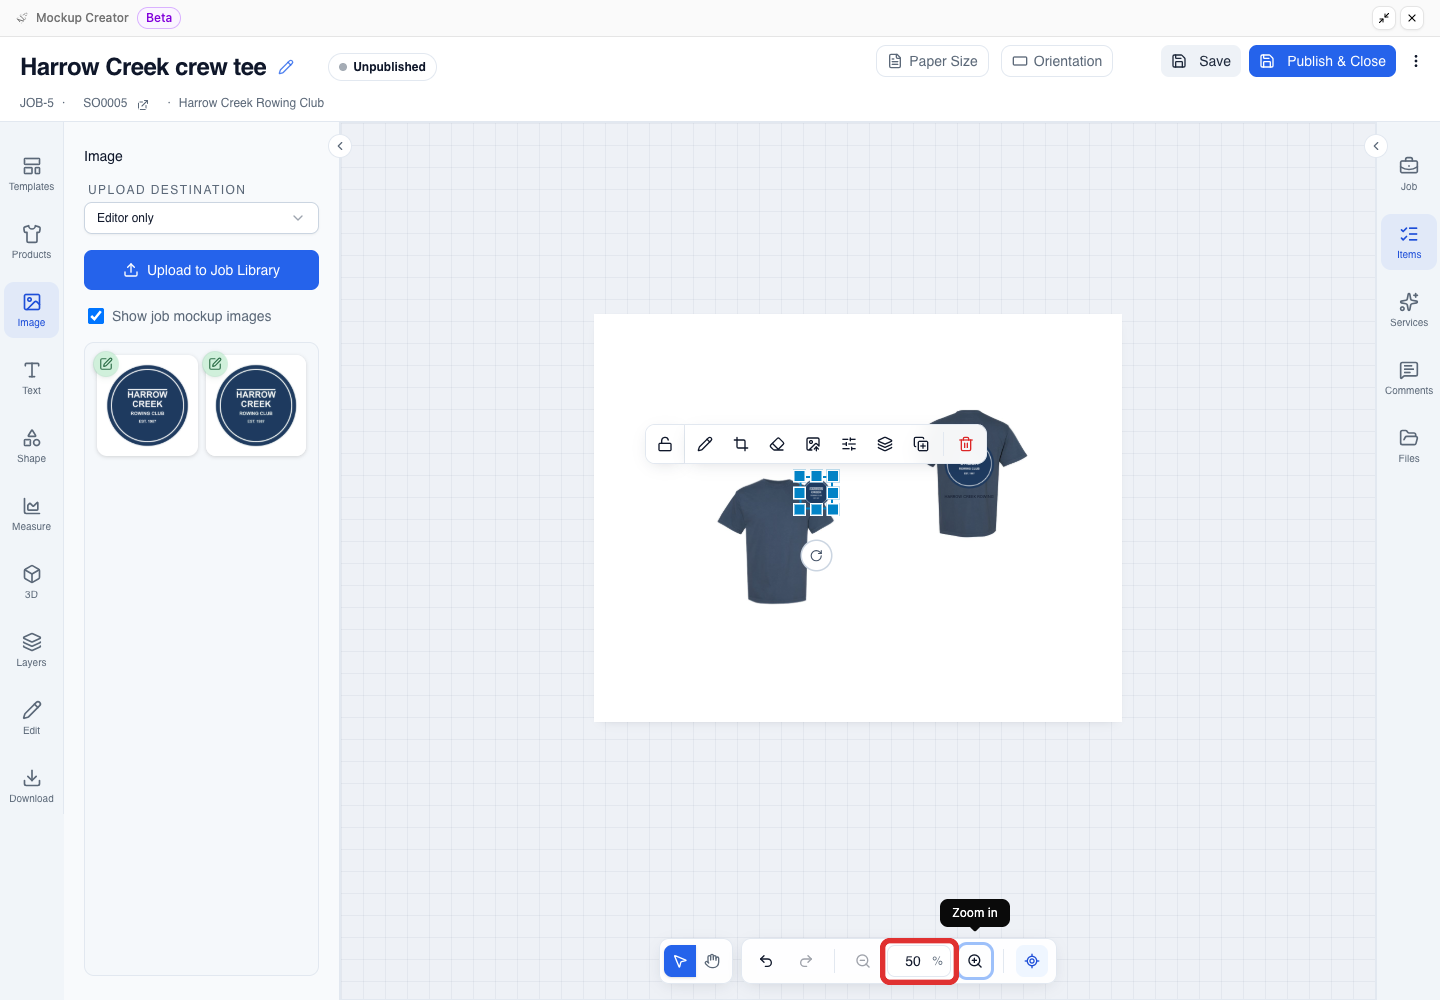
Click Reset view (the crosshair icon on the bottom bar) or enter 50 in the zoom field to see the full page again. The zoom field accepts 50 to 400.
Save and publish the mockup
Save your progress or publish the finished proof back to the job.
-
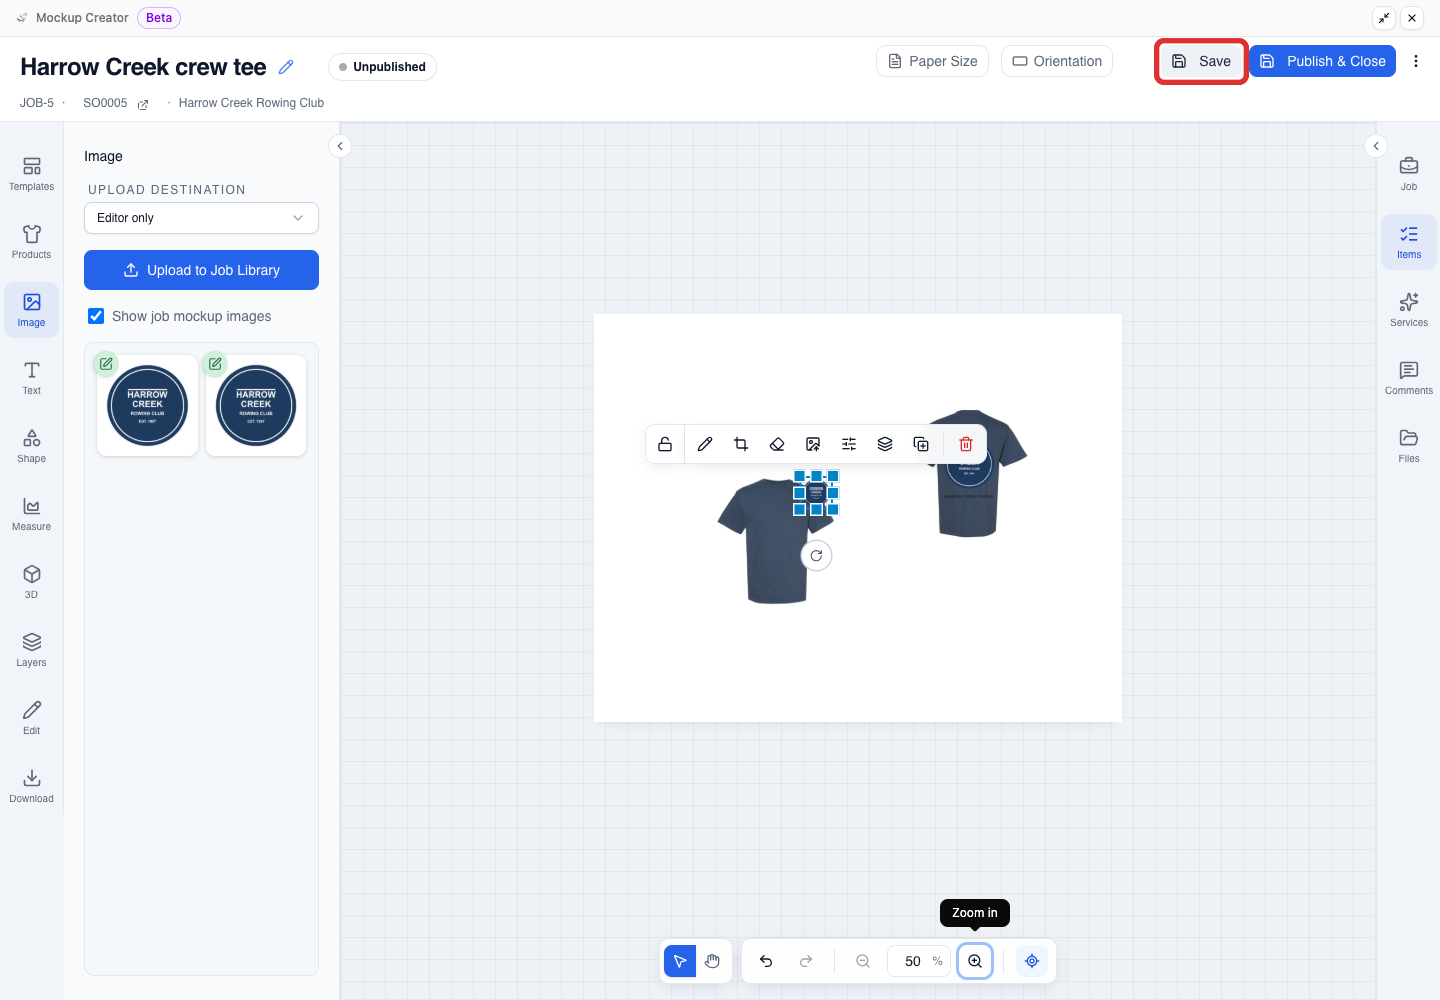
Click Save in the top toolbar to save a draft while you keep working.
-
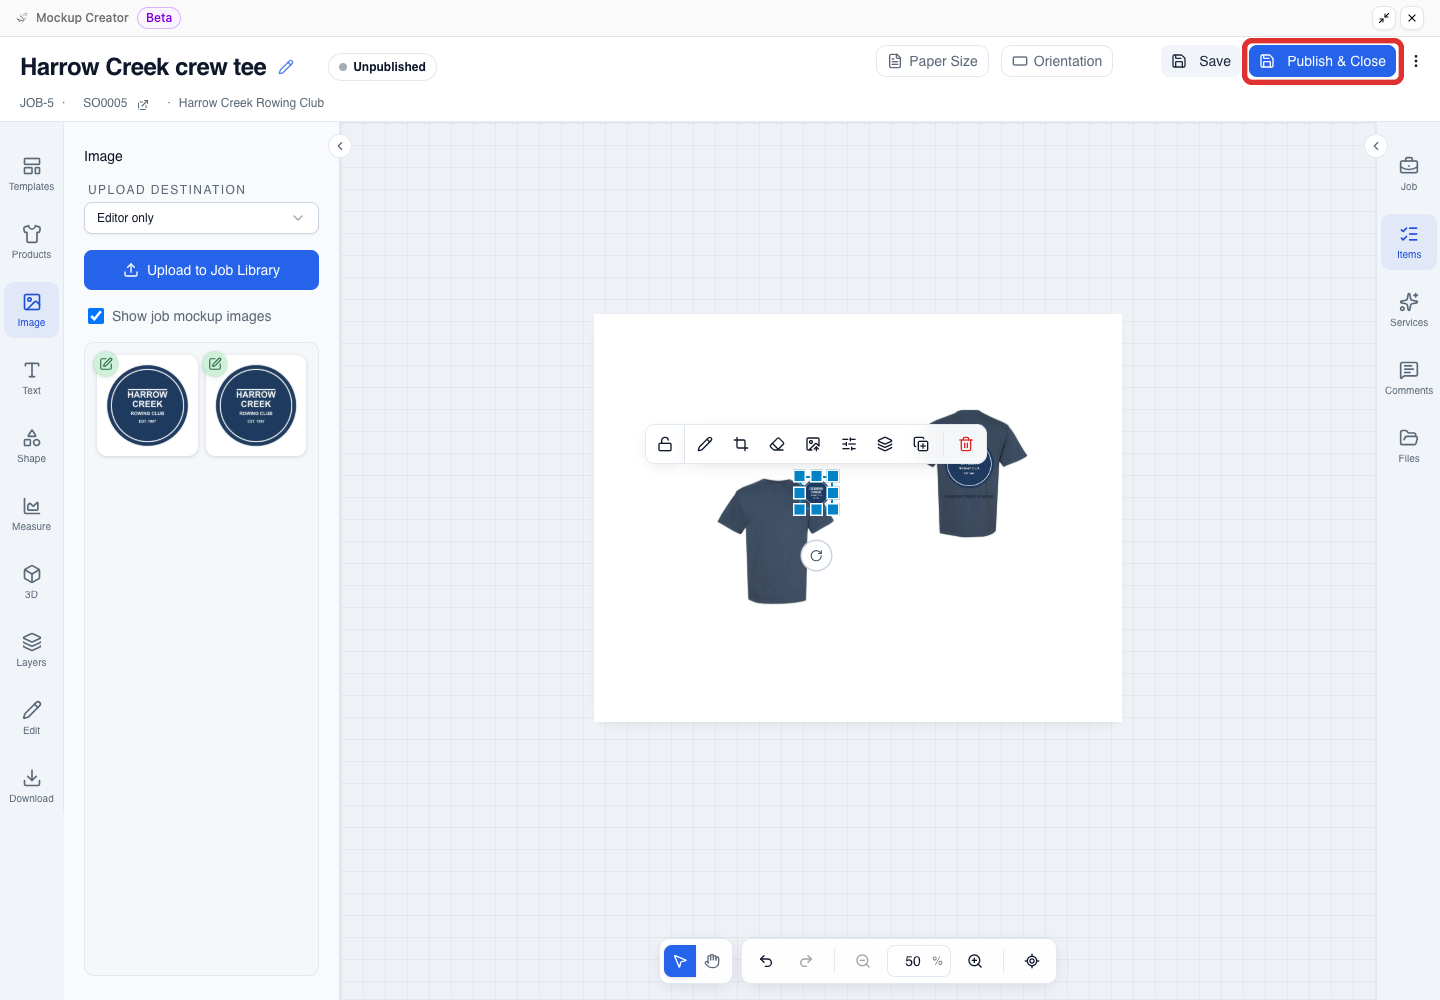
Click Publish & Close in the top toolbar to publish the proof and return to the job.
-
In the job's Mockup Files table, check that your mockup shows Published and Show in PDF is selected.
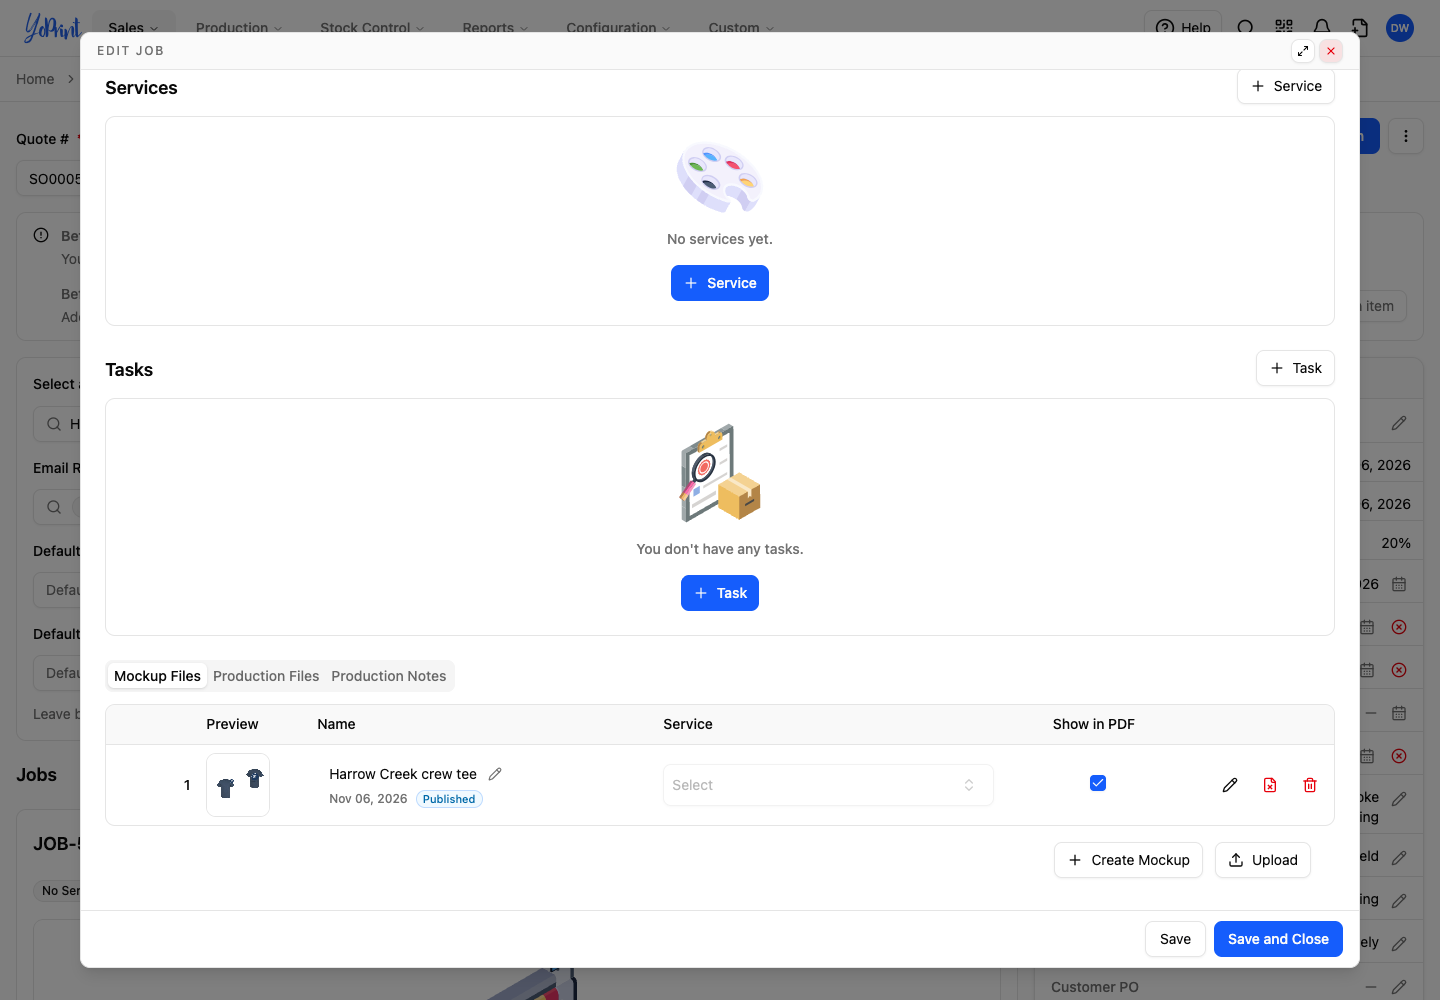
On a new job, click Save and Close in the job window to save the job itself.
Where to go next:
- Drafts, Show in PDF, and editing published or approved mockups: see Get started with the Mockup Creator.
- Customer approval and sending: see How to Request Artwork Approval from Your Customer and How to Send a Quote.
- Reusing or updating this mockup: see Replace an image in a mockup or Change the product in a mockup.
- Job PDFs and production files: see Creating custom PDF templates for jobs and Mockup file vs production file.