Start a mockup from a template
In this article
Start a customer proof or sales mockup from a ready-made layout instead of a blank page. Pick a design from YoPrint Gallery or your shop's saved templates, update the job details and artwork, and save your own layout for future orders.
You can use templates in two ways:
- Configuration > Settings > Mockup Templates: Install a YoPrint Gallery layout into your shop library so you can set your shop logo and contact details once for the whole team.
- Templates panel in Mockup Creator: Copy a saved shop template or a YoPrint Gallery layout onto the current job's canvas.
Install a gallery template into your shop library
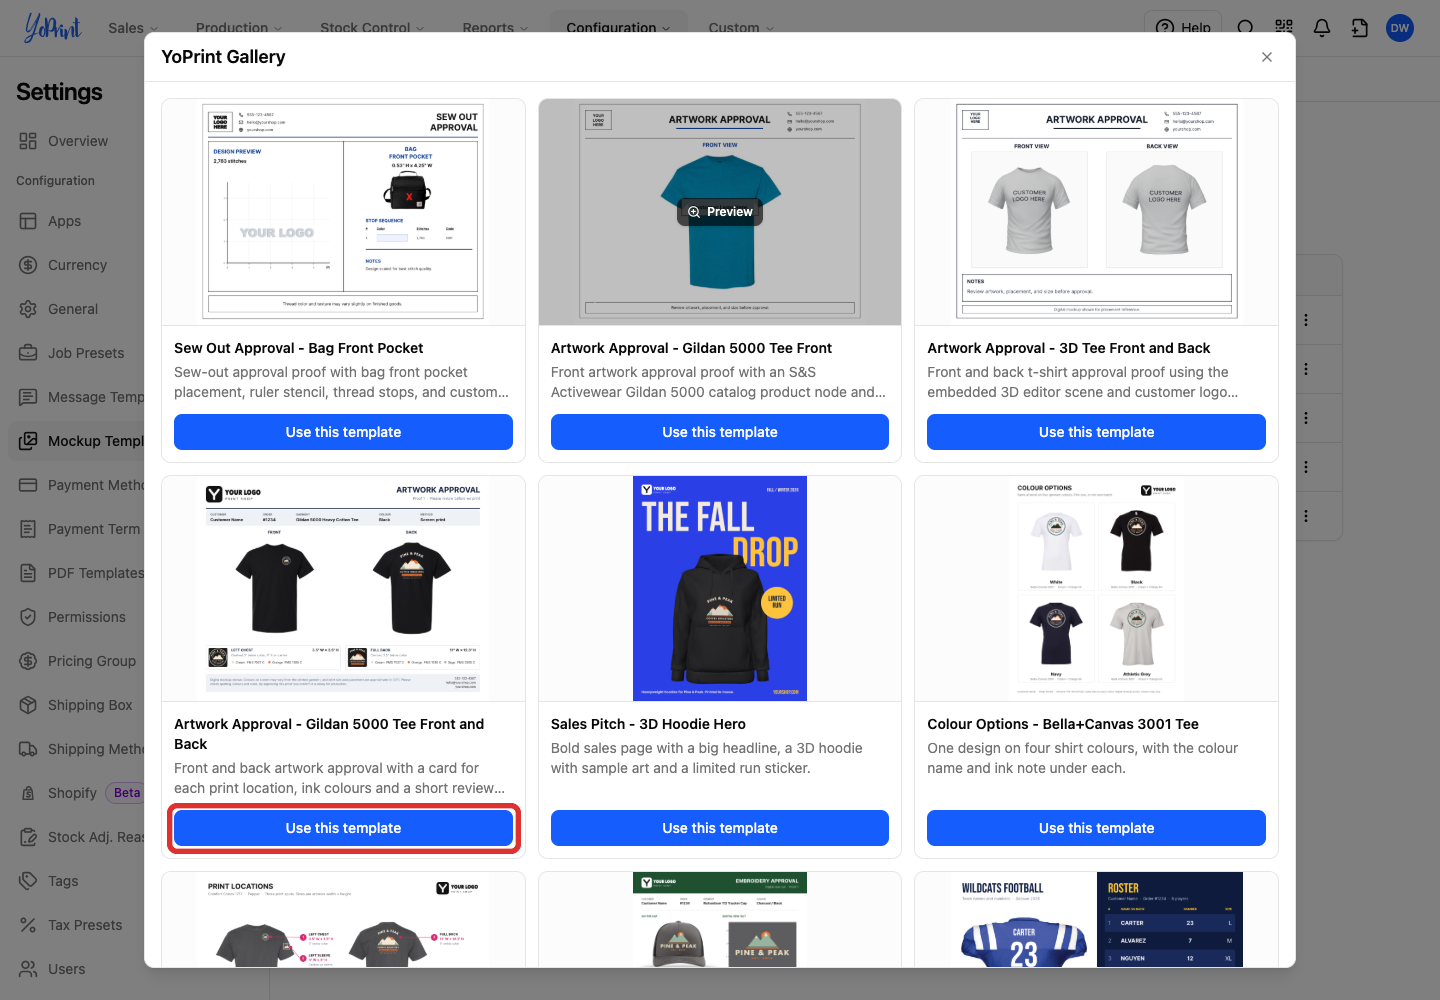
Install a layout from YoPrint Gallery when you want your team to reuse it across jobs with your shop logo and contact details already in place. YoPrint Gallery includes artwork approvals, sew-out proofs, color option sheets, sales pitches, and multi-item merch packs.
Permission required
You need the Manage Settings permission to open Configuration > Settings > Mockup Templates. Staff members without this permission can still load saved shop templates and YoPrint Gallery layouts inside a job's Mockup Creator.
-
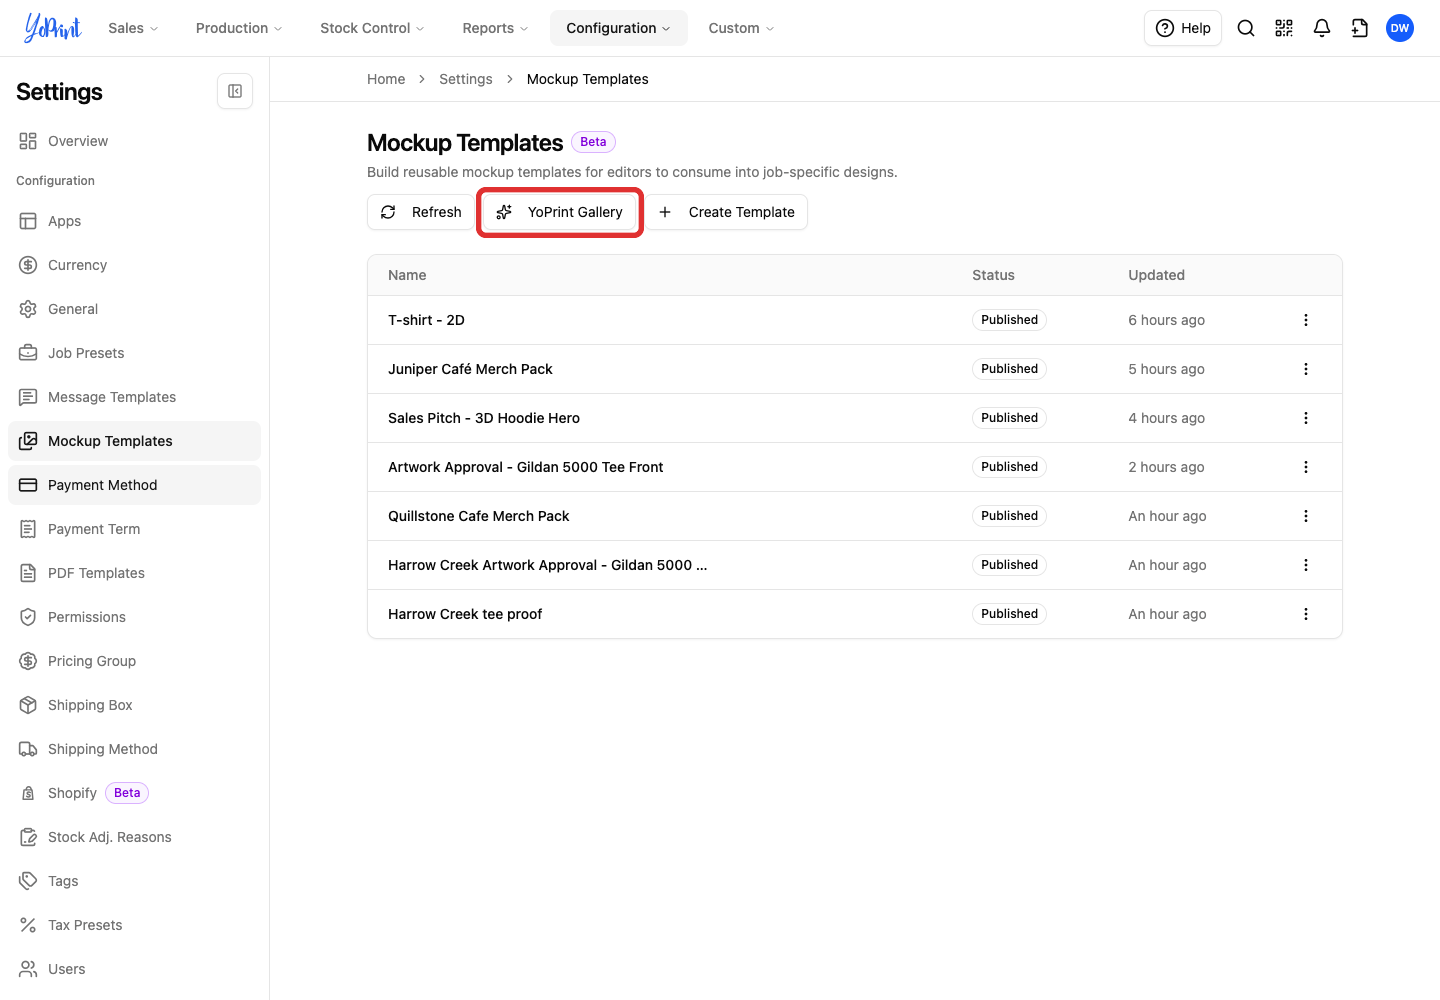
Go to Configuration > Settings, select Mockup Templates in the left sidebar, and click YoPrint Gallery.
-
In YoPrint Gallery, find a layout and click Use this template. This example installs Artwork Approval - Gildan 5000 Tee Front and Back.
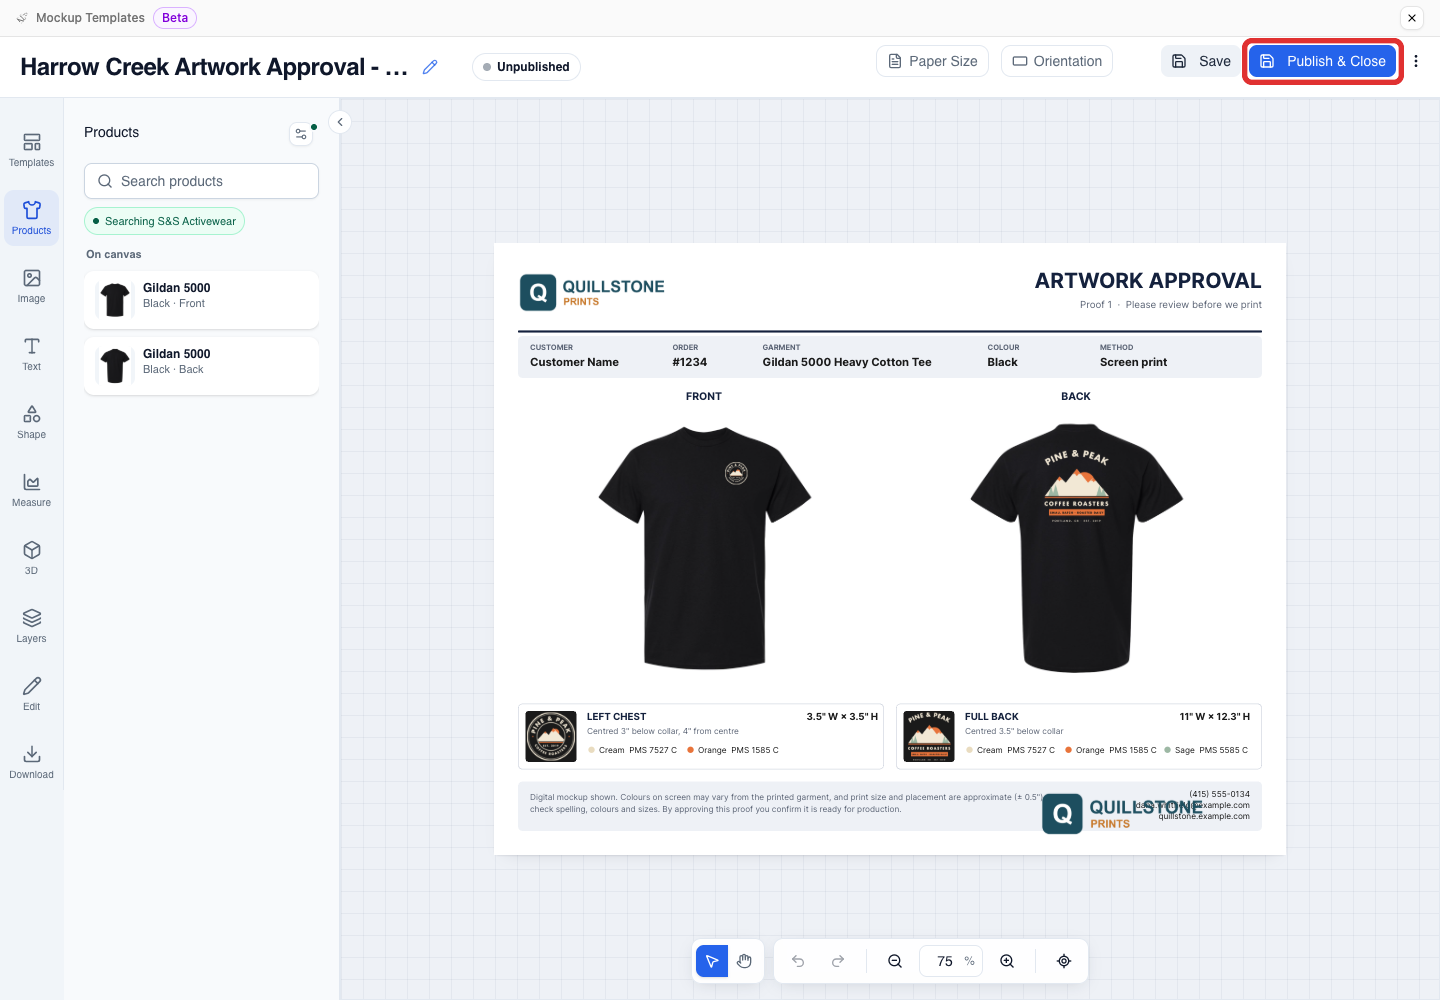
YoPrint creates an Unpublished copy for your shop and opens it in the template editor. Click the pencil icon next to the template name in the top left to rename it (here, Harrow Creek Artwork Approval - Gildan 5000 Tee Front and Back).
-
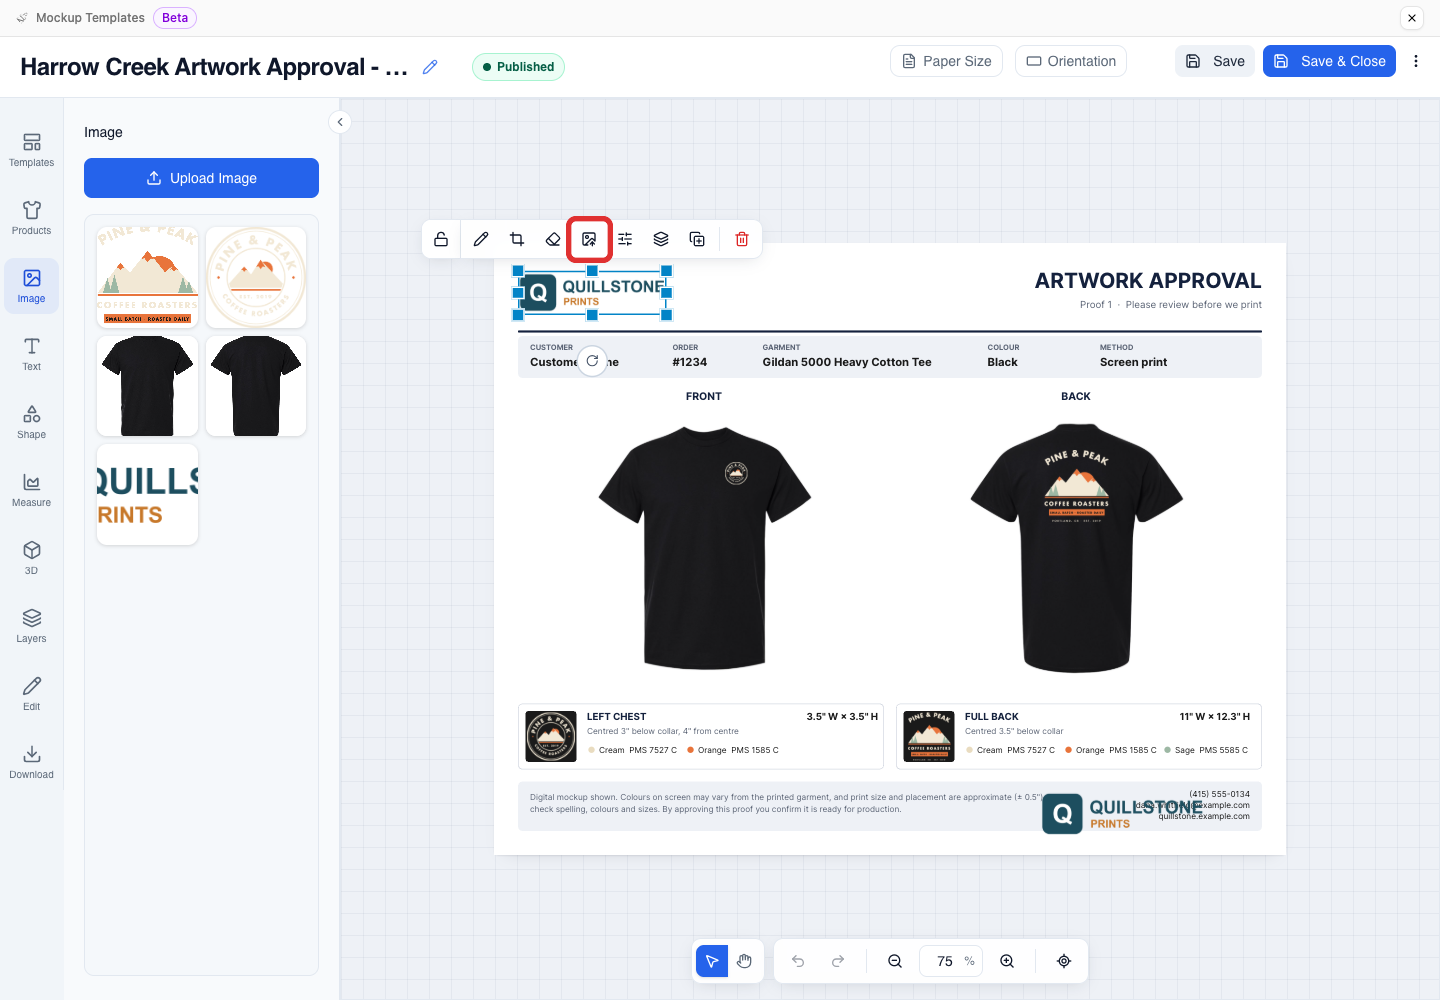
Select the shop logo placeholder in the top-left header and click Replace image (the picture icon on the floating toolbar).
-
In the Replace image window, select your shop logo (here, the Quillstone Prints logo tile).

-
Select the footer contact text in the bottom right, click Edit selection (the pencil icon on the floating toolbar), and enter your shop's phone number, email address, and website in the Text box on the left.
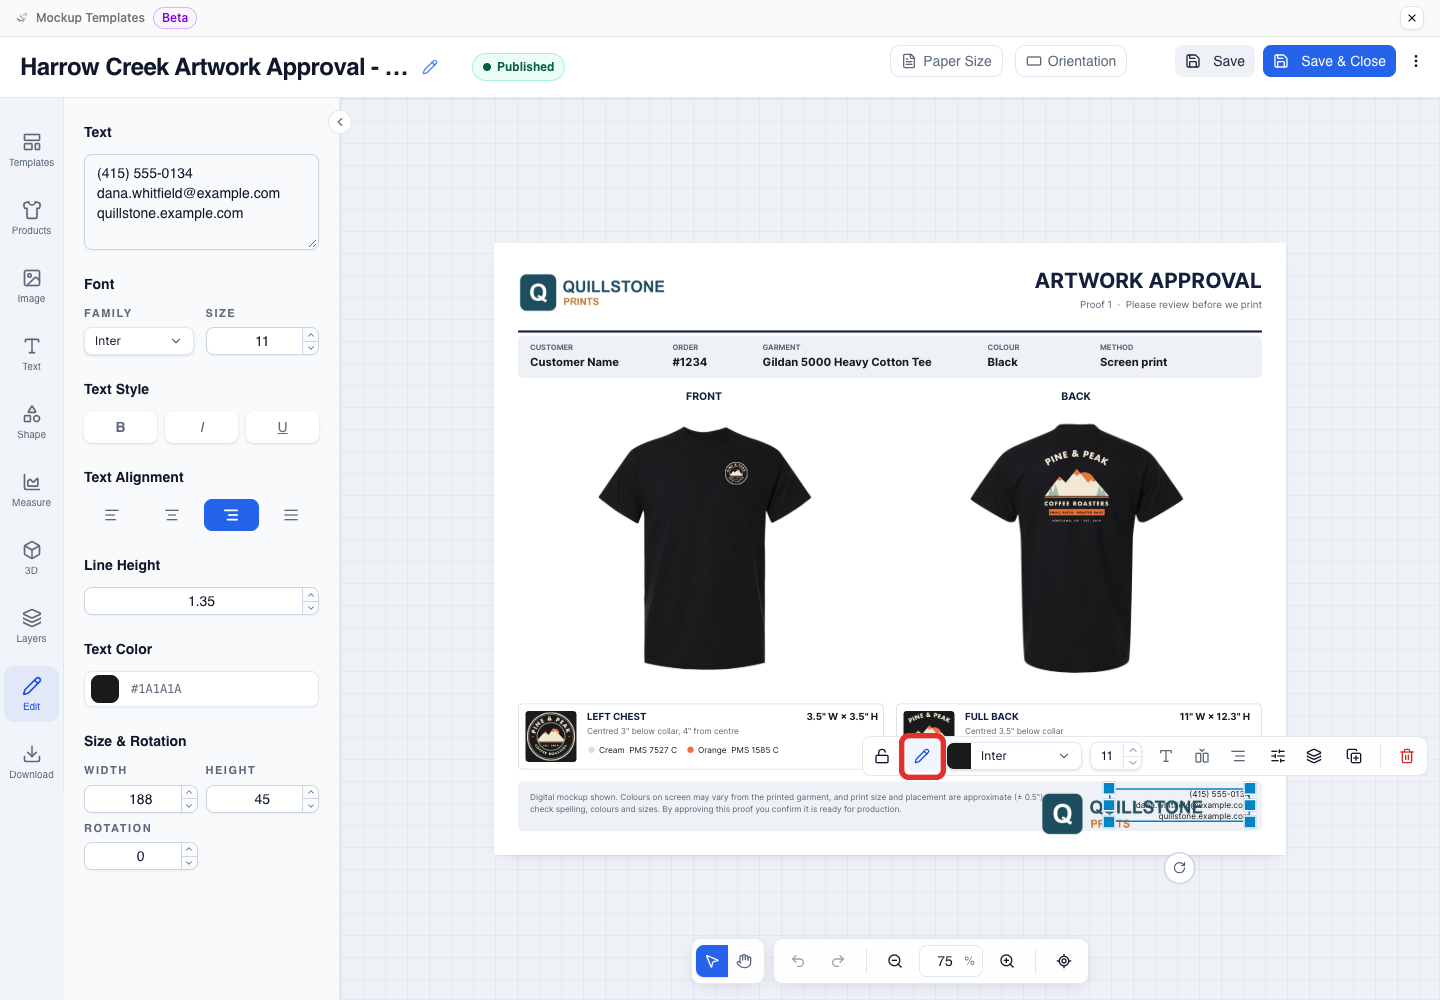
Leave job-specific values, such as the customer name, order and proof numbers, proof title, customer artwork, and print notes, for your team to update on each job.
-
Click Publish & Close in the top-right corner to publish your shop's template.
-
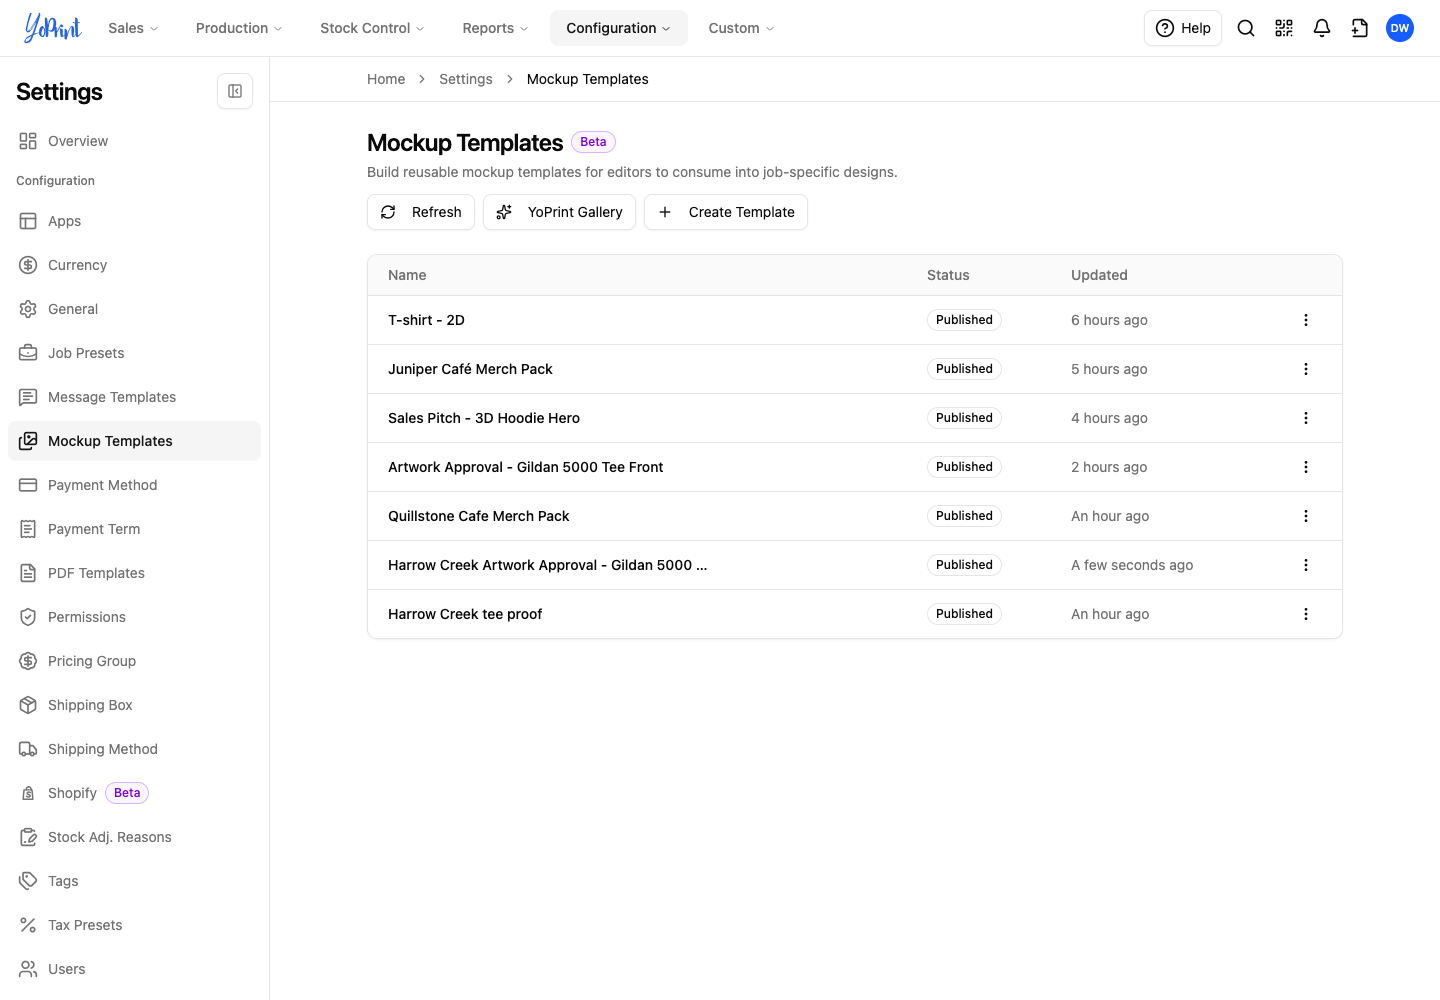
Check that the template appears in your Mockup Templates list with Published status.
-
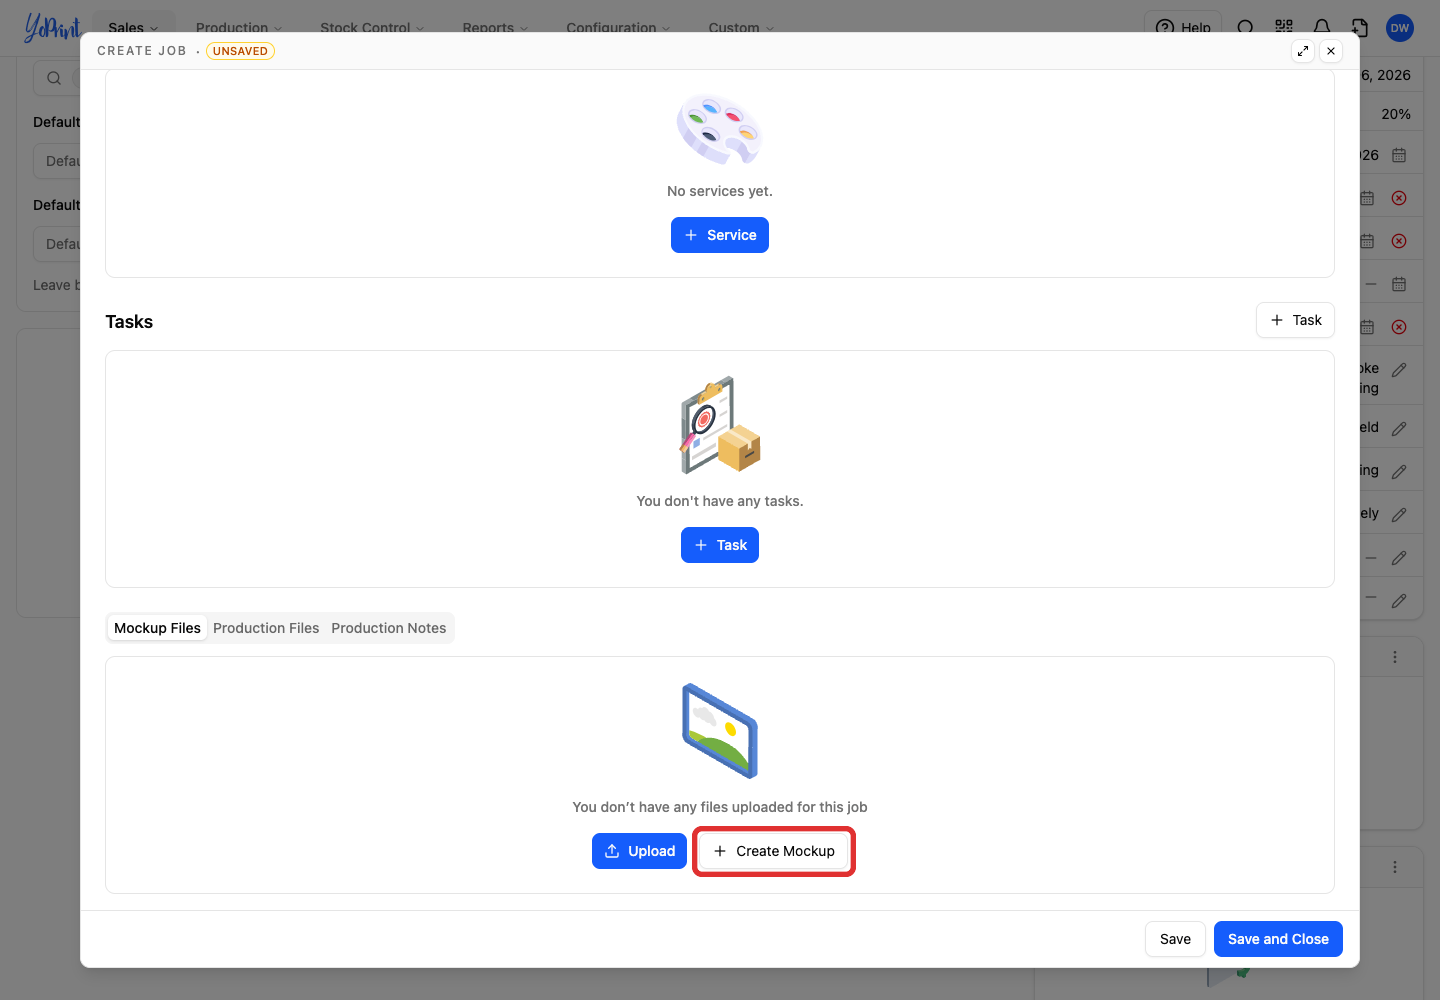
To use the template on an order, open a job's Mockup Files tab and click + Create Mockup.

Use a YoPrint Gallery or shop template in a job
Open Mockup Creator on the job (see Get started with the Mockup Creator), then load a layout from the Templates panel.
-
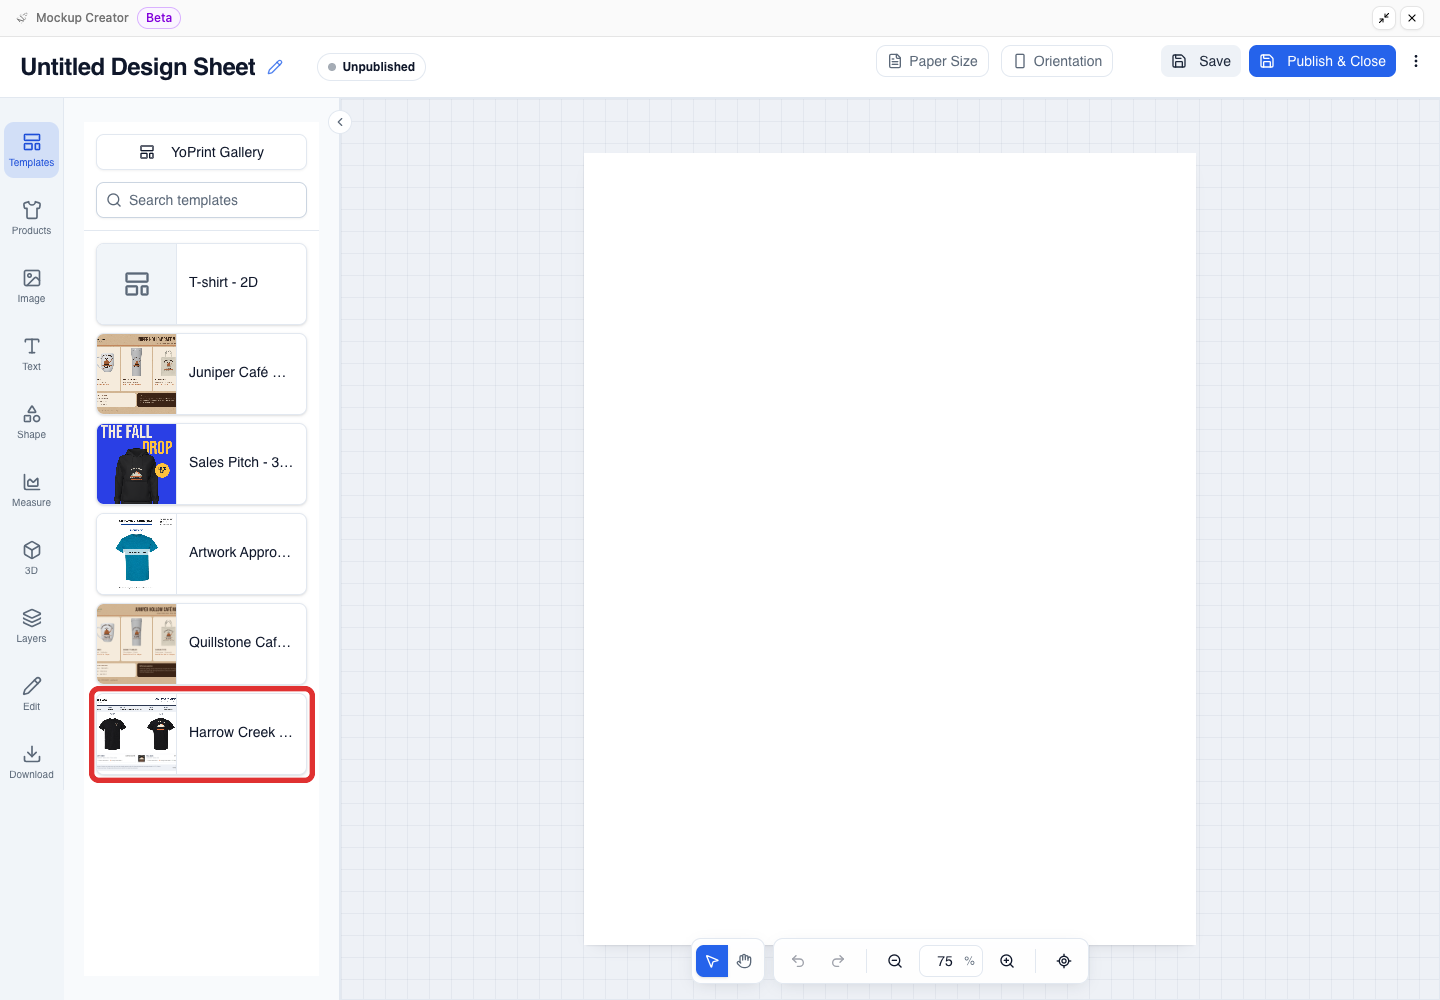
In the left toolbar, click Templates, then click a saved shop template below YoPrint Gallery to load it onto the canvas. This example selects Harrow Creek Artwork Approval - Gildan 5000 Tee Front and Back.
Use a layout from YoPrint Gallery instead
Click YoPrint Gallery at the top of the Templates panel, find a layout, and click Use this template. Choosing a gallery layout here copies it onto this job's canvas only and does not add it to your shop library.
-
Load a template on a new mockup. A template replaces everything on the canvas. If the canvas has unsaved changes, YoPrint asks Replace current canvas? first. Click Replace to load it.
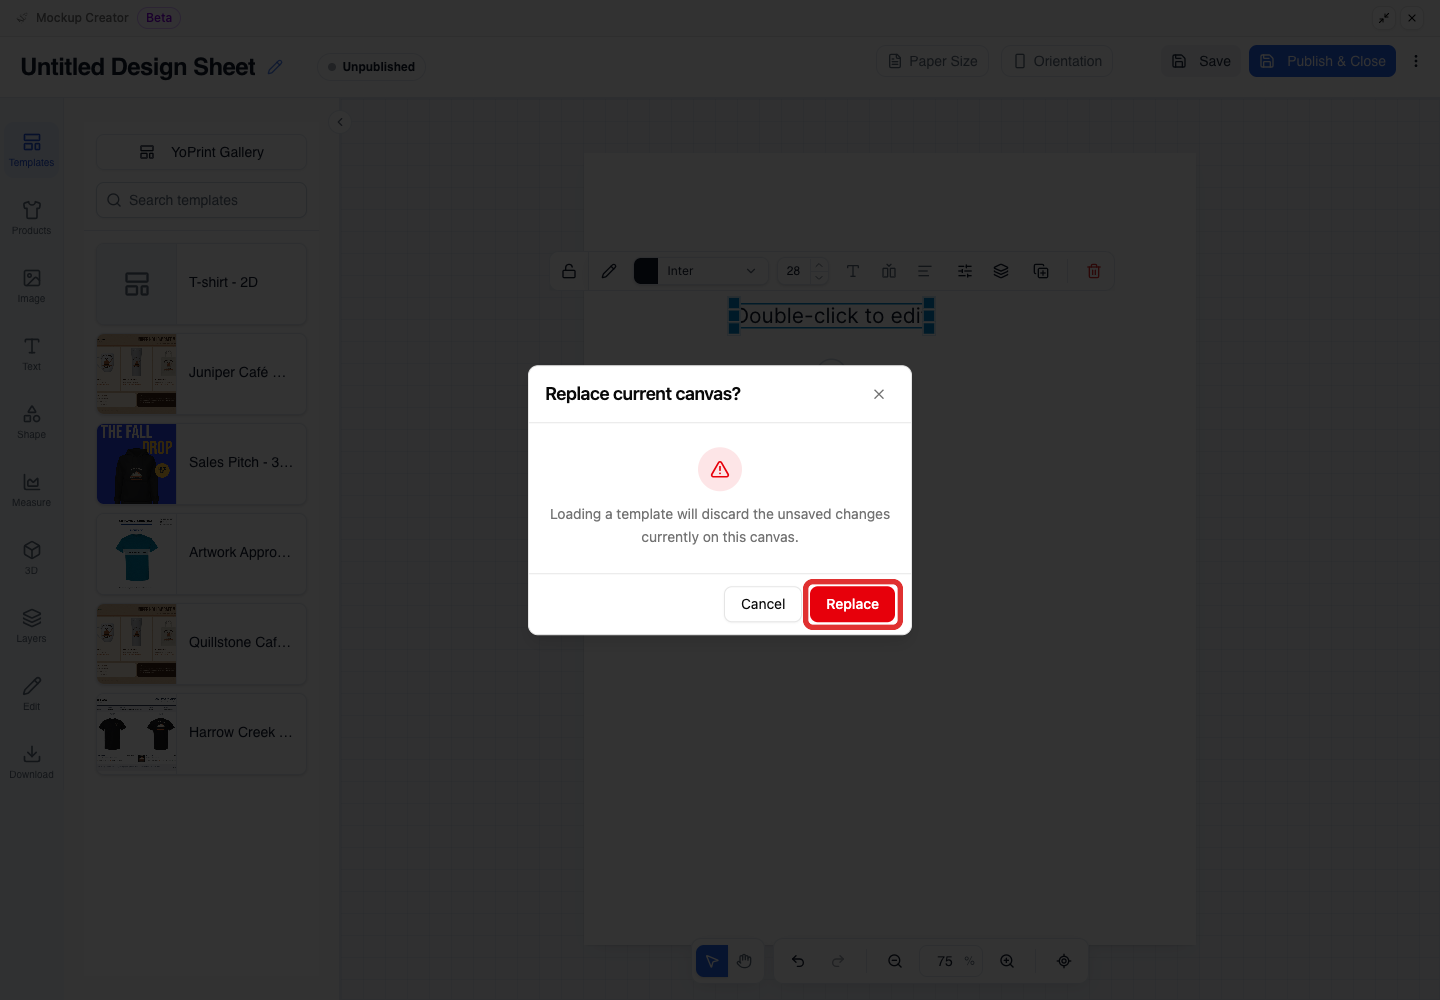
When you start on a new, empty canvas, YoPrint loads the template right away without showing this confirmation.
-
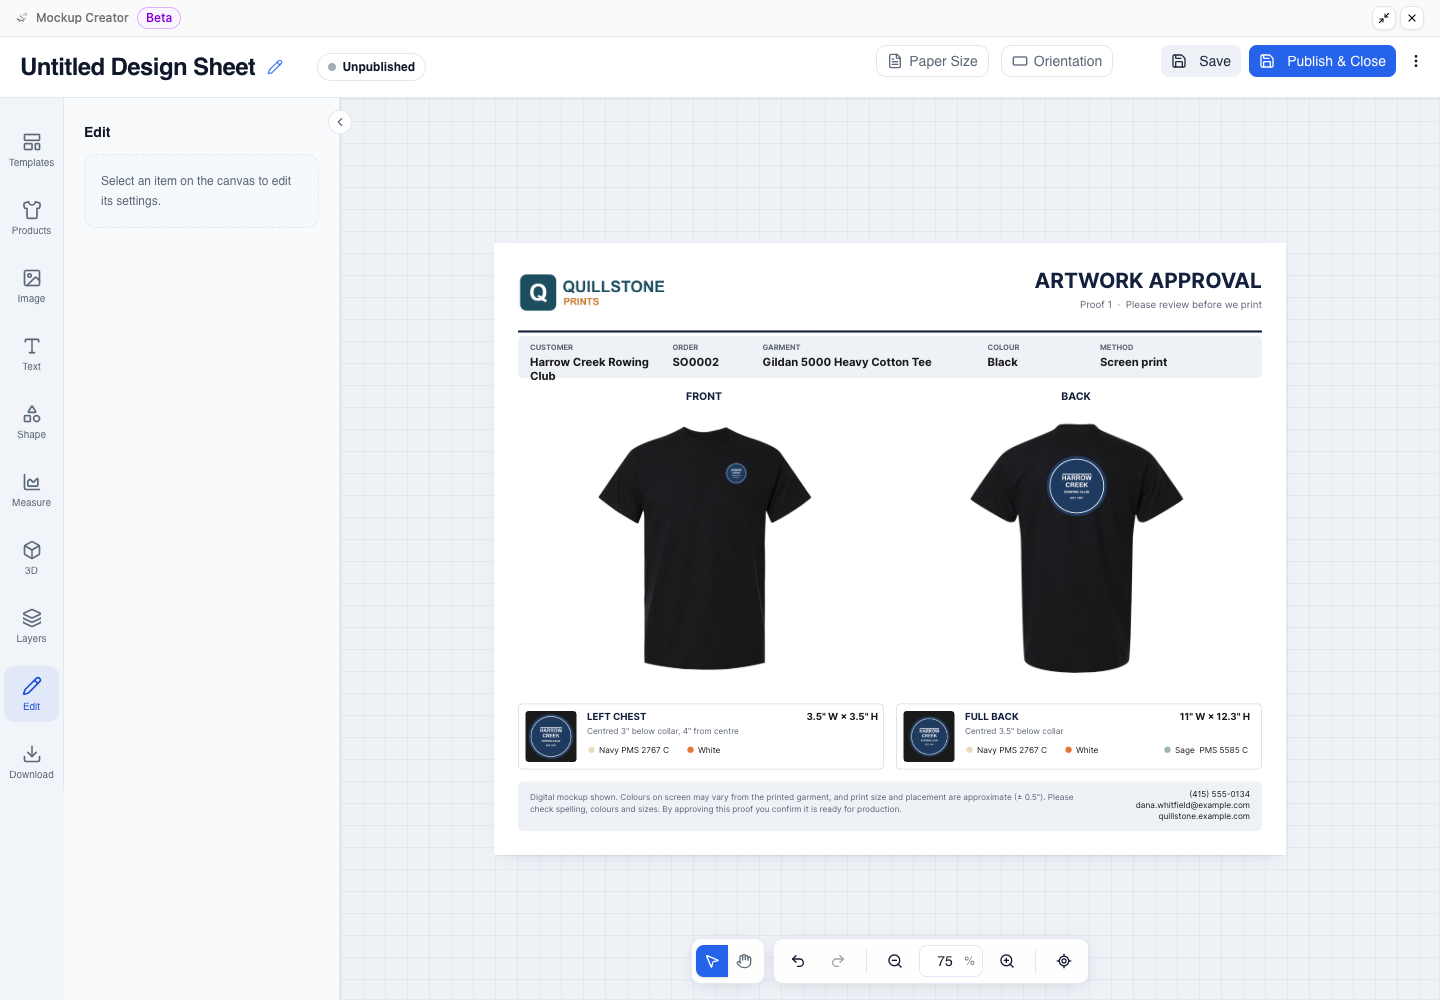
Check the loaded template on the canvas. Your shop's header logo and footer details load in place alongside the shirt views, header fields, and print-location cards.
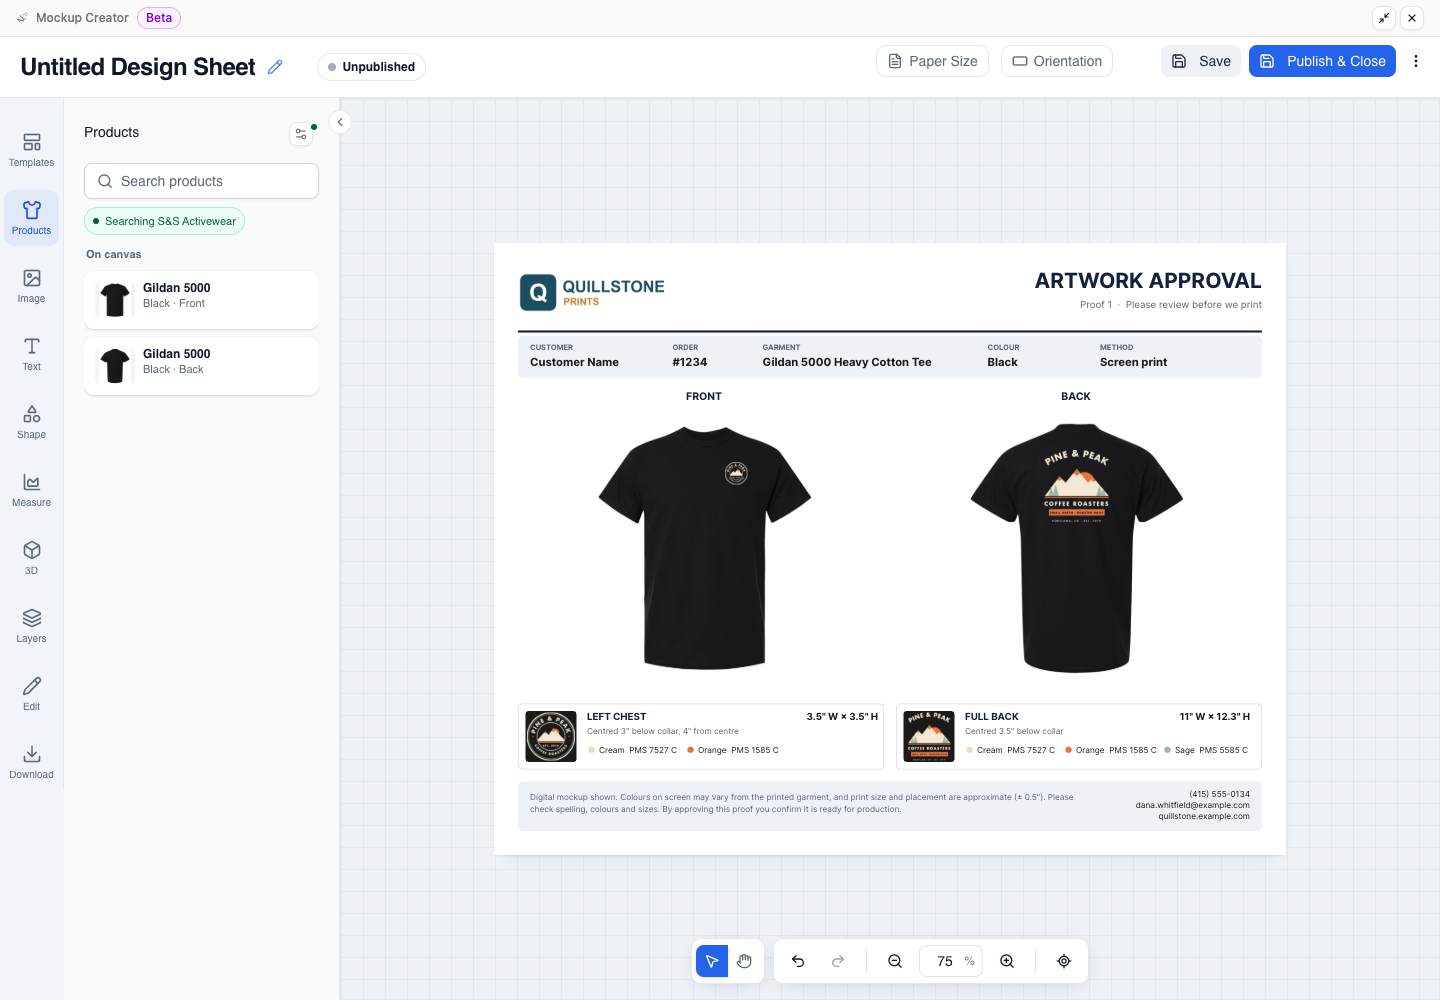
Changes you make on the canvas apply only to this job and do not change the saved template.
Replace the template's job values
Update the job-specific text fields, sample artwork, and print-location colour notes on the loaded template.
-
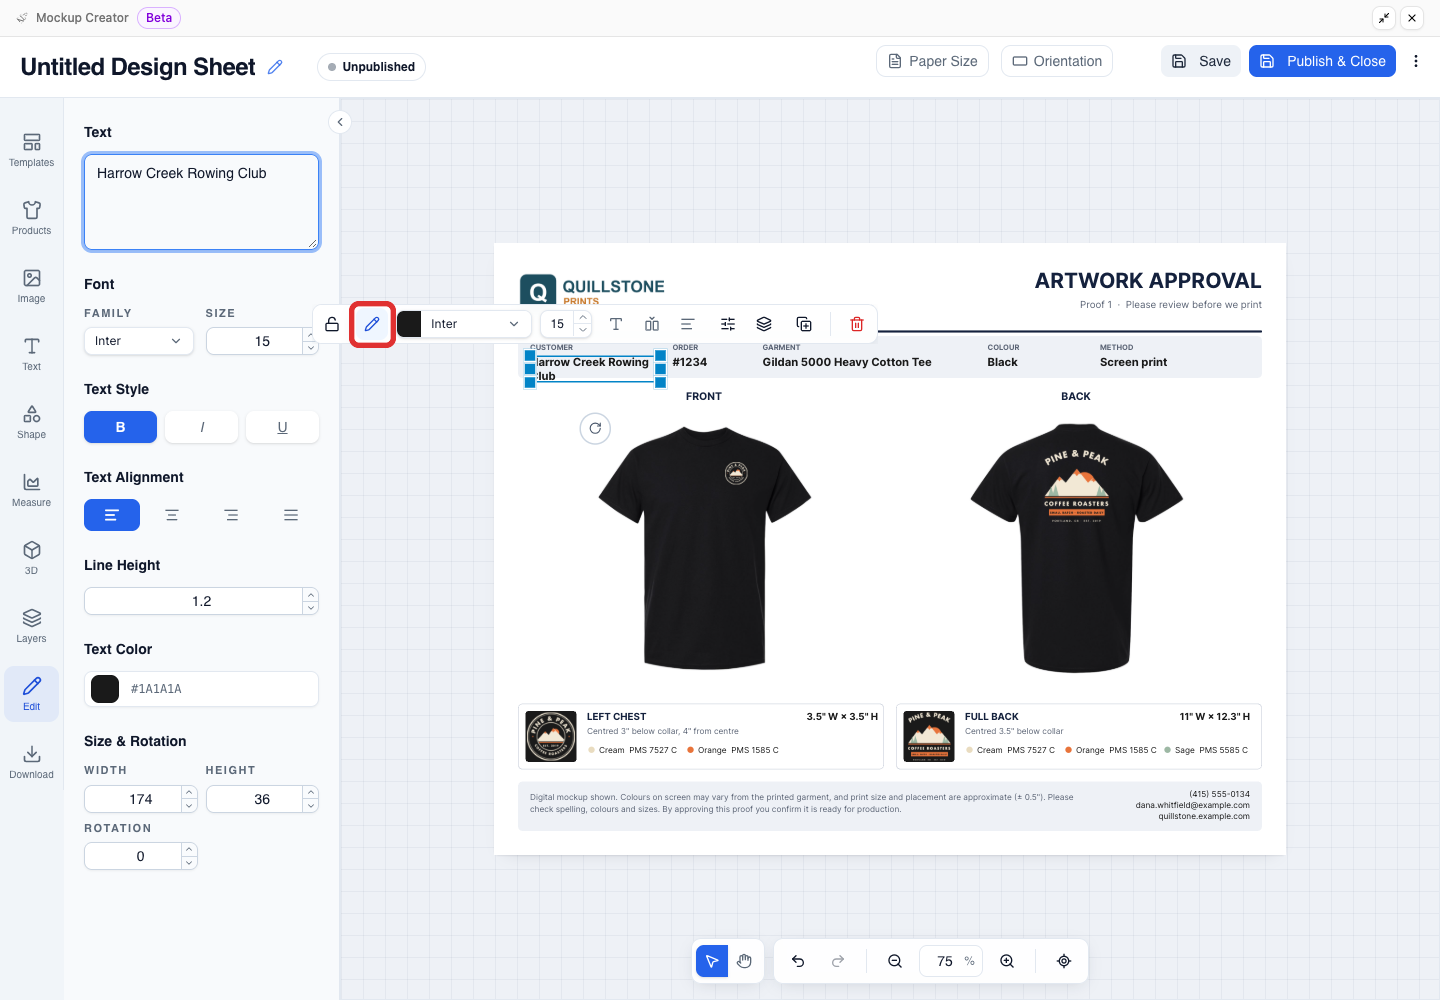
Select the Customer text field in the header on the canvas and click Edit selection (the pencil icon on the floating toolbar).
-
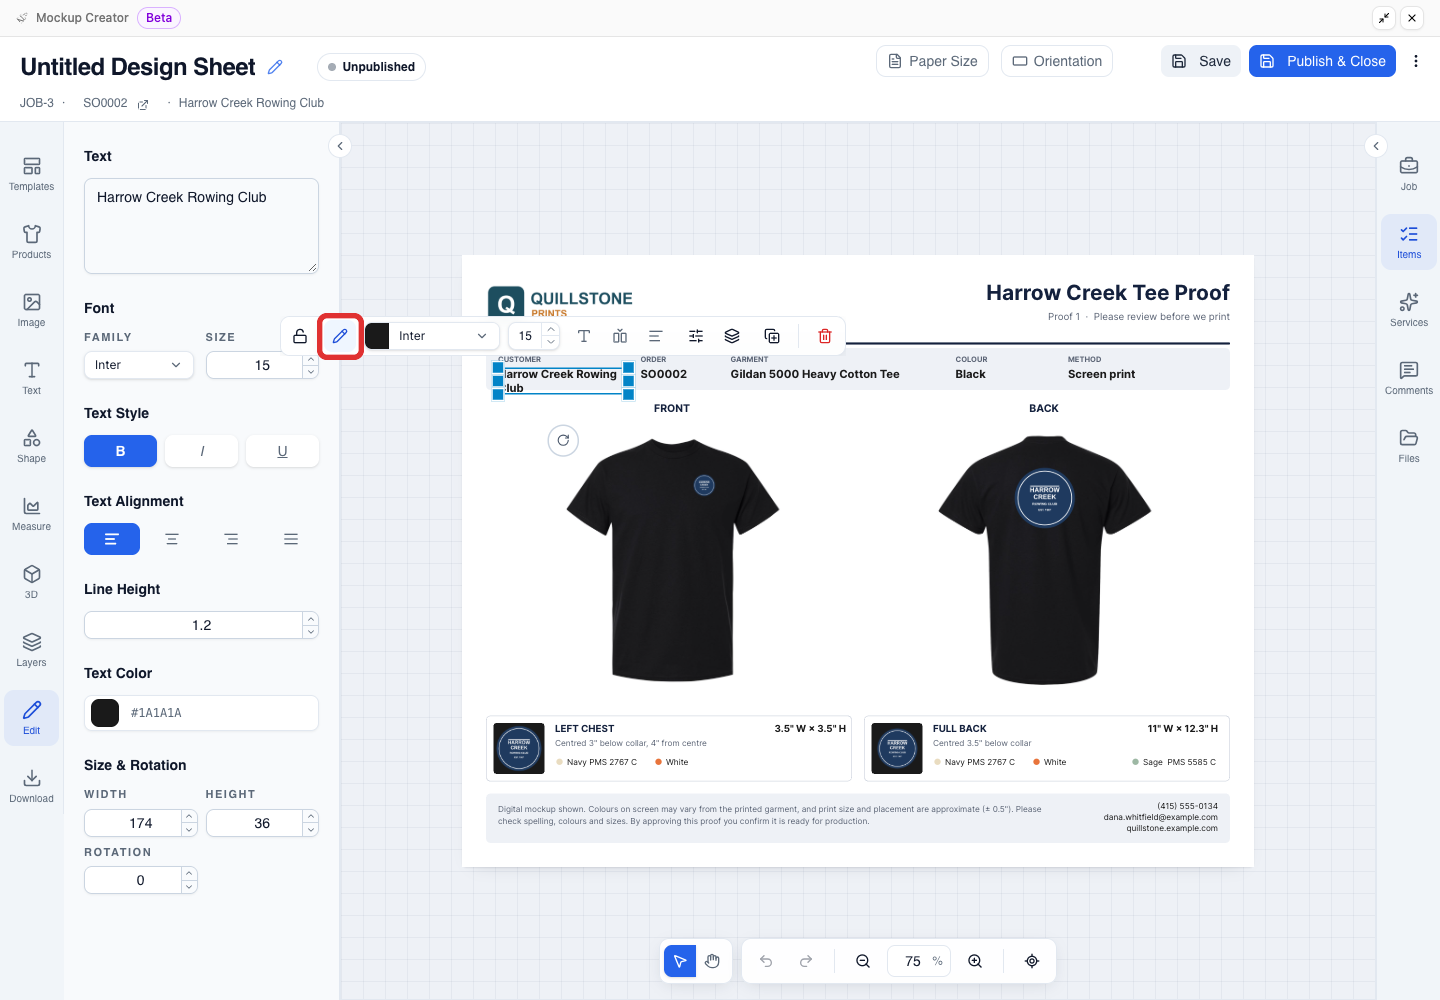
In the Edit panel on the left, enter the customer name in the Text box (here, Harrow Creek Rowing Club). Select the Order value next to Customer to enter SO0002, and update the remaining header fields the same way.
-
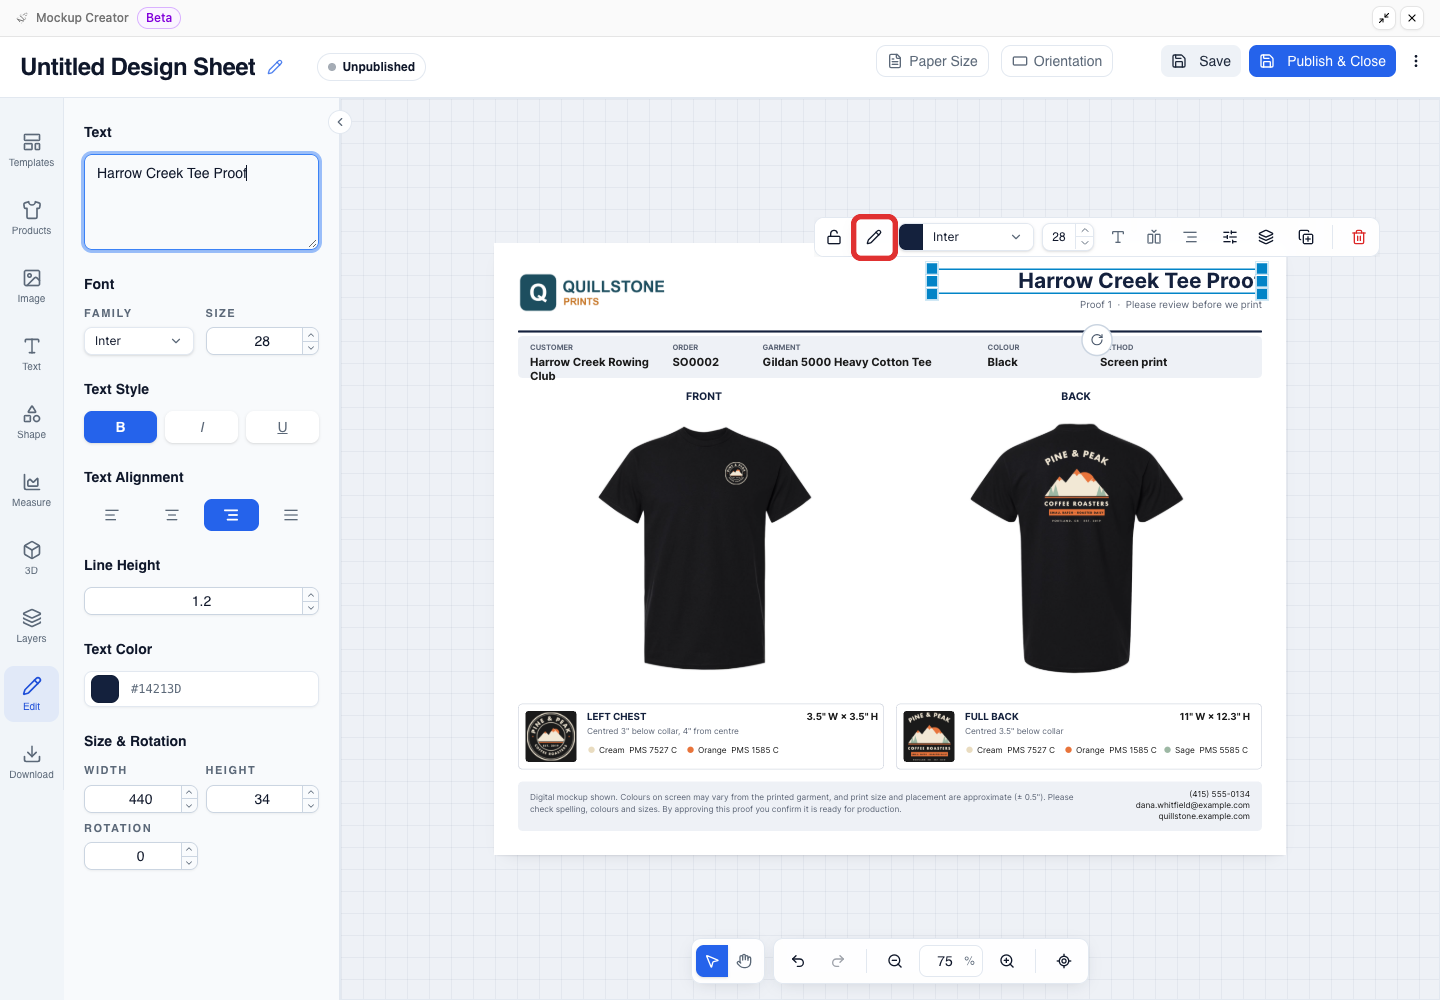
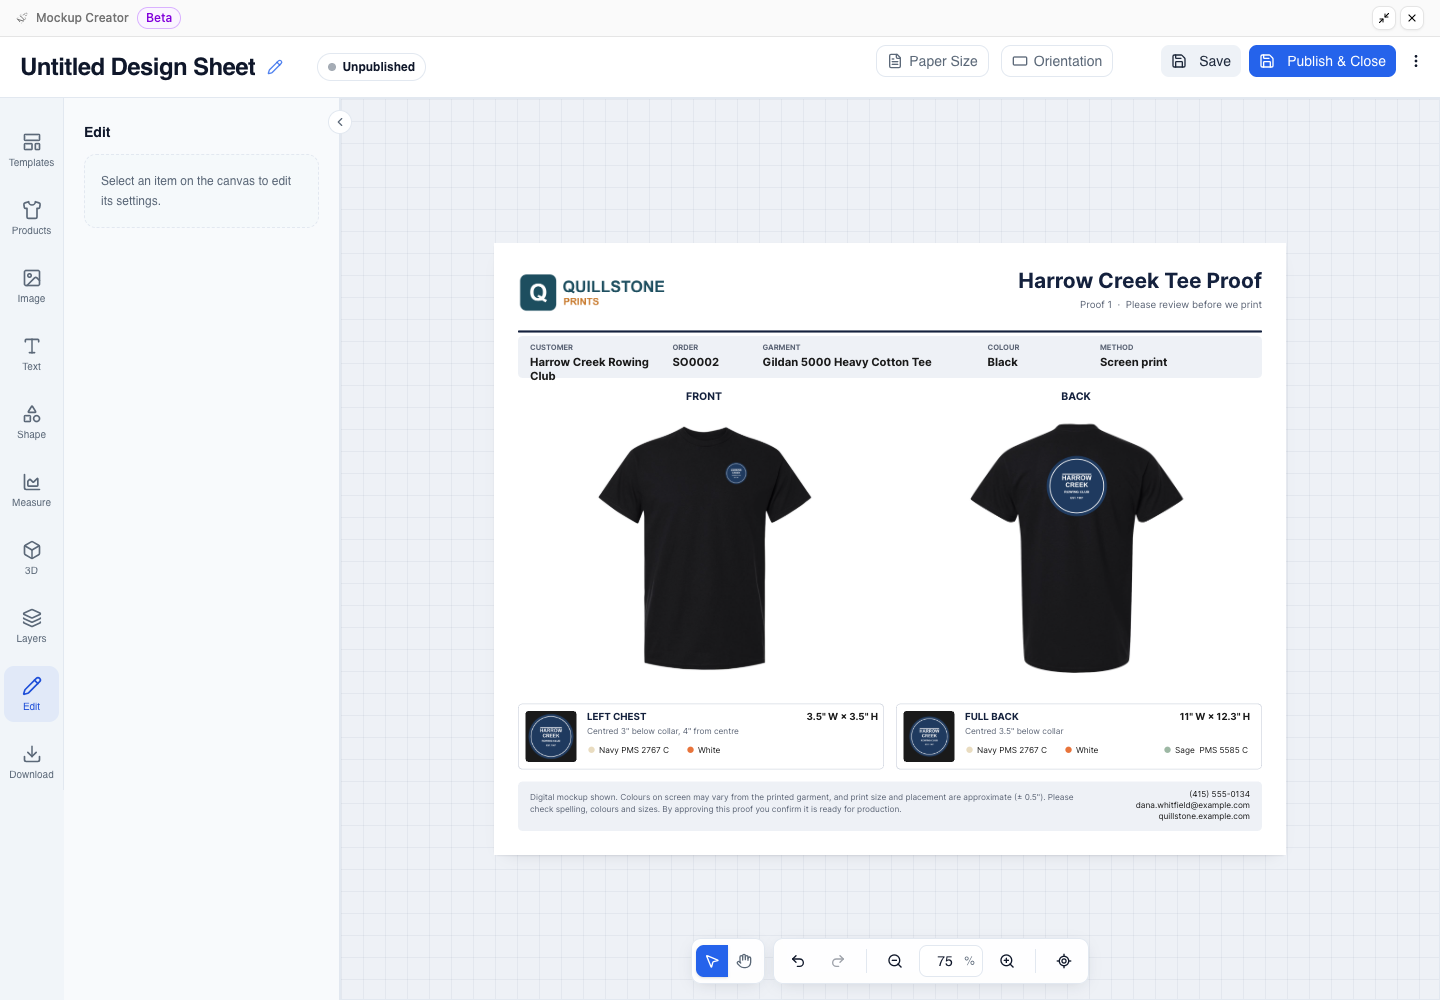
Select the title layer in the top right of the canvas, click Edit selection, and enter the title for this job in the Text box (here, Harrow Creek Tee Proof).
-
Select the left-chest artwork on the front shirt view and click Replace image (the picture icon on the floating toolbar).
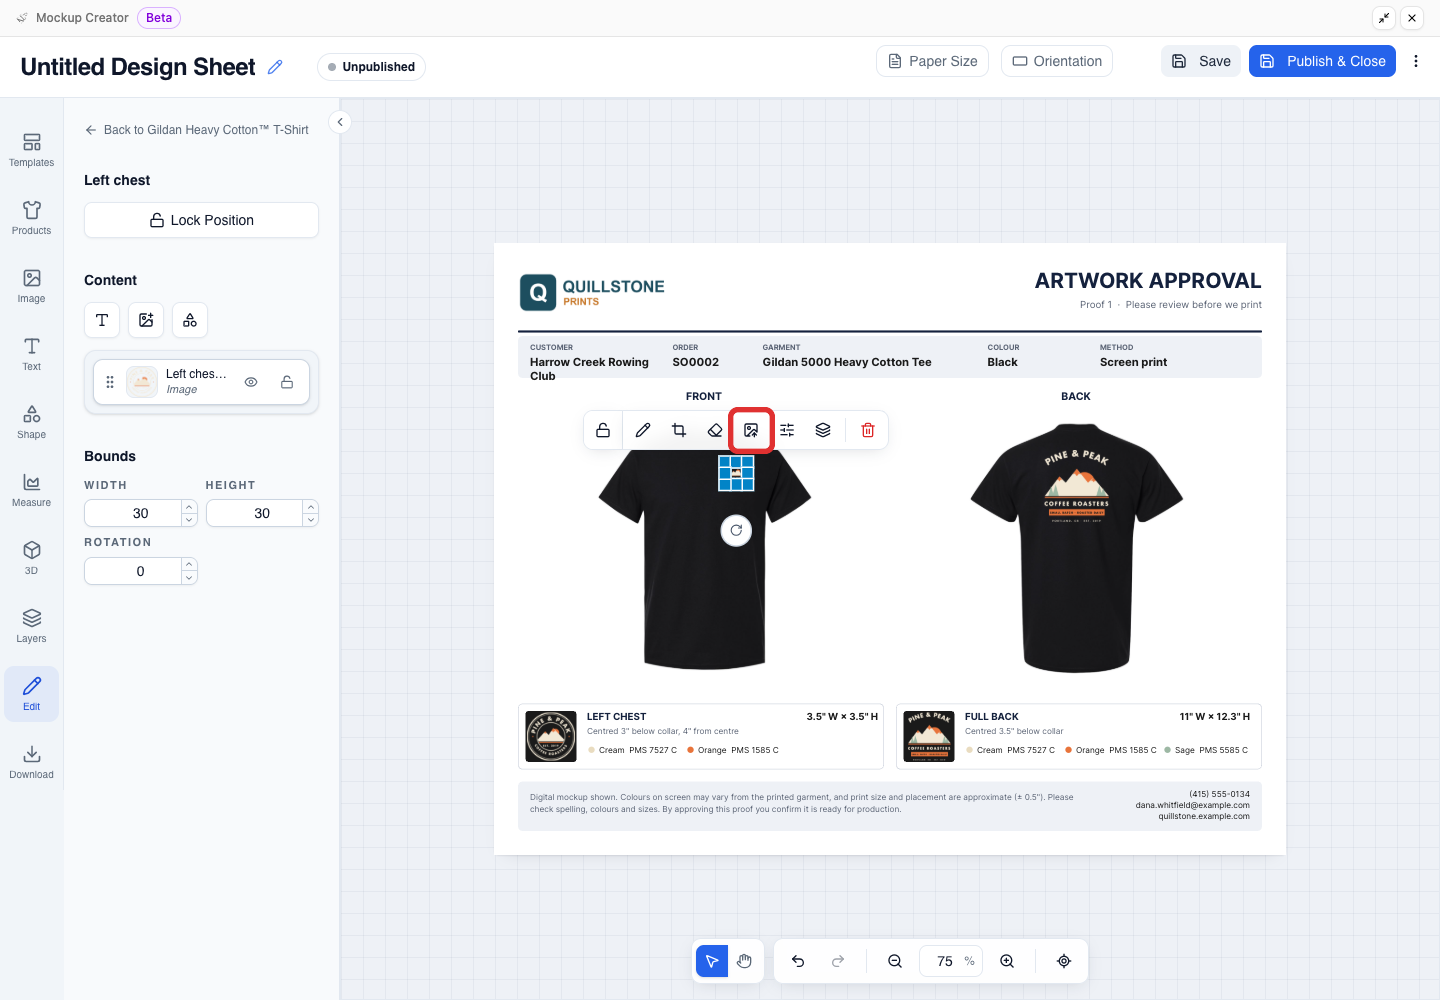
On an image, Edit selection (the pencil icon) opens crop and size controls. Click Replace image (the picture icon) to swap the image file.
-
In the Replace image window, select the customer's artwork tile (here, the Harrow Creek Rowing Club crest).
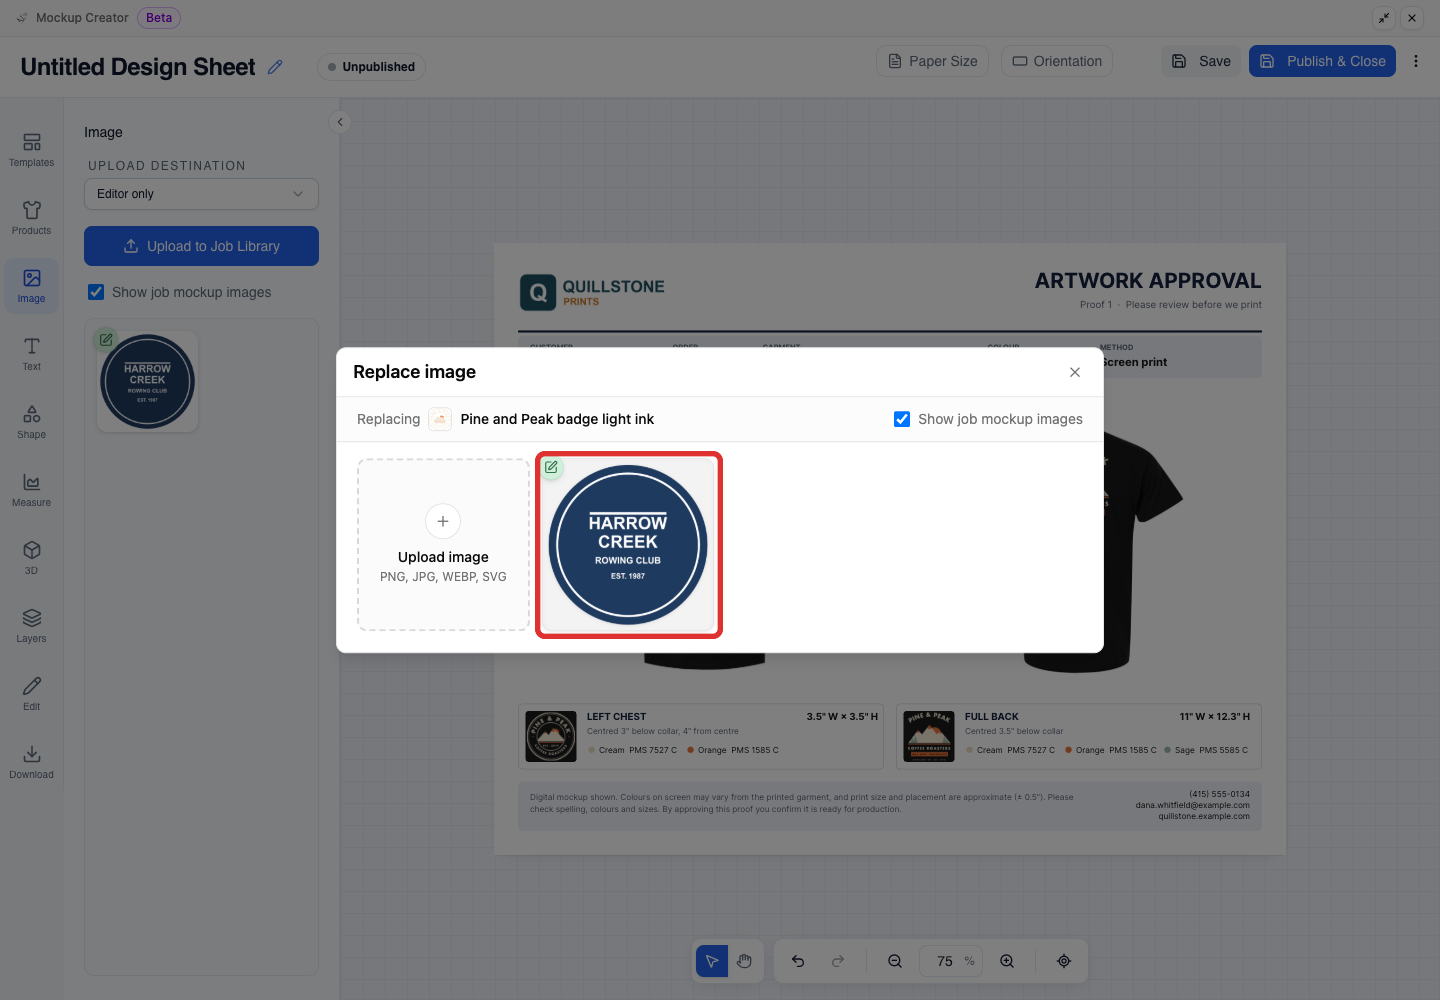
When Show job mockup images is checked, this list shows images from the job's mockups.
-
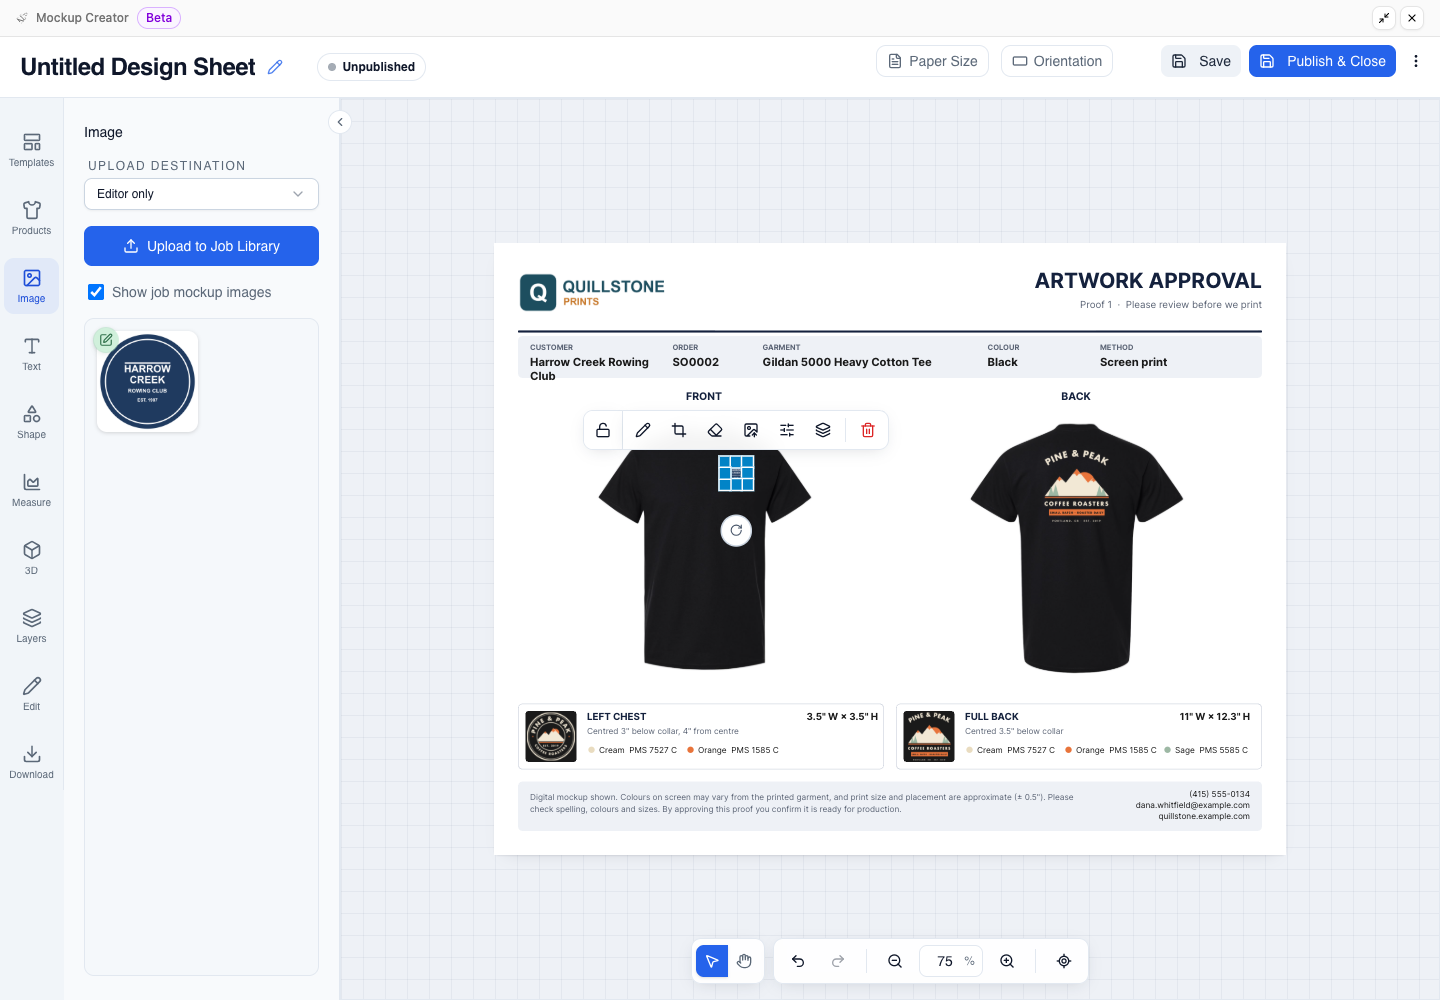
Check that the front shirt view shows the customer's crest on the left chest.
-
Select the sample full-back artwork on the back shirt view and click Replace image.
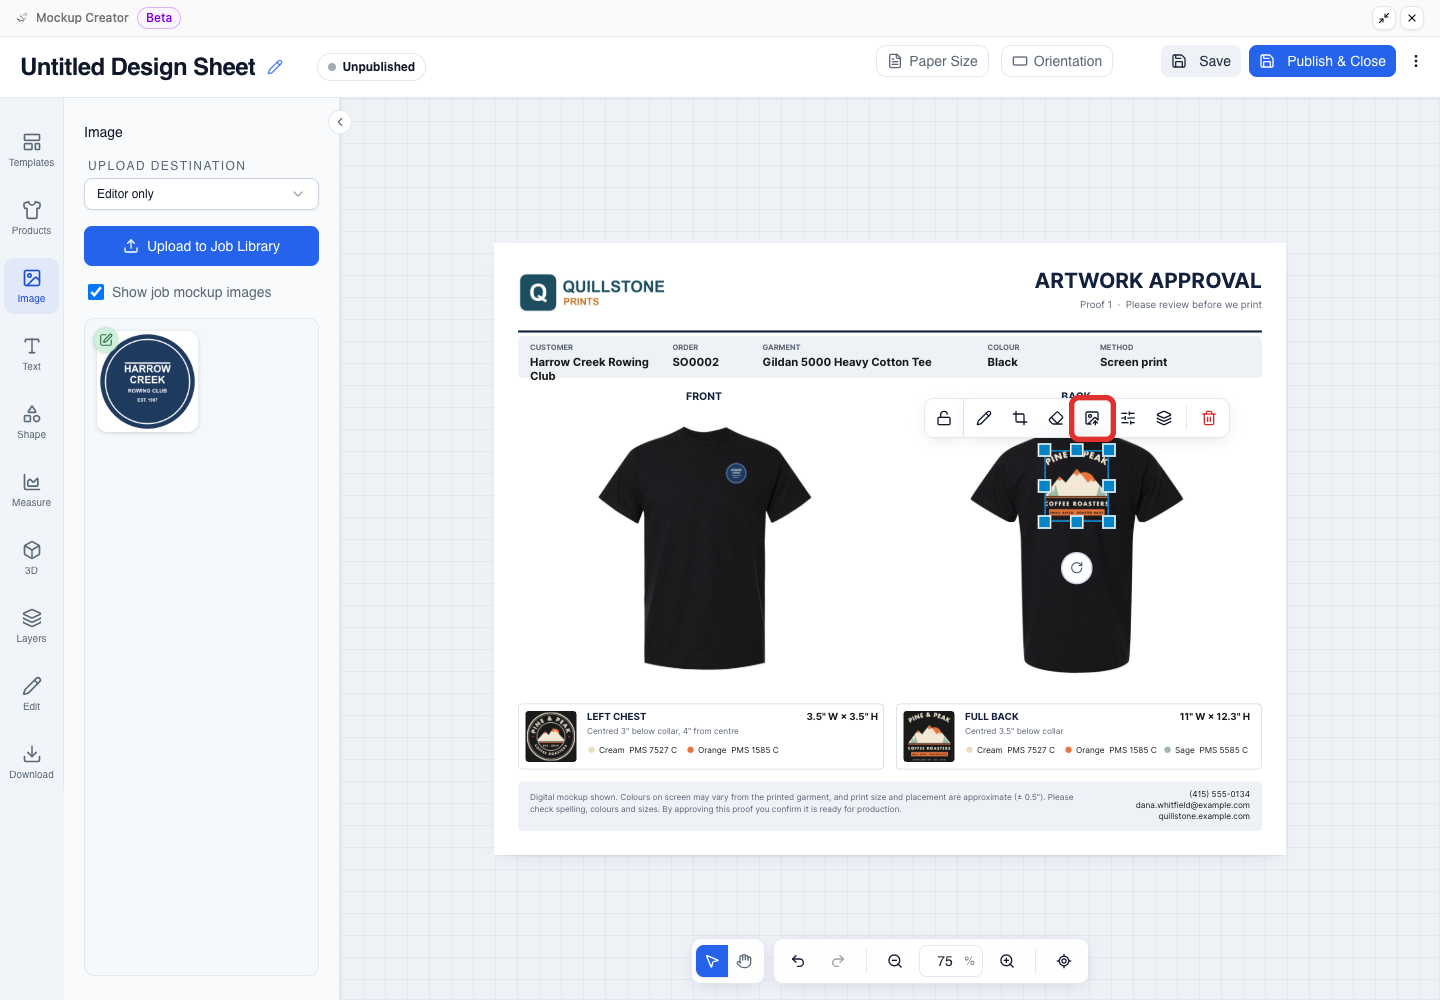
-
In the Replace image window, select the customer's crest tile for the back print.
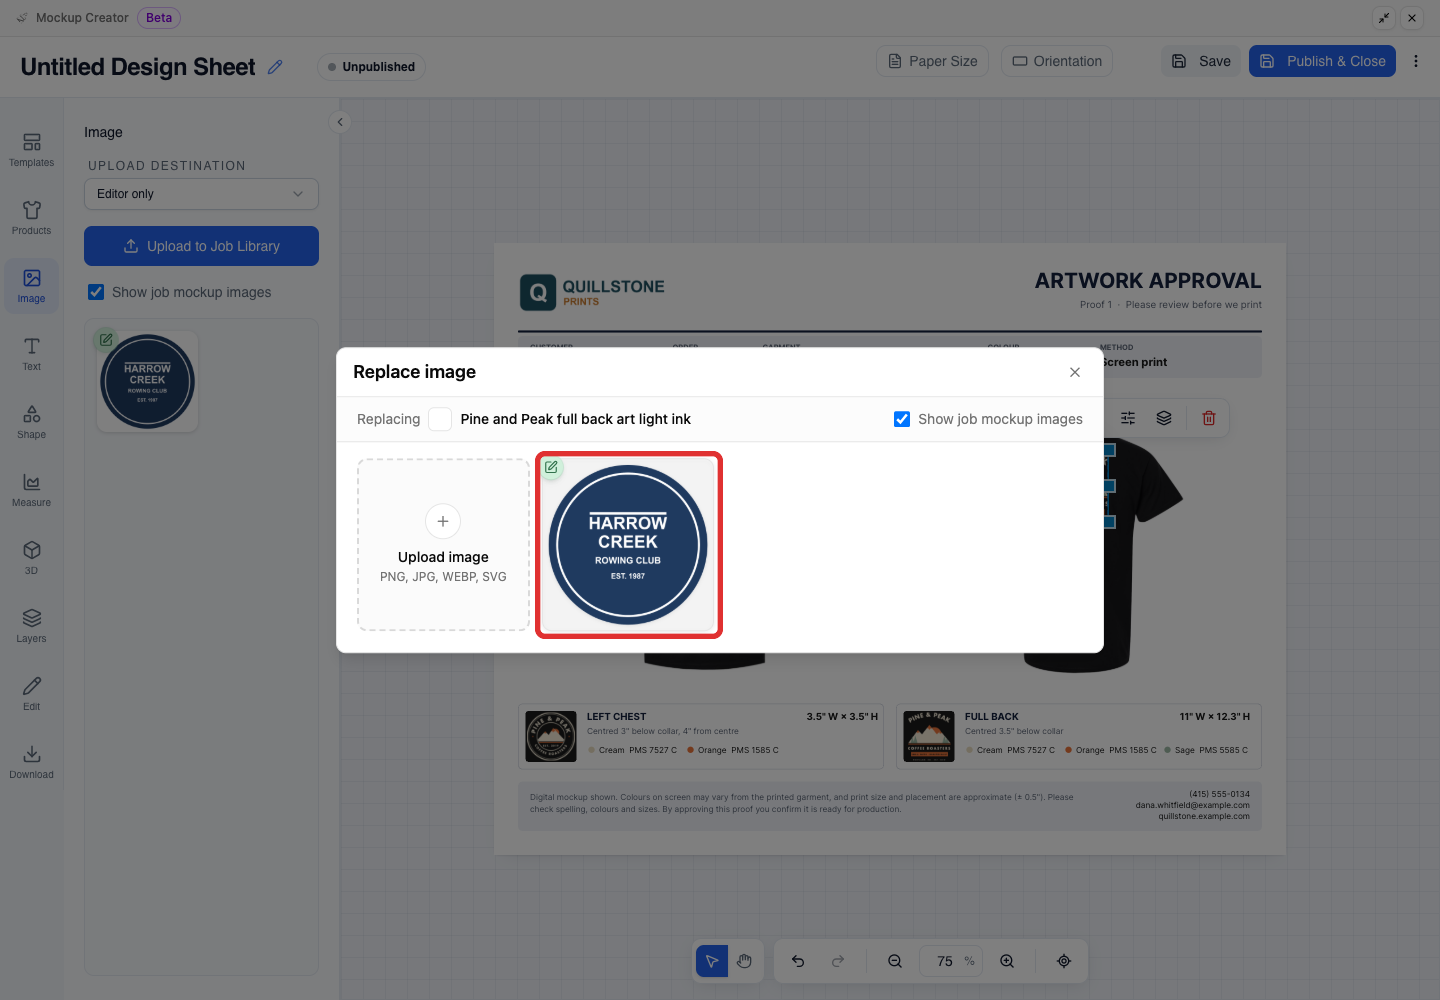
-
Check that the back shirt view shows the customer's crest on the full back.
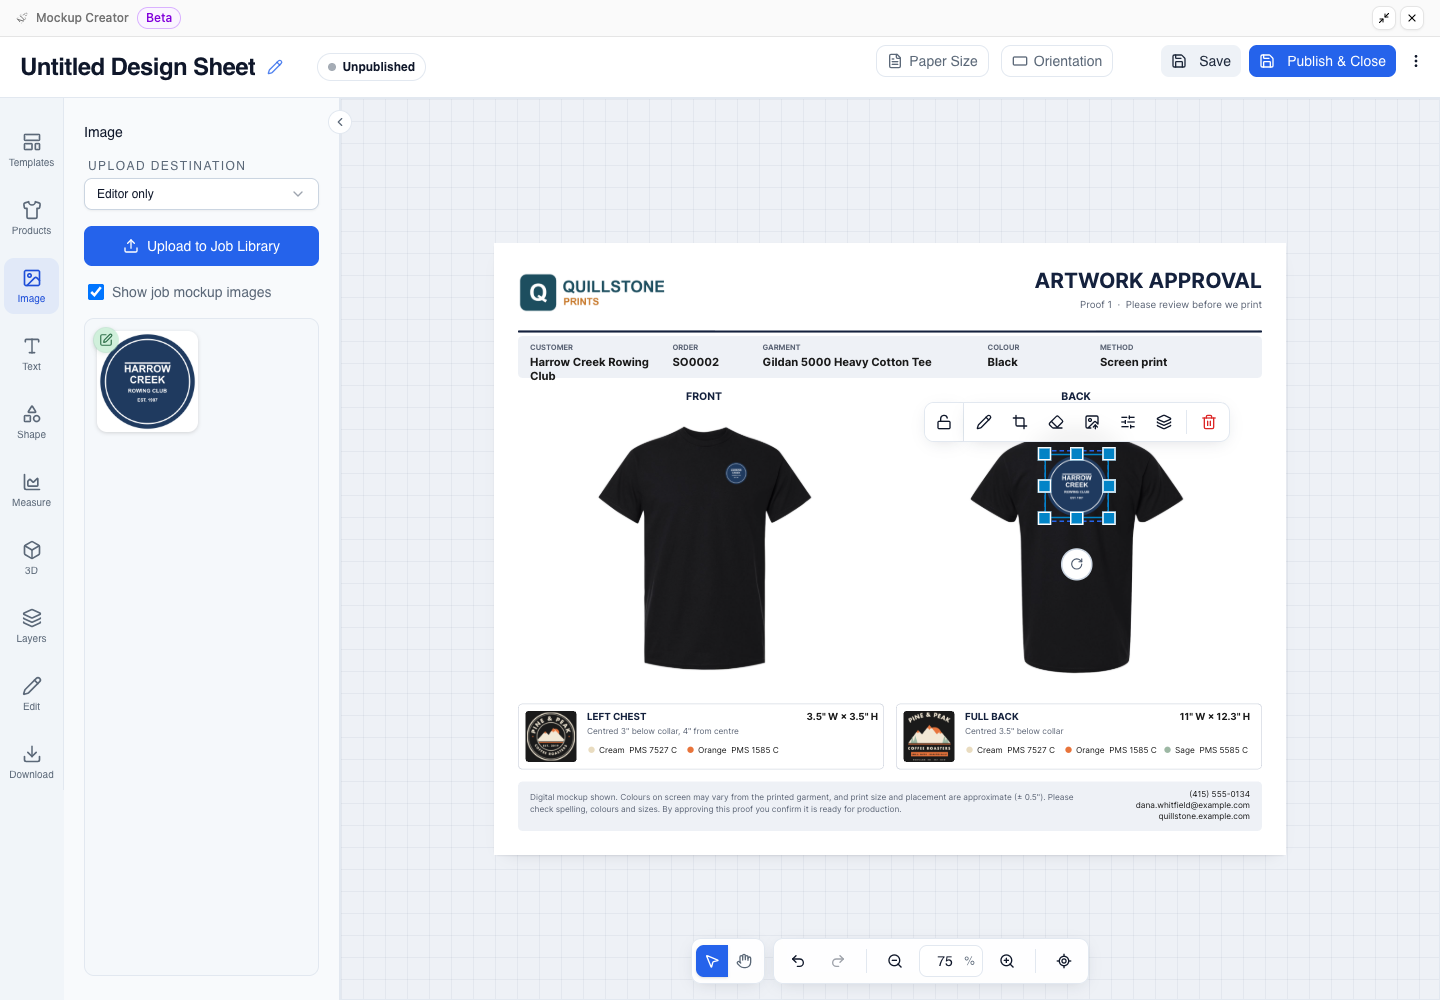
-
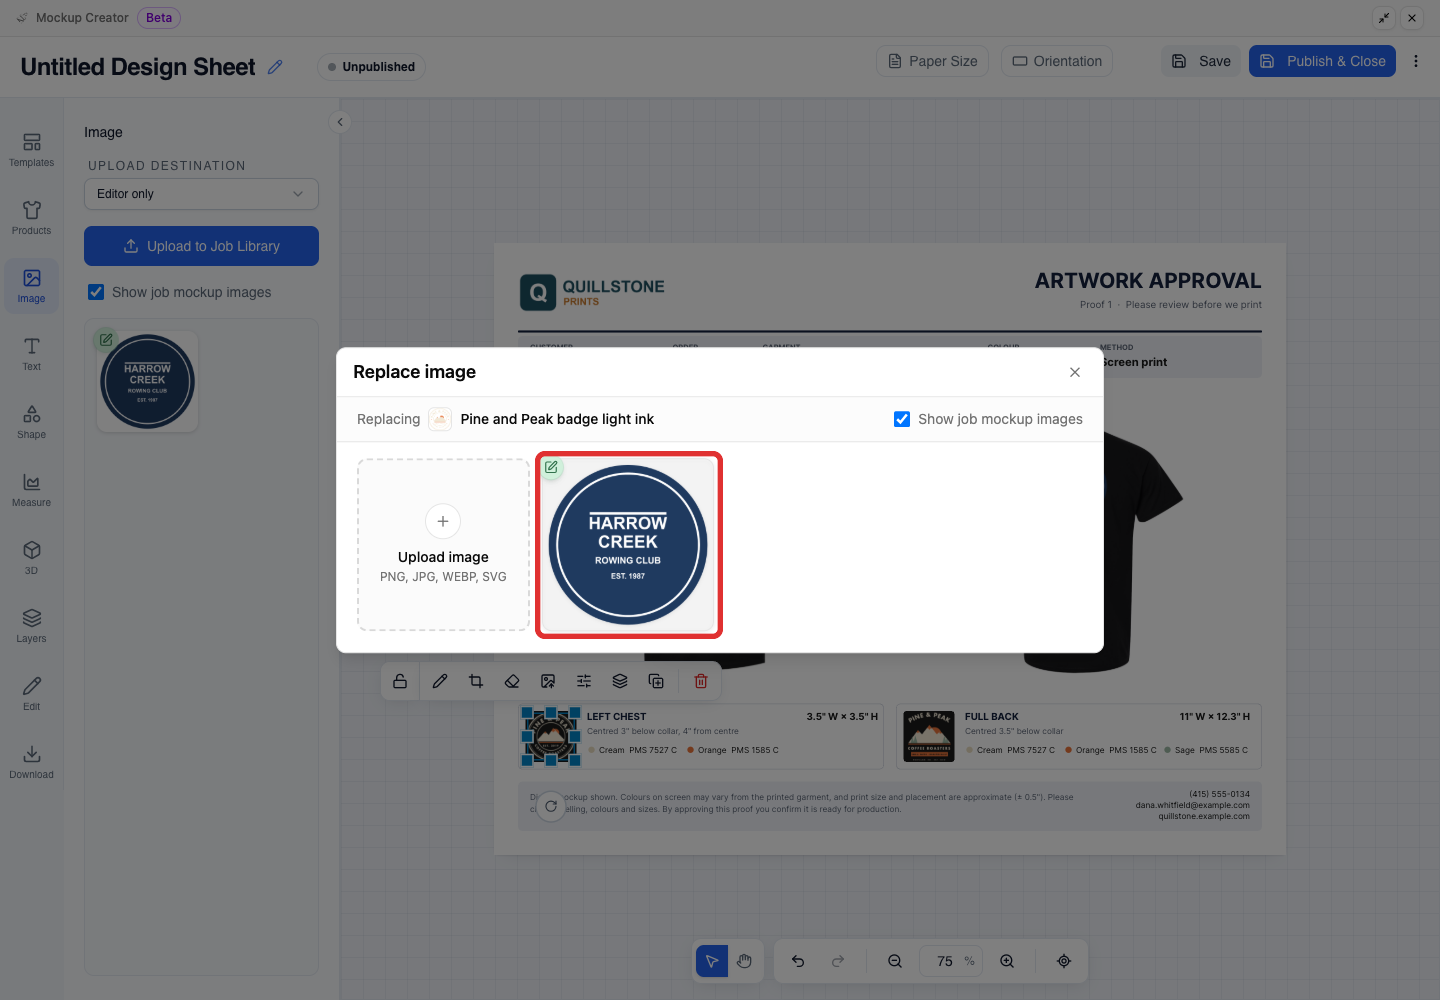
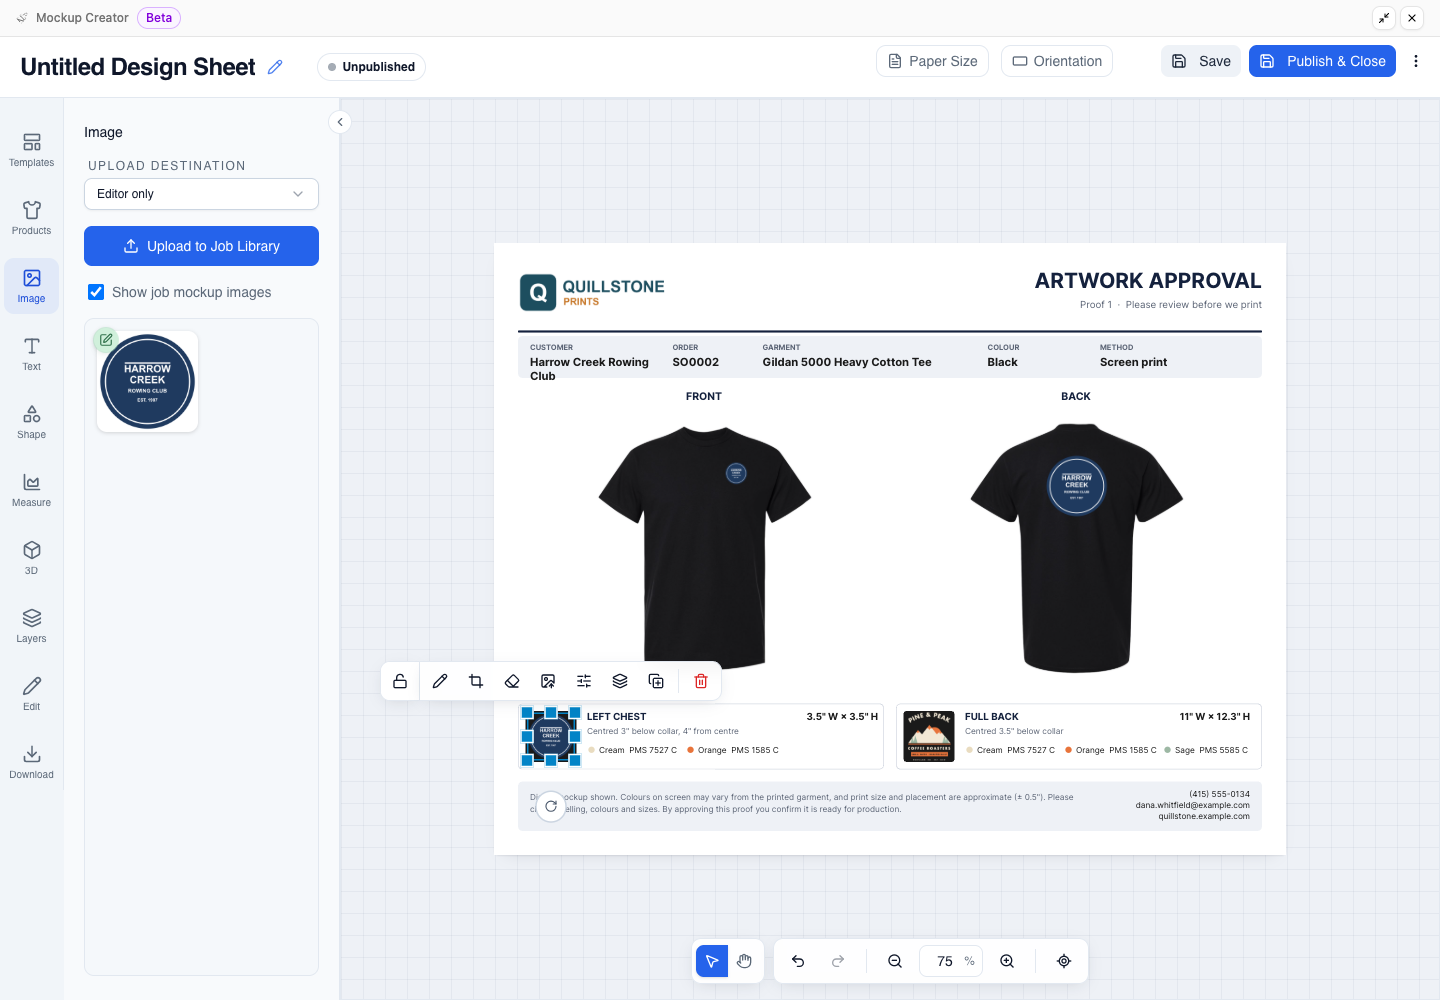
Select the artwork thumbnail in the LEFT CHEST print-location card at the bottom left and click Replace image.
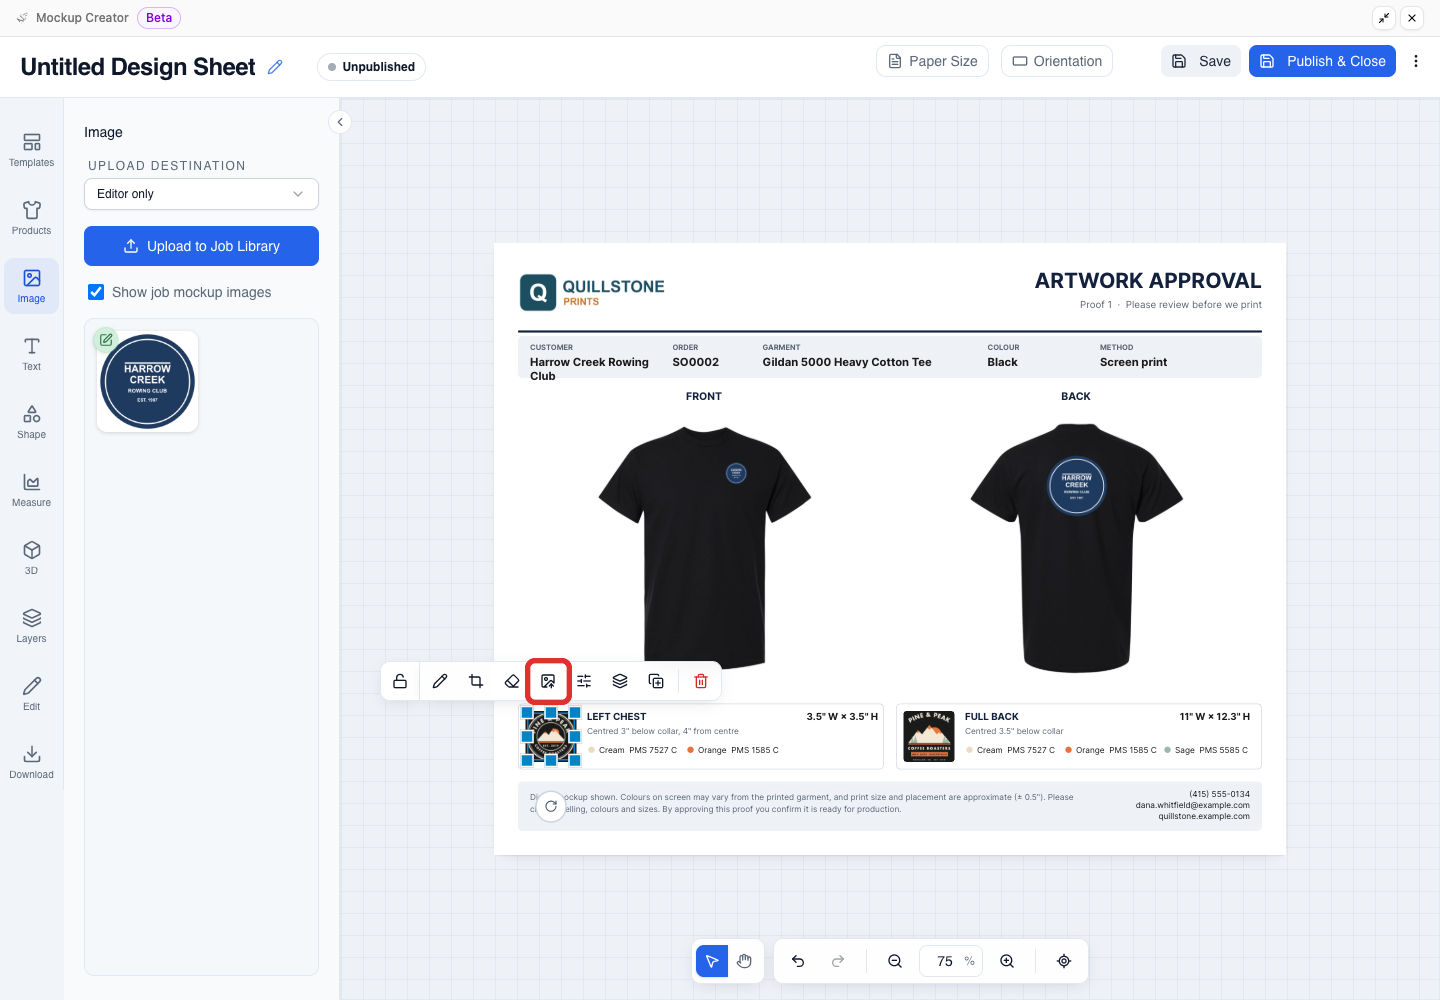
-
In the Replace image window, select the customer's crest tile for the LEFT CHEST card.
-
Check that the LEFT CHEST print-location card thumbnail shows the customer's crest.
-
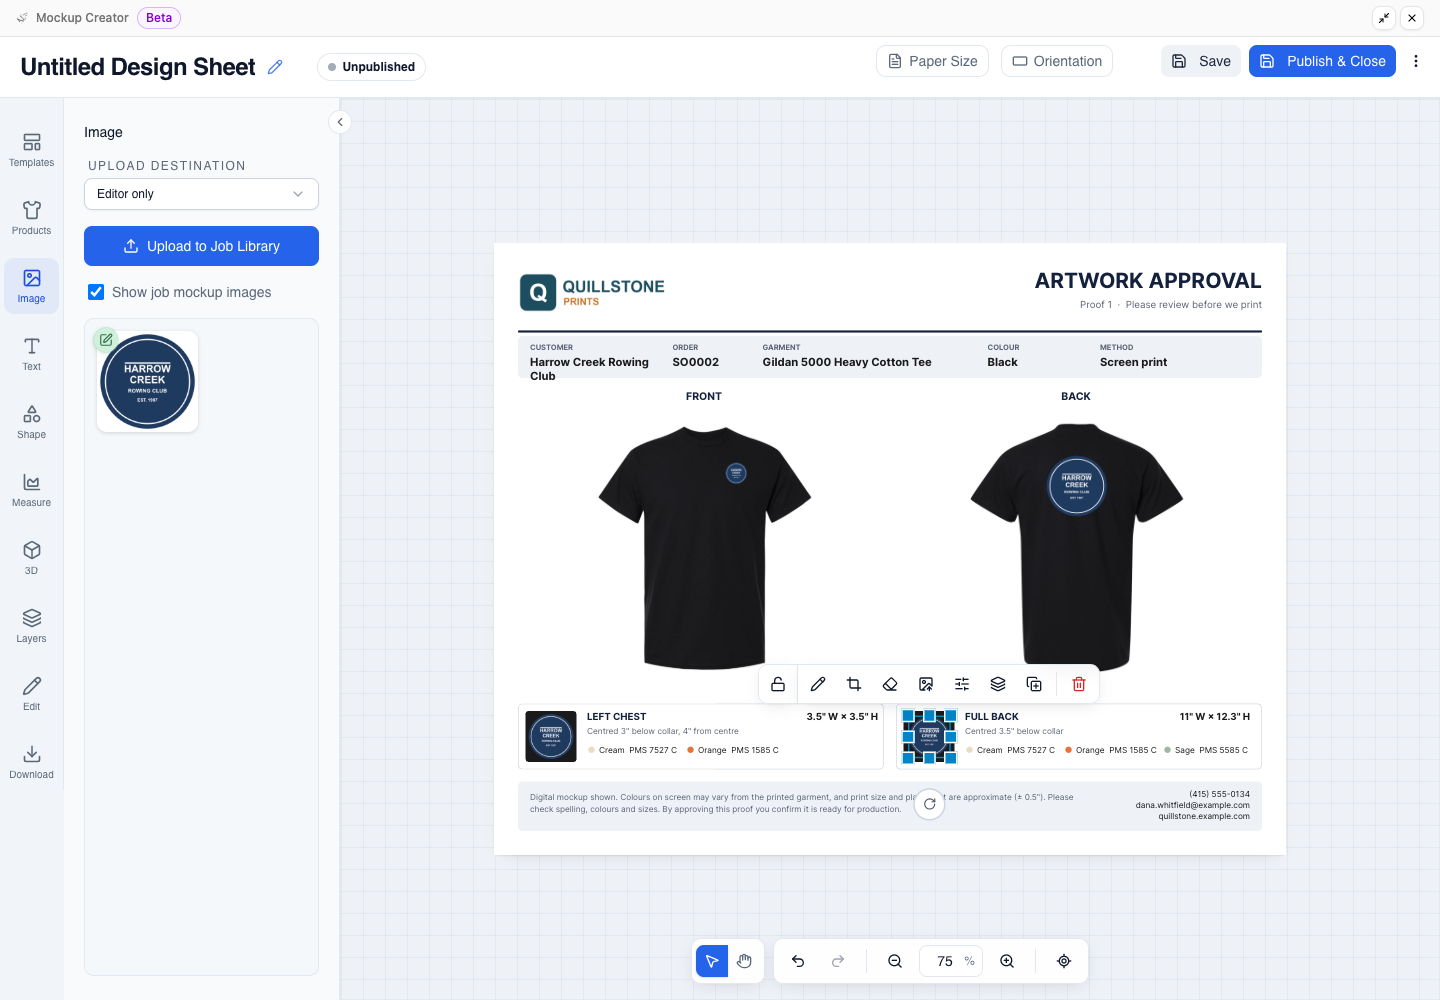
Repeat Replace image on the FULL BACK print-location card thumbnail so both cards show the customer's crest.
-
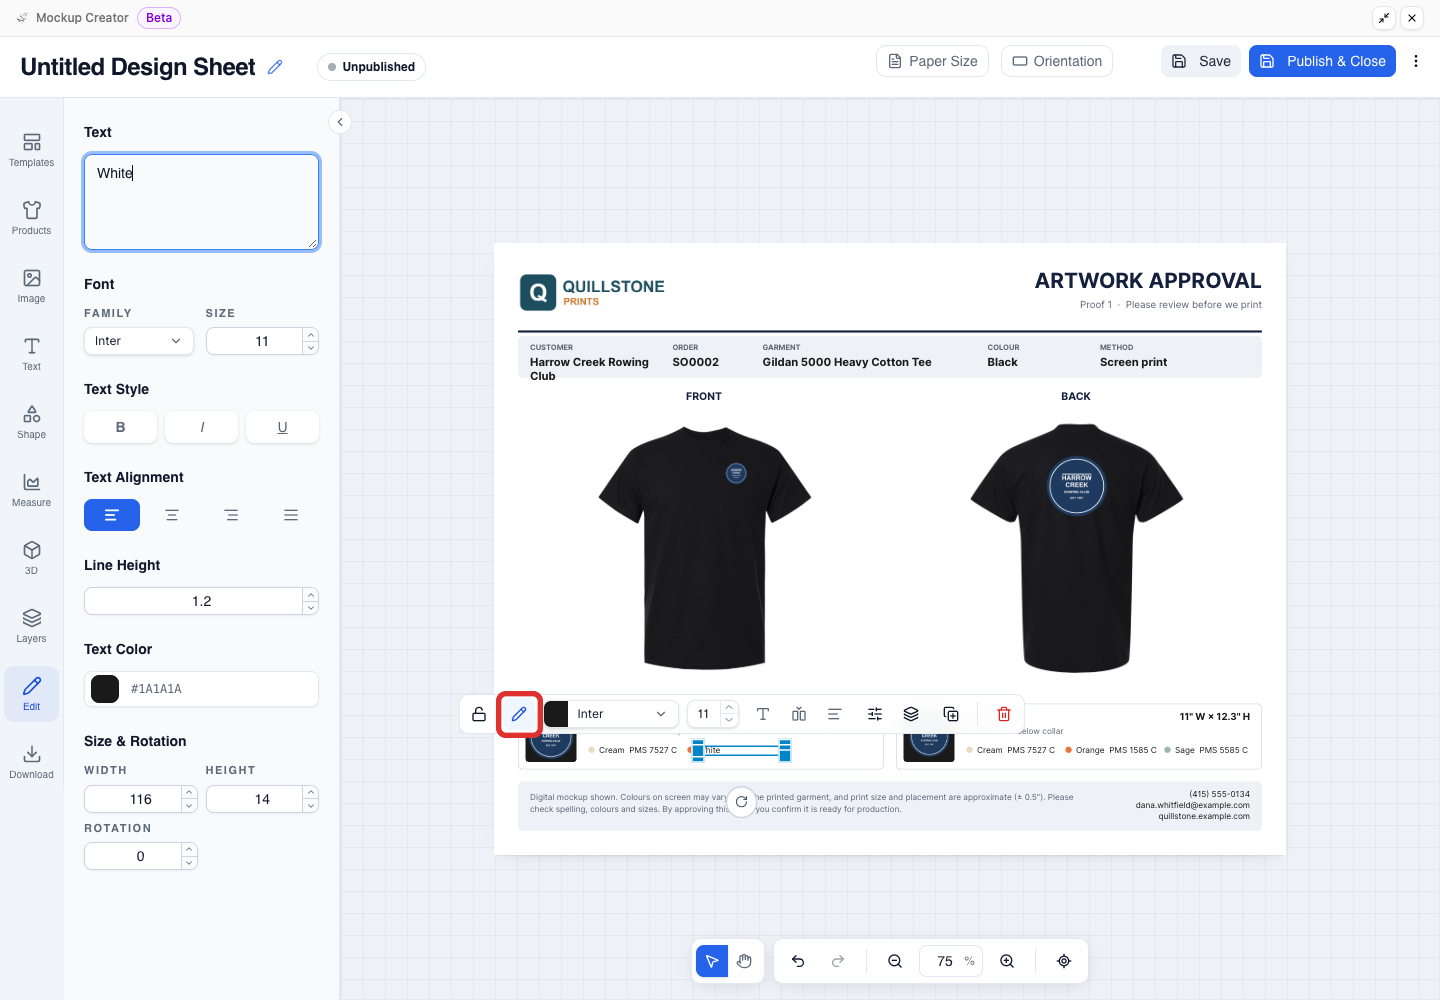
Select a colour note on a print-location card, click Edit selection, and enter the colour for this job in the Text box (here, Navy PMS 2767 C and White).
-
Update the remaining colour notes and check both print-location cards.
-
Check the finished proof on the canvas and make sure each value fits inside its text box.
If your gallery template uses a SanMar product
For templates with a SanMar garment photo, see Change the product in a SanMar gallery template. Otherwise, continue to Save this design as a template for the next job.
Change the product in a SanMar gallery template
A gallery template with a SanMar product, such as Embroidery Proof - Port Authority K500 Polo, opens with its included Navy product photo. Other SanMar colours need a connected SanMar account on the Pro plan (see Choose a product, colour, and photo view); otherwise, keep the included photo or swap to an S&S Activewear style with Change product.
-
Click Change product on the floating toolbar (next to the Front view dropdown) to swap the garment. In Search products, search by garment name (for example,
polo), not by supplier name, and click + on an S&S Activewear result to replace the garment on the canvas.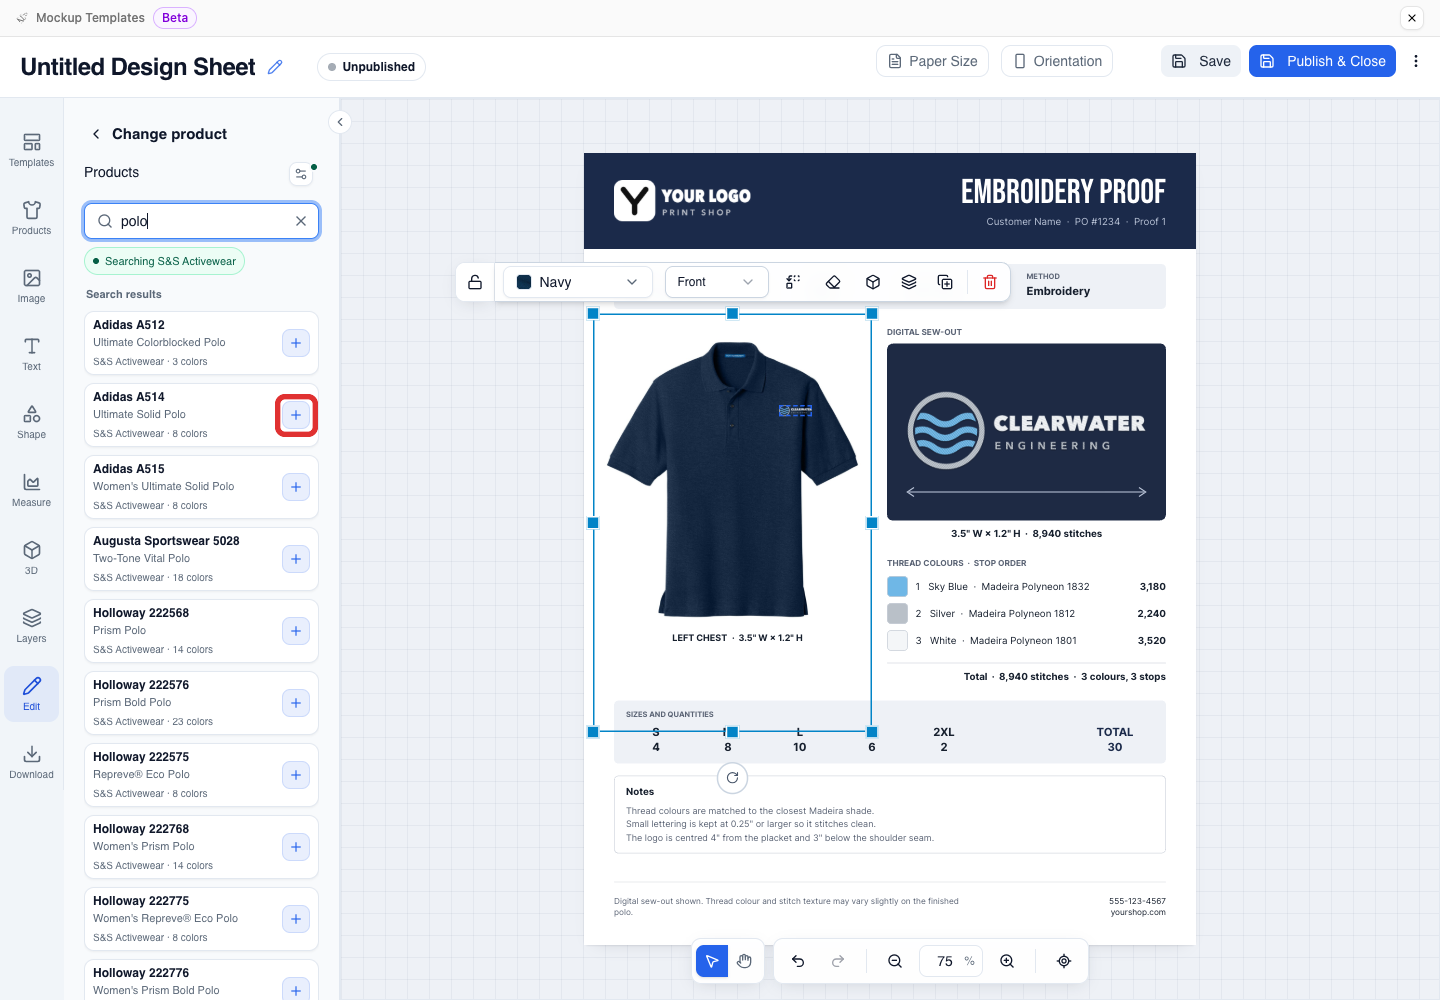
Save this design as a template for the next job
Save your finished design on the job first, then save a copy to your shop library for future jobs.
-
Click Save in the top toolbar to save the design on the job.
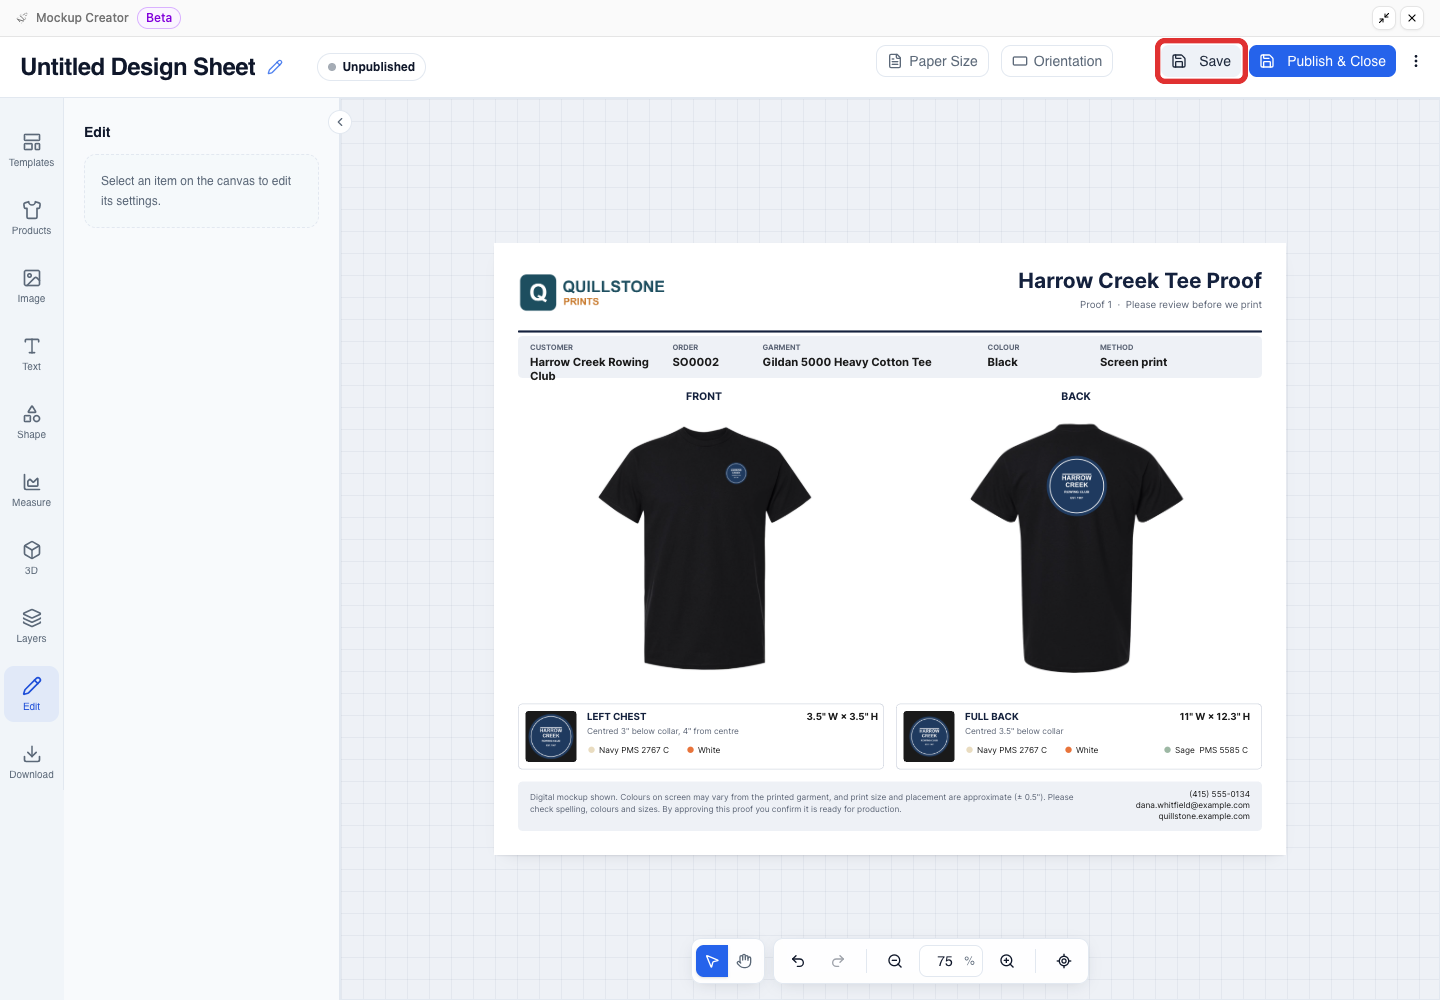
Save as new template does not save changes on the job itself, so always save the job design first. To reopen a closed mockup, publish it to the PDF, or send it for approval, see Get started with the Mockup Creator and How to Request Artwork Approval from Your Customer.
-
Beside Publish & Close (or Save & Close), click Save as new template in the three-dots Publication actions menu.
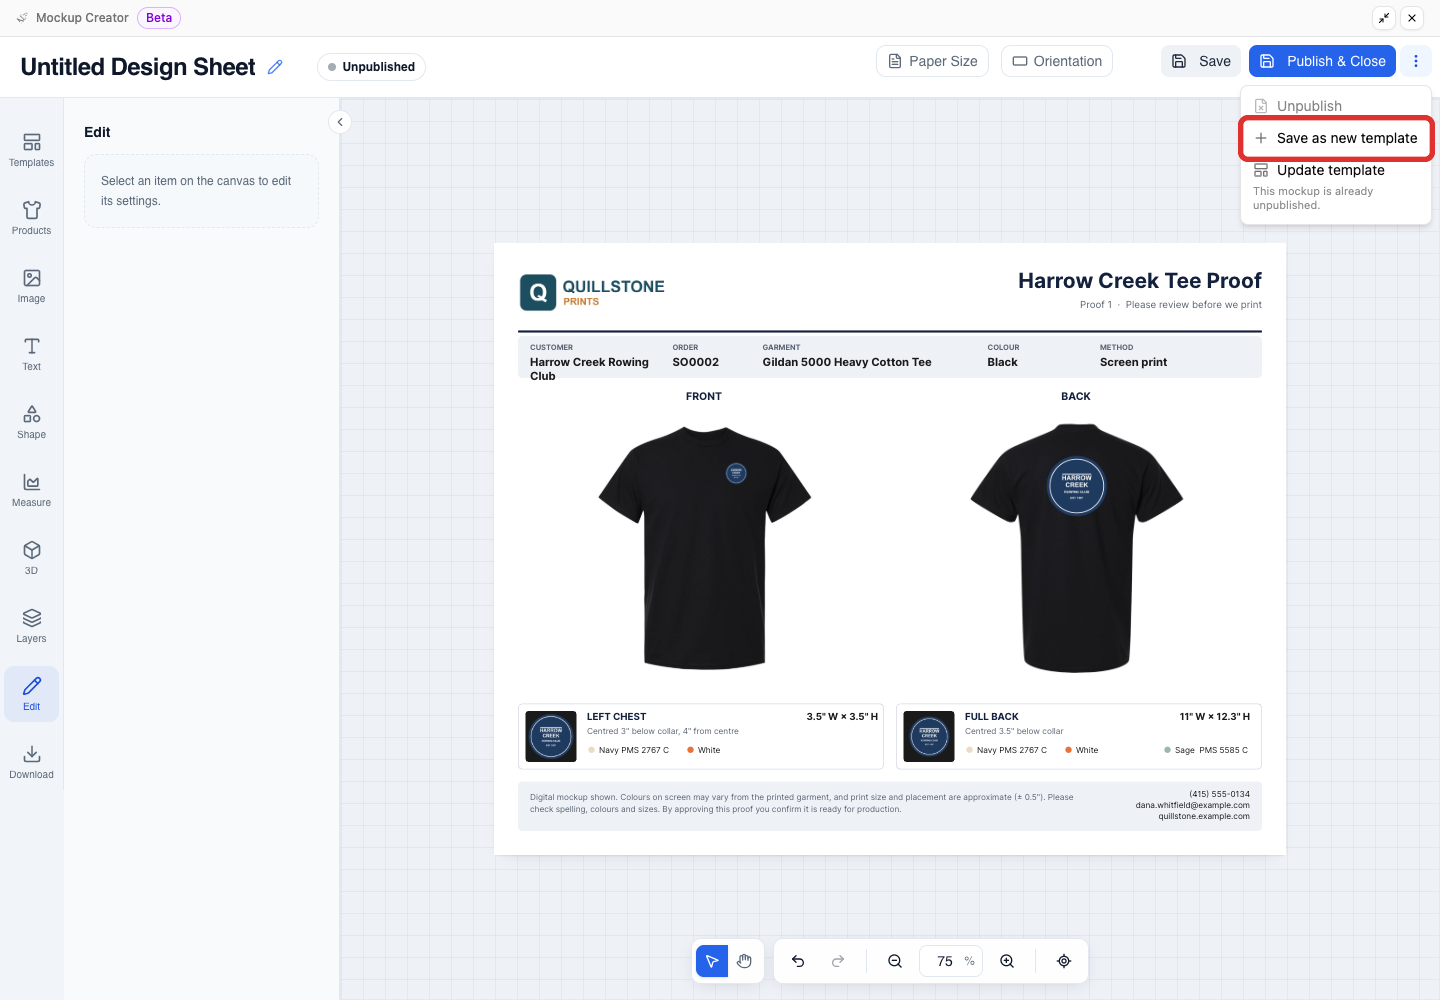
-
In the Save as template dialog, enter a Template name (here, Harrow Creek tee proof v2) and keep Status set to Published.
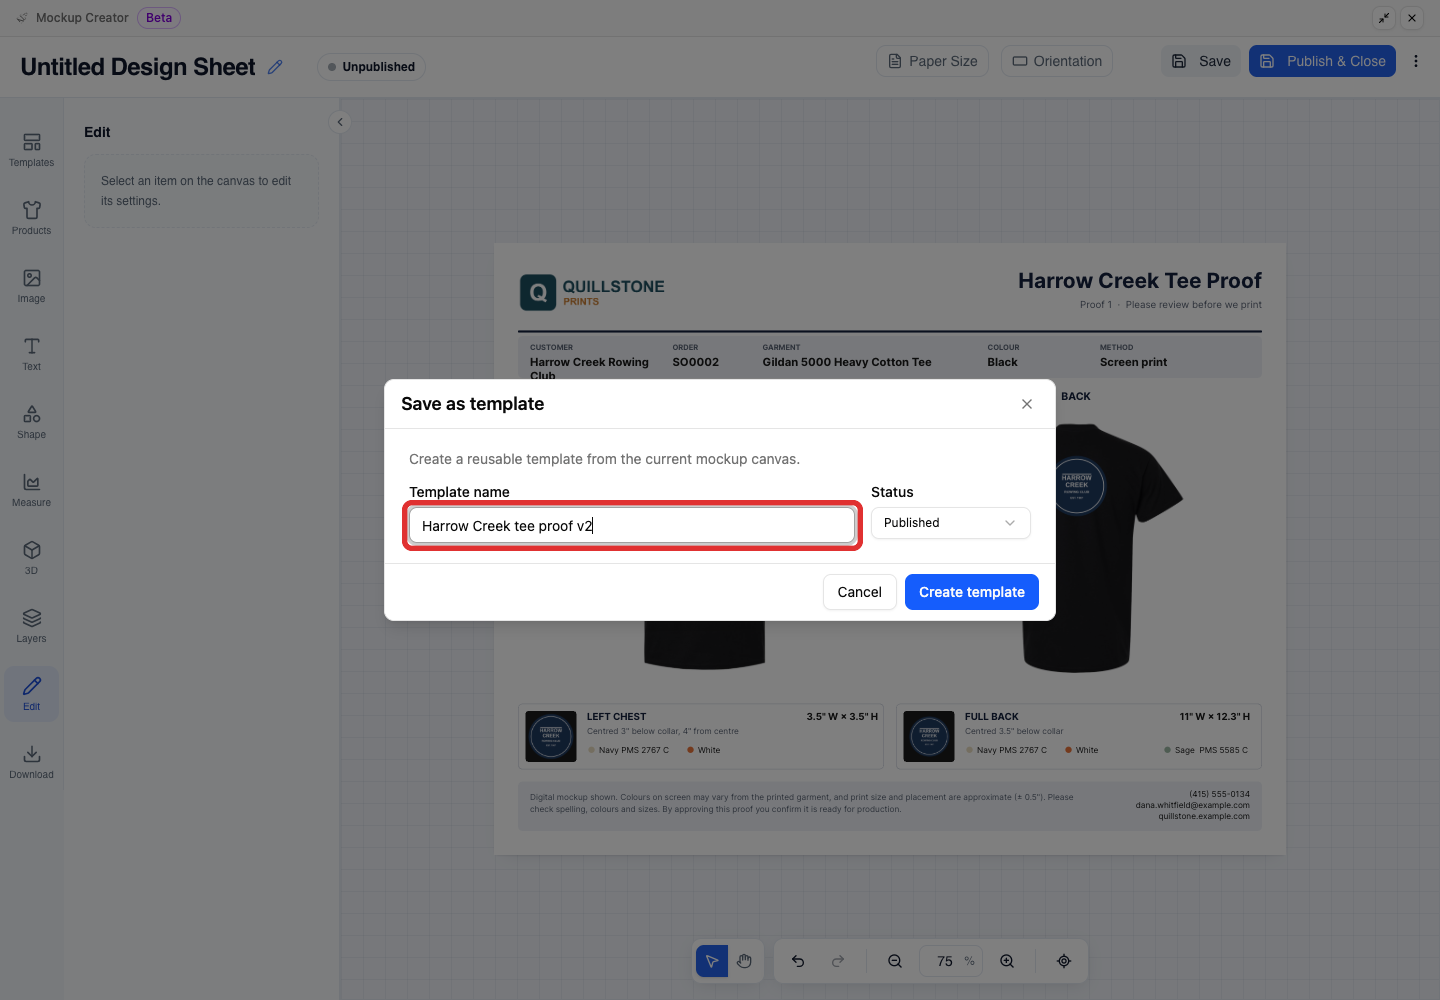
-
Click Create template.
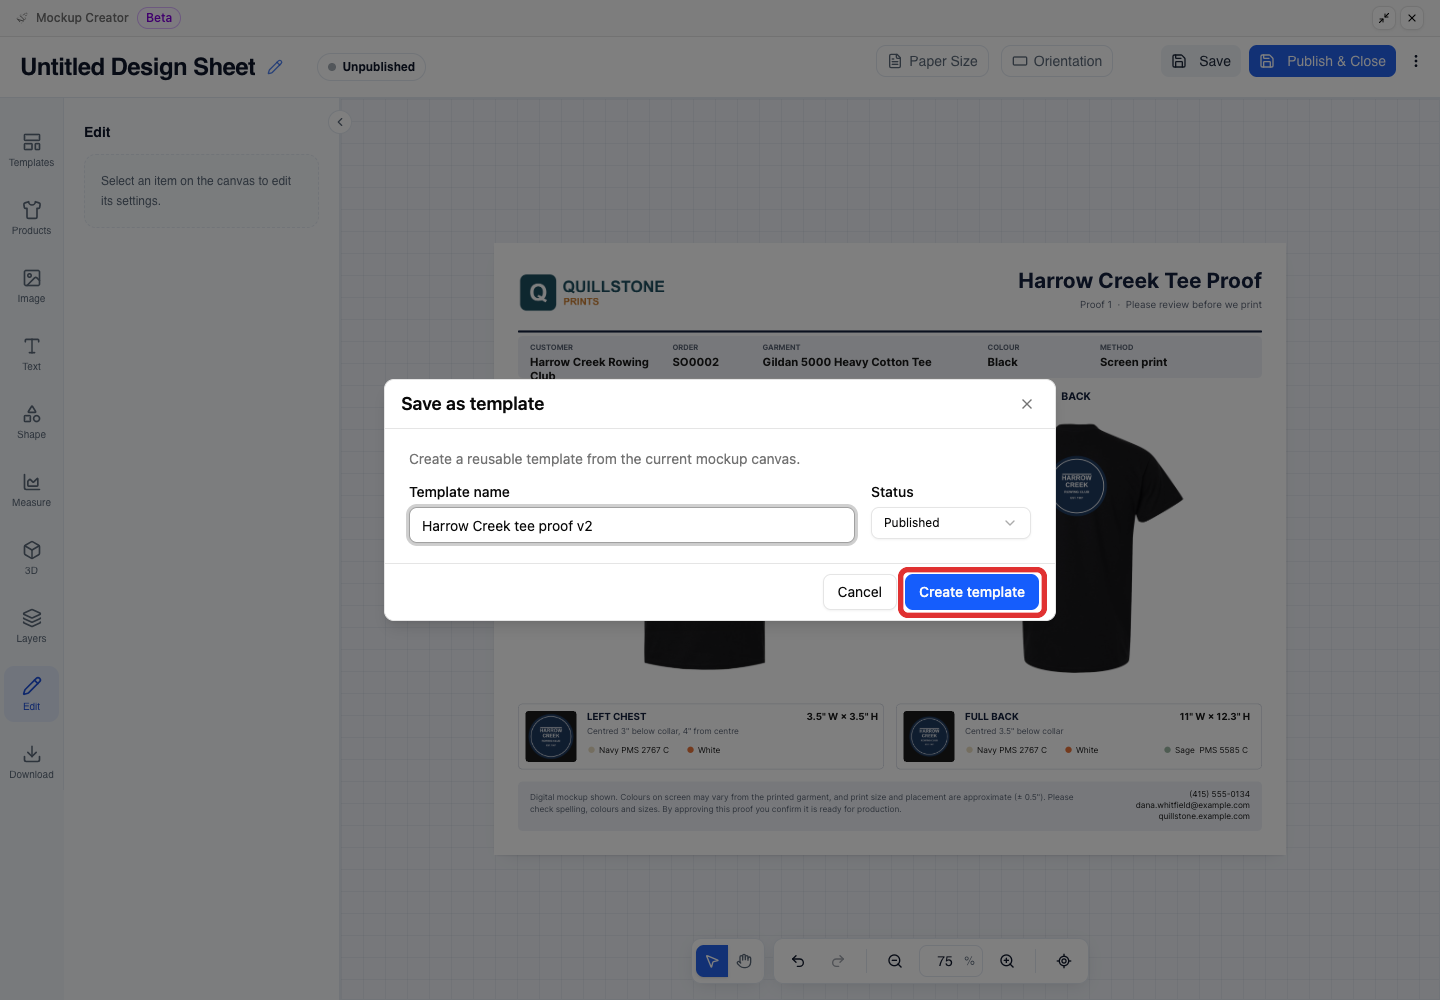
YoPrint saves the template as a separate copy in your shop library, and the design on the job keeps its own name.
-
Check that your template appears in Configuration > Settings > Mockup Templates with Published status.
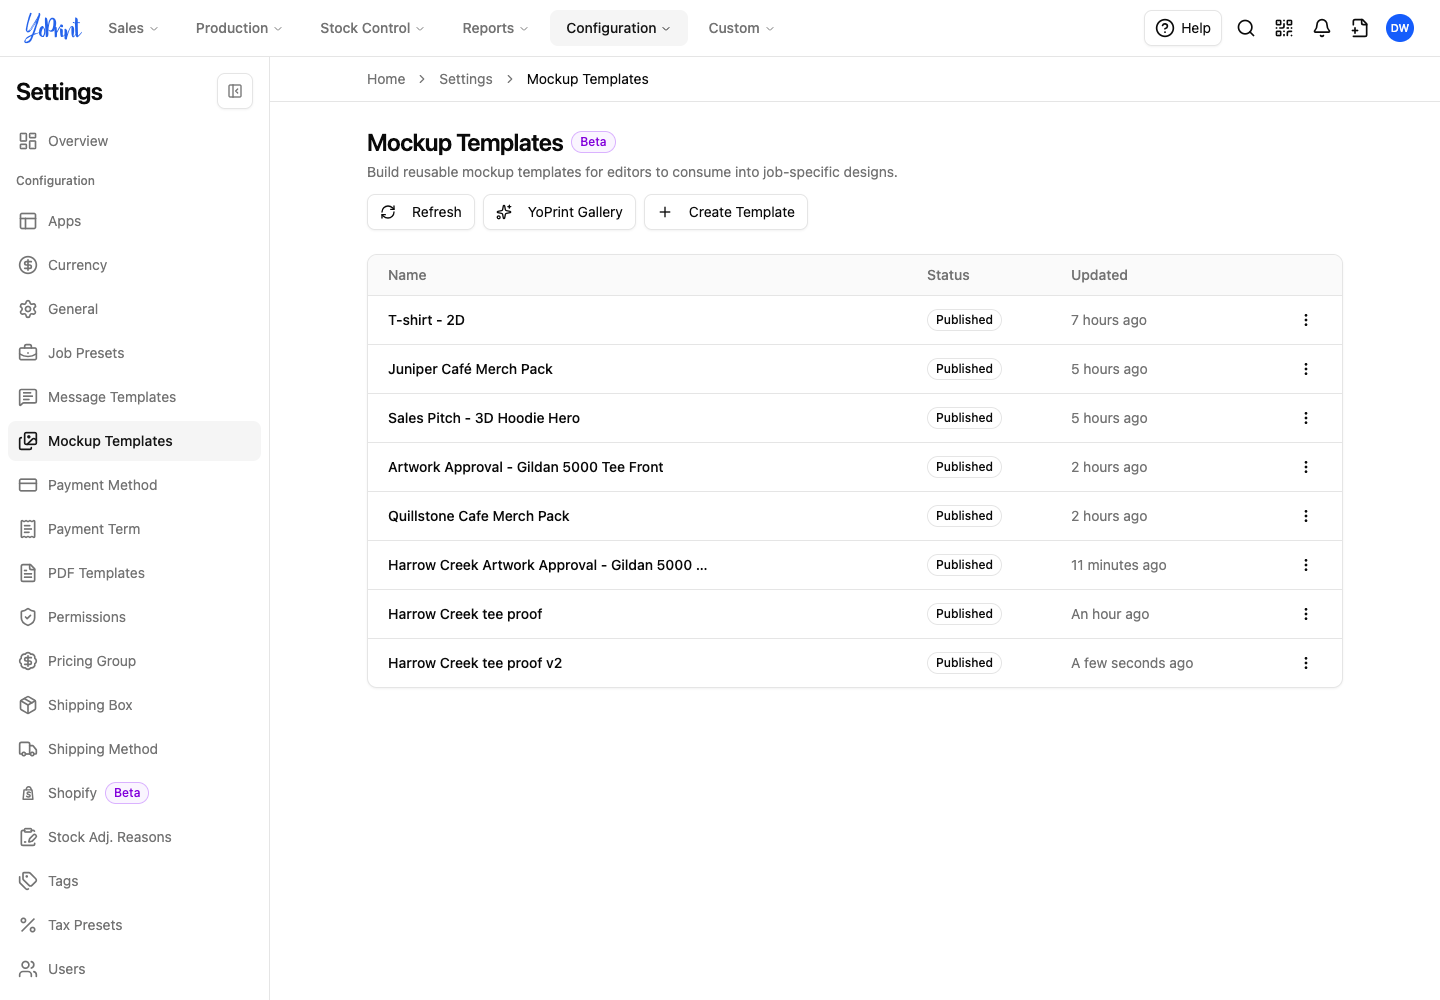
Your saved template now appears below YoPrint Gallery in the Templates panel, ready to load onto a new mockup. For repeat orders, see Reuse a Job Order by Cloning. For the difference between a customer mockup and an internal shop print file, see Mockup vs Production Files.