Inventory & Purchase Order Overview
In this article
Inventory helps you see the products your shop keeps on hand. Purchase Orders help you record what you plan to get from a vendor and track it until the items arrive. When you receive items on a purchase order, YoPrint updates your inventory quantities automatically. Both areas are in Stock Control.
Open Inventory
-
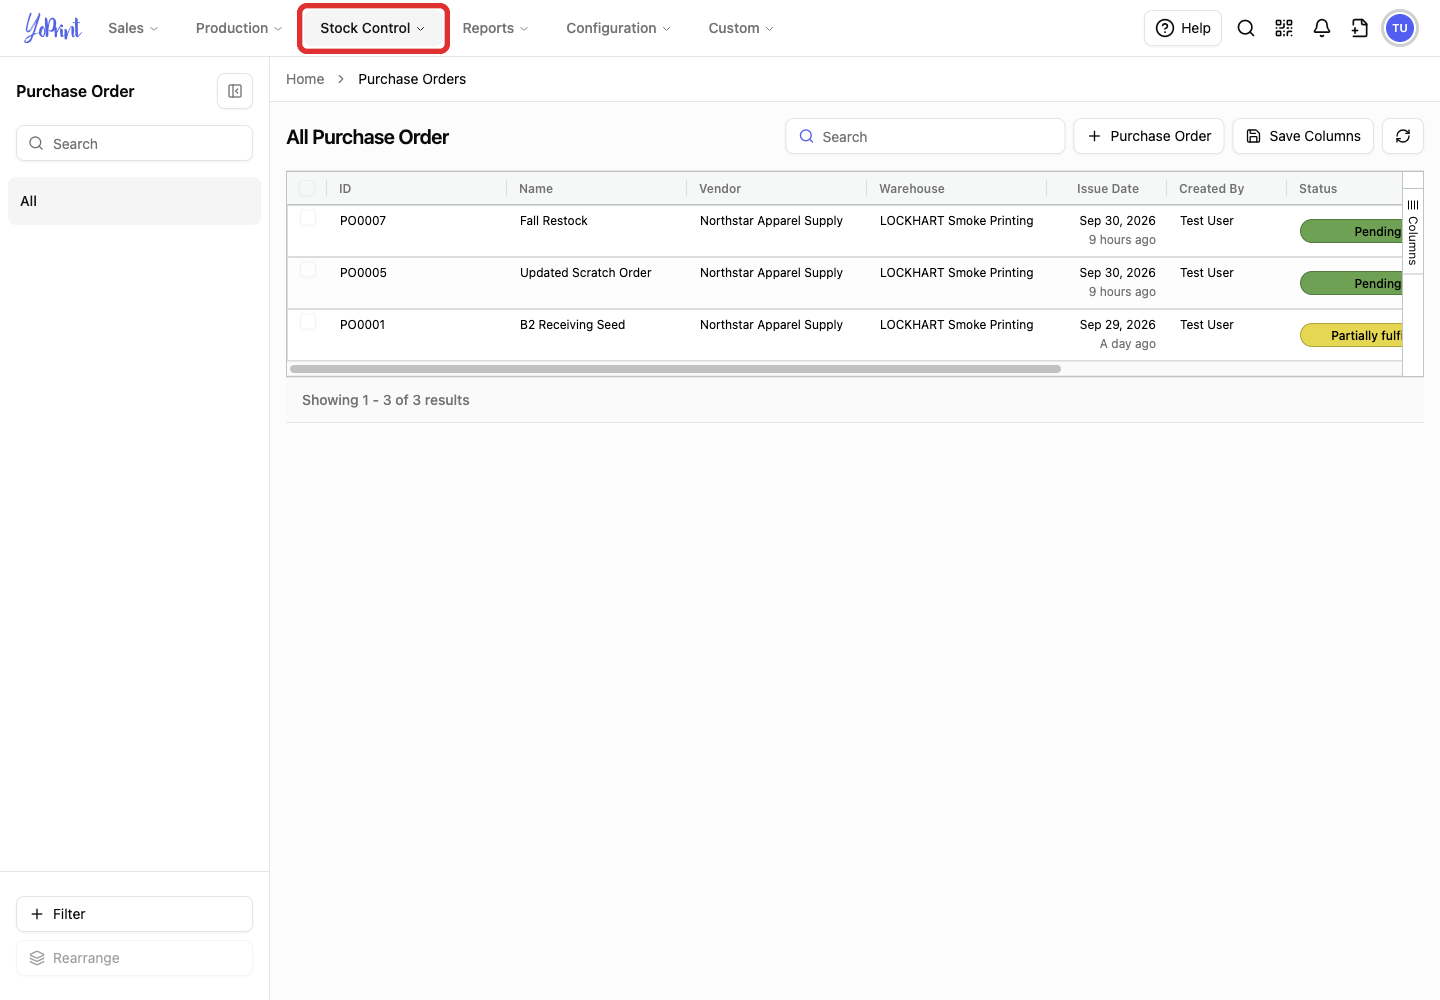
In the top navigation, click Stock Control.
-
In the menu, click Inventory.
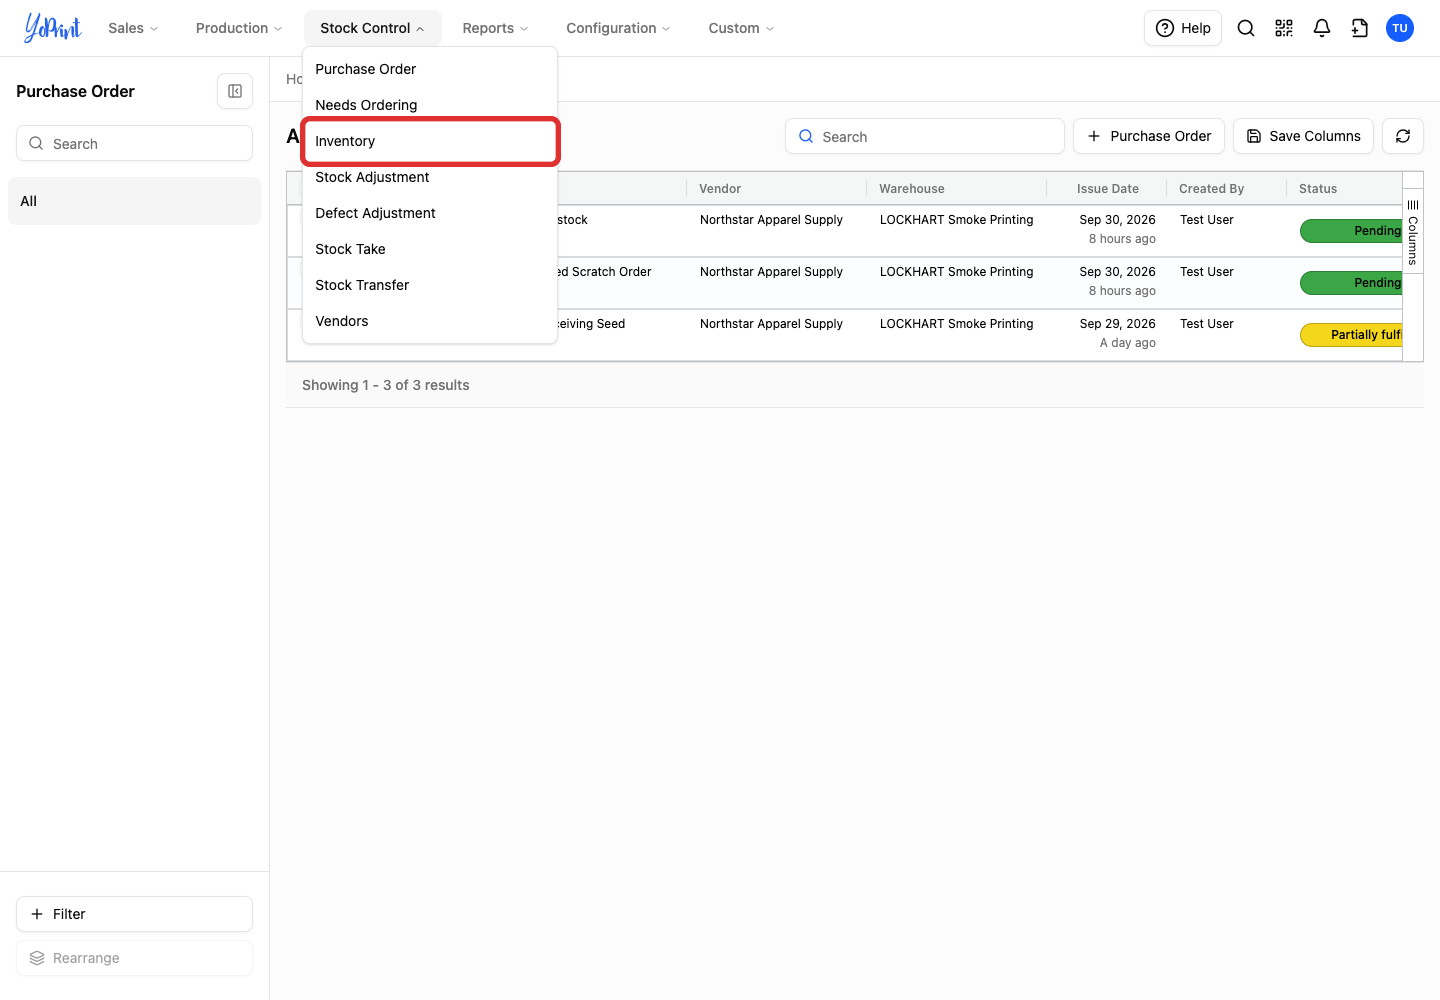
The Inventory page opens with the All Inventory list. Use its search and filter controls to narrow a longer list. The detailed stock workflows are covered in Inventory Overview, Stock Take, Stock Adjustments, and Stock Transfer.
Open Purchase Orders
-
In the top navigation, click Stock Control.
-
In the menu, click Purchase Order.
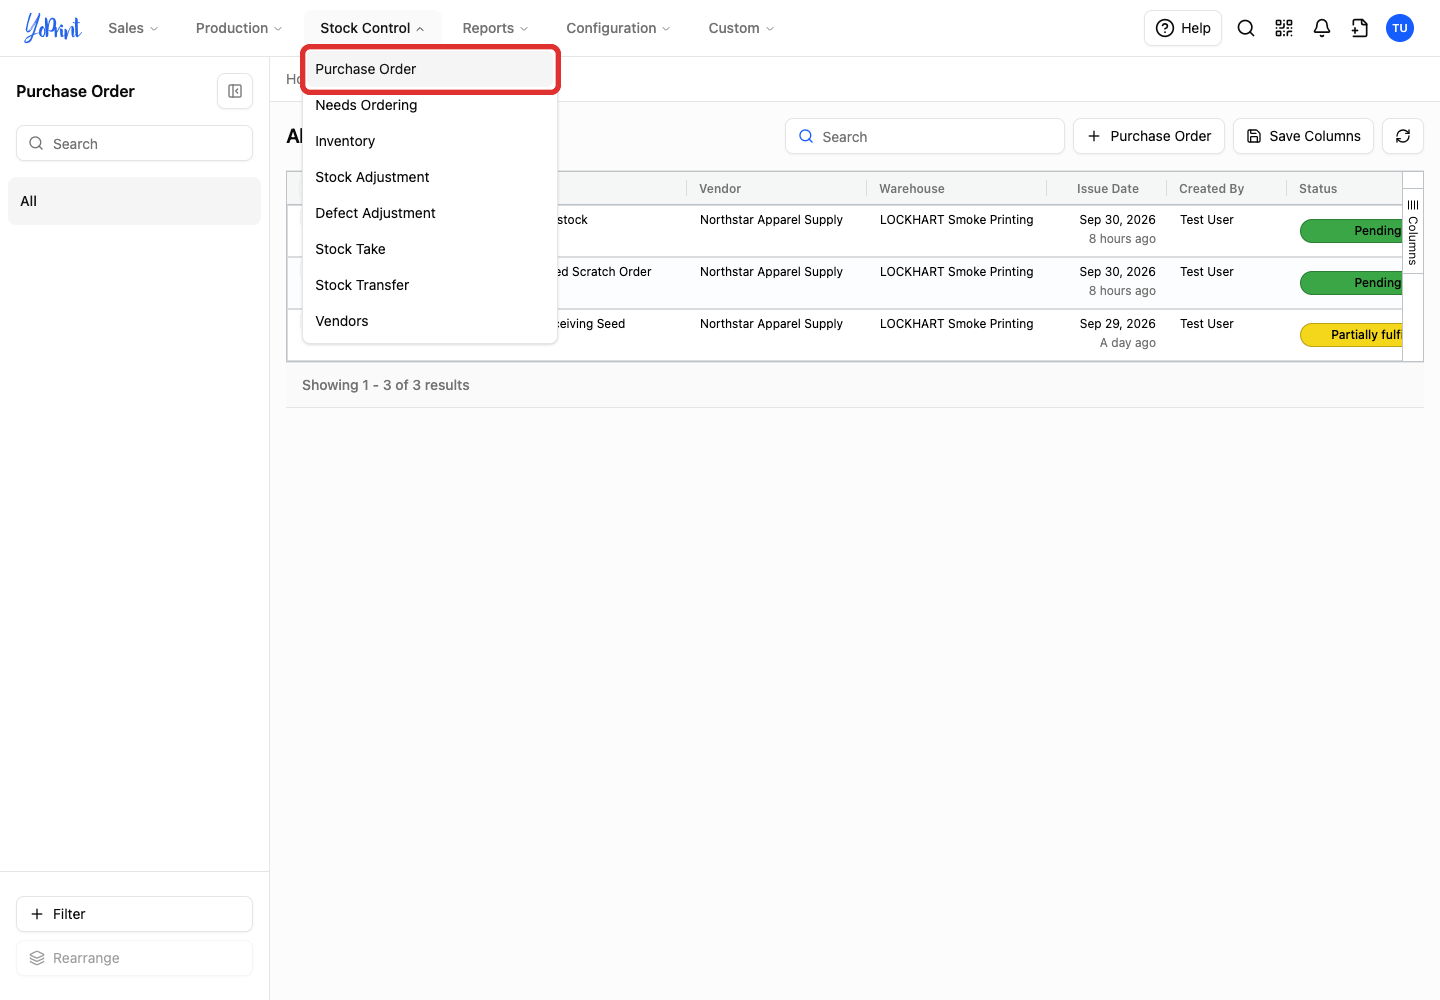
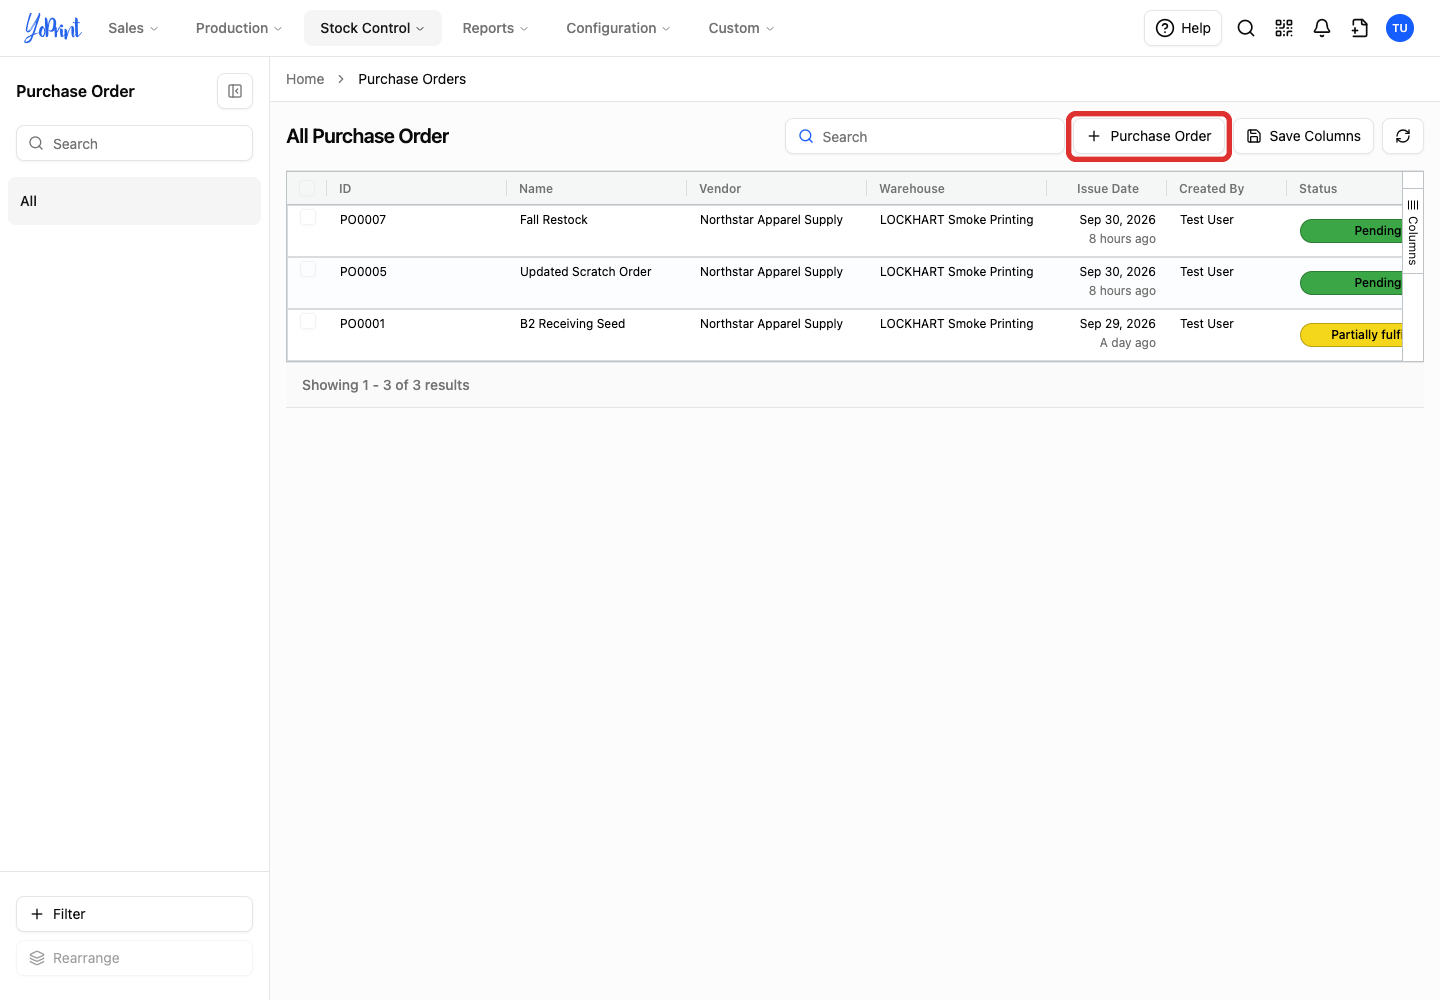
The All Purchase Order list includes ID, Name, Vendor, Warehouse, Issue Date, Created By, Status, Tag, Status Changed On, Completed On, and Actions. Above the list, use Search to find orders, Filter to narrow the list, Columns to choose visible columns, and Refresh (the circular arrow) to update the table.
-
To create a purchase order, click Purchase Order above the list and follow Creating a Purchase Order.
Review a purchase order
-
In All Purchase Order, double-click a row, or click the three dots in the Actions column and choose View.
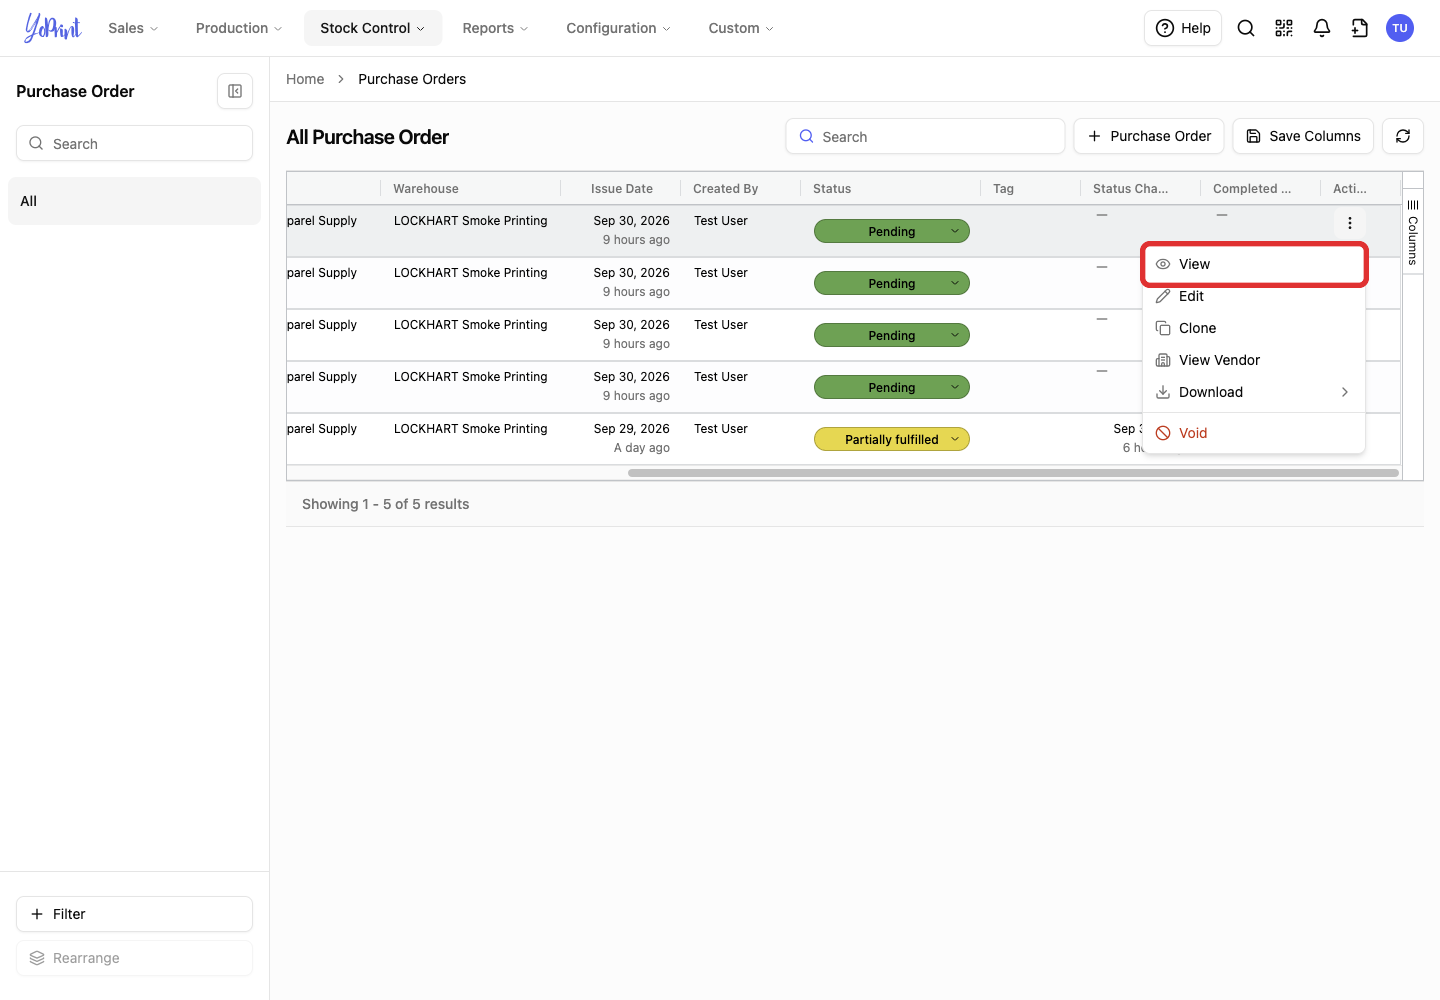
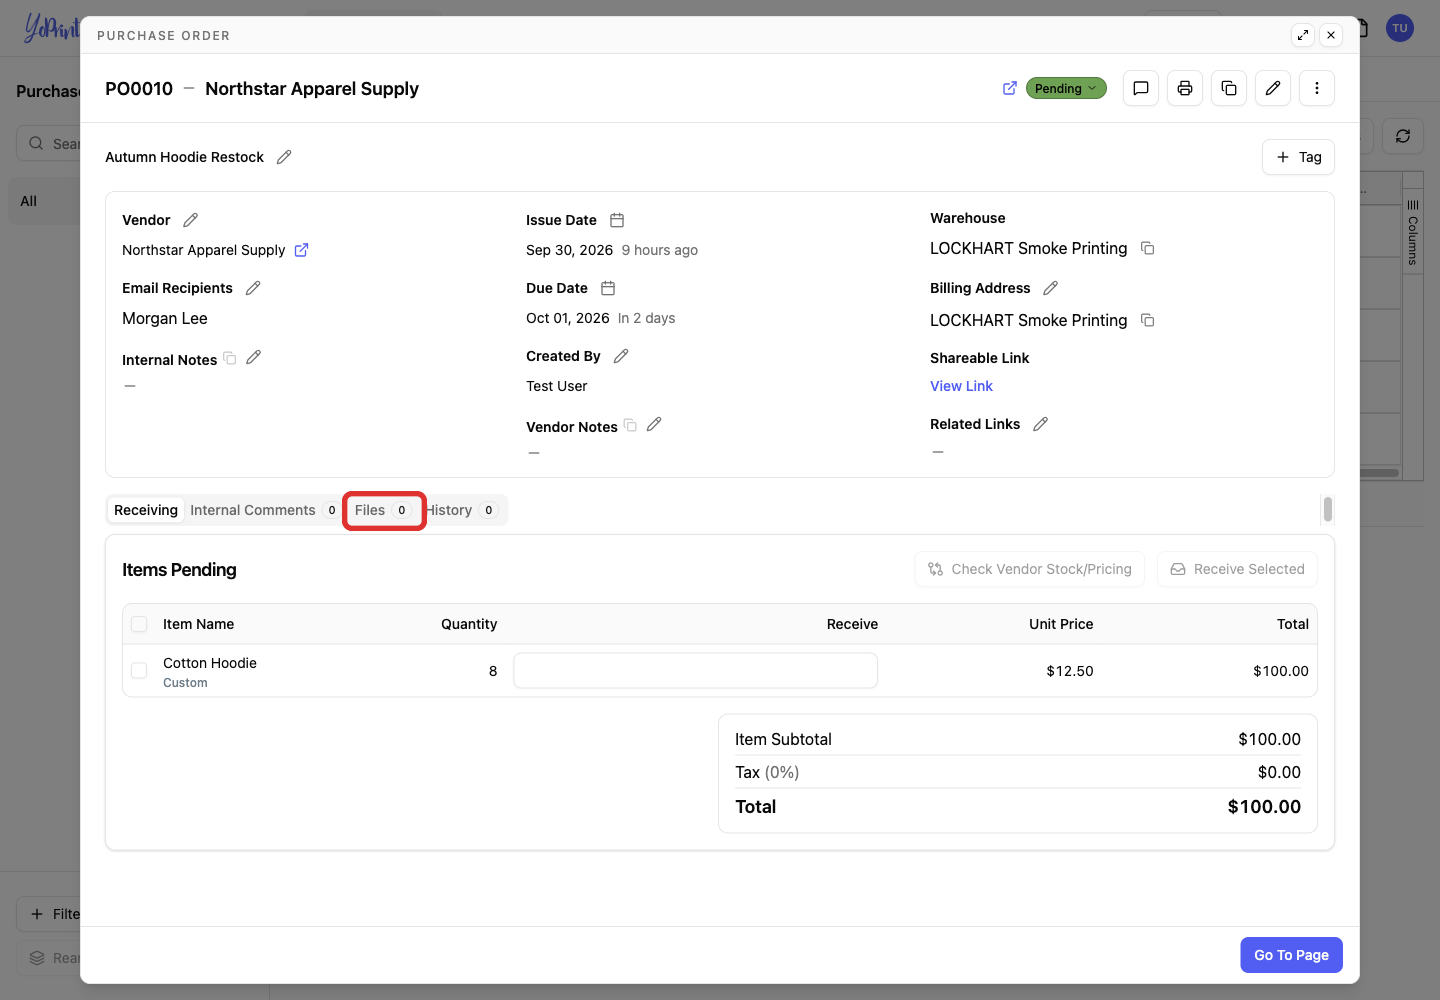
YoPrint opens the order details in a side panel over the table. You can review the order in this panel, or click Go To Page at the bottom of the panel to open the full page. The detail view shows the vendor, the current status, and tabs for Receiving, Internal Comments, Files, and History. The Receiving tab displays the items and quantities on the order. At the bottom of the table in the Receiving tab, the order summary shows the subtotal, tax, and total.
-
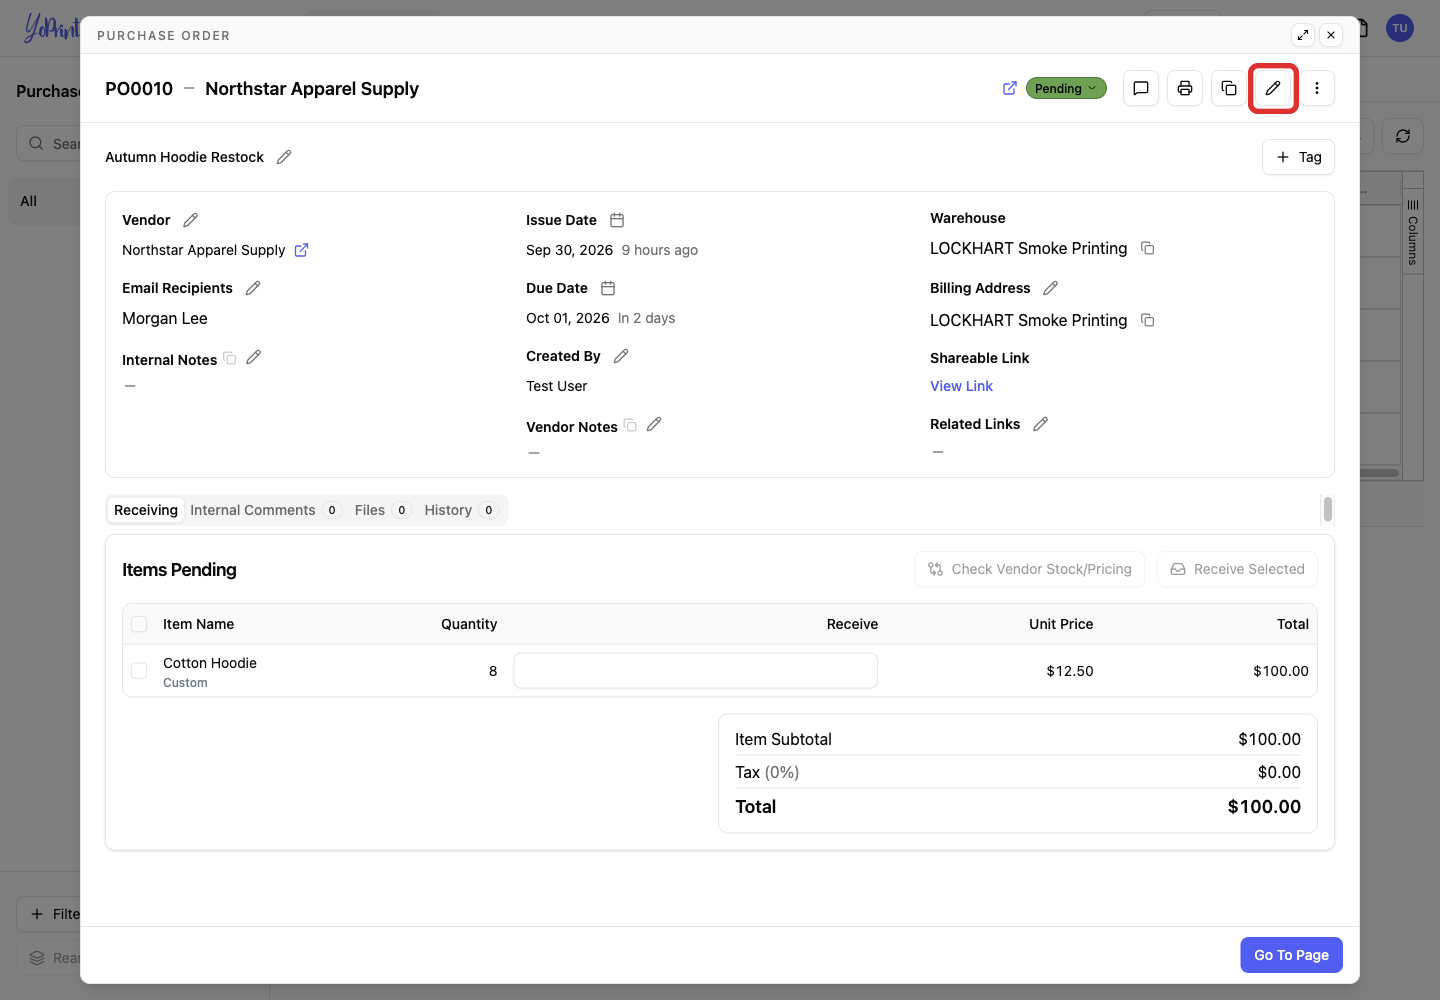
Click Edit (the pencil icon) when you need to change the order details. See Editing a Purchase Order.
-
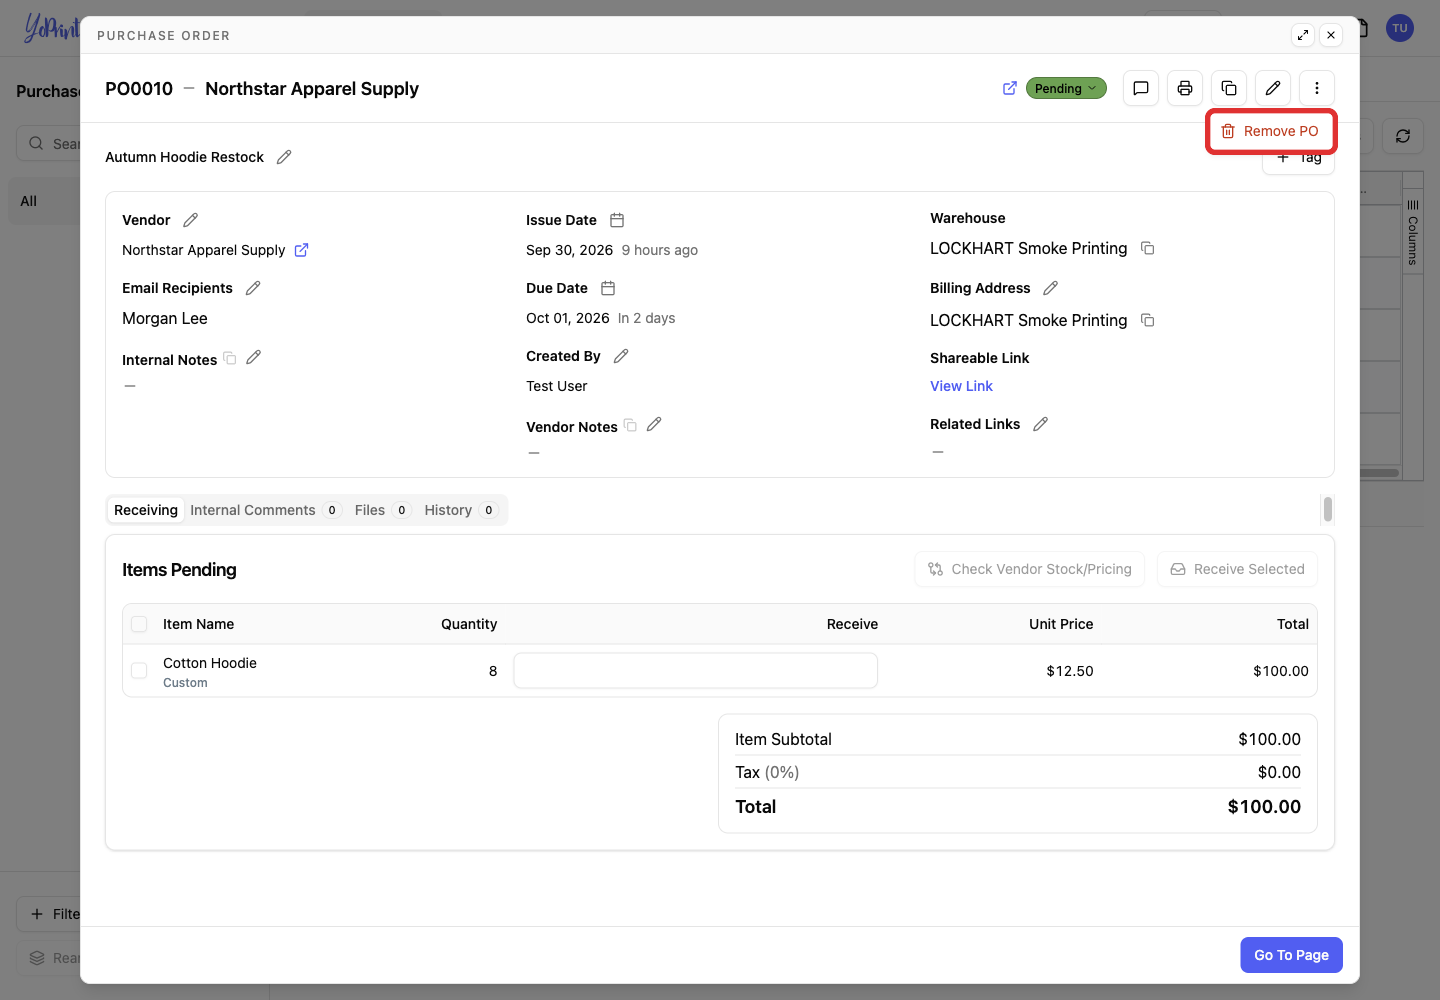
In More actions (the three dots icon), choose Remove PO when you need to remove the order. See Voiding/Removing a Purchase Order.
-
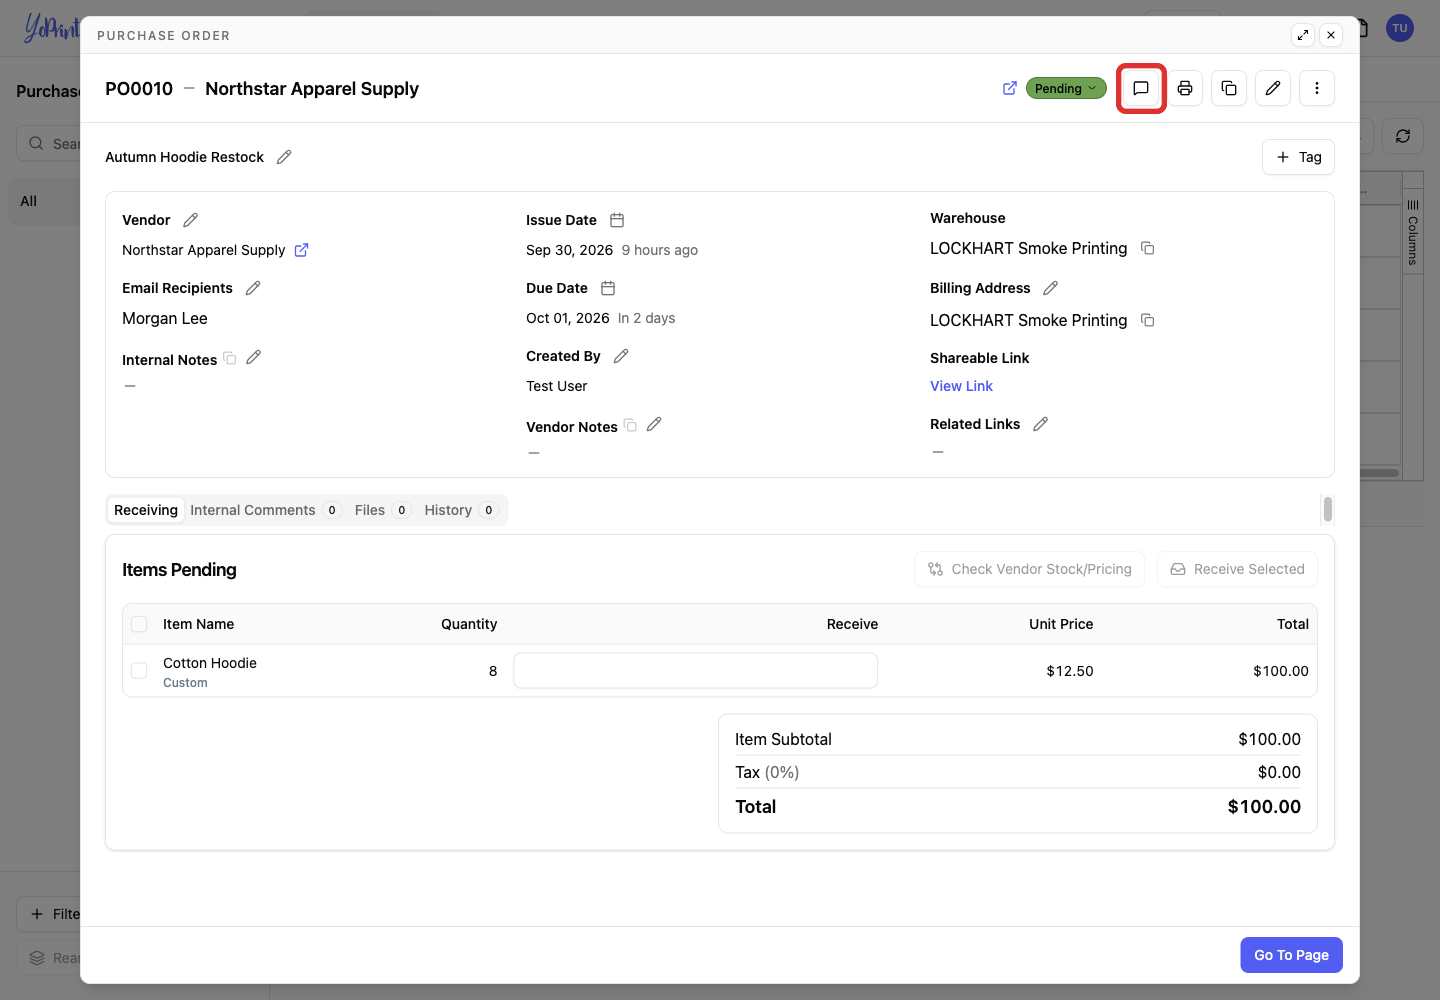
Click Message (the speech bubble icon) when you need to contact the vendor from the order. See Send Messages Through a Purchase Order.
Add files to an order
-
In a purchase order, select the Files tab.
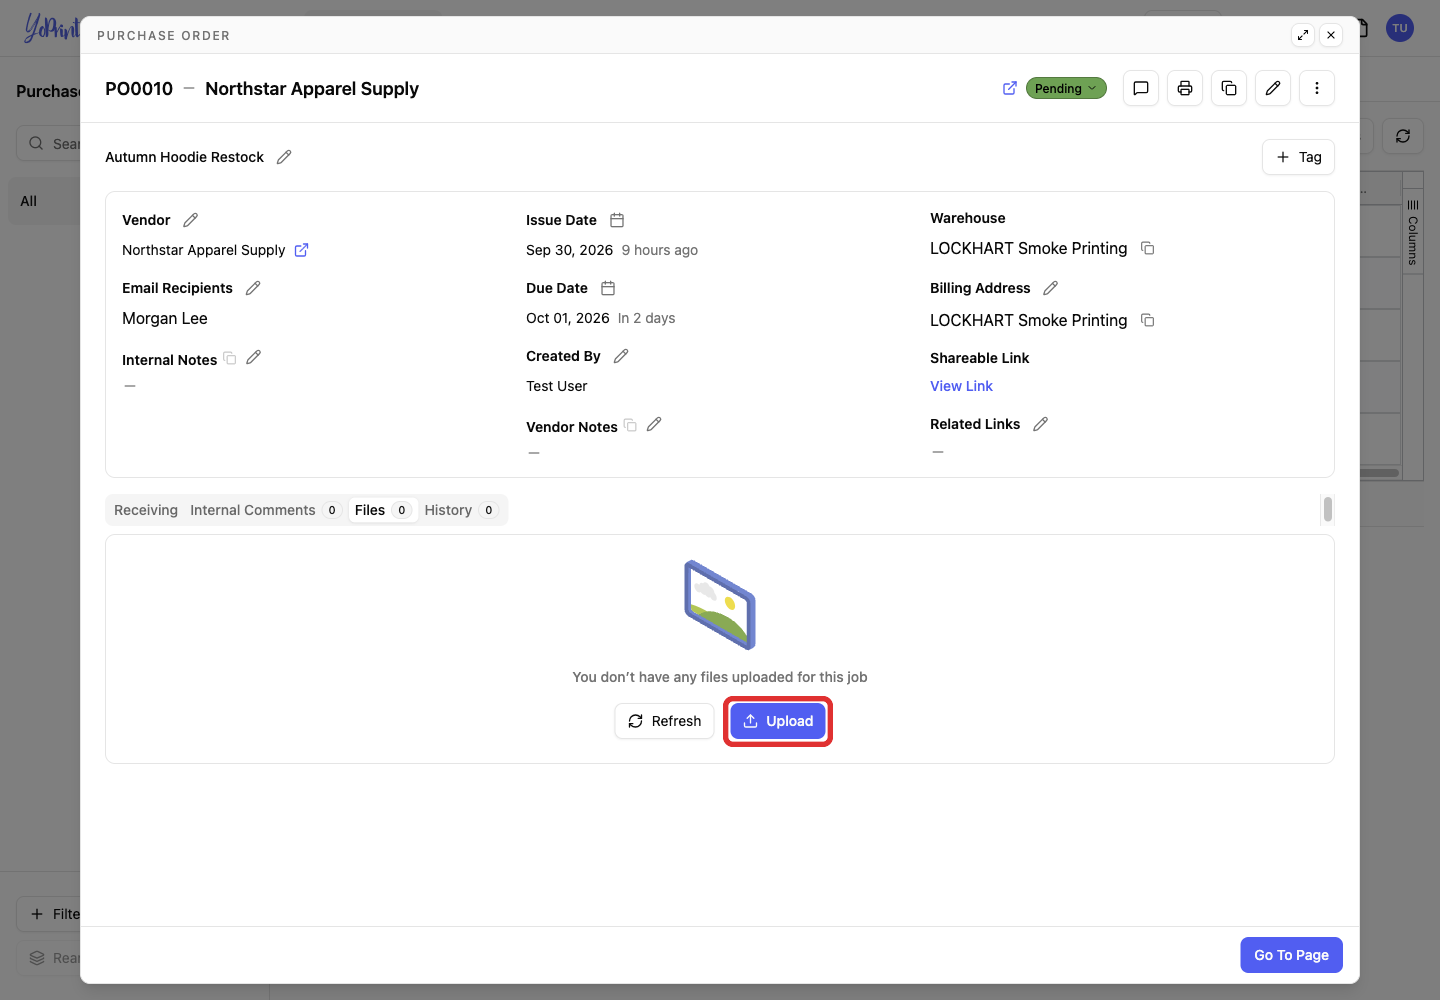
If no files are attached yet, the tab displays "You don’t have any files uploaded for this job" until you upload a document.
-
Click Upload.
-
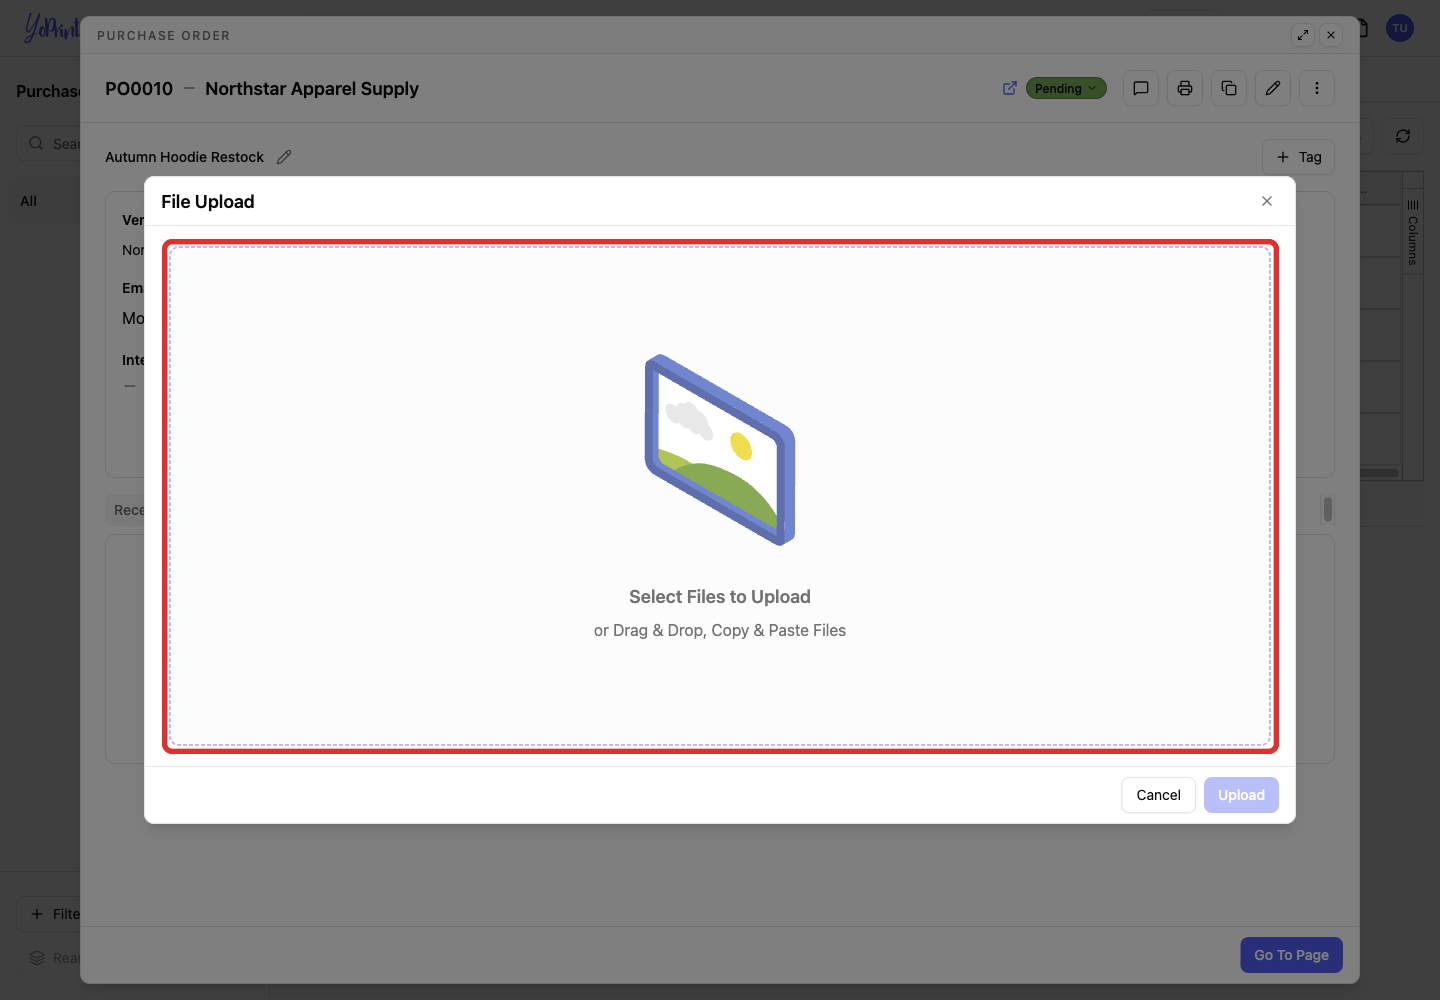
In the File Upload dialog, select or drag your files, then click Upload.
Clone a purchase order
-
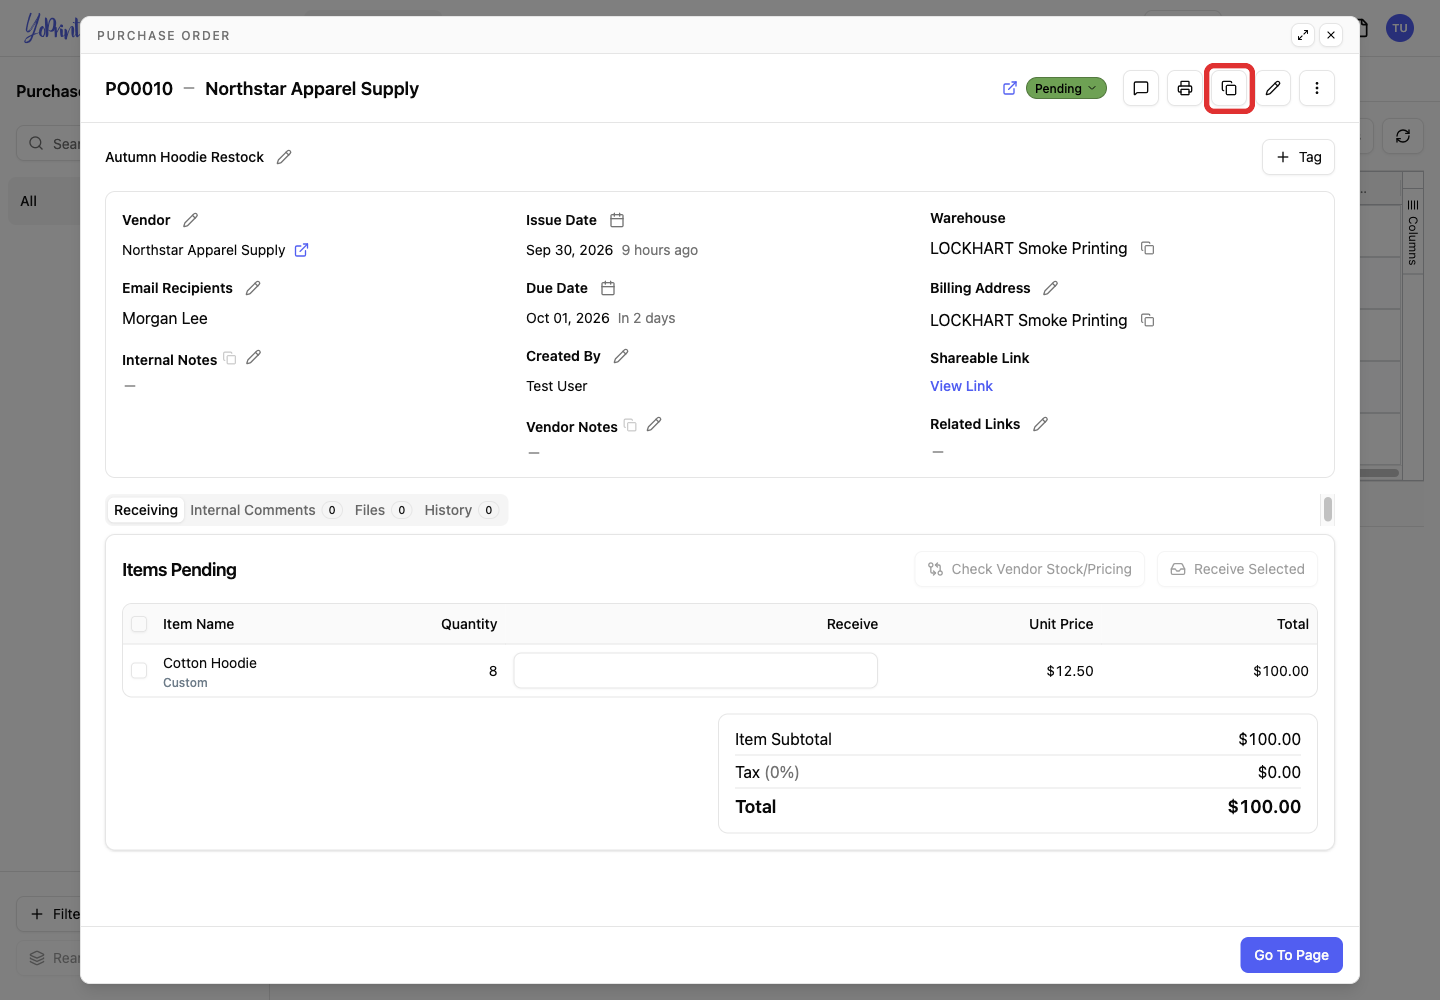
Open the purchase order you want to reuse and click Clone (the duplicate icon).
-
Review the prefilled form, change the purchase order number, label, dates, vendor, or items as needed, then click Create.
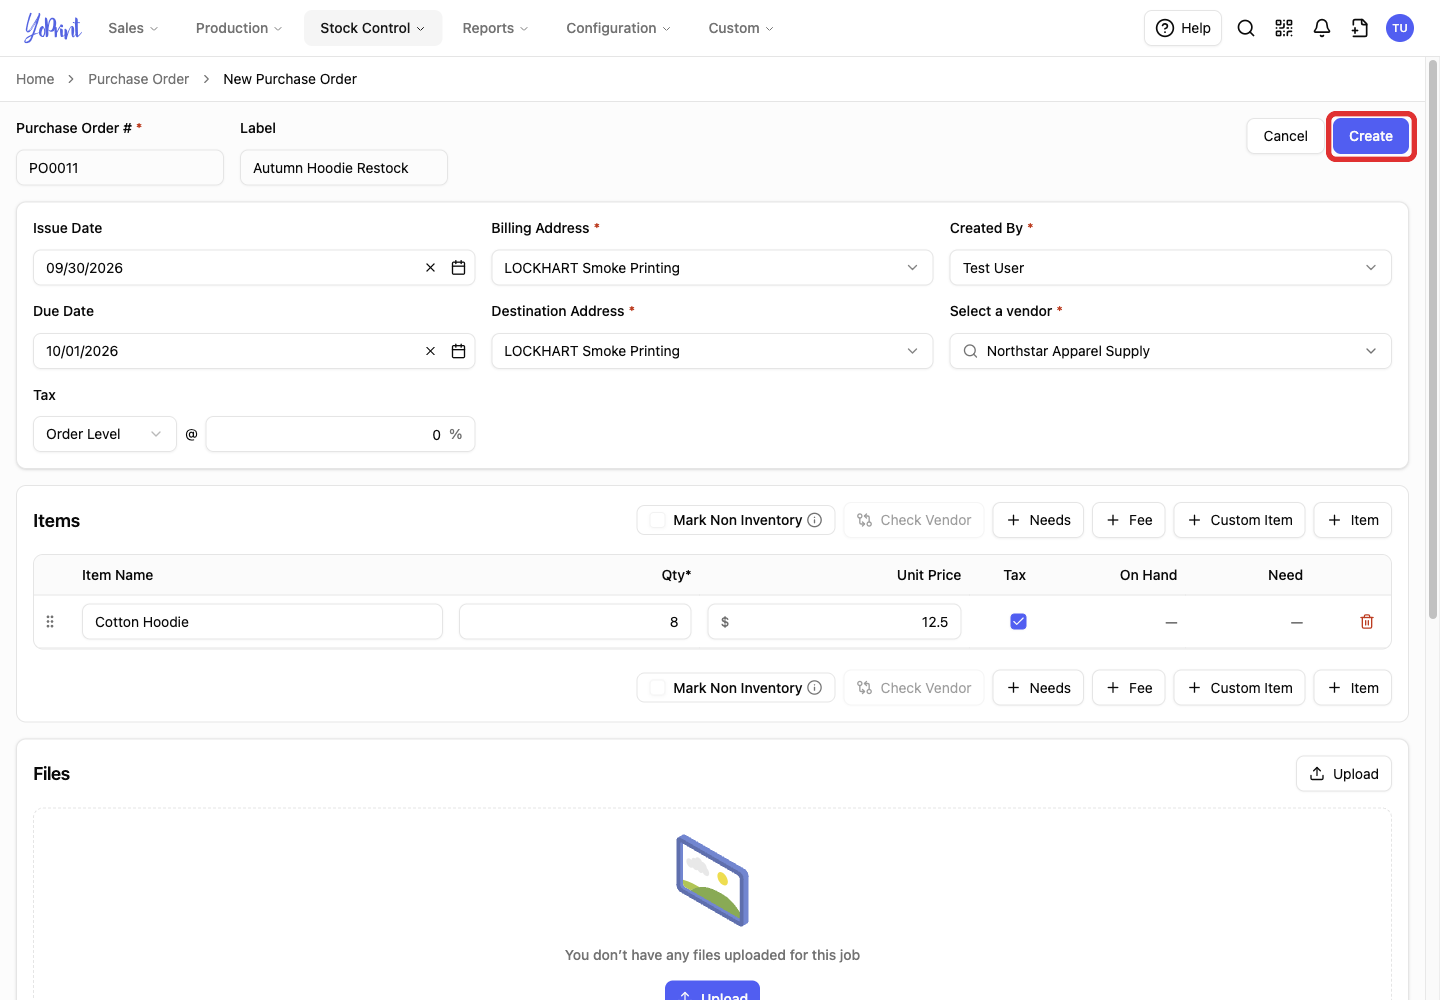
YoPrint fills in the vendor and items from the original order and assigns the next available purchase order number. You can keep that number or enter your own. Update the Label (the internal name shown in the order list), dates, or items. Taxes and totals display dashes with "Will be calculated on save" until you save the order.
Continue with purchase order work
- To receive items, follow Purchase Order Receiving.
- To manage status choices, follow Customizing and Using Purchase Order Statuses.
- To review changes, follow Purchase Order History.
- To add internal notes, follow Purchase Order Internal Comments.